
moonstone 3dr small update


Thread Starter
Joined: Jan 2007
Posts: 2,294
Likes: 65
From: jara
Thread Starter
Joined: Jan 2007
Posts: 2,294
Likes: 65
From: jara
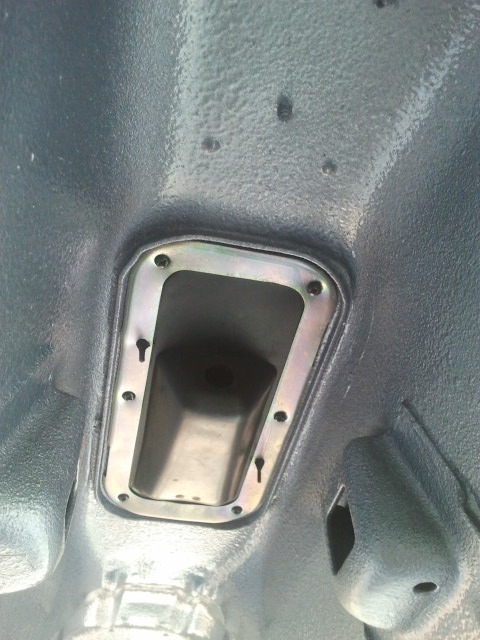
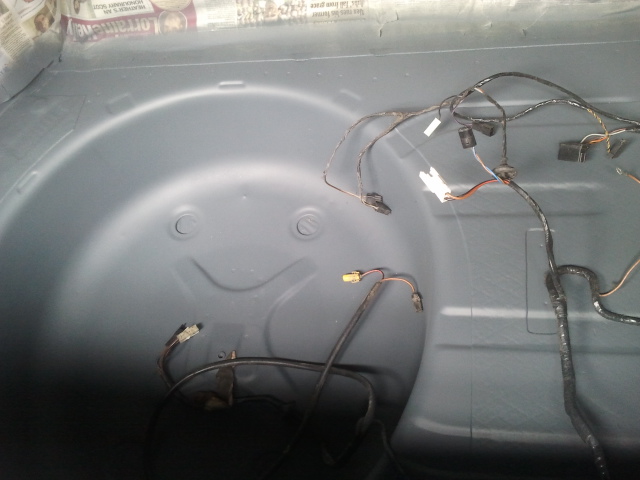
todays work,wet flated the engine bay and give it a coat of high build primer.
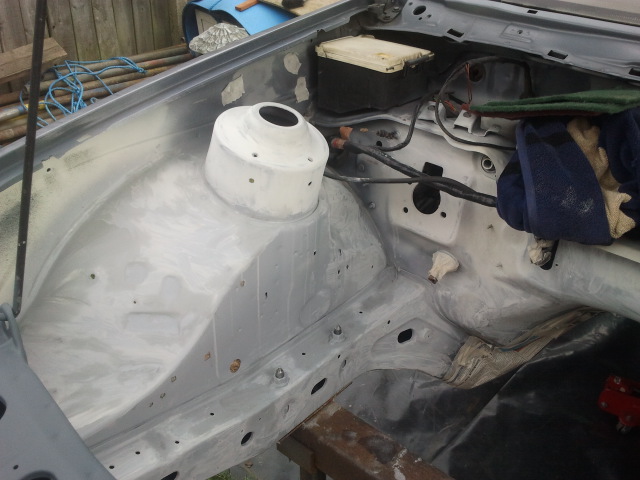
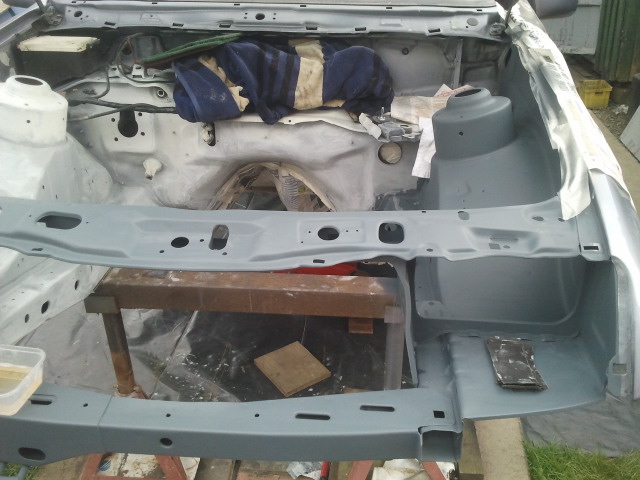
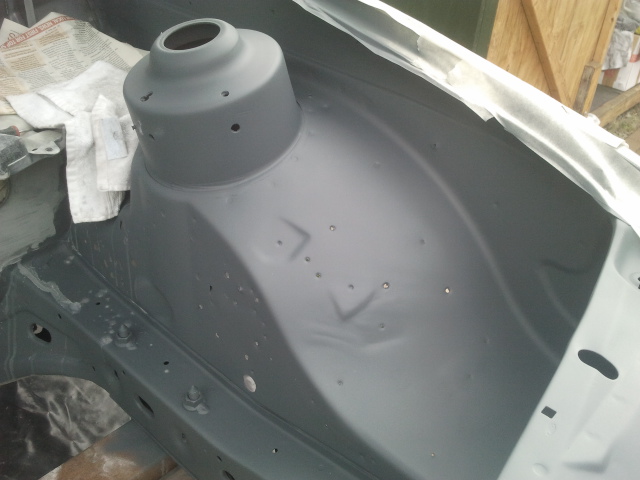
ran out of paint to finish the drivers side ill get more tommorrow.
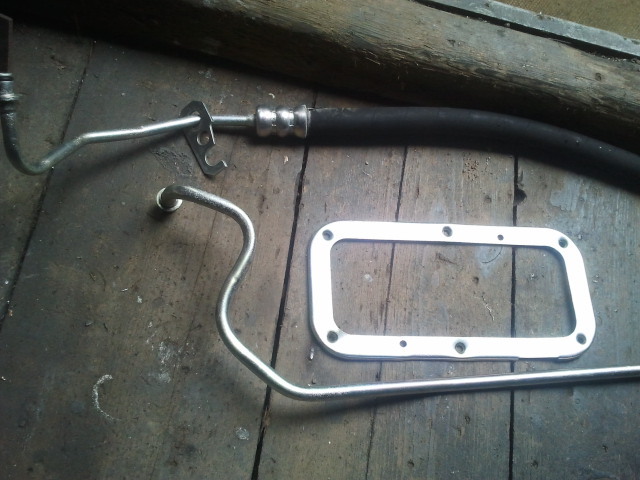
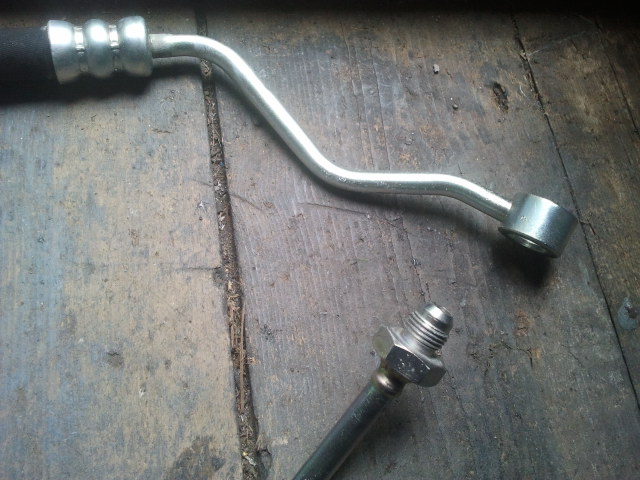
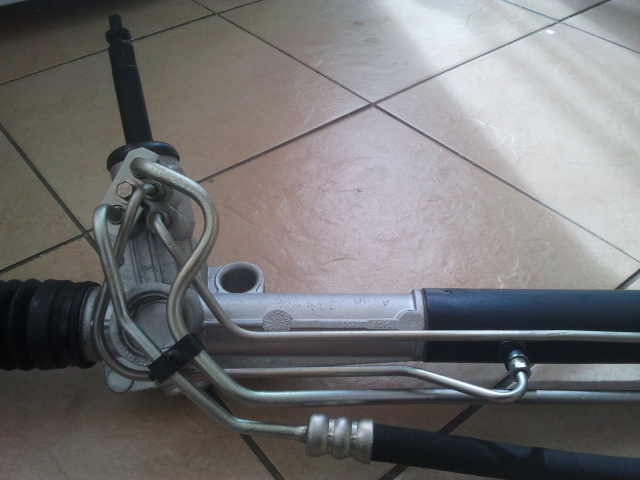
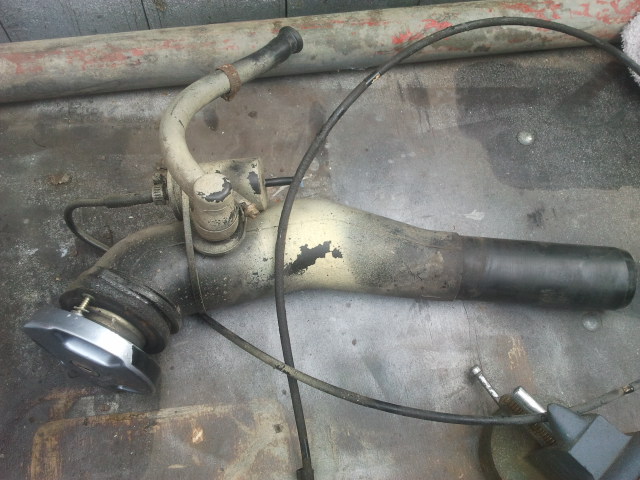
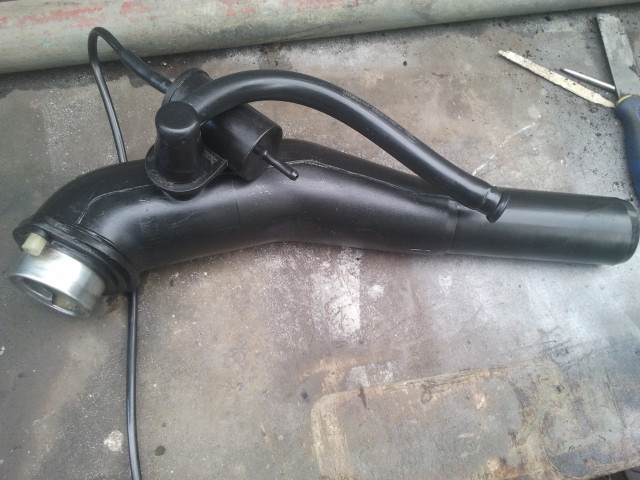
had a play with the fuel lines just to check how they will sit incase they needed adjusting before they go for powder coat.

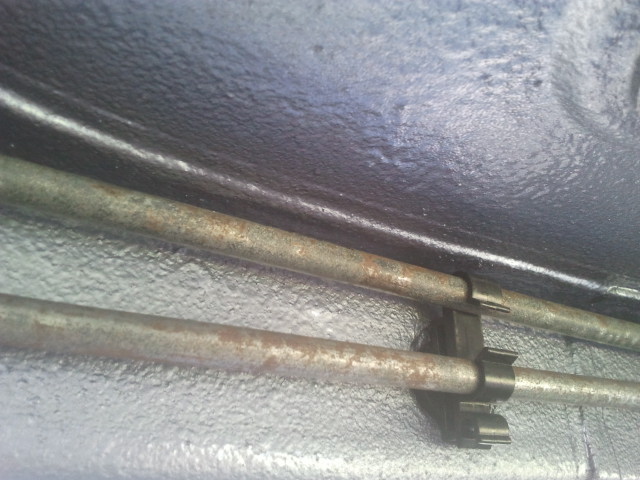
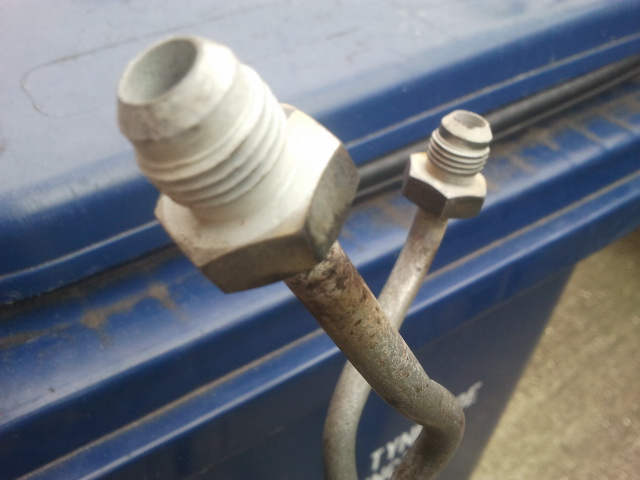
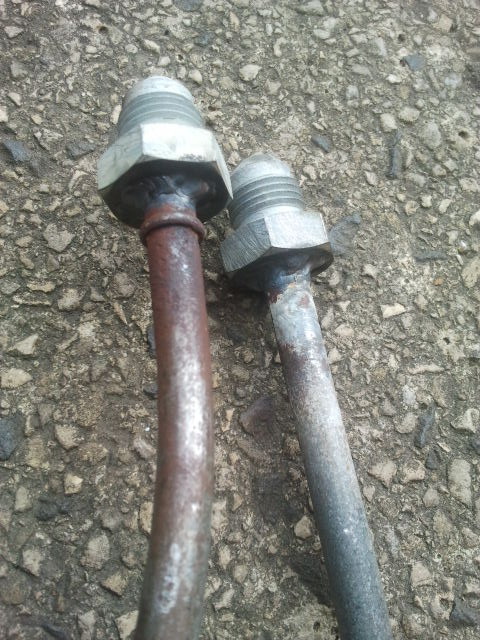
brazings not my strong point,i have checked them for leaks and their fine but think im going to redo them.
ran out of paint to finish the drivers side ill get more tommorrow.
had a play with the fuel lines just to check how they will sit incase they needed adjusting before they go for powder coat.
brazings not my strong point,i have checked them for leaks and their fine but think im going to redo them.

Thread Starter
Joined: Jan 2007
Posts: 2,294
Likes: 65
From: jara

Thread Starter
Joined: Jan 2007
Posts: 2,294
Likes: 65
From: jara
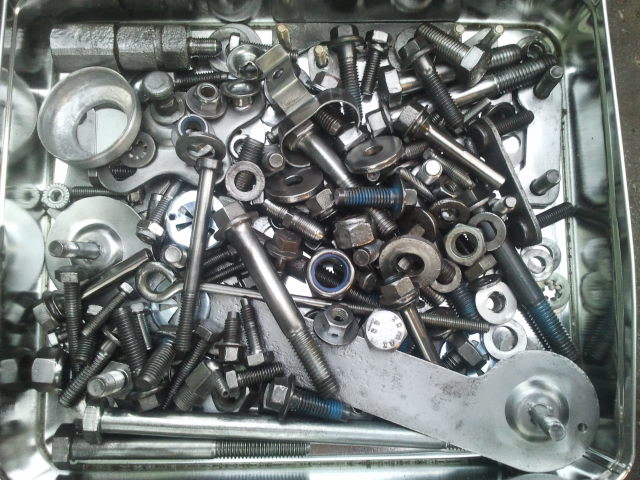
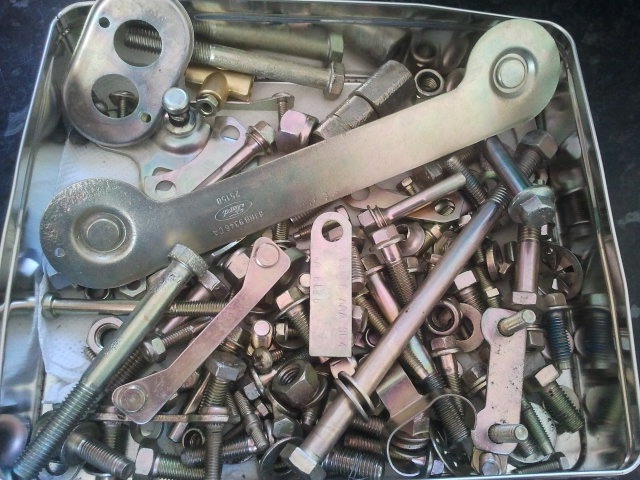
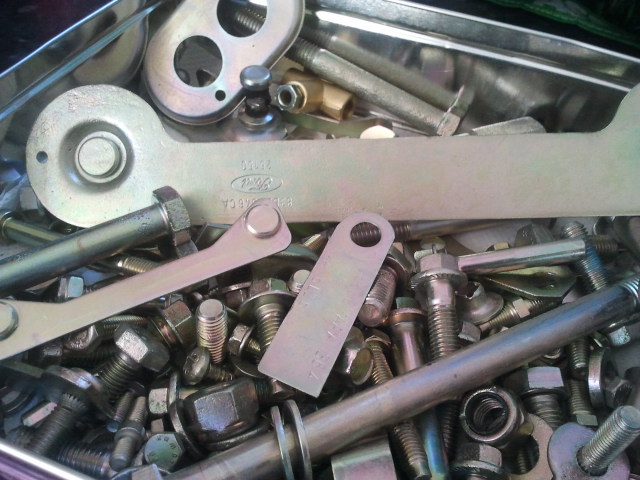
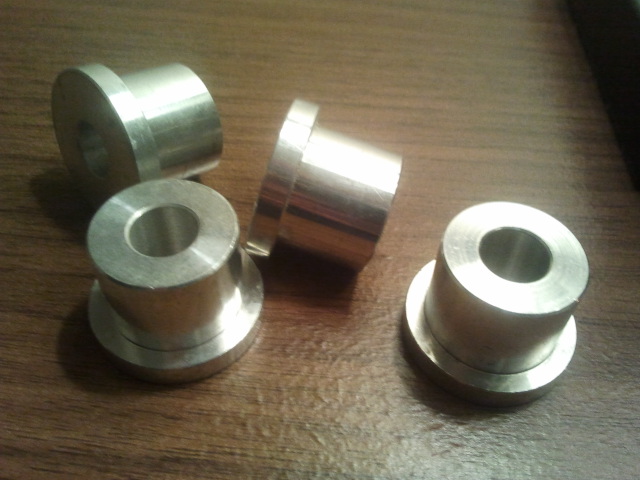
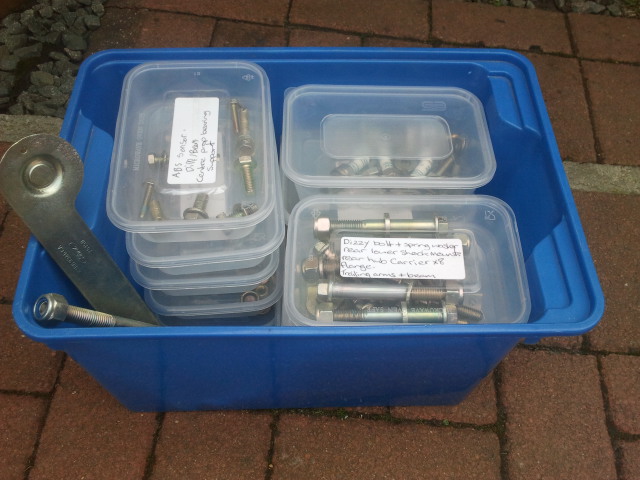
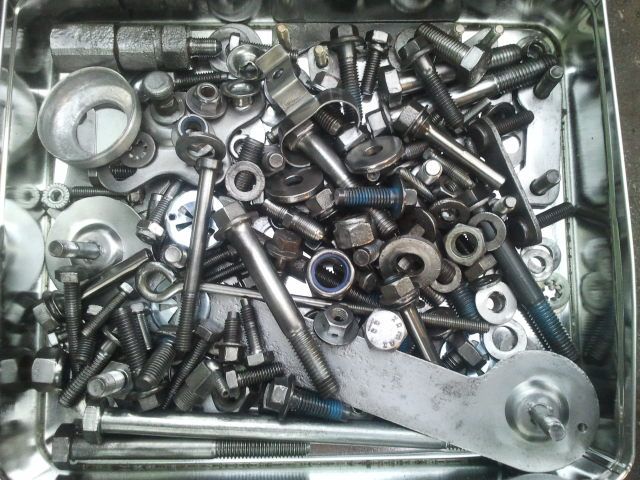
small update,sorted out the bolts today with a little help from my eight year old daughter(she wrote out some of the stickers).
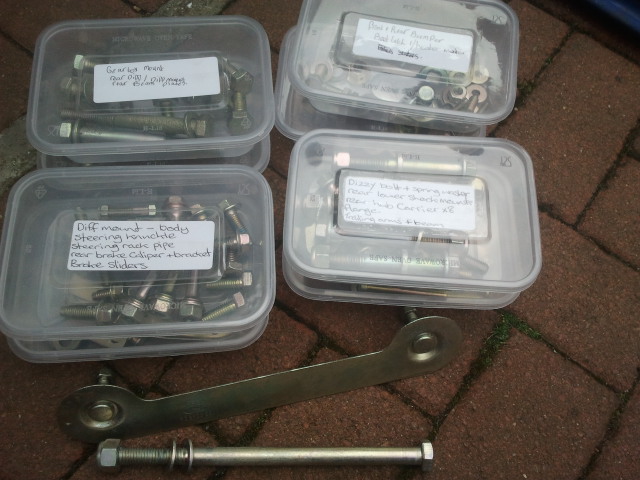
and stored with the rest till it goes back together.
and a big thank you to karl (special k) for making these for me,even drove up to drop them off for me,top man
and stored with the rest till it goes back together.
and a big thank you to karl (special k) for making these for me,even drove up to drop them off for me,top man
Haven't been hiding mate just didn't really come on here much when I sold the saff lol really want another 1 but still haven't found a job I'm fed up applying for loads but nowt!

Looking Good Jeff
I wanted to ask you a question mate, do you have any tipps about stripping the underside down - mainly around the beam is their any tips when removing - i don't want to remove it whole then struggle to under once off the car how did you dismantle yours?
I wanted to ask you a question mate, do you have any tipps about stripping the underside down - mainly around the beam is their any tips when removing - i don't want to remove it whole then struggle to under once off the car how did you dismantle yours?
Thread Starter
Joined: Jan 2007
Posts: 2,294
Likes: 65
From: jara
i dropped it down in one go,put a jack under the diff then undone the bolts them lowered the jack.
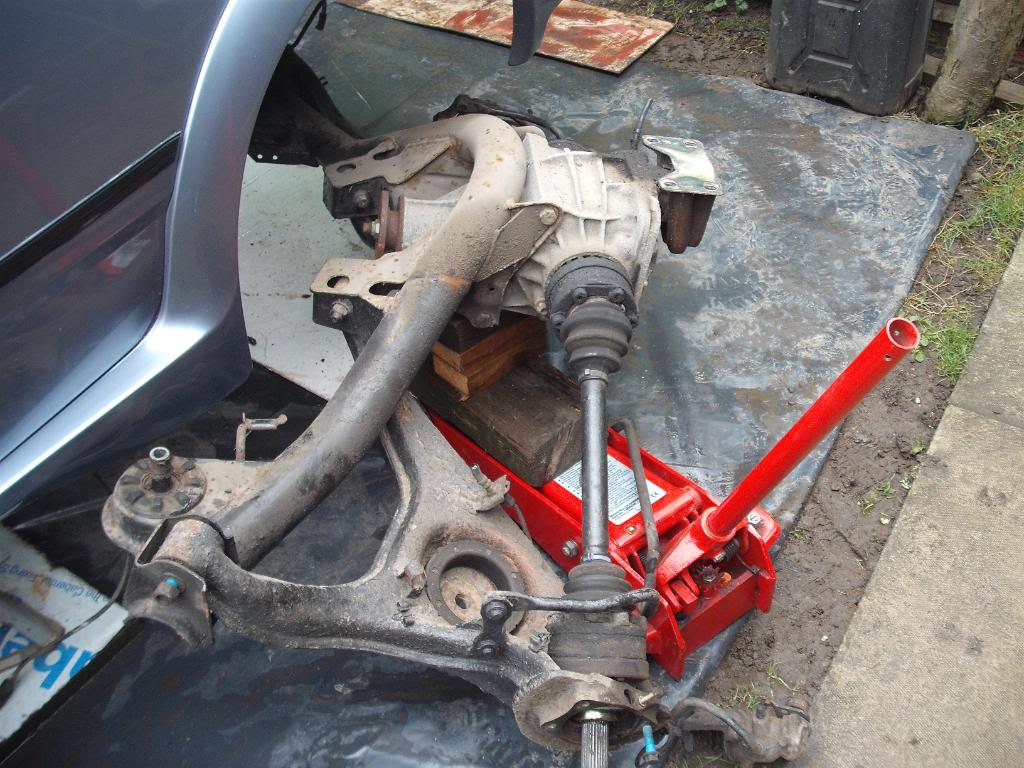

it was a bit of a struggle by myself but once its from under the car you can start stripping the beam.ill deffo need a hand to put it back in so i dont scratch it.
it was a bit of a struggle by myself but once its from under the car you can start stripping the beam.ill deffo need a hand to put it back in so i dont scratch it.
Looking Good Jeff
I wanted to ask you a question mate, do you have any tipps about stripping the underside down - mainly around the beam is their any tips when removing - i don't want to remove it whole then struggle to under once off the car how did you dismantle yours?
I wanted to ask you a question mate, do you have any tipps about stripping the underside down - mainly around the beam is their any tips when removing - i don't want to remove it whole then struggle to under once off the car how did you dismantle yours?
Unbolt prop to rear diff, 4 bolts.
Cut all brake pipes and disconnect handbrake.
Take hub nuts off the car before you drop the axle off, it's easier.
Petrol tank off.
Fuel pump cradle off.
Drive shafts out.
I unbolted the shockers off at the top with a trolley jack underneath then let it down.
Then removed the shocker altogether. (both sides)
Unbolt anti roll bar.
Then take beam plates off, 2 bolts.
stick trolley jack under diff.
Unbolt the bolts that go through the beam mounts.
Then unlbolt the 4 bolts on the diff hanger
Let your jack down

and down she comes.
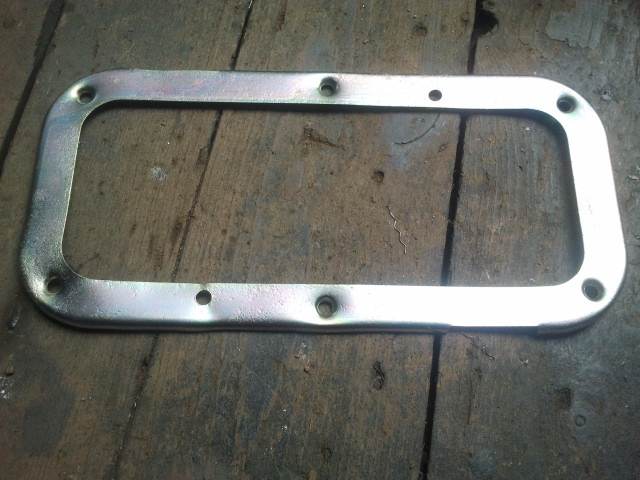
That place down Hebburn, does he do the Zinc with the Yellow passivate as well as the Blue/clear like yours?
Thread Starter
Joined: Jan 2007
Posts: 2,294
Likes: 65
From: jara
i think thats what i asked for mike mine does have a yellow/blue finish to it,heres the web address and contact number give them a call.01914839213
http://www.electroplaters.org.uk/
http://www.electroplaters.org.uk/
Last edited by cozzy jeff; Apr 12, 2012 at 08:03 PM.
i think thats what i asked for mike mine does have a yellow/blue finish to it,heres the web address and contact number give them a call.01914839213
http://www.electroplaters.org.uk/
http://www.electroplaters.org.uk/
I put a load of stuff in to a company down Middlesbrough who where very good but they are very very slow.
It took 3-4 weeks to get my stuff back. Now after starting to put bits back together there's loads I've forgotten to put in.
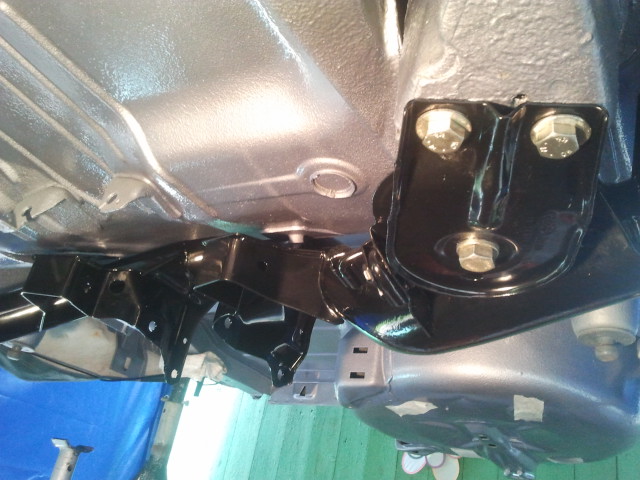
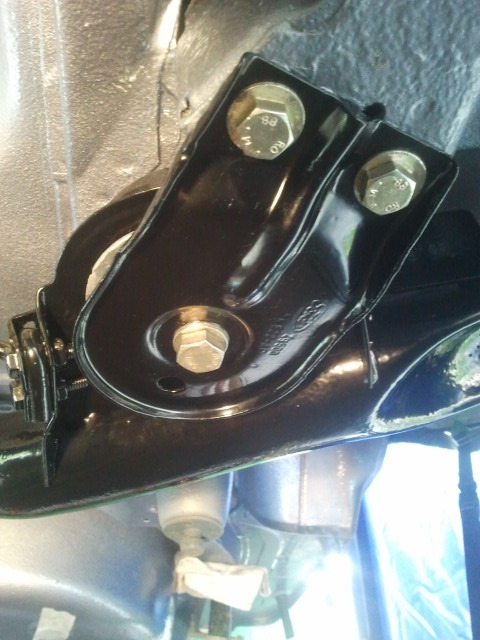
The bracket on the pic is Zinc with Yellow passivate, I was after the same thing, I'll give him a ring and ask him,
Thanks Jeff
Last edited by Cossy Mike; Jul 22, 2012 at 08:32 PM.
Done that with mine too,
Unbolt prop to rear diff, 4 bolts.
Cut all brake pipes and disconnect handbrake.
Take hub nuts off the car before you drop the axle off, it's easier.
Petrol tank off.
Fuel pump cradle off.
Drive shafts out.
I unbolted the shockers off at the top with a trolley jack underneath then let it down.
Then removed the shocker altogether. (both sides)
Unbolt anti roll bar.
Then take beam plates off, 2 bolts.
stick trolley jack under diff.
Unbolt the bolts that go through the beam mounts.
Then unlbolt the 4 bolts on the diff hanger
Let your jack down
and down she comes.
Thread Starter
Joined: Jan 2007
Posts: 2,294
Likes: 65
From: jara
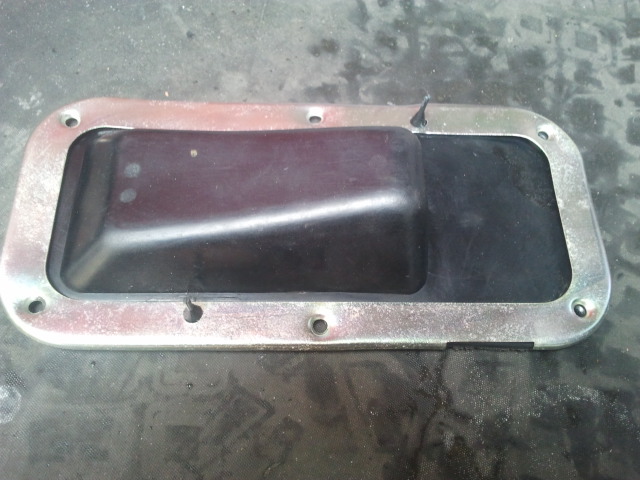
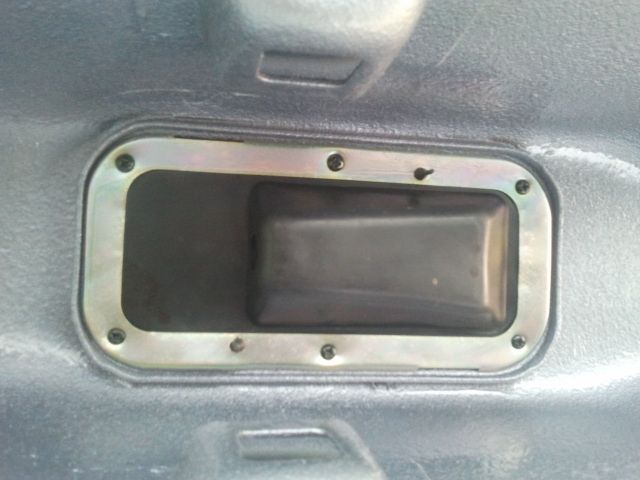
cleaned up a couple of items today.
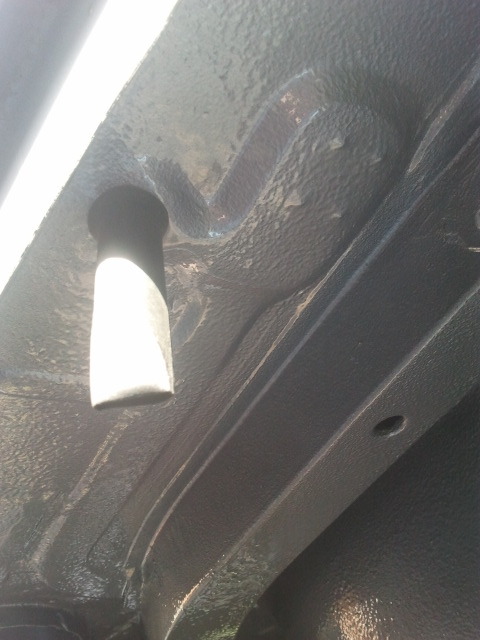
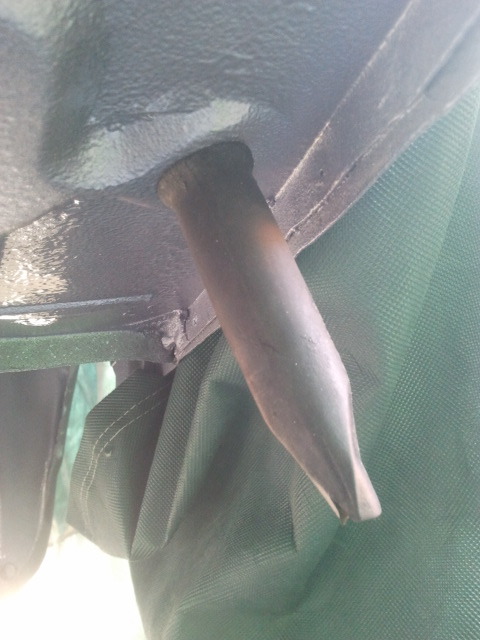
cleaned and fitted the sunroof drain rubbers.
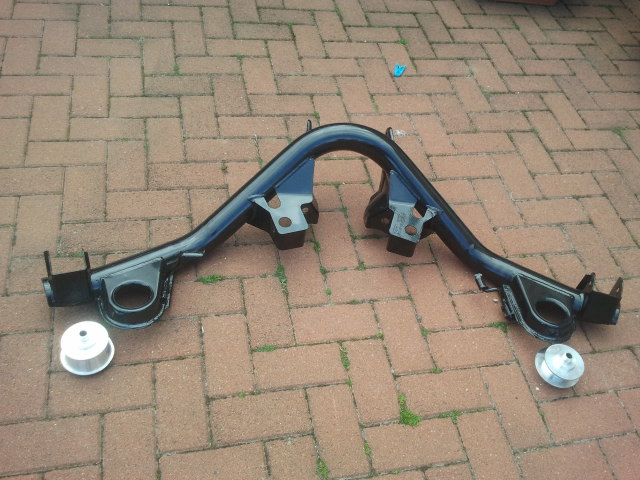
collected my rear beam which has been stored at my sisters since be powdercoated going to try and fit this up tommorrow.
cleaned and fitted the sunroof drain rubbers.
collected my rear beam which has been stored at my sisters since be powdercoated going to try and fit this up tommorrow.
Thread Starter
Joined: Jan 2007
Posts: 2,294
Likes: 65
From: jara
small update for today:
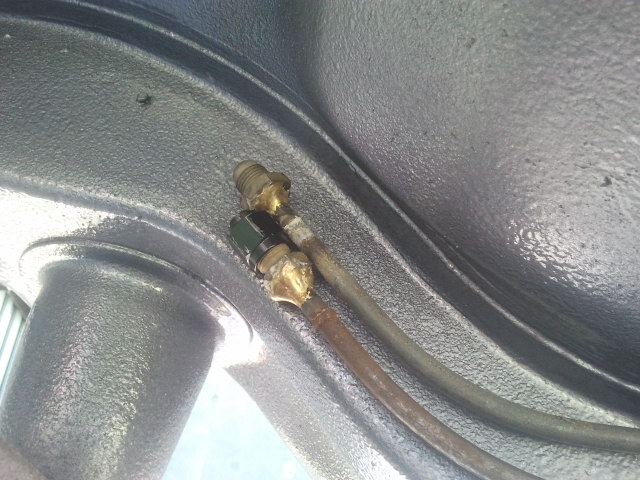
had my -6 fittings brazed onto the fuel lines today,ready for powdercoat now.
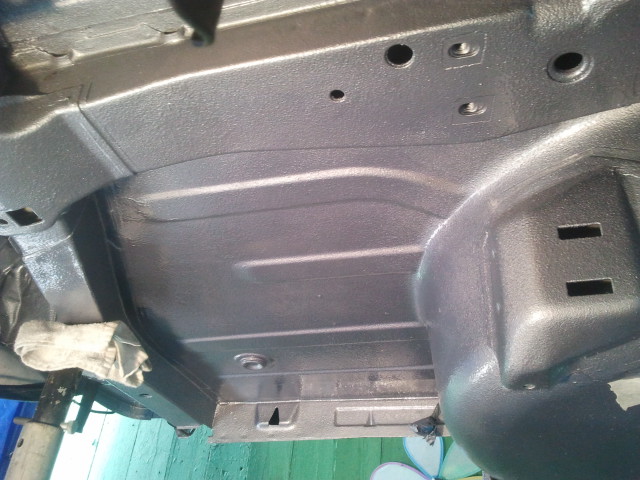
also rubbed down the boot floor and etch primed it.
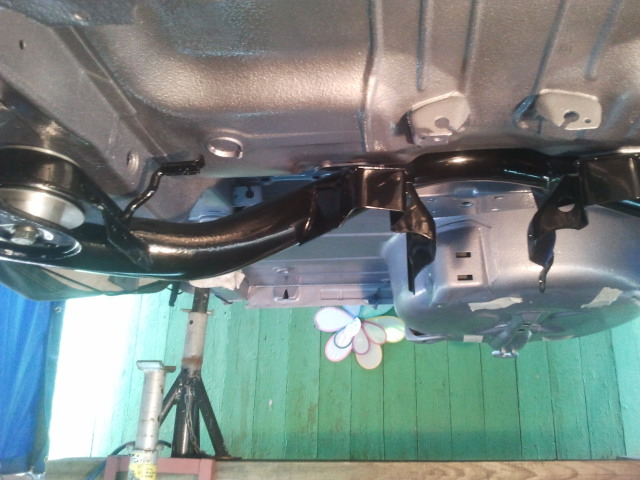
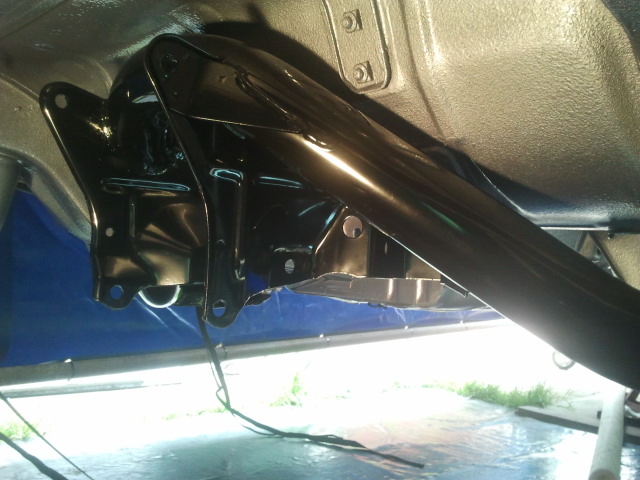
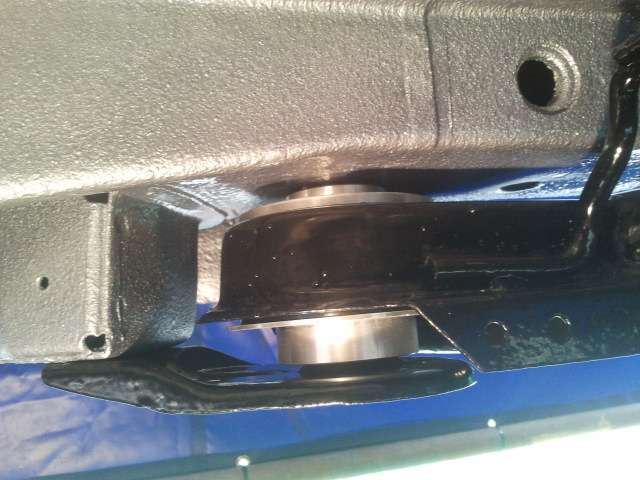
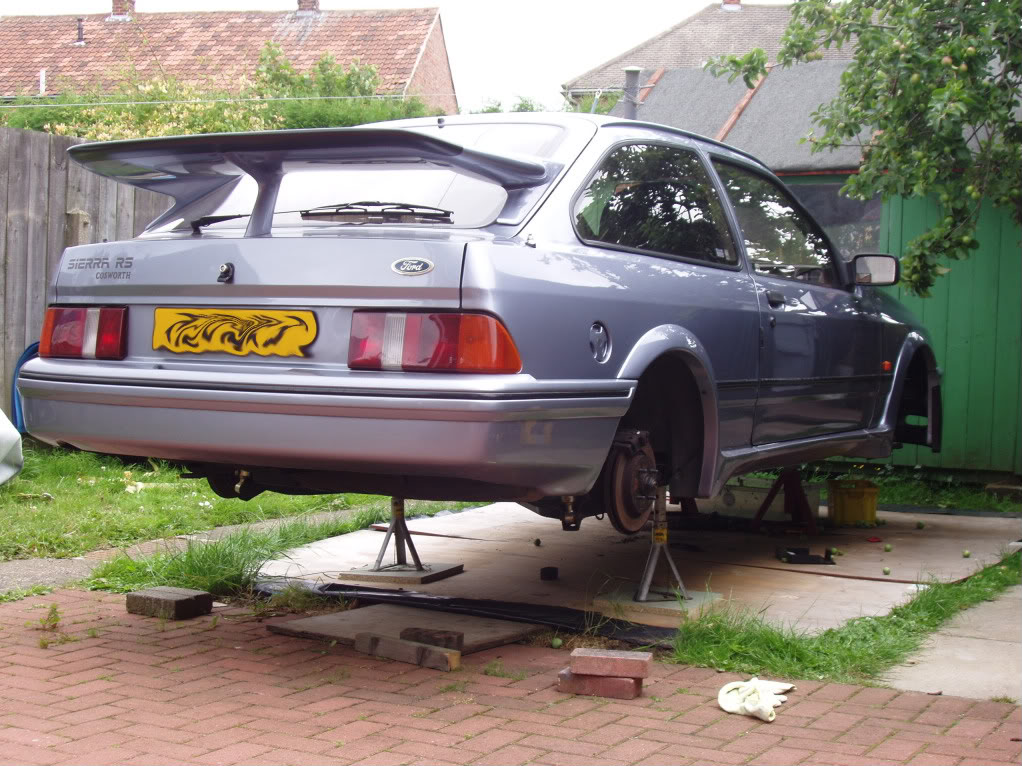
fitted up the rear beam,i know it needs to come back off to fit the trailing arms but was sick of tripping over it,heres some randoms.
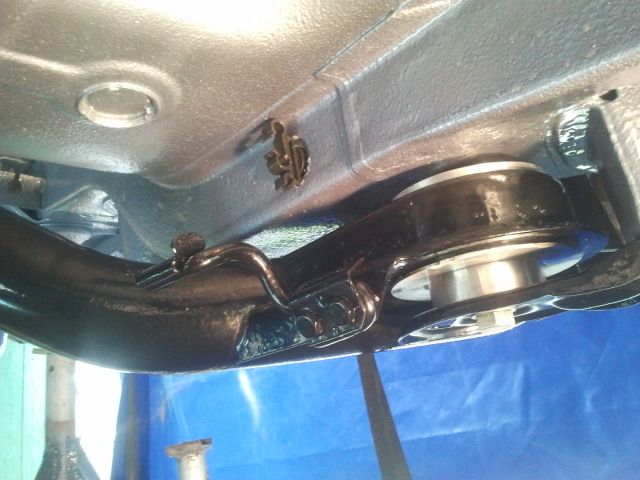
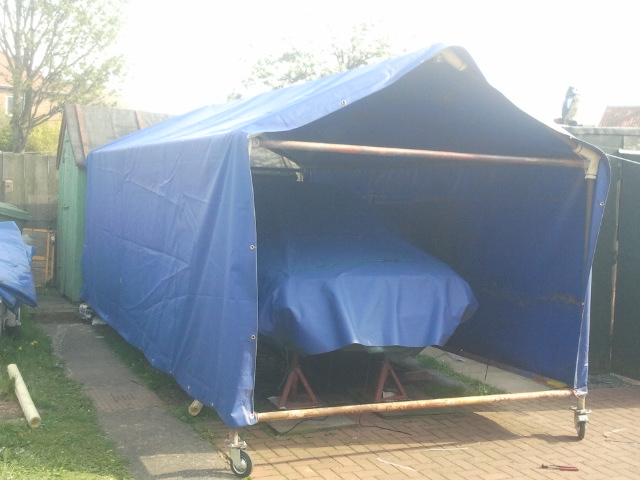
also a pic of the cover i build for the car over the bank holiday weekend.
had my -6 fittings brazed onto the fuel lines today,ready for powdercoat now.
also rubbed down the boot floor and etch primed it.
fitted up the rear beam,i know it needs to come back off to fit the trailing arms but was sick of tripping over it,heres some randoms.
also a pic of the cover i build for the car over the bank holiday weekend.

Thread Starter
Joined: Jan 2007
Posts: 2,294
Likes: 65
From: jara
i bought the bushes from B13 JUS he told me he could'nt tell the difference between these and poly bushes
.
.
Wicked job your doing there mate, can i ask you a question/favour, You couldn't measure your new dust guards for me could you???? please
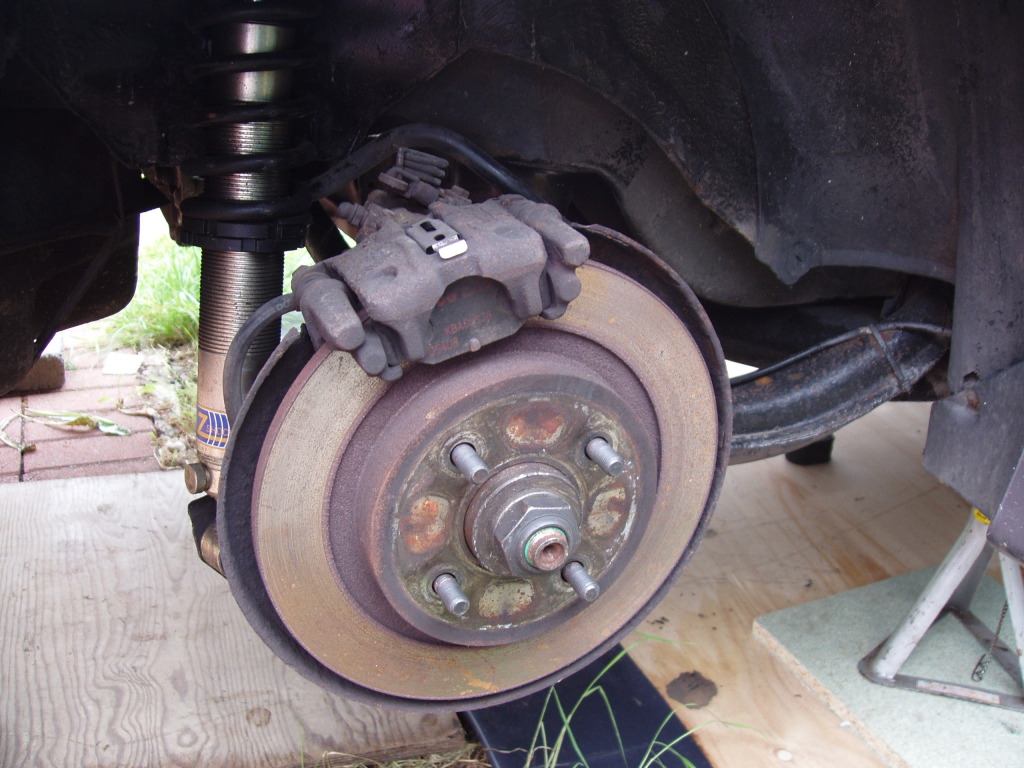
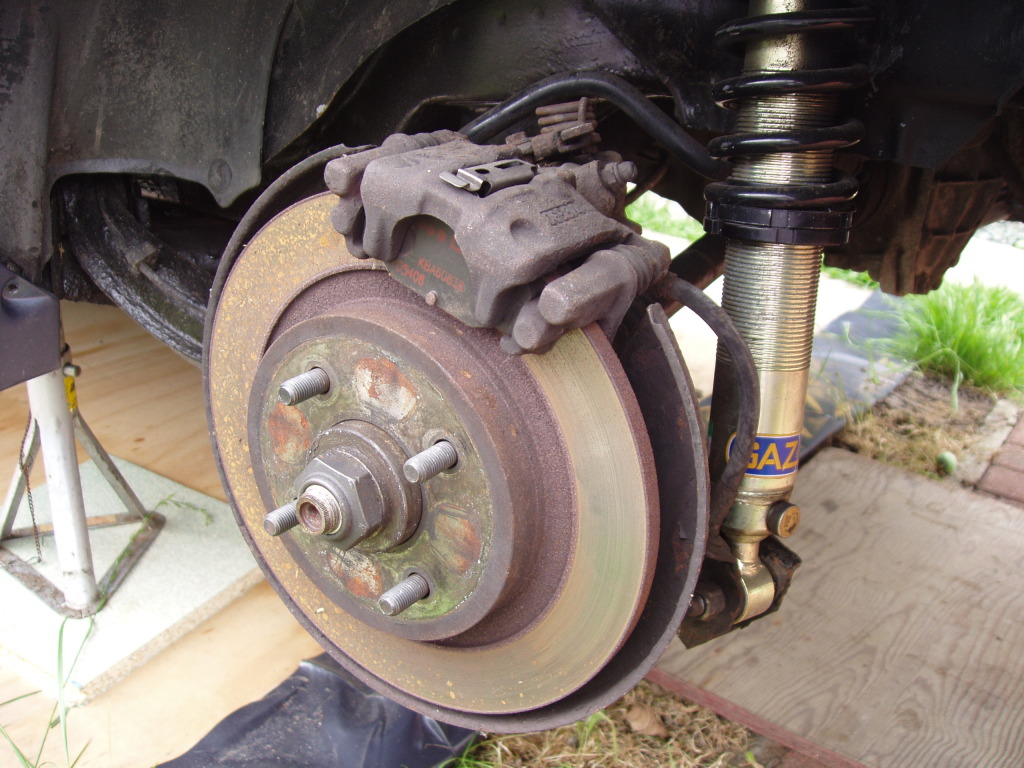
I've just bought a new pair NOS ones off ebay but i'm sure there smaller than my originals. Looking at one of your earlier pics, it looks like the disc sit out from the actual dust guard. Can you confirm this or have any other pics i could have a look at.
Ginger
.
.
Wicked job your doing there mate, can i ask you a question/favour, You couldn't measure your new dust guards for me could you???? please
I've just bought a new pair NOS ones off ebay but i'm sure there smaller than my originals. Looking at one of your earlier pics, it looks like the disc sit out from the actual dust guard. Can you confirm this or have any other pics i could have a look at.
Ginger
.
Last edited by GINGExR2 T; May 26, 2012 at 04:41 PM.
Thread Starter
Joined: Jan 2007
Posts: 2,294
Likes: 65
From: jara
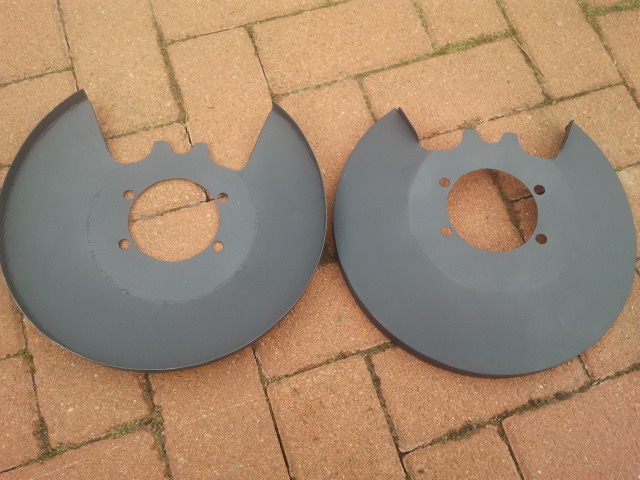
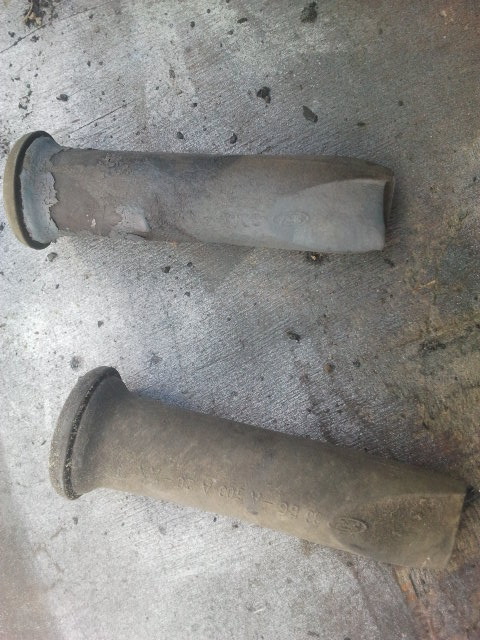
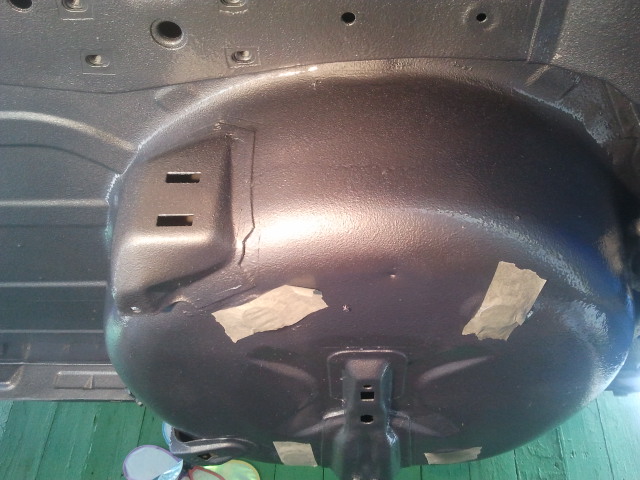
hi mate i'll measure my new guards for you tommorrow,i cant measure the original ones for you,these where thrown out after they where shot blasted because there was not much left of them,but heres a couple of pics of the originals before i removed them from the car.

Regular Contributor
Joined: Jan 2009
Posts: 234
Likes: 0
From: in the unit - middlesbrough
.
.
Wicked job your doing there mate, can i ask you a question/favour, You couldn't measure your new dust guards for me could you???? please
I've just bought a new pair NOS ones off ebay but i'm sure there smaller than my originals. Looking at one of your earlier pics, it looks like the disc sit out from the actual dust guard. Can you confirm this or have any other pics i could have a look at.

Ginger
.
.
Wicked job your doing there mate, can i ask you a question/favour, You couldn't measure your new dust guards for me could you???? please
I've just bought a new pair NOS ones off ebay but i'm sure there smaller than my originals. Looking at one of your earlier pics, it looks like the disc sit out from the actual dust guard. Can you confirm this or have any other pics i could have a look at.
Ginger
.
jeff your doing a great job with the car keep it up....K
Thread Starter
Joined: Jan 2007
Posts: 2,294
Likes: 65
From: jara
Thread Starter
Joined: Jan 2007
Posts: 2,294
Likes: 65
From: jara
[QUOTE=GINGExR2 T;5927023].
.
Wicked job your doing there mate, can i ask you a question/favour, You couldn't measure your new dust guards for me could you???? please
I've just bought a new pair NOS ones off ebay but i'm sure there smaller than my originals. Ginger
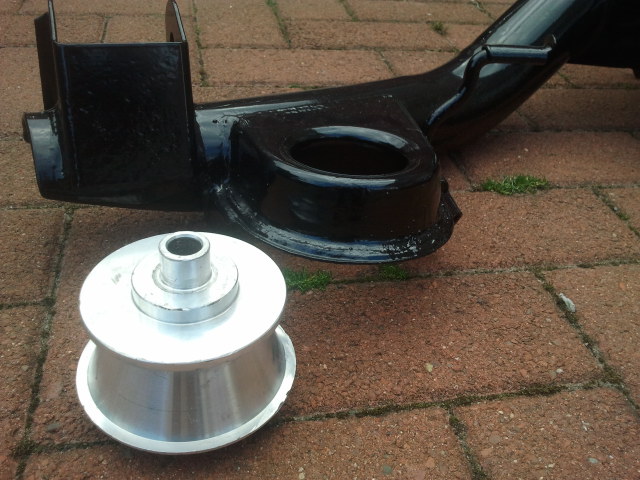
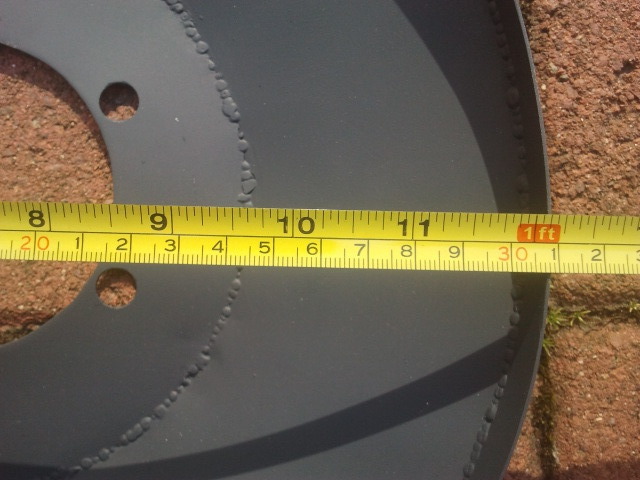
hi ginger as promised,the dust guards that karl made me measure 310mm.
.
Wicked job your doing there mate, can i ask you a question/favour, You couldn't measure your new dust guards for me could you???? please
I've just bought a new pair NOS ones off ebay but i'm sure there smaller than my originals. Ginger
hi ginger as promised,the dust guards that karl made me measure 310mm.