Peugeot 205 with 4wd cosworth engine and running gear.
#1961
10K+ Poster!!

Yeah, that could work
#1962
Advanced PassionFord User
I would not paint the inside white ever lol, my fiesta shell was painted fresh and run once before being stripped down and the white tunnel was burnt a nice crisp golden brown and trust me when I say it had more heat thermal barrier bonded to the bottom of the tunnel , not the cheap shit either like the teflon woven shit as It took me about two weeks to get it off lol. Every trainer mark , every finger print , drop of oil etc just seems to never come off
Looking forward to seeing the updates
Cheers Paul
Looking forward to seeing the updates
Cheers Paul
#1963
10K+ Poster!!

Thanks Paul, that is good advice...problem averted. I wonder if red will be ok if I put heat proofing in the tunnel? I used reflecta gold before on the bulkhead.
#1964
Advanced PassionFord User
White looks great when it's fresh from the paint shop but the minute you start using it , it turns to shit. Iam going darkish grey or something like that with plenty of alloy plates with 3 m grit paper stuck to it to make more hard wearing and blend in with the darkish colour
Cheers paul
Cheers paul
#1965
10K+ Poster!!

Great info, Paul.
Mark has been saying battleship grey all along. My friend had a red car with gloss red interior and that seemed lovely, he had metal grip trays in though.
Mark has been saying battleship grey all along. My friend had a red car with gloss red interior and that seemed lovely, he had metal grip trays in though.
#1966
10K+ Poster!!

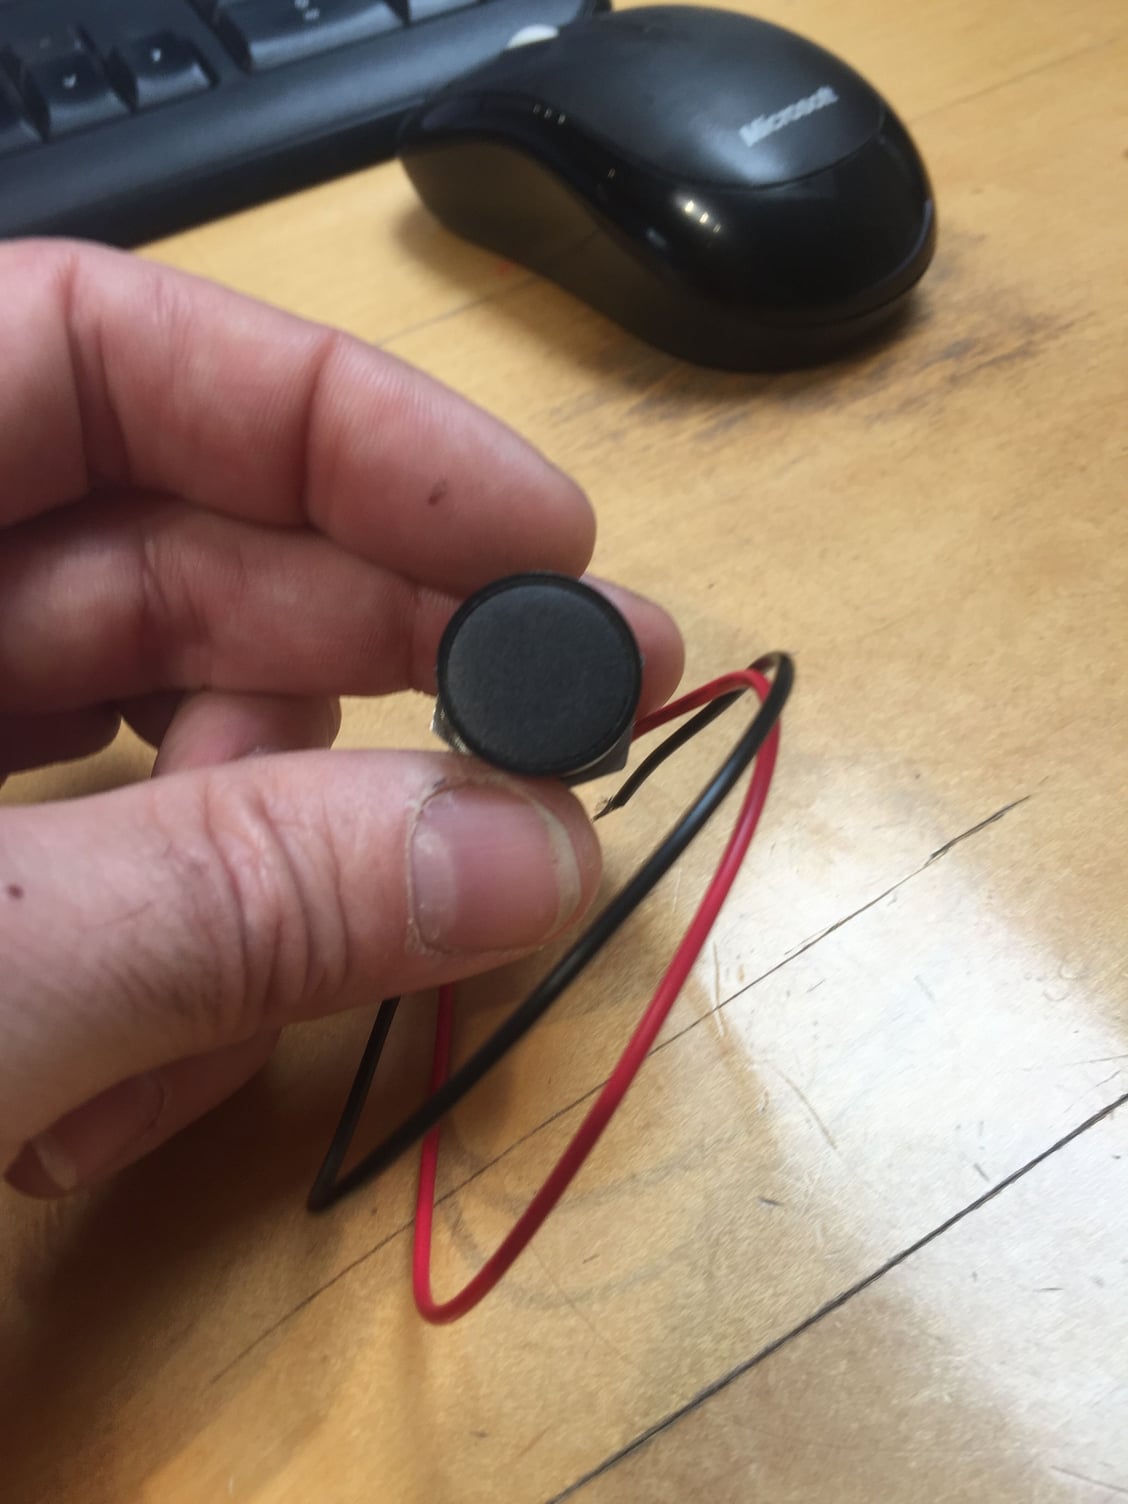
My new dash panel will be Matt black anodised so I bought these Matt warning lights as they are black legend when off (stealth) and then colour when on
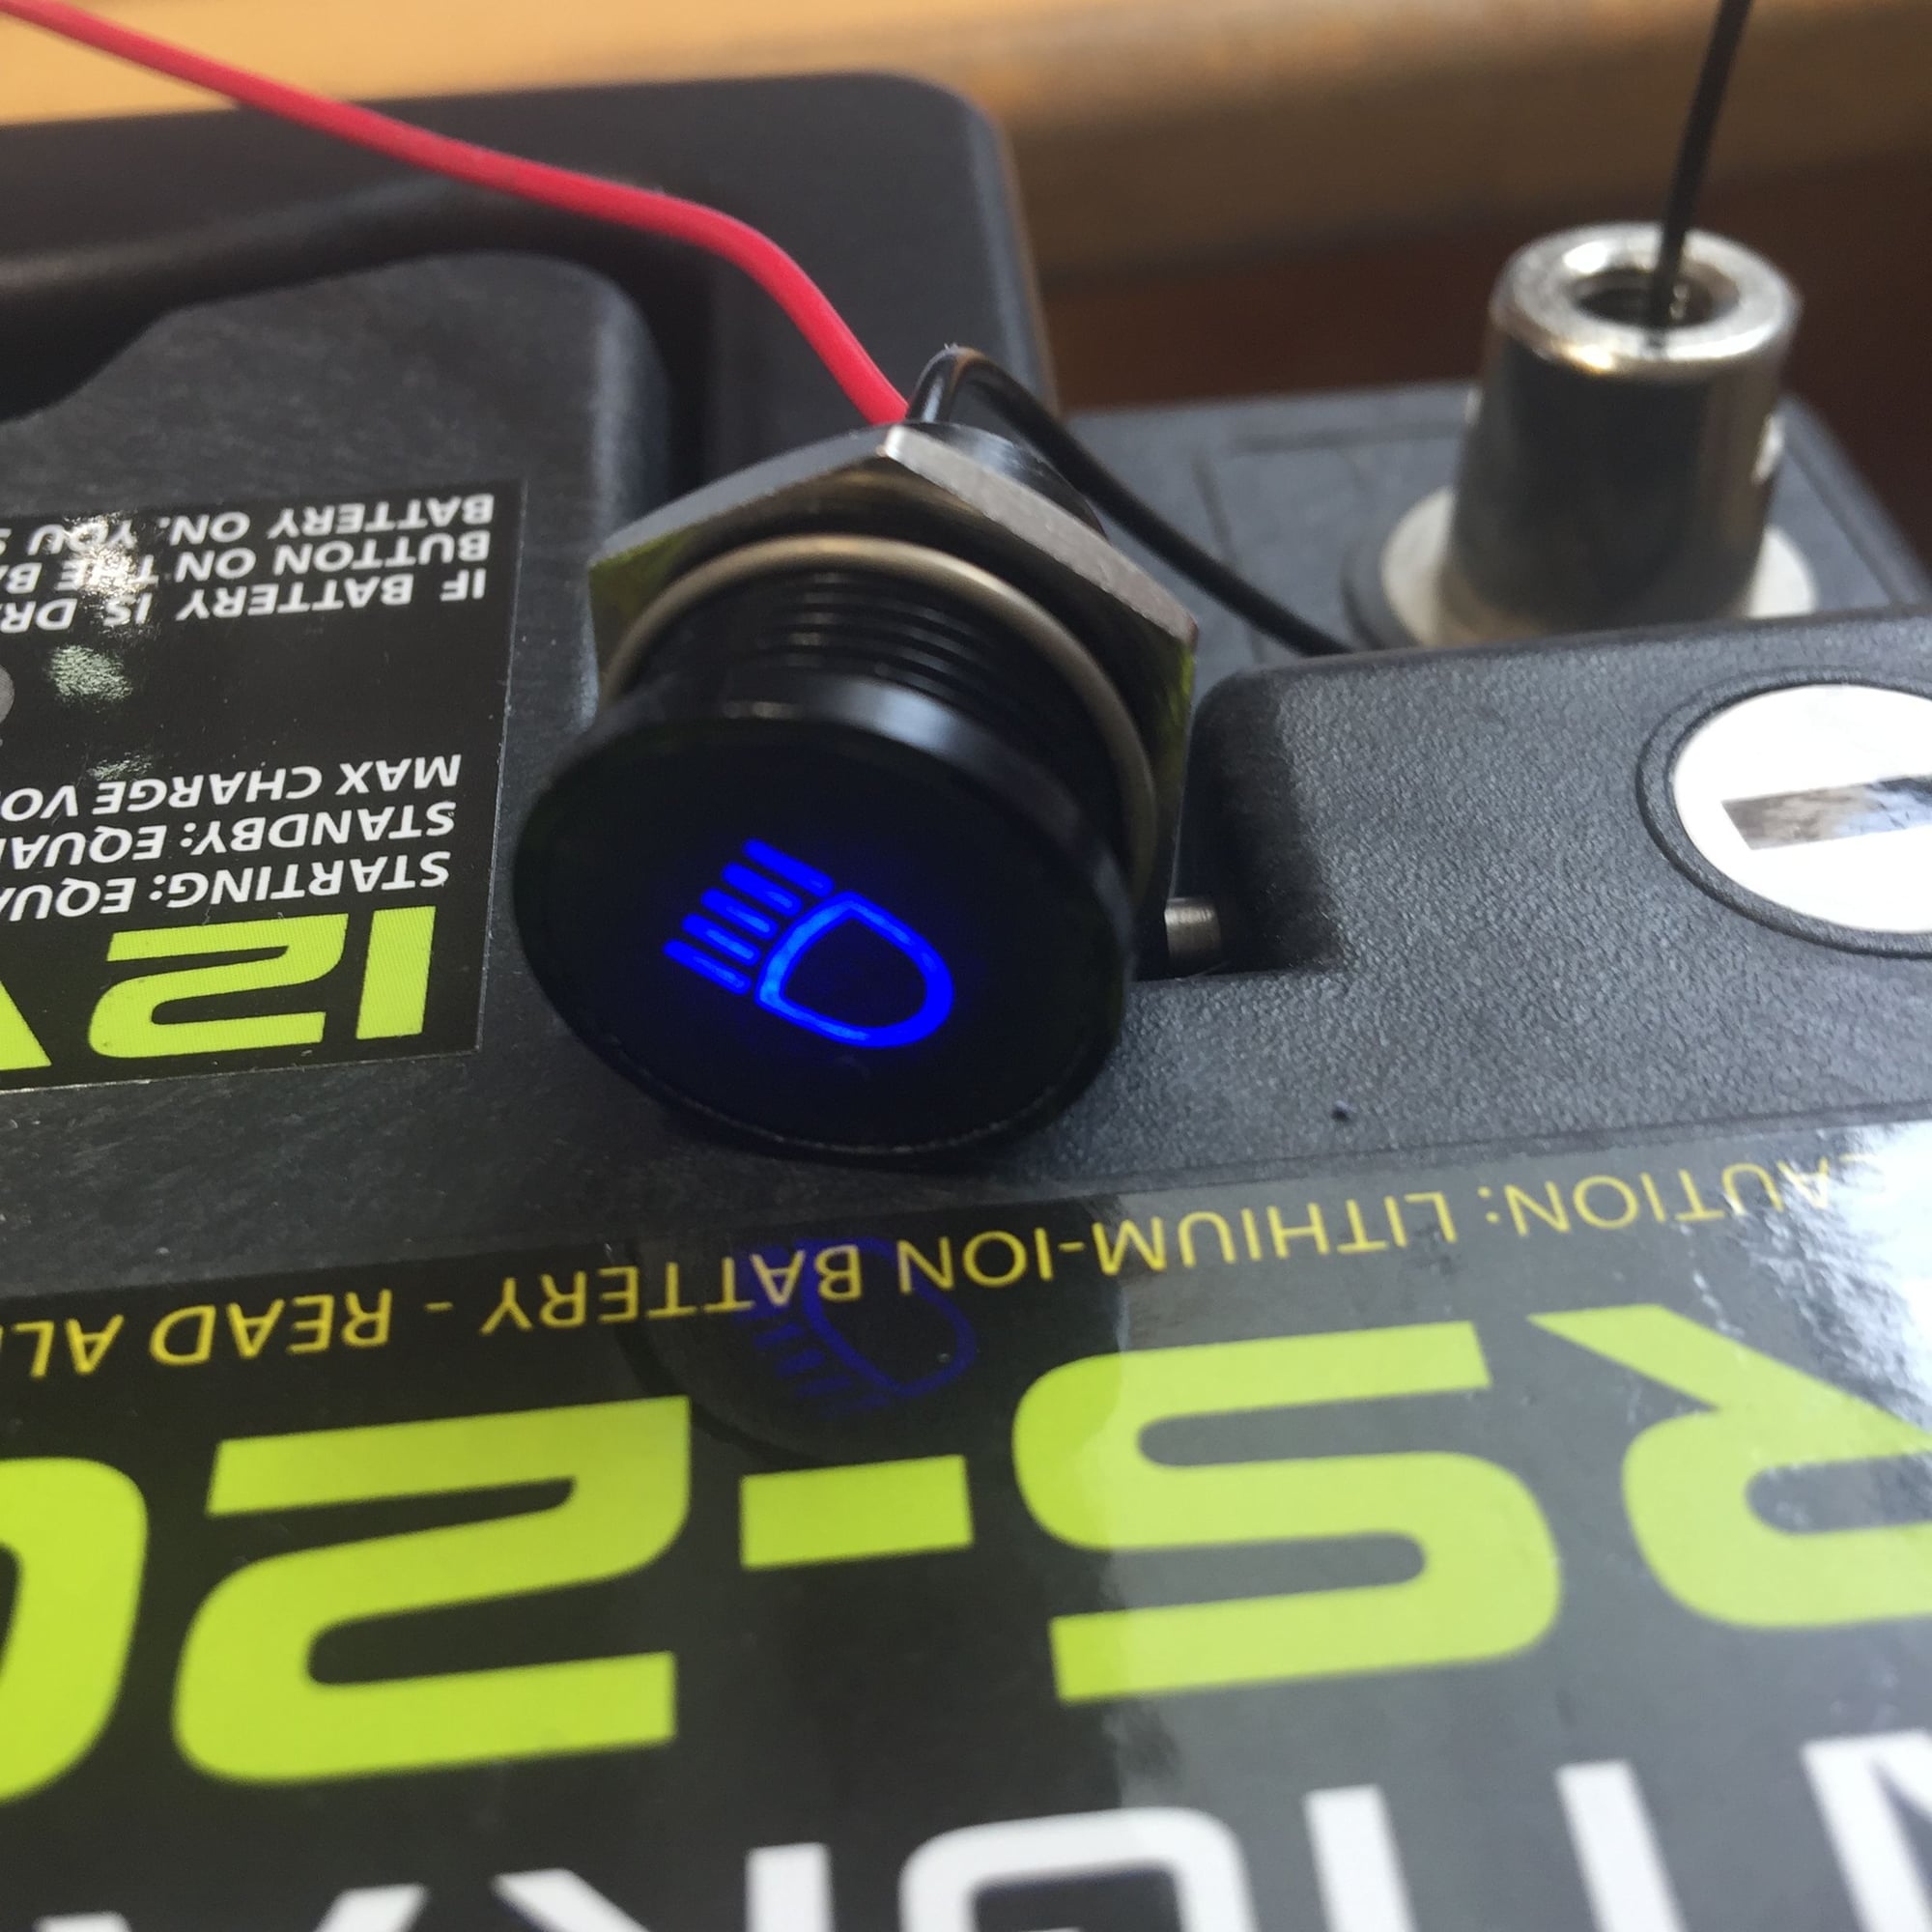
#1967
10K+ Poster!!


New floor, tunnel and bulkhead will be a bit like these
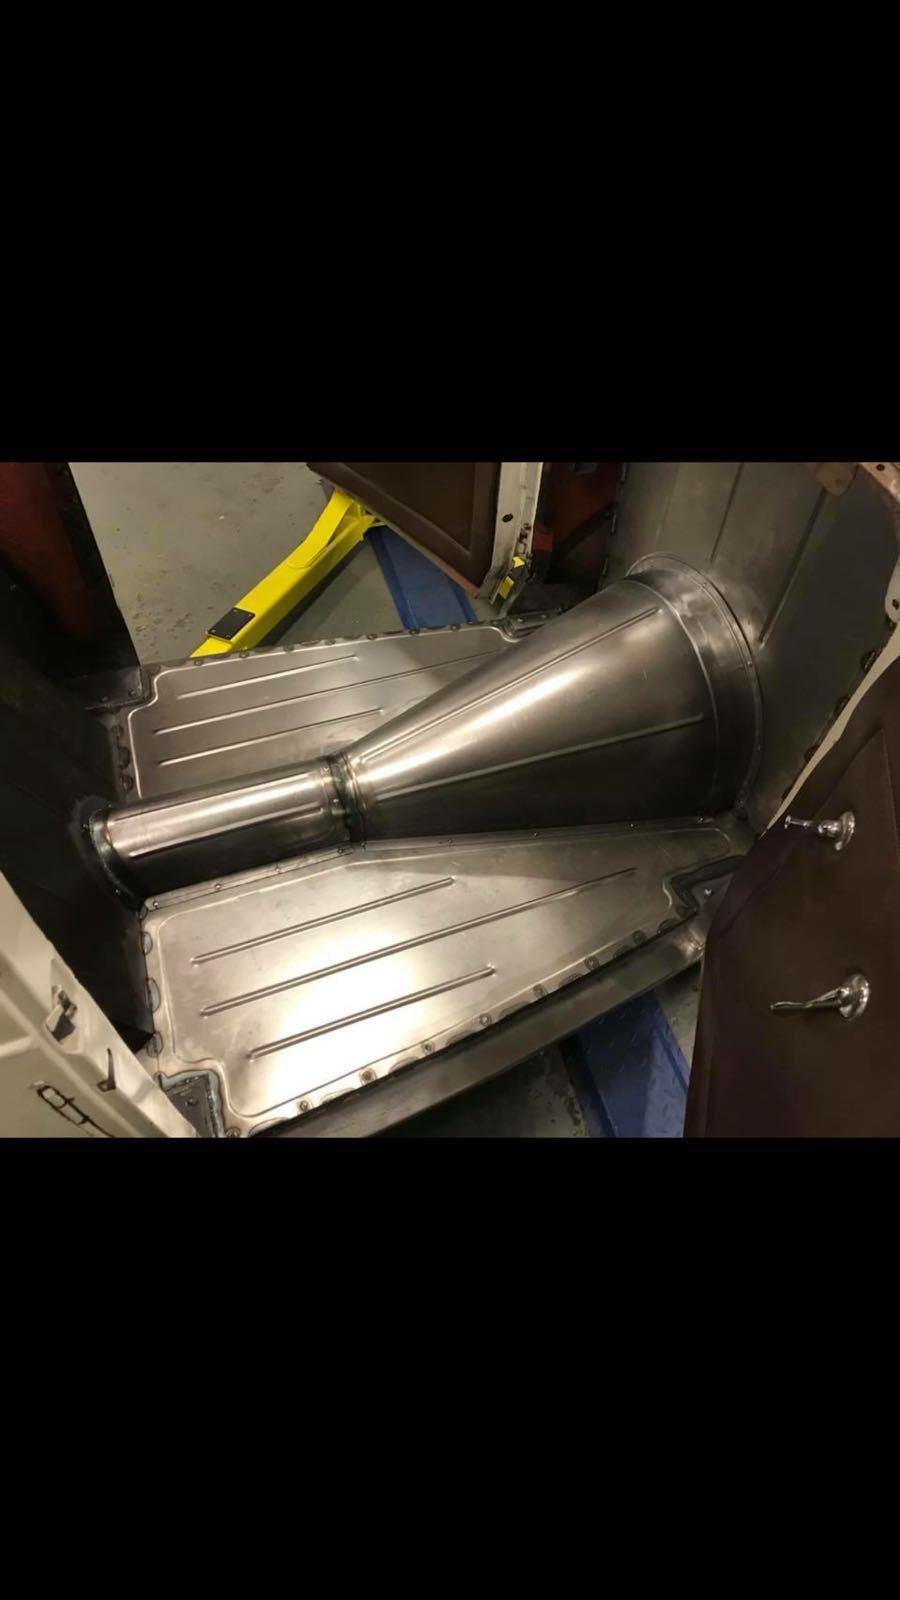
Bead rolled floors
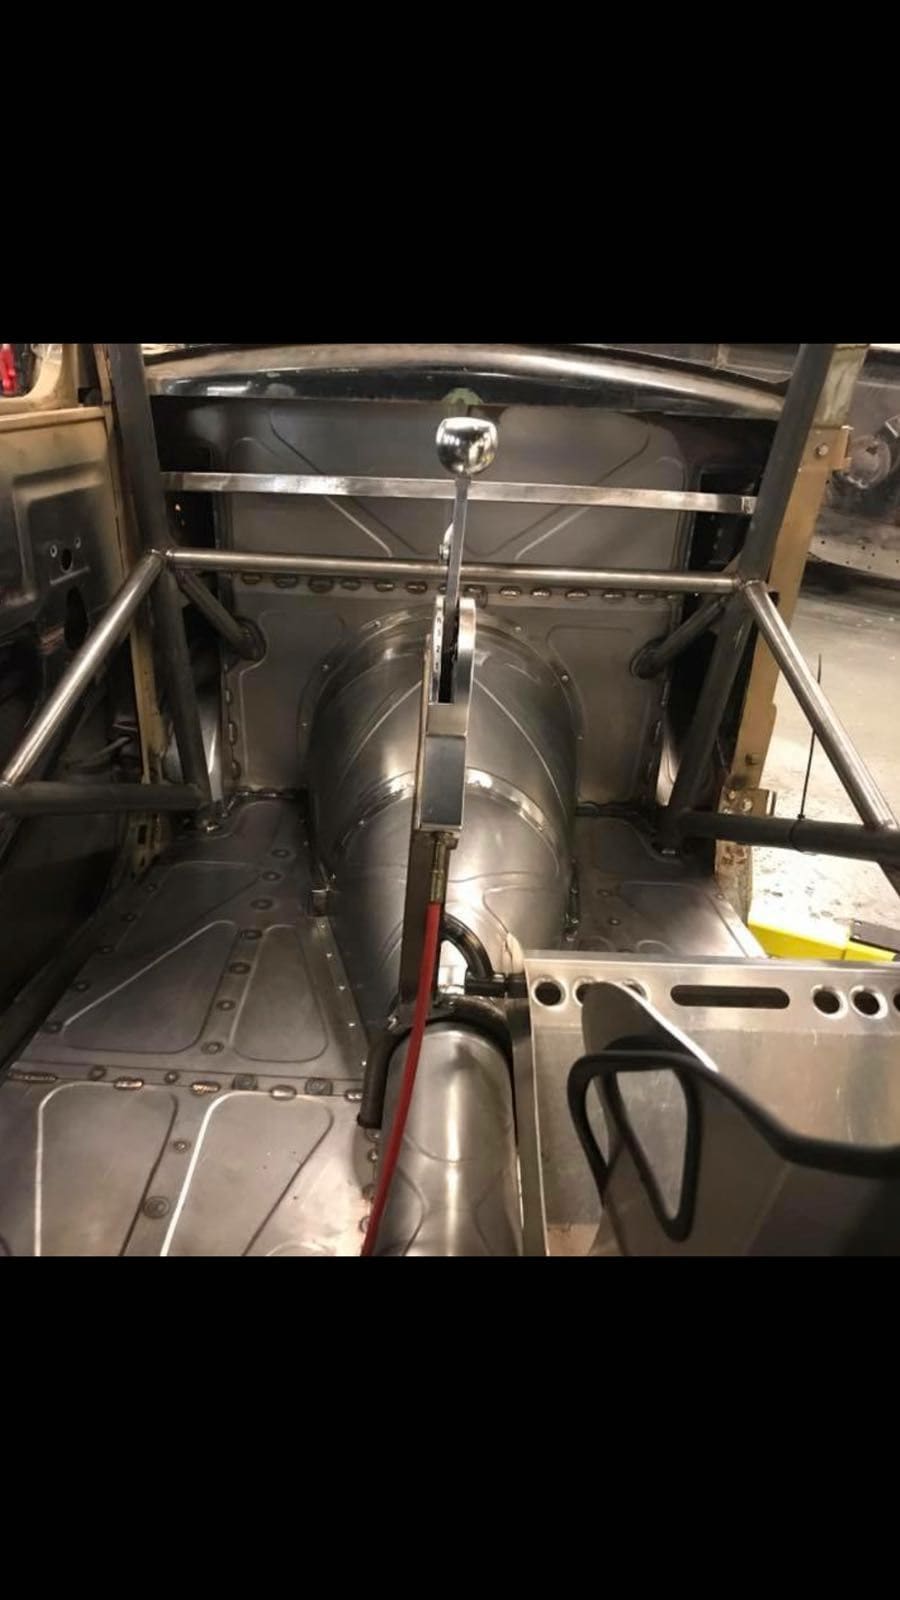
A bit like these<br/>
#1968
Advanced PassionFord User
personally i would go square tunnel with angled edges like the tunnel thats in my fiesta.
1 its nice to sit on when working in the car
2 round = more hassle to mount stuff too
3 it looks like a dustbin cut in half
i like bead rolled edges and swaged lines thou.
your car mate and iam sure which ever way you and mark decide to do it , it will look great.
cheers paul
1 its nice to sit on when working in the car
2 round = more hassle to mount stuff too
3 it looks like a dustbin cut in half
i like bead rolled edges and swaged lines thou.
your car mate and iam sure which ever way you and mark decide to do it , it will look great.
cheers paul
#1969
10K+ Poster!!

Yes, my tunnel will have more folded edges, more angular. I am planning to have a channel to hide the electrics so the interior is cleaner. There will also be a bulkhead panel to hide the ecu and fuses etc. The plan is clean, simple and tidy.
#1970
10K+ Poster!!


I have spent about 10 hours so far but most controls are now wired in to my new loom that I am making.

Still some shrouding and tidying to do. The little screen is the toucan that shows all the dials reading from ecu that I have shown before.
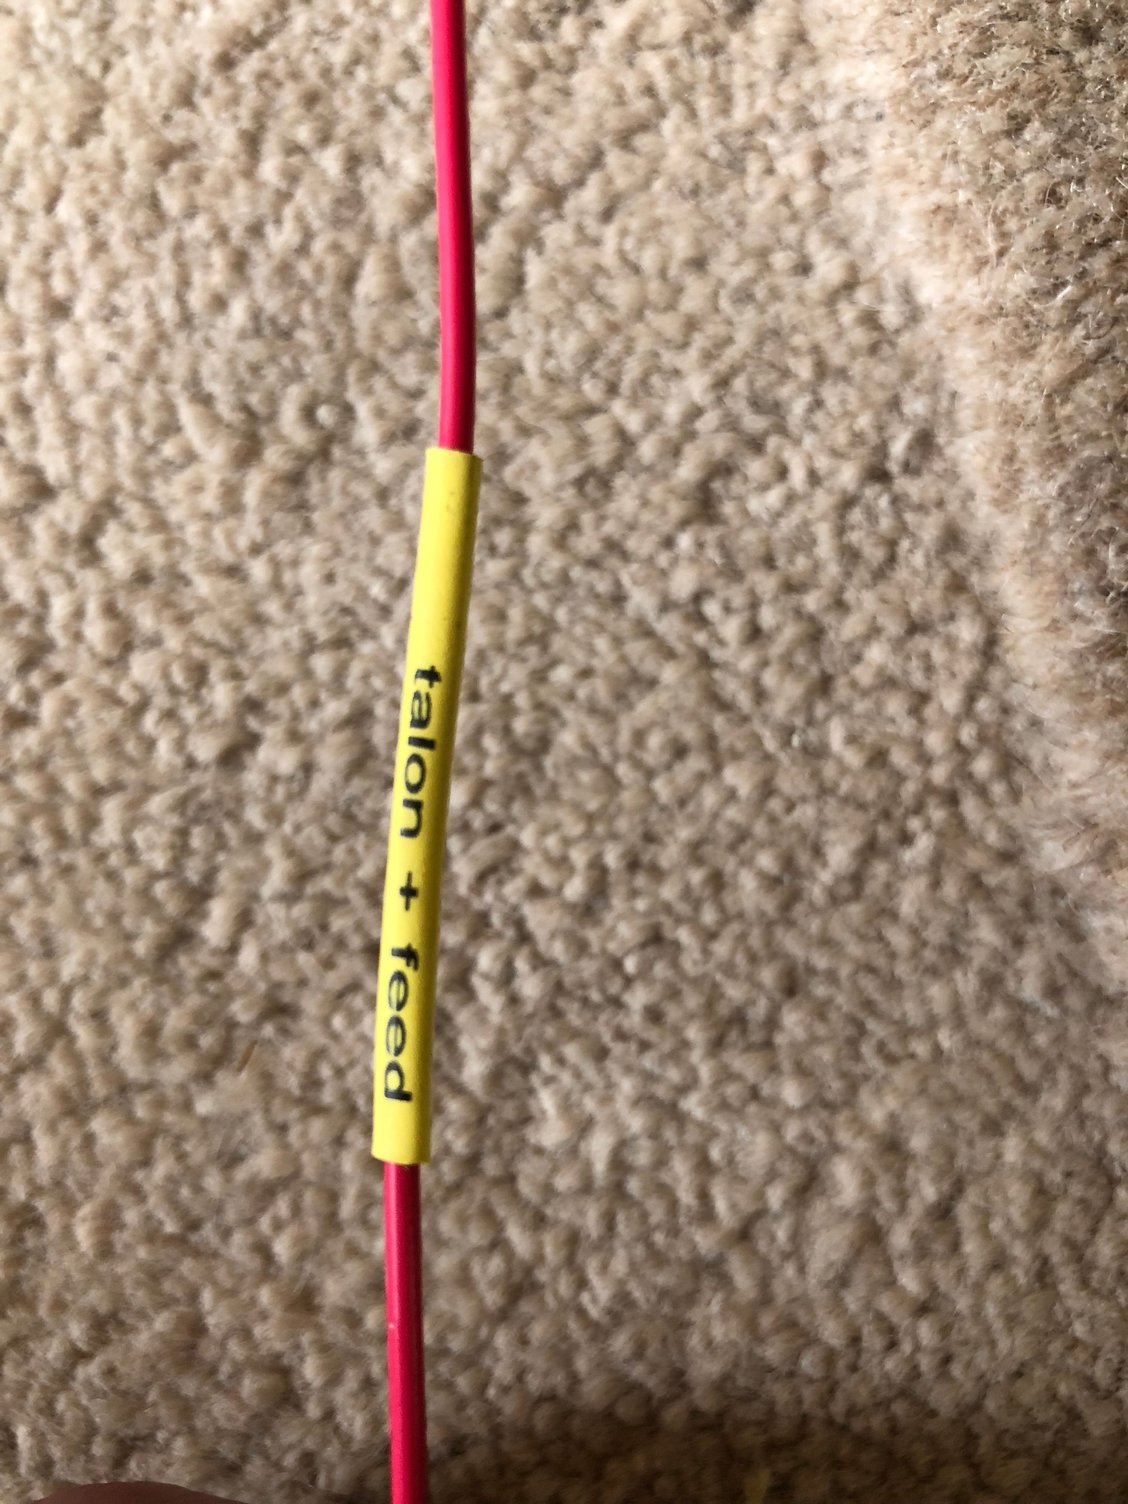
Every single wire is labelled with dymo heat shrink.
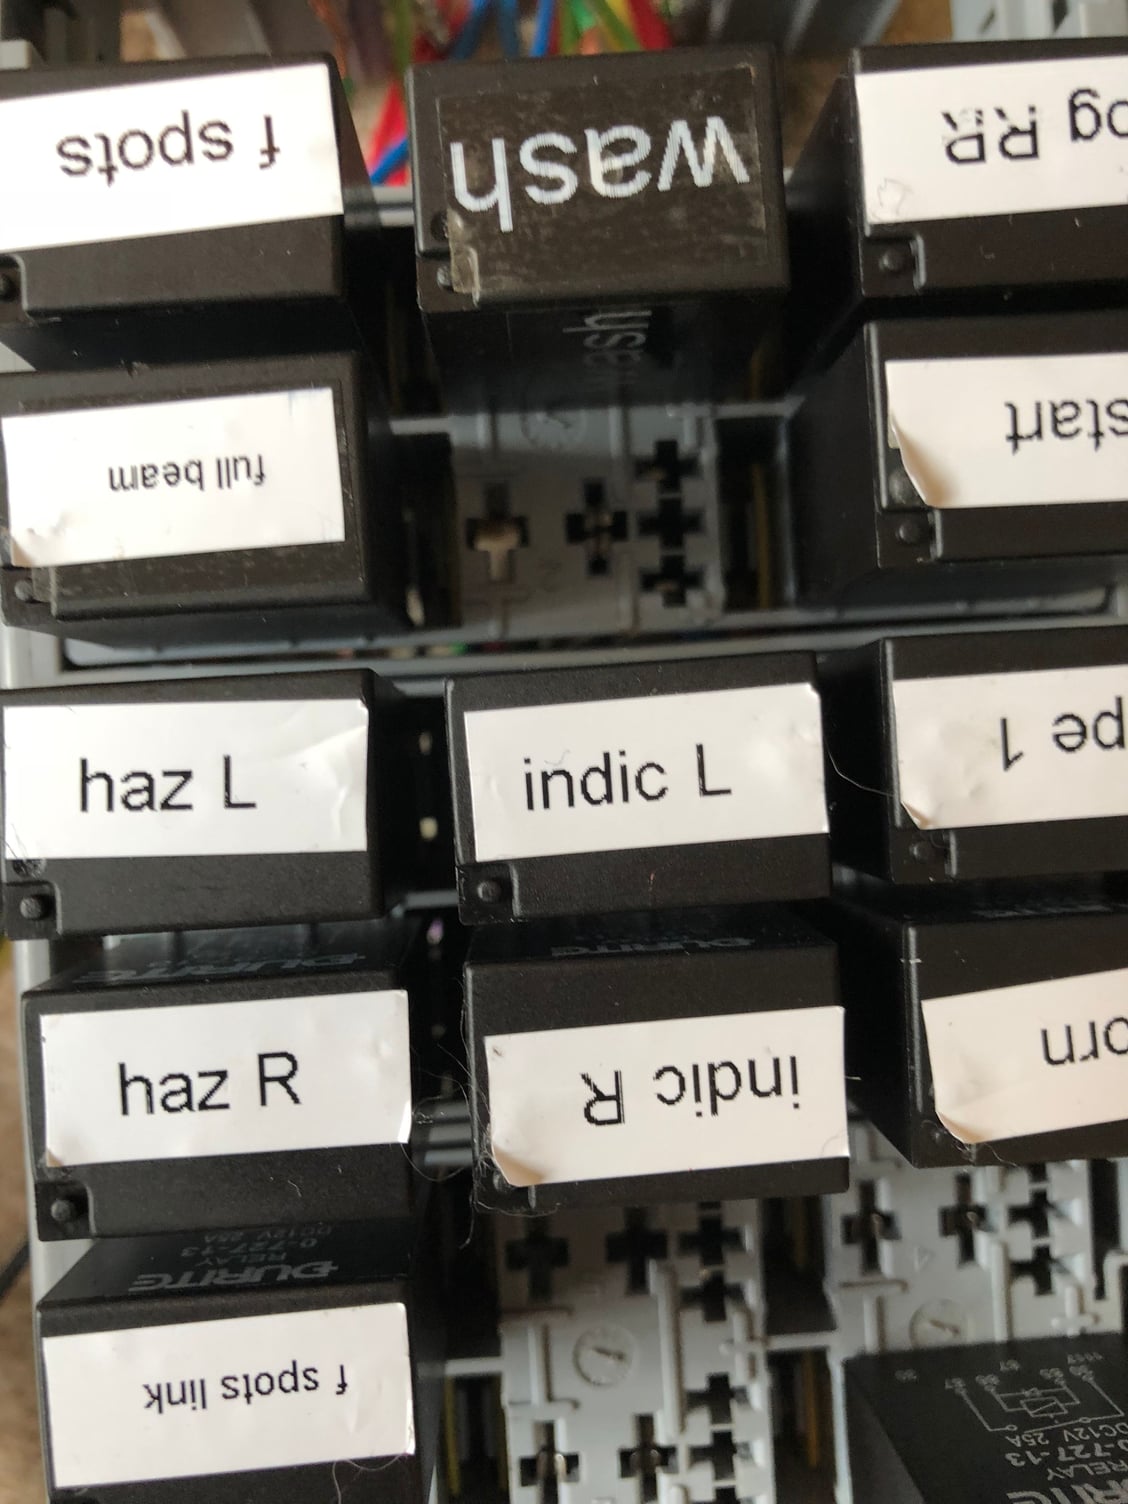
Each relay is also labelled, these will be under a cover and behind a dash panel.
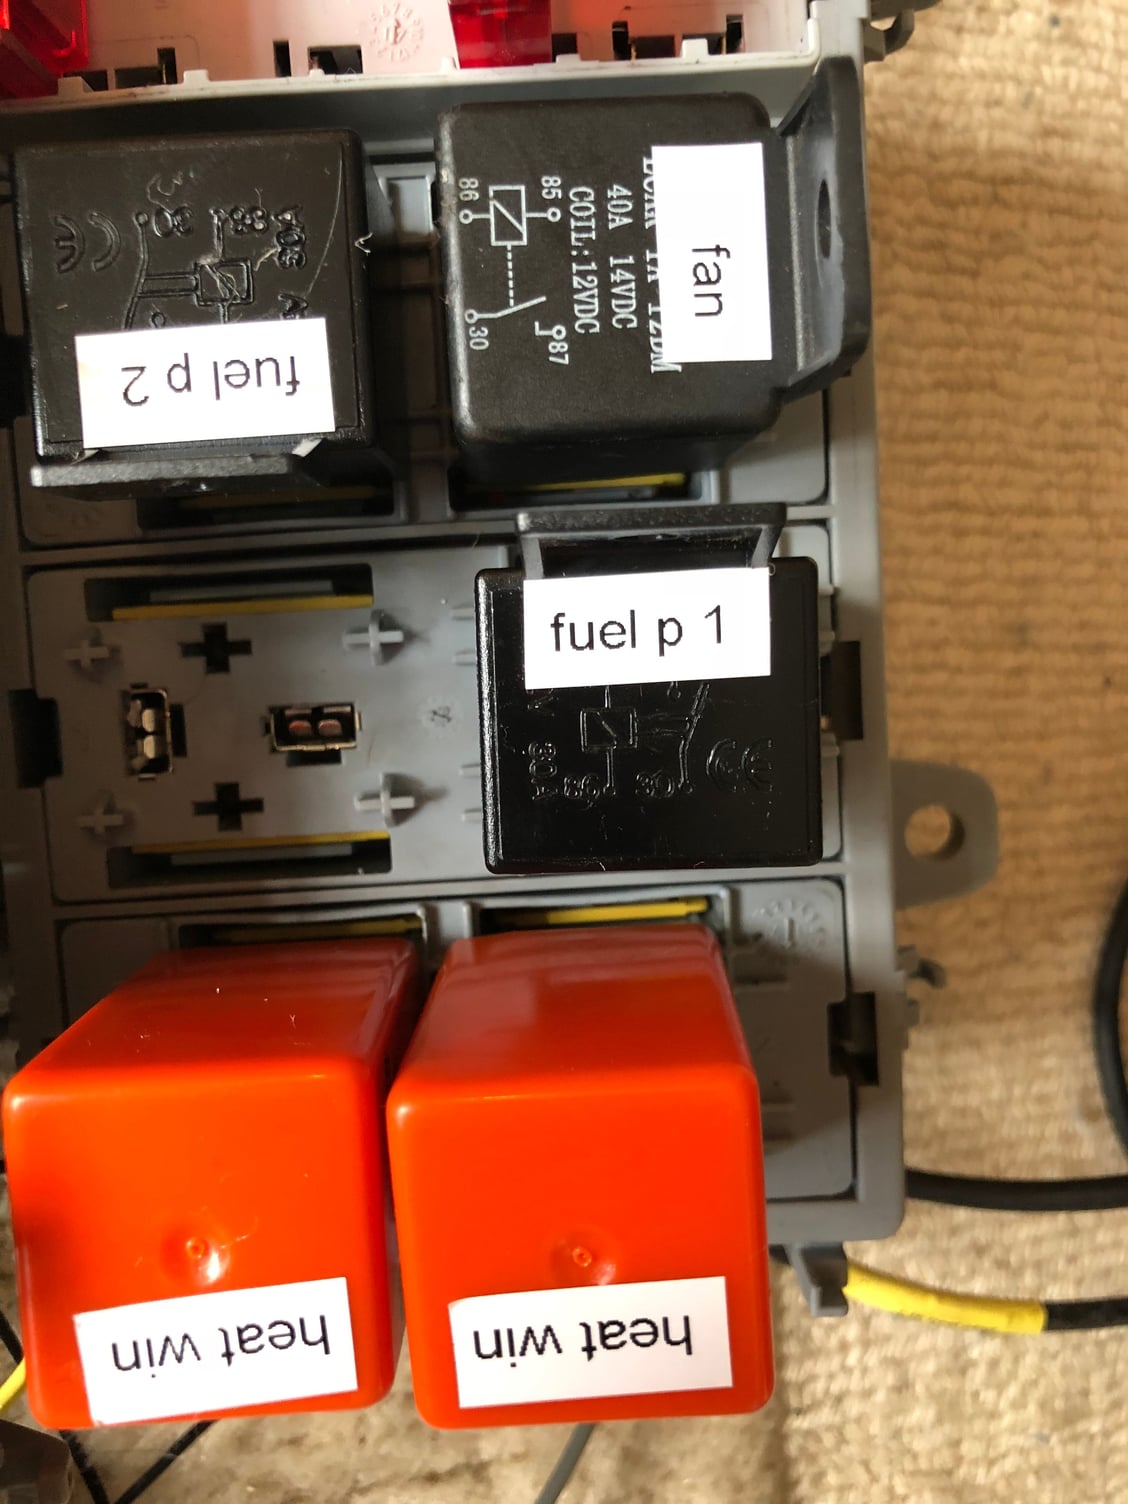
The orange relays are timed for the front heated window, it is split in two halves.
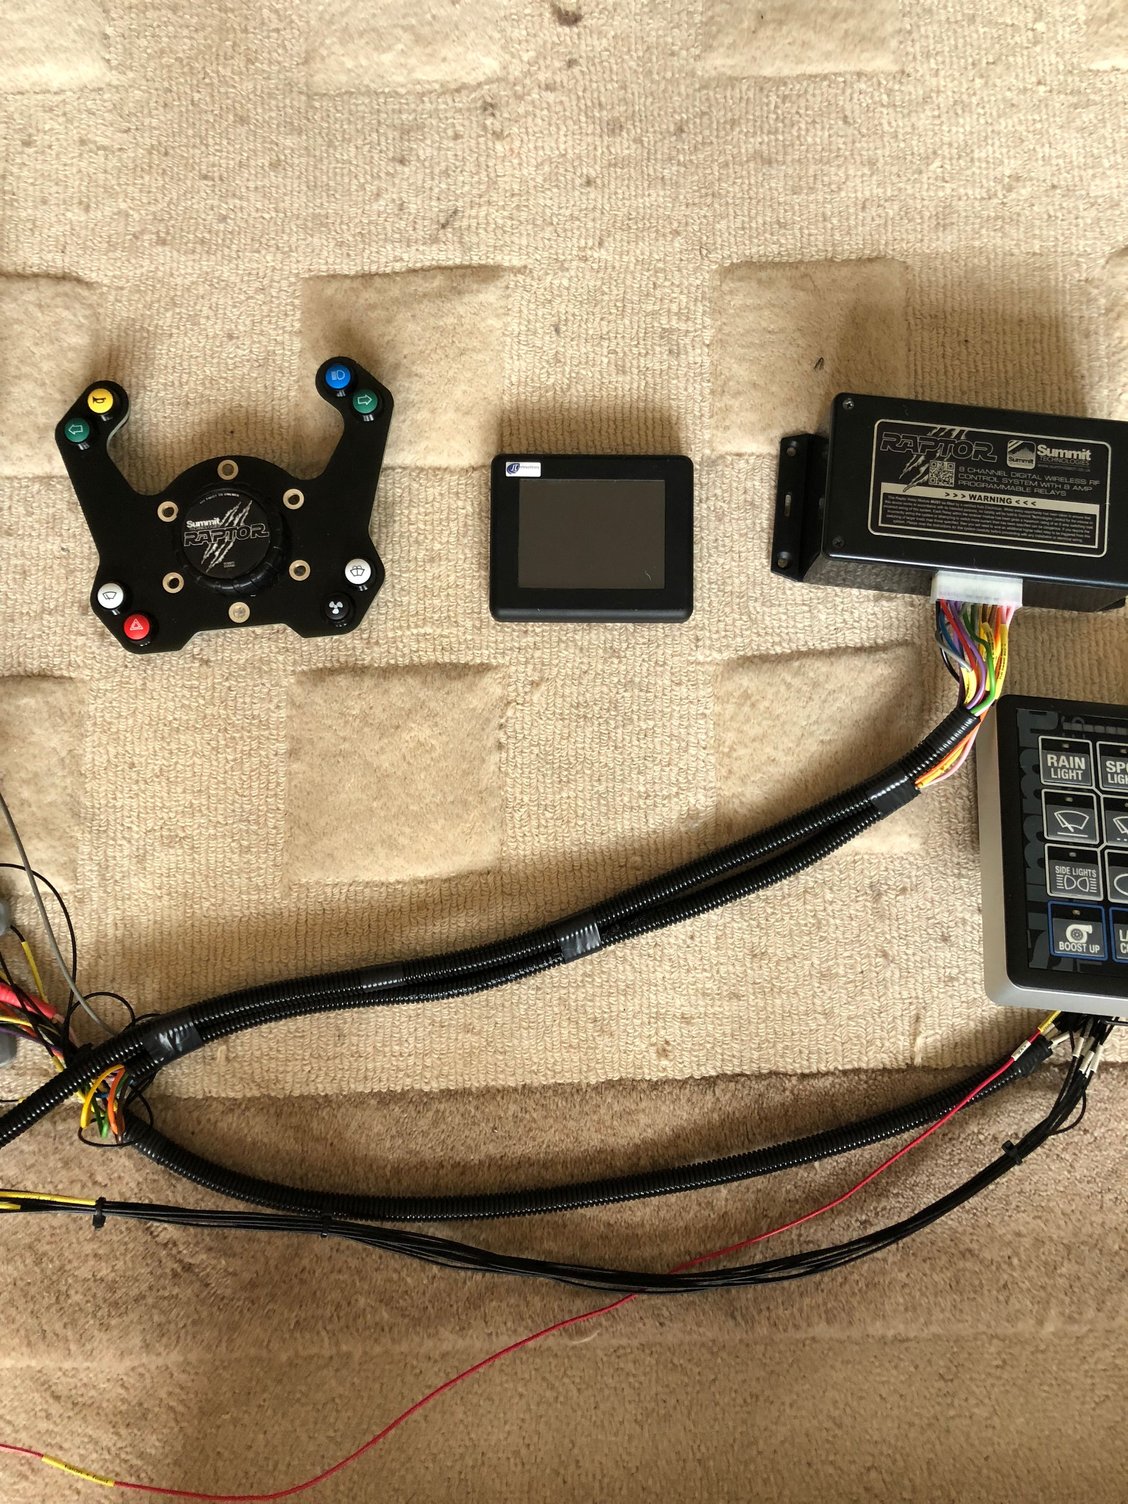
#1971
PassionFord Post Troll
Great work mate 

The following users liked this post:
Caddyshack (04-03-2018)
#1972
10K+ Poster!!

Twin engine cooling fans will be controlled by ecu, I will add a fan over ride and a light on the dash so I know if the fans have cut in. I have a black legend fan light to match the indicators.
I am going to get Mark to make small dimples in the dash where the warning lights go so they sit fairly flush. The talon control panel and toucan display will also be recessed in to the dash and console.
I am going to get Mark to make small dimples in the dash where the warning lights go so they sit fairly flush. The talon control panel and toucan display will also be recessed in to the dash and console.
Last edited by Caddyshack; 04-03-2018 at 04:46 PM.
#1973
I've found that life I needed.. It's HERE!!
Great work. Like it alot. Looking forward to the shell updates.
#1974
10K+ Poster!!

Me too mate  It shouldn't be long before I can post a pic of the shell with no floor in it and then bits going back in. I am hoping to see quite a lot of progress initially before the fiddly stuff begins.
Mark has let me buy and upgrade the cradle that he made for something else he was working on for himself as this one is T45 steel so a lot lighter than standard and a good weight saving over the old 6 degree beam. It has billet chromo ends on it.
 It shouldn't be long before I can post a pic of the shell with no floor in it and then bits going back in. I am hoping to see quite a lot of progress initially before the fiddly stuff begins.
Mark has let me buy and upgrade the cradle that he made for something else he was working on for himself as this one is T45 steel so a lot lighter than standard and a good weight saving over the old 6 degree beam. It has billet chromo ends on it.
#1976
10K+ Poster!!

Yes, will be quite different but at least I can also use it on track days when it's done and it will have fixed a few of the compromises that always niggled me and will have some much needed strength in the shell.
#1977
10K+ Poster!!

Well the car is upside down and Mark is getting ready to cut out everything he doesn't like so basically the car will still be RED and that's about it.
Carbon Kevlar panels are nearly done as is the roof spoiler
Mark and I are arguing over t45 cross member in tube as a modern version of the Wrc beam versus the normal Wrc beam...modern version would be a lot lighter and chassis mounted engine.
Carbon Kevlar panels are nearly done as is the roof spoiler
Mark and I are arguing over t45 cross member in tube as a modern version of the Wrc beam versus the normal Wrc beam...modern version would be a lot lighter and chassis mounted engine.
#1978
Advanced PassionFord User
I would Defo mount the engine to the chassis and not a subframe as if you have a accident with a sub frame mounted engine there's a risk it could take the whole engine with it if you rip the mounts off etc. TBH marks rear cradles ain't that heavy anyway it's the shitty diffs that are bolted to it that are the heavy bits
#1979
10K+ Poster!!

The rear beam is t45 now on mine so are the connecting rods to the uprights, it's the front we are discussing...I wasn't clear on that. The front is likely to be tubular and t45 instead of the heavier Wrc cradle. I like the idea of chassis mounted engine to make dropping the suspension out very easy and like you say, it could save the engine in a shunt.
Funnily enough we were chatting today about the weight of the supra diff but we will keep it for now and consider ally diffs later (billet Supra but more likely something yank and modern)
Funnily enough we were chatting today about the weight of the supra diff but we will keep it for now and consider ally diffs later (billet Supra but more likely something yank and modern)
Last edited by Caddyshack; 13-03-2018 at 08:52 PM.
#1980
10K+ Poster!!

Bara called me and it was a bent selector fork on my oppliger 4th gear making it jump out, he changed it really quickly for me with an offer of doing it whilst I waited and I dont think I paid anything other than the part cost....Top Bloke.
He thinks it might be the short shift being too unforgiving so I will either add some rubber bushes or go back to standard and solid or proflex bush that.
He thinks it might be the short shift being too unforgiving so I will either add some rubber bushes or go back to standard and solid or proflex bush that.
Last edited by Caddyshack; 18-03-2018 at 05:58 PM.
#1981
10K+ Poster!!


I started to put bits on the engine after I had cleaned them. New Titanium bolts

Few bits to clean up but will do that when I put the new pulleys on.
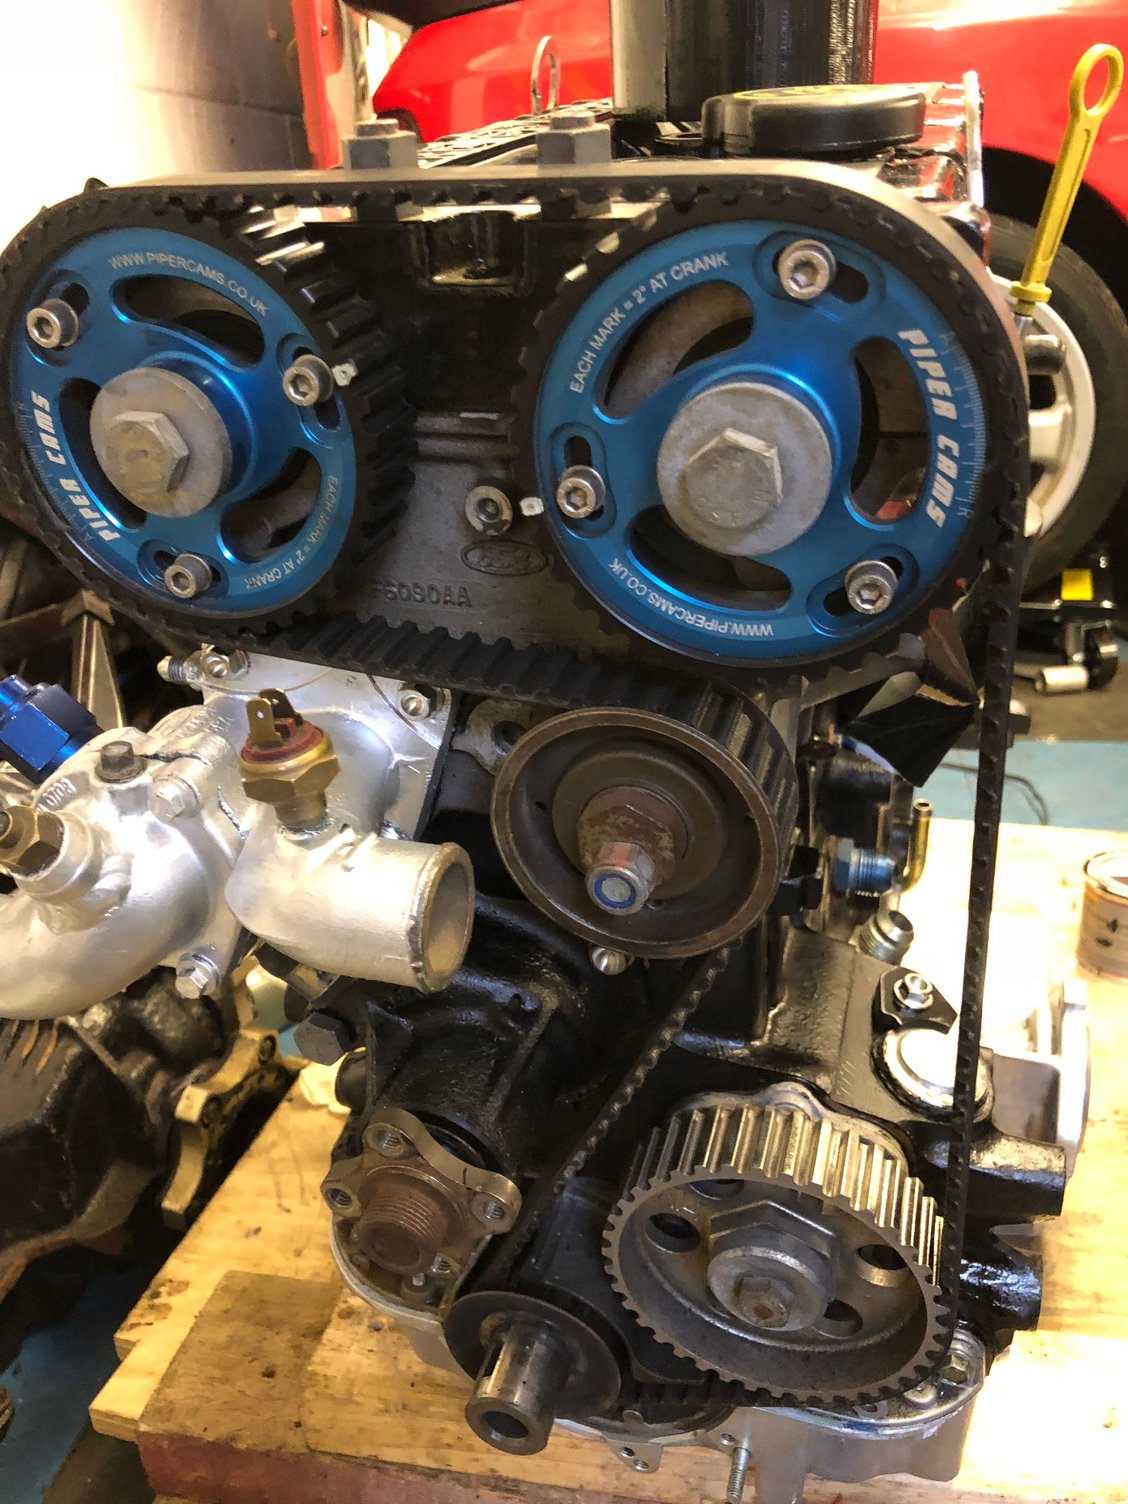
You can see the distributor delete on the right.
#1982
10K+ Poster!!


I did an experiment today, normal sump bolt versus titanium....2grams difference per bolt. This will begin to add up especially when MK Mark does the big lumpy bolts on the cradle and uprights / suspension etc. Each Kilo saved aids brakes, acceleration, cornering etc.
And they stay shiny forever
#1983
PassionFord Post Troll
That normal bolt has about 2 grams of crap stuck to it lol
#1984
10K+ Poster!!

I wouldn’t be able to do all the bolts in titanium if I was paying for each one as they are about £6 each for the little ones and they go up from there but Mark brought a huge bucket full of them all bagged up in sizes for me to pick from and I just need to give him back what I don’t need. Much appreciated MK. Top man
#1985
10K+ Poster!!

#1986
10K+ Poster!!

I just like holding Titanium bolts....it is freaky what a large bolt feels like...they are like feathers
#1987
10K+ Poster!!

I have given the go ahead on a modern version of the Wrc front crossmember in t45 tubular steel and the engine will mount off the chassis on rubber mounts, it should be around 8kg lighter in this which is lighter still against the ally 4x4 one ford used and it’s a good place to save the weight off the front axle, we should get the engine back a bit in the car which. Mark thinks he can mount the alternator on the other side of the engine, under the inlet so the alternator doesn’t get cooked by the turbo, the mount will be ally so again a few kg lighter than the massive normal mount which holds the power steer pump as well, this is deleted on mine as we have an ally non pas rack with quaife quick rack internals and then corsa power assistance which is back inside the car.
#1988
PassionFord Post Troll
Great stuff mate look forward to the pics
#1989
10K+ Poster!!

#1990
PassionFord Post Troll
I bet mate just keep thinking how good it will be that's what I have to do with mine but I know how passionate you are about it just keep visualising the finished artical 

The following users liked this post:
Caddyshack (19-03-2018)
#1991
10K+ Poster!!

I am hoping to see some progress pics from Mark soon. it is on the spit now and he said it is braced for cutting.
#1992
Advanced PassionFord User
How many kilos do you hope to loose changing over to titanium bolts? Approx?
And did I read that right that your not having to pay for them?
Cheers Paul
And did I read that right that your not having to pay for them?
Cheers Paul
#1993
10K+ Poster!!

I doubt I will lose many kilos but 1 or 2 would be nice. they cost about£6 To £10 per bolt and you read it right, Mark gave me a bucket full of all types to use free of charge...top bloke. They stay totally bright too, no corrosion
The following users liked this post:
visa_broke (25-03-2018)
#1994
Advanced PassionFord User
Touch!!
He must be a very nice bloke!
I was gonna say it’d be the most expensive way to a save a few kilos ever lol
Cheers Paul
He must be a very nice bloke!
I was gonna say it’d be the most expensive way to a save a few kilos ever lol
Cheers Paul
#1995
10K+ Poster!!

Yes, it would make your eyes water doing every bolt on the car....it is the sort of lengths that F1 and Superbike teams go to (which is where Mark learned his trade /‘ skills). We went down this route after He mentioned seeing decent builds yet many bolts were 1cm longer than they needed to be, race teams cut them down to the exact length needed and no more.
I spoke to an engineer at prodrive once who said you would get a written warning if you failed to cut off a cable tie and when you did cut it they had to be done by pulling tight and cutting off with a Stanley blade.
I spoke to an engineer at prodrive once who said you would get a written warning if you failed to cut off a cable tie and when you did cut it they had to be done by pulling tight and cutting off with a Stanley blade.
#1996
10K+ Poster!!

Unfortunately no updates to post so far....
#1997
10K+ Poster!!


Getting some traction now. Tunnel is being prepped, I have asked Mark to find a way that the electrics can hide through the tunnel so that you cannot see wires in the car
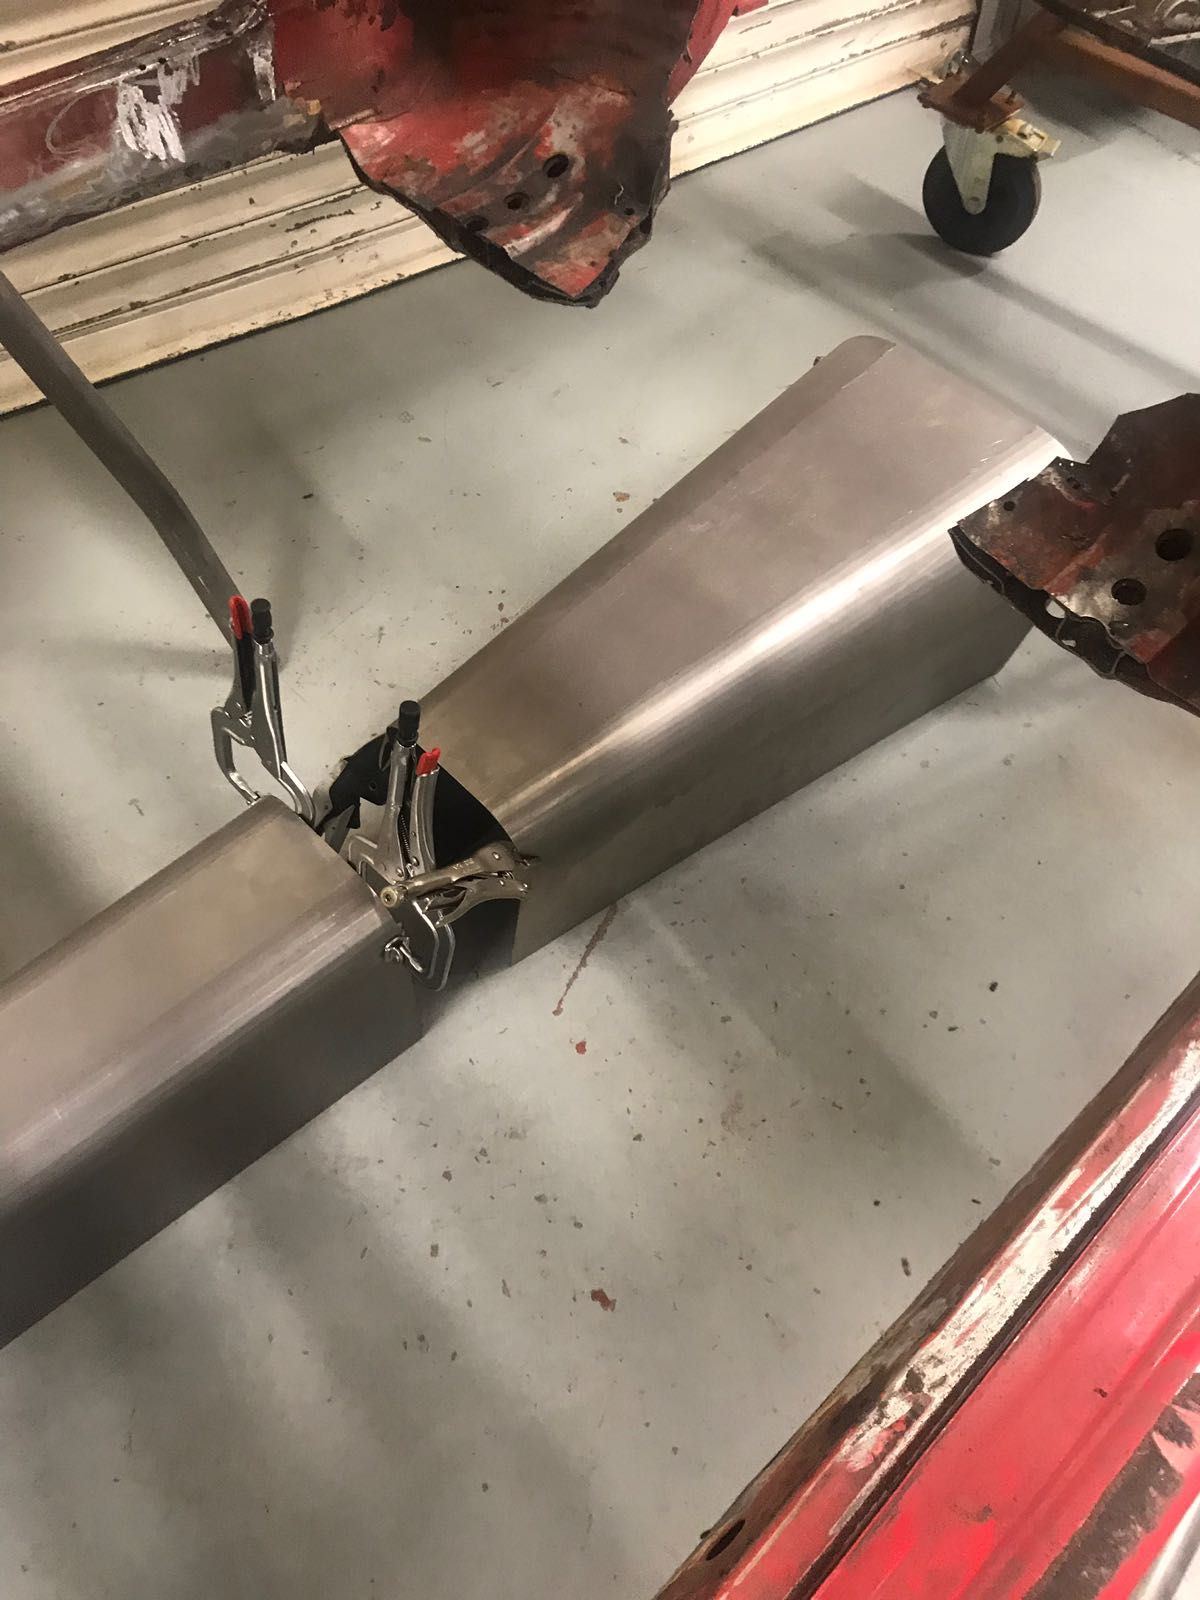
Much better shape and really neat
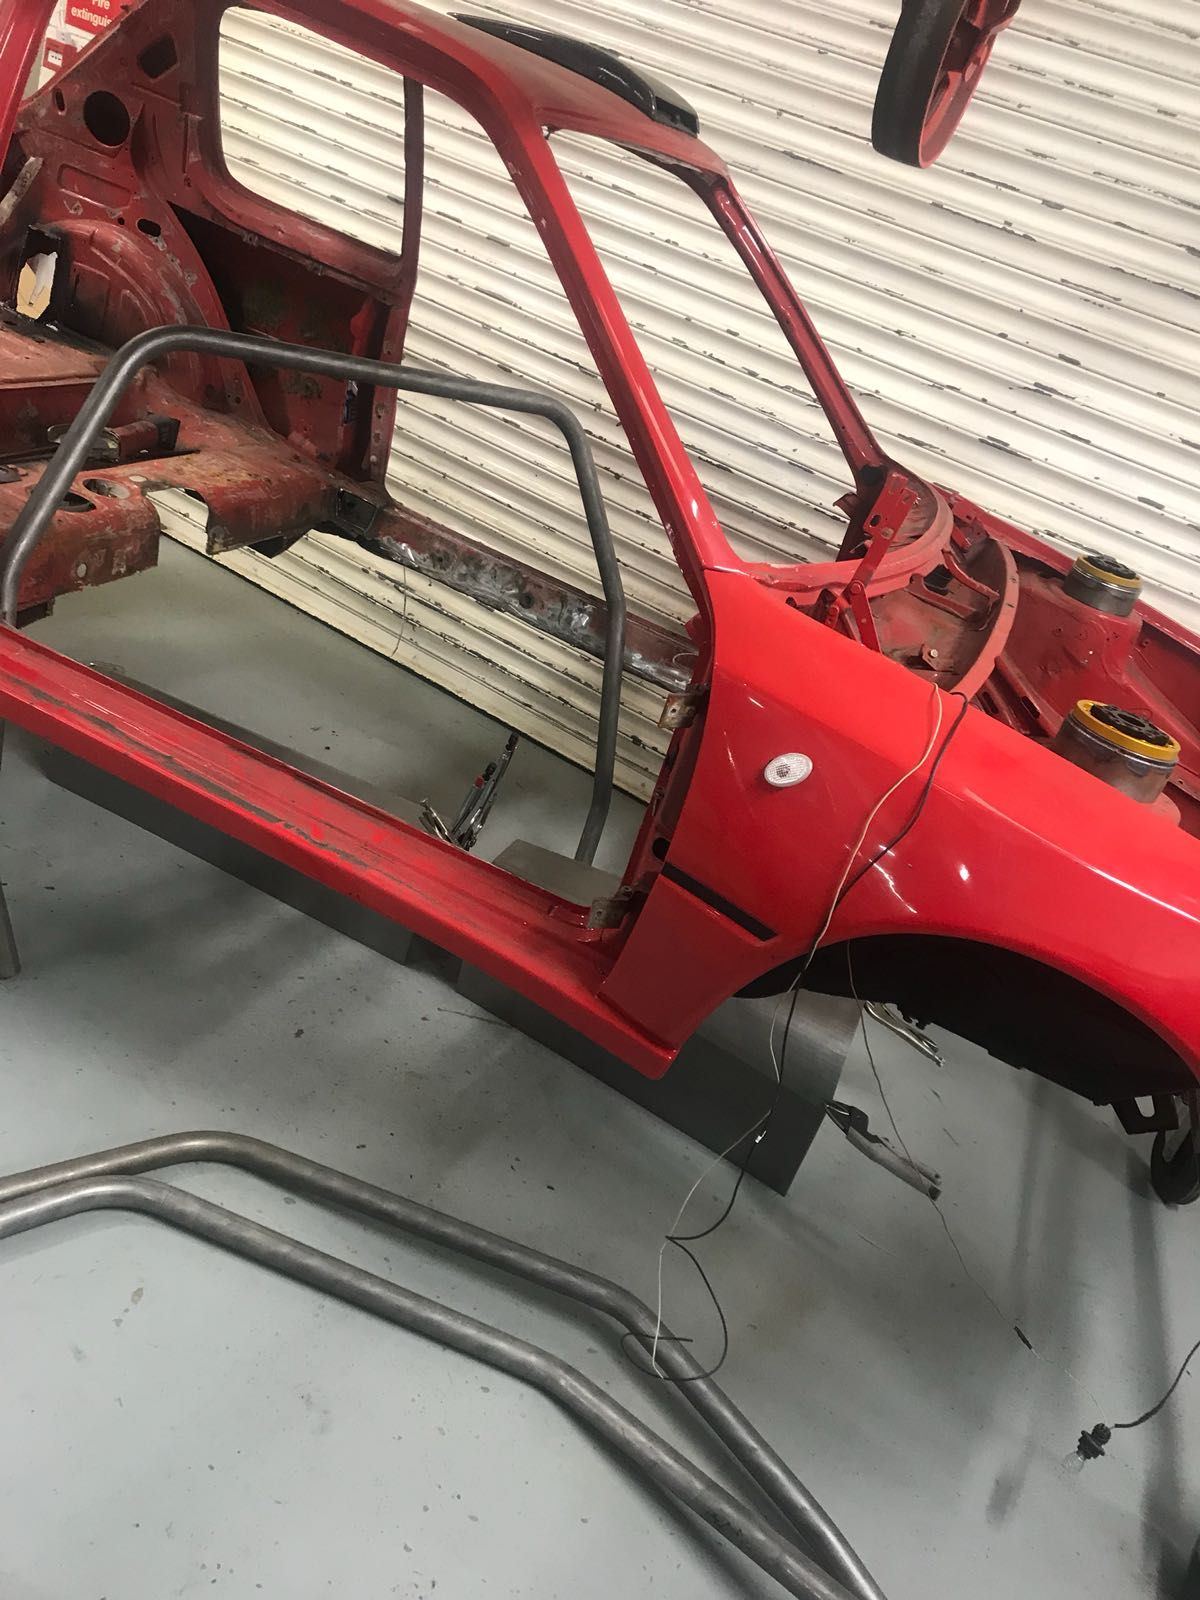
Obviously the top mounts will not be that high


Cage and floor going in next week<br/>
The following users liked this post:
rooos (30-03-2018)
#1998
10K+ Poster!!

Met foxy06 from the forum today as he drove all the way down from Scotland to pick up the seats he bought from me, really nice bloke.
#1999
**RS COSWORTH**

#2000
10K+ Poster!!

Mark doesn’t like some of the 4x4 conversion that was done so he is cutting it out and making good. He has measured and thinks the reason I had odd angles on the driveshafts at the front Is due to the mounts being 40mm too low, we are going to chassis mount the engine and move the mount for the cross member up...there won’t be much of the old car left

