When you click on links to various merchants on this site and make a purchase, this can result in this site earning a commission. Affiliate programs and affiliations include, but are not limited to, the eBay Partner Network.
Mapping successfully completed.
Yesterday the bonnet release…. wouldn’t
Flat battery this morning 🤷♂️
Two hours on the dyno and it was all done, it would have been less but I had incorrectly set the base timing so that had to be redone once he figured out what was wrong.
It made 200whp so 20 more than MFI but with 4 PSI less boost.
Since the dyno I’ve had a boost hose pop off and two silicone caps on the inlet burst!!
The part throttle smoothness is amazing.
I just need to get the wideband working to run closed loop and the CanChecked monitor communicating.
Big Thanks to Sitech Racing for a fantastic job.
Hooray. The wideband is working.
It worked initially then I concentrated on trying to get the CanChecked monitor working and couldn’t, but at some time noticed the WB had a comms error.
I tried everything including tearing my hair out but contacted Maxx support last week. After various tests they thought the canbus output on the ECU could be faulty although unlikely as they’ve only had one fail before.
They suggested contacting who I purchased it from for a unit to swap with to test but my son has a Maxx mini on his Fiesta.
so swapped today and it worked.
That’s faults with the brand new Alarm and ECU that I’ve fitted over winter. This playing with cars nonsense isn’t easy.
Not much progress lately not even driving it. Two week holidays and three week away with work have limited play time.
Got my steering rack re-conditioned as I had a few scary moments when overtaking almost going off the road then almost hitting the car I was overtaking when trying to correct. It was like it had a dead area just off straight ahead. It scared me to bits.
I’ve still to get some loose end sorted with the ECU and the monitor working, probably a winter job now.
Conditioned by steering rack services and painted in two pack. I fitted new bushes whilst it was off. Original dust cover was showing its thirty five years. Got a 3D printed one. Fitted perfectly.
My header tank split along the seam today, my first breakdown in 30 years where I couldn’t get it home (broken clutch, sheared input gearbox shaft and snapped clutch cable) have been my previous problems.
I suspect it was a pattern part, I’ve only had it a few years and the original was still good just discoloured.
I’m not overly keen on the alloy fabricated ones but don’t think I have any options as an original one on eBay was �450. Unless anyone has other ideas?
I might have a walk around u-pull-it and see if anything will fit and look sensible.
Sounds like little teething problems mate you'll get there ive a spare baileys header tank if you struggle .
Thanks Mat I really appreciate the offer but after phoning Ford this morning and getting the usual NLA I ordered one from Green On Engineering, where I bought my breather kit and I think who done your inlet.
I liked it looking standard-ish under the bonnet but just have to accept the compromise for running Old Ford shite.
I�m not paying �450, that�s for the Concours maniacs and don�t want to risk another pattern one splitting.
The replacement header tank arrived and was fitted, I stuck on a Ford 50/50 anti freeze sticker on for weird reasons.
whilst waiting for the tank to arrive I swapped out the clutch to something less heavy duty and changed the gearbox mounts for V8 Range Rover engine mounts. I’ve had a few mounts, standard ones the engine jumps about, Vibra Technics were too race car for me. Standard ones with the voids filled with tiger seal were good but they didn’t last long before the seal worked loose. We will see how these work out.
Also since fitting the Turbo Technics front cross member I’ve had to use the gearbox cradle to jack it in my garage as there’s not enough room down the sides. It wasn’t meant for this and was distorting. Son no2 neatly strengthened it for me and made it look OEM even though it will never be seen.
Today it failed its MOT for the first time in my ownership……on emissions FFS. 30 years of passing on MFI and it fails on EFI. We were able to go and remove fuel from the map at idle and get a pass. Looks like my Lambda has failed.
Last edited by boost monster; Sep 15, 2023 at 02:28 PM.
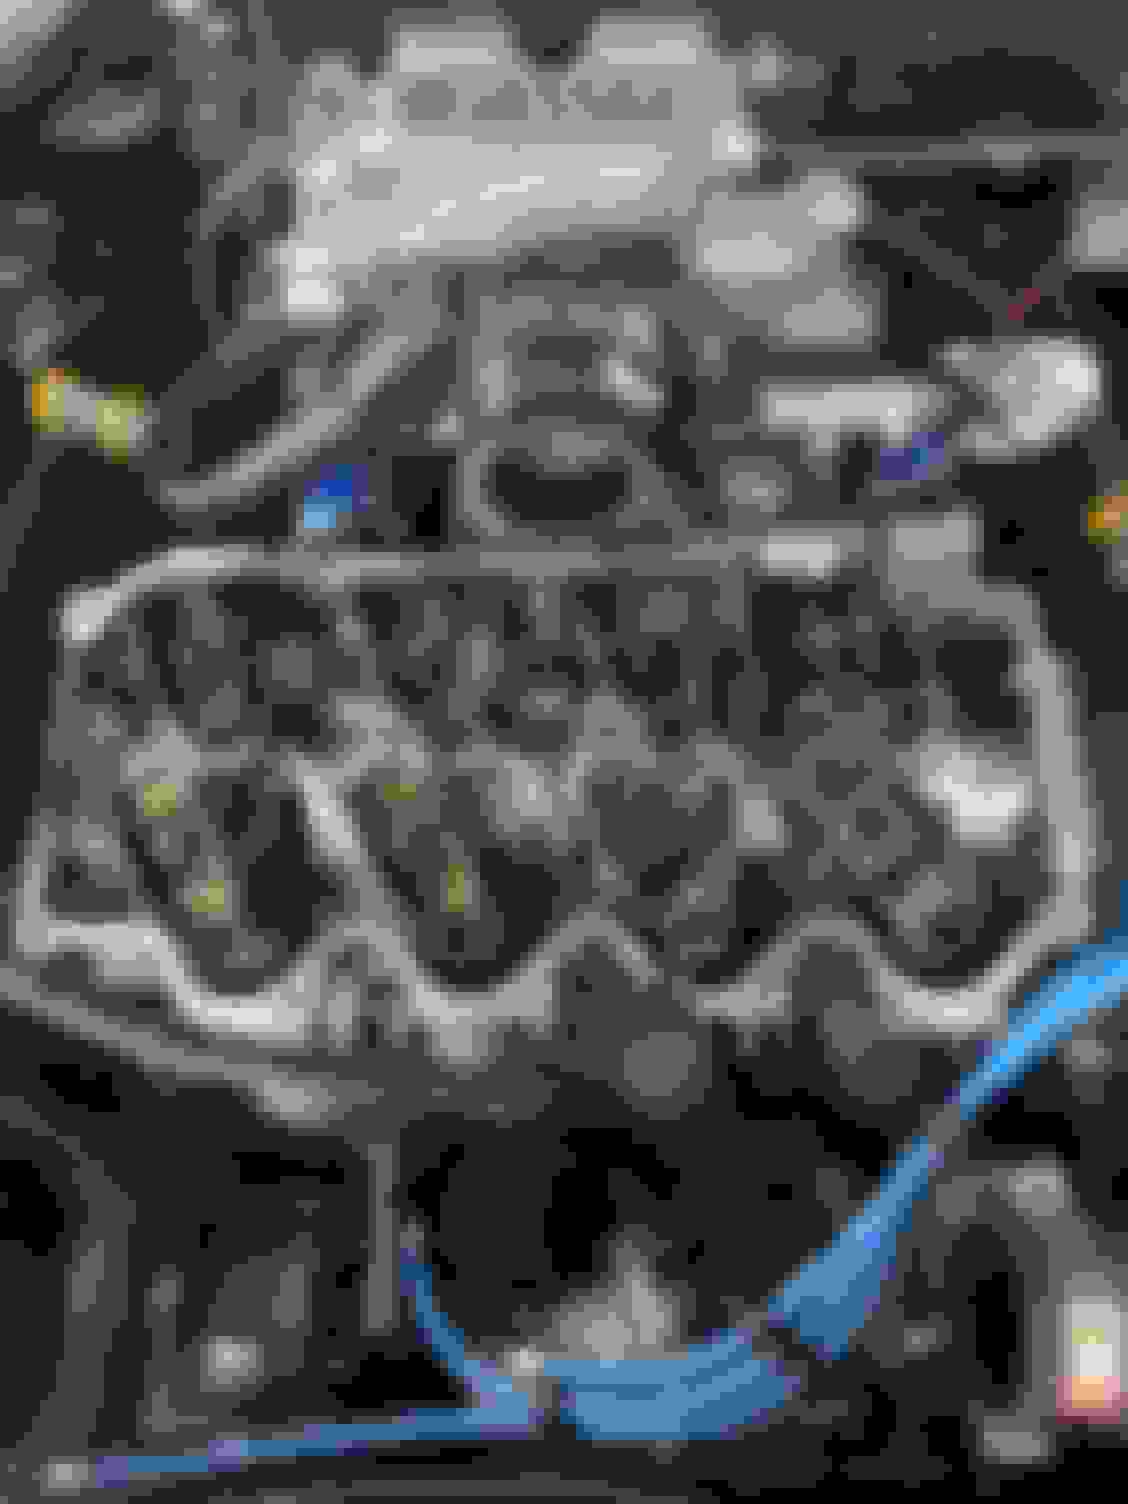
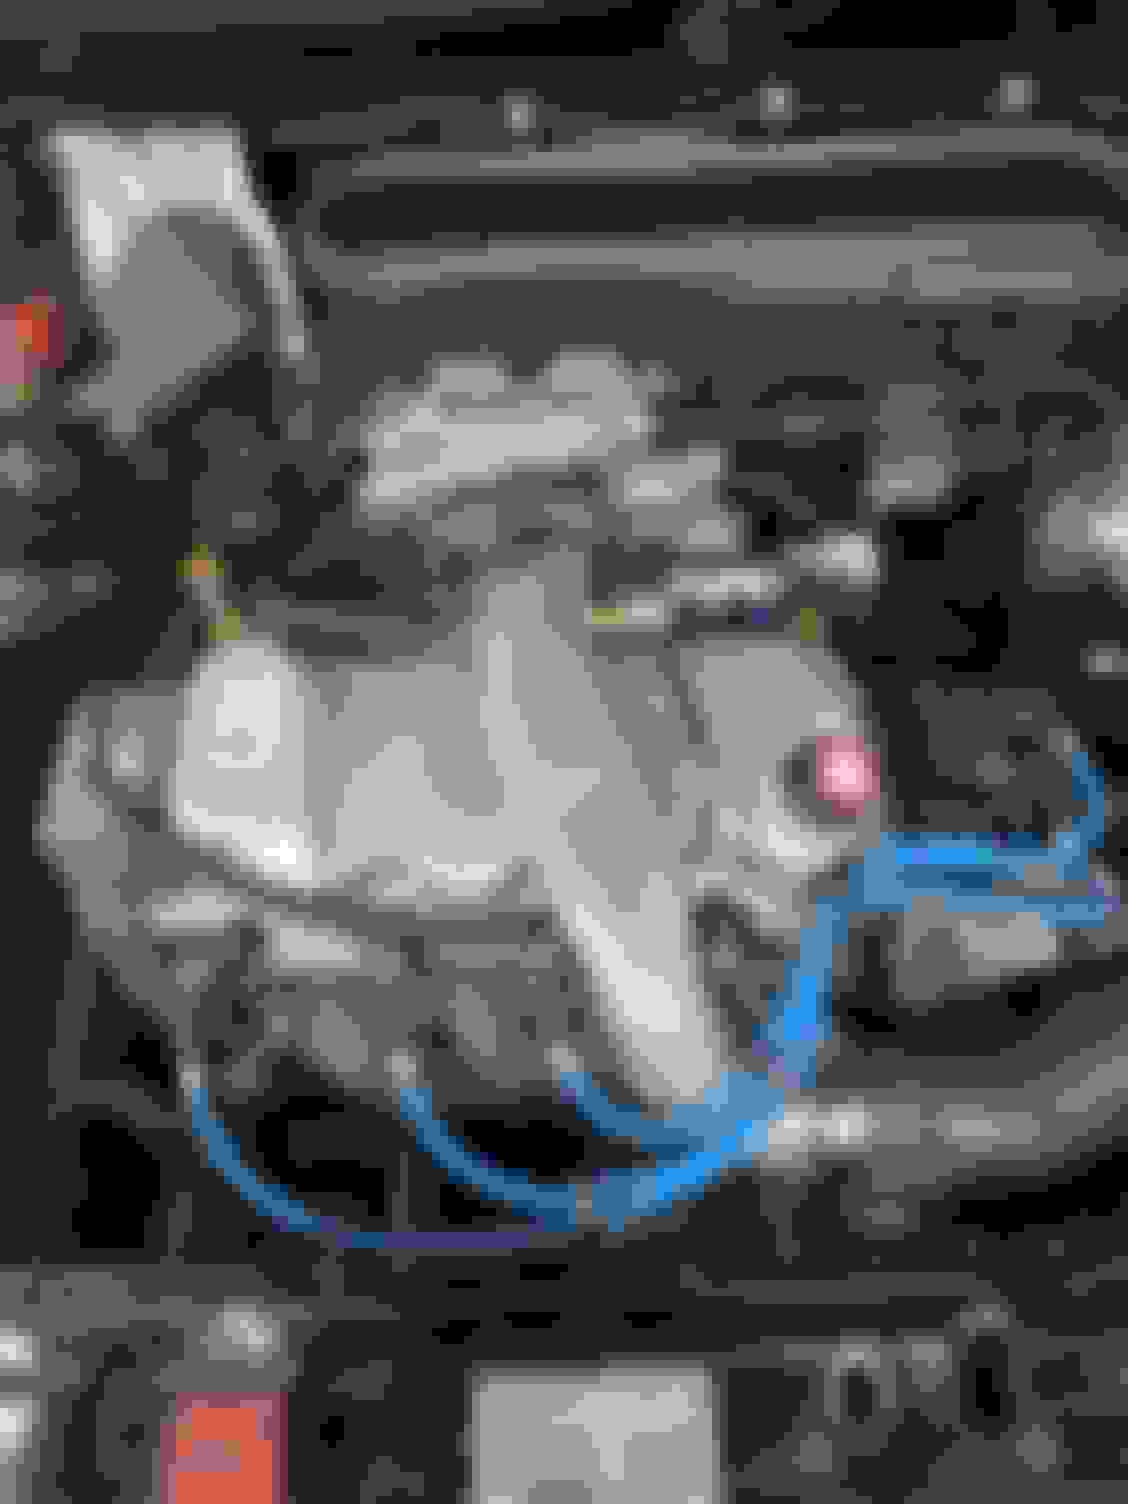
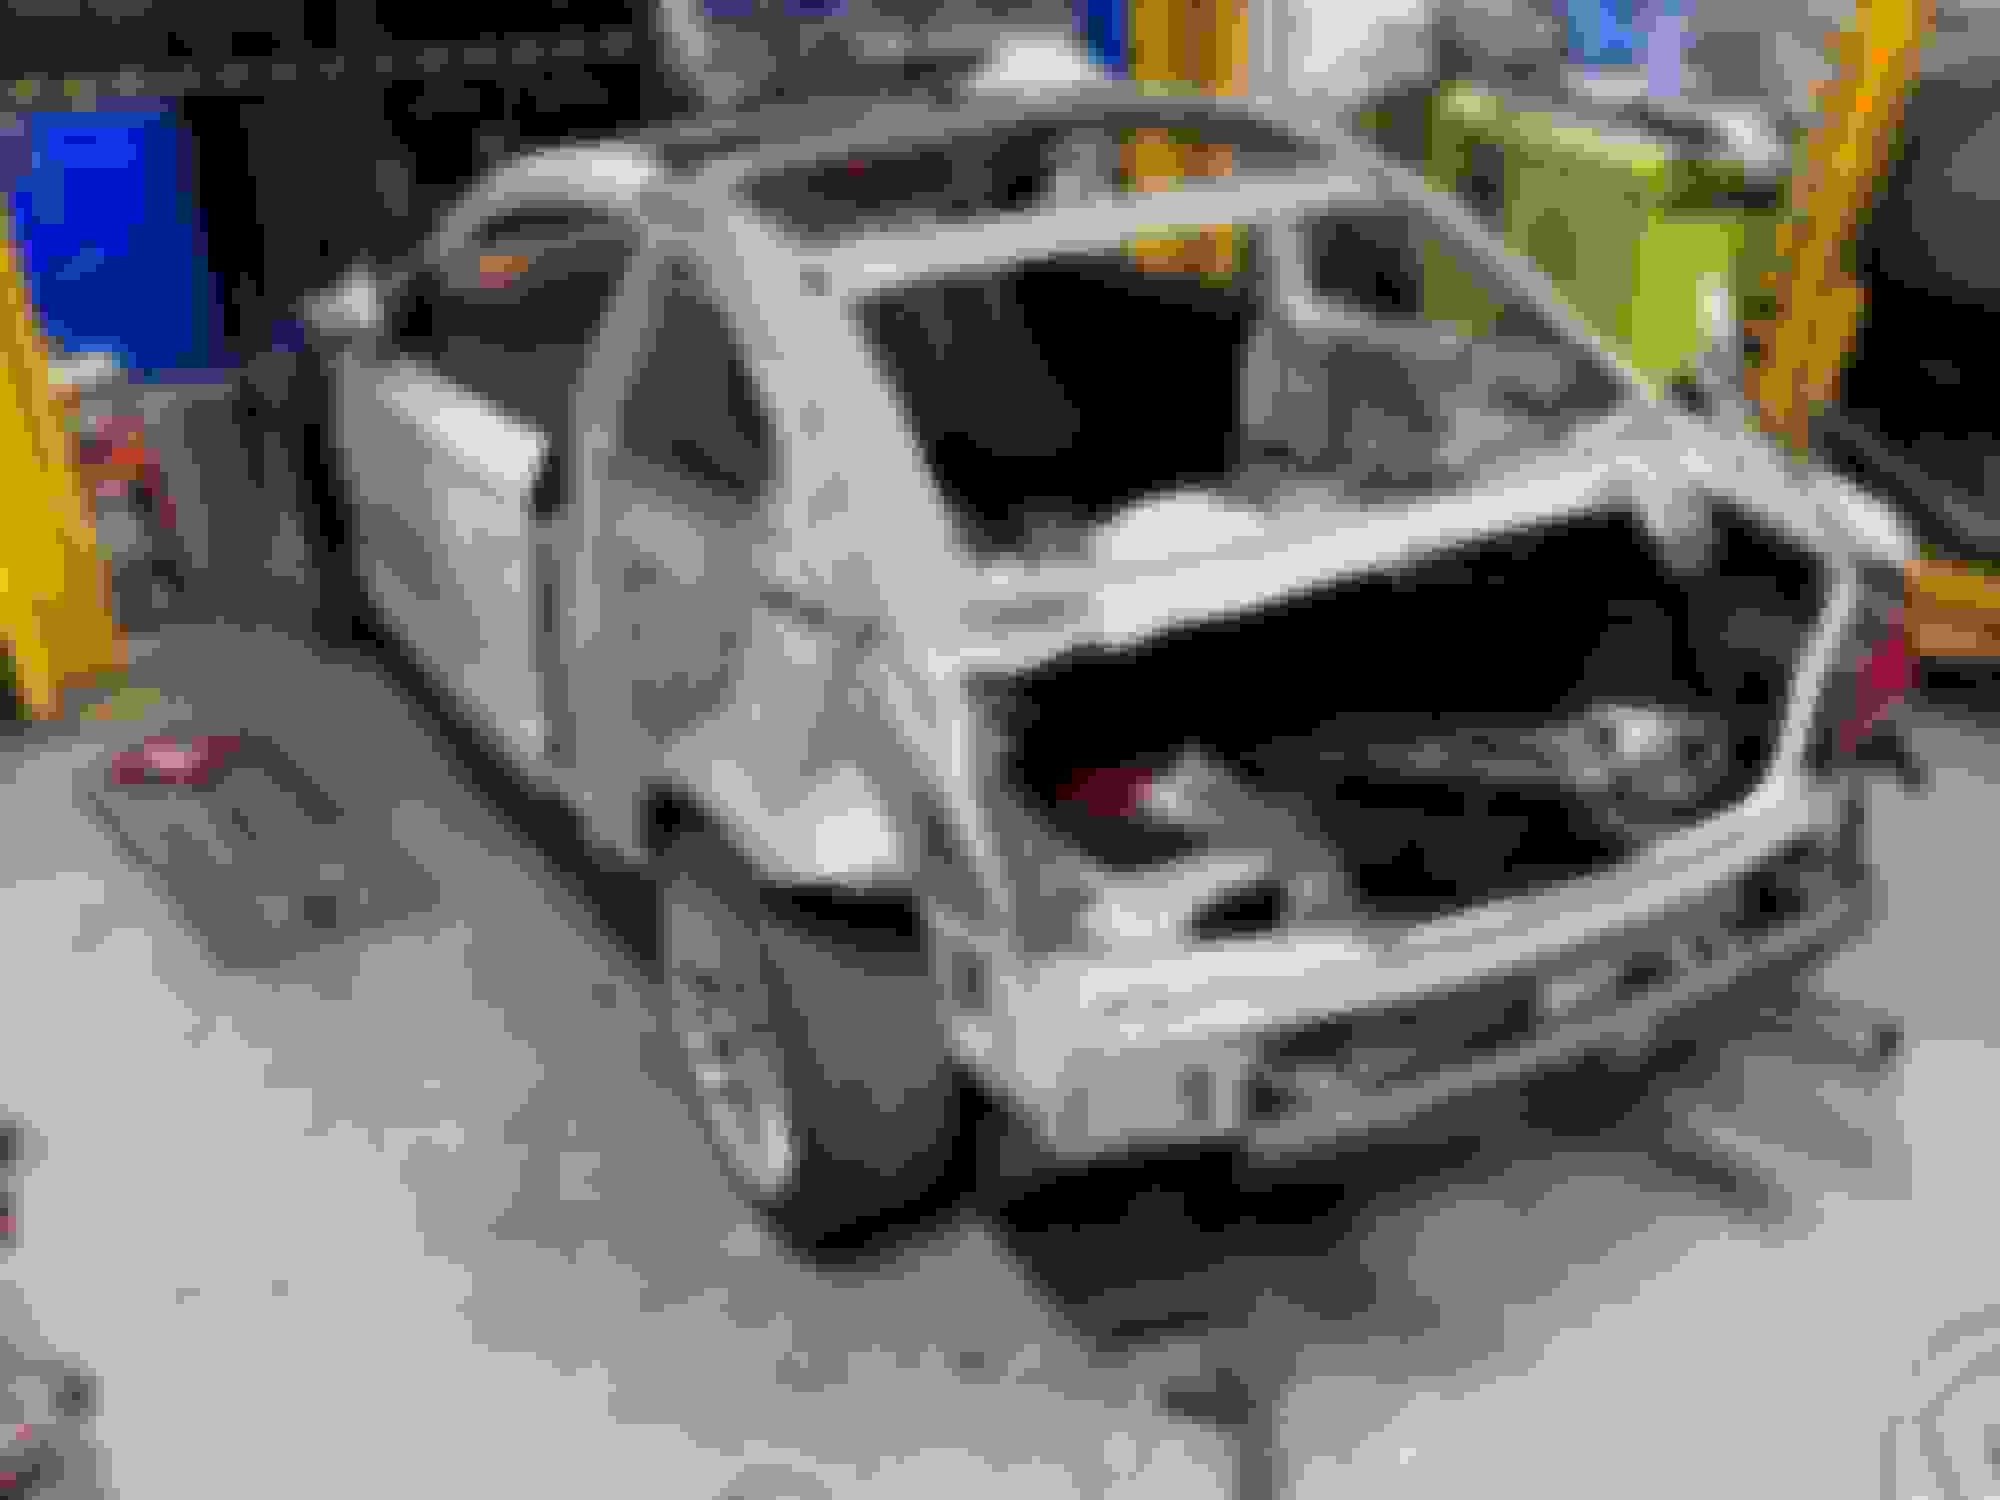
I’ve done a few things so far during winter hibernation. I had a small oil leak which was coming from the front of the sump around the half moon area, so a new one was fitted.
I fitted a hose to the over flow outlet.
After the sump was removed the distortion of the seal where it was leaking confirmed I may just be correct this time.
New gasket glued in position with some sealant around the outside of the half moons. I followed a recommendation that was on Fiestaturbo.com
It has been up to temperature and appears to be ok🤞
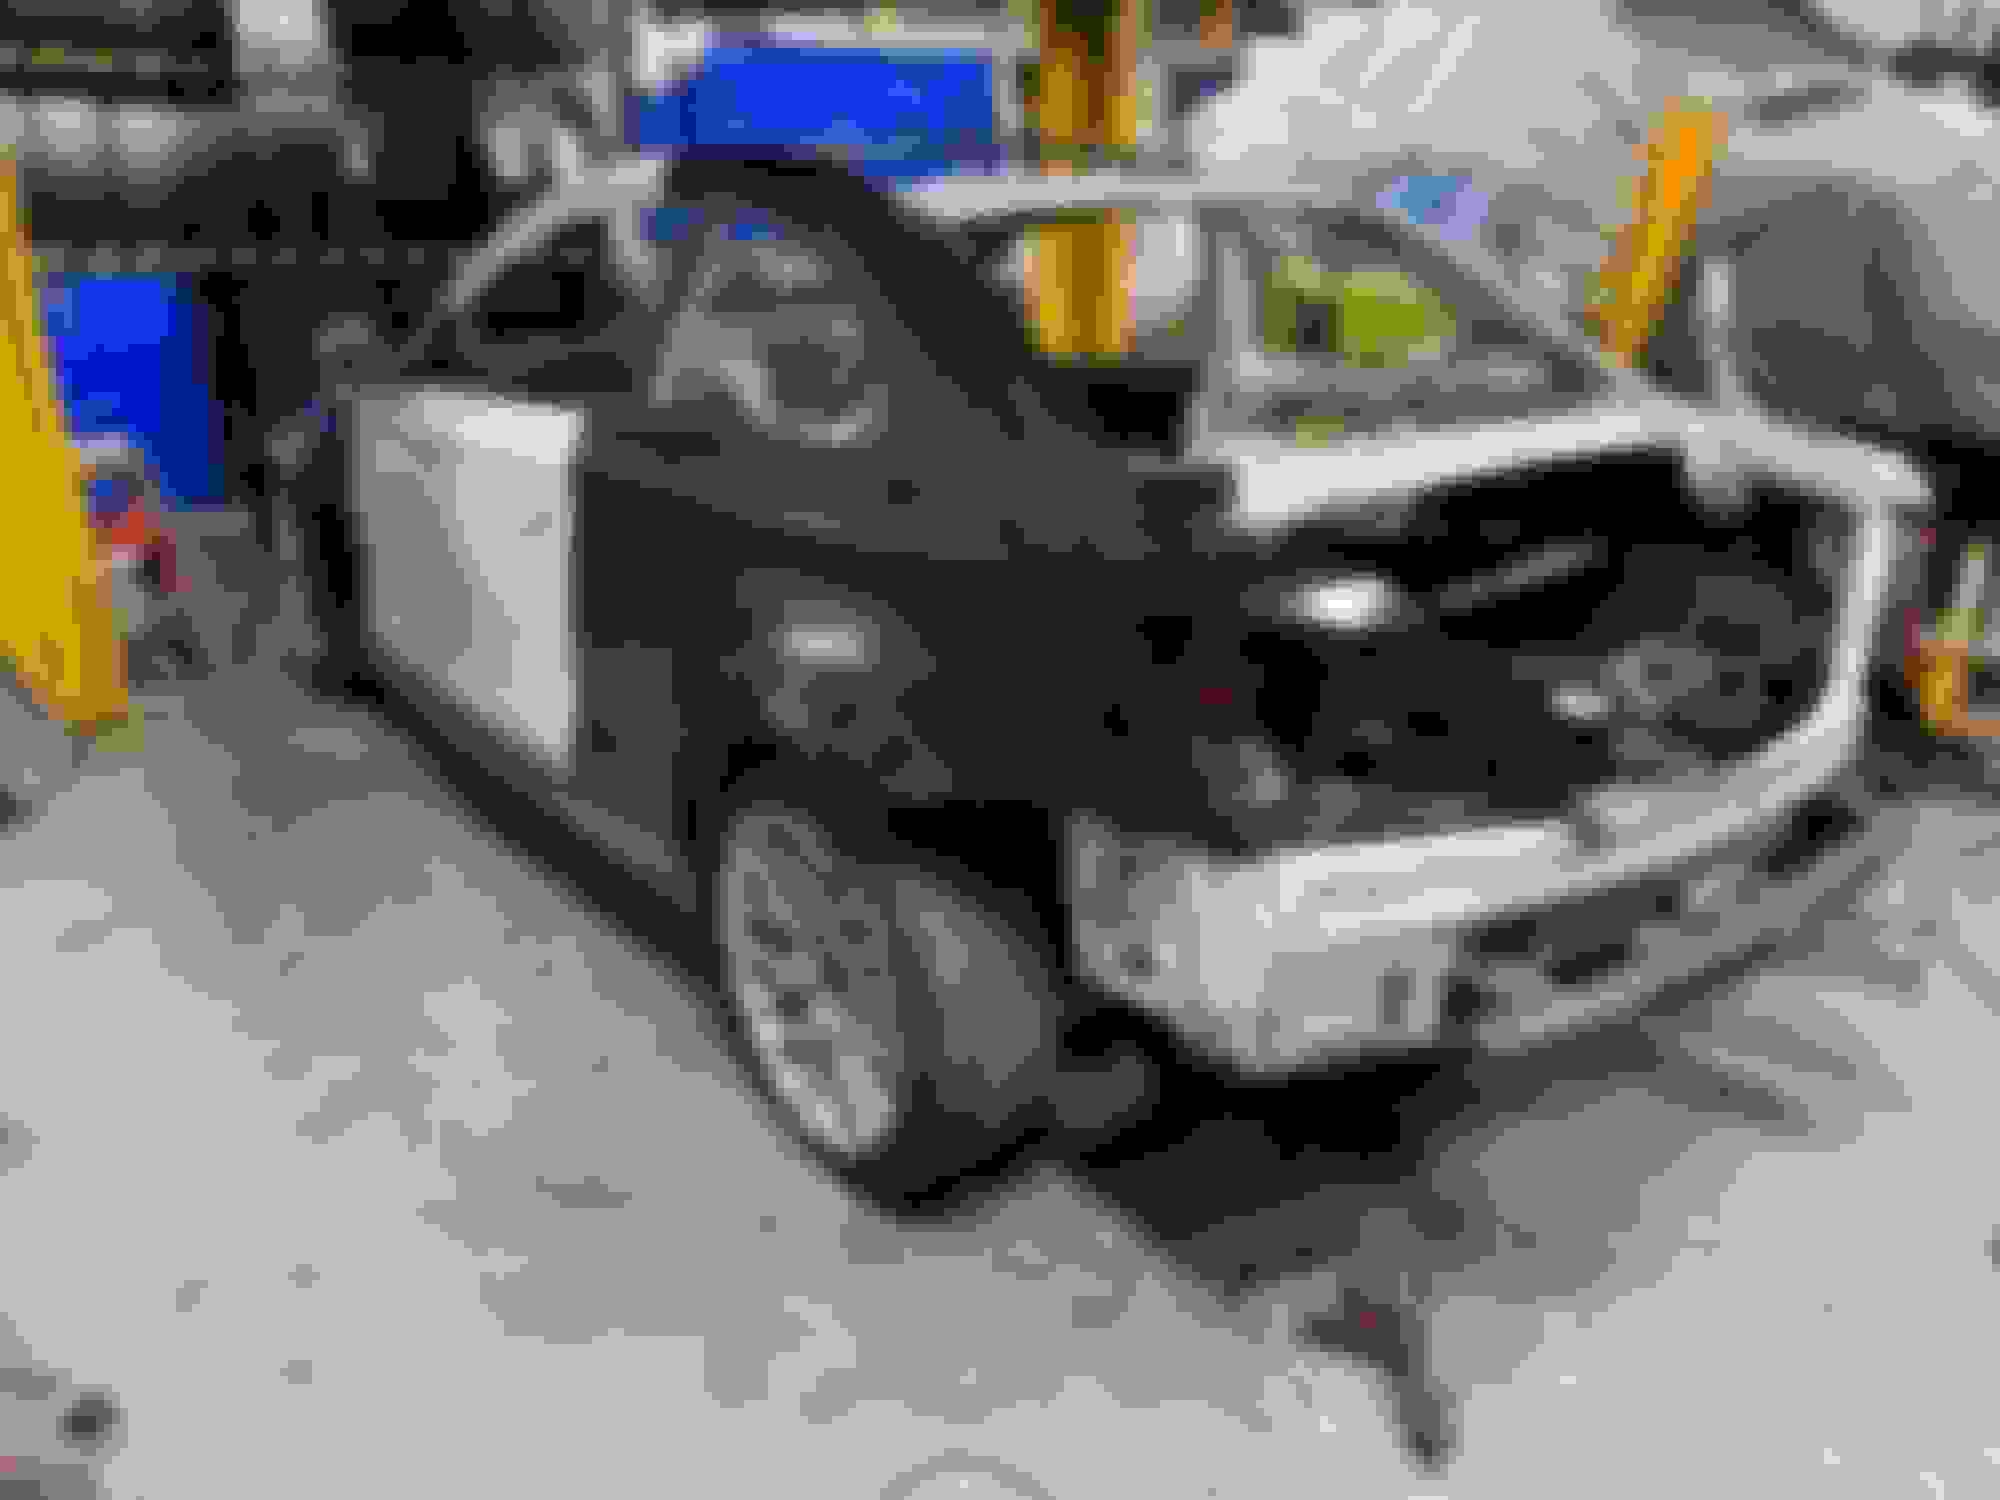
Also moved my Ctek charger point from under the bonnet to Velcro’s to the front crossmember. Opening the bonnet became too much hassle 🤣
Last edited by boost monster; Dec 1, 2023 at 02:36 PM.
Continuing to get through my list of jobs carefully avoiding the ones that actually matter like getting the closed loop working again and ECU monitor working for the first time🥴
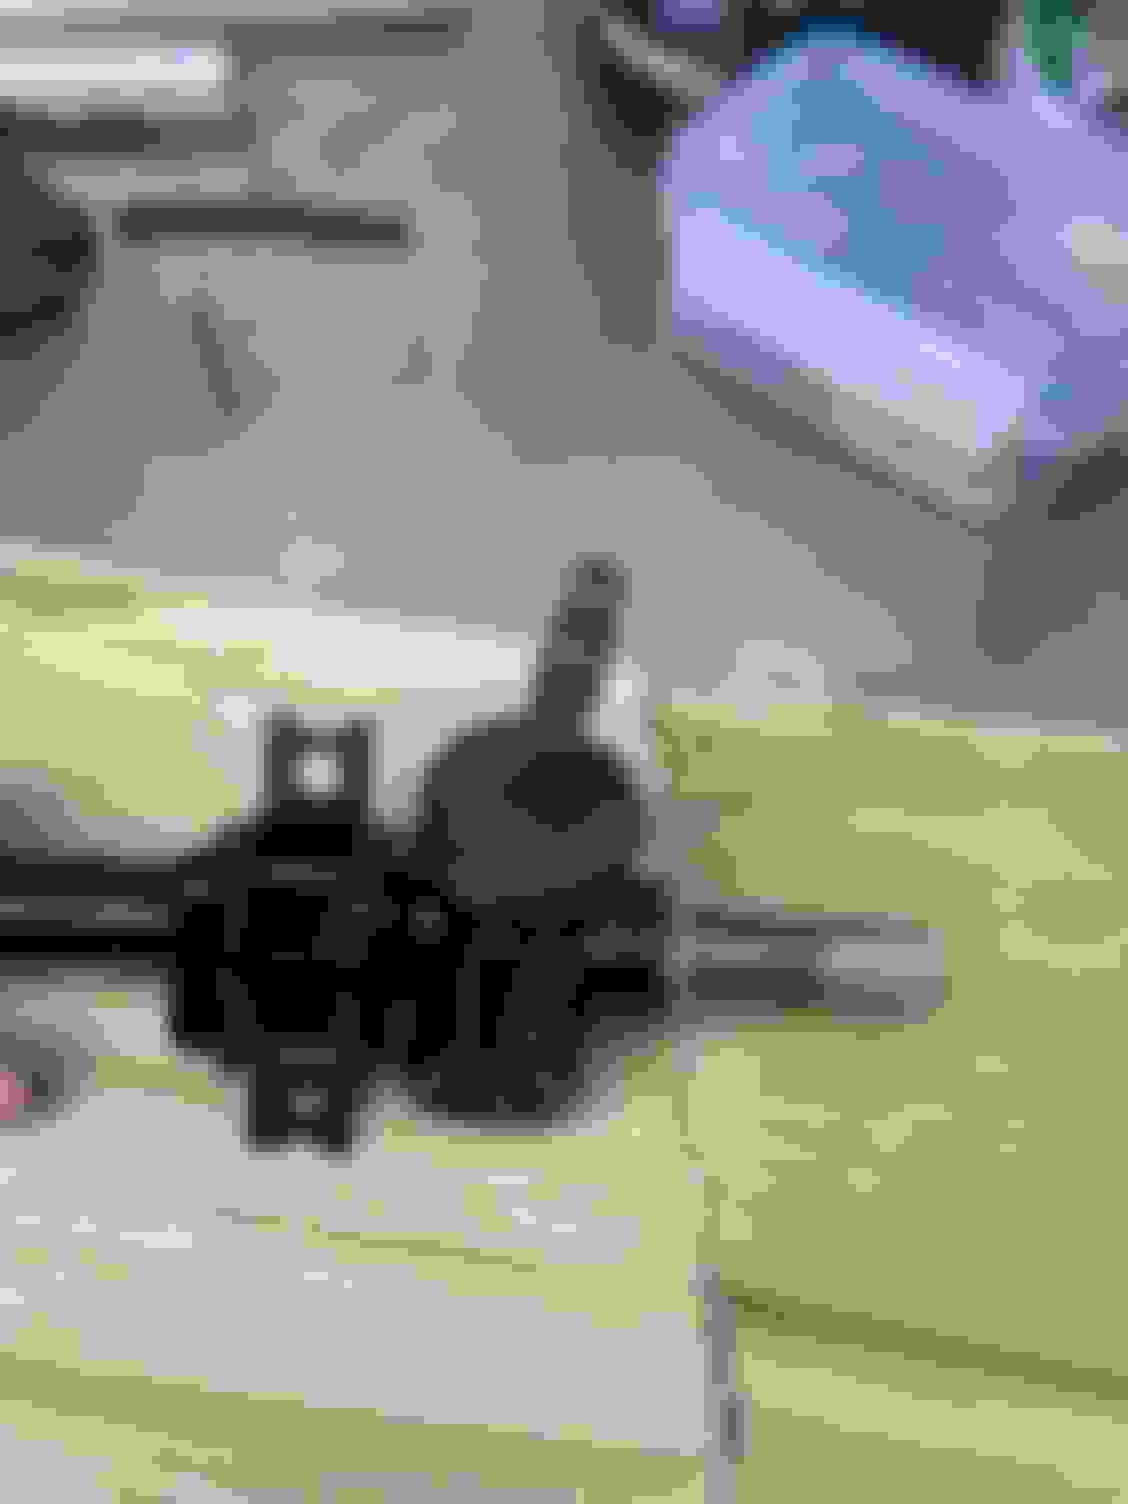
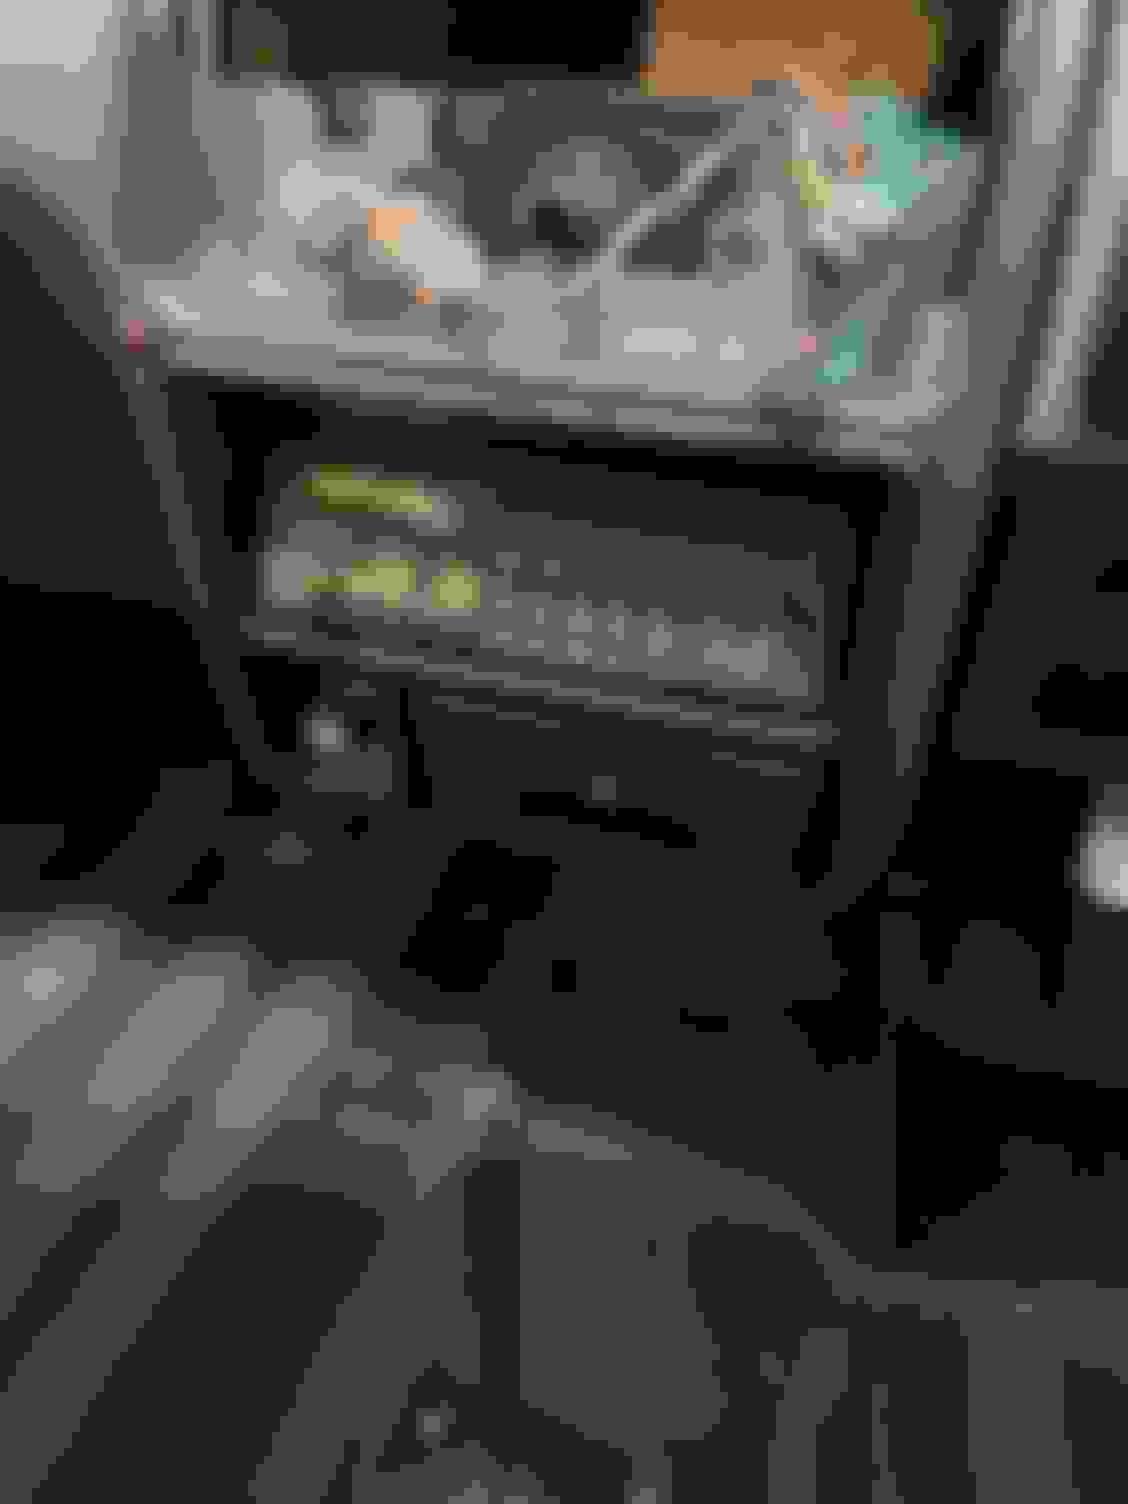
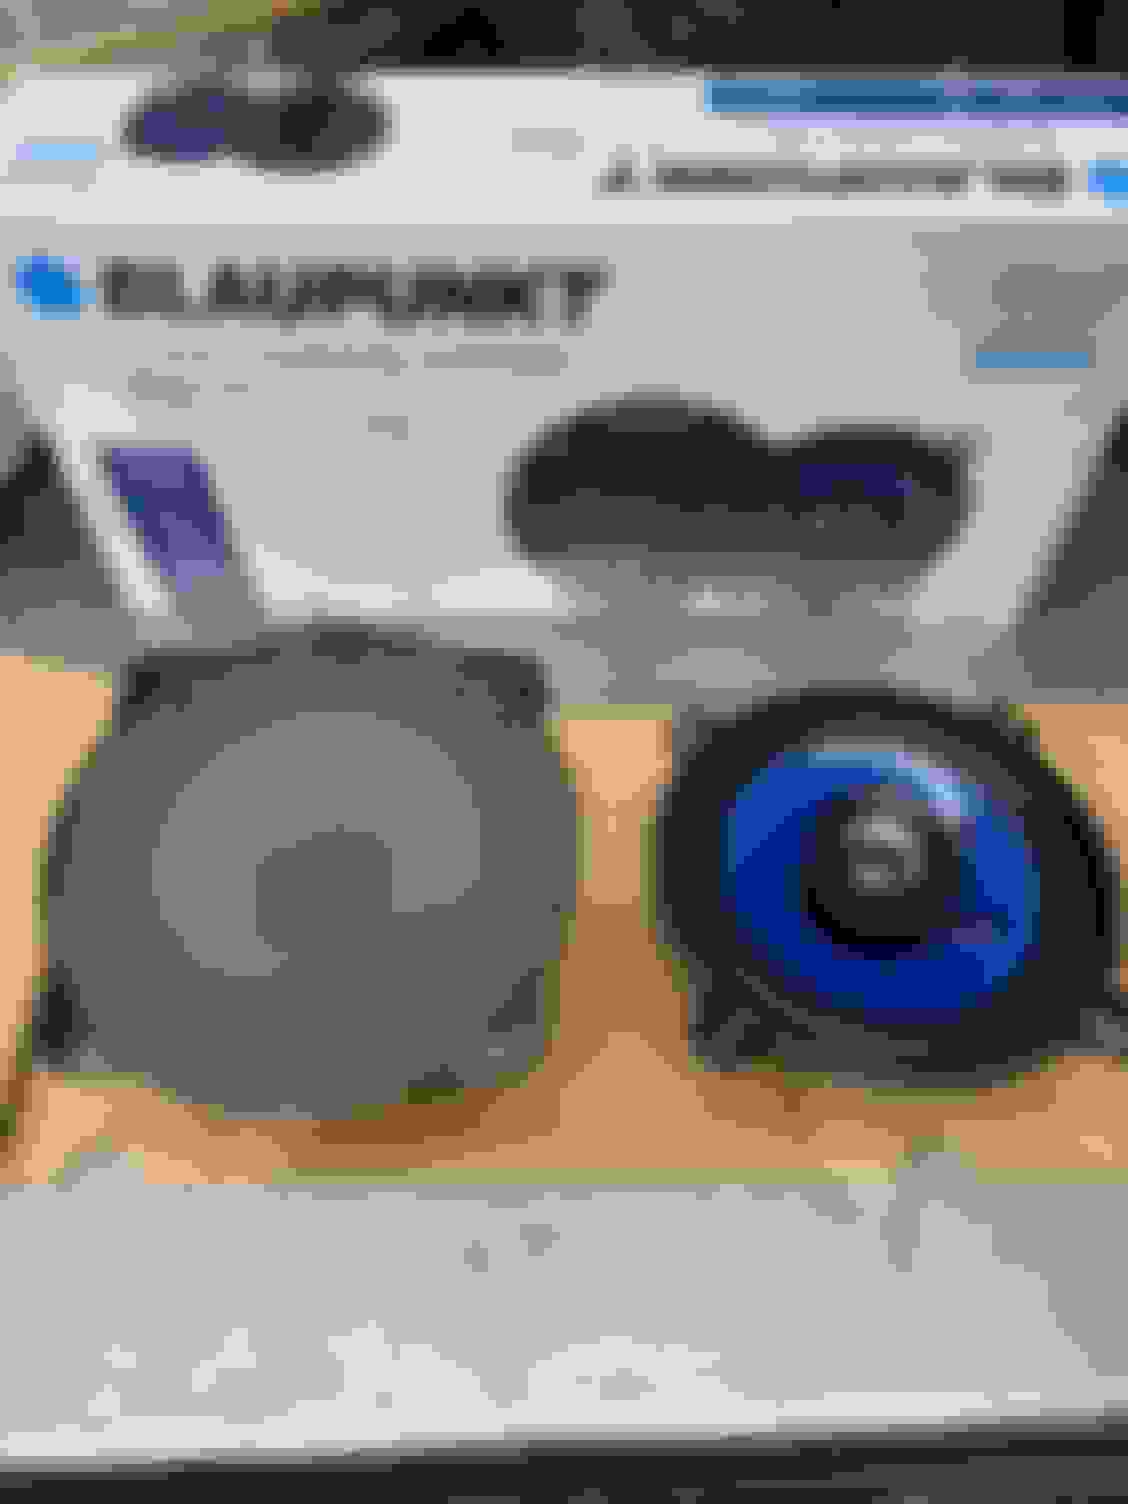
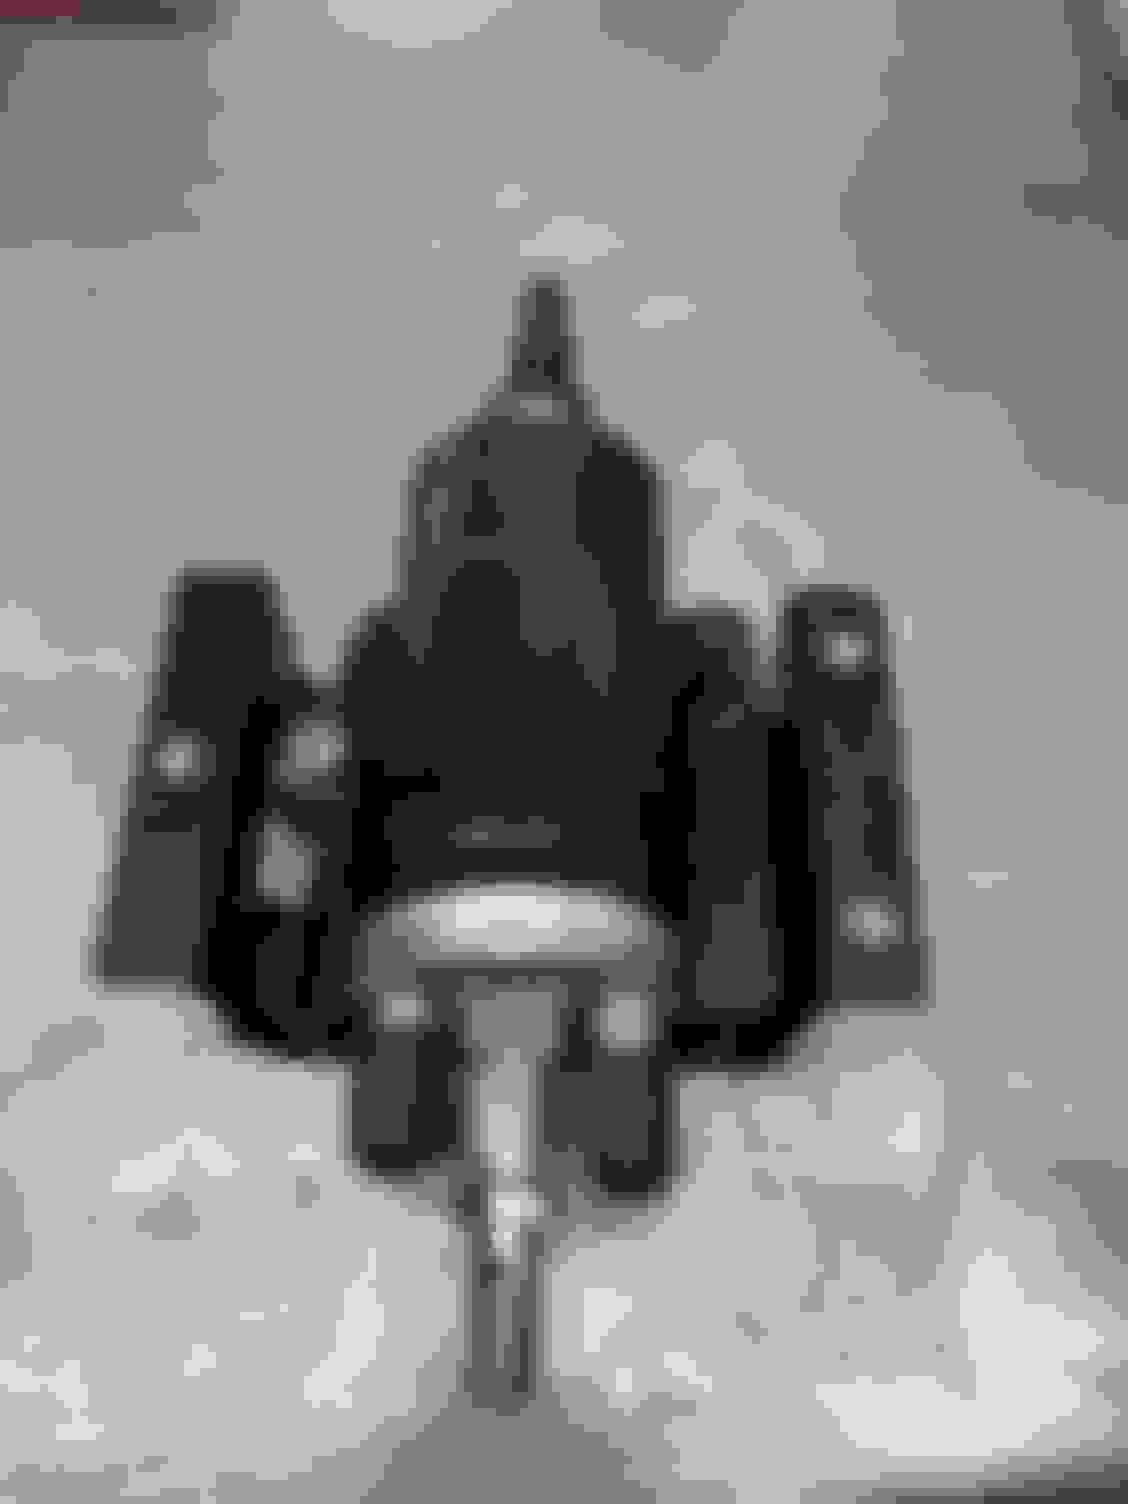
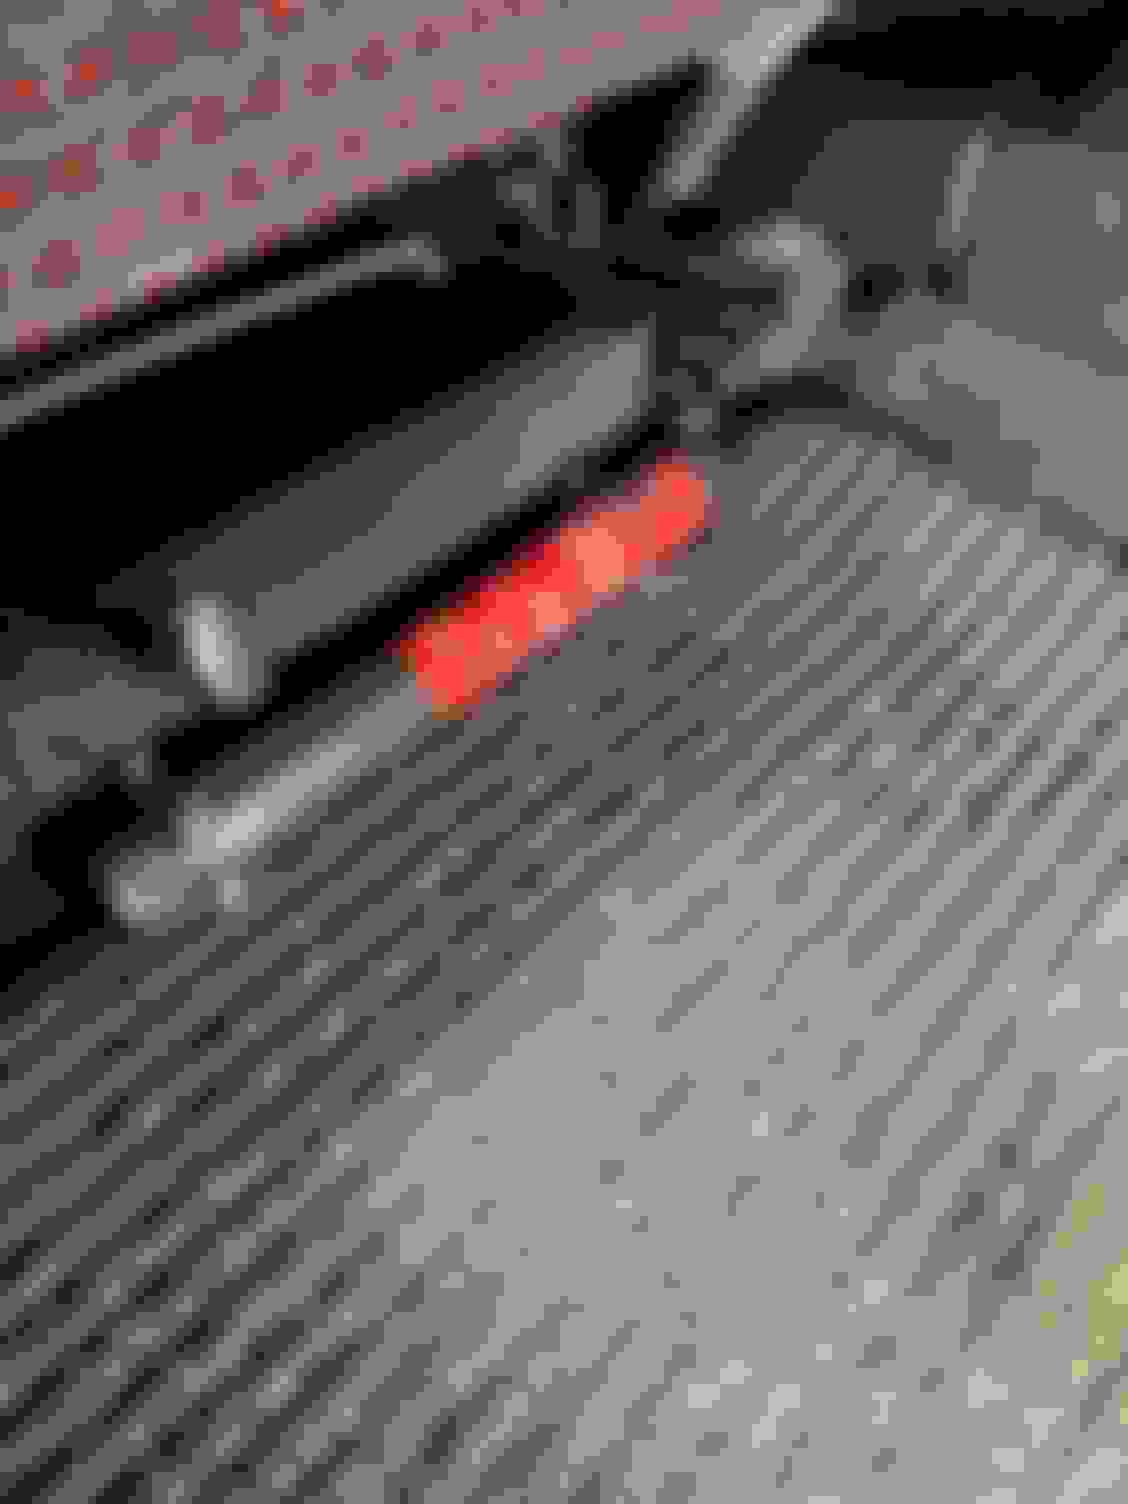
Carpets have been cleaned. Dehumidifier in overnight. The dirty water thing amazes me. The carpets were immaculate 🥴 Decided to fit the centre console extension that I’ve had for about 20 years. Pleased to see Ford, as expected marked where to drill for the bracket. This is the closest to the carpets have been to being removed in my ownership. All fitted complete with the screw cover on the rear fixing. This was my daily for about five years until I retired it, as a result all sorts were throw in the boot damaging the rear seat backs. Not sure using filler on the dents is normal behaviour as who the feck will see it. Primer All done Whilst I liked the look of the original head unit it was rubbish and nothing else is original so a Blaupunkt Bremen was installed. MIC for hand free calls DAB Ariel will be stuck to the windscreen once I decide if I’m going to replace it. The cable was fed up the passenger side A pillar. I wanted to improve the interior lighting and have tried this before by fitting 21w lamps but they melted stuff🤣🤣 It’s not as simple as getting a LED replacement as Ford put 12v+ to the lamp body and 12v- to the centre pin….. the opposite to all LED lamps Whilst being mapped the dyno guru said it didn’t respond “normally” when he needed to add fuel and he suspected my twenty five year old fuel pump🤷♂️. The wiring at the pump was hard and would have cracked if bent. I decided to rewire it and although I’ve never heard it being an RST issue it’s common for Sierras to have less than alternator voltage at the pump. Unwrapping the loom to replace it gave me the opportunity to include the alarm cable for the boot switch in the re wrap. Forgot to take a picture. I have a new pump coming but not arrived yet.
Re-taped the loom after the fuel pump re-wire. I�m expecting a noticeable difference in sound quality with the replacement rear speakers. Replaced the boot light with an LED lamp. The replacement fuel pump arrived but� A little slip on ice resulted in this for six weeks so any progress will have to wait.
Despite my compromised mobility, after a few week of complete rest I was able to get into the garage and with some help from my sons a few more jobs on �the list� were completed.
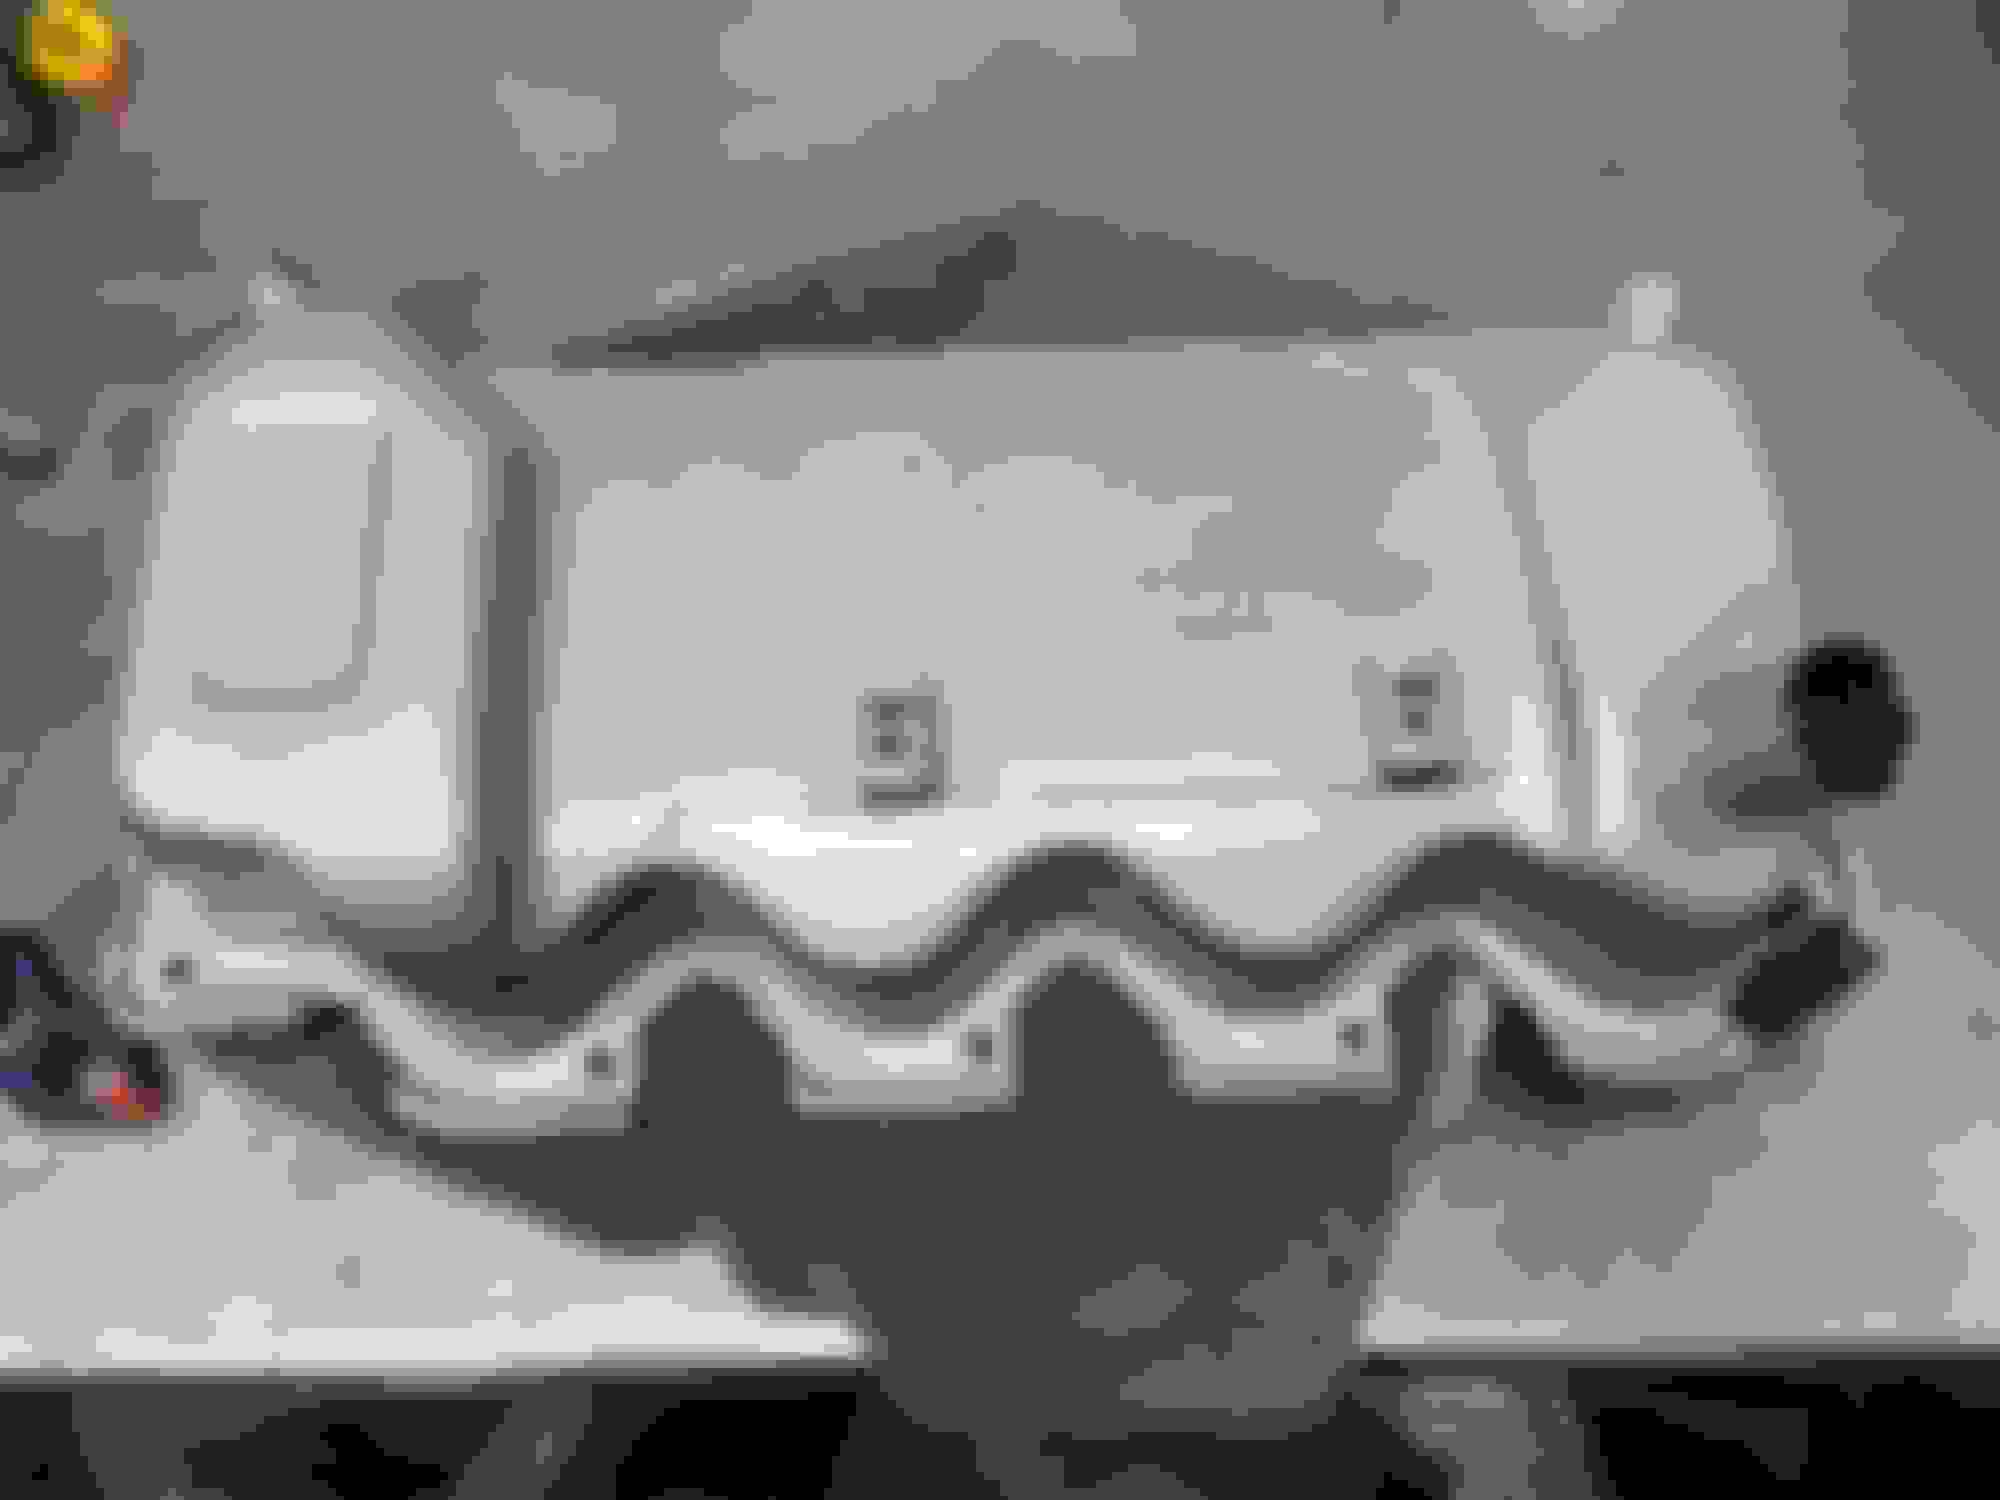
The boot trims got their first clean in 36 years! The foam on the vent disintegrated. It was replaced with similar stuff but I�m not organised enough to get pictures of everything. Because I have a TVR Griffith alloy spare wheel it sits much lower in the well and anything placed in the boot just fall into the well. After going to the builders merchants last summer to collect a lintel (Escort boot was wider than my 1 series) I decided to do something about it. A coat of fence stuff. We will see how this works out. New fuel pump fitted. A bracket for the Fire Safety stick. Painted the rocker cover that got damaged during the EFI conversion. Strato silver. Still clean in here despite the big miles. All done and a replacement sticker fitted. Strut brace fabrication under way using my original that no longer fitted with the EFI inlet. I have previously gave my son a tig welder and a bandsaw as Christmas gifts and he put them to good use. All done just to be dressed. All done. I covered it in heat shrink as a painted finish always ends up chipped.
Last edited by boost monster; Mar 19, 2026 at 07:40 AM.
One step forward then two back!
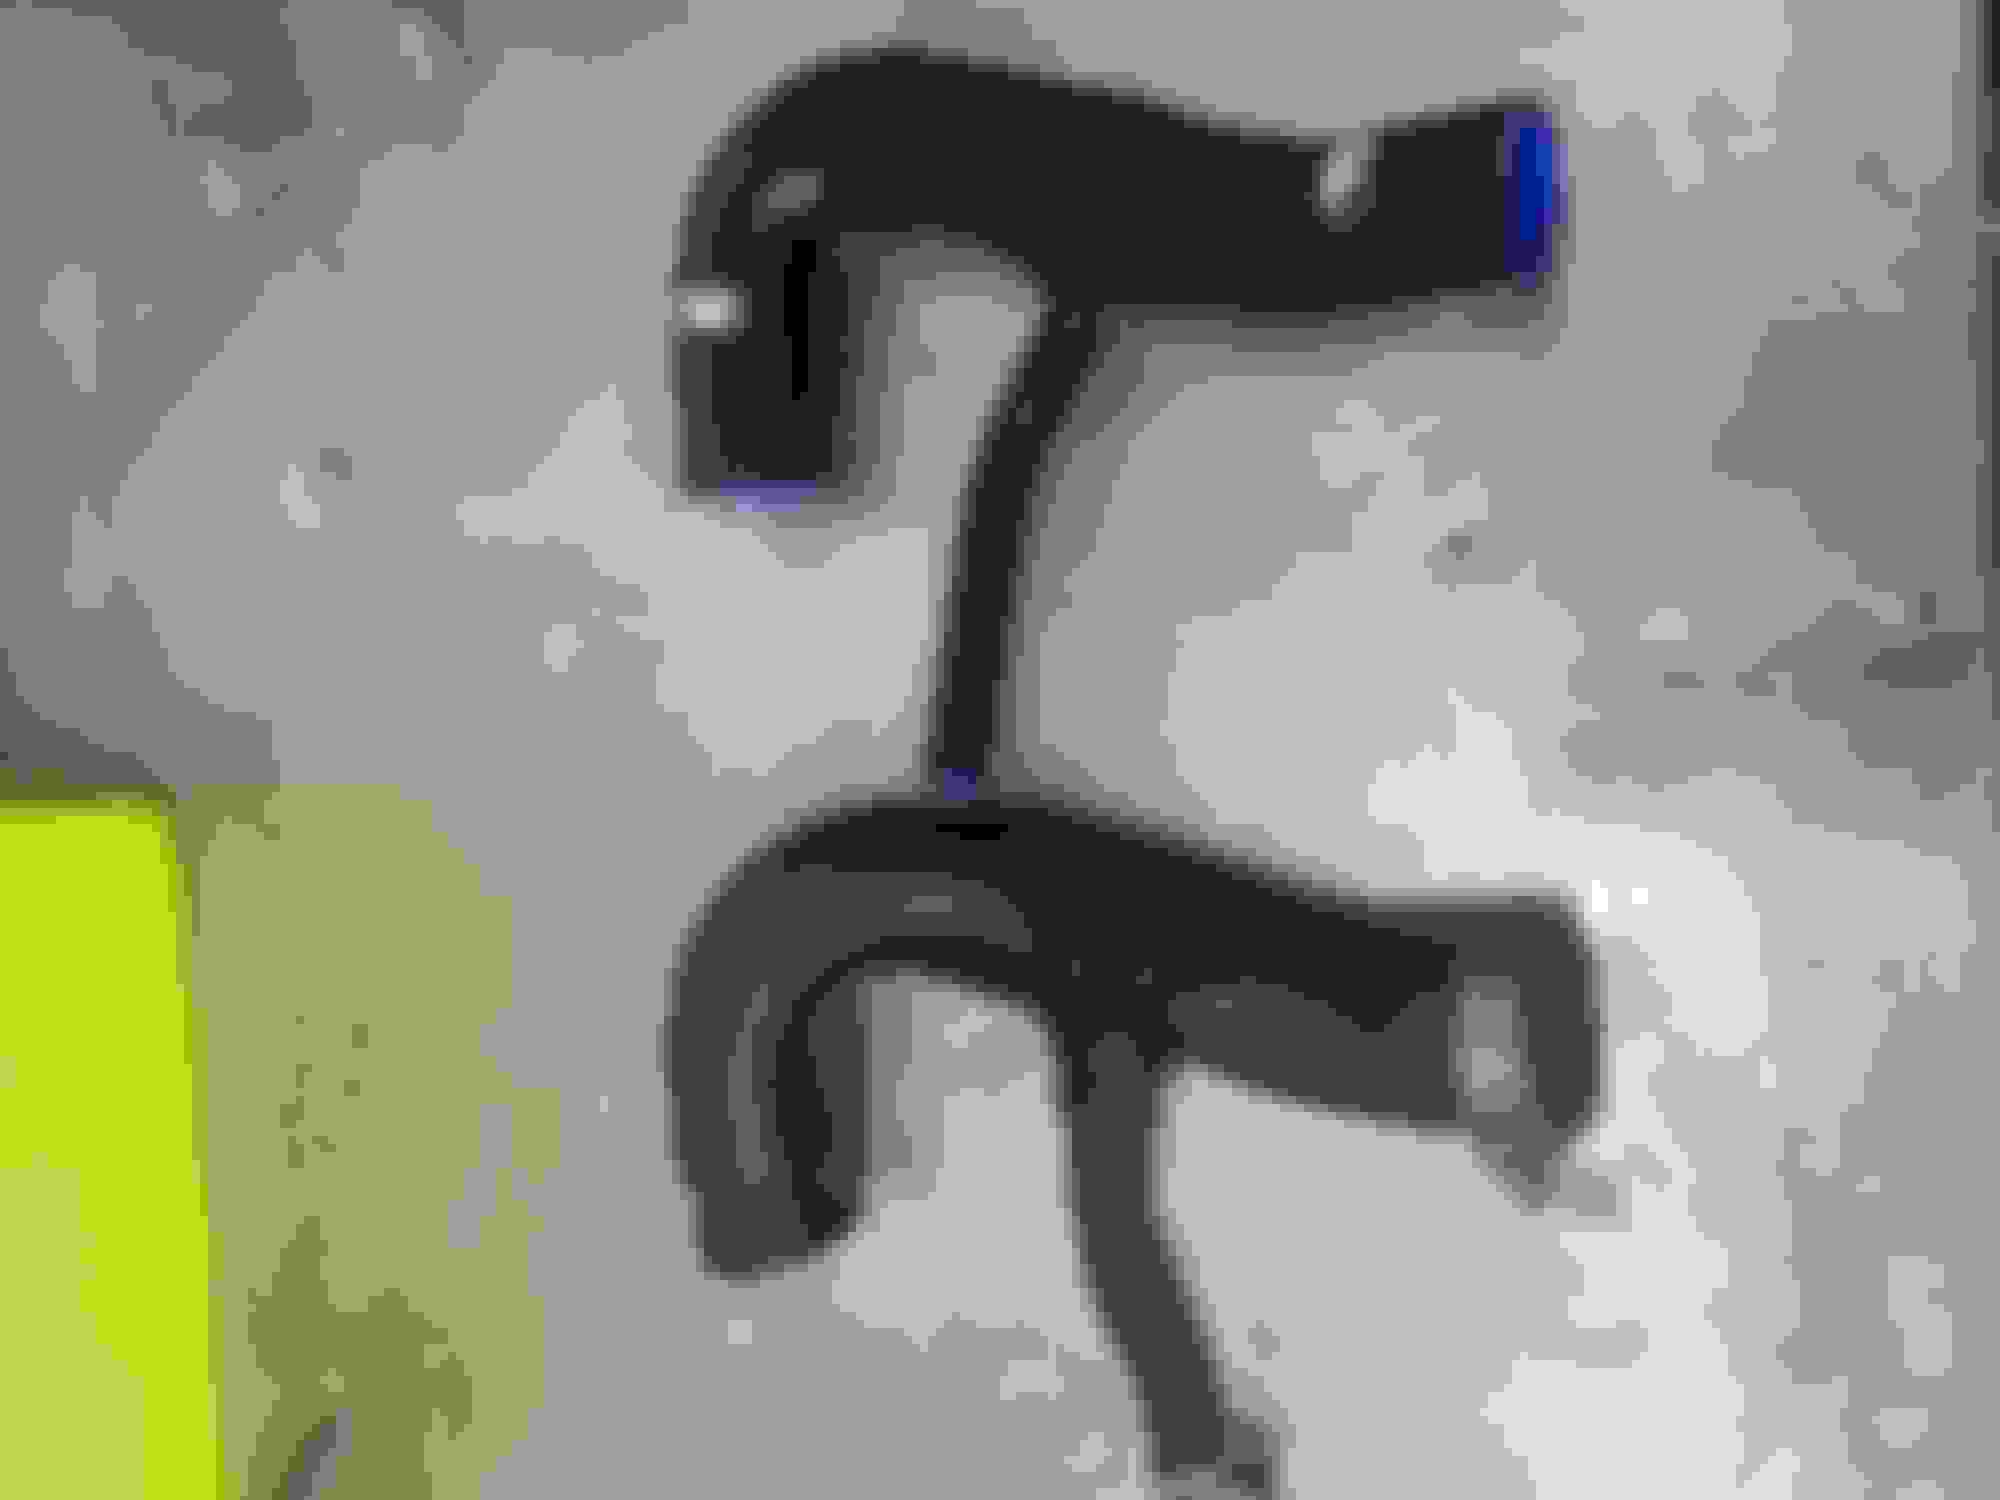
During the winter I replaced the original bonnet release cable as the inner had become kinked at the bonnet end, probably some lubrication in my previous years of ownership would have prevented this. The replacement from Car Parts Express worked perfectly…….. until it was hot then the outer cable turned into a substance somewhere between a solid and liquid and of course it wouldn’t work. If only I knew they were so inferior to the original some heat resistant Sleeving would maybe have saved it.
I fitted another from an alternative source and some heat shielding.
Last year there was a knocking from the passenger side rear shock so I removed them found nothing untoward and refitted them. With hindsight how was this was going to fix it and it didn’t. On closer inspection the top bush was squashed flat compared to the other side, so replacements where fitted.
I prefer powerflex as I have used them before and know the quality. All fitted. The closed loop fuelling has still not been looked at. I had problems with it last year and after a month of fault finding Maxx suggested swapping the ECU and this worked, only for it to stop after a month or so. The first thing I want to do is swap again but the ECU in my sons Fiesta has been completely inaccessible due to the garage being full of BMW 1M panels but slowly they are making their way onto the car. Progress.
Last edited by boost monster; May 3, 2024 at 06:23 AM.
Another unexpected purchase.
It burst a coolant hose on the dyno, I checked if Ford offered a 36 year warranty on their hoses but they didn�t! so replacements were ordered. Simon thought my radiator was inefficient so I will try a flush before anything else.
Fuelling was well out on the new pump, AFR�s in the 9�s All good now. I was able to borrow one from Sitech stock to complete the mapping. Ford v Samco No point in just replacing one.
The car is off the road for the winter.
After having to replace the coolant hoses I also replaced the radiator with one from pro alloy. I would have bet my house on there being nothing wrong with my radiator as the system was always maintained/ flushed through out my ownership, however the temperature control is perfect now. I concede also that the heater matrix requires replacing as the heat from it is poor. Also replaced the fan with a Spal one. The original wasn�t happy at low speeds through the PWM control. An 11� would have be perfect but my son had this 12� he bought and didn�t use on his 450 hp DC2 The temperature falls almost instantly when the fan starts. Managed a few shows.
The first of my winter job is now done, we’ll technically the second as I fitted another boot lamp in the space that I assume is used by LHD cars.
It always annoyed me that after a four wheel alignment it would still show red for out of tolerance regarding the rear camber. It looked awful too like some sort of JDM stanced reject.
I tried camber bolts but they only gave around 1.5 degrees of adjustment, so more drastic action was required. My son wanted to modify the inner wishbone mountings and fit VAG group adjusters.
I decided after some experimentation to move the shock mounting hole in the hub by a few mm.
The original hole was plugged and then re drilled.
It’s back on the wheels now and looking good.
Double boot lamp nonsense. I made a brass plug to locate the hole centre. We’re lucky to have a small lathe, it comes in handy. Getting drilled All done. And the bolts still fit.
I modified the rear tie bars so they are now adjustable for toe.
This work isn�t for 0.1 second gains on track but just so everything is in tolerance with it being lowered.
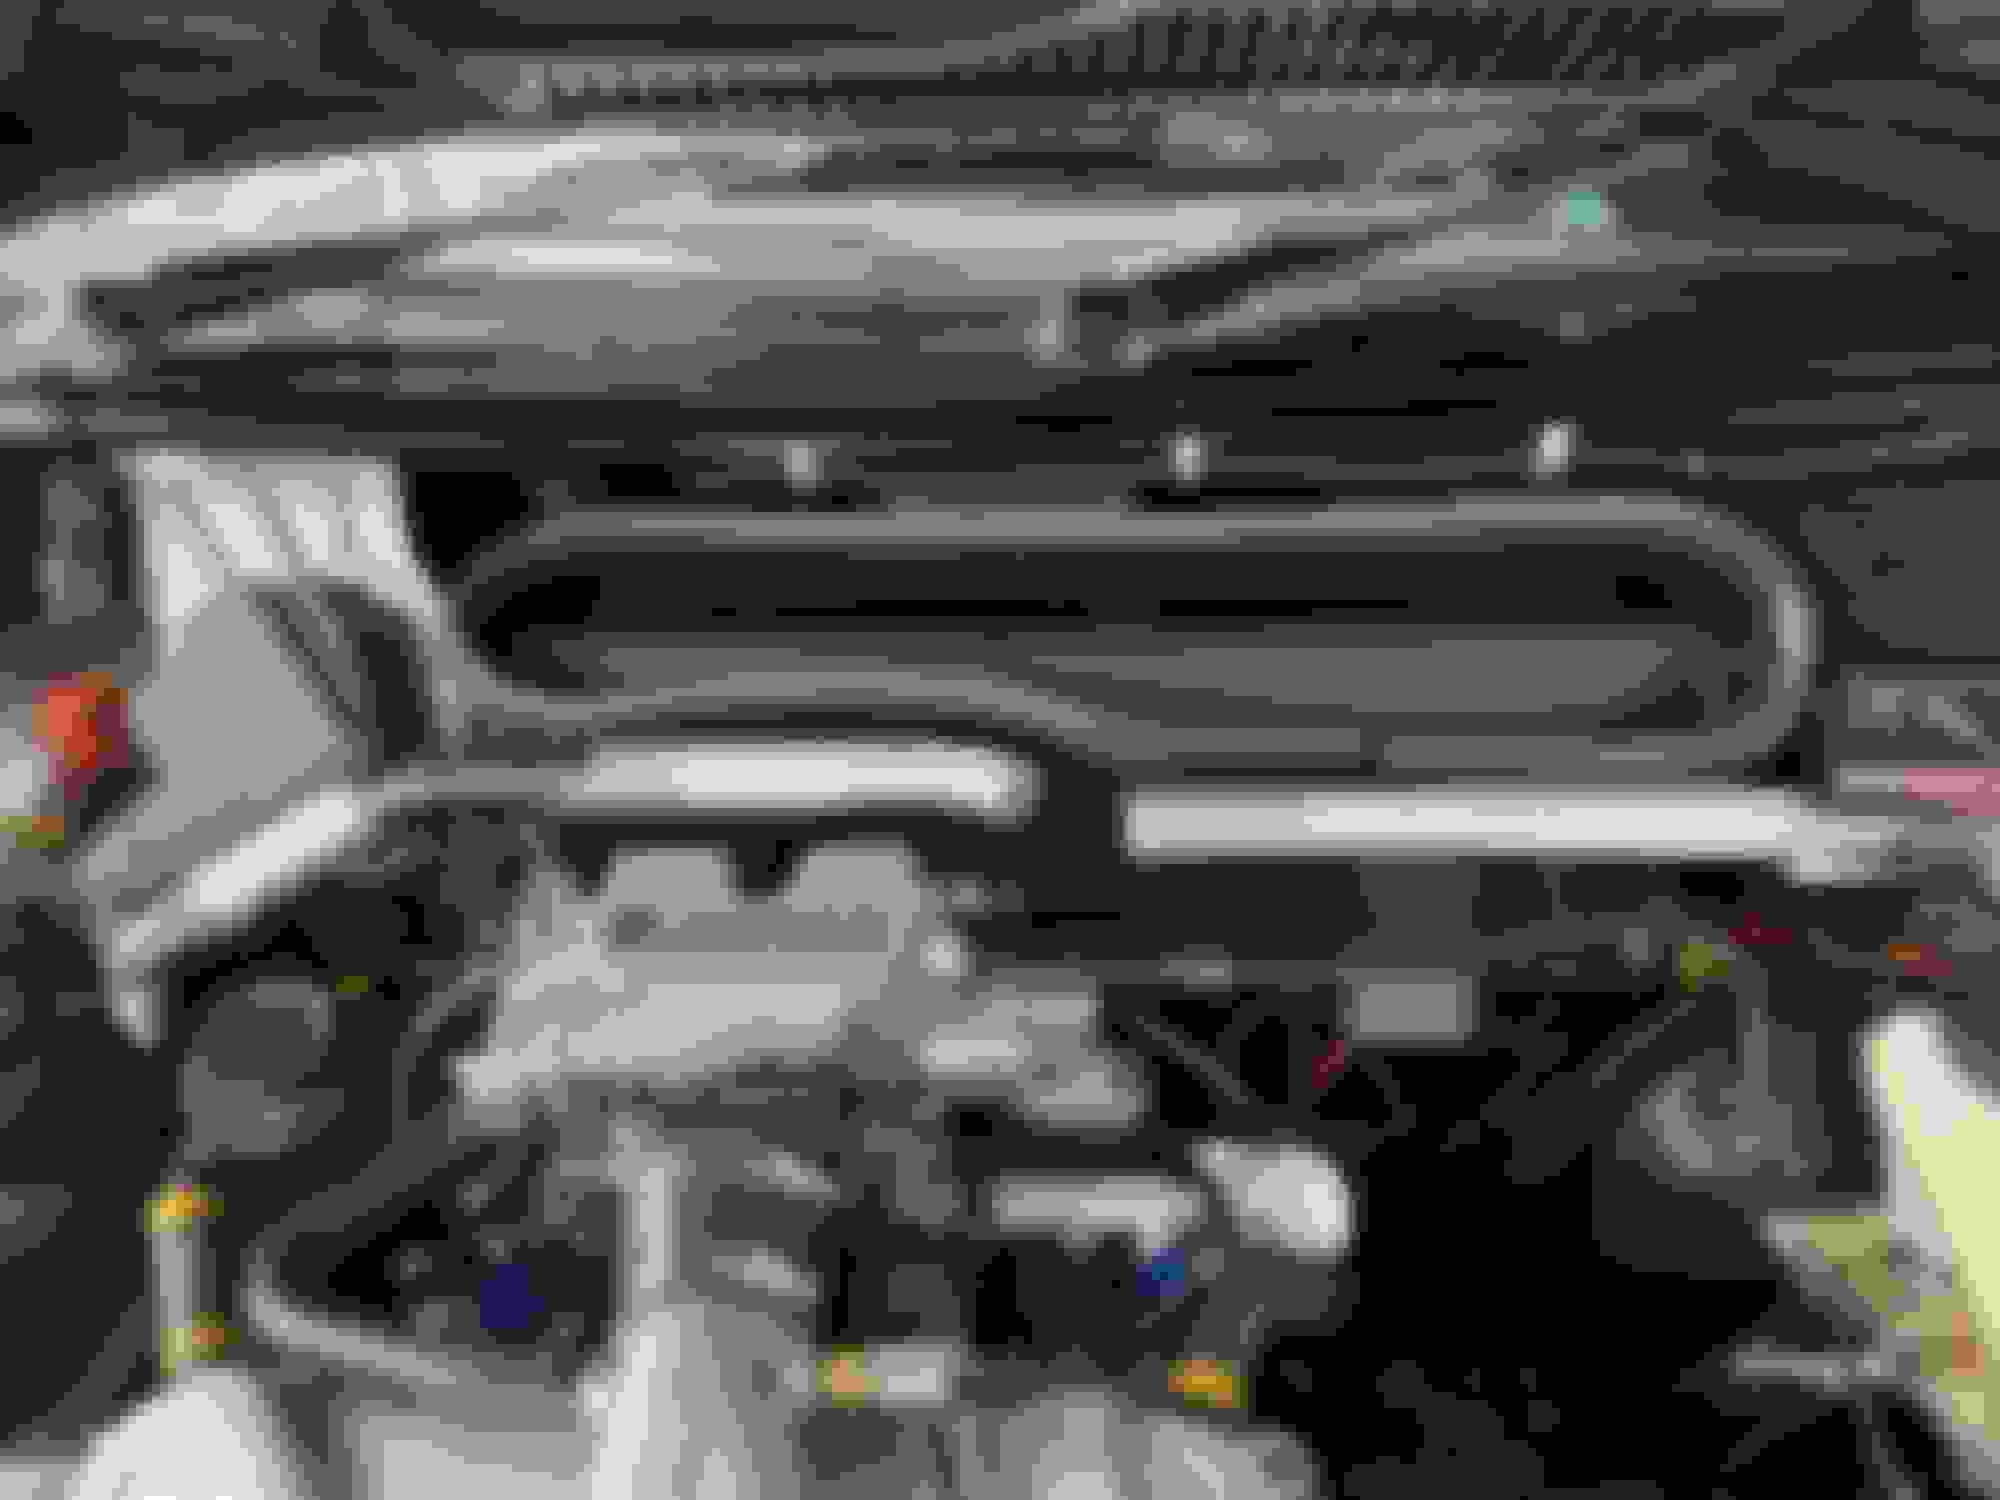
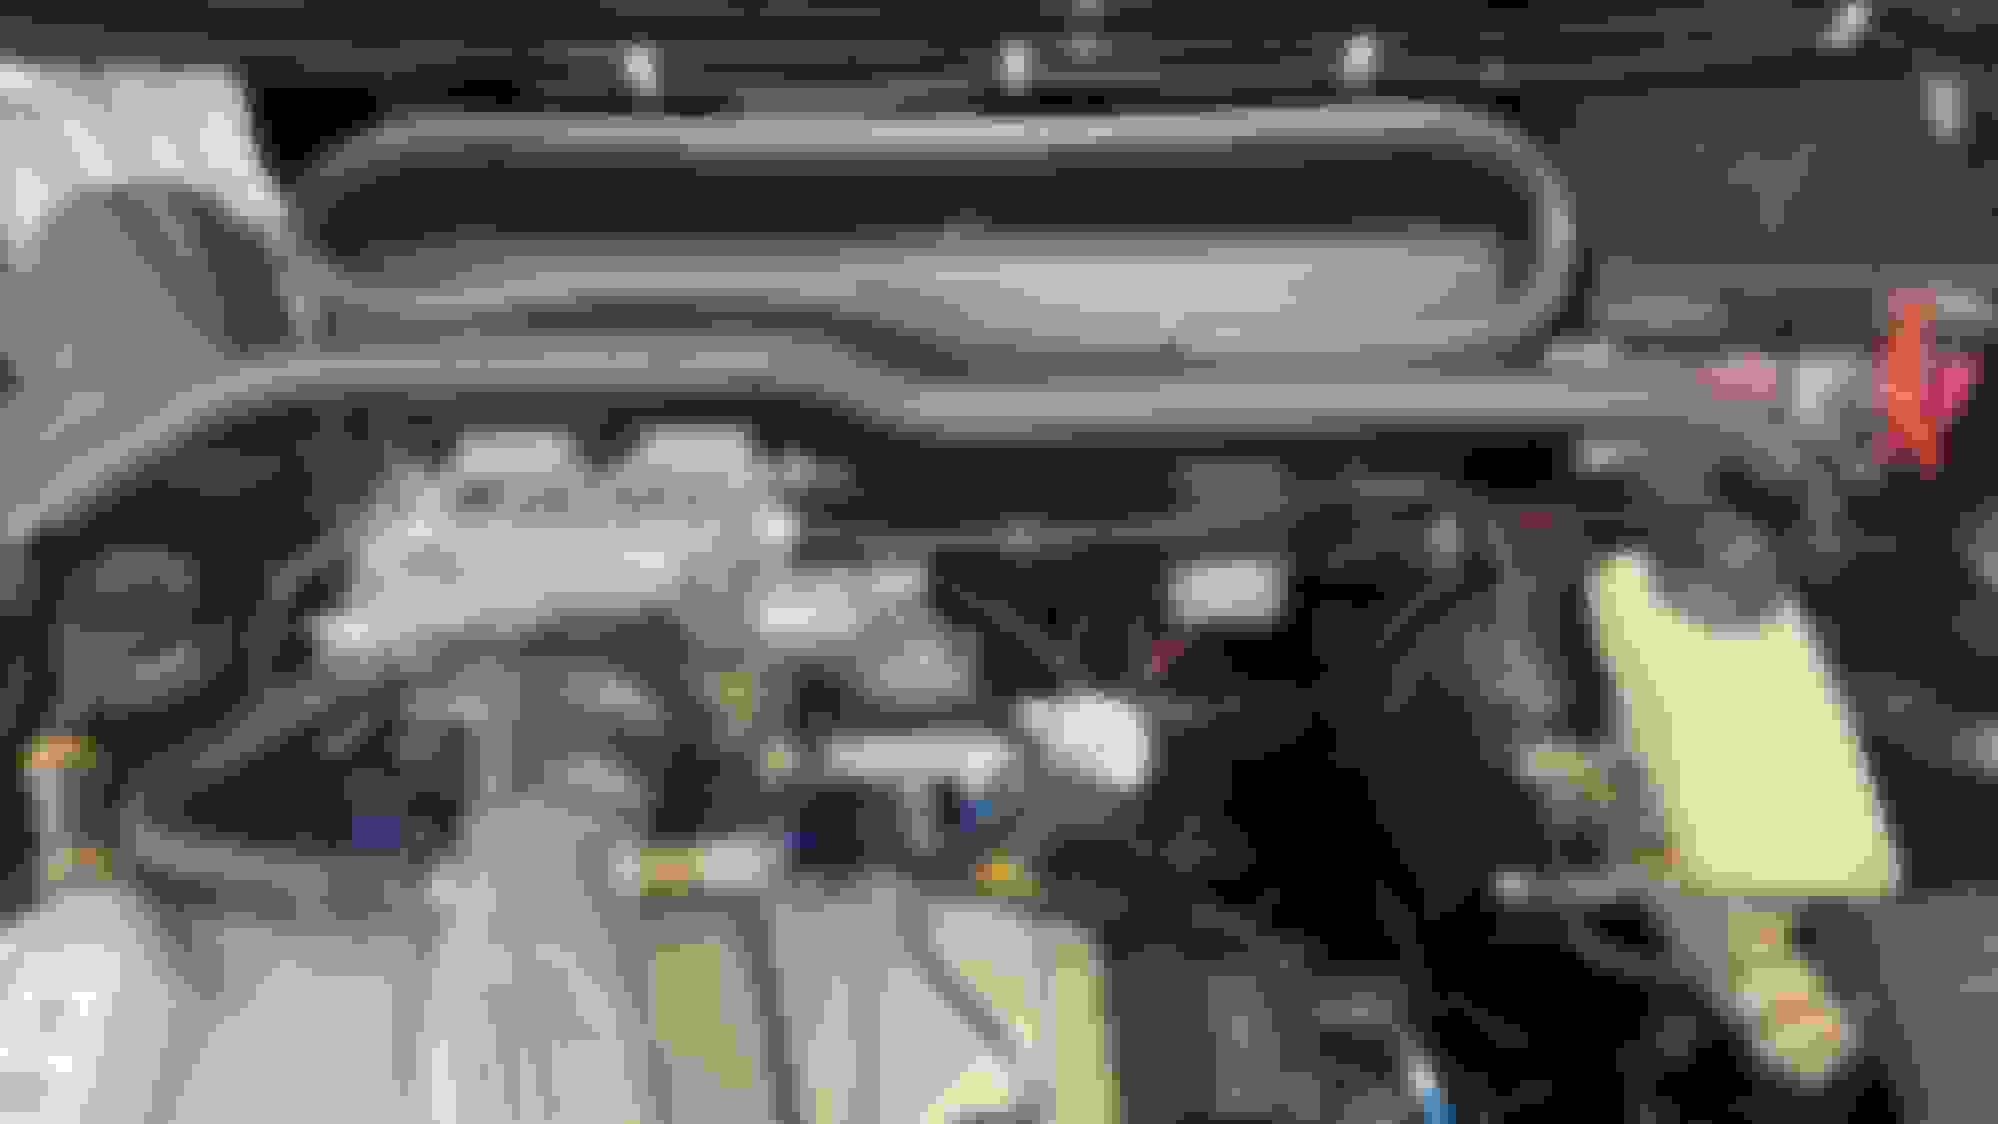
More progress on jobs that don�t really need doing. The down pipe required modifying to clear the chassis brace I fitted so my son decided to fabricate a new 3� one, I�d asked him to convert the Magnex exhaust from the inappropriately named �slip joints� to V bands. The chassis brace was designed to bolt to the inner leg but an aluminium spacer was made to tie both sides of the chassis leg together.
building myself up to change the heater matrix, a job I�m not looking forward too.
Just the Lambda bung to be welded. This bracket bolts to the gearbox. V band and back down to 2.5� Chassis brace. Aluminium spacer to tie the leg together.
Last edited by boost monster; Jan 25, 2025 at 03:59 PM.
Almost ready for using. Heater matrix replaced, I added some sound proofing, will it make any difference 🤷♂️
Took the dash out. I had read it was possible to do it with it in position but for a few screws this was easier. Added some dynamat to the flat surfaces All the foam seals disintegrated so we’re replaced. I also bought a kit that was cut to shape for the heater box. Heater box. Nearly there. Nearly back together. When the dash was out I spotted this cut out that fitted an interior light probably used on Ghia modes so added extra courtesy lamps. I made a bracket and done one on the passenger side too I can find the pedals in the dark now. All LED’s brighter than the headlamps.
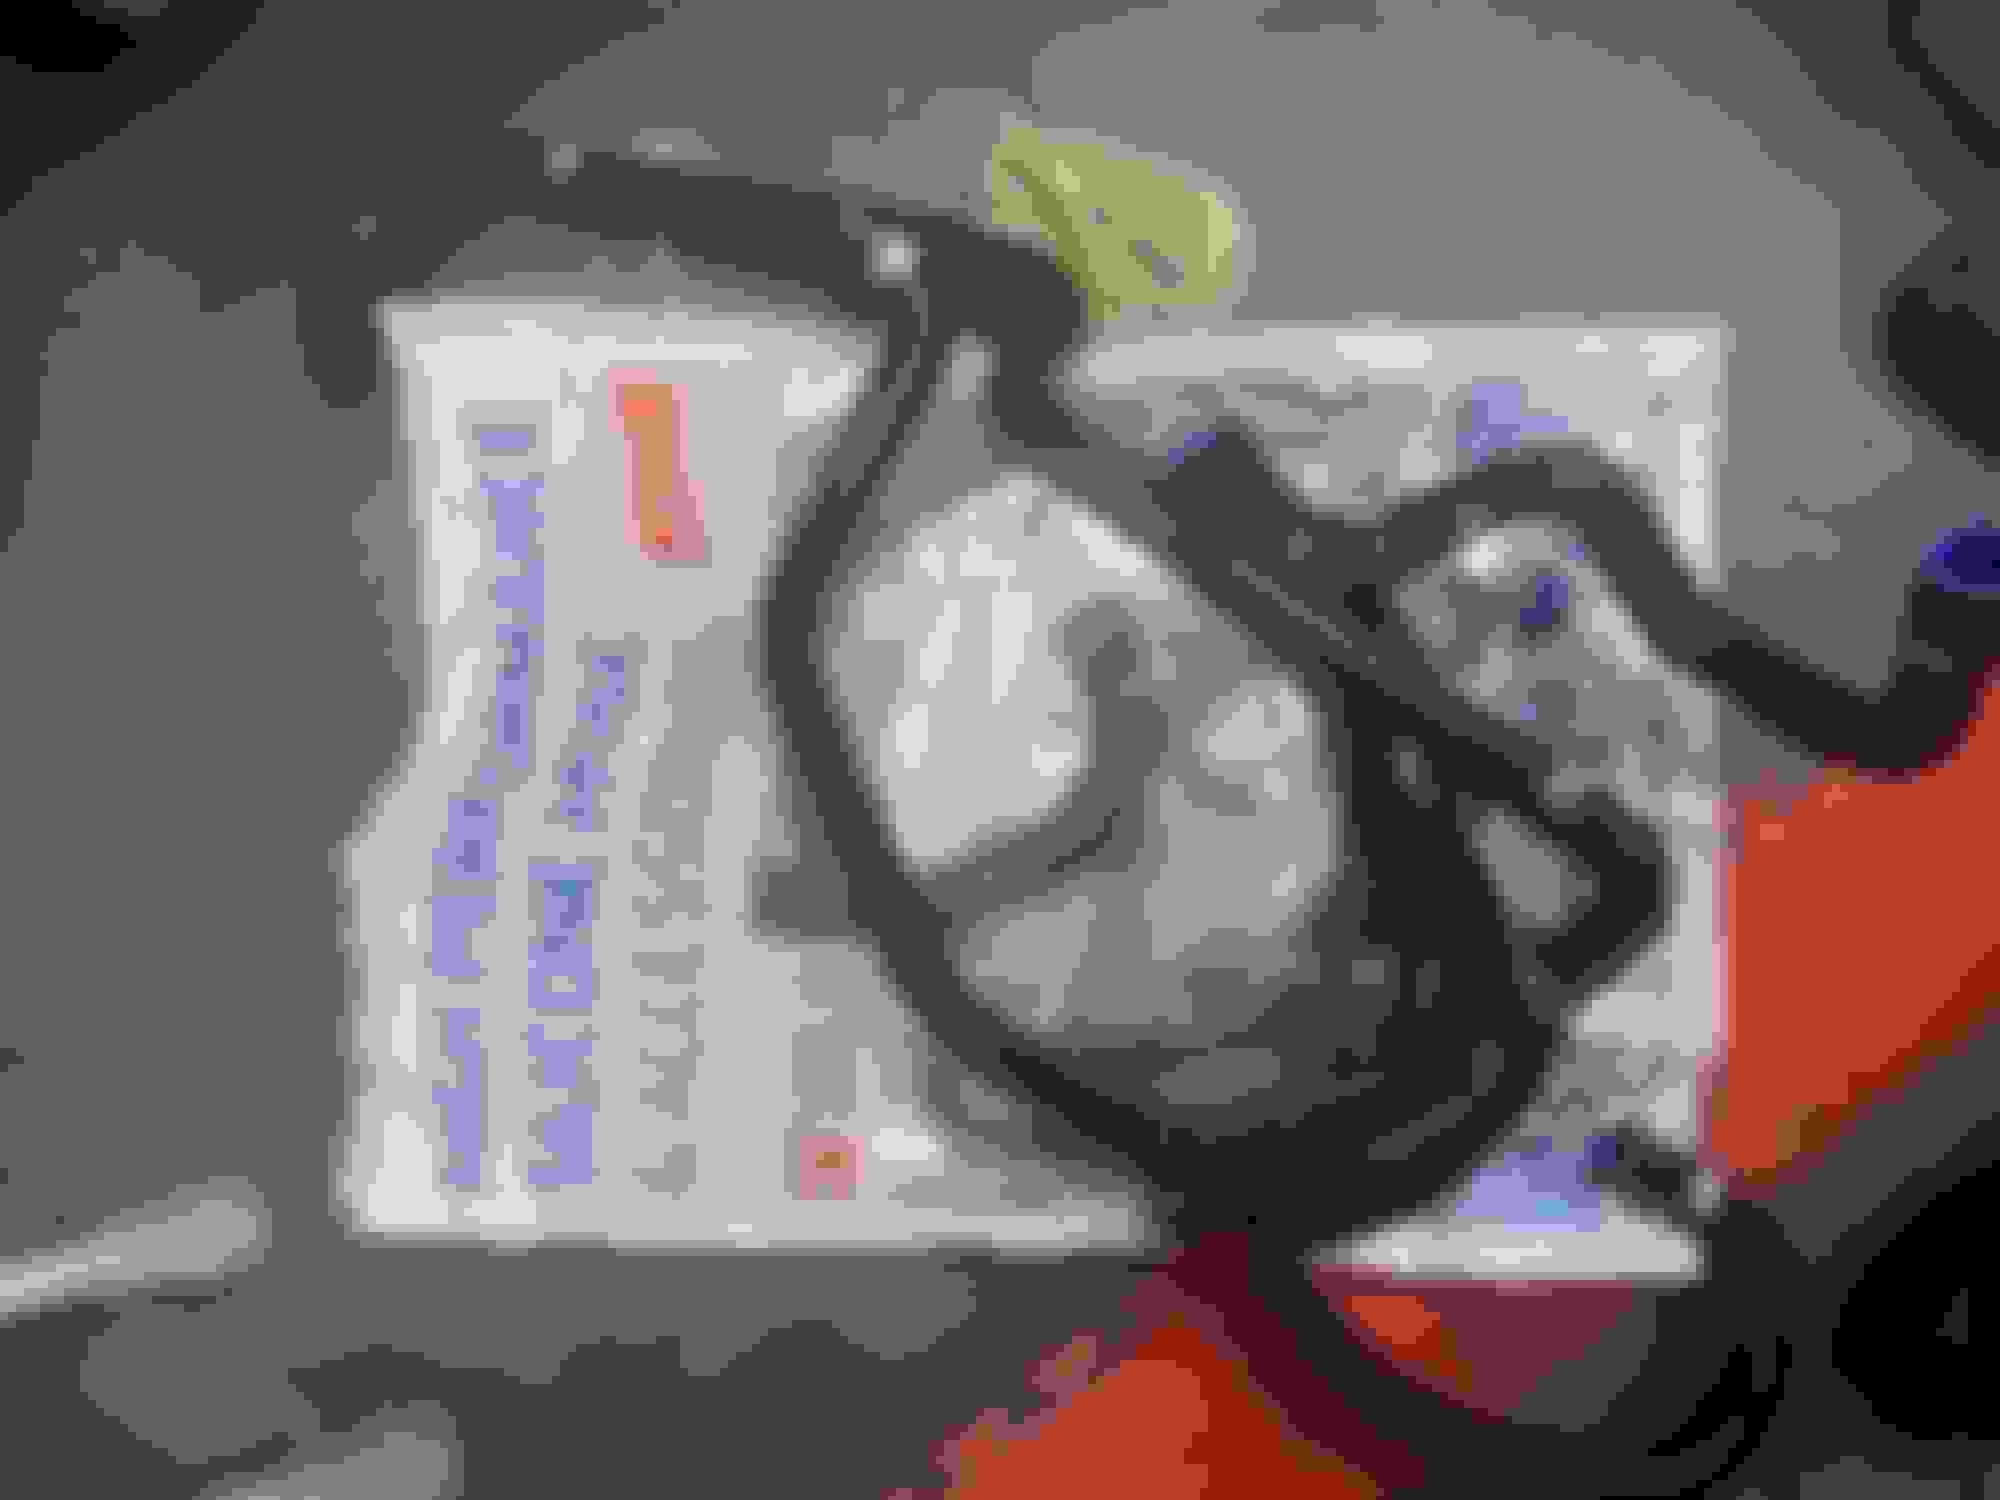
The Barb on the hose tail had corroded away so this was repaired. 1/8 NPT fitting. Refurbished the gear linkage. Fitted replacement nylon bushes and used a bolt for the pin making sure the unthreaded part was through the bushes. It’s the best it’s been for years In the wild topping up with V Power.
Just gone through the latest updates and wow. Some great additions and attention to detail. Its also reminded me that I need to get some foam for my boot trim too
A little update on the rear hub mod. and the dashboard sound deadening.
Well it worked!
For the first time ever the four wheel alignment is all green and within spec. No more wearing tyres on the inside and it doesn�t look broken with the 3-4 degrees off negative camber.
As a result my rear arches were now rubbing ☹️ so the original uncut arches were rolled after buying the tool and then modifying it to fit.
Initially I didn�t think the sound proofing had done anything but I�ve become aware of new rattles which I�m now convinced I can only hear them now because the background noise has decreased. All good here. My sons 1 series on it�s way for mapping. 370whp paint and mot next.
Last edited by boost monster; May 11, 2025 at 02:43 PM.
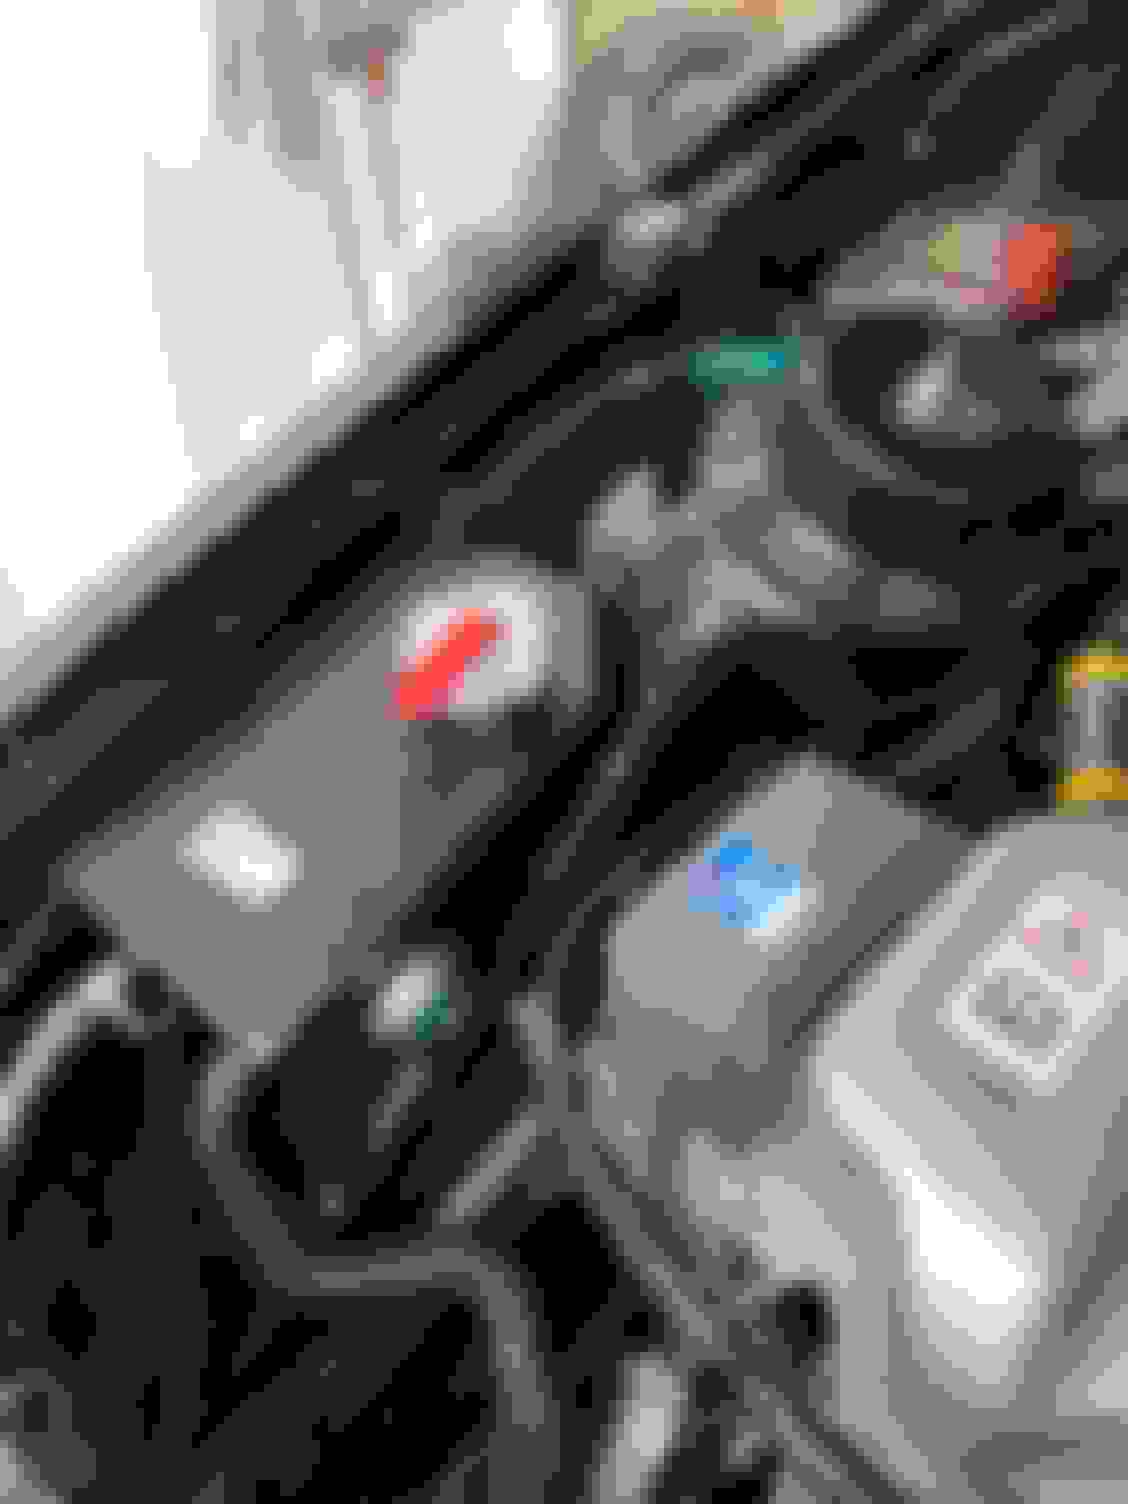
Finally I persevered and got the CanChecked monitor communicating with the ECU with a custom boot up screen. Still lots more it can be set up to do, max/min alarms etc. I don’t think the software is very intuitive and it required to be disconnected and connected from the PC more time than enough during set up due to spurious faults that remarkably disappeared on power up.
It takes analog inputs and I have a BMW mini ambient temperature sensor to connect next. Expecting the same protracted procedure to get that working.
I’ve spent a few hours in the garage over the festive holidays.
On my last drive before hibernation I noticed the heater rear window switch was not illuminating when the lights were on so got a led to sort it. Works great. Looks OEM My Granada Ghia door pulls were quite pitted and rough so they were sent to be re chromed. Fitted another new membrane and some dynamat. All done. Another step closer with my sons project now painted. Just sorting a few odds and sods before MOT.