When you click on links to various merchants on this site and make a purchase, this can result in this site earning a commission. Affiliate programs and affiliations include, but are not limited to, the eBay Partner Network.
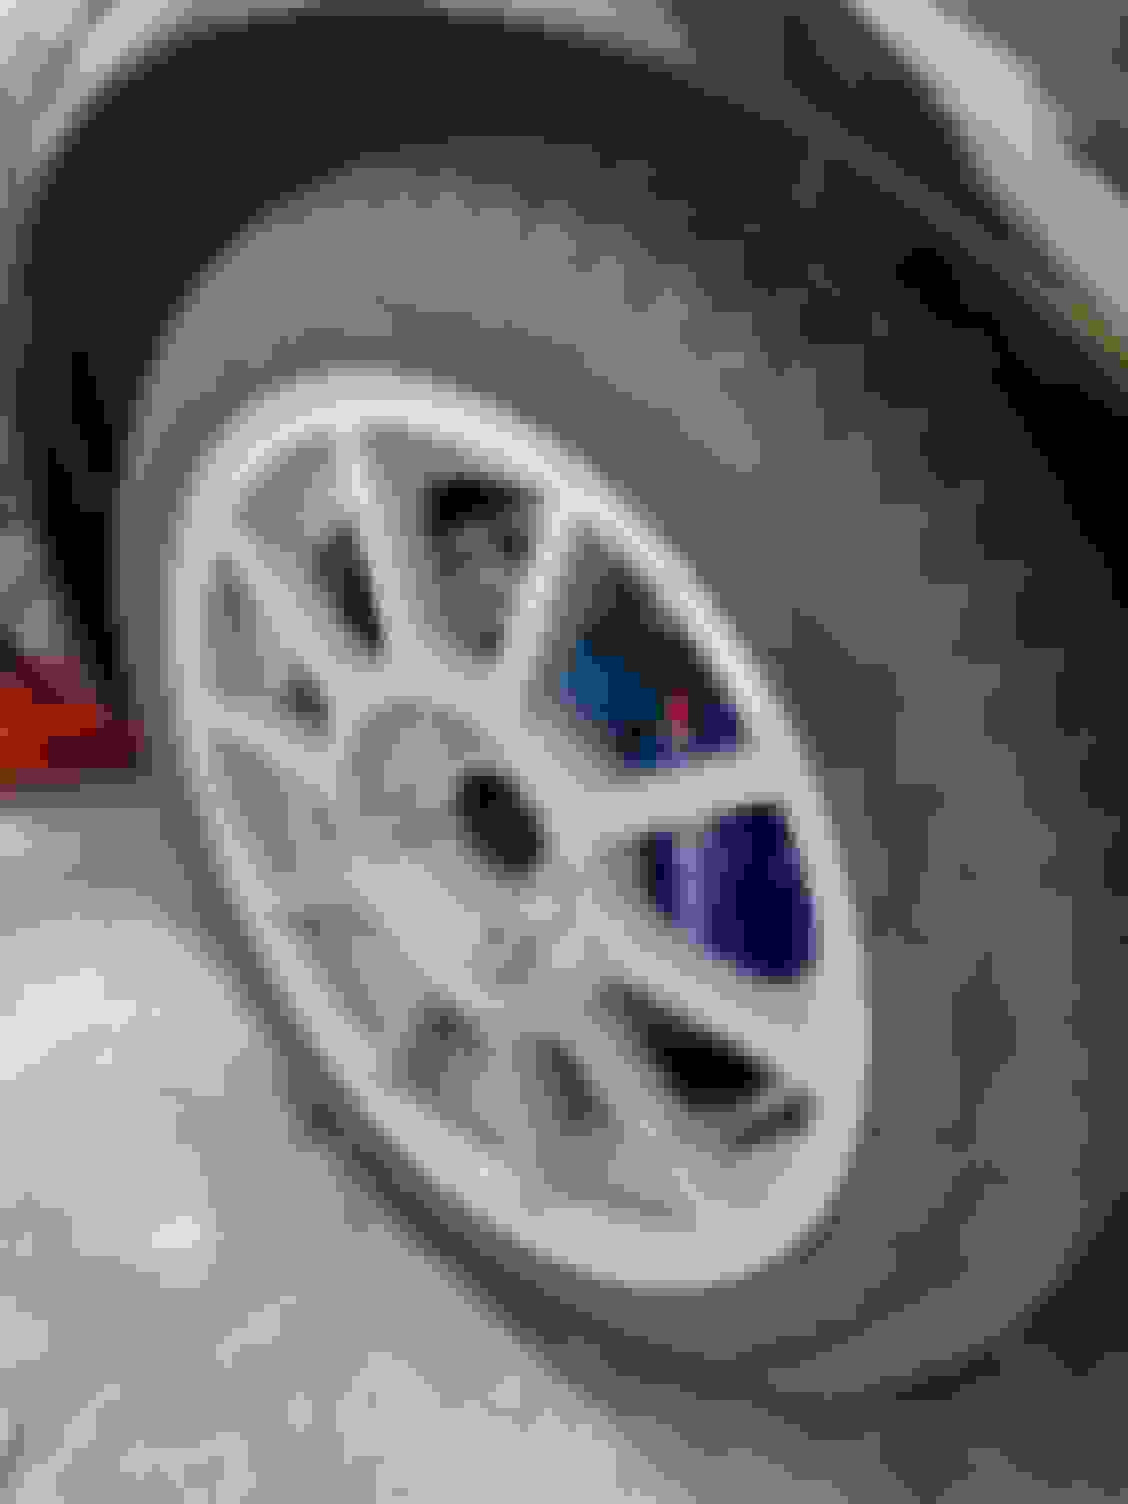
Visited my local wheel alignment specialist today after fitting new components during the winter. Really professional and highly recommended. He took a 3D scan of my tyres to monitor wear if I go back with a problem.
Last edited by boost monster; Jul 27, 2021 at 03:51 PM.
I’ve never had a satisfactory solution to a spare wheel with the ones I’ve had in the past unable to fit over the brakes and being Scottish couldn’t splash out on the �500 plus for another matching wheel (until I kerb one)
so here’s my alloy space saver.
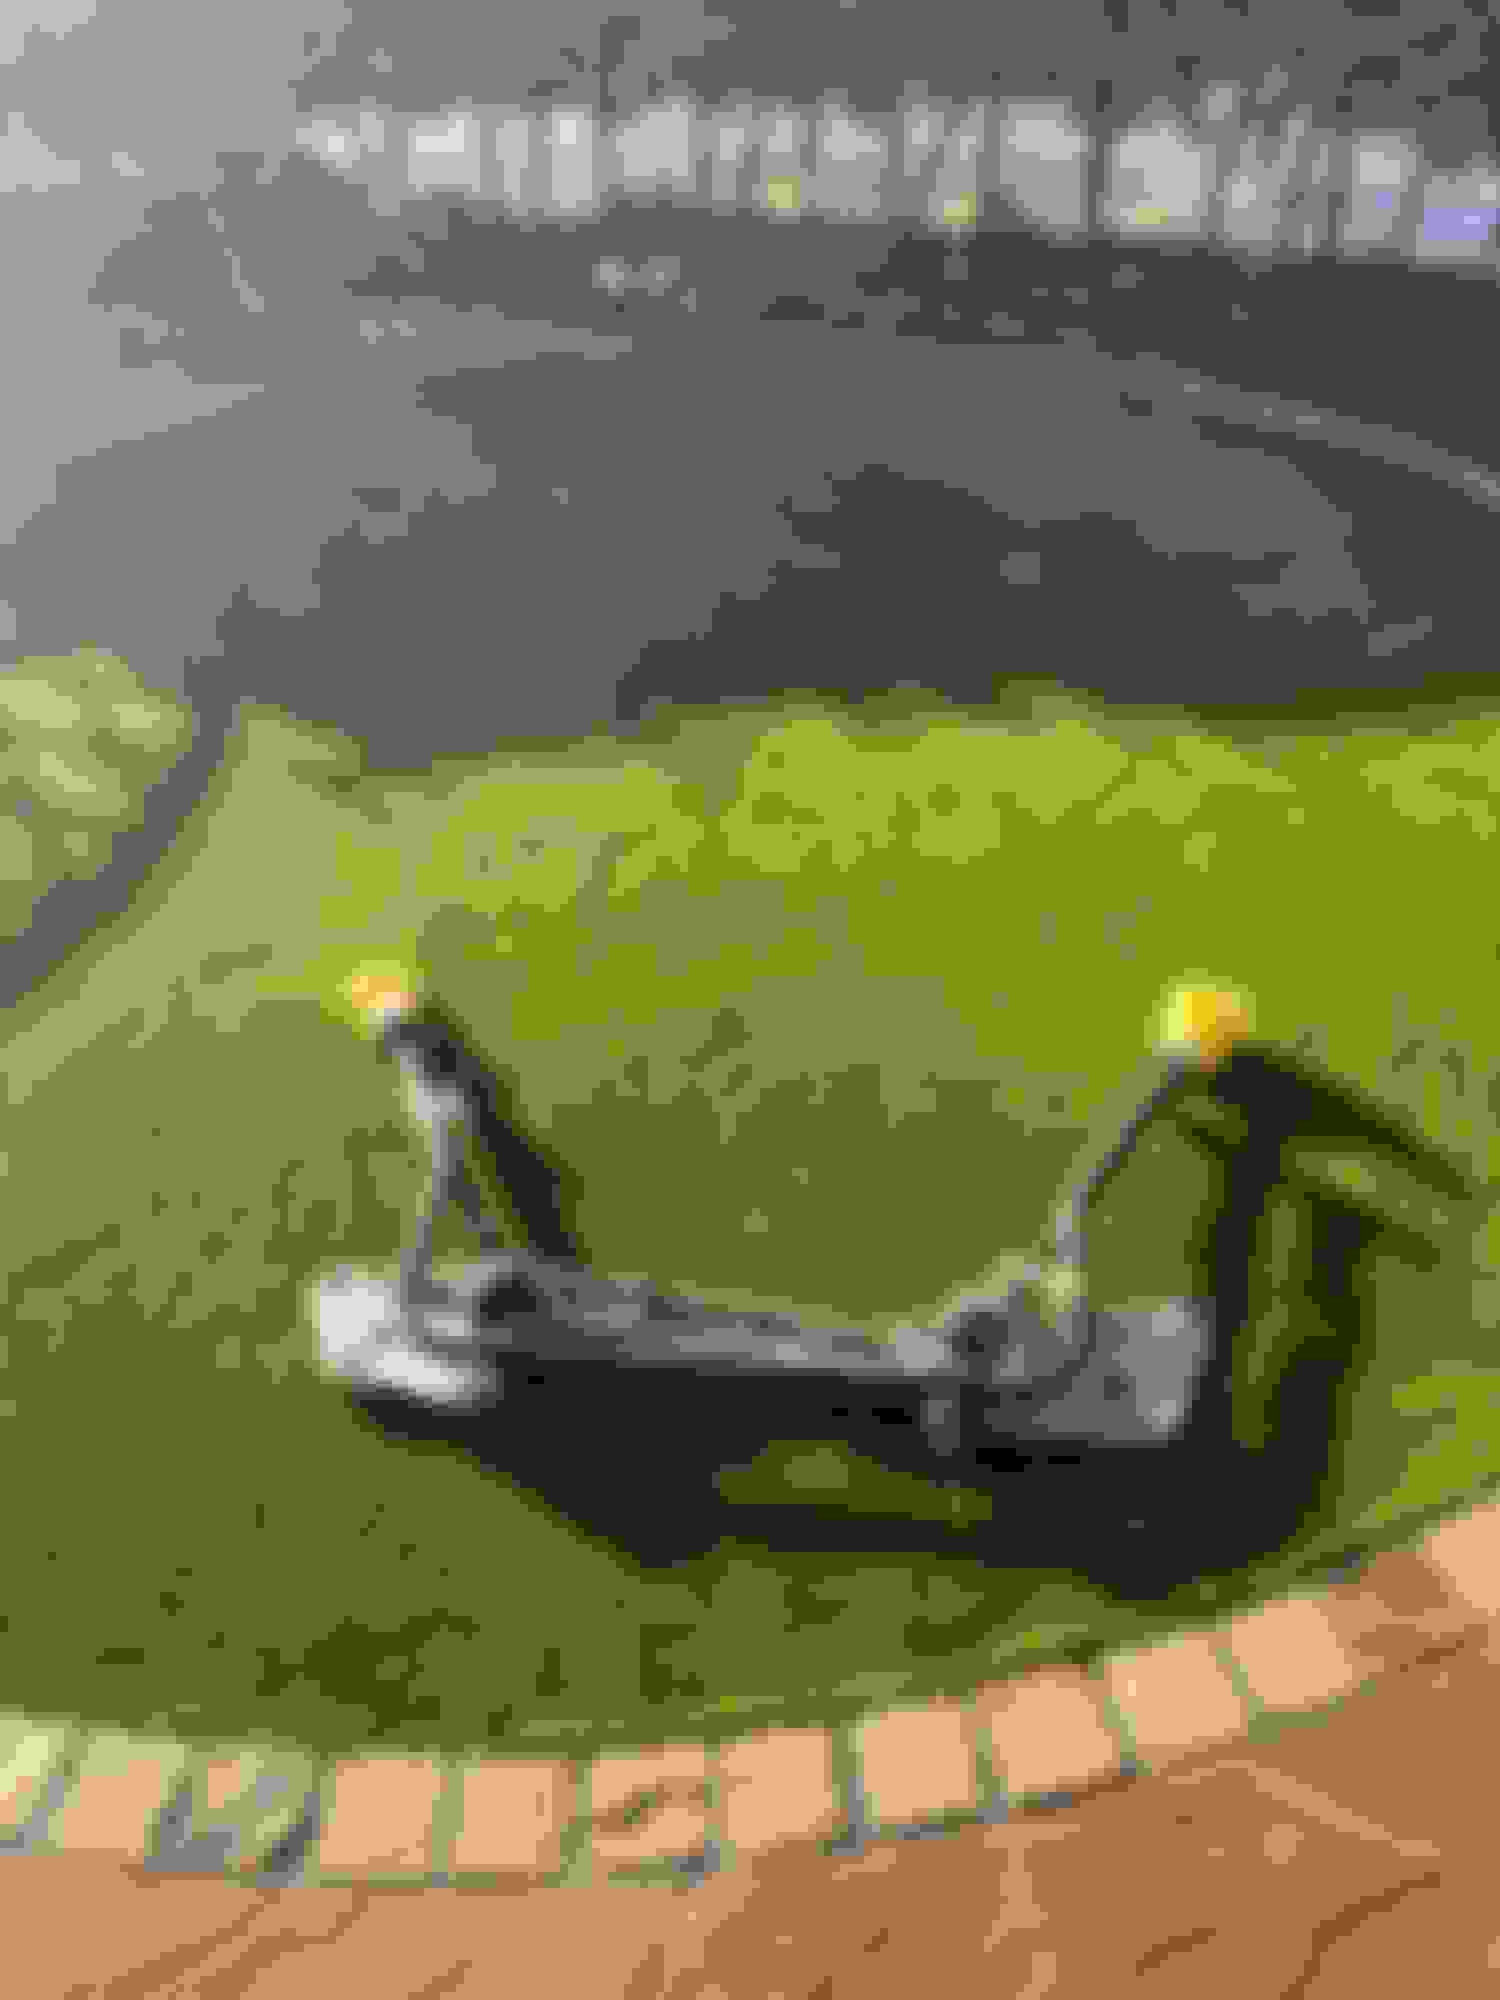
Clears the brake no problem Not the widest of tyres. Space saver is on the right!!
Nice to see your using it and not just keeping it in the garage... not 100% on the wheels, but not my car so my opinion doesn't matter nice to see it ion this months magazine too
Small update on winter work.
If anyone has viewed Rsmat’s thread you will have seen he kindly sold me the Turbo Technics front tie bar set up.
These are extremely rare and allow the RS 1600i adjustable castor set up but retaining the S2 gearbox cradle. After speaking with Turbo Technics last week the only part they designed was the cast aluminium cross member the rest were standard (RS 1600i) Ford parts. These were offered as a handling pack and were �620 in 1990 around �1500 today.
Having experienced the difference when my son machined the tie bars on his Fiesta to increase the castor I was always keen to do the same to my Escort and did think about modifying the anti roll bar to achieve this. I think Simon at Sitech done this with his S2.
Anyway the bars are over 30 years old so needed a clean up before fitting to my car.
As it arrived from Rsmat My original set up I purchased adjustable TCA’s from compbrake to sort out the excessive camber but repainted them in satin to match everything else. This is how the towing eye is attached on a RS 1600i but on the TT cross member it wouldn’t line up with the cut out on the bumper. Now in 29 years of ownership I’ve never needed the front towing eye but if I don’t have one you can be sure I’ll need it. I cut the eye from this. Not strong enough. Made a bracket And today started painting. Roll bar being painted. The worst copy ever but what was available in 1990
Kerb side alignment by son no.1
I wanted to make sure we could achieve the desired alignment before I take it to Pro-Grip to be set up properly. On my sons fiesta he has so much castor that it ran out of adjustment when setting the toe. The rack ends had 10mm cut off them. I wanted to check that didn�t happen.
I’ve just dropped my daily off with MV Turbos for a service. He was the Scottish Turbo Technics dealer back in the day. I asked him how many of the RS turbo roll bars he fitted like the one I’ve just got and to my surprise he said “quite a few”
Last edited by boost monster; Mar 7, 2022 at 08:46 AM.
So I’ve done a few hundred miles on the new anti-roll and unfortunately it’s still not an Honda Integra DC2 or even a sorted MK 2 Fiesta but it is much “better” I find it difficult to articulate what I feel but it seems more stable, the steering self centre’s quickly and during cornering it hold the line much neater without additional steering inputs.
I feel it could be a similar situation to when I fitted a Skorpion Axle location bracket to my Capri and then had to remove it after a year. It wasn’t too big a deal when I fitted it but when it was removed I thought the car was trying to kill me at every corner.
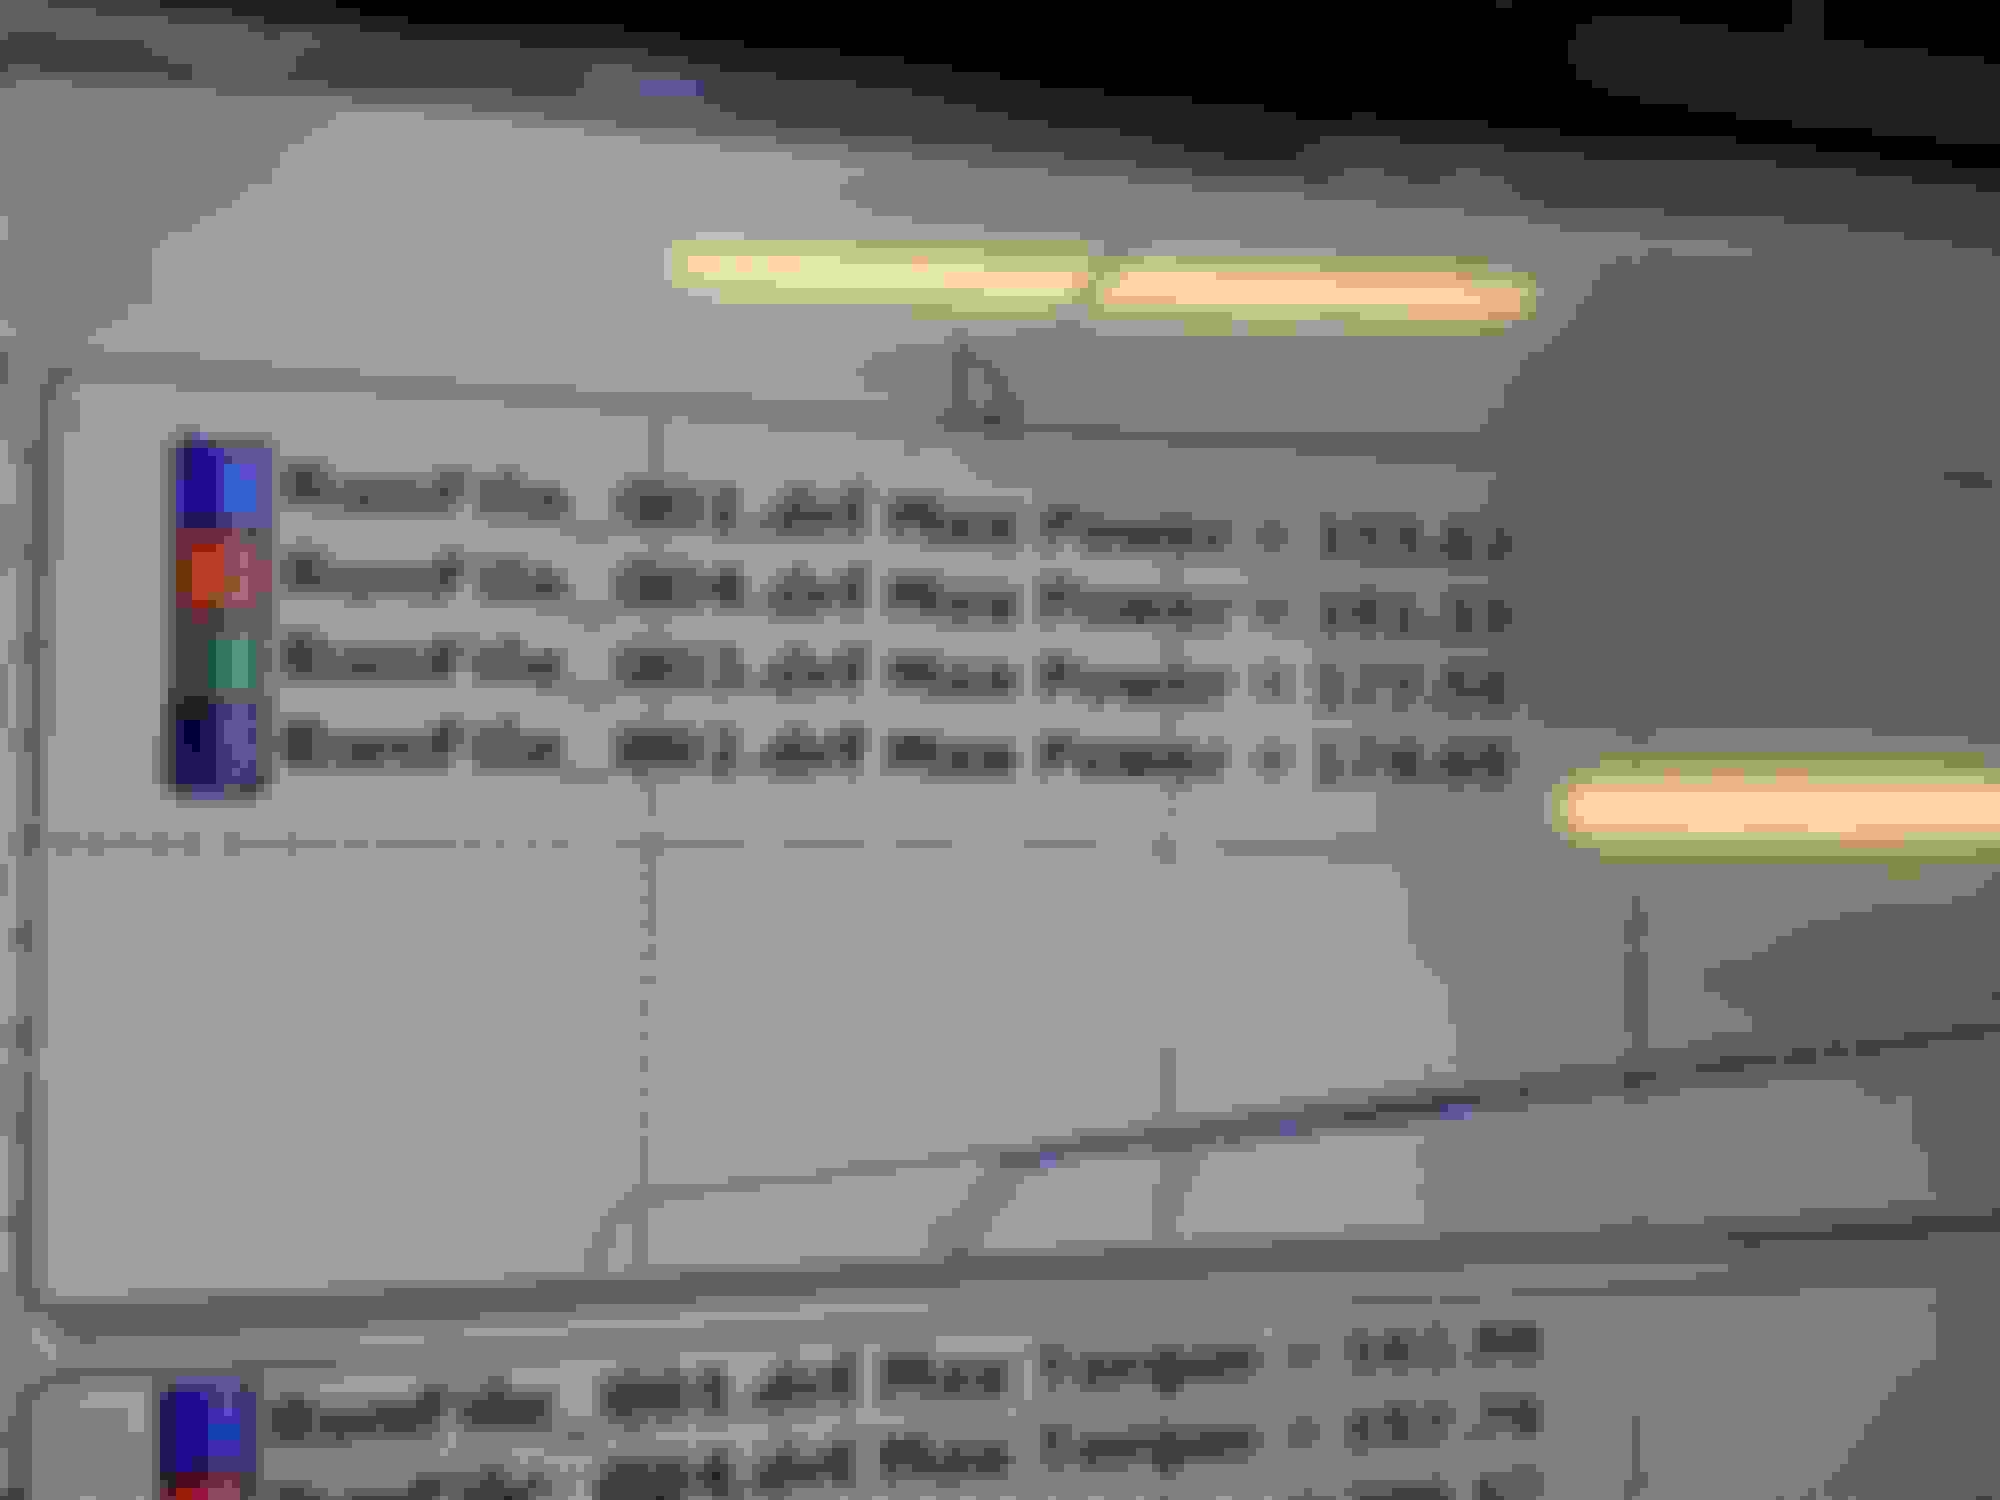
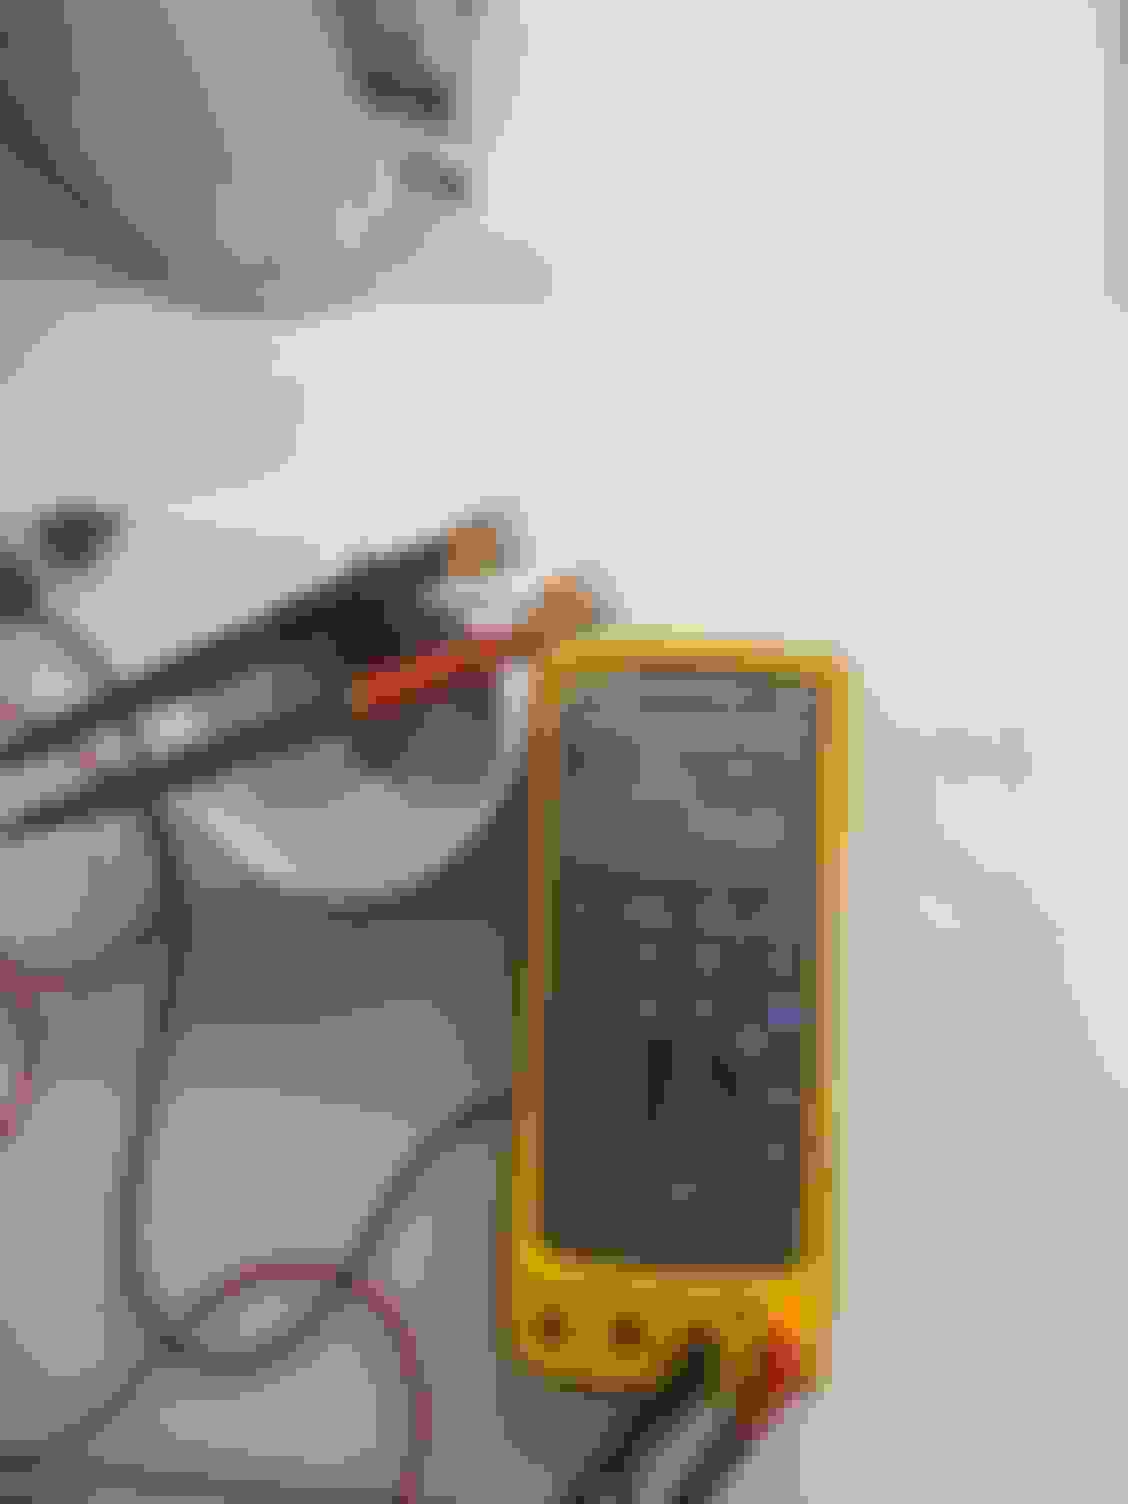
I had it on the the rollers today for the sole reason to have a before and after graph for when I fit aftermarket management. Really intrigued as to the difference with proper control of fuel and ignition.
These are at the wheel figures. The nearest guess on output was 30hp below what it made. The first run was aborted as it decided to run lean on the subsequent runs it was rich…….. I wonder why I want to go EFI
The pic on the ramp (with the wheel alignment stuff) makes me think this would look really good with the wheel centres body colour and the outers still alloy and polished.
I had to go into work today and took the RS. I’ve had the same job for 27 years and drove the road there ALOT but today was the first time since fitting the TT antiroll bar and it’s amazing, it’s came along way in the last few years since replacing the tired Koni’s with coilovers (on there softest and only around -25-30 drop) and obviously the castor increase the roll bar gives and adjustable TCA’s Not forgetting the tyres which were over ten years old before the Nankang NS2’s were fitted.
Done some preparation for EFI conversion. I wanted the same monitor that my son has in his Honda and set about seeing if it would fit. I’m slowly gathering the remaining few part required.
I think I can get it looking ok. This is my prototype 😁 Monitor can display everything the ECU can see in various different ways ie anolog, bar charts, numbers with colour changes when it get to set limits. I do like a gadget.
Getting on with some prep. for the winter jobs. I bought a broken ECU for the box as I’m going to fit my new ECU in it, it’s waterproof so can be fitted in the bay.
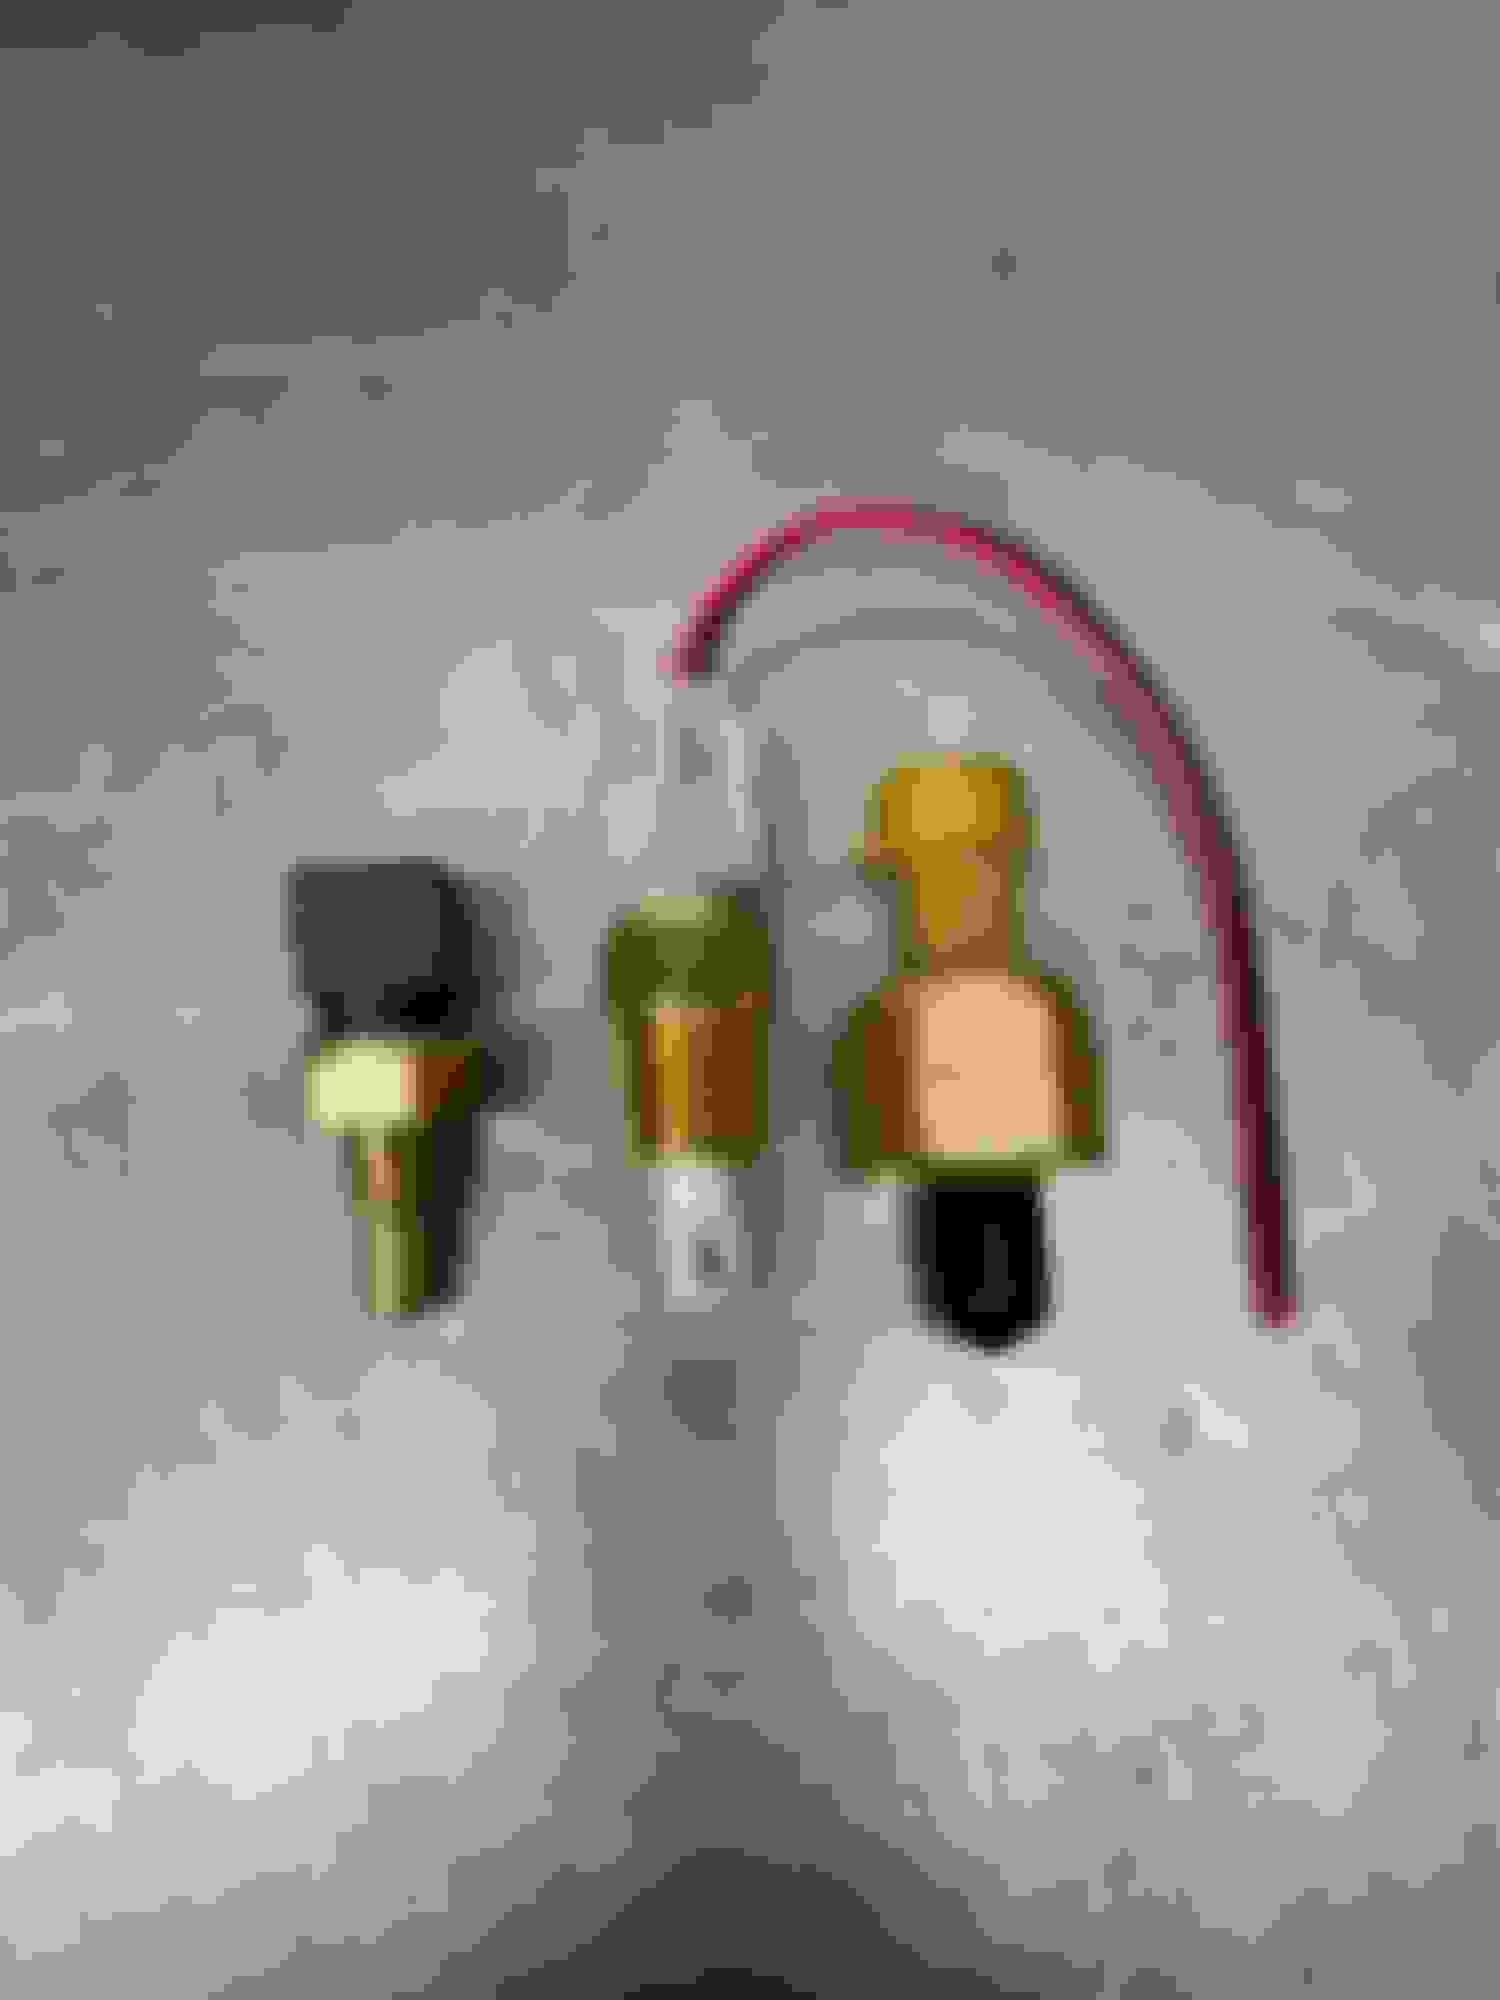
Sourced some more parts for the conversion, a CVH coil pack bracket and a throttle pedal to suit the EFI cable. Still need to get injectors, oil sensors, lambda probe and no doubt lots of small bits.
Got a MOT today with no advisories.
Last edited by boost monster; Aug 23, 2022 at 10:29 AM.
What have I done. It drove in the garage working fine.
A neat and tidy standard looking bay. More parts Injectors fitted Carrnage. Removing all the MFI wires from the loom. When I have the loom untapped I’m also upgrading the security as it’s been a bit light since the Vecta imobiliser failed last year. I feel a little under pressure doing this. My two sons have both installed aftermarket management to there Fiesta and Integra and done a great job and nether plays with electricity as a profession. My job title states Controls Engineer so I should know what I’m doing…… but we’ll see. I can always ask them for help. 😁
Last edited by boost monster; Oct 1, 2022 at 10:36 AM.
Reason: Edit
What have I done. It drove in the garage working fine.
A neat and tidy standard looking bay. More parts Injectors fitted Carrnage. Removing all the MFI wires from the loom. When I have the loom untapped I�m also upgrading the security as it�s been a bit light since the Vecta imobiliser failed last year. I feel a little under pressure doing this. My two sons have both installed aftermarket management to there Fiesta and Integra and done a great job and nether plays with electricity as a profession. My job title states Controls Engineer so I should know what I�m doing�� but we�ll see. I can always ask them for help. 😁
Nice work.
Pulled all the MFI wiring out of my S1 last year and went standalone ME442. Got it running ok now needs a setup. One thing - fit a diode from the alternator feed ... my ECU was being back fed via the bulb in the instrument cluster, car wouldn't turn off. , also the fans would come on / off etc. quite a common issue i hear. all the best.
Pulled all the MFI wiring out of my S1 last year and went standalone ME442. Got it running ok now needs a setup. One thing - fit a diode from the alternator feed ... my ECU was being back fed via the bulb in the instrument cluster, car wouldn't turn off. , also the fans would come on / off etc. quite a common issue i hear. all the best.
Thanks for the info. I�m sure there will be other things that will not work first time but no one ever mentions.
That CAN Checked gadget looks like a handy piece of kit
How easy is it to configure mate?
It is nice and easy to set up. There is a menu where you pick the colour, how it is displayed ie in a bar graph or circle etc etc. I only had a play for a few minutes and it seems easy enough and I�m not great with this kind of thing.
It has 6 pages that you can configure differently and you just swipe the page to change.
They do a round 52mm one that I was going to get.
I want it to display RS on power up but think that maybe a step to far for me.
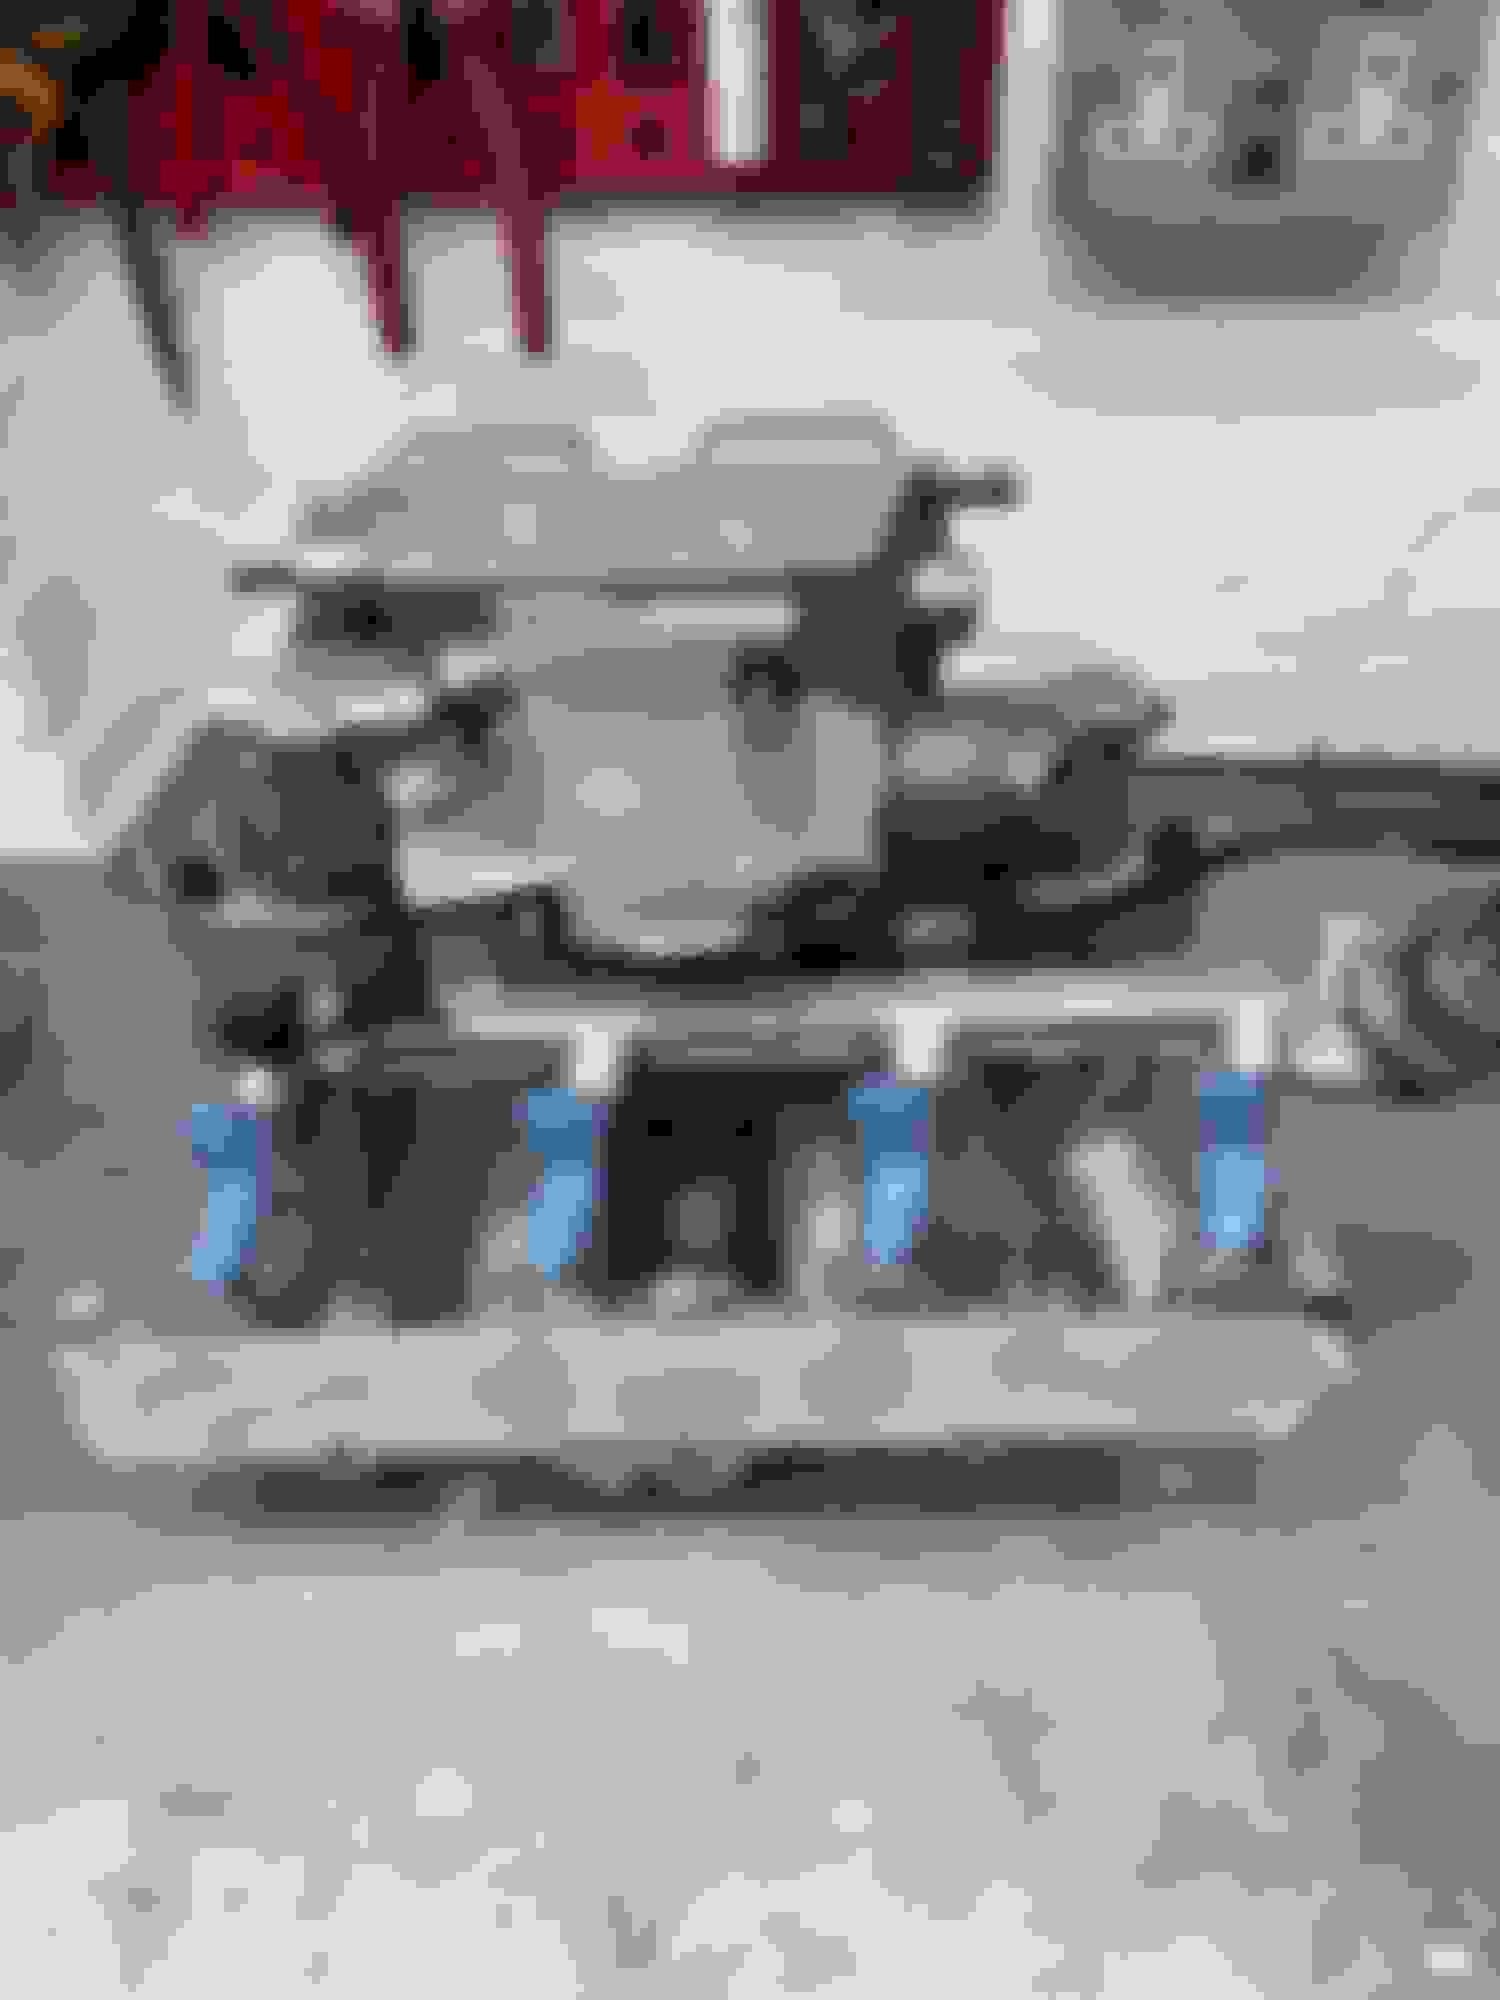
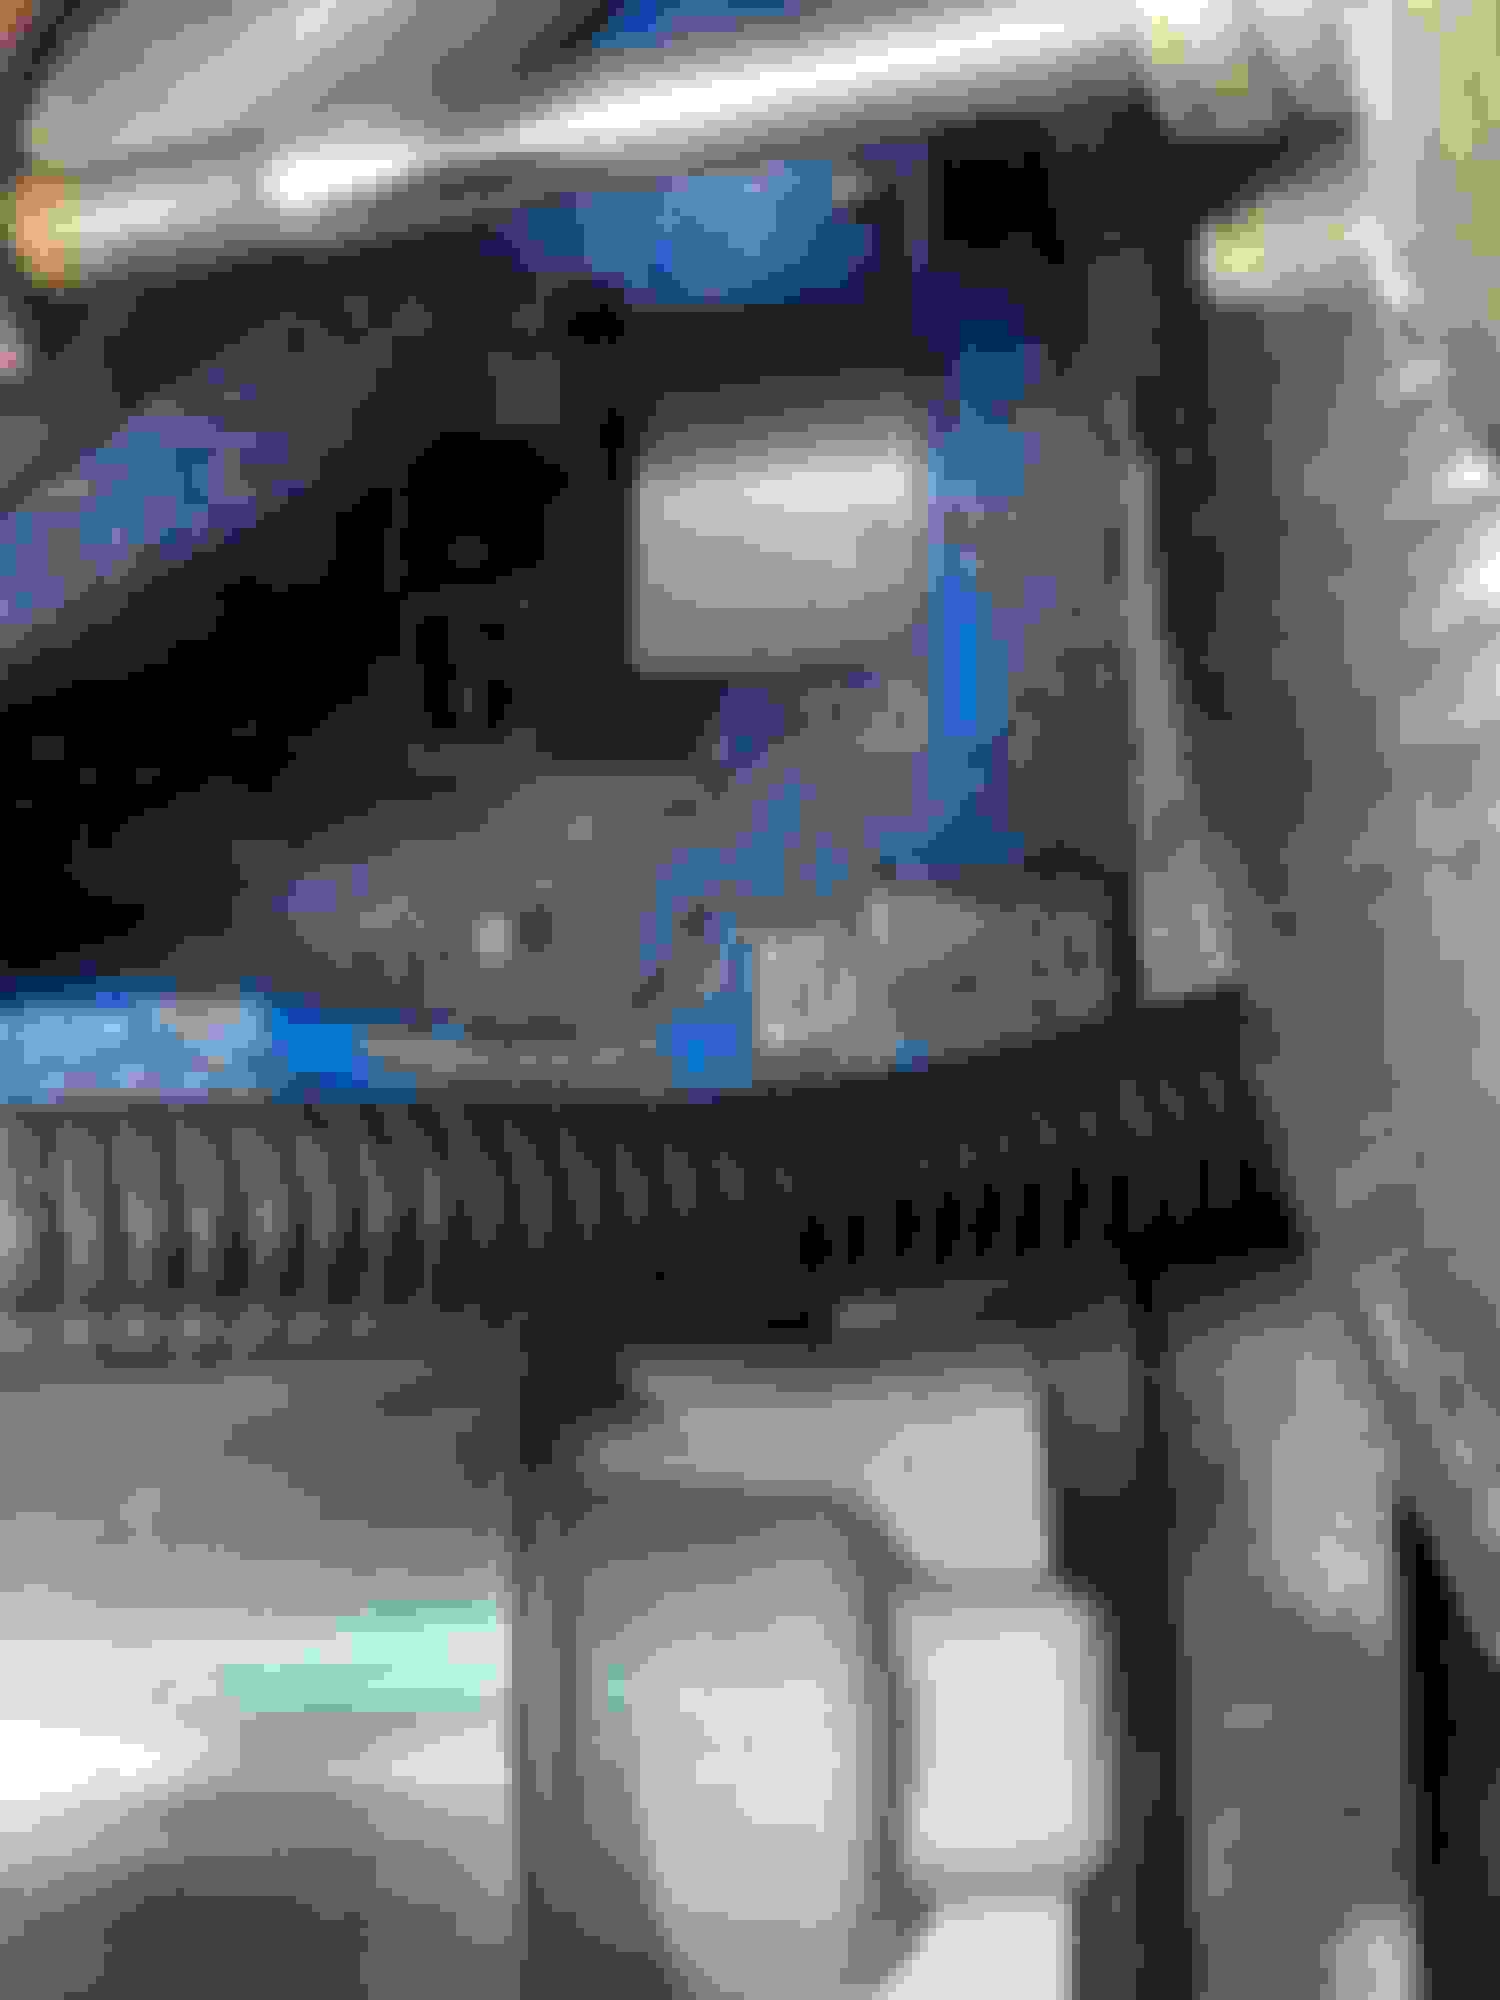
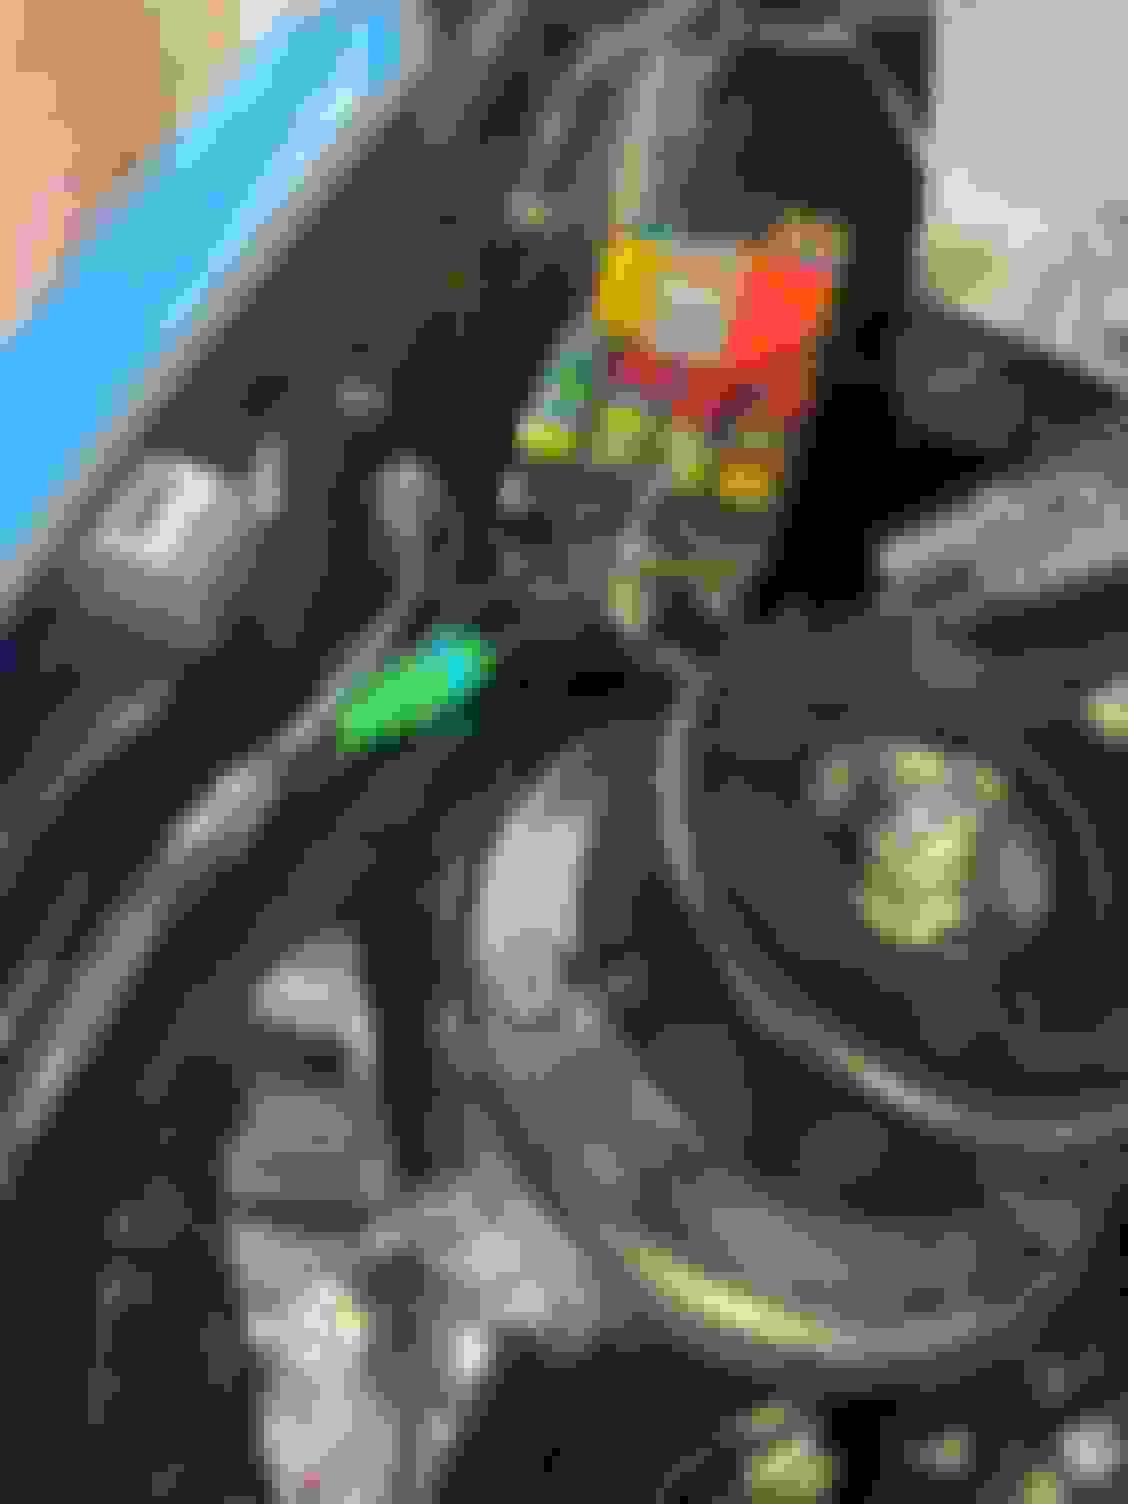
The 80’s fuel and ignition control is now removed and I’ve had a few hours on it this week. I’m making this more difficult than it needs to be by having everything supplied through the original fuses and relay location, I don’t like the random relays and inline fuses when there is a place specifically for them
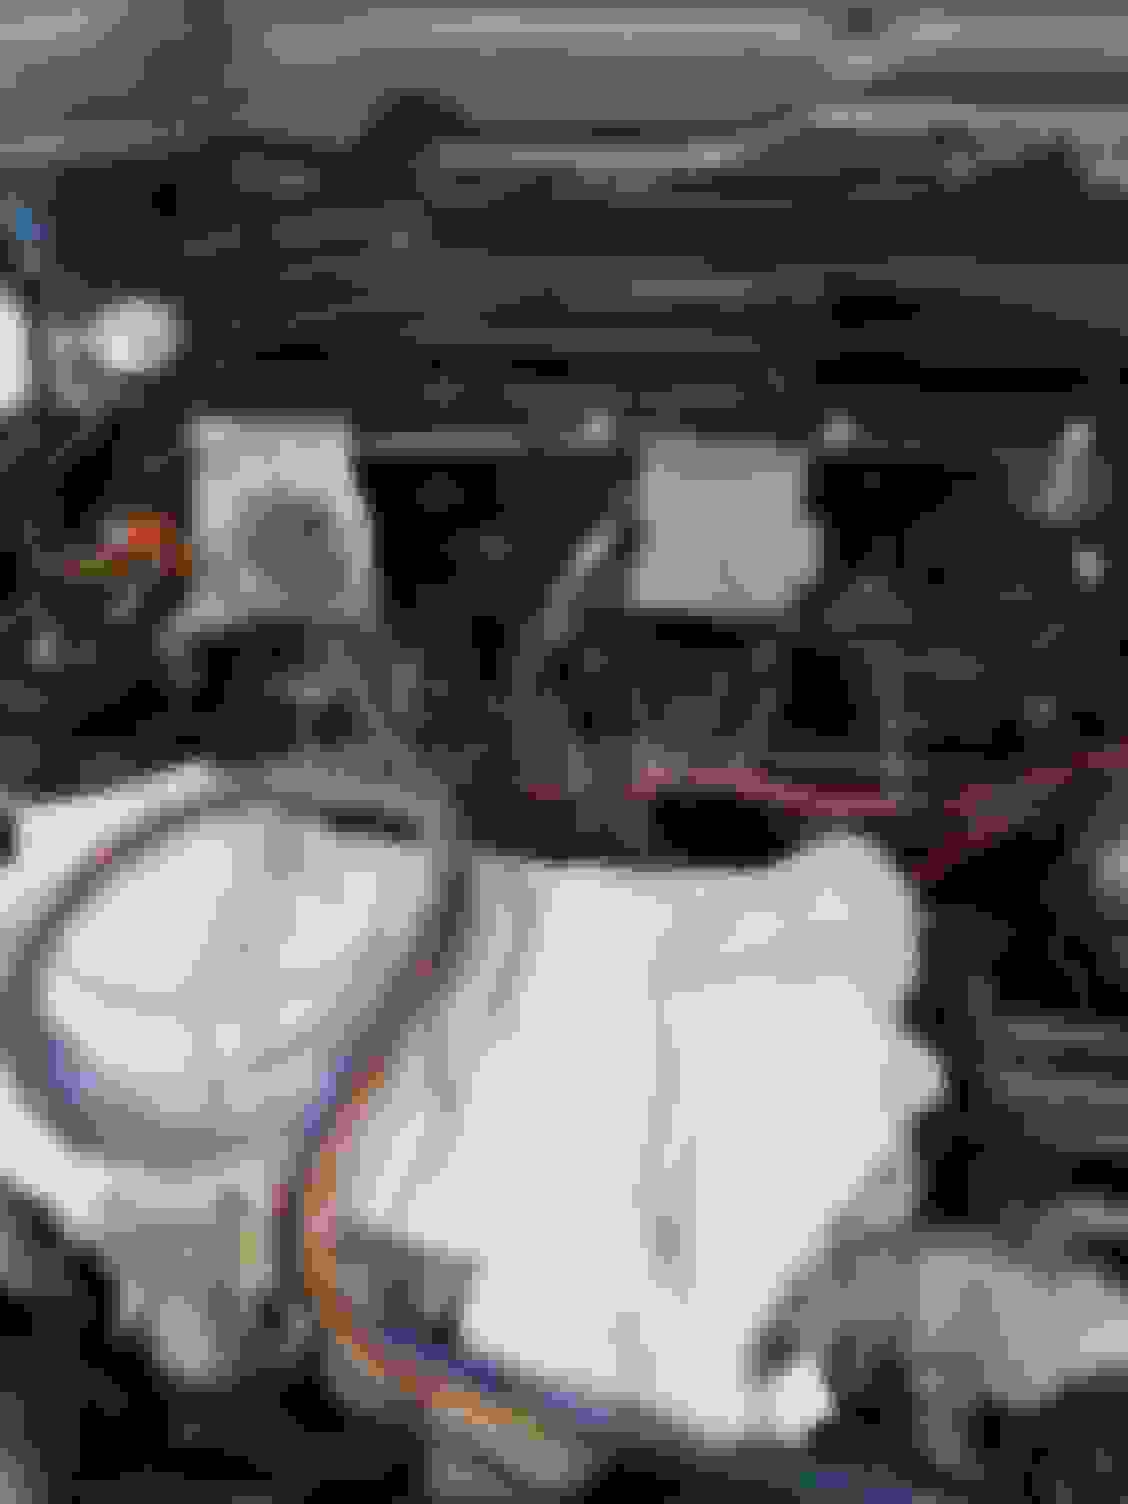
Crank sensor fitted 😳 New ECU in the original enclosure Moved the horns as they annoyed me in the engine bay
The last of my parts arrived, with only the fuel pipes and fittings to workout once I decide where the fuel filter is going.
I’ve been at home all week and had a hour or so every other night.
The alarm/ immobiliser just needs the door switches and interior sensors done but they will have to wait until it can be moved out the garage.
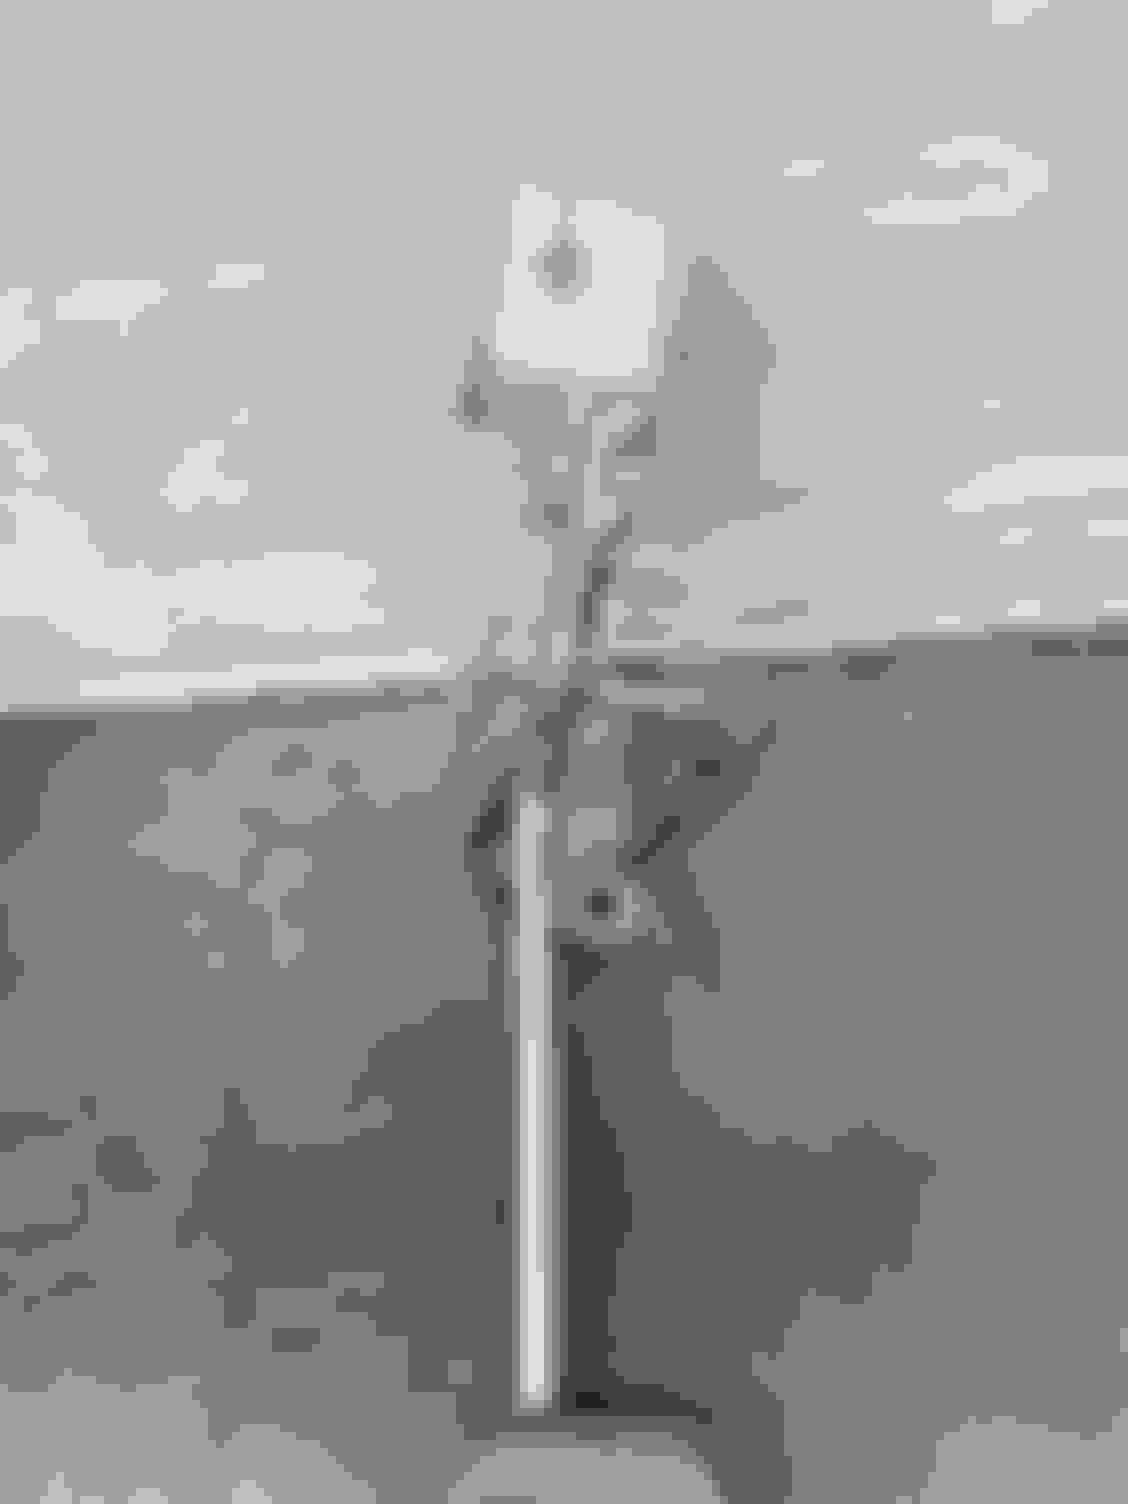
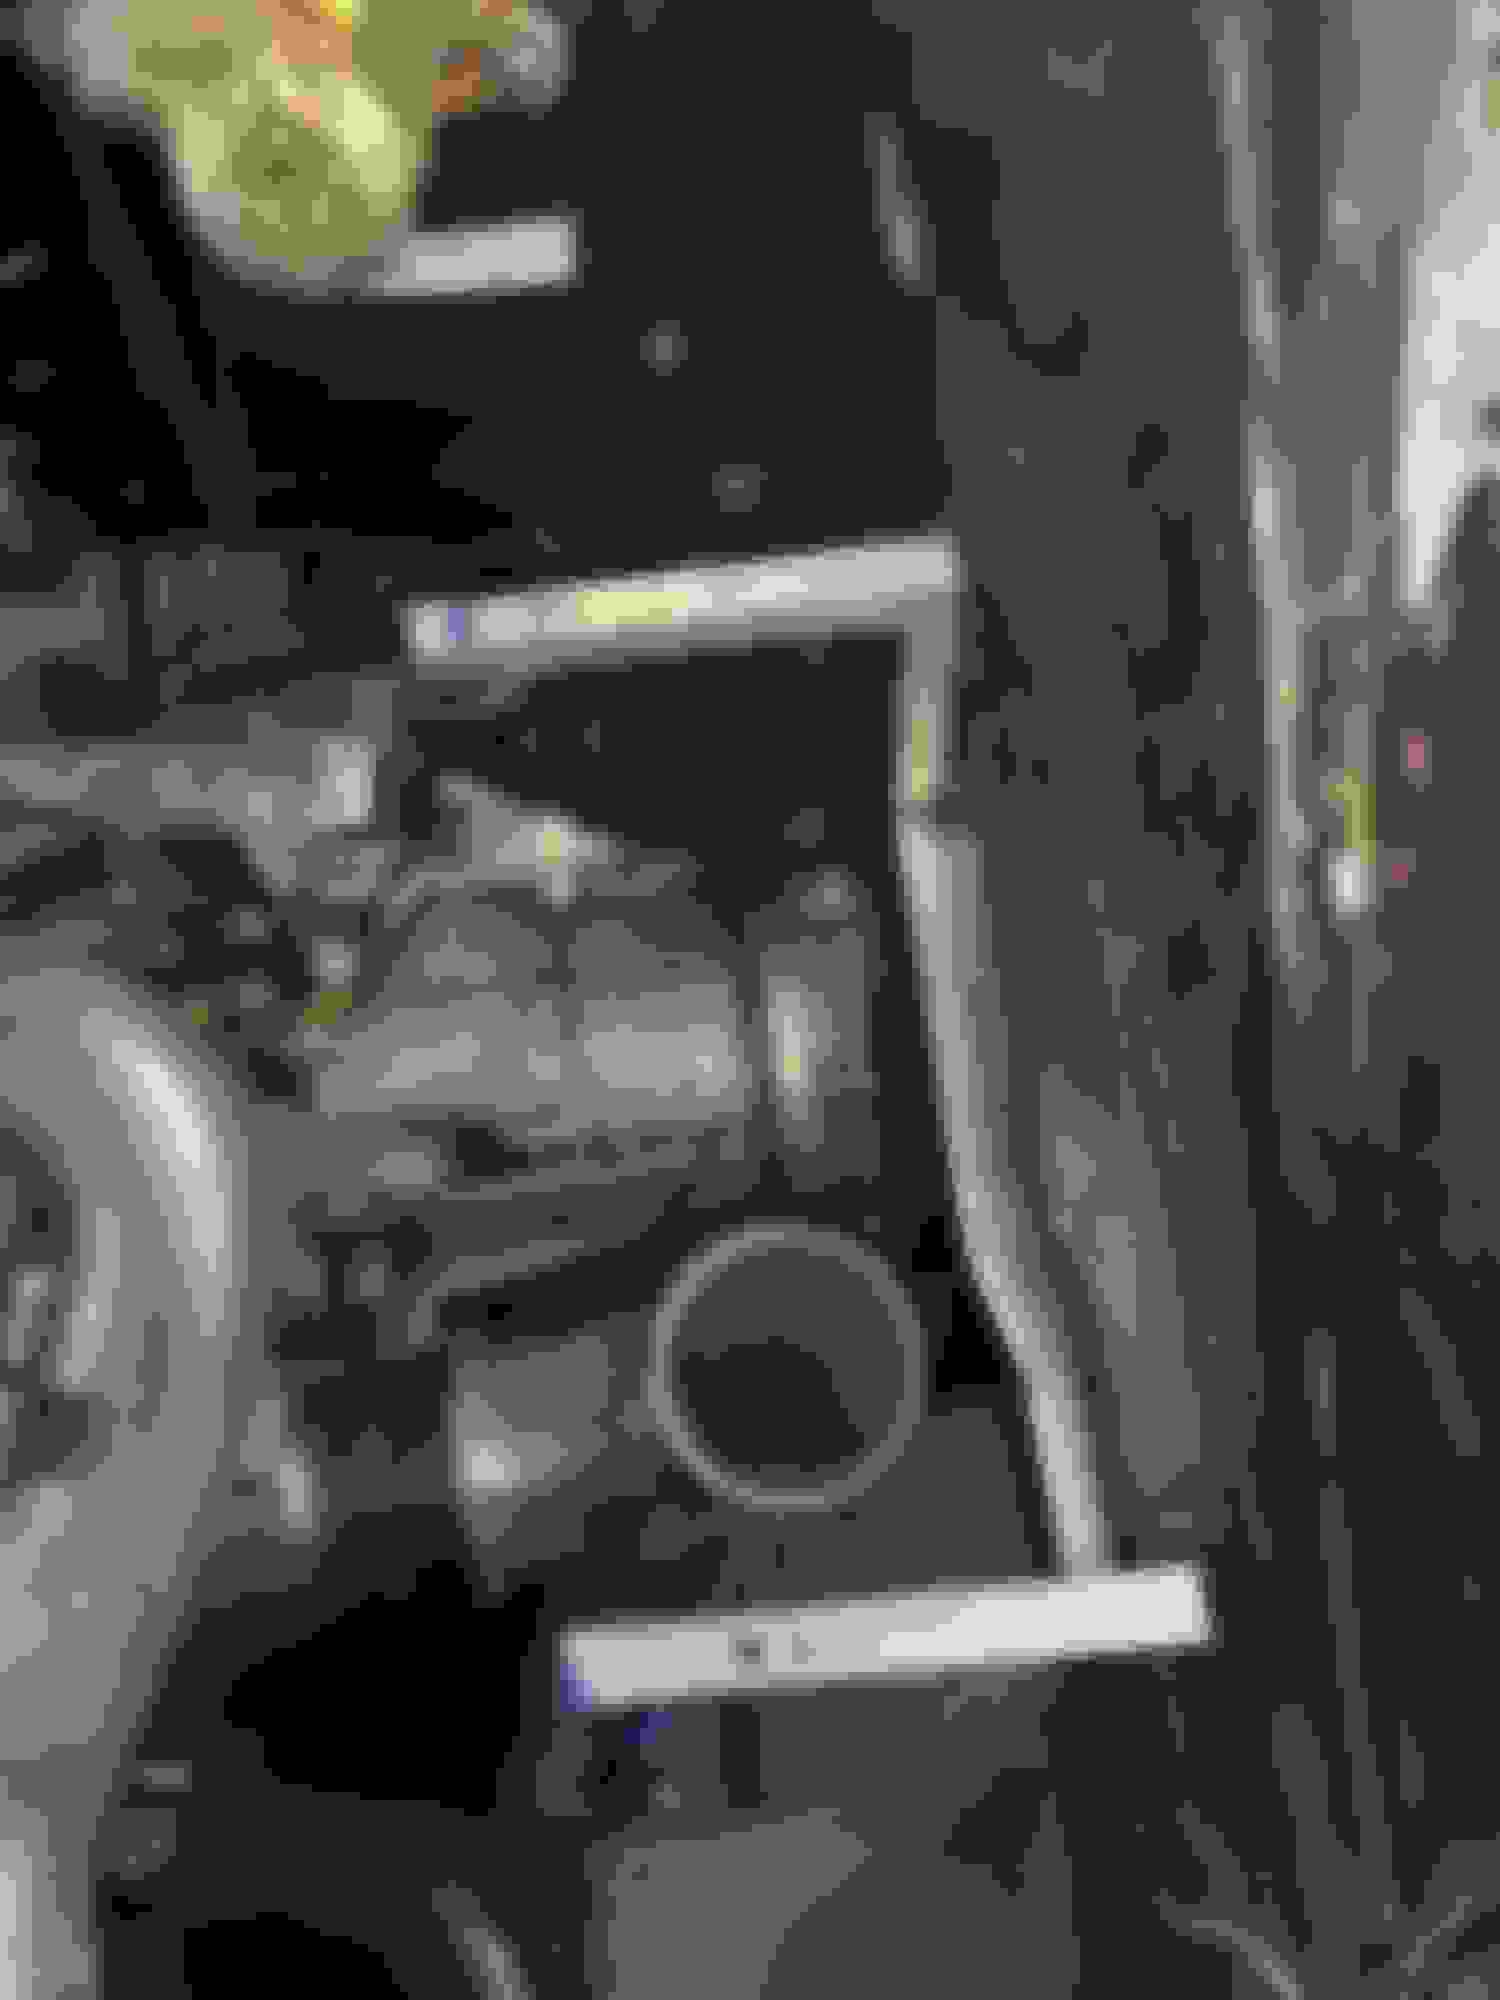
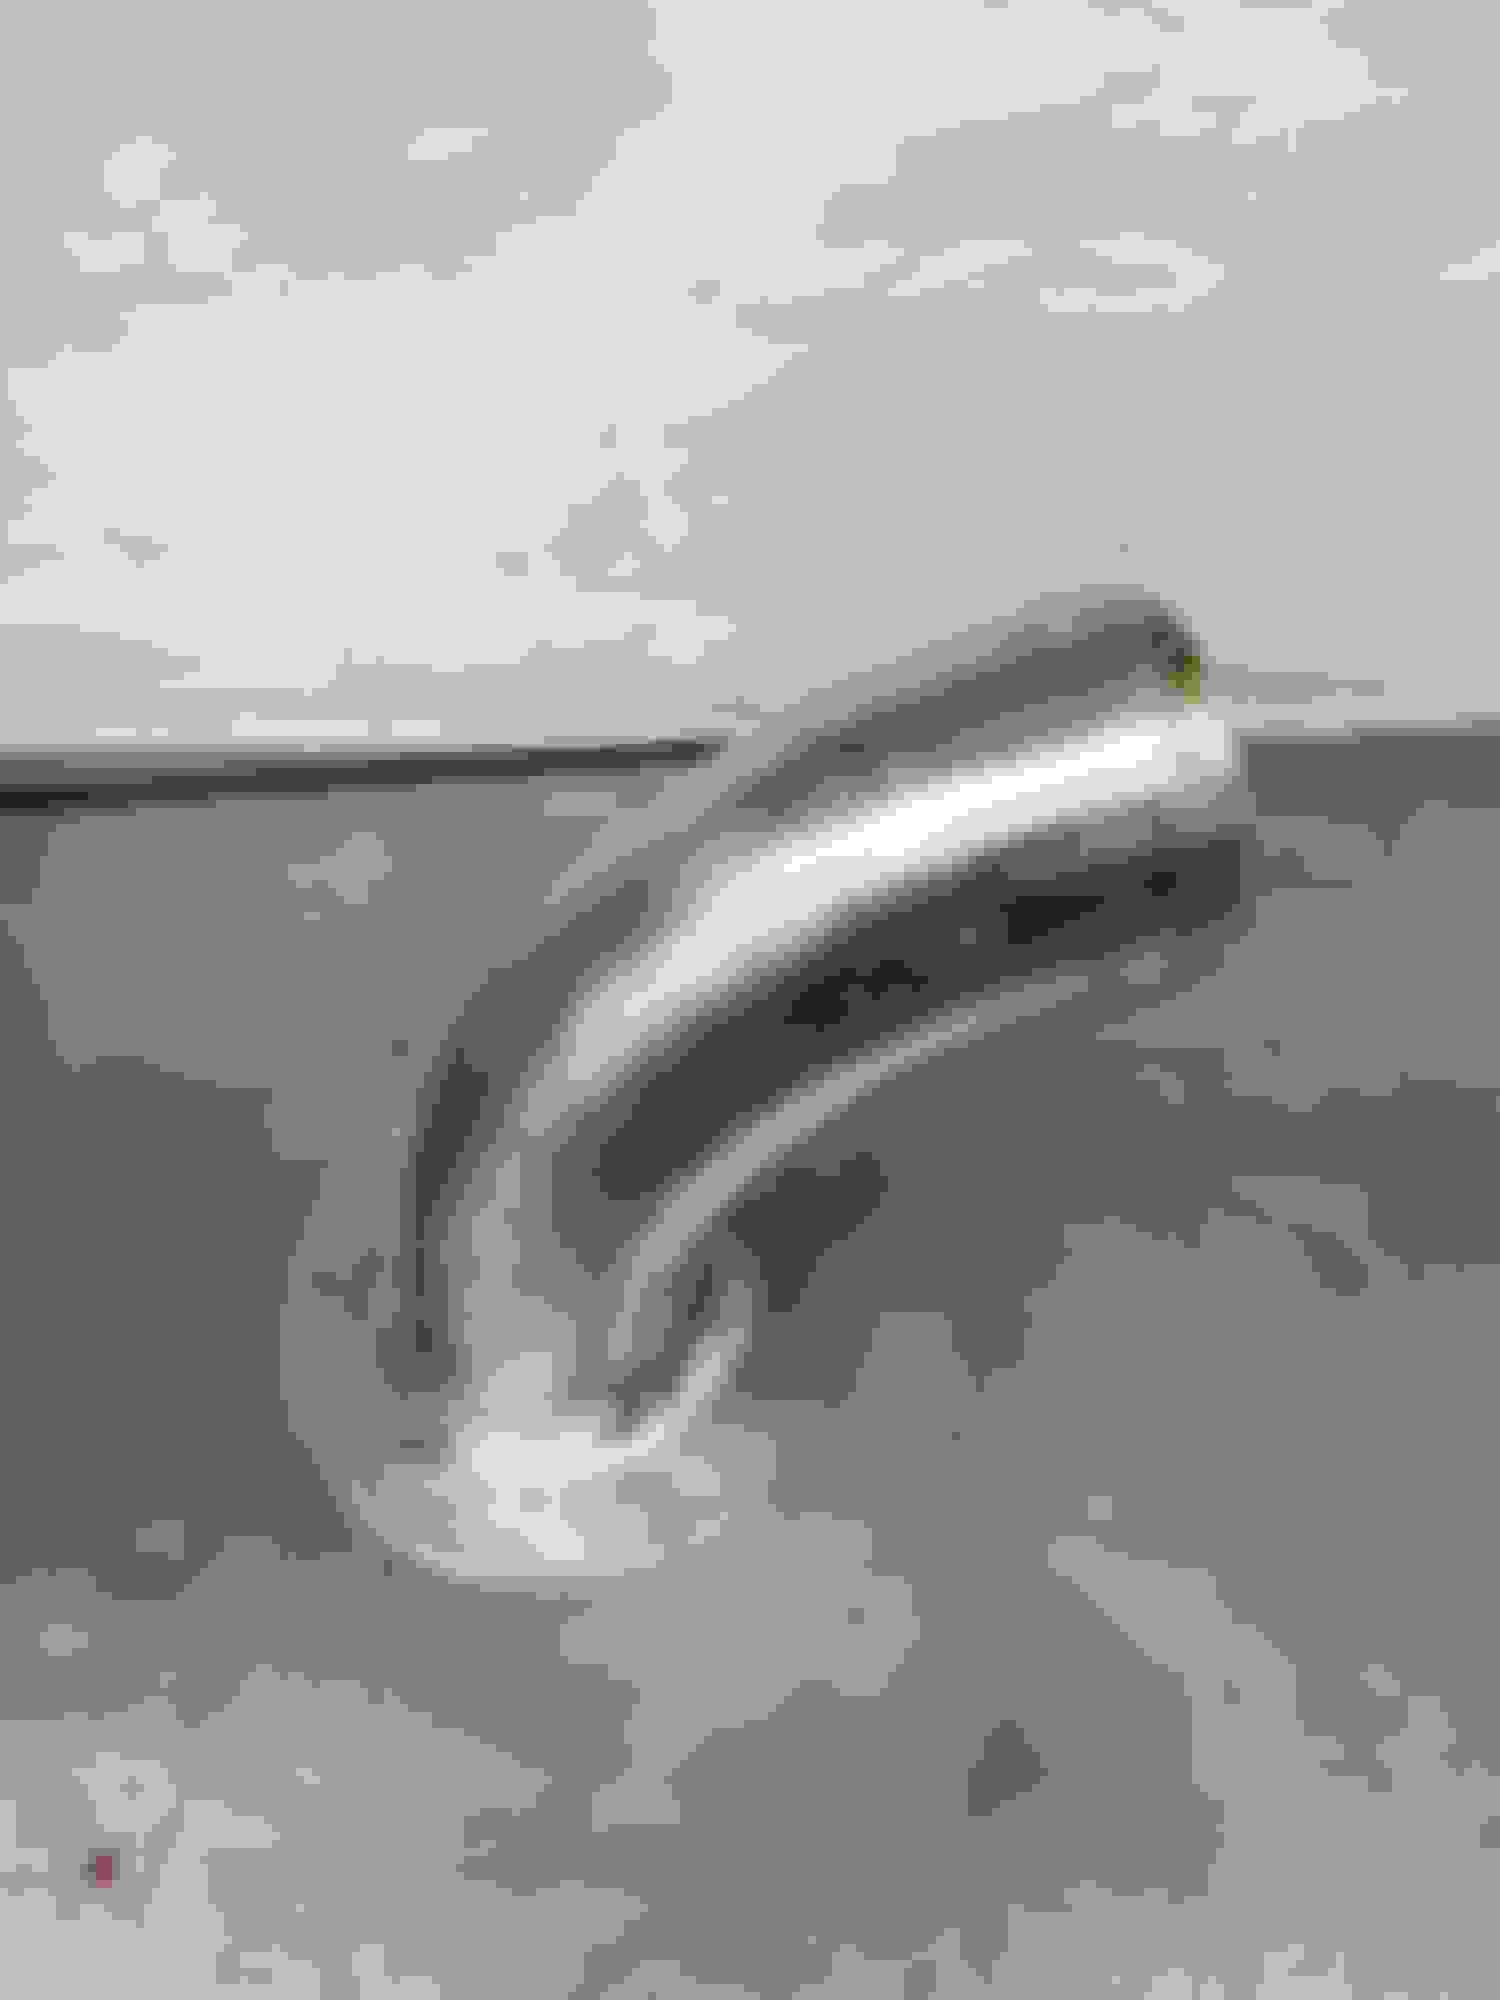
Welding the boss in didn’t go to exactly to plan as I forgot to slide the mounting flange over first.
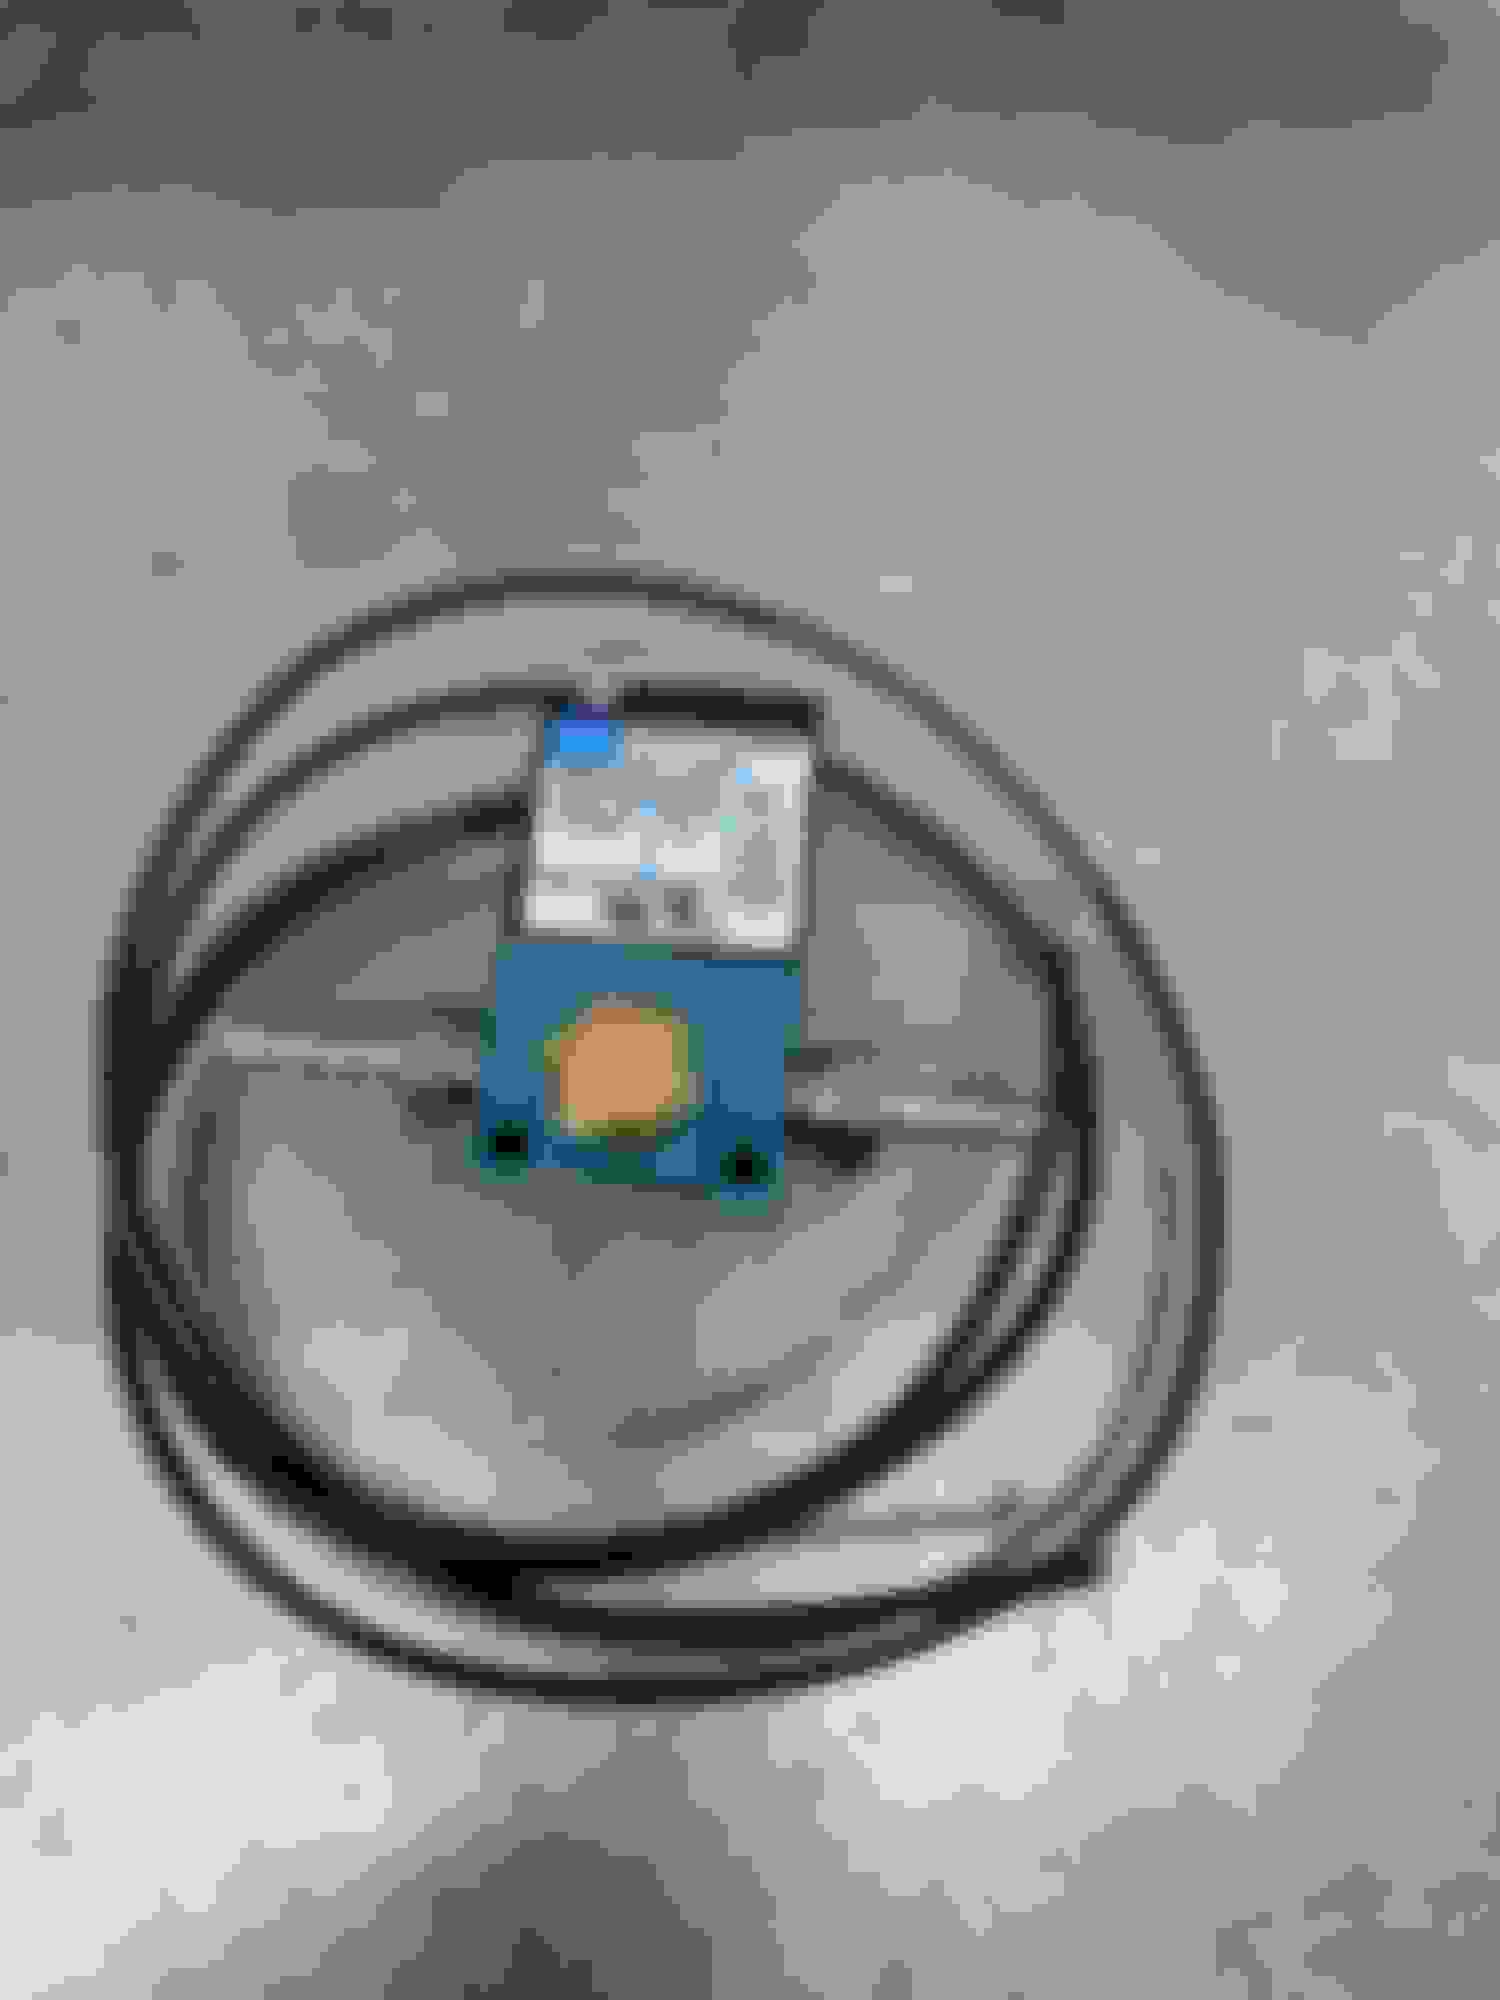
Boost control valve
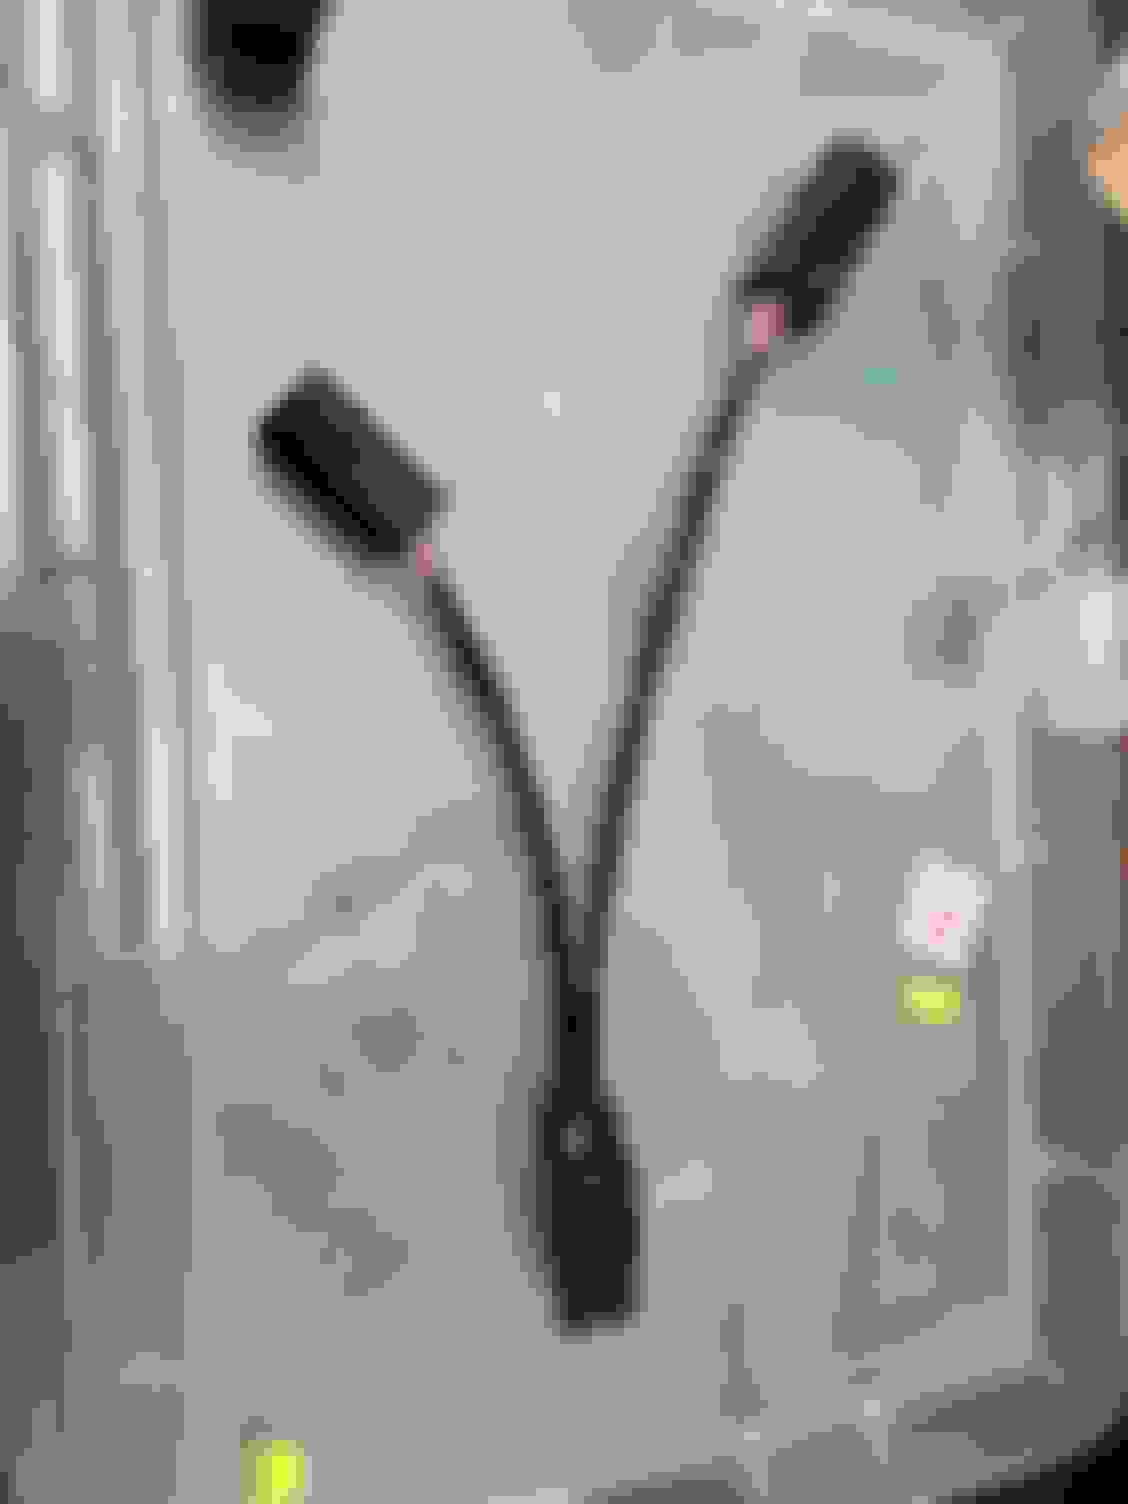
Air and oil sensors
Speed control for the cooling fan.
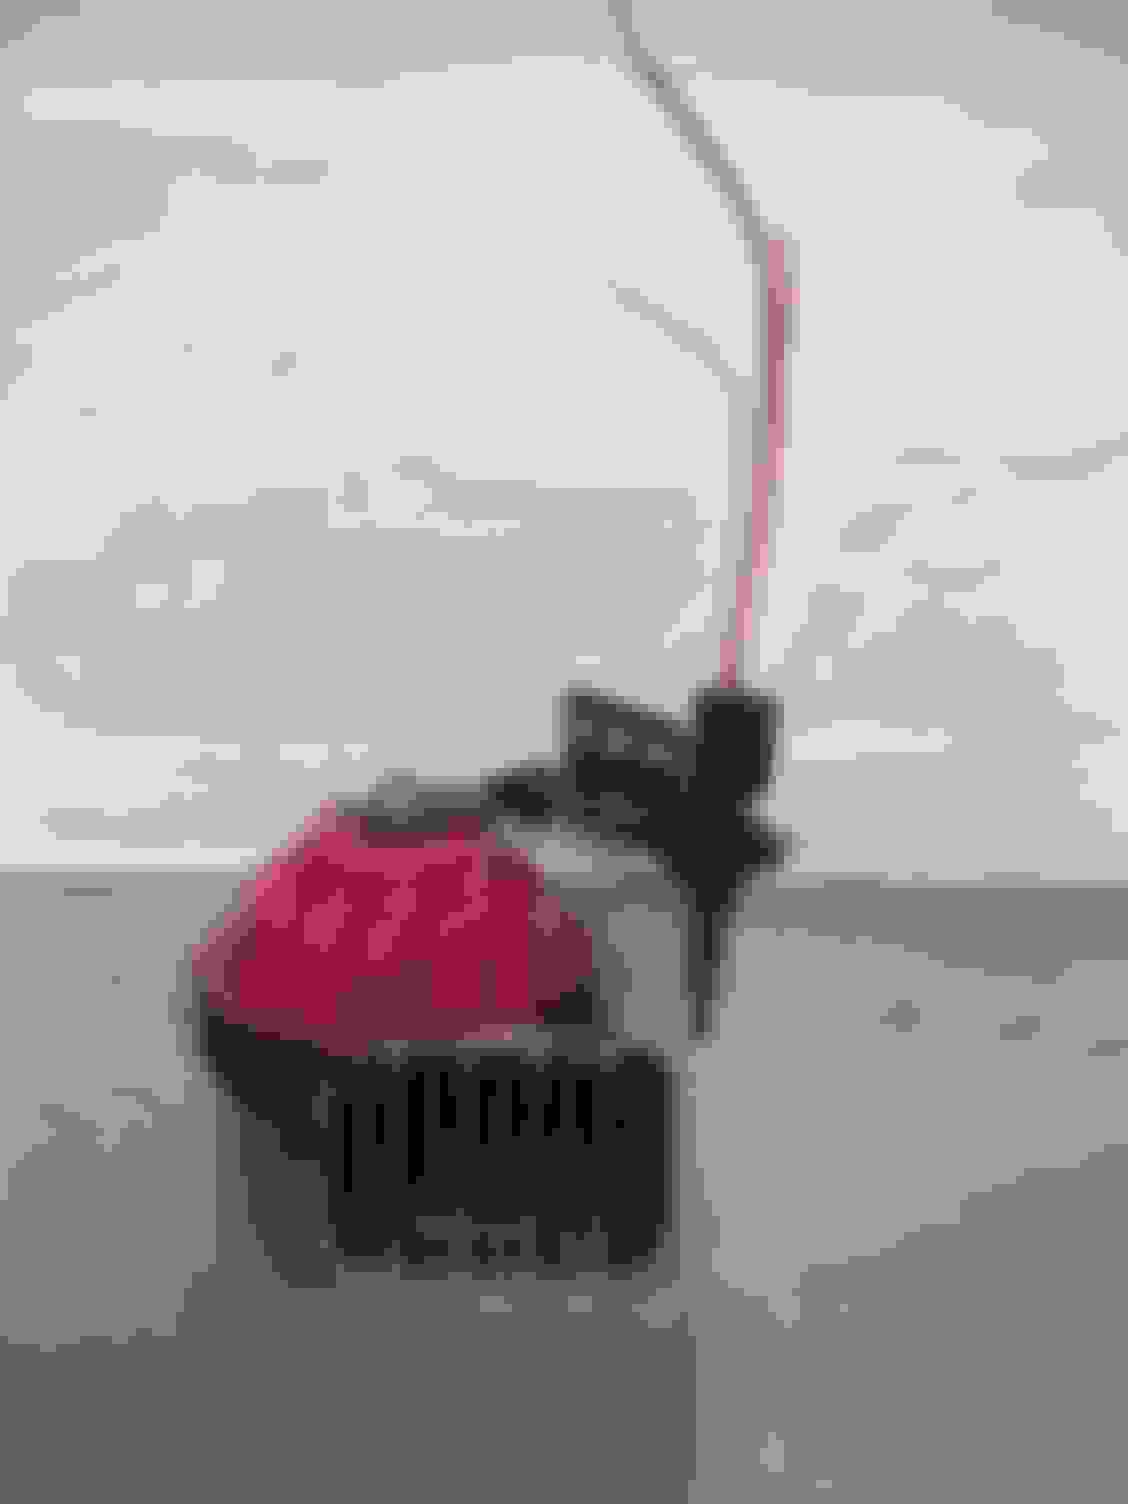
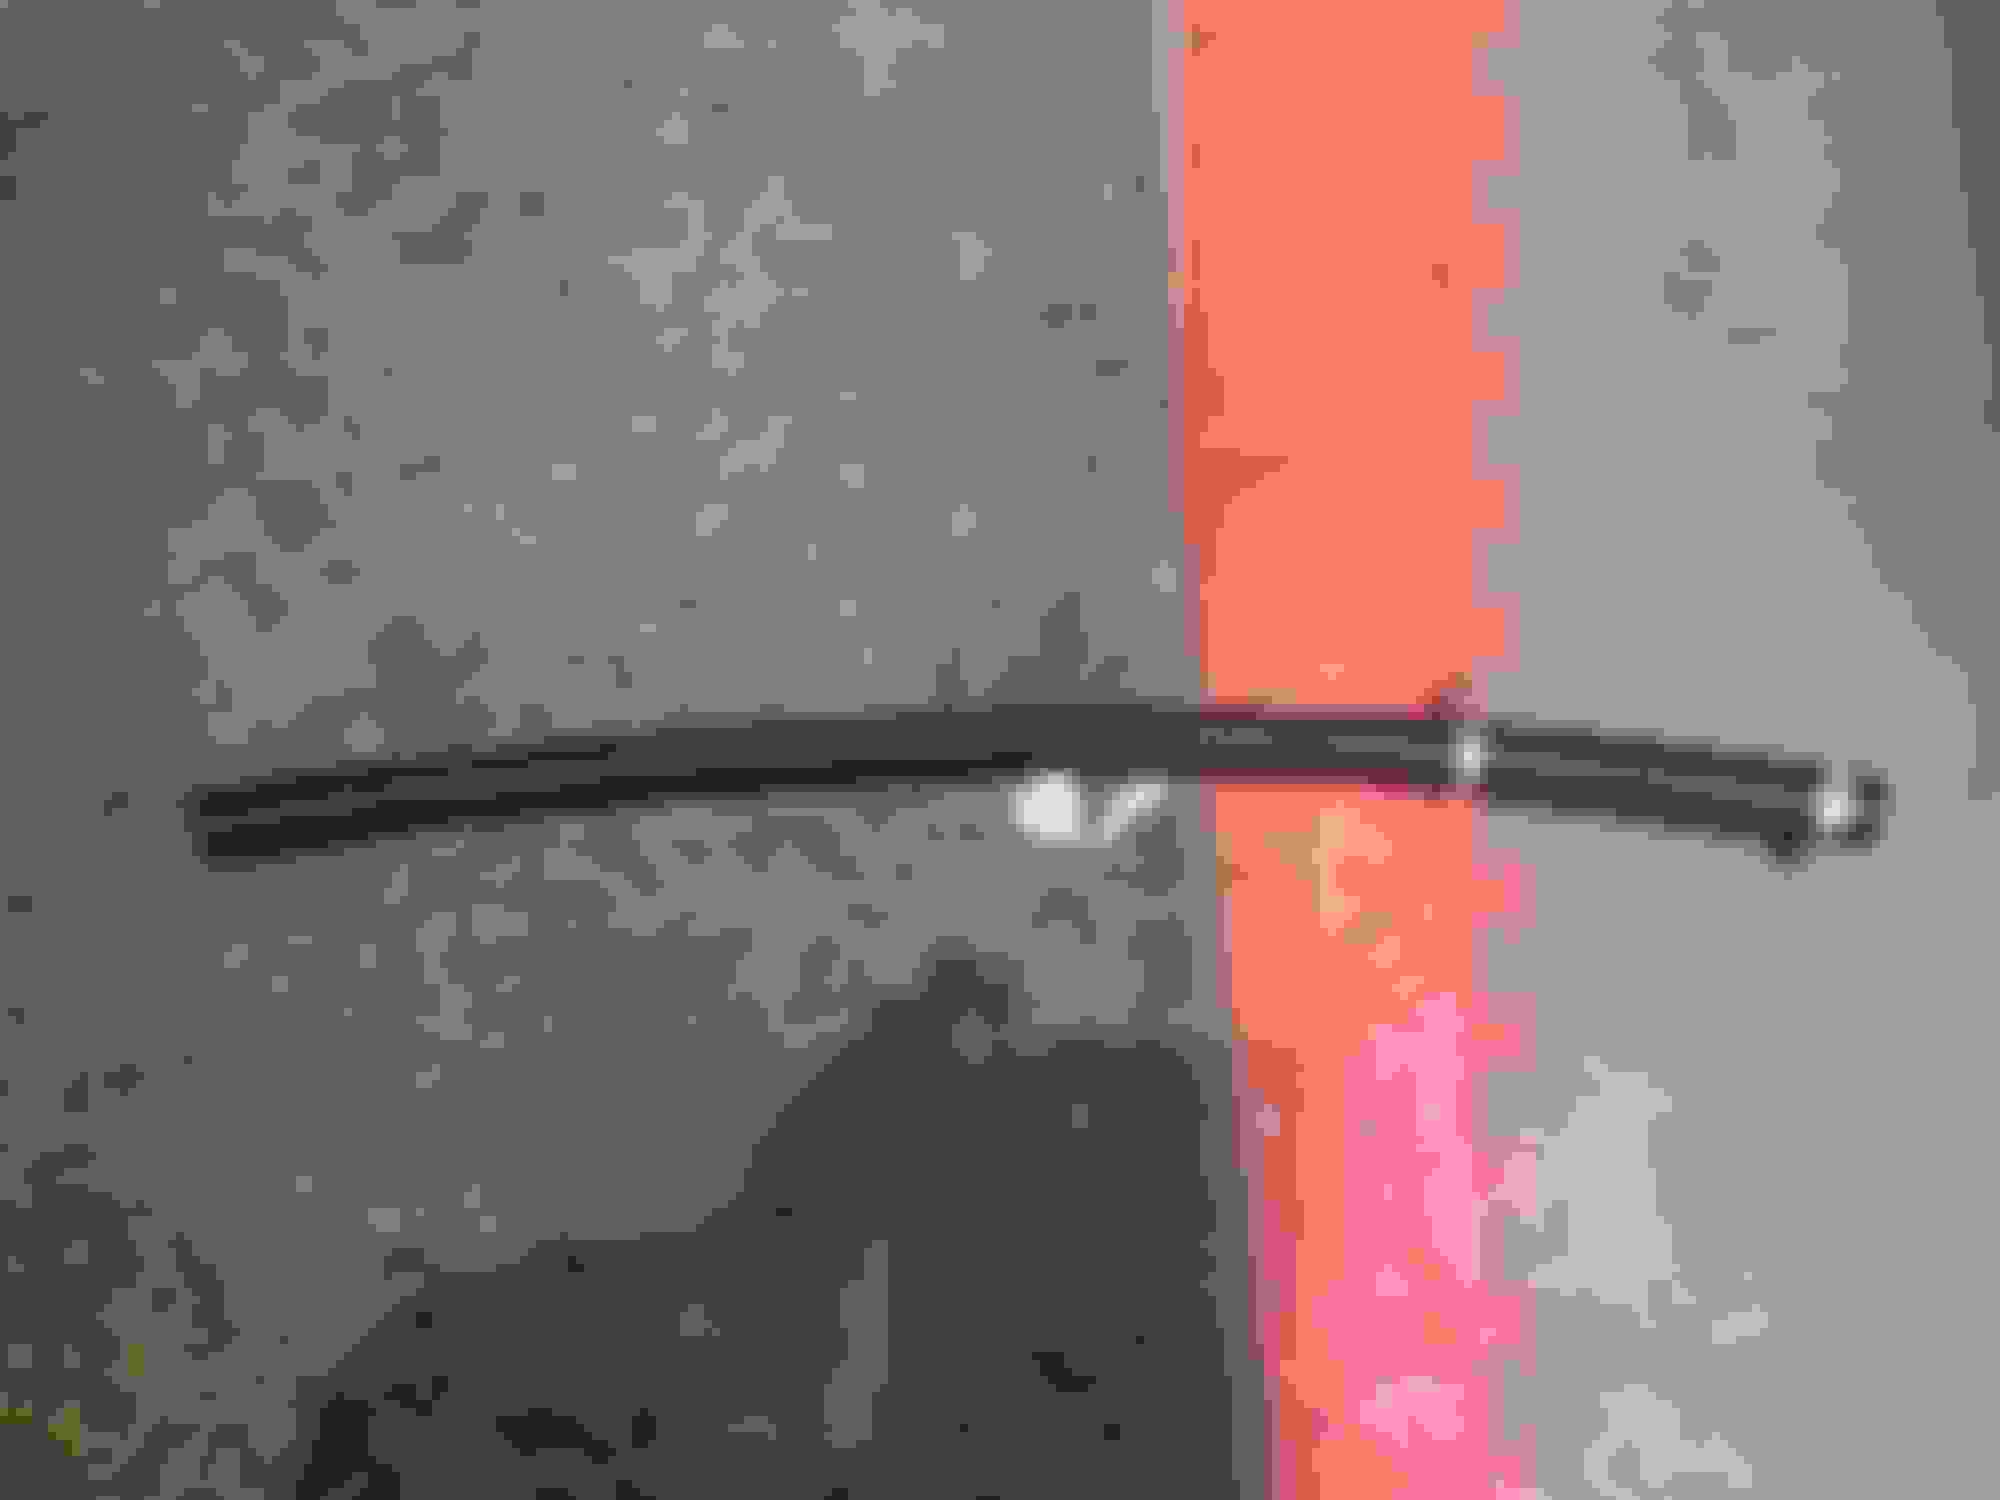
Lambda connection mounted to check cable length.
Exhaust back in place.
Last edited by boost monster; Oct 22, 2022 at 04:30 PM.
Reason: Edit
Making slow but steady progress hampered by work commitments which should slow down in December.
I’ve mounted the speed control module for the cooling fan here. Don’t know if it will get sufficient airflow to cool it as the OEM position is in direct airflow. Time will tell. Injectors, temperature sensors and throttle position are connected. Less wires and mess than a month ago. Having played with electricity since I was a boy I have more crimping tools than the average man but I had to buy another to do the small uninsulated ones. It make a nice job. I wanted to avoid extra relays and in-line fuses but I wasn’t able to “de-pin” the fuse box to reconfigure it as I had hoped. My solution was to add another two fuses Fuses where they should be….. in the fuse box.
Good progress yesterday.
I selected my ECU because it was waterproof and small enough to fit inside the original ECU case. With hindsight I maybe should have selected one with more outputs however I have solved the problem.
Because I�m running wasted spark there are two ignition outputs that can be configured for other uses and we proved that.
I�m using one to drive a solid state relay and then my fuel pump and the other for pulse width modulation control of the cooling fan. All proven now.
Wiring is progressing. I will wrap it when it working. Only the crank signal is left to prove Solid state relay from Maxx that can switch DC PWM fan control proven.
Last edited by boost monster; Dec 18, 2022 at 07:45 AM.
Great build, just looked through it all while ill as fook at home.
Thanks.
Back to work today and I didn�t achieve everything I wanted during the holiday but still progressed.
I got some off my fuel lines done. Hopefully have it running before the end of January.
Probably because I bought the wrong ECU I�ve added this CanCheck expansion board for extra inputs. All wired up. Again my ECU doesn�t have closed loop control so I have this board from DIY EFI The little board wired with connectors. As far as we can tell it�s all working. Decided to add an ambient temperature sensor and mounted it on my horn bracket. The temperature sensors I bought didn�t come with a calibration table so boiling water , ice water and ambient temperature and measure the resistance. I�ve water. I used hose separators for cable management.
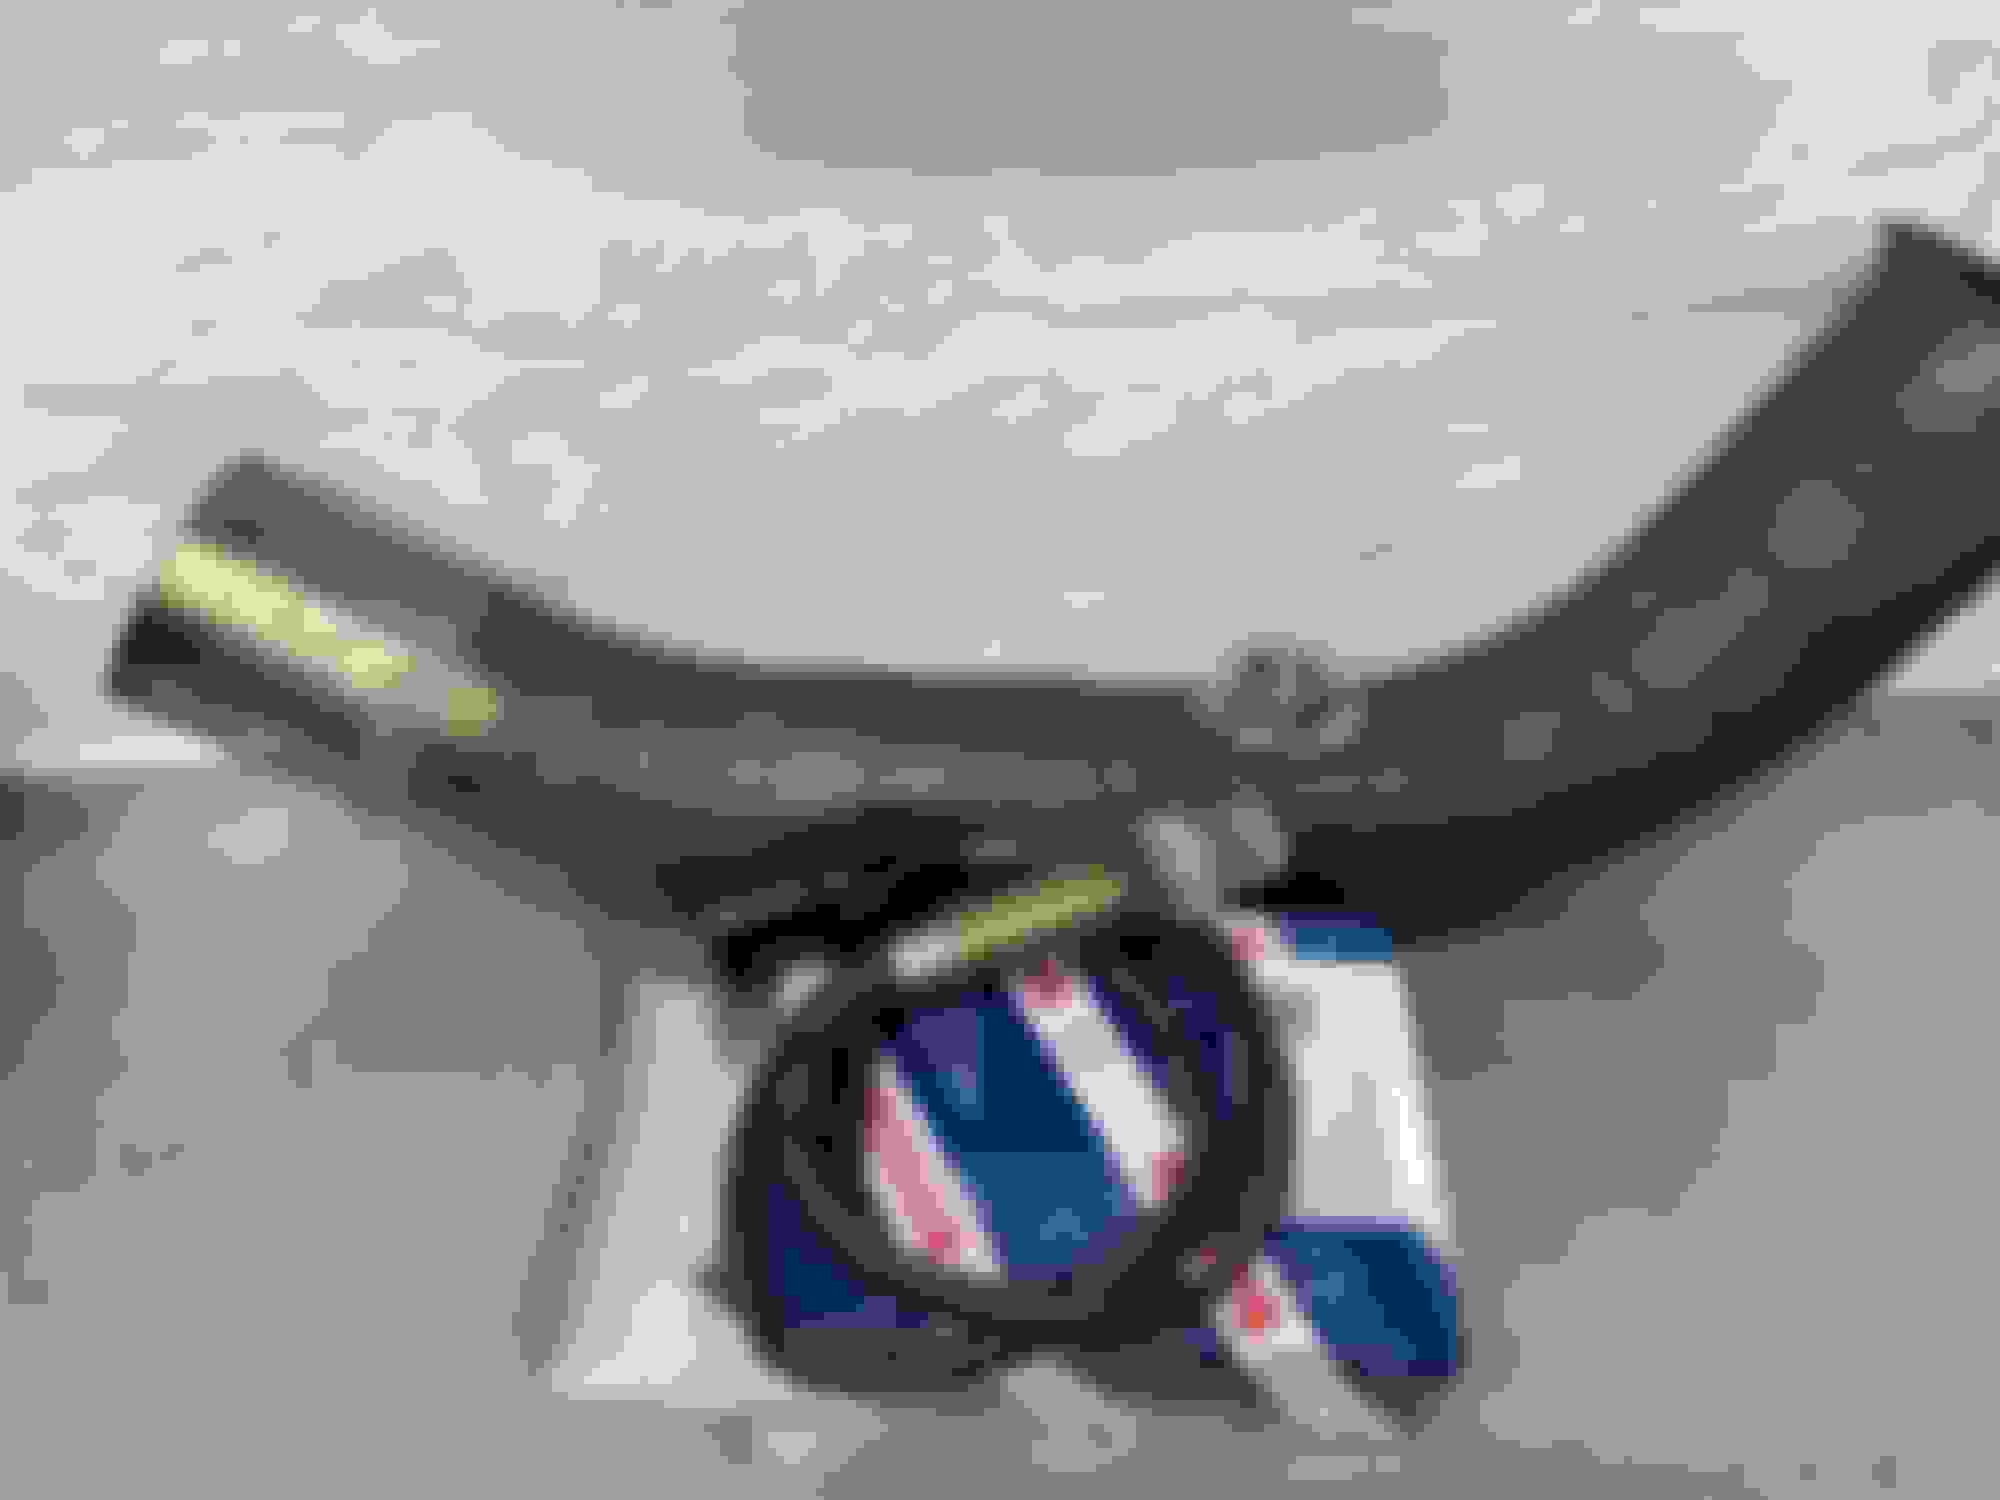
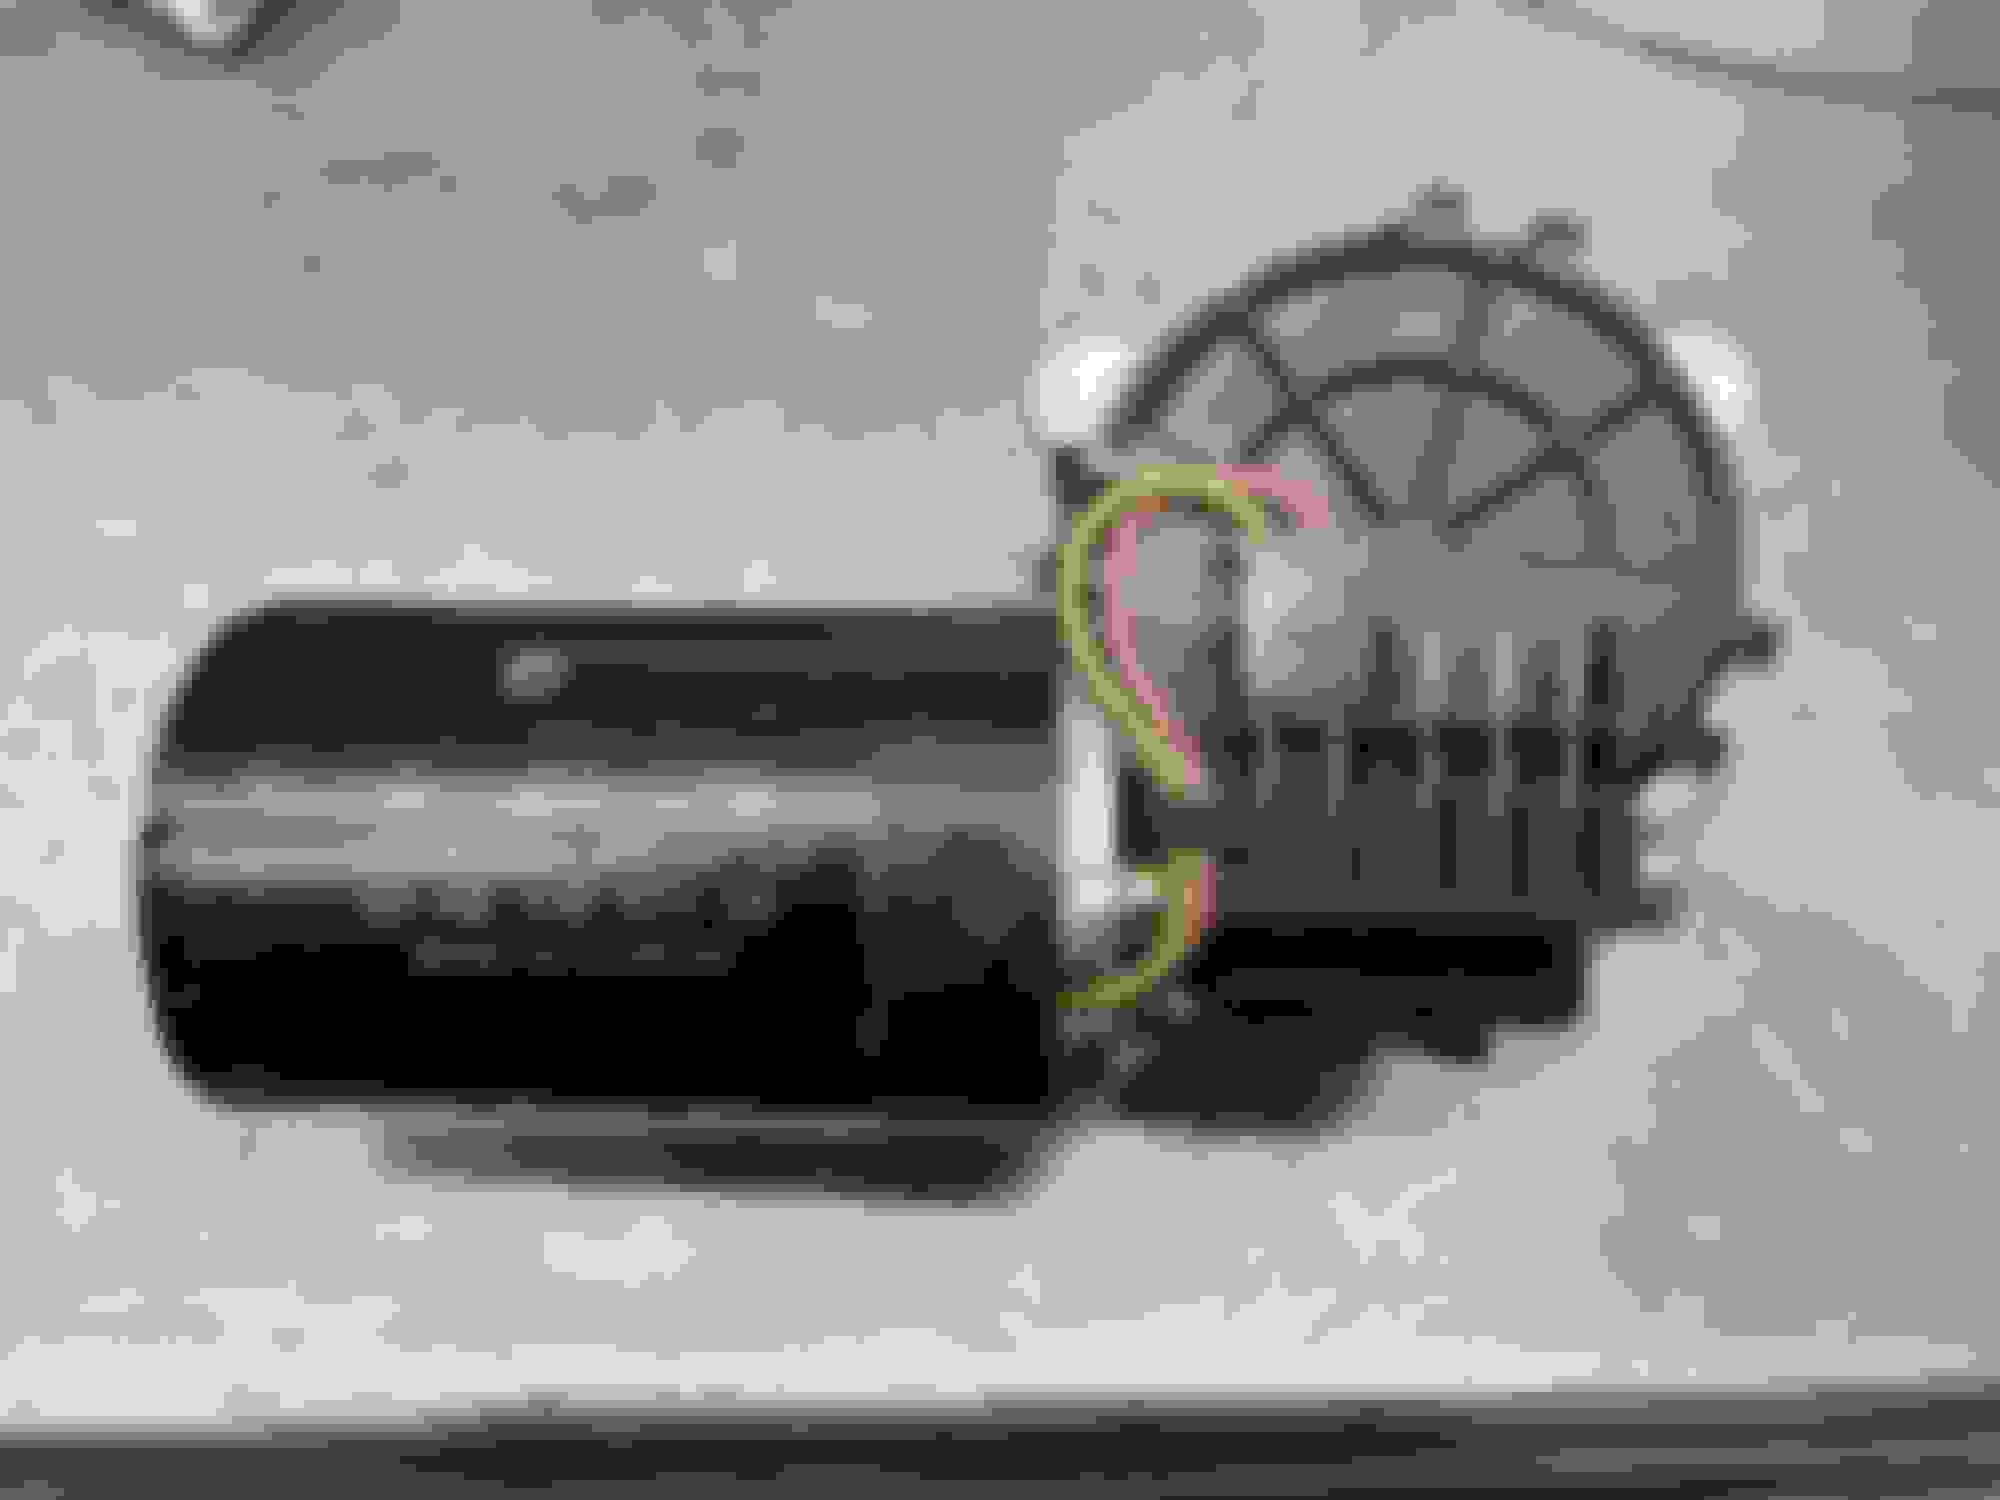
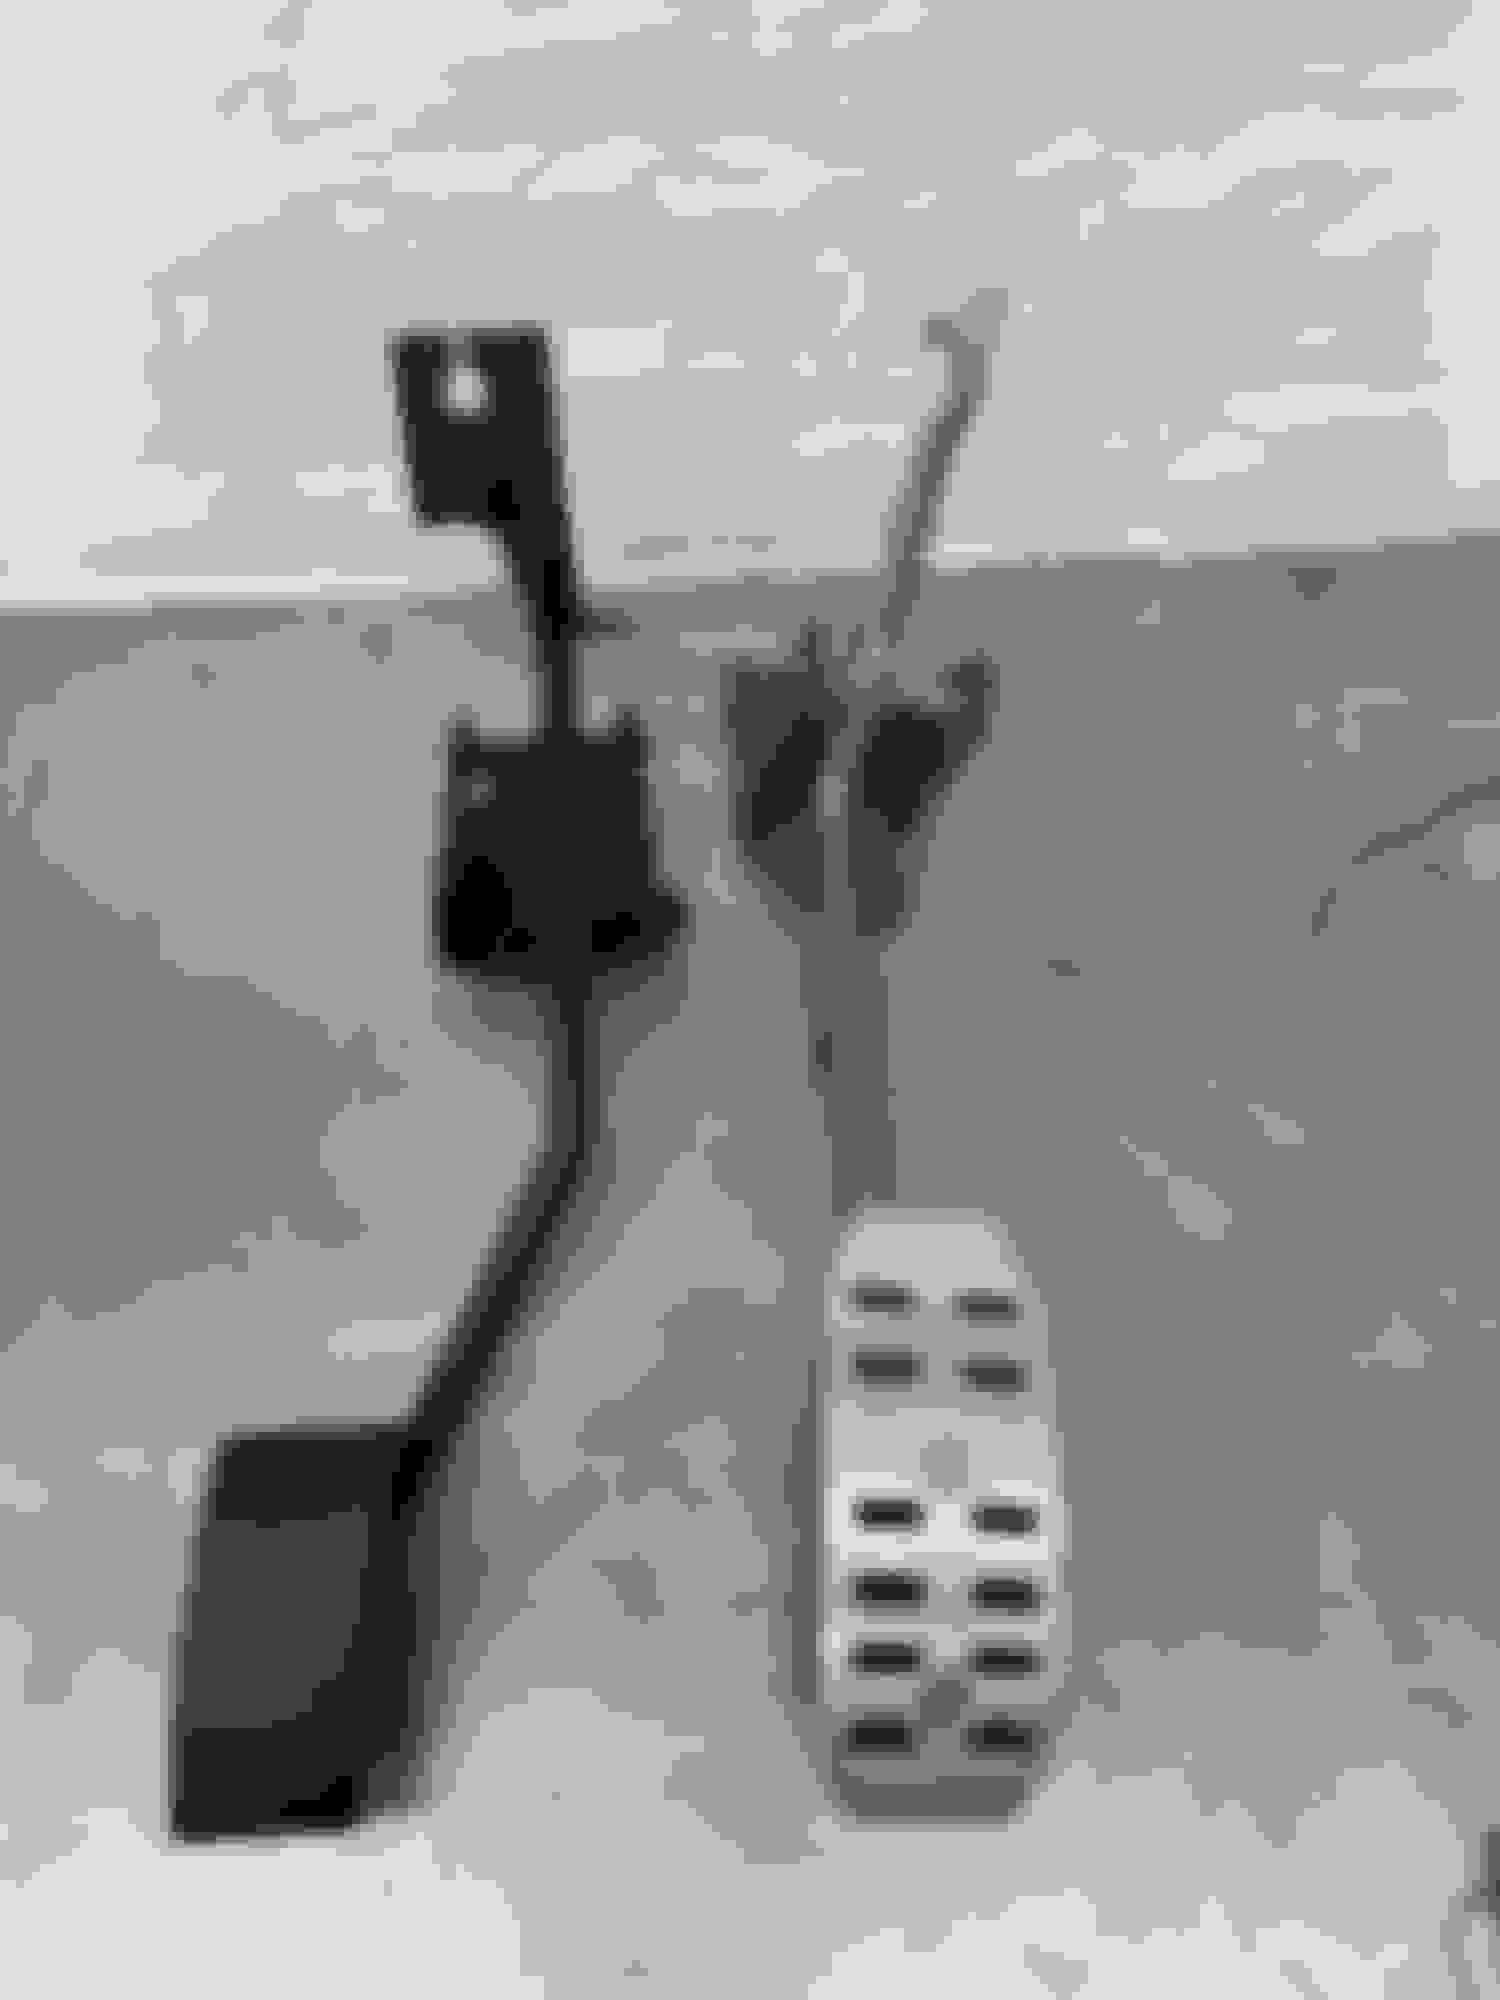
Fuel lines complete and tested. I used PTFE hose and AN6 fittings. The original hard line was cut back to suit the fuel filter that was relocated to the bottom of the bulkhead guaranteeing I will get covered in petrol every time it’s changed. My best find. New unused wiper motor. I avoided using the car in the rain as the wipers were so slow. They are amazing now. I bought what I thought was a EFI XR3i pedal to suit the different throttle cable but when mine was removed it’s different. The end was cut of and welded to the original. Ready to weld. All done. New gaskets ready to fit. Some flexible hose to go from the oil cooler to the inlet manifold as the hose tail is in a different place 🤷♂️ I went to fit my new Fiesta RST leads and then found out there are two different types of coil pack. So one to fit my leads was sourced. Fuel pump relay in the original location. Pull up resistor for the tacho (using a relay coil as Maxx recommended) This has been tested and works. Although the ABS has been removed I wanted the dash light to function as normal so the ABS relay was retained and the wiring altered to suit.
It runs😁
After a false start last week when I tried and failed. I didn’t realise I needed an ignition amplifier, I thought the coil pack could be triggered directly from the ECU. I have now wired in the immobiliser now I have proved everything else works.
The new alarm isn’t working correctly, there is now lock pulse for the central locking. I have swapped the control box with my sons and the central locking works fine. The company I purchased it from are ignoring me…. They will lose😁
This will be the next challenge getting the screen programmed and talking to the ECU.
Still lots of finishing to do. I need to connect a pipe into the charge pipe for the idle valve. Decided to mount to amplifier here. The loom down the rhs inner wing has been re taped with non adhesive loom tape. For a bit of weirdness I refitted the green loom tag. The original starter head shied covers the crank sensor wiring really well.
Seeing your thread gets me all fired up. It�s giving me so much motivation to keep on working on my mk4 escort ghia. I�m currently on a standby but trying to source parts 👍
So barring any more school boy errors mapping in the middle of April seems achievable.
Had a few ups and downs in the last month.
It took a while to get the Lambda control working…. we set up a table using 0-5v against AFR and after sending screen shots to the helpful Maxx support they pointed out Maxx works in Lambda. Obvious now but played around for a few days before solving it.
My son bought another alarm from the company that were ignoring my emails and we swapped it and sent it back, remote central locking now operates correctly. Unfortunately the immobiliser is not working now and it gets a connects to the alarm by canbus. I’ve still to investigate where the issue is. Karma for the alarm company 🙄
The idle control valve was faulty and a new one purchased but still to set it up.
The alternator decided it had had enough, replacement fitted.
The CanChecked monitor has not been looked at yet, concentrating on being ready for mapping.
The PWM fan control works great, at idle it maintains 86 degree coolant temperature with 20% duty.
My son made me these part for my air box install. He’s been teaching himself to weld aluminium so of course the bracket was made of that. Nearly there. I forgot to take a picture of it finished. Still not show quality welding but improving every job. When we finally got the closed loop working. Check the battery voltage, hence the new alternator. The old one had the charging light slightly glowing for a while. All back together……the interior has still to be finished USB for the MAxx
So four days until mapping and wide and controller has decided not to work and the CanCheck monitor has never worked. I’ve been relatively busy with work so that hasn’t helped. When I refitted the steering wheel the column bush had moved and I managed to destroy it. New one sourced and fitted along with a new bearing at the top which was a complete waste of money as the original was still good. PPF on my spot lights Son no.2 made this fitting to replace my dump valve in order to plumb in the idle control valve. I’m not sure this will be the final installation but it will do for Mapping. The child in me will miss the dump valve. I think I’d prefer a dump valve here. Breather system complete.


 nice to see it ion this months magazine too