Sierra Mk1 3dr ´86, home-built "Group A" *Brakes upgrade etc.*


The following users liked this post:
RalliArttu (11-06-2017)
 14-06-2017, 03:01 PM
#42
RalliArttu
Thread Starter
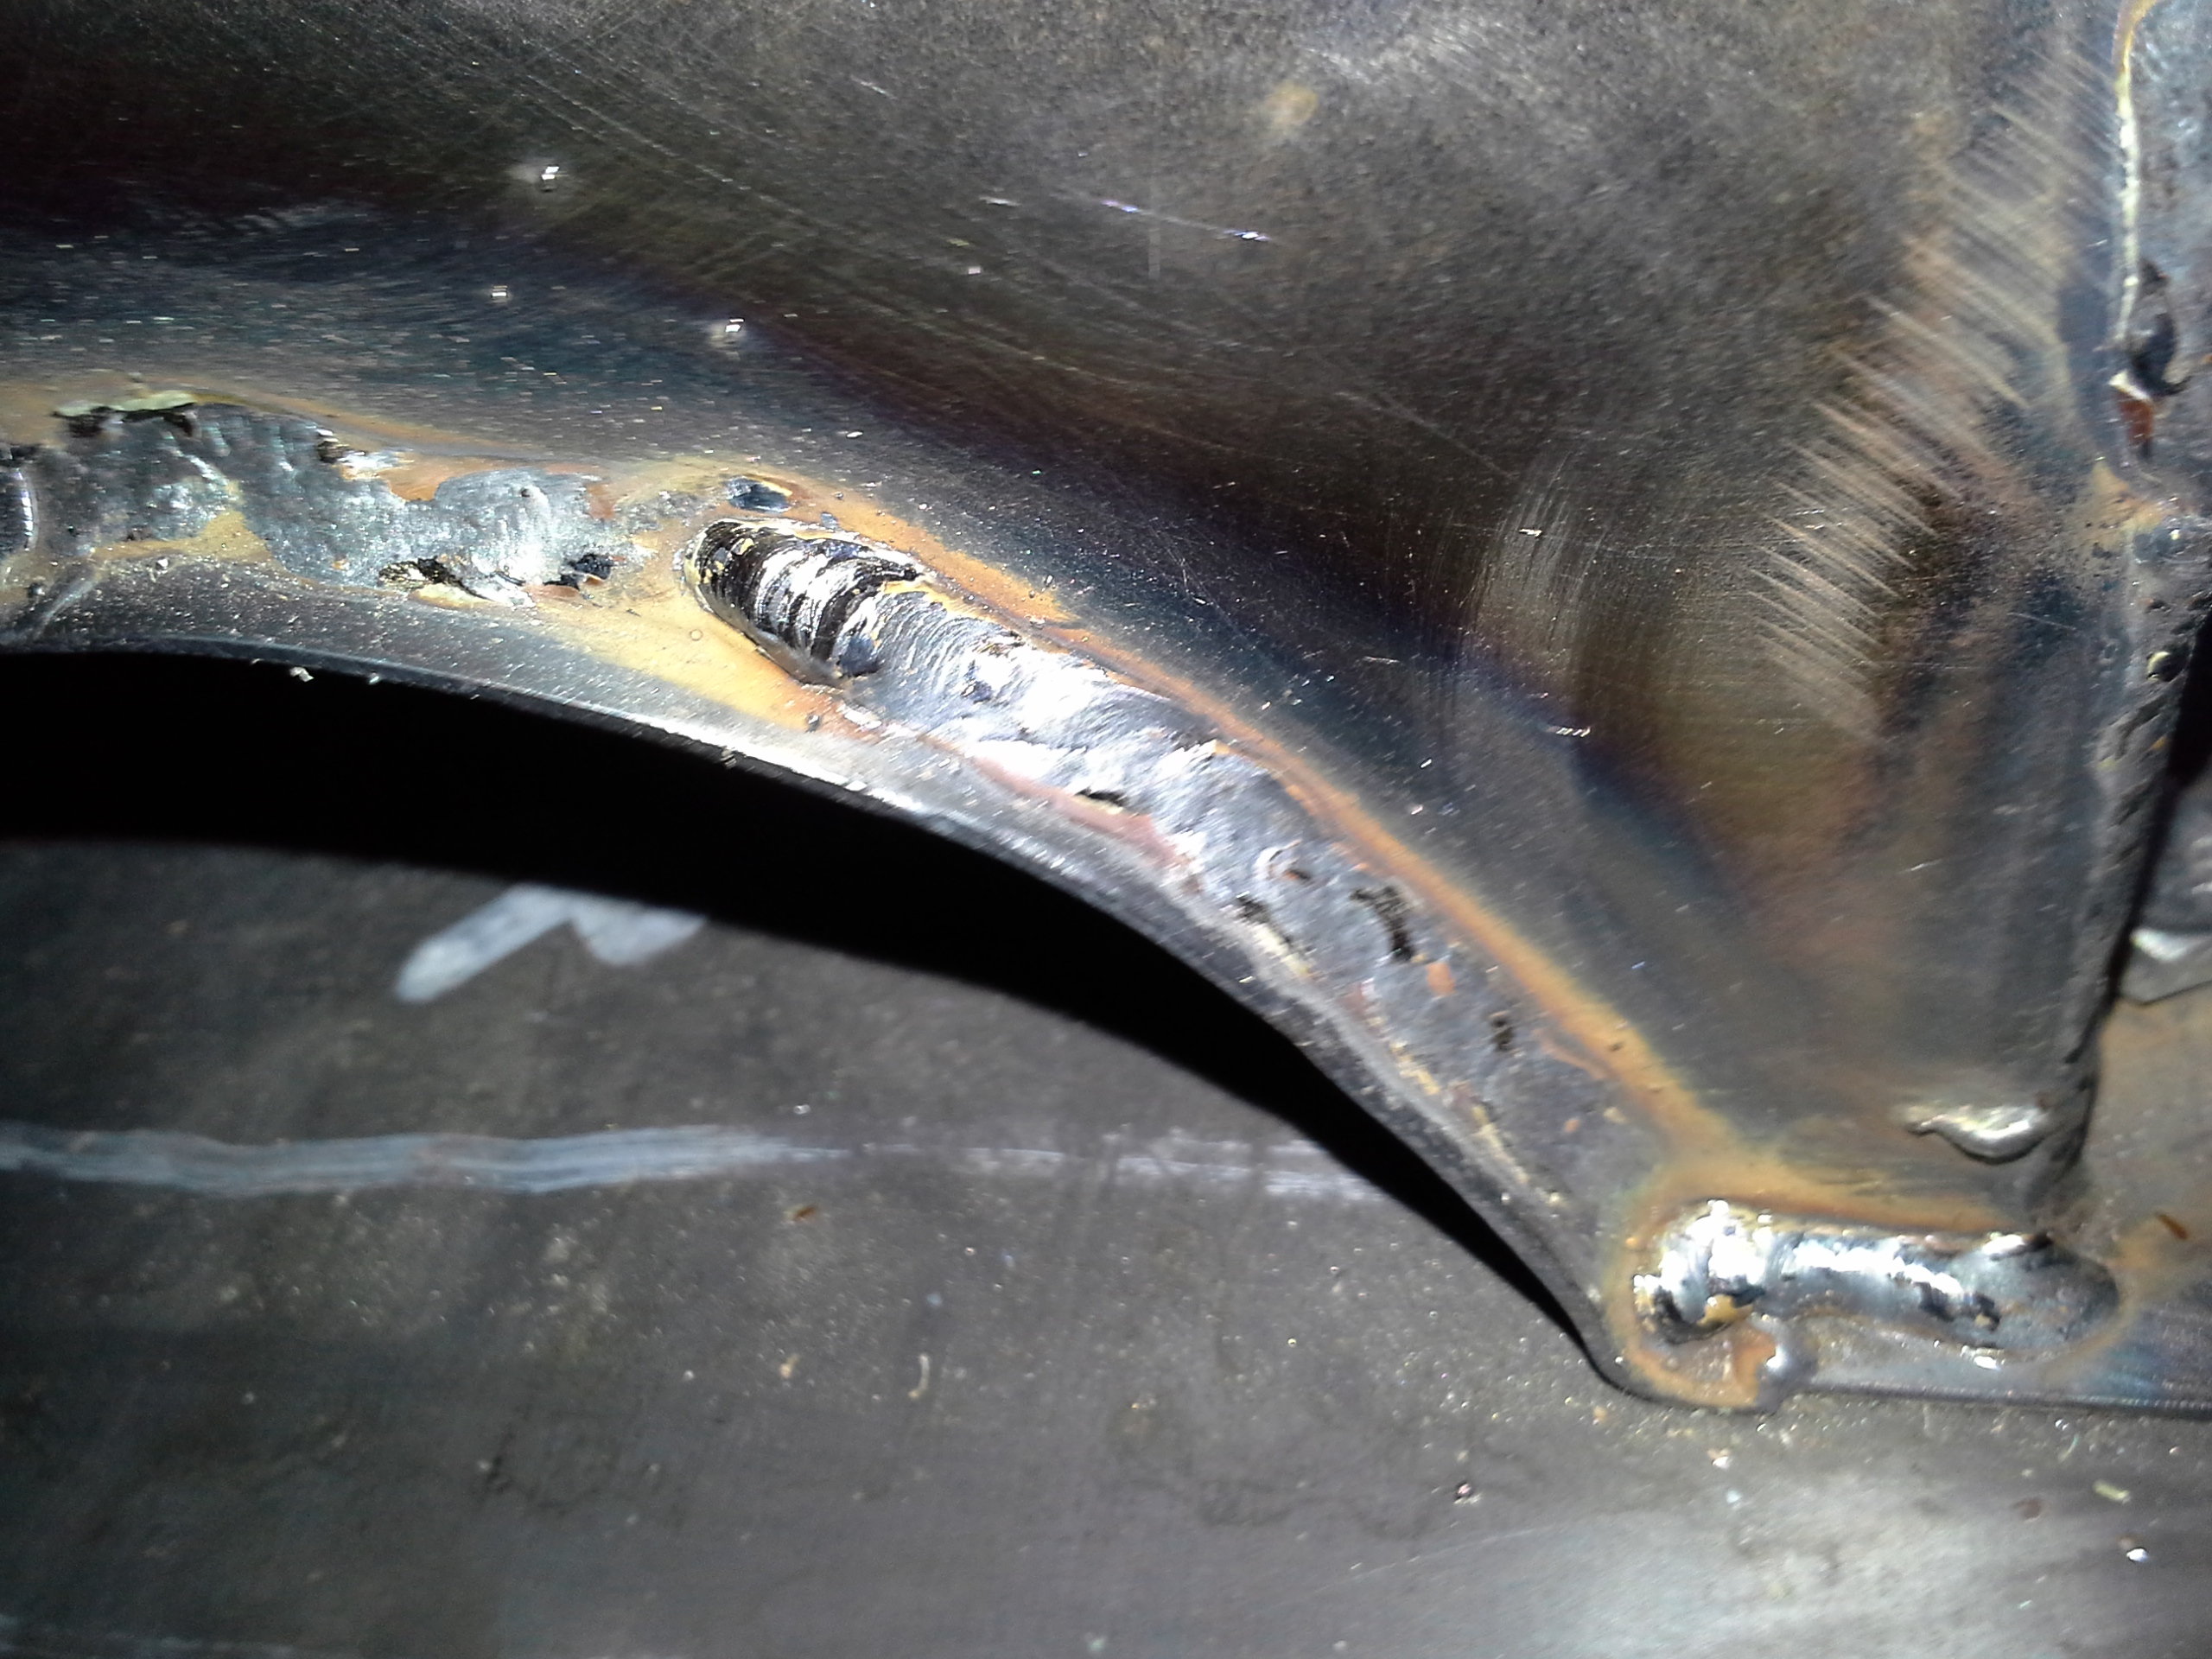
Because waterrails that are available, are way too expensive as a part that can be fabricated pretty easily... I decided to make a one
Obviously the space between engine and bulkhead is limited, I had to made this flange which is replacing thermostat housing.
Then there was still some blumbbing, cuttimg and welding to do:
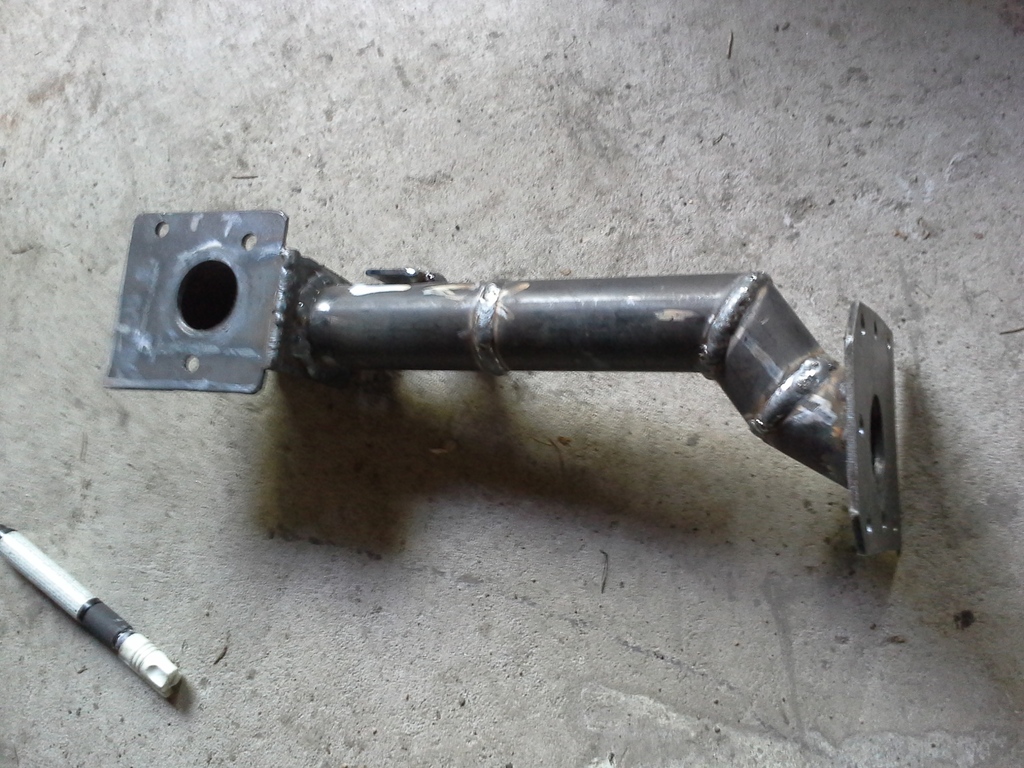
That one extra weld in the middle was caused by little mistake earlier in my own measurements

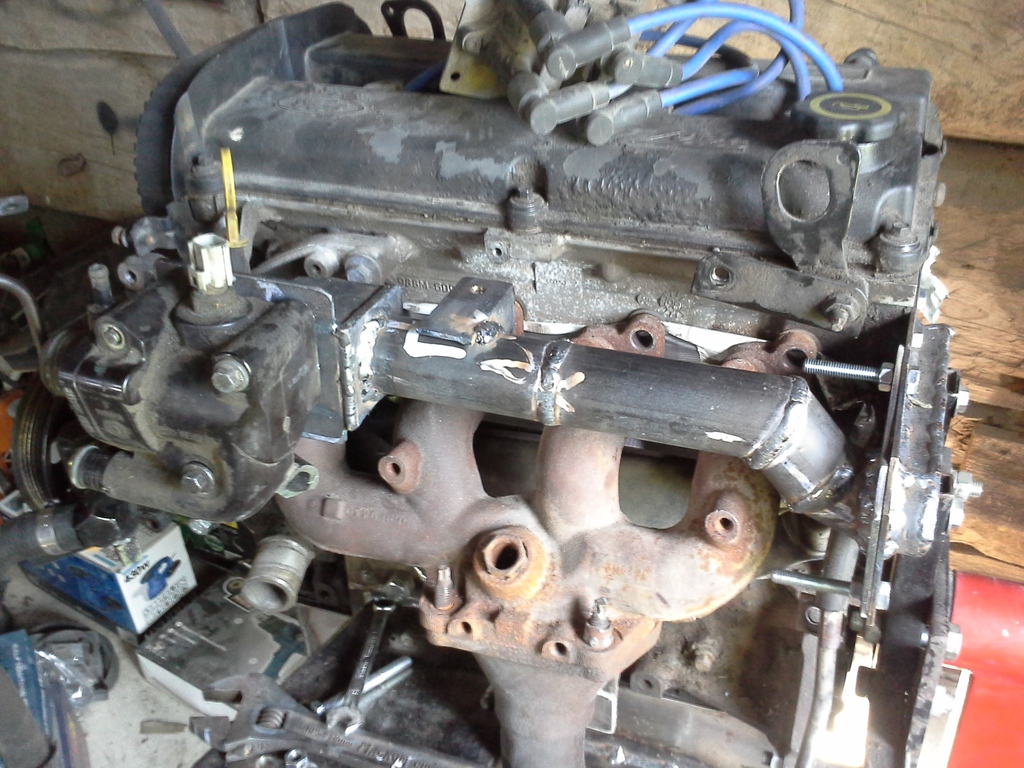
Fits well. And I saved a lot of money
Obviously the space between engine and bulkhead is limited, I had to made this flange which is replacing thermostat housing.
Then there was still some blumbbing, cuttimg and welding to do:
That one extra weld in the middle was caused by little mistake earlier in my own measurements
Fits well. And I saved a lot of money
Last edited by RalliArttu; 14-06-2017 at 03:02 PM.
15-06-2017, 10:41 AM
#43
PassionFord Regular
very well done with it...
i'd advise you to make something to accept an air purgin' valve too though. in mine i tapped a hole on the highest spot of it... at the end of the story, it may save you lot of time and troubles...
i'd advise you to make something to accept an air purgin' valve too though. in mine i tapped a hole on the highest spot of it... at the end of the story, it may save you lot of time and troubles...
23-07-2017, 01:04 PM
#44
RalliArttu
Thread Starter
Because photobucket won´t work for free no longer, I´ll posts something that happened previously and also something from last week
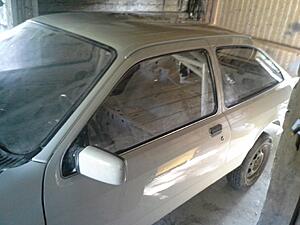
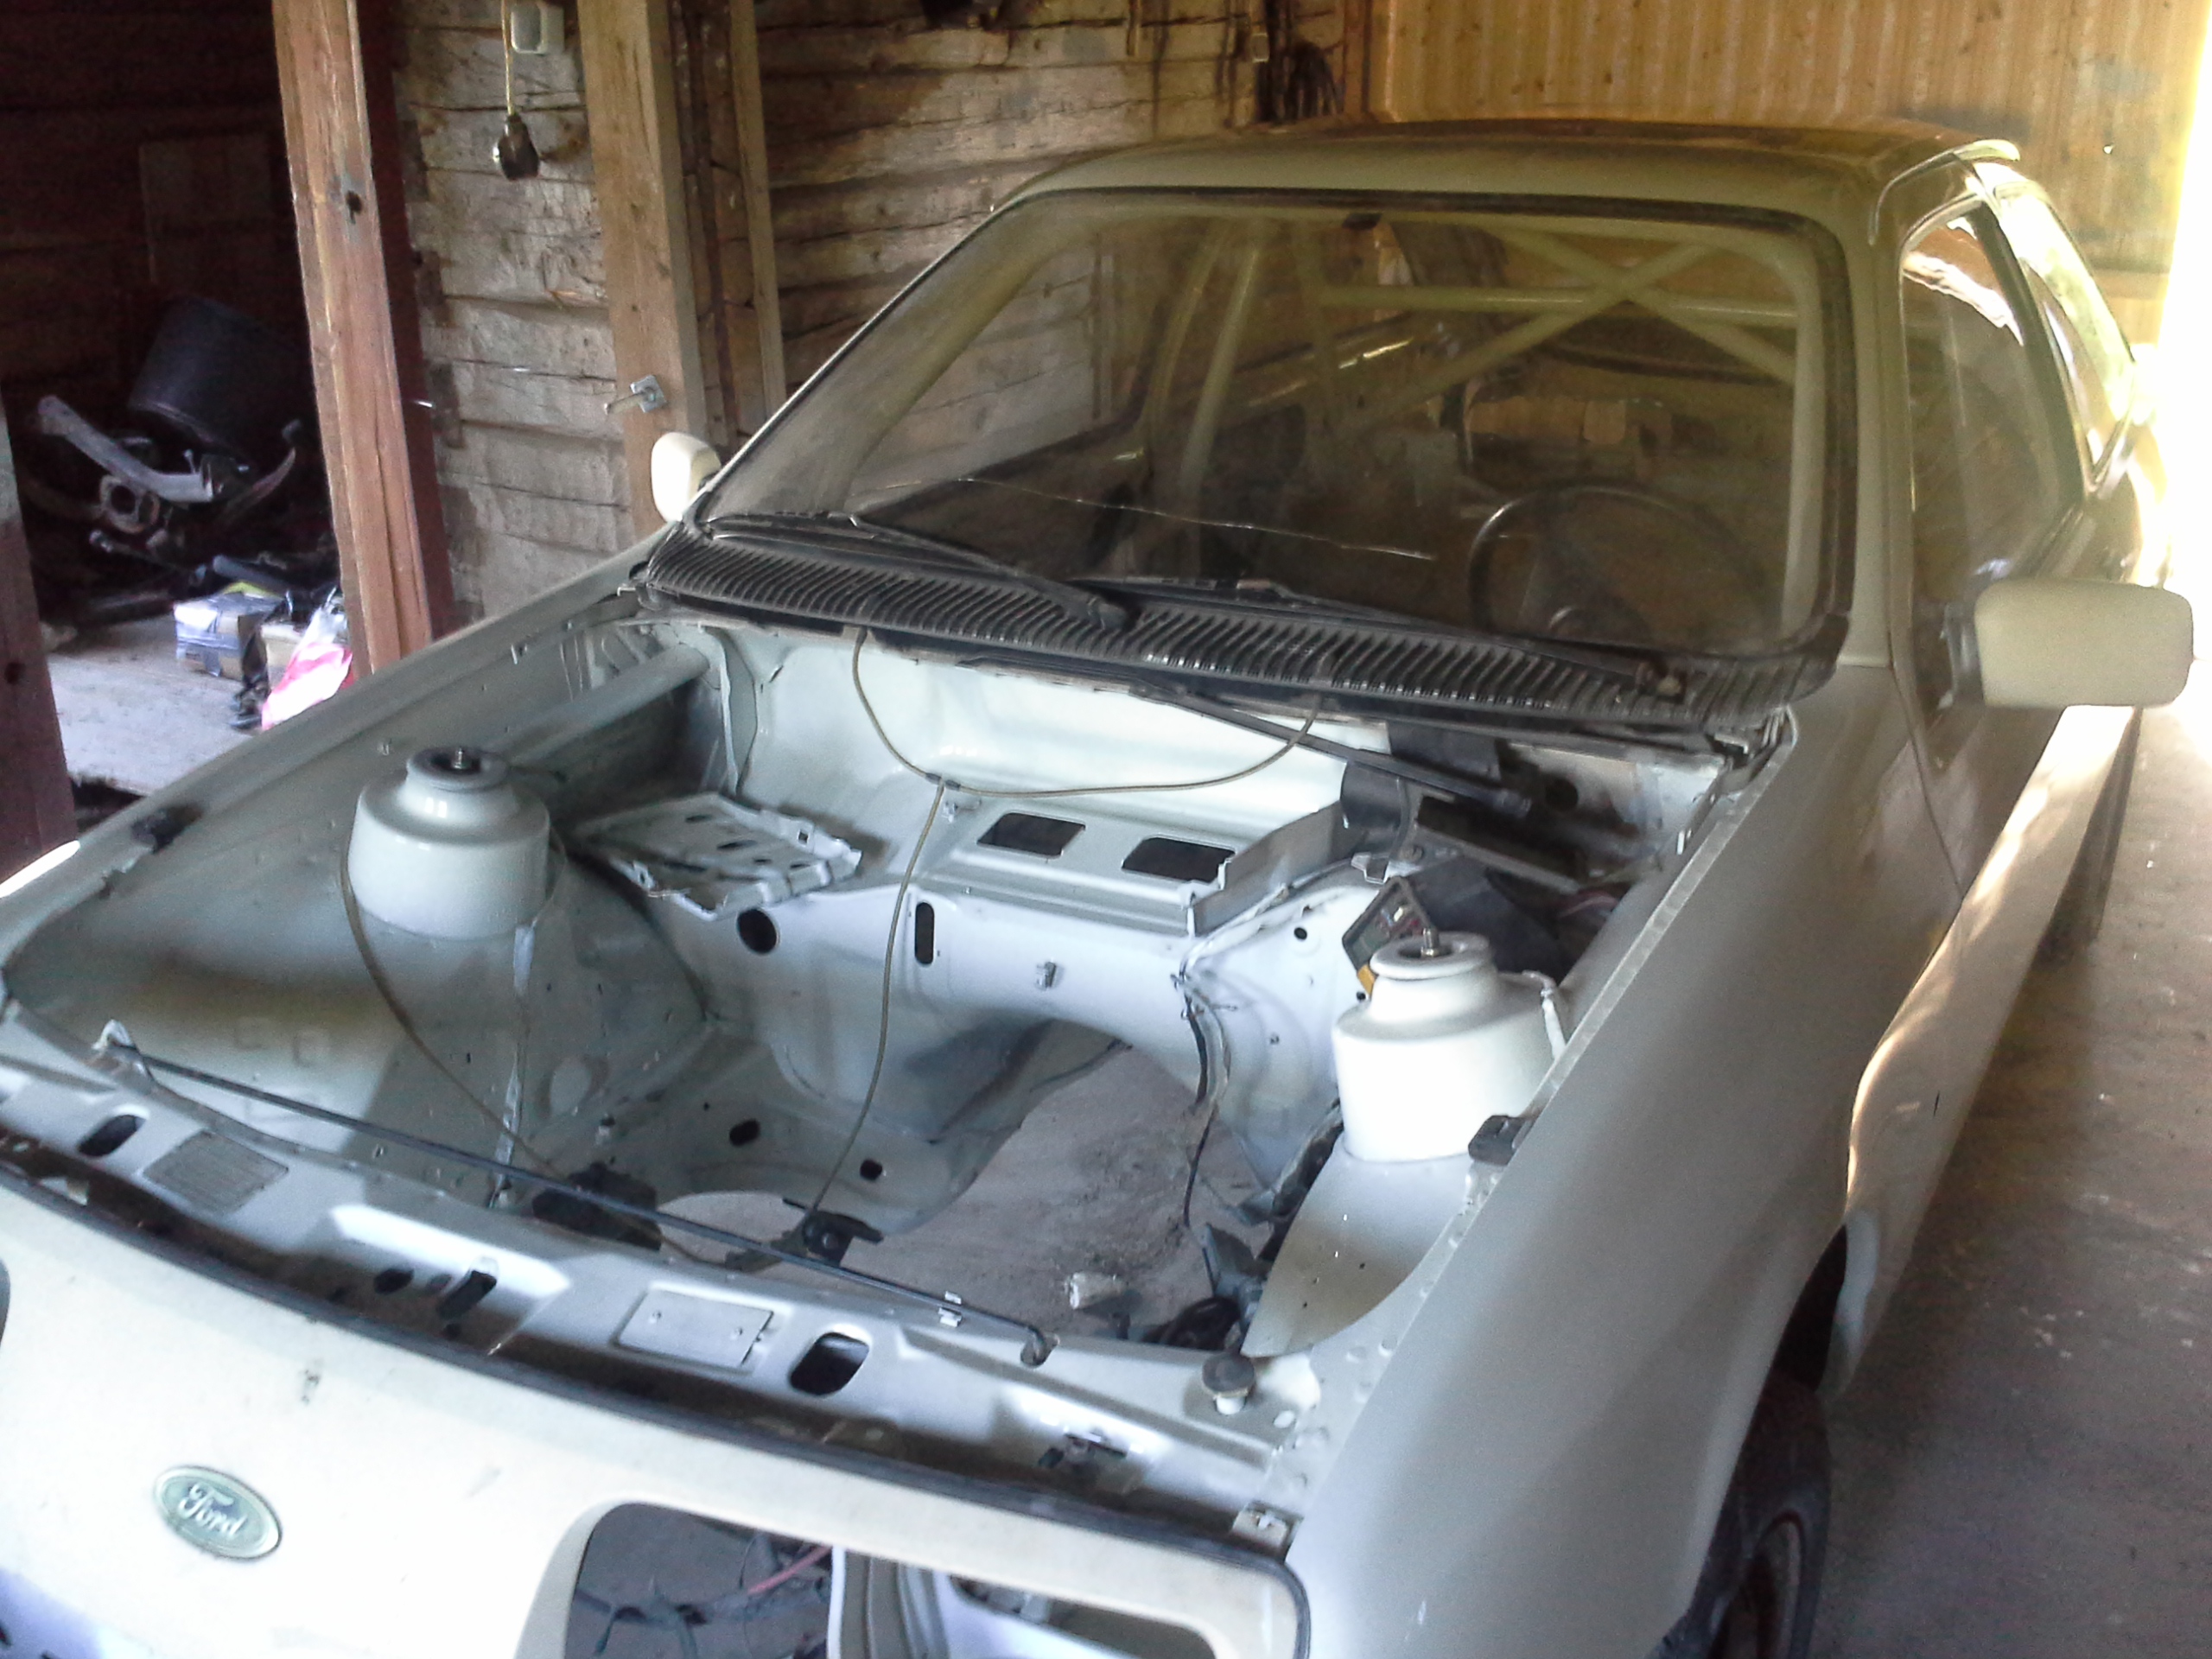
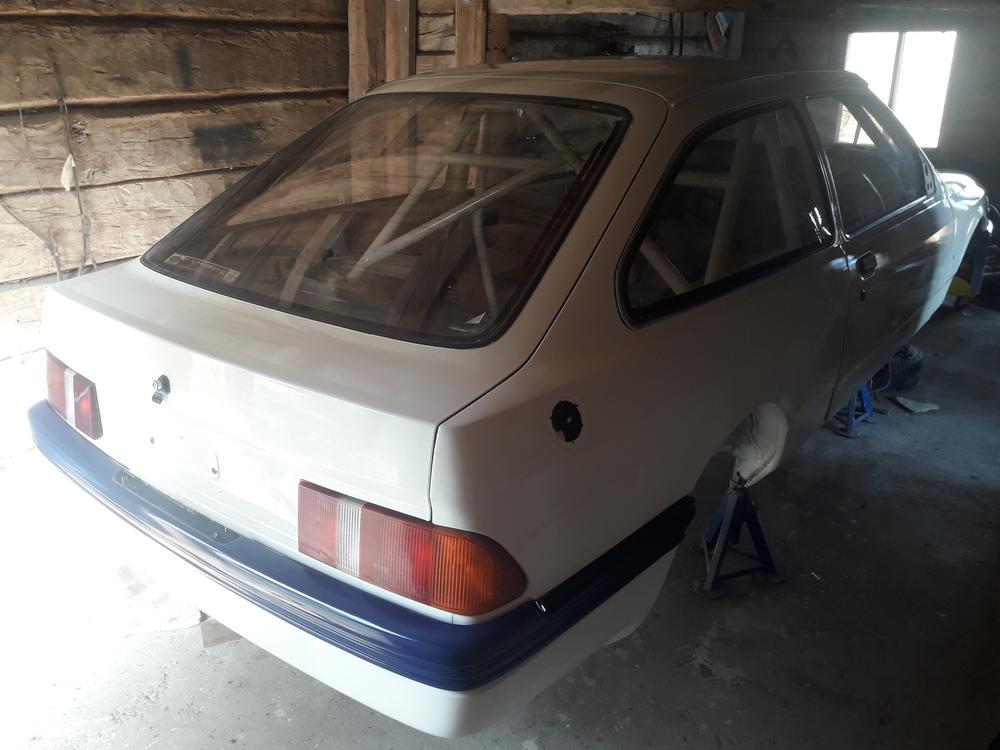
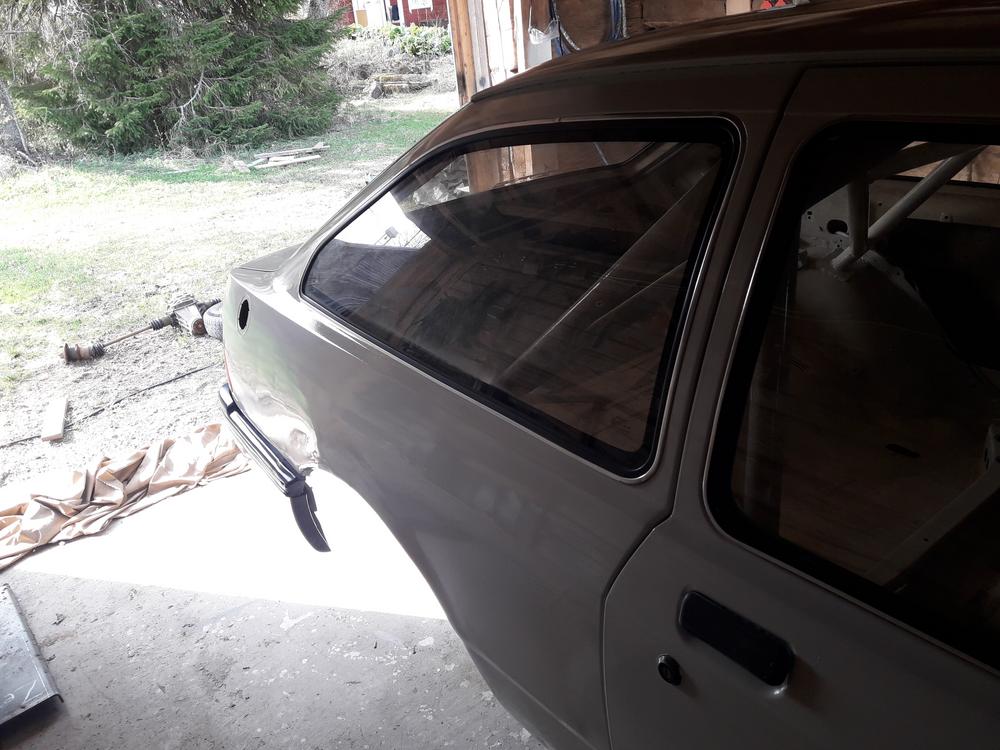
Got re-spray done:
And got the doors bolted back to the car:
It´s me again!
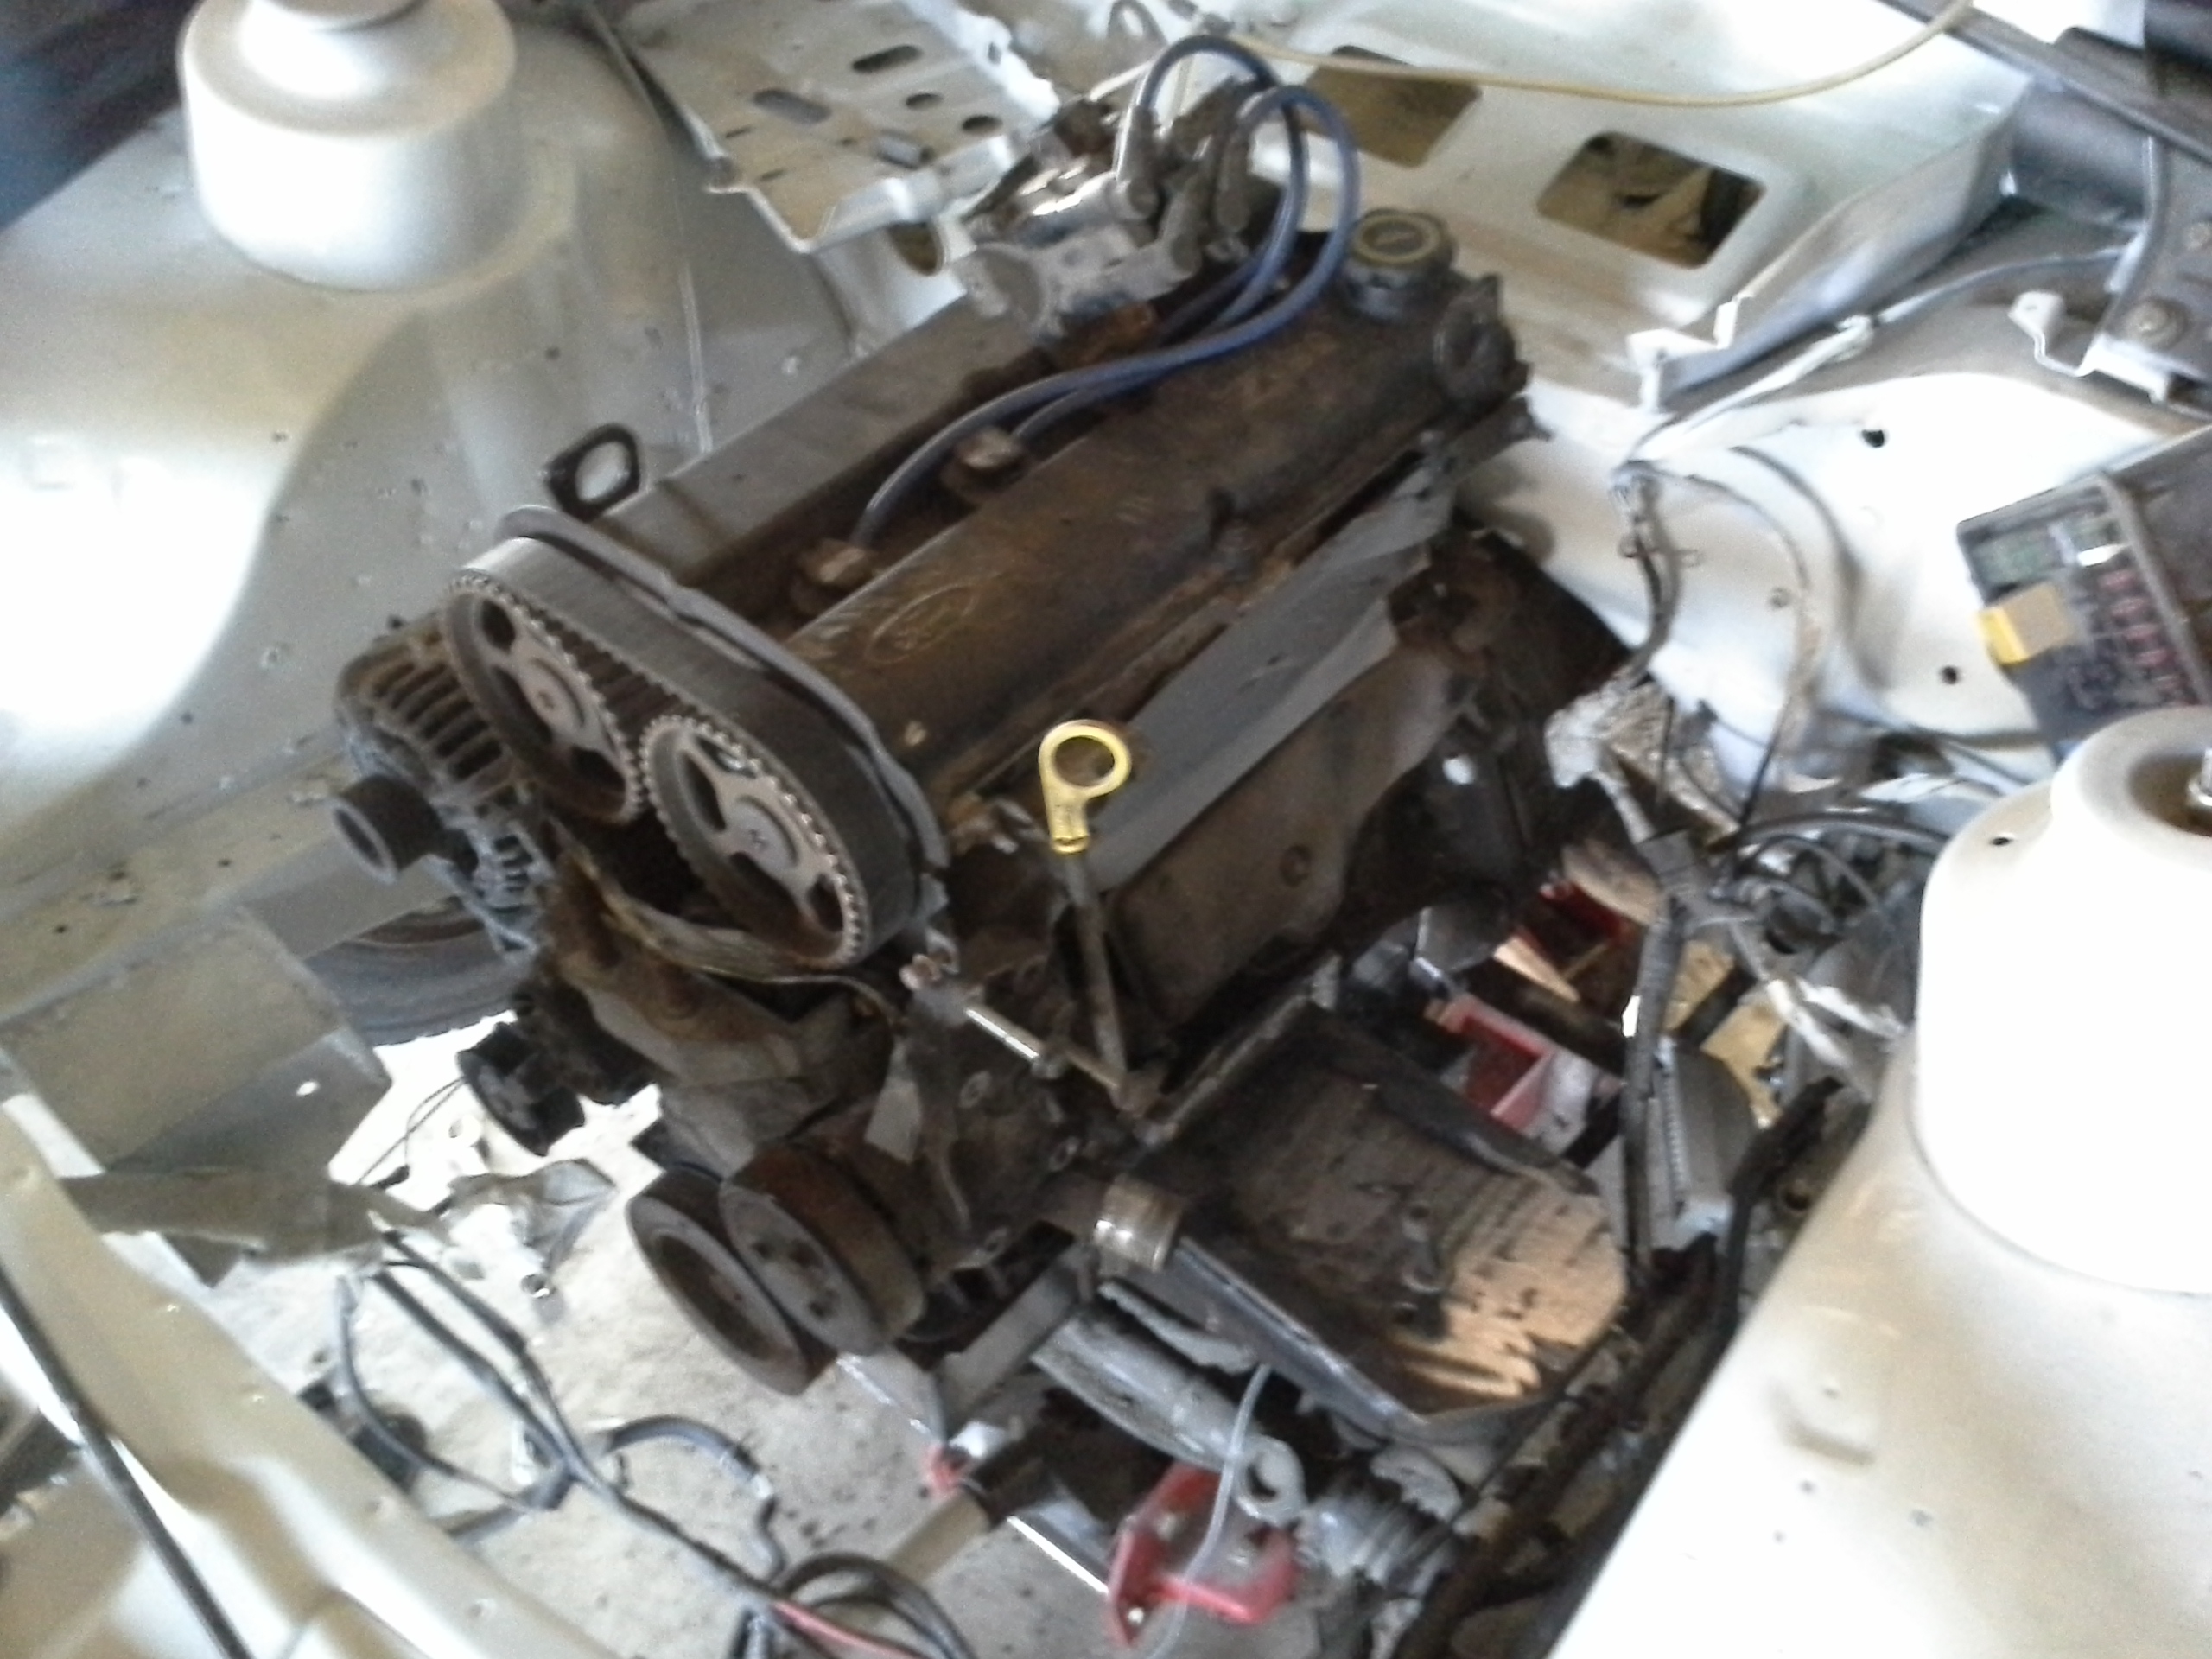
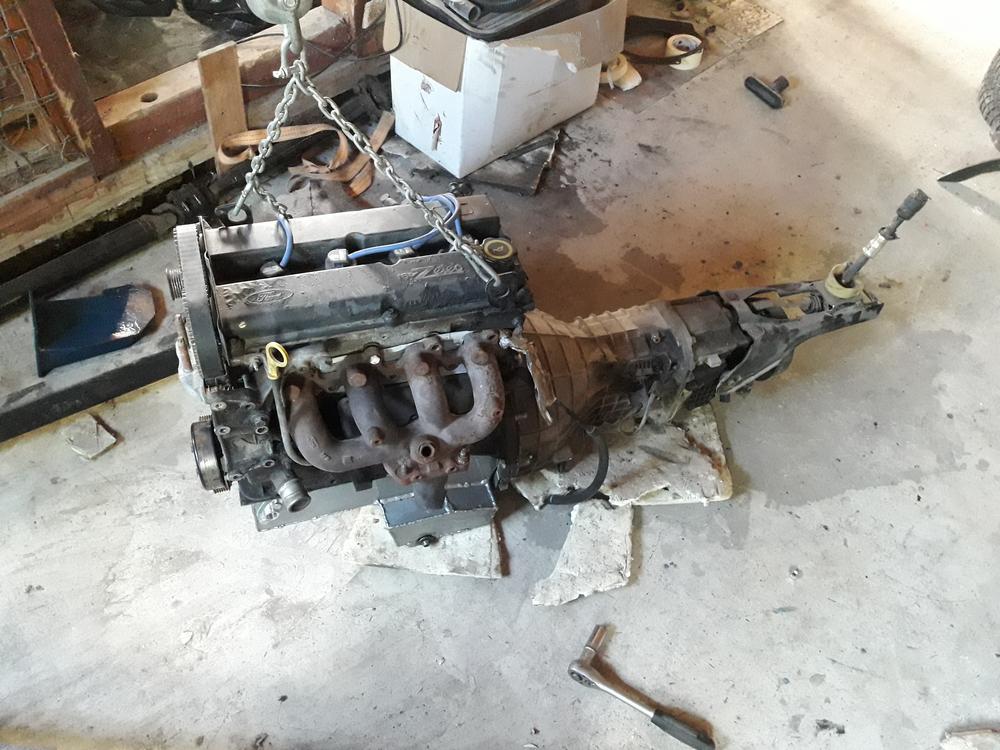
Some re-posted pics of Zetec-RWD-conversion:


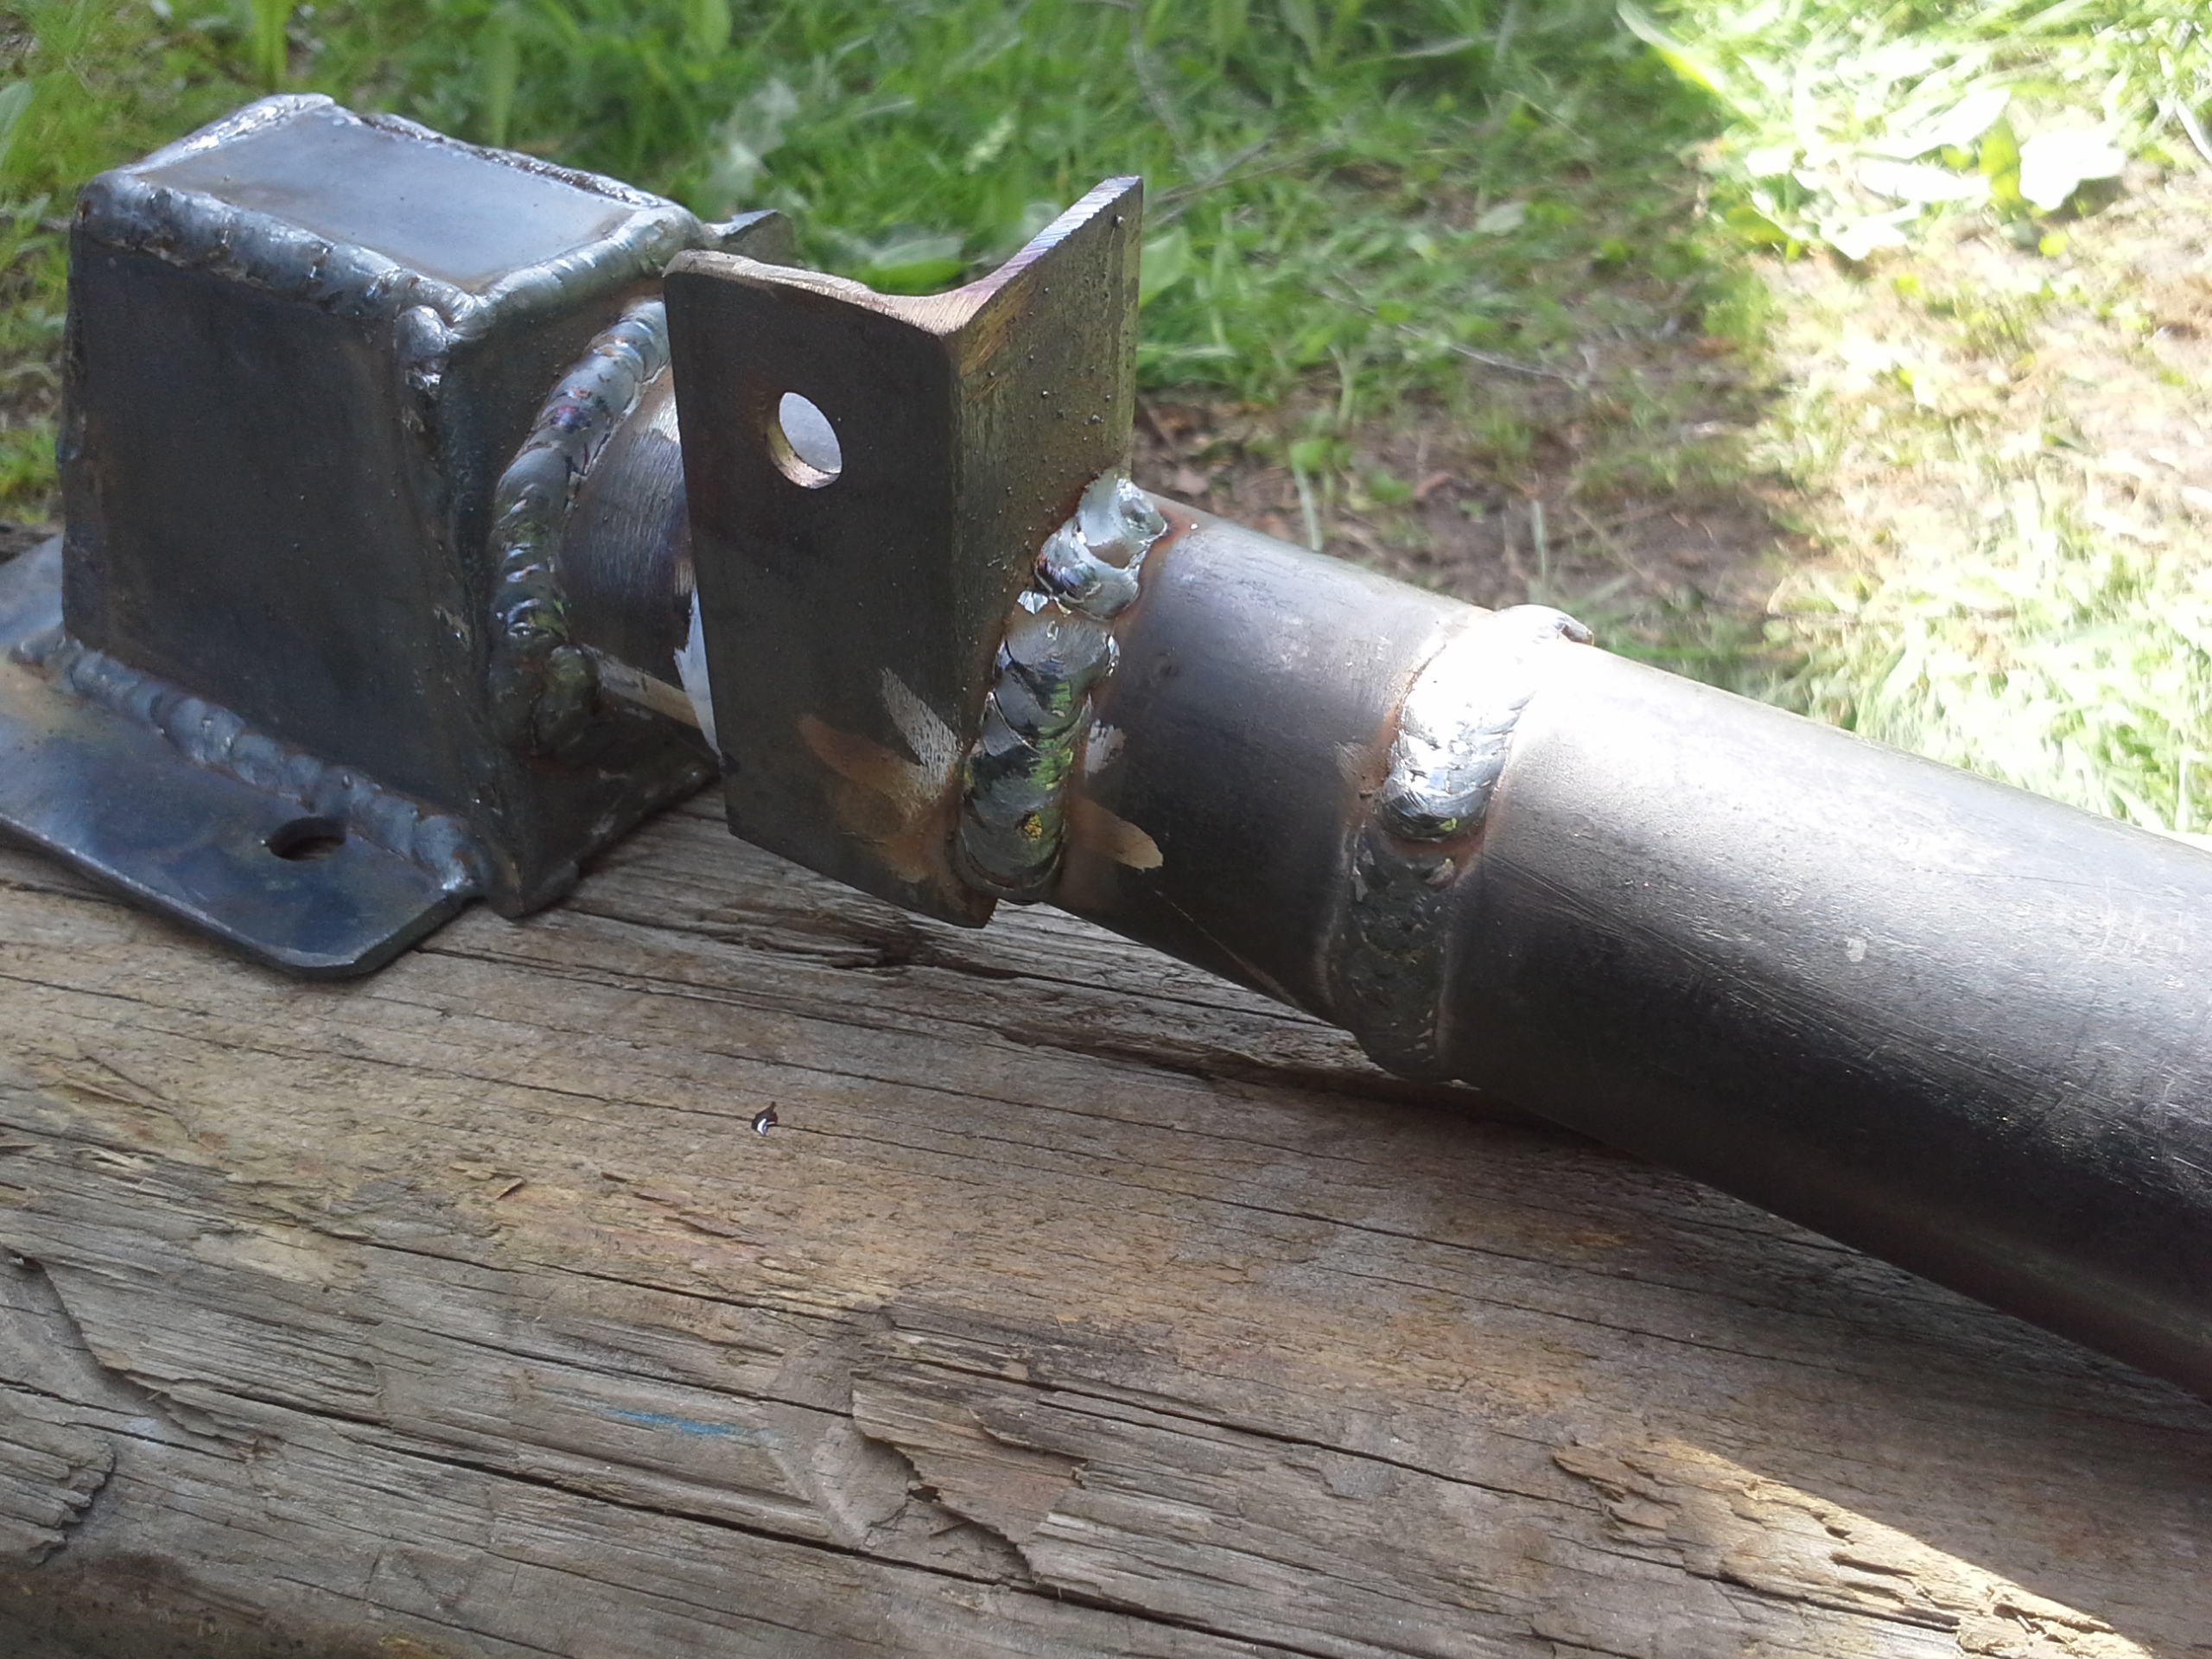
Home-made oil sump
Also welded engine mounts:
Ugly as hell.
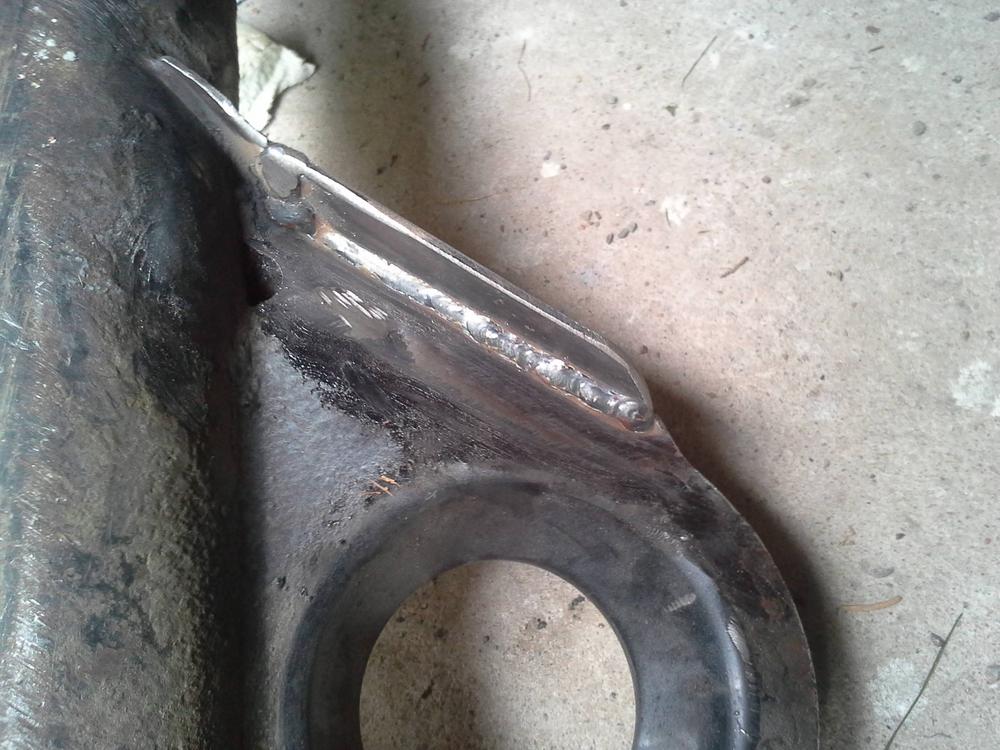
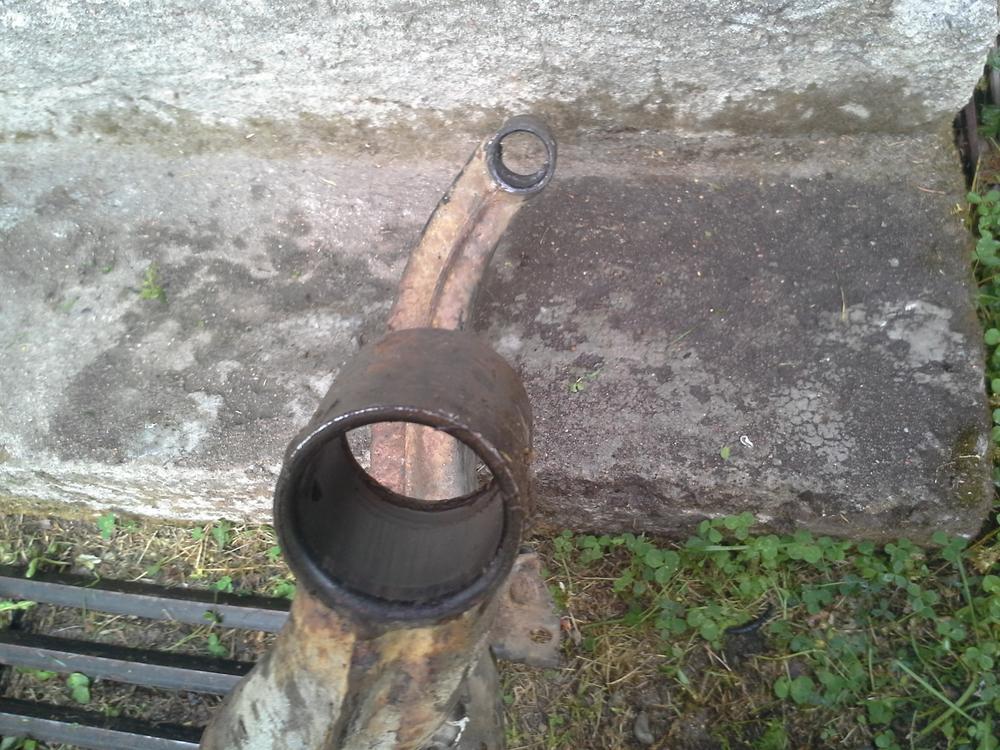
Modified oil pick-up pipe:

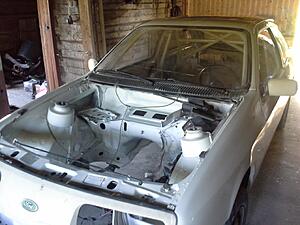
Fitting to engine room:
...and then there were 16...
Afterwards I also fabricated water rail for re-positioned thermostat:


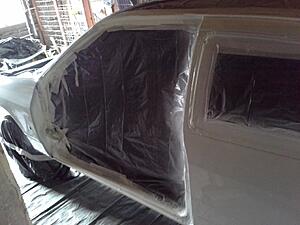
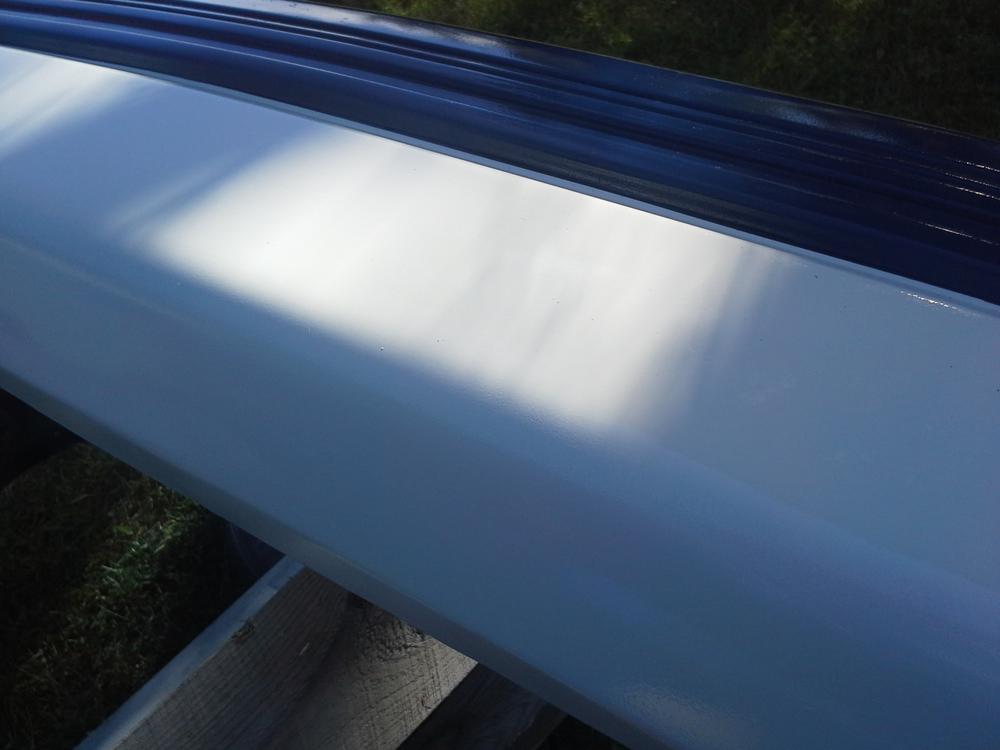
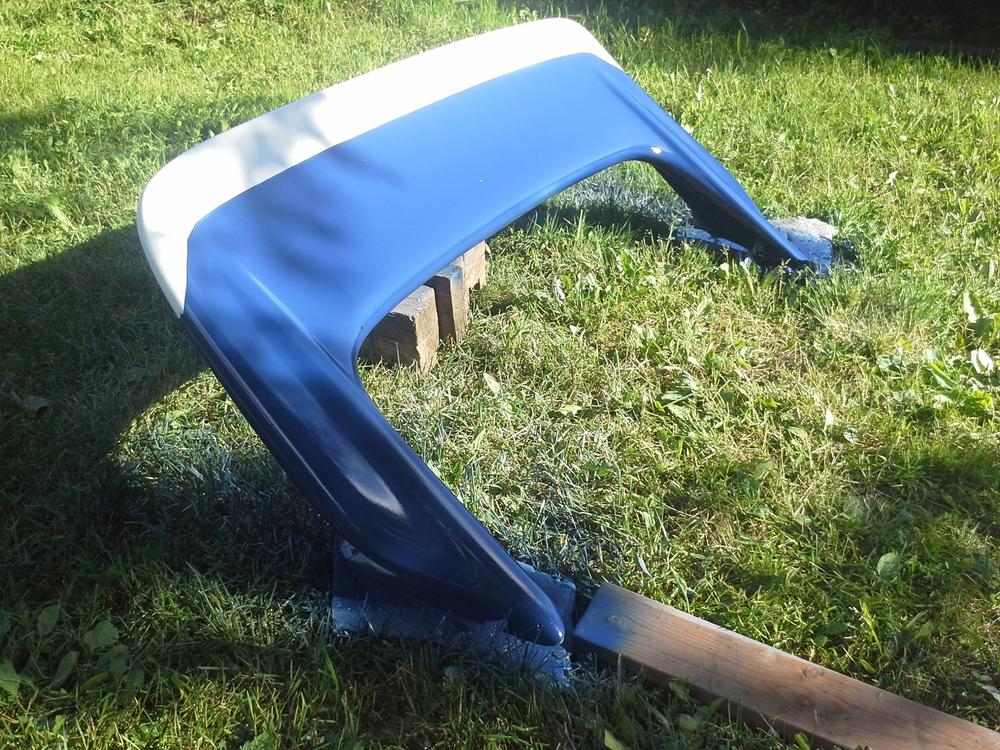
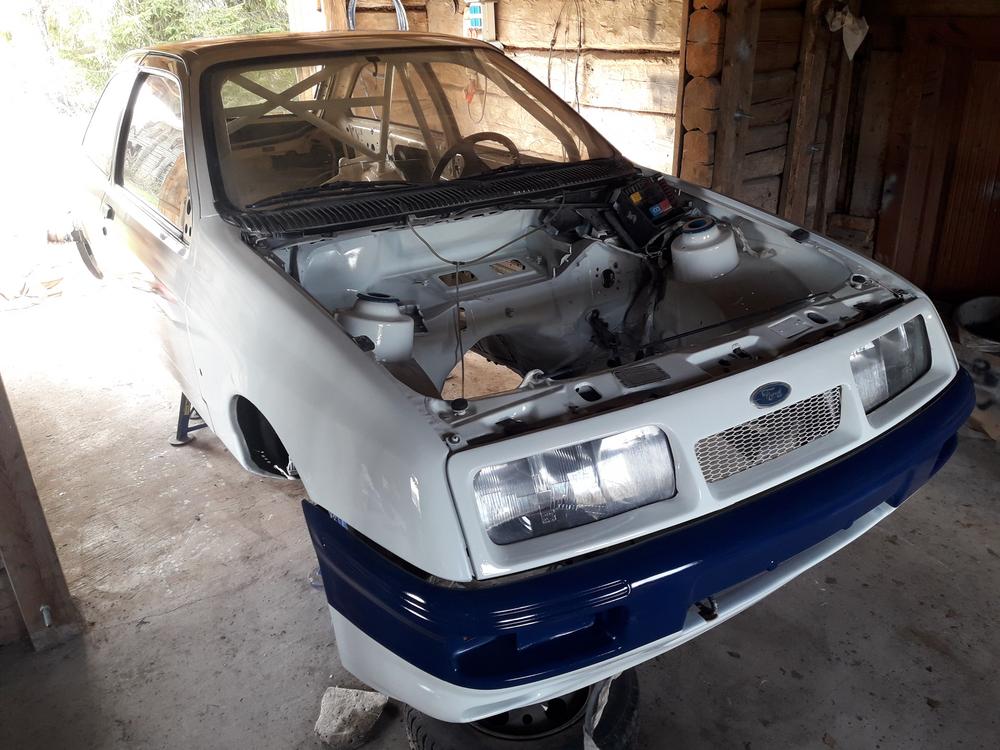
Finally some new stuff and little different color theme, at least in Finland this is rare I quess
First got all bumpers and wing primered:
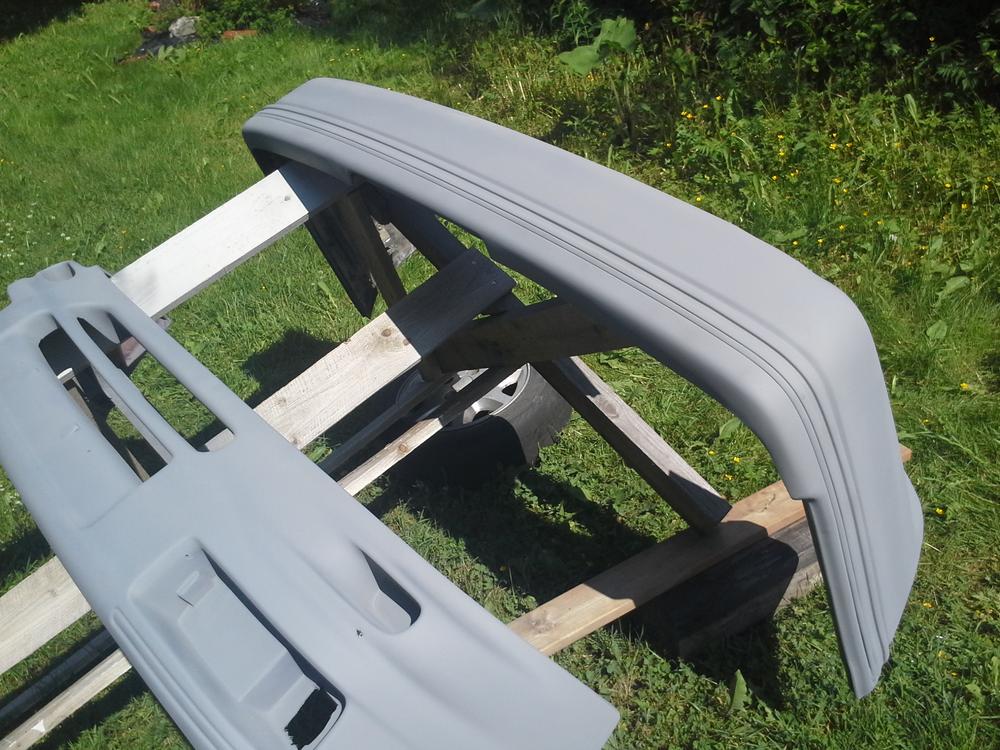
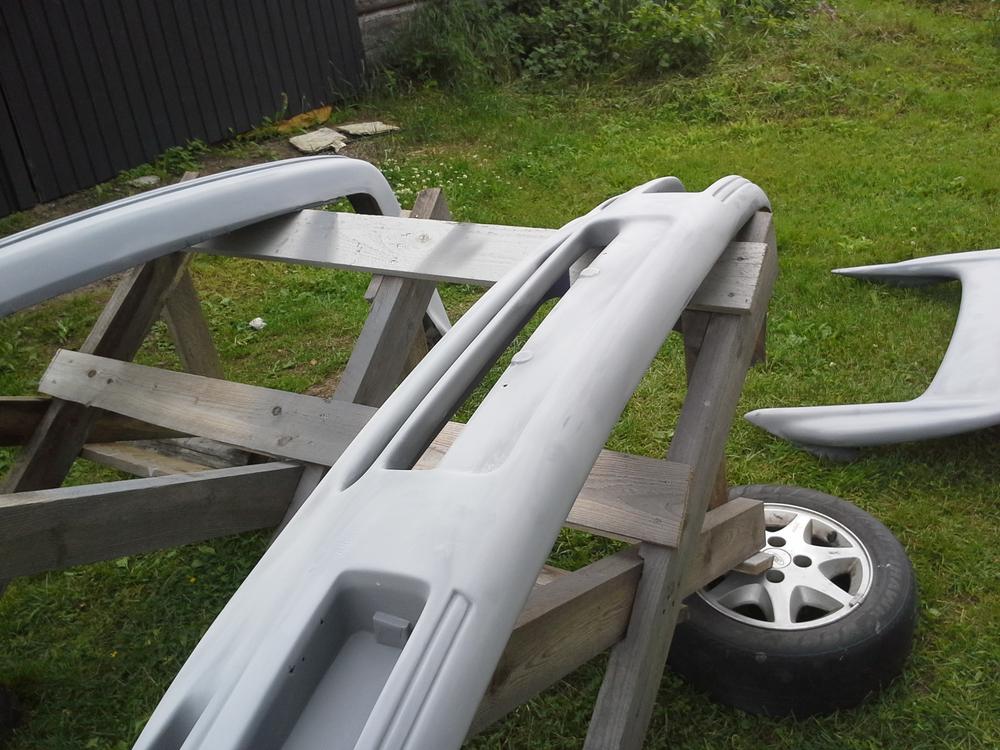
I gave them some wet sanding. Note very improvised painting rack
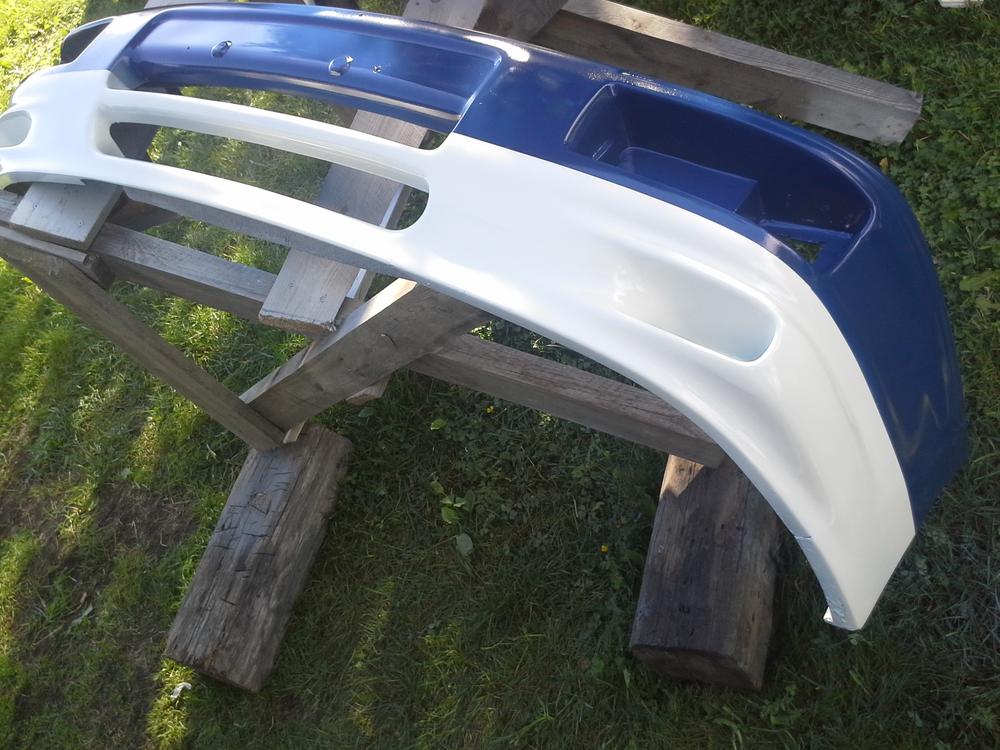
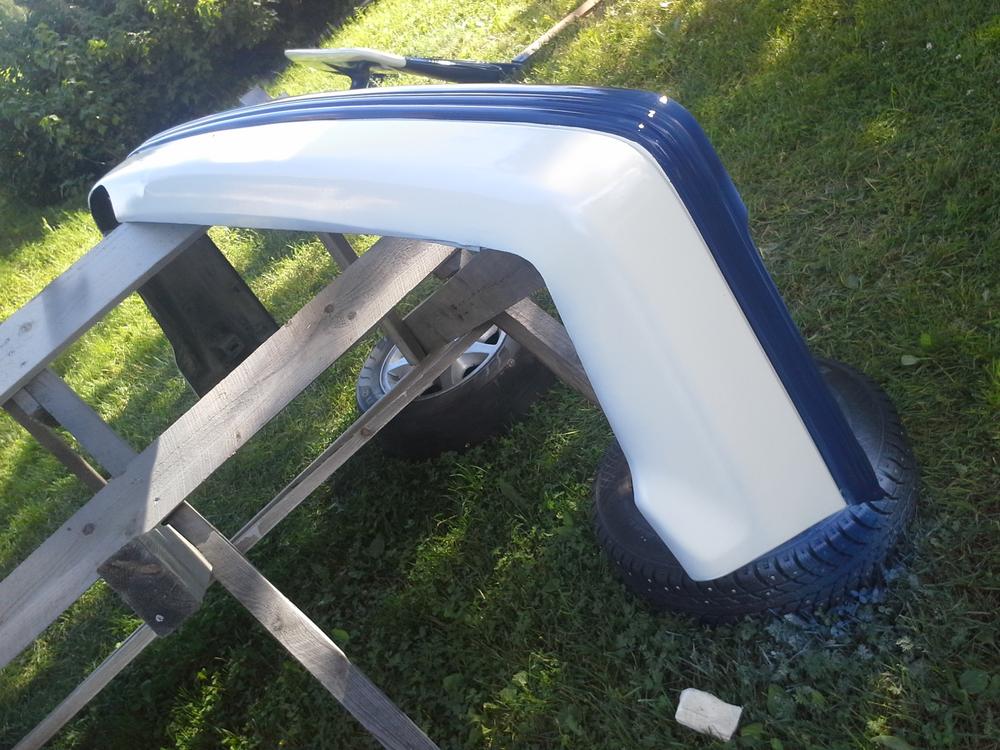
Then some "Group A" theme:

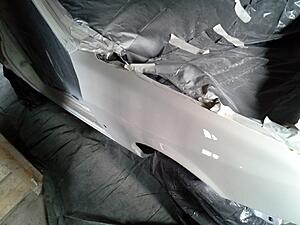
Got re-spray done:


And got the doors bolted back to the car:

It´s me again!
Some re-posted pics of Zetec-RWD-conversion:


Home-made oil sump
Also welded engine mounts:


Ugly as hell.
Modified oil pick-up pipe:
Fitting to engine room:

...and then there were 16...
Afterwards I also fabricated water rail for re-positioned thermostat:

Finally some new stuff and little different color theme, at least in Finland this is rare I quess
First got all bumpers and wing primered:
I gave them some wet sanding. Note very improvised painting rack
Then some "Group A" theme:
Last edited by RalliArttu; 23-07-2017 at 01:08 PM.
The following users liked this post:
Kjellsen (24-07-2017)
28-08-2017, 12:58 PM
#45
RalliArttu
Thread Starter
Some progress........
Add extra weld to subfarme, on place that I´ve earlier repaired.
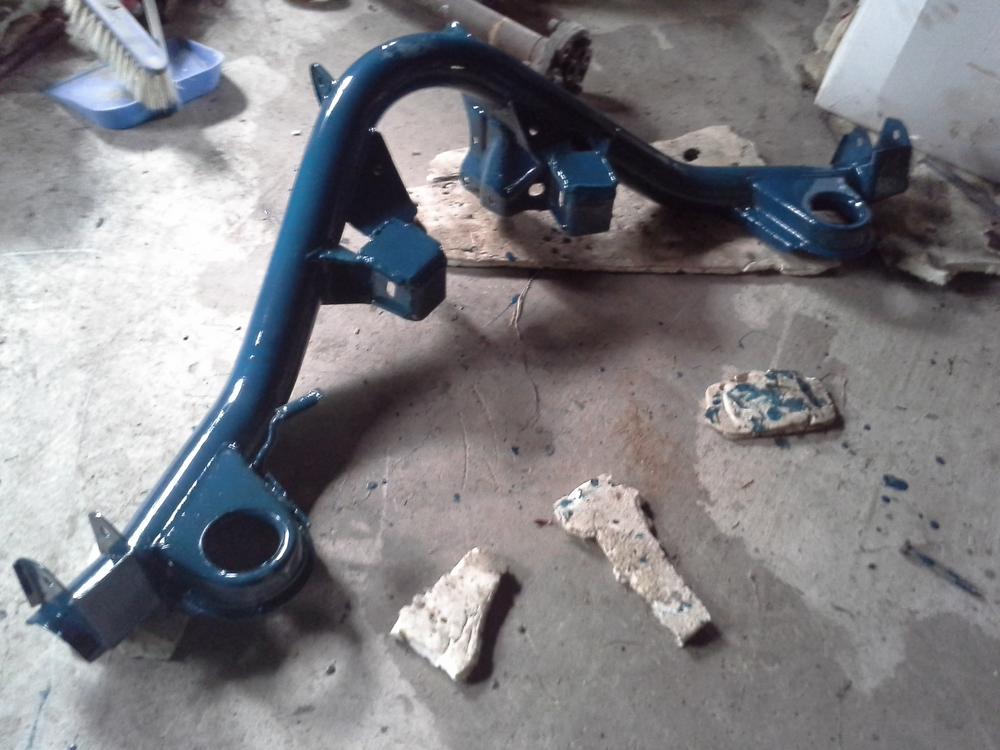
Then good clean up and blue hammer paint.
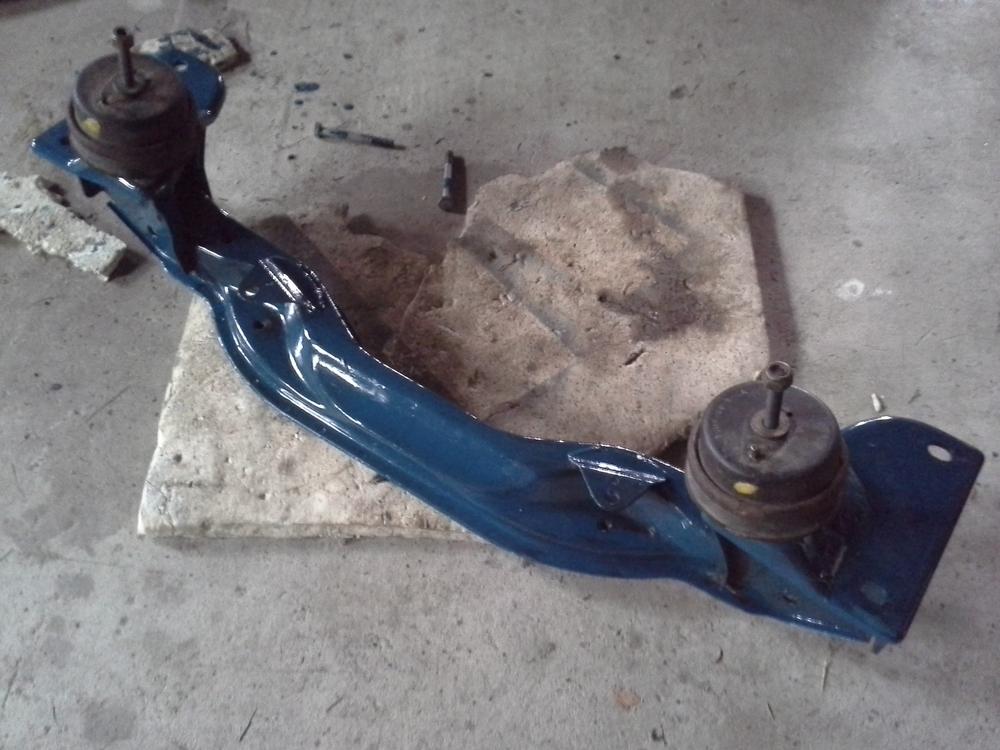
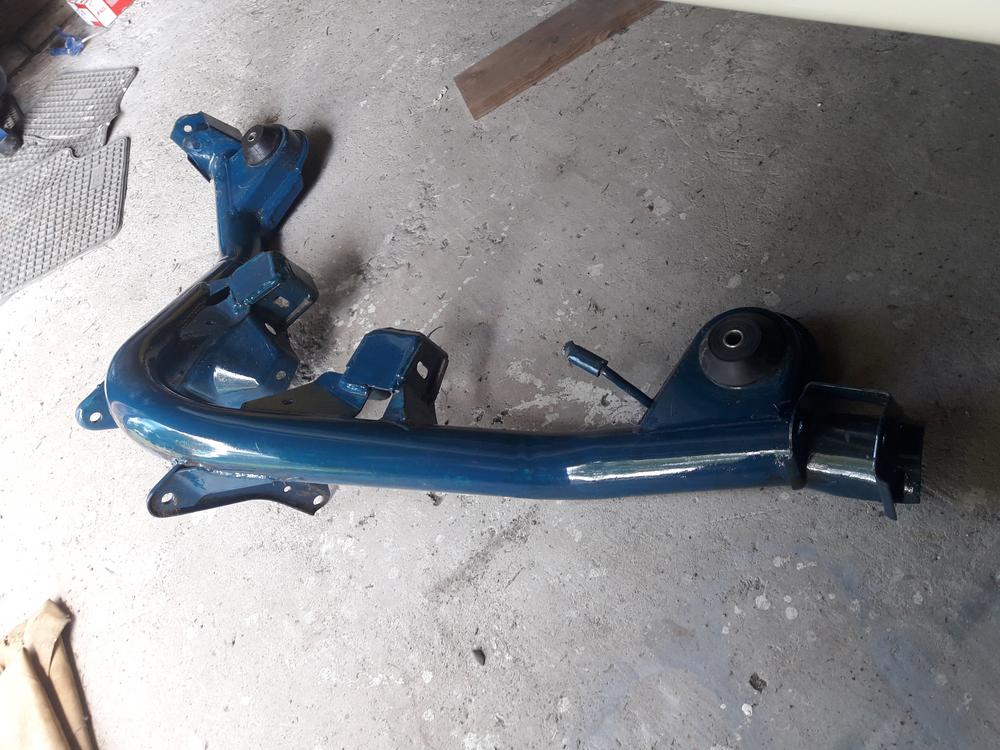
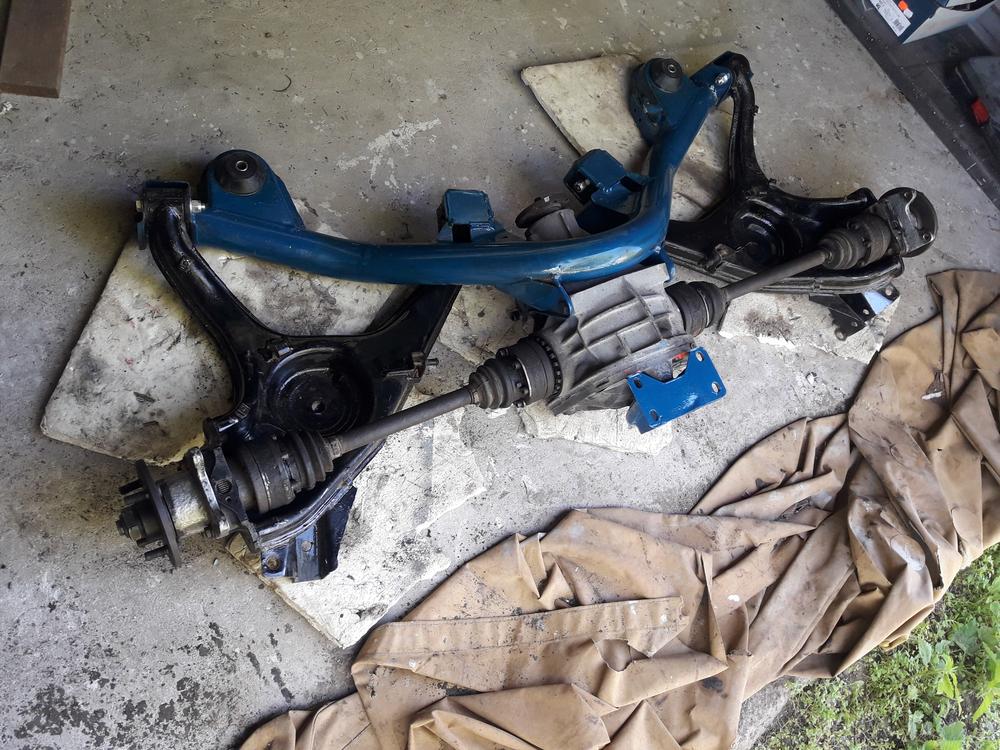
Same for front axle....
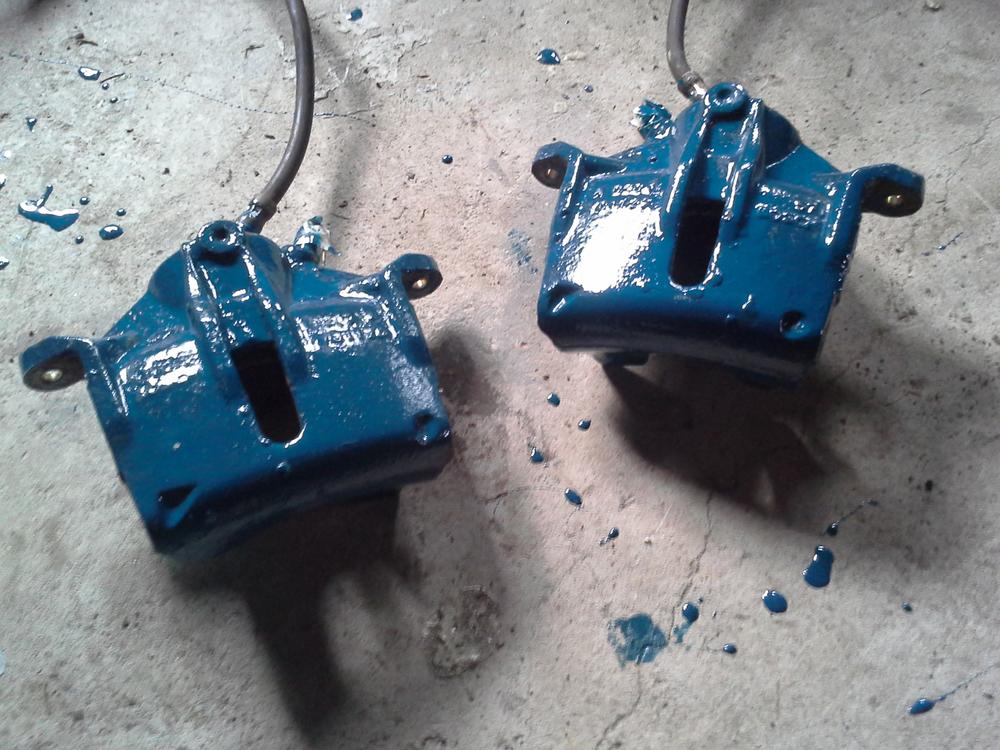
...for brake calibers,
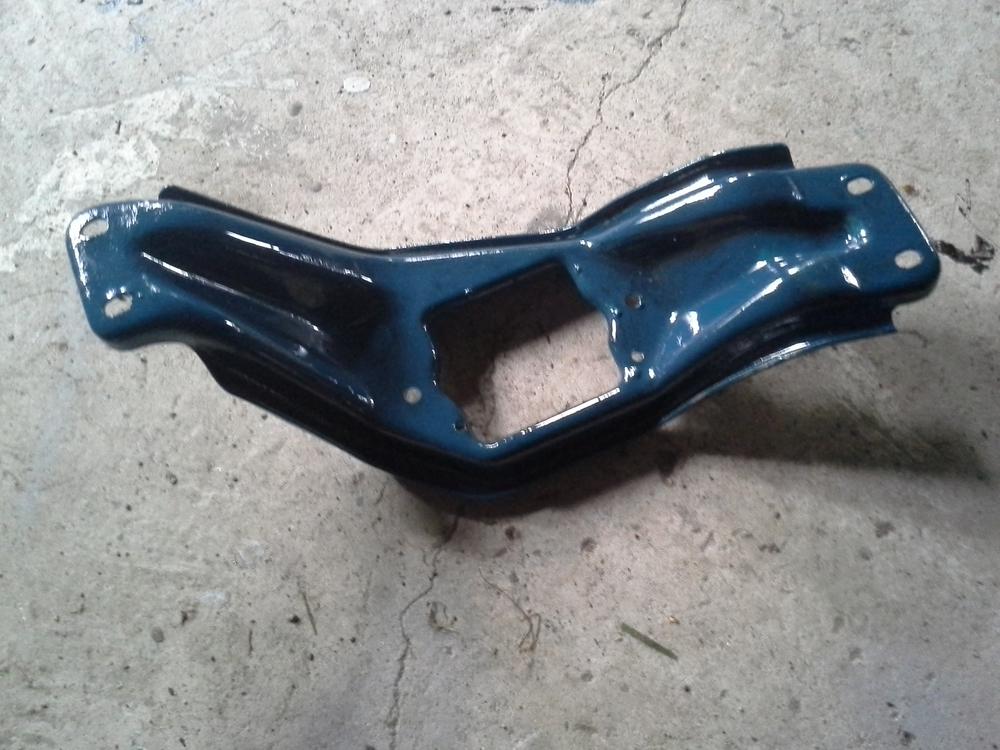
gearbox mounting bracket,
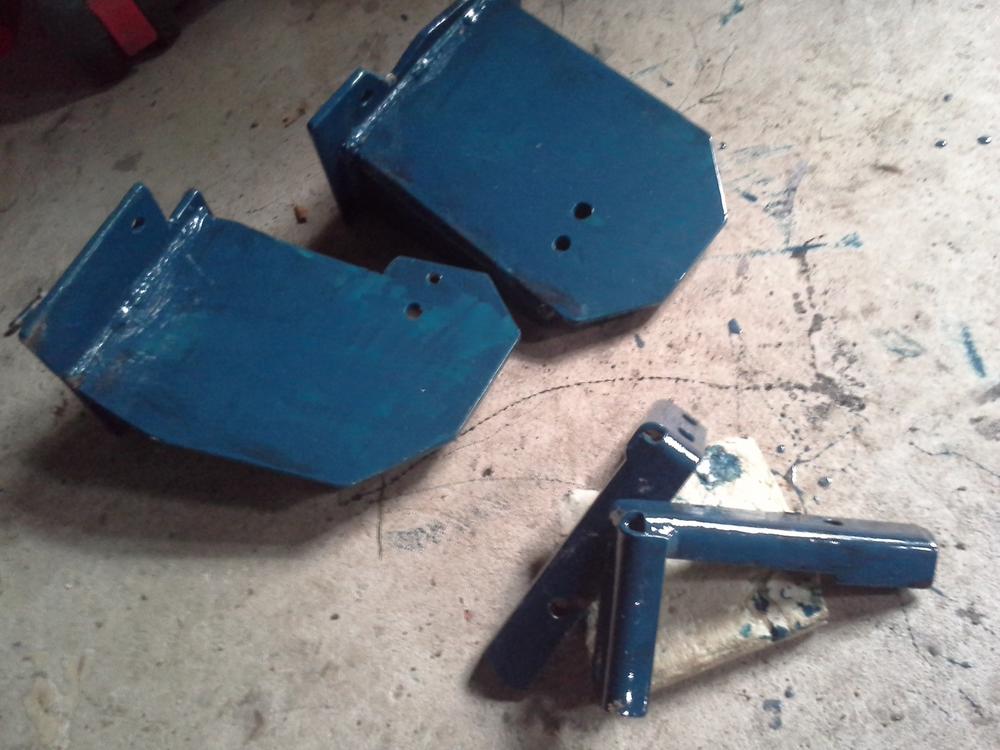
and Zetec- engine side mounts.
Oil sump:
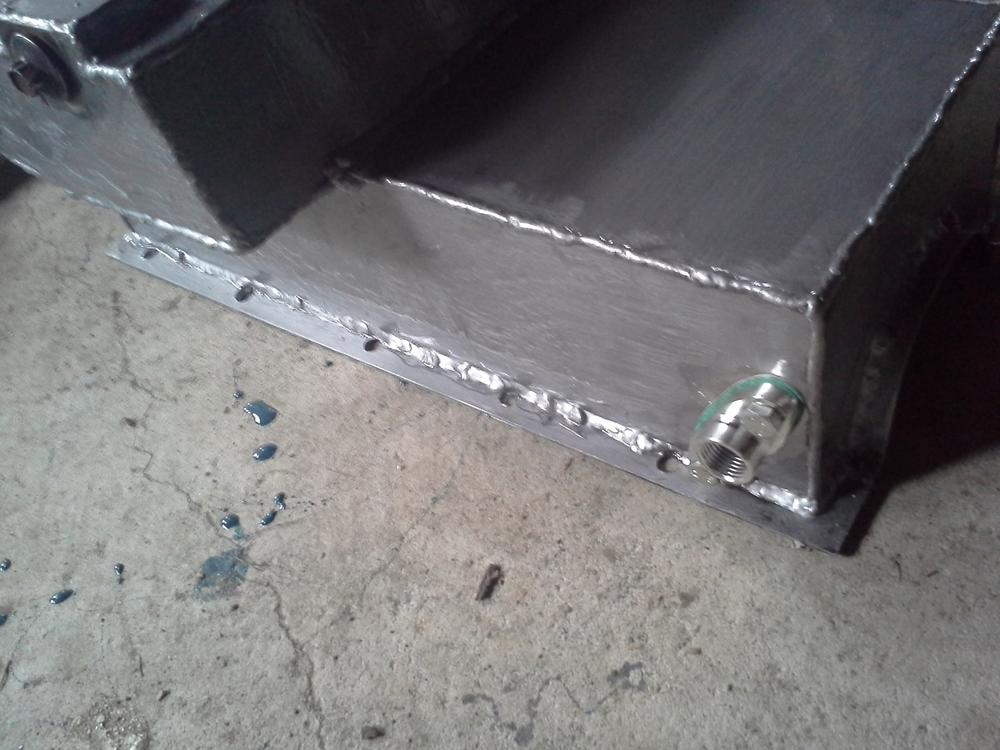
Silver paint, and oil return for turbo.
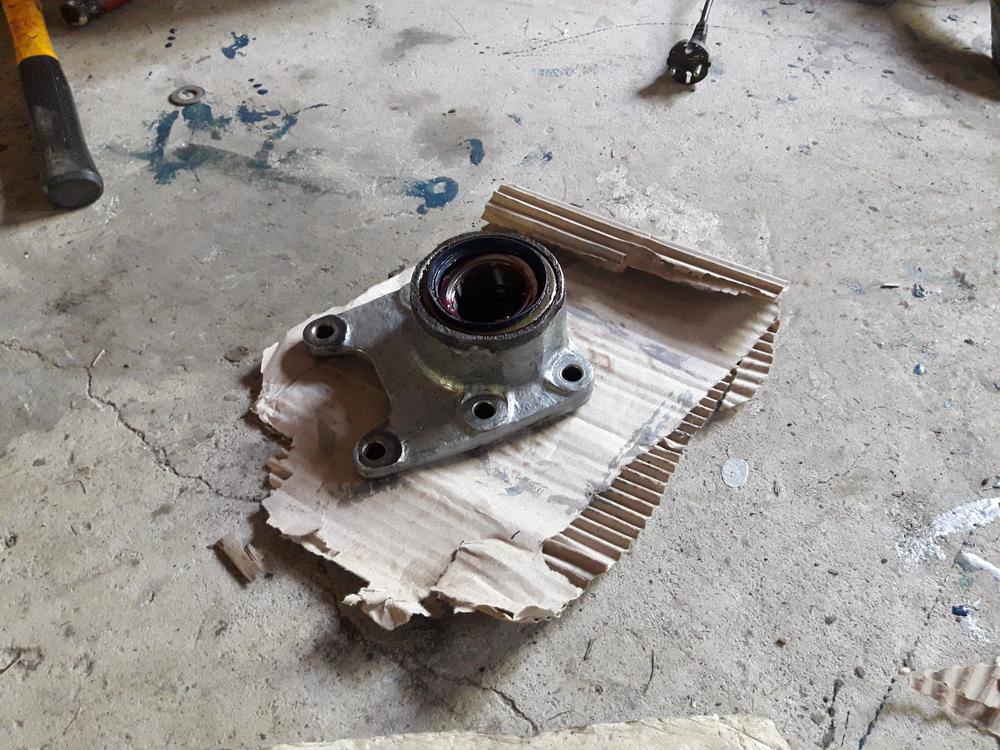
Rear trailing arms:
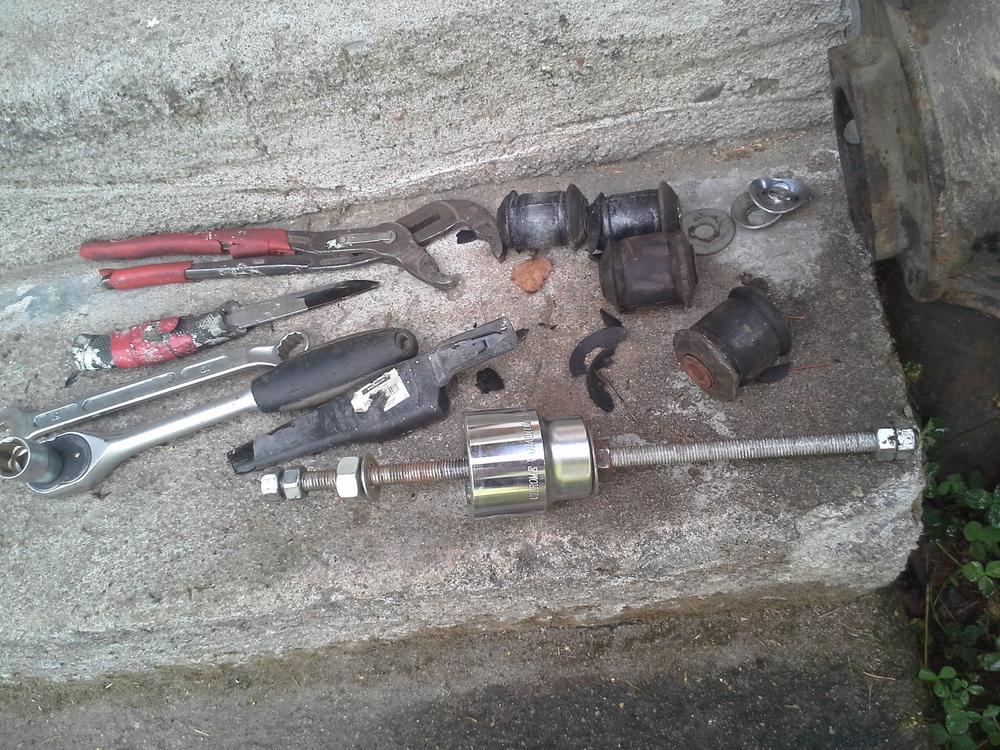
Removed bushes first, with advice gave by Edd China
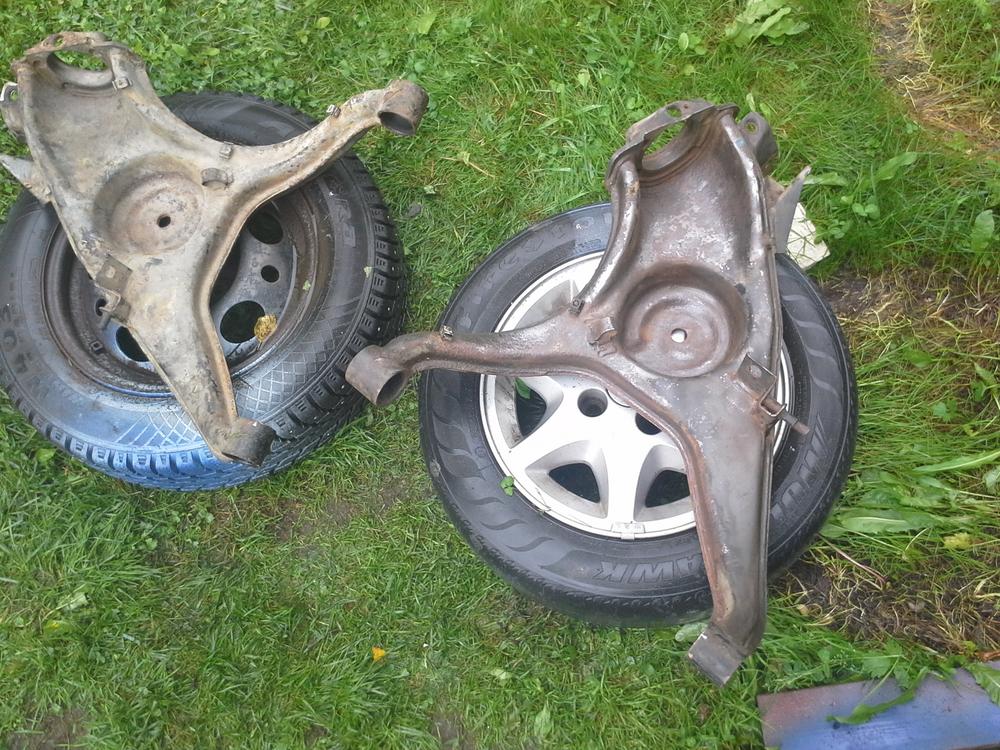
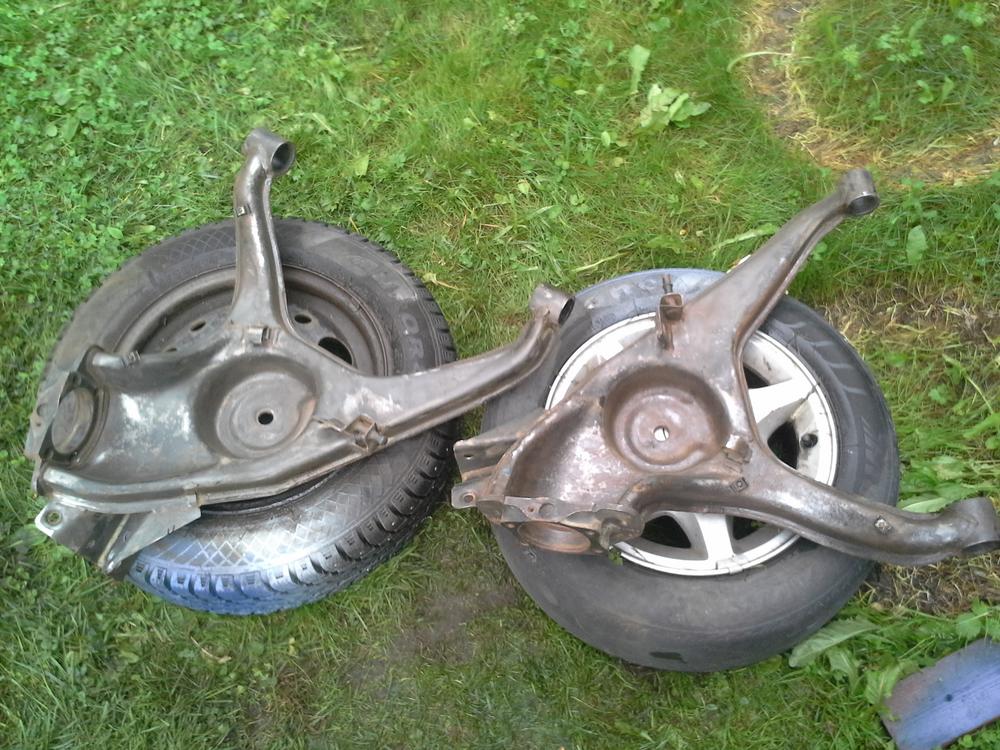
Removing rust.

"You can have it in colours as long as it´s black"
Then some spray gun job:
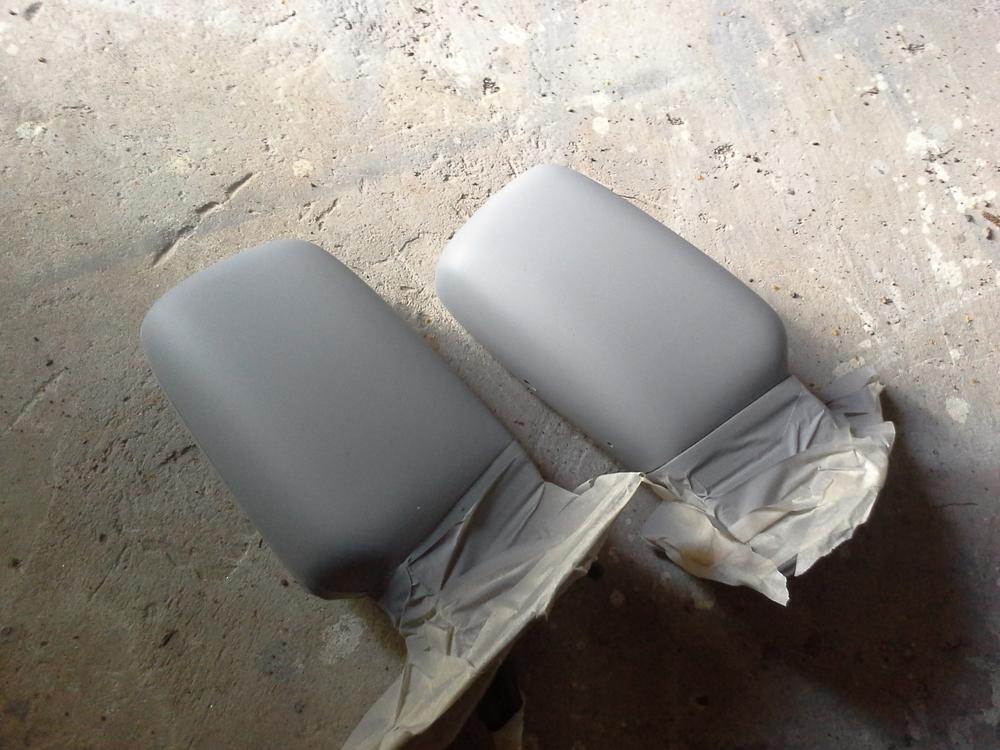
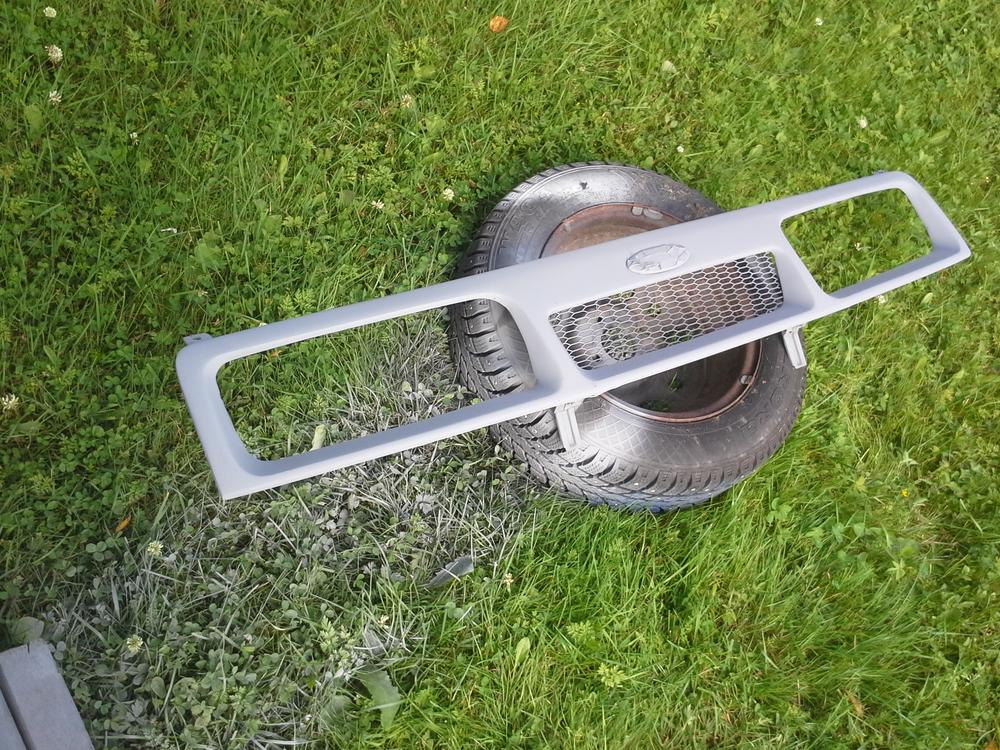
Front grille and mirrors in primer....
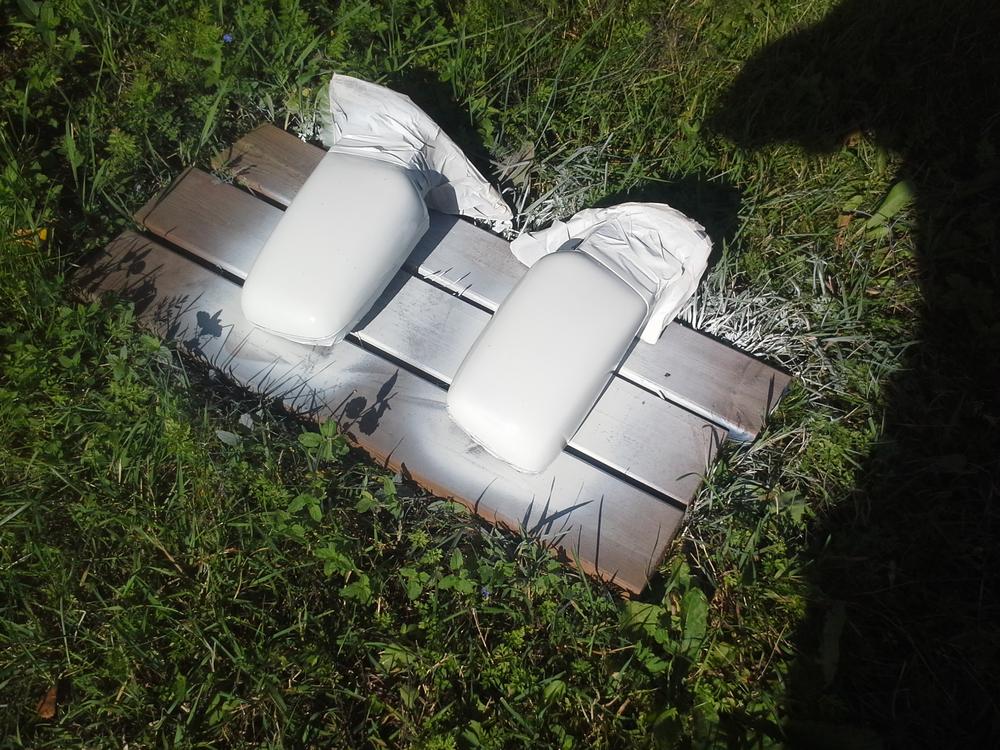
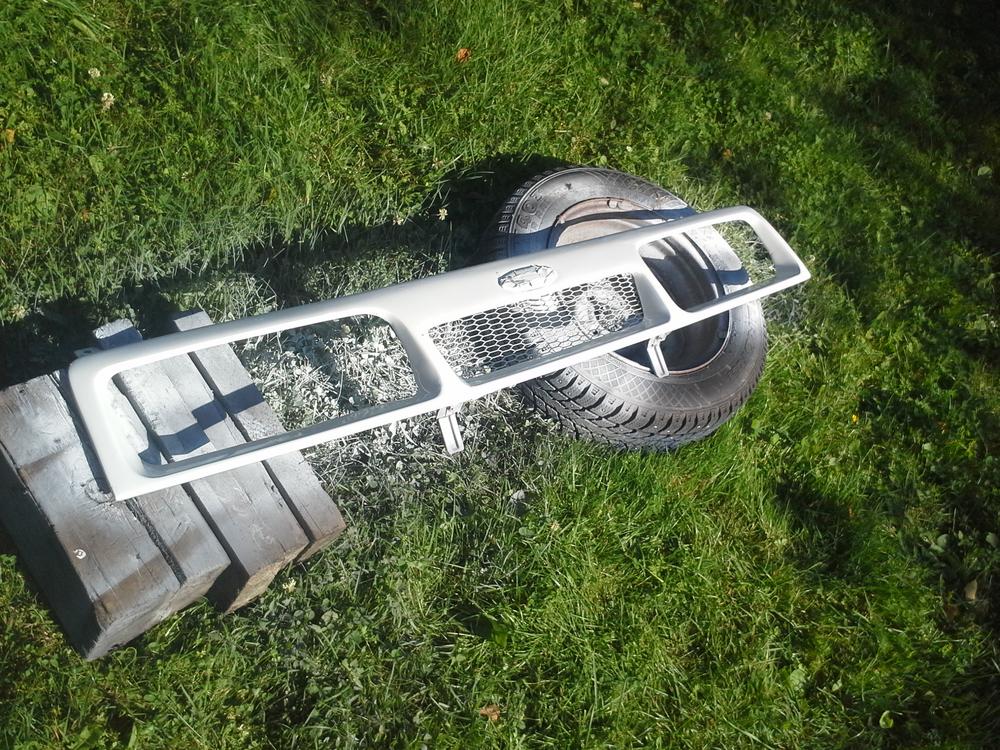
...and Diamond White.
When em I gonna get cars aseembly started... Hopefully in this year at least
-Arttu
Add extra weld to subfarme, on place that I´ve earlier repaired.
Then good clean up and blue hammer paint.
Same for front axle....
...for brake calibers,
gearbox mounting bracket,
and Zetec- engine side mounts.
Oil sump:
Silver paint, and oil return for turbo.
Rear trailing arms:
Removed bushes first, with advice gave by Edd China
Removing rust.
"You can have it in colours as long as it´s black"
Then some spray gun job:
Front grille and mirrors in primer....
...and Diamond White.
When em I gonna get cars aseembly started...
Hopefully in this year at least-Arttu
01-09-2017, 09:12 PM
#46
Virgin

Join Date: Oct 2015
Location: Lithuania
Posts: 5
Likes: 0
Received 0 Likes
on
0 Posts
surprisingly gearbox bracket will not fit as it's from mk2 sierra. mk1 is even while this has 2 different heights. you will need to use mk1 bracket will slightly modified gearbox mount (it needs lowering, best way is to make a new lower profile mount) 
03-09-2017, 07:29 AM
#47
RalliArttu
Thread Starter
16-10-2017, 09:01 AM
#48
RalliArttu
Thread Starter
I´ve done some final adjustments and also started to put to car (finally!!!) back together.
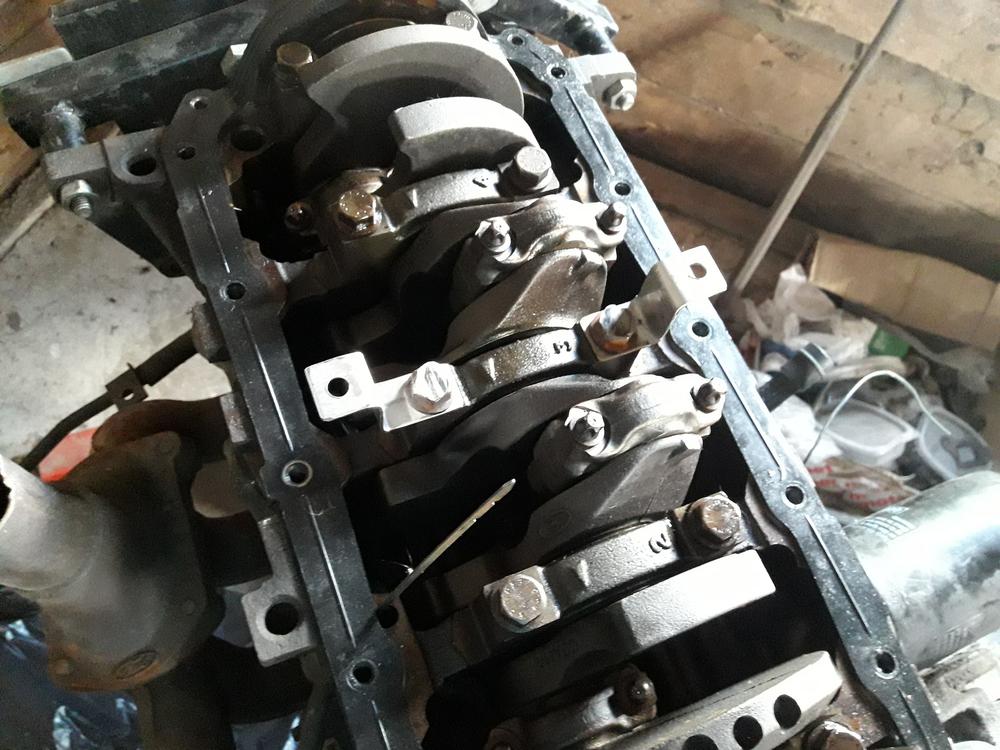
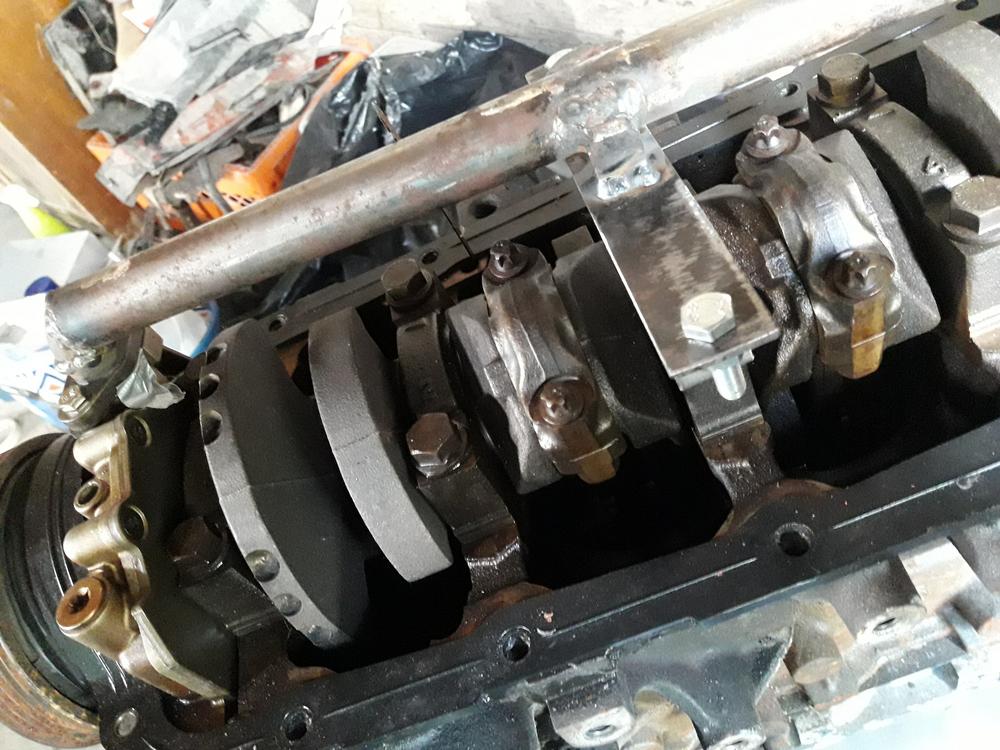
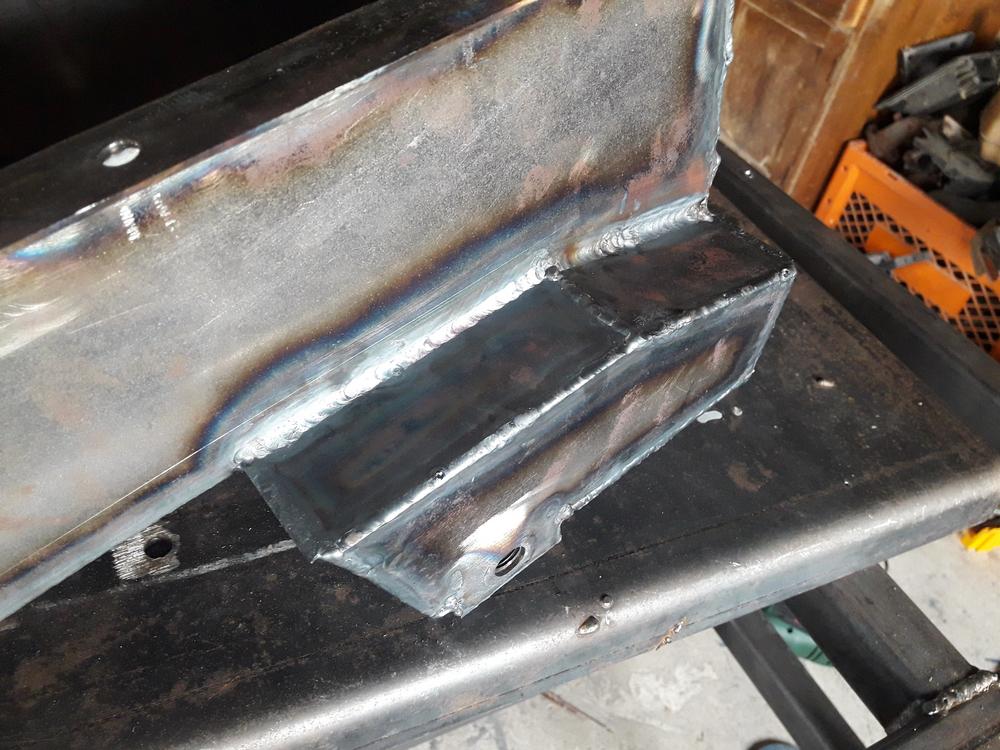
I noticed that there will be issue with starter motor and my custom made sump near bellhousing/gearbox. So......
...I made some space. As much as it´s possible without taking touch with crankshaft.
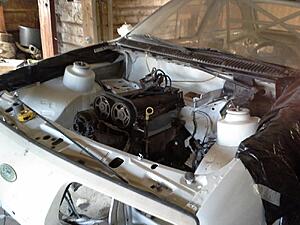
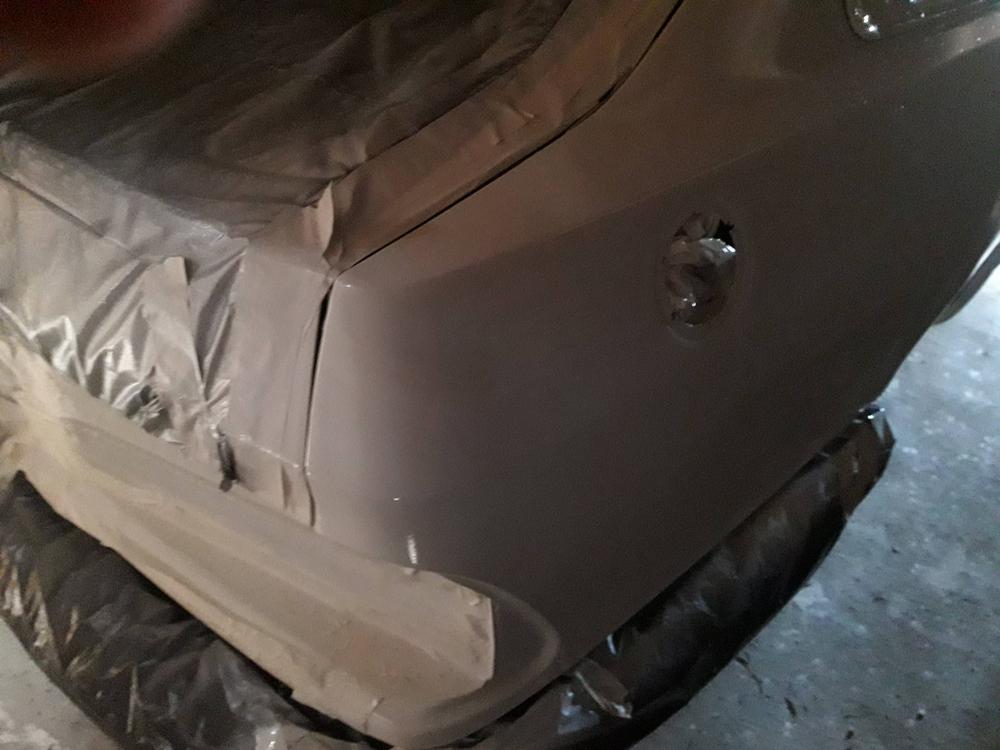
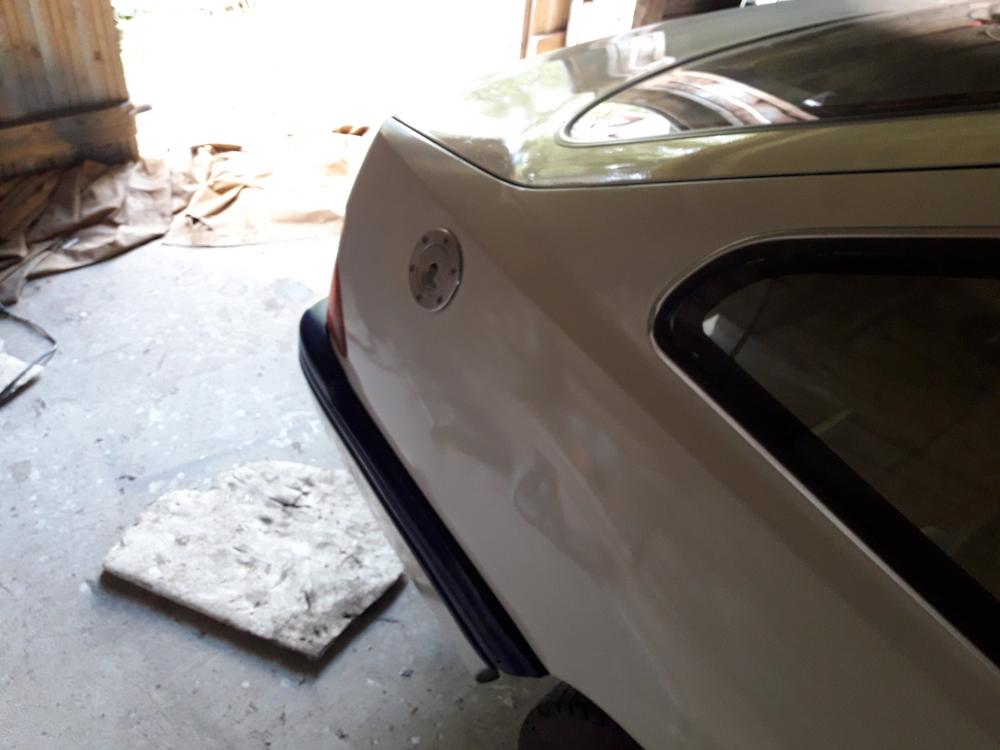
I didn´t see reason, why not to put bumpers already back to car:
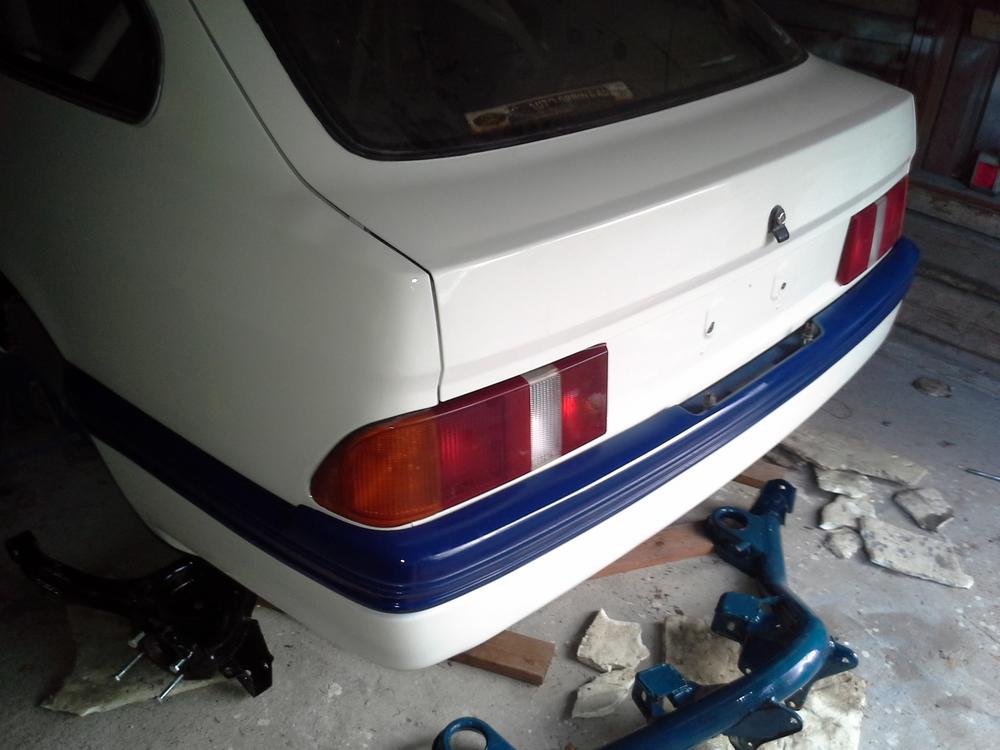
Rearbumper still needs some fine tuning to fit well, but I think the idea of cars theme is quite obvoius?
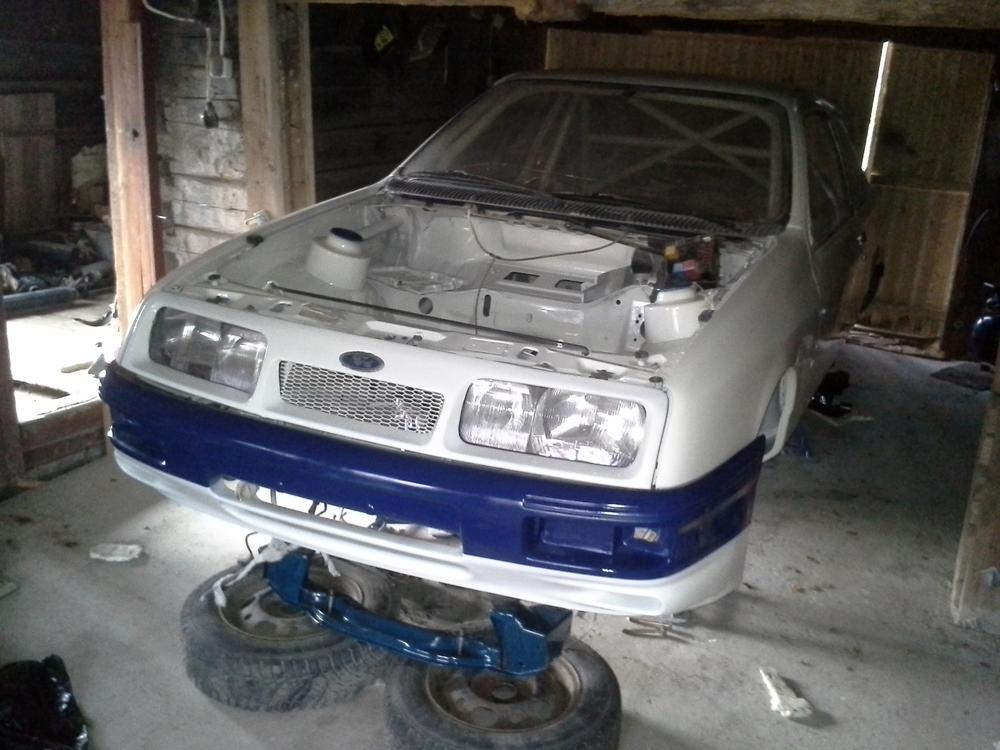
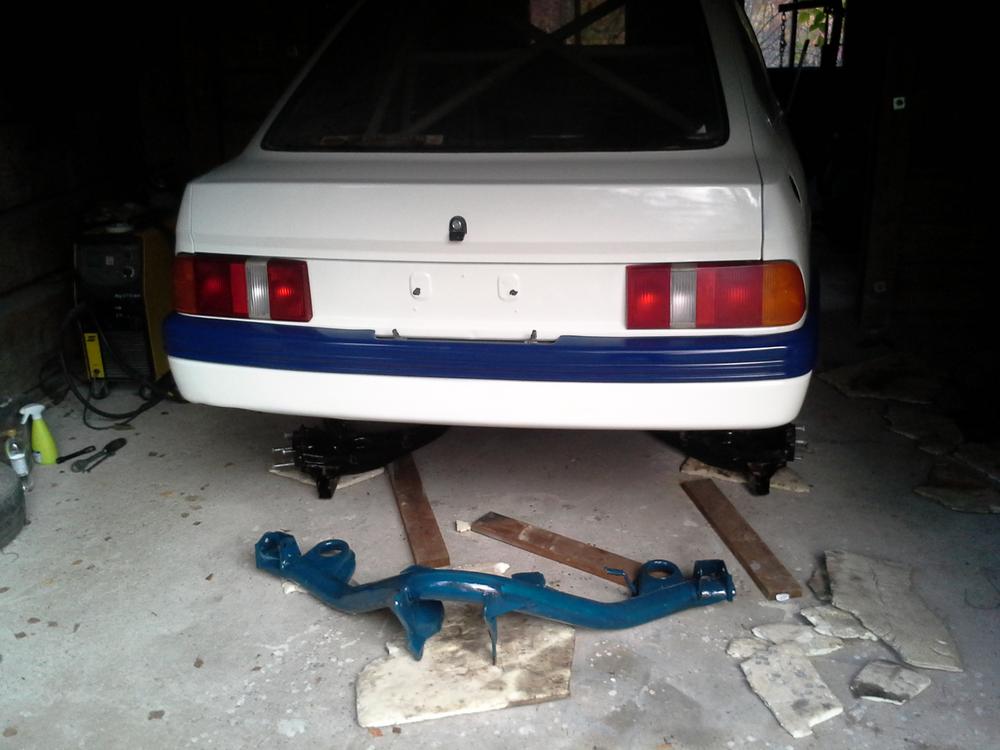
Frontend assembly first attempt. Right side comes too low After little adjusting:
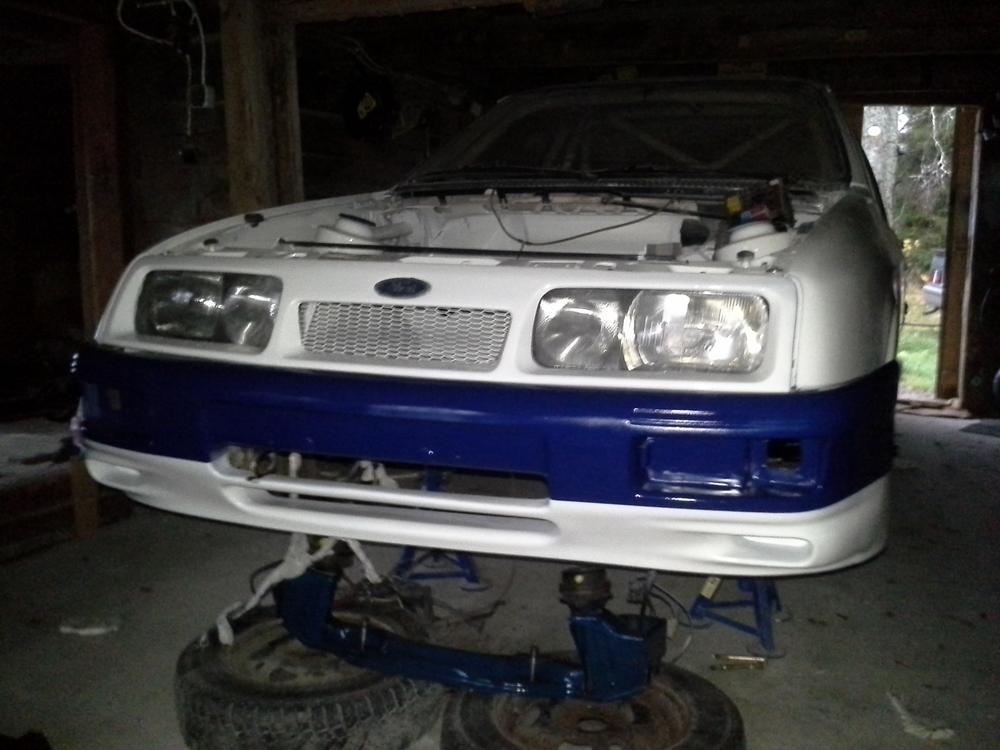
And it fits much better, allthough it´s still a replica bumper made out of fiberglass.
I bought recently Black series bushes to rearbeam, and my next goal is to bolt-on both axles to car.
I noticed that there will be issue with starter motor and my custom made sump near bellhousing/gearbox. So......
...I made some space. As much as it´s possible without taking touch with crankshaft.
I didn´t see reason, why not to put bumpers already back to car:
Rearbumper still needs some fine tuning to fit well, but I think the idea of cars theme is quite obvoius?
Frontend assembly first attempt. Right side comes too low
After little adjusting:And it fits much better, allthough it´s still a replica bumper made out of fiberglass.
I bought recently Black series bushes to rearbeam, and my next goal is to bolt-on both axles to car.
The following users liked this post:
cozjon (19-12-2017)
06-12-2017, 08:56 AM
#49
RalliArttu
Thread Starter
Car is still waiting to get reassembled, but meanwhile there was another issue bothering me, and weeks ago I sorted it out...
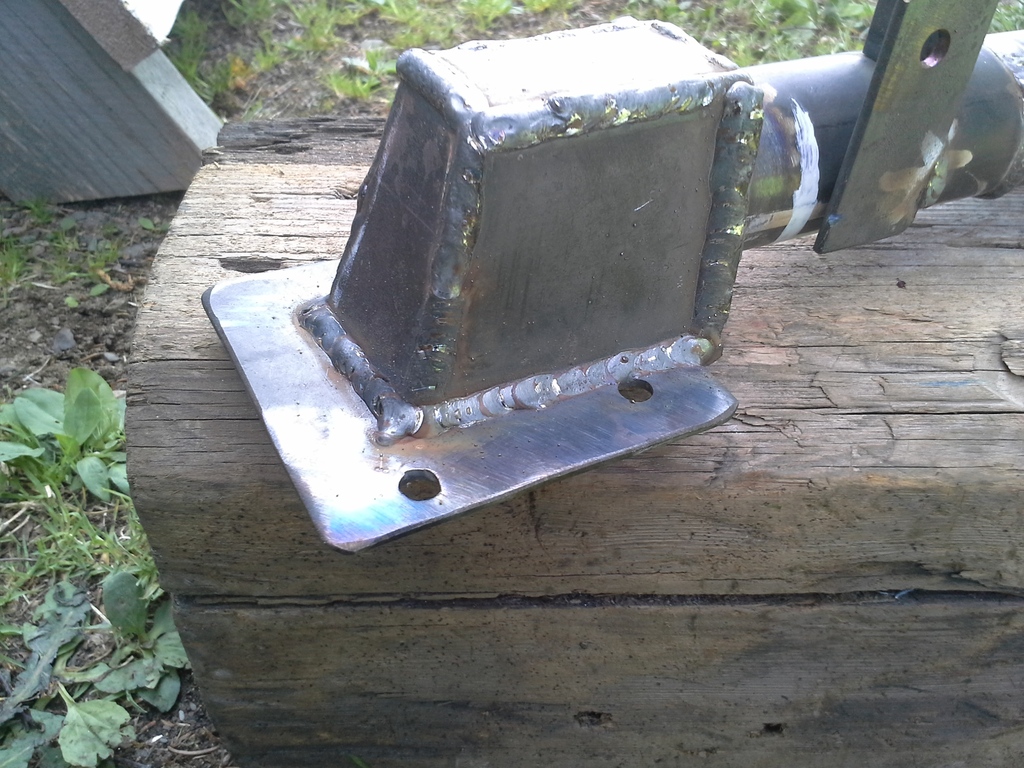
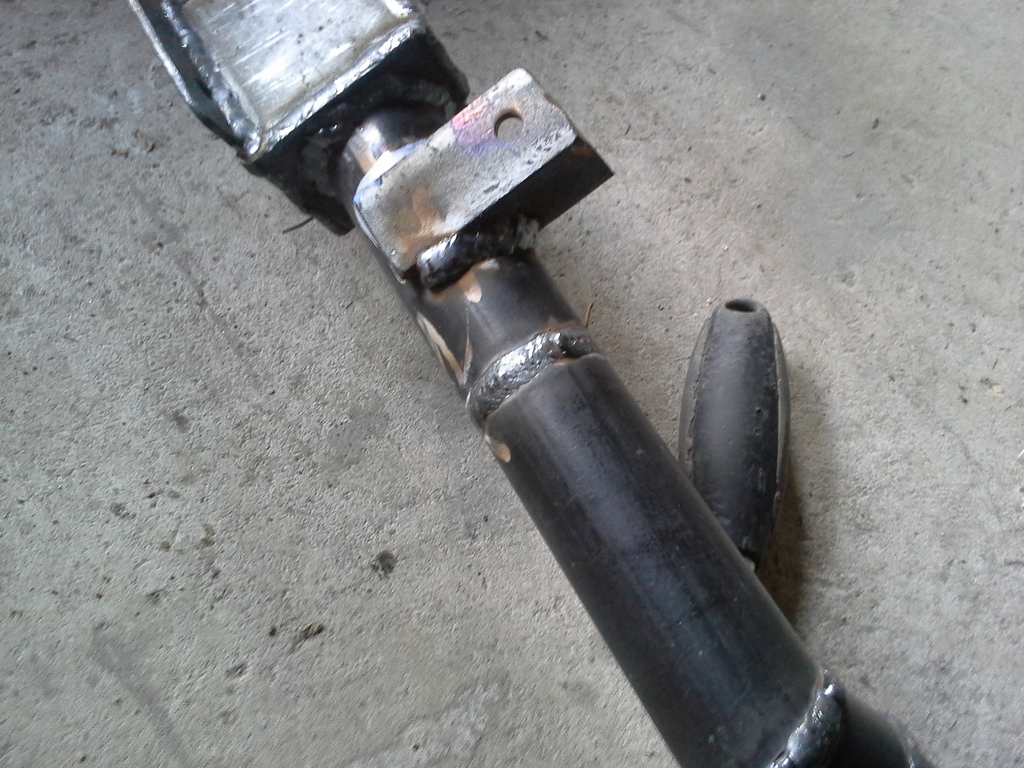
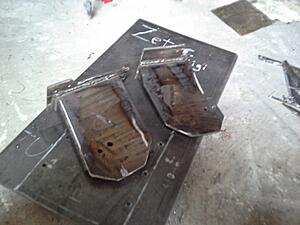
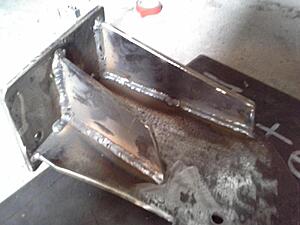
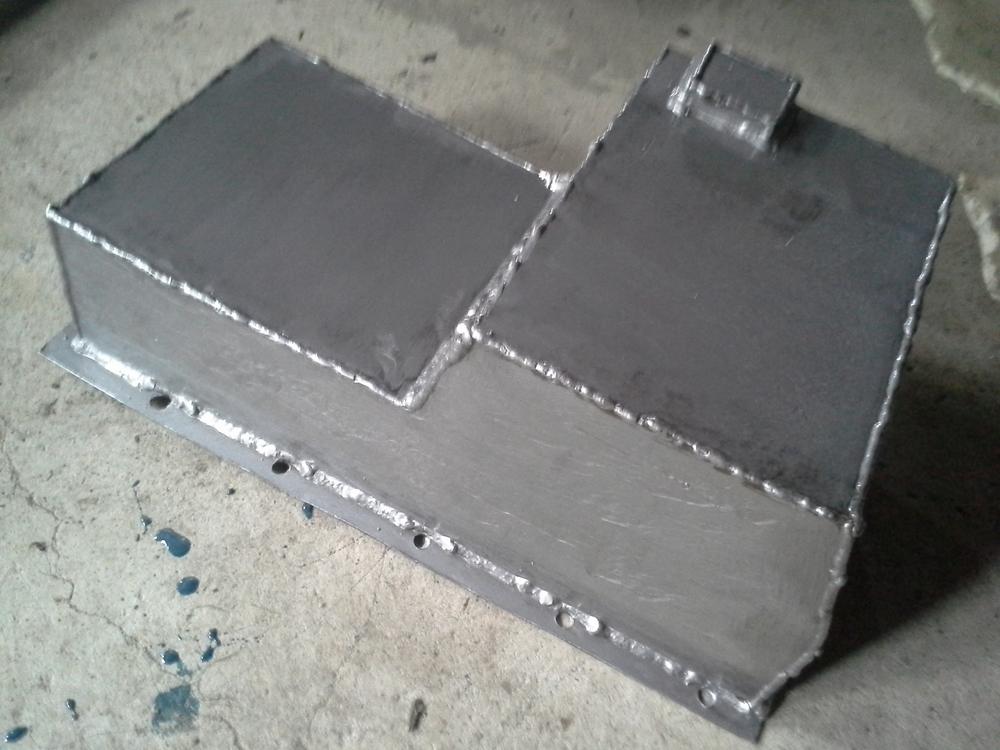
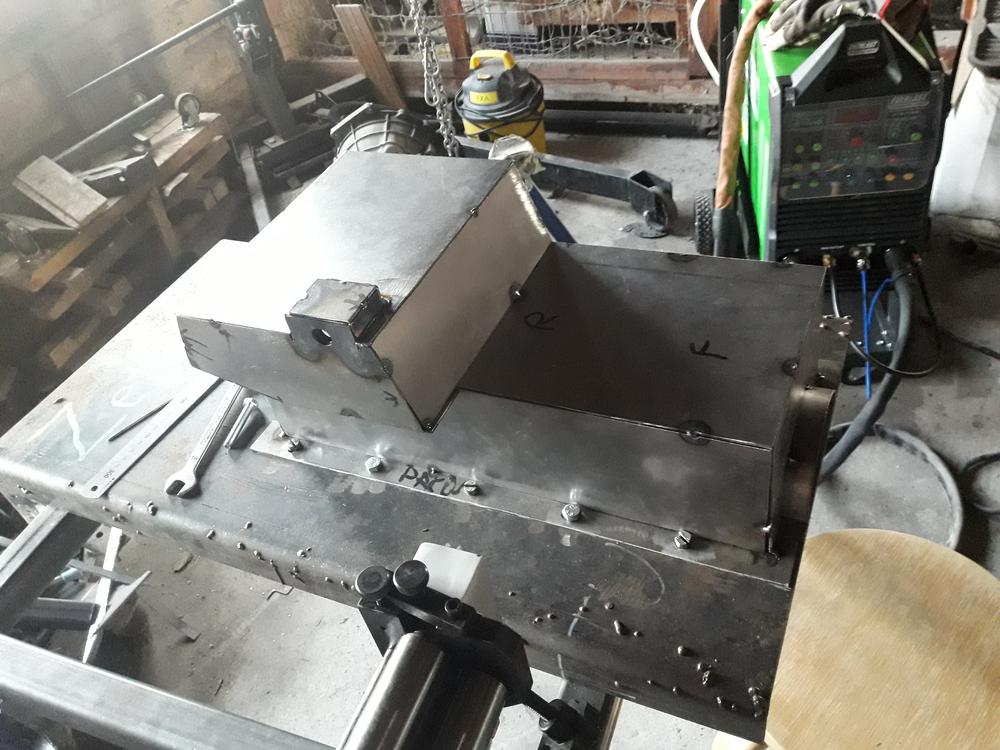
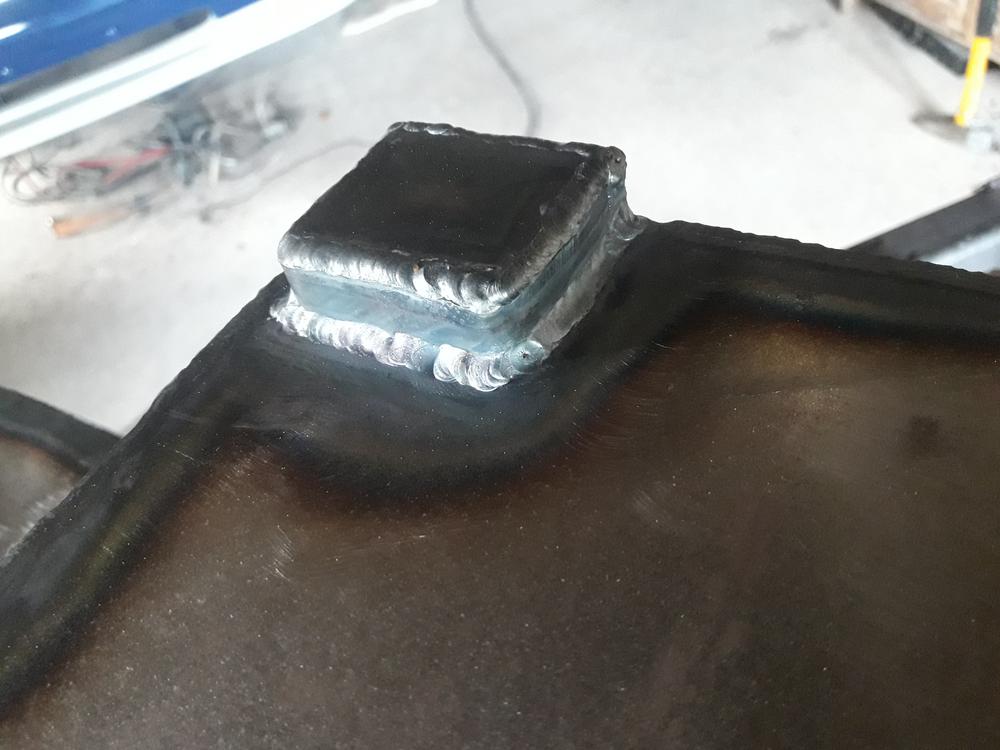
Like someone earlier mentioned there are different heights on Mk2 Sierra transmission tunnel, and also on gearbox mount. So........
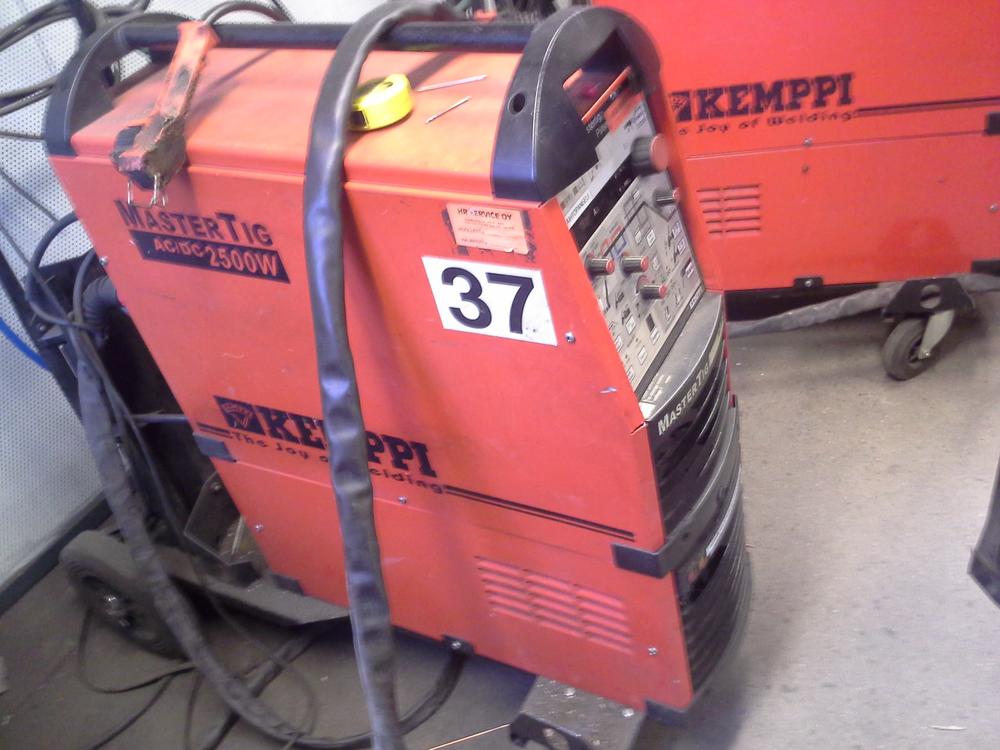
...I decided to took a TIG torch in my hand, and the machine above was my weapon of choice
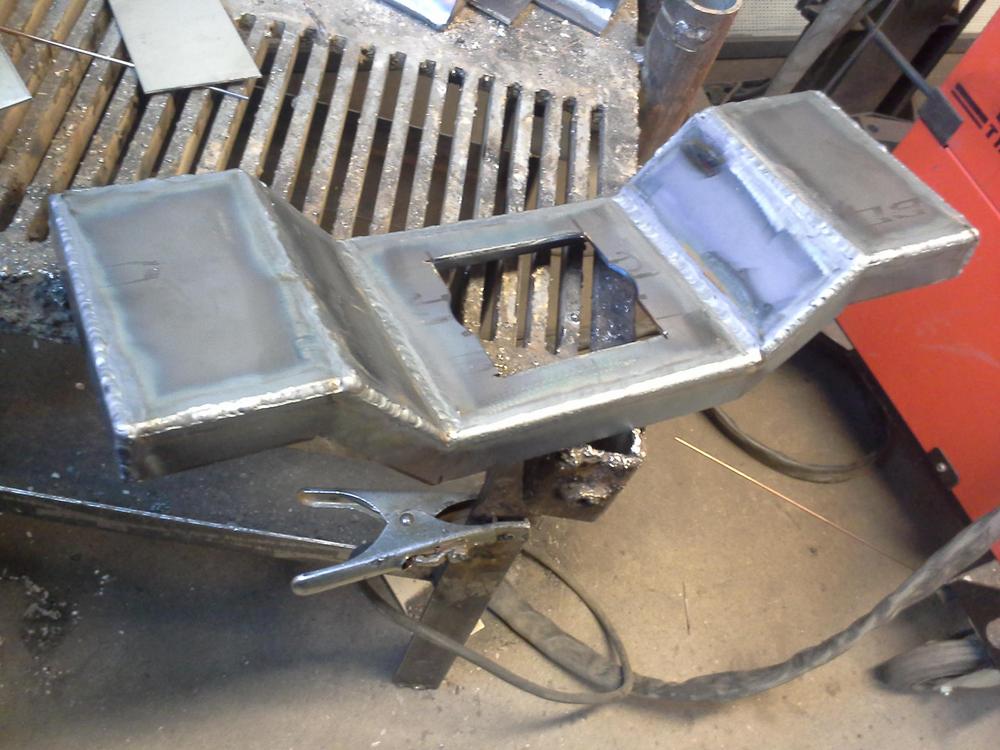
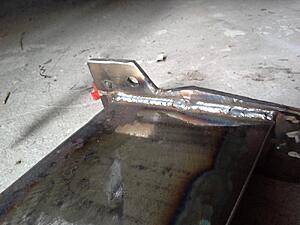
I used 3mm metal sheet to fabricate new bracket for Mk1+MT75-combination.
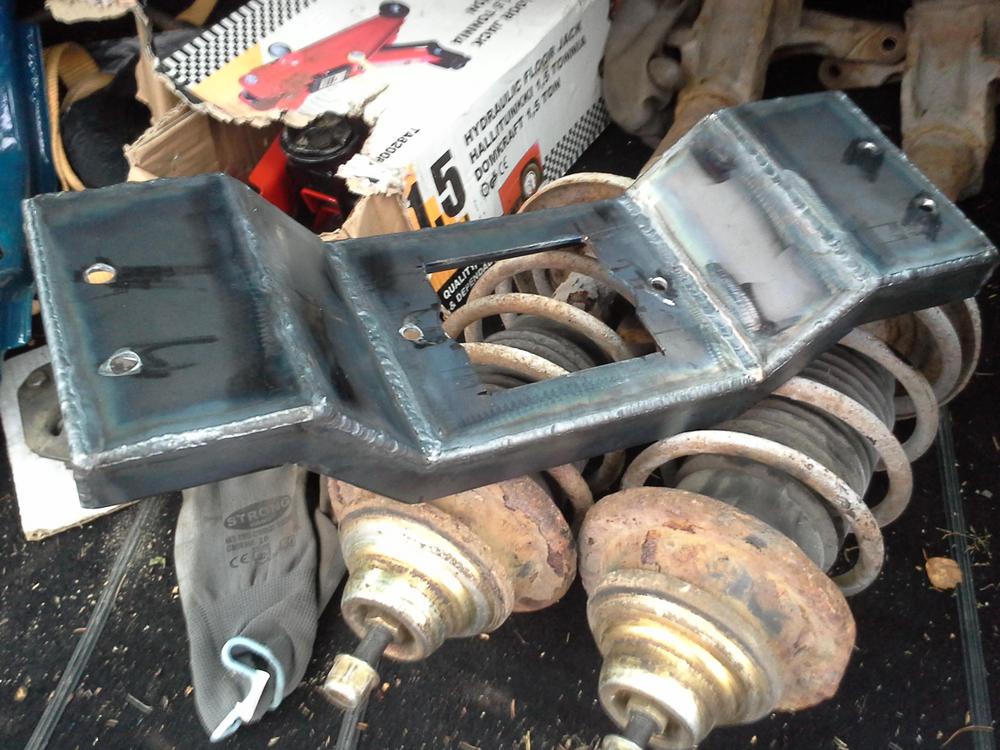
After drilling the last holes, part was ready, and only thing it needs anymore is coat of hammer paint
Like someone earlier mentioned there are different heights on Mk2 Sierra transmission tunnel, and also on gearbox mount. So........
...I decided to took a TIG torch in my hand, and the machine above was my weapon of choice
I used 3mm metal sheet to fabricate new bracket for Mk1+MT75-combination.
After drilling the last holes, part was ready, and only thing it needs anymore is coat of hammer paint
06-12-2017, 03:44 PM
#51
RalliArttu
Thread Starter
E: (Mk1-mallissa siis samankorkuiset reunat ja Mk2 taas toinen puoli korkeampi, eli toi kannake joka maalattu jo, jäi vinoon asentaessa)
Last edited by RalliArttu; 06-12-2017 at 03:46 PM.
07-12-2017, 06:21 PM
#53
RalliArttu
Thread Starter
18-12-2017, 02:12 PM
#54
15000
Join Date: Nov 2009
Location: Finland
Posts: 46
Likes: 0
Received 0 Likes
on
0 Posts
Jos, vain onnistuisi niin olisi hienoa. Itsellä sama juttu koska laittamassa mt75 myös 1 koriseen. Löytyy yksi tuollainen rauta, mutta vaihteisto jää silloin liian ylös ja ottaa kiinni koriin. Joskus parin kuukauden kulttua olisi tarvetta osalle.
09-07-2018, 07:11 AM
#55
RalliArttu
Thread Starter
Hello and it´s been quite long time from last post......
First thing that I´d had to do for the car was sort out nasty paint work of rihgt side of the car. There where bad run and a dry spot, so......
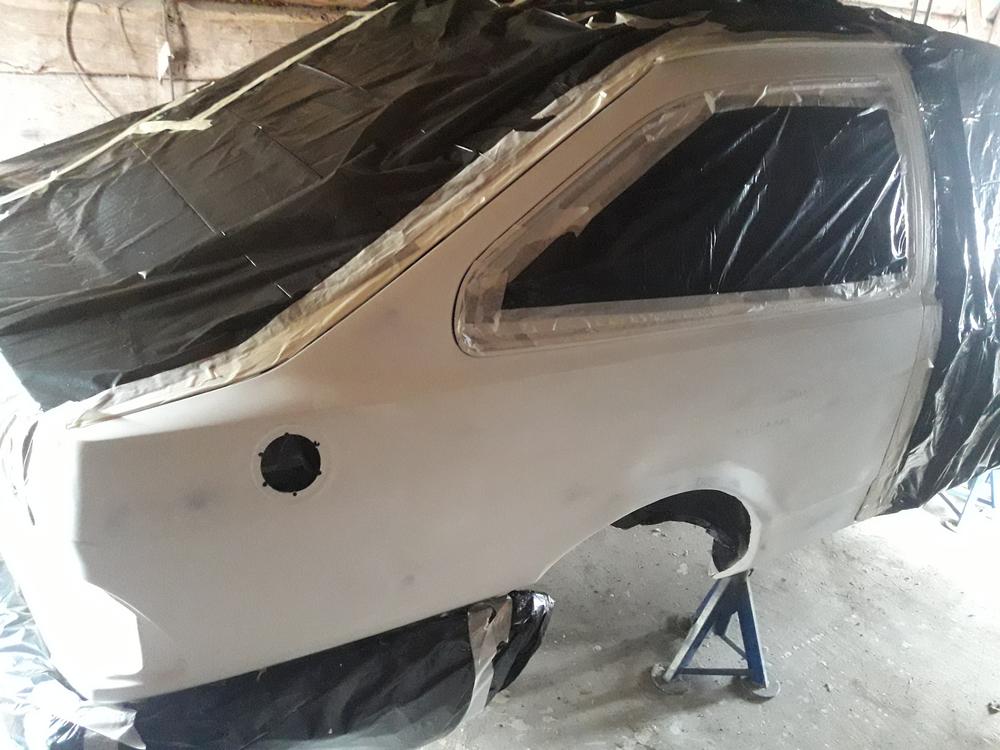
First I wet sand whole panel. I thought this was the best way for satishfying result, instead trying to fix f*cked up paint job
Then it was tiime for third attemp for this side I did re-spray with two layers of paint, cause that is how the manufacturer of paint suggests it to do. Some pics, how I managed:
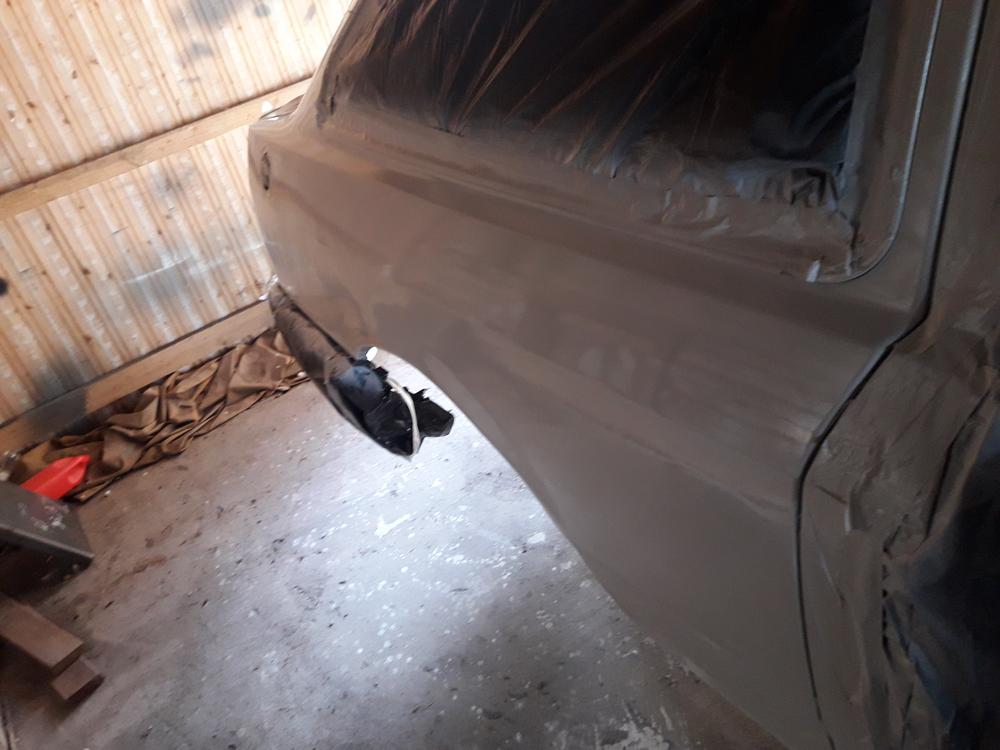
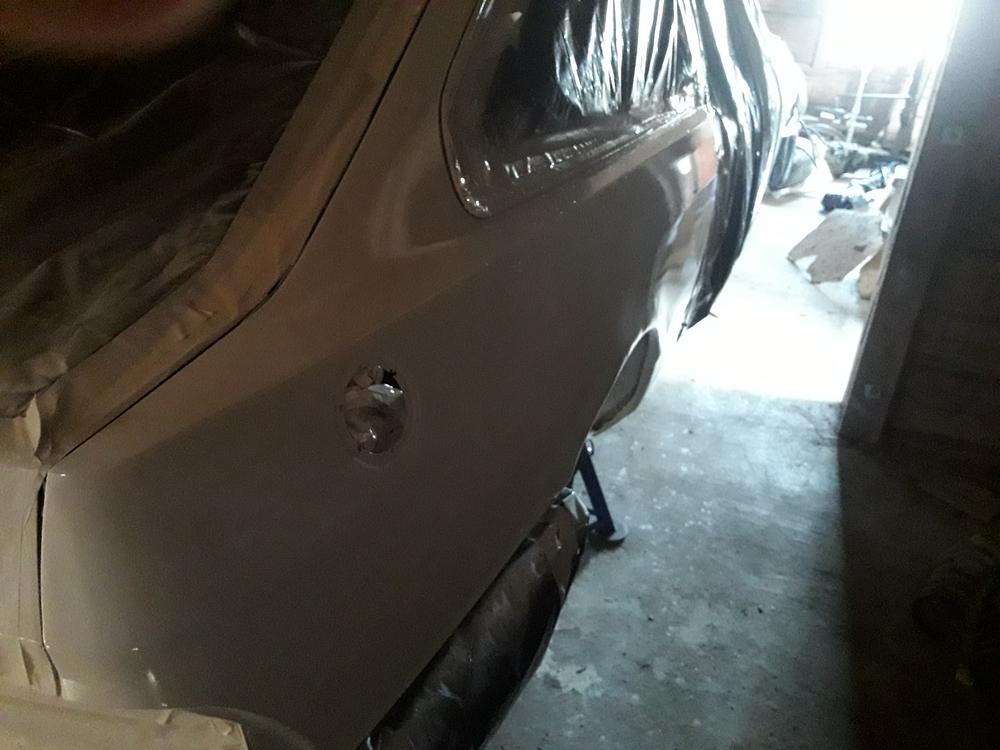
And, wait for it, zero runs!
I also spray new paint for the drivers side sill and for front grille. At this point I fitted bumpers back properly, and paint job car by this for is finally done. Obviously I need to polish up it later on as final touch, eventhough this is still a trackday car.
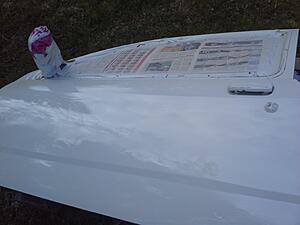
But.. I remembered that inside of the bonnet was still incomplete.
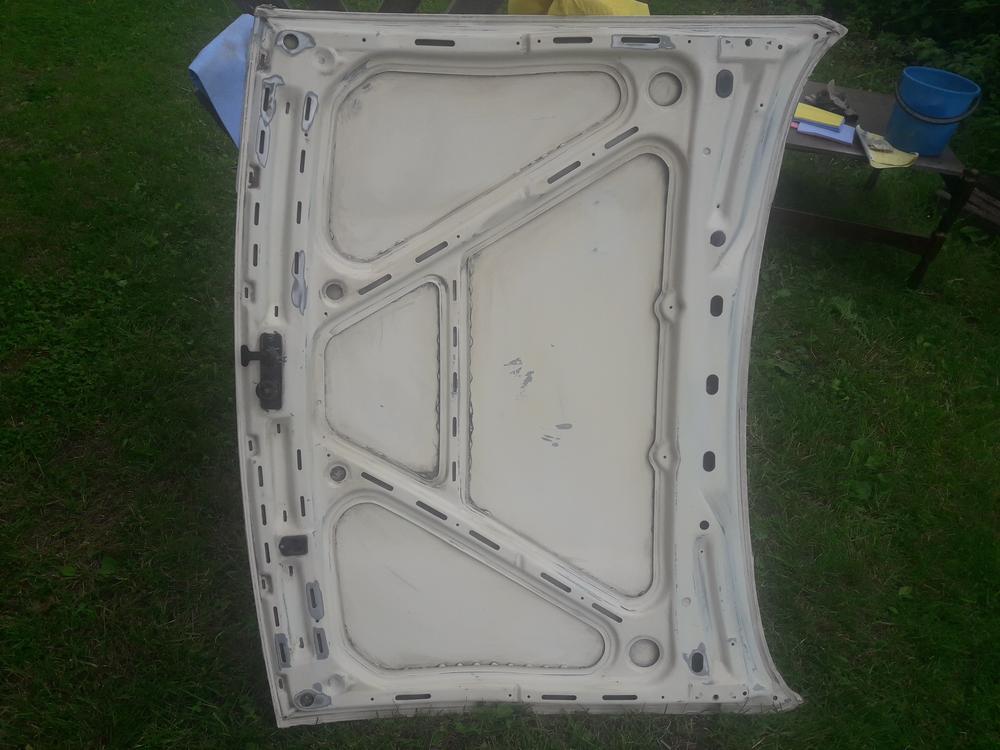
So, first I grinded rust spots away and sanded the whole area.
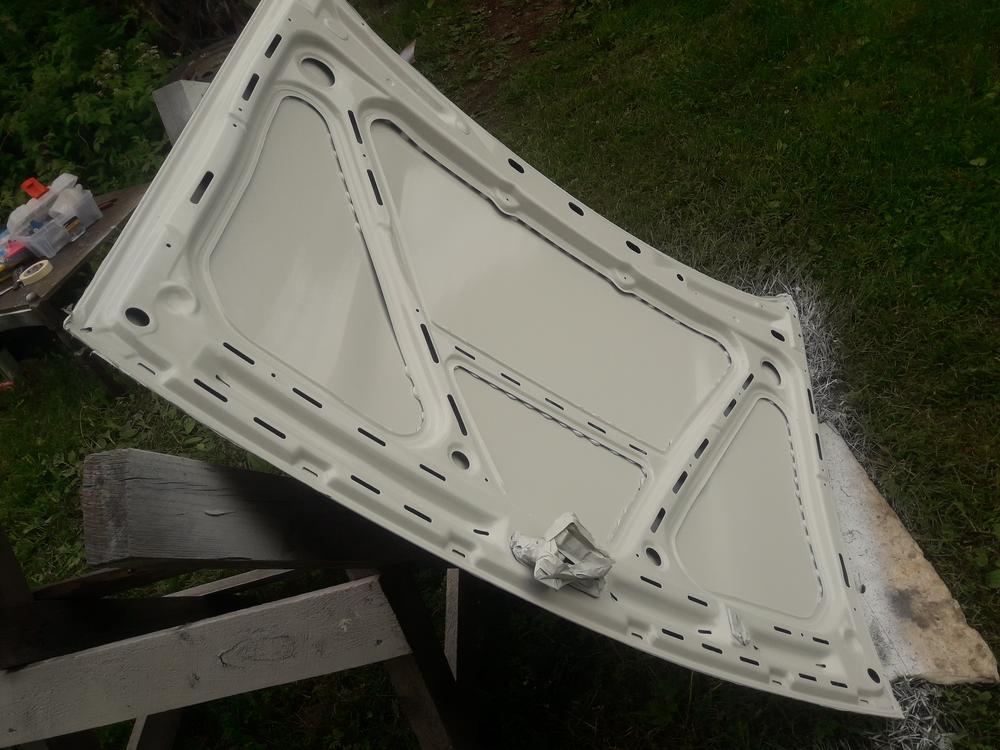

After epoxy primer and layers of color, it looked like this.
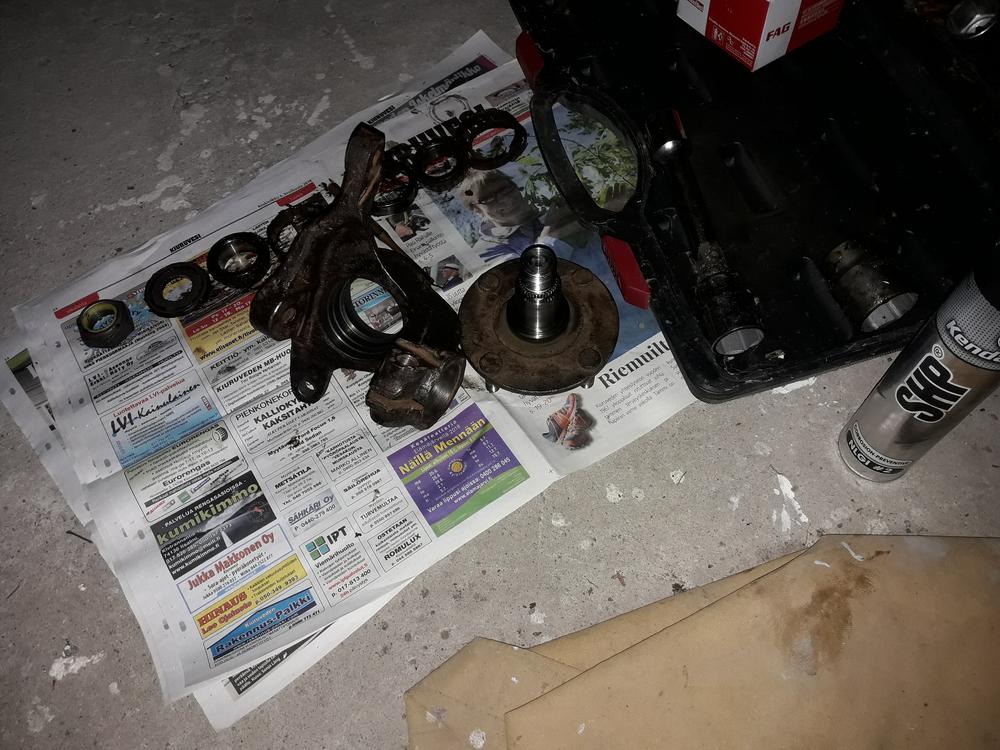
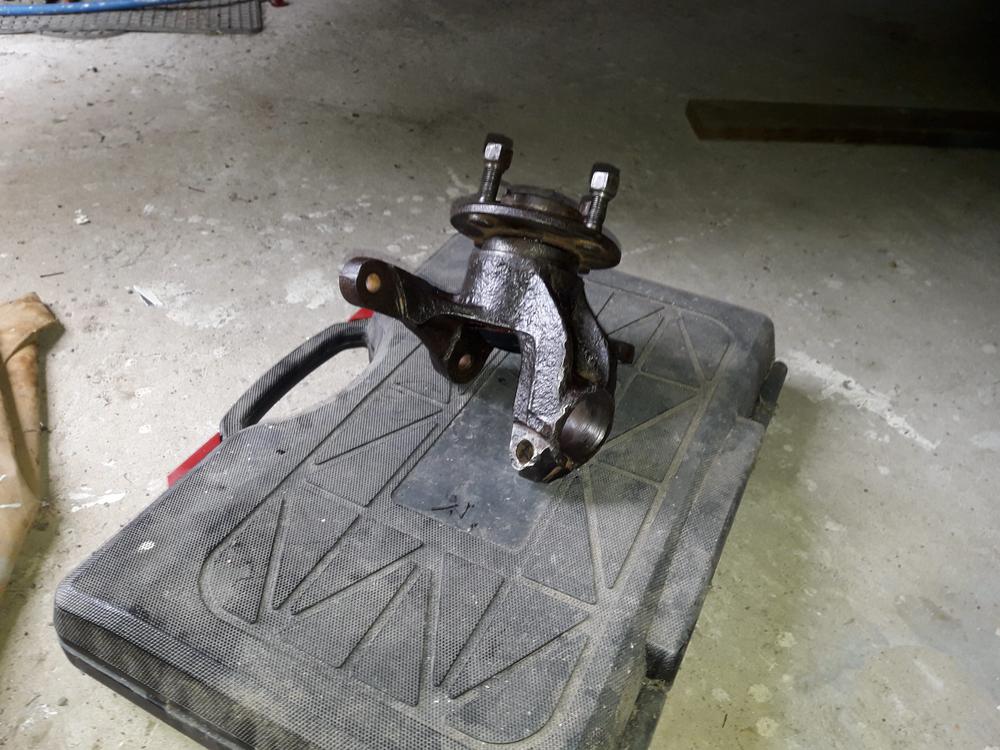
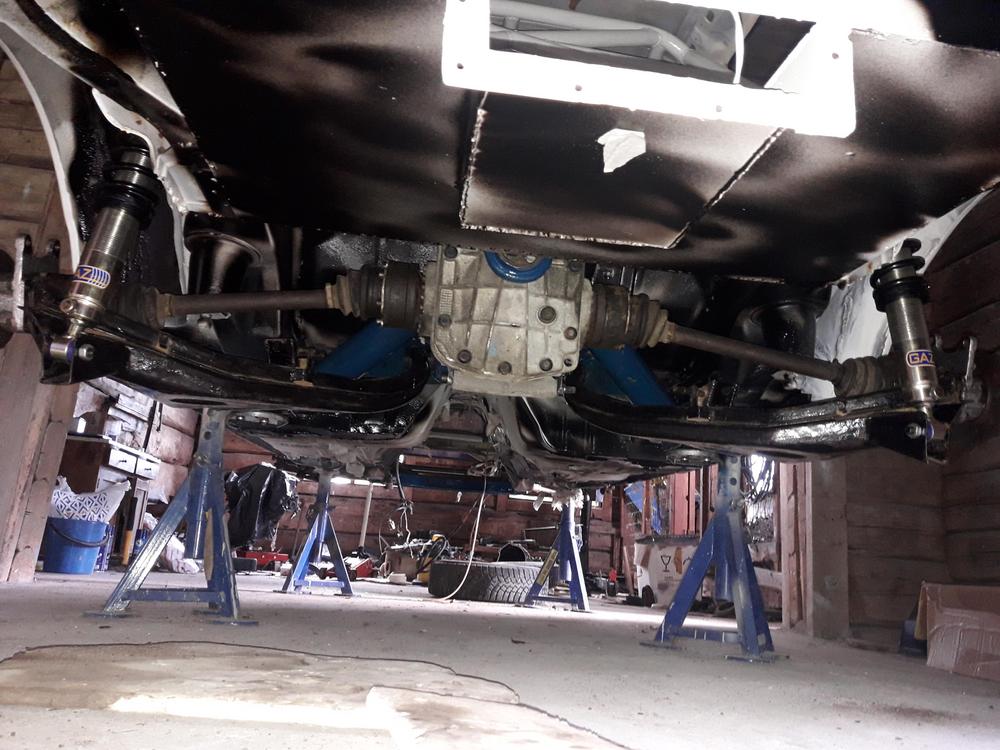
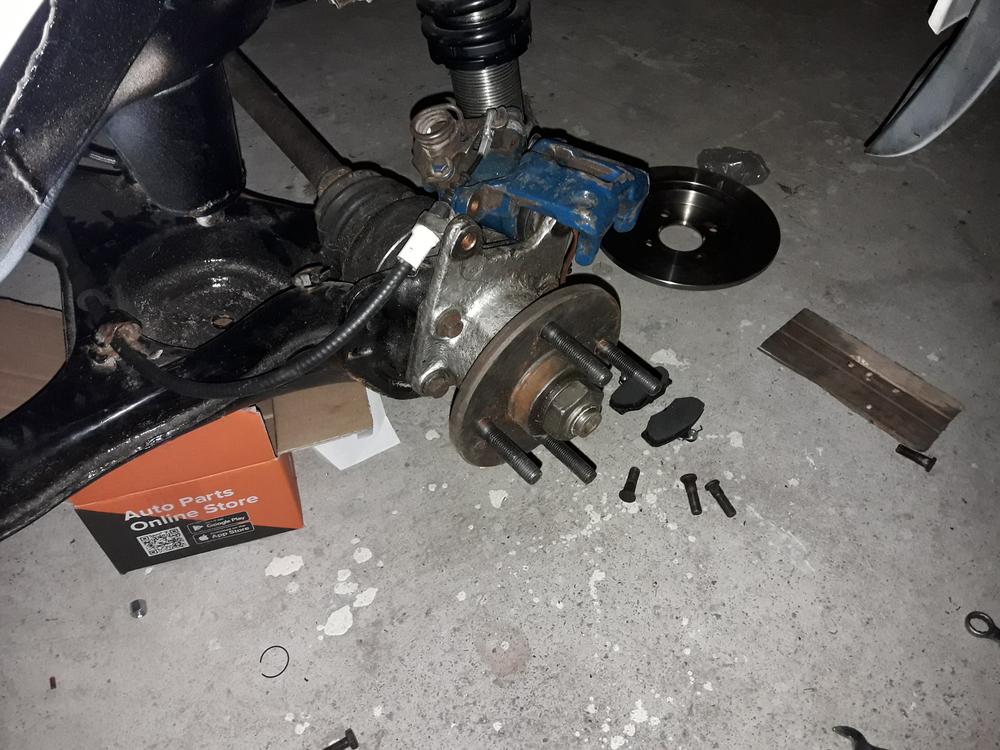
As I got paint jobs done, I got into front suspension. First I changed new wheel bearing to right side.
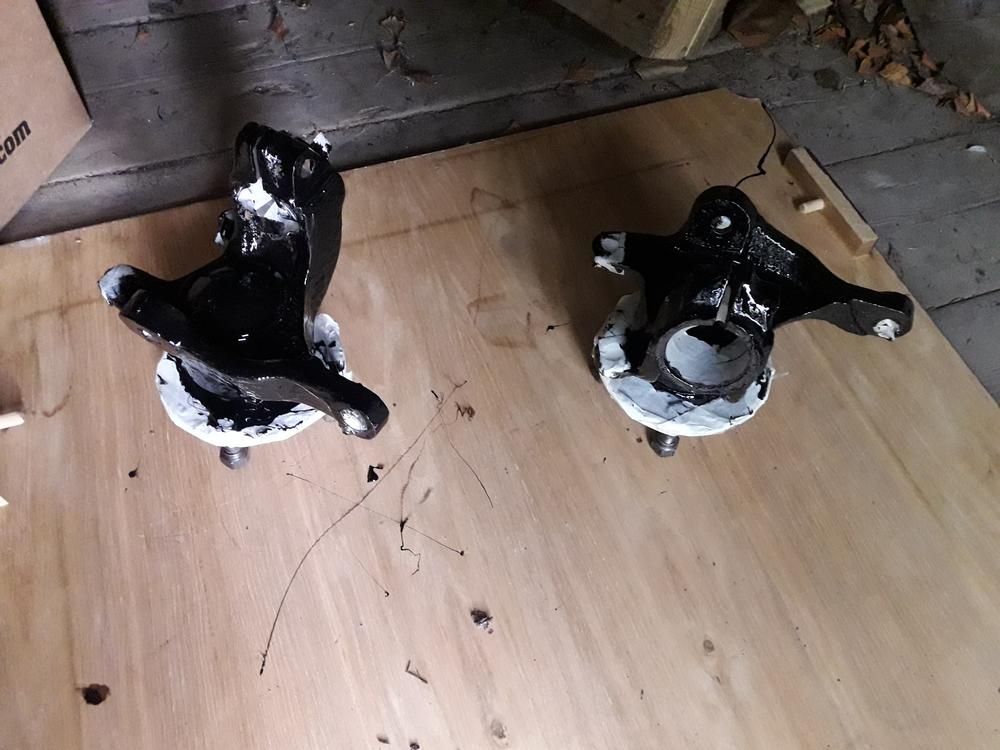
I paiinted black front bearing hubs (if that´s the word?)

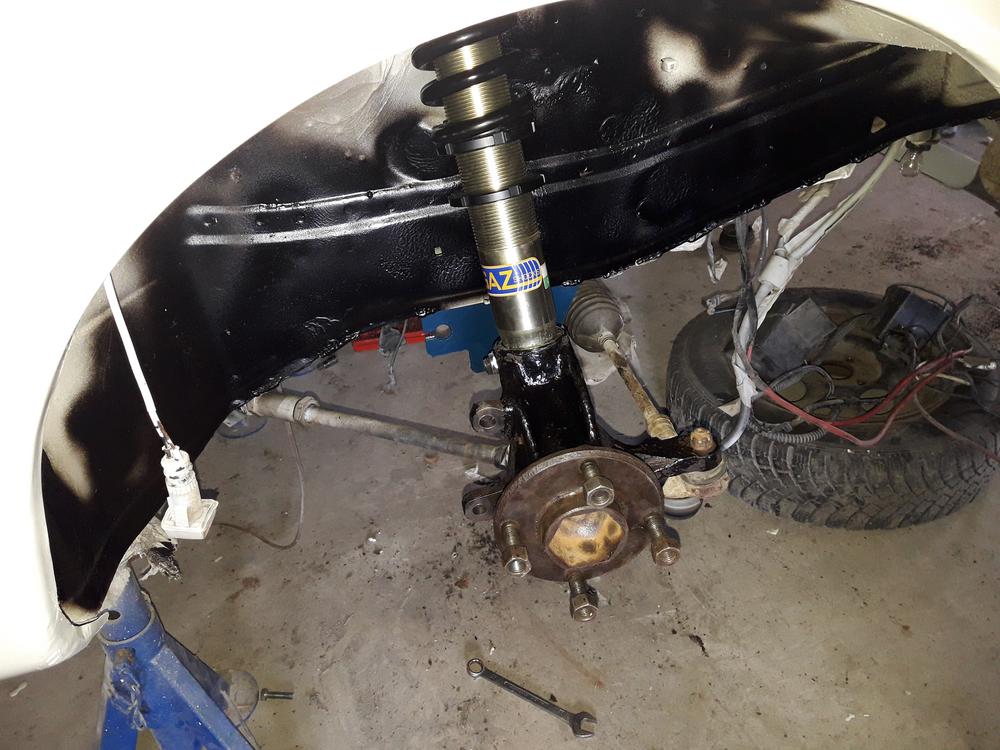
Then assemled them to coilovers, and to the car like rest of the suspension parts.
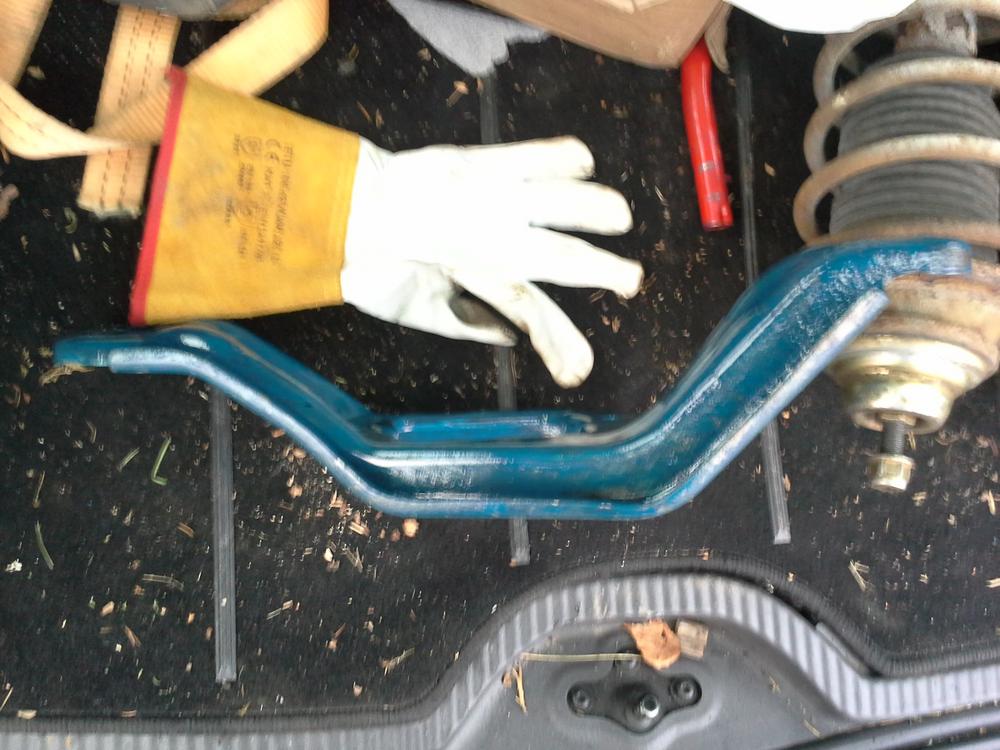
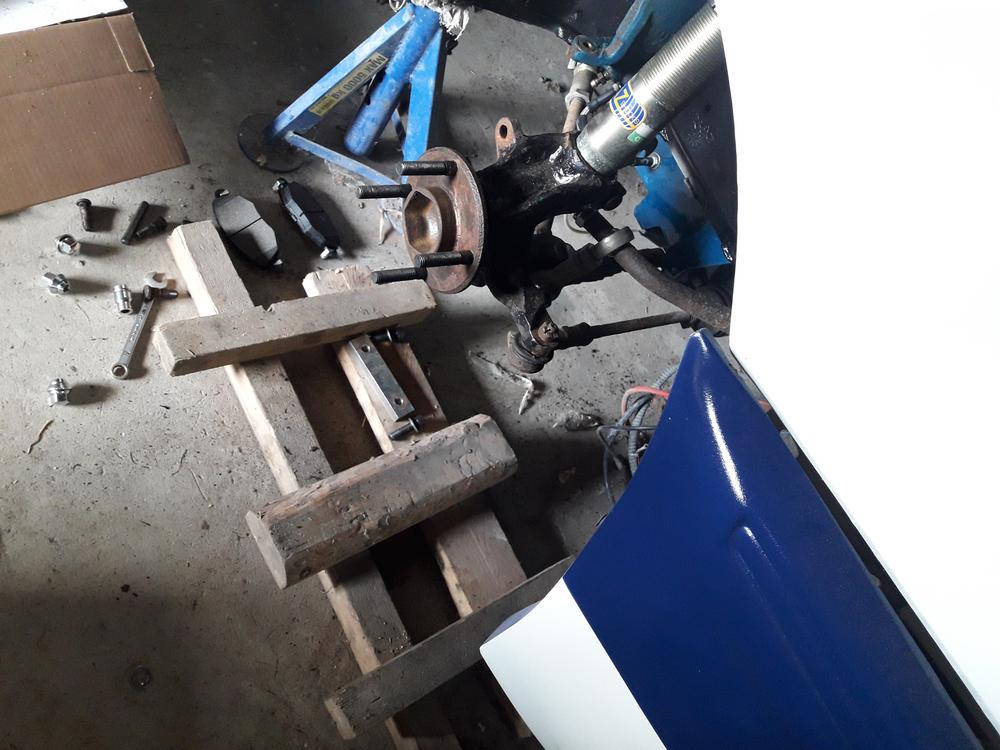
I also made wiser attachment for ARB, which have a new position because of CSAs.
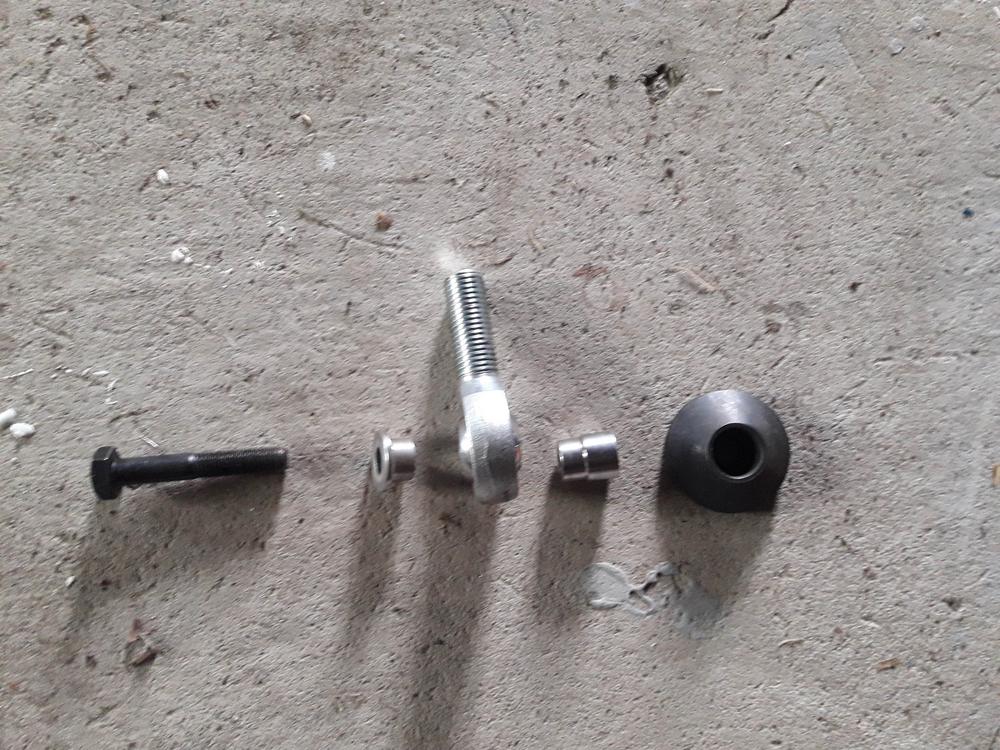
I made "blueprints" and machinery shop fabricated these.
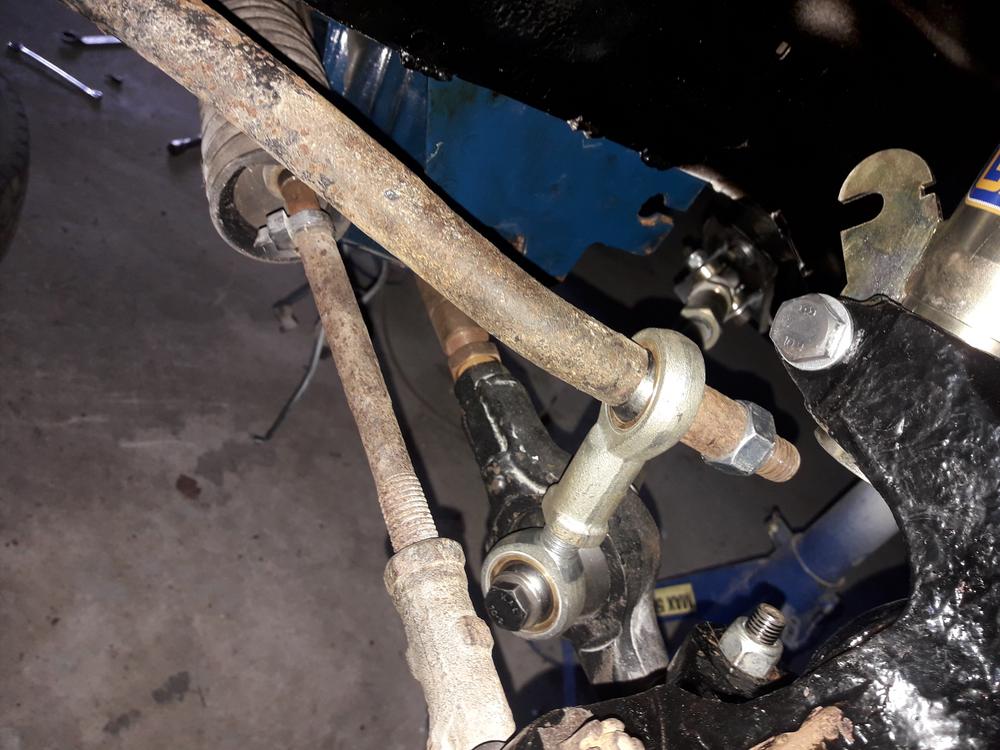
After that it was pretty easy to fit ARB and drop links. Home-made Group A suspenesion.. kinda
Up next rearbeam is going to be assemled, stay tuned
First thing that I´d had to do for the car was sort out nasty paint work of rihgt side of the car. There where bad run and a dry spot, so......
First I wet sand whole panel. I thought this was the best way for satishfying result, instead trying to fix f*cked up paint job
Then it was tiime for third attemp for this side
And, wait for it, zero runs!
I also spray new paint for the drivers side sill and for front grille. At this point I fitted bumpers back properly, and paint job car by this for is finally done. Obviously I need to polish up it later on as final touch, eventhough this is still a trackday car.
But.. I remembered that inside of the bonnet was still incomplete.
So, first I grinded rust spots away and sanded the whole area.
After epoxy primer and layers of color, it looked like this.
As I got paint jobs done, I got into front suspension. First I changed new wheel bearing to right side.
I paiinted black front bearing hubs (if that´s the word?)
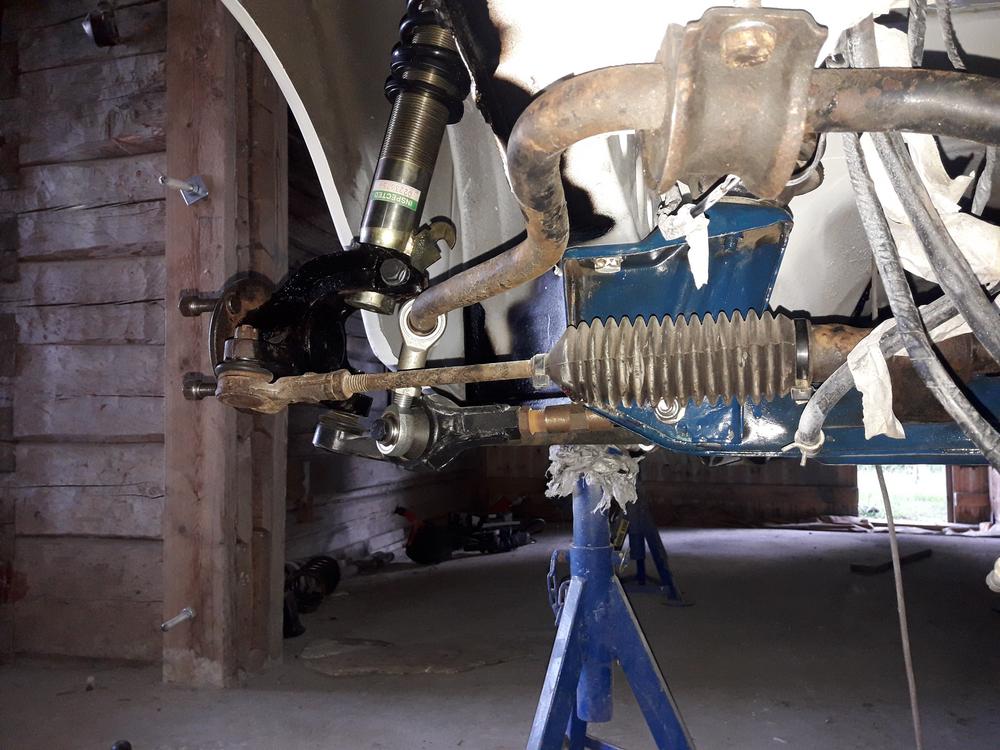
Then assemled them to coilovers, and to the car like rest of the suspension parts.
I also made wiser attachment for ARB, which have a new position because of CSAs.
I made "blueprints" and machinery shop fabricated these.
After that it was pretty easy to fit ARB and drop links. Home-made Group A suspenesion.. kinda
Up next rearbeam is going to be assemled, stay tuned
Last edited by RalliArttu; 09-07-2018 at 07:21 AM.
10-07-2018, 04:03 PM
#56
I'm Finding My Feet Here Now

Nice work there!!! looks very nice! thought about doing something similair also.
Do you still heve plenty of room for the engine and wheels on lock?
Do you still heve plenty of room for the engine and wheels on lock?
10-07-2018, 04:15 PM
#57
RalliArttu
Thread Starter
Thanks
01-09-2018, 09:49 AM
#58
RalliArttu
Thread Starter
Lots of stuff has been assembled. I started from rearbeam...
First new Black Series- bushes to subframe.

Cleaned/grinded rust away form bearing hubs, installed new bearings and gave new "exotic" color for them

Rear strut arms with new bushes and camber adjustable plates on their inner muontings to subframe.
Whole thing assembled. ARB and brakes are coming later, cause I don´t have all the parts yet.
Bolted into car. Did the job just with one jack

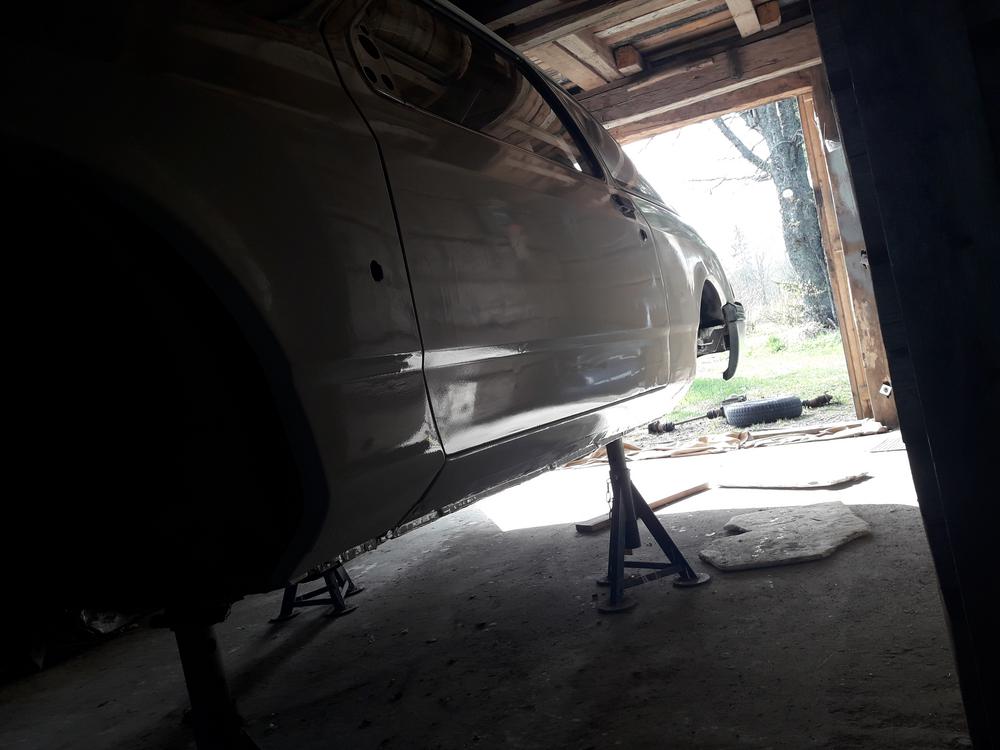
Car landed to its own wheels, cause I needed to move car in my garage that I would be able to do some other stuff.
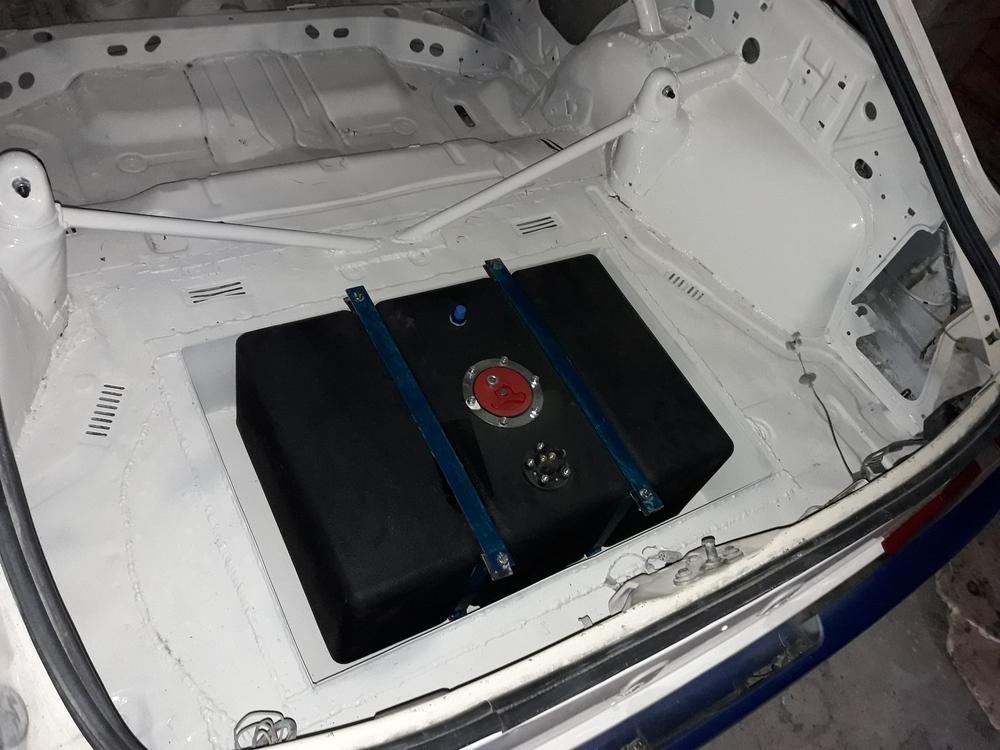
JAZ- fuel cell and another important part finally back to the car...
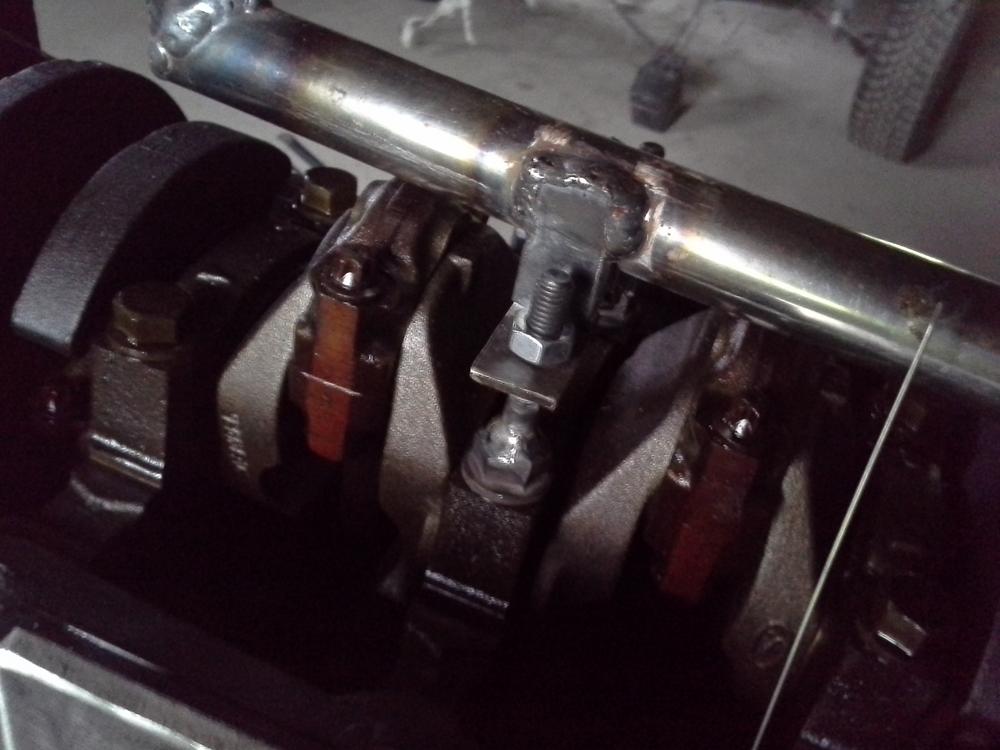
I also continued Zetec mod:
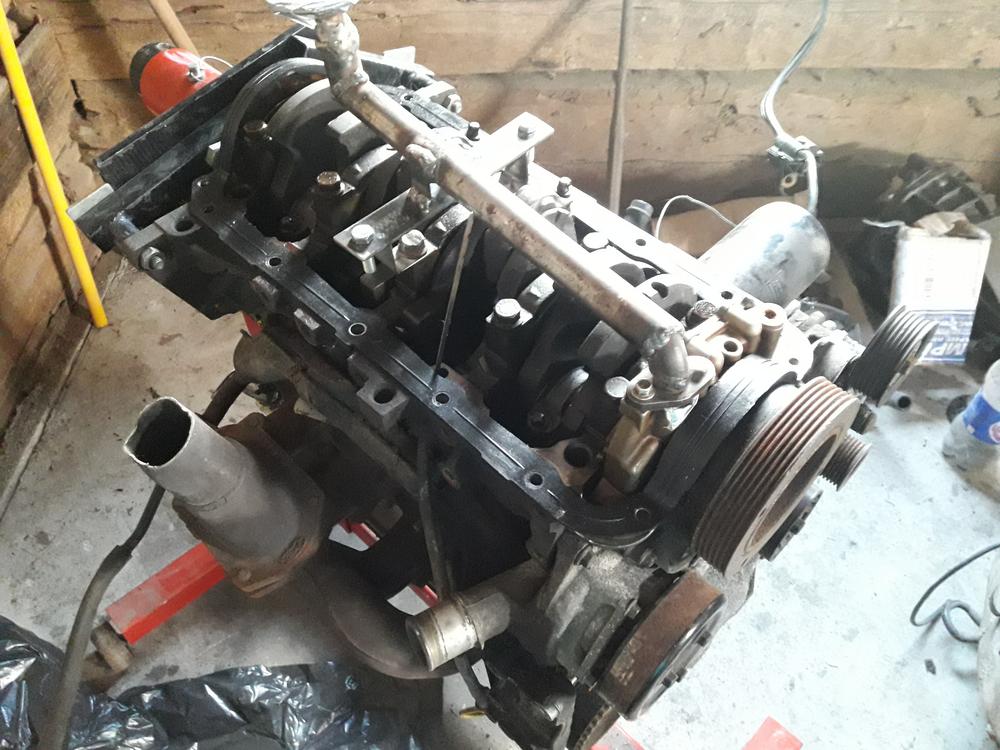
I made new kind of mounts for oil pickup pipe. Stailess steel under bolts, and pickup pipe is now bolted to those brackets.
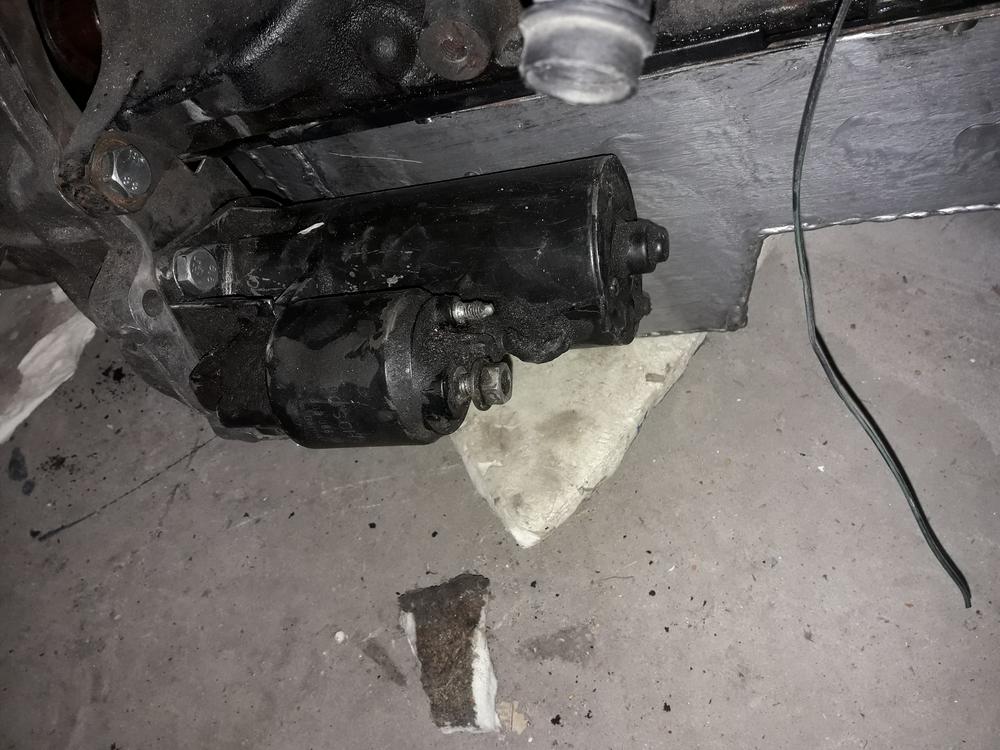
I fitted the starter motor, and it sats pretty well! So my mod to oil sump was done right.
Whats´s next.....?
First new Black Series- bushes to subframe.
Cleaned/grinded rust away form bearing hubs, installed new bearings and gave new "exotic" color for them
Rear strut arms with new bushes and camber adjustable plates on their inner muontings to subframe.
Whole thing assembled. ARB and brakes are coming later, cause I don´t have all the parts yet.
Bolted into car. Did the job just with one jack
Car landed to its own wheels, cause I needed to move car in my garage that I would be able to do some other stuff.
JAZ- fuel cell and another important part finally back to the car...
I also continued Zetec mod:
I made new kind of mounts for oil pickup pipe. Stailess steel under bolts, and pickup pipe is now bolted to those brackets.
I fitted the starter motor, and it sats pretty well! So my mod to oil sump was done right.
Whats´s next.....?
Last edited by RalliArttu; 01-09-2018 at 09:51 AM.
 02-09-2018, 03:51 PM
#60
10K+ Poster!!


Really nice work, well done
 09-09-2018, 03:11 PM
#62
RalliArttu
Thread Starter
Thanks guys!
Right now the issue have been to find time for this build, cause there has been some many things going on, my dalily drive Ford, another drivable Sierra etc...
Right now the issue have been to find time for this build, cause there has been some many things going on, my dalily drive Ford, another drivable Sierra etc...
21-05-2019, 06:55 PM
#63
RalliArttu
Thread Starter
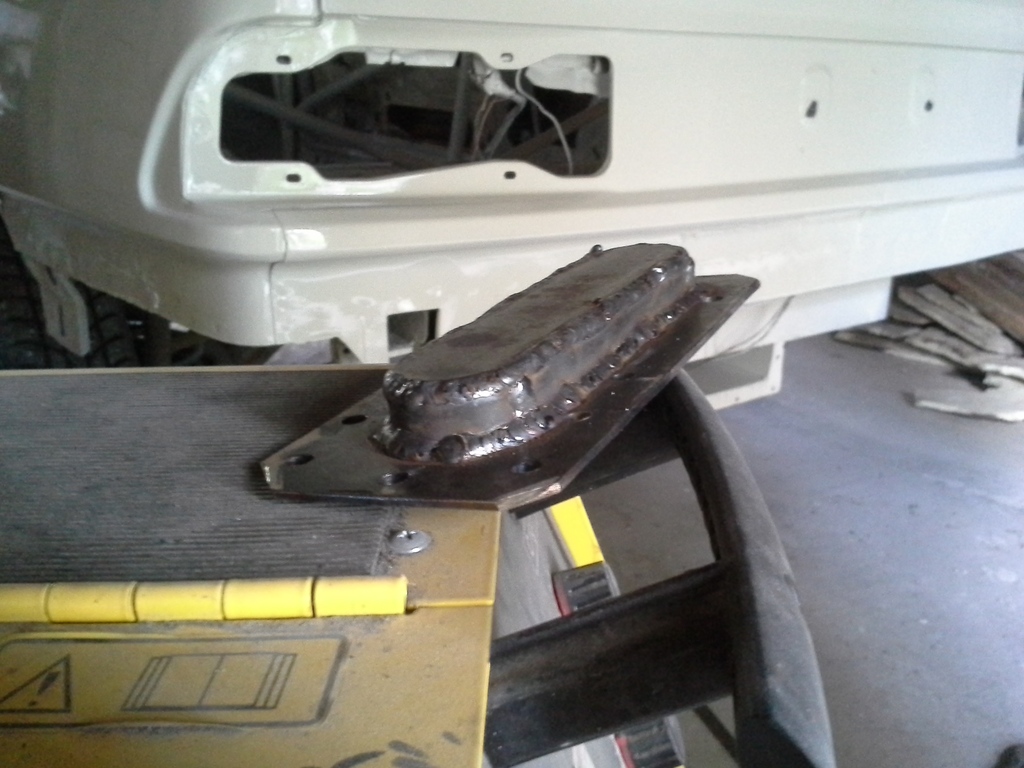
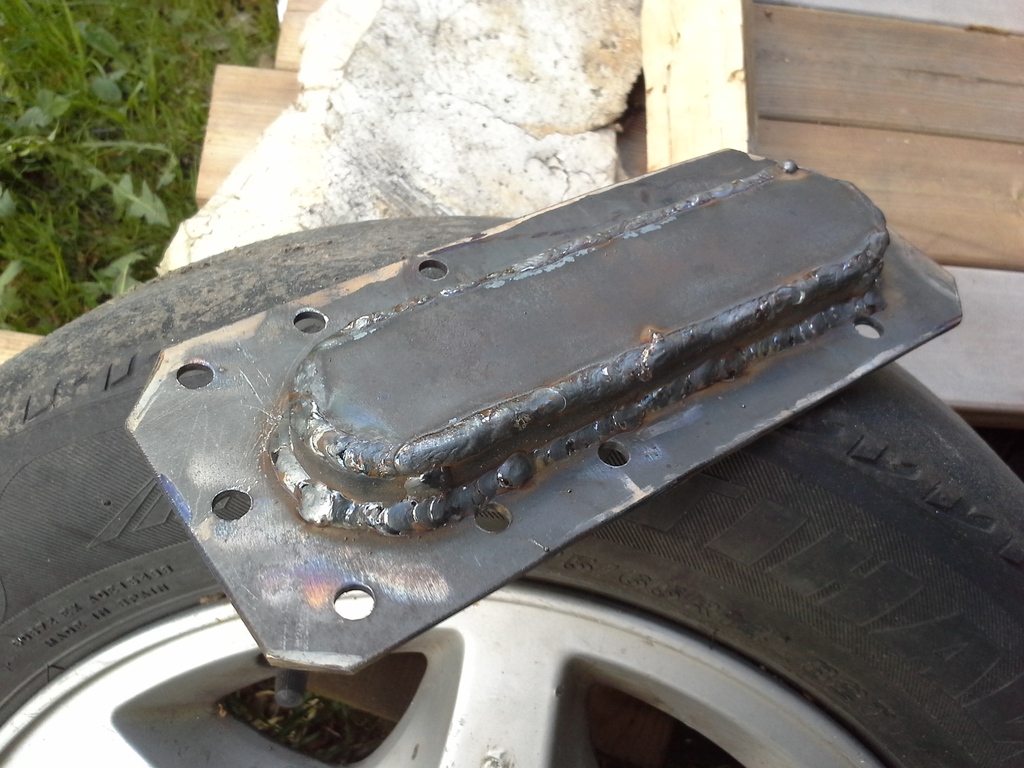
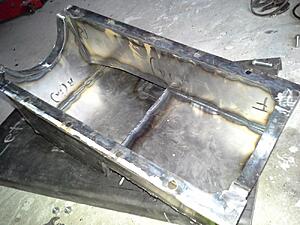
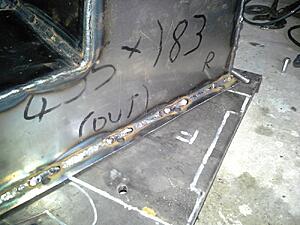
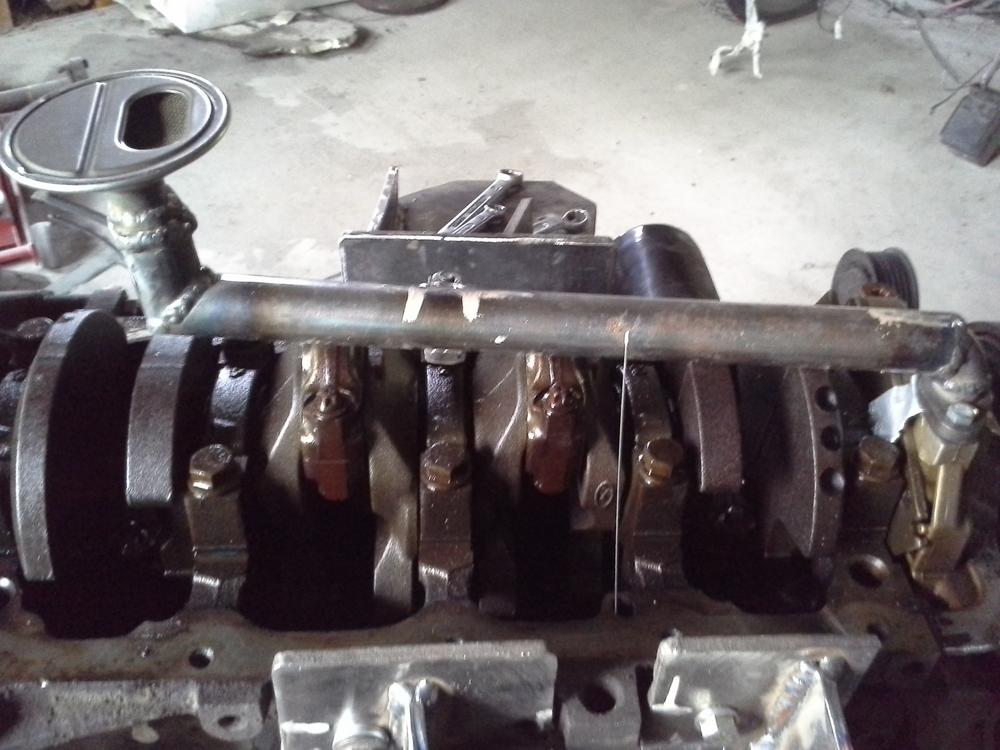
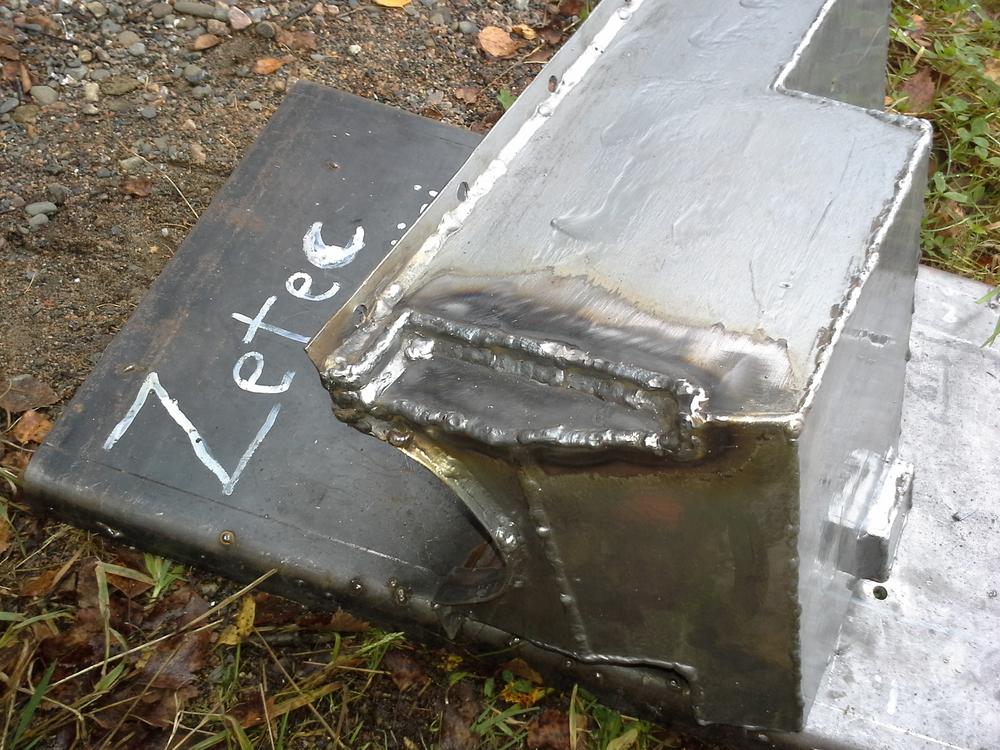
After few improvements on my tool arsenal, TIG-welder included, I wanted to start on making version 2.0 of Zetec oil sump for RWD usage. So...
I bended/rolled the "arches" properly, to make sure they fit well.
The whole pan tacked and ready for final welding. I also corrected few measurements compare to earlier version of the sump, now won´t hit on dirt plate between engine and gearbox.
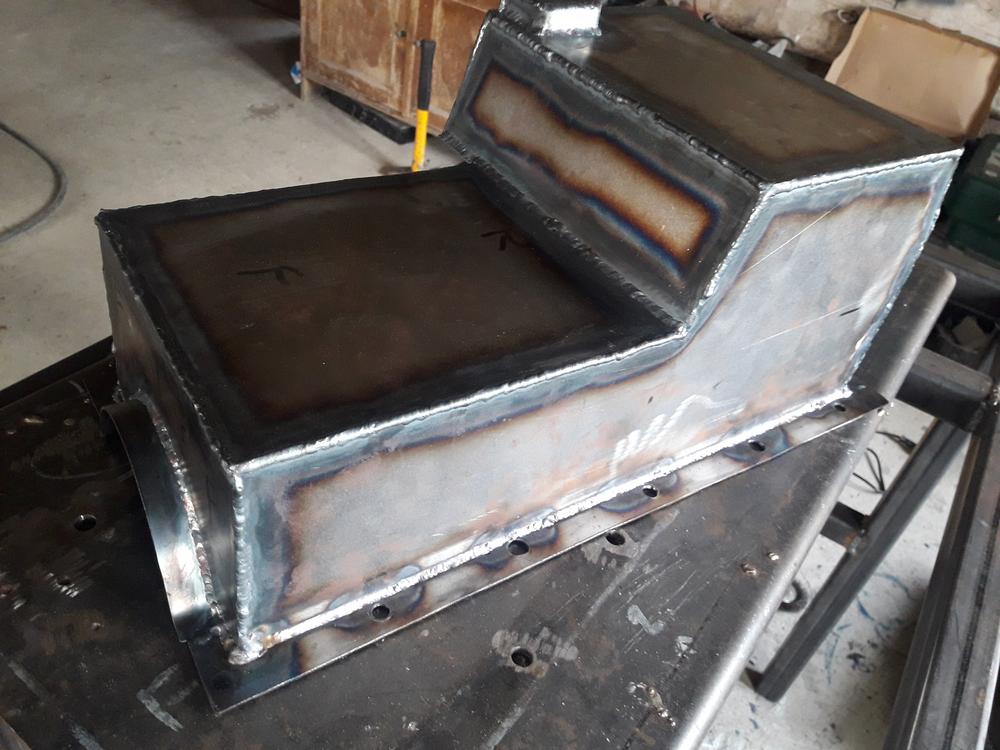
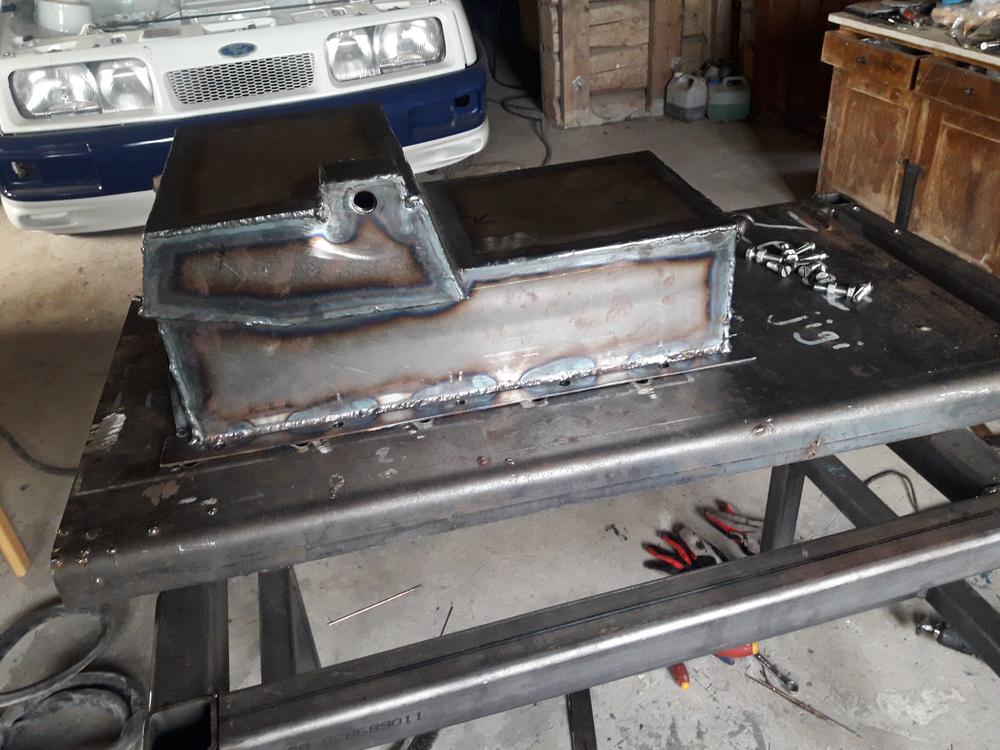
Still enough room for oil but also to down pipe when this installed to the car with engine on it
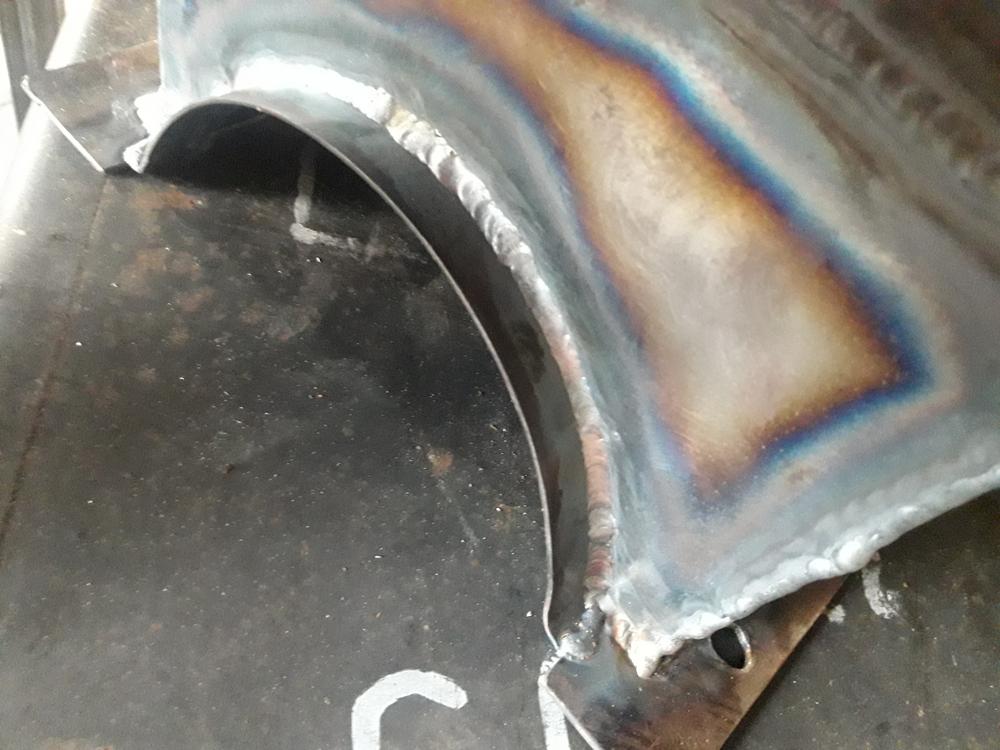
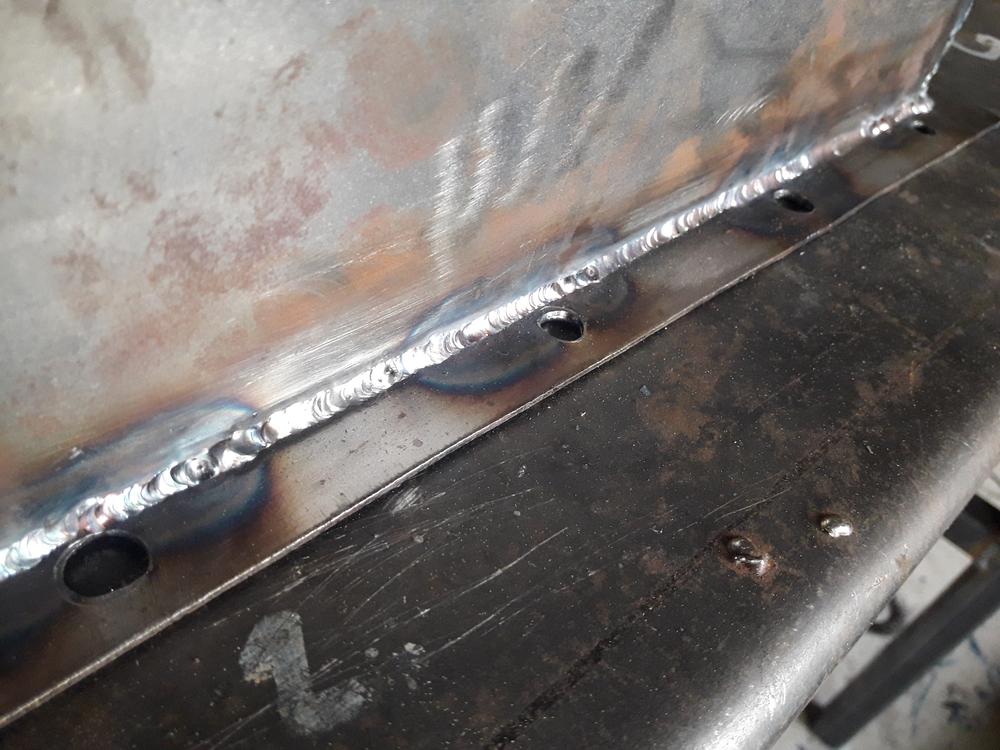
It´s been a while since I´ve last welded with TIG, so let that be excuse for crappy welds
Up next I gotta check out for any leaks and add baffle plate inside the sump. And couple more little adjustments.......
I bended/rolled the "arches" properly, to make sure they fit well.
The whole pan tacked and ready for final welding. I also corrected few measurements compare to earlier version of the sump, now won´t hit on dirt plate between engine and gearbox.
Still enough room for oil but also to down pipe when this installed to the car with engine on it
It´s been a while since I´ve last welded with TIG, so let that be excuse for crappy welds
Up next I gotta check out for any leaks and add baffle plate inside the sump. And couple more little adjustments.......
03-03-2020, 07:39 AM
#64
RalliArttu
Thread Starter
Hello again! I just realized, that I haven´t posted anything about last summer, so let´s correct that mistake.....
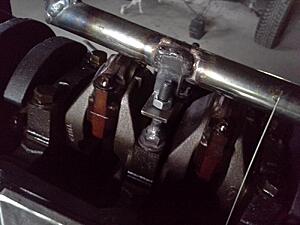
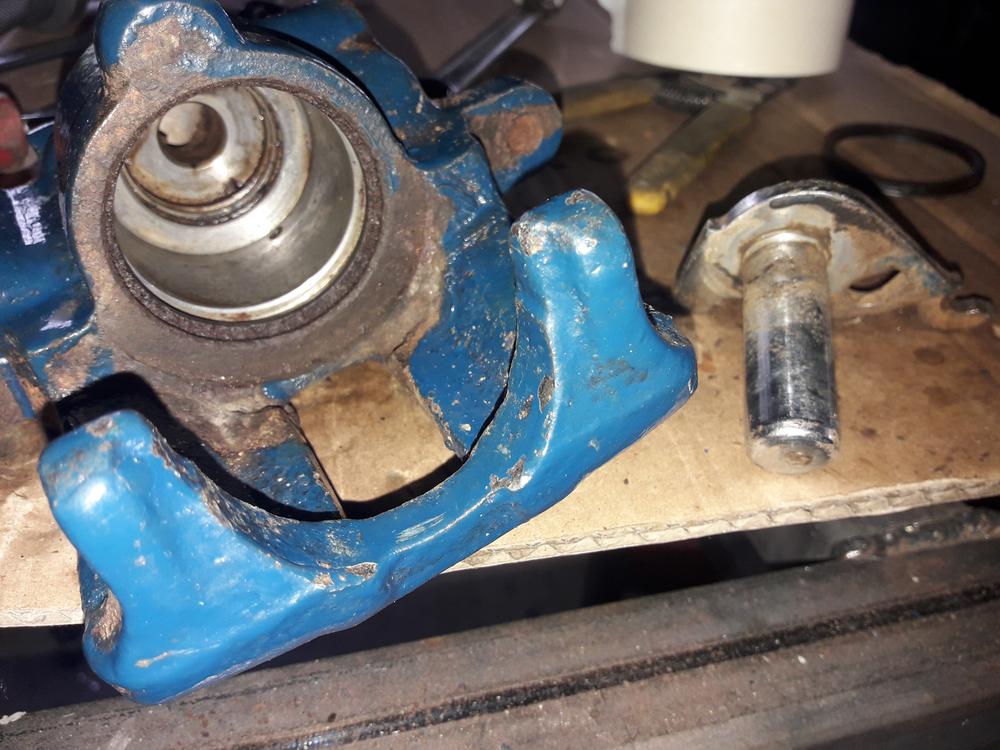
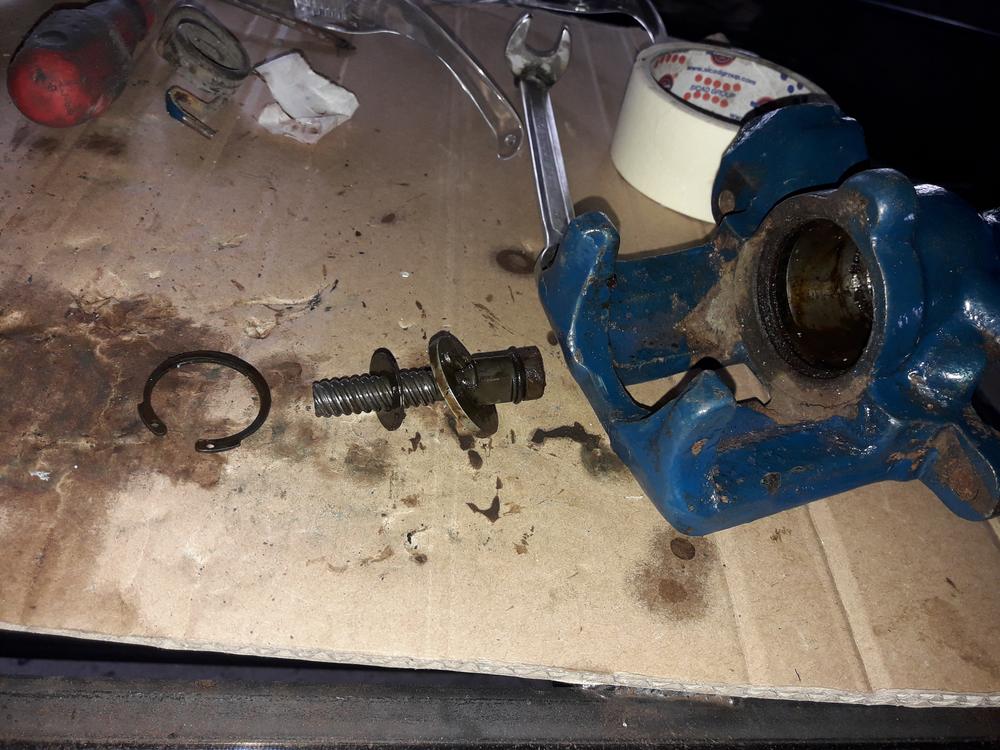
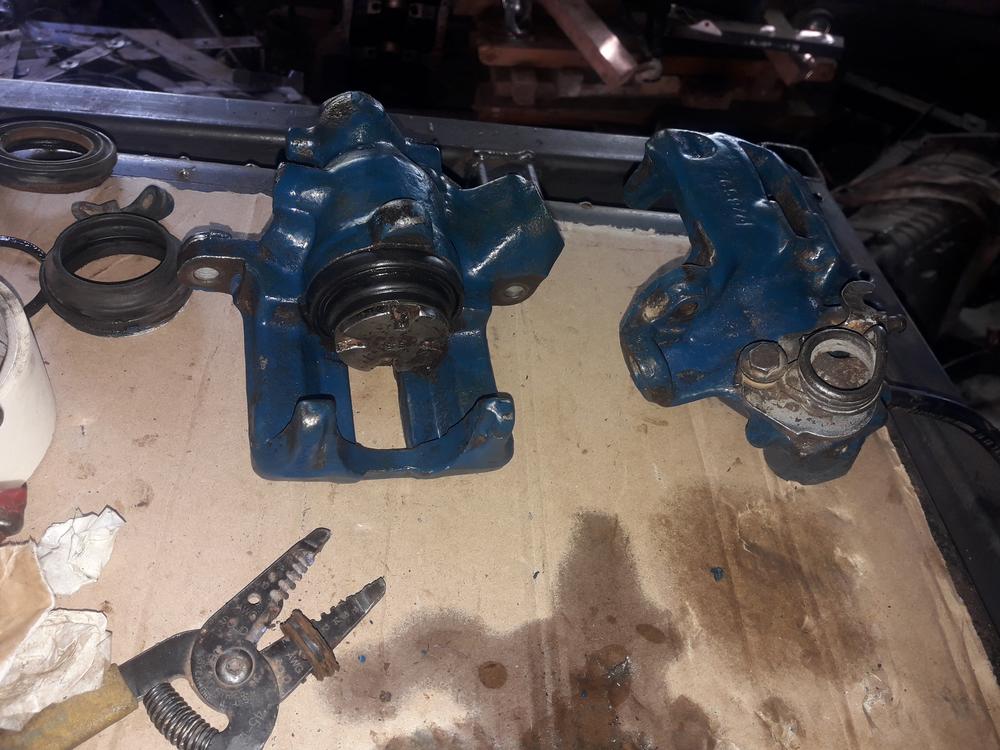
Mainly it was all about brakes, brake lines and calipers:
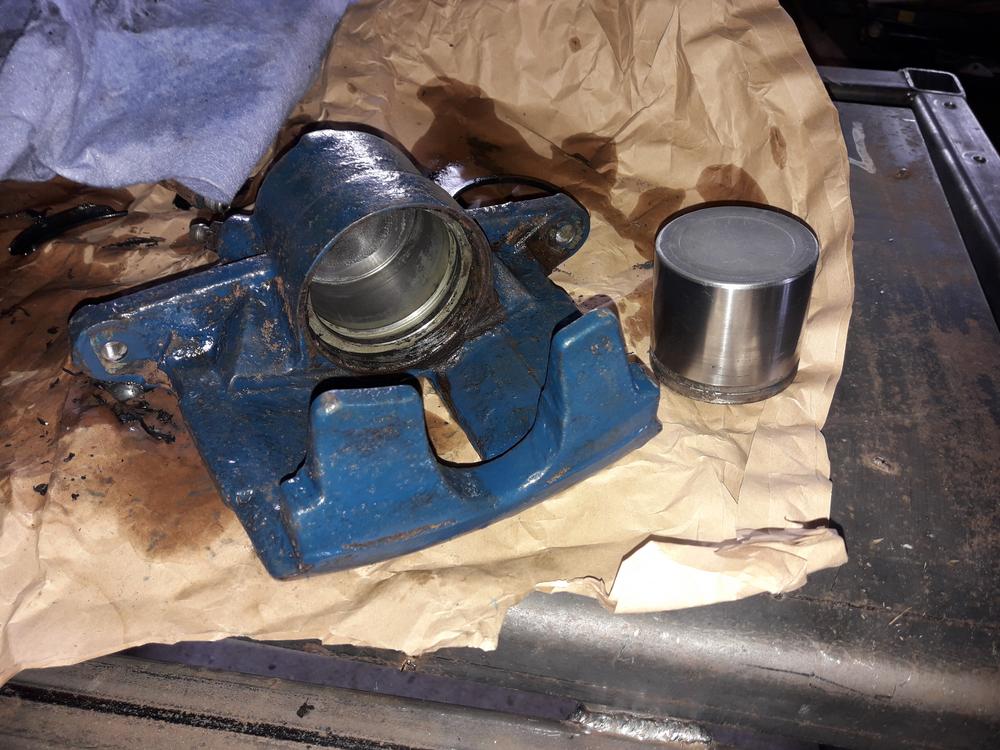
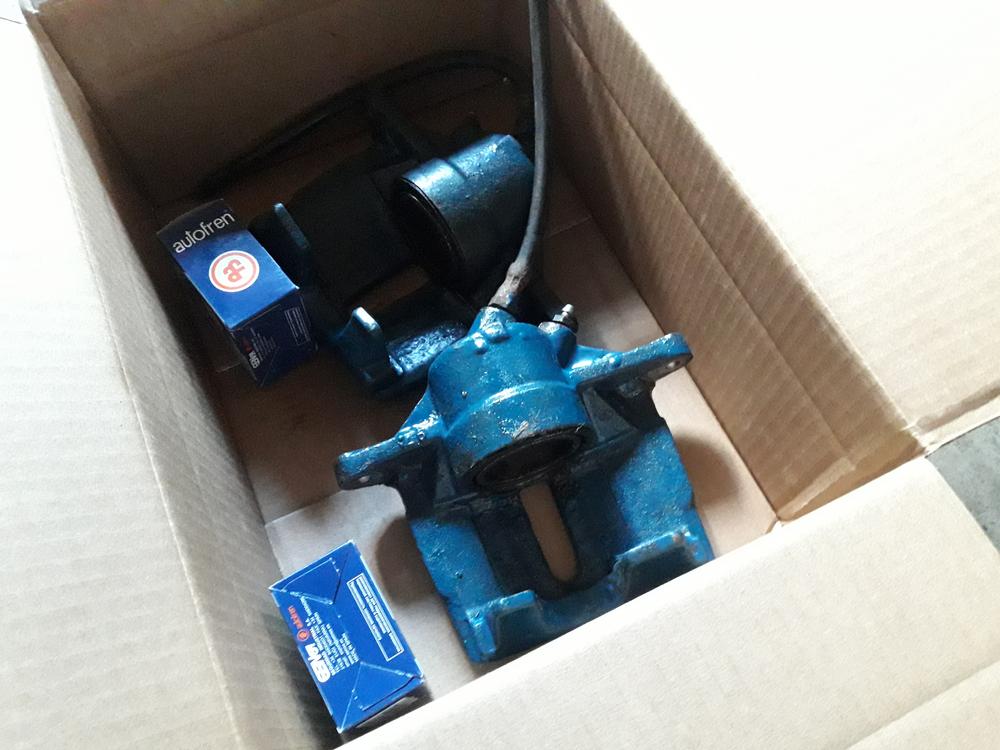
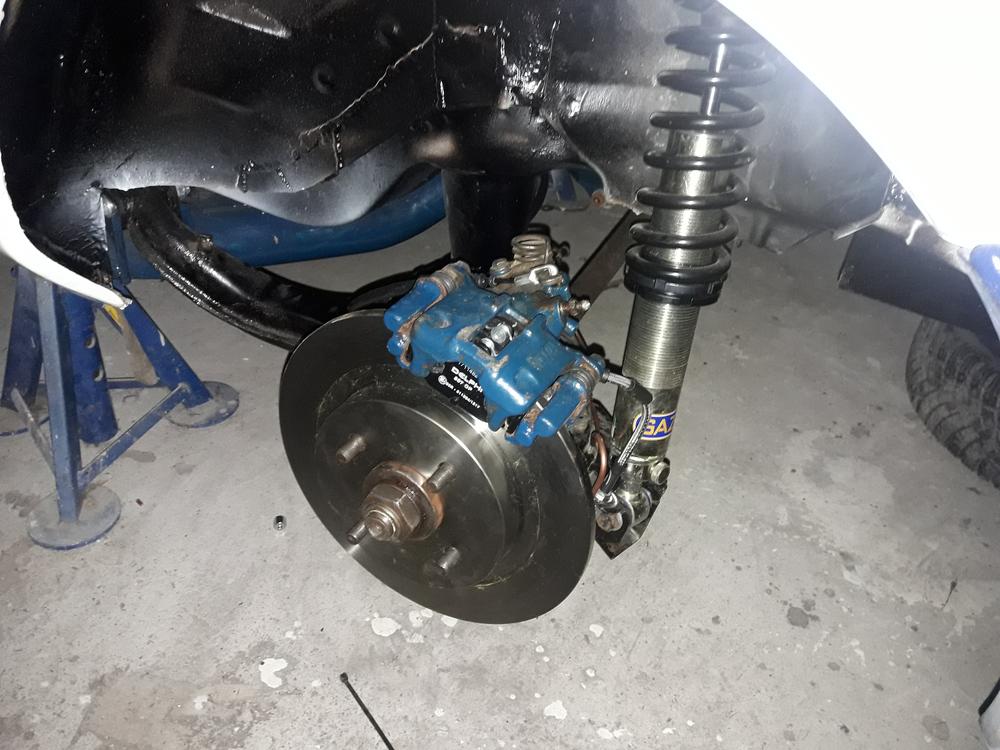
I overhauled front calipers, clean up and new seals. These from Mk3 Mondeo, and yes I´ve got spacers between bracket and hub to get offset right.
Same for rear, where I´ve got parts from cossie. Hopefullu handbrakes are ready for little yanks!
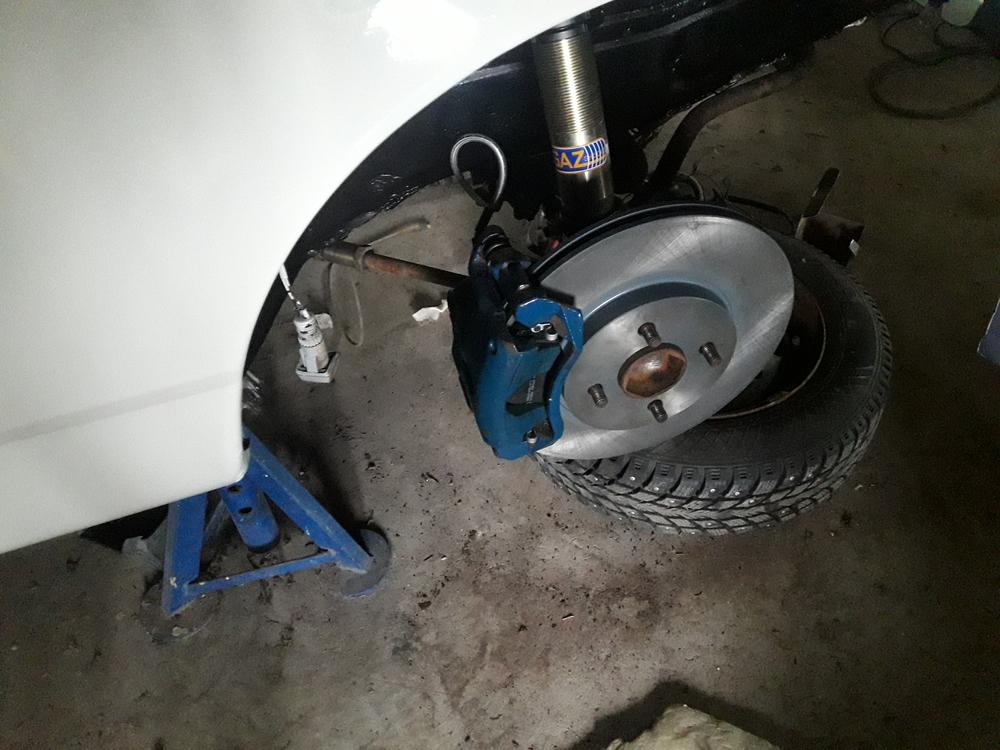
Front brake conversion with Focus ST170 discs.
Rearend just with cossie discs, pads and calipers.
Then some DIY brakeline plumbing:
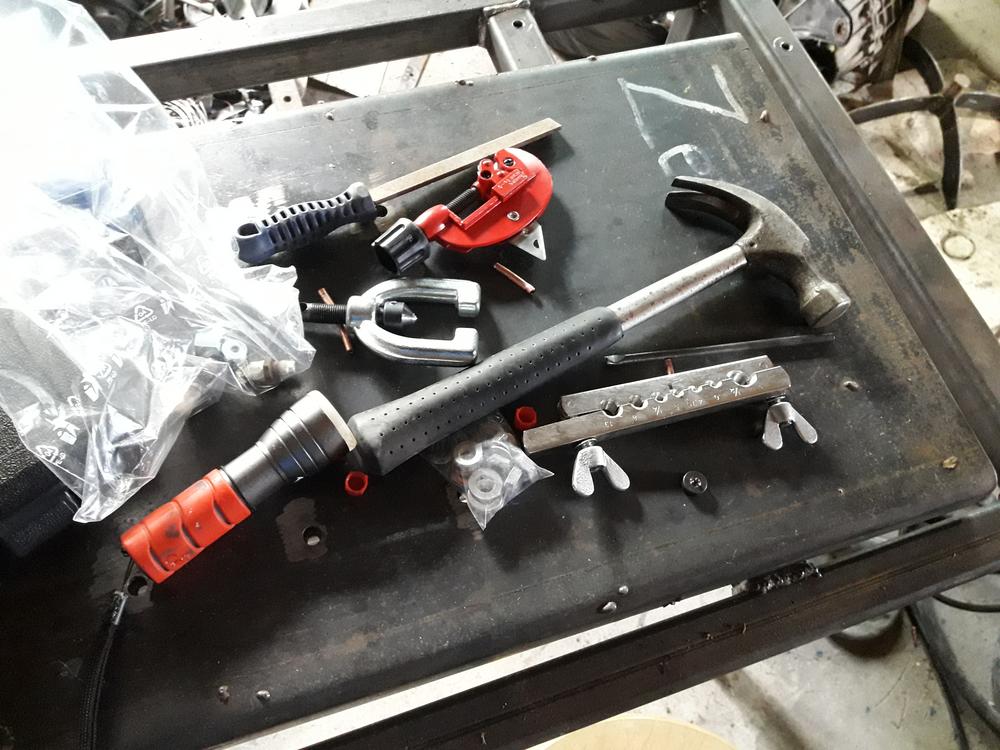
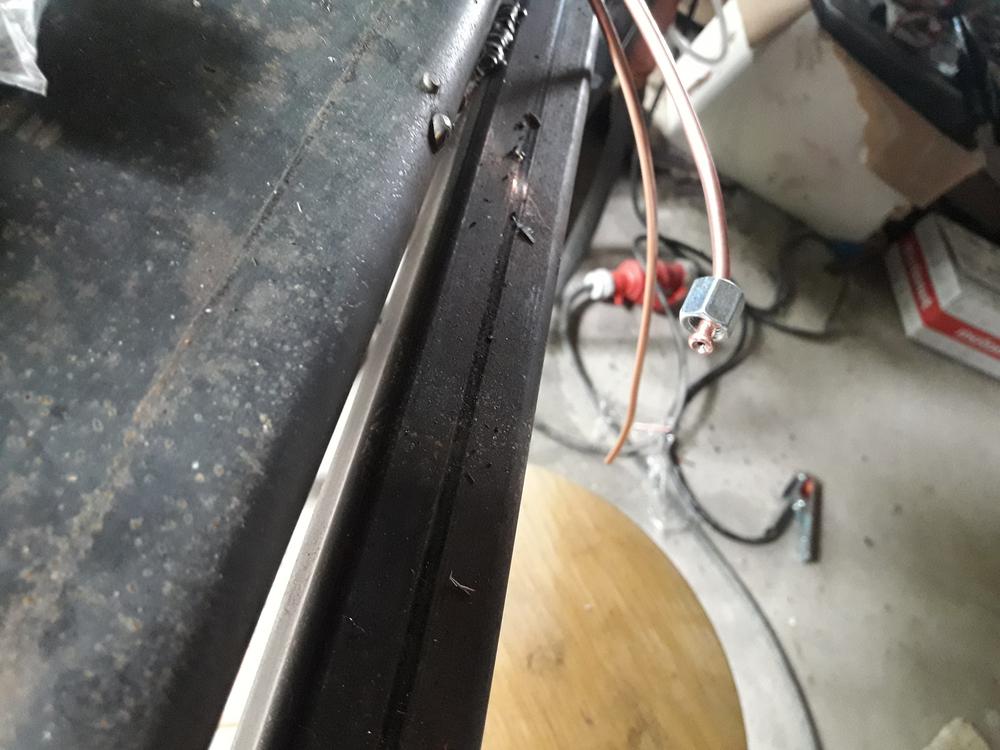
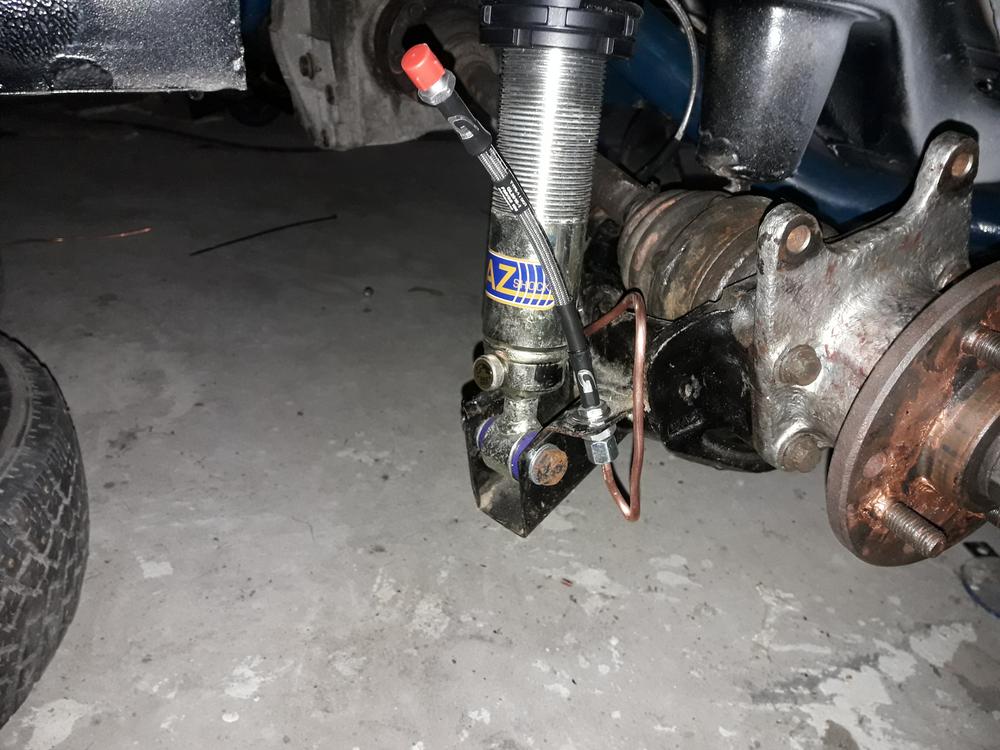
And ofcourse new brake hoses. Master cylinder was from Mk5 Escort BTW.
Some issues with new rims...
...so I added longer stud bolts.
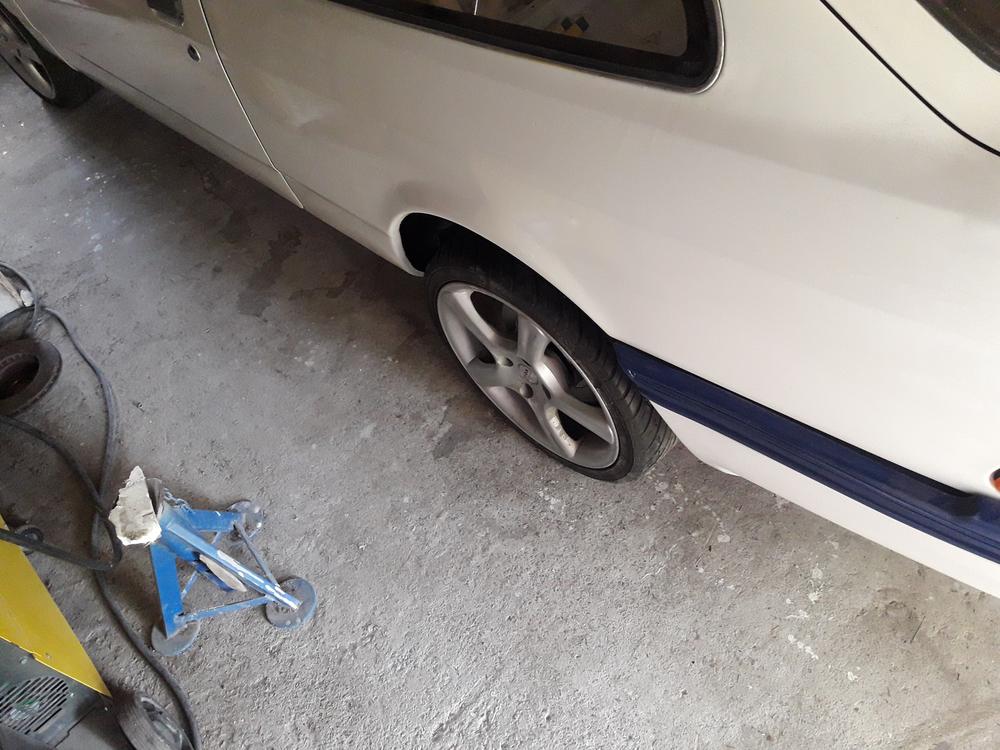
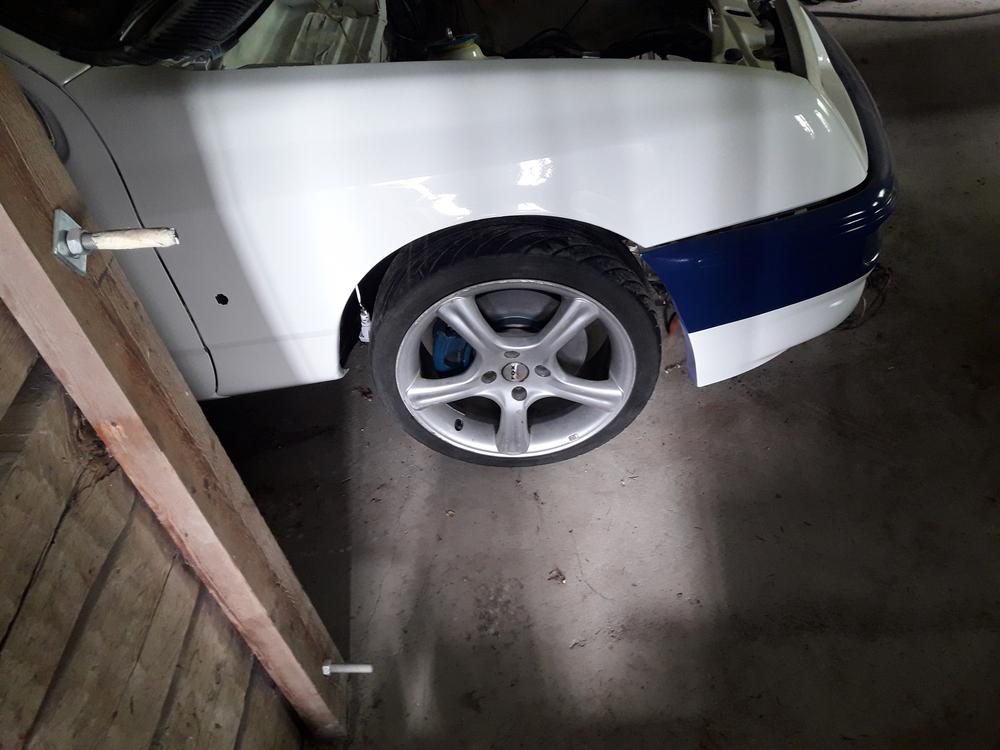
The rims where cheap and looked like they where taken from srcap yard... Cars ride height isn´t correct yet, I will lower it before final adjustments.
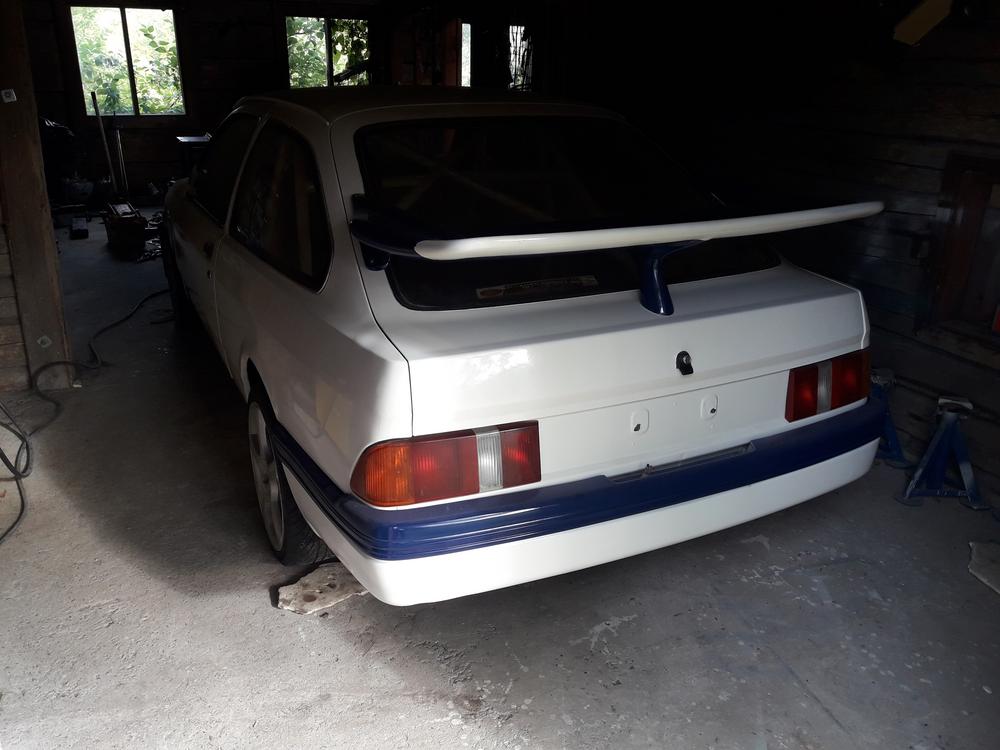
Its got a wing now!
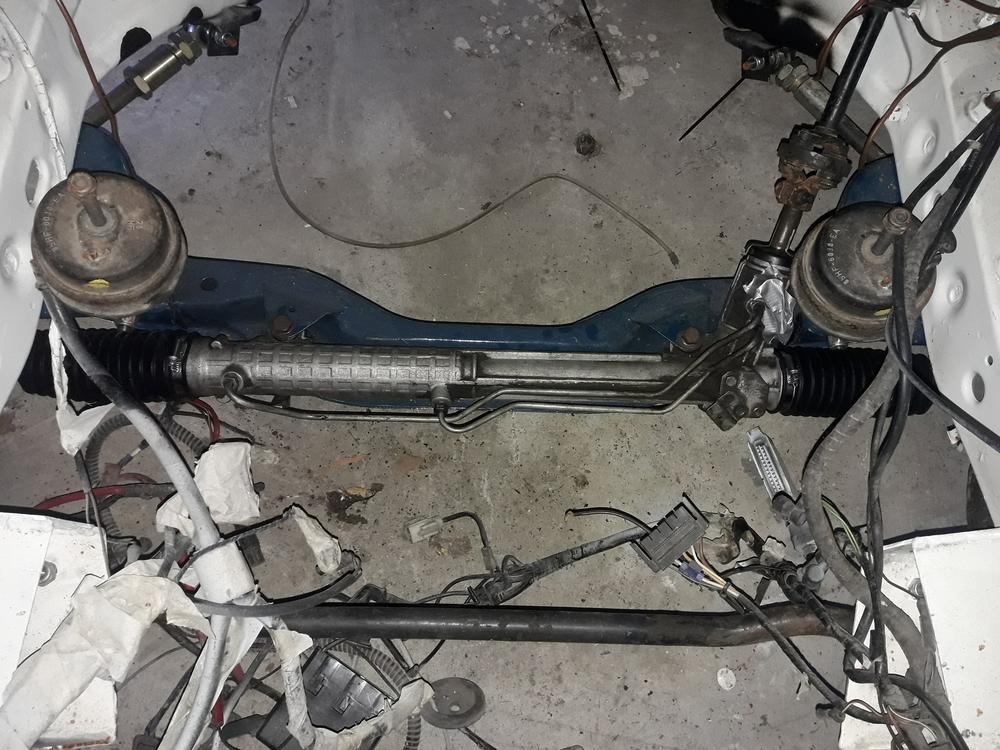
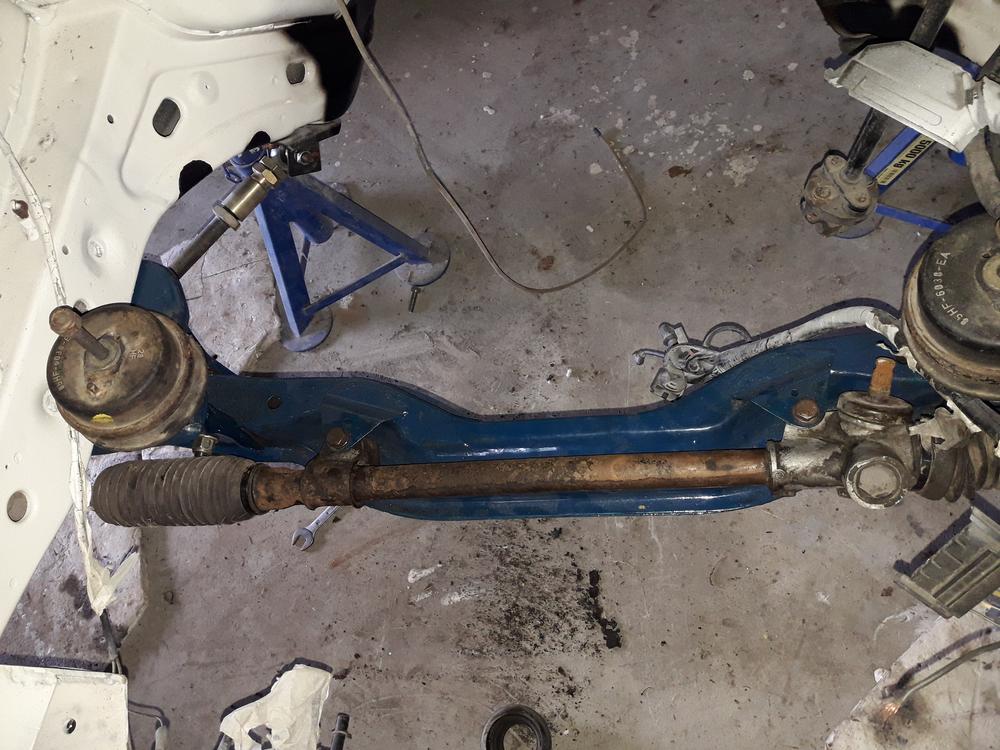
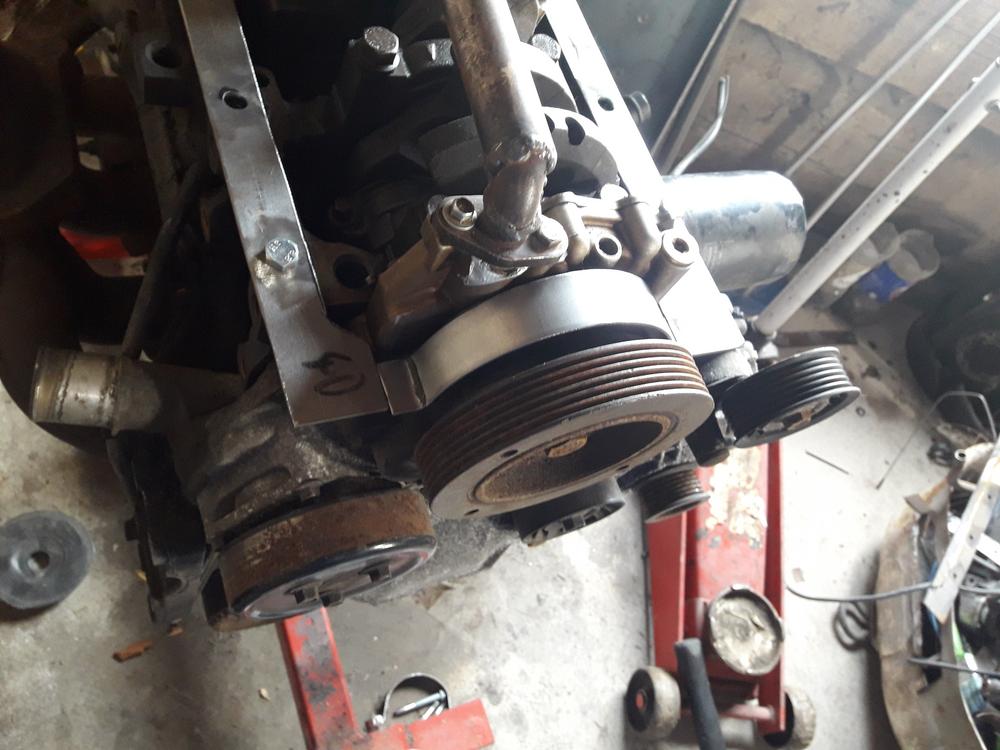
I installed PAS-rack from cossie. I´ll propably change steering coupling bush later on, cause the one that´s there looks quite bad.
That´s all... by this far
Mainly it was all about brakes, brake lines and calipers:
I overhauled front calipers, clean up and new seals. These from Mk3 Mondeo, and yes I´ve got spacers between bracket and hub to get offset right.
Same for rear, where I´ve got parts from cossie. Hopefullu handbrakes are ready for little yanks!
Front brake conversion with Focus ST170 discs.
Rearend just with cossie discs, pads and calipers.
Then some DIY brakeline plumbing:
And ofcourse new brake hoses. Master cylinder was from Mk5 Escort BTW.
Some issues with new rims...
...so I added longer stud bolts.
The rims where cheap and looked like they where taken from srcap yard...
Its got a wing now!
I installed PAS-rack from cossie. I´ll propably change steering coupling bush later on, cause the one that´s there looks quite bad.
That´s all... by this far

Thread
Thread Starter
Forum
Replies
Last Post
lockesRSparts
Restorations, Rebuilds & Projects.
590
14-04-2018 06:03 PM