Fiesta Mk4 Rebuild


Thread Starter
Regular Contributor
Joined: May 2009
Posts: 231
Likes: 0
From: Wokingham
More on the car today.

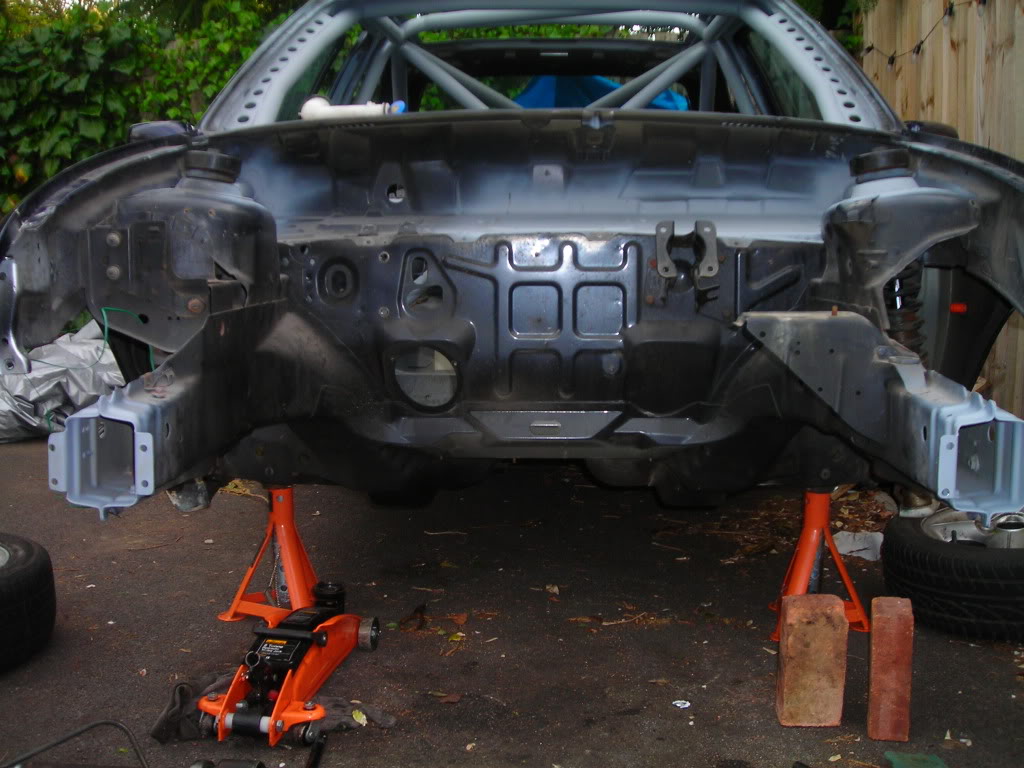
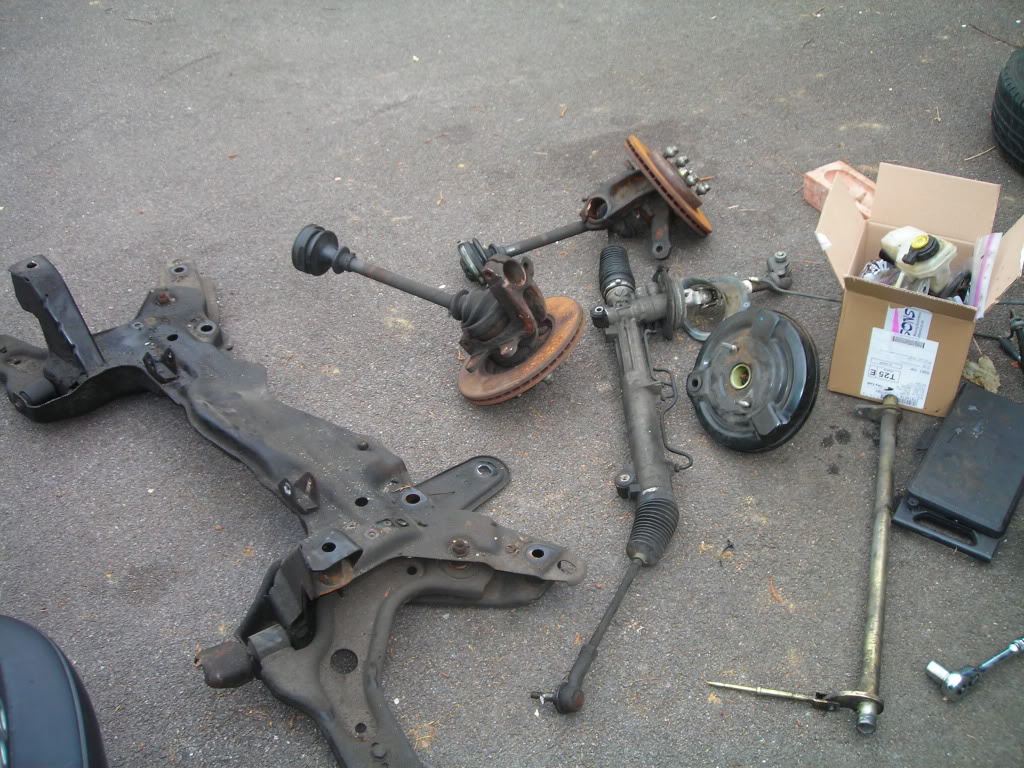
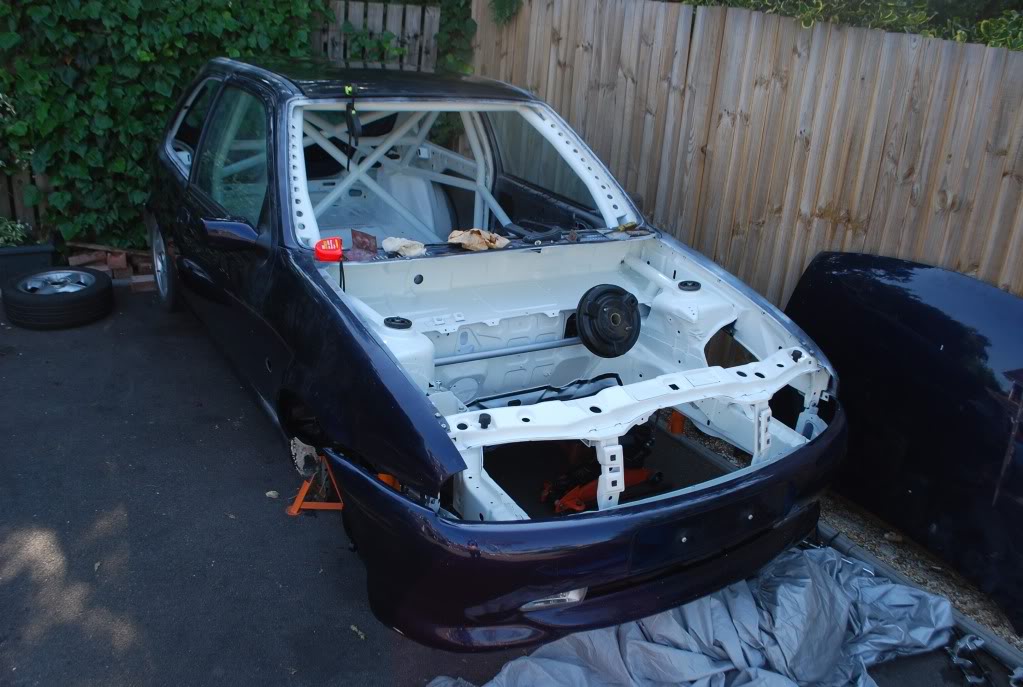
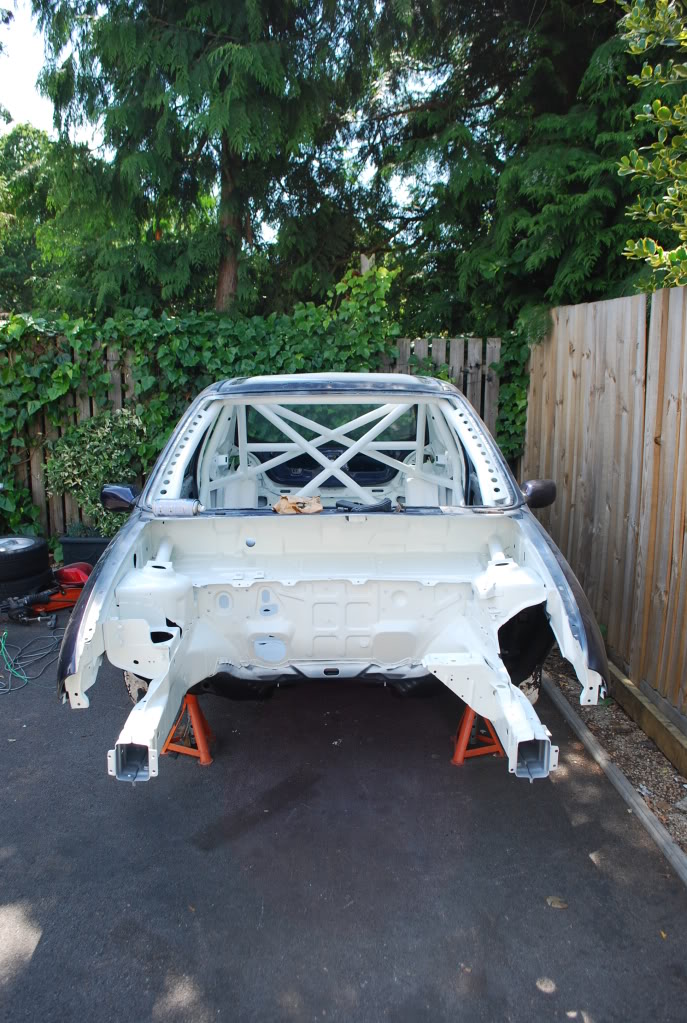
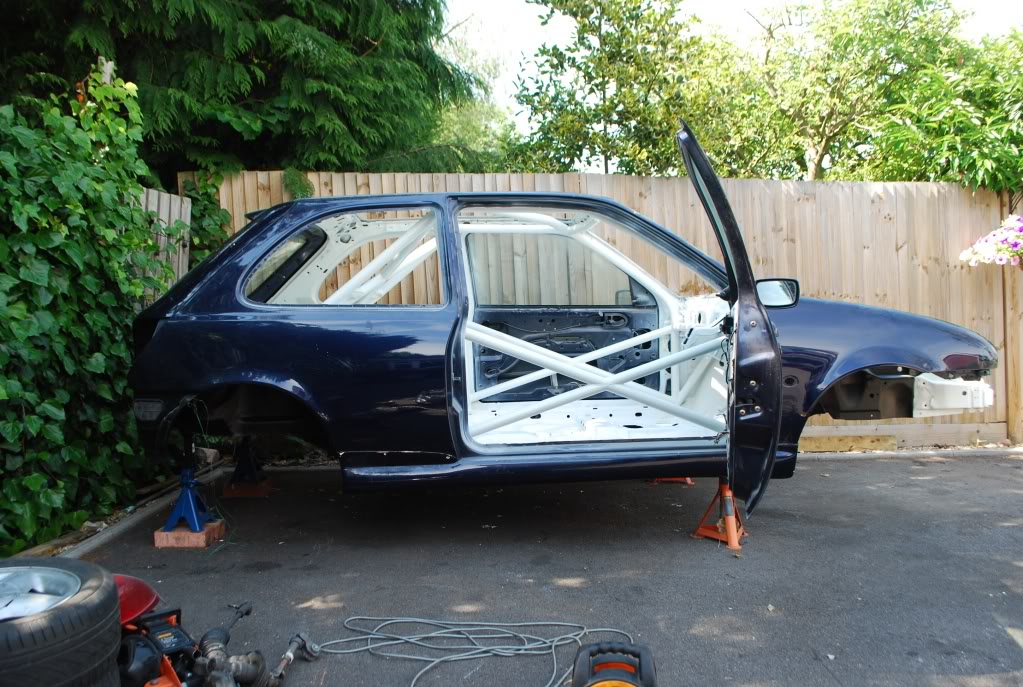
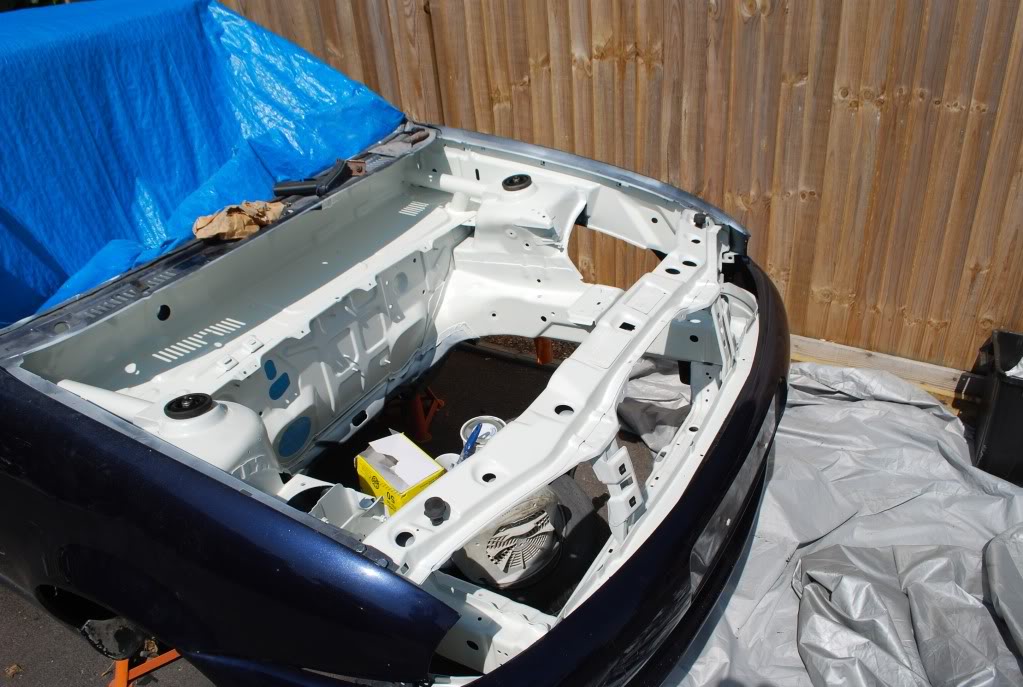
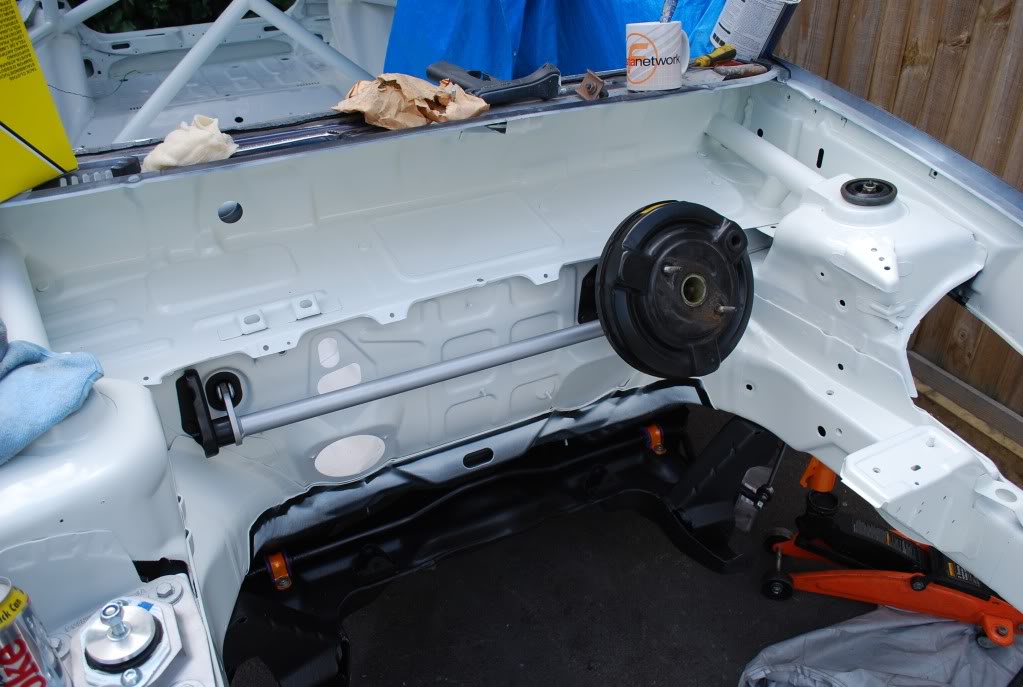
Pedal box, brakes servo and master cylinder along with the connecting bar, subframe, wishbones, steering rack, hubs and clutch pipes. All came off ready for the bay to be prepped for paint.
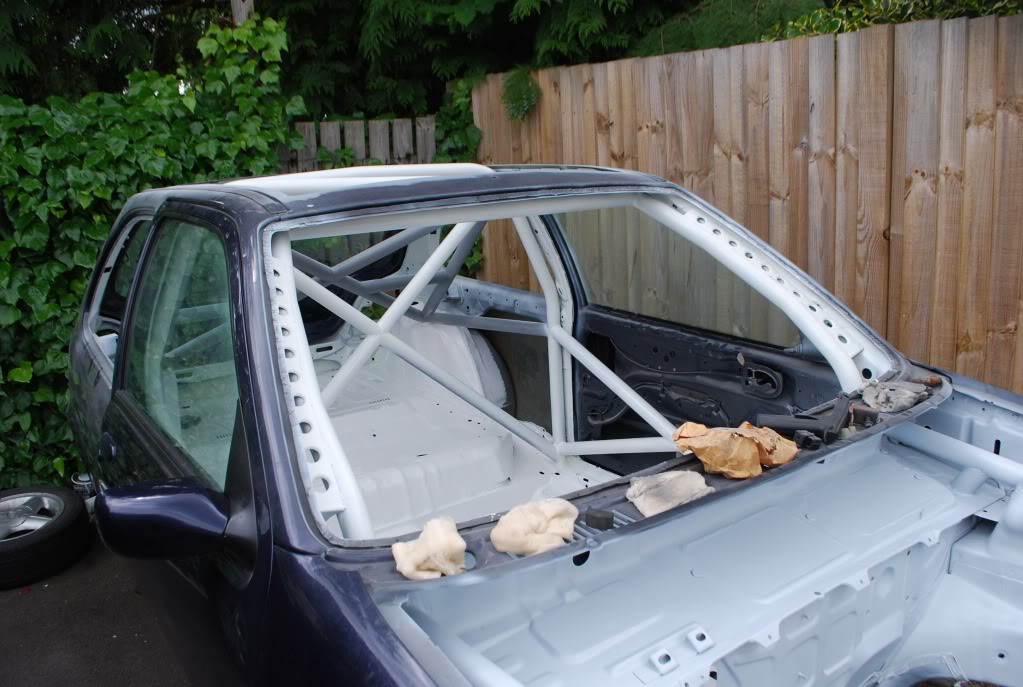
And I saw the rigidity of the chassis today. You jack up one side of the front of the car and the whole front end lifts up! Awesome!
Pedal box, brakes servo and master cylinder along with the connecting bar, subframe, wishbones, steering rack, hubs and clutch pipes. All came off ready for the bay to be prepped for paint.
And I saw the rigidity of the chassis today. You jack up one side of the front of the car and the whole front end lifts up! Awesome!

Thread Starter
Regular Contributor
Joined: May 2009
Posts: 231
Likes: 0
From: Wokingham
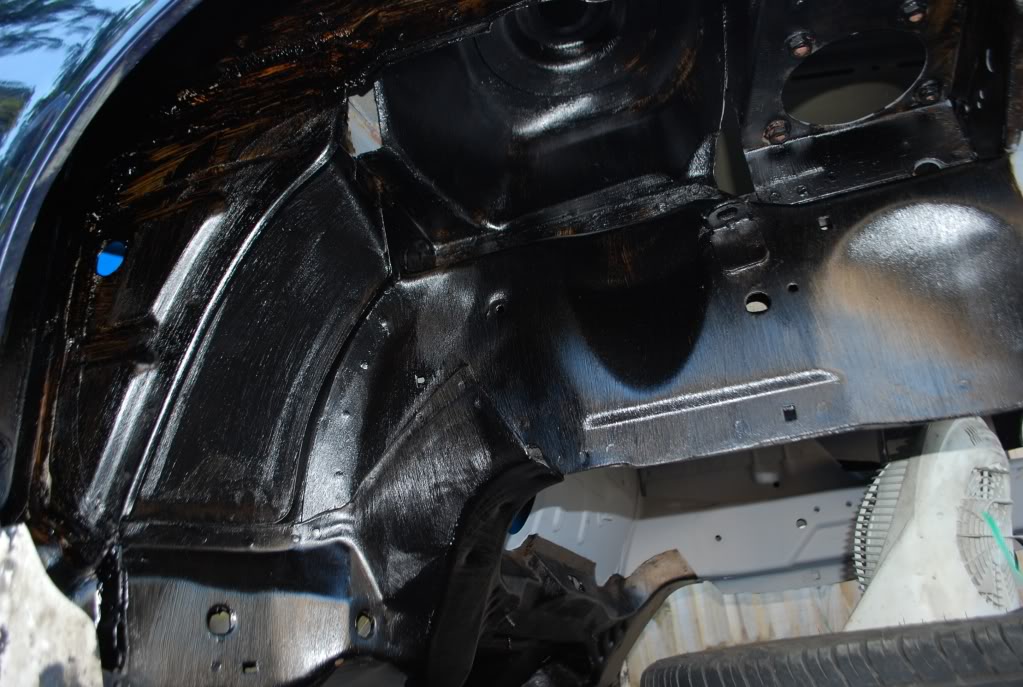
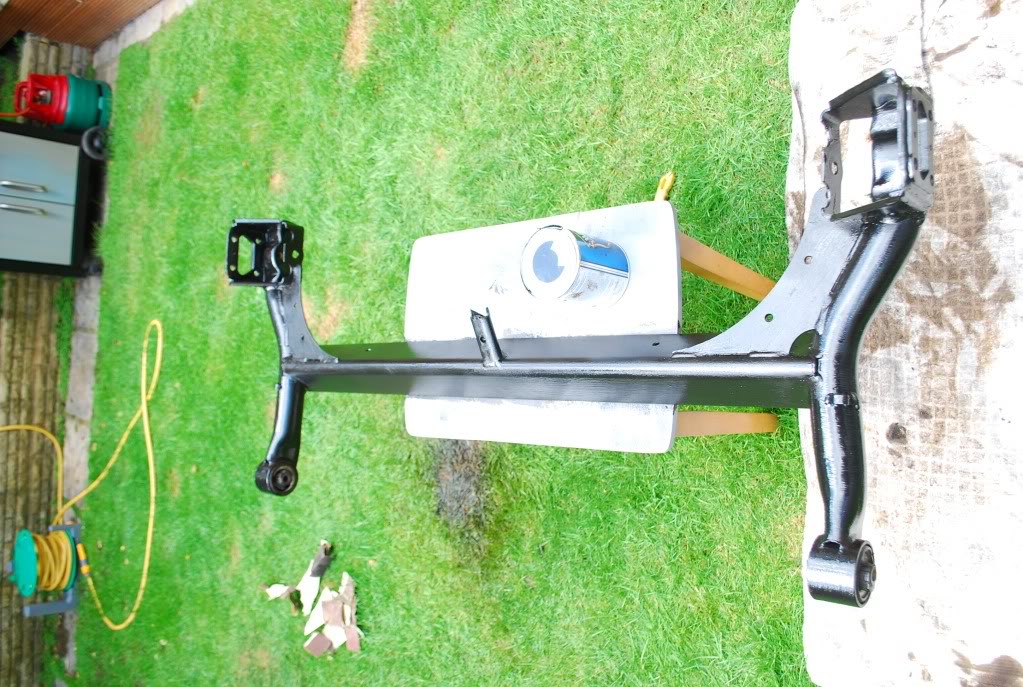
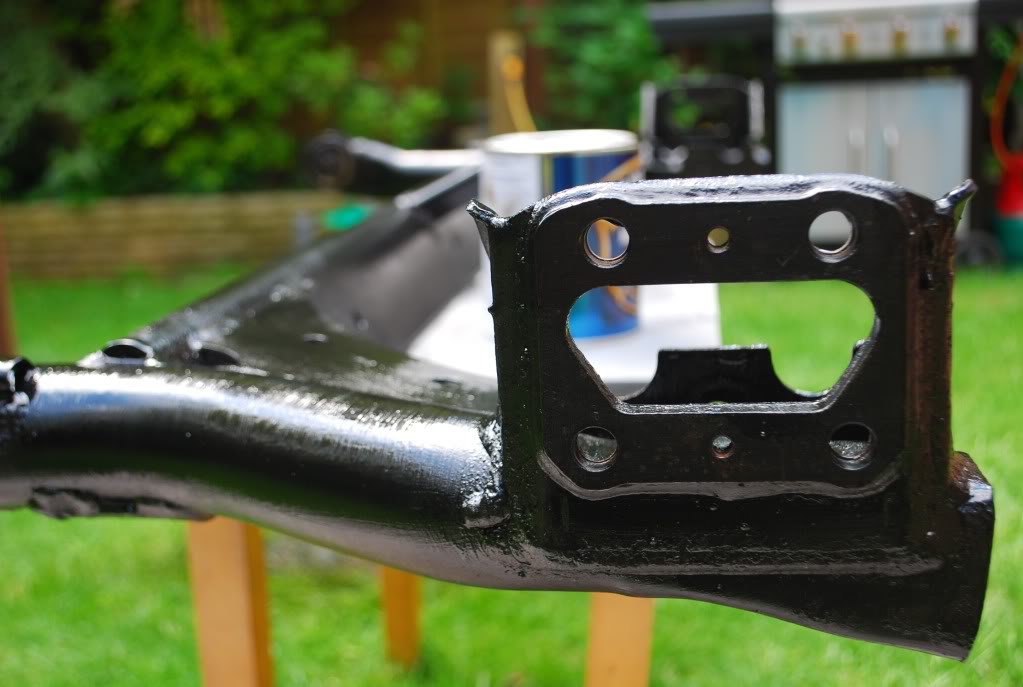
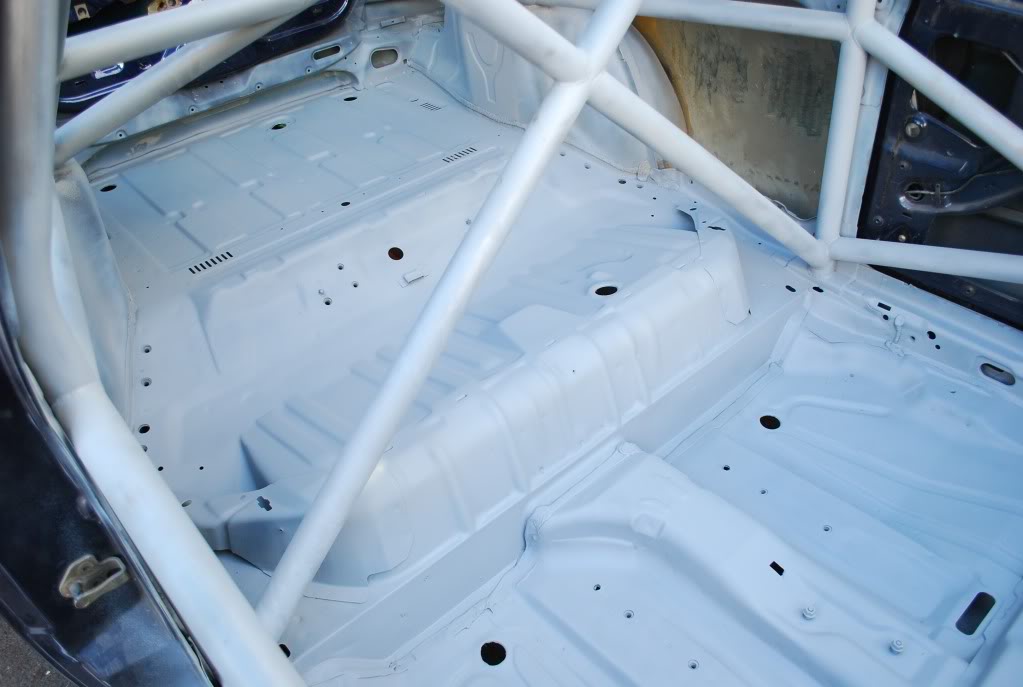
After spending a while cleaning up the front, jet washing the grease and keying up the surface, I put some primer on to make it look fairly decent

Only a base coat with rattle cans. Will go over again when I get the proper paint and equipment through.
Its come out nicely though.
Only a base coat with rattle cans. Will go over again when I get the proper paint and equipment through.
Its come out nicely though.
Thread Starter
Regular Contributor
Joined: May 2009
Posts: 231
Likes: 0
From: Wokingham
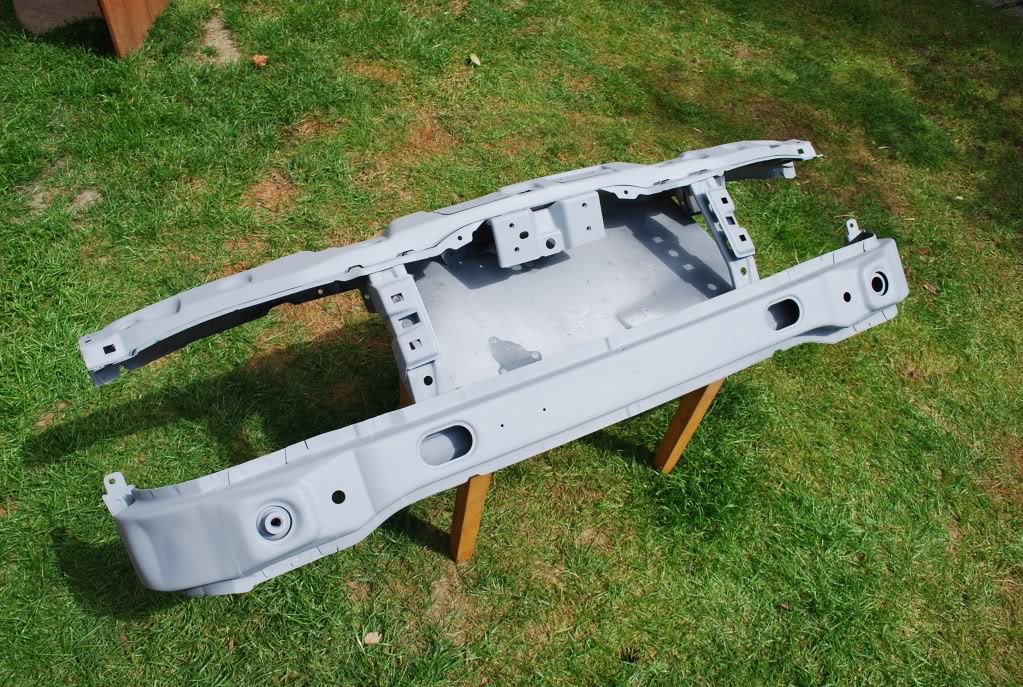
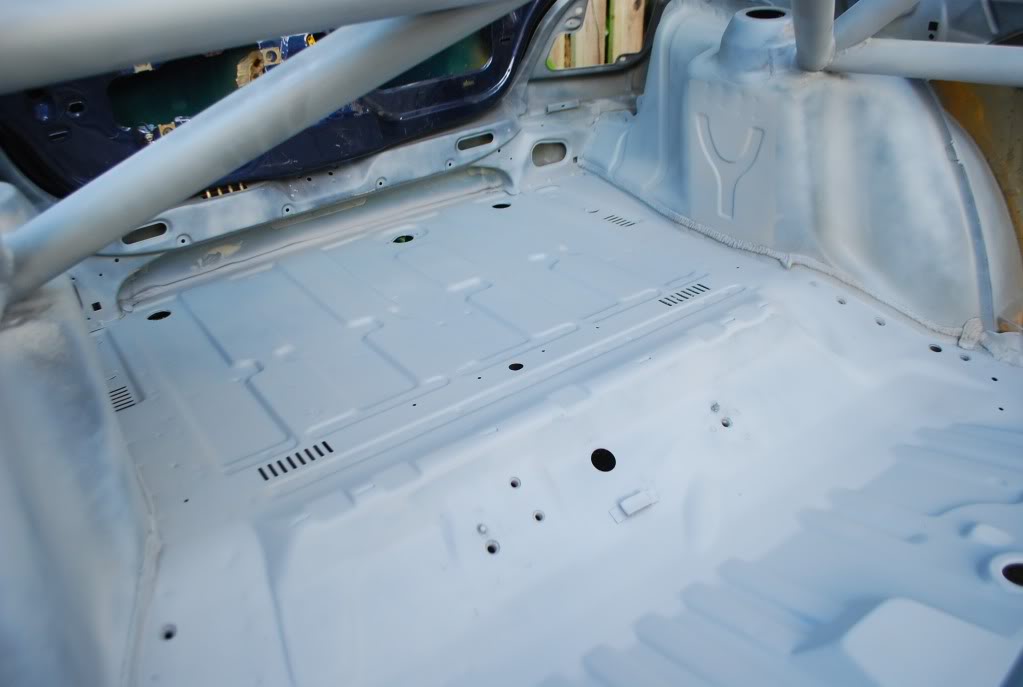
the front panel got the same treatment as the engine bay
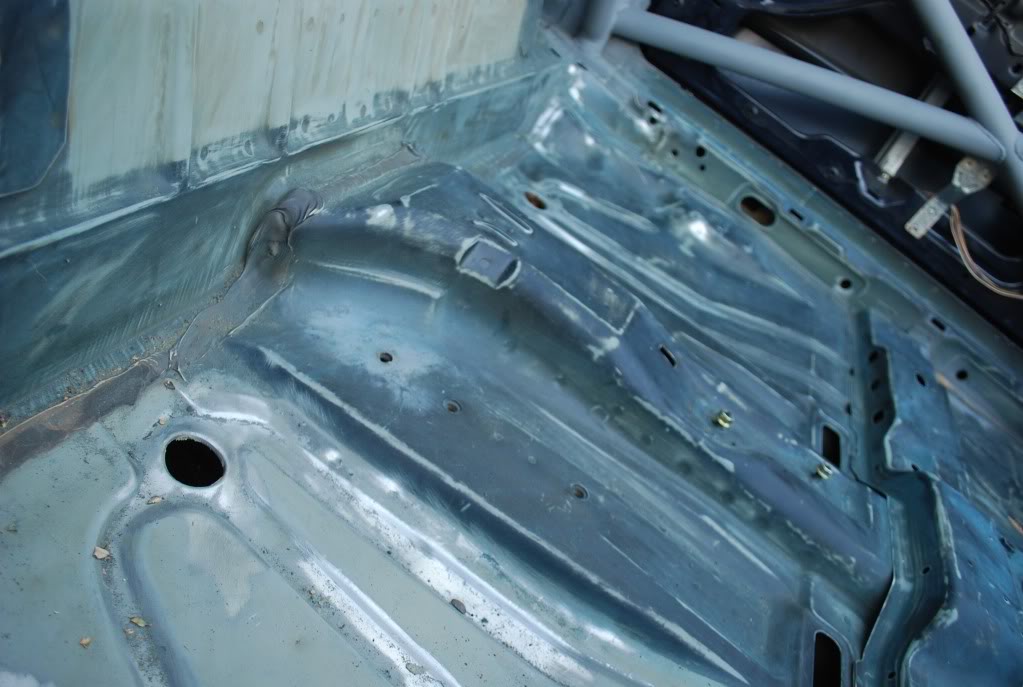
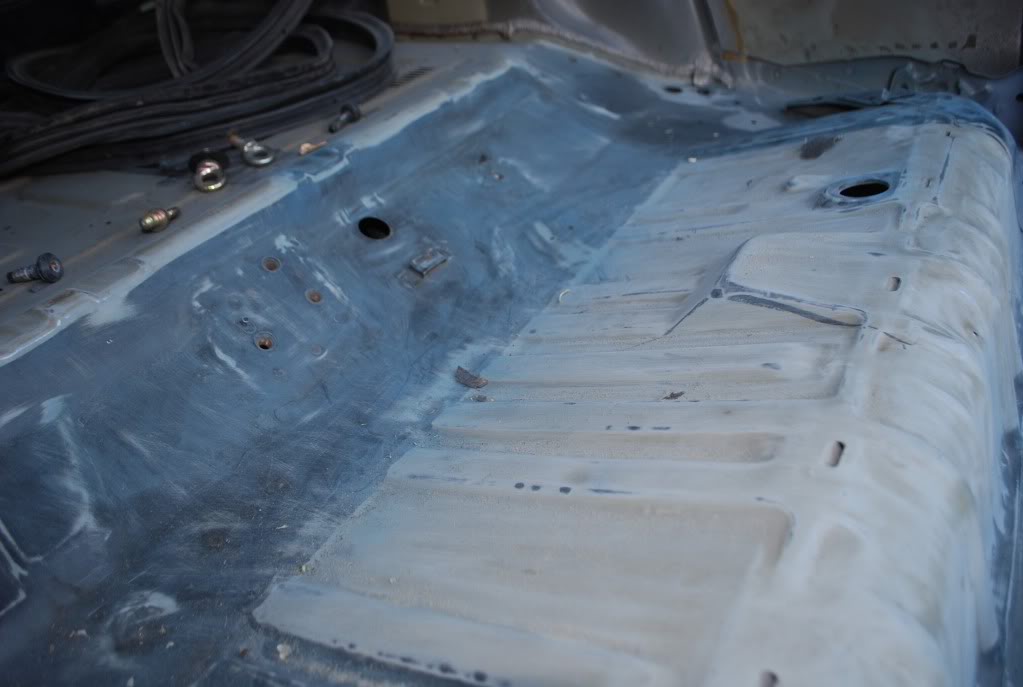
And seeing as I actually have no money till pay day to afford an electric sander, I've had to make do with my hands and sand paper.
After a few hours I was getting somewhere.
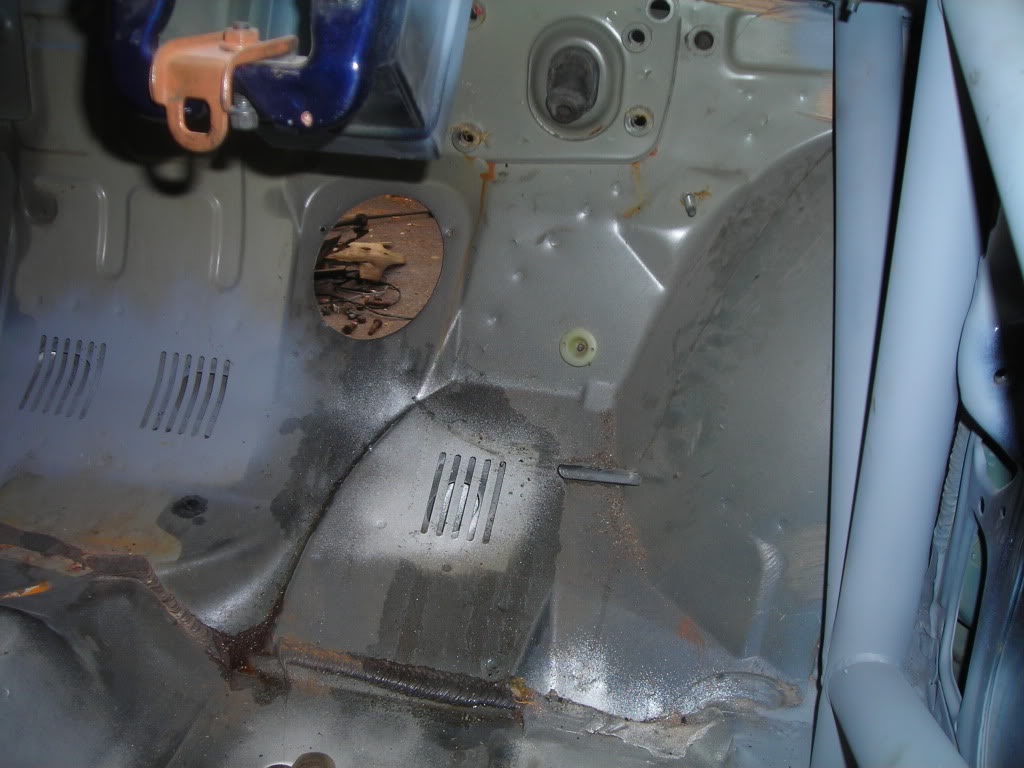
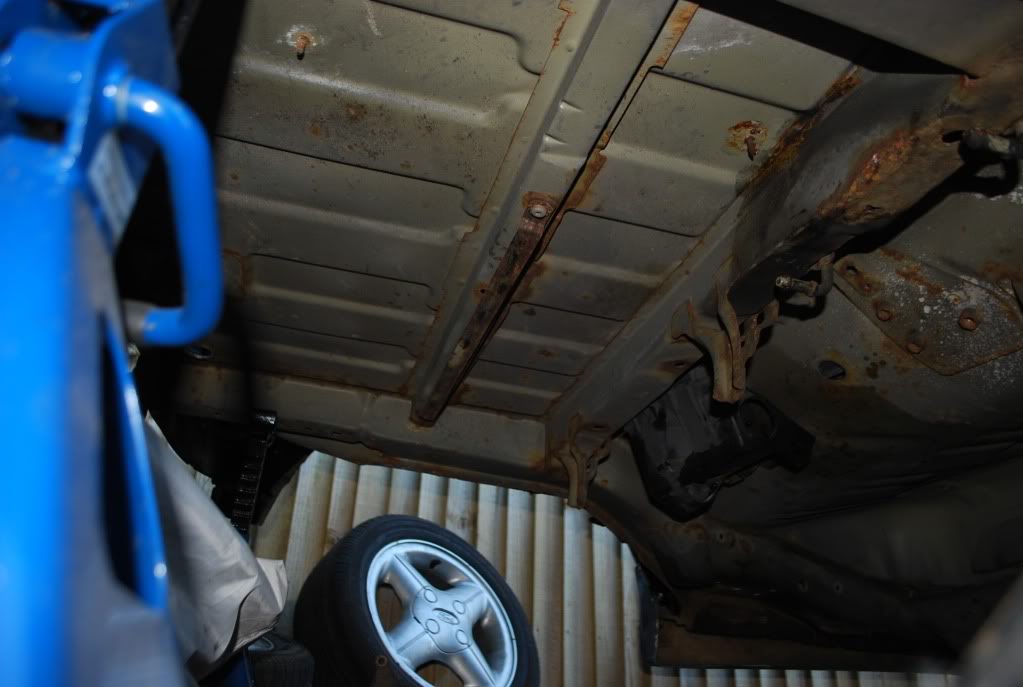
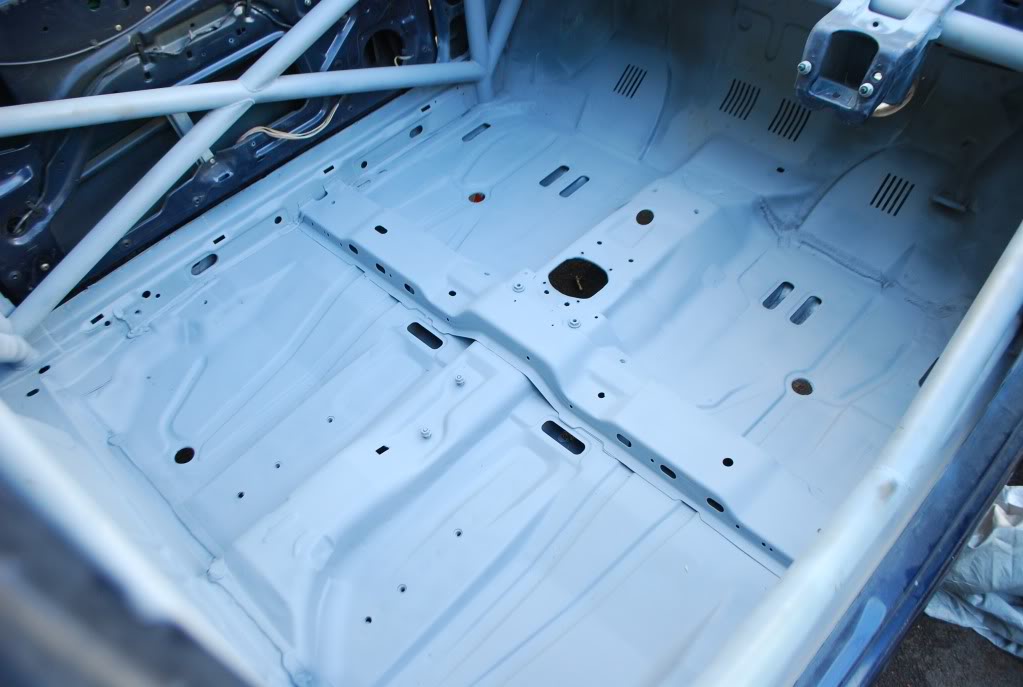
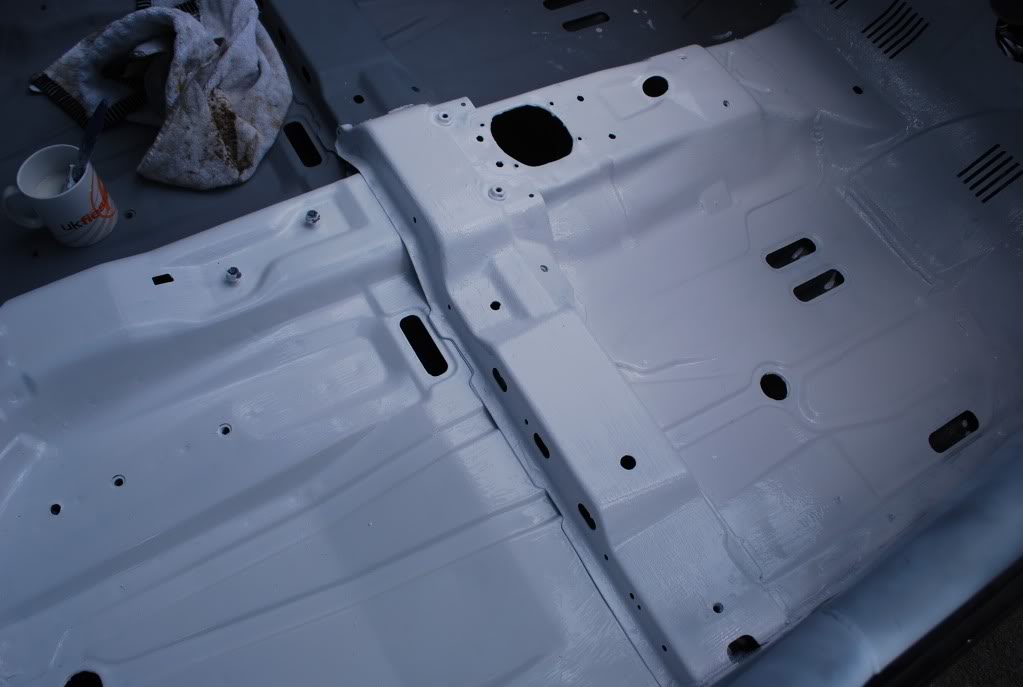
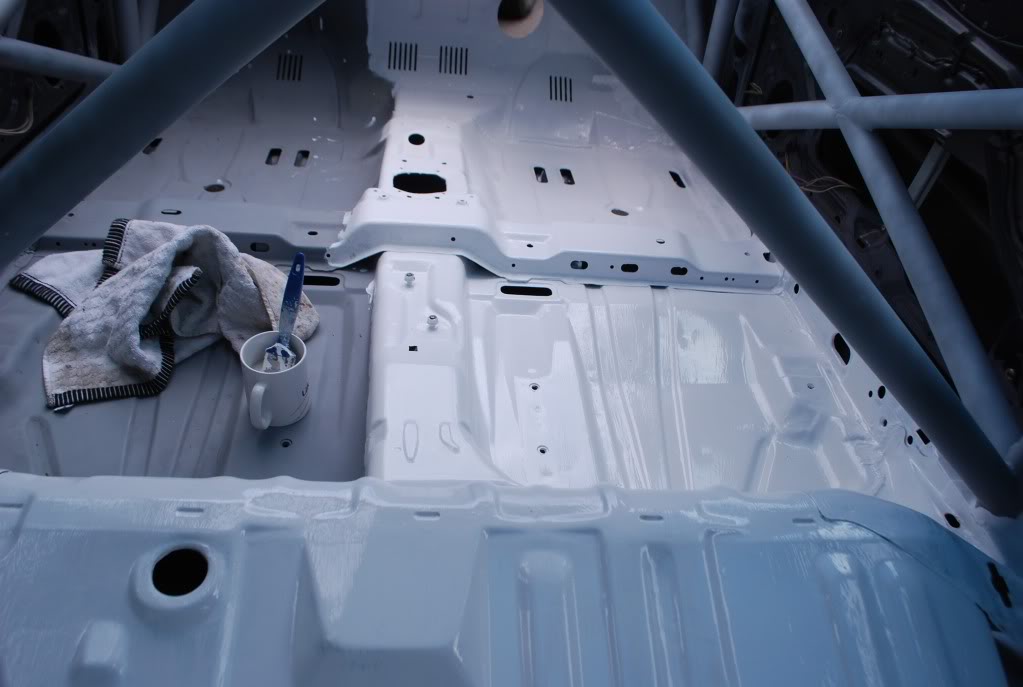
I did most of the back seating area yesterday. Today I tackled the rear footwells and made a start on the front footwells.
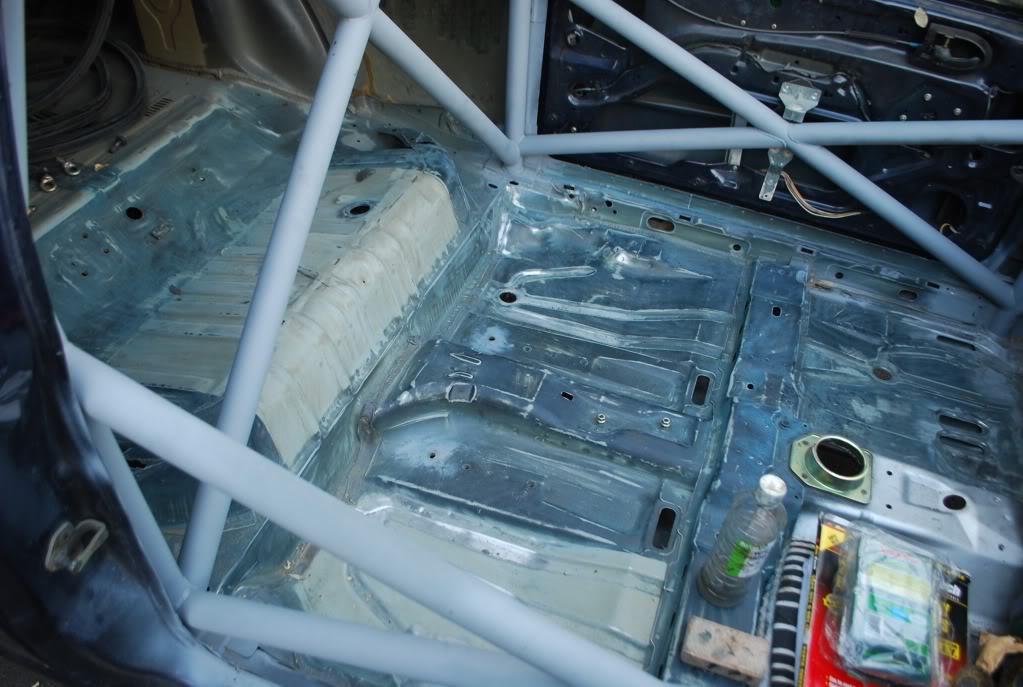
(spot the rust holes )
)

Quite happy with how its going. It should all be sanded in the next two weeks, giving me my week off college to wipe down, clean up and paint the thing.
And seeing as I actually have no money till pay day to afford an electric sander, I've had to make do with my hands and sand paper.
After a few hours I was getting somewhere.
I did most of the back seating area yesterday. Today I tackled the rear footwells and made a start on the front footwells.
(spot the rust holes
)Quite happy with how its going. It should all be sanded in the next two weeks, giving me my week off college to wipe down, clean up and paint the thing.
Virgin
Joined: Apr 2010
Posts: 14
Likes: 0
From: wakefield
hi i was just wondering what rear bumper is that you have on i just have a shit gray one at moment and after one which is abit longer which would be level when i put side skirts on and from a pic of yours on pg 1 i think it looks like what im after?

Thread Starter
Regular Contributor
Joined: May 2009
Posts: 231
Likes: 0
From: Wokingham
Fits straight on!
Quick Update.
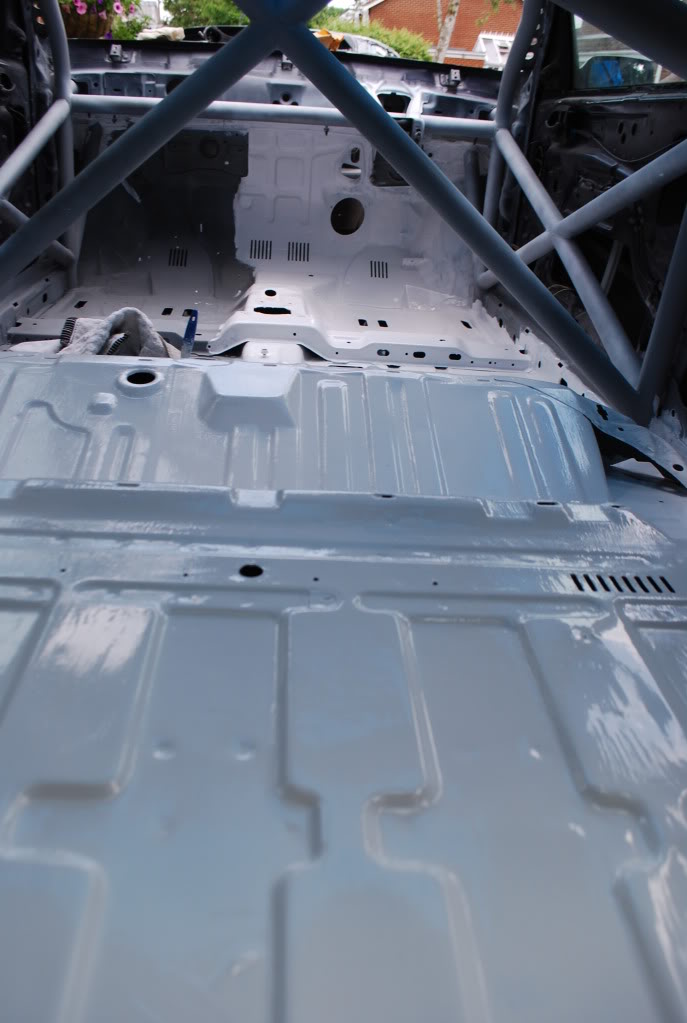
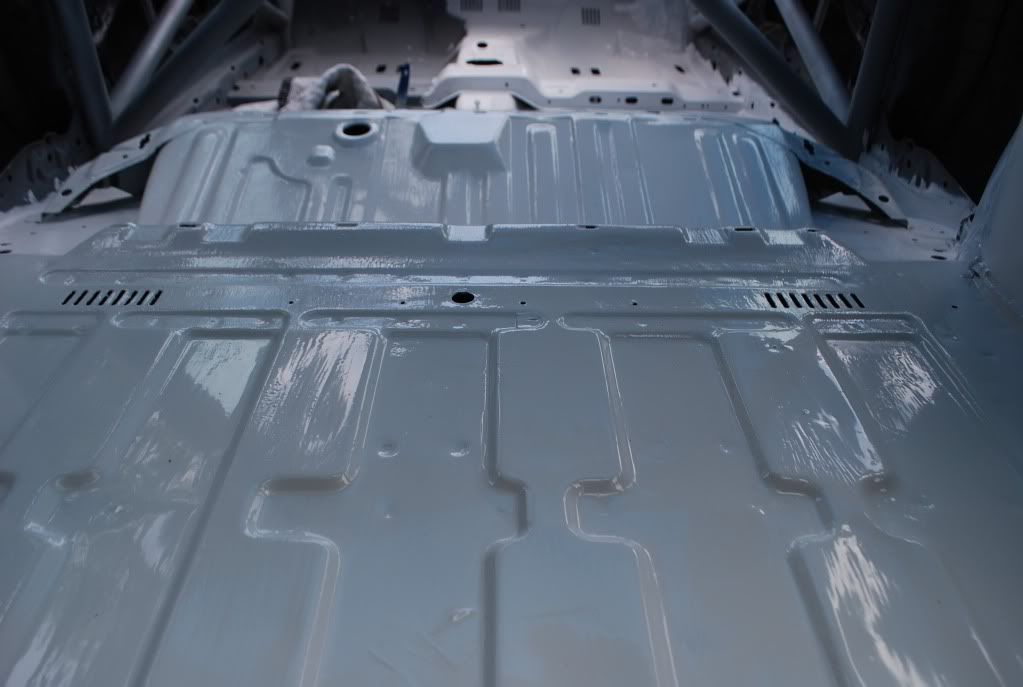
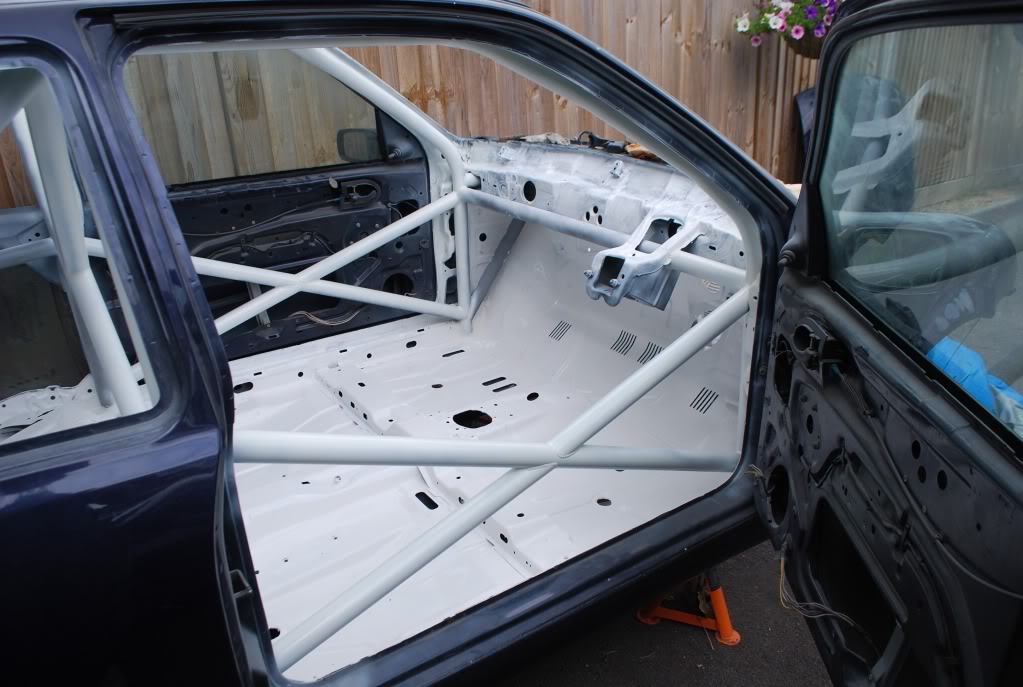
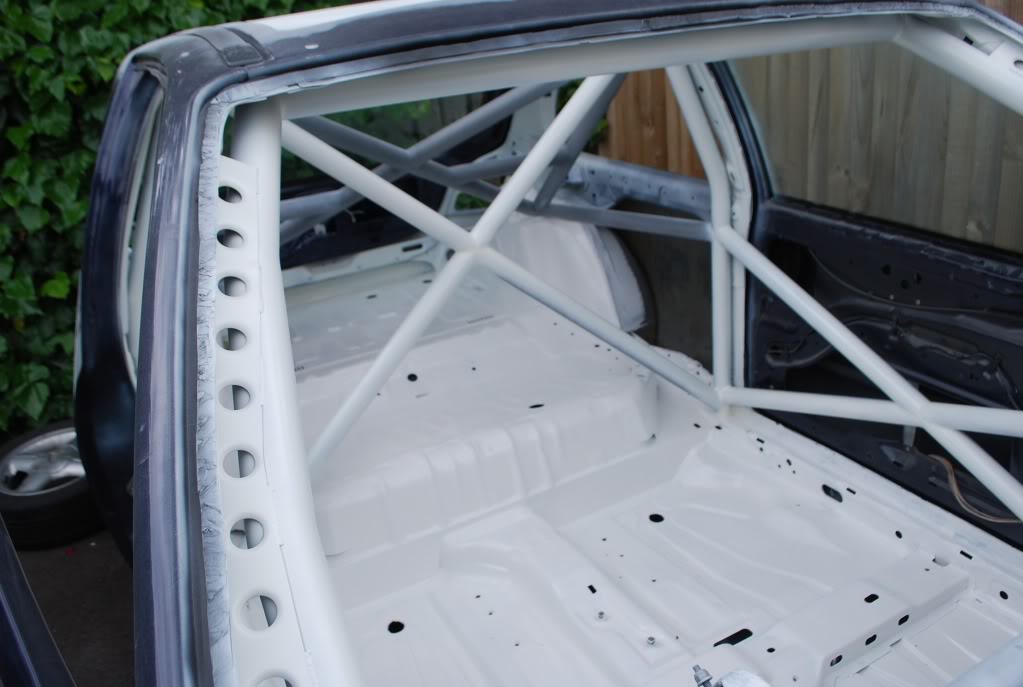
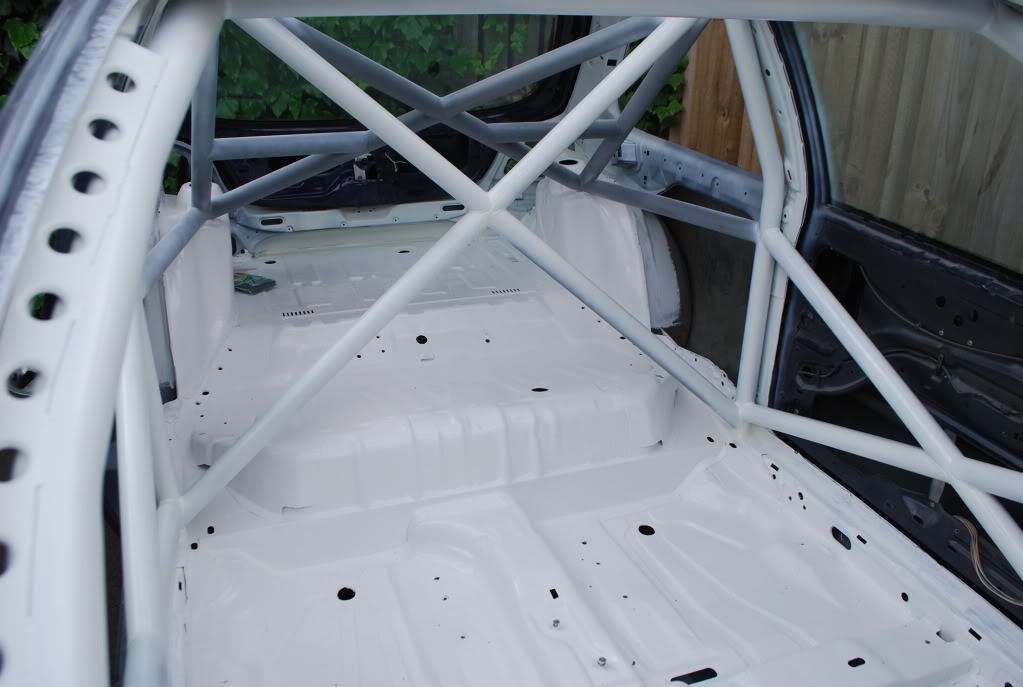
the interior is getting closer and closer to paint. I've been doing as much as I can inbetween assignments for college.
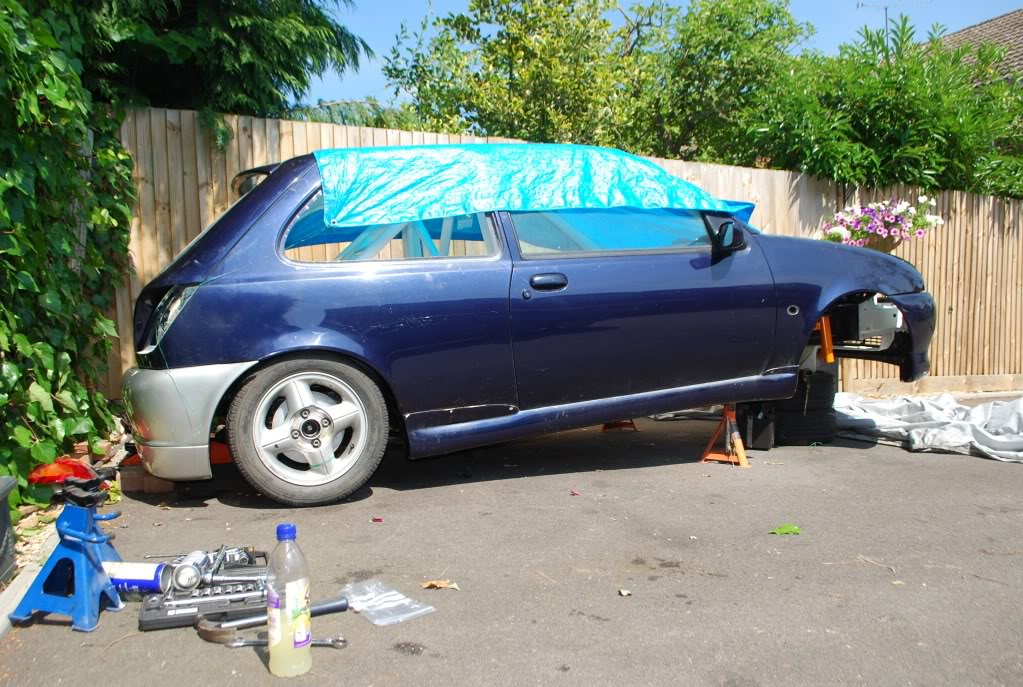
However, I got bored of sanding the inside, so I moved my attention to the outside!
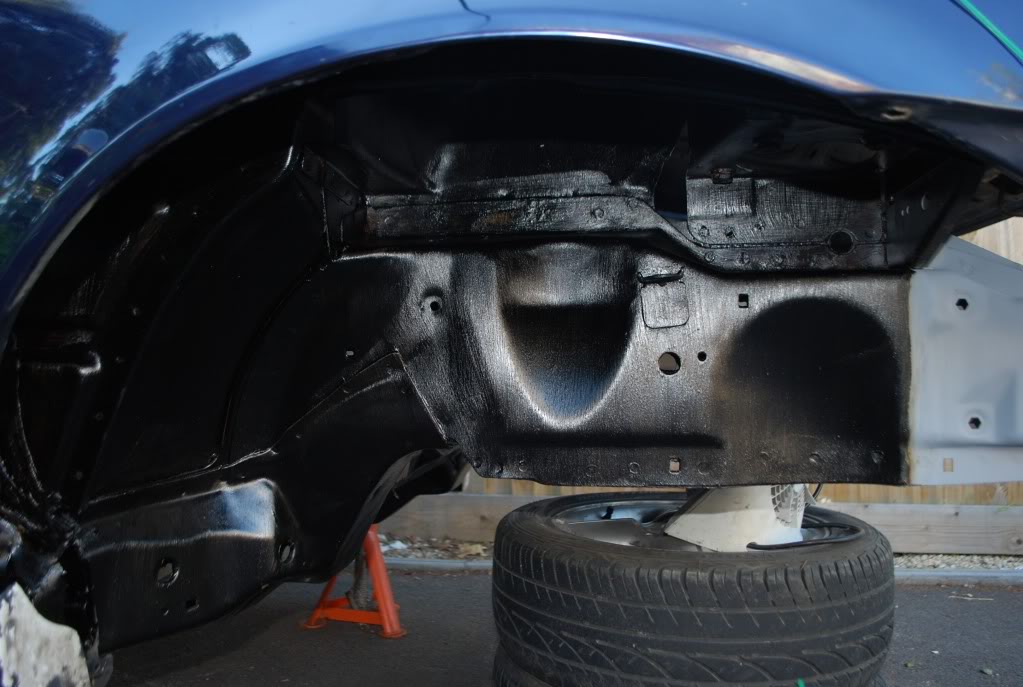
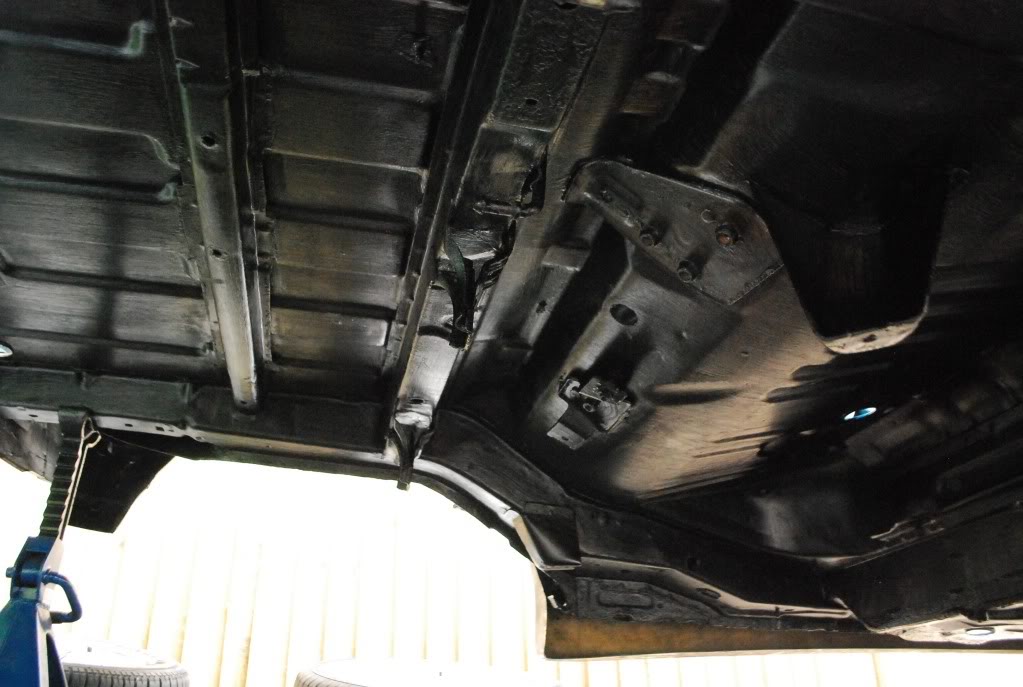
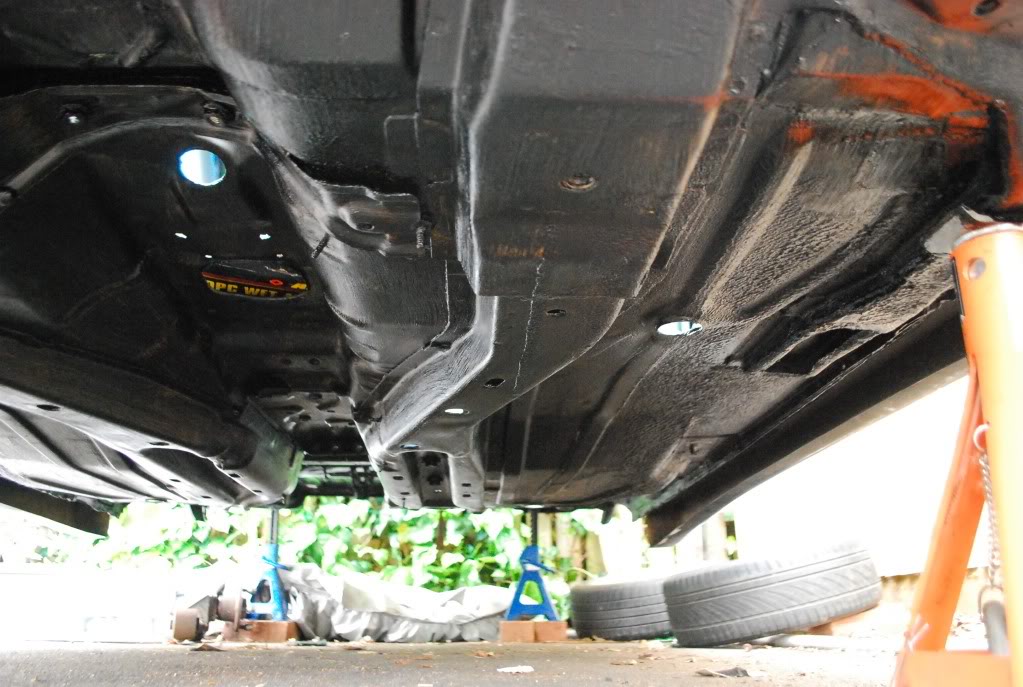
All 4 arches were cleaned up, sanded down and then undersealed.
Fronts...
Rears
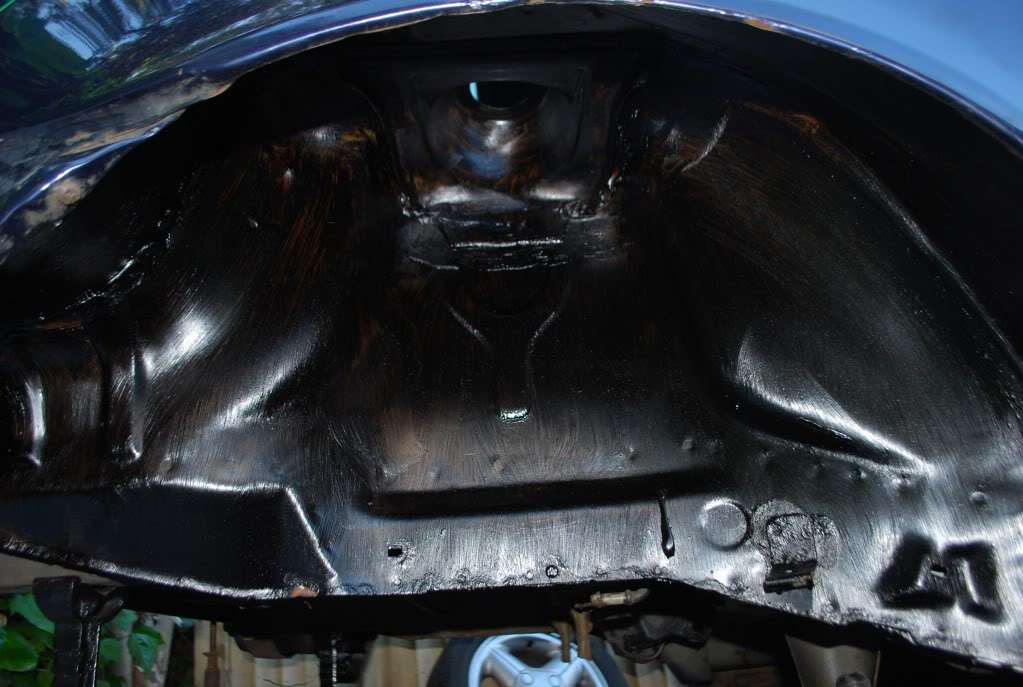
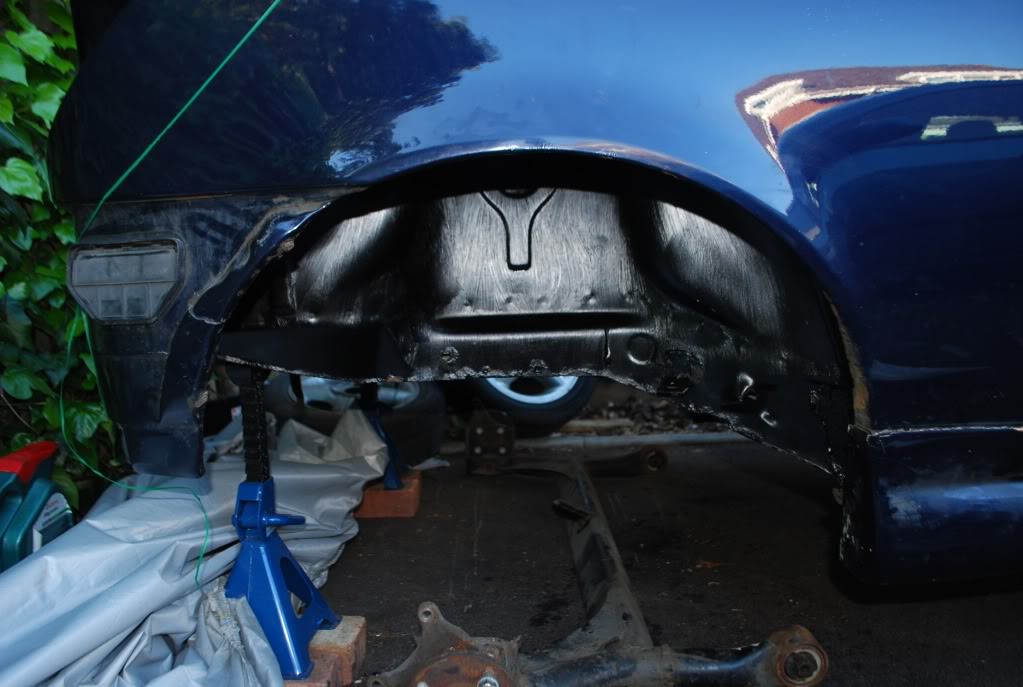
They will all see a second coat and then another coat of hammerite paint to give it a good finish.
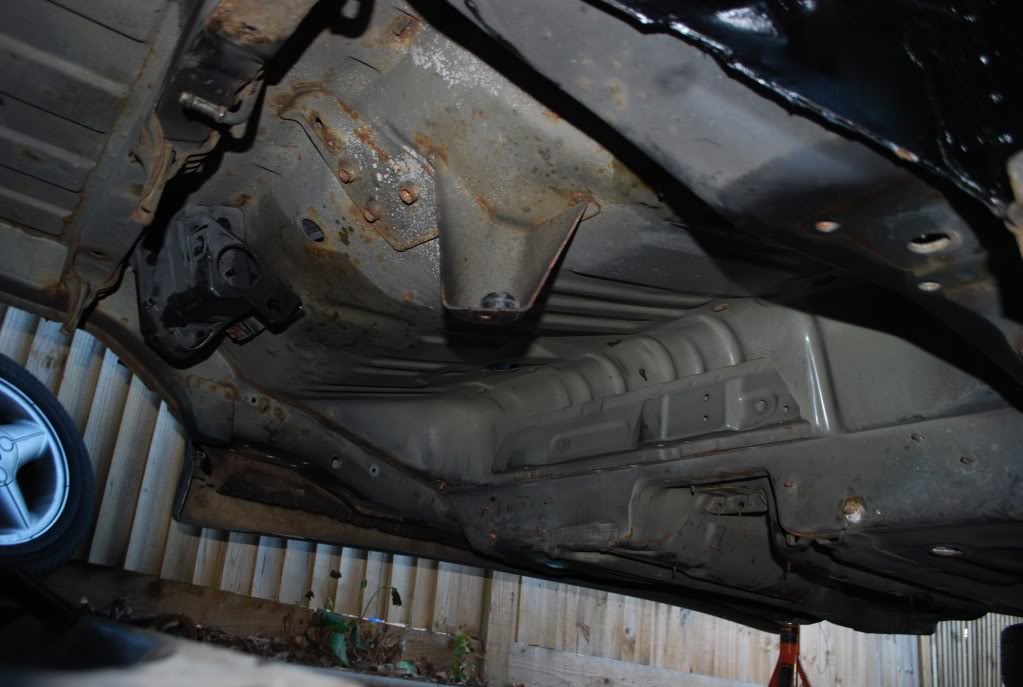
Looking forward to doing the underside! Surprising ly clean for 13 years of driving!
thanks.
Quick Update.
the interior is getting closer and closer to paint. I've been doing as much as I can inbetween assignments for college.
However, I got bored of sanding the inside, so I moved my attention to the outside!
All 4 arches were cleaned up, sanded down and then undersealed.
Fronts...
Rears
They will all see a second coat and then another coat of hammerite paint to give it a good finish.
Looking forward to doing the underside! Surprising ly clean for 13 years of driving!
thanks.


Thread Starter
Regular Contributor
Joined: May 2009
Posts: 231
Likes: 0
From: Wokingham
Been a whilte since this saw some updates.
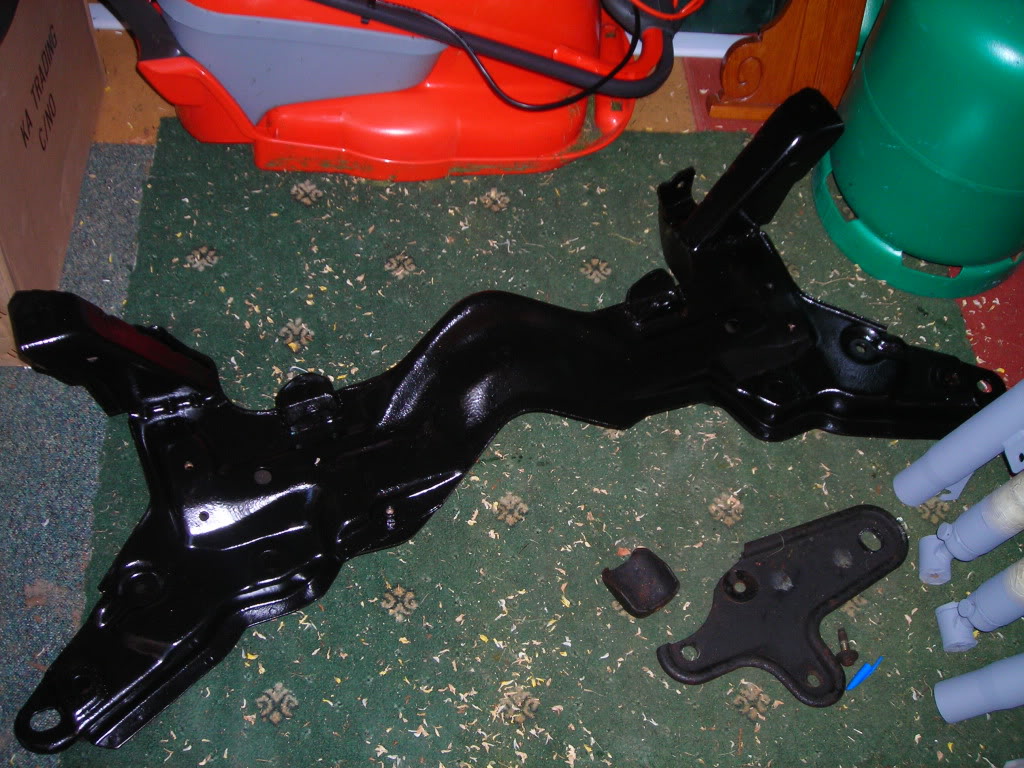
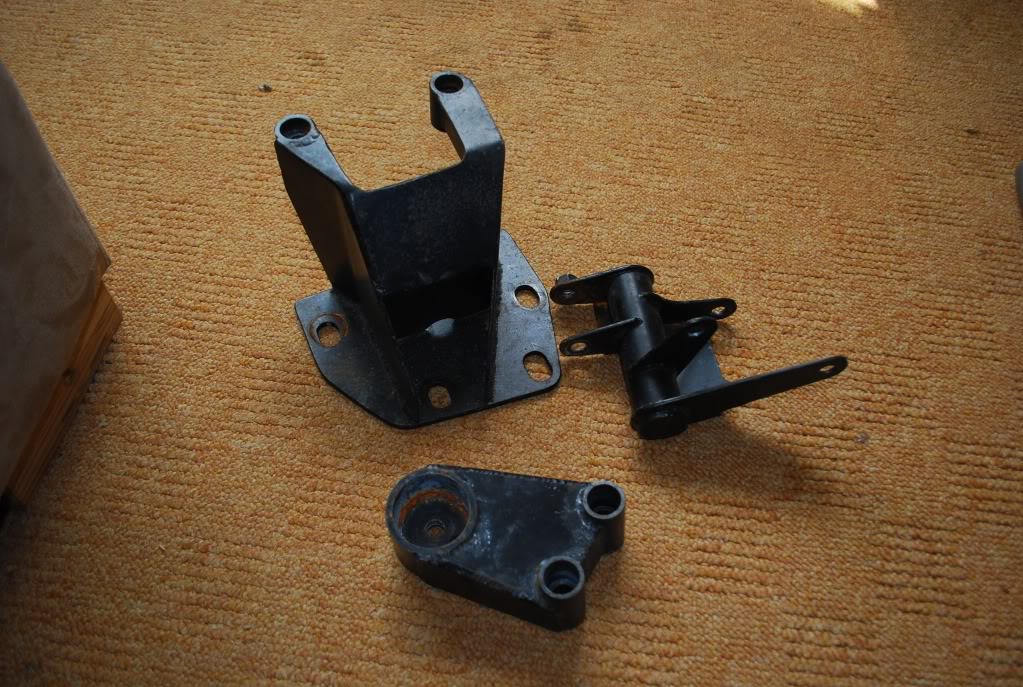
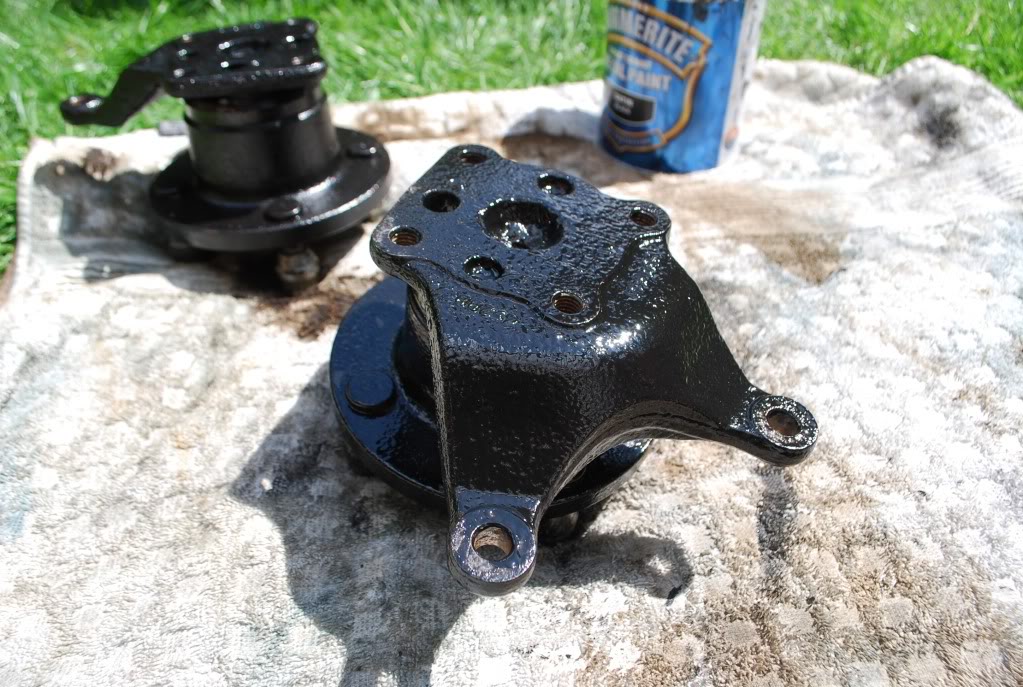
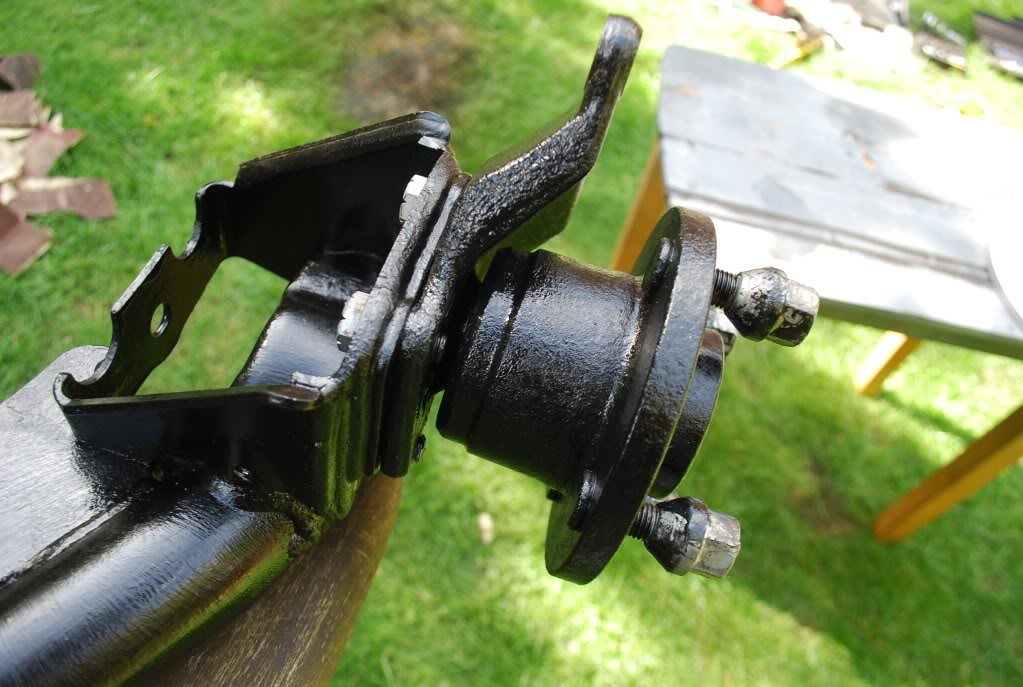
the subframe looked like the two parts sitting bottom right to it. Horrible and covered in grease.
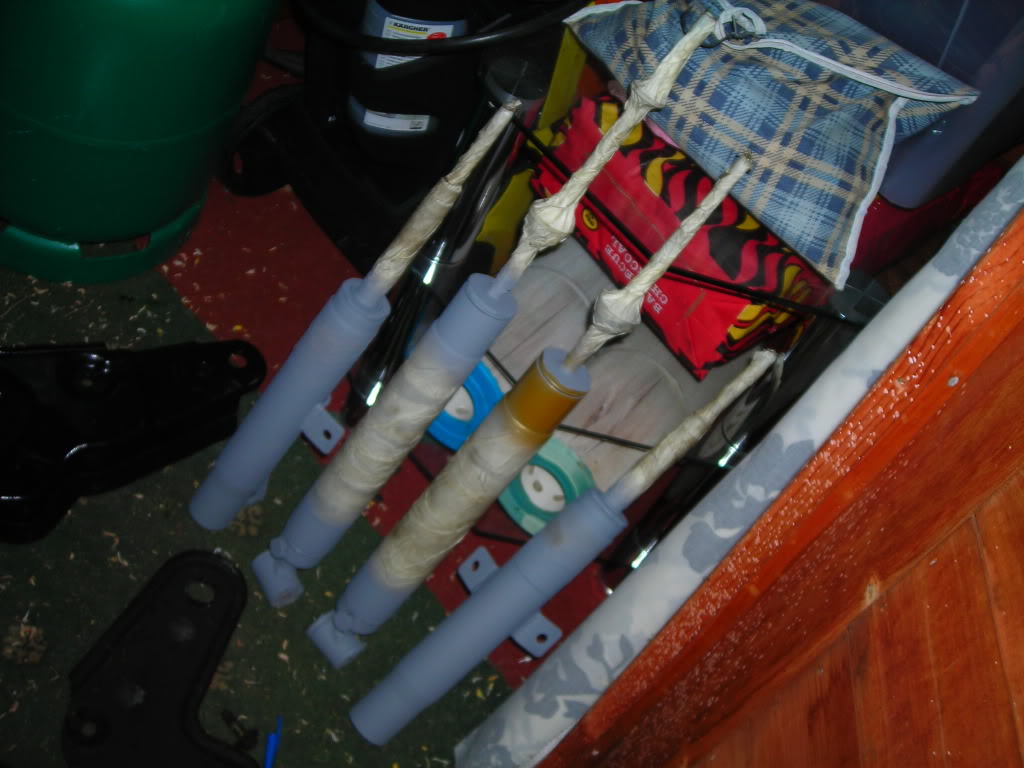
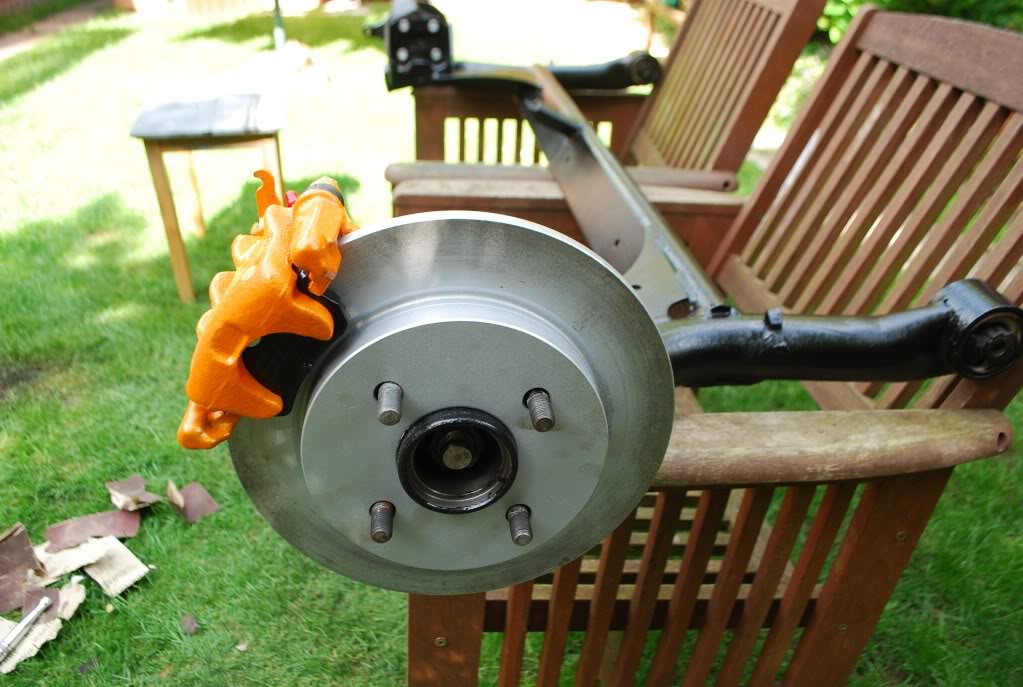
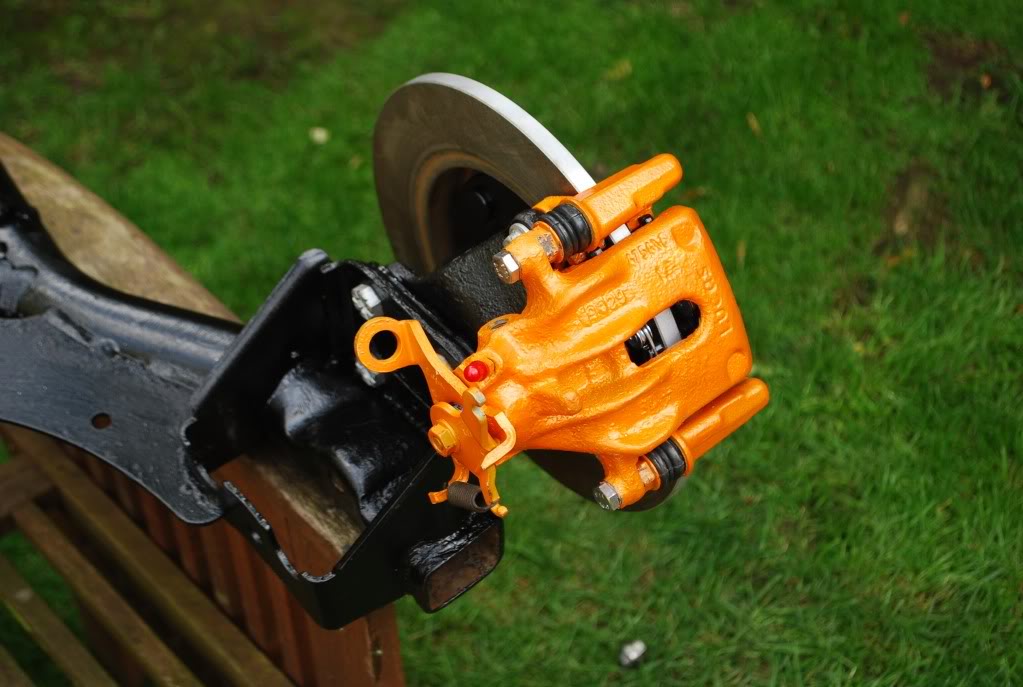
Yes they are going orange.
interior has seen some primer dusting
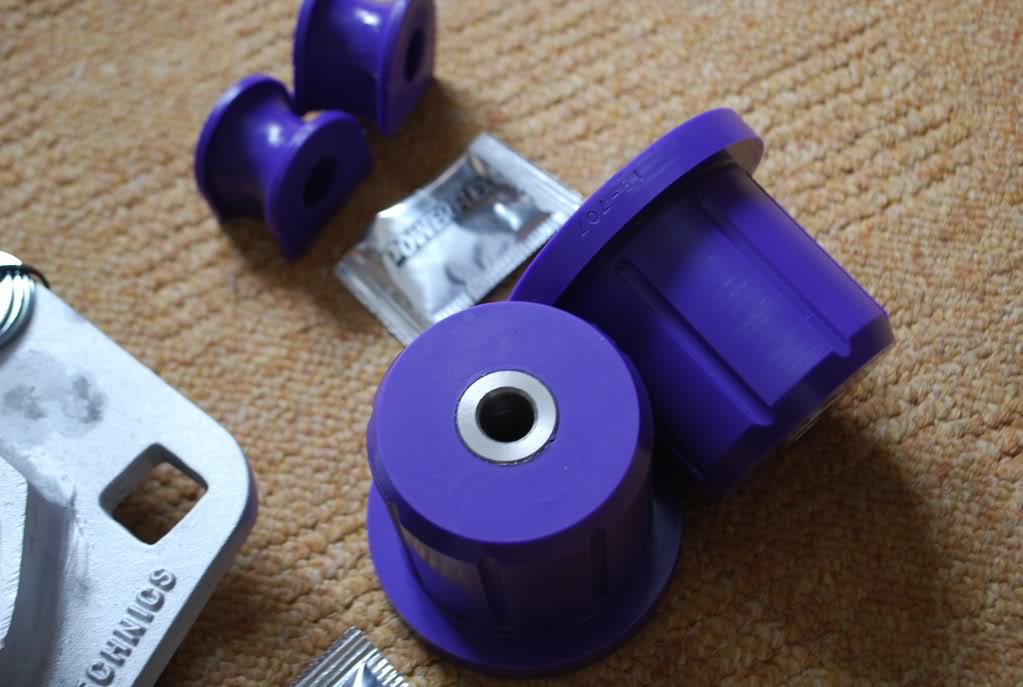
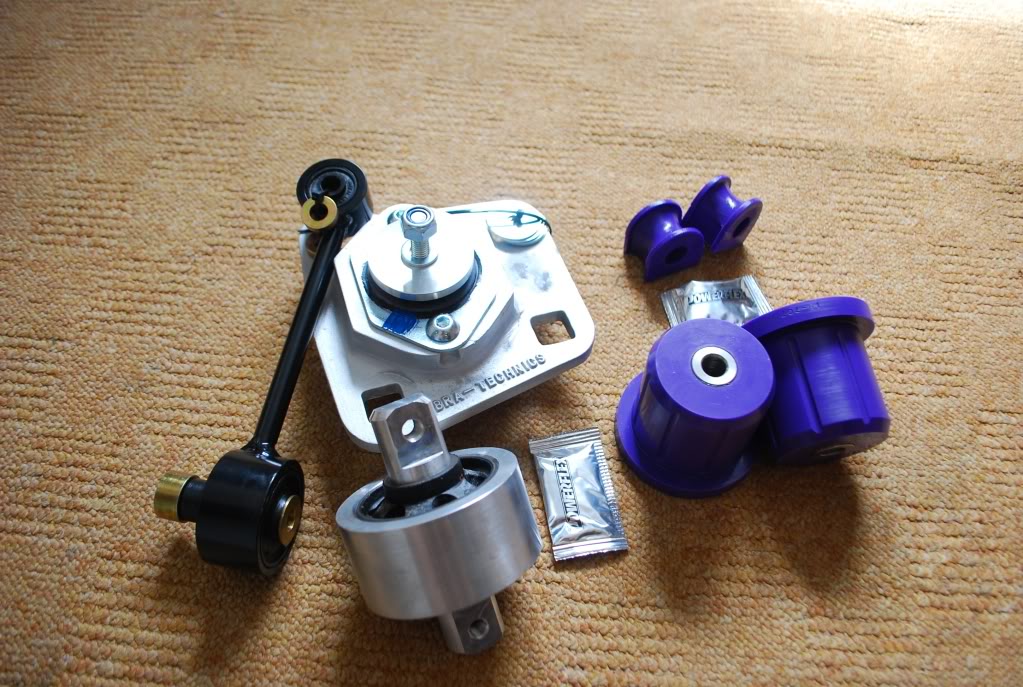
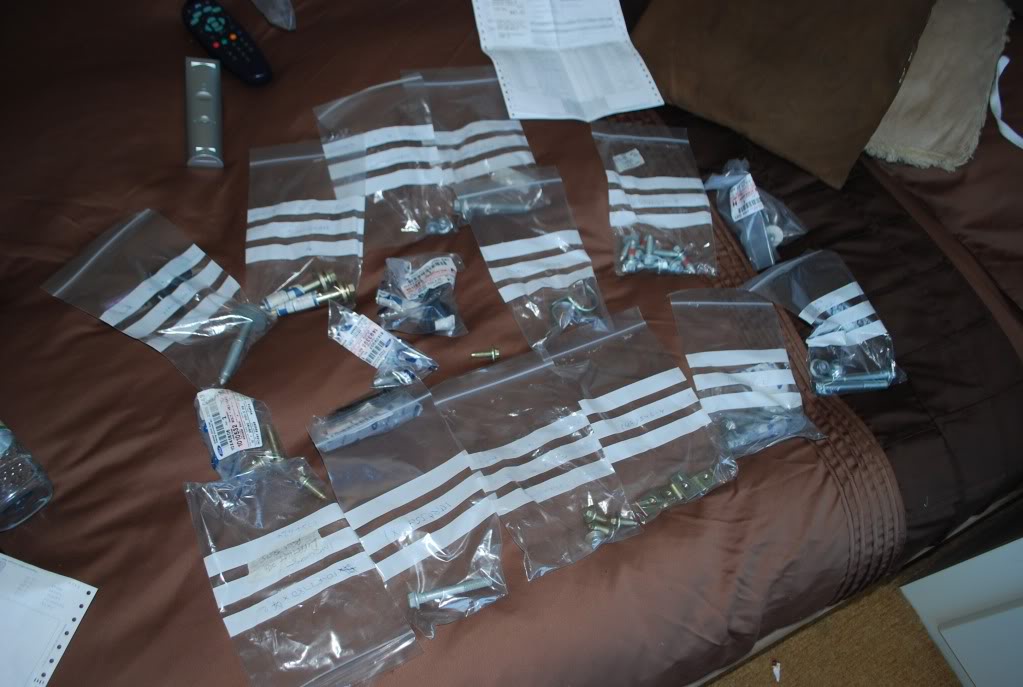
and got these from ShawSpeed today
thanks
the subframe looked like the two parts sitting bottom right to it. Horrible and covered in grease.
Yes they are going orange.
interior has seen some primer dusting
and got these from ShawSpeed today
thanks

Thread Starter
Regular Contributor
Joined: May 2009
Posts: 231
Likes: 0
From: Wokingham
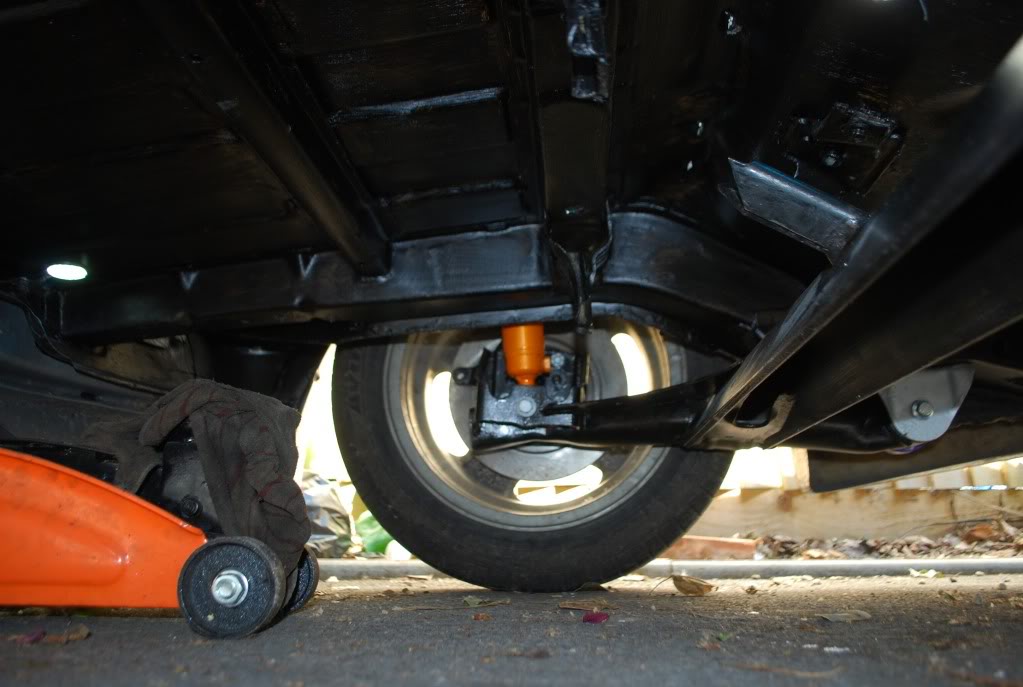
after lots of swearing, sweating and what feels like a broken thumb, I changed my rear beam bushes over.
Very hard to ger the old pressed ring out, new ones when in so easily though.
Old one out
Comparing old against new

New one in

Same on the other side. Old one halfway out
New one in.
Shimeee
Very hard to ger the old pressed ring out, new ones when in so easily though.
Old one out
Comparing old against new
New one in
Same on the other side. Old one halfway out
New one in.
Shimeee

Thread Starter
Regular Contributor
Joined: May 2009
Posts: 231
Likes: 0
From: Wokingham
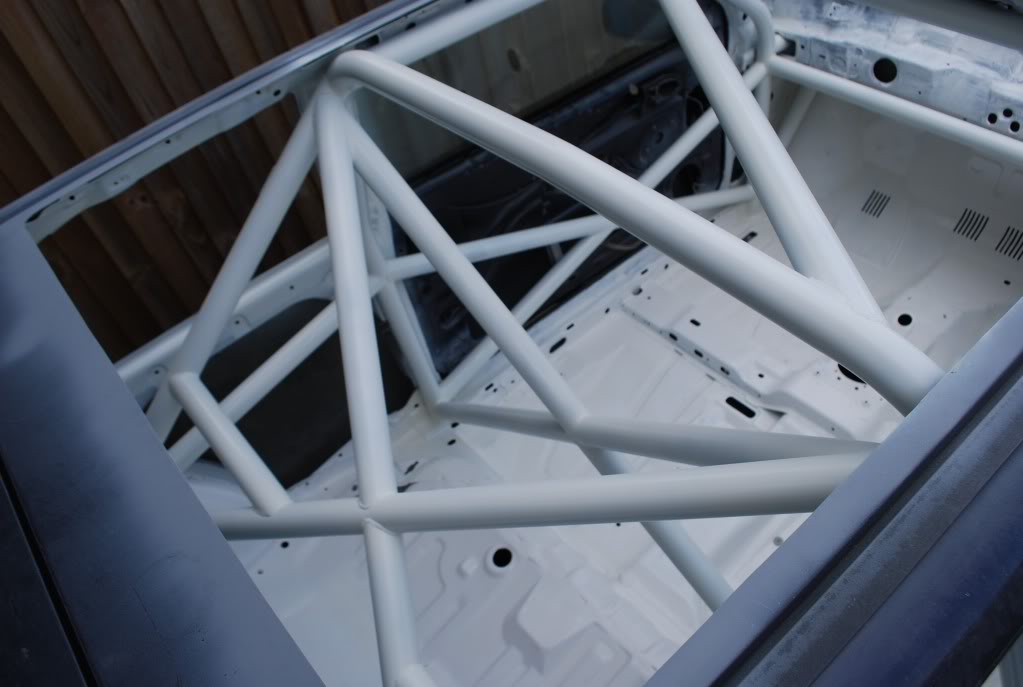
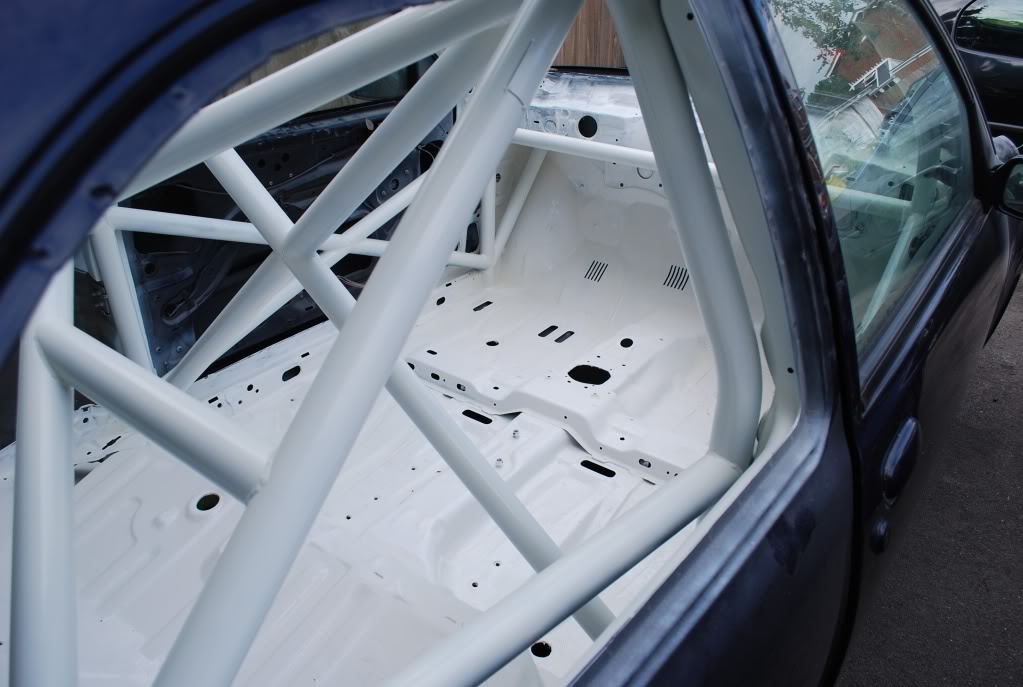
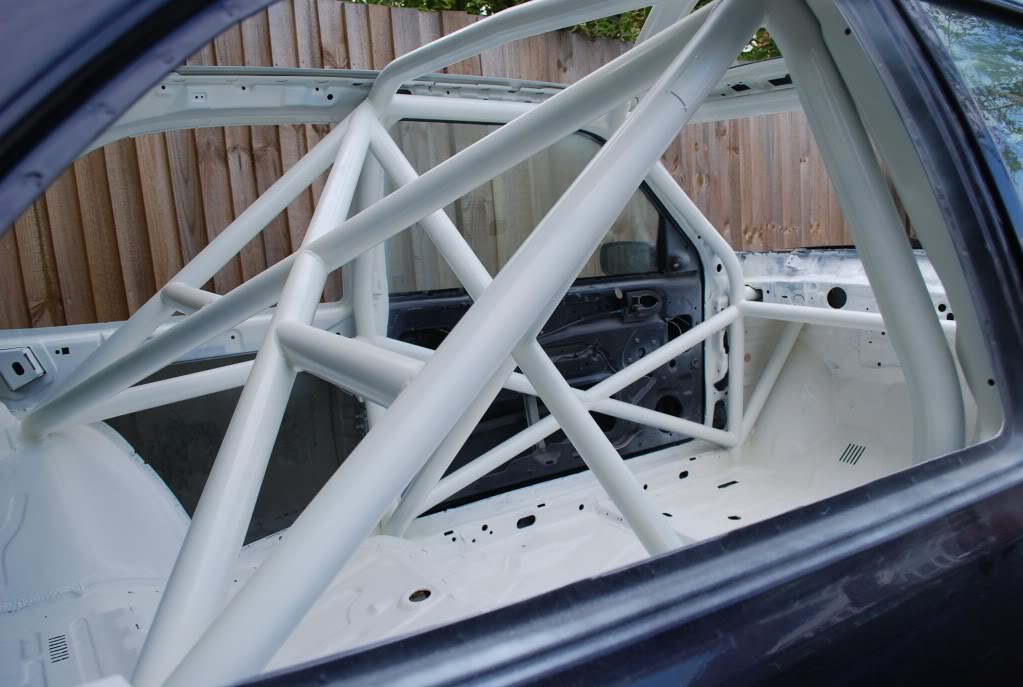
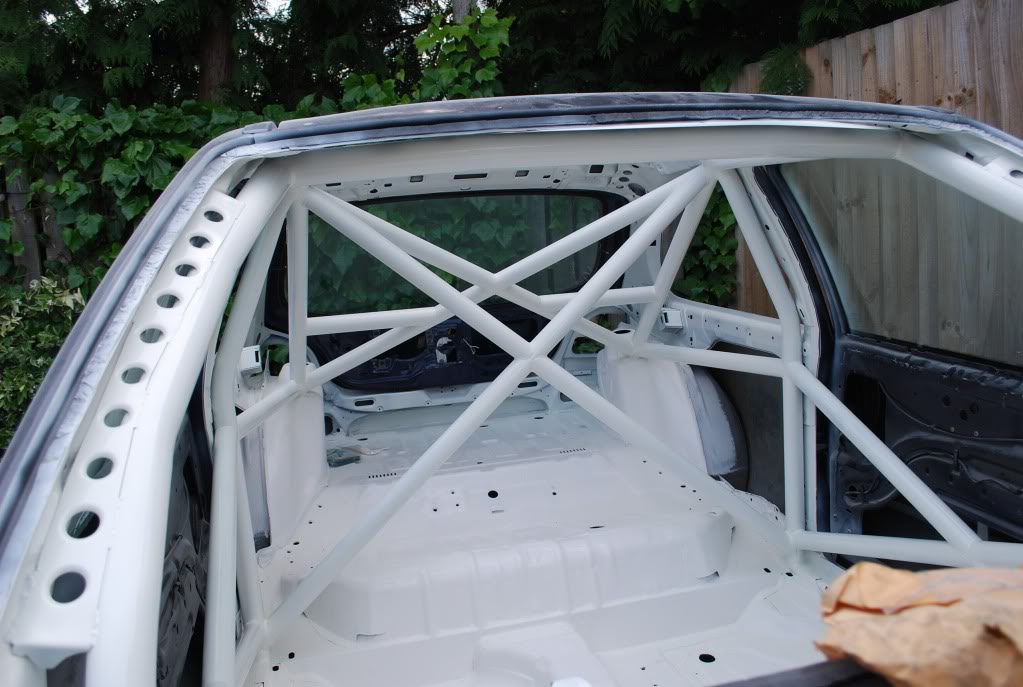
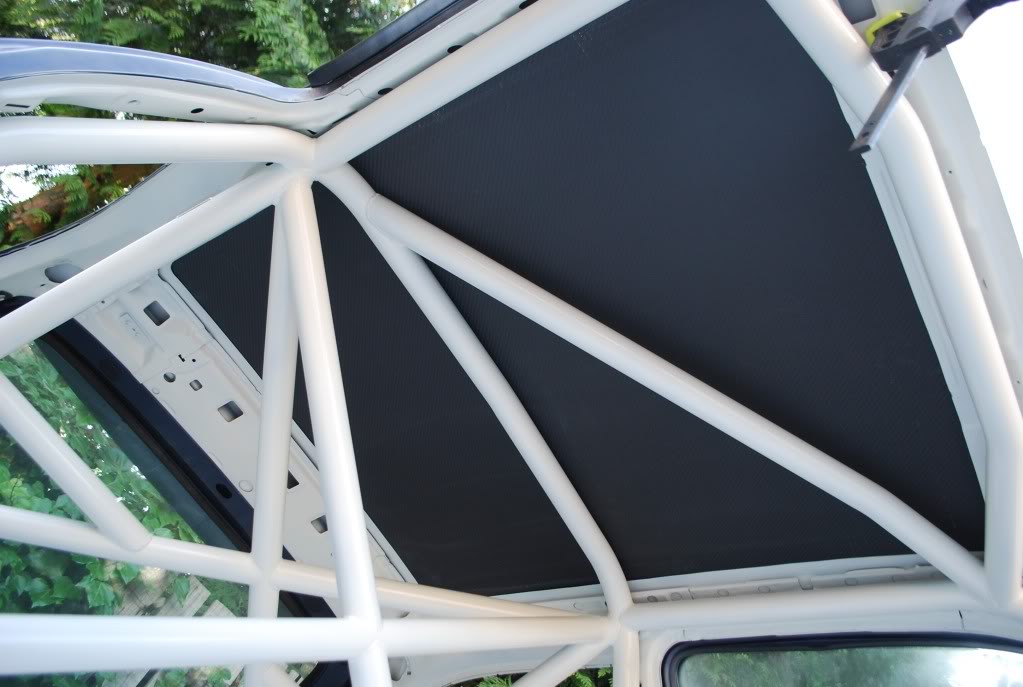
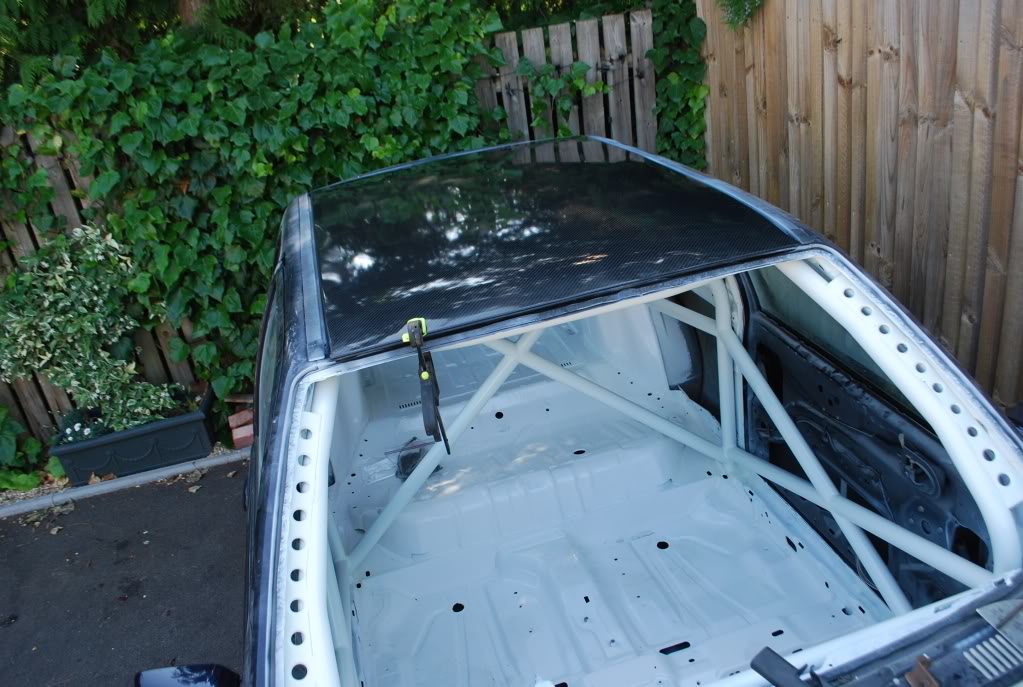
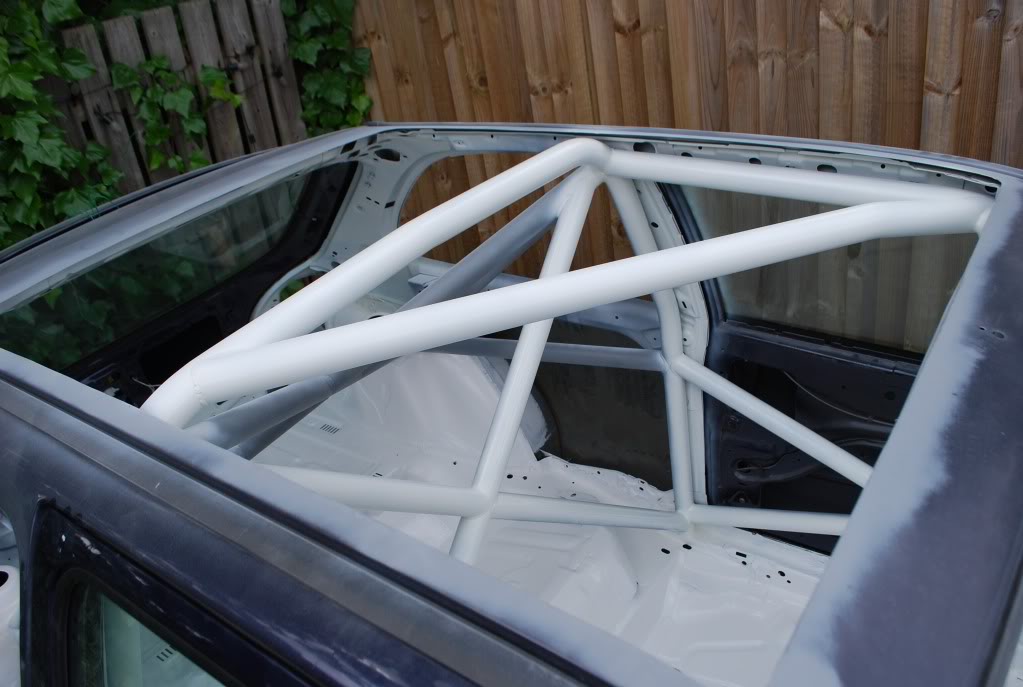
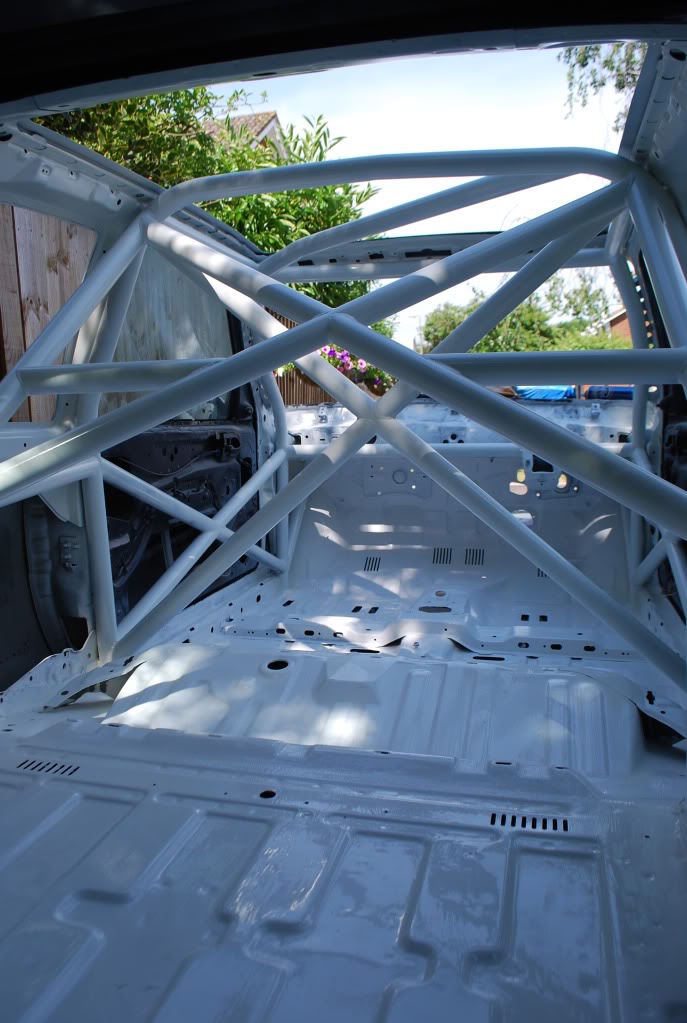
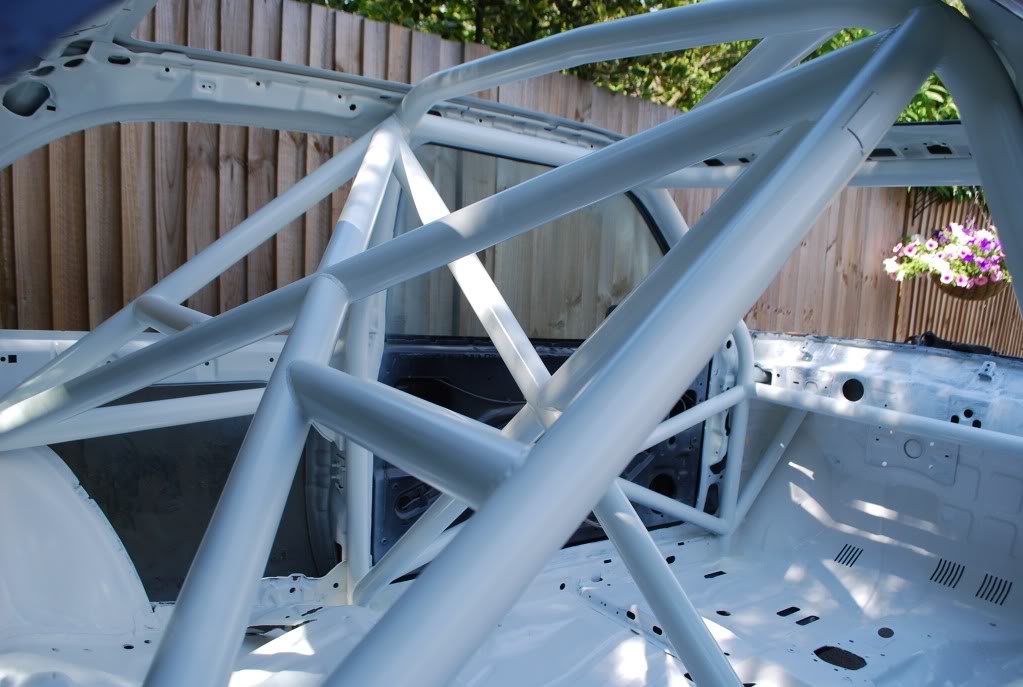
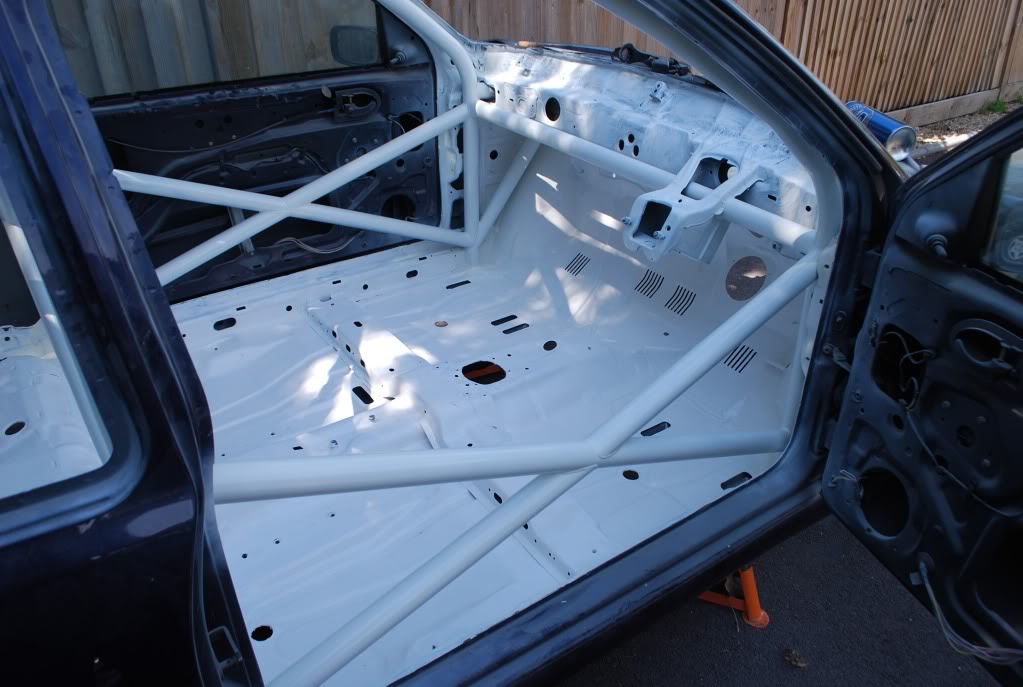
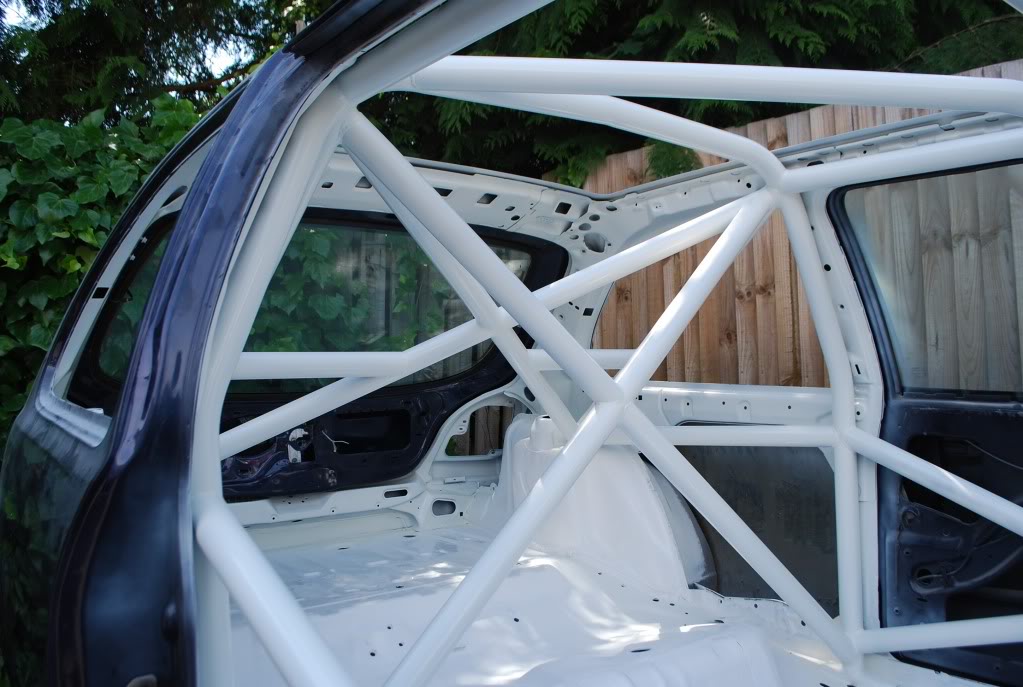
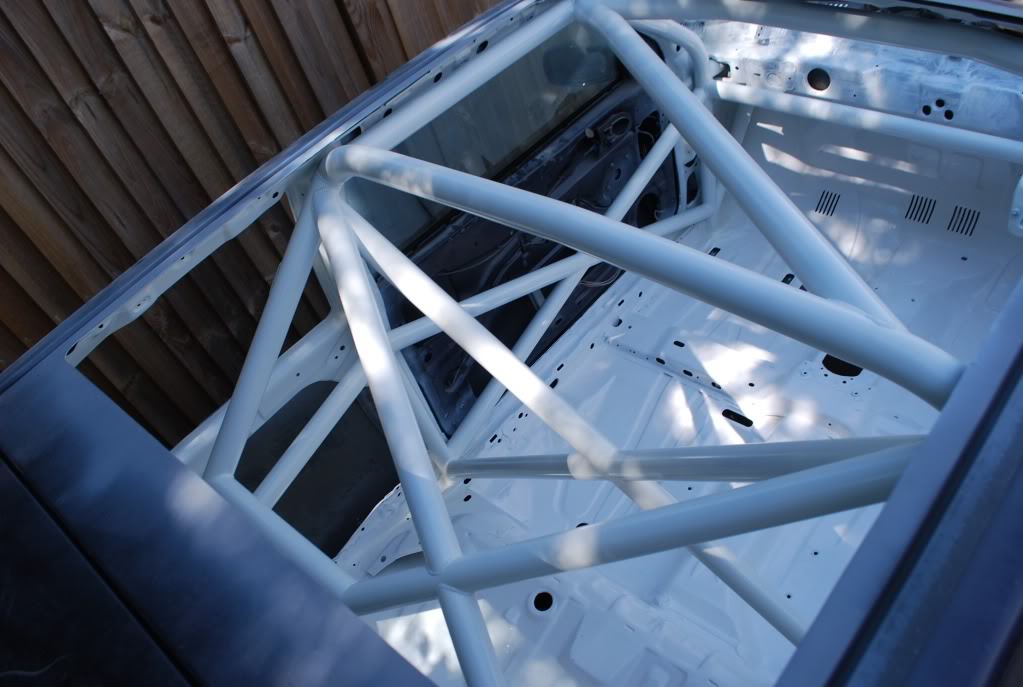
cage is fully painted and some of it is laquered. Still need to do around the edges of the car, so nearly there.
Its far from perfect but Im at the point where I really cant be arsed abour the looks right now. I just want it to work.
Thread Starter
Regular Contributor
Joined: May 2009
Posts: 231
Likes: 0
From: Wokingham
Todays efforts saw a load of bolts
Which then meant this happened
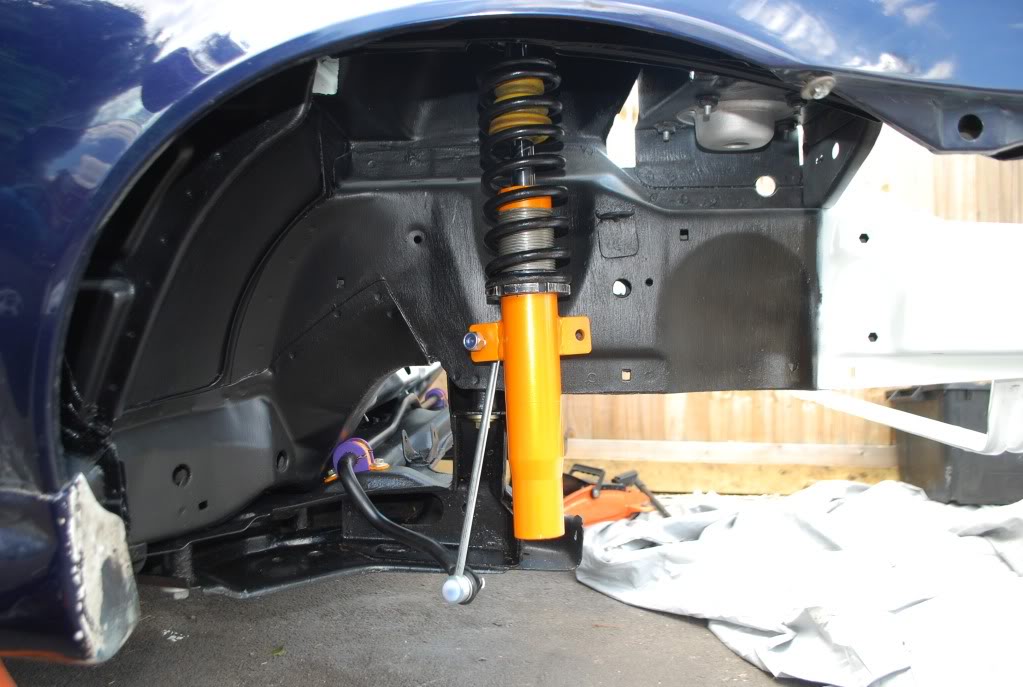
Rear beam went on with the suspension and all dropped to check everything was OK. It is, which is good. Coilovers are only wound half way dow too! lol

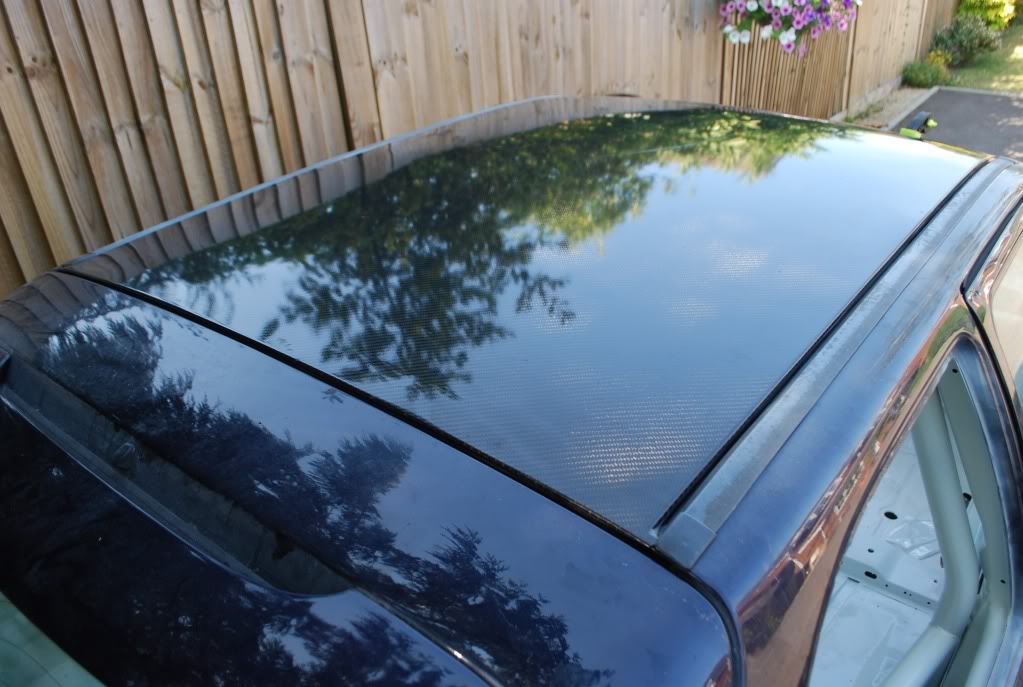
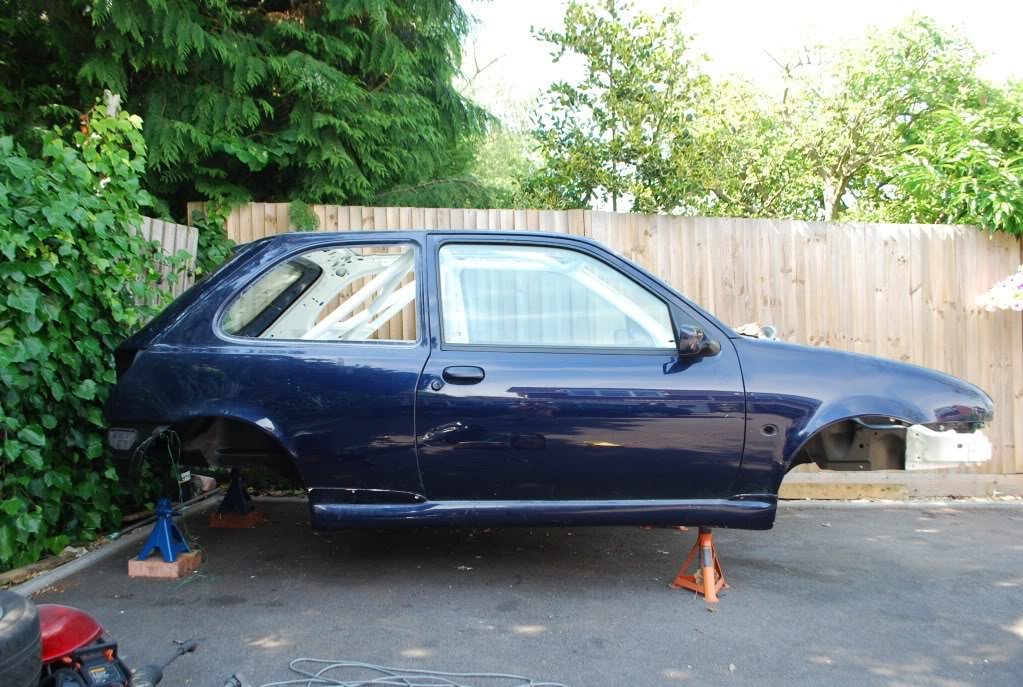
Put the slam panel on quickly just to get a glimpse of the "together" product

Looks pretty cool in my opinion
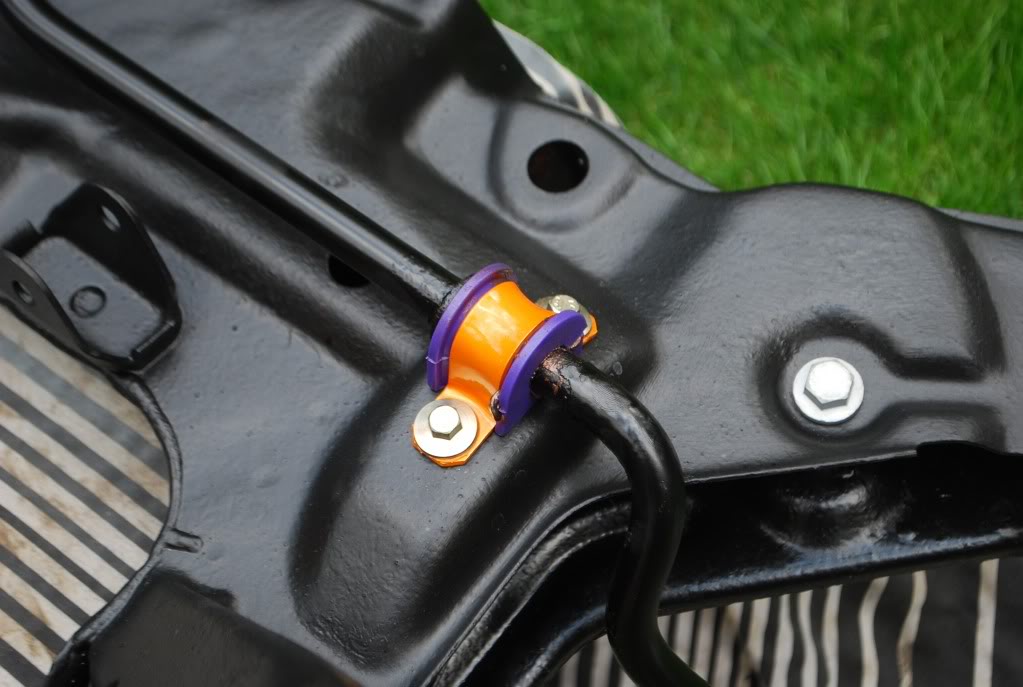
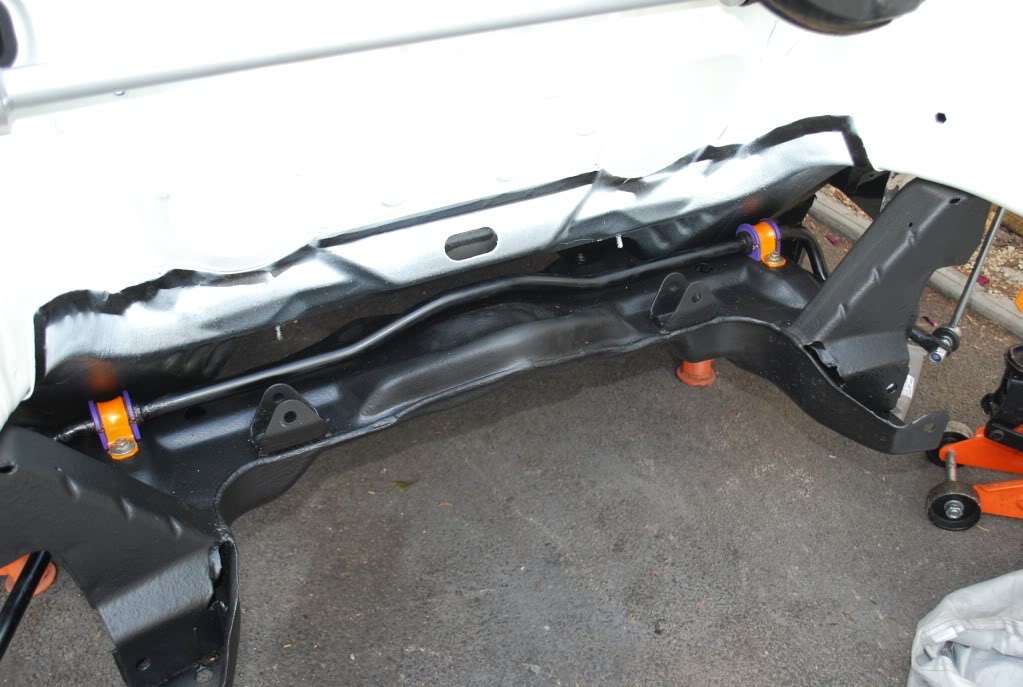
Then got out my Zetec-S Anti Roll bar and painted it black. Got out the new ARB brackets, painted them electric Orange and fitted it all to the subframe with my uprated Powerflex Bushes
This then went on the car
and threw the drop links on
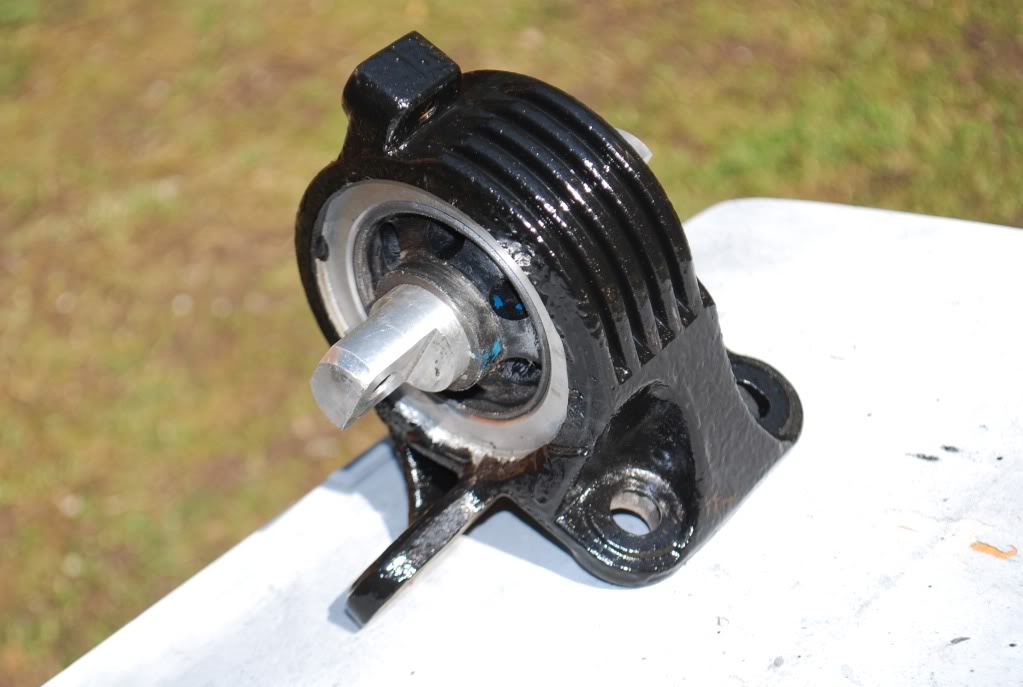
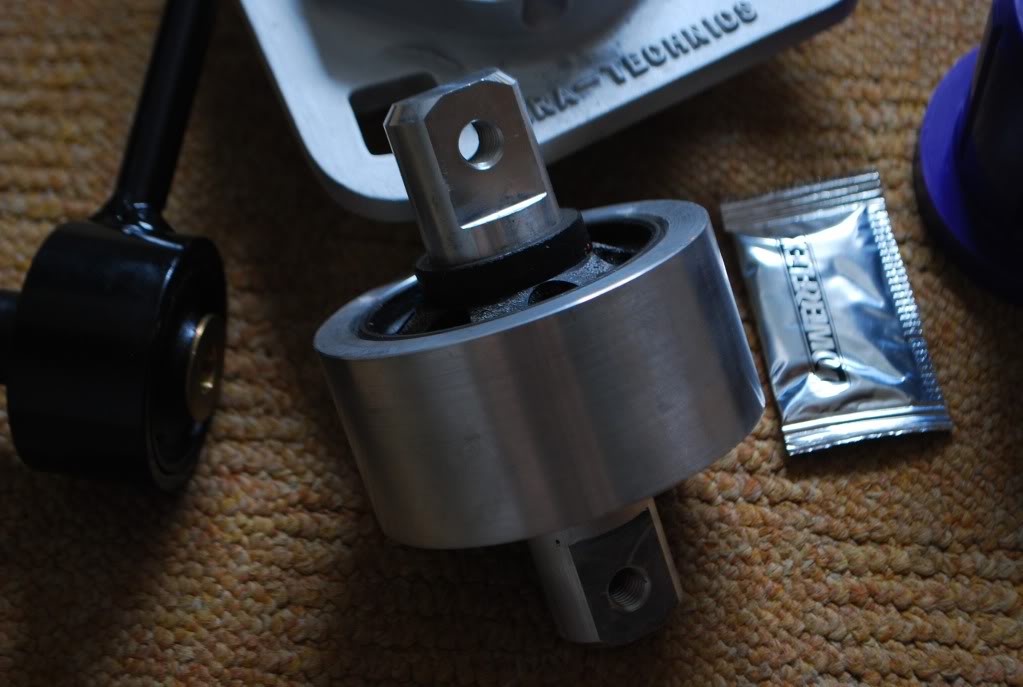
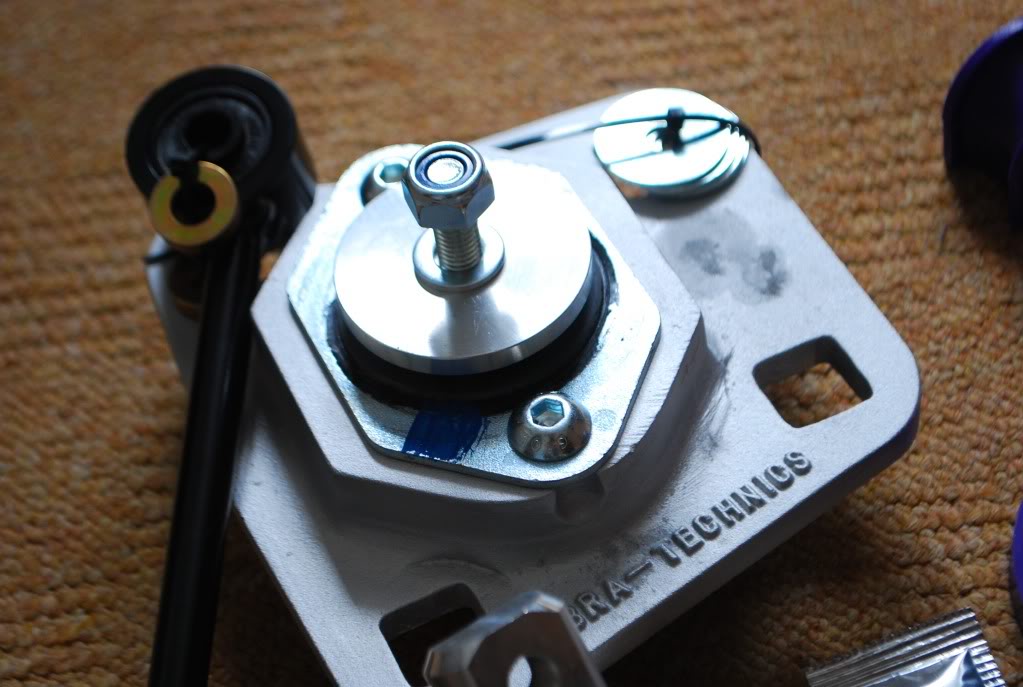
I then put my VibraTechnics R/H engine mount in and cleaned up the braking pedal connecting bar and brackets, and shoved them on too.
Its coming together slowly.
Which then meant this happened
Rear beam went on with the suspension and all dropped to check everything was OK. It is, which is good. Coilovers are only wound half way dow too! lol
Put the slam panel on quickly just to get a glimpse of the "together" product
Looks pretty cool in my opinion
Then got out my Zetec-S Anti Roll bar and painted it black. Got out the new ARB brackets, painted them electric Orange and fitted it all to the subframe with my uprated Powerflex Bushes
This then went on the car
and threw the drop links on
I then put my VibraTechnics R/H engine mount in and cleaned up the braking pedal connecting bar and brackets, and shoved them on too.
Its coming together slowly.


PassionFord Post Whore!!
iTrader: (1)
Joined: Jan 2006
Posts: 5,412
Likes: 186
From: Norfolk Drives: Couple of Fords
Just had a read through all this, tis nice to see someone going all out on a MK4, think they're a cool little base car.
The interior looks good too, white interiors in caged cars just look awesome
The interior looks good too, white interiors in caged cars just look awesome
Thread Starter
Regular Contributor
Joined: May 2009
Posts: 231
Likes: 0
From: Wokingham
cheers for the comments.
Had a busy weekend but have a fairly relaxed week so will try get more done.
CompBrake adjustable arms have been bought, they are the last hurdly in getting the car on the floor into a rolling chassis.
Had a busy weekend but have a fairly relaxed week so will try get more done.
CompBrake adjustable arms have been bought, they are the last hurdly in getting the car on the floor into a rolling chassis.