
2000e swap-a-thon

Thread Starter
OCD Victim

Joined: Sep 2005
Posts: 2,096
Likes: 29
From: SE London
Okay, following on from the following thread:
https://passionford.com/forum/restorations-rebuilds-and-projects/228531-2000e-mini-resto.html
... we now start the "putting it all in a cramped engine bay" thread. :cry
Finished work @ 5.30, and was straight round to start working, and onto how we started the evening:
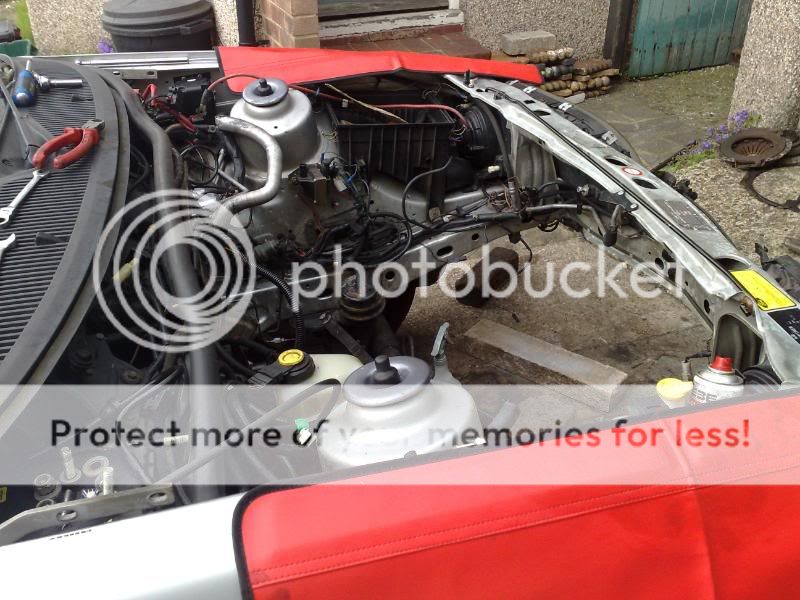
General overview of the state of everything:
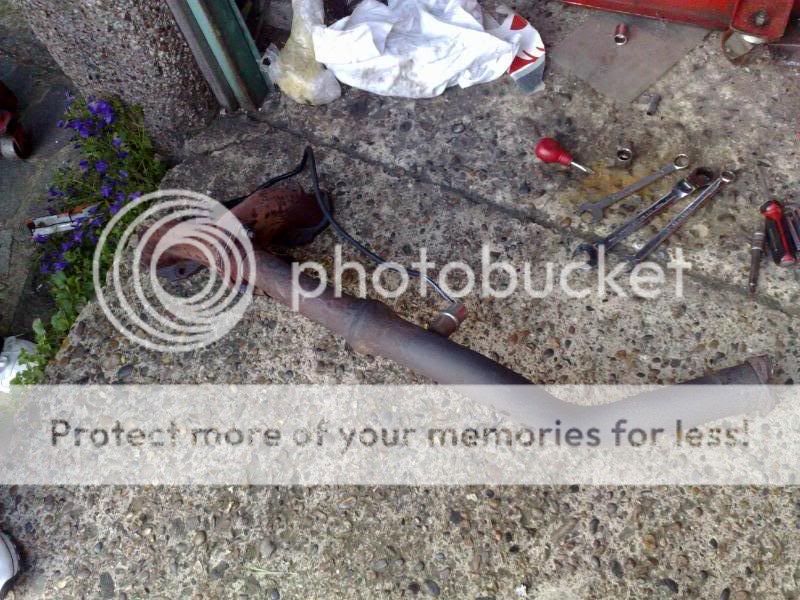
Then it was onto removing ancilliaries:
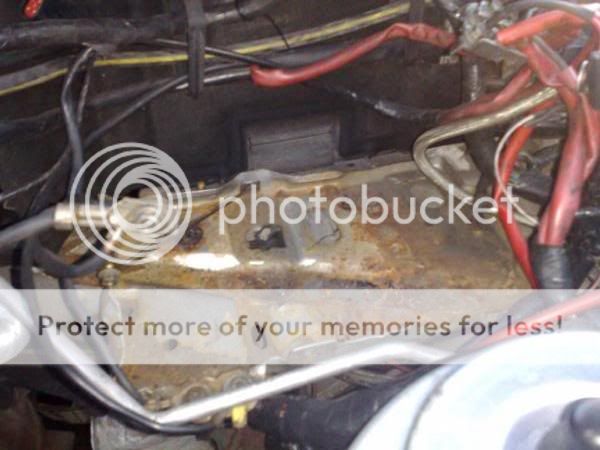
Battery tray was not that bad either. Little bit of surface rust, but most of what you see there was just debris lying in the tray. Still gotta come out though:
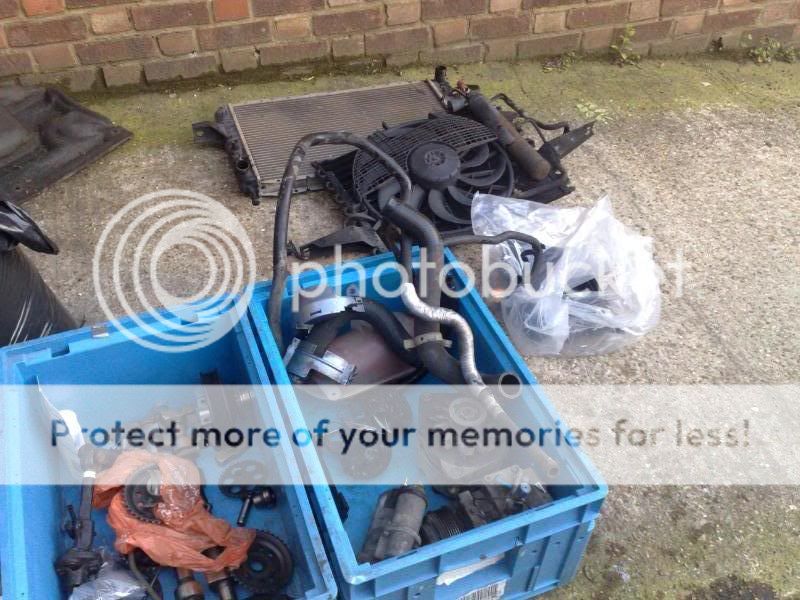
Boxes of bits starting to appear:
And how we finished the evening:

In addition to the above, all the fluids had been drained, gearbox, engine, power steering, etc. Exhaust had been removed, propshaft was almost ready to come out, front crank bolt had been loosened in anticipation of removal, etc...
Next days work consisted of finishing off removing the engine assembly.
Found our water leak
Nice and semi-clean cylinder head area
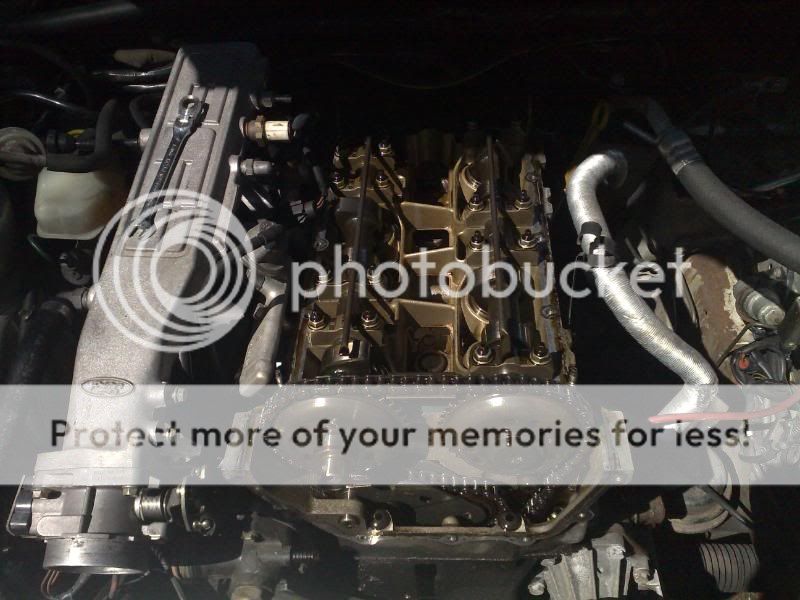
Head off
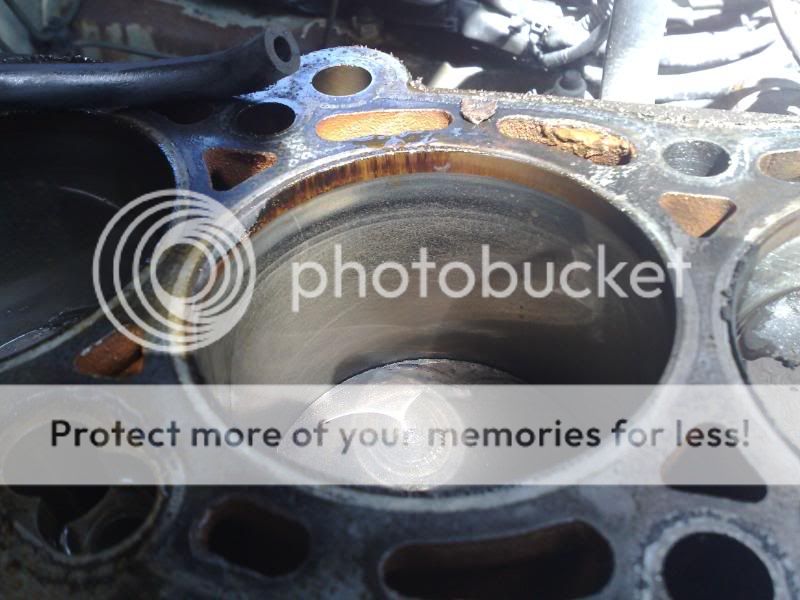
Nothing like a bit of wear in the cylinders :cry
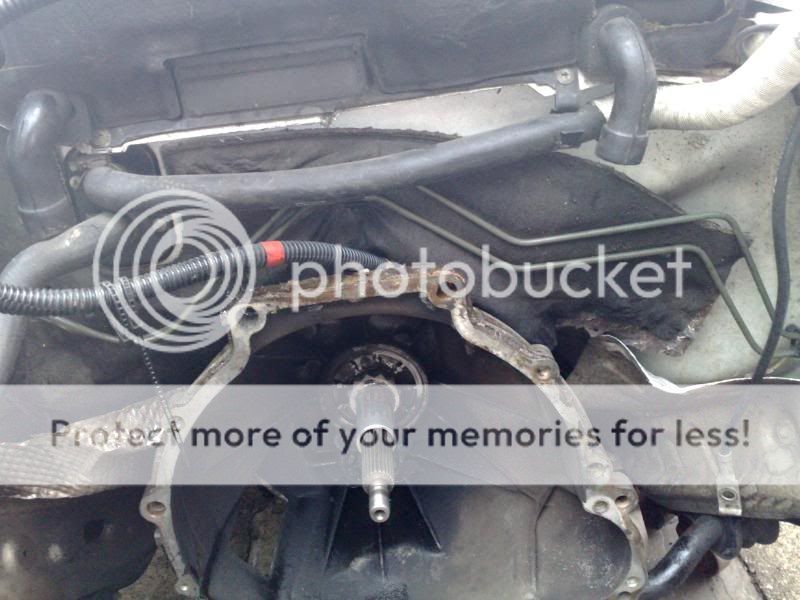
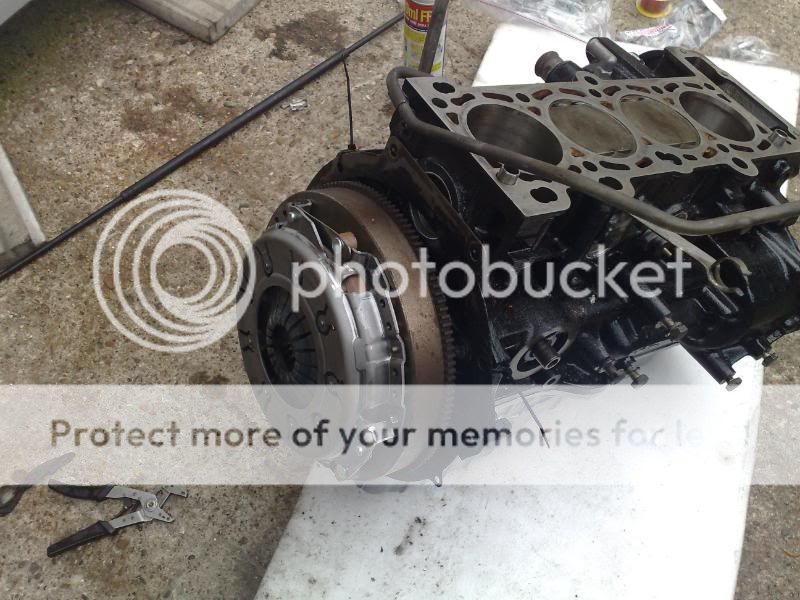
Something is missing but I can't quite think what?
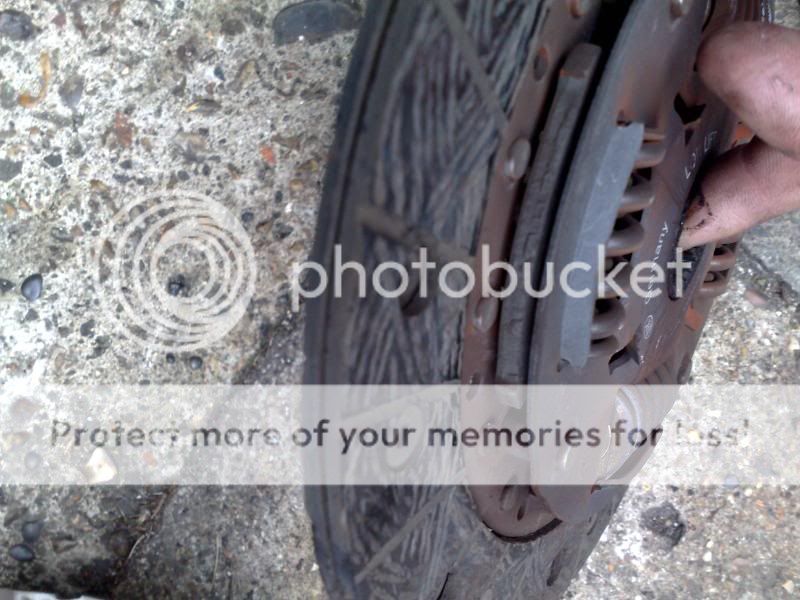
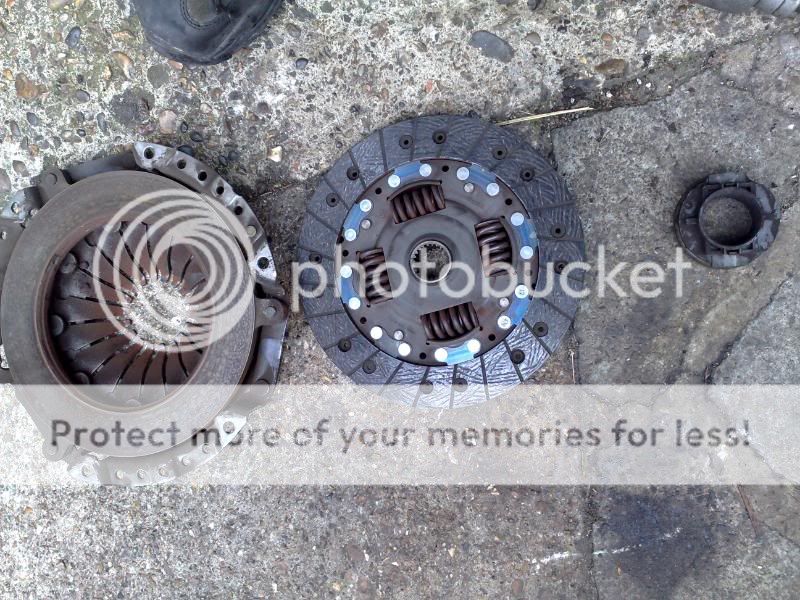
Old clutch wasn't too bad, original as well. Release bearing was as dry as the Sahara Desert in a sandstorm though
n/s chassis section had been rubbed back and given a quick coat of Stratos Silver. Will need cutting back later
How it sat just before it started raining
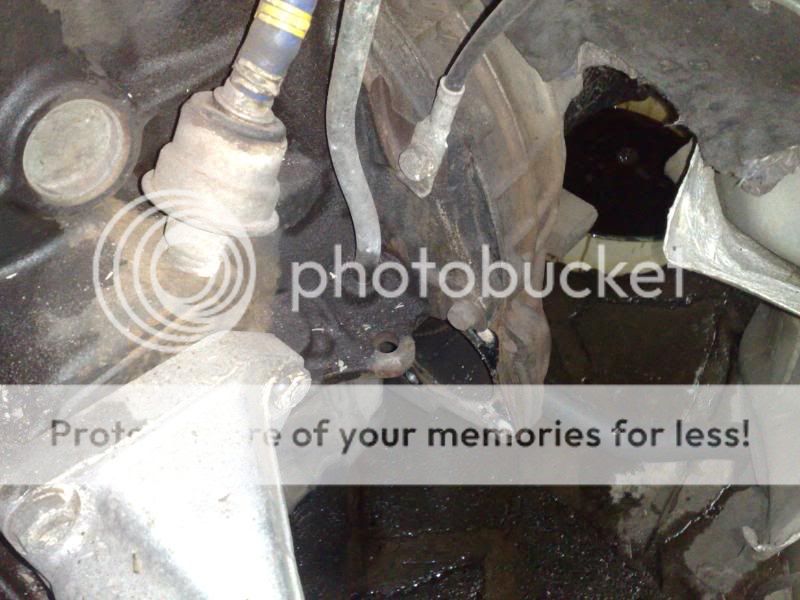
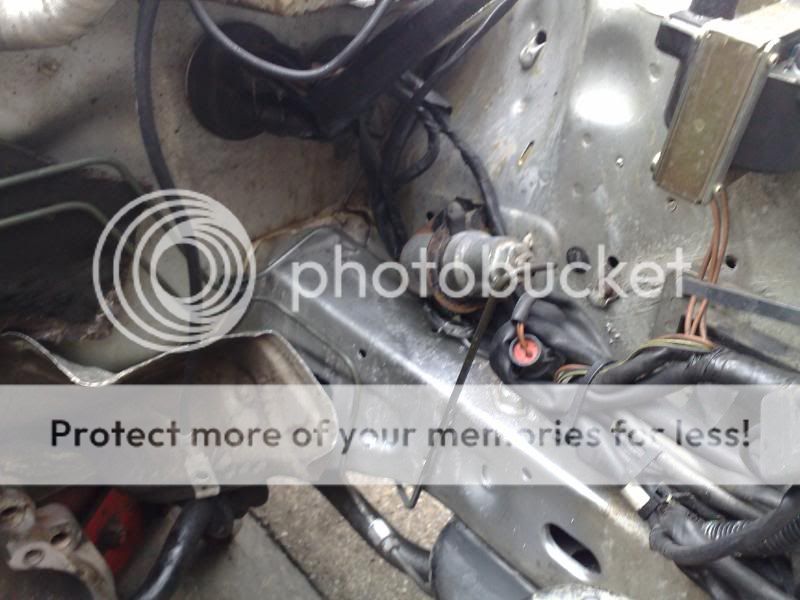
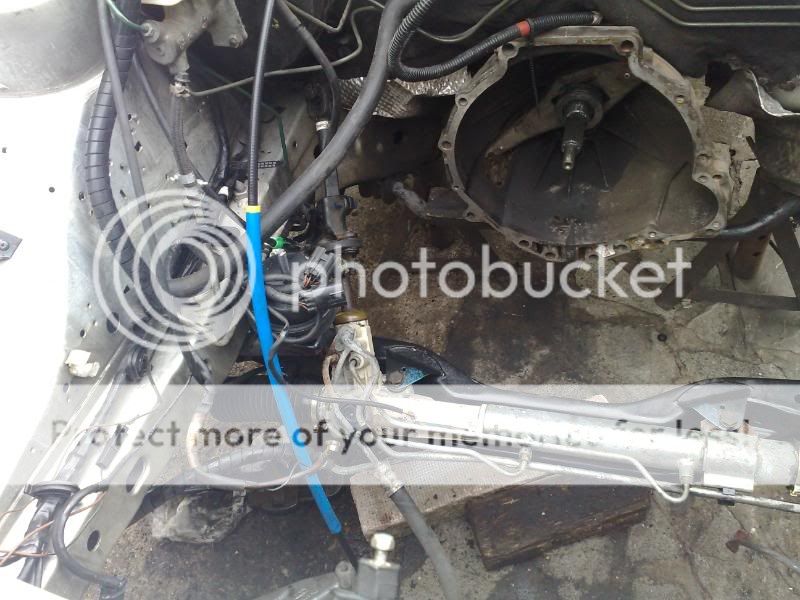
Also found out the problem with the steering, both rack seals are gone and oil was mixing with the rack grease, which was then overriding the pressure relief valves, causing a pressure lock when cold.
I had a replacement steering rack and new ends, so that was easily sorted. I have fitted a replacement PAS pump as well. No doubt that will be contaminated with grease and I don't want it getting back into the new rack system.
Also had this horrible dent in the door removed

Some ****hole where Paula works decided the door of his Puma needed the same space as the door and promptly mullered �70 worth of pinstripe. Door is repaired and pinstripe will be getting replaced before it goes back on the road.
Next days work.
Not as much as I hoped to get done, mainly because I had to take a mates BMW 530D M-Sport over to get some new tyres (�476 for a pair :cry ) and also due to having a root nerve exposed in one of my teeth last night which means I have been working with a toothache from hell.
Anyways, on with the photos:
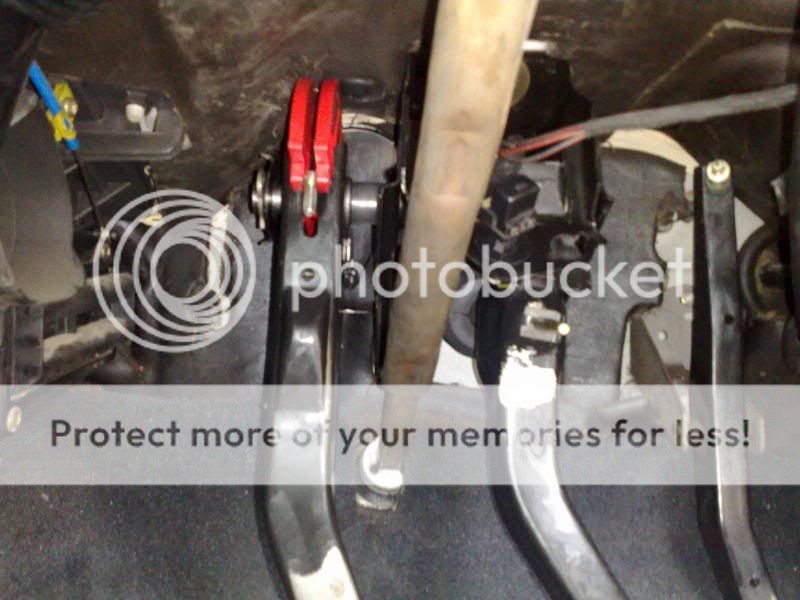
First point of call was to get the new cabling in place, so clutch, throttle, etc... were all removed and replaced with new. Also checked and rebuilt a spare PAS rack with new inner track ends and outer ball-joints. I have reused the old gaiters though as there is nothing wrong with them. Proper clips used throughout as well, none of this cable-tie stuff
New clutch ratchet and pawl assembly as well
While there, swapped the steering column bearing out as well for a new assembly, along with a replacement steering coupling between the rack and the column as there was play in it.
Sorted out a heatshield for the coil and moved one of the alarm sirens as well

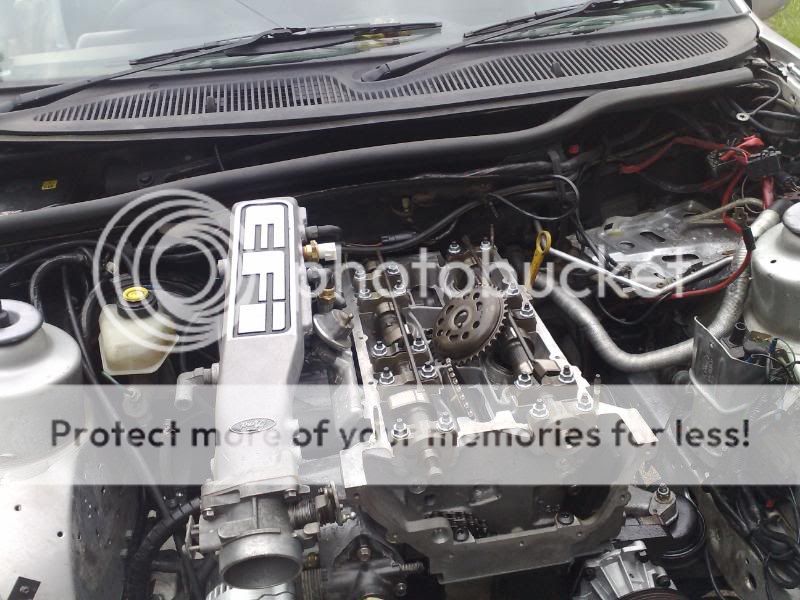
Then it was onto the engine. This somehow had to go back into the engine bay
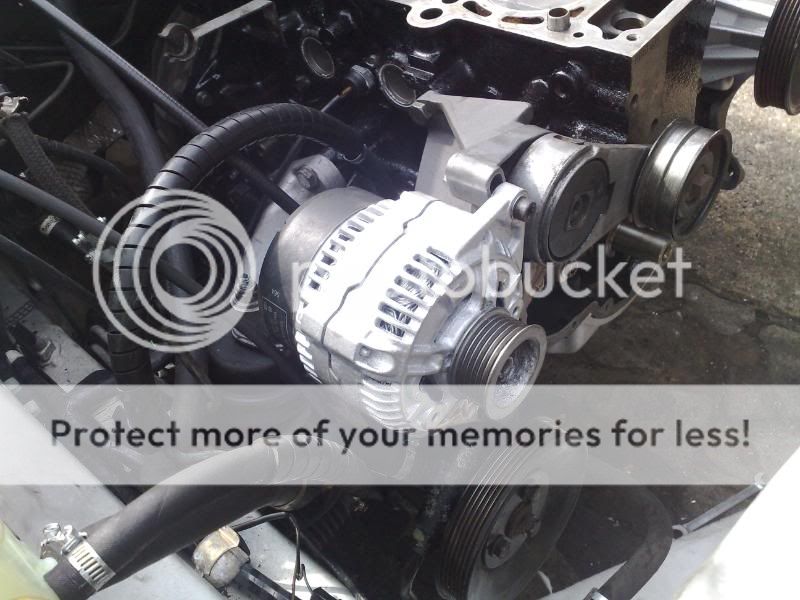
Once attached to the gearbox again, it was time for the ancilliaries. I have fitted an internal-fan alternator from a Scorpio as it is a lot smaller, but also apparently does not fit a TwinCam.... WRONG!!!!
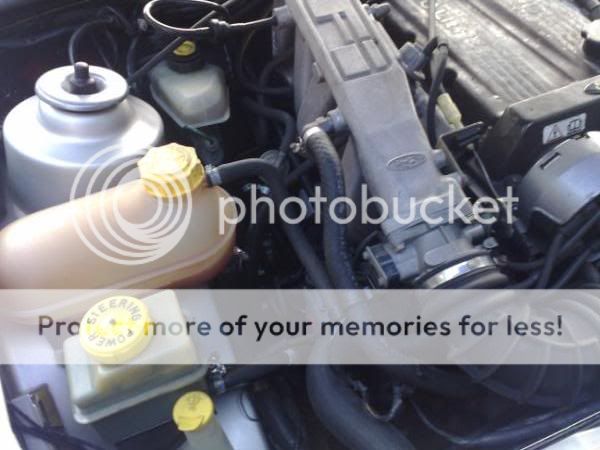
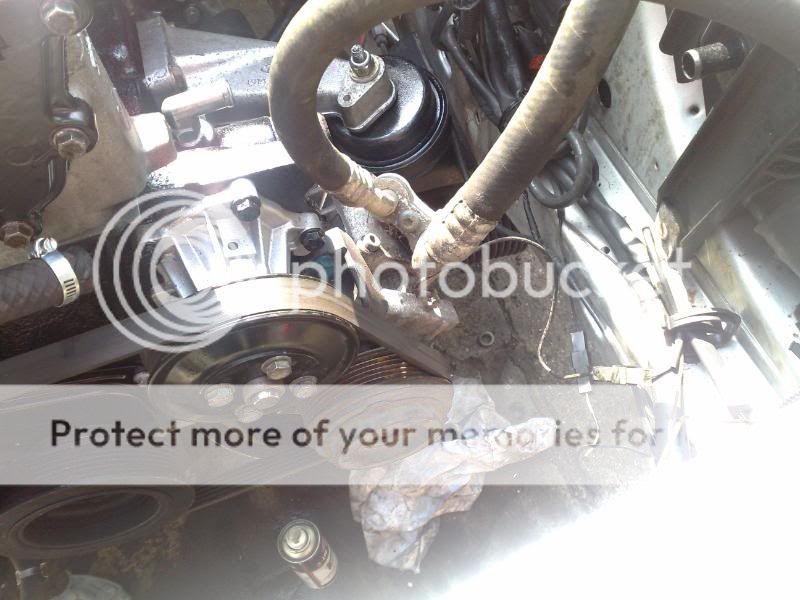
New PAS pump and pipework went in as well
Then it was time for the cylinder head
TBH, I had left it @ that point that evening. Due to the current pain situation, I wanted to double-check the head settings and timing before I went running the timing chains as it is quite possible that something had more than likely been forgotten and I would like to have run through it again with (hopefully) a clearer head in the morning.
Okay, next instalment.
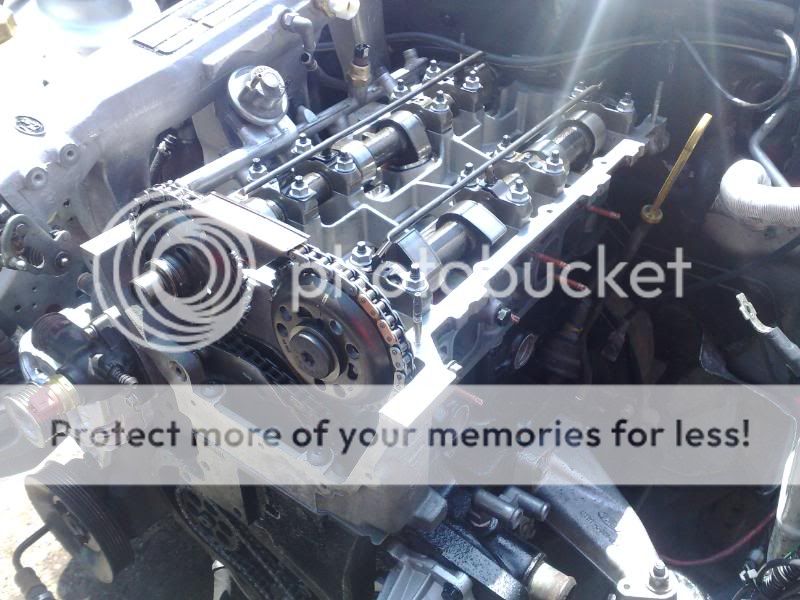
After deciding to walk away from the car for the evening, it was a case of back-to-basics for the engine. The cams were checked and found to be binding in the carriers. After much scratching of heads, it was discovered that my father had accidentally mixed up the cam caps when he took the heads away for cleaning and subsequently the wrong caps had been refitted. This is why it is always worth double-checking everything as you go along. Had the engine been allowed to fire, it is almost certain that engine damage would have occured.
Anyways, onto the pics.
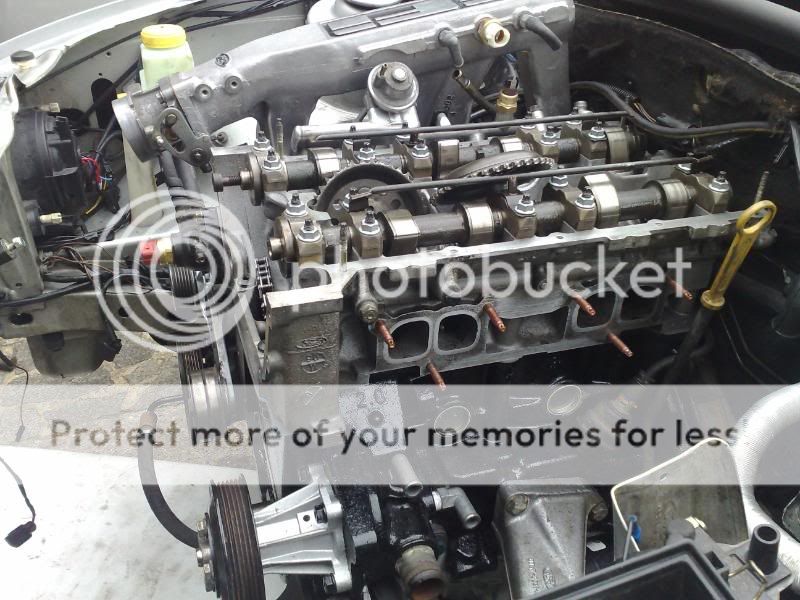
Engine checked over and assembled
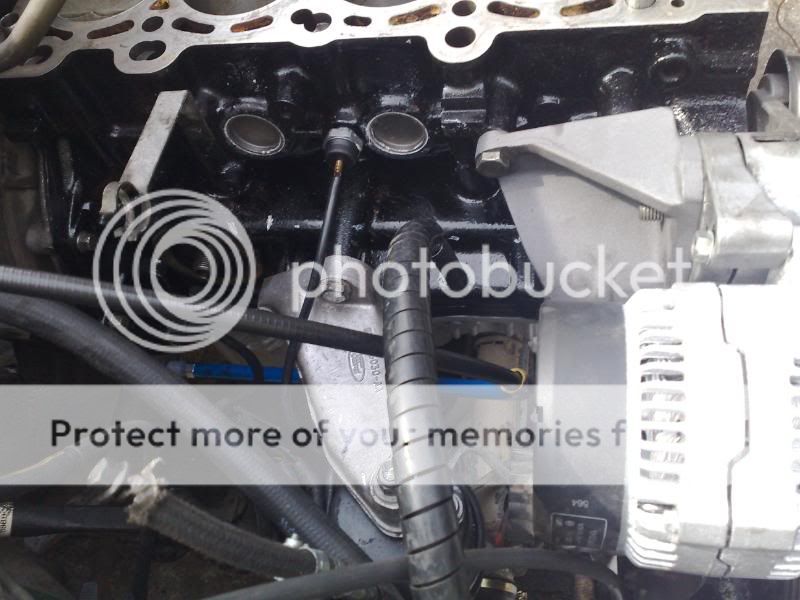
Once the cylinder head was on properly and the timing chain fitted, the oil pump was turned over by hand before the oil chain was installed so as to prime the pump and check for oil leaks. It was a good thing too, as after only a couple of seconds, oil started dribbling from here
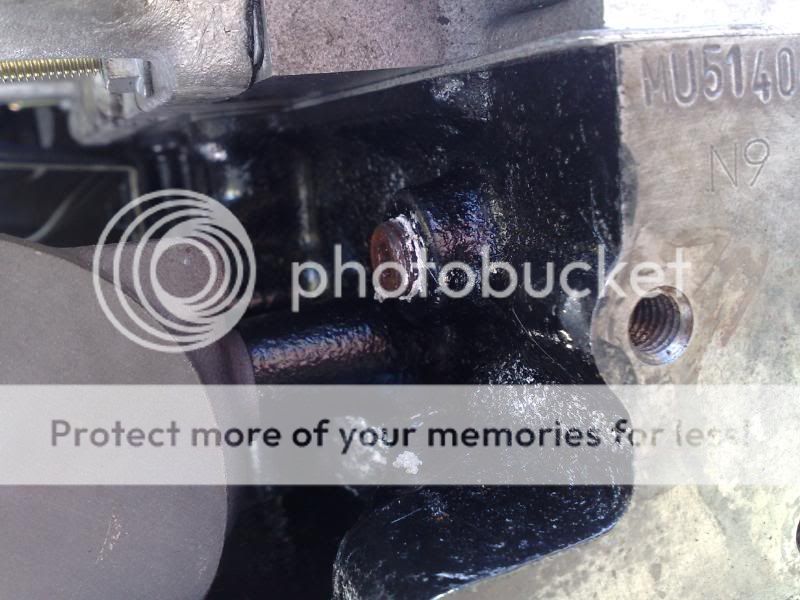
Turns out that the previous owner of the engine had removed this blanking plug for something and not refitted it. Oil, therefore, was able to escape @ a rapid rate. Once the plug from the old engine was fitted (along with a bit of VW sealant) it was time to check again. This time, everything was oiltight. Now the oil pump chain could be fitted
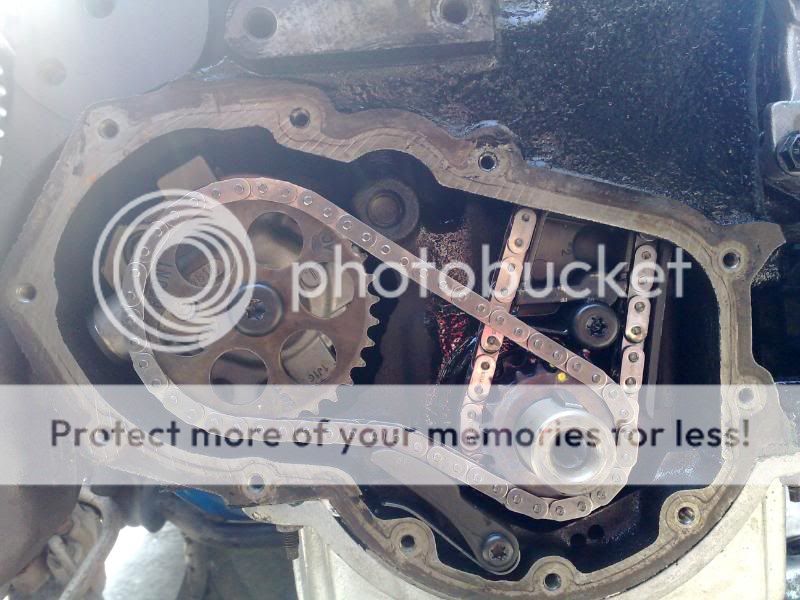
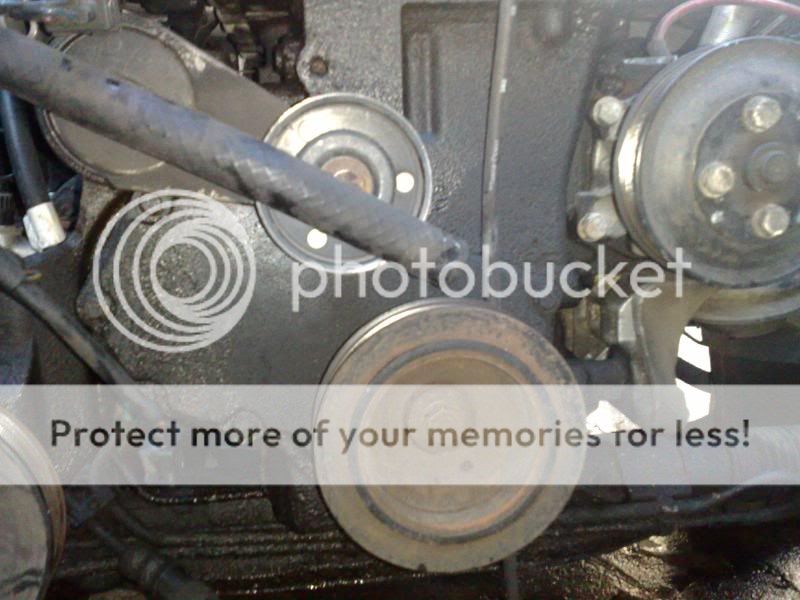
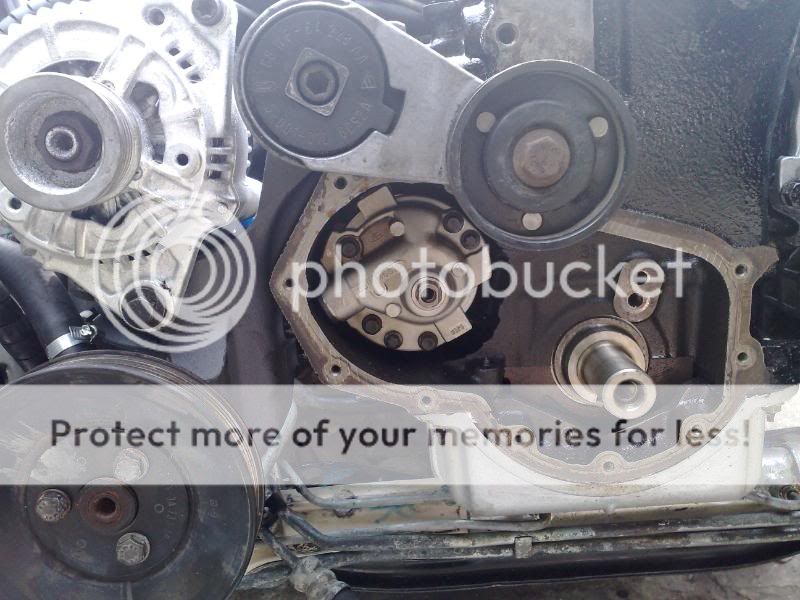
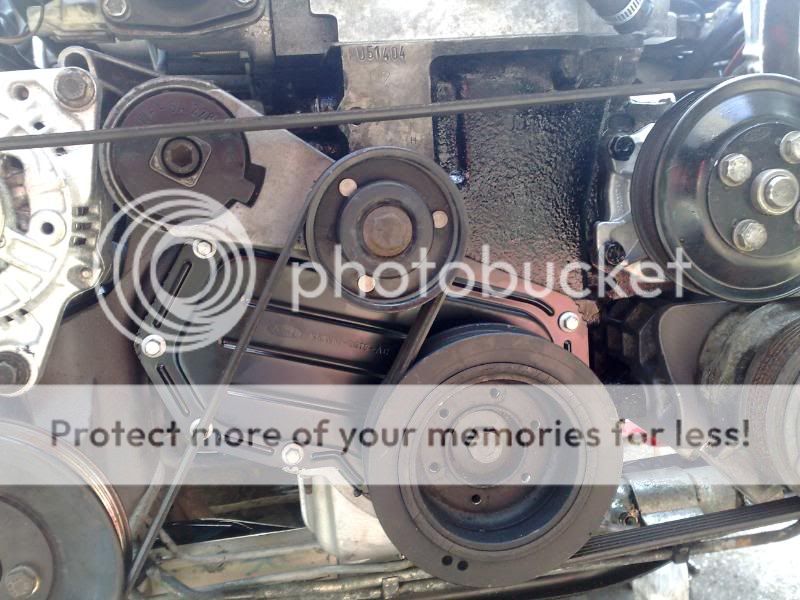
It was on with the lower covers and pulleys. The lower pulley is from the later Scorpio model. It is a tin cover instead of the standard plastic one. This provides a better seal for the front of the engine, plus improved security against any foreign road debris managing to crack or penetrate the timeing gear
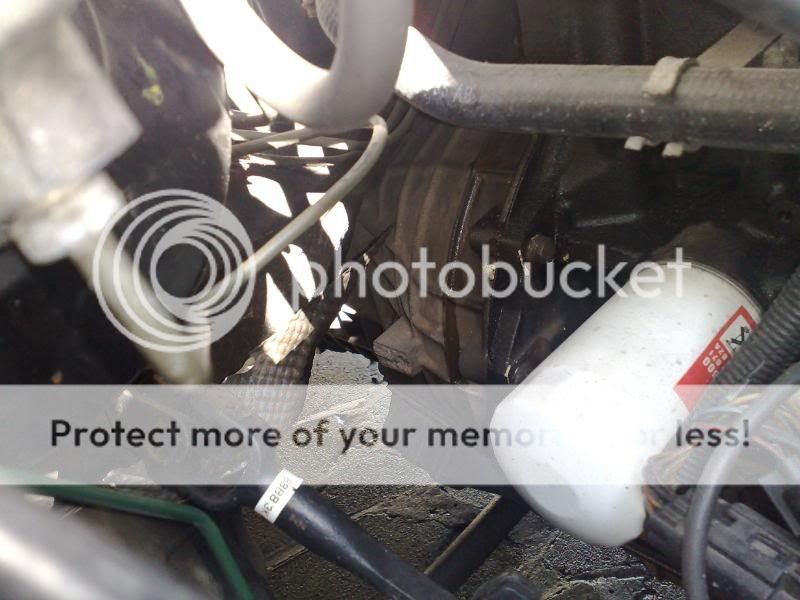
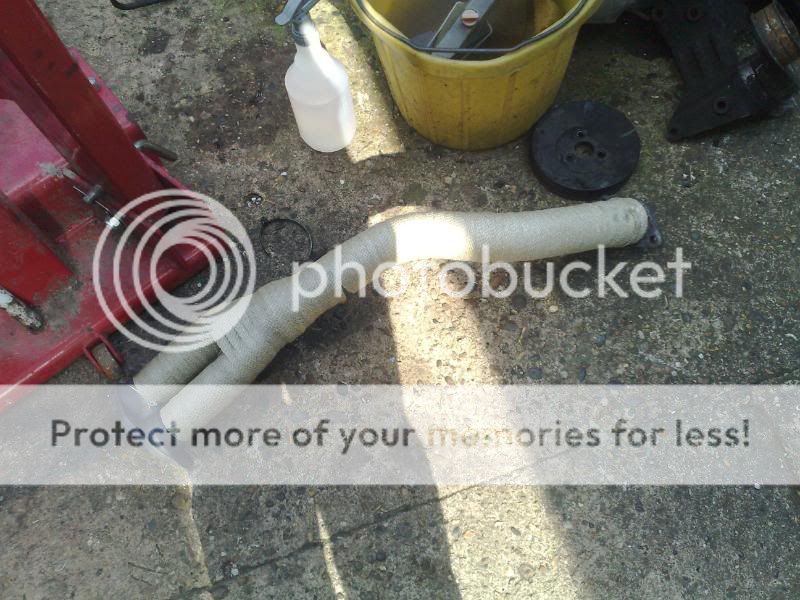
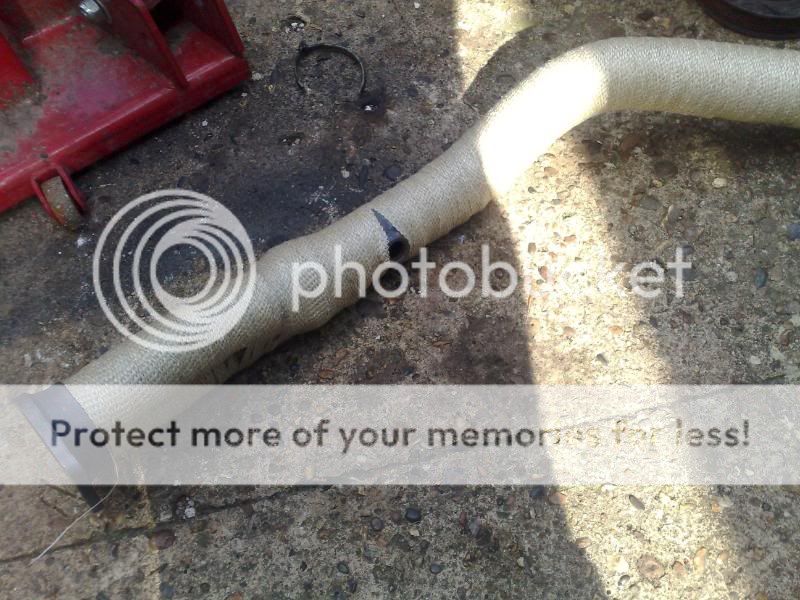
Then it was time for the exhaust manifold and downpipe. The downpipe was coated in a heat-treatment paint same as the exhaust manifold had and was then covered in an exhaust wrap. This is mainly to keep the starter motor cool as these engines can suffer from starter motor failure due to the proximity of the exhaust system
The rest of the exhaust system was then attached, along with some polyurethane mounts and the rear prop.
All oils were checked and filled, and all the anciliaries reconnected.
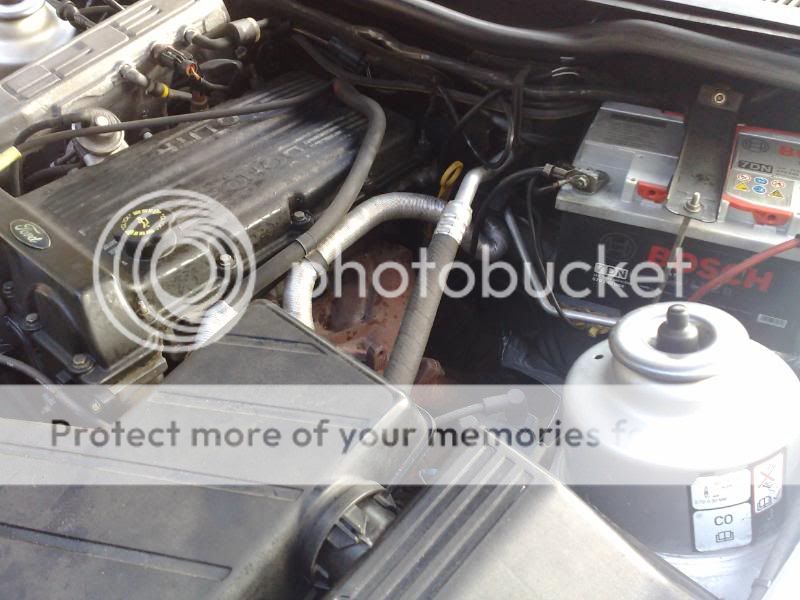
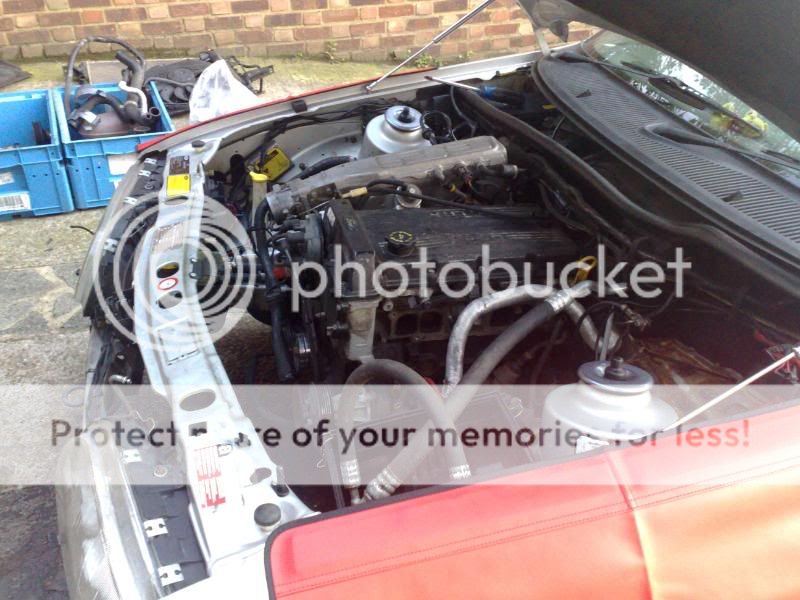
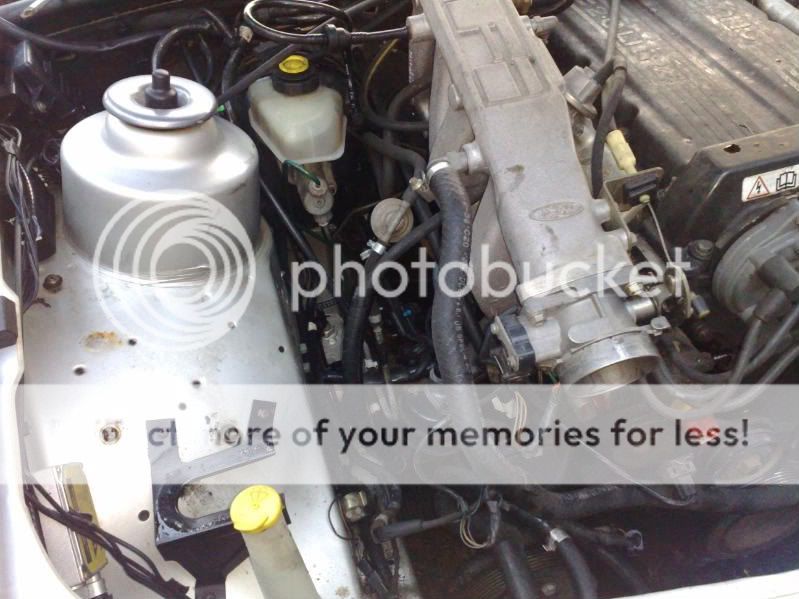
And how it all looks now
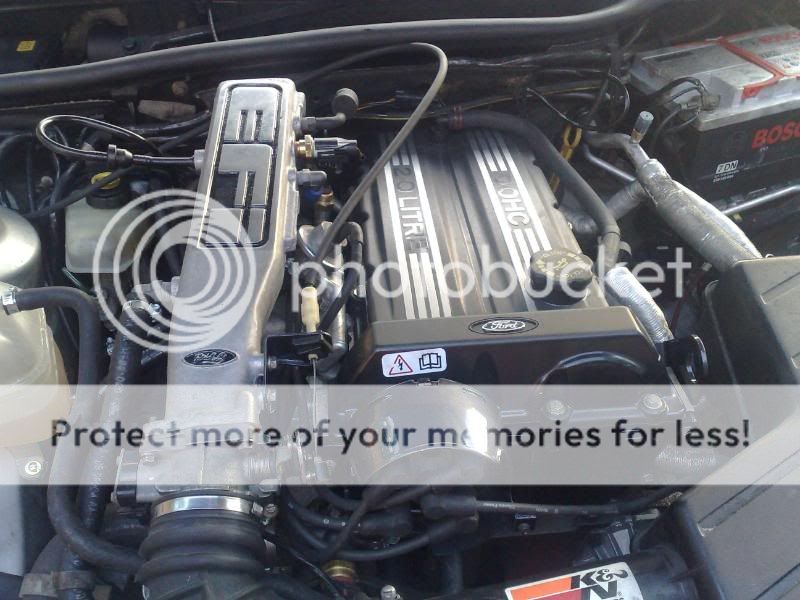
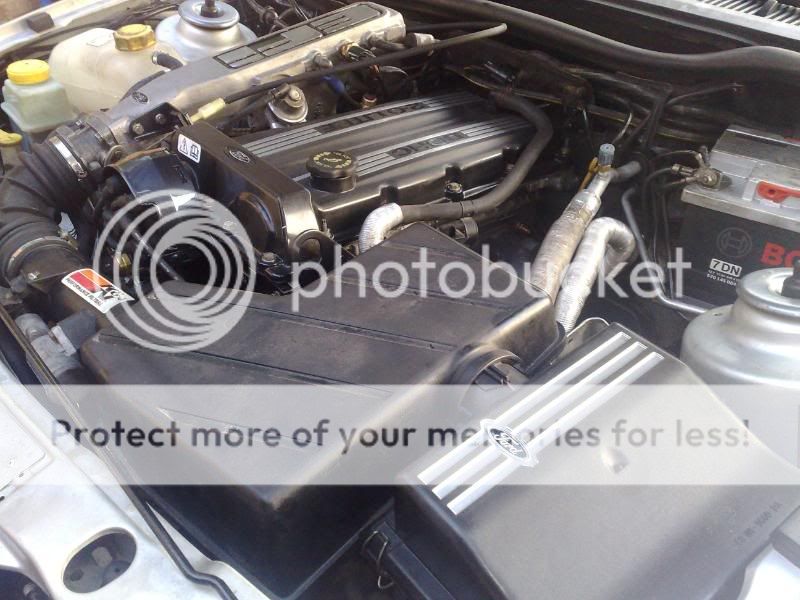
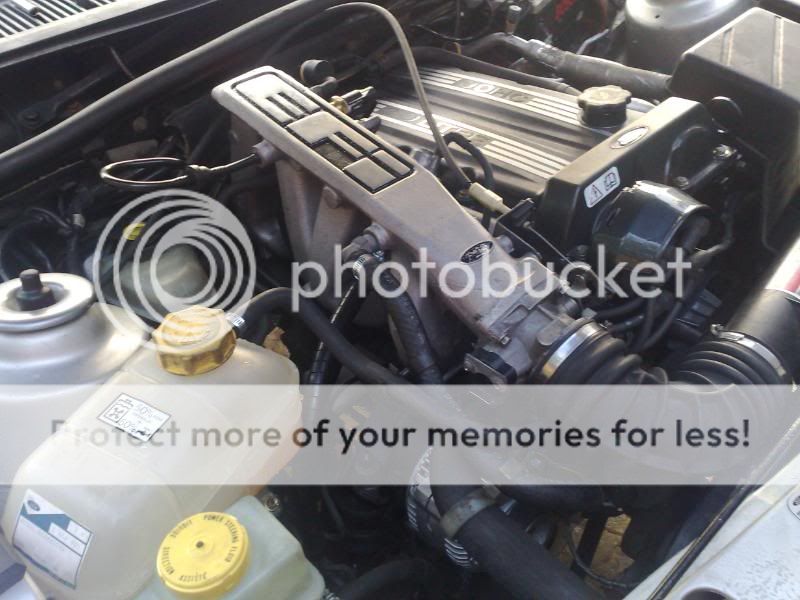
Yes, the engine bay does need a little cleanup from the greasy fingerprints, etc... but until the aircon system is confirmed sealed, I do not feel it viable as I can do without having a/c oil thrown over a nice, clean engine bay.
https://passionford.com/forum/restorations-rebuilds-and-projects/228531-2000e-mini-resto.html
... we now start the "putting it all in a cramped engine bay" thread. :cry
Finished work @ 5.30, and was straight round to start working, and onto how we started the evening:
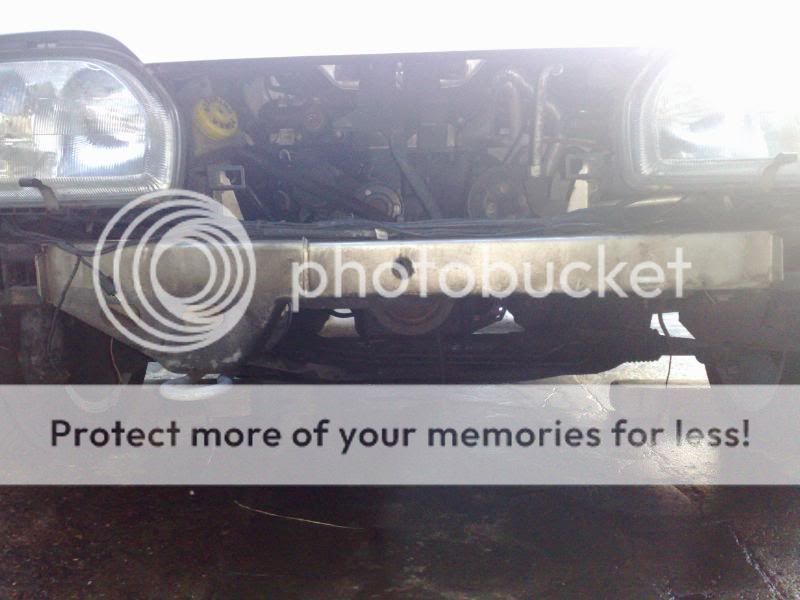
General overview of the state of everything:
Then it was onto removing ancilliaries:
Battery tray was not that bad either. Little bit of surface rust, but most of what you see there was just debris lying in the tray. Still gotta come out though:
Boxes of bits starting to appear:
And how we finished the evening:
In addition to the above, all the fluids had been drained, gearbox, engine, power steering, etc. Exhaust had been removed, propshaft was almost ready to come out, front crank bolt had been loosened in anticipation of removal, etc...
Next days work consisted of finishing off removing the engine assembly.
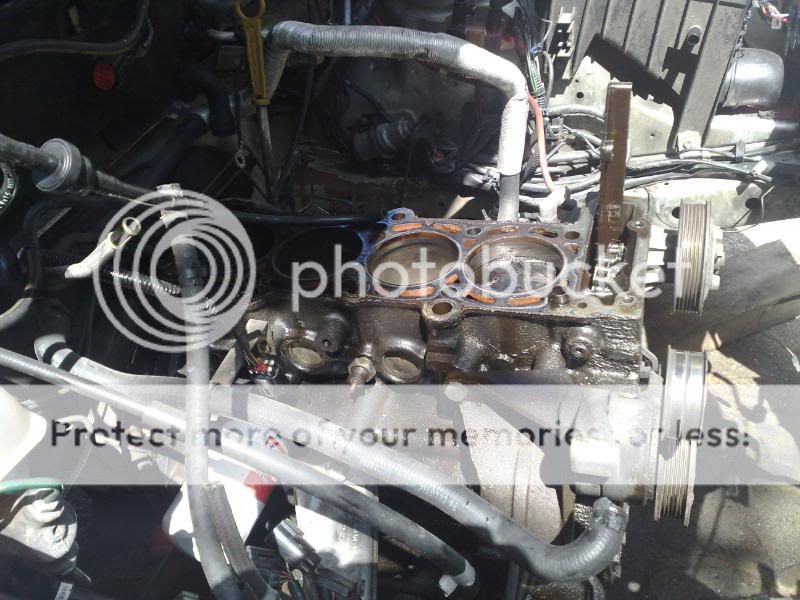
Found our water leak
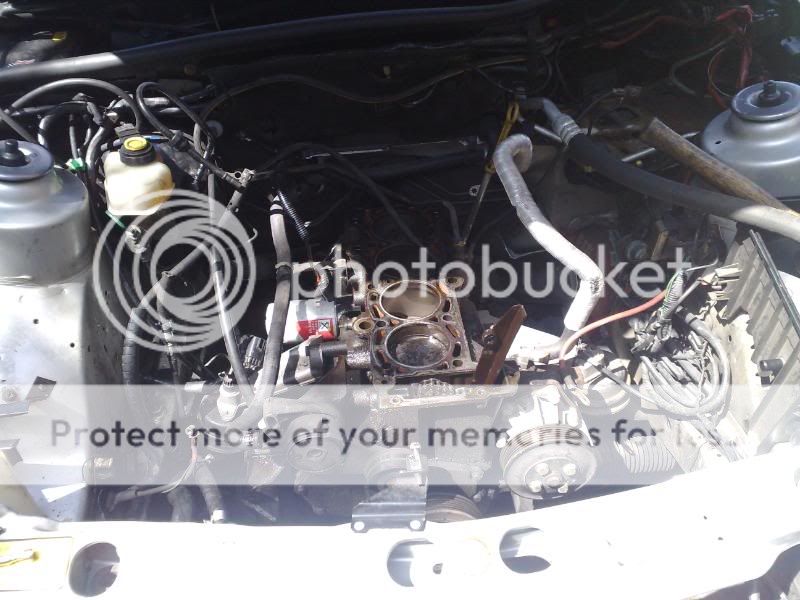
Nice and semi-clean cylinder head area
Head off
Nothing like a bit of wear in the cylinders :cry
Something is missing but I can't quite think what?
Old clutch wasn't too bad, original as well. Release bearing was as dry as the Sahara Desert in a sandstorm though
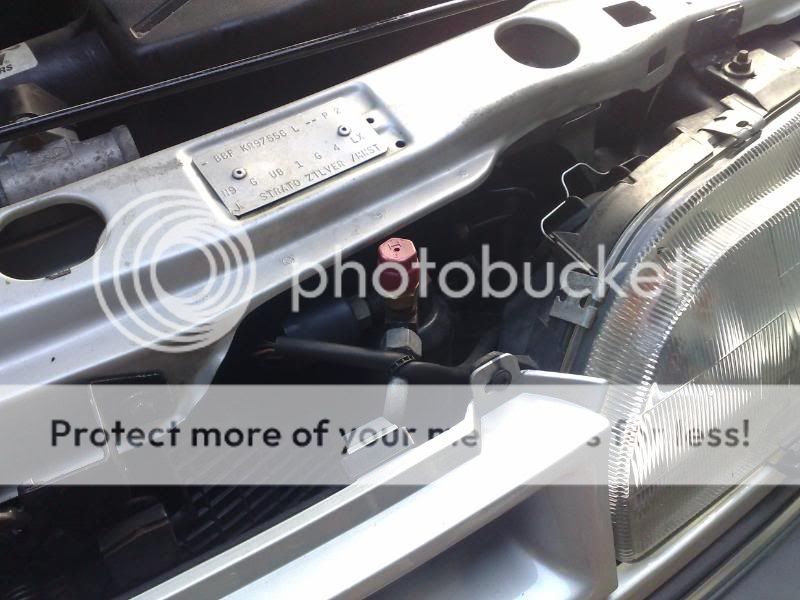
n/s chassis section had been rubbed back and given a quick coat of Stratos Silver. Will need cutting back later
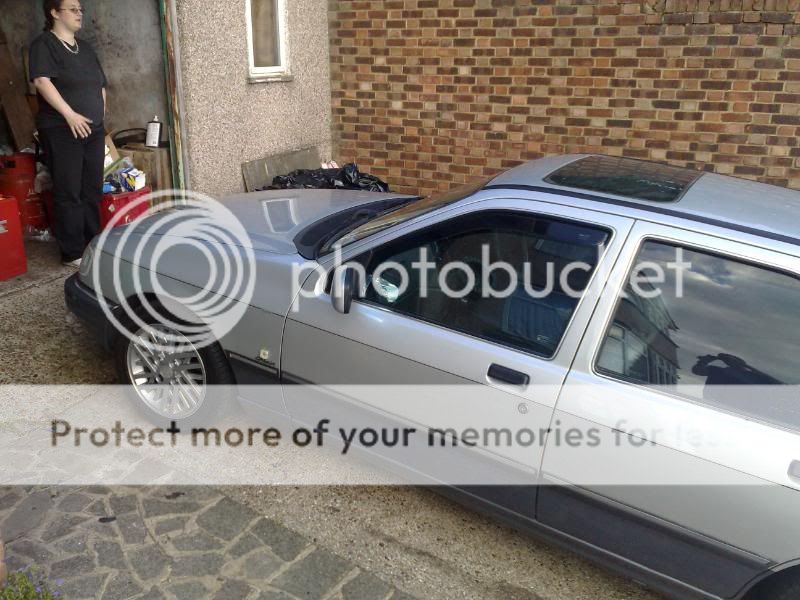
How it sat just before it started raining
Also found out the problem with the steering, both rack seals are gone and oil was mixing with the rack grease, which was then overriding the pressure relief valves, causing a pressure lock when cold.
I had a replacement steering rack and new ends, so that was easily sorted. I have fitted a replacement PAS pump as well. No doubt that will be contaminated with grease and I don't want it getting back into the new rack system.
Also had this horrible dent in the door removed
Some ****hole where Paula works decided the door of his Puma needed the same space as the door and promptly mullered �70 worth of pinstripe. Door is repaired and pinstripe will be getting replaced before it goes back on the road.
Next days work.
Not as much as I hoped to get done, mainly because I had to take a mates BMW 530D M-Sport over to get some new tyres (�476 for a pair :cry ) and also due to having a root nerve exposed in one of my teeth last night which means I have been working with a toothache from hell.
Anyways, on with the photos:
First point of call was to get the new cabling in place, so clutch, throttle, etc... were all removed and replaced with new. Also checked and rebuilt a spare PAS rack with new inner track ends and outer ball-joints. I have reused the old gaiters though as there is nothing wrong with them. Proper clips used throughout as well, none of this cable-tie stuff
New clutch ratchet and pawl assembly as well
While there, swapped the steering column bearing out as well for a new assembly, along with a replacement steering coupling between the rack and the column as there was play in it.
Sorted out a heatshield for the coil and moved one of the alarm sirens as well
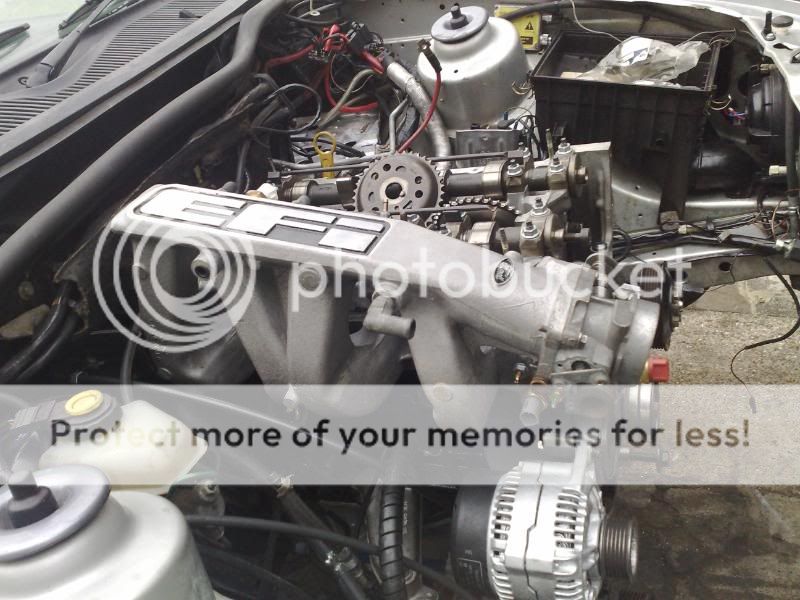
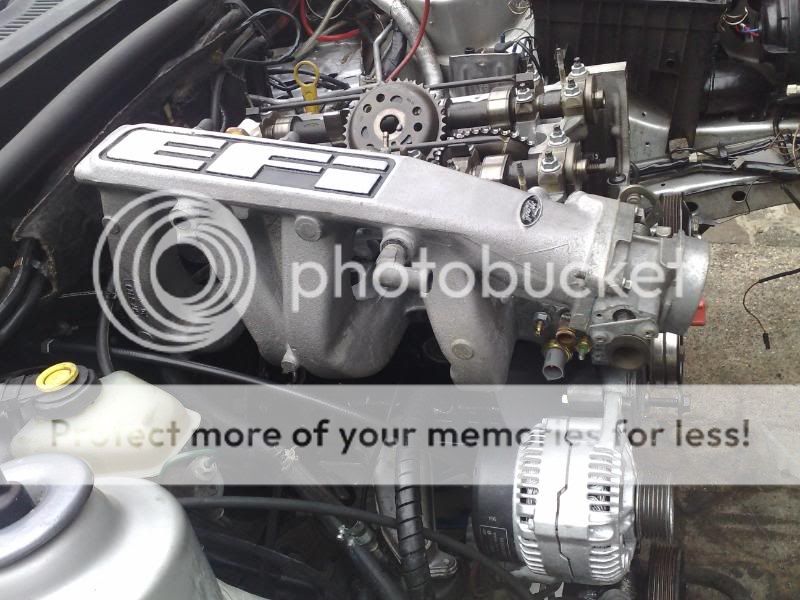
Then it was onto the engine. This somehow had to go back into the engine bay
Once attached to the gearbox again, it was time for the ancilliaries. I have fitted an internal-fan alternator from a Scorpio as it is a lot smaller, but also apparently does not fit a TwinCam.... WRONG!!!!
New PAS pump and pipework went in as well
Then it was time for the cylinder head
TBH, I had left it @ that point that evening. Due to the current pain situation, I wanted to double-check the head settings and timing before I went running the timing chains as it is quite possible that something had more than likely been forgotten and I would like to have run through it again with (hopefully) a clearer head in the morning.
Okay, next instalment.
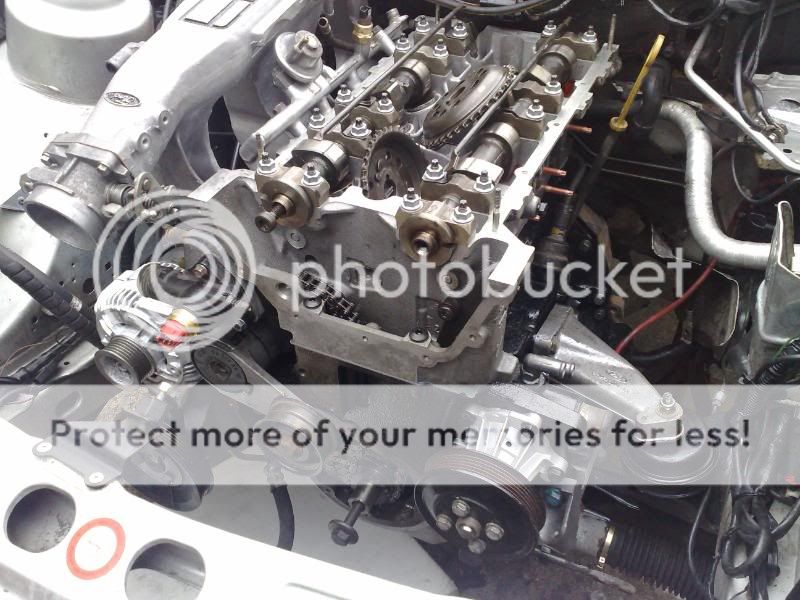
After deciding to walk away from the car for the evening, it was a case of back-to-basics for the engine. The cams were checked and found to be binding in the carriers. After much scratching of heads, it was discovered that my father had accidentally mixed up the cam caps when he took the heads away for cleaning and subsequently the wrong caps had been refitted. This is why it is always worth double-checking everything as you go along. Had the engine been allowed to fire, it is almost certain that engine damage would have occured.
Anyways, onto the pics.
Engine checked over and assembled
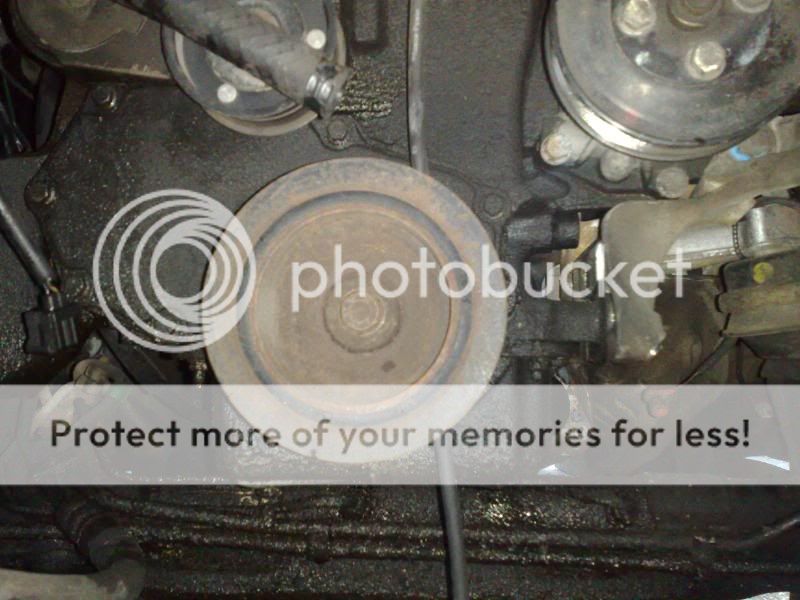
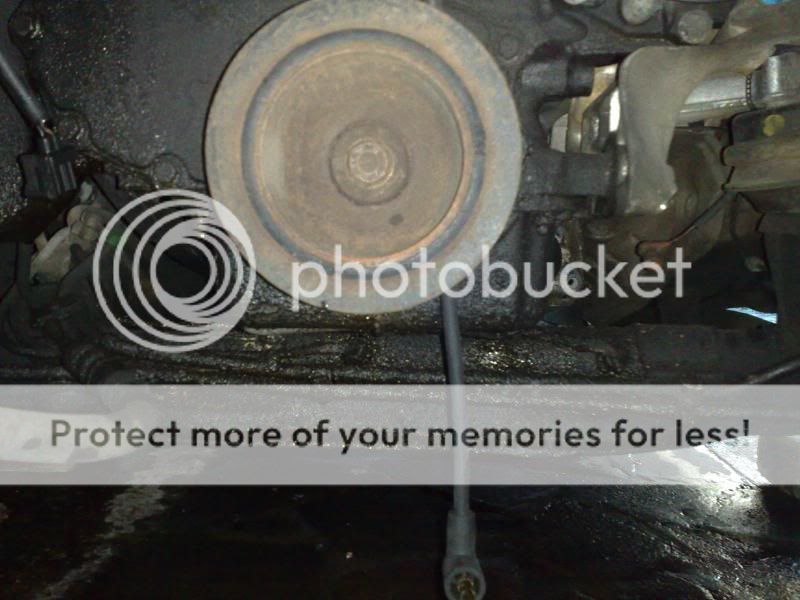
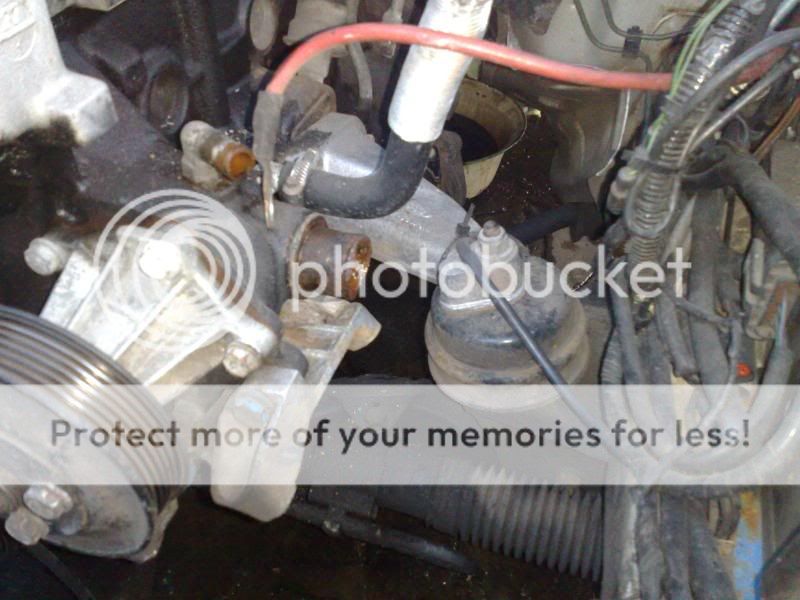
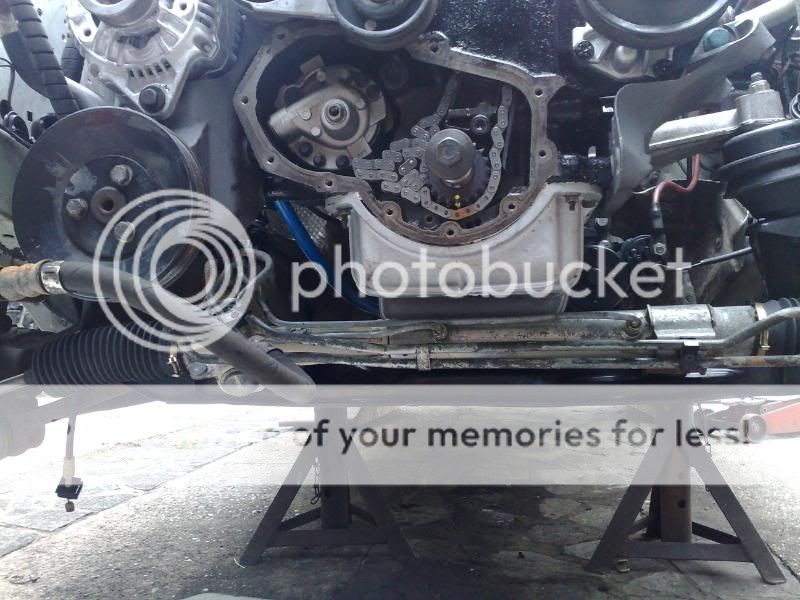
Once the cylinder head was on properly and the timing chain fitted, the oil pump was turned over by hand before the oil chain was installed so as to prime the pump and check for oil leaks. It was a good thing too, as after only a couple of seconds, oil started dribbling from here
Turns out that the previous owner of the engine had removed this blanking plug for something and not refitted it. Oil, therefore, was able to escape @ a rapid rate. Once the plug from the old engine was fitted (along with a bit of VW sealant) it was time to check again. This time, everything was oiltight. Now the oil pump chain could be fitted
It was on with the lower covers and pulleys. The lower pulley is from the later Scorpio model. It is a tin cover instead of the standard plastic one. This provides a better seal for the front of the engine, plus improved security against any foreign road debris managing to crack or penetrate the timeing gear
Then it was time for the exhaust manifold and downpipe. The downpipe was coated in a heat-treatment paint same as the exhaust manifold had and was then covered in an exhaust wrap. This is mainly to keep the starter motor cool as these engines can suffer from starter motor failure due to the proximity of the exhaust system
The rest of the exhaust system was then attached, along with some polyurethane mounts and the rear prop.
All oils were checked and filled, and all the anciliaries reconnected.
And how it all looks now
Yes, the engine bay does need a little cleanup from the greasy fingerprints, etc... but until the aircon system is confirmed sealed, I do not feel it viable as I can do without having a/c oil thrown over a nice, clean engine bay.

Thread
Thread Starter
Forum
Replies
Last Post
FuzzyP
Technical help Q & A
2
Jun 4, 2012 08:47 PM
doga-ot
General Car Related Discussion.
9
Apr 29, 2012 05:24 PM