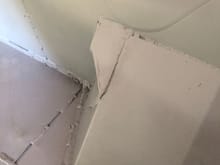
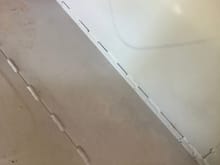
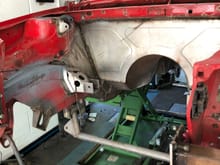
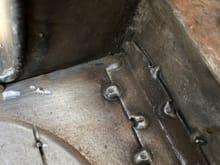
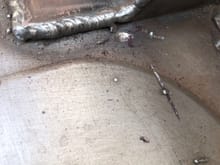
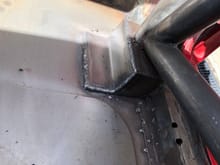
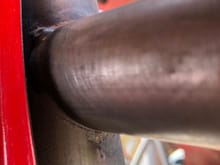
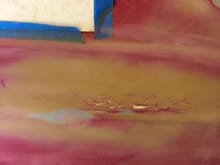
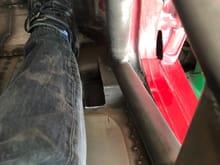
More sanding and filling today, this was the largest area of damage on the wing. I cannot feel any deviations to the touch now so probably one more coat of high build and block it back and that area should be done. There are about 7 repair areas on this wing as it popped 4 of the filled rivets where it joins the car, another crack like the one in the pic and then a crack up the door pillar and along the window ledge. Nearly all sorted now….I hate body work.