xr4 race car
#1
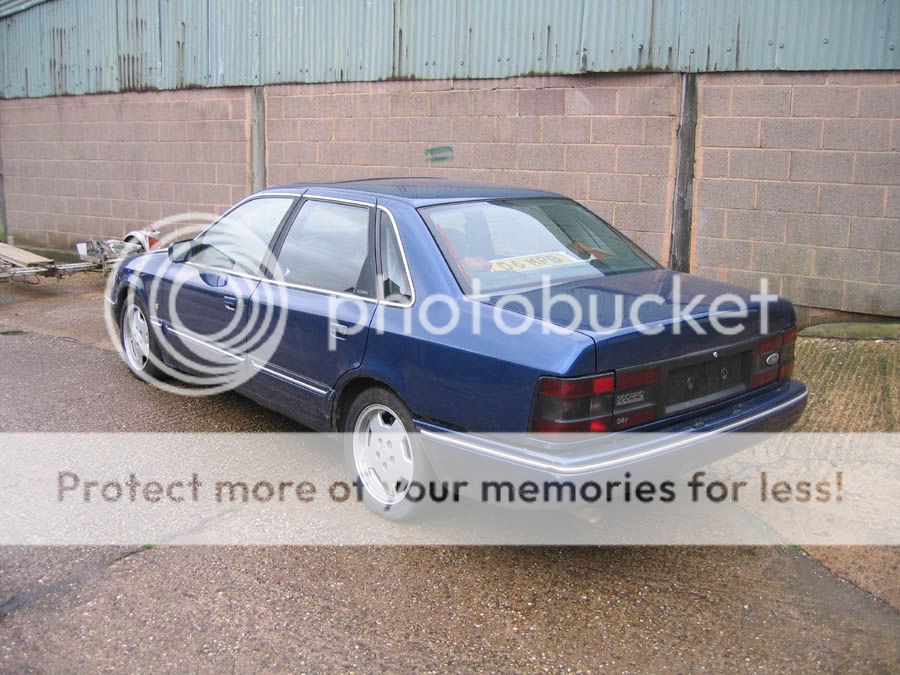
hi guys, as you know i finally sold the westfield recently  but as i aint quite ready to stop having fun just yet ive decided to build a cheapish track car
here she is
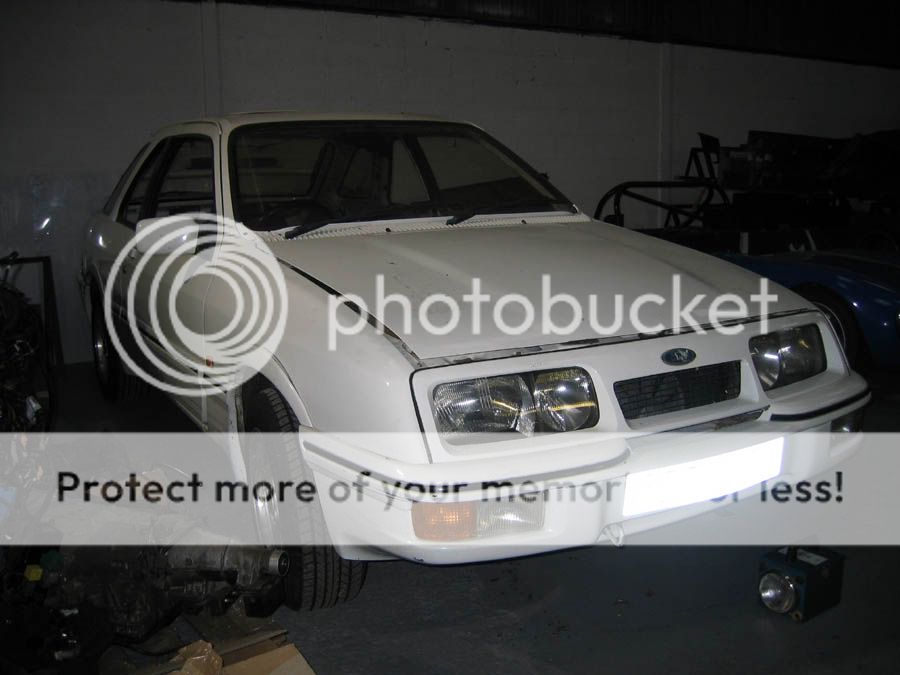
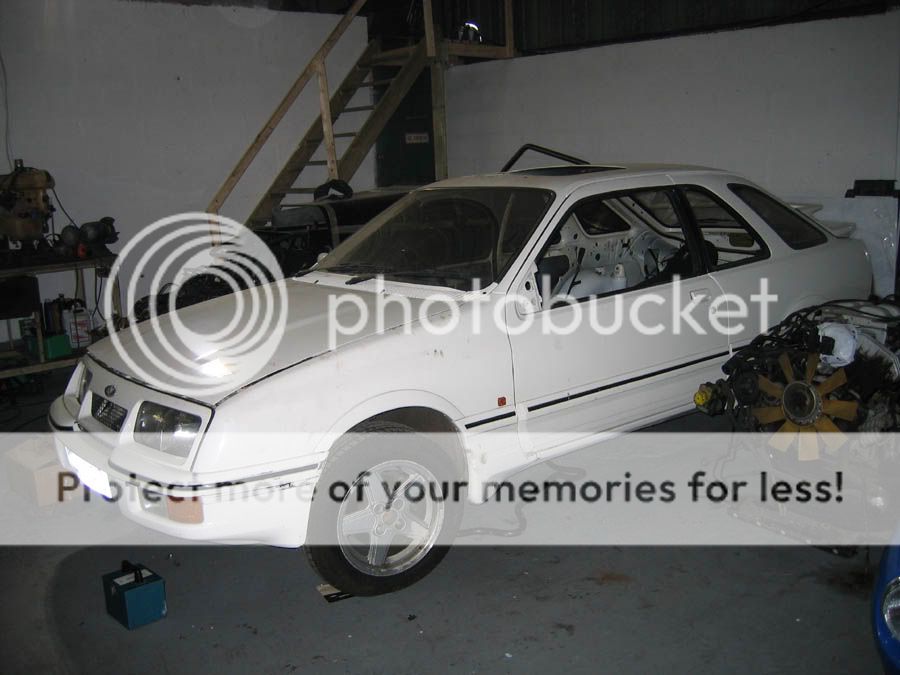
already got her striped out, note how much door skin ive left in there

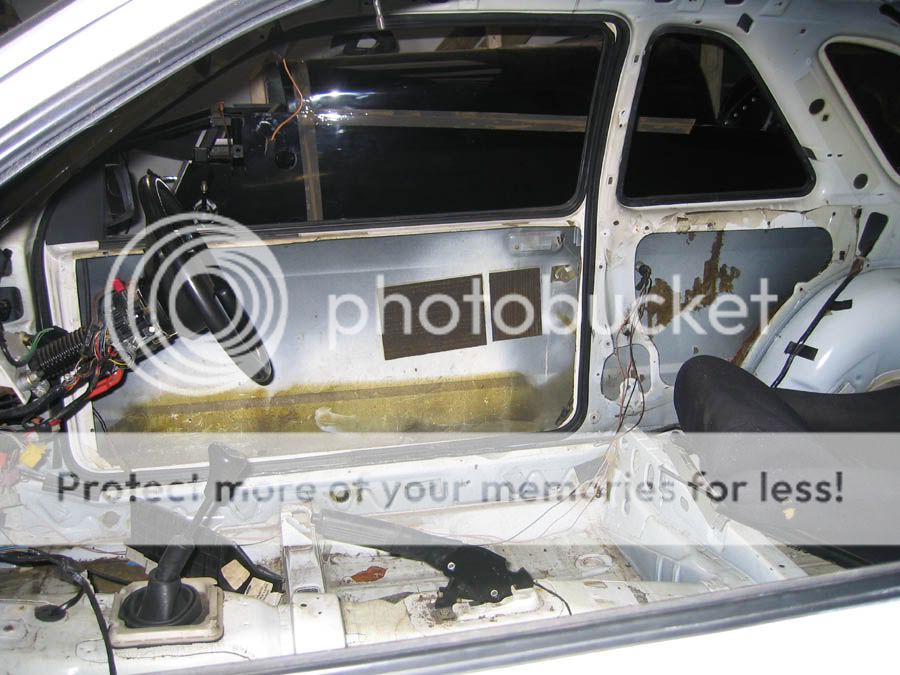
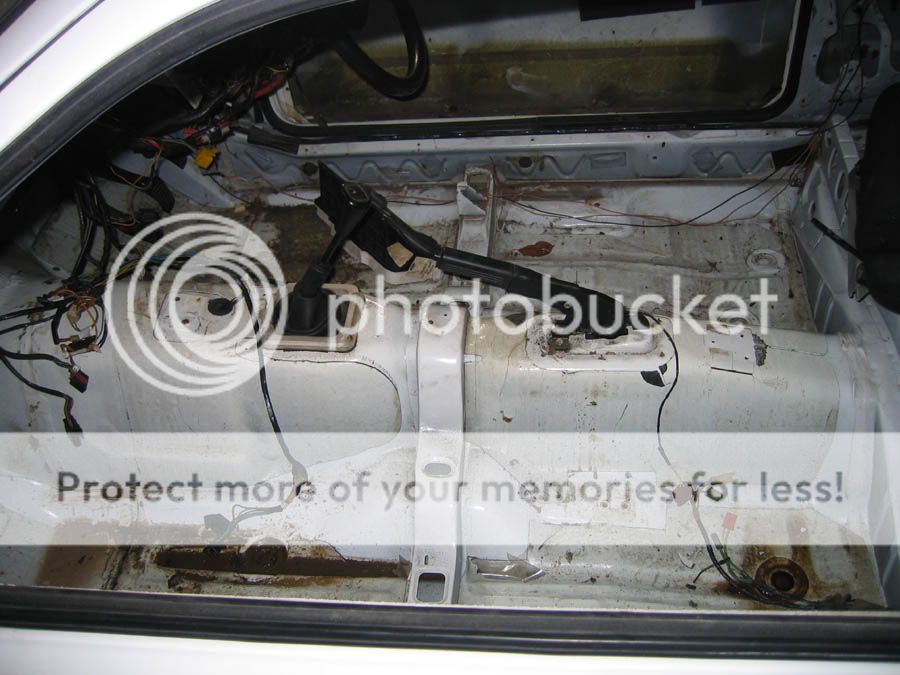
plans for the next weekend are to strip off all the sound deadening, weld in a 6 point cage with integral strutbraces and get the old back end and engine outa there
this is whats going in her
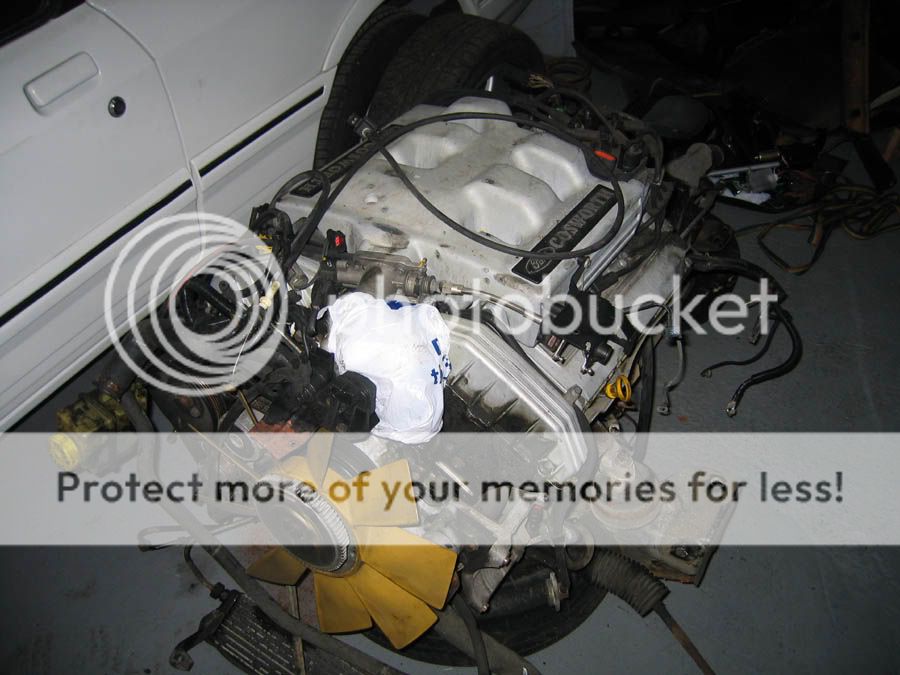
using all the running gear, ie front breaks, engine, compleate rear frame with the lsd in. gunna fit some cossie koni's that i have (may even cut the springs so its non the deck. lol )
)
got a full polybush set to fit, and collecting the bucket seats tonight.
setting a 2k bugget tops! so let the fun begin


here she is


already got her striped out, note how much door skin ive left in there


plans for the next weekend are to strip off all the sound deadening, weld in a 6 point cage with integral strutbraces and get the old back end and engine outa there

this is whats going in her


using all the running gear, ie front breaks, engine, compleate rear frame with the lsd in. gunna fit some cossie koni's that i have (may even cut the springs so its non the deck. lol
 )
)got a full polybush set to fit, and collecting the bucket seats tonight.
setting a 2k bugget tops! so let the fun begin


Trending Topics
#10
2k shoulf be about right imo 
As the Granda 24v V6 cos has loads of the bits on it , Eg Rear beam 7 1/2" diff Brakes ect ect So theres not to much to get imo
I bet the whole car was'nt over £700
As the Granda 24v V6 cos has loads of the bits on it , Eg Rear beam 7 1/2" diff Brakes ect ect So theres not to much to get imo
I bet the whole car was'nt over £700
#11
Originally Posted by 3dr-rally-slag
'setting a 2k bugget tops! so let the fun begin' 
good luck with that
cool project though

good luck with that

cool project though

buckets with harneses £250.
so ive got £850 left to buy metal for the cage, buy and assemble a gearbox for it. and a few other bits
will easy come in on bugget as like said the granada has most of the bits i need, like lsd, breaks ect ect


#13
Originally Posted by darren.cudd
Originally Posted by 3dr-rally-slag
'setting a 2k bugget tops! so let the fun begin' 
good luck with that
cool project though

good luck with that

cool project though

buckets with harneses £250.
so ive got £850 left to buy metal for the cage, buy and assemble a gearbox for it. and a few other bits
will easy come in on bugget as like said the granada has most of the bits i need, like lsd, breaks ect ect


#14
hi guys, time for a long over due update on the old xr 
been mega busy with uni and work over the past months so really been struggeling to get down the unit and work on her
but hey, heres whats been done to date...
sorry for some shit pics, some are just phone shots
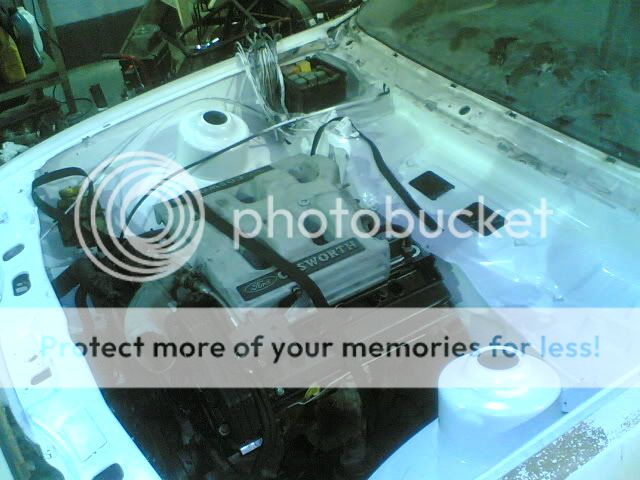
decided to try and clean the moter up a little, not getting into rebuilding it just yet as its ment to be a cheap car dont forget.
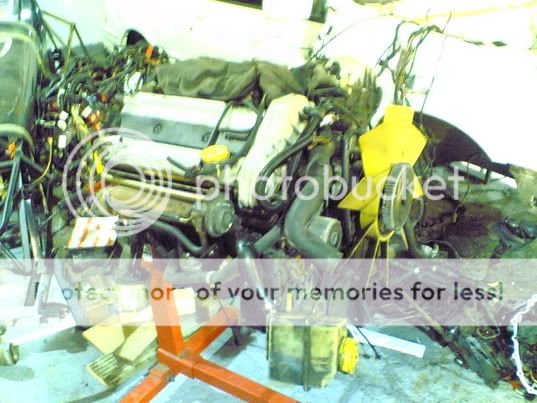
got the rocker covers re-painted. fixed the oil leaks ect. going to steam clean it when its running and i can drive it to work to use there cleaner. lol
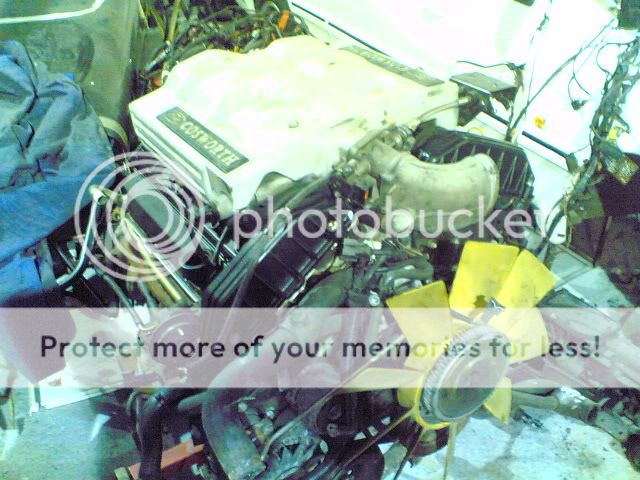
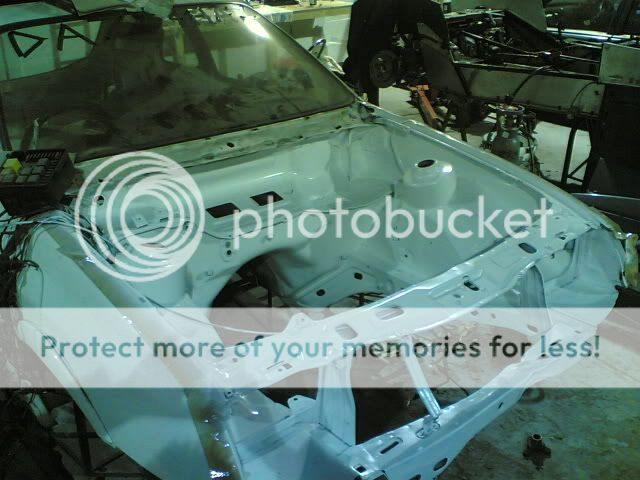
engine bay looked a state, so stripped it all out. ditched the battery tray and a few other un needed bits. battery will be put in the boot later
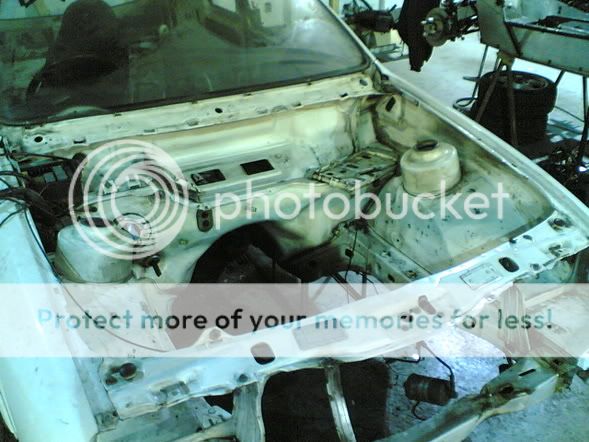
nice new lick of paint
then dropped the mtor back in for a trial fit might just leave it in there now though and bolt the box up later once ive had it built
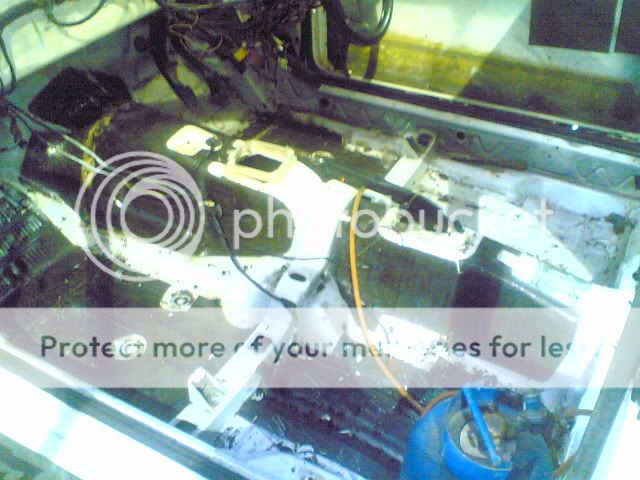
and last job i did today was to strip all the sound proofing out of the interior. what a fun job that was
 increadably i managed to knock 11kg off the car by removing this

will update soon hopefully.

been mega busy with uni and work over the past months so really been struggeling to get down the unit and work on her
but hey, heres whats been done to date...
sorry for some shit pics, some are just phone shots
decided to try and clean the moter up a little, not getting into rebuilding it just yet as its ment to be a cheap car dont forget.

got the rocker covers re-painted. fixed the oil leaks ect. going to steam clean it when its running and i can drive it to work to use there cleaner. lol

engine bay looked a state, so stripped it all out. ditched the battery tray and a few other un needed bits. battery will be put in the boot later

nice new lick of paint

then dropped the mtor back in for a trial fit


and last job i did today was to strip all the sound proofing out of the interior. what a fun job that was
 increadably i managed to knock 11kg off the car by removing this


will update soon hopefully.
#18
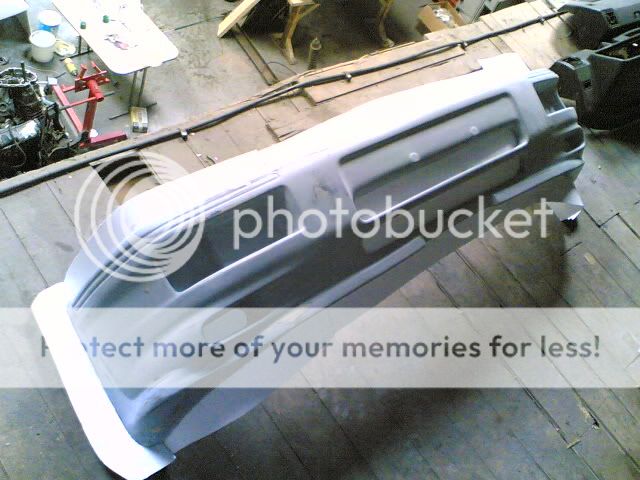
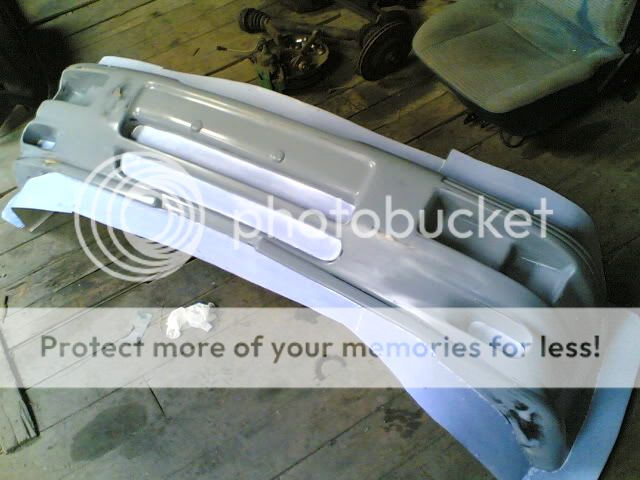
made a start on the rear bumper last night. fudgeass kindly lent it to me so i can mould it. needs allot of work though as whoever moulded it before hand must have been blind and stupid. its a right bloody state  so gunna spent the weekend sorting it out then going to take a freash mould off it
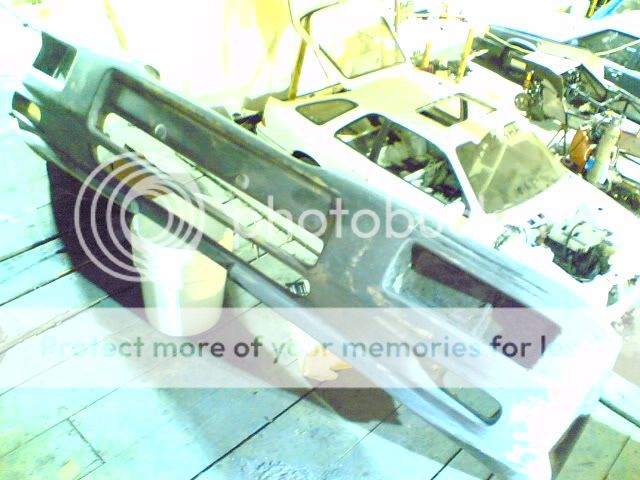
you can see here how bad the mould was, they spent 0 time prepping it
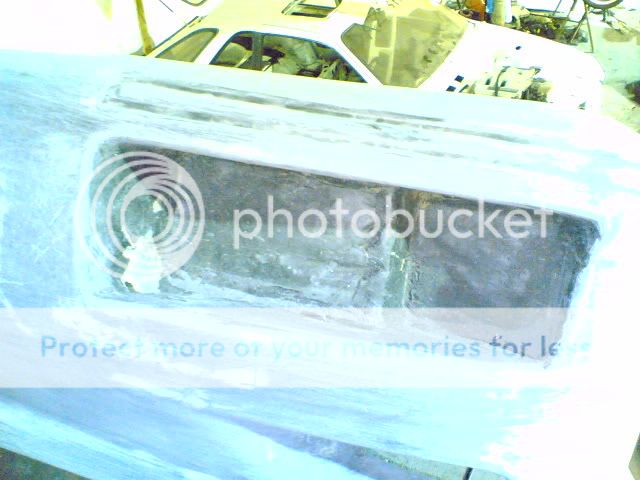

you can see here how bad the mould was, they spent 0 time prepping it


#24
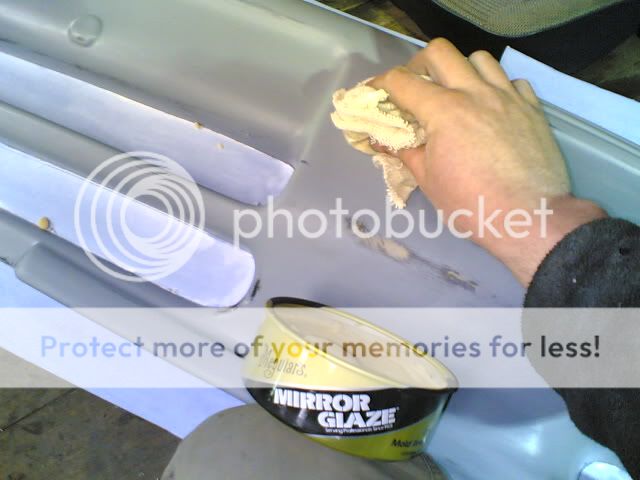
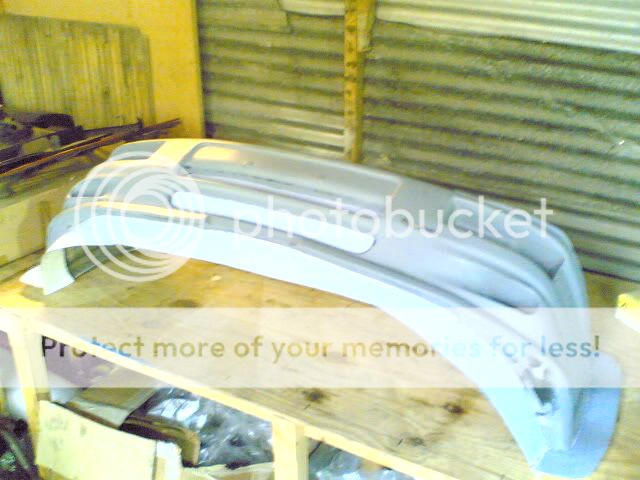
almost finished prepping the bumper today, just gunna let the last layer of high build go off over night then il flat it back with 500's just before i start to re-mould it 
by the way, anyone know what kinda money good qaulity fibreglass rs500 bumpers sell for?
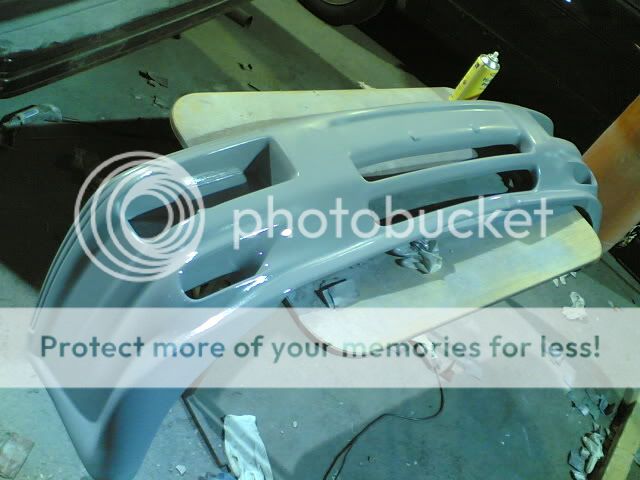
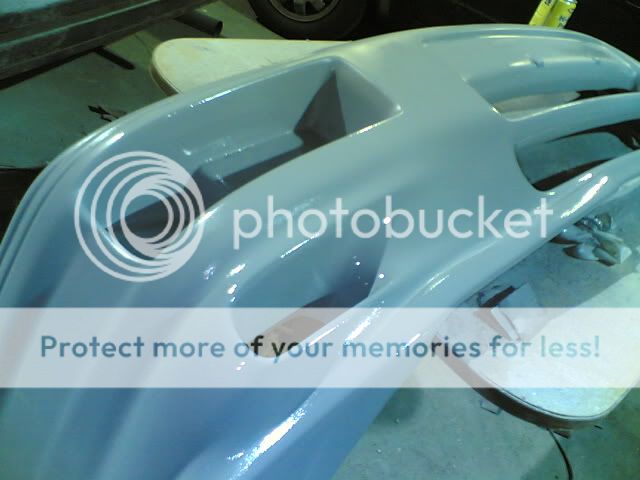
by the way, anyone know what kinda money good qaulity fibreglass rs500 bumpers sell for?


#27
bloody hell mate, that bumper looks 1/2 decent in them pics 

luke, once the primer has gone off and darren flats it back to make it smooth, its then polished several times, and then painted with a gel coat. once the gel coat has gone off, as you said, layers of fibreglass are laid over the bumper. once that all gone off the bumper is knocked out the mould.
then you gotta polish the mould up and the process is repeated on the inside ofthe mould to make another bumper

#28
Originally Posted by fudgeass
bloody hell mate, that bumper looks 1/2 decent in them pics 

luke, once the primer has gone off and darren flats it back to make it smooth, its then polished several times, and then painted with a gel coat. once the gel coat has gone off, as you said, layers of fibreglass are laid over the bumper. once that all gone off the bumper is knocked out the mould.
then you gotta polish the mould up and the process is repeated on the inside ofthe mould to make another bumper


luke, once the primer has gone off and darren flats it back to make it smooth, its then polished several times, and then painted with a gel coat. once the gel coat has gone off, as you said, layers of fibreglass are laid over the bumper. once that all gone off the bumper is knocked out the mould.
then you gotta polish the mould up and the process is repeated on the inside ofthe mould to make another bumper

 this bumper has return flanges in the wheel arch, so i have to make flanges out of card and then lay these 2 end sections up first. when they have gone off the card is removed and the main center section can be laid up. once its all cured the 3 sections are drilled to take bolts. then crack the mould off, bolt the 3 sections together and lay it up.
will probably use some grp tissue after the gell coat as there are some tight spaces and i dont want any air gaps.
i have a whole report that i have written on how to mould stuff, but cant post it up cause the example i used was from work and the component used aint in production yet so can let you see it

if your interested luke then il post up the stages of this bumper as i do it
#31
another quik update to those who where asking how to mold stuff.
ok, finished surfacing the bumper. next step is to card up some flanges. this needs to be done cause there is a return flange on the wheel arch and it wouldnt be possible to get the bumper out the mould if it was done in one piece.
flanges are simply cut from card and super glued in place
next step is to seal the card and any exposed filler, this is done with pva sealer, a few coats are applied to make a perfect seal
next you need to apply release wax, again 3 or 4 layers are advisable.
next is the layer of gell coat, this gives a good surface finnish to the mould. this needs to be left for about an hour (depending on the ammount of catalist)
i use surface tissue next. this is a fine material that makes a barrier between the gell and glas mat to prevent the mat pattern showning through the finnished gell surface. you can see on the tight 90deg corners ive also used loose chopped strand mixed with resin to put a nice radius on them so the mat can follow the surface easier.
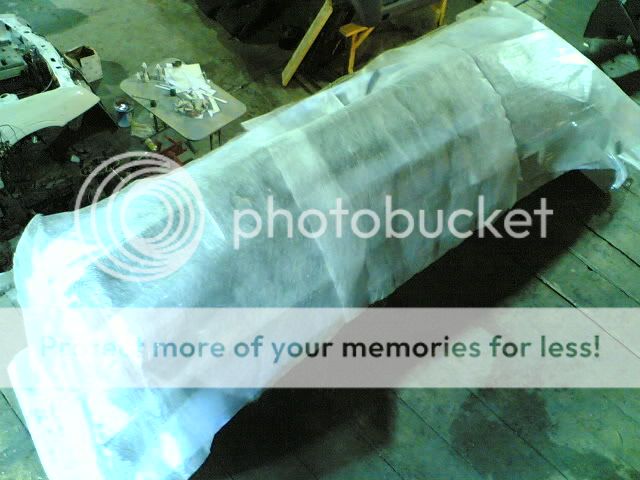
its also easier to push into tight corners to prevent air gaps
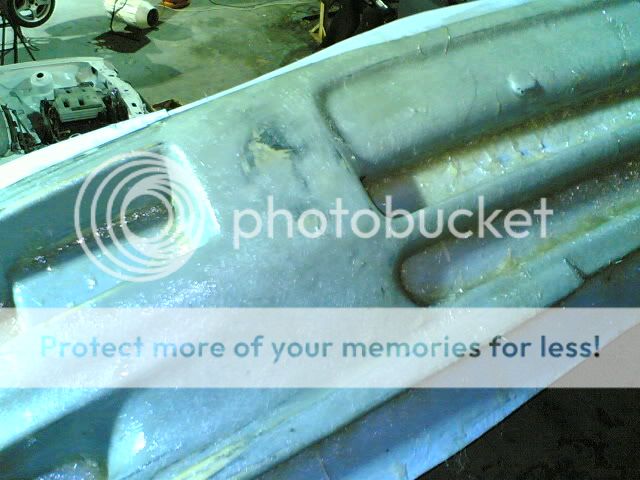
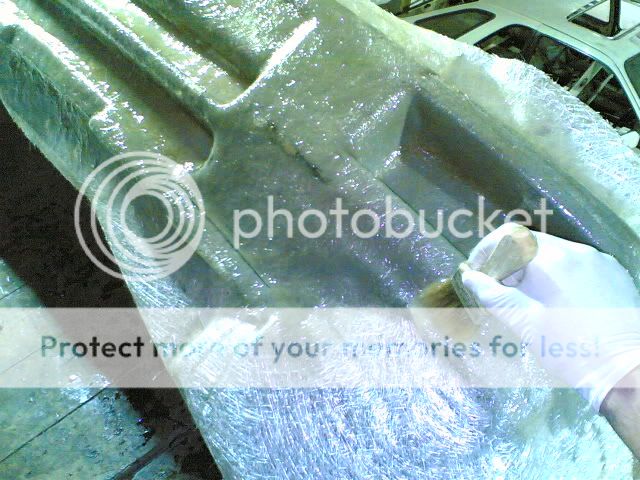
the glass mat goes on next, for a mould tool it needs to be quite thick to prevent it distorting when a new bumper is laid up into it. (glass fibre gets very hot whist curing and it can contract and pull the mould quite a bit if its not strong enough.)
for this tool im using 3 layers of 450 gsm choppped strand mat.
this is the first section finnished.
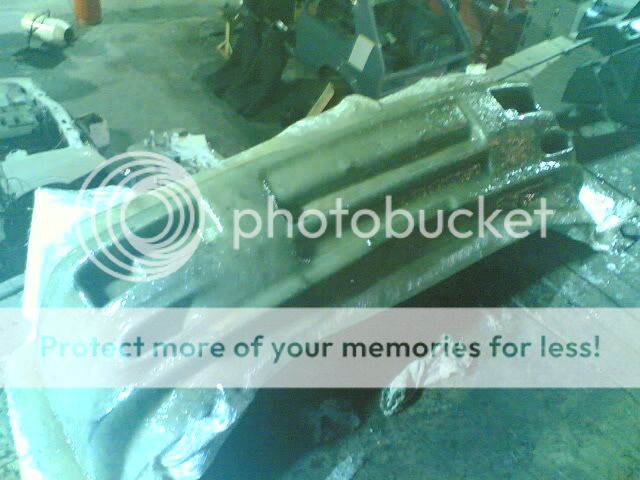
il update with the rest of the process when i get chance to go down the unit and finnish it
ok, finished surfacing the bumper. next step is to card up some flanges. this needs to be done cause there is a return flange on the wheel arch and it wouldnt be possible to get the bumper out the mould if it was done in one piece.
flanges are simply cut from card and super glued in place

next step is to seal the card and any exposed filler, this is done with pva sealer, a few coats are applied to make a perfect seal

next you need to apply release wax, again 3 or 4 layers are advisable.

next is the layer of gell coat, this gives a good surface finnish to the mould. this needs to be left for about an hour (depending on the ammount of catalist)

i use surface tissue next. this is a fine material that makes a barrier between the gell and glas mat to prevent the mat pattern showning through the finnished gell surface. you can see on the tight 90deg corners ive also used loose chopped strand mixed with resin to put a nice radius on them so the mat can follow the surface easier.

its also easier to push into tight corners to prevent air gaps

the glass mat goes on next, for a mould tool it needs to be quite thick to prevent it distorting when a new bumper is laid up into it. (glass fibre gets very hot whist curing and it can contract and pull the mould quite a bit if its not strong enough.)
for this tool im using 3 layers of 450 gsm choppped strand mat.

this is the first section finnished.

il update with the rest of the process when i get chance to go down the unit and finnish it
#34
darren.cudd were do you get all the fiber glass and resen and harderner and now much would i be lookin to pay if i wated anothe to make a mold of to side skirts and then acculy make a set or to of skirts? 


#35
i get all my stuff from here, http://www.cfsnet.co.uk
it can be quite pricy as an example, all the stuff i needed to do this bumper mould and probably enough left to make about 3-4 bumpers cost me around £350
you have to remember that you need resin, gel coat, tissue, glass mat, cleaning acatone, brushes,rollers,superglue, superglue activator, release wax, pva sealer, vent mask, buckets ect. it all adds up
then you would really need an air saw for trimming suff out as its pretty shit trying to do it any other way.
for a set of side skirt moulds and a set of new componets your probably looking at about £200ish to be on the safe side.
it can be quite pricy

you have to remember that you need resin, gel coat, tissue, glass mat, cleaning acatone, brushes,rollers,superglue, superglue activator, release wax, pva sealer, vent mask, buckets ect. it all adds up
then you would really need an air saw for trimming suff out as its pretty shit trying to do it any other way.
for a set of side skirt moulds and a set of new componets your probably looking at about £200ish to be on the safe side.
#38
Ok another update on the bumper.
Have done the return flanges.
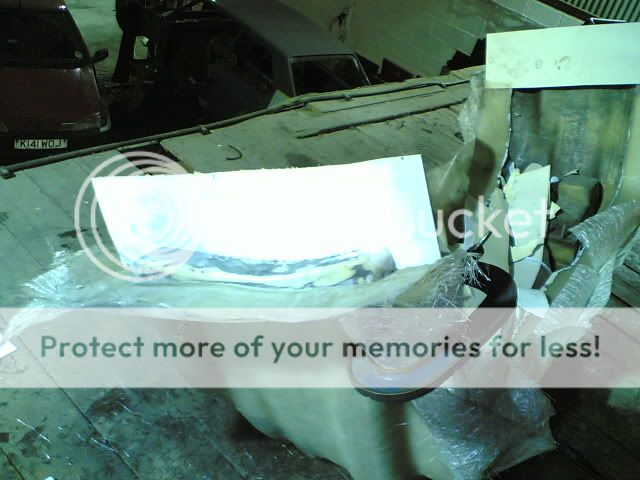
All waxed up again,

Then glass mat goes on and is left over night to cure,
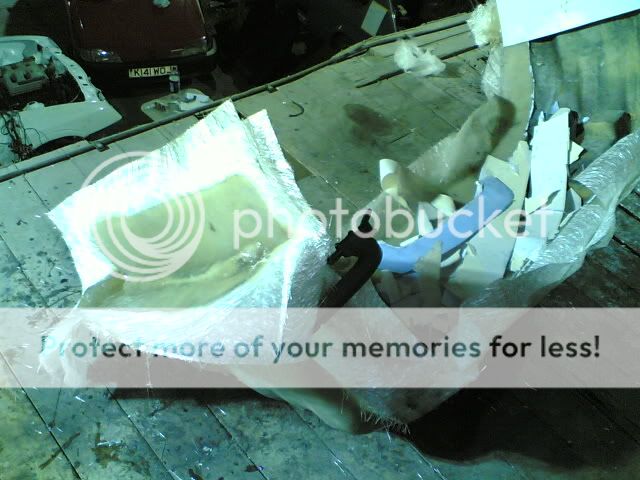 .
.
that’s the whole bumper mould laid up then next job was to trim it up so its a bit neater. An air saw is best for this but if you don’t have one you can use a cutting disk on a grinder (makes a hell of a mess though) or even a normal saw for straight lines.
You want to leave a flange of at least a few inches still sticking out from the mould
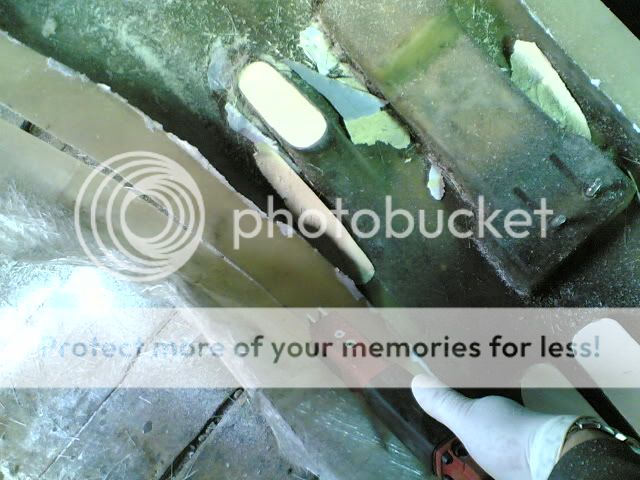
With it all trimmed out the location holes are drilled for the return flanges,

Then a rubber or soft mallet is used to GENTLY tap the mould to release it from the master component (its very important you don’t hit it hard cause you will just crack the tool and scrap the whole job.) this is exactly what someone did to this original bumper in the first place that made it so crap!
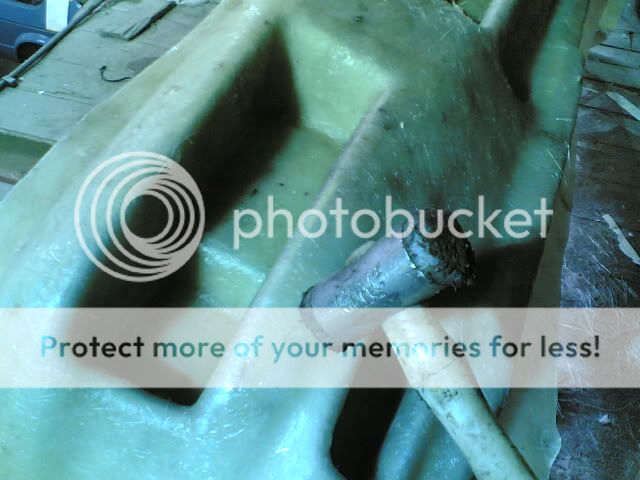
Now, before I take the new tool off the master bumper I need to brace it. This isn’t really needed with smaller tools but the bumper is a big span and will distort a little when a new component pulls as it cures. So a nice neat fitting cross brace is cut to profile and bonded to the face of the tool. You have to key up the surface of the glass with very coarse sand paper to give the bonding sealer something to grip to. This is left over night to set and then when I go back tomorrow I will have a nice new tool and I can finally start making some bloody bumpers. lol
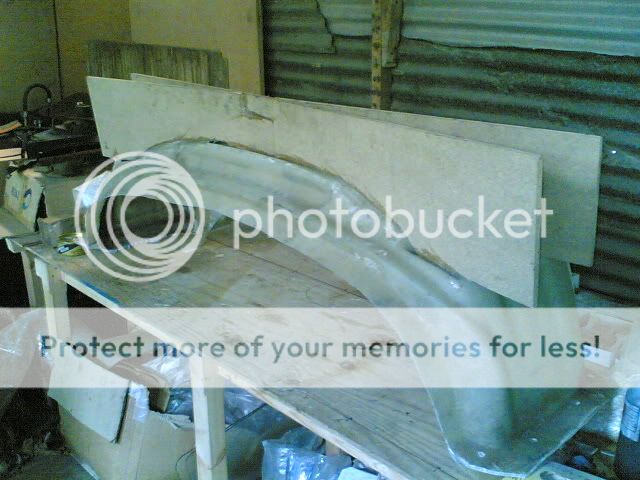
Have done the return flanges.

All waxed up again,

Then glass mat goes on and is left over night to cure,
 .
.that’s the whole bumper mould laid up then
You want to leave a flange of at least a few inches still sticking out from the mould

With it all trimmed out the location holes are drilled for the return flanges,

Then a rubber or soft mallet is used to GENTLY tap the mould to release it from the master component (its very important you don’t hit it hard cause you will just crack the tool and scrap the whole job.) this is exactly what someone did to this original bumper in the first place that made it so crap!


Now, before I take the new tool off the master bumper I need to brace it. This isn’t really needed with smaller tools but the bumper is a big span and will distort a little when a new component pulls as it cures. So a nice neat fitting cross brace is cut to profile and bonded to the face of the tool. You have to key up the surface of the glass with very coarse sand paper to give the bonding sealer something to grip to. This is left over night to set and then when I go back tomorrow I will have a nice new tool and I can finally start making some bloody bumpers. lol


