Ok another update on the bumper.
Have done the return flanges.

All waxed up again,

Then glass mat goes on and is left over night to cure,
.
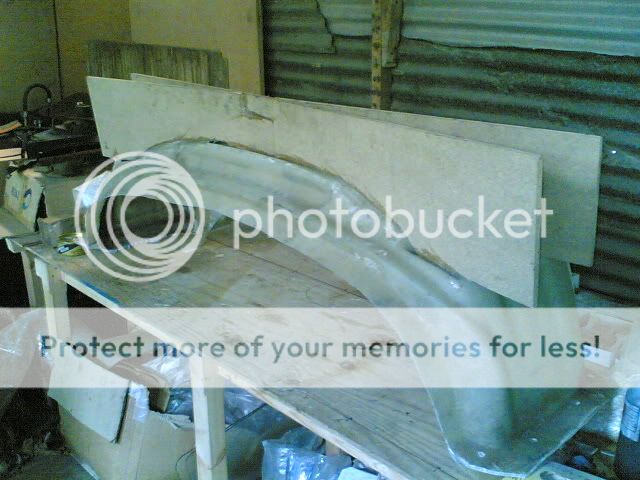
that�s the whole bumper mould laid up then

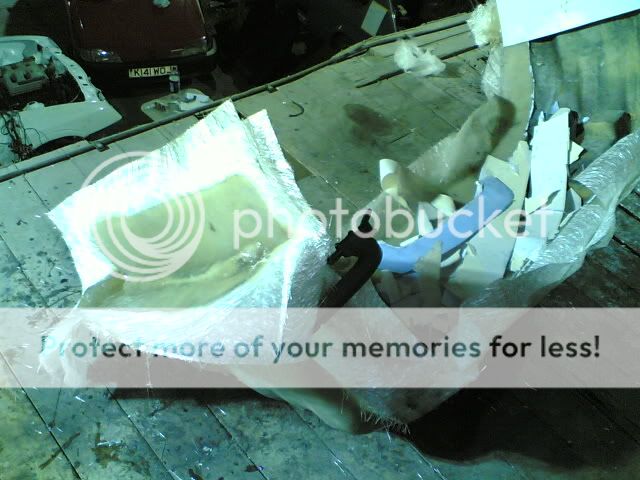
next job was to trim it up so its a bit neater. An air saw is best for this but if you don�t have one you can use a cutting disk on a grinder (makes a hell of a mess though) or even a normal saw for straight lines.
You want to leave a flange of at least a few inches still sticking out from the mould
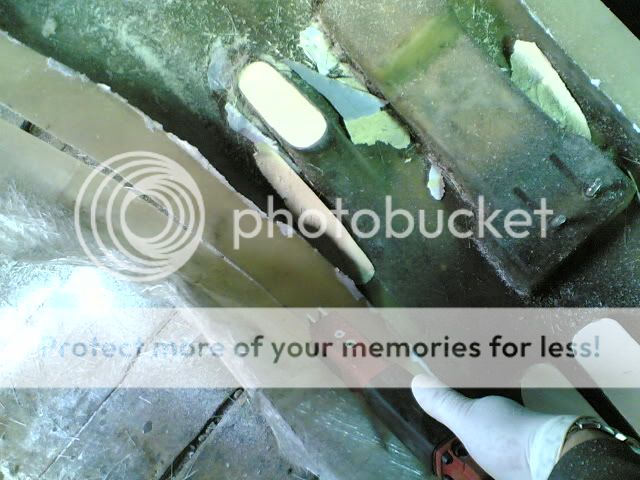
With it all trimmed out the location holes are drilled for the return flanges,

Then a rubber or soft mallet is used to GENTLY tap the mould to release it from the master component (its very important you don�t hit it hard cause you will just crack the tool and scrap the whole job.) this is exactly what someone did to this original bumper in the first place that made it so crap!

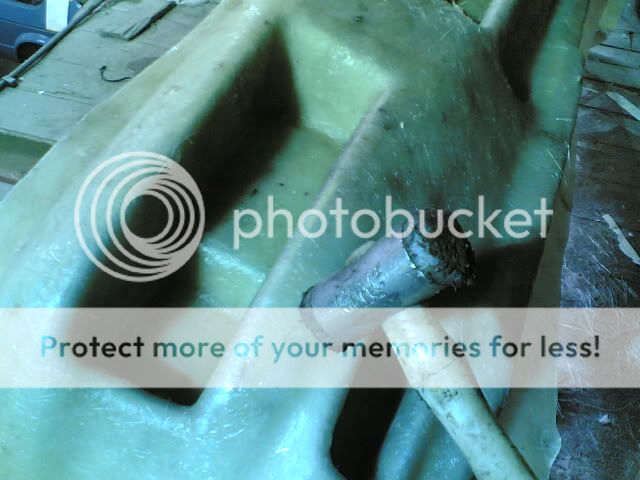
Now, before I take the new tool off the master bumper I need to brace it. This isn�t really needed with smaller tools but the bumper is a big span and will distort a little when a new component pulls as it cures. So a nice neat fitting cross brace is cut to profile and bonded to the face of the tool. You have to key up the surface of the glass with very coarse sand paper to give the bonding sealer something to grip to. This is left over night to set and then when I go back tomorrow I will have a nice new tool and I can finally start making some bloody bumpers. lol