Escort Cosworth M3NTE TINY update page 13 Nov 15th 2007
#293
Jason, it is a bit fidly, but opnce you have done a couple of unions its not bad... What you having done, guess you got on ok with the pump, I have been offline this weekend I'm afraid, sorry I didnt reply sooner 
#296
Damo,
I wonder if I could have some advice - inspired by the work you and some of the other guys have done on your cars I have started doing quite a few bits to my escos, Had a nightmare with the engine mounts - had to take the oilcooler off is this the norm?? Anyway is there any thing I should watch out for when I refit it ( pinched seals etc.. do all seals have to be changed or just the large one that joins the cooler to the arm?
Sorry to be a pain - last question - when you painted your cam-cover did you have heat proof paint made, if not did you use primer? also would you recomend removing all the old paint or just the loose bits?
Can't believe you aint sold the beast yet!
Any adivice from you other guys would help too!!
Cheers
( attached is a pic of my escos on stands..... )
[img][/img]
I wonder if I could have some advice - inspired by the work you and some of the other guys have done on your cars I have started doing quite a few bits to my escos, Had a nightmare with the engine mounts - had to take the oilcooler off
 is this the norm?? Anyway is there any thing I should watch out for when I refit it ( pinched seals etc.. do all seals have to be changed or just the large one that joins the cooler to the arm?
Sorry to be a pain - last question - when you painted your cam-cover did you have heat proof paint made, if not did you use primer? also would you recomend removing all the old paint or just the loose bits?
Can't believe you aint sold the beast yet!
Any adivice from you other guys would help too!!
Cheers

( attached is a pic of my escos on stands..... )
[img][/img]
#297
Wouldve been easier to drop the subframe to change mounts I reckon???
Re the cam cover, clean old paint off with nitromors, clean with thinners, etch prime (U-pol Acid 8 or the like) Base coat and 2 pack clear
HTH
Damian
Re the cam cover, clean old paint off with nitromors, clean with thinners, etch prime (U-pol Acid 8 or the like) Base coat and 2 pack clear
HTH
Damian
#300
Dave,
I had the sub-frame on stands and had the engine jacked up - but could not jack it high enough to get the mounts off so I had to remove the mounting arms...... right hand side arm was a real pain ended up removing the oil-cooler.... As Damo has said I should have probably dropped the sub-frame as well - never mind it needed an oil change....
How do attach photos? I tried and failed the other night!!
I had the sub-frame on stands and had the engine jacked up - but could not jack it high enough to get the mounts off so I had to remove the mounting arms...... right hand side arm was a real pain
 ended up removing the oil-cooler.... As Damo has said I should have probably dropped the sub-frame as well - never mind it needed an oil change....
 How do attach photos? I tried and failed the other night!!
#303
Originally Posted by tgsday
Dave,
I had the sub-frame on stands and had the engine jacked up - but could not jack it high enough to get the mounts off so I had to remove the mounting arms...... right hand side arm was a real pain ended up removing the oil-cooler.... As Damo has said I should have probably dropped the sub-frame as well - never mind it needed an oil change....
How do attach photos? I tried and failed the other night!!
I had the sub-frame on stands and had the engine jacked up - but could not jack it high enough to get the mounts off so I had to remove the mounting arms...... right hand side arm was a real pain
 ended up removing the oil-cooler.... As Damo has said I should have probably dropped the sub-frame as well - never mind it needed an oil change....
 How do attach photos? I tried and failed the other night!!
hhmmm. strange, when i fitted,my vibratechnics, i just jacked the engine up/// must just be one of those strange things .
as for attatching photos. Go to www.photobucket.com, set up a free account. upload your pictures. Then use the tags it gives you and paste them on here. (should start with img and and in /img )
#304
Dave,
I have seen your car now.......
I dont think I can say too many words about the work you have done....
But I did add some coments on your thread, how long to completion?
I have caught the bug big time and am spending large amounts of cash on getting my car as I want it, but have had a few problems along the way - a rouge repair on the ecu that stopped one of Ahmed's stage 3's working. Ahmed has my ecu at the moment so hopfully it will be fixed soon.
Now the car is off the road I decided to totally weather proof the underside / change mounts / clean engine / change fuel pump etc.......
I dont know if you can tell me where I can get a fitting kit for a 044 bosch pump?
Keep up the fantastic work!

#305
thanks for the kind comments. 
Mike Rainbird from here can source you a fitting kit. But to be honest. YOu could probably make one yourself.
a jubilee clip to hold the pump to the sender
a short rubber hose from pump nozzle to feed pipe welded to the cradle
then a small bit of wiring from the pump to the cradle
UNLESS you want to use aeroquip then go for the mike R kit
any questions, just hollar
#307
tgsday,
Ive had mine just over 3 years now.... at 320-330.... they are MORE than ample quick enough.... you WONT be disappointed ( well at least until you break something lol)
heeman10, put it this way as soon as stuff was delivered .... it was fitted

Ive had mine just over 3 years now.... at 320-330.... they are MORE than ample quick enough.... you WONT be disappointed
heeman10, put it this way as soon as stuff was delivered .... it was fitted

#308
Right, Thursday a few bits I have been waiting for were delivered!!
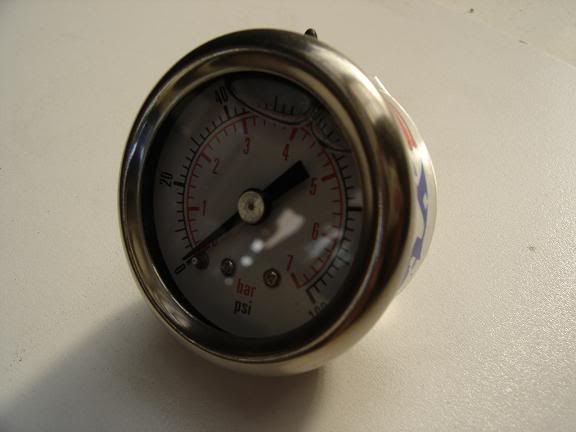
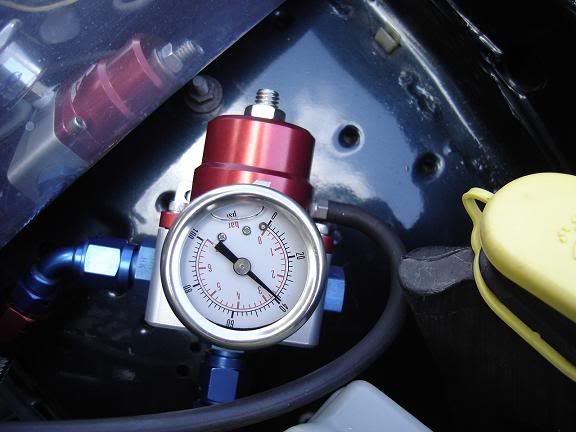
Firstly, courtesy of Martin at MEF Motorsport, a fuel pressure gauge...
The 12 point Pectel boost pot I ordered a couple of weeks ago via Harvey at SCS....
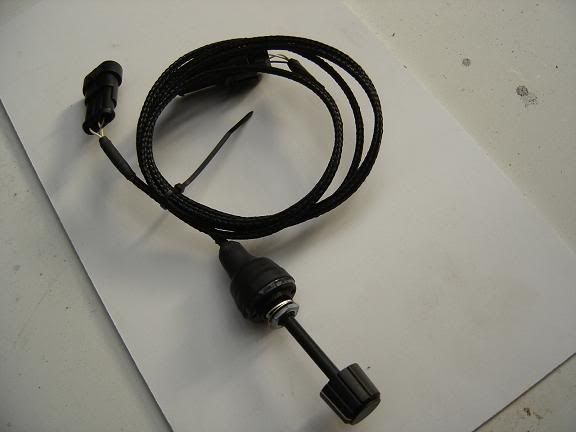
This plugs straight into my Pectel loom and does what it says on the tin LOL
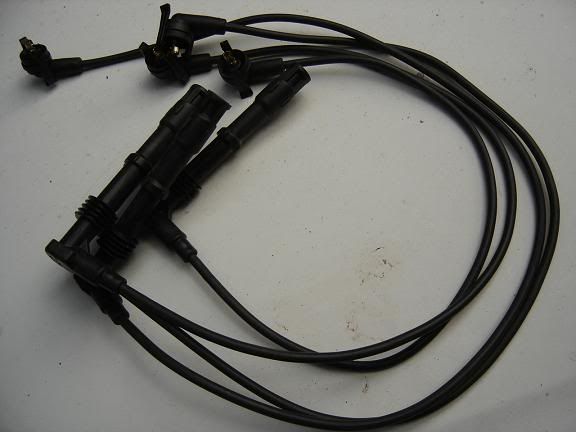
Finally.... Duh duh duuuuuuhhhh... The long elusive custom length BLACK plug leads, for my coil pack
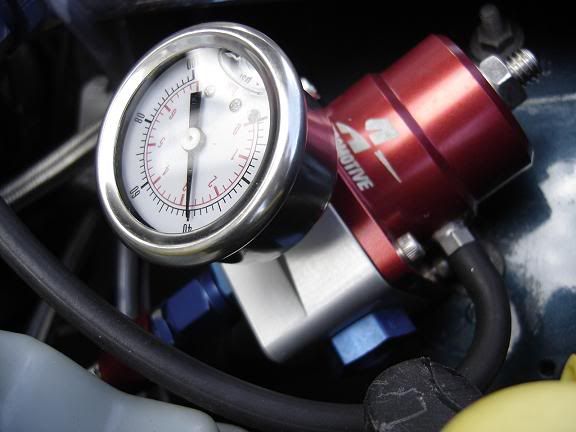
Fuel pressure guage in place (cant understand why its reading under 3 Bar at idle though )
)
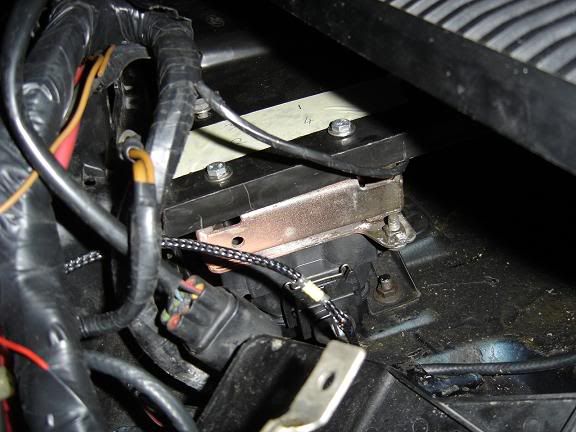
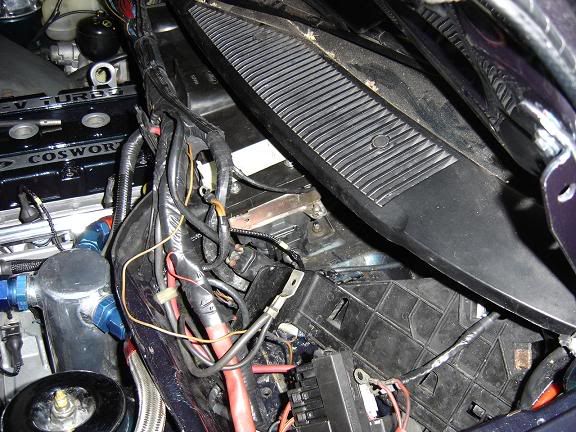
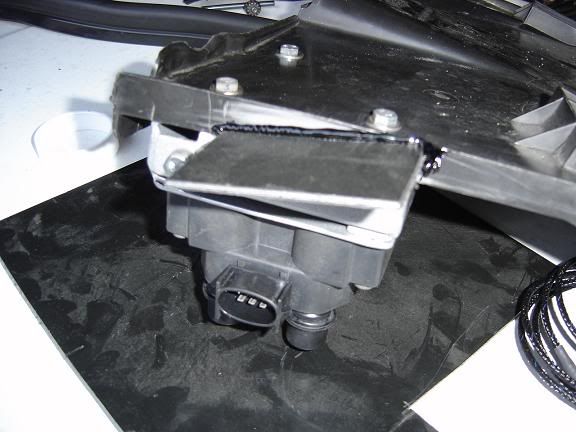
As you may remember I chose to mount my coil pack between the heater blower and battery, below the tray which covers the blower motor
 The below pic shows the grill below the windscreen obviously this allows water into this area, so I had to do something to protect the multiplug / loom on the side of the coil pack
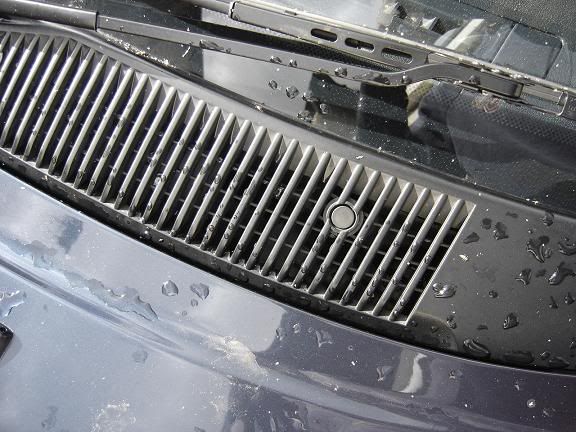
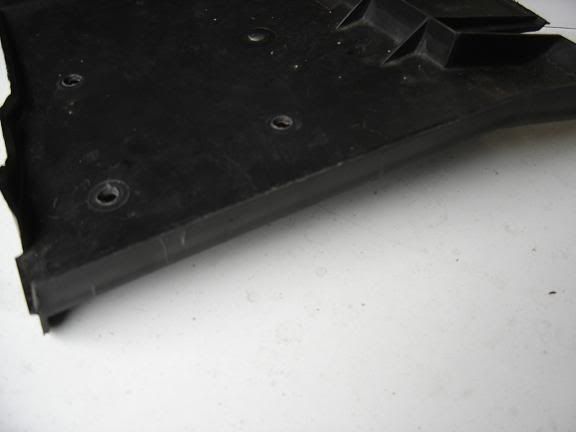
So a small piece of plastic, welded in place
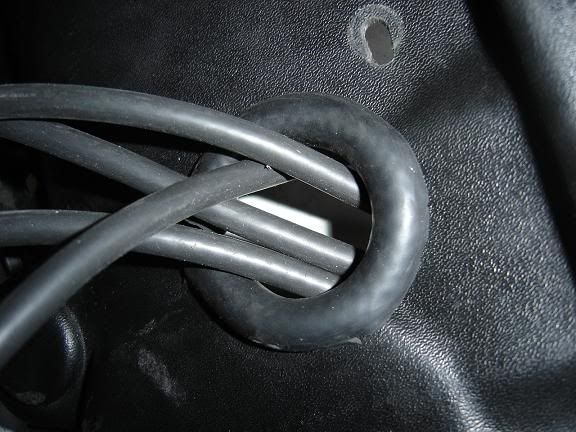
Cut a hole in the plastic bulkhead, used some rubber hose to prevent "chaffing" of the leads
All back in place, need not have bothered powdercoating the bracket.... Cant even see it
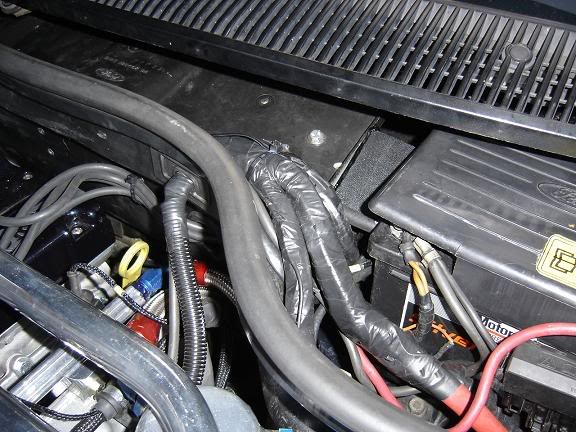
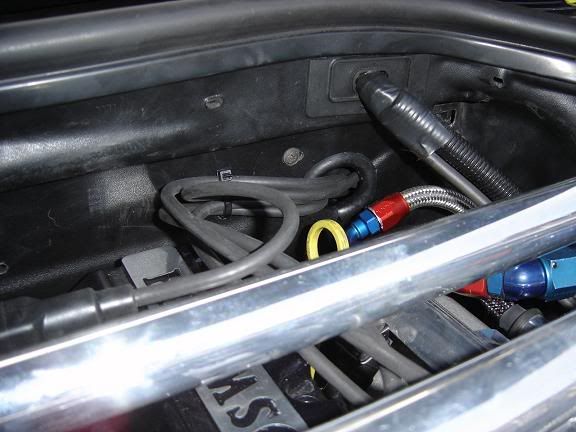
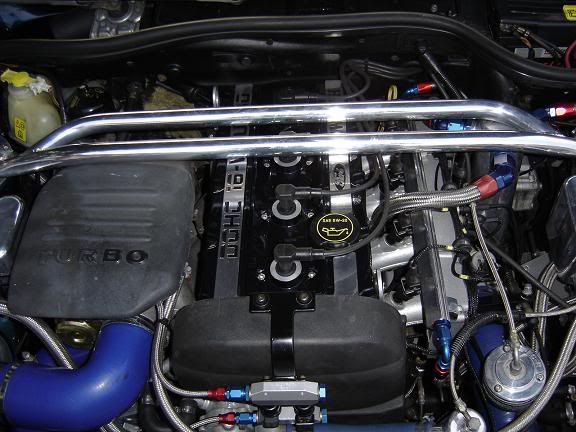
I'm happy with it, I think it all looks rather neat, though I hope I dont have any issues with the leads/coil pack dont want to be taking them out again in a hurry
Finally, the Boost Pot in place
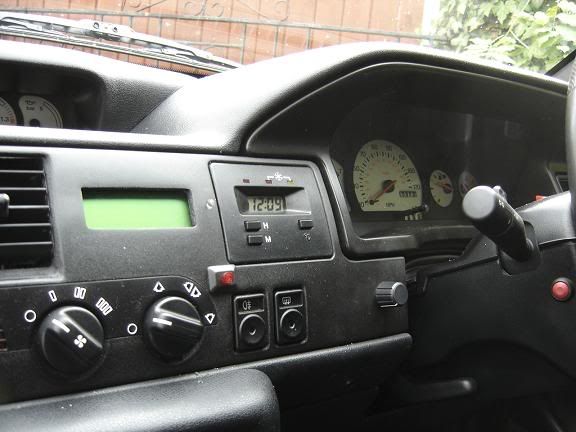
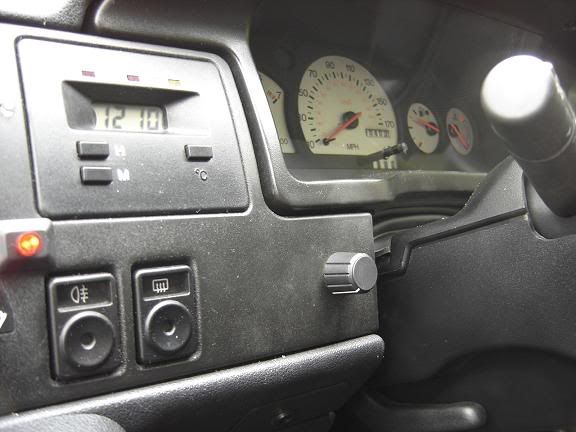
Thats about it now... I need a small union for the fuel reg vac hose, as I have some braided hosing for that, I want to get the car in the air and check everything thoroughly fluids bolts etc, make sure its all in order as I have done 1400 miles since it was all fitted, then off to see Ahmed!!!
Quite excited now!!
Oh and a HUGE thank you to Dave for lending me his "Spare" set of leads and coil pack Nice one Bruvva
Firstly, courtesy of Martin at MEF Motorsport, a fuel pressure gauge...

The 12 point Pectel boost pot I ordered a couple of weeks ago via Harvey at SCS....

This plugs straight into my Pectel loom and does what it says on the tin LOL
Finally.... Duh duh duuuuuuhhhh... The long elusive custom length BLACK plug leads, for my coil pack

Fuel pressure guage in place (cant understand why its reading under 3 Bar at idle though


As you may remember I chose to mount my coil pack between the heater blower and battery, below the tray which covers the blower motor


So a small piece of plastic, welded in place

Cut a hole in the plastic bulkhead, used some rubber hose to prevent "chaffing" of the leads

All back in place, need not have bothered powdercoating the bracket.... Cant even see it


I'm happy with it, I think it all looks rather neat, though I hope I dont have any issues with the leads/coil pack
 dont want to be taking them out again in a hurry
Finally, the Boost Pot in place


Thats about it now... I need a small union for the fuel reg vac hose, as I have some braided hosing for that, I want to get the car in the air and check everything thoroughly fluids bolts etc, make sure its all in order as I have done 1400 miles since it was all fitted, then off to see Ahmed!!!
Quite excited now!!
Oh and a HUGE thank you to Dave for lending me his "Spare" set of leads and coil pack
 Nice one Bruvva
#309
Originally Posted by Damo V
Fuel pressure guage in place (cant understand why its reading under 3 Bar at idle though  )
)


Cossie fuel pressure should be 3.5 bar at atmospheric pressure. Pull the vac pipe off and see what it reads (should be 3.5 bar).
#312
Nice install 
Same as i was just thinking Daz  Put your finger over the end of the vac hose to stop the revs rising too
I hope the fluid in the gauge doesn't come out with it being mounted upside down and the rubber bung facing down, i've had this happen with those type of pressure gauges

Originally Posted by DazC
Cossie fuel pressure should be 3.5 bar at atmospheric pressure. Pull the vac pipe off and see what it reads (should be 3.5 bar). 
I hope the fluid in the gauge doesn't come out with it being mounted upside down and the rubber bung facing down, i've had this happen with those type of pressure gauges

#314
Cheers all
DazC,
Doh... course I should have tried to think about it a little longer

 Cheers Daz
wes, So Do I pmsl.... time will tell.... I haven't cut the little nipple off the bung though

DazC,
Doh... course I should have tried to think about it a little longer

wes, So Do I pmsl.... time will tell.... I haven't cut the little nipple off the bung though
#319
Originally Posted by Tony Turbo
Hurry up and get to Ahmed so I can give you another rinsing 


Nice work there Damo, i like the fuel pressure gauge
I like the idea of adjustable boost control in the car, might just save your gearbox for a bit longer
All looks installed nice and neat as per your usual work


