My s2 2.0 zetec turbo i am braking it now every thing is going to be listed
#165
Thread Starter
Too many posts.. I need a life!!
iTrader: (2)
Joined: Jan 2010
Posts: 566
Likes: 0
From: norfolk
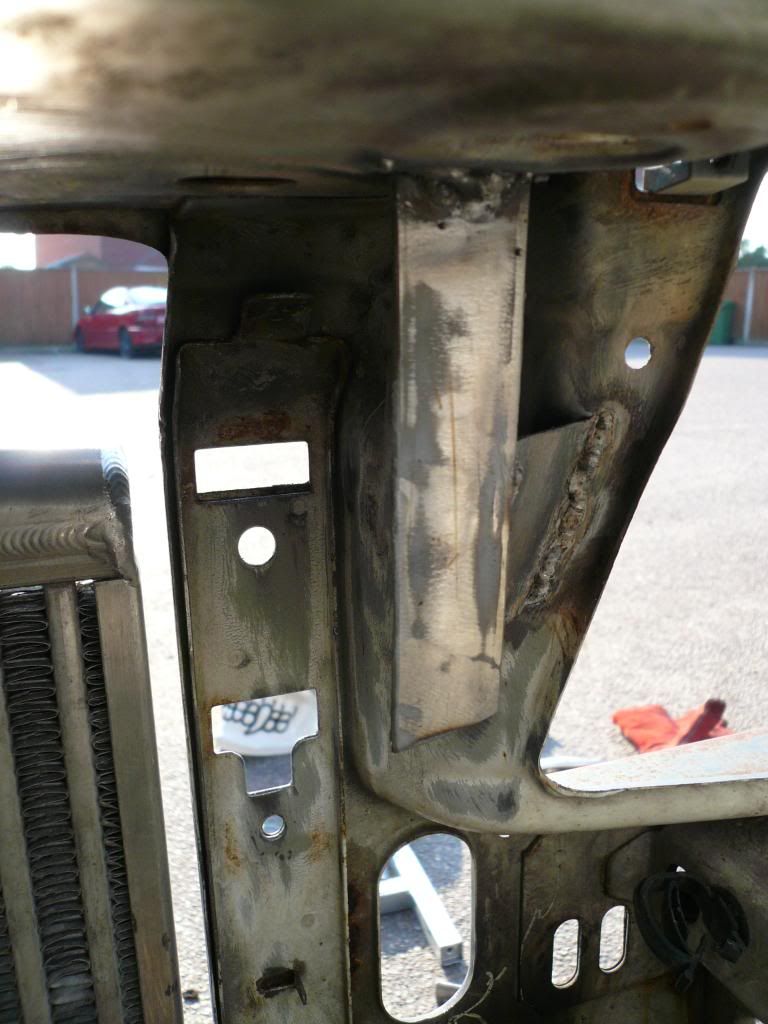
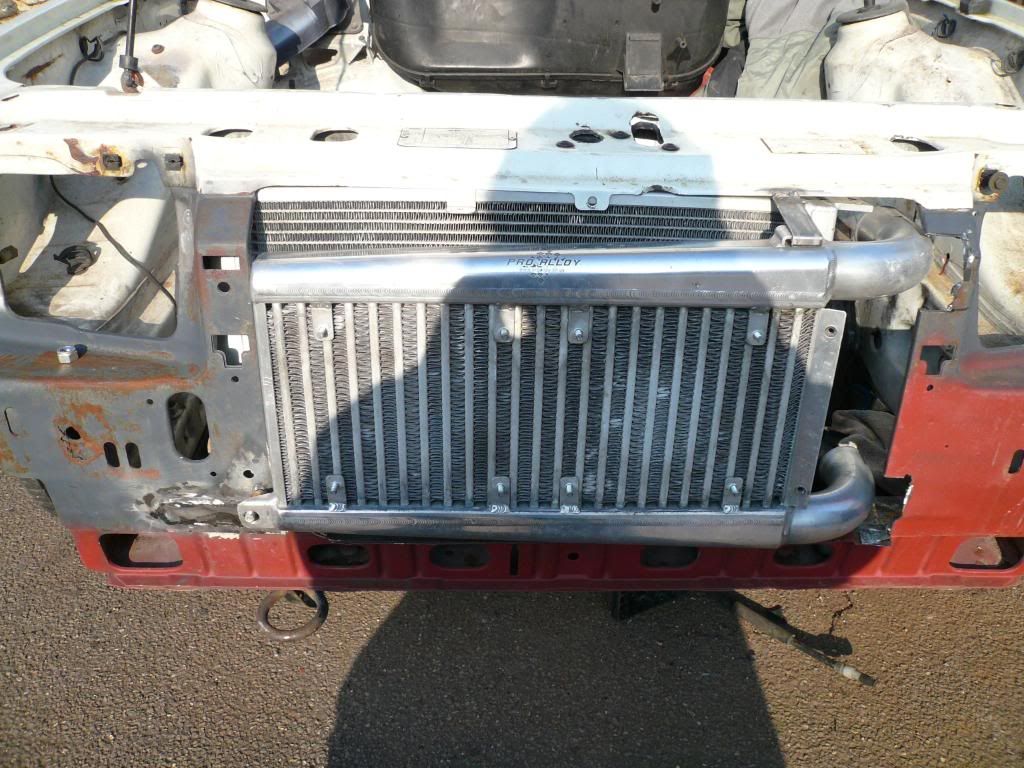
Started sorting out the rad and intercooler problem today..Arfter a bit of cutting and welding i hope i have crack it if not then i will have to get a nother exhaust manifold  as you will see in the pic's i still have a bit more welding to do but nothing to much..
 [/IMG]
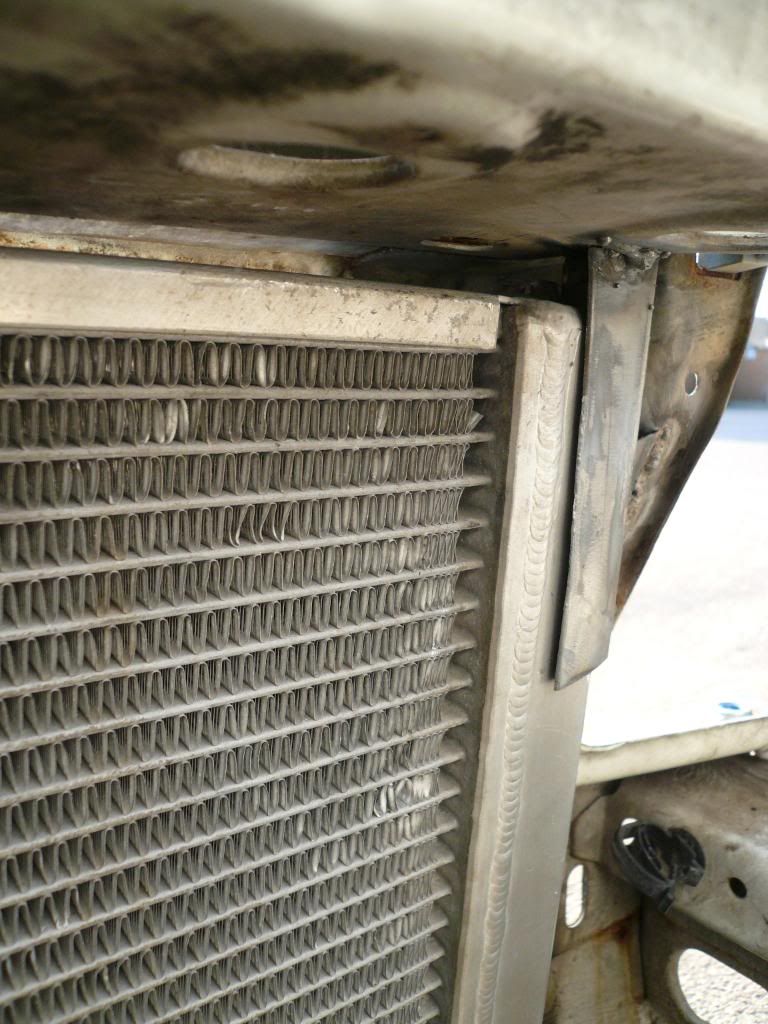
This is the bracket i made up to surport the rad as the rad has been moved forward as much as posible..
 [/IMG]
And if i still havent got anuff room then i will have to change the exhaust manifold
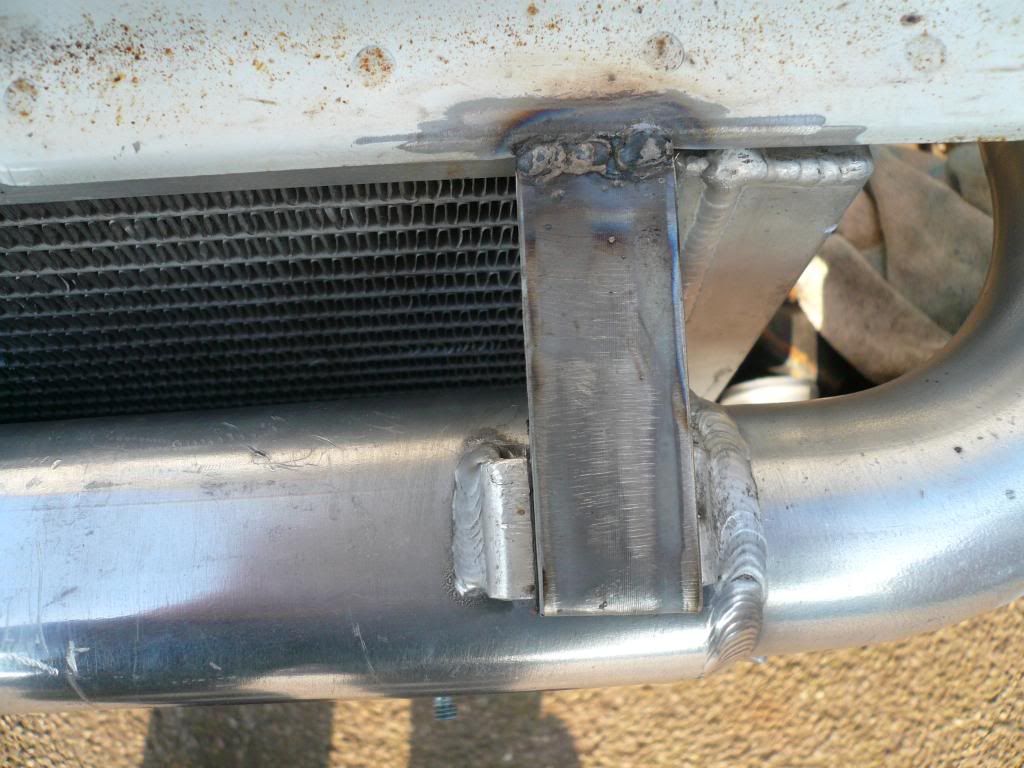
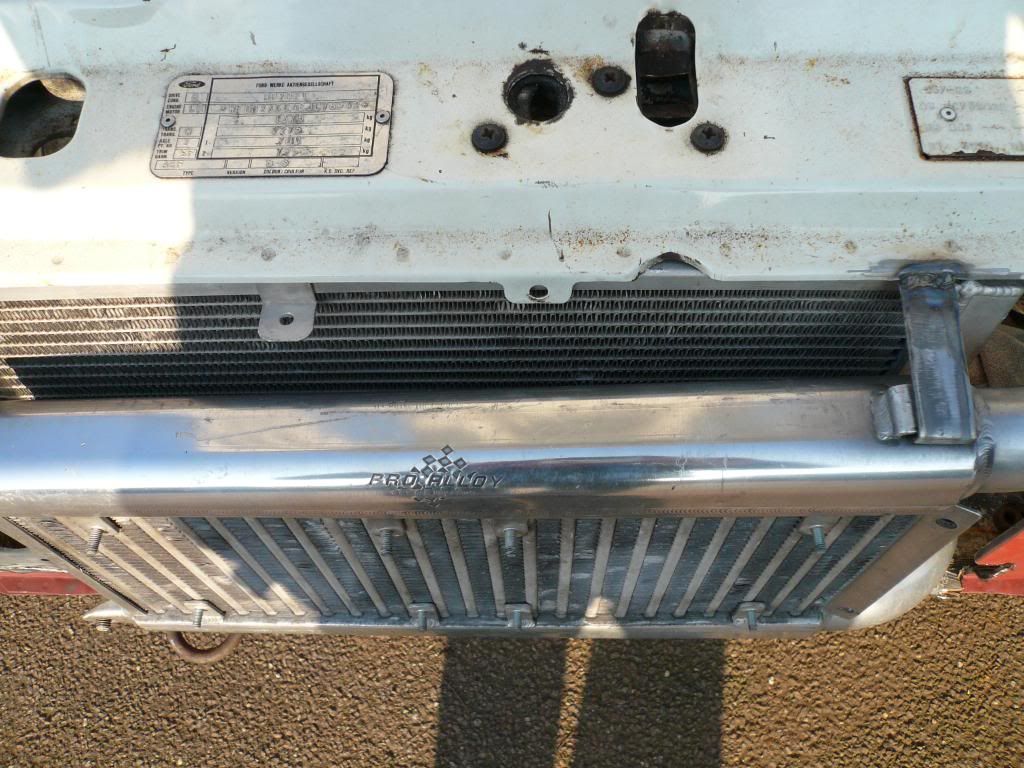
And here's the intercooler bracket
 [/IMG]
 [/IMG]
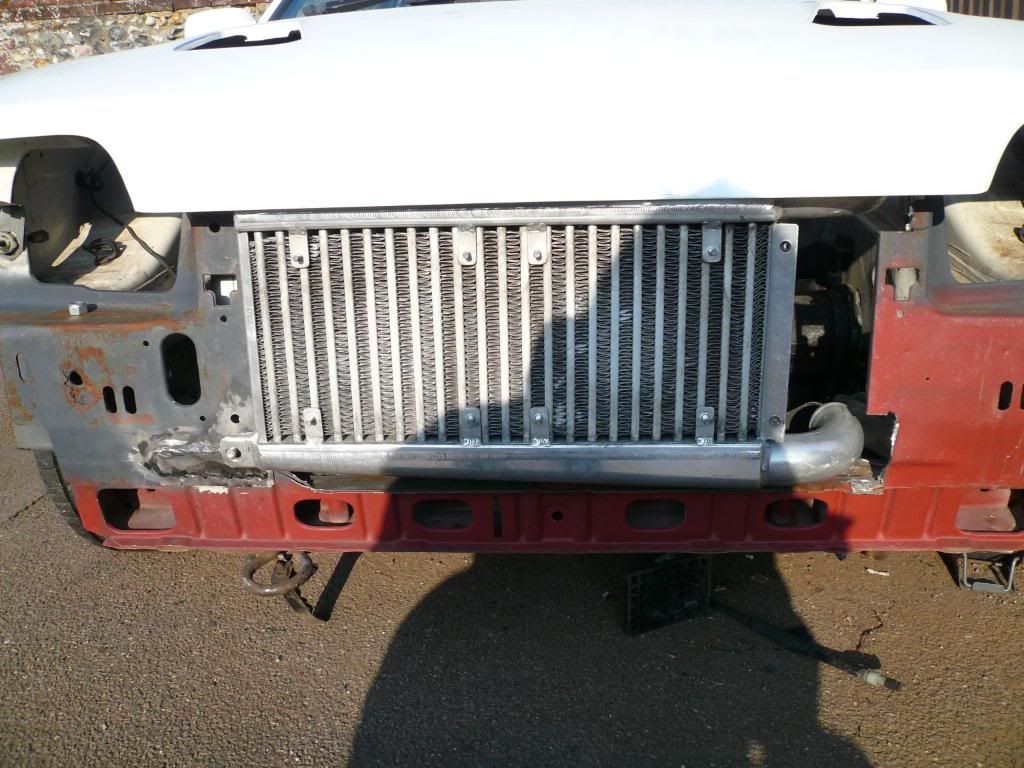
All the weld's need is cleaning up and spraying with some red oxide and that is the rad and intercooler done for now
 [/IMG]
 [/IMG]
And that's what it look's like now
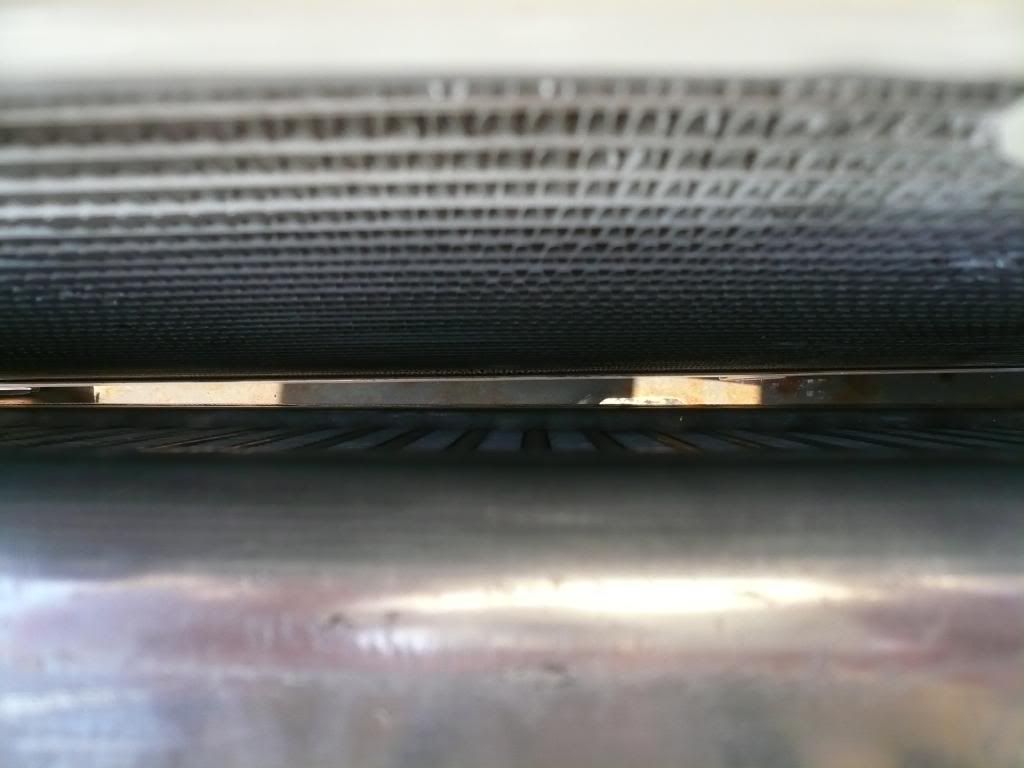
But there's not much room between rad and intercooler for the fan's
 [/IMG]
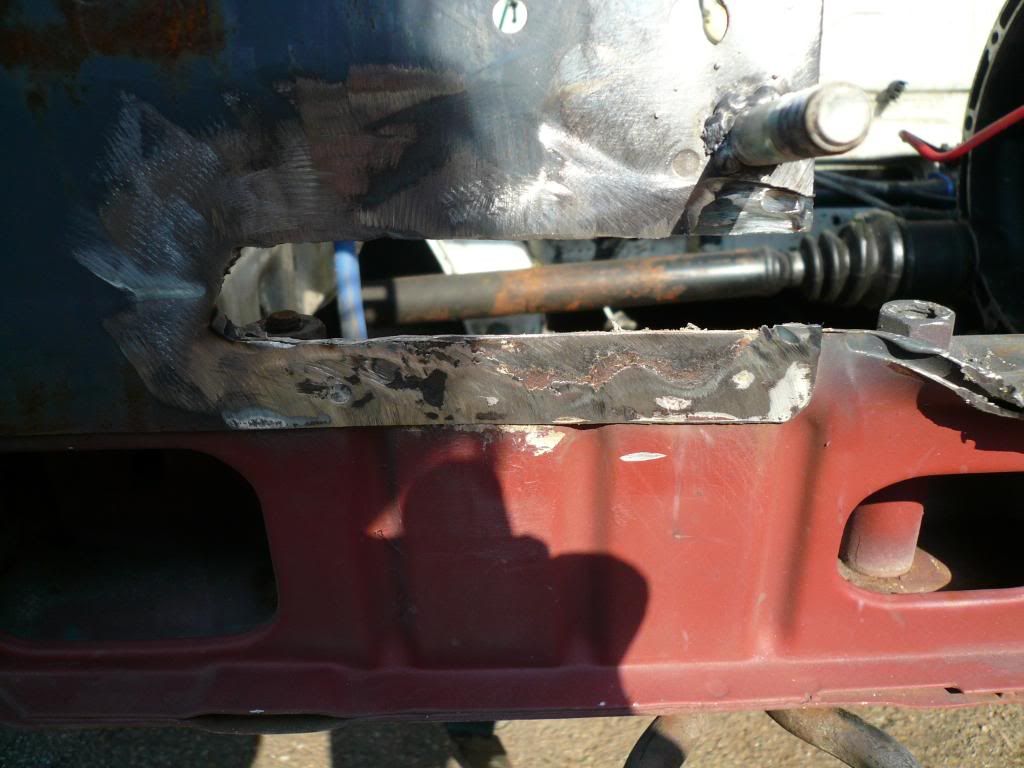
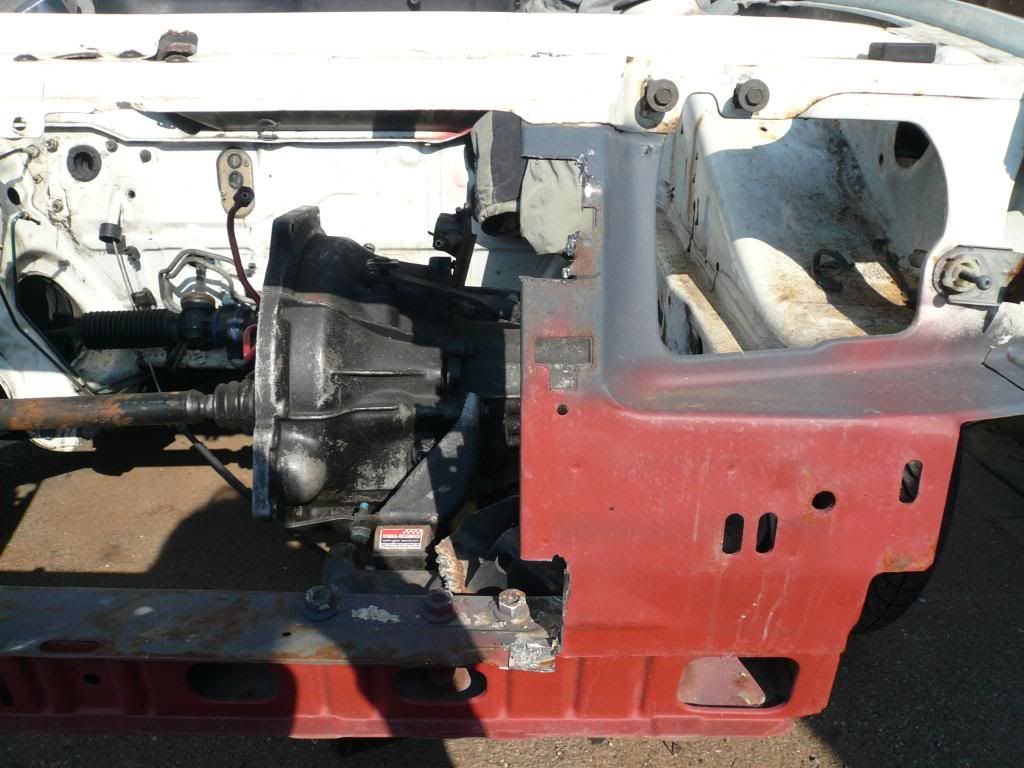
And while i was at the front i thought i would cut out any rust and replace it with new plate
 [/IMG]
 [/IMG]
and that's as far as i got for one day Thank's for looking
 as you will see in the pic's i still have a bit more welding to do but nothing to much..
 [/IMG]
This is the bracket i made up to surport the rad as the rad has been moved forward as much as posible..
 [/IMG]
And if i still havent got anuff room then i will have to change the exhaust manifold

And here's the intercooler bracket
 [/IMG]
 [/IMG]
All the weld's need is cleaning up and spraying with some red oxide and that is the rad and intercooler done for now

 [/IMG]
 [/IMG]
And that's what it look's like now

But there's not much room between rad and intercooler for the fan's

 [/IMG]
And while i was at the front i thought i would cut out any rust and replace it with new plate
 [/IMG]
 [/IMG]
and that's as far as i got for one day
 Thank's for looking
#166
Thread Starter
Too many posts.. I need a life!!
iTrader: (2)
Joined: Jan 2010
Posts: 566
Likes: 0
From: norfolk
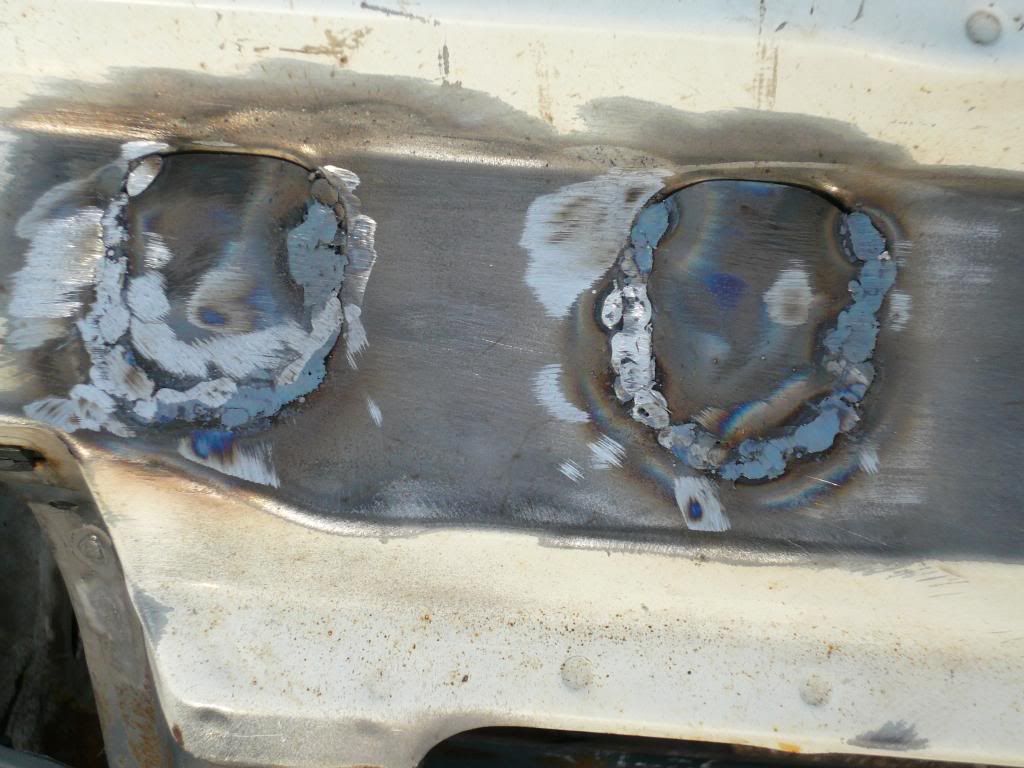
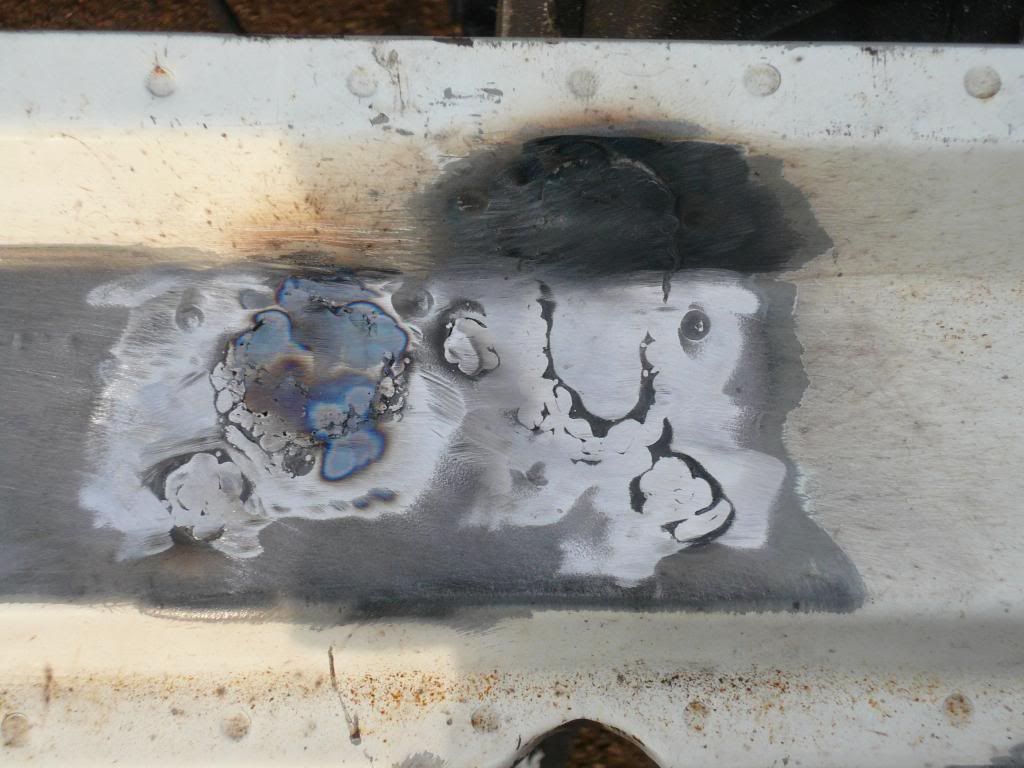
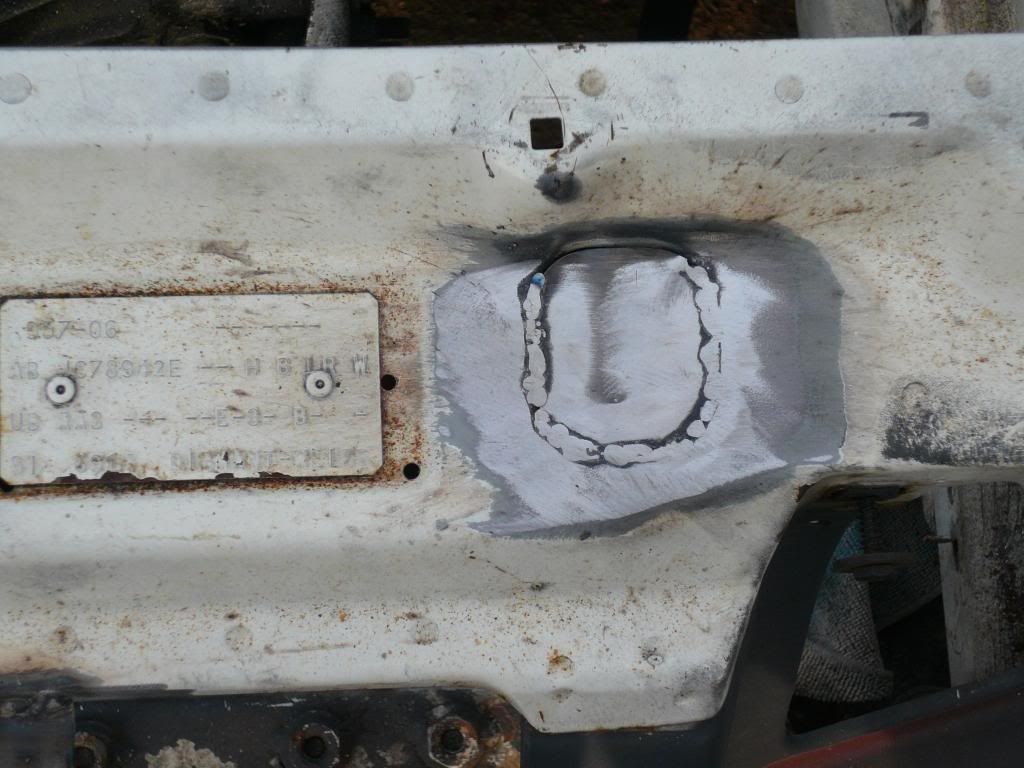
Today i got on with takeing out the bonnet catch and welding up the hole's ontop of the valance
 [/IMG]
 [/IMG]
 [/IMG]
And arfter i cleaned the weld up i then got to work cleaning the old paint off ready for filler
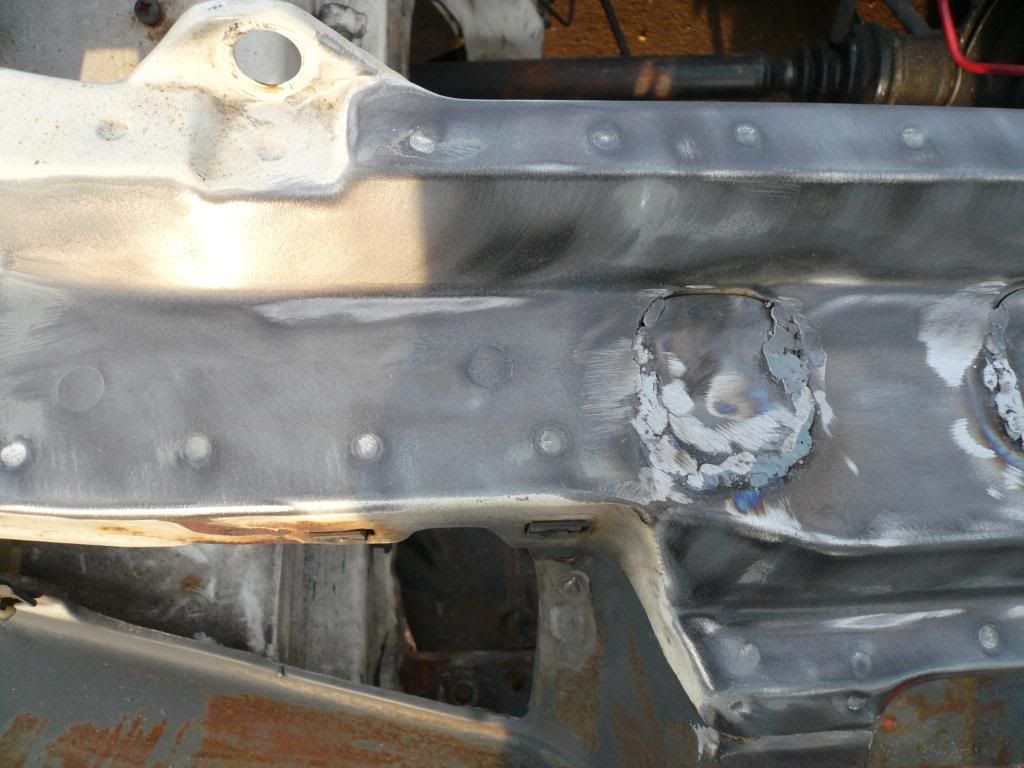 [/IMG]
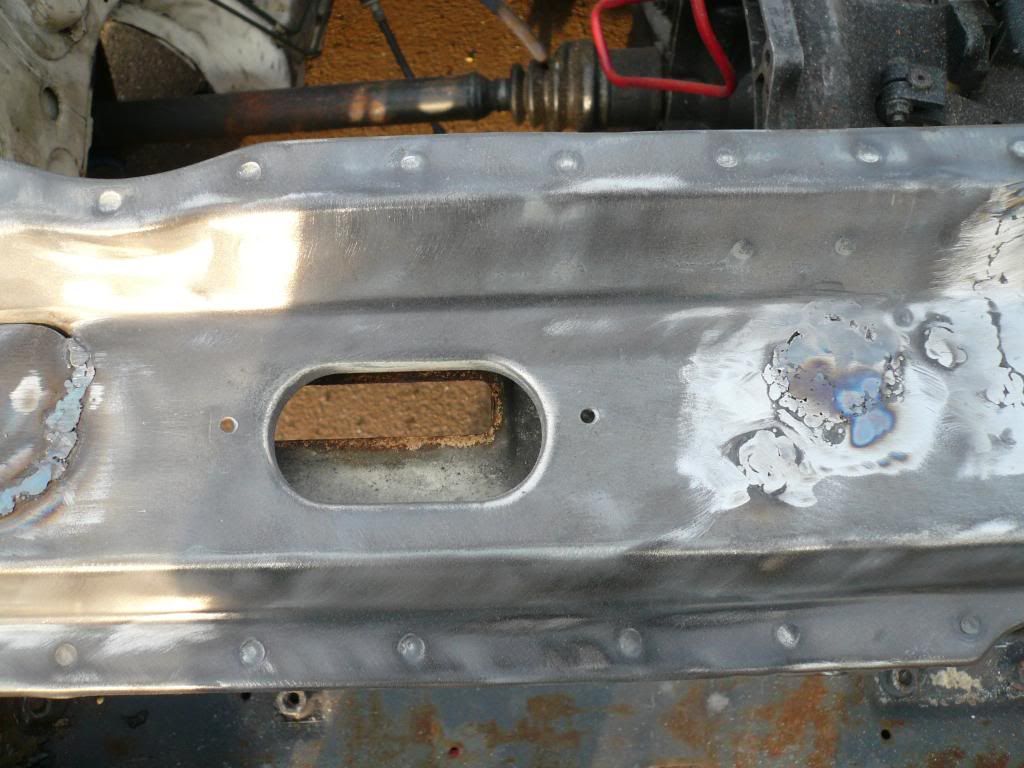 [/IMG]
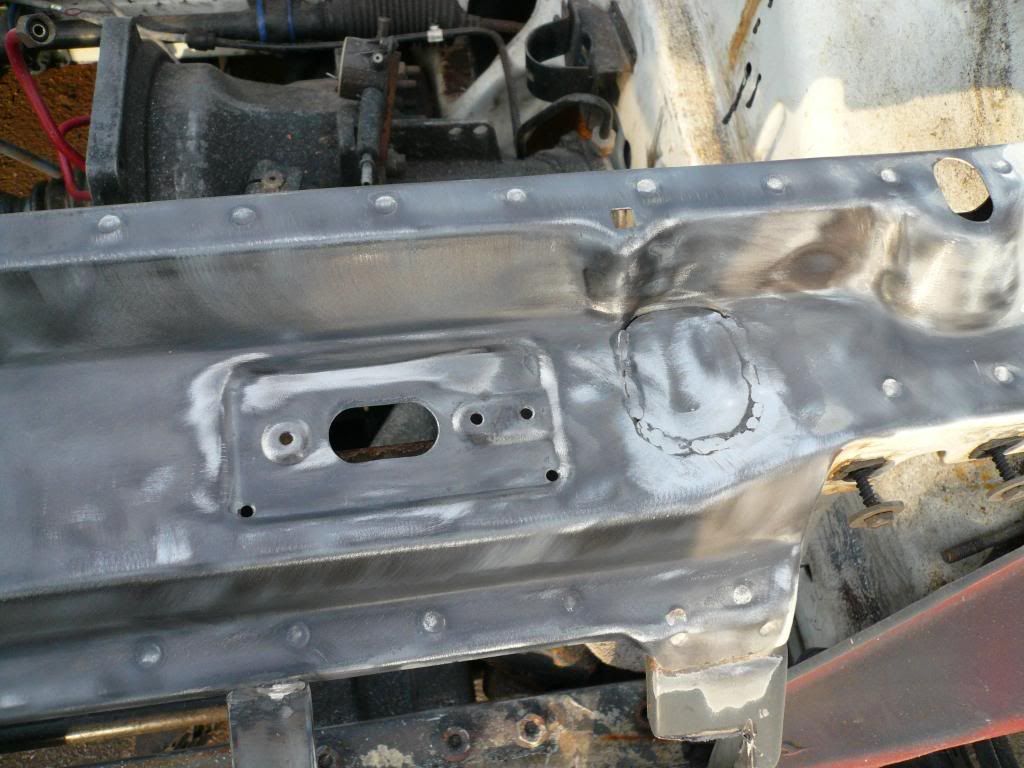
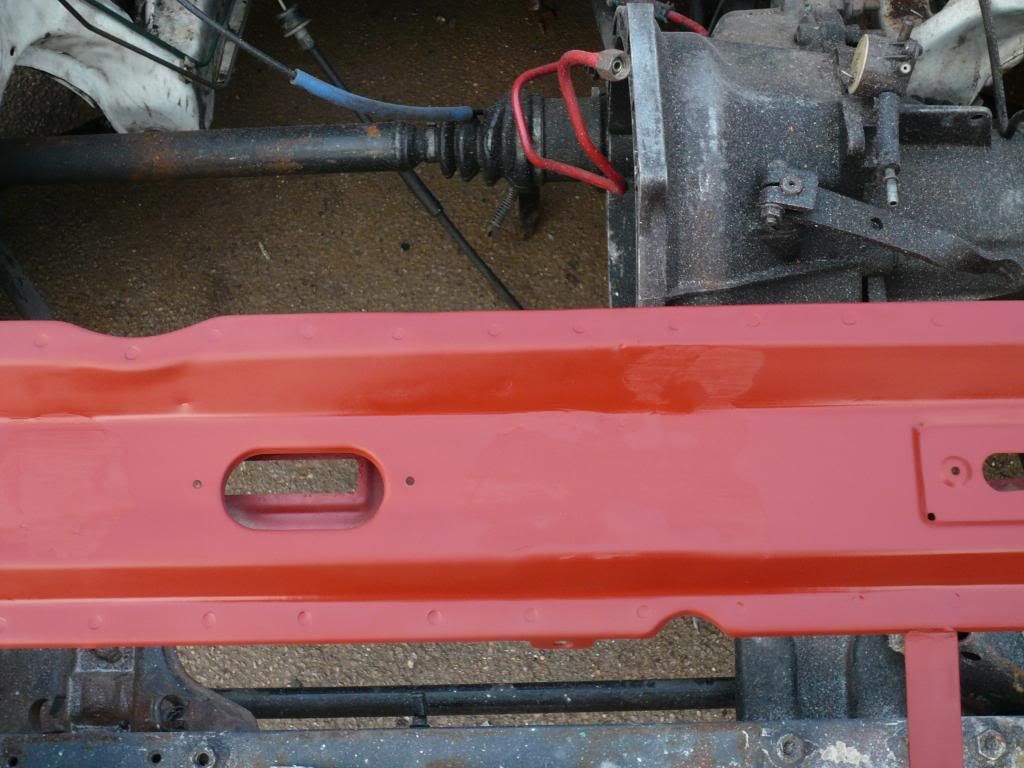
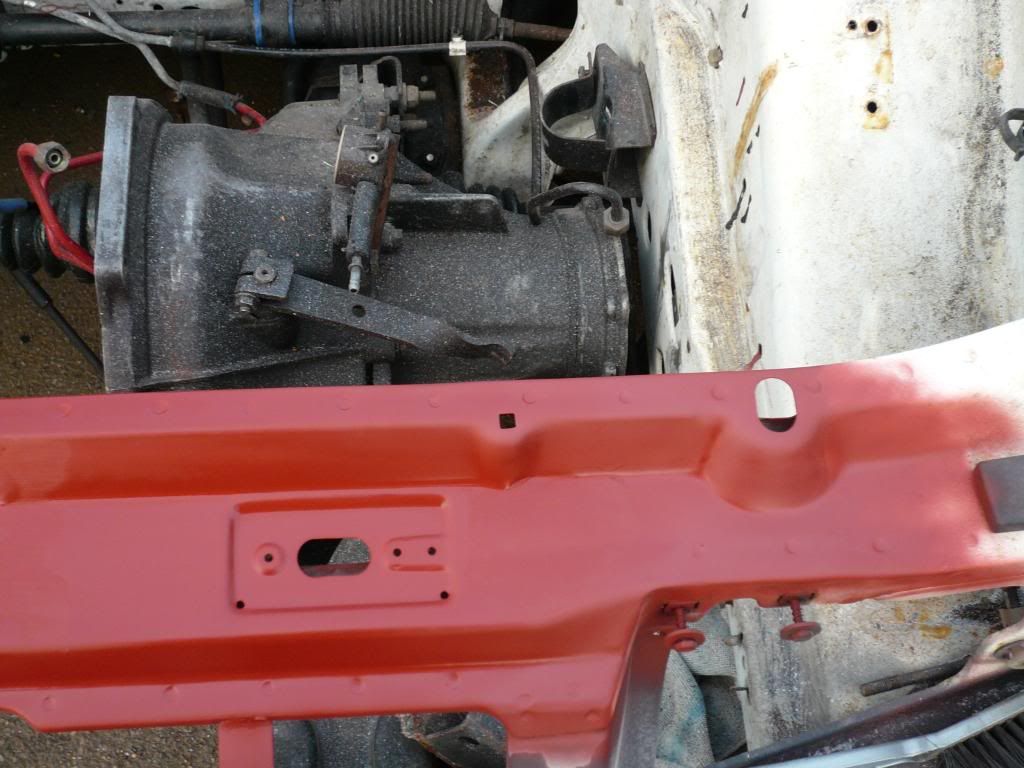
So then it was on with filling and sanding. And arfter that i then cleaned it up with pannel cleaner and a tack cloth.. I then sprayed it with red oxide to see if there's any low bit's that will need a little more filler.. I was realy happy with how it turn out there's a few low bit's but nothing to bad ..
..
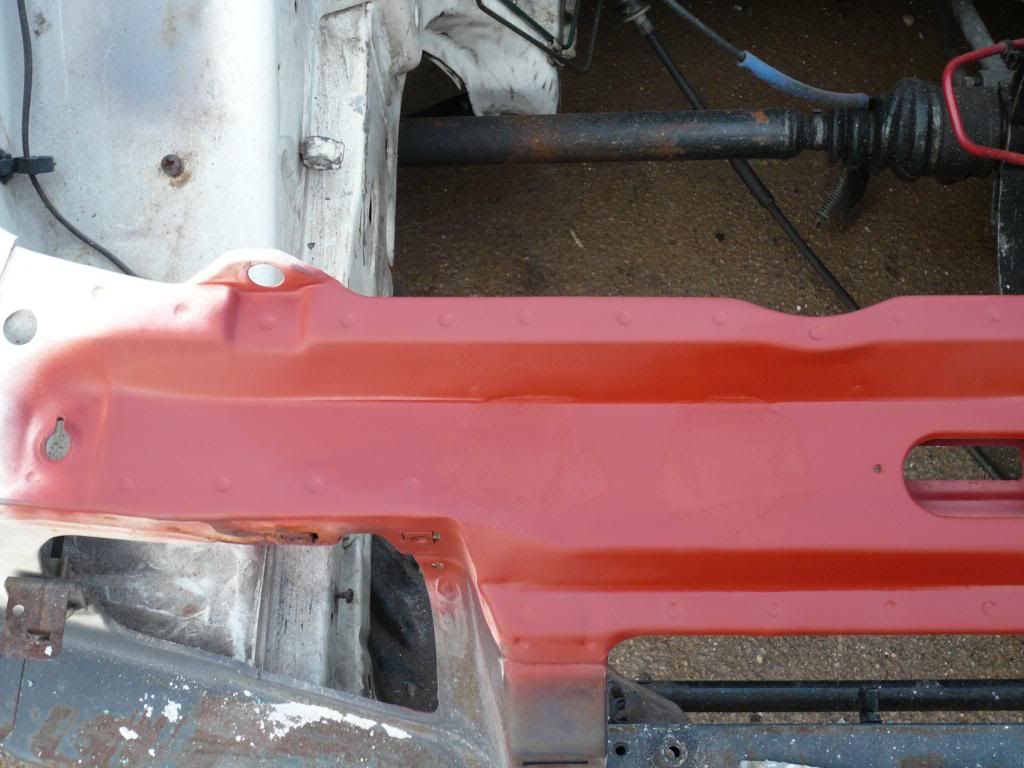 [/IMG]
 [/IMG]
 [/IMG]
And that's as far as i got today next is engine bay fill in the hole's that aint needed.. ready for spraying ...
...
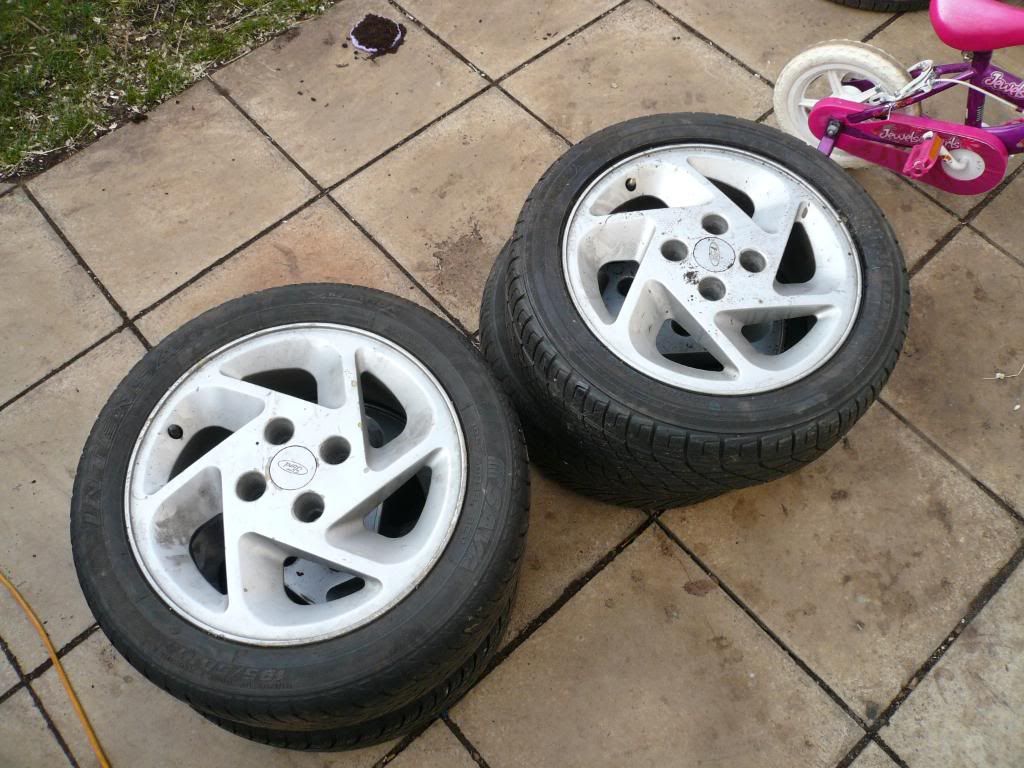
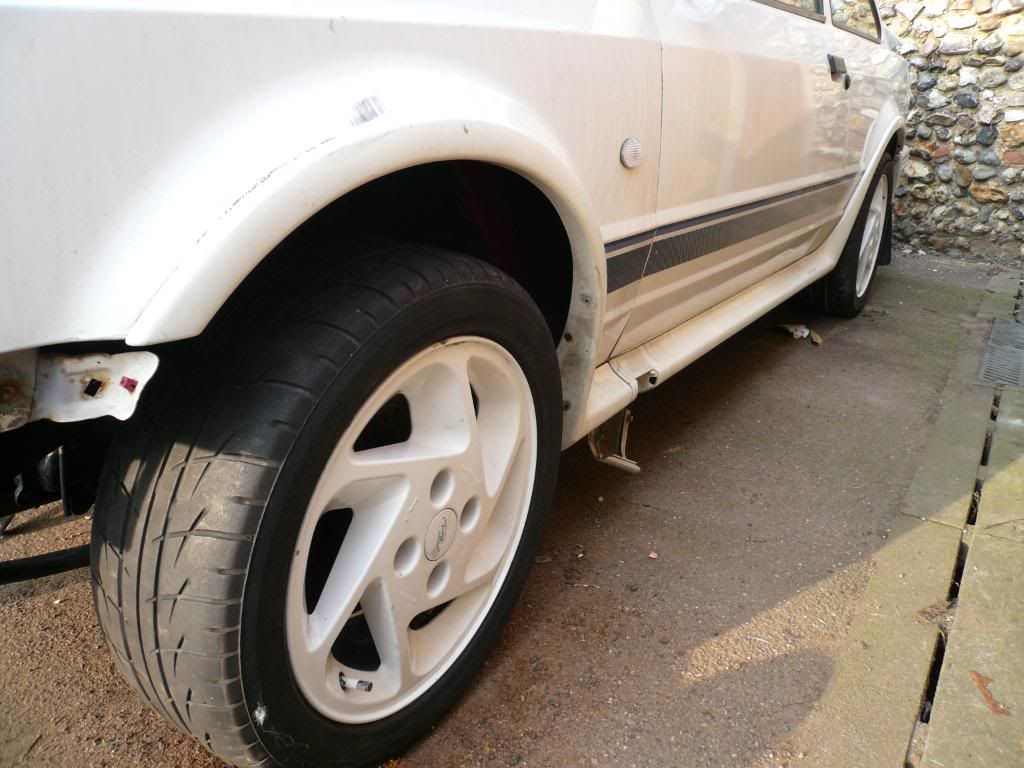
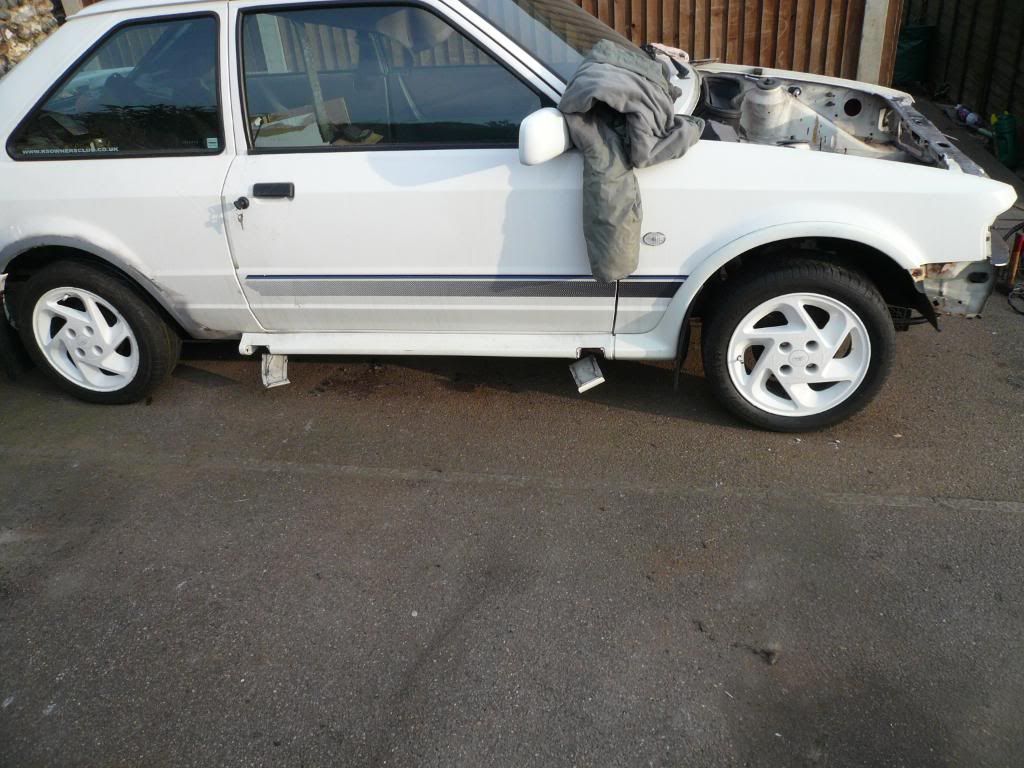
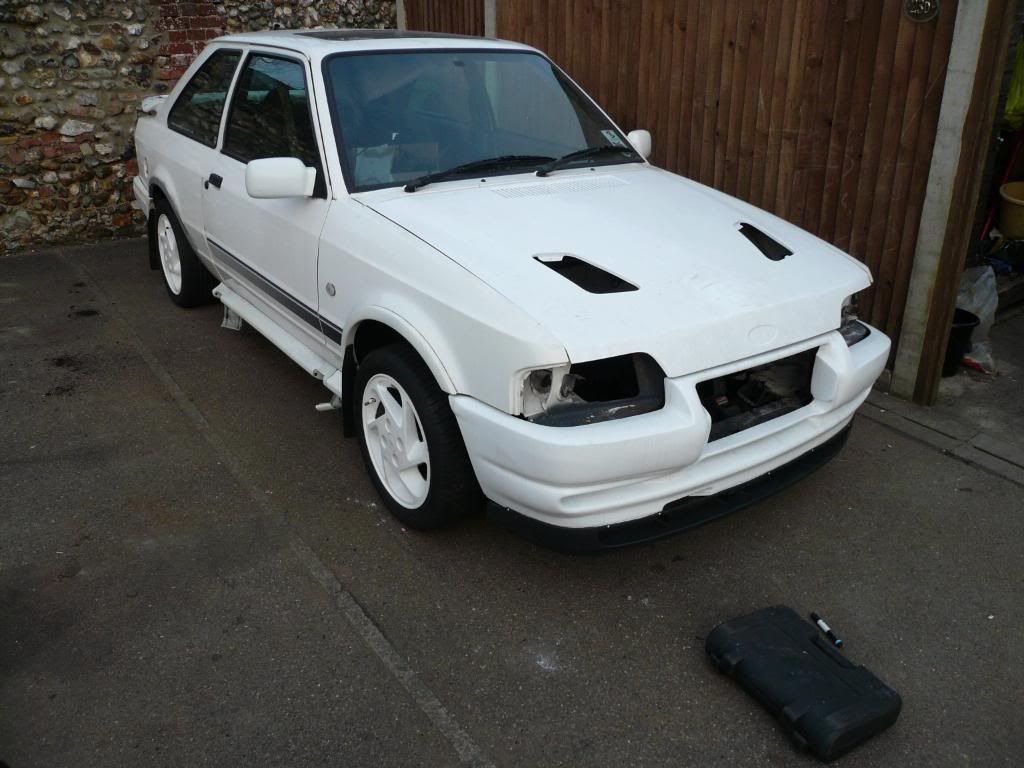
and here's a couple of pic's of my new wheel's as three of my old one's where foocked
 [/IMG]
off with the old and on with the new
 [/IMG]
 [/IMG]
 [/IMG]
So that's it for today thank's for looking


 [/IMG]
 [/IMG]
 [/IMG]
And arfter i cleaned the weld up i then got to work cleaning the old paint off ready for filler
 [/IMG]
 [/IMG]
So then it was on with filling and sanding. And arfter that i then cleaned it up with pannel cleaner and a tack cloth.. I then sprayed it with red oxide to see if there's any low bit's that will need a little more filler.. I was realy happy with how it turn out there's a few low bit's but nothing to bad
 [/IMG]
 [/IMG]
 [/IMG]
And that's as far as i got today next is engine bay fill in the hole's that aint needed.. ready for spraying
 ...
...and here's a couple of pic's of my new wheel's as three of my old one's where foocked
 [/IMG]
off with the old and on with the new
 [/IMG]
 [/IMG]
 [/IMG]
So that's it for today thank's for looking


#171
Thread Starter
Too many posts.. I need a life!!
iTrader: (2)
Joined: Jan 2010
Posts: 566
Likes: 0
From: norfolk
Today has been pant's the weather has been sh*t so i didnt get done as much as i would have liked 

 .. so here's what i done today
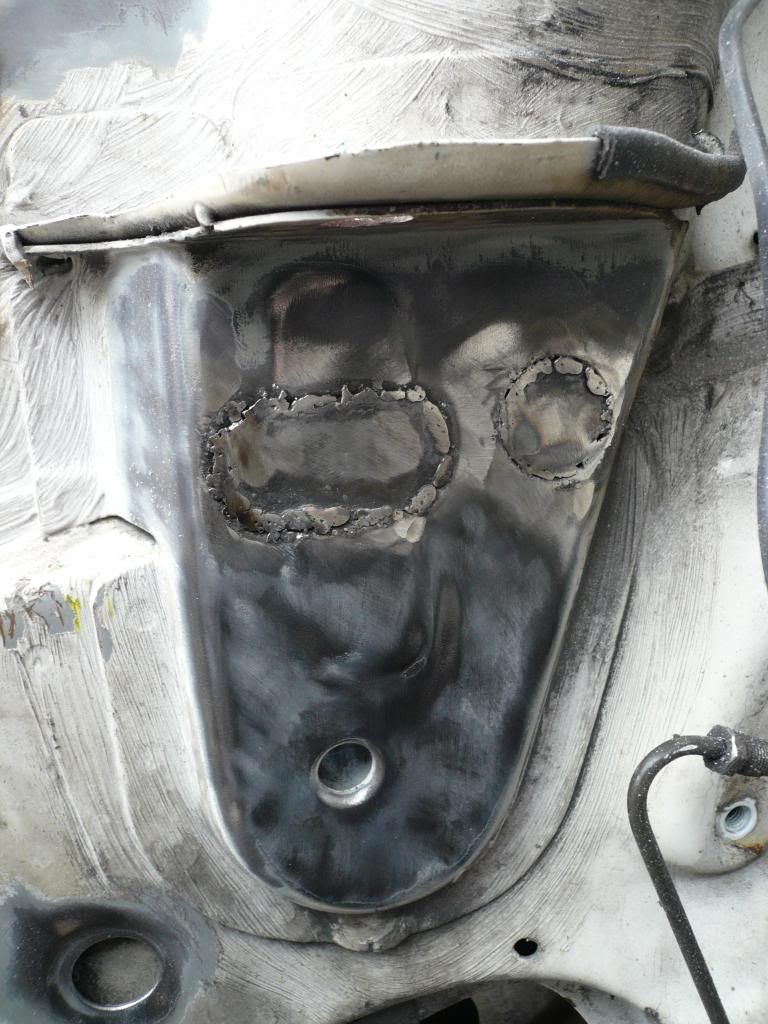
i welded up the 2 hole's where the engine mount sit's
 [/IMG]
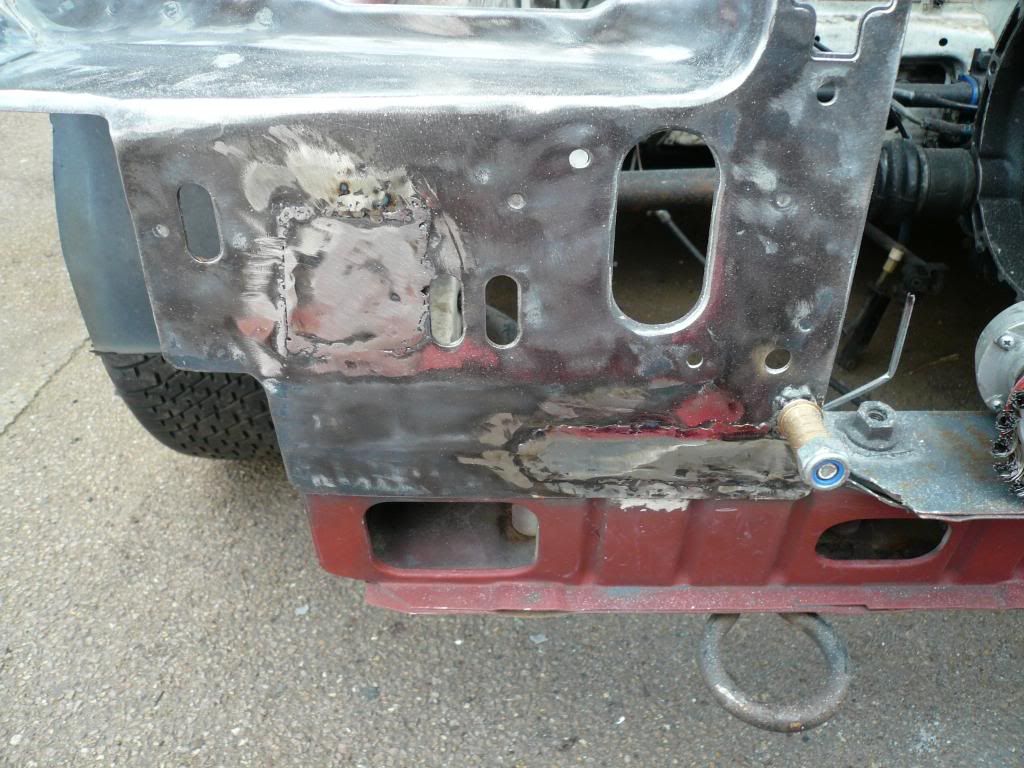
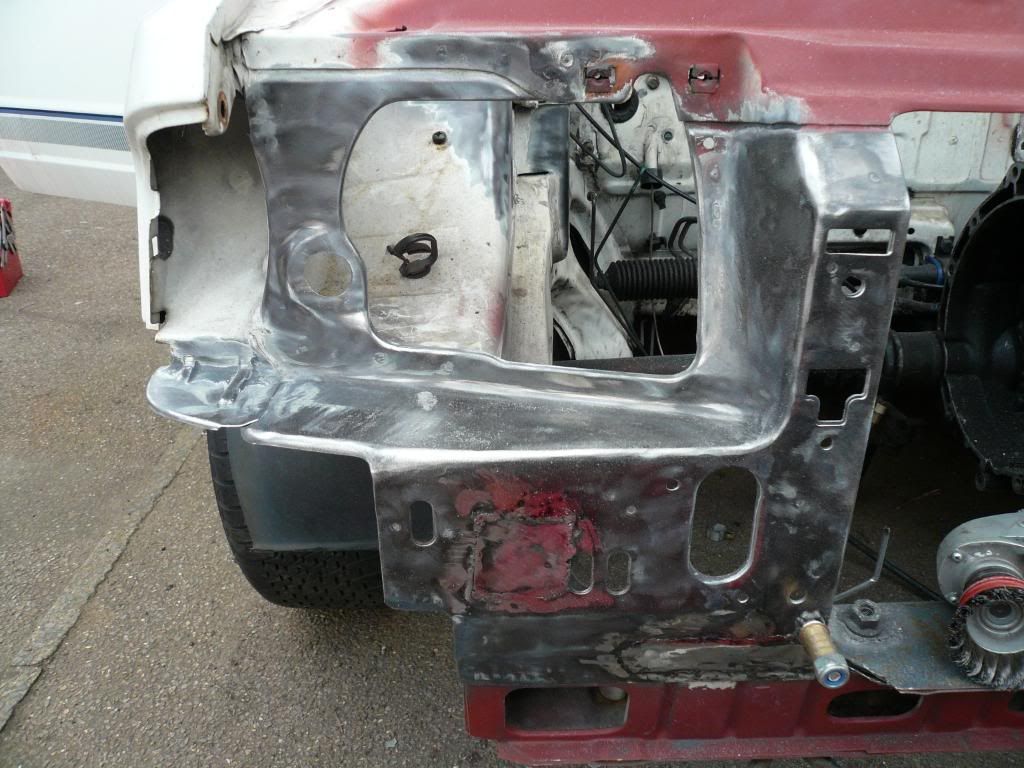
And then i cut another bit of rust out of the front valance and welded it up and cleaned all the old paint off round the head light..
 [/IMG]
 [/IMG]
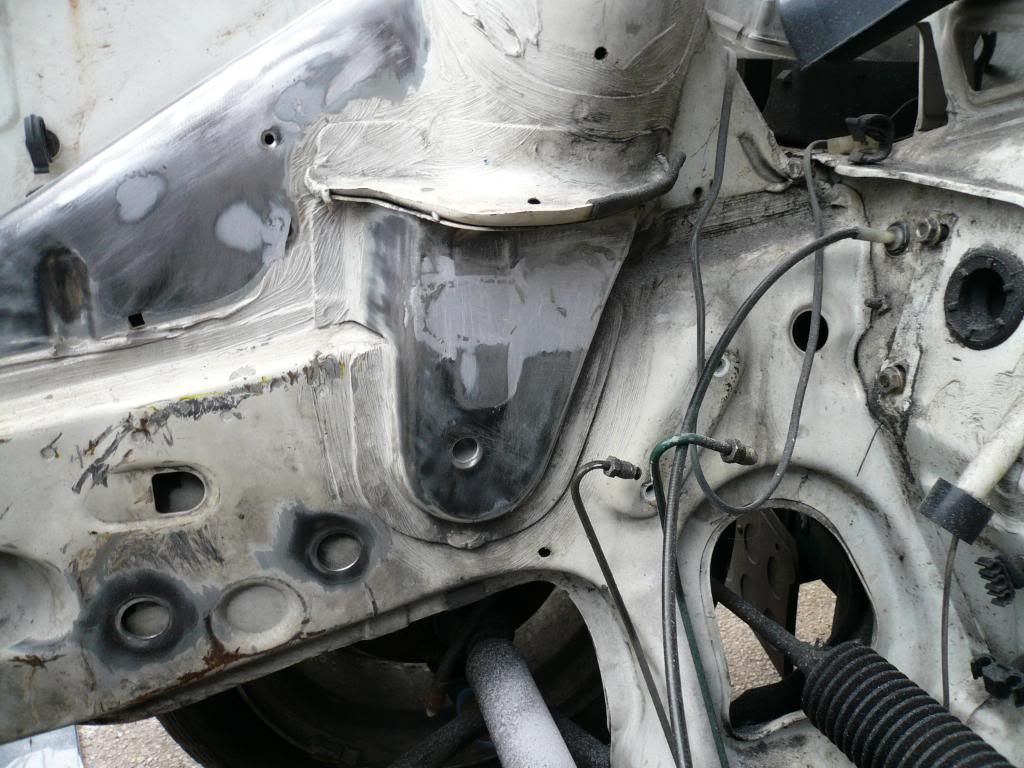
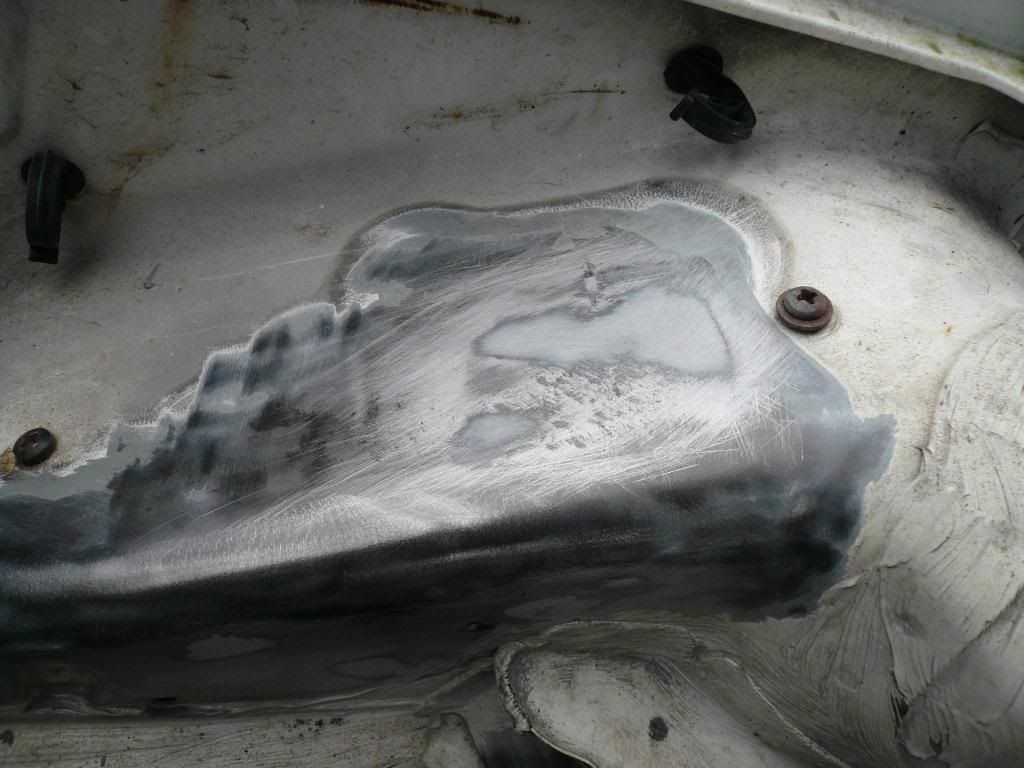
And then i welded up a few screw hole's that i dont need.. And smoothed them down before i skimed over them with some filler.And then sanded them down ready for some red oxide..
 [/IMG]
 [/IMG]
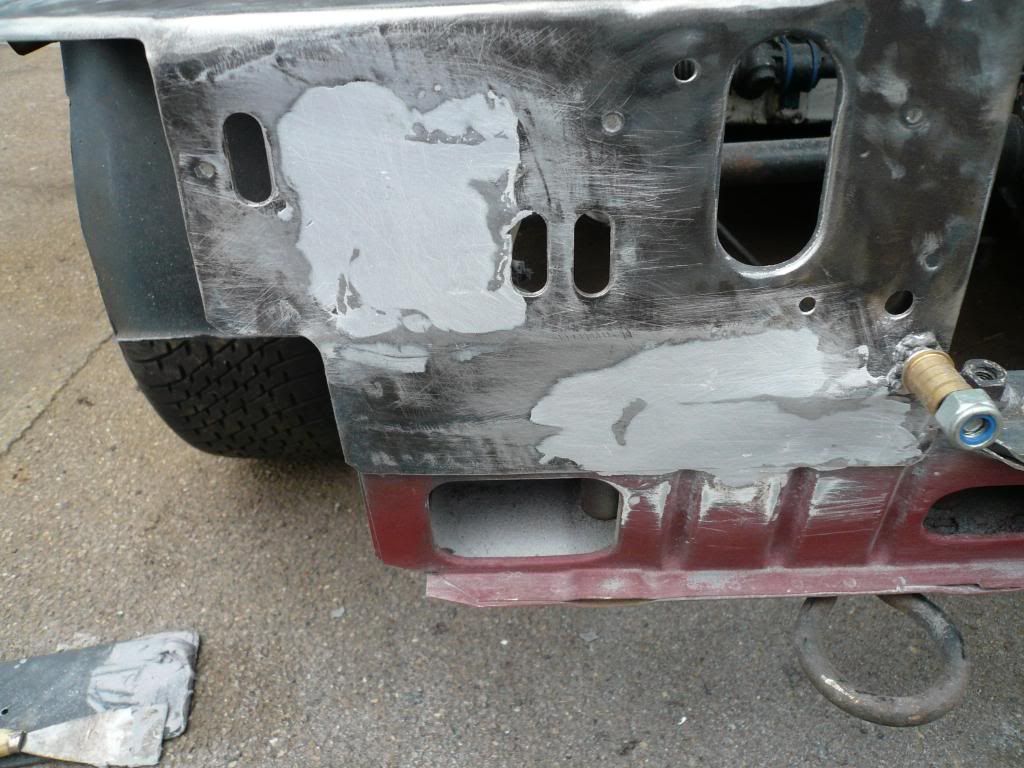
And then i filled and smoothed the 2 bit's of weld on the front valance..
 [/IMG]
Arfter that it was clean all the dust off ready for some red oxide
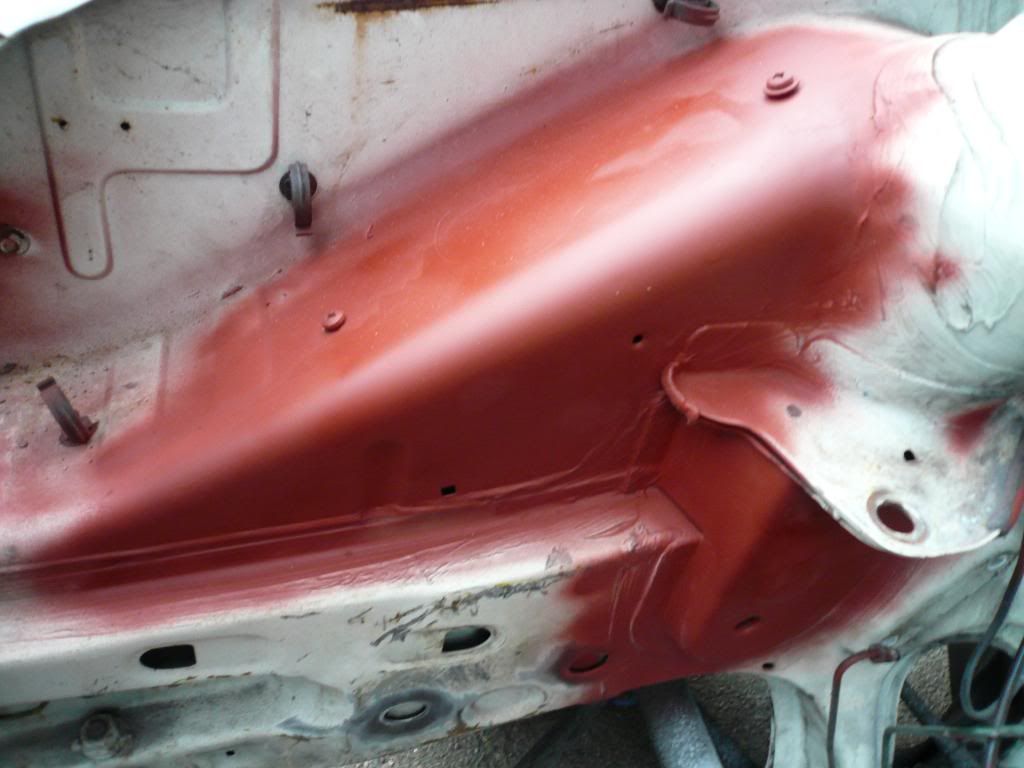
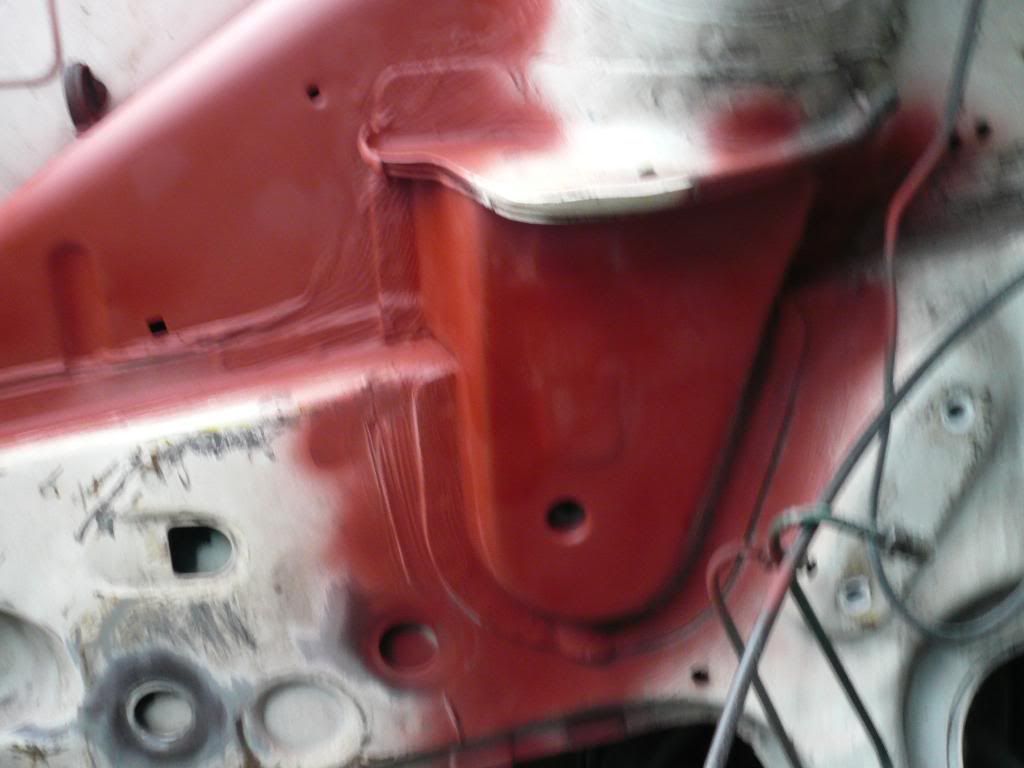 [/IMG]
 [/IMG]
 [/IMG]
So that's as far as i got before it pissed down with rain

 ..
..
finger's X the weather will be better tomorrow ..
..


 .. so here's what i done today
i welded up the 2 hole's where the engine mount sit's
 [/IMG]
And then i cut another bit of rust out of the front valance and welded it up and cleaned all the old paint off round the head light..
 [/IMG]
 [/IMG]
And then i welded up a few screw hole's that i dont need.. And smoothed them down before i skimed over them with some filler.And then sanded them down ready for some red oxide..
 [/IMG]
 [/IMG]
And then i filled and smoothed the 2 bit's of weld on the front valance..
 [/IMG]
Arfter that it was clean all the dust off ready for some red oxide
 [/IMG]
 [/IMG]
 [/IMG]
So that's as far as i got before it pissed down with rain


 ..
..finger's X the weather will be better tomorrow
#175
Thread Starter
Too many posts.. I need a life!!
iTrader: (2)
Joined: Jan 2010
Posts: 566
Likes: 0
From: norfolk
Yea all the rust is sorted under the car now apart from 1 bit near the rear arch..But i will do that when i get ready for the tank..Im still finishing the engine bay off readyfor paint but the rain keep's letting me down

#176
Thread Starter
Too many posts.. I need a life!!
iTrader: (2)
Joined: Jan 2010
Posts: 566
Likes: 0
From: norfolk
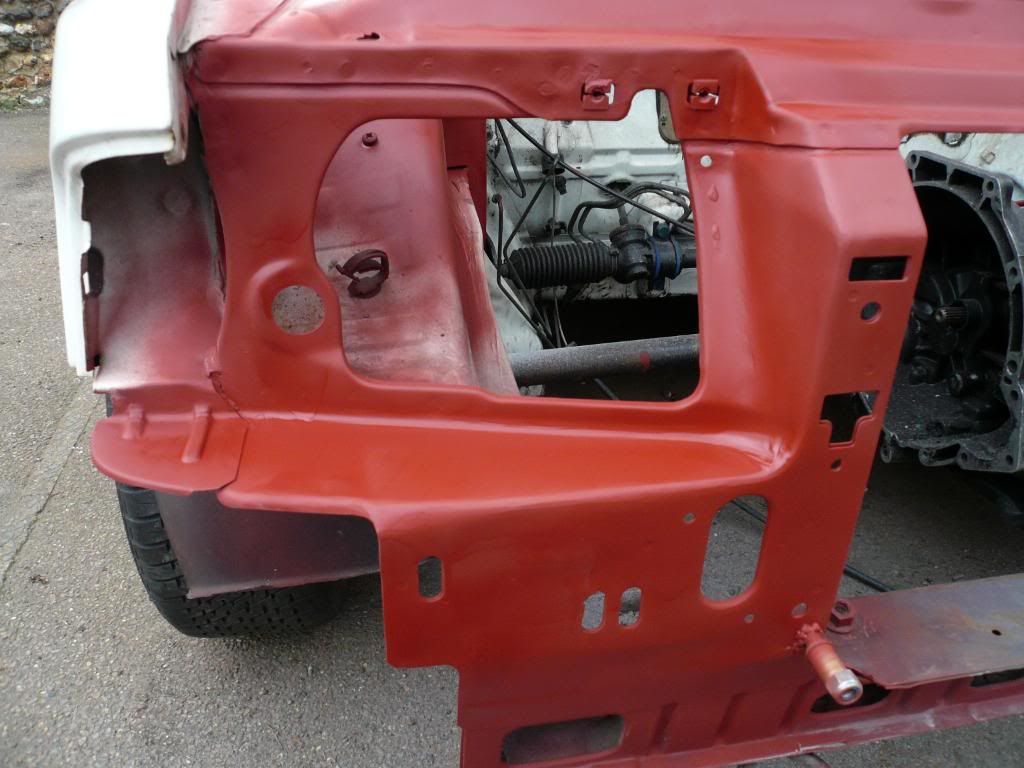
Started today by getting the gearbox steering rack fuel line's out ready to finish welding and filling all the hole's that i dont need.. Then it will be ready for the engine bay to be painted  so here's some more pic's of my progress
 [/IMG]
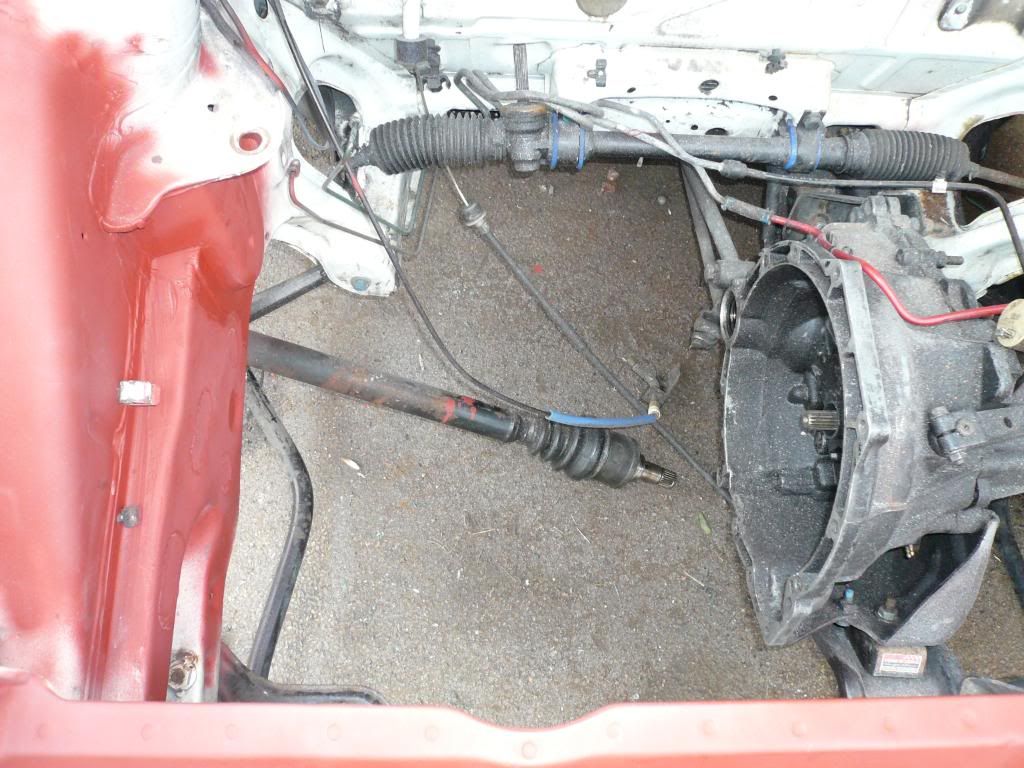 [/IMG]
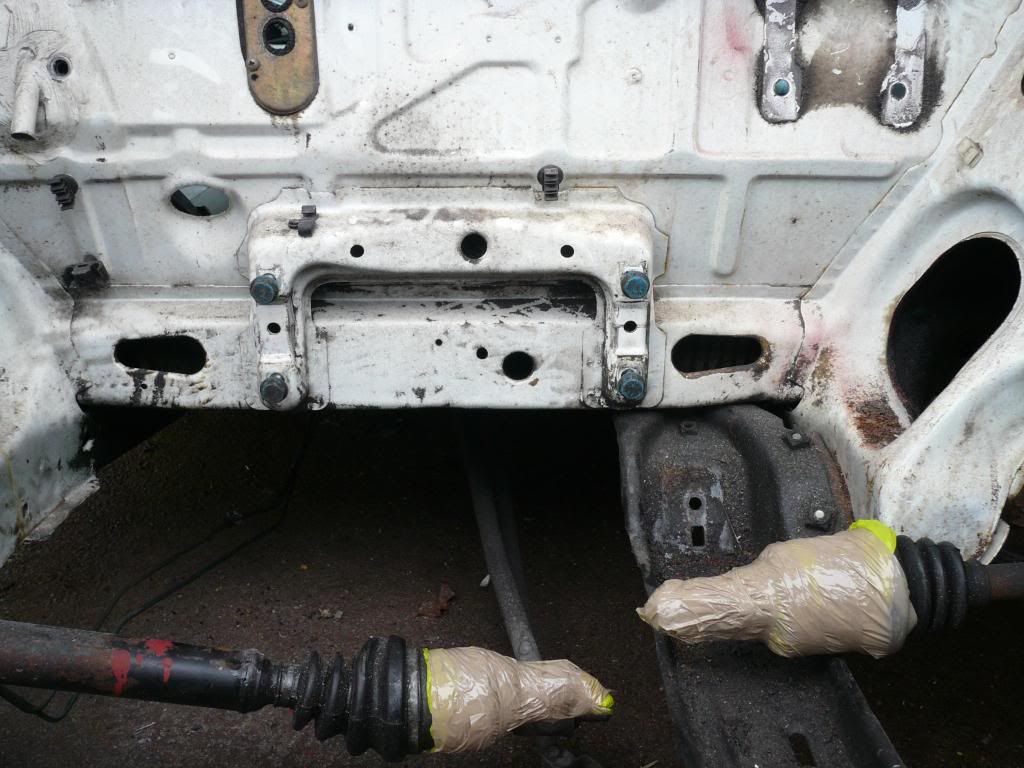 [/IMG]
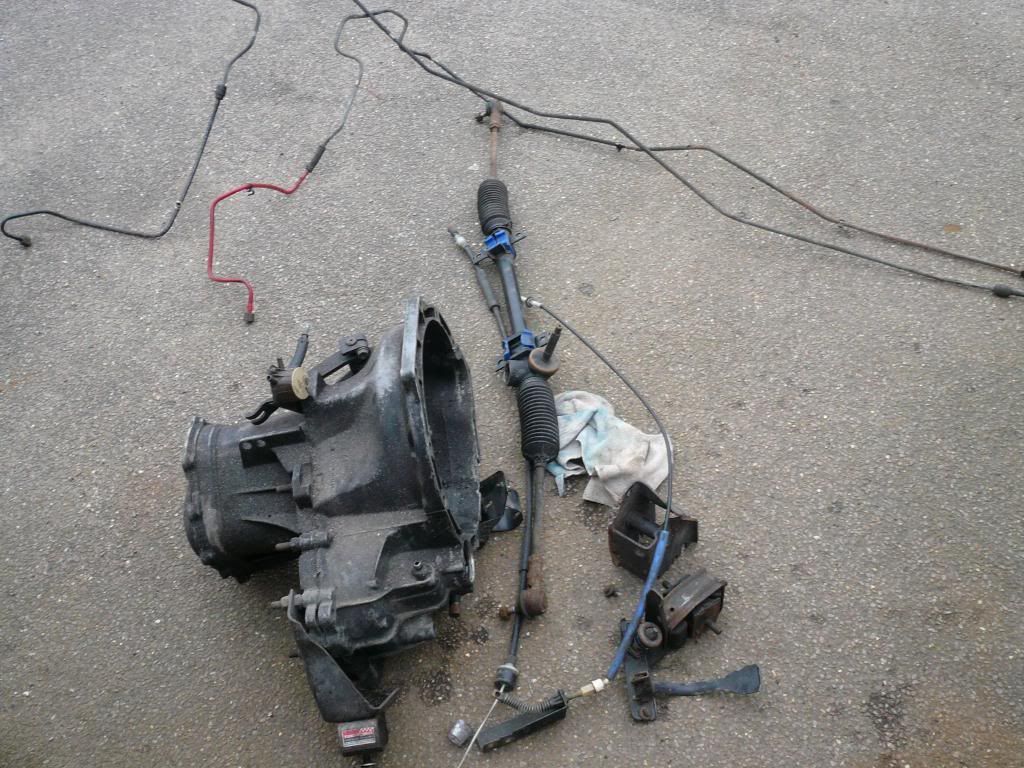 [/IMG]
And then i got stuck into the welding and filling
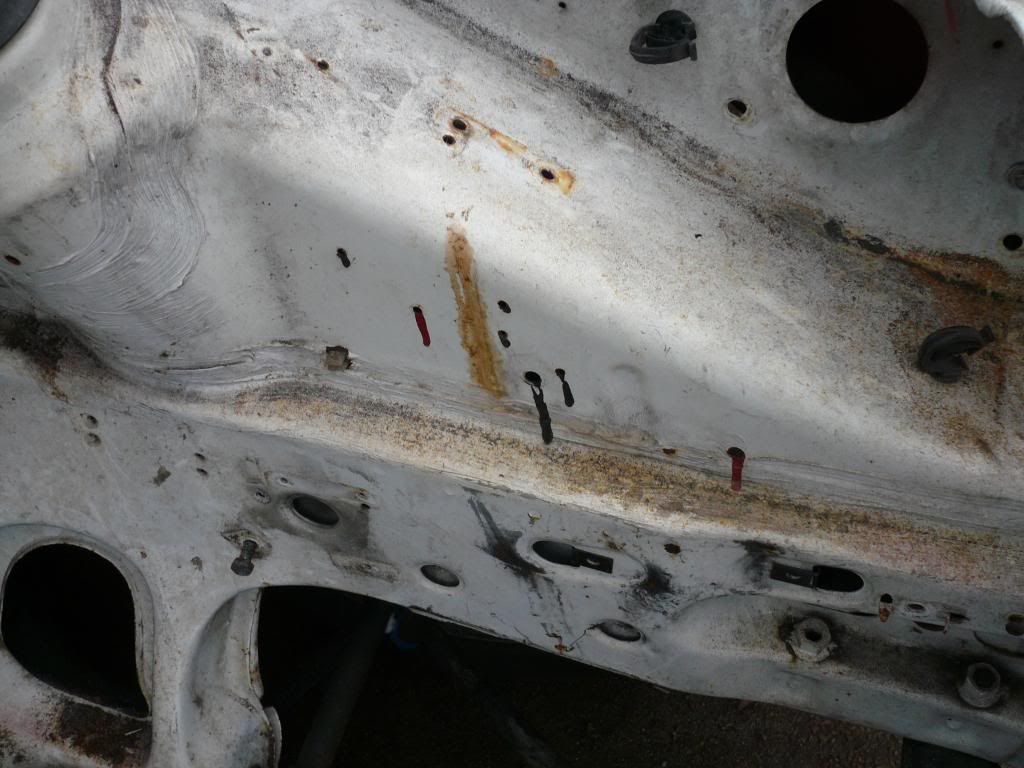 [/IMG]
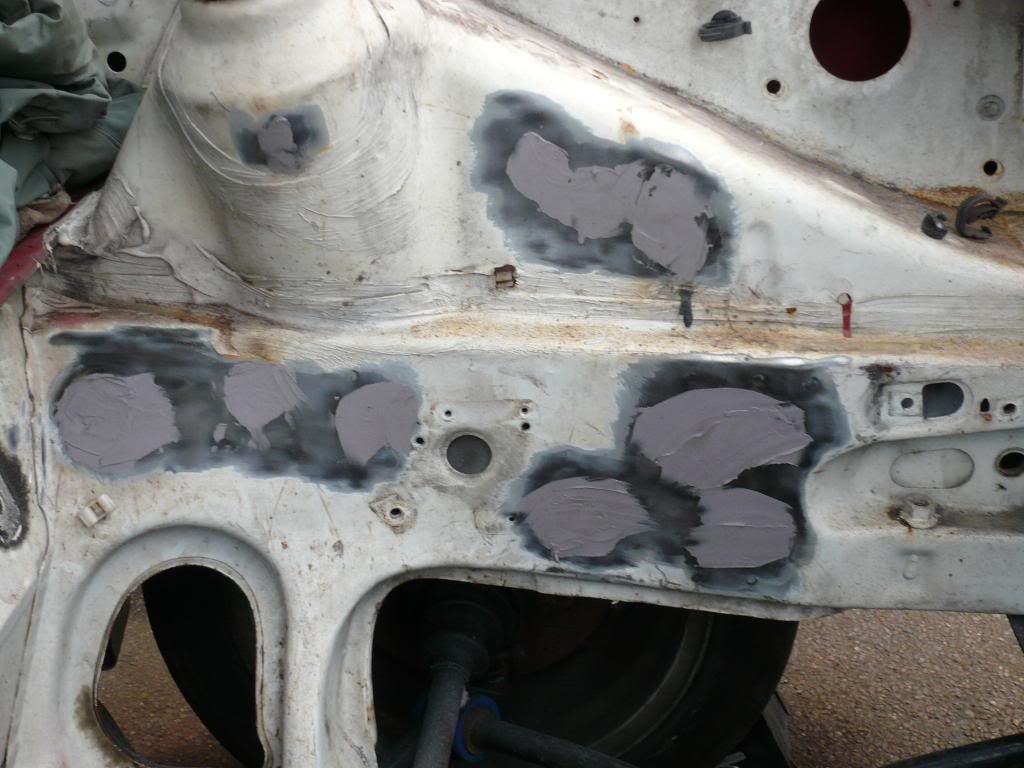 [/IMG]
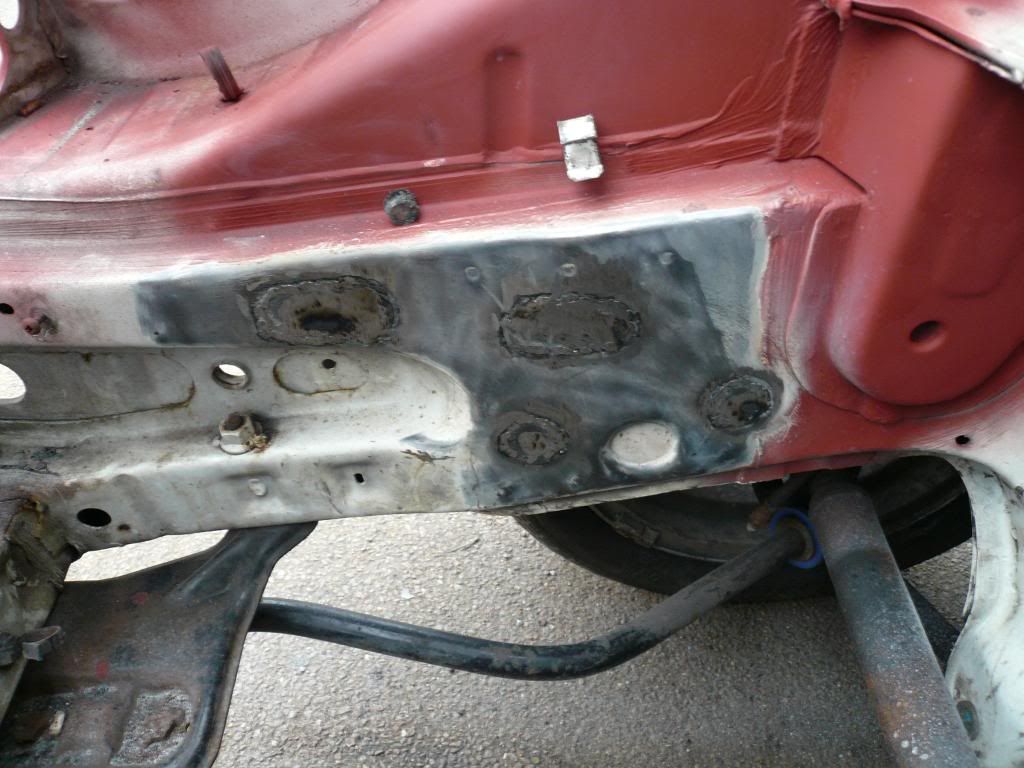 [/IMG]
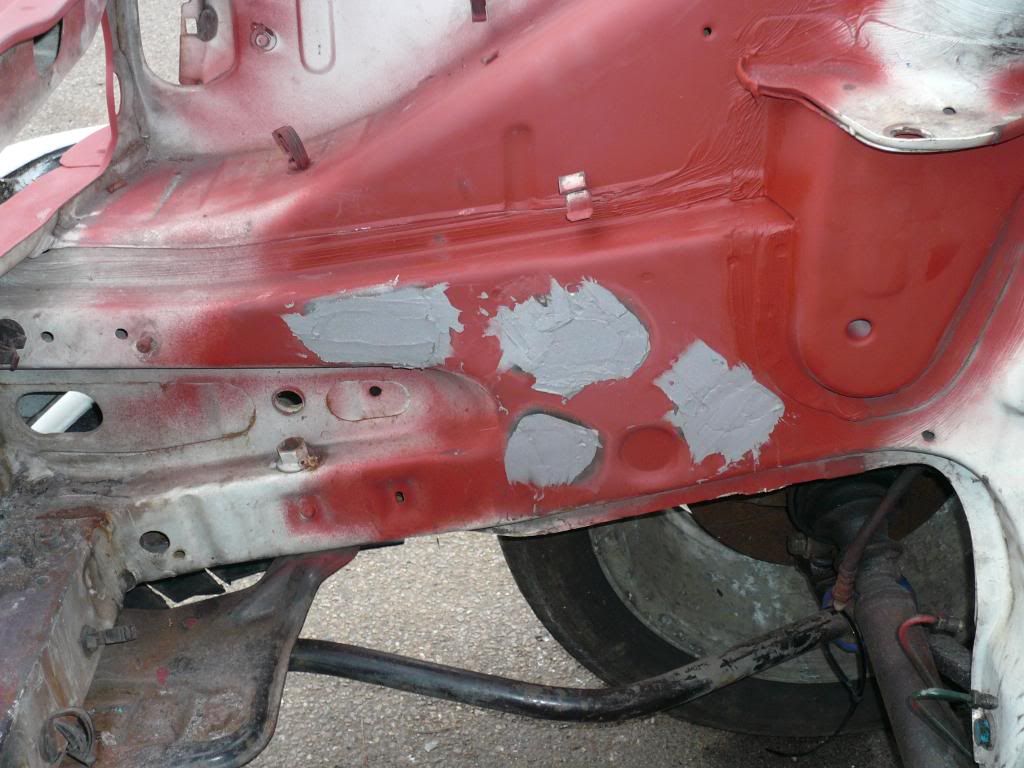 [/IMG]
That is all i done before it started raining again
 so i called it a day...
And yesterday i only done this small bit before it chucked it down
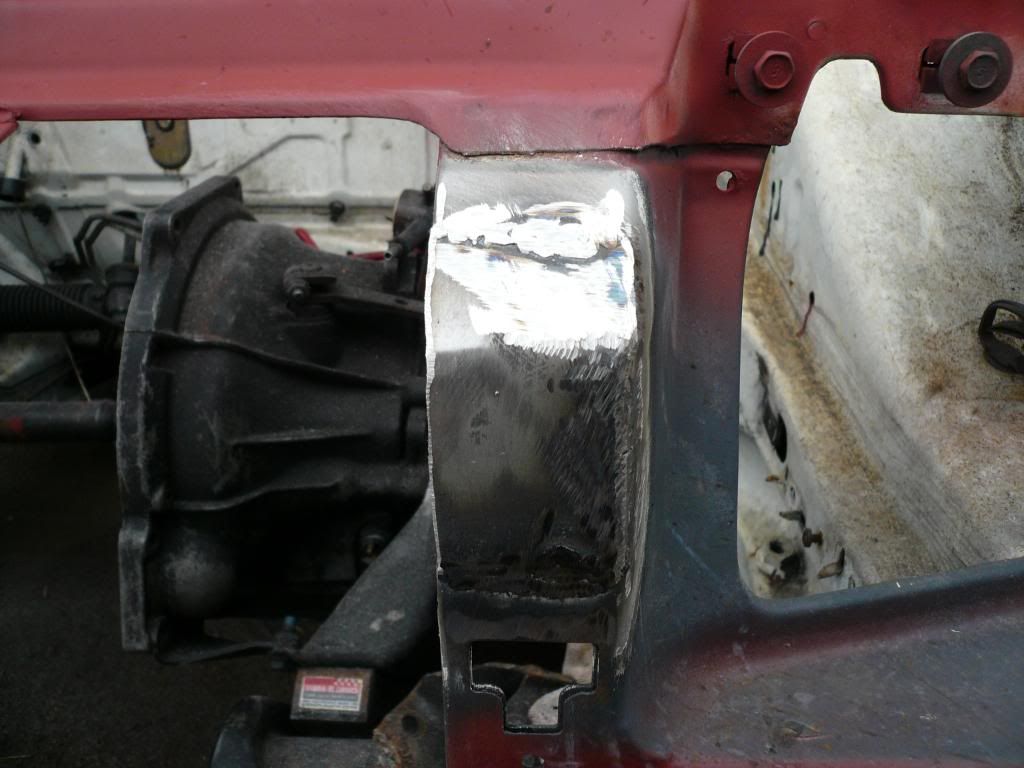 [/IMG]
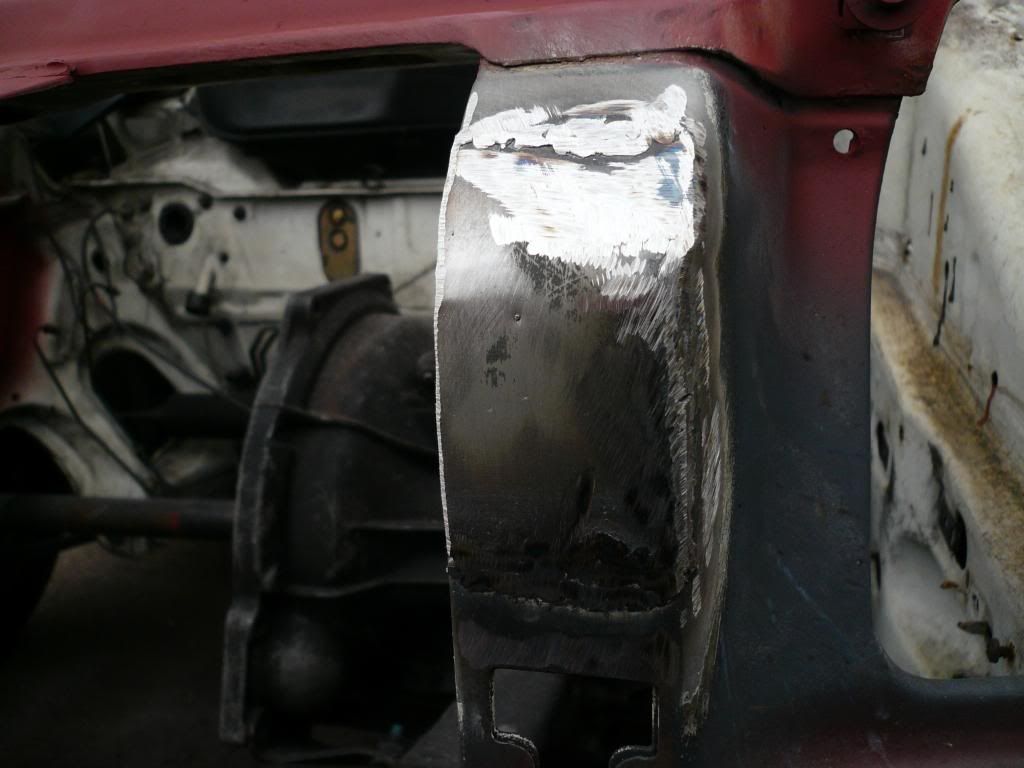 [/IMG]
I want the engine bay ready for the weekend but if the weather carry's on like it has then i dont stand a chance But once the engine bay is done i can put the engine in
  Then my partner can have her kitchen back as it still sit's next to the table
 so here's some more pic's of my progress
 [/IMG]
 [/IMG]
 [/IMG]
 [/IMG]
And then i got stuck into the welding and filling

 [/IMG]
 [/IMG]
 [/IMG]
 [/IMG]
That is all i done before it started raining again

 so i called it a day...
And yesterday i only done this small bit before it chucked it down
 [/IMG]
 [/IMG]
I want the engine bay ready for the weekend but if the weather carry's on like it has then i dont stand a chance
 But once the engine bay is done i can put the engine in
  Then my partner can have her kitchen back as it still sit's next to the table
#177
Thread Starter
Too many posts.. I need a life!!
iTrader: (2)
Joined: Jan 2010
Posts: 566
Likes: 0
From: norfolk
My plan for engine bay being painted for the weekend went tit's up as i got a little bit drunk 

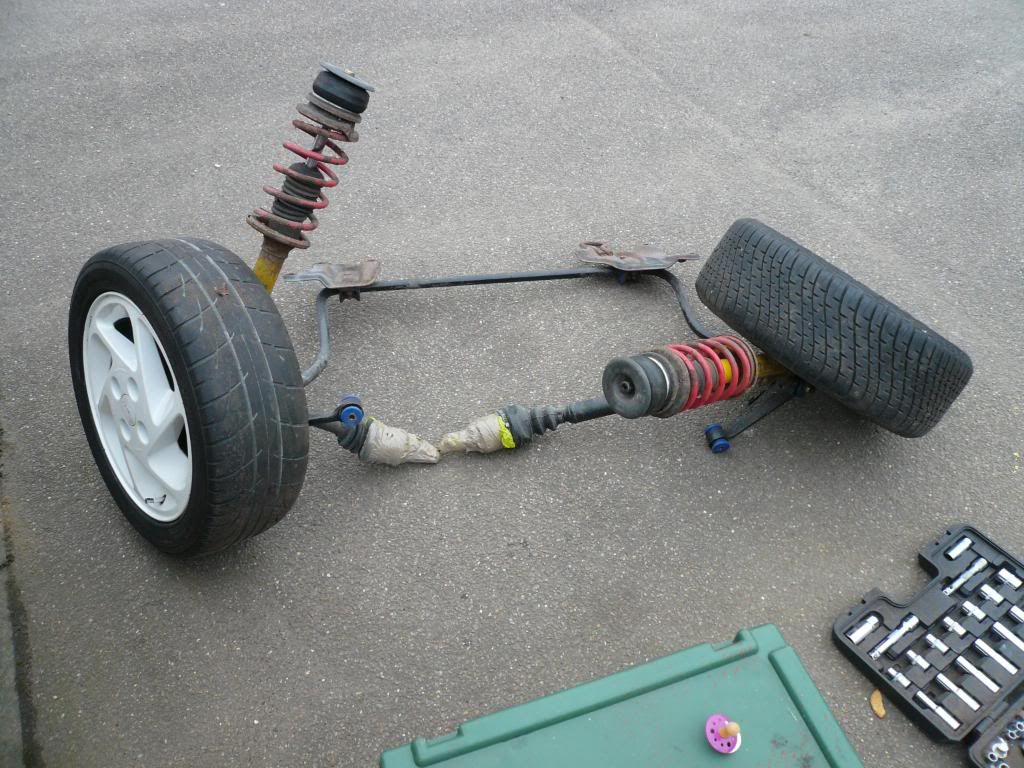
 and ended up not doing anything.. So today i got on with getting more paint off and finish stripping the front end..
 [/IMG]
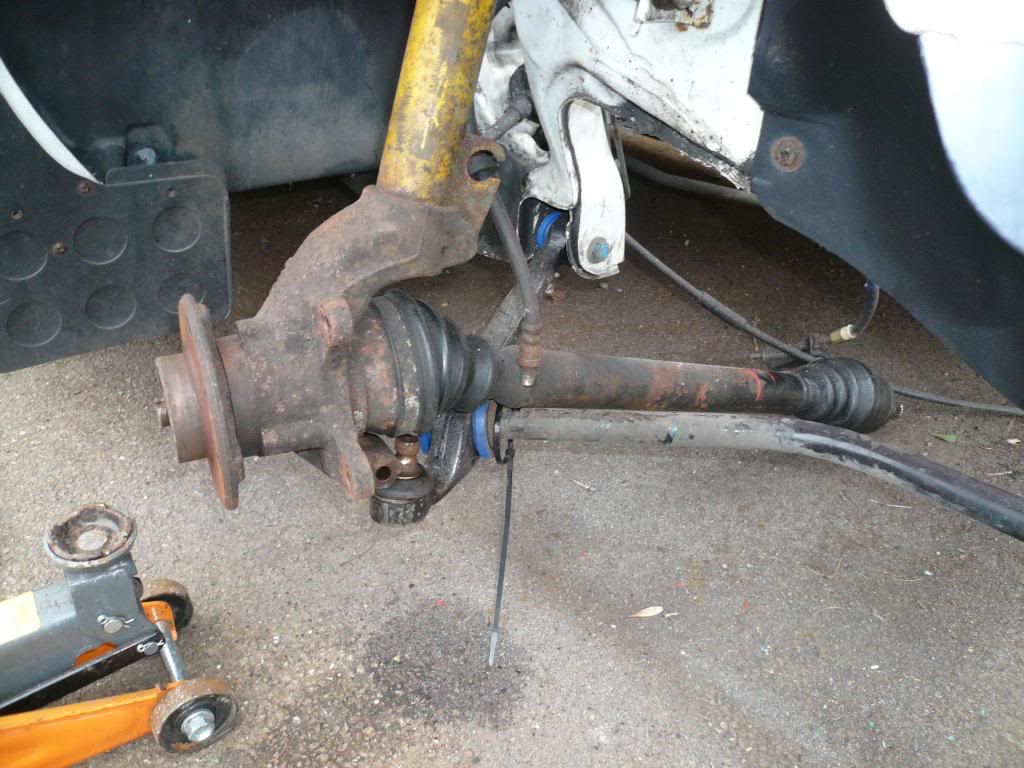
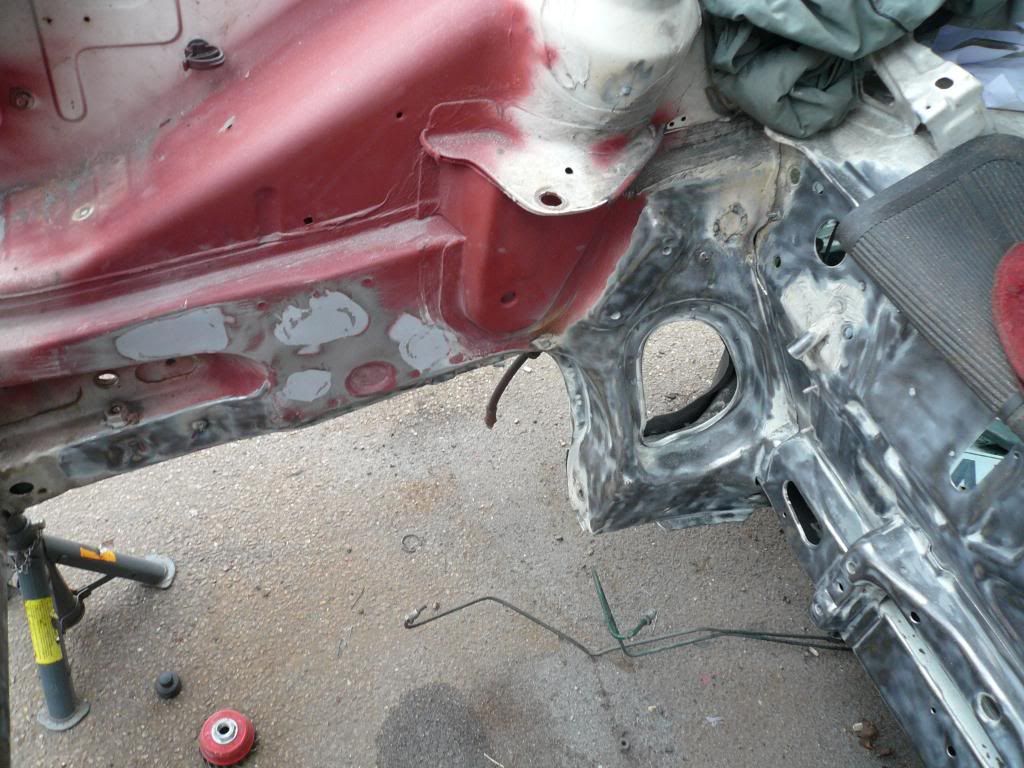
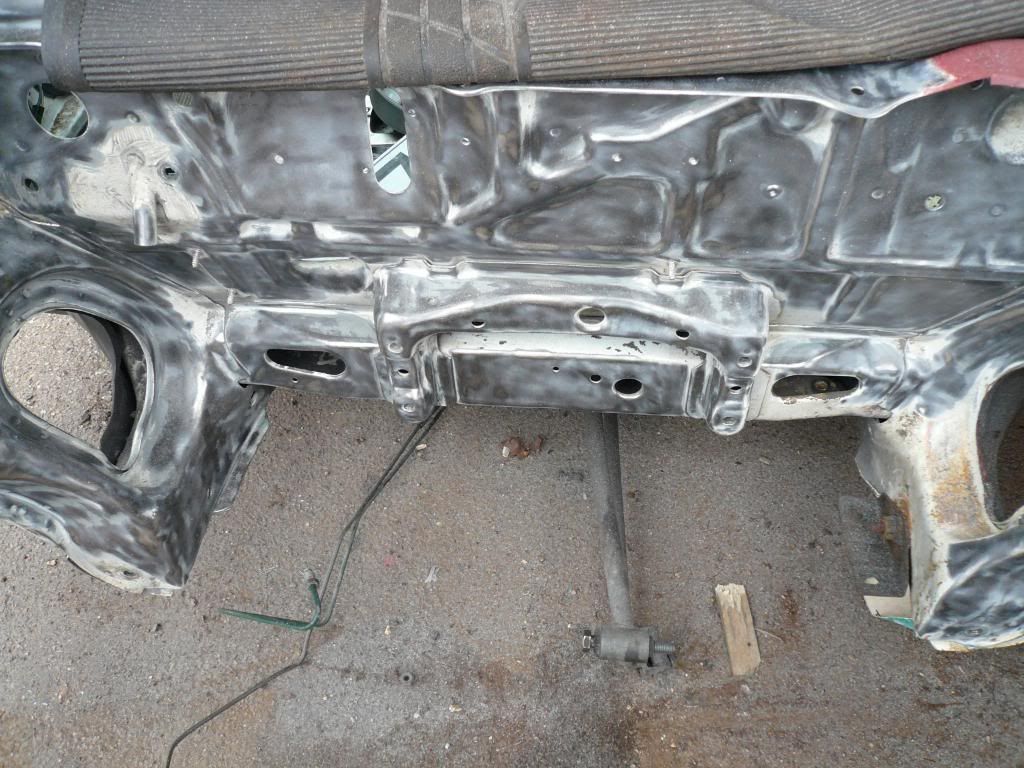
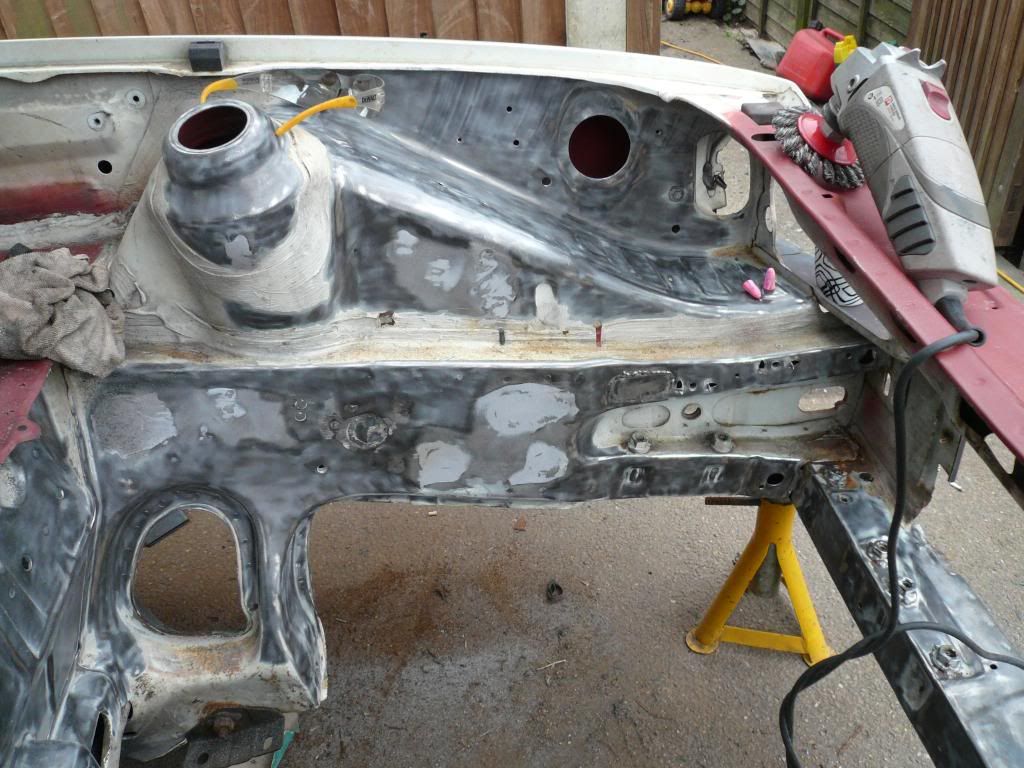
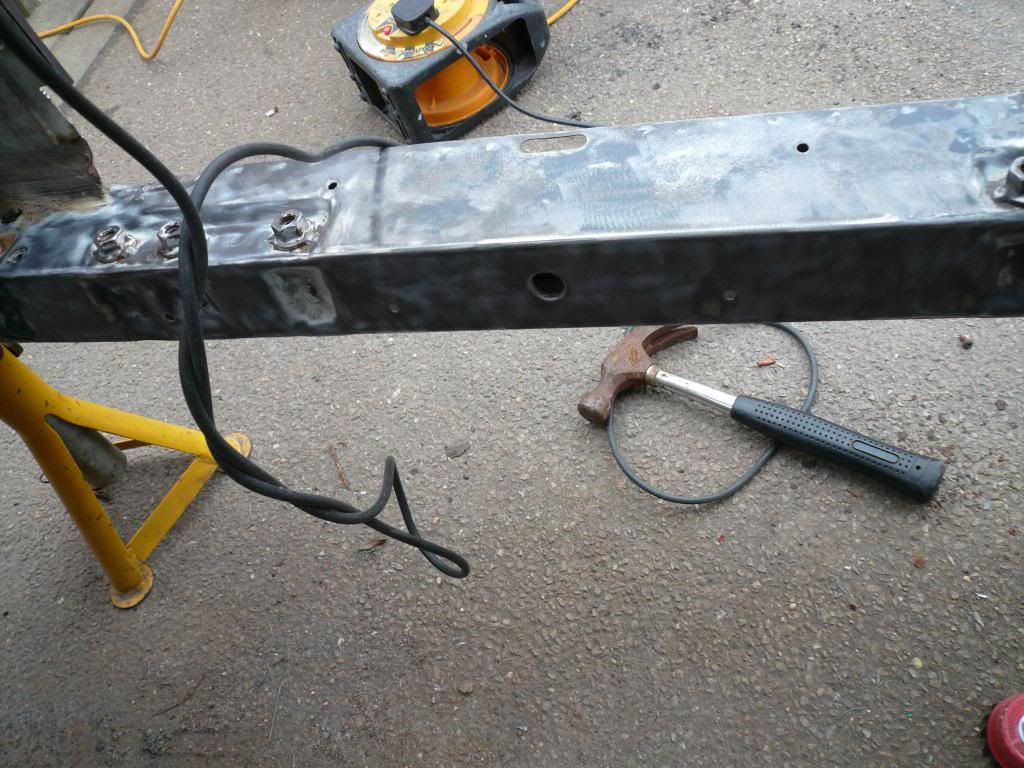
So it was off with the front arm's, strut's, antirollbar,wheel's and then on with some more cleaning with the grinder
 [/IMG]
 [/IMG]
 [/IMG]
 [/IMG]
The one thing i cant get over is how long it is takeing to get all the paint off Im about 3/4 the way through it but it's the bit's where i cant get the grinder in is where i lose so much time

 But if the weather hold's out i should have the prep work done for the weekend
  So that's my little update for now thank's for looking


 and ended up not doing anything.. So today i got on with getting more paint off and finish stripping the front end..
 [/IMG]
So it was off with the front arm's, strut's, antirollbar,wheel's and then on with some more cleaning with the grinder
 [/IMG]
 [/IMG]
 [/IMG]
 [/IMG]
The one thing i cant get over is how long it is takeing to get all the paint off
 Im about 3/4 the way through it but it's the bit's where i cant get the grinder in is where i lose so much time

 But if the weather hold's out i should have the prep work done for the weekend
  So that's my little update for now thank's for looking
#188
Thread Starter
Too many posts.. I need a life!!
iTrader: (2)
Joined: Jan 2010
Posts: 566
Likes: 0
From: norfolk
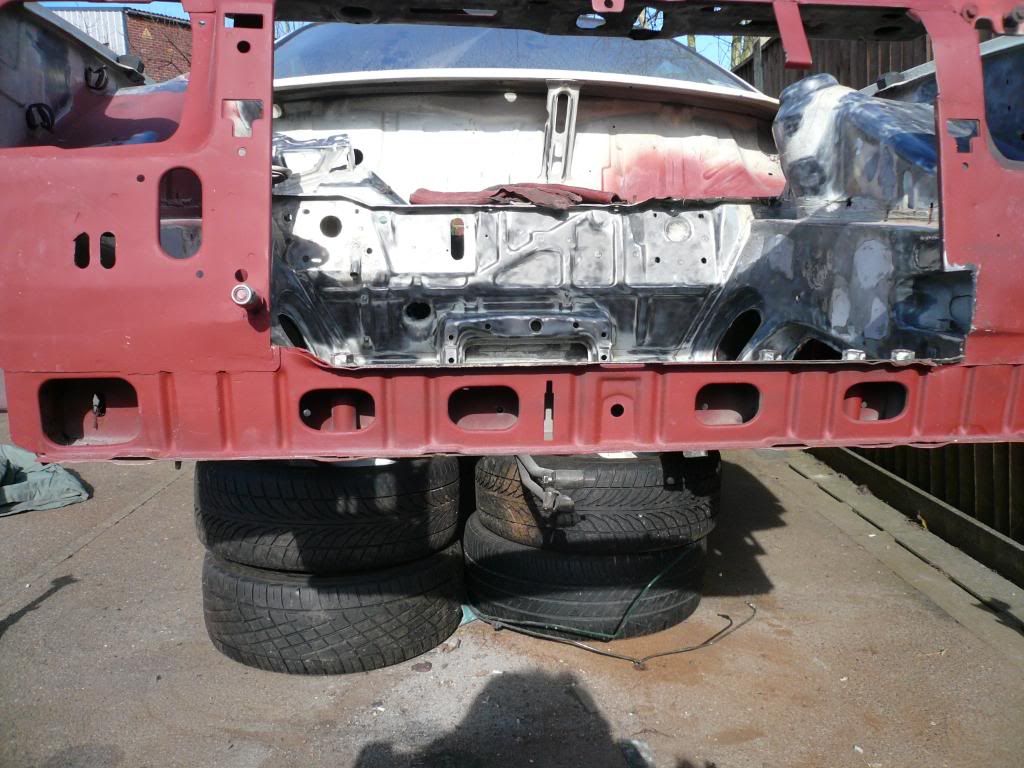
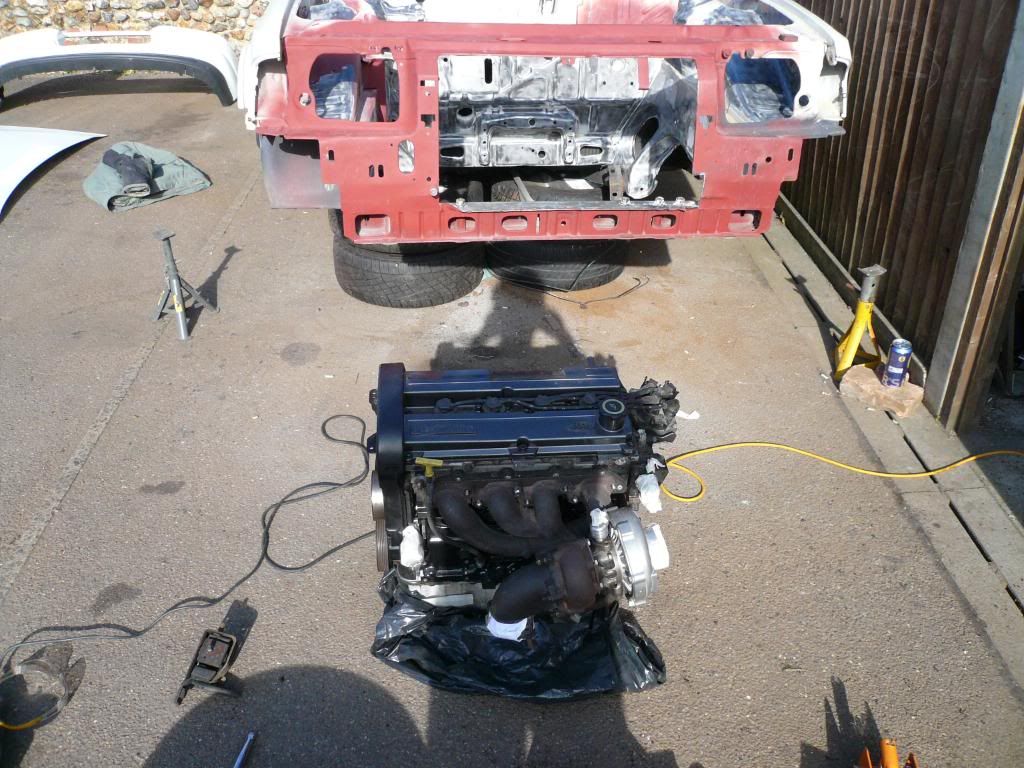
Today we test fitted the engine to see if there's room between the turbo and rad wich there is  so here's some pics
 [/IMG]
Since i still cant get an engine hoist we had to do it the hard way by lifting it up and putting it on my old wheel's
 [/IMG]
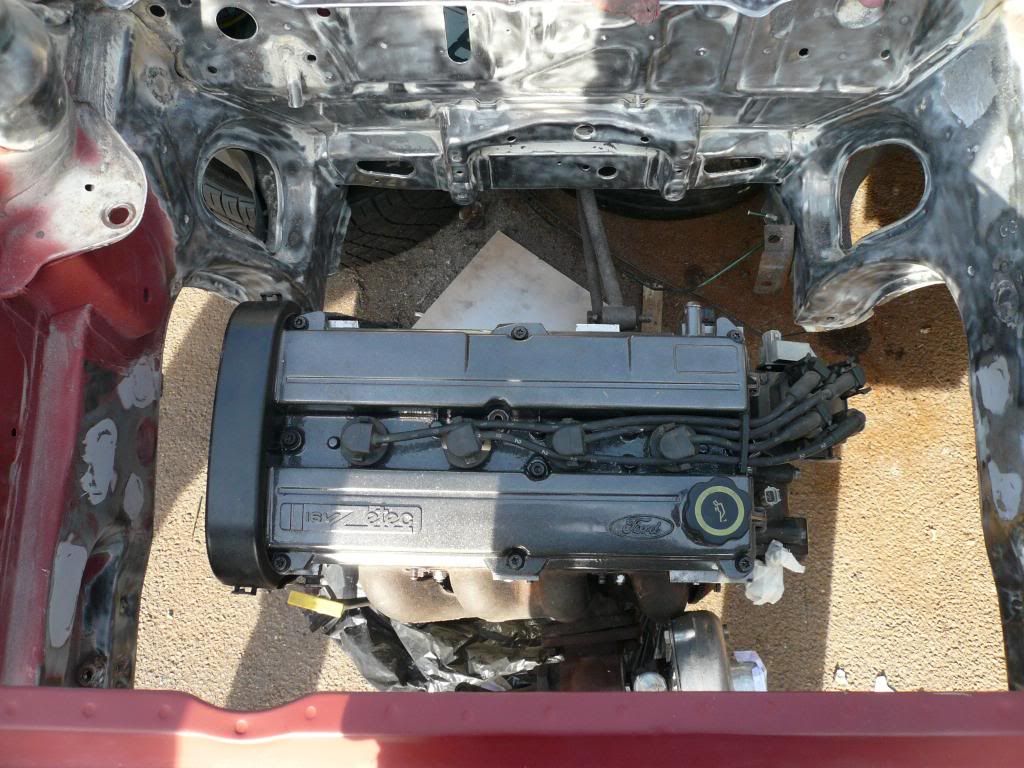 [/IMG]
And then we slid the engine under on a bit of MDF board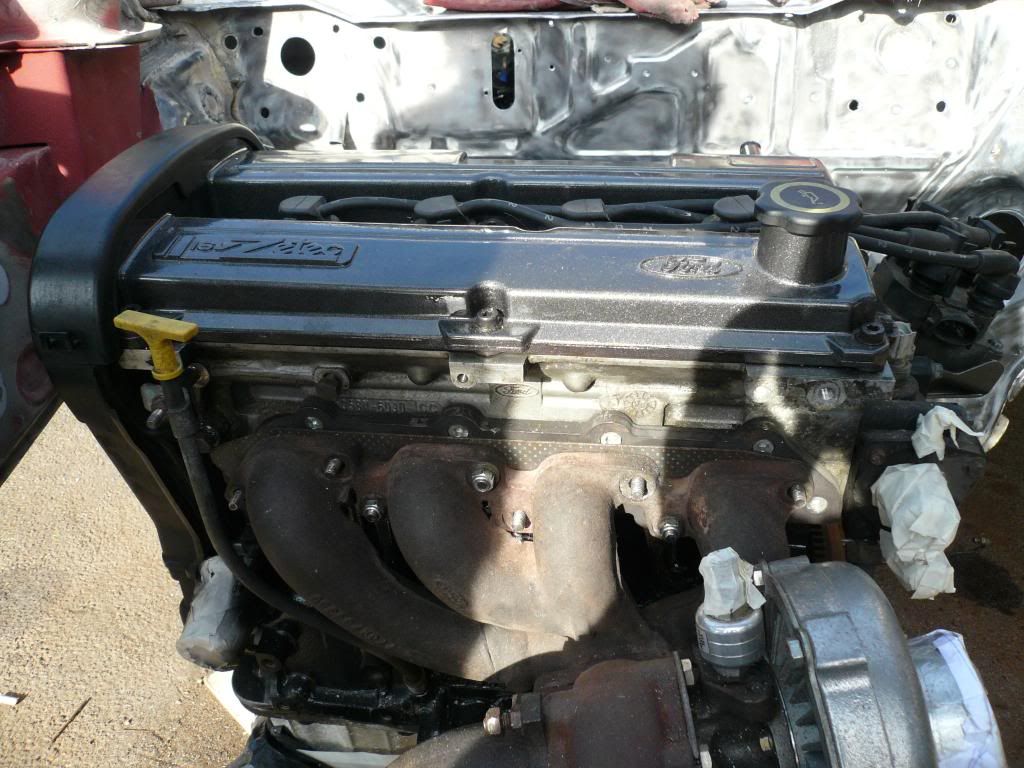 [/IMG]
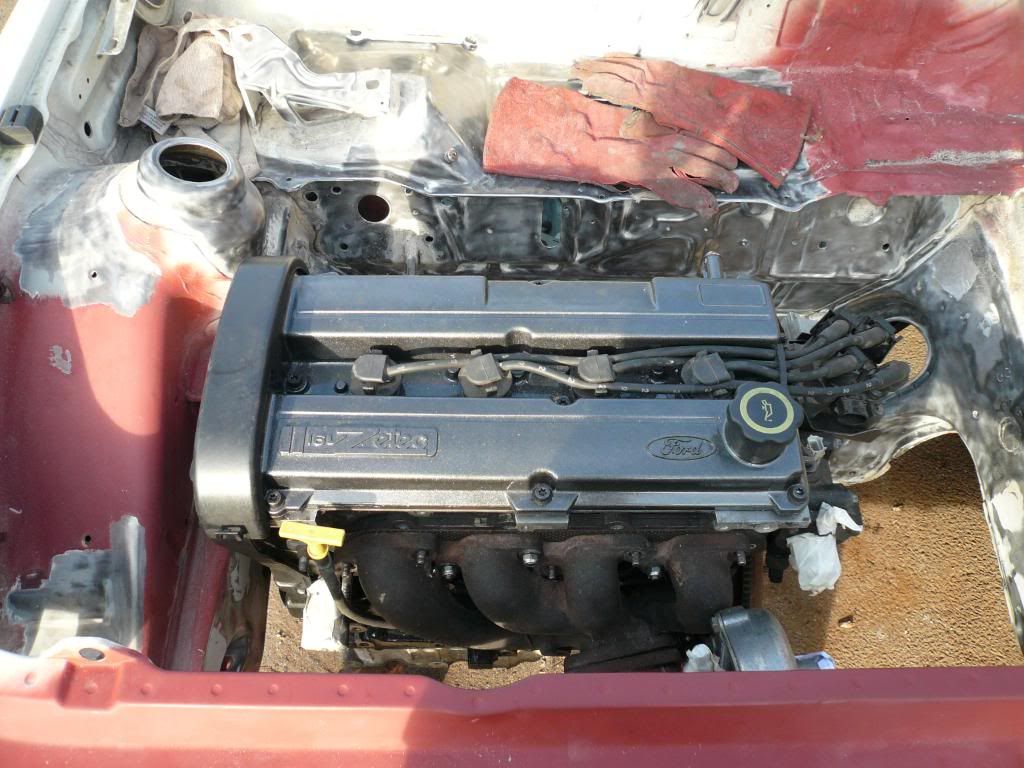 [/IMG]
And once we got the engine in and lined up we found that there's load's room. But when we test fitted the inlet manifold there was not anuff room for the throtle body. So ive got to take it to my mate who's got to grind the old weld's off and turn it round so it face's the pasenger side
So arfter we spent half the day test fitting it it was then time to take it back out so i can get on finishing the engine bay ready for the engine to go in for good


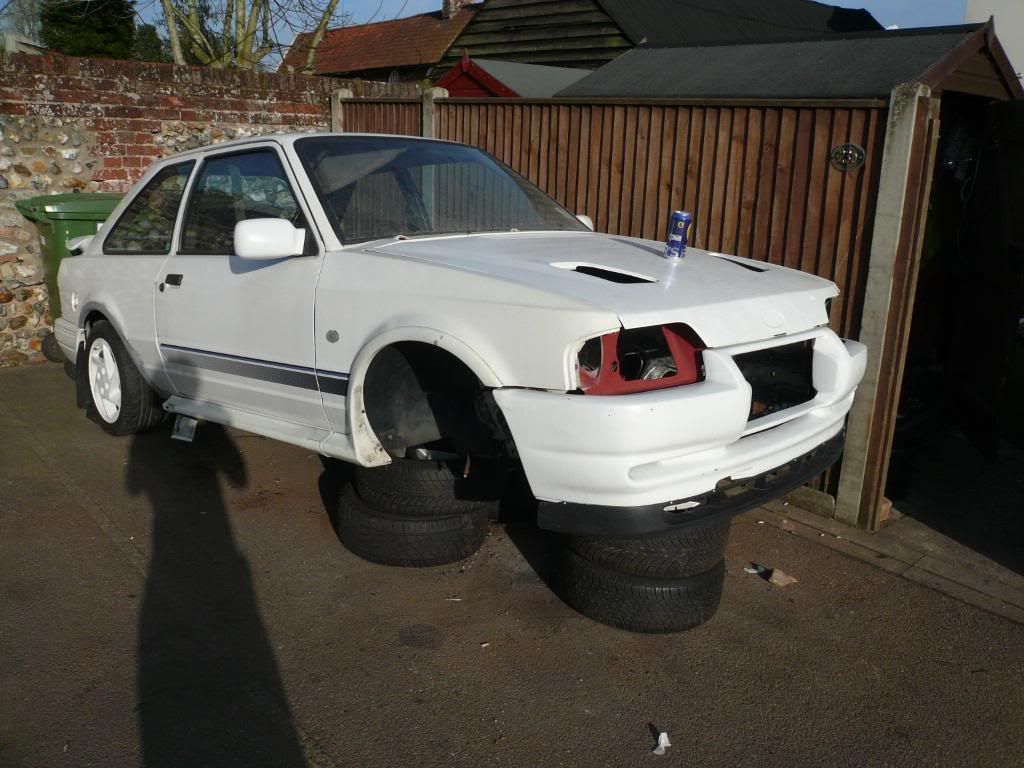 [/IMG]
And this is how she sit's tonight already for me to finish the engine bay off. This is as far as i got so when i do some more i will update thank's for looking

 [/IMG]
Since i still cant get an engine hoist we had to do it the hard way by lifting it up and putting it on my old wheel's

 [/IMG]
 [/IMG]
And then we slid the engine under on a bit of MDF board
 [/IMG]
 [/IMG]
And once we got the engine in and lined up we found that there's load's room. But when we test fitted the inlet manifold there was not anuff room for the throtle body. So ive got to take it to my mate who's got to grind the old weld's off and turn it round so it face's the pasenger side

So arfter we spent half the day test fitting it it was then time to take it back out so i can get on finishing the engine bay ready for the engine to go in for good


 [/IMG]
And this is how she sit's tonight already for me to finish the engine bay off. This is as far as i got so when i do some more i will update thank's for looking


#192
Thread Starter
Too many posts.. I need a life!!
iTrader: (2)
Joined: Jan 2010
Posts: 566
Likes: 0
From: norfolk
The bay is now ready for red oxide  I was happy with how the zetec lump fitted but i was fooket off with the inlet manifold
  As the welds need to be cut and then turning around so the throtle body is on the pasenger side
  But on a good note the engine bay should be done today or late tomorrow
  thank's for looking mate
 As the welds need to be cut and then turning around so the throtle body is on the pasenger side
  But on a good note the engine bay should be done today or late tomorrow
  thank's for looking mate
#193
Thread Starter
Too many posts.. I need a life!!
iTrader: (2)
Joined: Jan 2010
Posts: 566
Likes: 0
From: norfolk
GREAT DAY'S WORK TODAY 

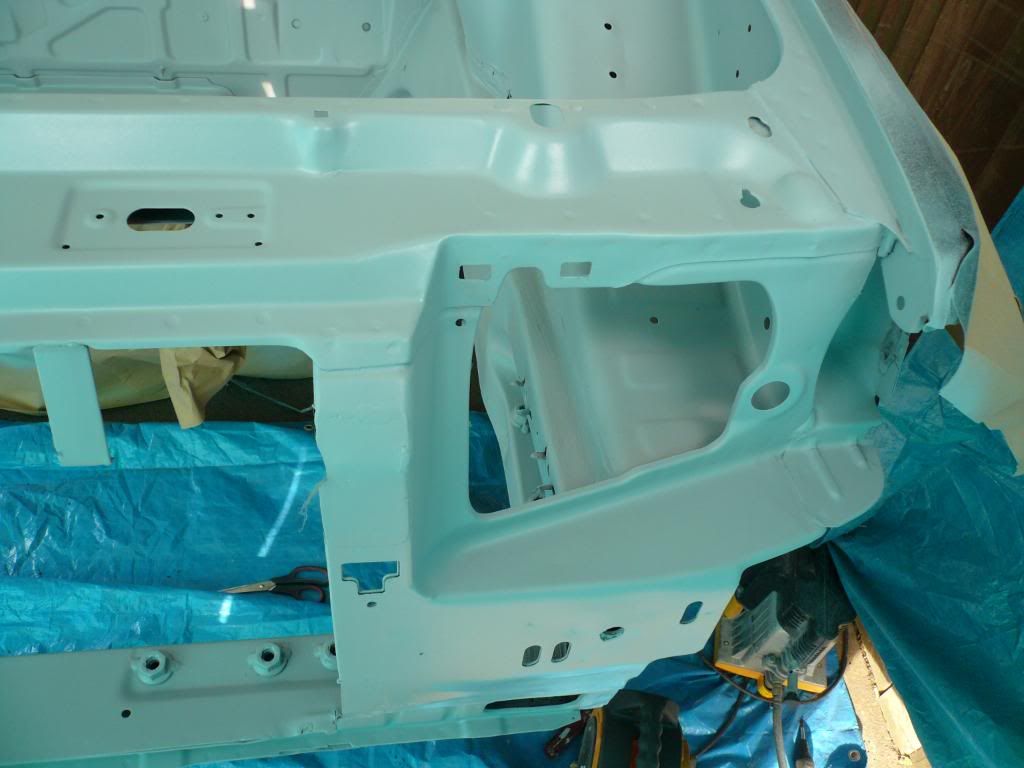
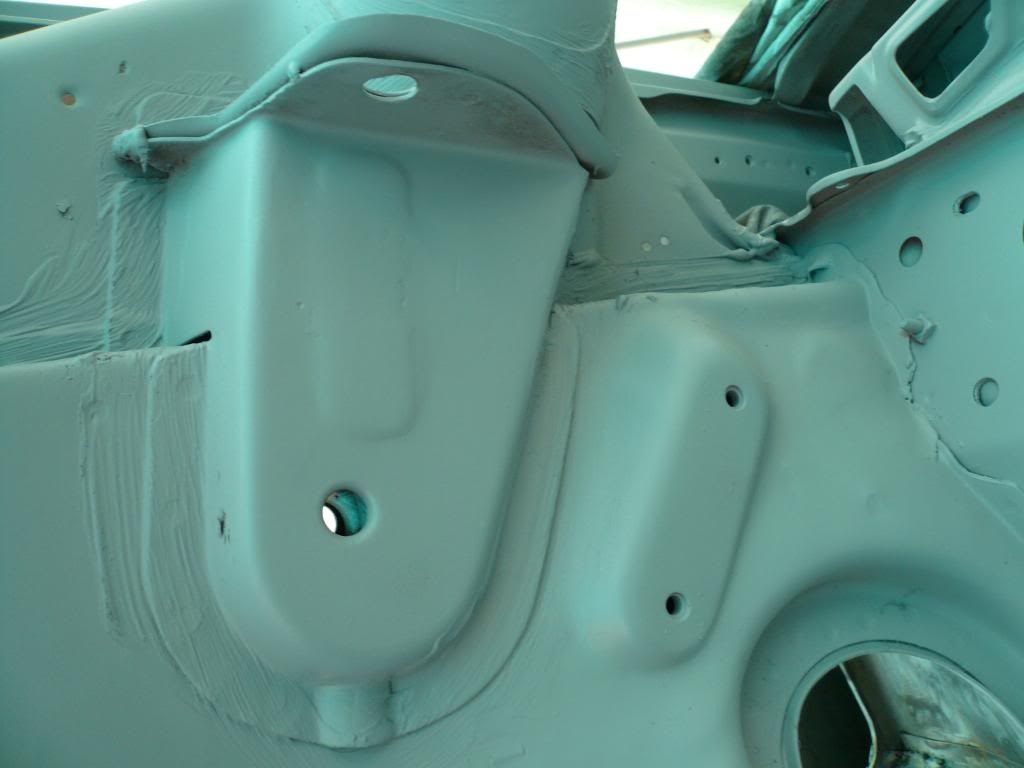
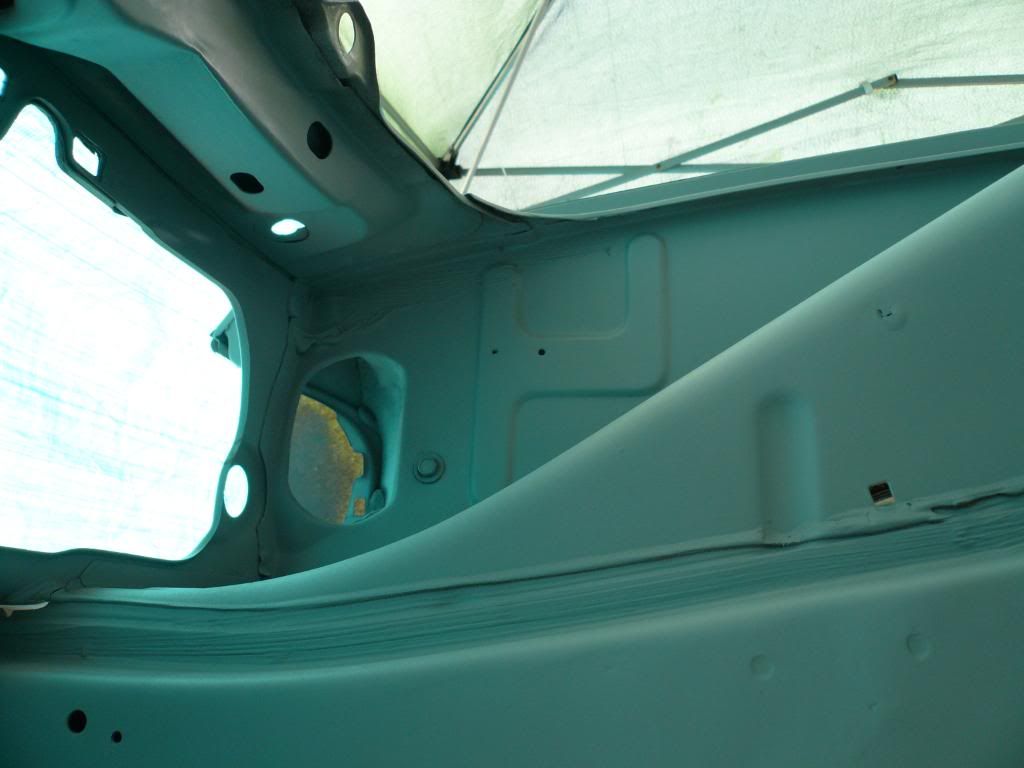
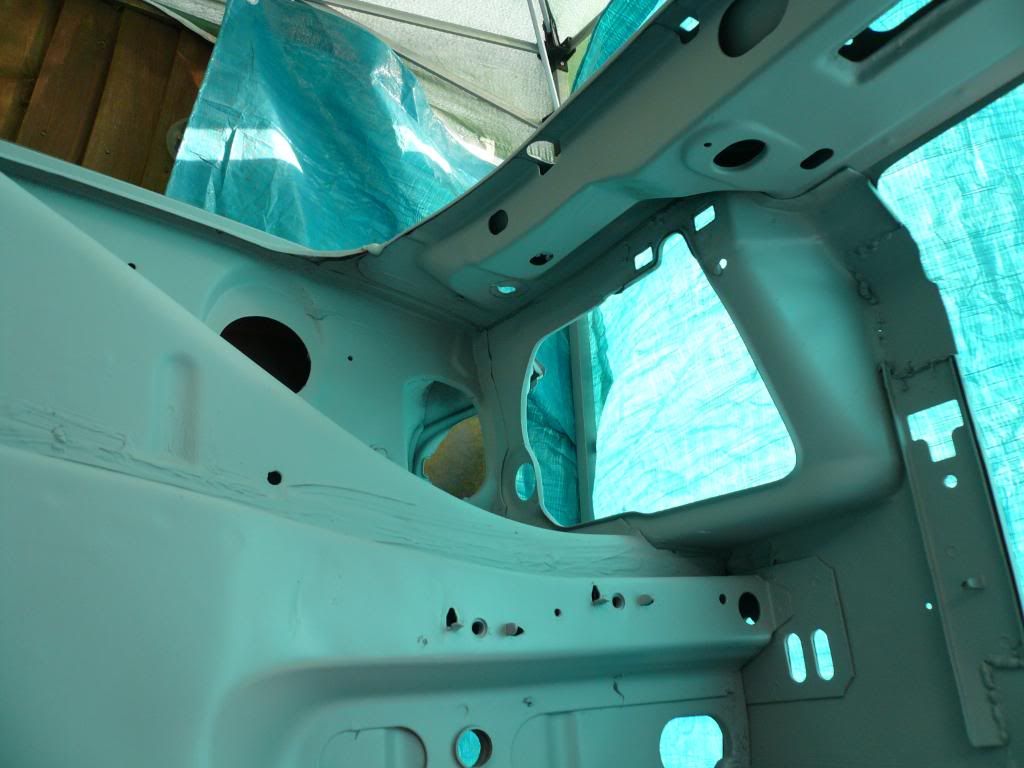
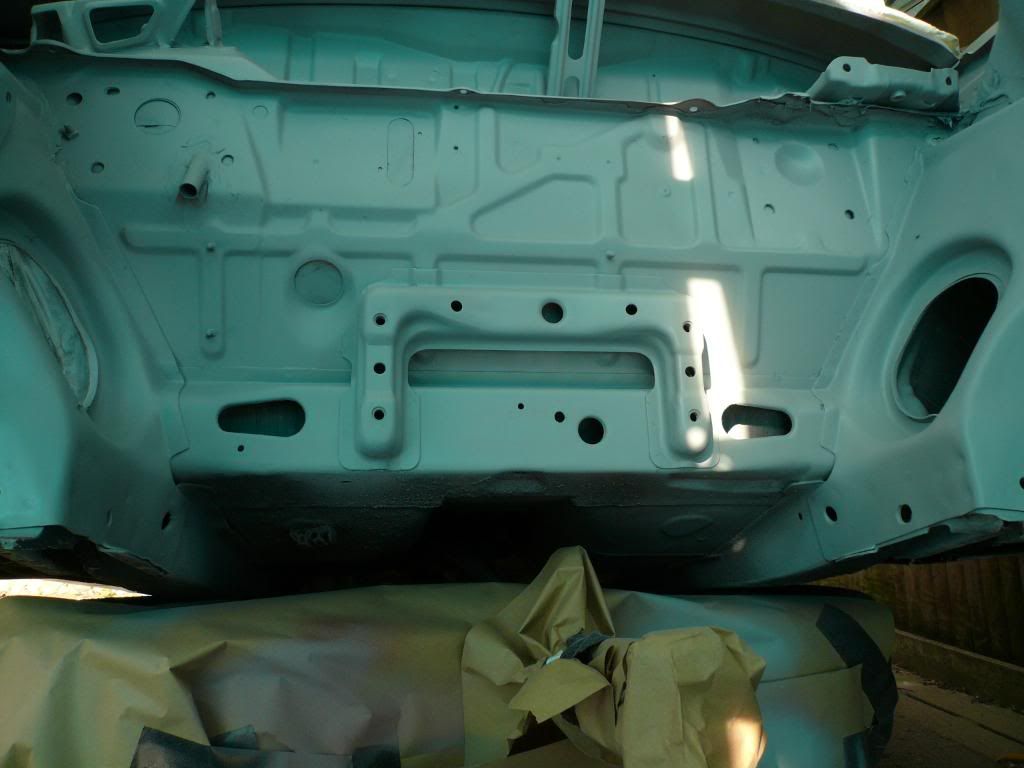
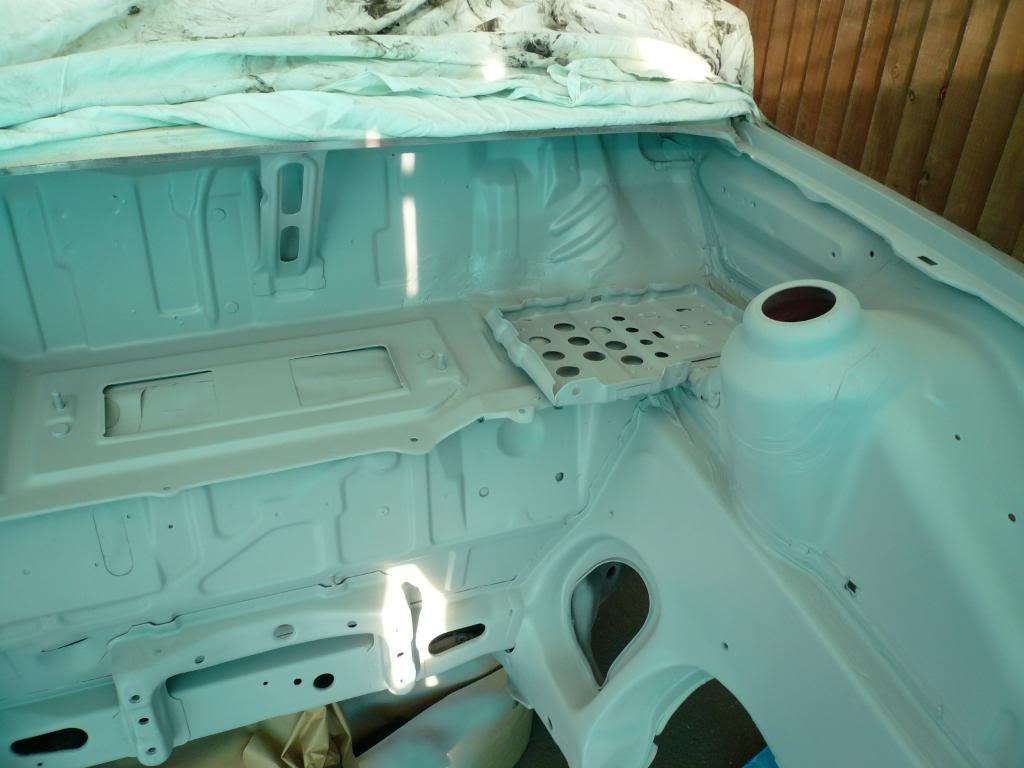
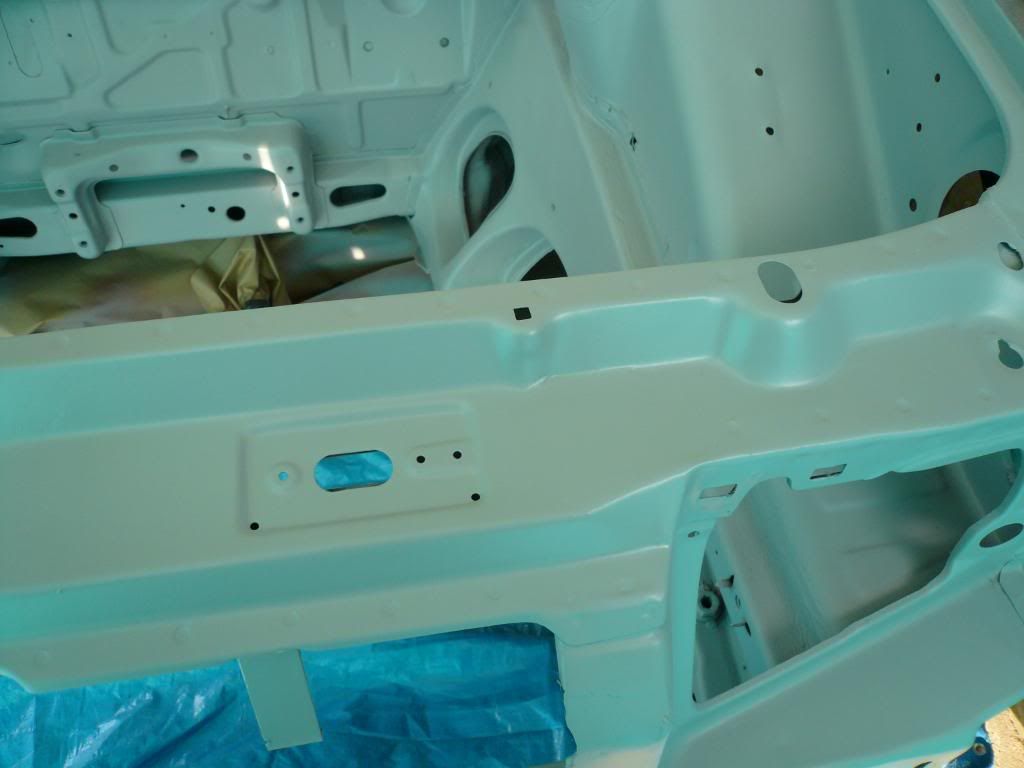
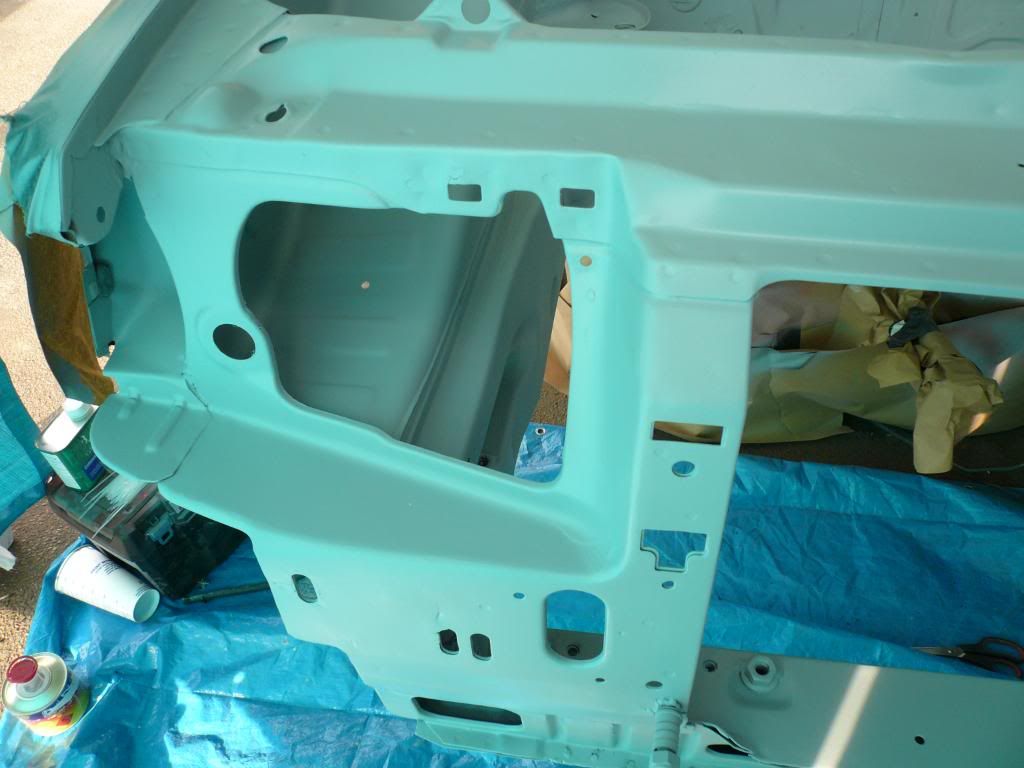
Got stuck into getting the bay under coated at last the weather was good no rain so i got on with the prep work and then it was ready for 3 coat's of red oxide
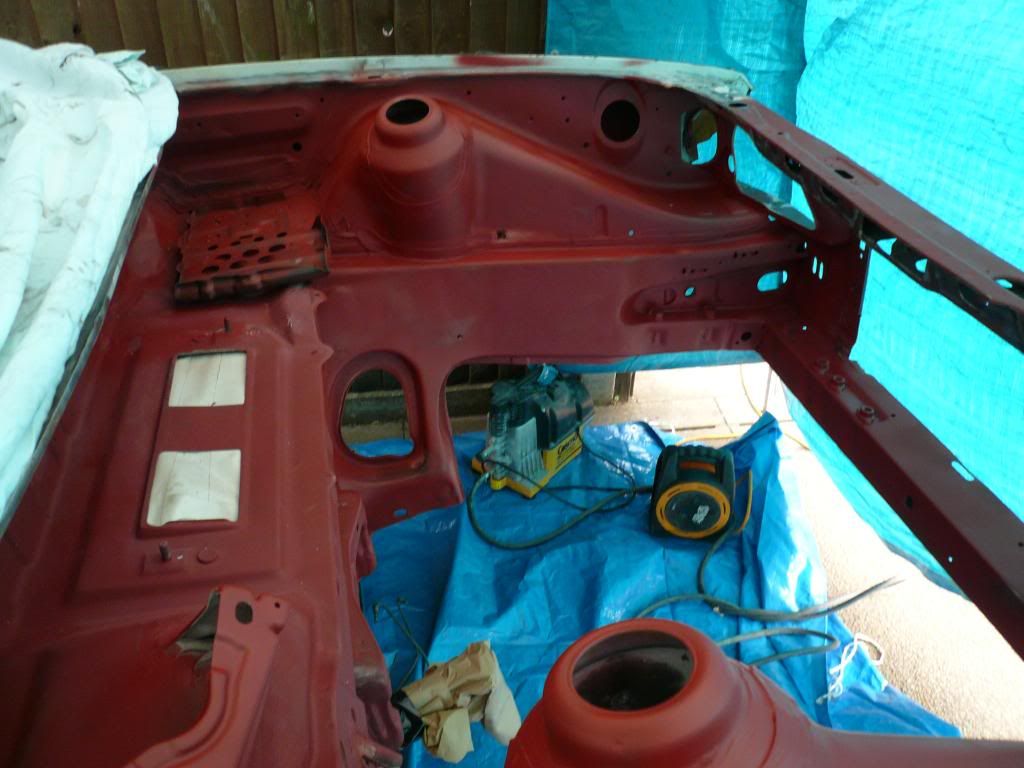 [/IMG]
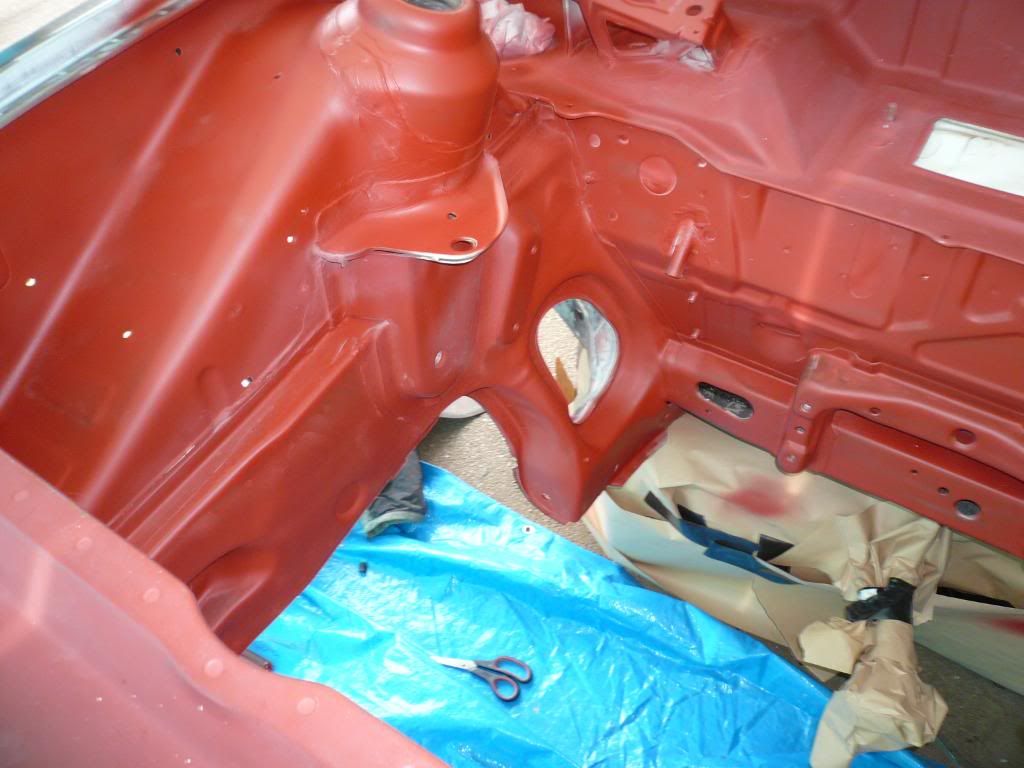 [/IMG]
Once that had dryed i then rubbed it all down with 2400 grit wet and dry then cleand it all down and then got stuck into given it 3 coat's of primer
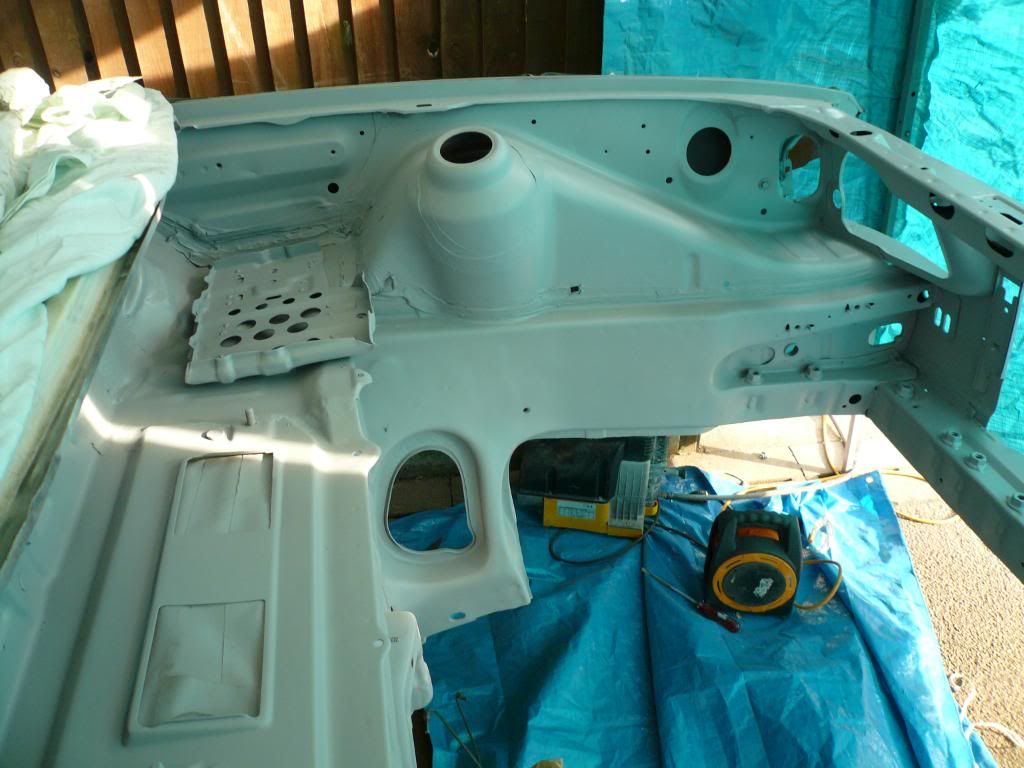 [/IMG]
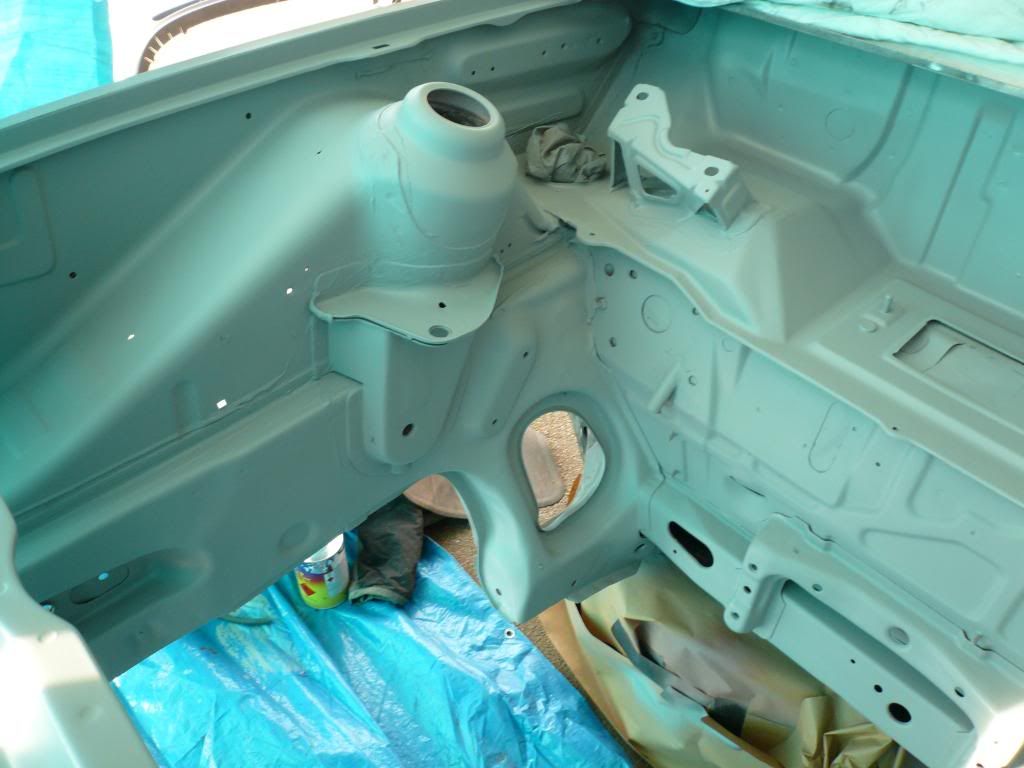 [/IMG]
 [/IMG]
 [/IMG]
 [/IMG]
 [/IMG]
 [/IMG]
 [/IMG]
 [/IMG]
 [/IMG]
 [/IMG]
All i need to do now is go over the whole lot again with 2400 grit wet & dry and finger's X there's no more filling to do then i can get on with the top coat


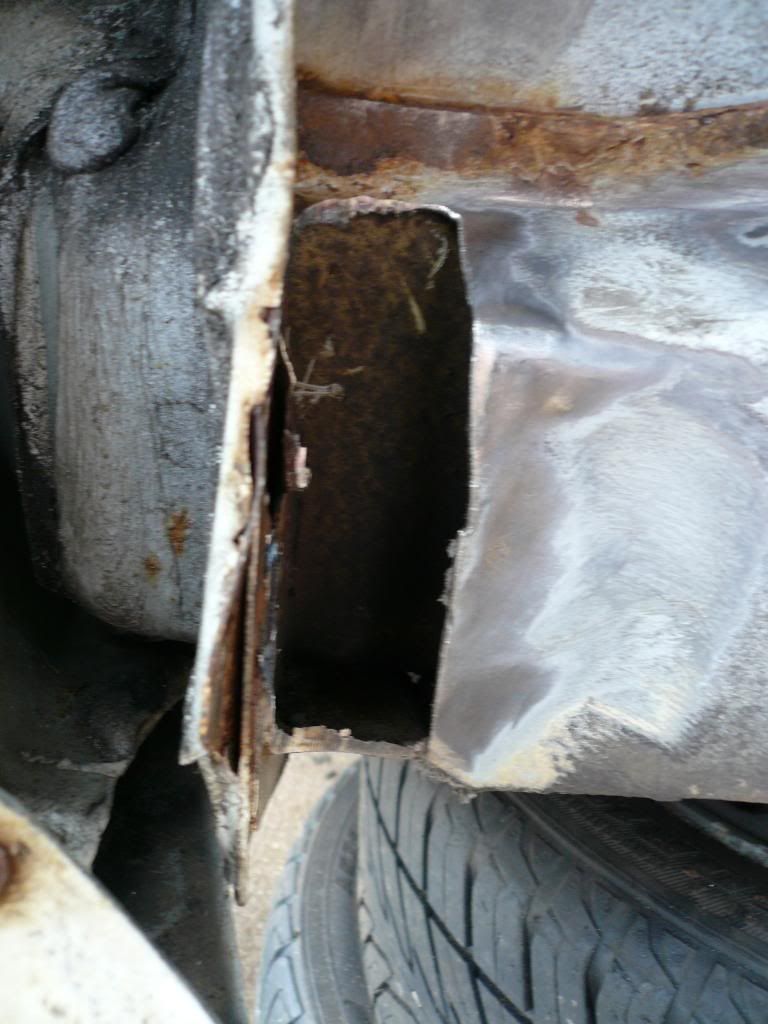
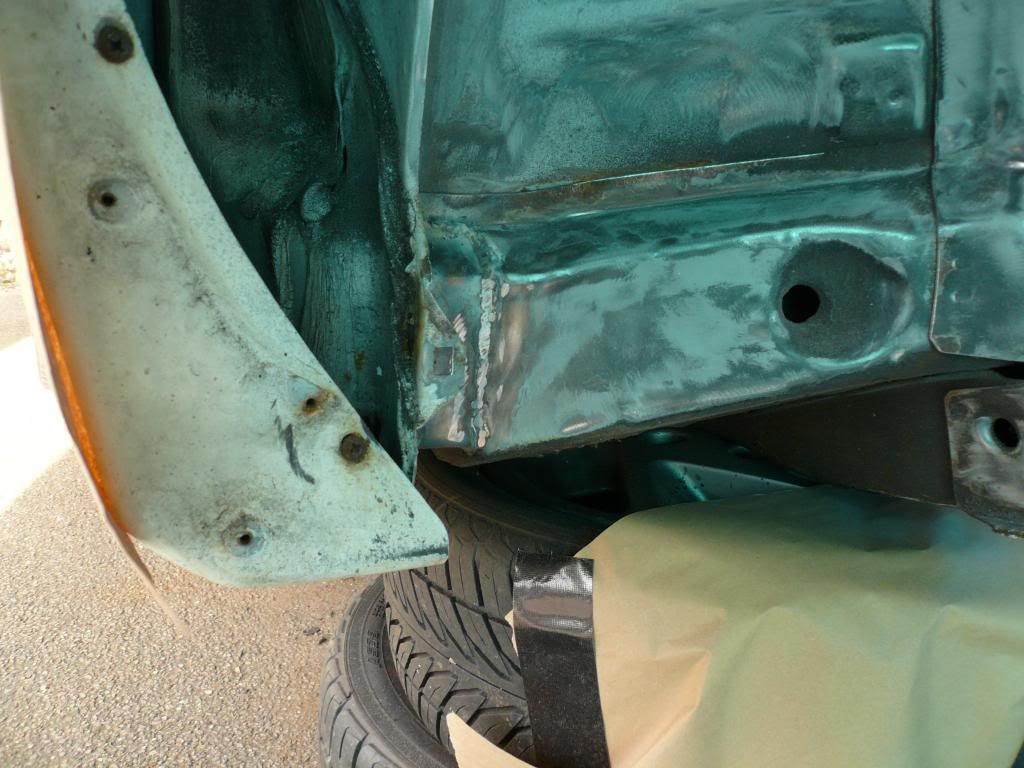
Once that was dry i cut out another little bit of rust and welded another bit of plate in
 [/IMG]
 [/IMG]
That's all i got done for 1 day if the weather is good tomorrow i will have a little bit more of a update


Got stuck into getting the bay under coated at last
 [/IMG]
 [/IMG]
Once that had dryed i then rubbed it all down with 2400 grit wet and dry then cleand it all down and then got stuck into given it 3 coat's of primer
 [/IMG]
  [/IMG]
 [/IMG]
 [/IMG]
 [/IMG]
 [/IMG]
 [/IMG]
 [/IMG]
 [/IMG]
 [/IMG]
 [/IMG]
All i need to do now is go over the whole lot again with 2400 grit wet & dry and finger's X there's no more filling to do then i can get on with the top coat


Once that was dry i cut out another little bit of rust and welded another bit of plate in

 [/IMG]
 [/IMG]
That's all i got done for 1 day if the weather is good tomorrow i will have a little bit more of a update

#195
Thread Starter
Too many posts.. I need a life!!
iTrader: (2)
Joined: Jan 2010
Posts: 566
Likes: 0
From: norfolk
Im getting there now just got to finish going over with the 2400 grit papper. And there's a bit of weld that need's grinding down that i forgot to do  and then i will top coat it
  and then drop the lump in
  And then i can get the out side sprayed then it will be one with putting her back together


 and then i will top coat it
  and then drop the lump in
  And then i can get the out side sprayed then it will be one with putting her back together


 but i can alway's fit that at a later date

