Moonstone 3-door

 11-11-2013, 10:25 PM
#122
PassionFord Regular

great tread  it gives me so much courage and inspiration for my project. I am looking for both sides Sierra Sapphire inner wings. New ones. Any help anyone ?
Cheers
Cheers
12-11-2013, 06:11 PM
#124
PassionFord Regular
10-12-2013, 08:50 PM
#125
PassionFord Regular
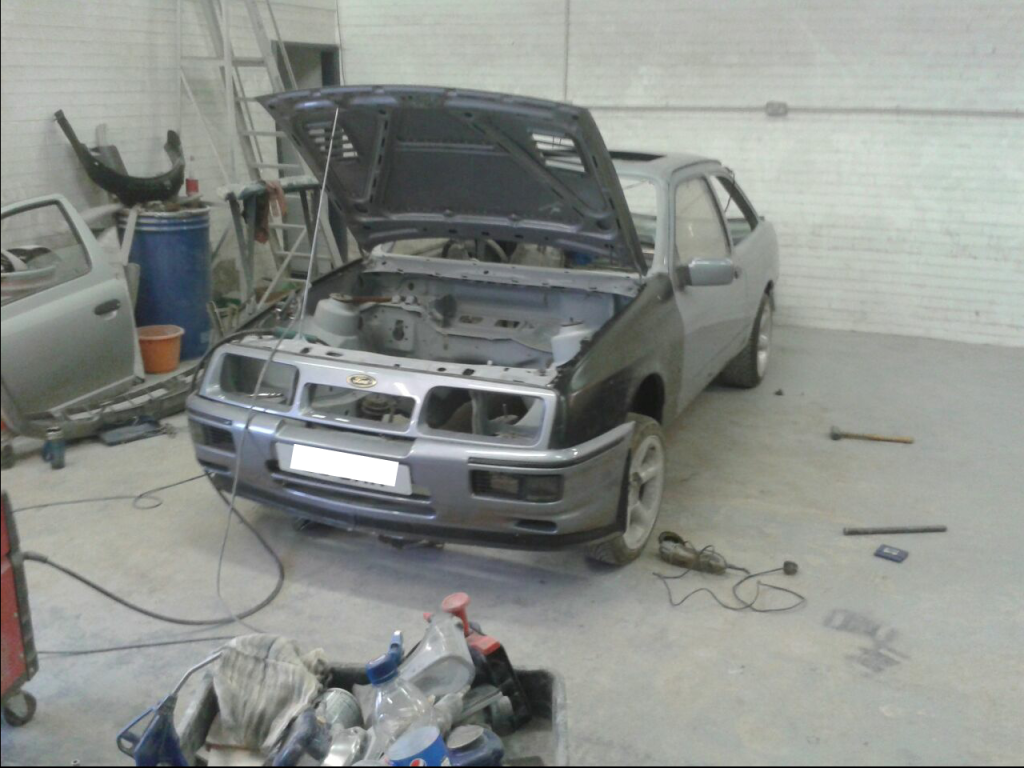
So wings ready to go could concentrate on getting front end of the car sorted. Car was brought back to mates and put on railway sleepers to keep the car level while work was going on

The dashboard was removed along with 20 odd years of wiring and add on's

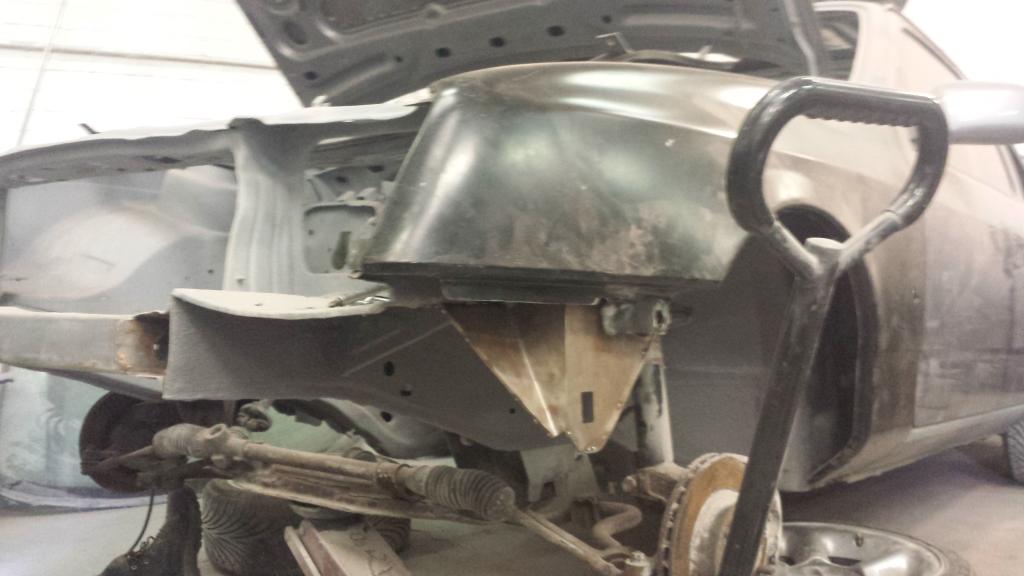
With all wiring out of the way could have a proper look under the bonnet and be sure nothing was going to be accidentley cut in the process, had a bit more banging and poking around the front end of the car to see how bad things where and.....


On the face of it the nearside doesnt look to bad, amazing what a bit of bog can do though


So both sides gone as bad as they where just as well I pulled the car off the road when I did, and refused temptation of a lap around silverstone at ford fair 2 weeks previous due to engine problems
Next step was getting the lot out of there, Car had been bogged and failed to stop the rot so if a jobs worth doing its worth doing properly. And where any cossie's concerned this has to be the case so outer wings where removed and cleaned up to find the spot welds


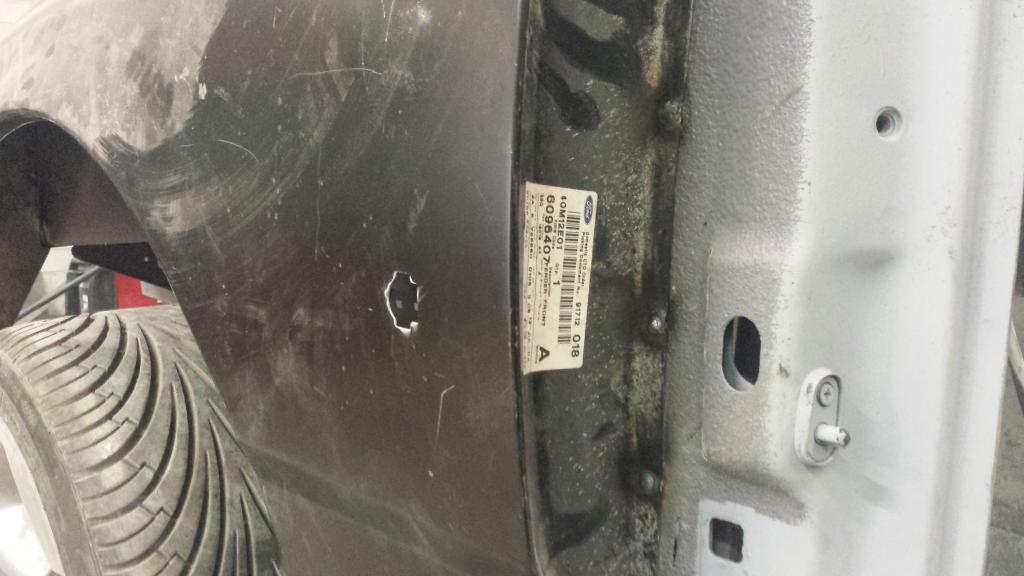
Can see how bad now the inner wings where. a bit of this was now carefully cut out to give better access to the spot welds, now you see it

and now you dont

this gone any spot welds where cleaned up with a wire brush along the chassis leg and body of the car

Until again we where able to pry the remaining piece off and expose the chassis leg


this process was repeated for the near side until the front end of the car was looking just a bit bare

Next updates the refitting of the wings its fag break now though all this typing isnt good
The dashboard was removed along with 20 odd years of wiring and add on's
With all wiring out of the way could have a proper look under the bonnet and be sure nothing was going to be accidentley cut in the process, had a bit more banging and poking around the front end of the car to see how bad things where and.....
On the face of it the nearside doesnt look to bad, amazing what a bit of bog can do though
So both sides gone as bad as they where just as well I pulled the car off the road when I did, and refused temptation of a lap around silverstone at ford fair 2 weeks previous due to engine problems
Next step was getting the lot out of there, Car had been bogged and failed to stop the rot so if a jobs worth doing its worth doing properly. And where any cossie's concerned this has to be the case so outer wings where removed and cleaned up to find the spot welds
Can see how bad now the inner wings where. a bit of this was now carefully cut out to give better access to the spot welds, now you see it
and now you dont
this gone any spot welds where cleaned up with a wire brush along the chassis leg and body of the car
Until again we where able to pry the remaining piece off and expose the chassis leg
this process was repeated for the near side until the front end of the car was looking just a bit bare
Next updates the refitting of the wings
..Wouldn`t it have been easier changing the whole of the inner wing together with the chassis leg on ?
10-12-2013, 10:33 PM
#126
I've found that life I needed.. It's HERE!!
the way he did it now i think is better ,leaving the chassis leg as it is as a whole untouched part.
Last edited by lowman; 10-12-2013 at 10:44 PM.
 19-10-2014, 03:40 PM
#129
Wahay!! I've lost my Virginity!!
Thread Starter
Join Date: Apr 2010
Location: Lancashire
Posts: 68
Likes: 0
Received 0 Likes
on
0 Posts
Lads sorry for lack of replies to you can�t believe it�s been somewhat kept alive this thread. Reason it�s been quiet is since dropping the car off at my mates 4yrs ago very little has happened unfortunately. Many Christmases where it�s been earmarked for spraying have come and gone to much frustration so haven�t been on to update the minor bits that have been going on. Car is still with me on this thread so haven�t given up, just very slow going
The not wanting a weak point was a consideration but it was also to ensure the panels lined up correctly which is also why we left the bonnet on. So everything went back in the same position.
I�ll get around to doing a bit of an update on where it now stands though it�s not really that much farther down the line
I�ll get around to doing a bit of an update on where it now stands though it�s not really that much farther down the line
 19-10-2014, 03:58 PM
#131
Wahay!! I've lost my Virginity!!
Thread Starter
Join Date: Apr 2010
Location: Lancashire
Posts: 68
Likes: 0
Received 0 Likes
on
0 Posts
 19-10-2014, 04:33 PM
#132
Wahay!! I've lost my Virginity!!
Thread Starter
Join Date: Apr 2010
Location: Lancashire
Posts: 68
Likes: 0
Received 0 Likes
on
0 Posts
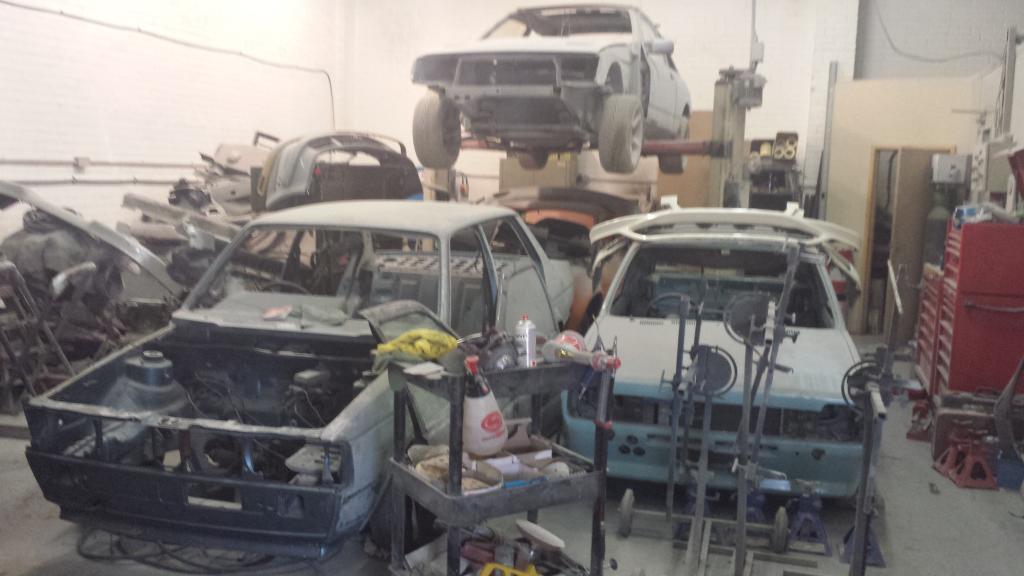
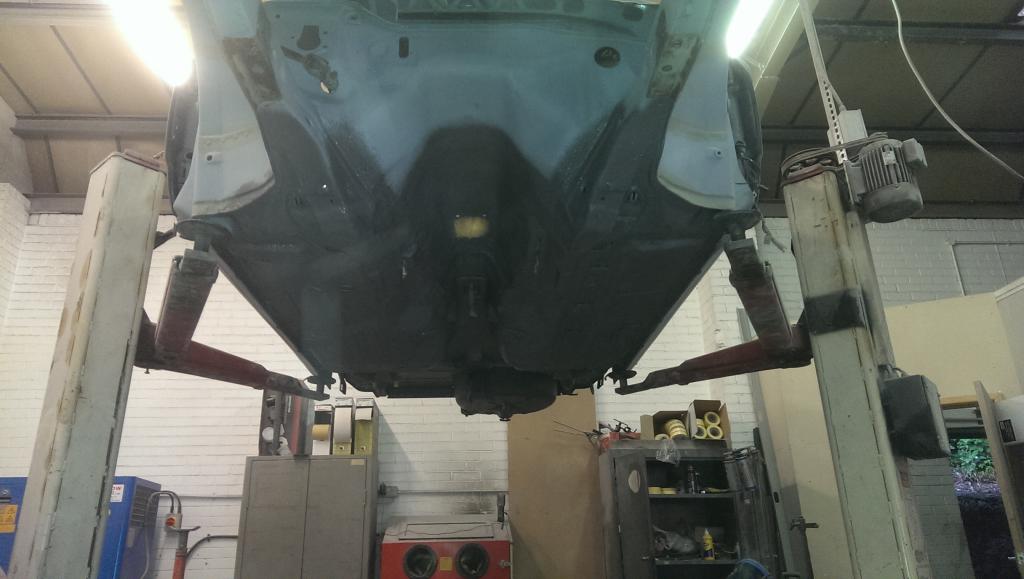
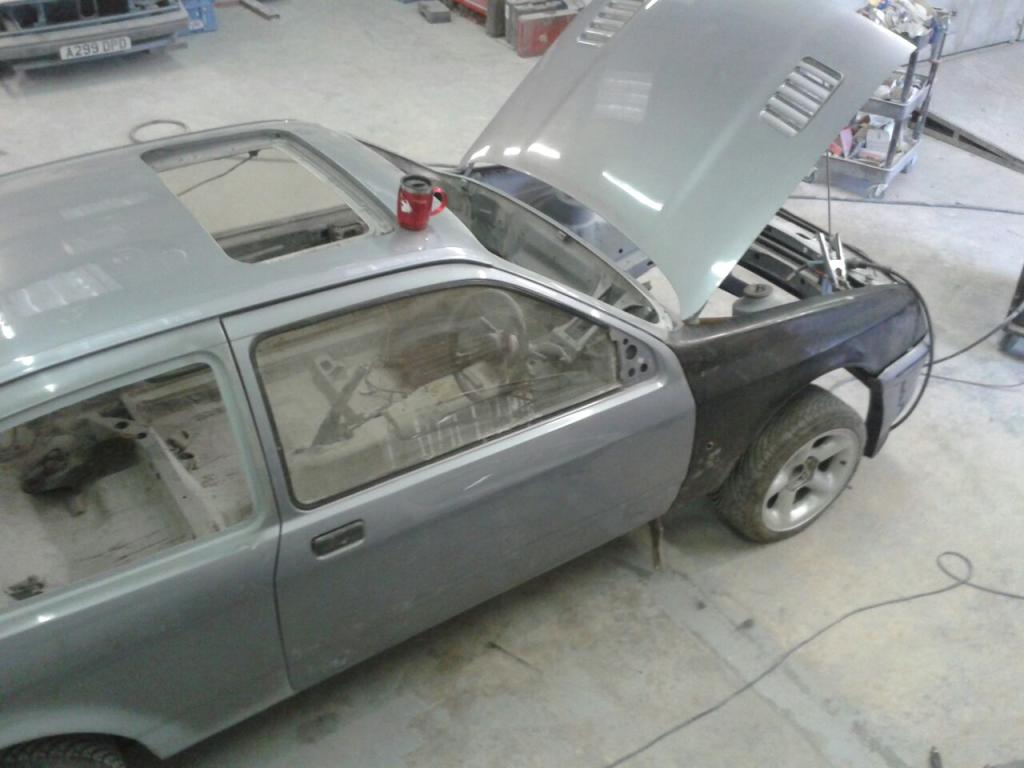
So been nearly 3yrs since last update so here�s where its upto. Last 4yrs it�s been down near CSG waiting for inner wings to be fitted and sprayed ready for rebuild. However due to work load at spray shop and my car being classed as a �foreigner� in job terms it�s been sat with a few others on the aptly named �death row� at the rear of the garage since arriving there. The way I�ve kept calm about the situation is by telling myself it�s bringing the overall average millage down in doing so and purchasing what I can ready for the rebuild. Few months ago however cog finally turned slightly as we sealed the underside of the car with Kent pro-seal 101. Arriving at garage car was sat where it has for majority of time since leaving
First job was removing the running gear, then plenty of stone chip seal was sprayed on the underside hopefully adding another layer of protection to the car.
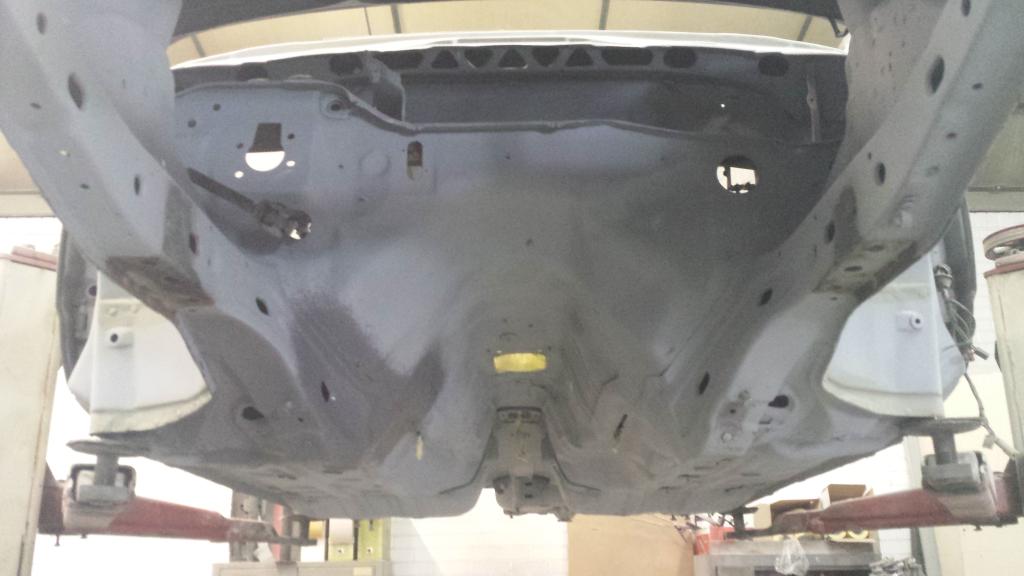
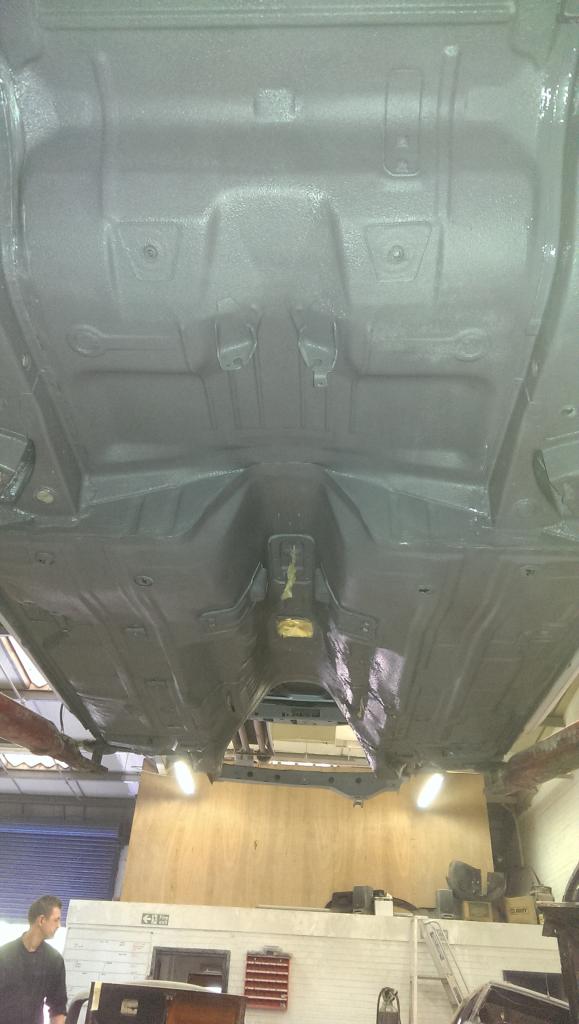
After the initial coat was put on all edges where brushed in to seal any gaps properly before being sprayed over again and process repeated
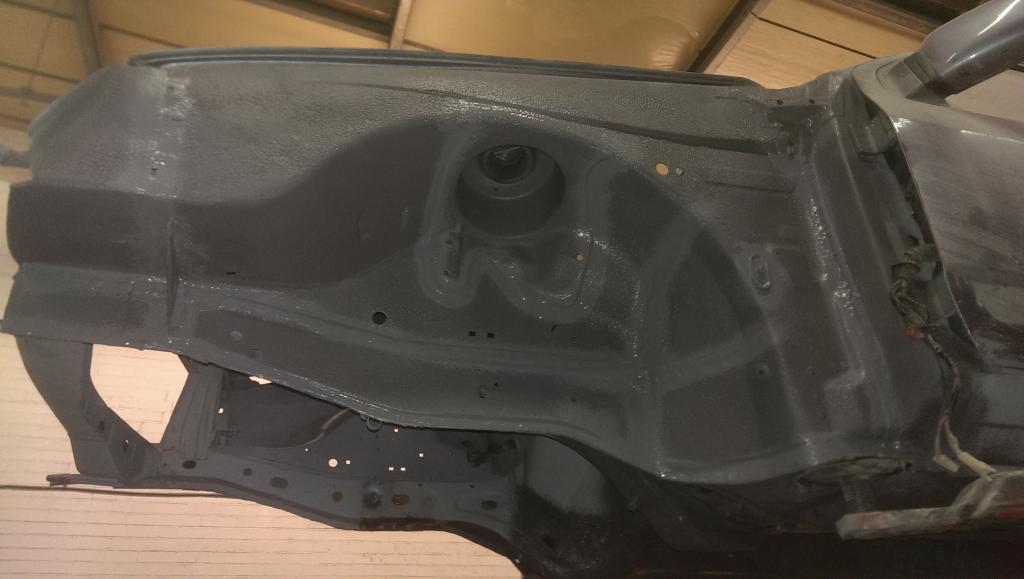
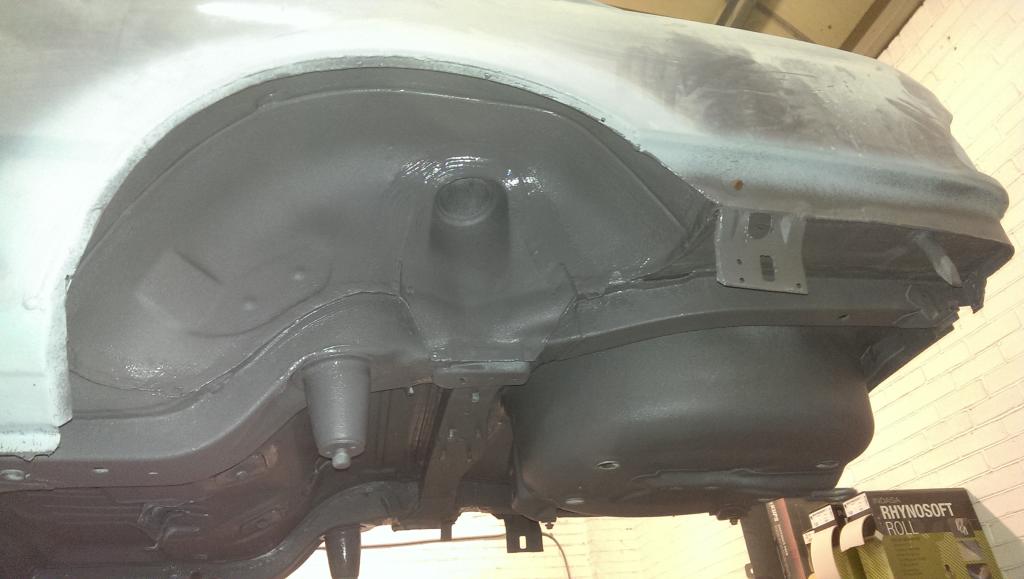
Under the arches were given a particularly thick coating
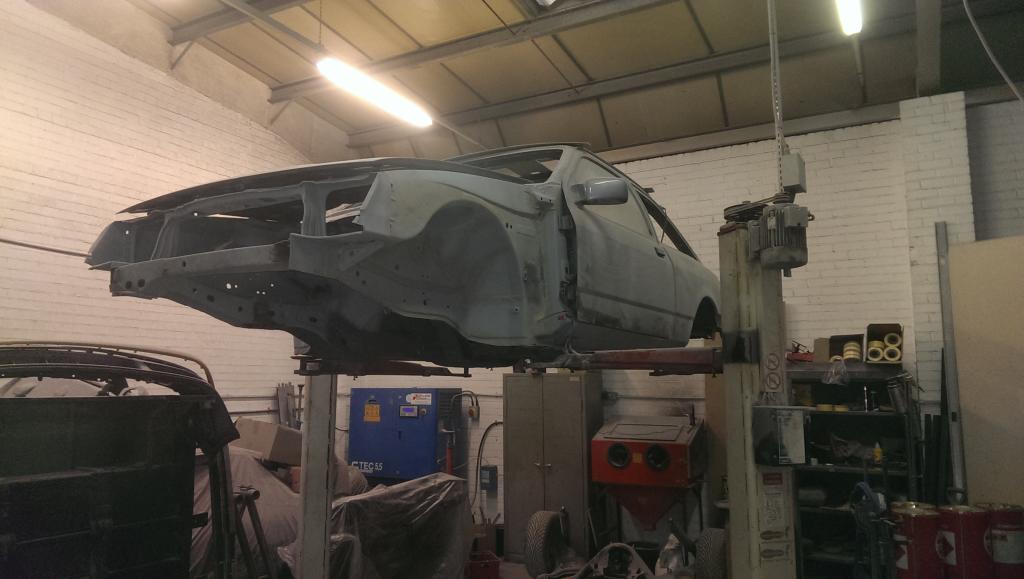
And that done it sat again for a few more weeks until this weekend when finally for the first time in 4yrs the front end was put back on so we could finally get the front wings mounted. First the doors had to be lined up so panel gaps were equal all the way round then mate set about welding the wings on. Didn�t have a spot welder to hand so instead drilled the top panel and welded through to create a strong weld

After which they were belt sanded down smooth, going to use a punch next to create the impression of it being spot welded, the pieces I had to make around the headlights were also shaped better with the wings now fitted
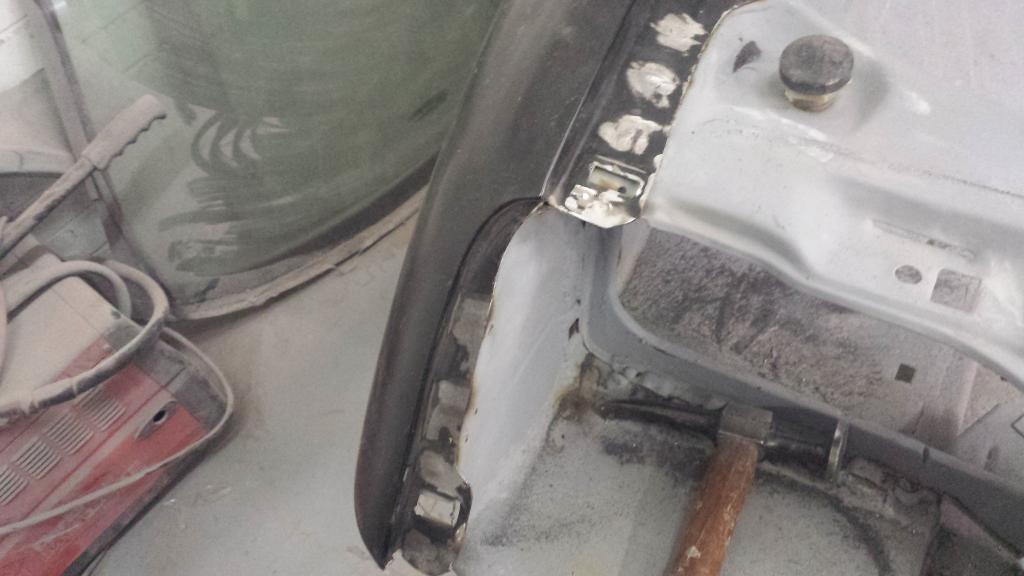
Possibly the biggest pain was having to make the front bumper brackets as mine had rusted to a point there was no way they were going back on the car, and so using the experience I had in college of working with sheet metal (CNC machining is more my thing nowadays) managed to come up with these which though not perfect were certainly better than what I had
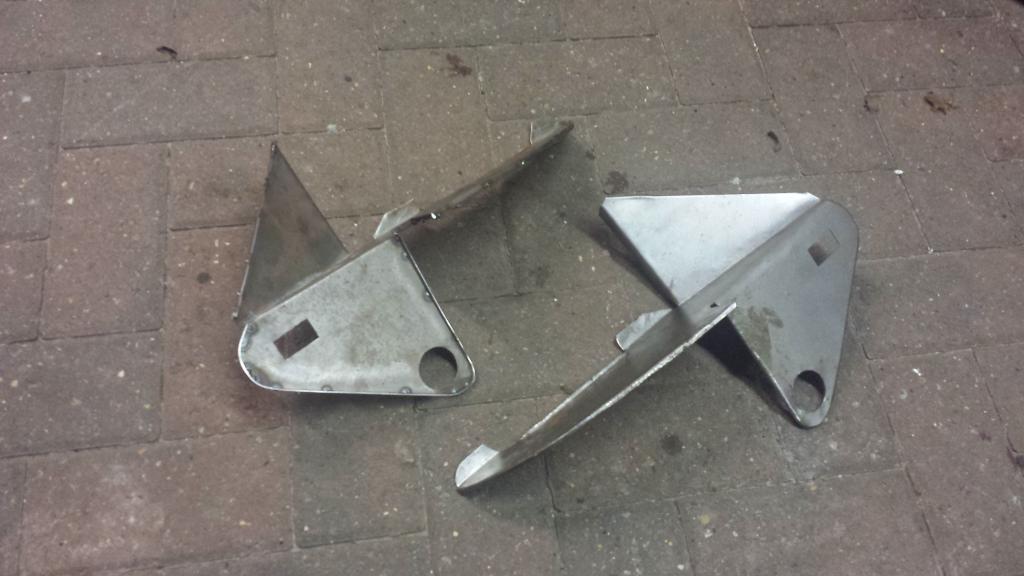
Tiny bit of modification was required but happy to say there now on and doing the job they�re meant to be, just need to pop down during the week and give them a coat of por-15 before sealing the inside of the wings with stone chip
Doors then had to come back off to finish the welding down the pillar
And that has been it unfortunately as far as the car itself goes but hopefully now the wings are on can keep it moving forward now

First job was removing the running gear, then plenty of stone chip seal was sprayed on the underside hopefully adding another layer of protection to the car.


After the initial coat was put on all edges where brushed in to seal any gaps properly before being sprayed over again and process repeated

Under the arches were given a particularly thick coating

And that done it sat again for a few more weeks until this weekend when finally for the first time in 4yrs the front end was put back on so we could finally get the front wings mounted. First the doors had to be lined up so panel gaps were equal all the way round then mate set about welding the wings on. Didn�t have a spot welder to hand so instead drilled the top panel and welded through to create a strong weld


After which they were belt sanded down smooth, going to use a punch next to create the impression of it being spot welded, the pieces I had to make around the headlights were also shaped better with the wings now fitted

Possibly the biggest pain was having to make the front bumper brackets as mine had rusted to a point there was no way they were going back on the car, and so using the experience I had in college of working with sheet metal (CNC machining is more my thing nowadays) managed to come up with these which though not perfect were certainly better than what I had

Tiny bit of modification was required but happy to say there now on and doing the job they�re meant to be, just need to pop down during the week and give them a coat of por-15 before sealing the inside of the wings with stone chip

Doors then had to come back off to finish the welding down the pillar

And that has been it unfortunately as far as the car itself goes but hopefully now the wings are on can keep it moving forward now
19-10-2014, 05:11 PM
#133
Wahay!! I've lost my Virginity!!
Thread Starter
Join Date: Apr 2010
Location: Lancashire
Posts: 68
Likes: 0
Received 0 Likes
on
0 Posts
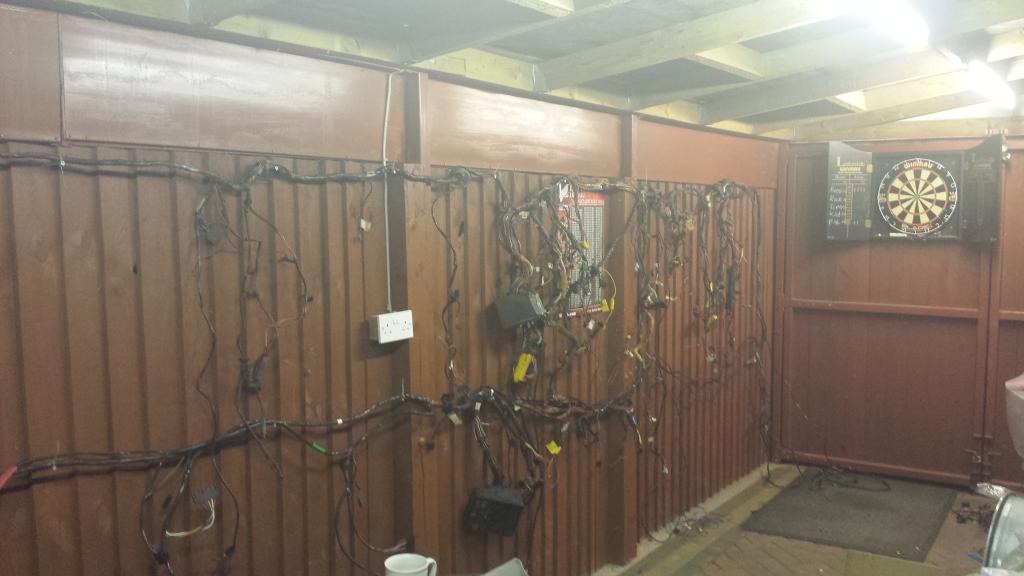
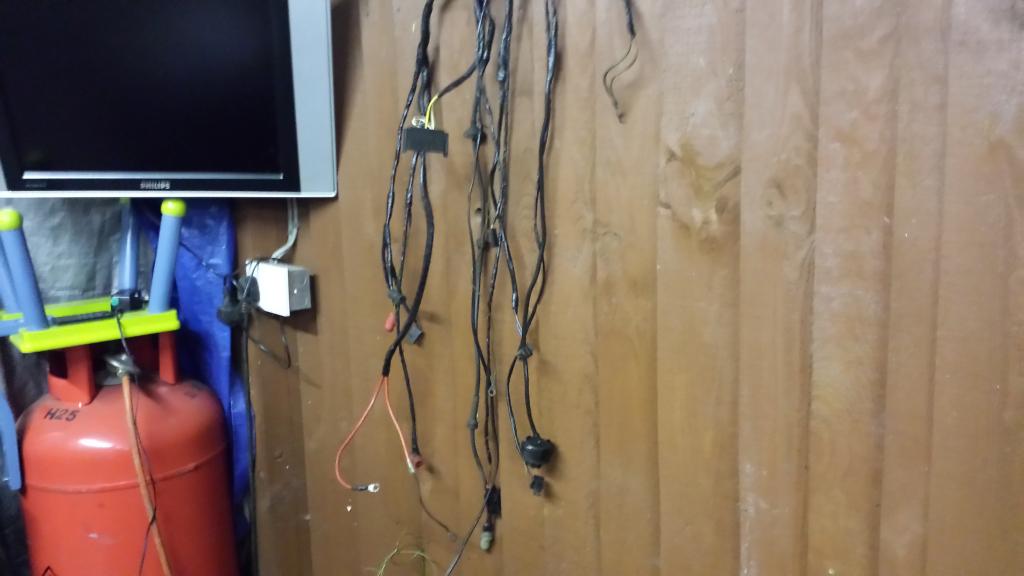
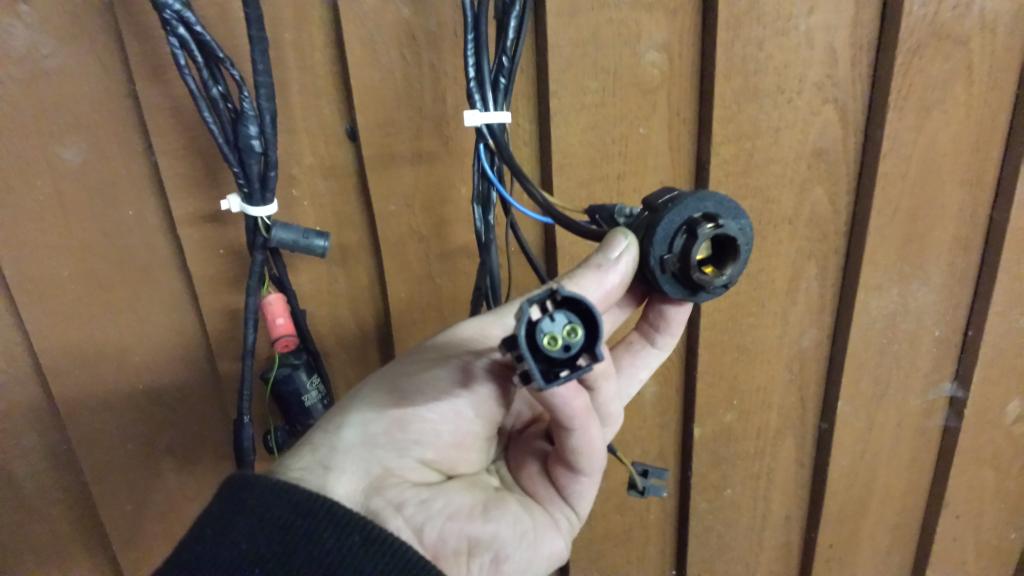
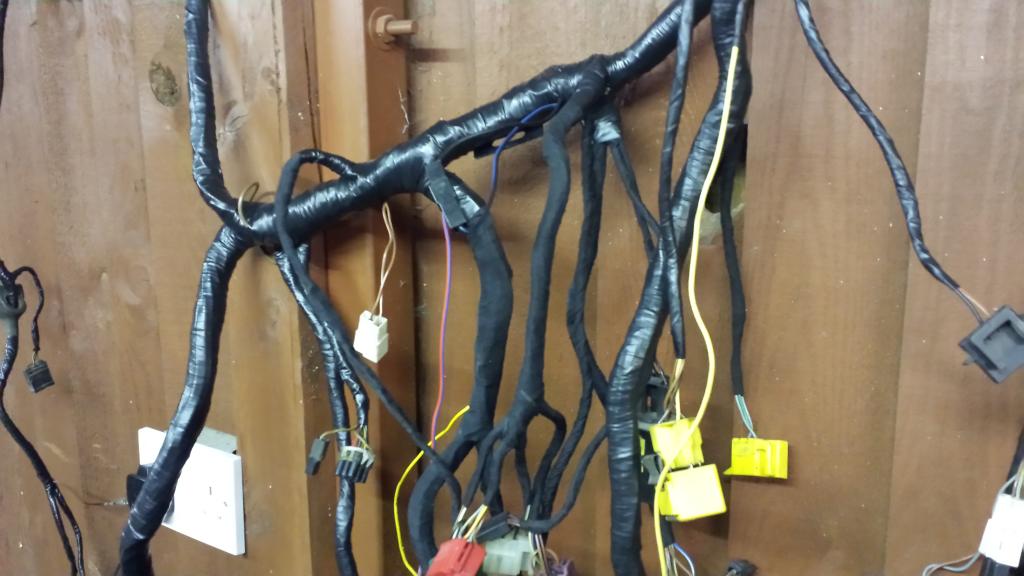
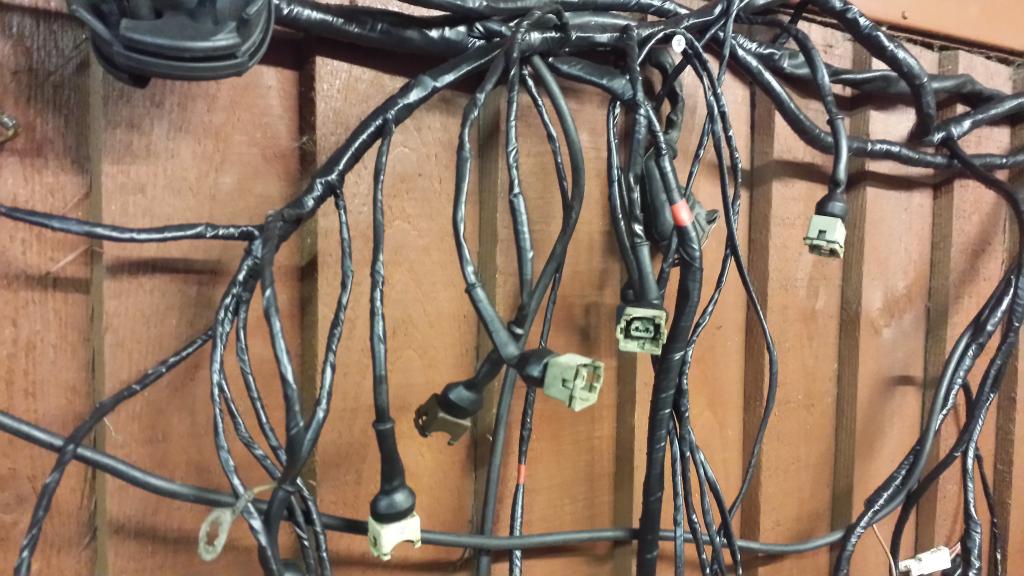
Now apart from collecting parts the other issue that�s been undergoing attention of late is the wiring loom, the car had a few issues running wise before it was taken off the road. The headlights had some connectors as clip had failed, warning lights would come on intermiantly and overall its condition was scruffy being kind. So decided to go through it all and sort out what needed to be put right. Had no idea what it would lead to, the amount of �twist & tape� we found going through made me wonde how the car ran at all. So began by unravelling it and hanging it up on mates wall while tape was removed, then came the job of marking the wires in need of attention
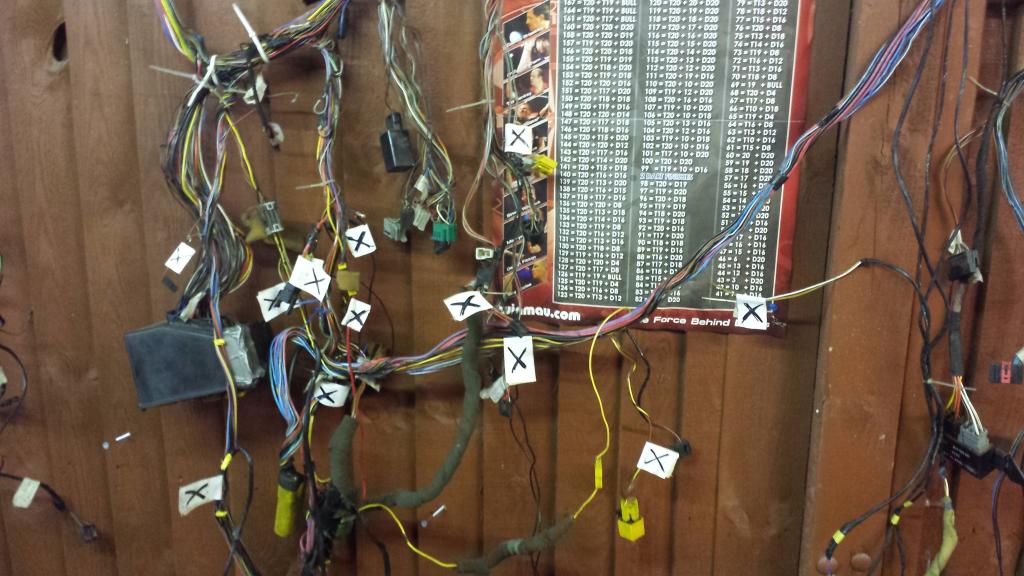
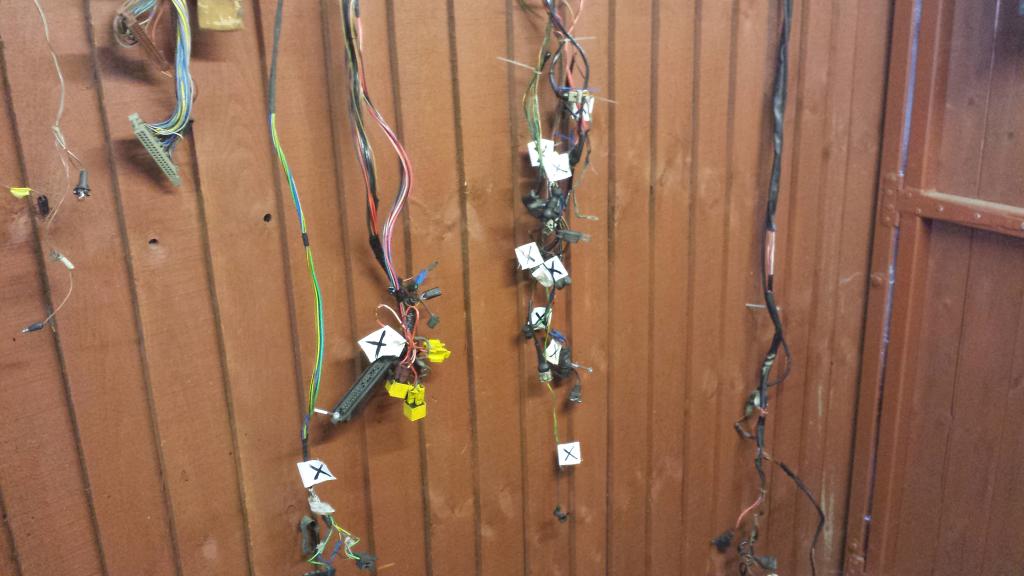
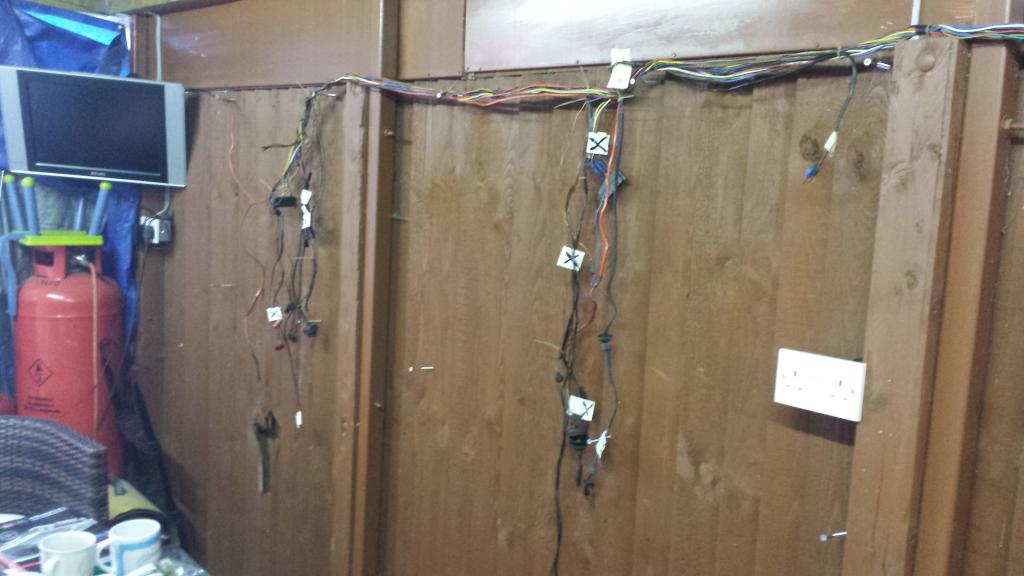
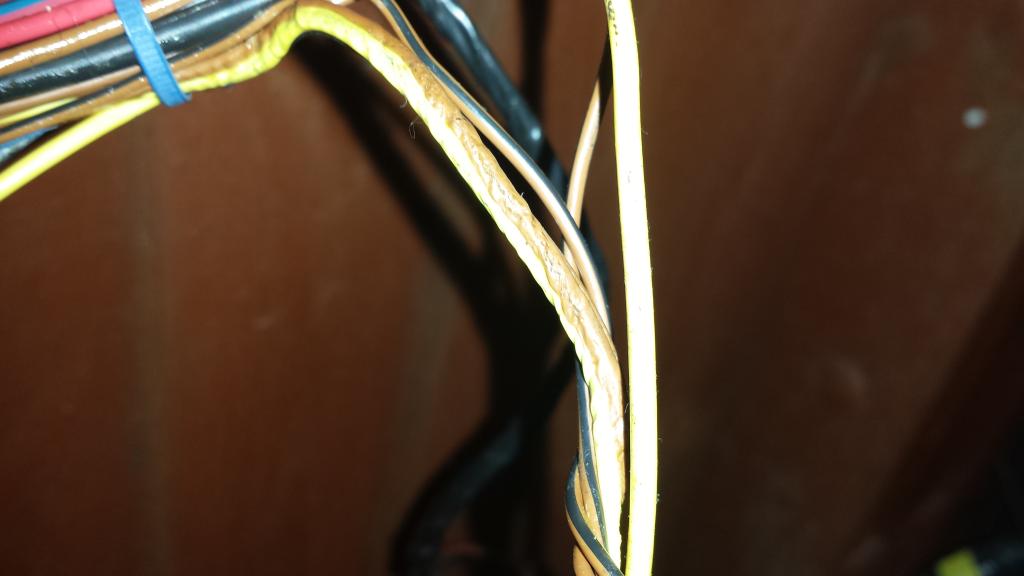
So quite a few faults, heres a close up of some of them that required immediate attention
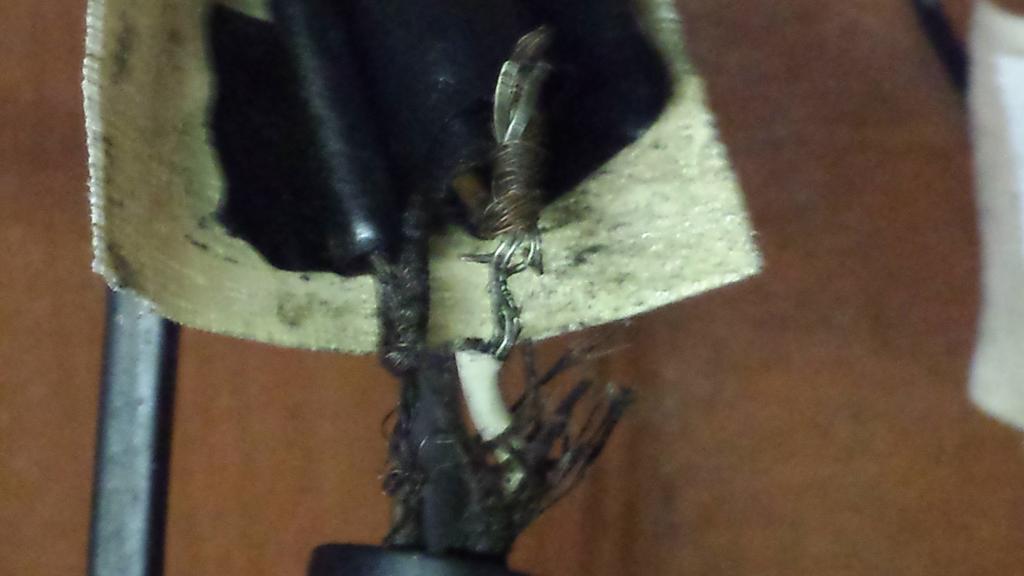
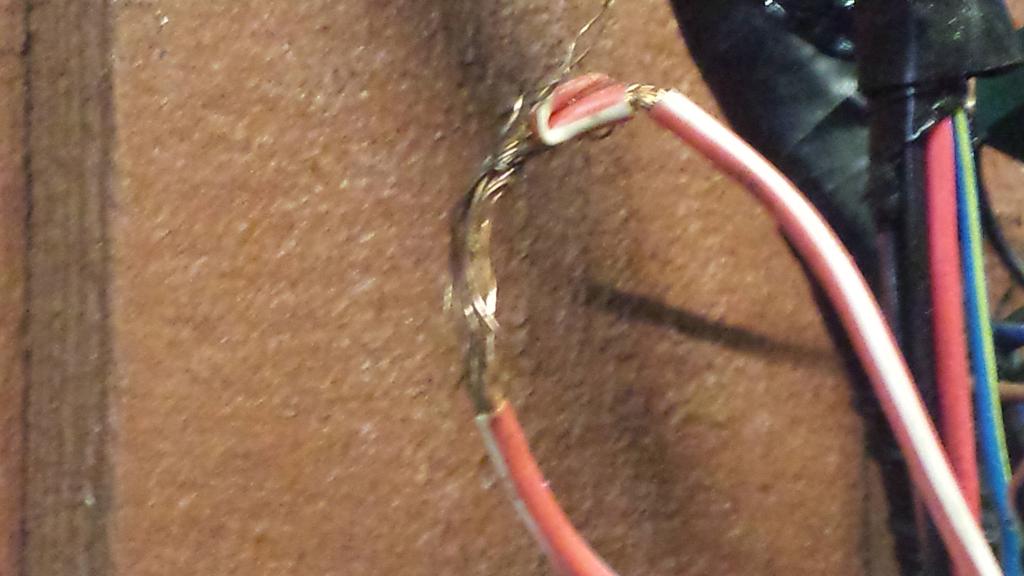
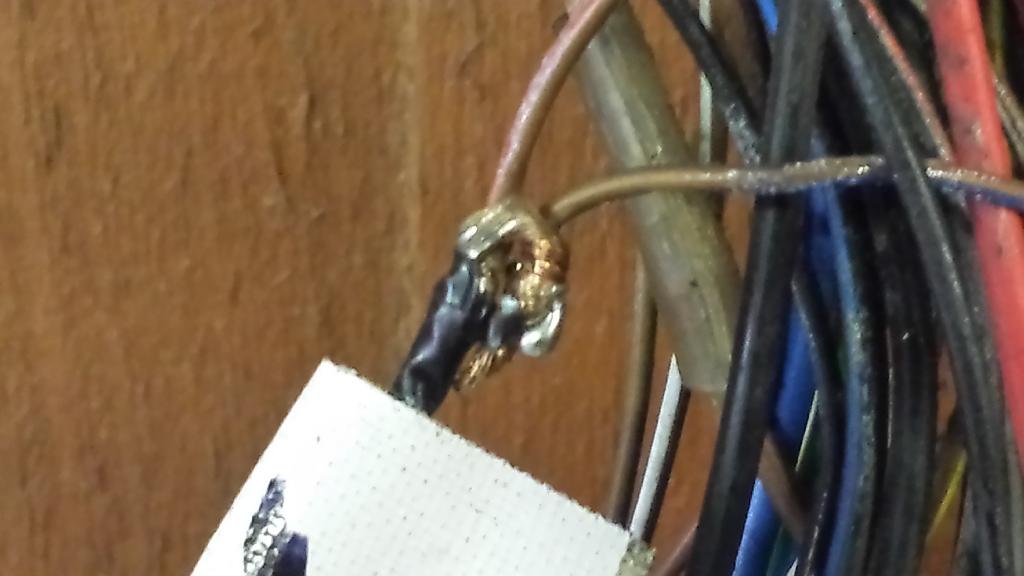
Then we found a wire which had burnt out and melted itself to another wire, following this it had faults all the way down. After a bit of chasing found it to be something to do with the ABS system. Was at this point decided to buy a new less buggered wiring loom to be on the safe side
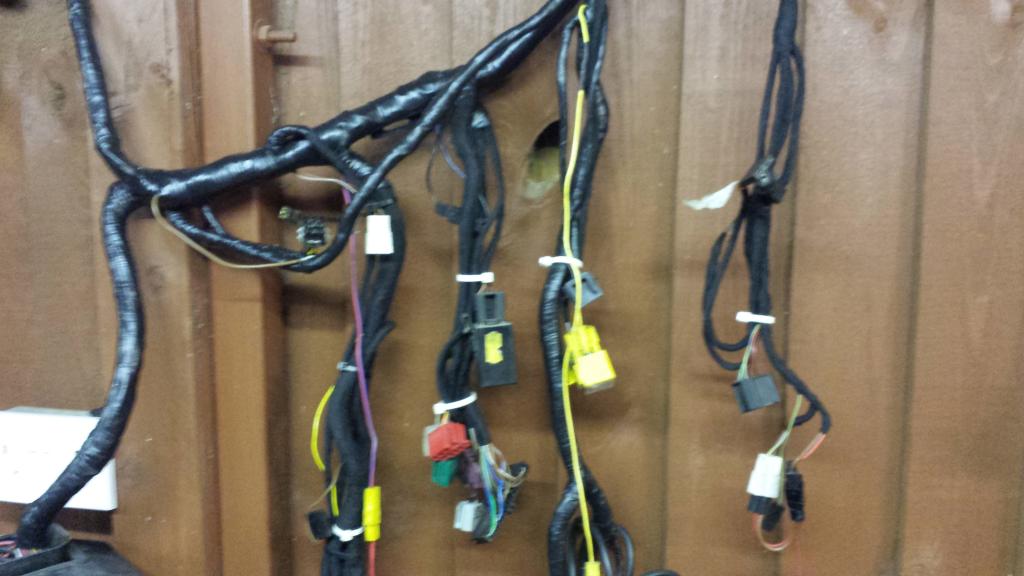
However even the replacement wasn�t great as it had a load of connectors missing which would need to be sorted so again the wiring loom was stripped and checked. After buying a soldering iron from a DIY shop was soon decided that it wasn�t fit for purpose and so mate went out and purchased a heavy duty one which was soon at work repairing the wires properly followed by some heat shrink for protection.
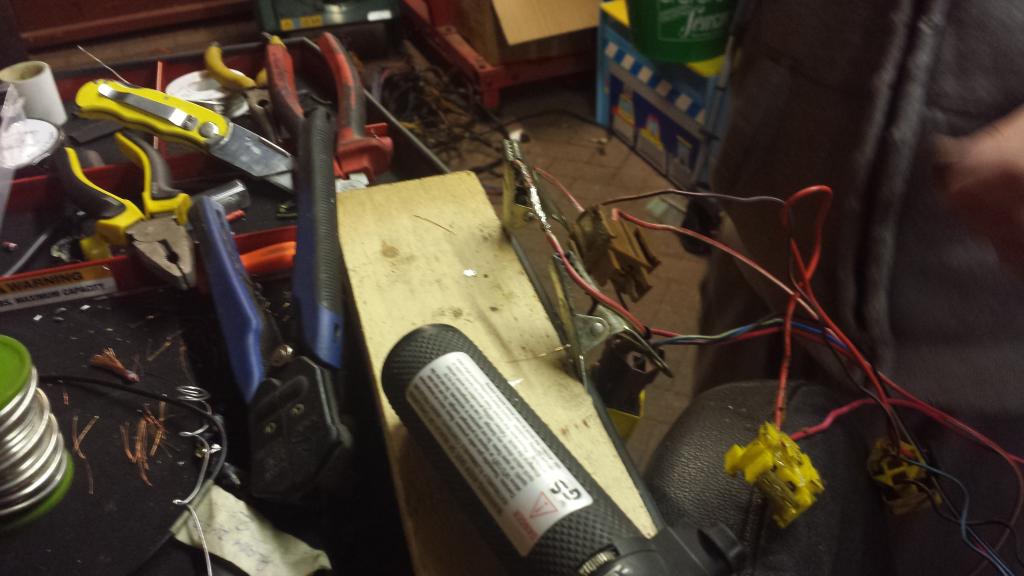
About 50 different solders later and the wiring loom was ready to be rewrapped with its new connections now properly soldered on
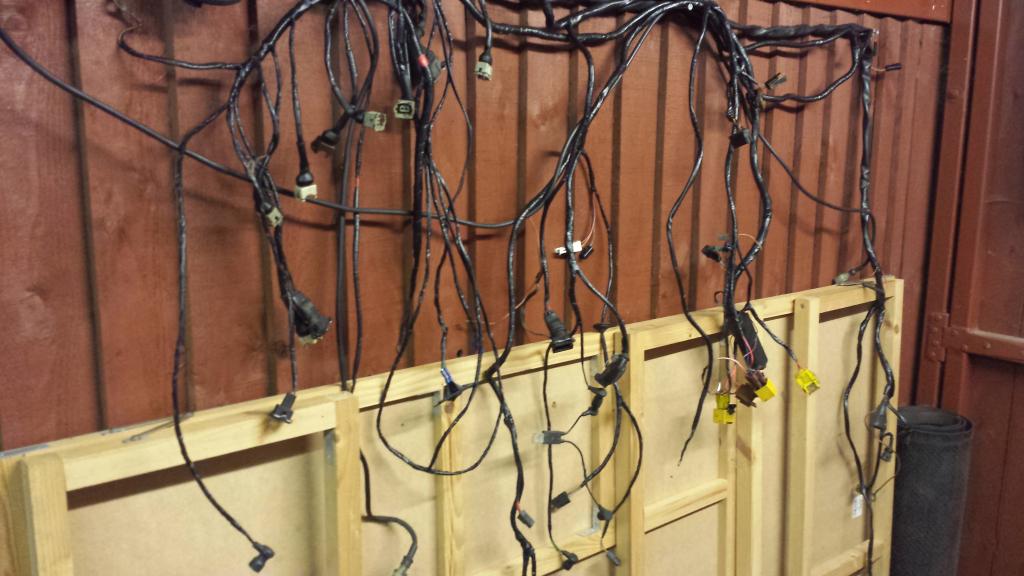
So can safely say the wiring is 100% better than it was and ready for going back in, Latest estimate is car will be sprayed for THIS Christmas, we shall wait and see if it happens���


So quite a few faults, heres a close up of some of them that required immediate attention


Then we found a wire which had burnt out and melted itself to another wire, following this it had faults all the way down. After a bit of chasing found it to be something to do with the ABS system. Was at this point decided to buy a new less buggered wiring loom to be on the safe side

However even the replacement wasn�t great as it had a load of connectors missing which would need to be sorted so again the wiring loom was stripped and checked. After buying a soldering iron from a DIY shop was soon decided that it wasn�t fit for purpose and so mate went out and purchased a heavy duty one which was soon at work repairing the wires properly followed by some heat shrink for protection.

About 50 different solders later and the wiring loom was ready to be rewrapped with its new connections now properly soldered on


So can safely say the wiring is 100% better than it was and ready for going back in, Latest estimate is car will be sprayed for THIS Christmas, we shall wait and see if it happens���
 19-10-2014, 08:28 PM
#135
Wahay!! I've lost my Virginity!!
Thread Starter
Join Date: Apr 2010
Location: Lancashire
Posts: 68
Likes: 0
Received 0 Likes
on
0 Posts
I got it off ebay harry, can't remember seller off top of head id have to go onto computer tomorrow and look through purchase history for it. Came direct from manufacturer though and can feel myself itching again thinking about it, horrible stuff to work with
19-10-2014, 10:18 PM
#137
PassionFord Post Whore!!

Absolutely immense work! I'm doing the rear chassic legs next year (aftermarket panels) and I work in metal fabrication anyway so gonna jig it and see how it goes! Fingers crossed well lol Looking forward to updates!


Thread
Thread Starter
Forum
Replies
Last Post