
Mk6 JWRC fiesta cosworth

 01-04-2012, 10:16 AM
#2283
Thanks mate
Had a day round garage tinkering, all small jobs lately due to funds being low
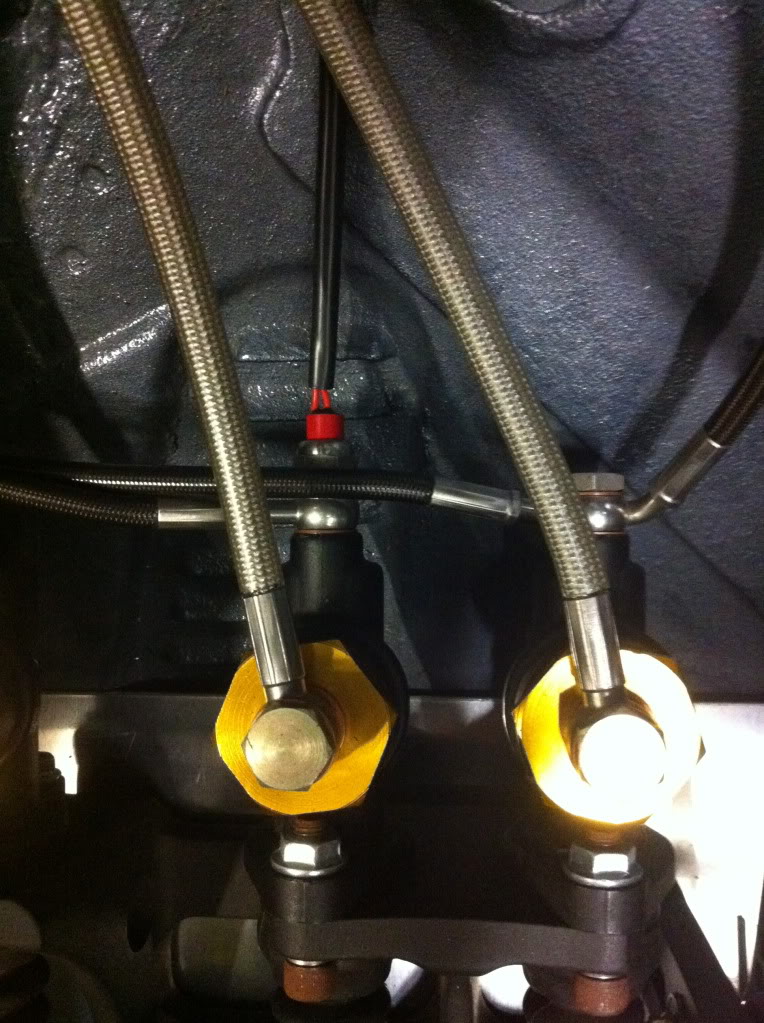
Fitted the brake light banjo bolt switch to the pedal box, it's neater and more reliable the the standard push type switches which require a bracket off the pedal etc
Also cut down the push rods slightly so I could angle the pedals back more as they were pointing towards the floor, now they are exactly vertical,
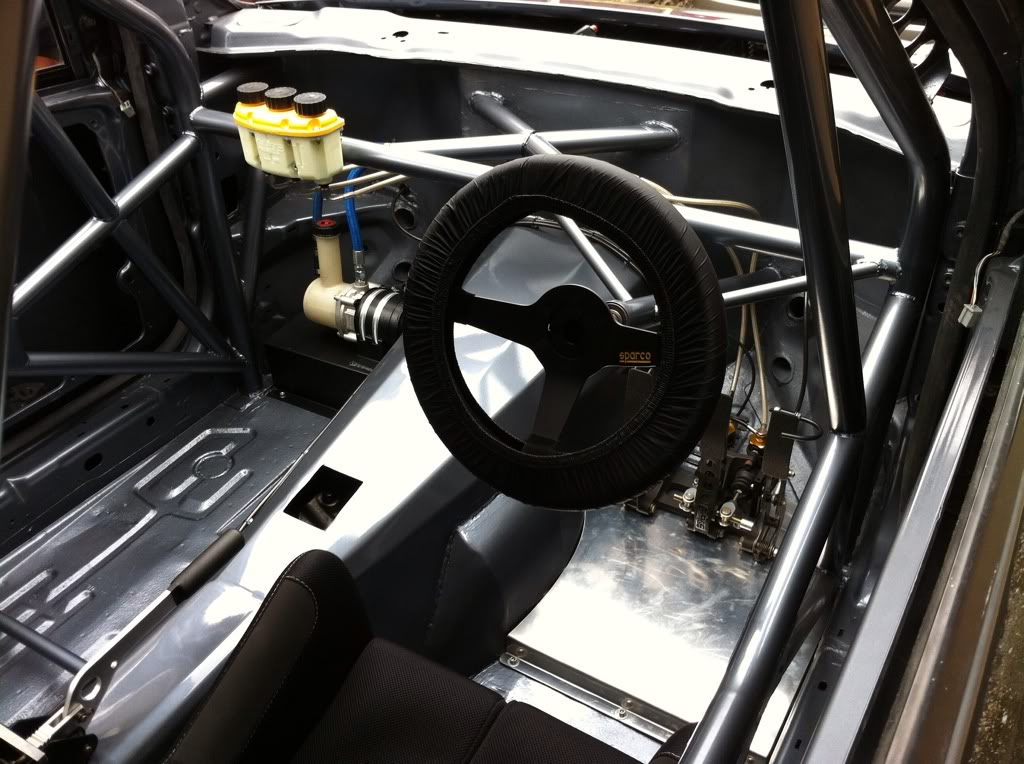
I think I will now move the seat back a little and buy a steering wheel with a deeper dish but that will be trial and error when the cars running so I can find the position I am happy and comfortable with.
I finished fitting the electric power steering pump and hoses to bulkhead
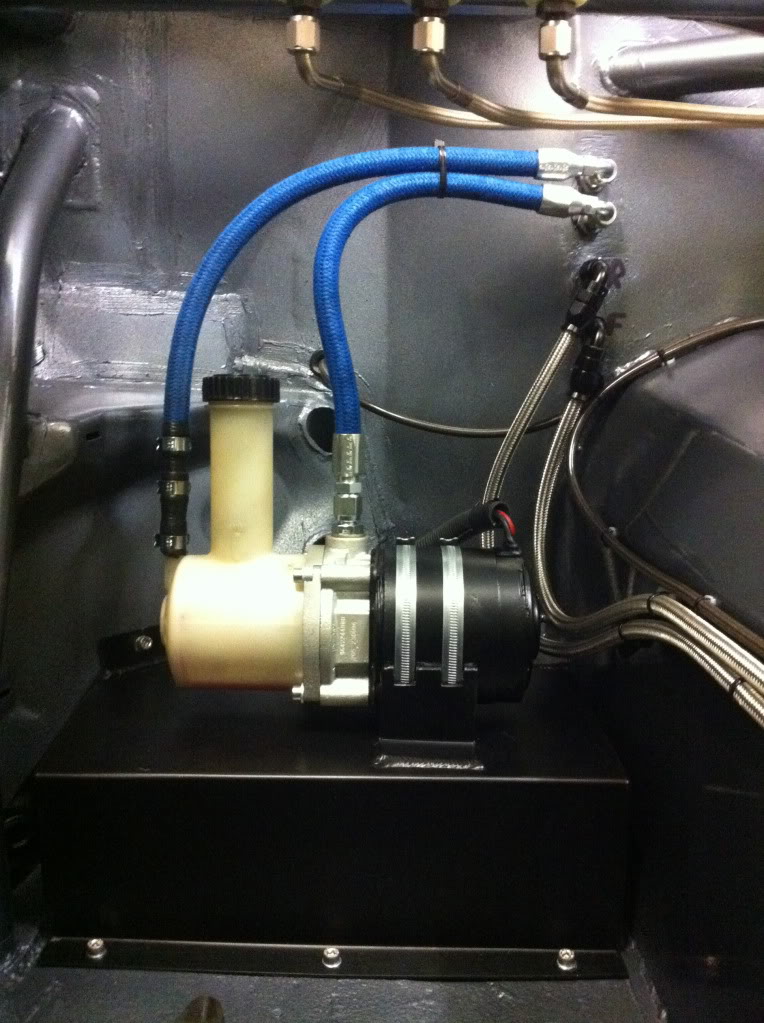
I could not stretch the power steering hose over the return on the pump due to the steel wire braid inside so had to use a double male hose reducer barb and some larger fuel hose to step up the hose size to suit the pump, not the neatest but it works and most will be hidden behind the foot rest when it's done.
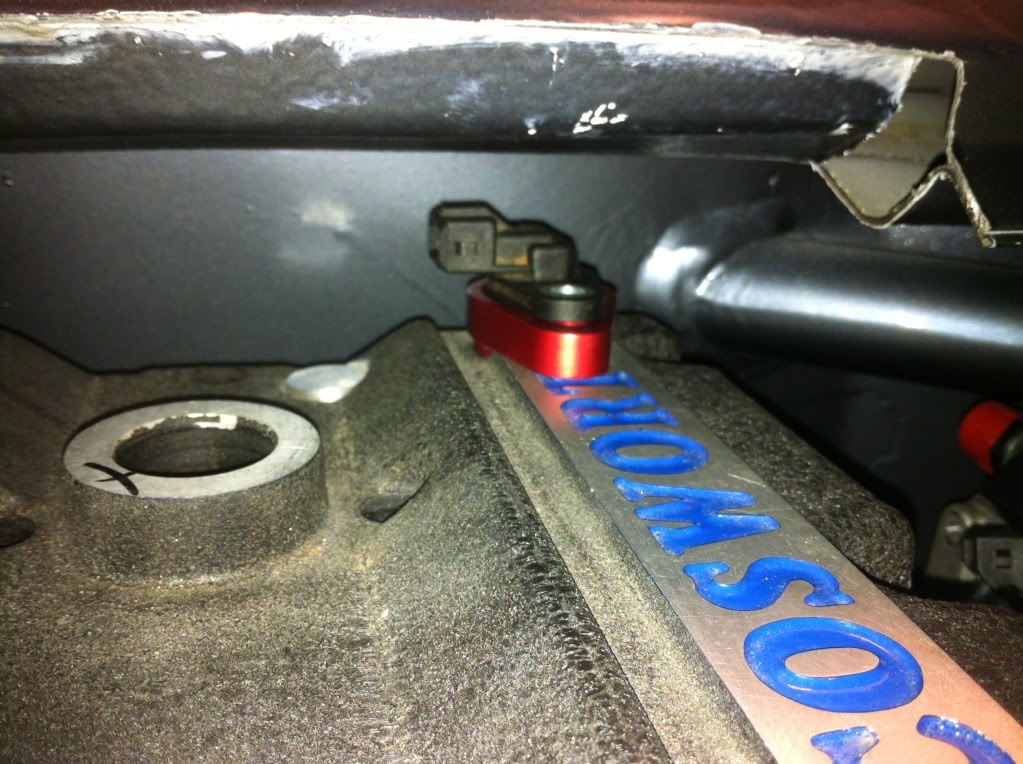
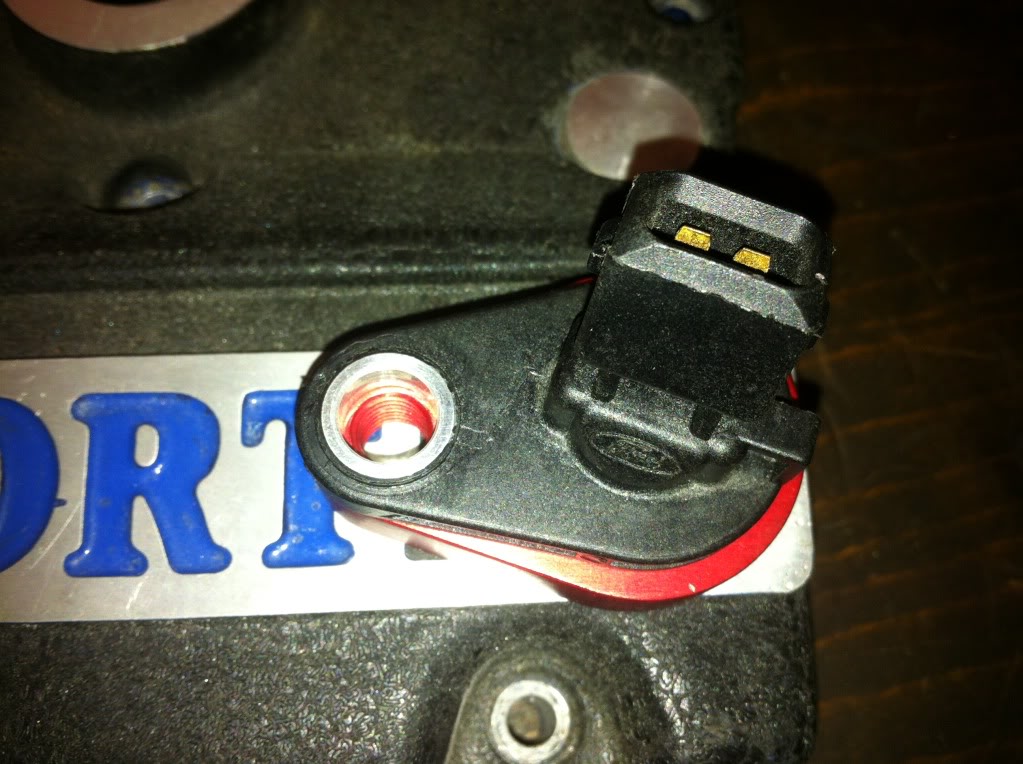
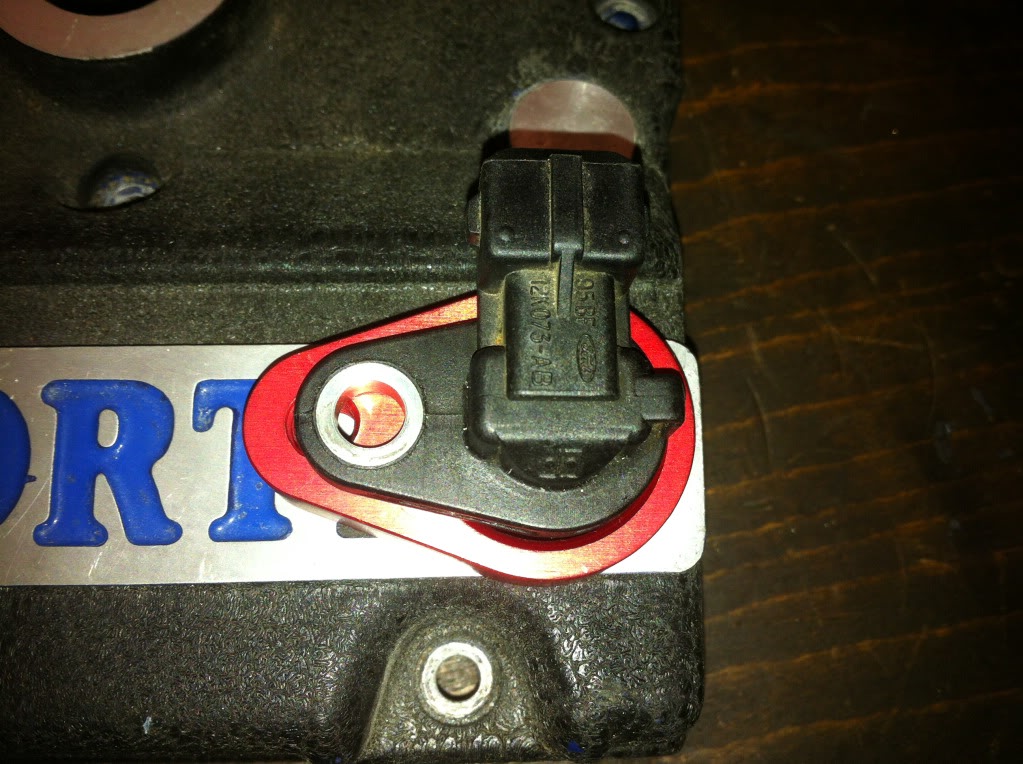
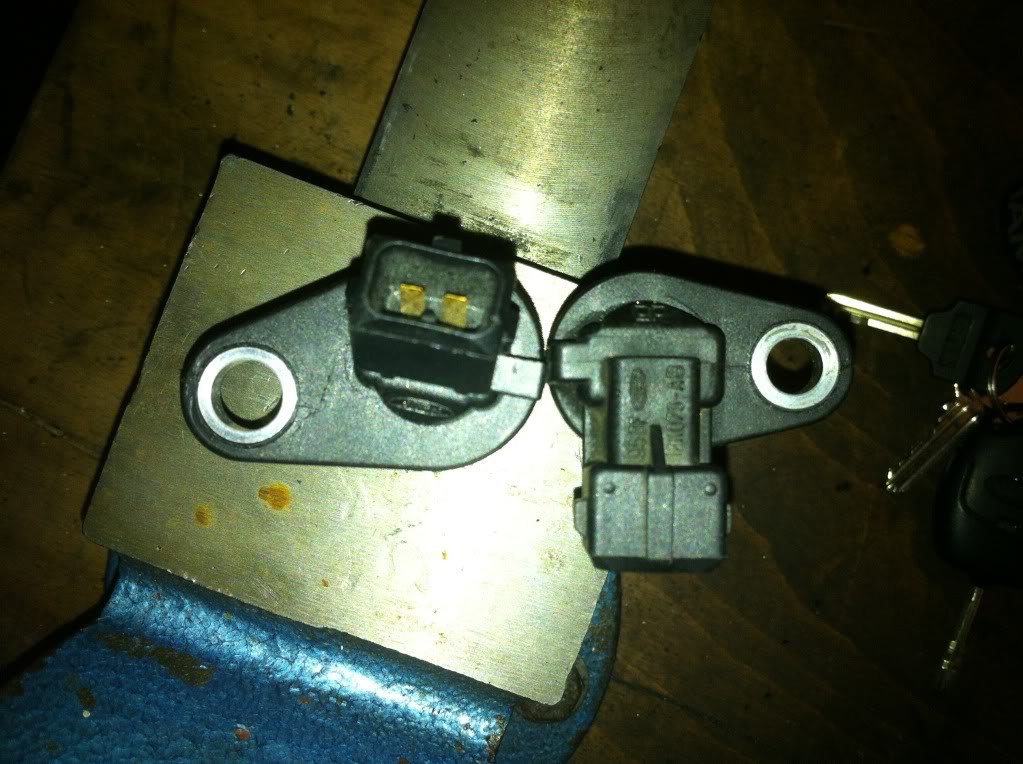
I got hold of a galaxy cam sensor with the 90 degree plug to clear my bulkhead, the sensor depth is the same but the o'rings section is smaller diameter so I am getting a modified version of the original billet holder made on a cnc mill,
Here's the new sensor
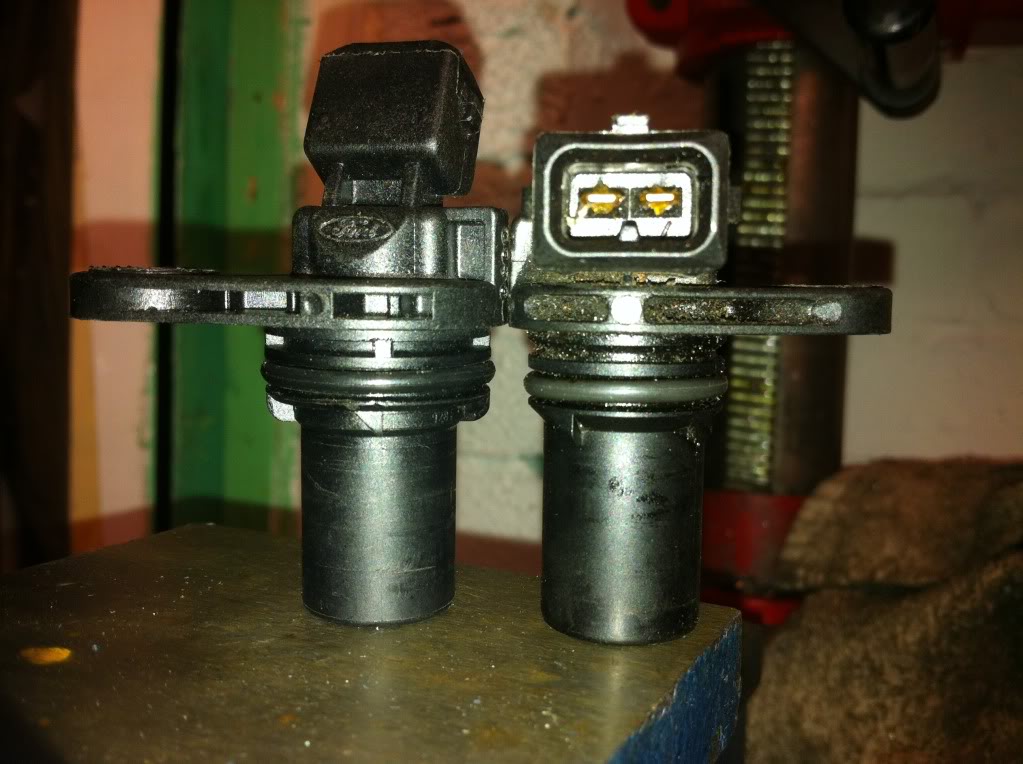
Here's the original wrc to show size difference
The 2 sensors side by side
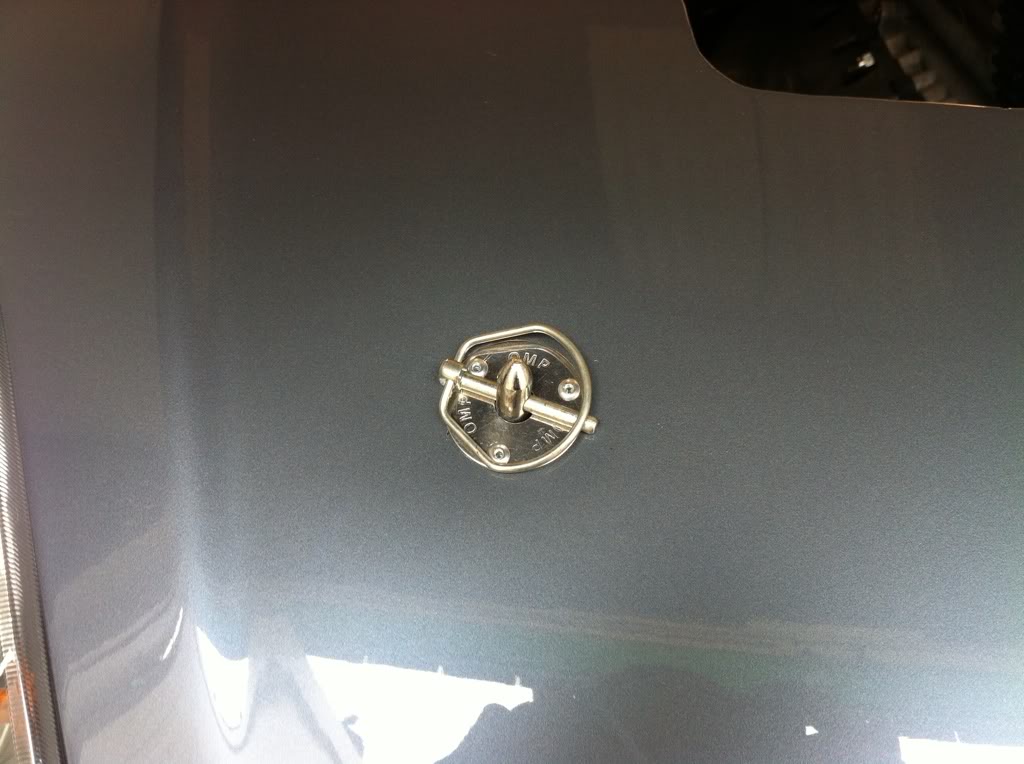
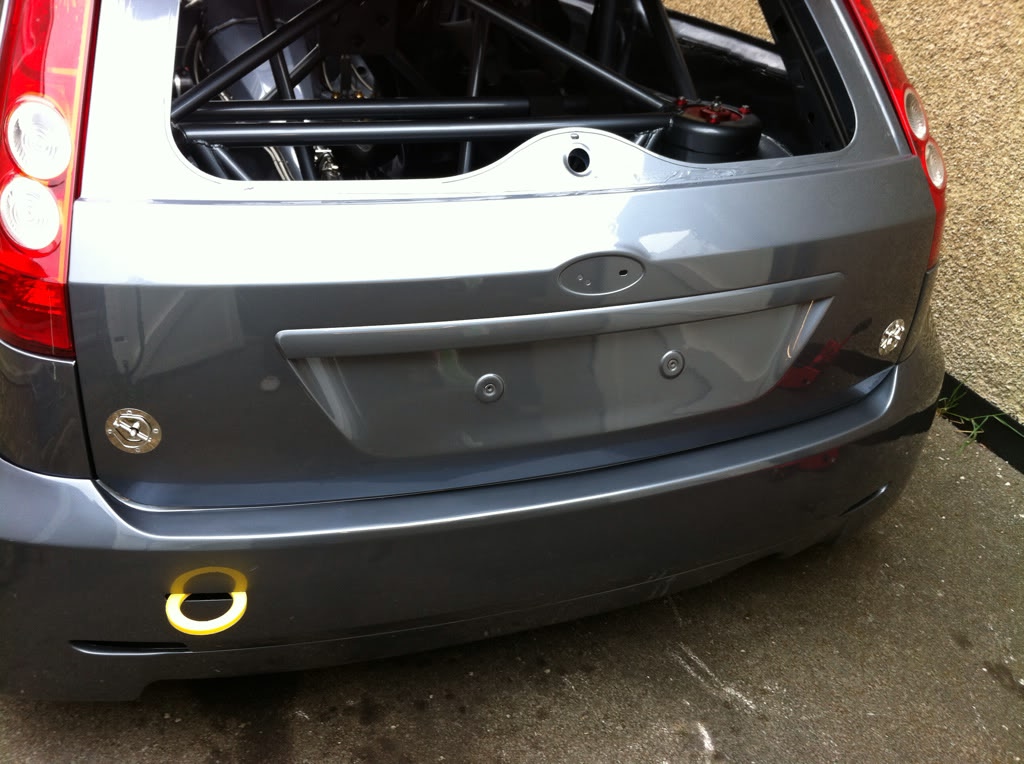
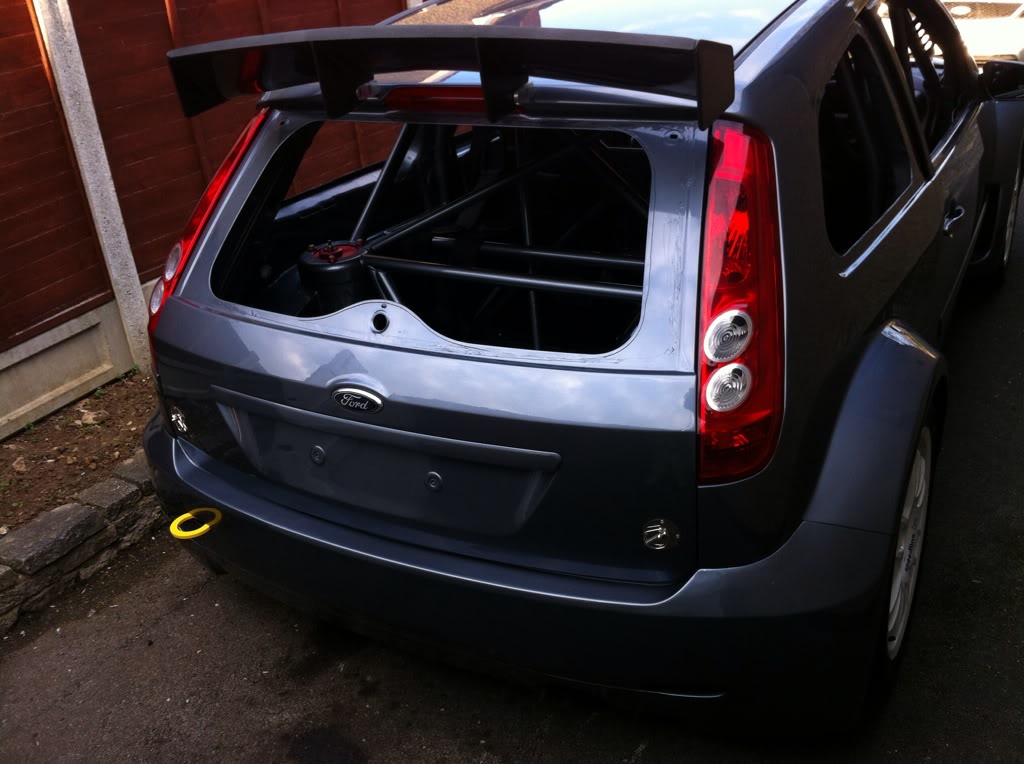
Decided to finally properly fit the bonnet and boot pins,
So adjusted to the correct height needed and locked the pins in place

Gaz had already drilled the fronts and used the self tapper screws to hold them temporarily, so I removed them and lined both sides up so they were symmetrical, OCD
Then drilled the holes and painted the bare metal then riveted them in place
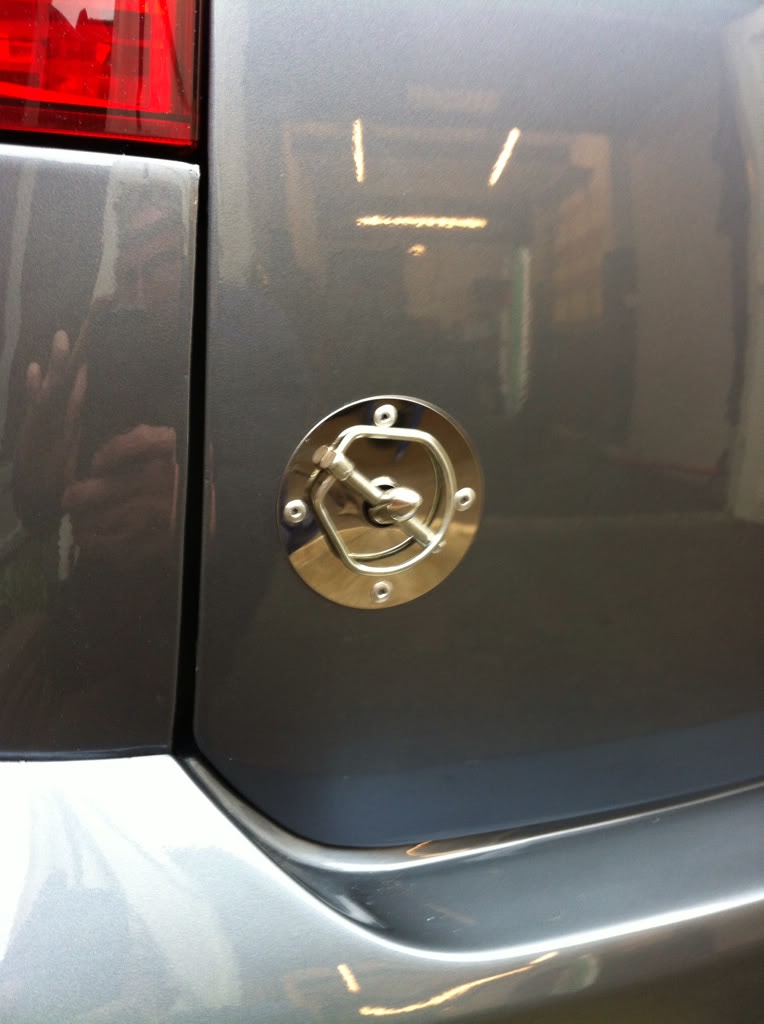
Then the same was done with the rear, although I was unable to line the boot lid perfect due to the uneven moulding of these jwrc panels, although its pretty well aligned,
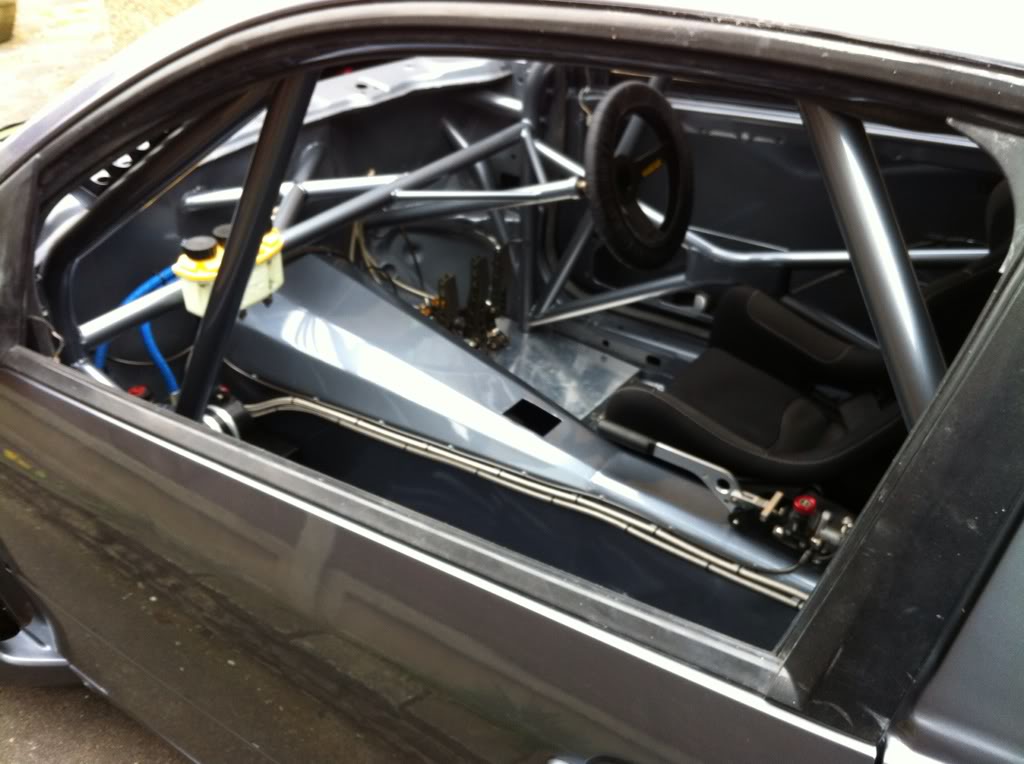
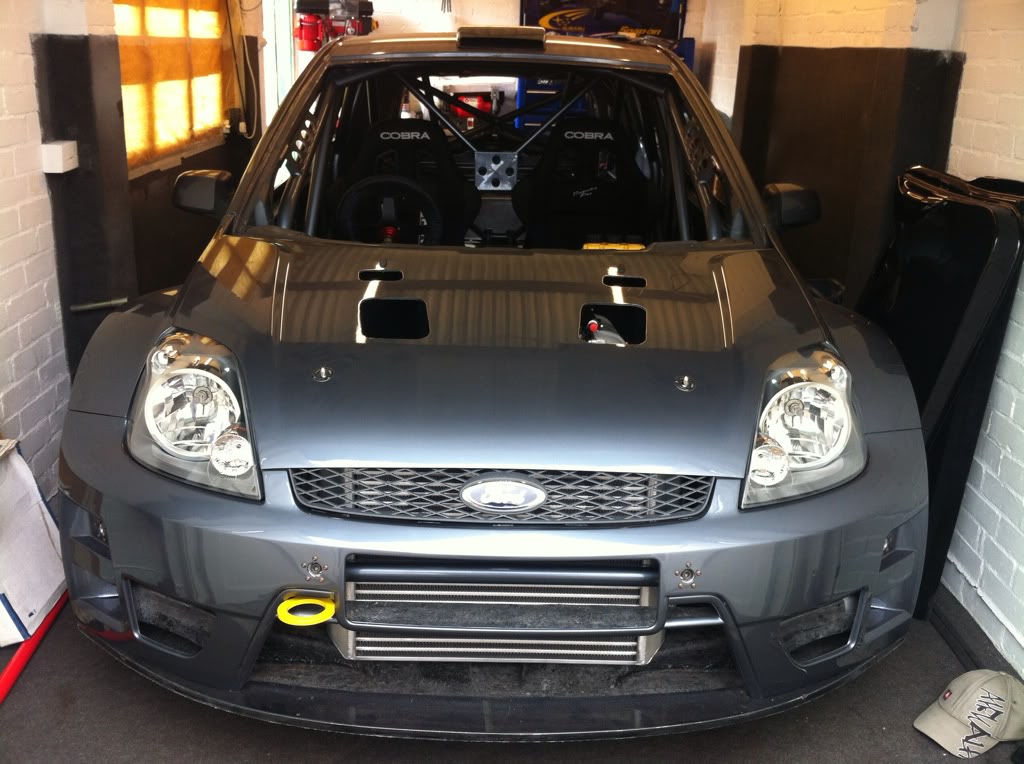
Good to see the car back on its wheels, forgot how awesome it looks
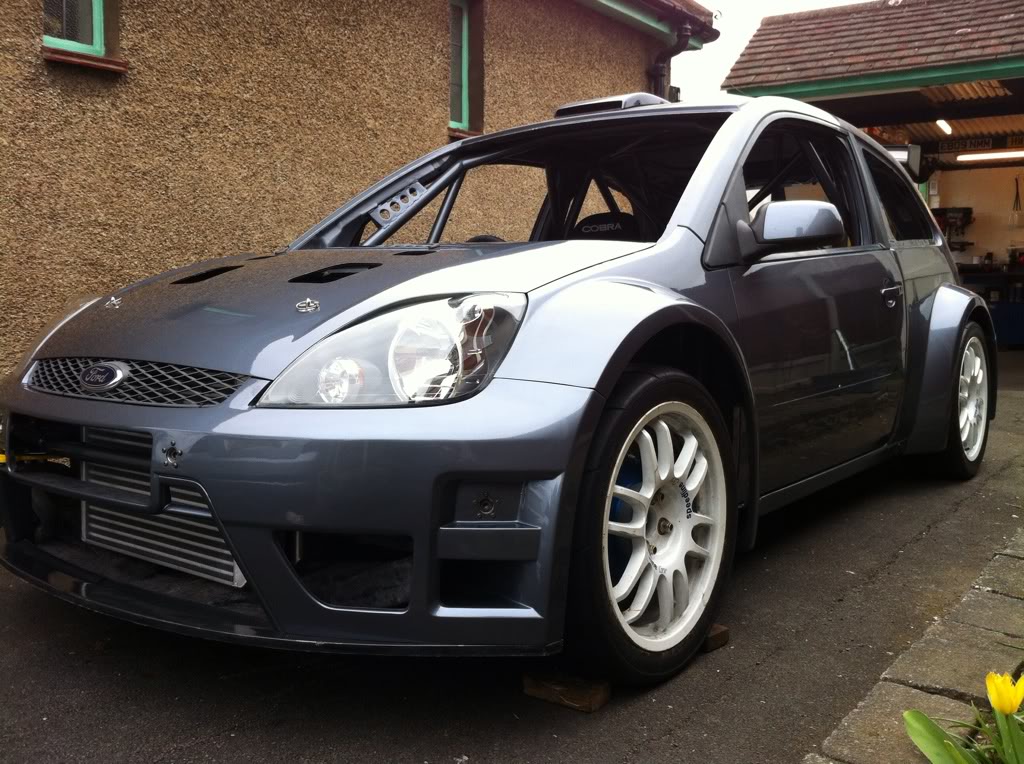
Brings back so much enthusiasm seeing it like this
Had a day round garage tinkering, all small jobs lately due to funds being low
Fitted the brake light banjo bolt switch to the pedal box, it's neater and more reliable the the standard push type switches which require a bracket off the pedal etc
Also cut down the push rods slightly so I could angle the pedals back more as they were pointing towards the floor, now they are exactly vertical,
I think I will now move the seat back a little and buy a steering wheel with a deeper dish but that will be trial and error when the cars running so I can find the position I am happy and comfortable with.
I finished fitting the electric power steering pump and hoses to bulkhead
I could not stretch the power steering hose over the return on the pump due to the steel wire braid inside so had to use a double male hose reducer barb and some larger fuel hose to step up the hose size to suit the pump, not the neatest but it works and most will be hidden behind the foot rest when it's done.
I got hold of a galaxy cam sensor with the 90 degree plug to clear my bulkhead, the sensor depth is the same but the o'rings section is smaller diameter so I am getting a modified version of the original billet holder made on a cnc mill,
Here's the new sensor
Here's the original wrc to show size difference
The 2 sensors side by side
Decided to finally properly fit the bonnet and boot pins,
So adjusted to the correct height needed and locked the pins in place
Gaz had already drilled the fronts and used the self tapper screws to hold them temporarily, so I removed them and lined both sides up so they were symmetrical, OCD
Then drilled the holes and painted the bare metal then riveted them in place
Then the same was done with the rear, although I was unable to line the boot lid perfect due to the uneven moulding of these jwrc panels, although its pretty well aligned,
Good to see the car back on its wheels, forgot how awesome it looks
Brings back so much enthusiasm seeing it like this


 01-04-2012, 11:42 AM
#2289
Its all looking good mate when i did this mod to the triger i made a sleve to fit over first off so i could make shower it worked which it did so then i made some new holders that would do the job for me and the uver lads that are doing this to there FOCUS COSWORTHS


 02-04-2012, 06:12 AM
#2295


 06-04-2012, 08:41 AM
#2301
Thanks for all the praises on the build guys, makes it all the more worthwhile reading this
Update for this week, again only small jobs
Popped to the breakers yard Tuesday to get some door seals and clips etc and while I was there I g a mint ford badge for the boot, so got that stuck on and re fitted the high level brake light and the loom for the light and plate lights
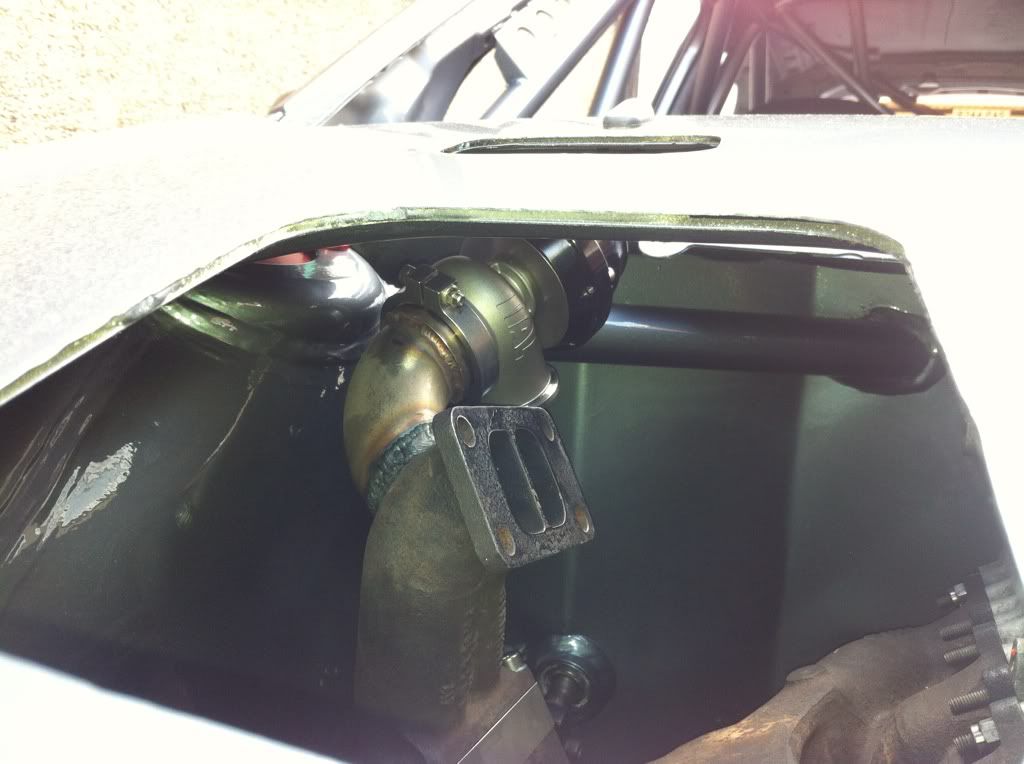
My mate tig welded my wastegate back together where I had tacked it, he had to do a large weave weld as I cut it so close to the original weld it looked crap with 2 welds side by side
Now clears everything ok, just hope the turbo clears when I get 1!
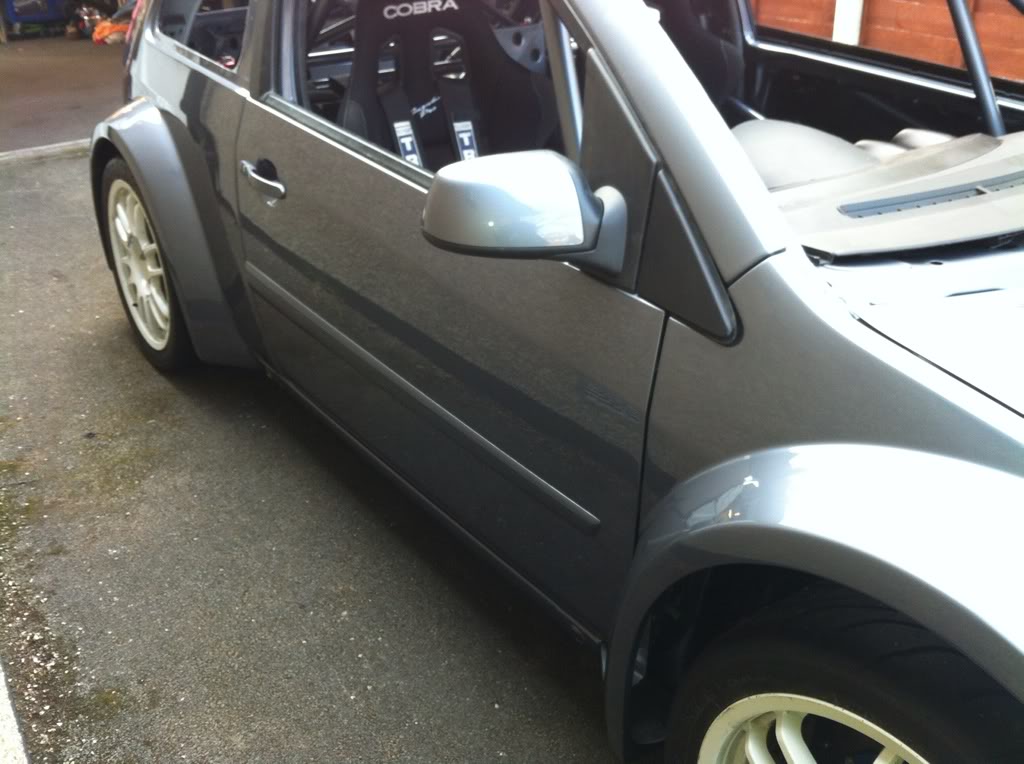
After meaning to do it for ages I finally got the 3m tape out and stuck the door trims back on


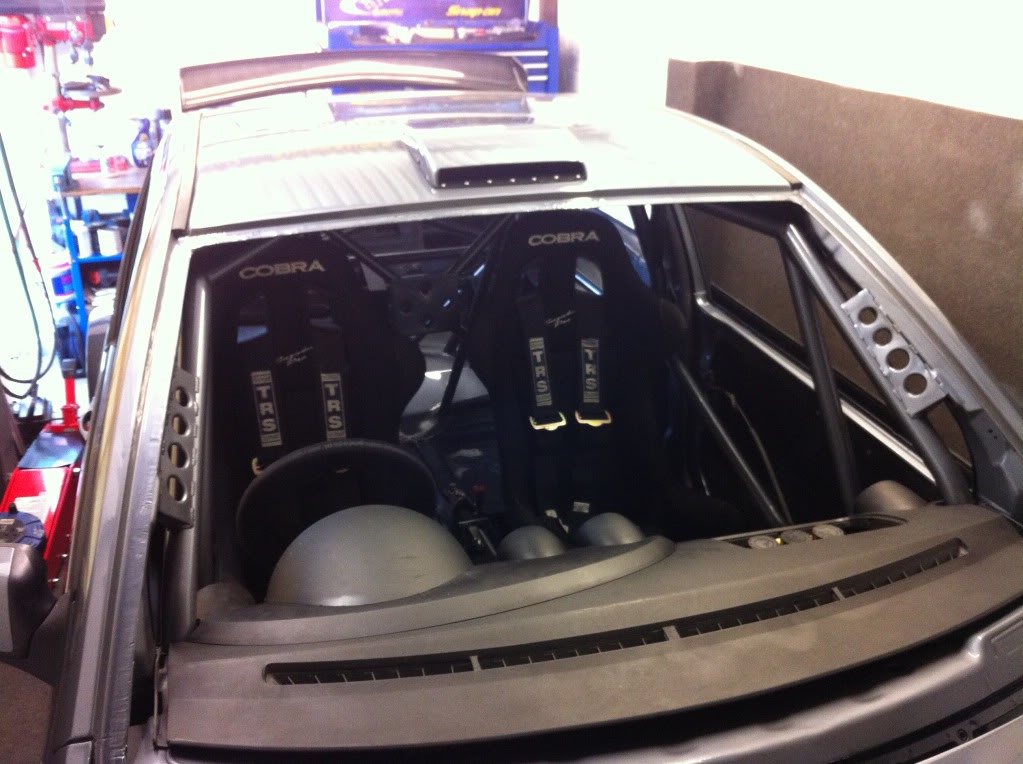
Also properly bolted down both seats, had to wait to get some 10.9 high tensile hex head bolts as there is no access for socket caps and I can't bolt the brackets in first as the tunnels side of the seats is too tight to bolt in after so hex head was the only option, I couldn't get a 12.9 hex head so I think 10.9 tensile will be enough considering that fia harness eyes are only 8.8 tensile
Anyway seats now properly fitted and both harnesses fitted properly to the harness bar
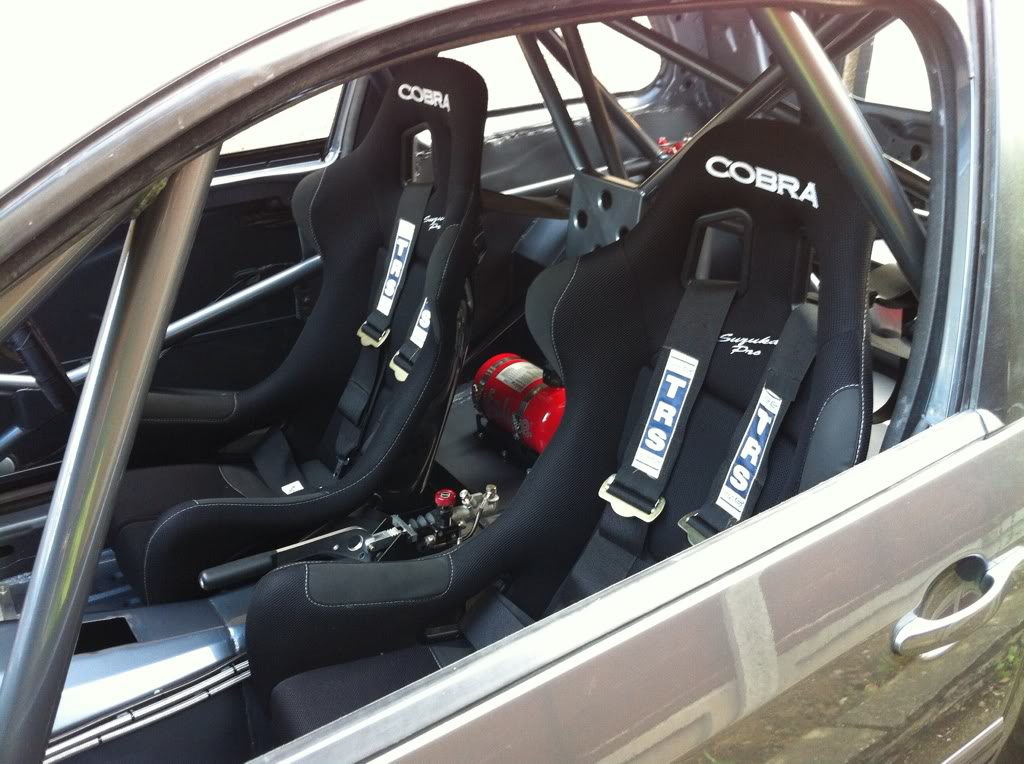

Your notice the dash in the second pic but not 100% sure if I am gonna run a dash yet, just fitted it to have a quick look,
That's it for now, tomorrow il have another go at the dash and I am going to bond in the roof vent as I picked up a new mastic gun yesterday after my last broke
Update for this week, again only small jobs
Popped to the breakers yard Tuesday to get some door seals and clips etc and while I was there I g a mint ford badge for the boot, so got that stuck on and re fitted the high level brake light and the loom for the light and plate lights
My mate tig welded my wastegate back together where I had tacked it, he had to do a large weave weld as I cut it so close to the original weld it looked crap with 2 welds side by side
Now clears everything ok, just hope the turbo clears when I get 1!
After meaning to do it for ages I finally got the 3m tape out and stuck the door trims back on
Also properly bolted down both seats, had to wait to get some 10.9 high tensile hex head bolts as there is no access for socket caps and I can't bolt the brackets in first as the tunnels side of the seats is too tight to bolt in after so hex head was the only option, I couldn't get a 12.9 hex head so I think 10.9 tensile will be enough considering that fia harness eyes are only 8.8 tensile
Anyway seats now properly fitted and both harnesses fitted properly to the harness bar
Your notice the dash in the second pic but not 100% sure if I am gonna run a dash yet, just fitted it to have a quick look,
That's it for now, tomorrow il have another go at the dash and I am going to bond in the roof vent as I picked up a new mastic gun yesterday after my last broke
06-04-2012, 09:45 AM
#2303
Borg Warner EFR Equipped!

Join Date: Apr 2005
Location: In the unit, building a 450bhp Time Attack Focus!
Posts: 5,810
Likes: 0
Received 2 Likes
on
2 Posts
People tell me that i'm a bit OCD about the 'fit and finish' of my track car, but the more I look at yours, the more I think mine is substandard
Its a real credit to you Marc, keep up the good work
Its a real credit to you Marc, keep up the good work
06-04-2012, 04:50 PM
#2305
I've found that life I needed.. It's HERE!!

 06-04-2012, 09:48 PM
#2309
Thanks guys
I have another dash to use after final cutting has been done, and yes it will 100% be flocked, gonna have the day sorting the dash tomorrow so some more pics then,
As for the first stone chip it's innevitable lol so I can live with it
I have another dash to use after final cutting has been done, and yes it will 100% be flocked, gonna have the day sorting the dash tomorrow so some more pics then,
As for the first stone chip it's innevitable lol so I can live with it


 07-04-2012, 08:47 AM
#2312
I'm Finding My Feet Here Now
Join Date: Jul 2011
Location: south wales
Posts: 141
Likes: 0
Received 0 Likes
on
0 Posts
this car is unreal!!!!!!!!!!!!!!!!!!its evil on wheels.........
when your sat in the car how do you find the position of the pedal box???iv just bought the same set up for my mk1 focus rs build and only mocking positions up at the moment.
when your sat in the car how do you find the position of the pedal box???iv just bought the same set up for my mk1 focus rs build and only mocking positions up at the moment.
 07-04-2012, 03:29 PM
#2314
As for the pedal box, it seems ok now, i have it as far back as i can and with the seat where it is i think its gonna be ok, but without actually being able to drive the car it is hard to tell exactly,
Thanks for the comments again
07-04-2012, 03:49 PM
#2315
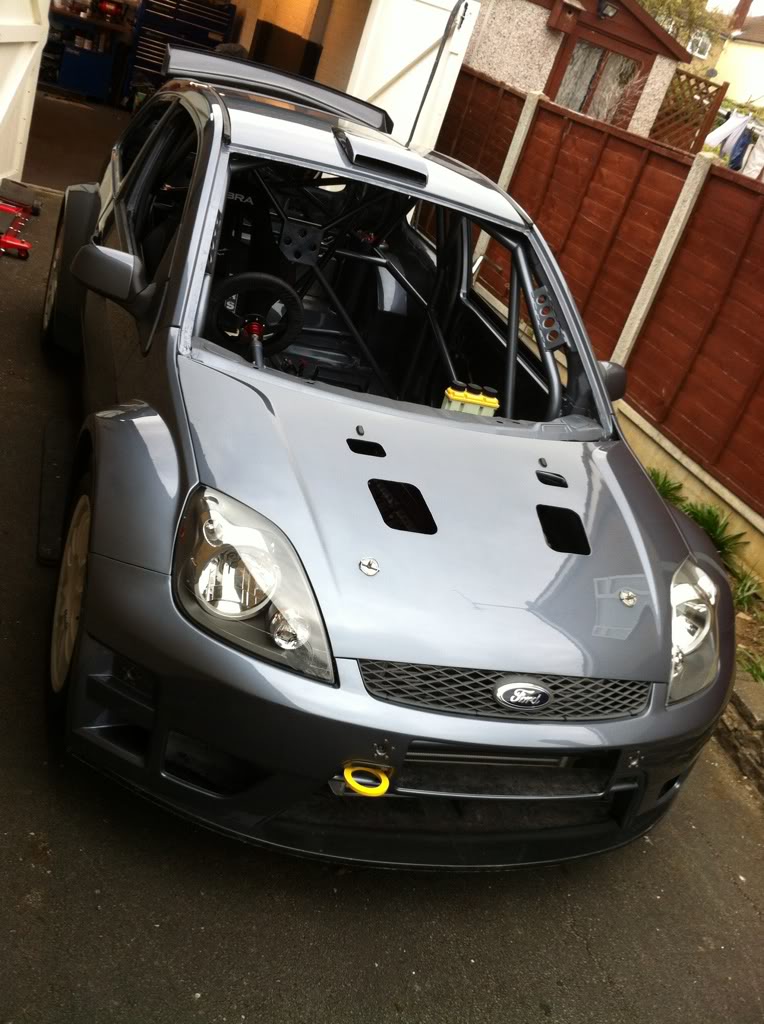
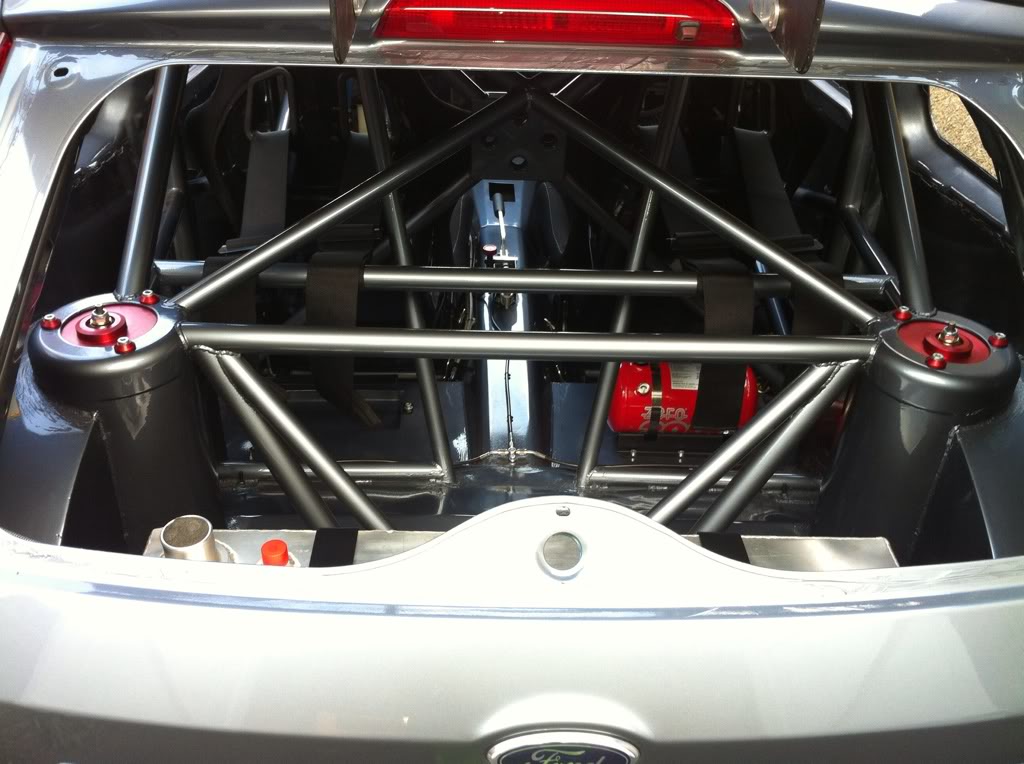
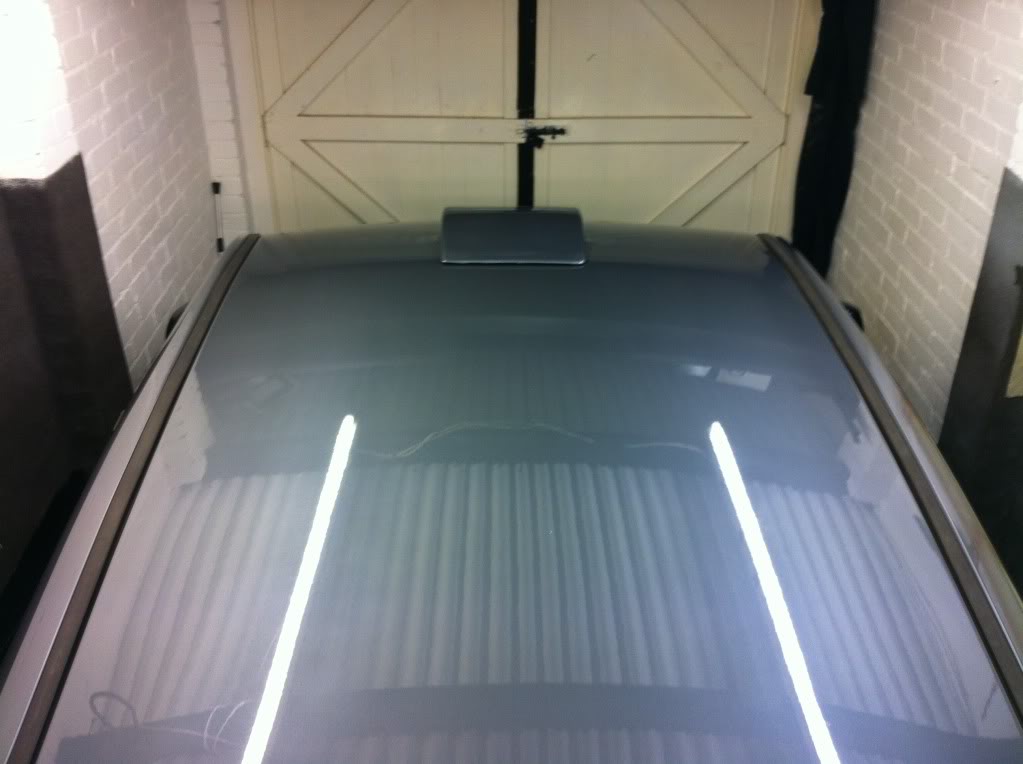
Decided to bond & rivet the roof vent on as best i could, decided not to use tigerseal for the risk of making a mess on the paint so rivets were the weapon of choice with some clear silicone sealant,
Ran some sealant around the movable vent so no water can leak through if im out in the rain
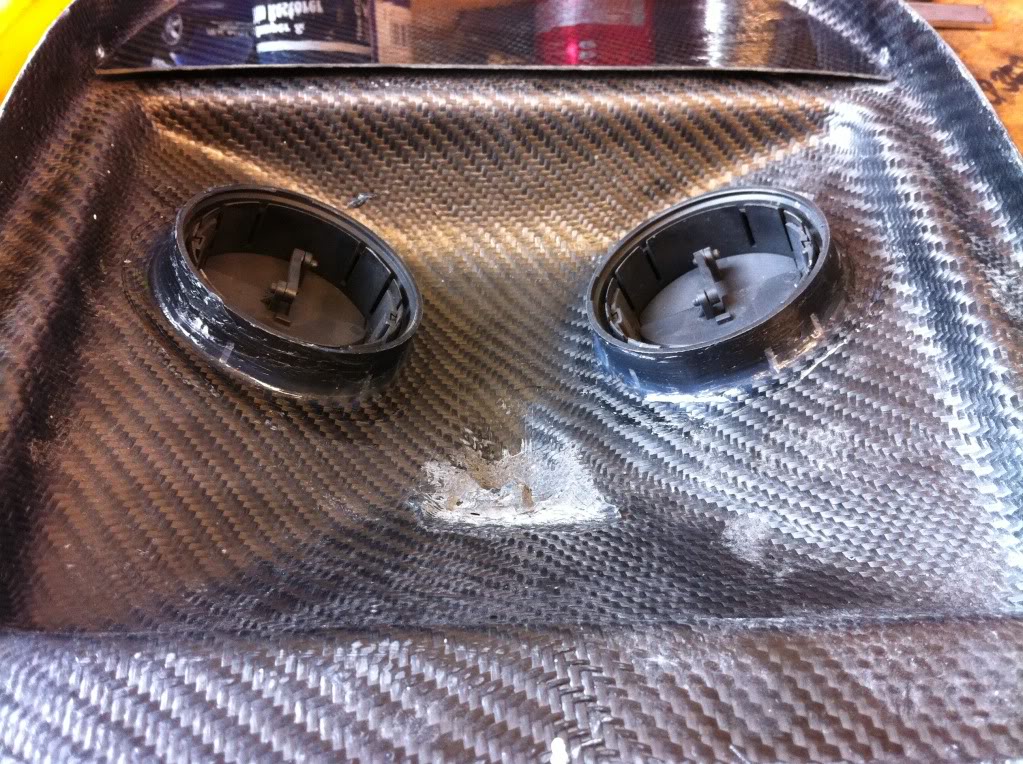
Then drilled the holes around the vent for the rivets

Riveted it in place and dabbed some sealer over each rivet
I forgot the front rivets would be seen so i removed all sealer from them after
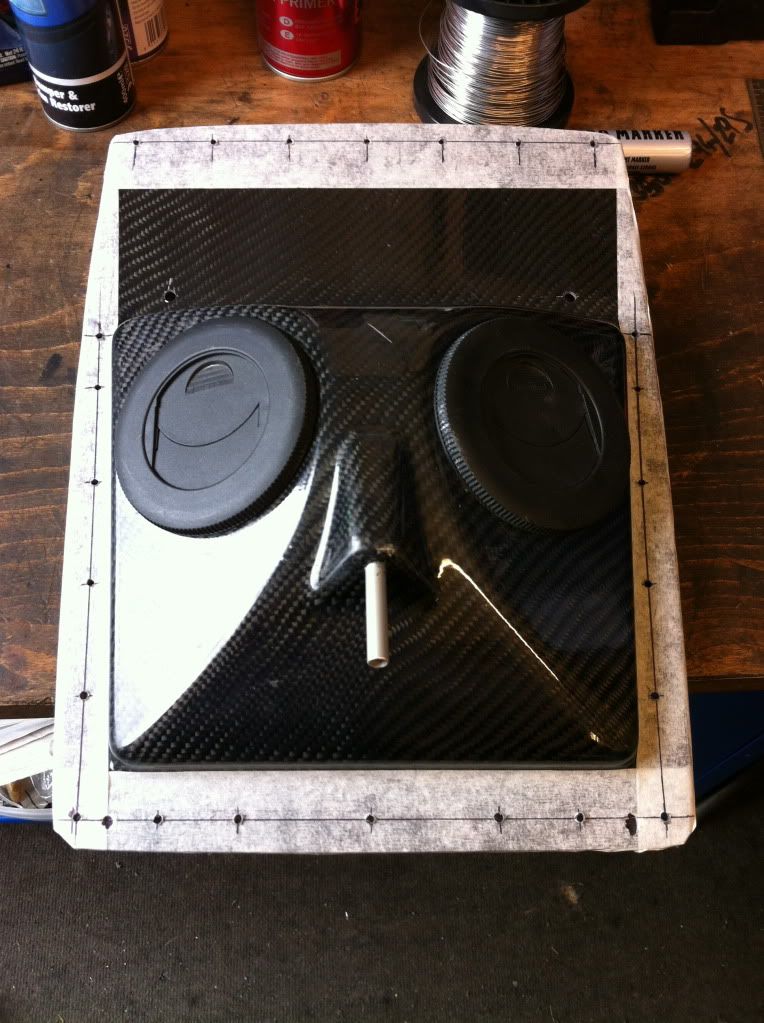
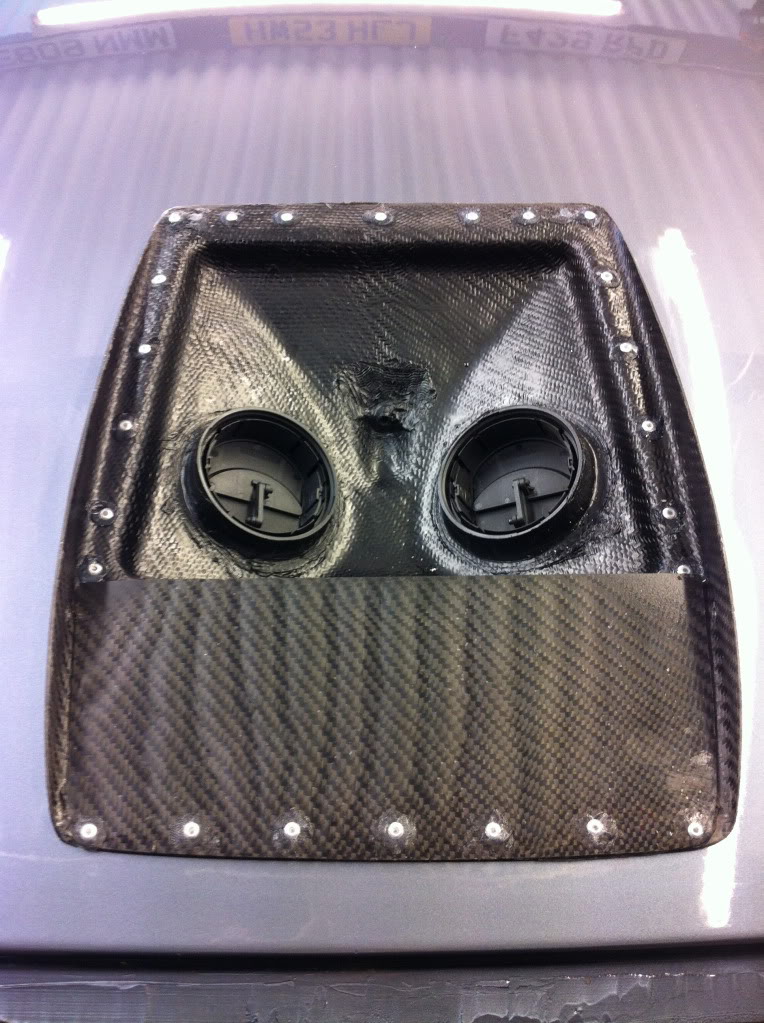
As it's not likely to be seen as it isn't often you will look at the roof when in the car ( i hope ) i also ran some sealer around the vent and again over each rivet as i don't want water leaking in if caught in the rain or when the car car gets washed
It doesn't look very neat in the pics as the flash makes it all stand out but from in the car it's very tidy, so im happy with that
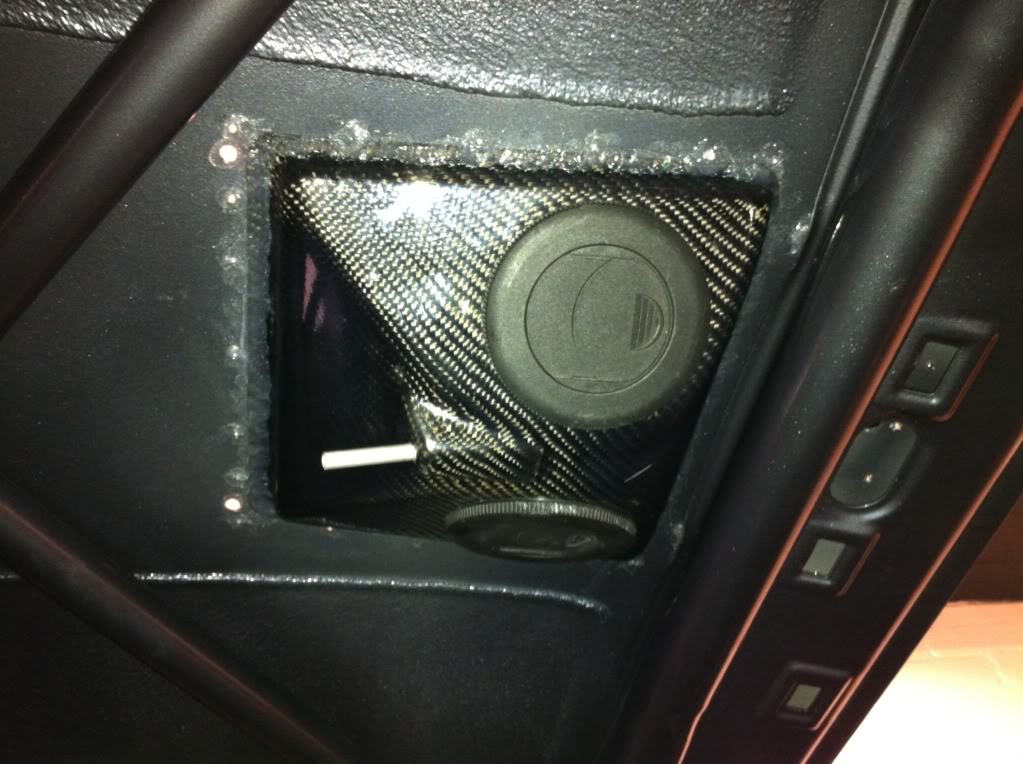
Then put the cover back on and voila
Thanks for your opinions on the dash decisions guys, i agree with you and decided i will be running a dash, although it will be a cut down minimal version that will eventually be flocked
I cut a bit more off the dummy dash today and then re fitted it and i think i am happy with how it is now, because this one has been sitting around since Andrew done the car it has gone a bit out of shape, luckily i have a complete mint dash that i will use to cut up once i have made all the trimming mistakes etc with this one,
Here it is fitted with a bit more removed
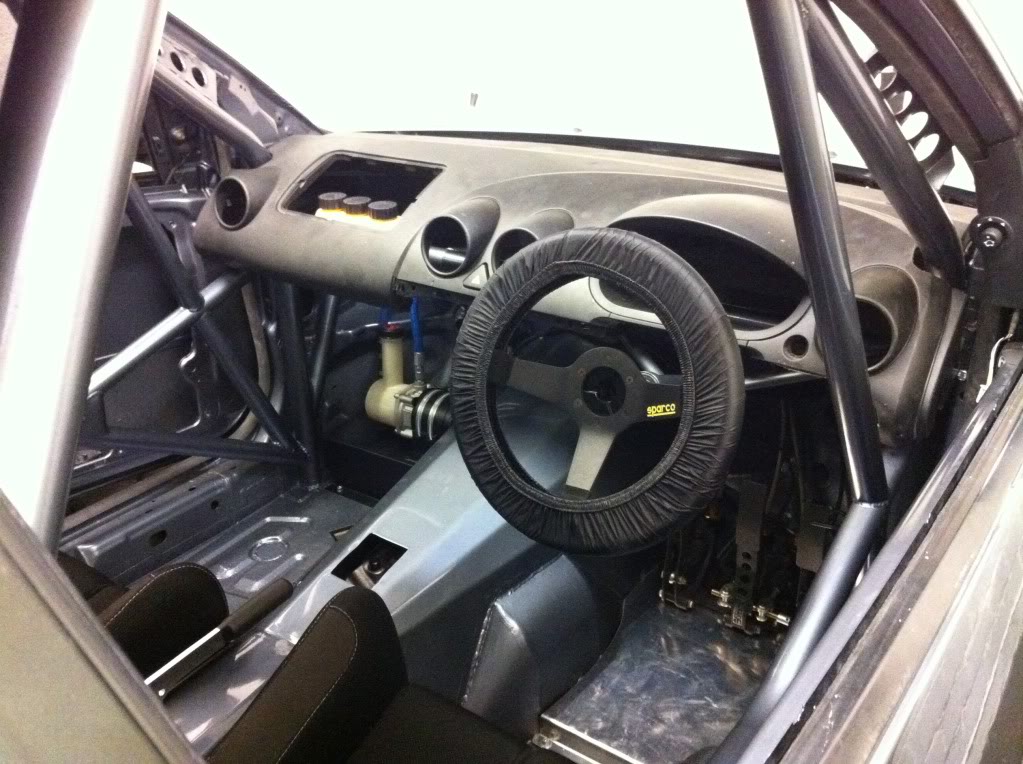
Not the best pic but you get the idea
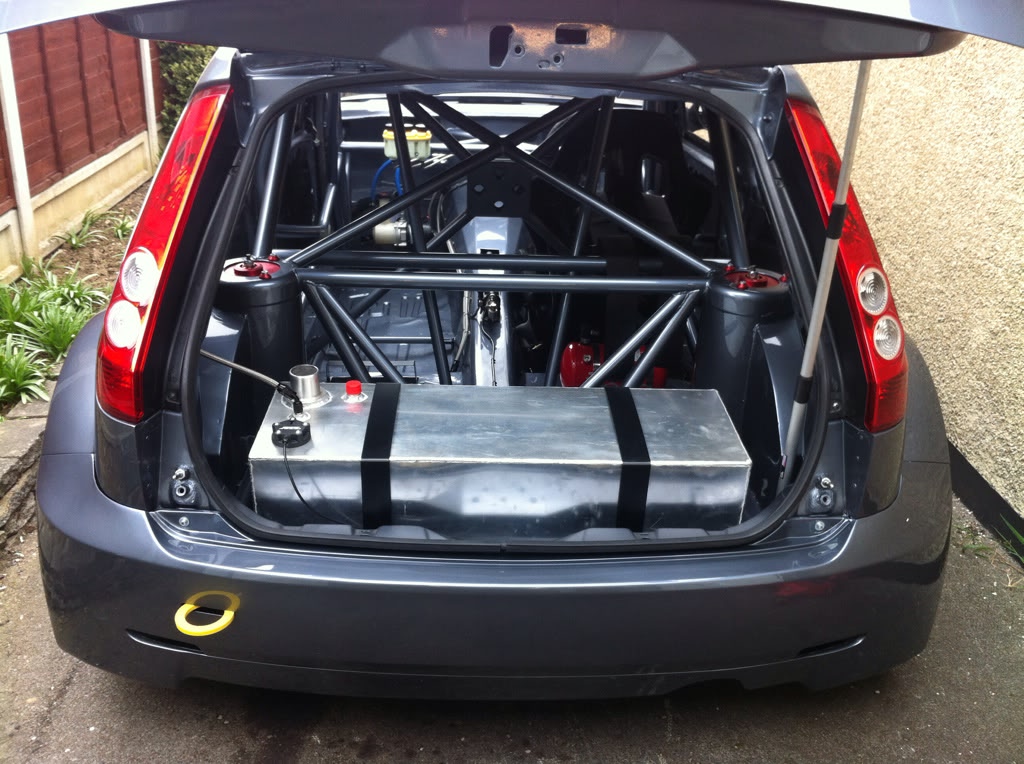
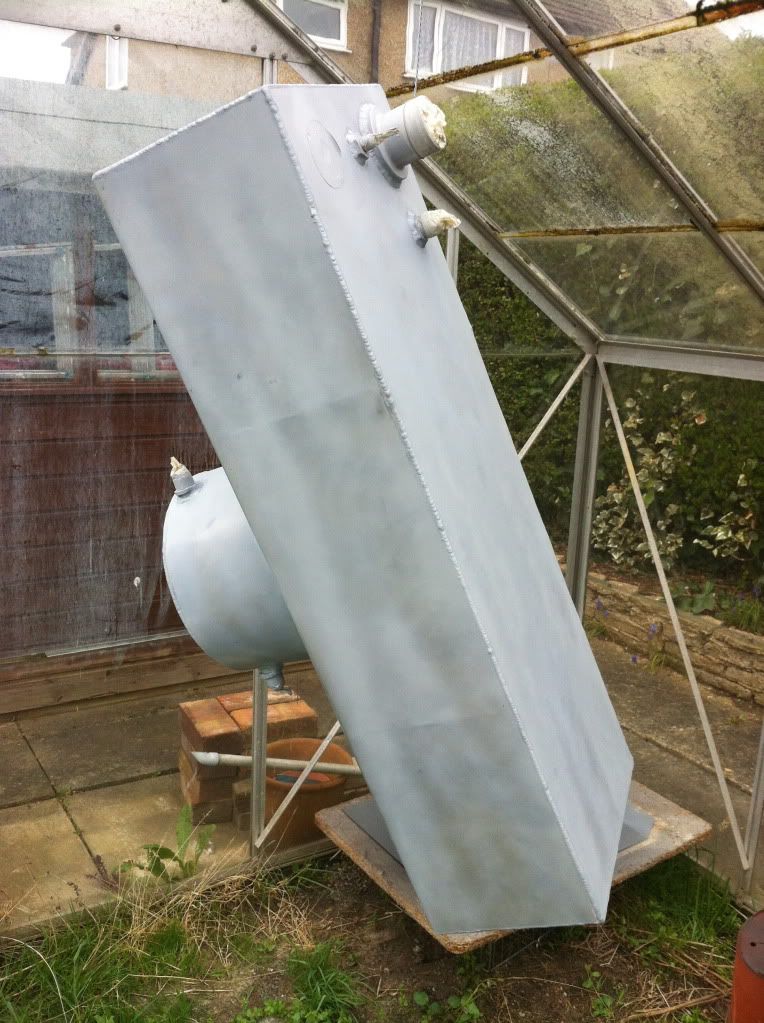
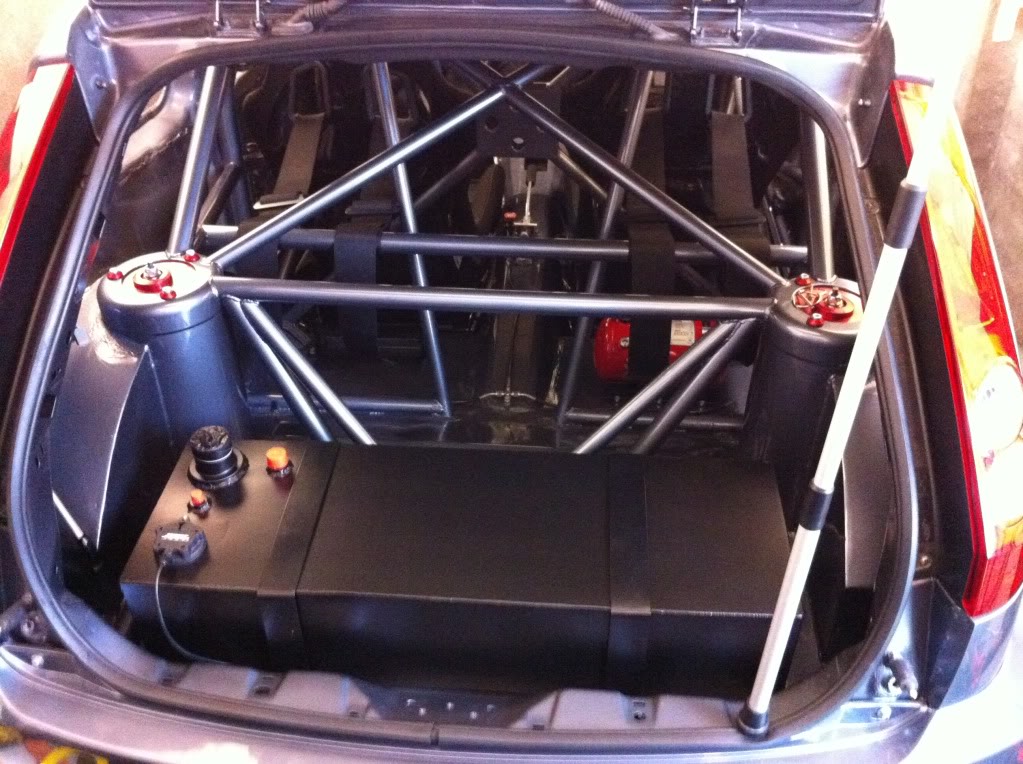
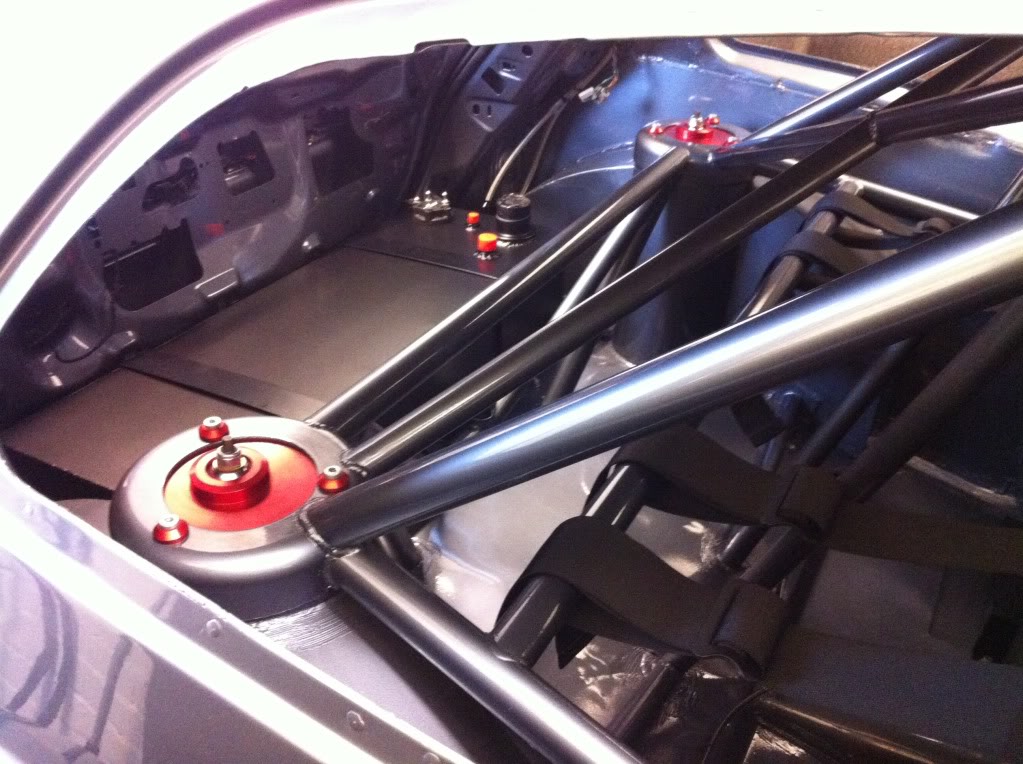
Finally today i removed the fuel tank and painted it satin black as plain alloy looked a bit crap,
Bit of etch primer after a key up
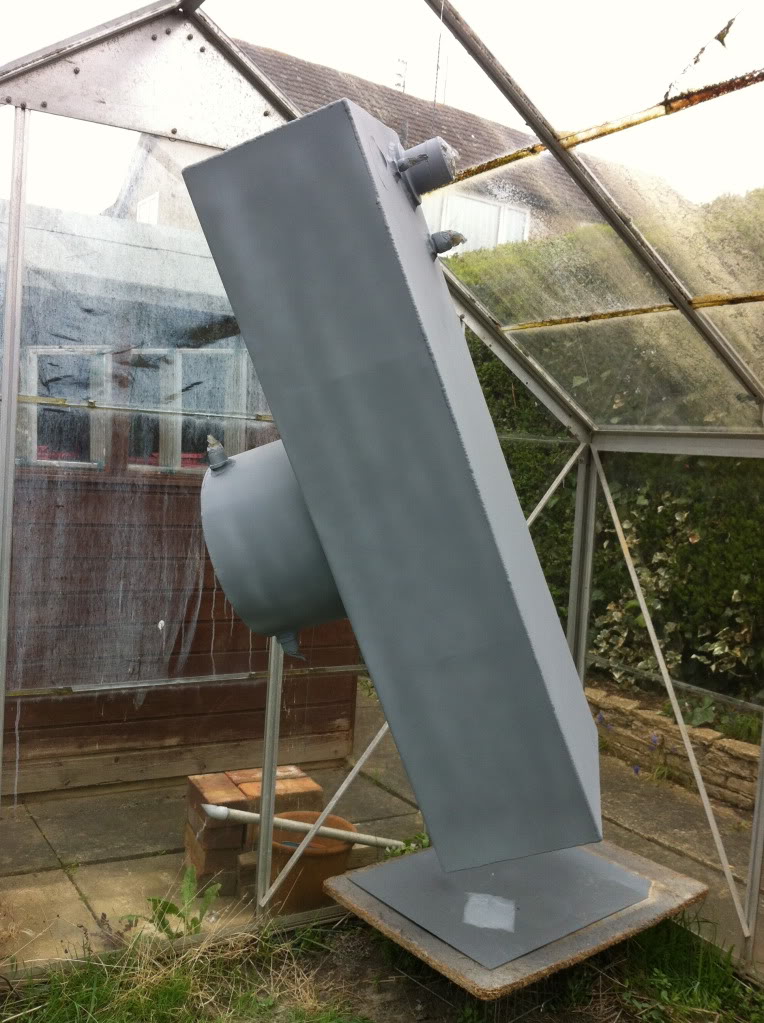
Bit of grey high build primer
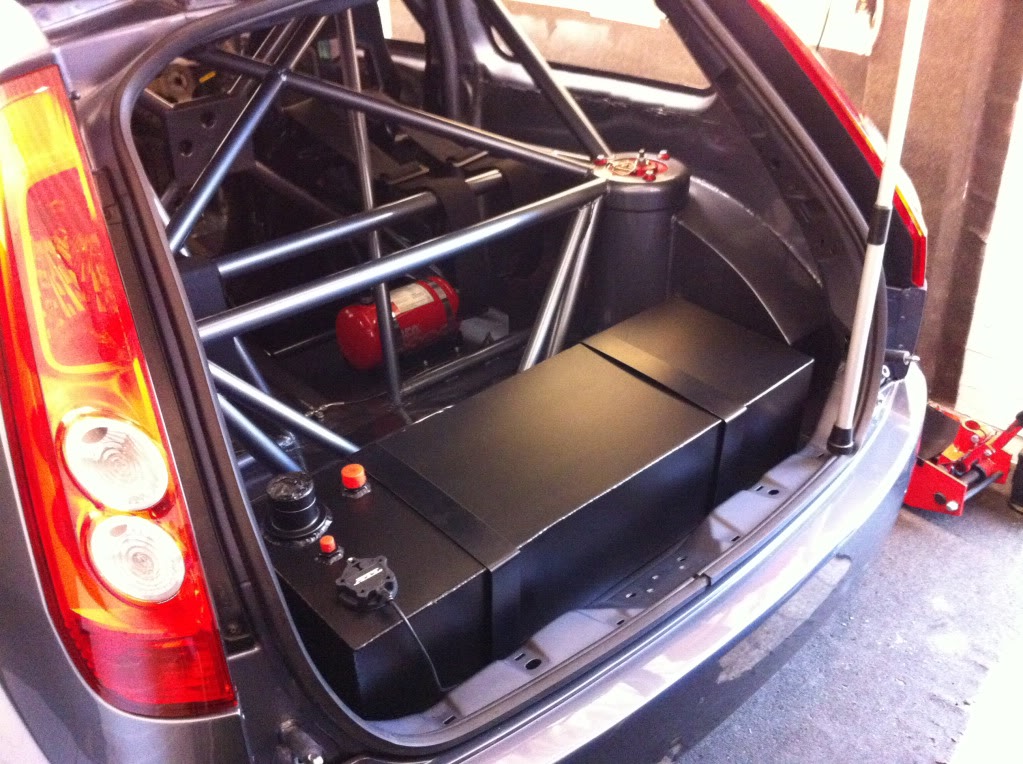
Then a few coats of satin black to finish it off
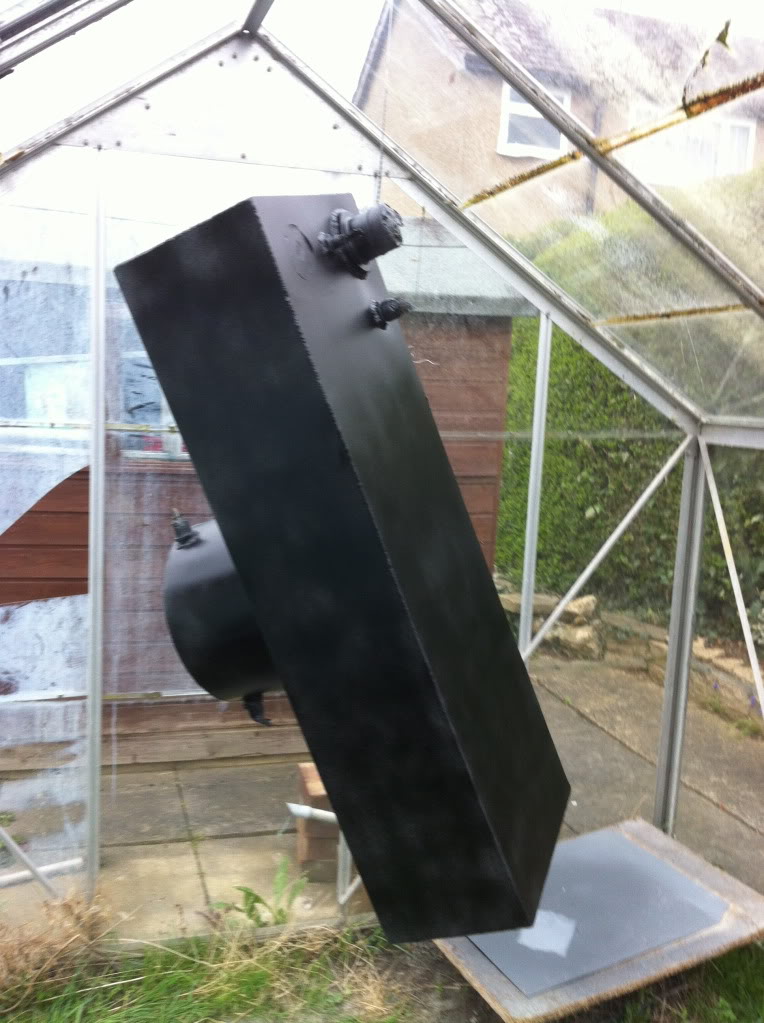
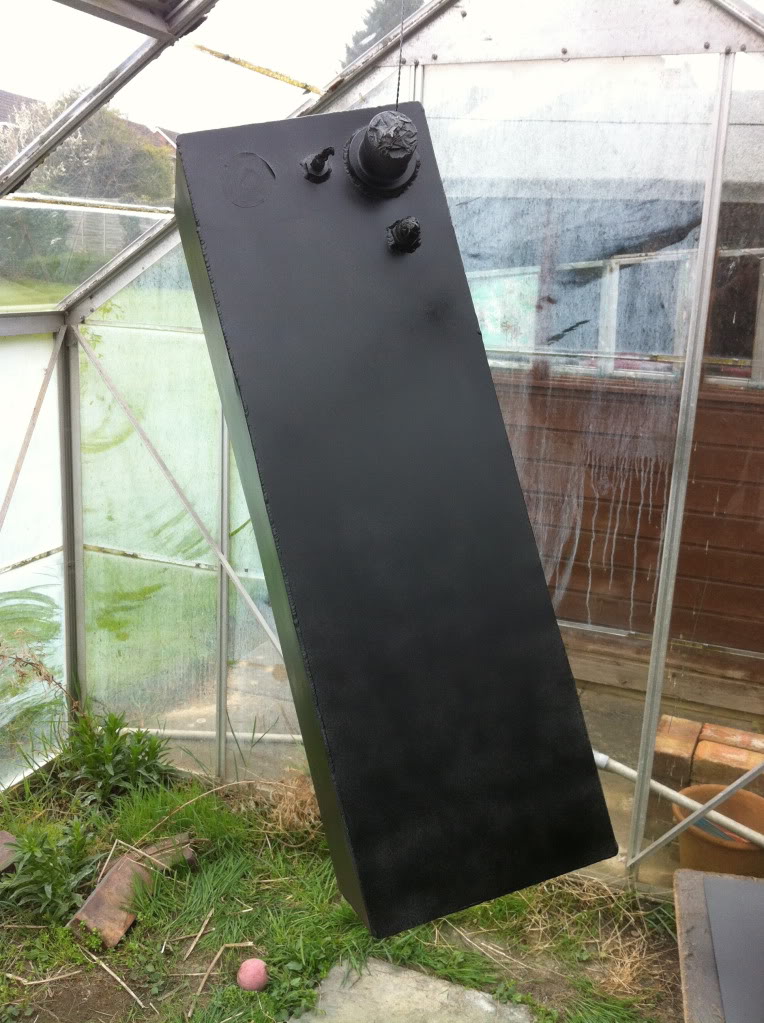
And finally re fitted to the car for some pics, it is not bolted in properly yet as i want some foam backing to stick to the underside of the tank to stop any potential vibration etc
Looks much better
Thanks
Marc
Ran some sealant around the movable vent so no water can leak through if im out in the rain
Then drilled the holes around the vent for the rivets
Riveted it in place and dabbed some sealer over each rivet
I forgot the front rivets would be seen so i removed all sealer from them after
As it's not likely to be seen as it isn't often you will look at the roof when in the car ( i hope
) i also ran some sealer around the vent and again over each rivet as i don't want water leaking in if caught in the rain or when the car car gets washedIt doesn't look very neat in the pics as the flash makes it all stand out but from in the car it's very tidy, so im happy with that
Then put the cover back on and voila
Thanks for your opinions on the dash decisions guys, i agree with you and decided i will be running a dash, although it will be a cut down minimal version that will eventually be flocked
I cut a bit more off the dummy dash today and then re fitted it and i think i am happy with how it is now, because this one has been sitting around since Andrew done the car it has gone a bit out of shape, luckily i have a complete mint dash that i will use to cut up once i have made all the trimming mistakes etc with this one,
Here it is fitted with a bit more removed
Not the best pic but you get the idea
Finally today i removed the fuel tank and painted it satin black as plain alloy looked a bit crap,
Bit of etch primer after a key up
Bit of grey high build primer
Then a few coats of satin black to finish it off
And finally re fitted to the car for some pics, it is not bolted in properly yet as i want some foam backing to stick to the underside of the tank to stop any potential vibration etc
Looks much better
Thanks
Marc
