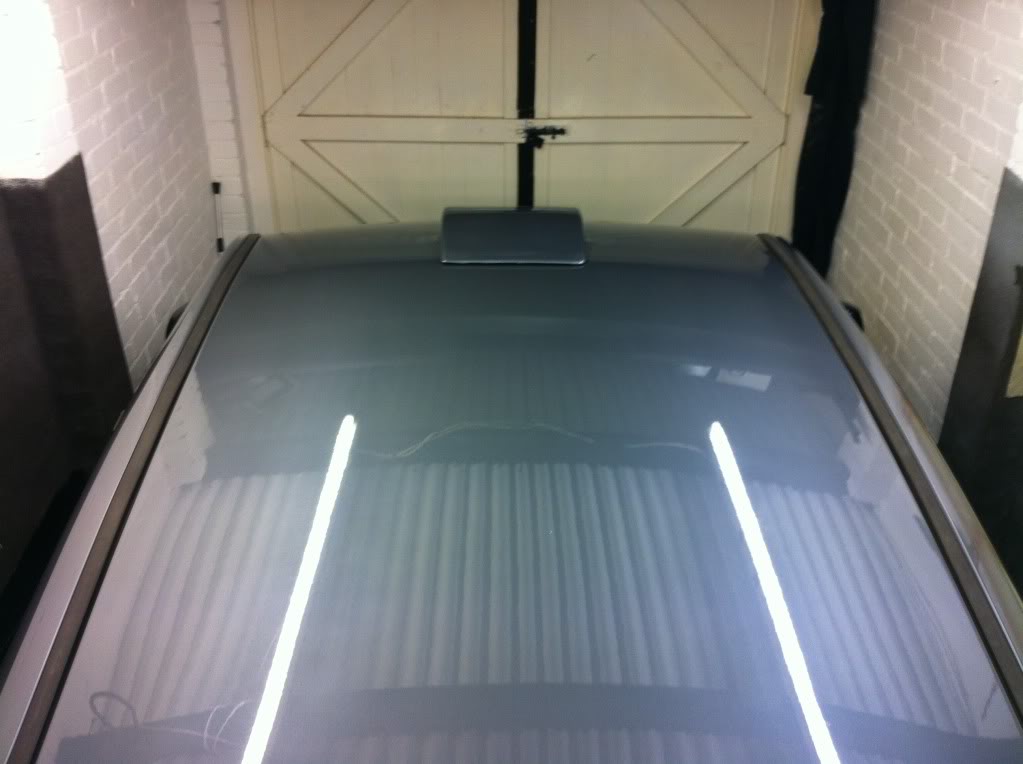
Decided to bond & rivet the roof vent on as best i could, decided not to use tigerseal for the risk of making a mess on the paint so rivets were the weapon of choice with some clear silicone sealant,
Ran some sealant around the movable vent so no water can leak through if im out in the rain
Then drilled the holes around the vent for the rivets

Riveted it in place and dabbed some sealer over each rivet
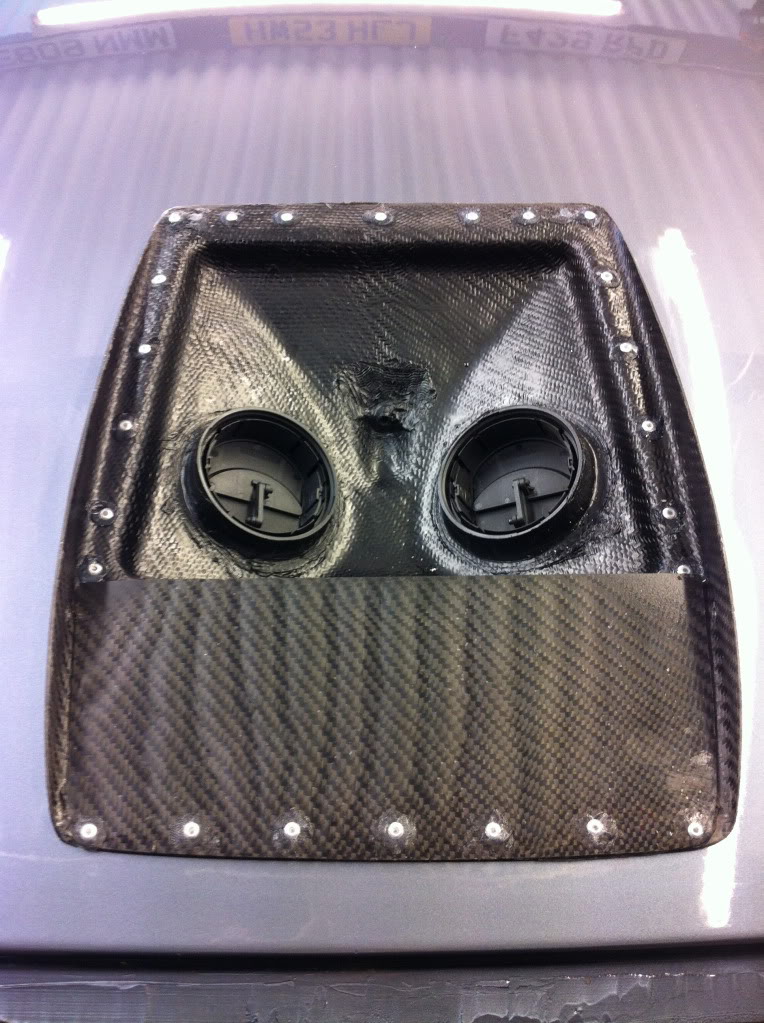
I forgot the front rivets would be seen so i removed all sealer from them after
As it's not likely to be seen as it isn't often you will look at the roof when in the car ( i hope

) i also ran some sealer around the vent and again over each rivet as i don't want water leaking in if caught in the rain or when the car car gets washed
It doesn't look very neat in the pics as the flash makes it all stand out but from in the car it's very tidy, so im happy with that
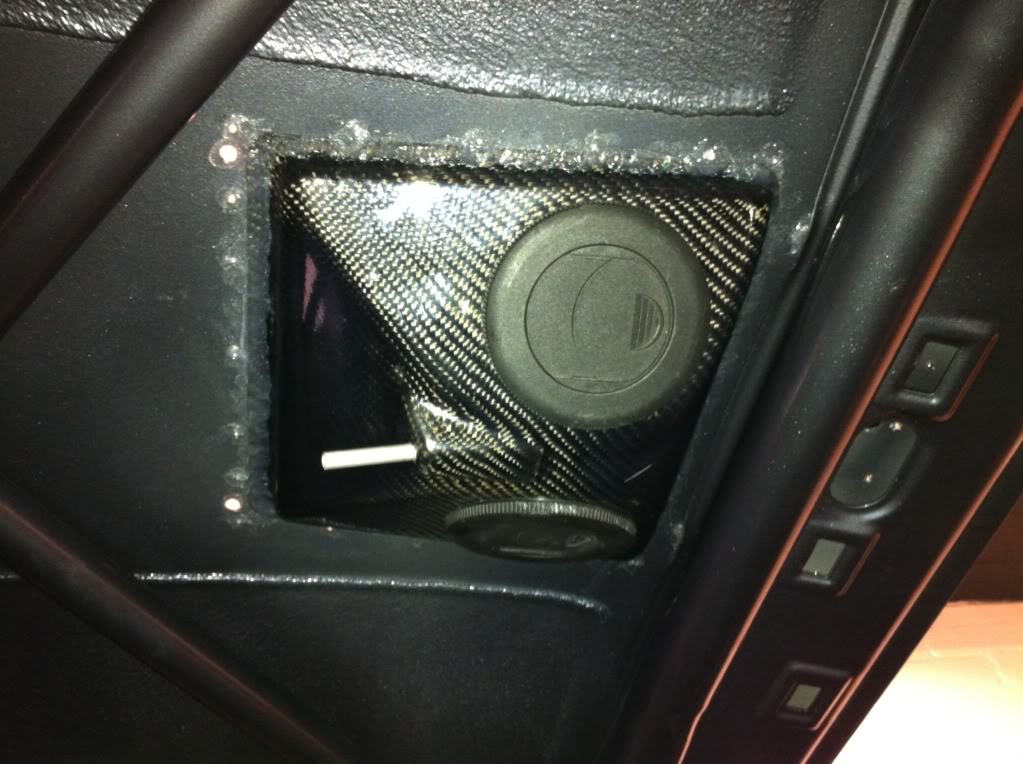
Then put the cover back on and voila
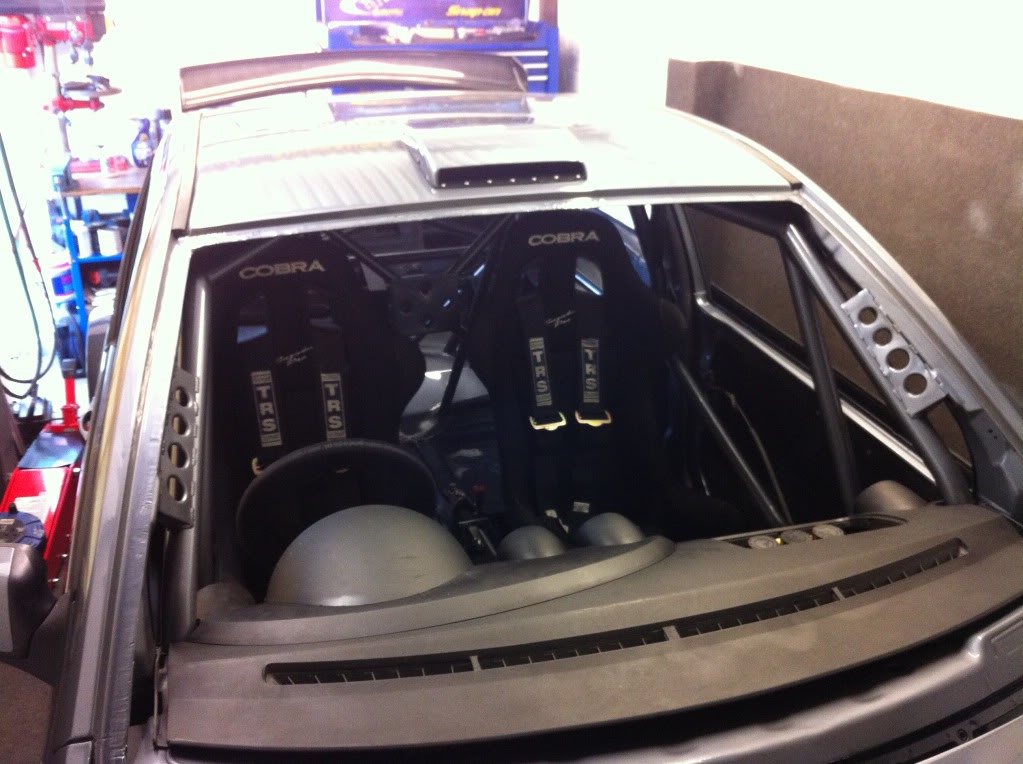
Thanks for your opinions on the dash decisions guys, i agree with you and decided i will be running a dash, although it will be a cut down minimal version that will eventually be flocked
I cut a bit more off the dummy dash today and then re fitted it and i think i am happy with how it is now, because this one has been sitting around since Andrew done the car it has gone a bit out of shape, luckily i have a complete mint dash that i will use to cut up once i have made all the trimming mistakes etc with this one,
Here it is fitted with a bit more removed
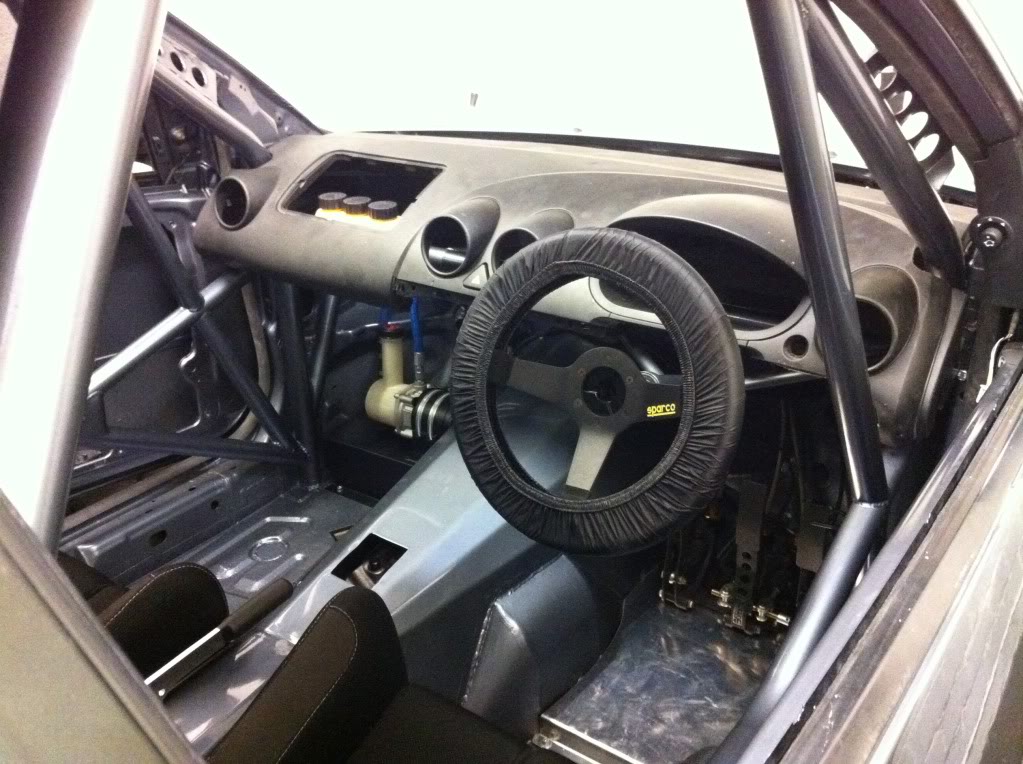
Not the best pic but you get the idea
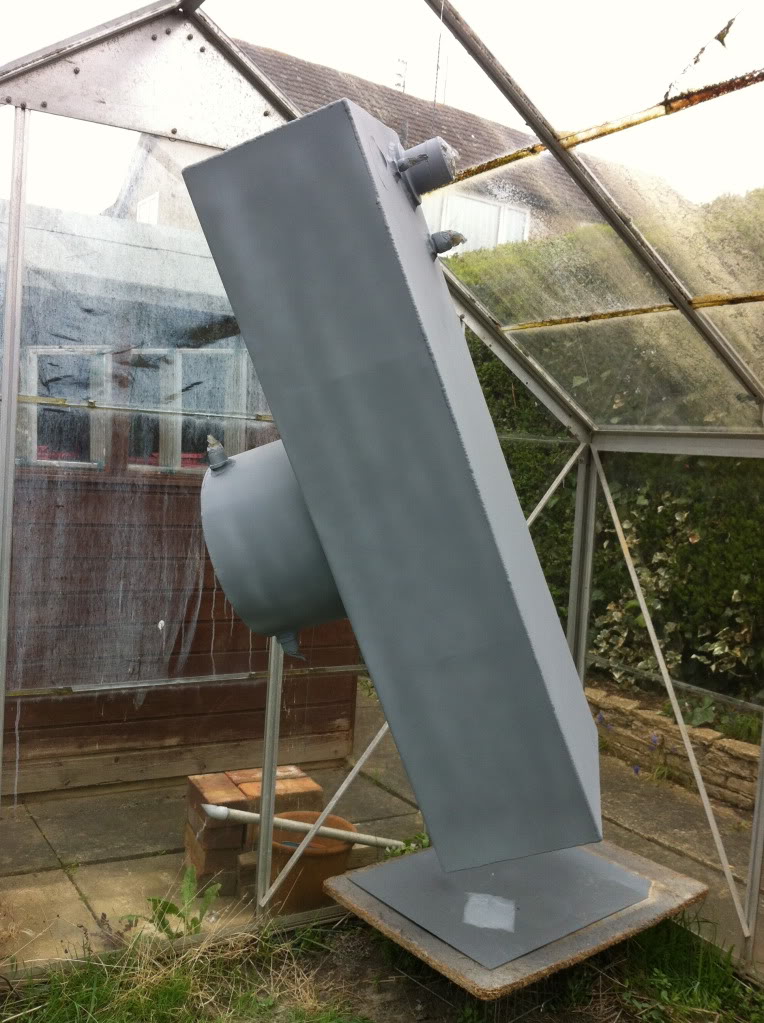
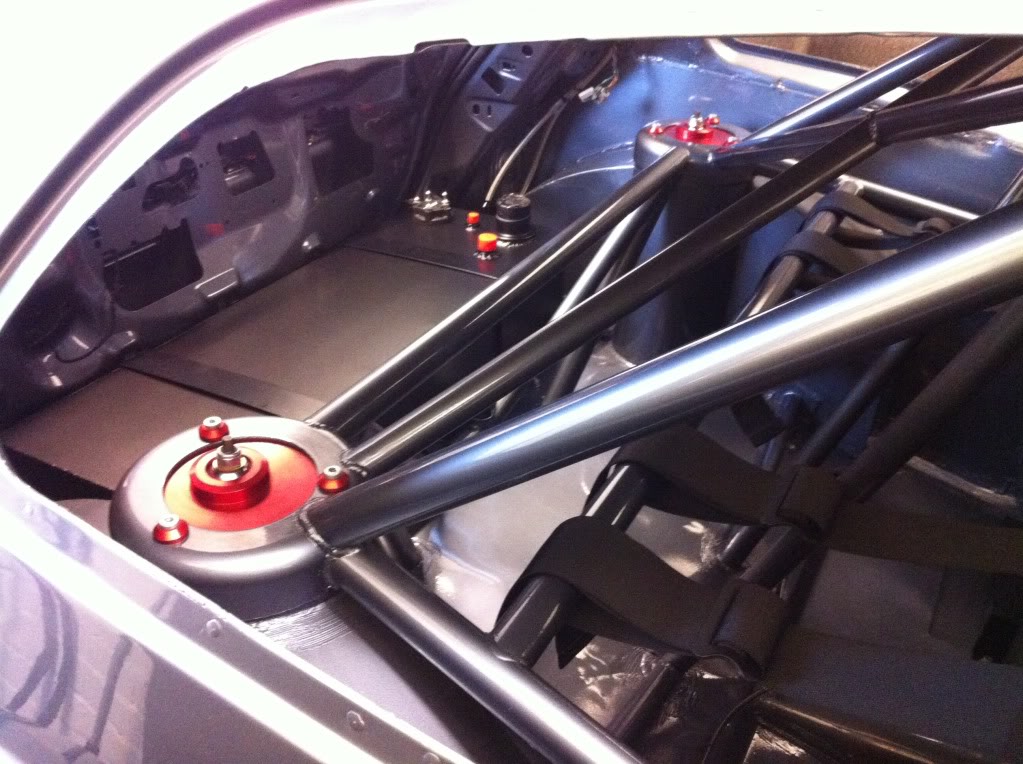
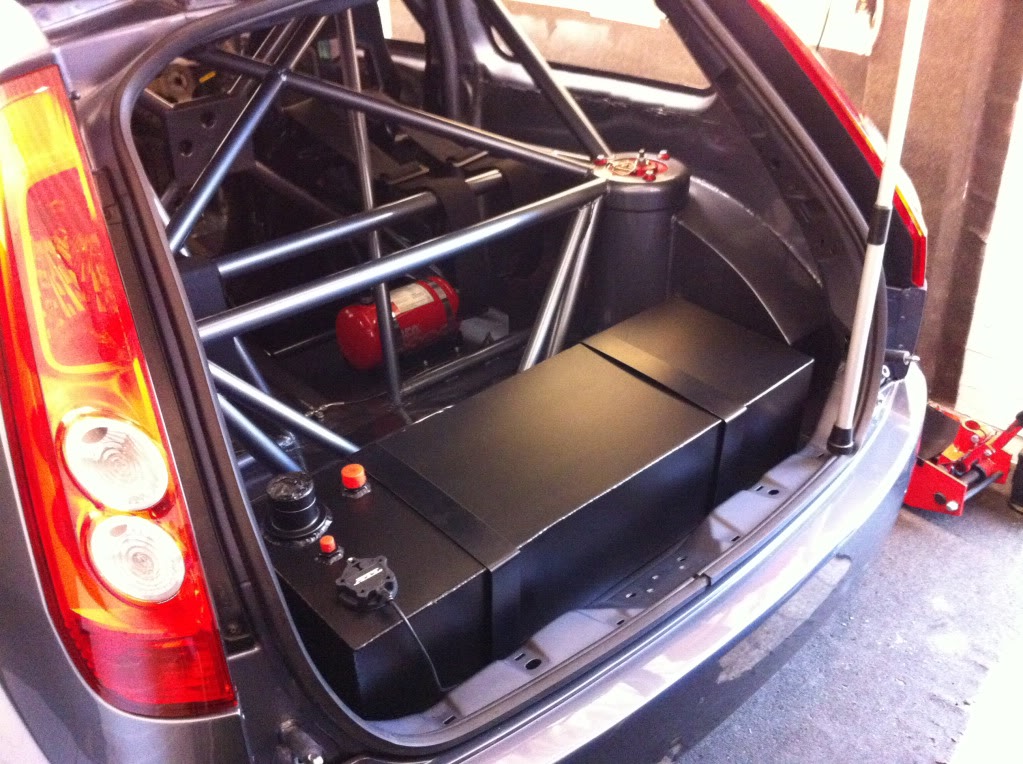
Finally today i removed the fuel tank and painted it satin black as plain alloy looked a bit crap,
Bit of etch primer after a key up
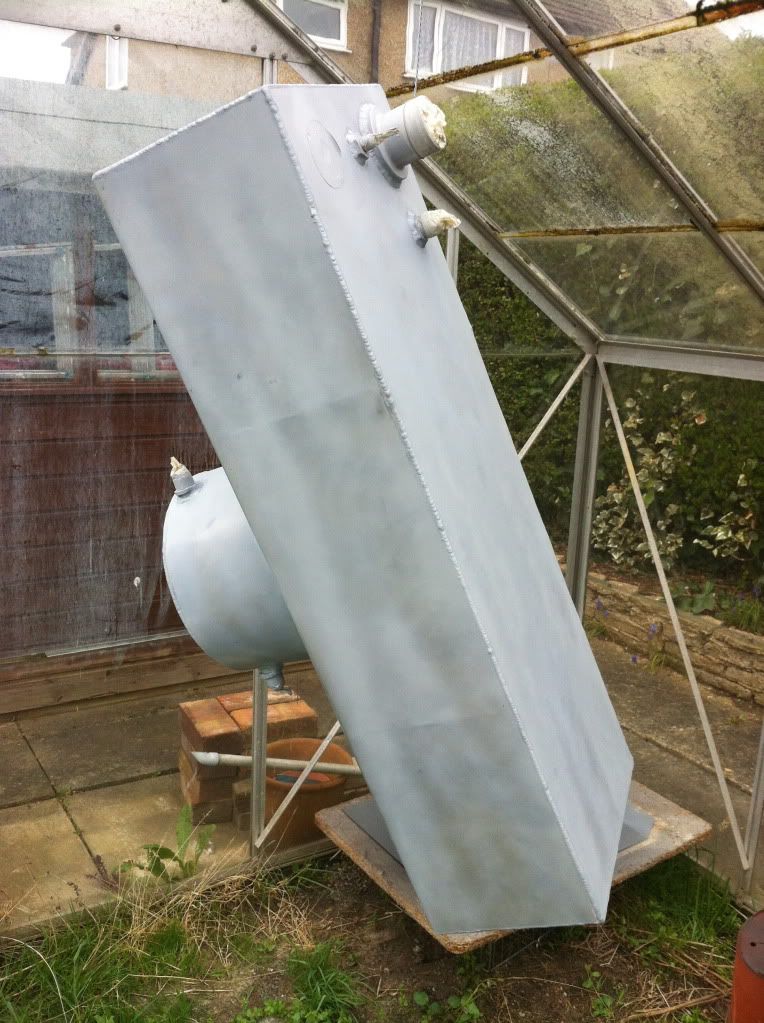
Bit of grey high build primer
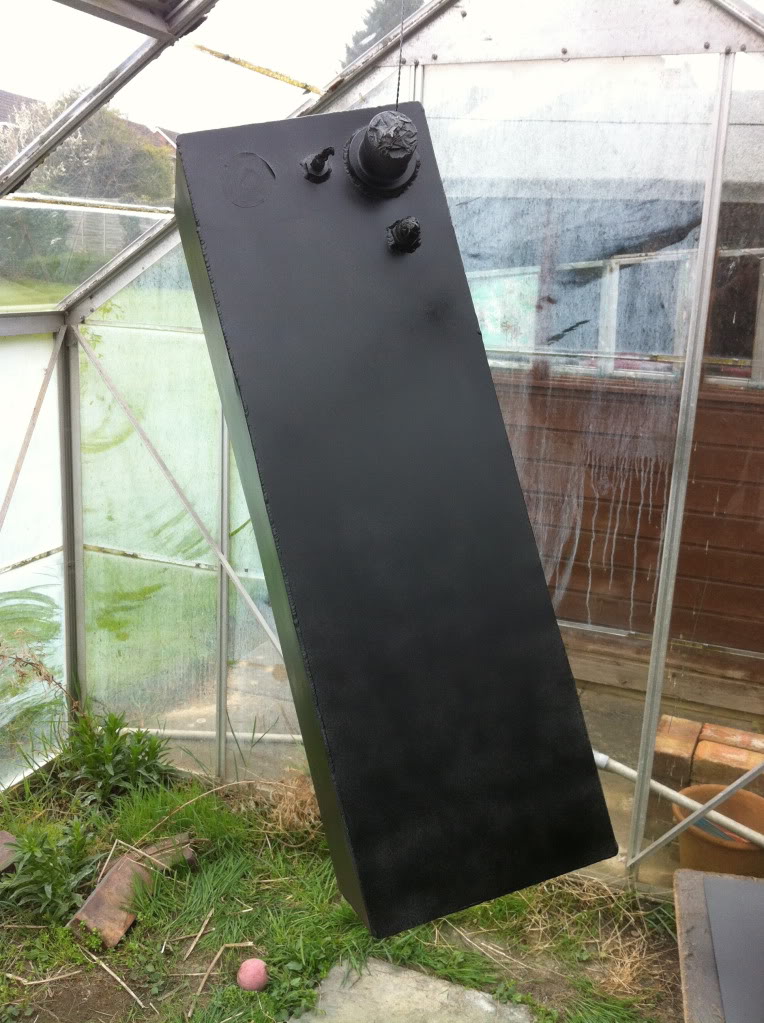
Then a few coats of satin black to finish it off
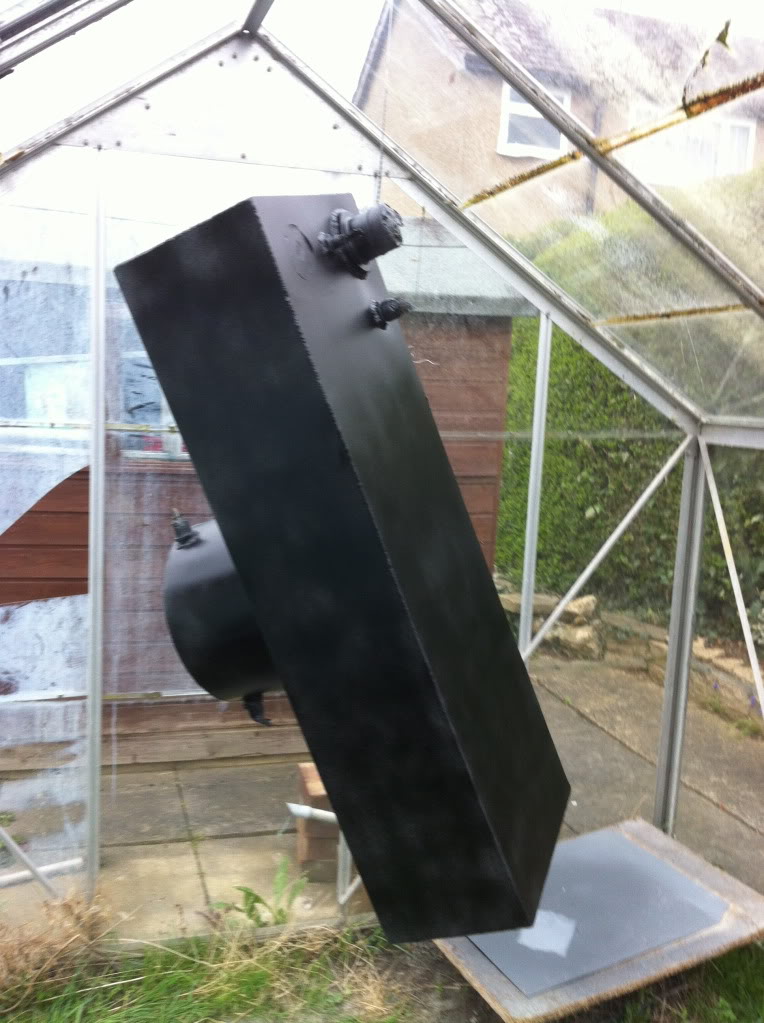
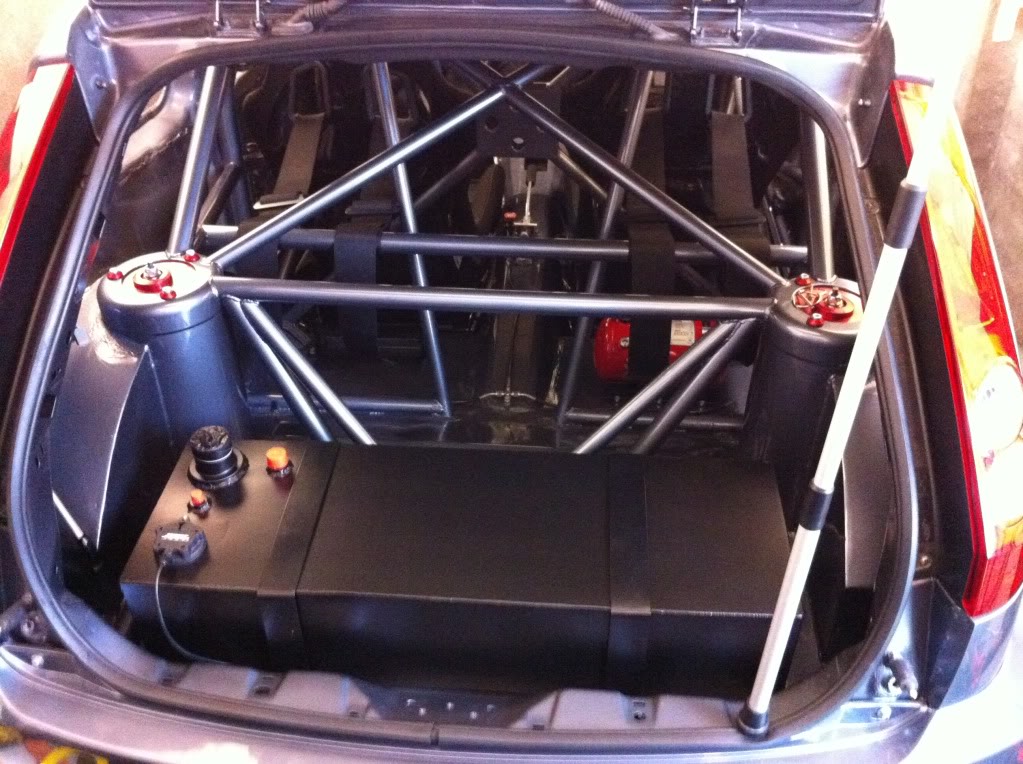
And finally re fitted to the car for some pics, it is not bolted in properly yet as i want some foam backing to stick to the underside of the tank to stop any potential vibration etc
Looks much better

Thanks
Marc