Mk6 JWRC fiesta cosworth

 26-08-2011, 04:07 AM
#1802
Spanner monkey
Hmm, think you need to be buying a glass cabinet for those bits  .
.
I know it's a way off, but have you had any thoughts of wheels for it? it's crying out for a set of dark grey / satin black RL7's imo.
Keep up the good work, that light is getting bigger at the end of the tunnel.
.I know it's a way off, but have you had any thoughts of wheels for it? it's crying out for a set of dark grey / satin black RL7's imo.
Keep up the good work, that light is getting bigger at the end of the tunnel.
26-08-2011, 04:36 AM
#1803
I already have a set of speedlines, they are currently White and a bit battered so think they will get powder coated a nice dark Color, not just yet though as I'd rather dummy fit the wheels on and off as they are and get the coated at the end of the build

 28-08-2011, 03:45 PM
#1805
not done too much this weekend as im skint
Going rallycross tomorrow at llyden hill so that always gives a lot of enthusiasm
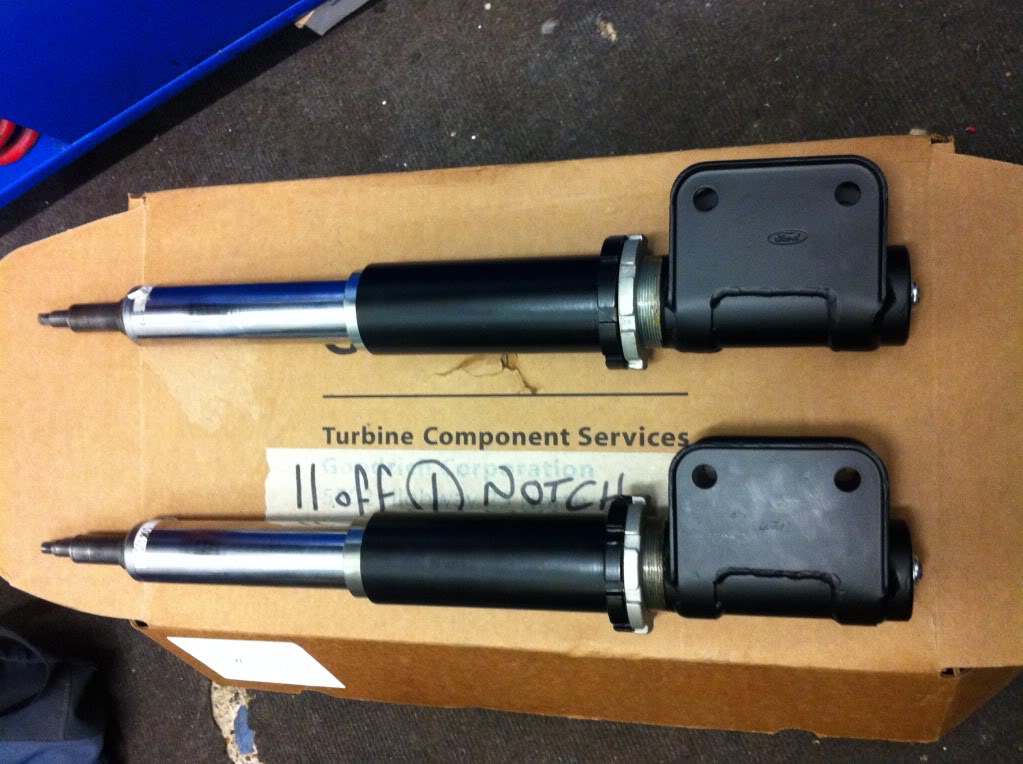
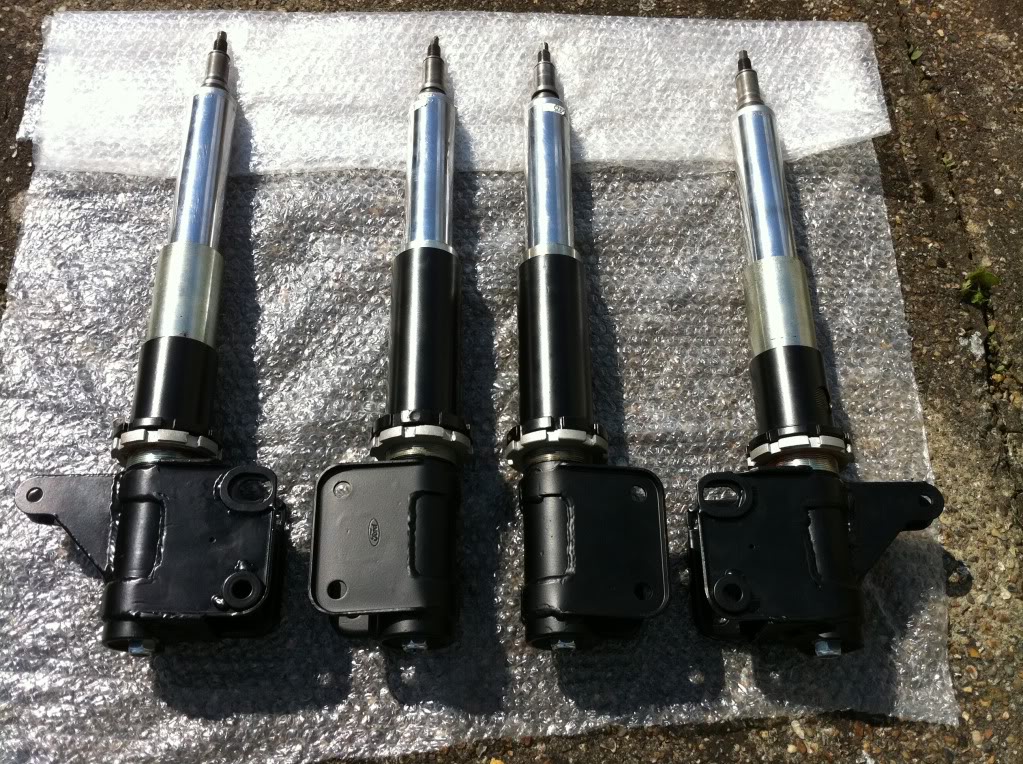
Painted my front gravel spec bilsteins with a coat of primer then black to match the rears
Got some high tensile cap heads for the gravel upright caps
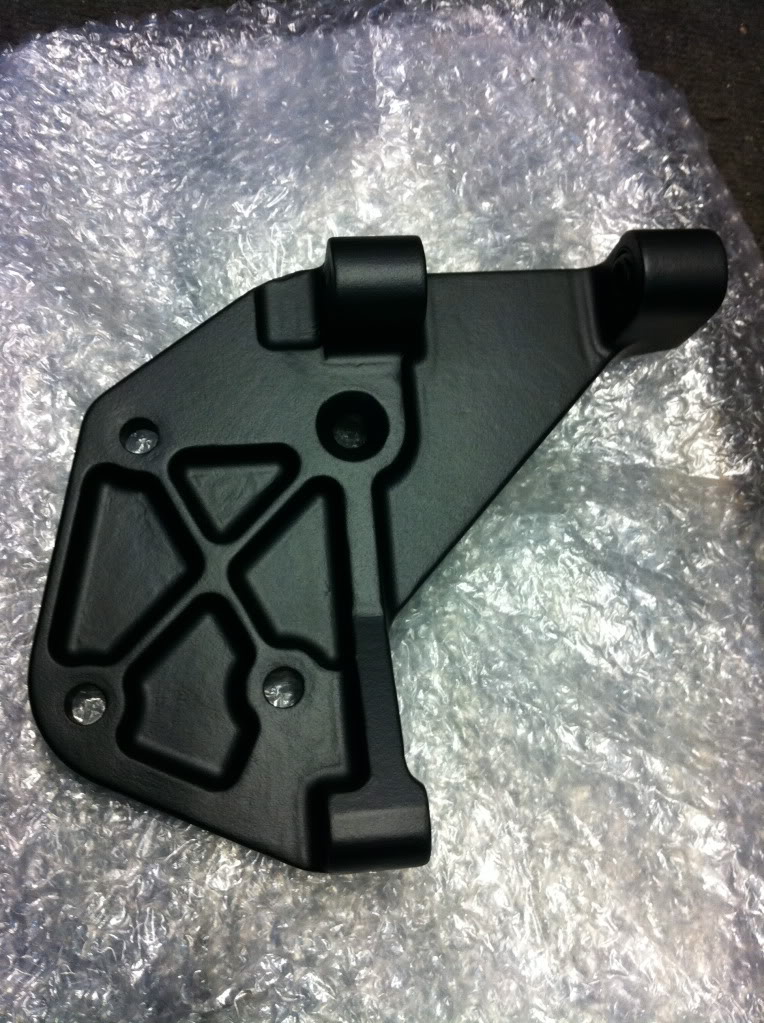
And finally i rubbed down and painted my grpa/wrc alternator bracket, it was anodized blue but was quite battered so i gave it a quick going over with the dremel them primed and painted it as if i re anodized it, it would of come out crap, looks ok now i think
Nothing else to report at present lol
Thanks
Marc
Going rallycross tomorrow at llyden hill so that always gives a lot of enthusiasm
Painted my front gravel spec bilsteins with a coat of primer then black to match the rears
Got some high tensile cap heads for the gravel upright caps
And finally i rubbed down and painted my grpa/wrc alternator bracket, it was anodized blue but was quite battered so i gave it a quick going over with the dremel them primed and painted it as if i re anodized it, it would of come out crap, looks ok now i think
Nothing else to report at present lol
Thanks
Marc
 31-08-2011, 07:35 AM
#1807
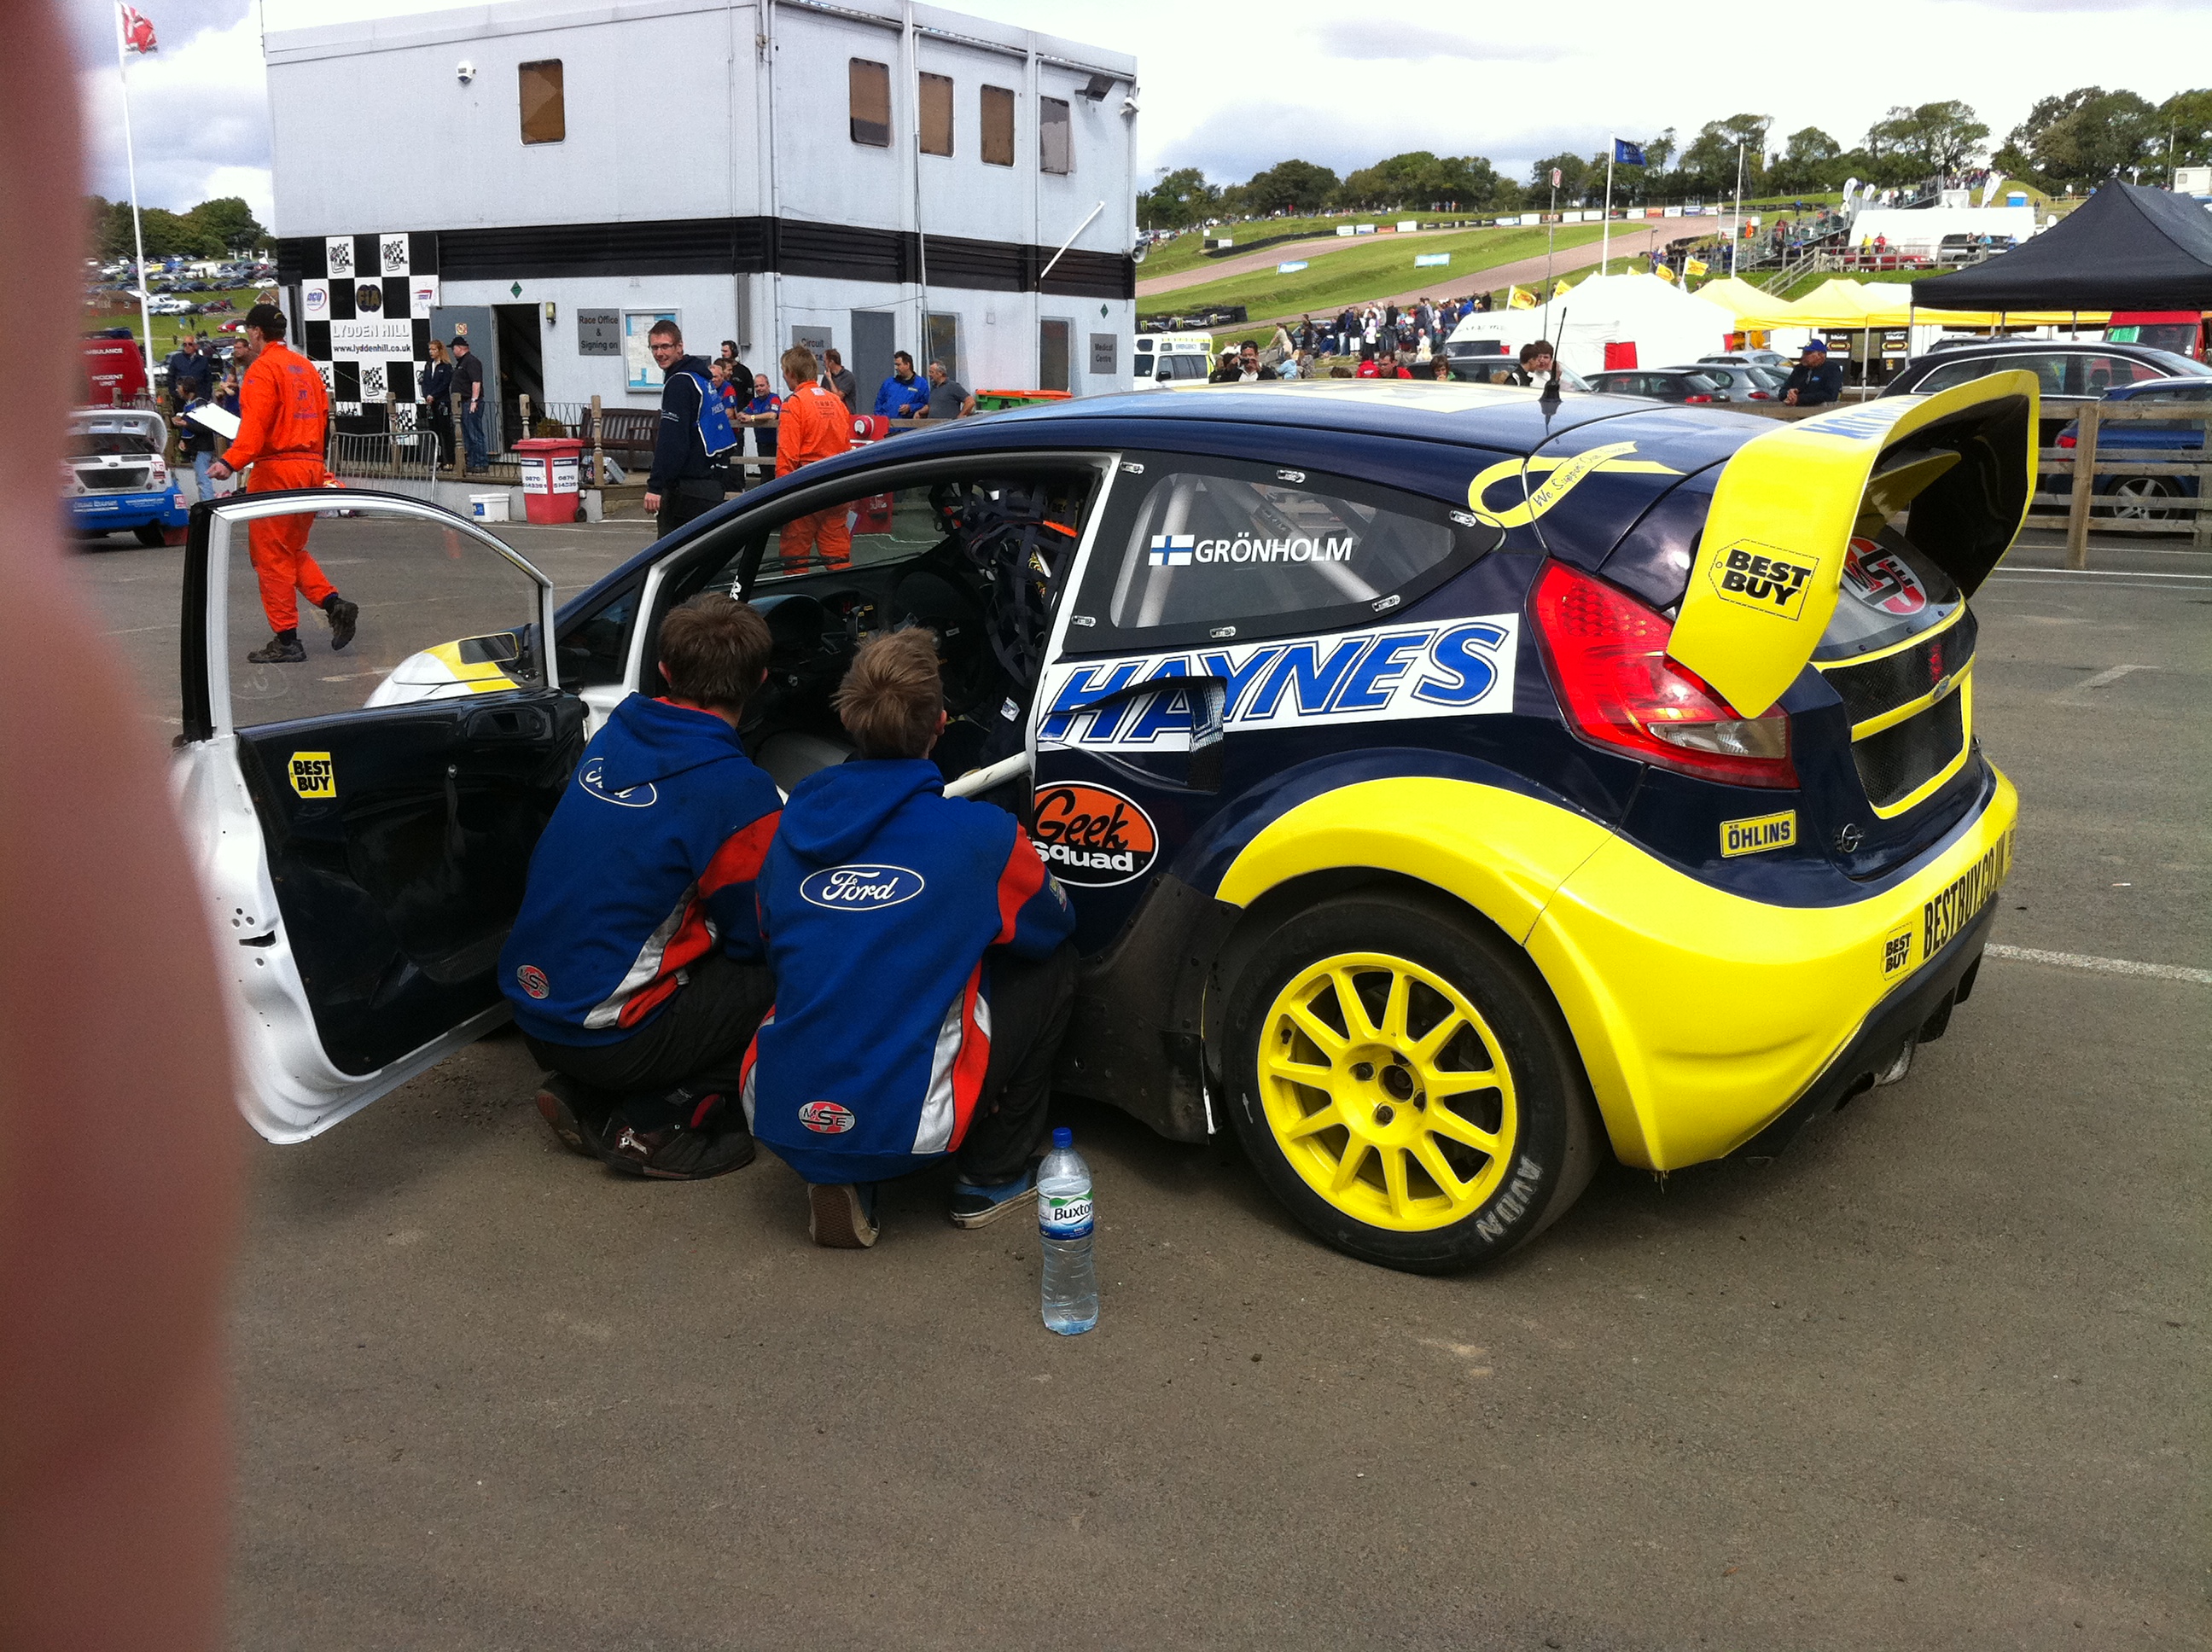
Didn't take many pics Rob just a couple on the phone, what an awesome days racing though, so big moments with the like of Julian Godfrey rolling his supercar fiesta over and carrying on racing, Julians old fiesta having a massive shunt with a fair bit of damage and Marcus Gronholm taking the whole top hairpin on 2 wheels with his wing mirror scraping the floor he was that far over, how he held that was amazing and he still won the race and all he's races actually lol
Update with the car
All the billet gravel uprights are today being anodised red (which I'm not 100% sure on but will add a bit of Color lol) and steering arms and pins etc zinc'd and blacked for protection,
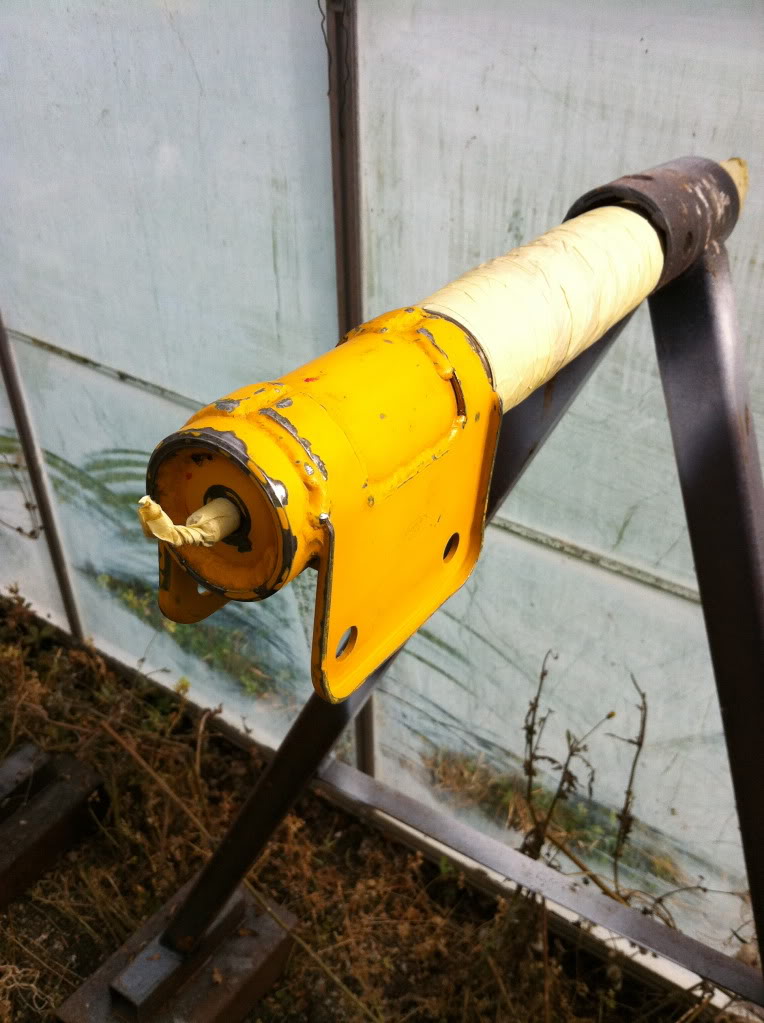
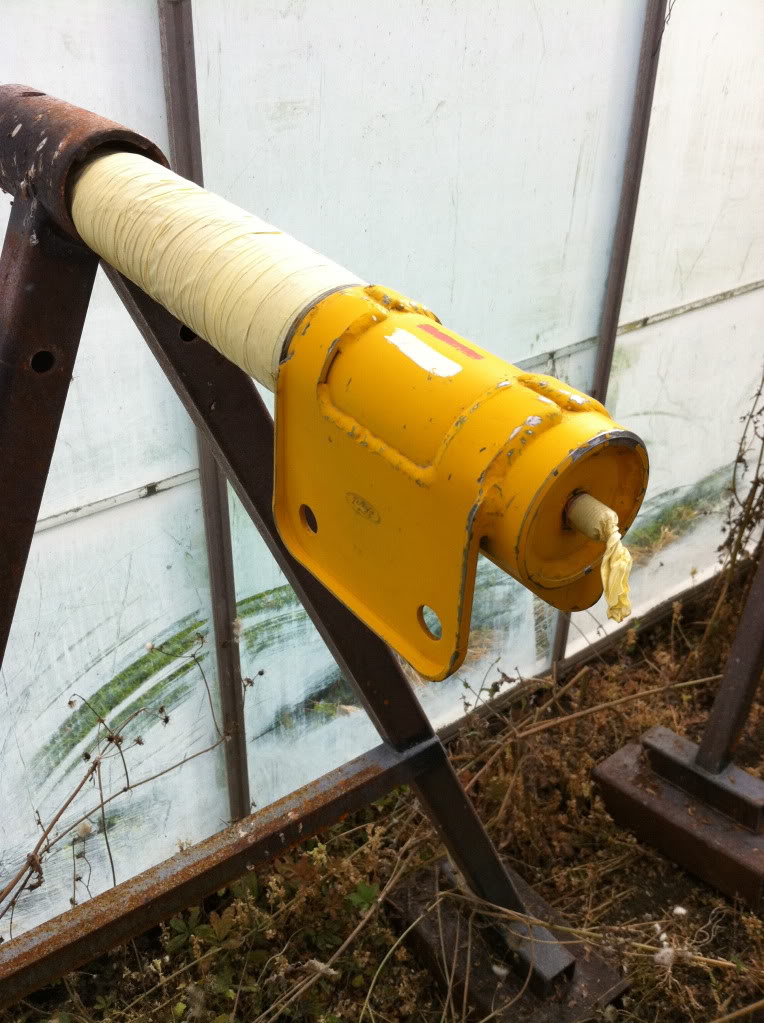
I have now sold the compression struts and track control arms Andrew made me and have ordered the wrc tca's and comp struts off Mark @ MK Motorsport as I thought I may as well have the full set up,
He should be working his magic on them bits this week/next week with hope of getting them delivered to me next week at seome point then I can get the tca's anodised and the comp struts painted
Pics when the parts arrive as always
Update with the car
All the billet gravel uprights are today being anodised red (which I'm not 100% sure on but will add a bit of Color lol) and steering arms and pins etc zinc'd and blacked for protection,
I have now sold the compression struts and track control arms Andrew made me and have ordered the wrc tca's and comp struts off Mark @ MK Motorsport as I thought I may as well have the full set up,
He should be working his magic on them bits this week/next week with hope of getting them delivered to me next week at seome point then I can get the tca's anodised and the comp struts painted
Pics when the parts arrive as always
 01-09-2011, 09:03 PM
#1809
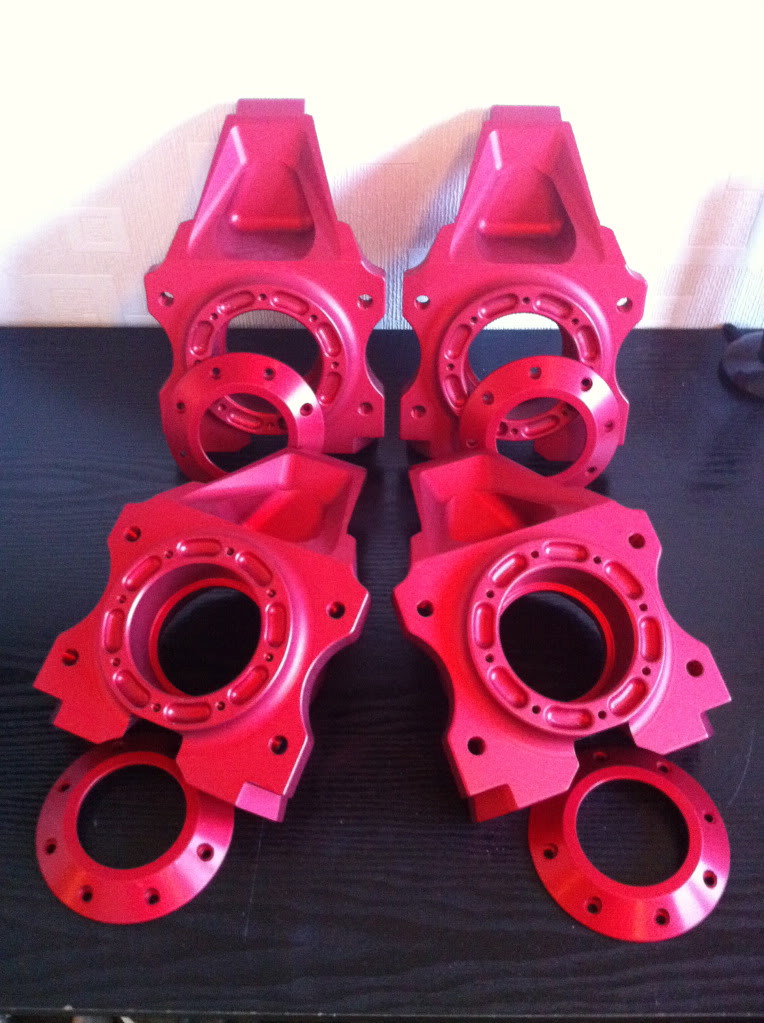
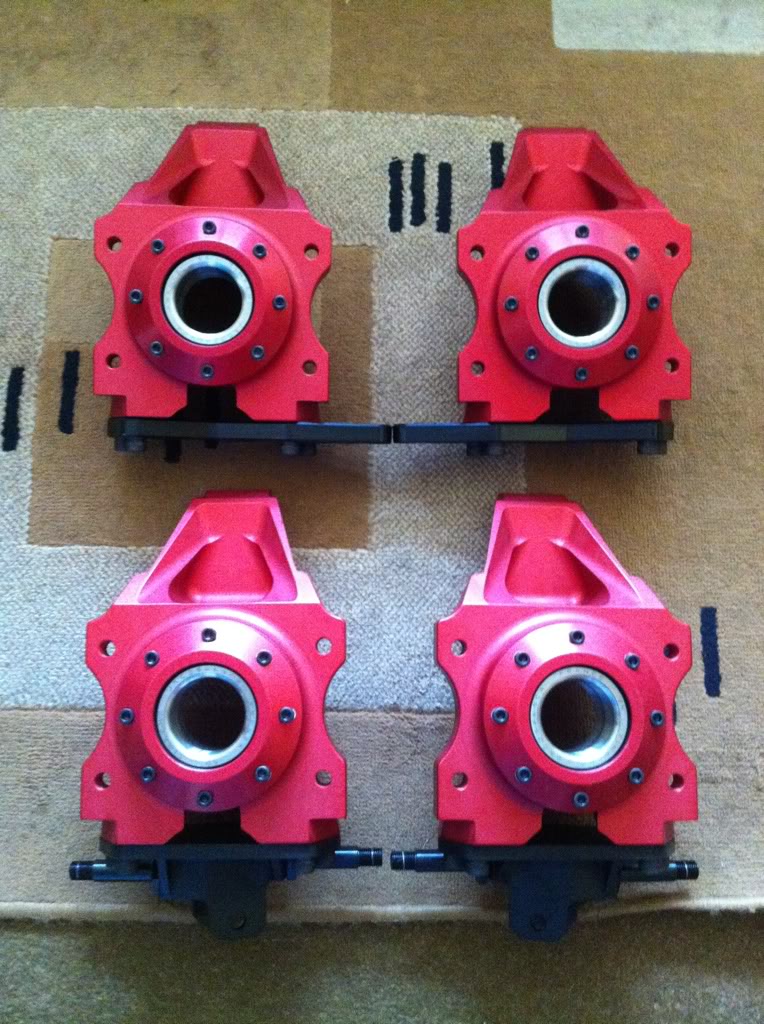
Bare alloy is no good as they need protecting, i could of got them done in clear but thought what the heck, go for a bit of color and you will see that once they have been put together with the black steering arms and flanges etc they will look quite good
But for now here they are in the red
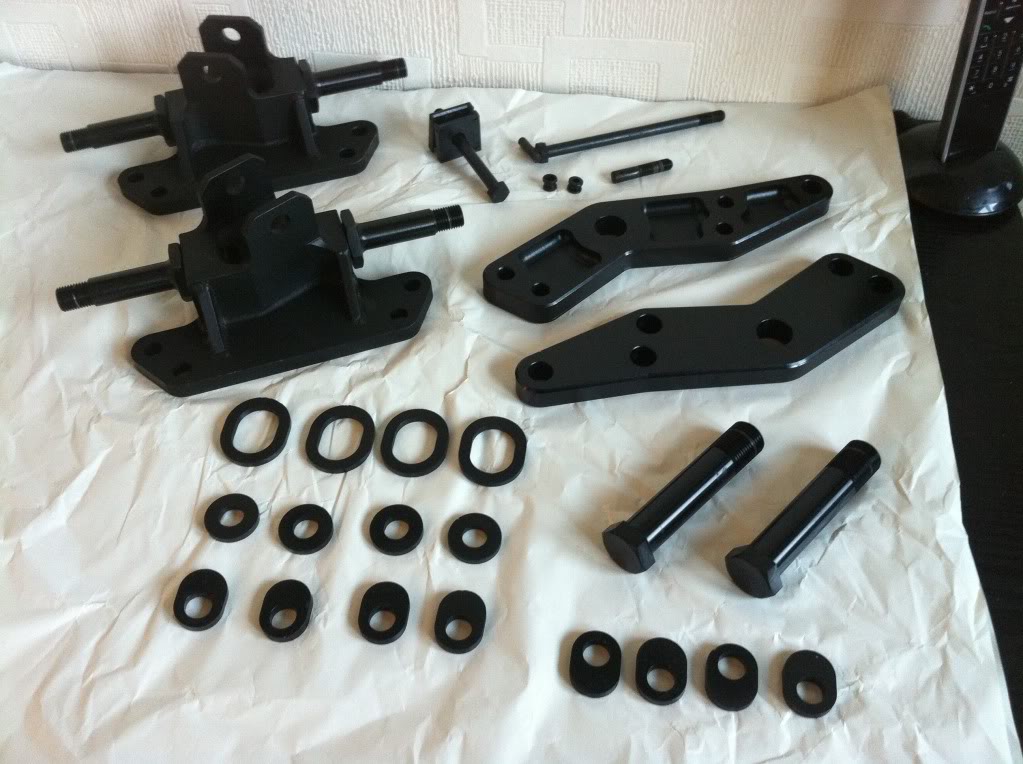
And here is all the steering arms, tca pins and a few other parts all zinc and black'd for protection
But for now here they are in the red
And here is all the steering arms, tca pins and a few other parts all zinc and black'd for protection
01-09-2011, 09:15 PM
#1810
After going to the rallycross at the weekend i noticed one of the fiesta's had extra large boot pins plates and this is exactly what i need for mine, i know there probably easy to make but if i can find out were to buy them from already done and plated as in the pic it would be very handy for me
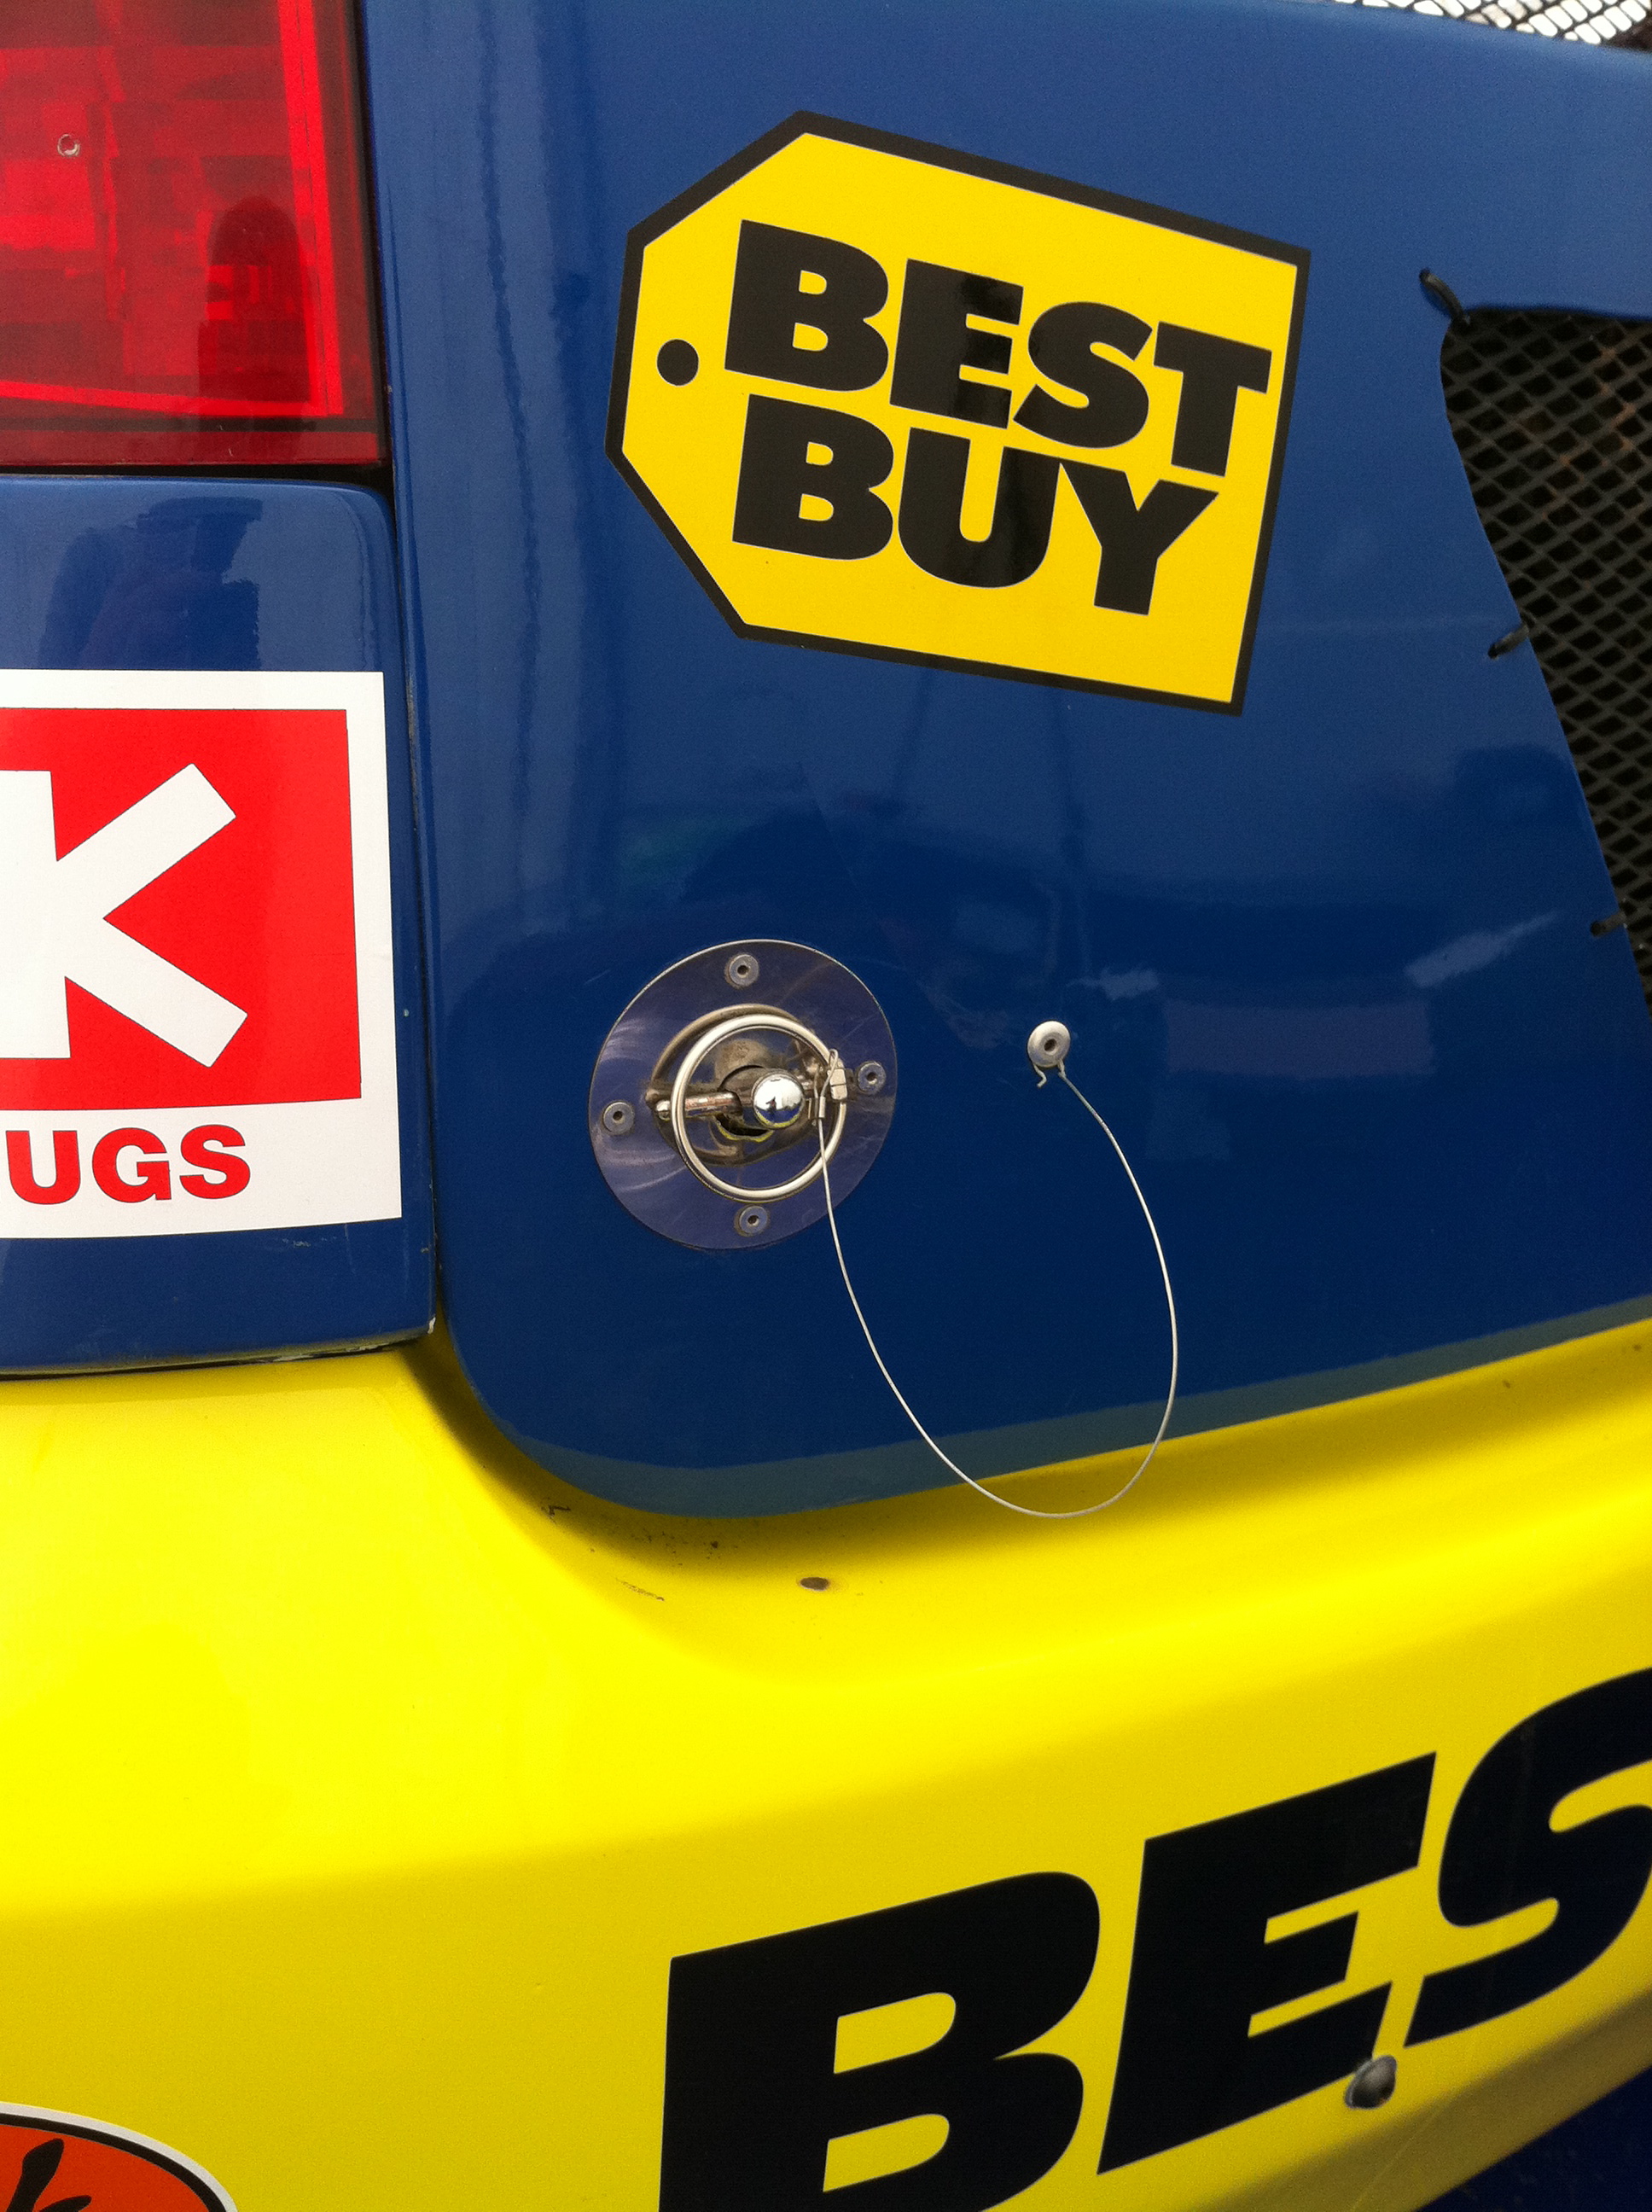
Any idea's anyone??? if not i will have to get some thin steel (0.8mm) and make some the correct size which is about 60mm diameter and get the steel plated for protection
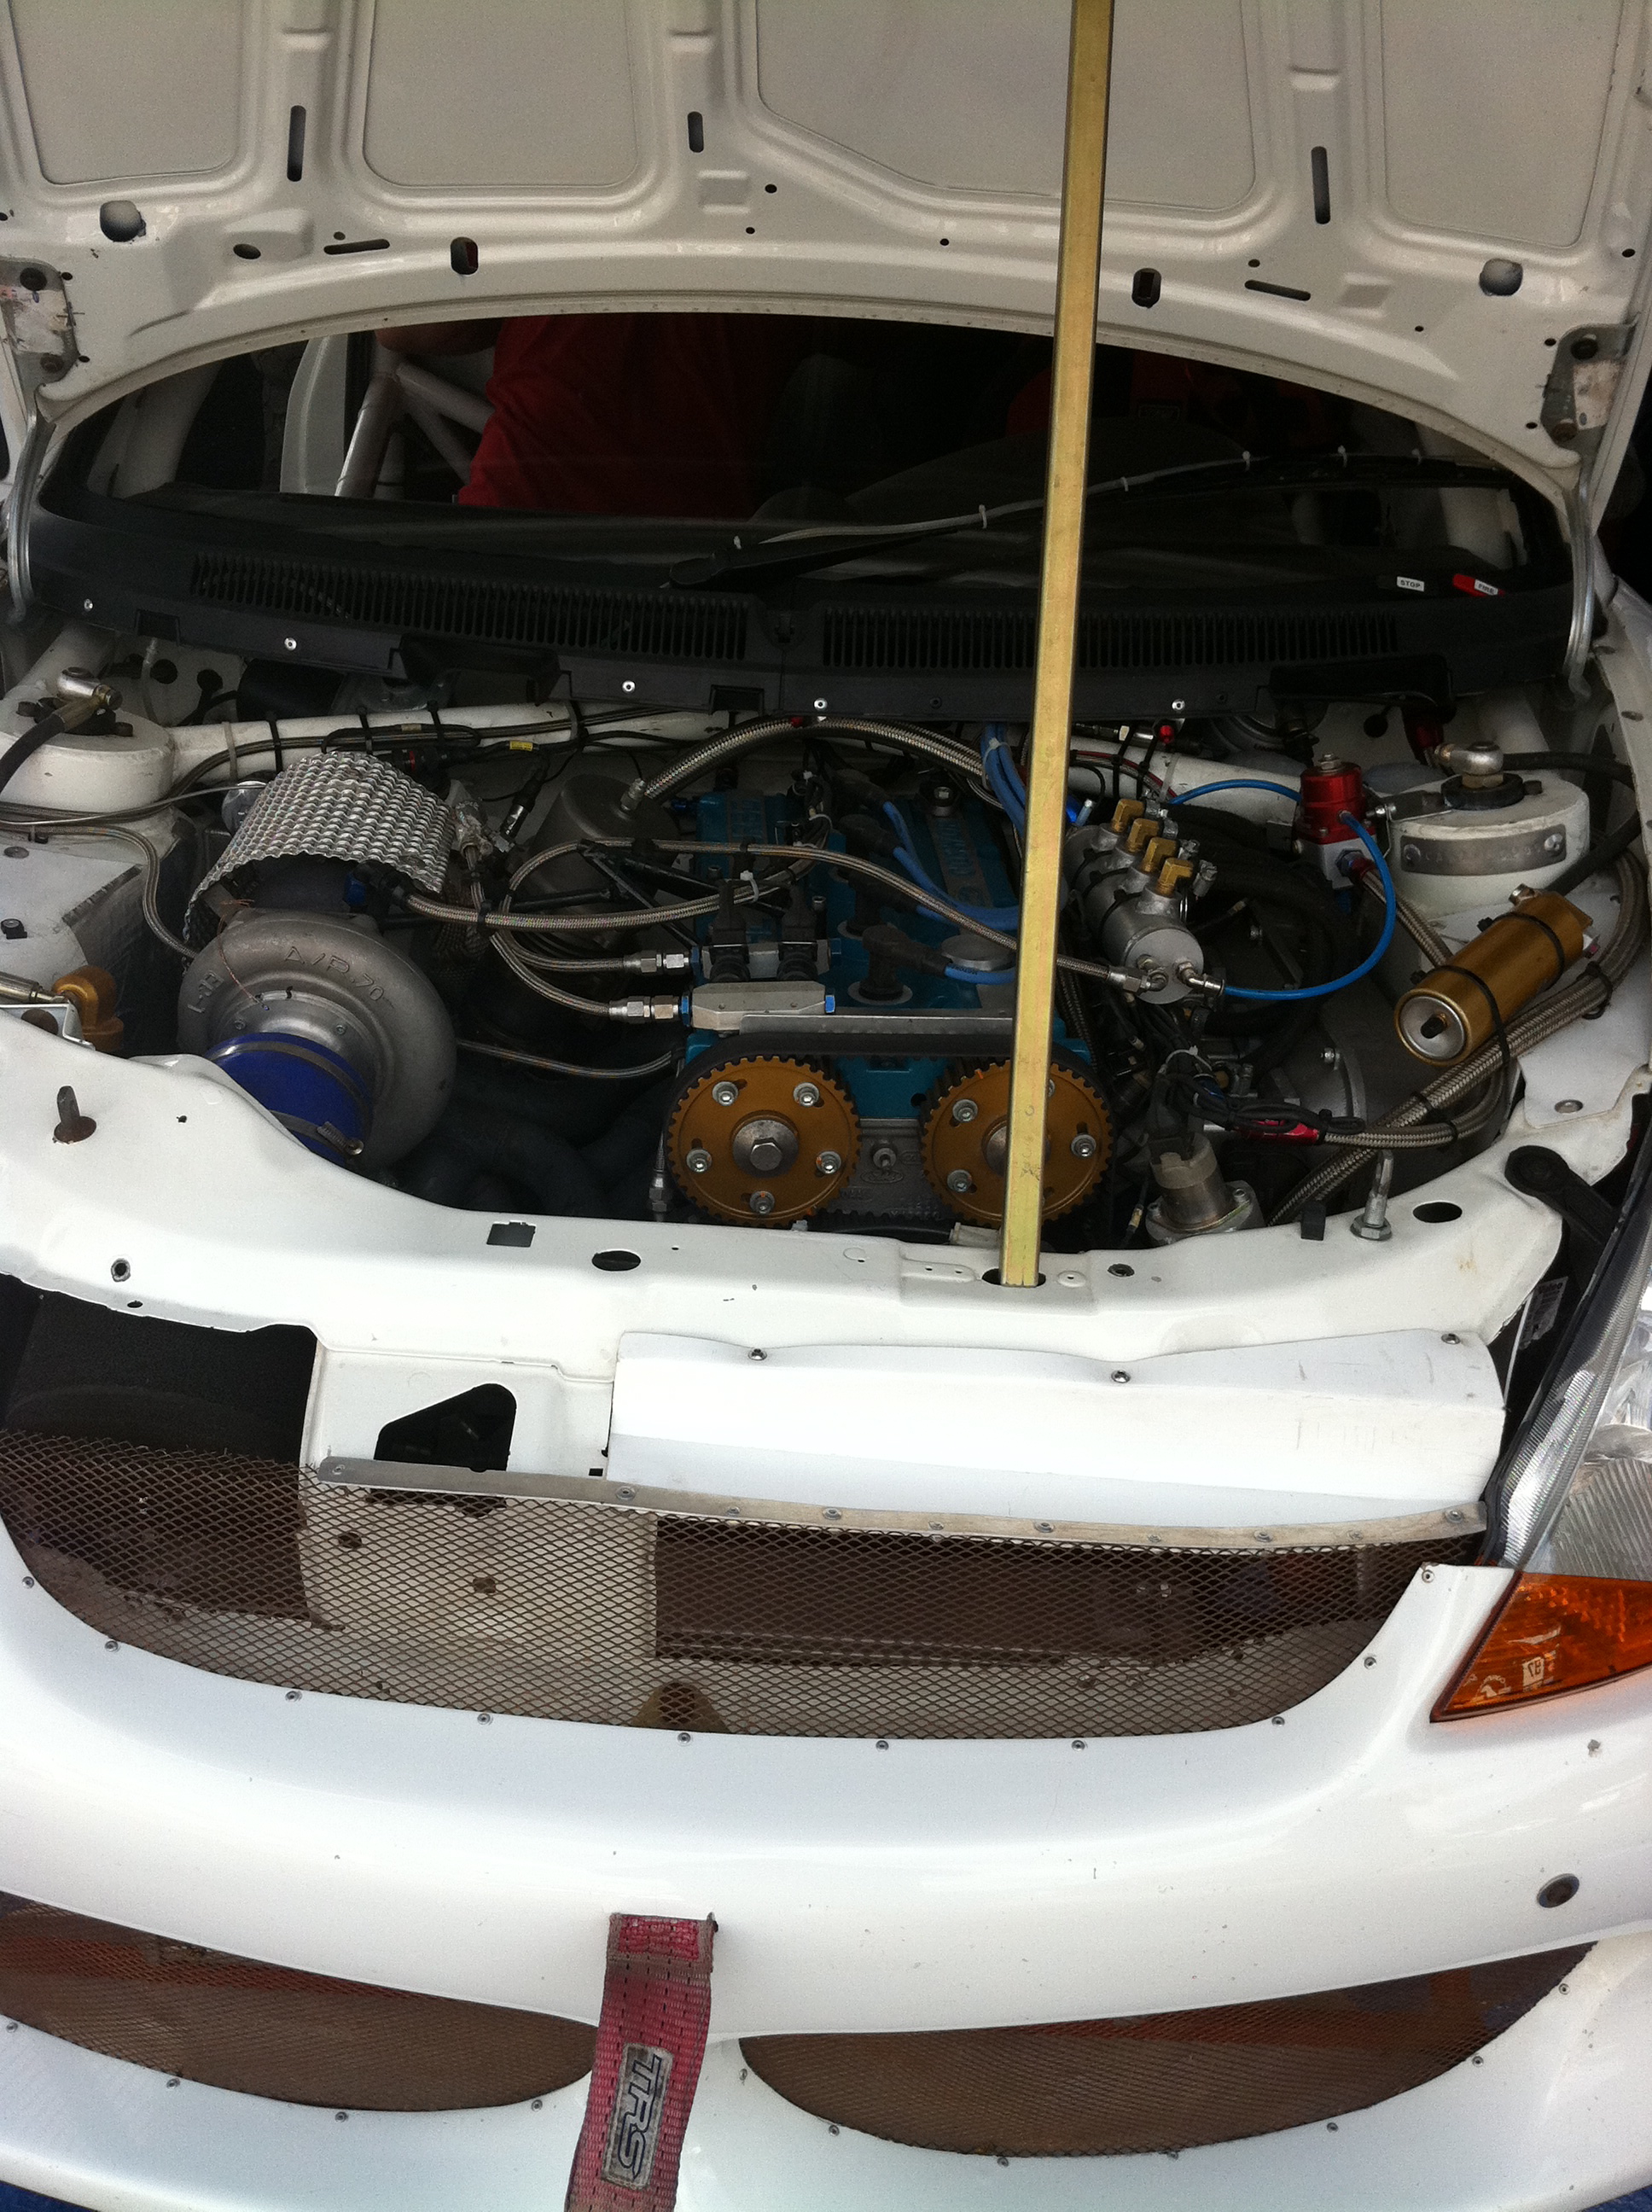
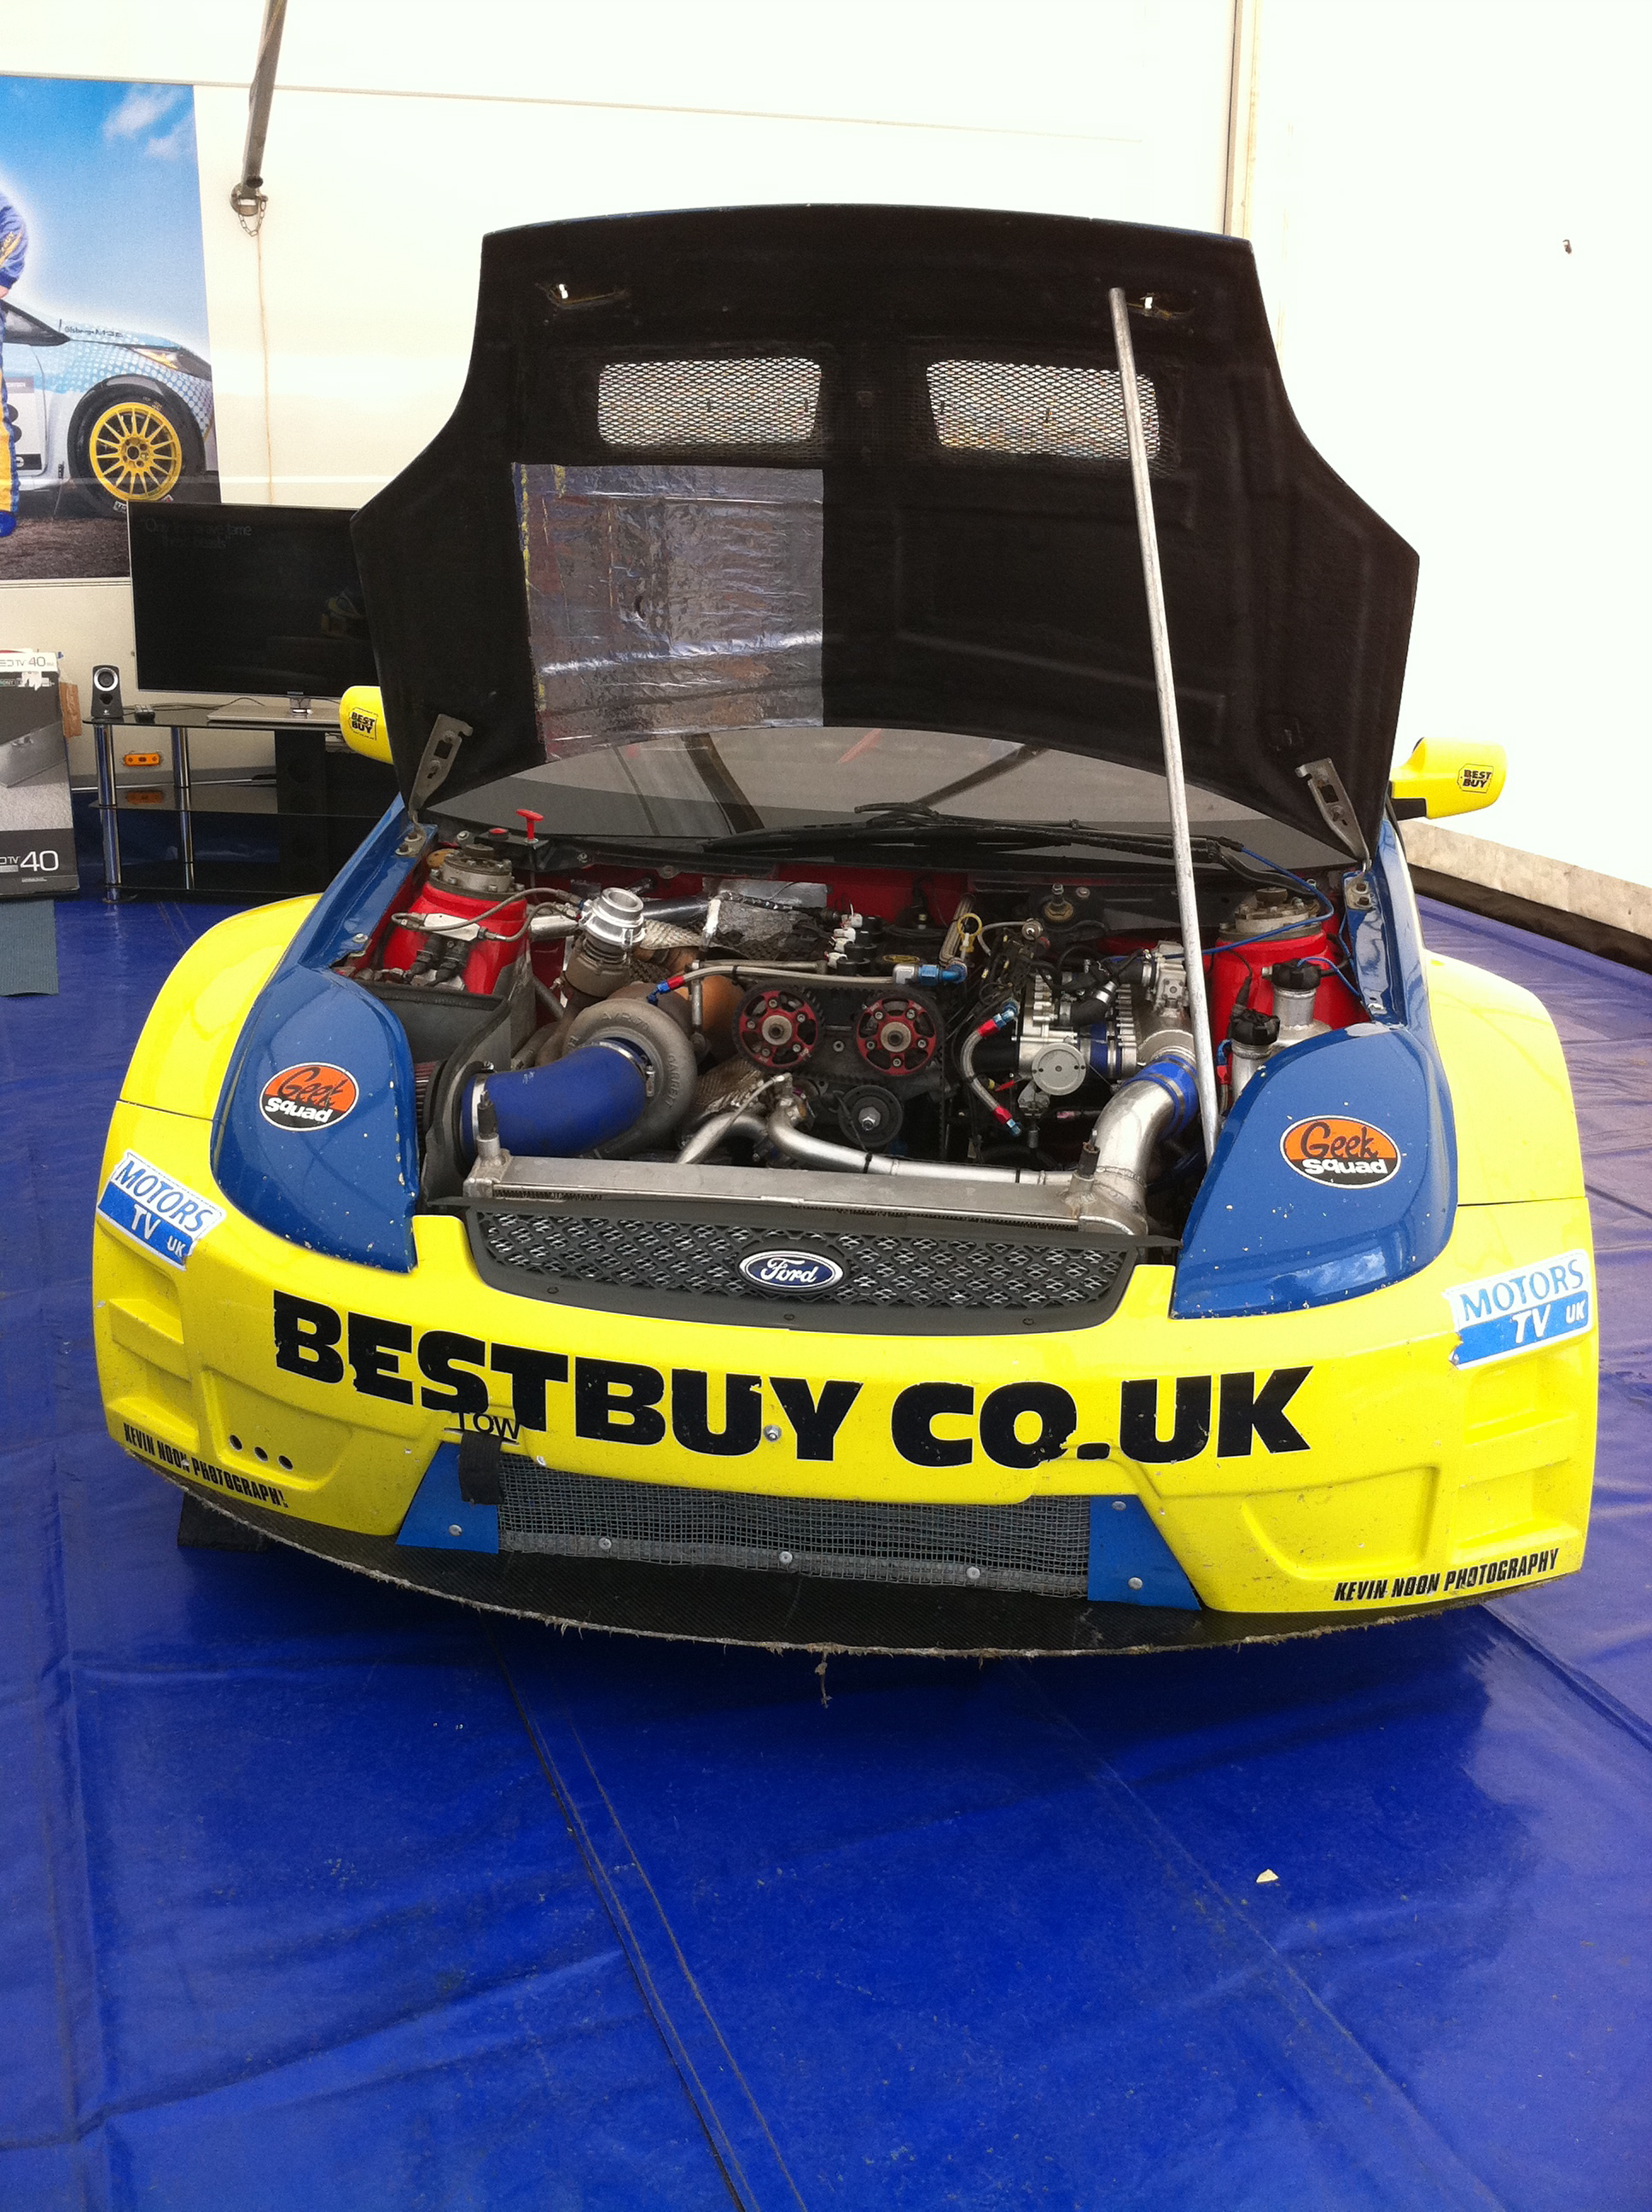
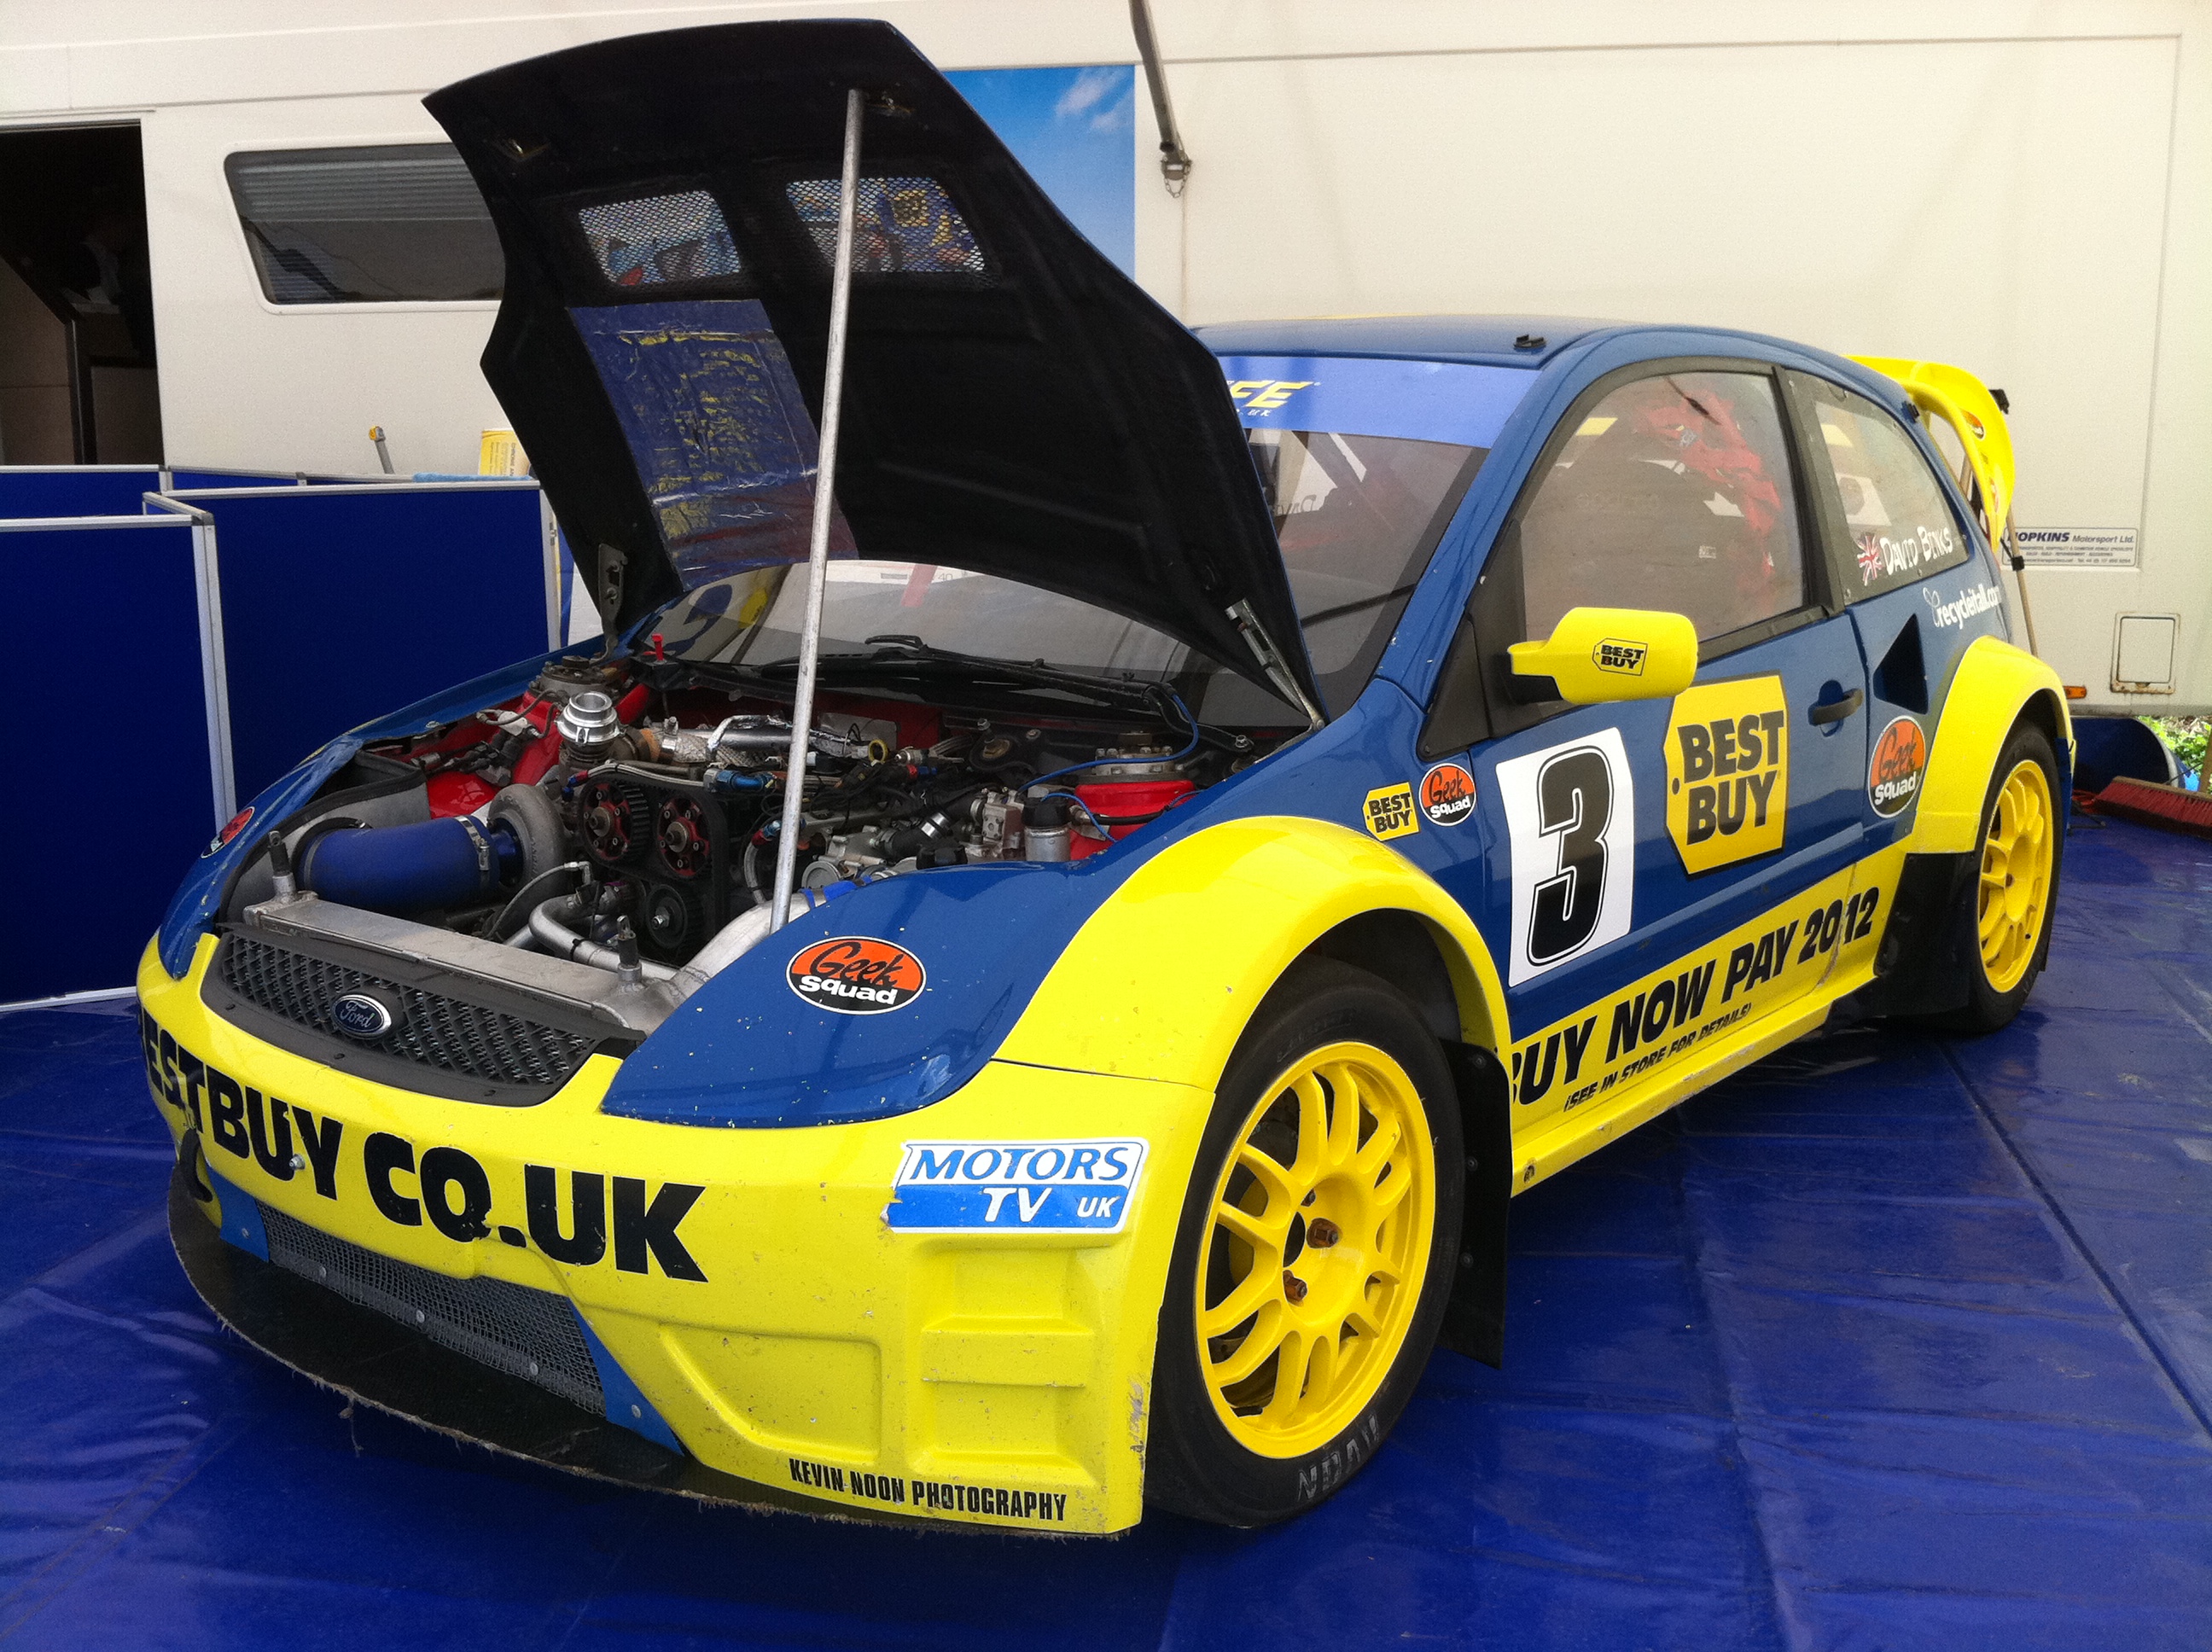
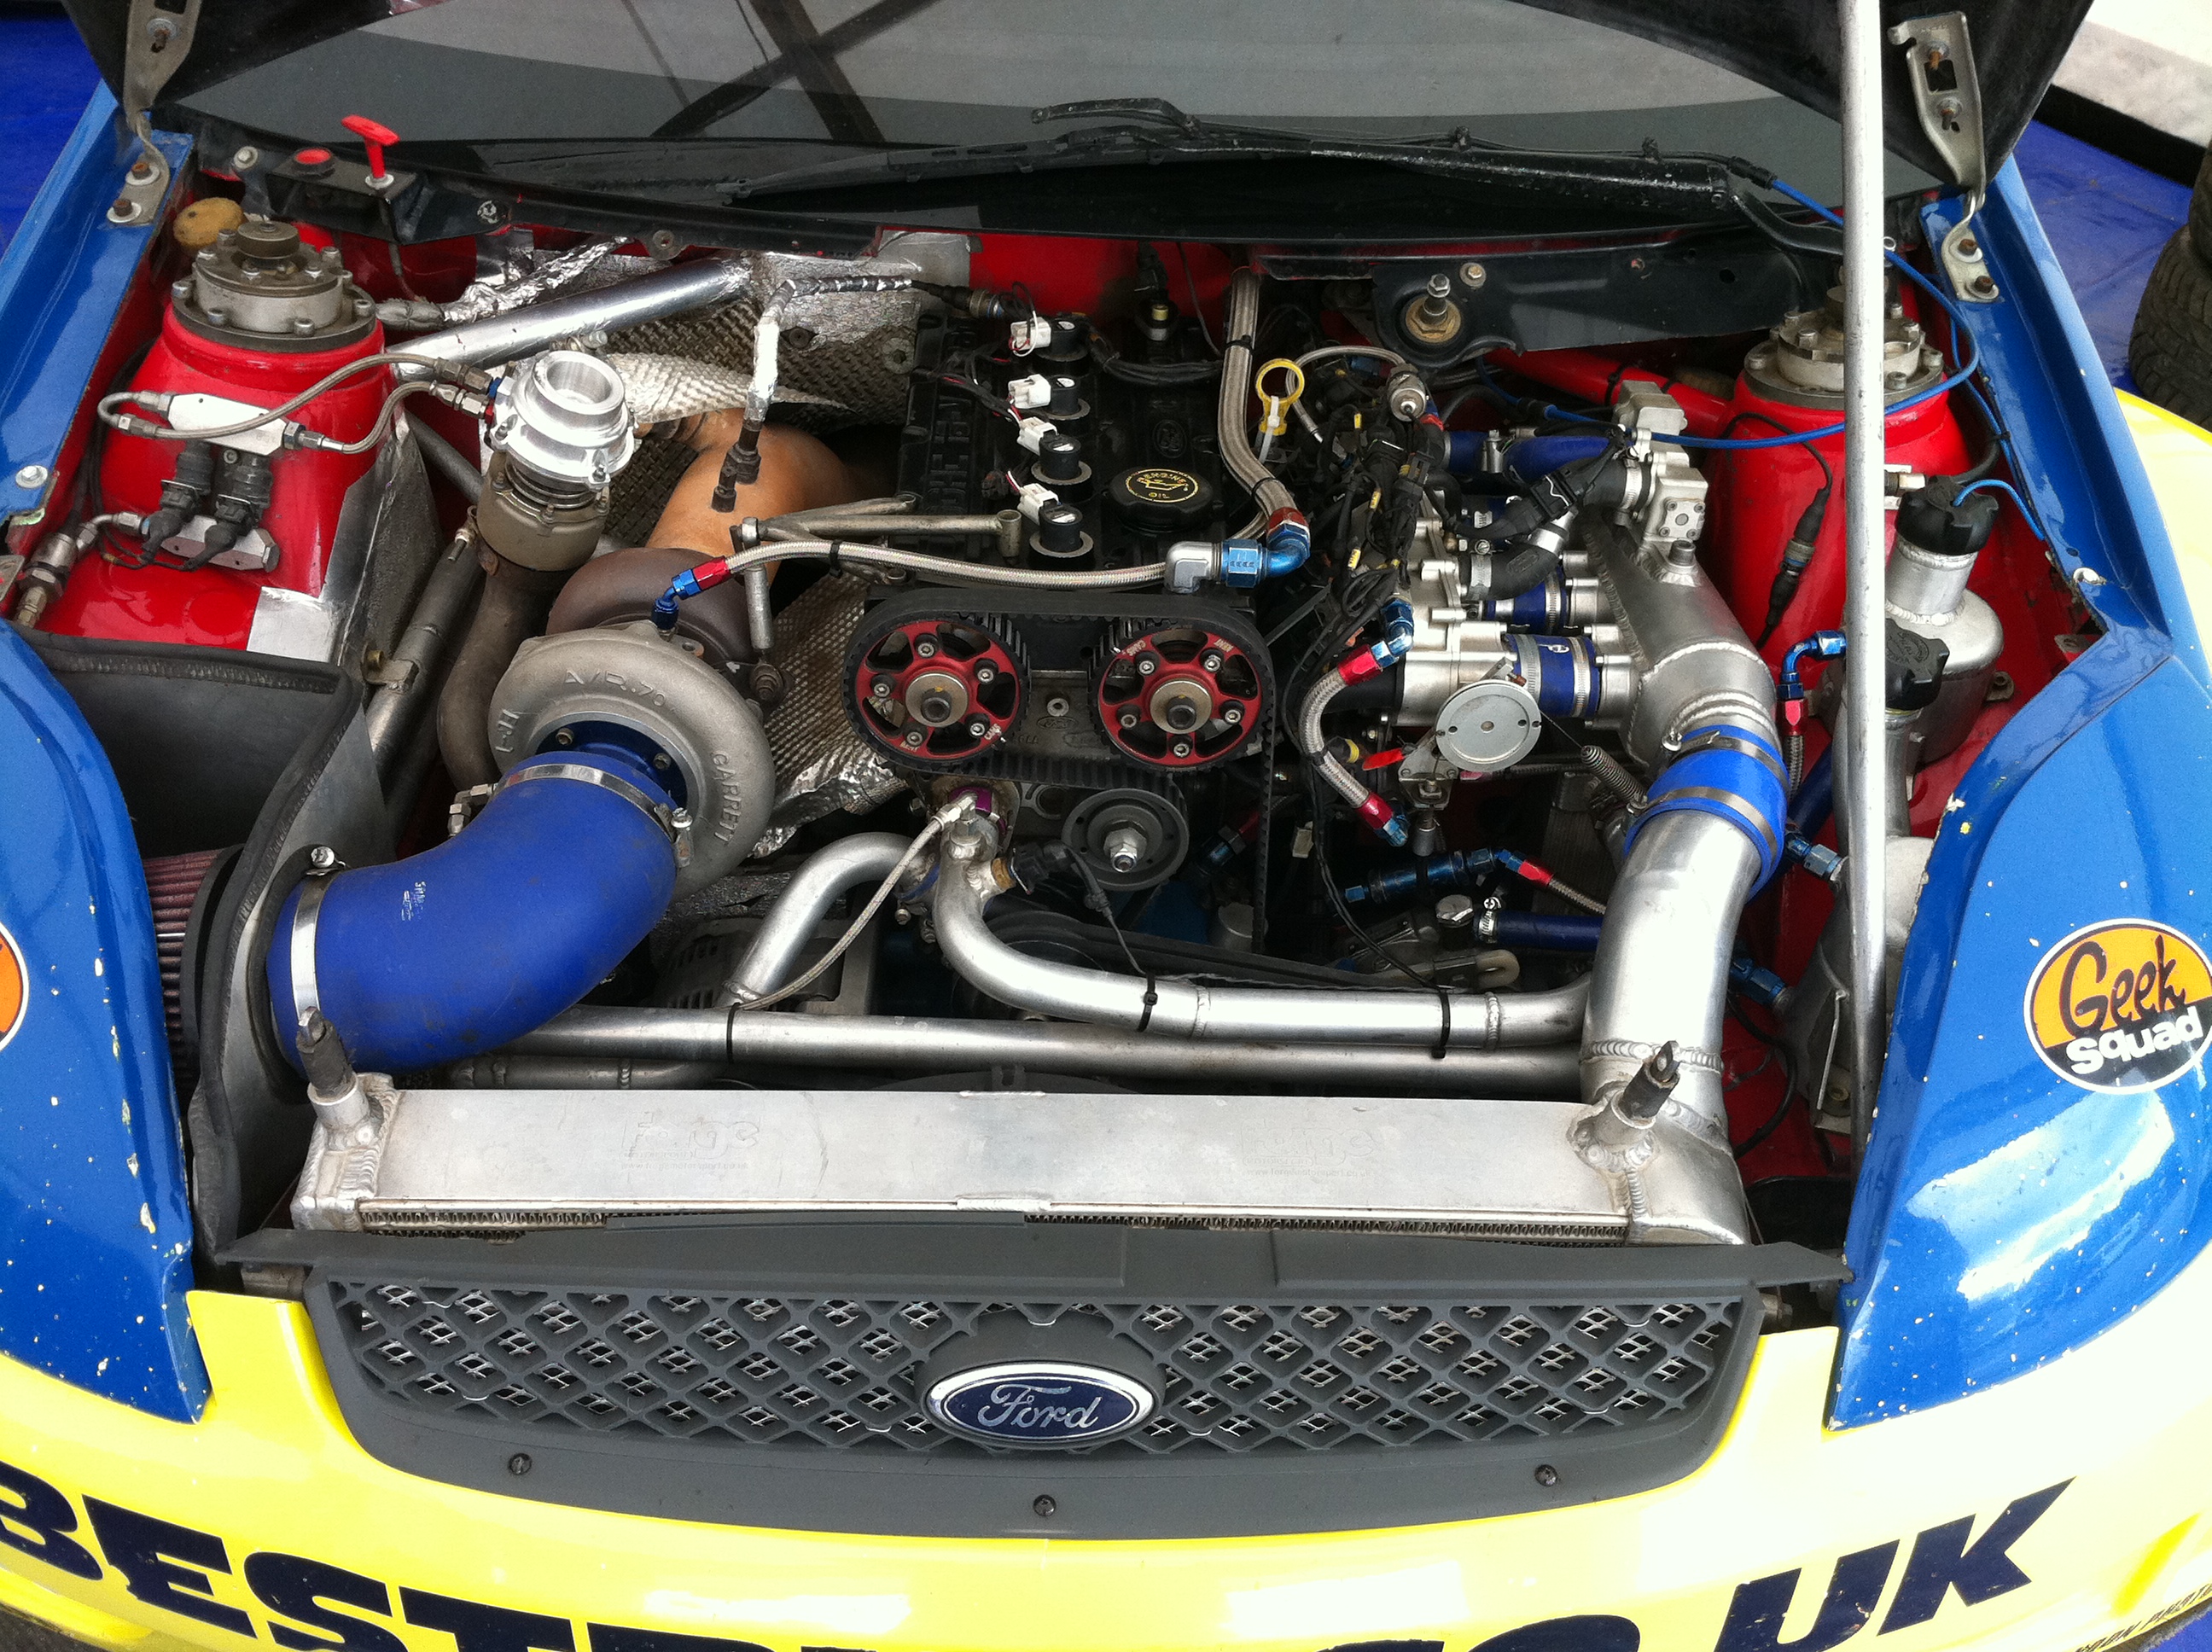
A few other random pics from the rallycross
Cossie KA with engine mounted on the wonk
David Binks old fiesta cossie, on display in the best buy hospitality tent who now sponsor David Binks and Marcus Gronholm in the new mk7 fiesta's
Another 4x4 cossie'd ford
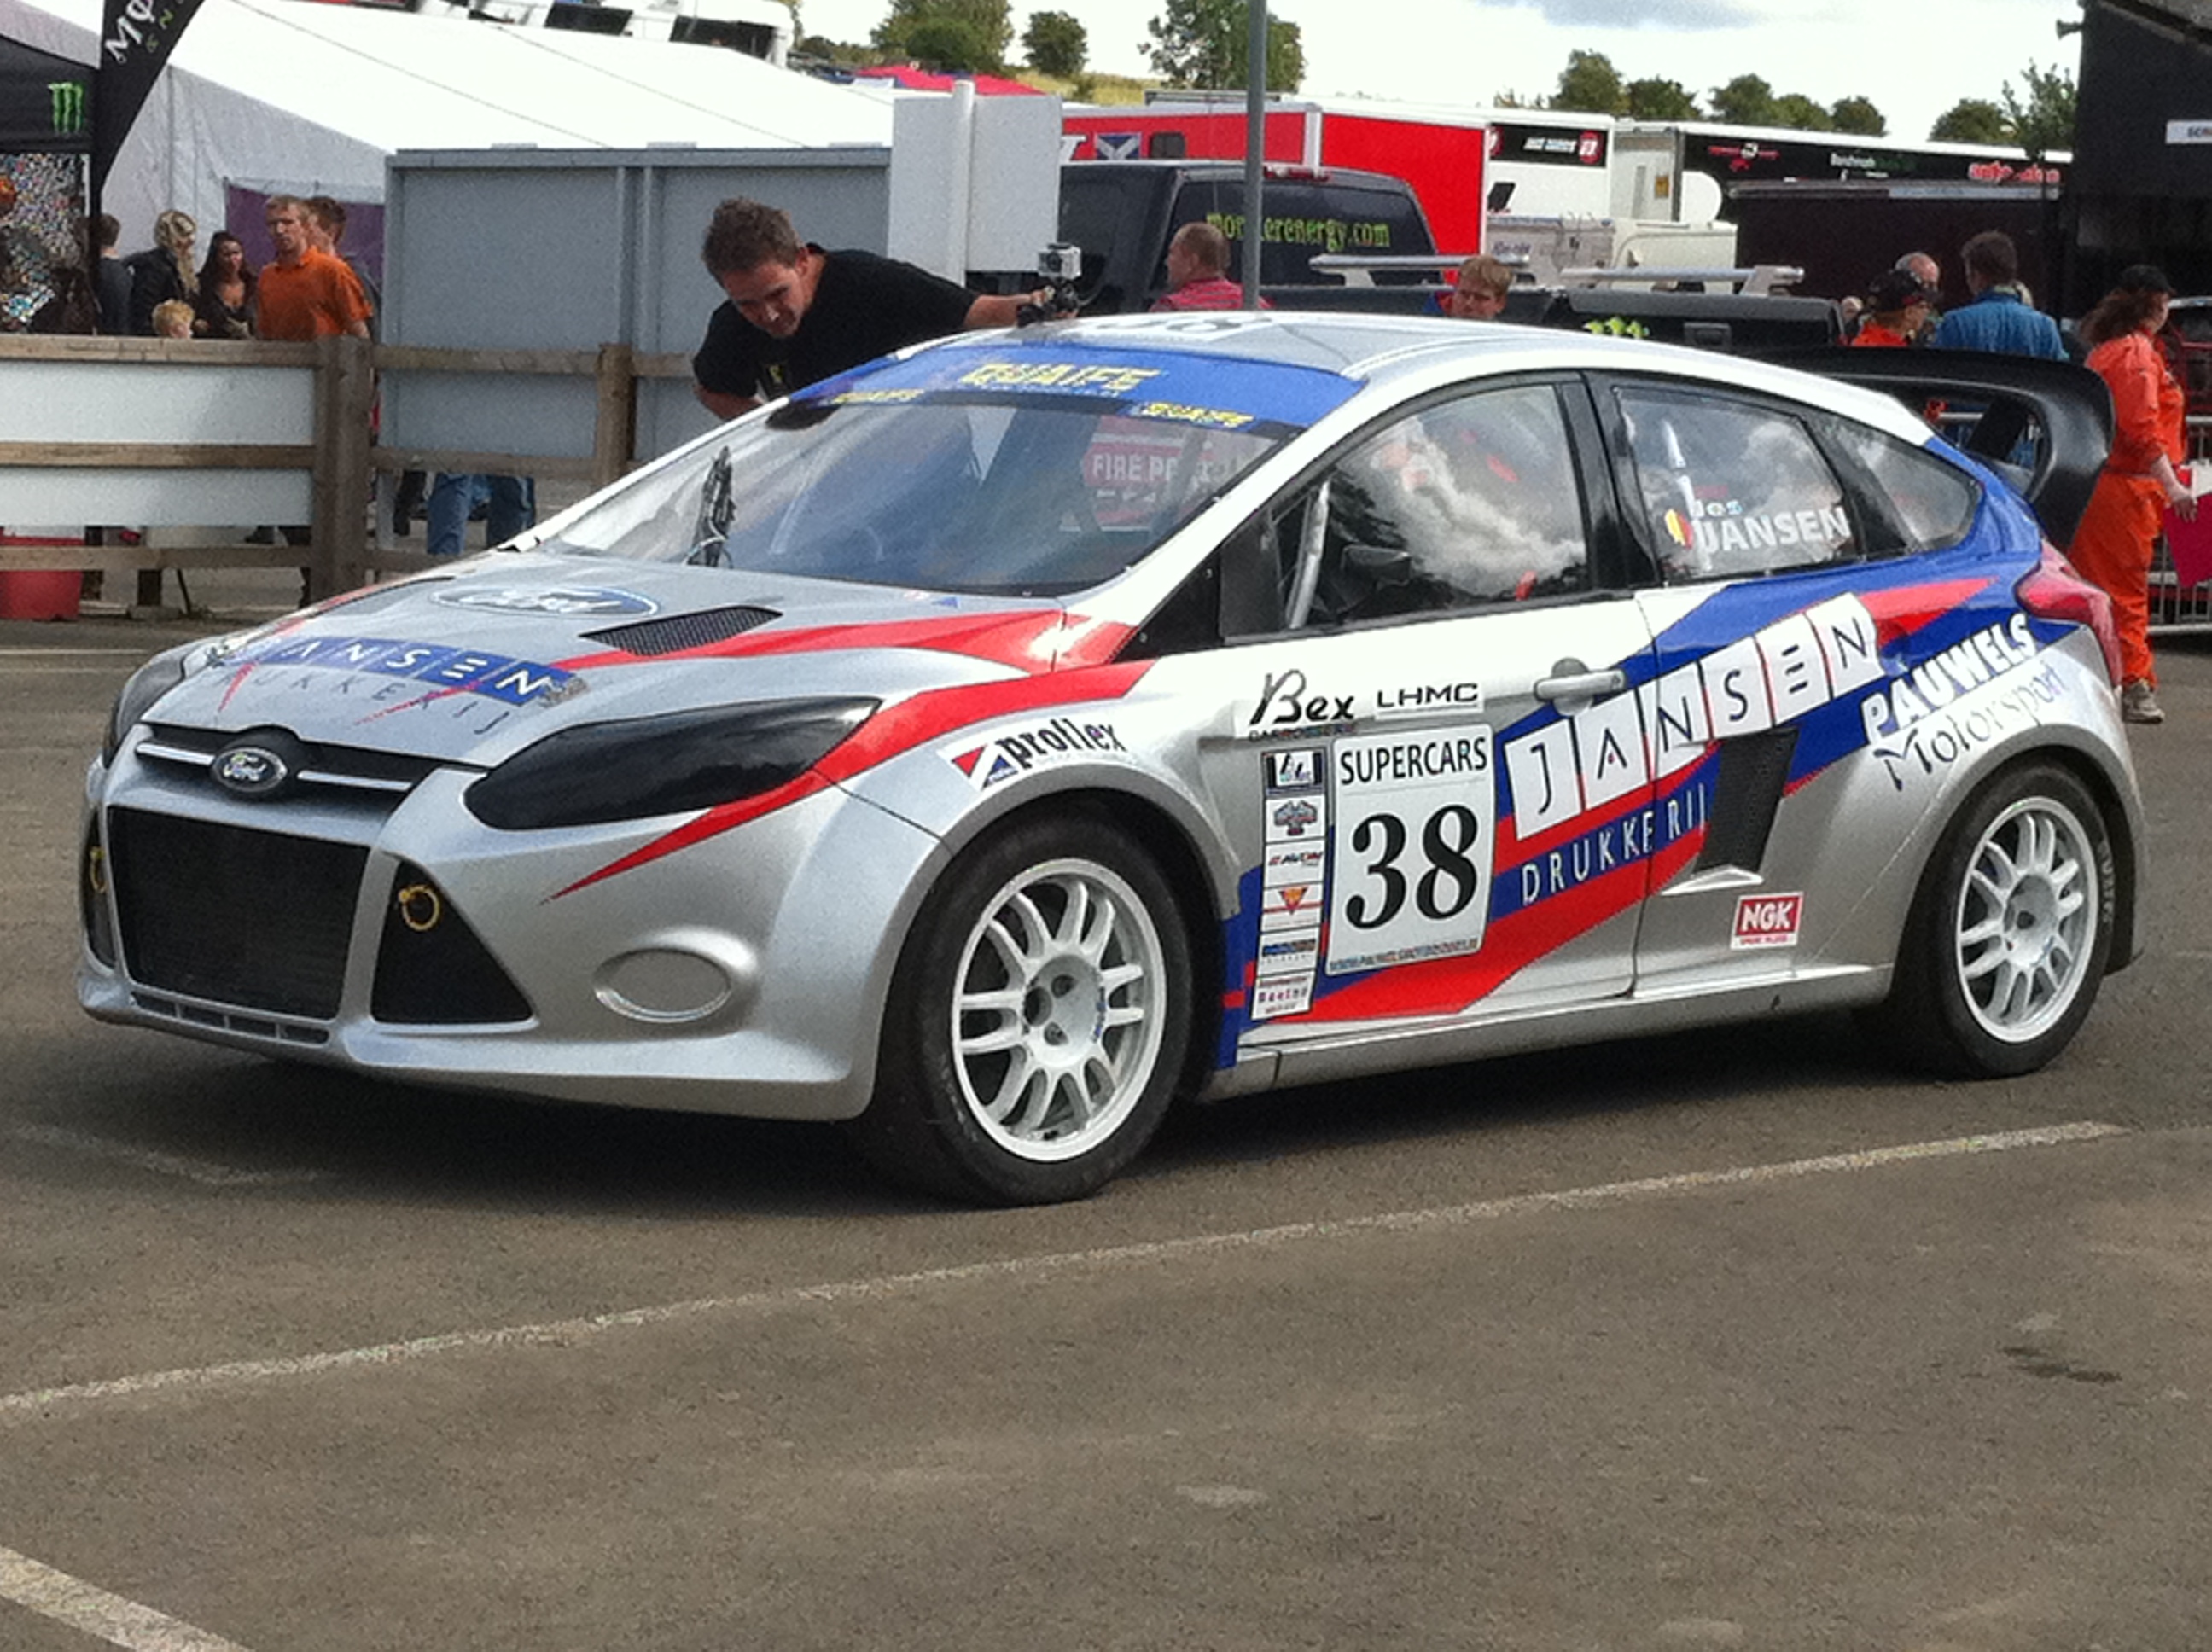
Marcus' mk7 fiesta cossie
Any idea's anyone??? if not i will have to get some thin steel (0.8mm) and make some the correct size which is about 60mm diameter and get the steel plated for protection
A few other random pics from the rallycross
Cossie KA with engine mounted on the wonk
David Binks old fiesta cossie, on display in the best buy hospitality tent who now sponsor David Binks and Marcus Gronholm in the new mk7 fiesta's
Another 4x4 cossie'd ford
Marcus' mk7 fiesta cossie
01-09-2011, 09:49 PM
#1811
PassionFord Post Whore!!
iTrader: (2)

Great pictures Mark 
I get great inspiration from looking at full on motorsport Fabrication/Engineering
Id of thought most of the rallycross cars would of been using duratech torbo'd engines now?
Not that ive ever been
Ill put a couple of tickets on my Dear Santa list
I get great inspiration from looking at full on motorsport Fabrication/Engineering
Id of thought most of the rallycross cars would of been using duratech torbo'd engines now?
Not that ive ever been
Ill put a couple of tickets on my Dear Santa list
03-09-2011, 04:34 PM
#1817
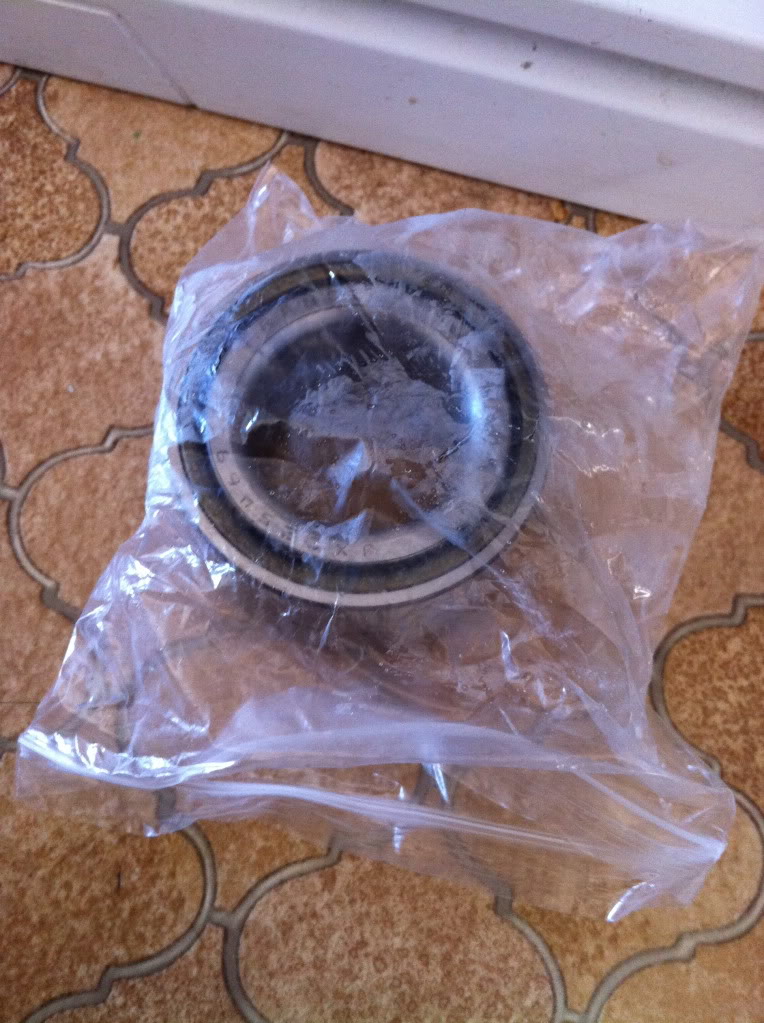
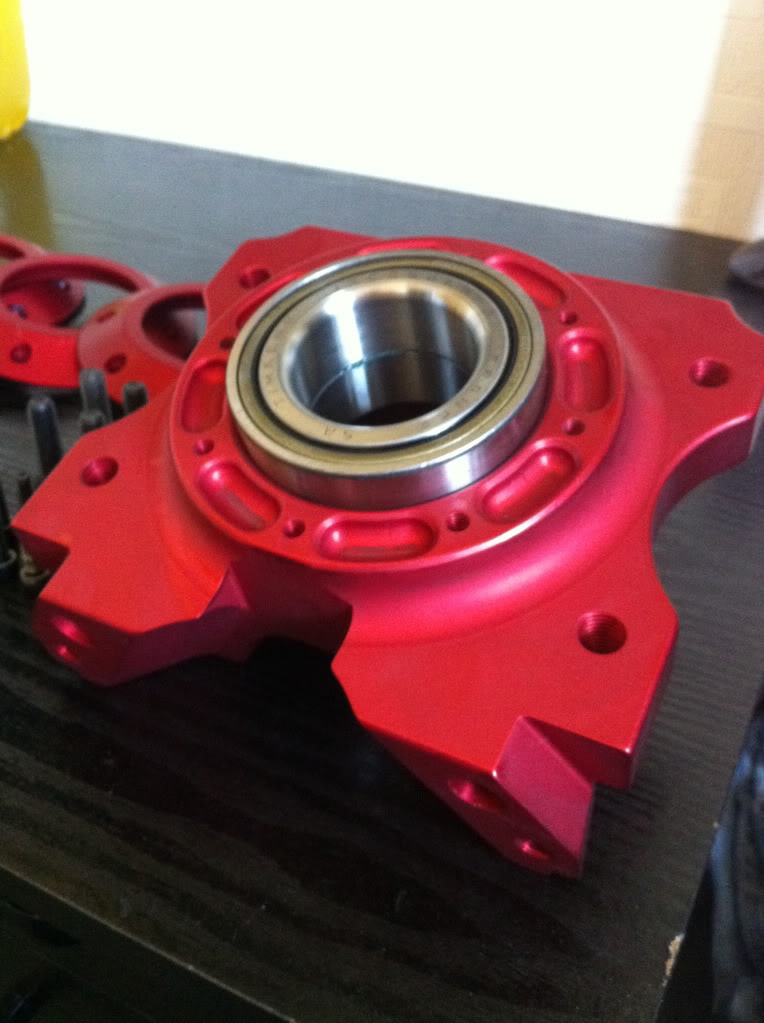
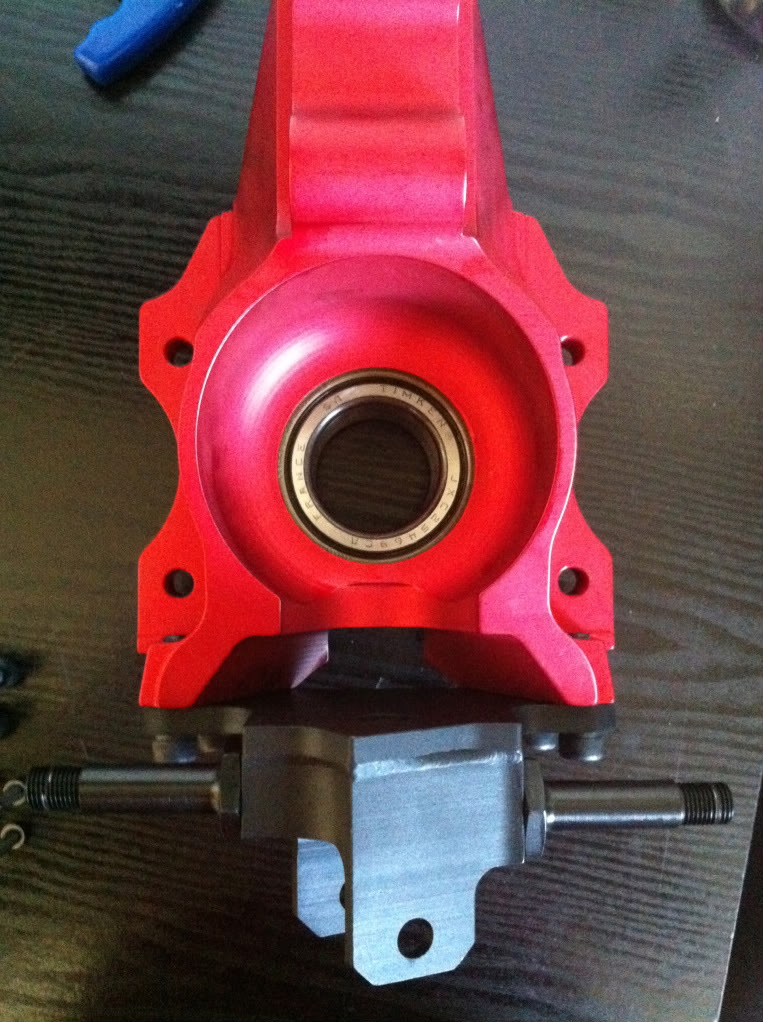
A little photograph step by step guide for people who are fitting these bearings into the uprights themselves at home
I needed a bit of tech talk from Mark @ MK Motorsport as i had a bit of trouble at first but he kindly offered advice (out of hours i may add) which when i had a second attempt today worked and i have successfully fitted 2 of the bearings without the need of a press or bloody big hammer
My original problem was being too cautious really as i did not want to damage the upright or the anodizing but turns out it's all ok and causes no damage to anything so here is what works
Step 1 is too freeze the bearings overnight, i left mine for a full 24 hours
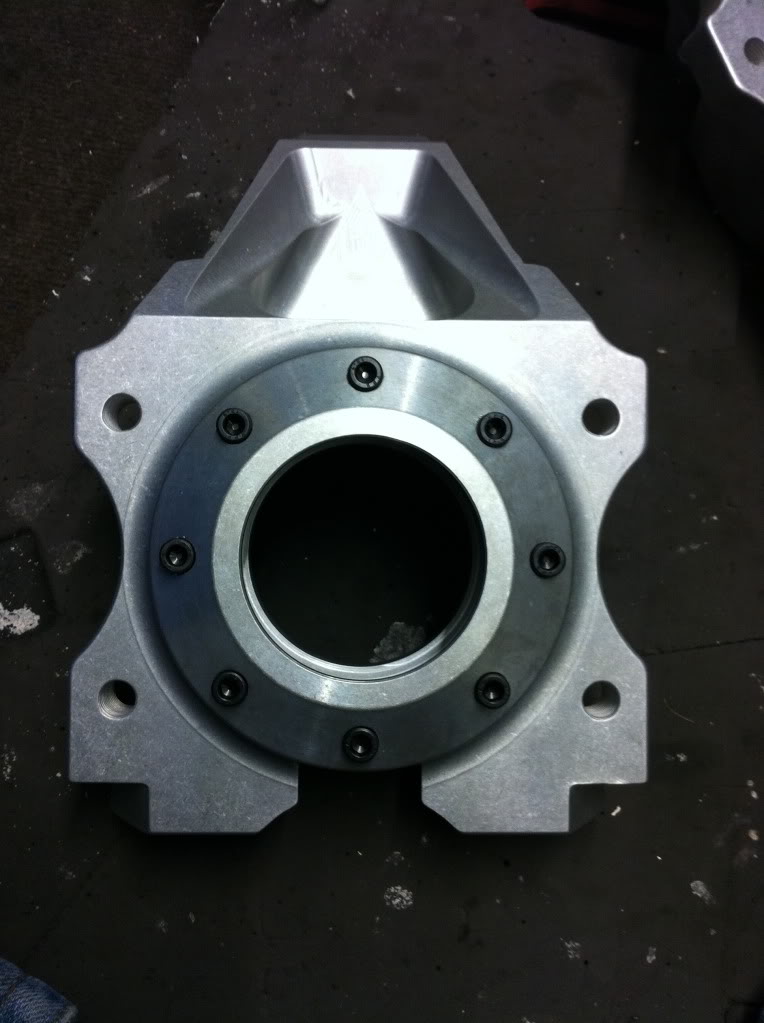
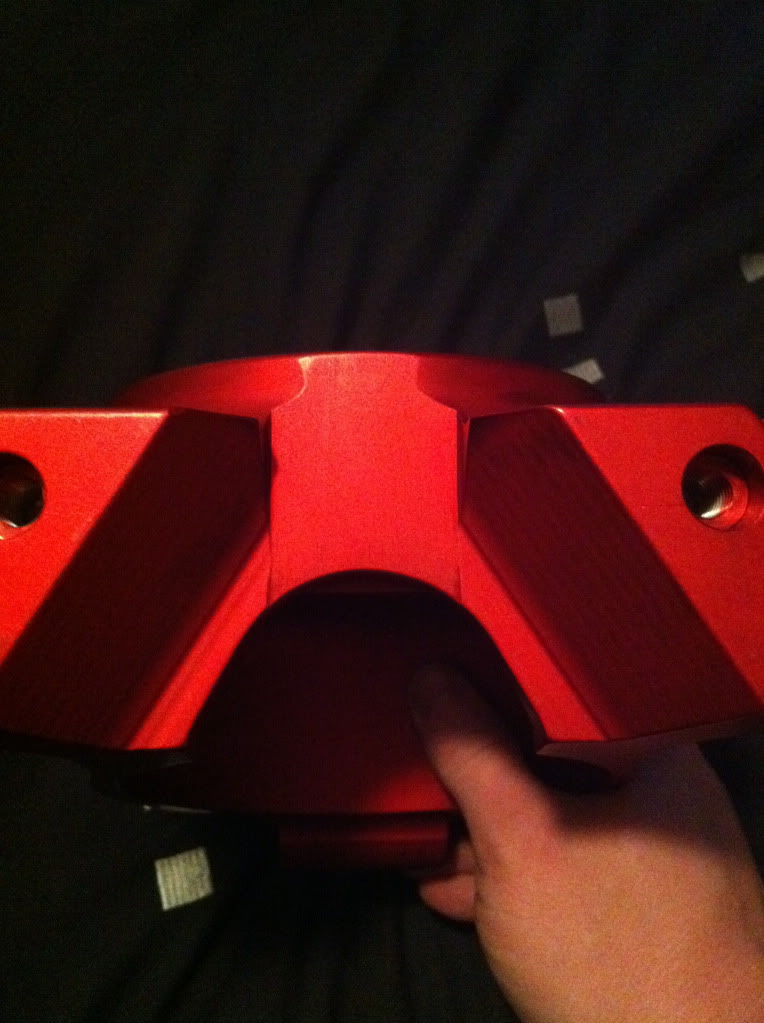
Step 2 is to find a suitable spot on the upright to heat it, i used the center point of the underneath of the upright as shown in the pic below
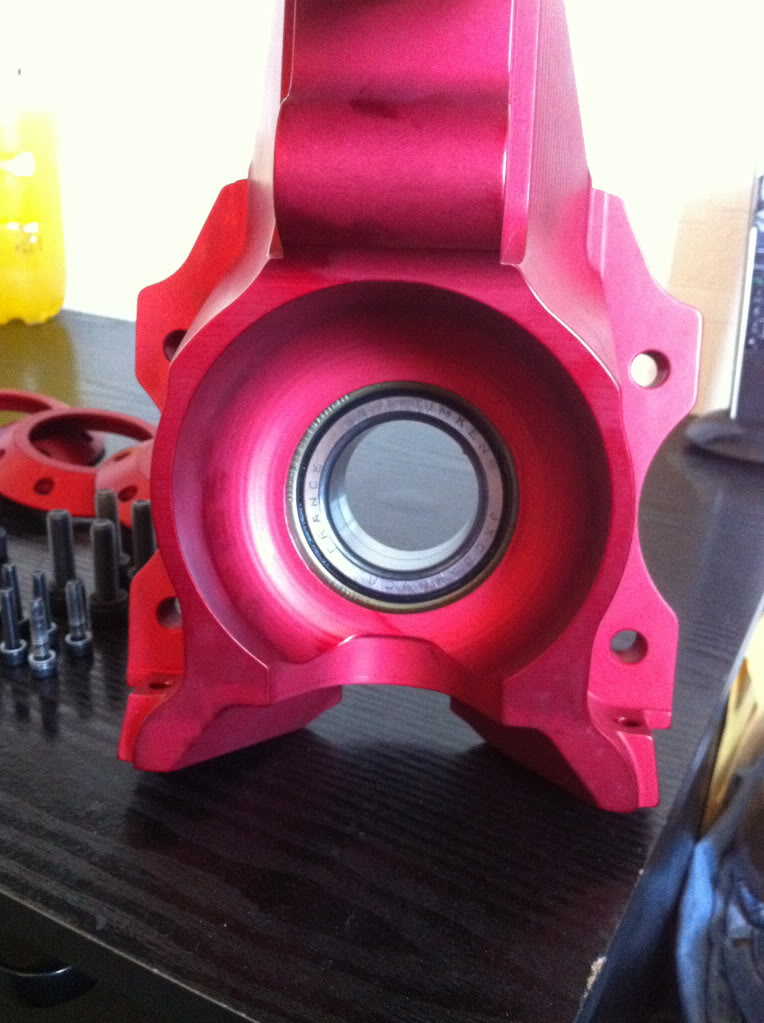
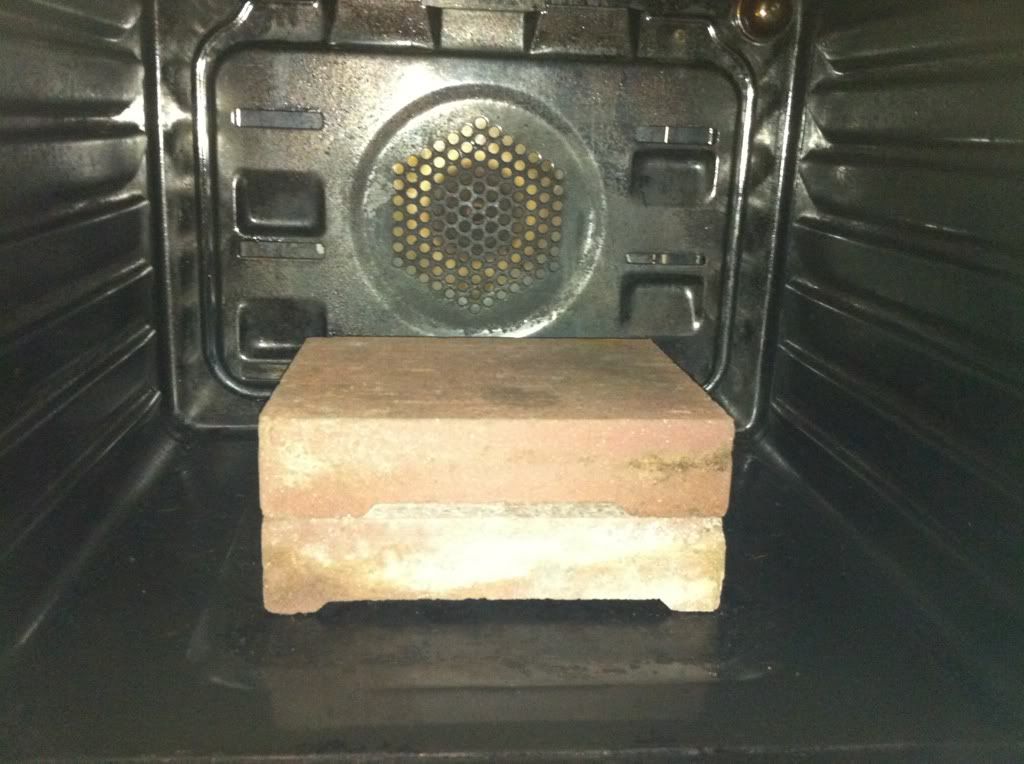
Step 3 is to get yourself a hot air gun, i already had a clarke/machine mart one which worked perfectly, it has 2 settings of 350 deg c or 600 deg c,
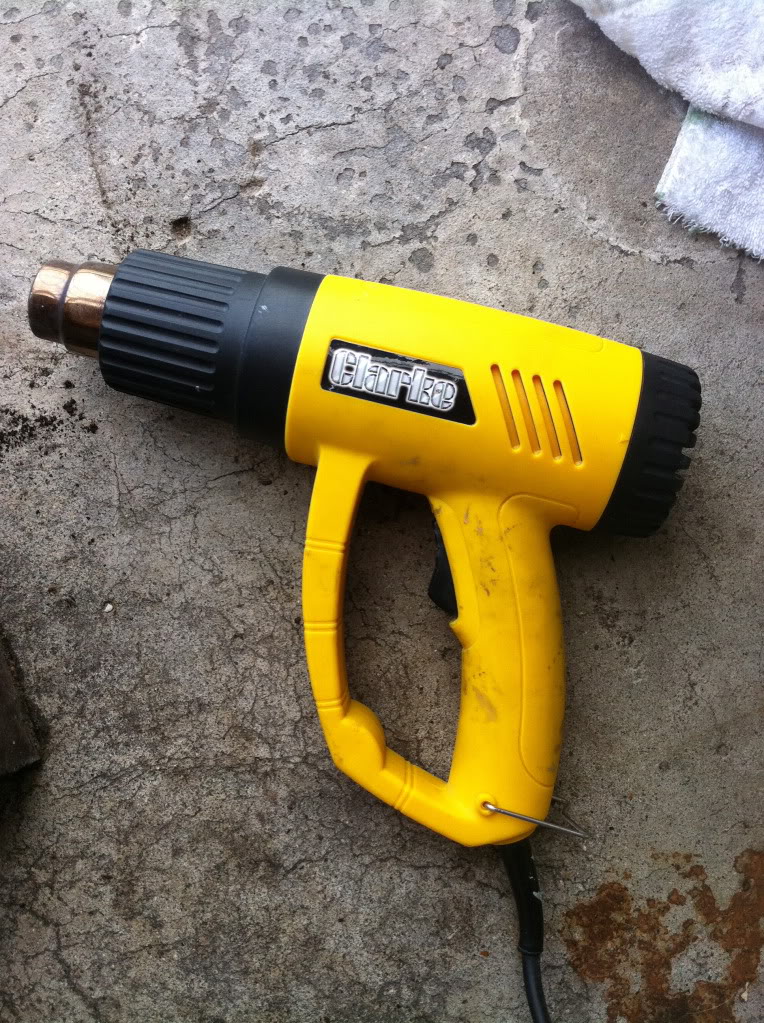
then position the hot air gun in front of the upright, being careful that nothing around it is gonna melt or catch fire during the process lol
I originally had my upright propped just off the floor as shown below
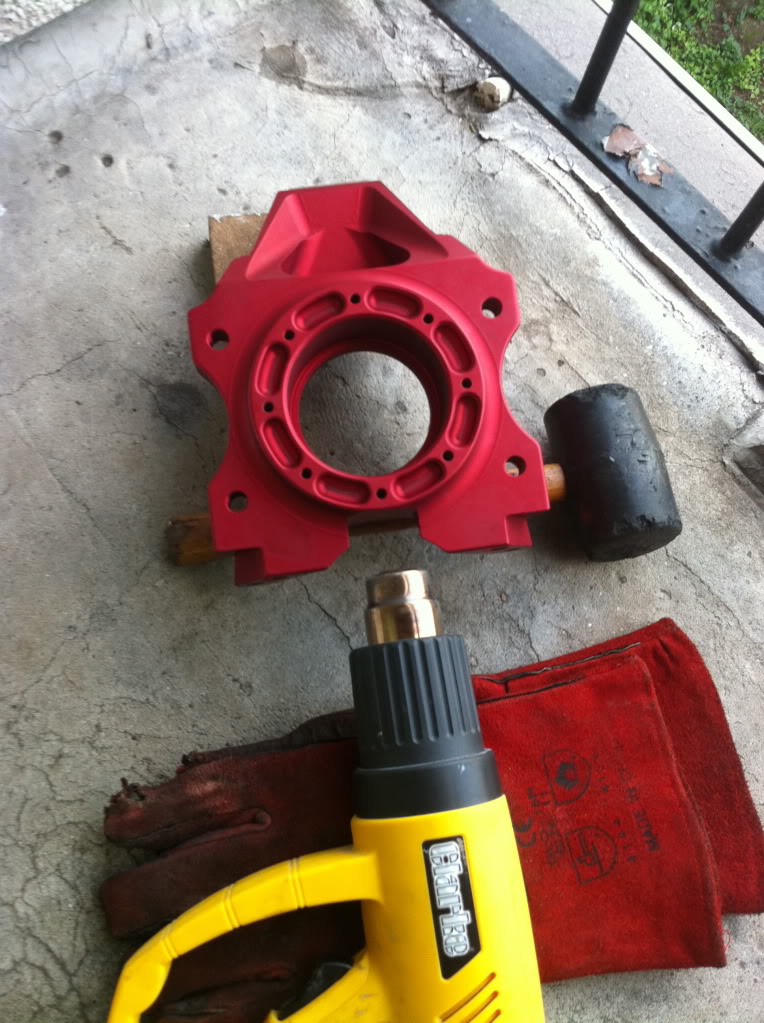
And no the mallet head did not melt.........i was quite surprised actually thinking about it after lol
But after doing the first one realized it had almost melted the floor as it's a bitumen type material so i repositioned it before the other bearings/uprights were heated and fitted, you can see how i re positioned it in the later pics of the bearing fitted
Step 4 is to heat the upright which is where i went wrong first time round as i was worried the heat would damage the anodizing or worse, the upright itself but after speaking to Mark and being assured there is no risk as long as you go steady i worked out the time needed through trial and error.
So with the gun positioned as described before, heat the upright non stop for approx 40 minutes in the said spot, 30 mins didnt work but 40 did as i tried various times during the heating process
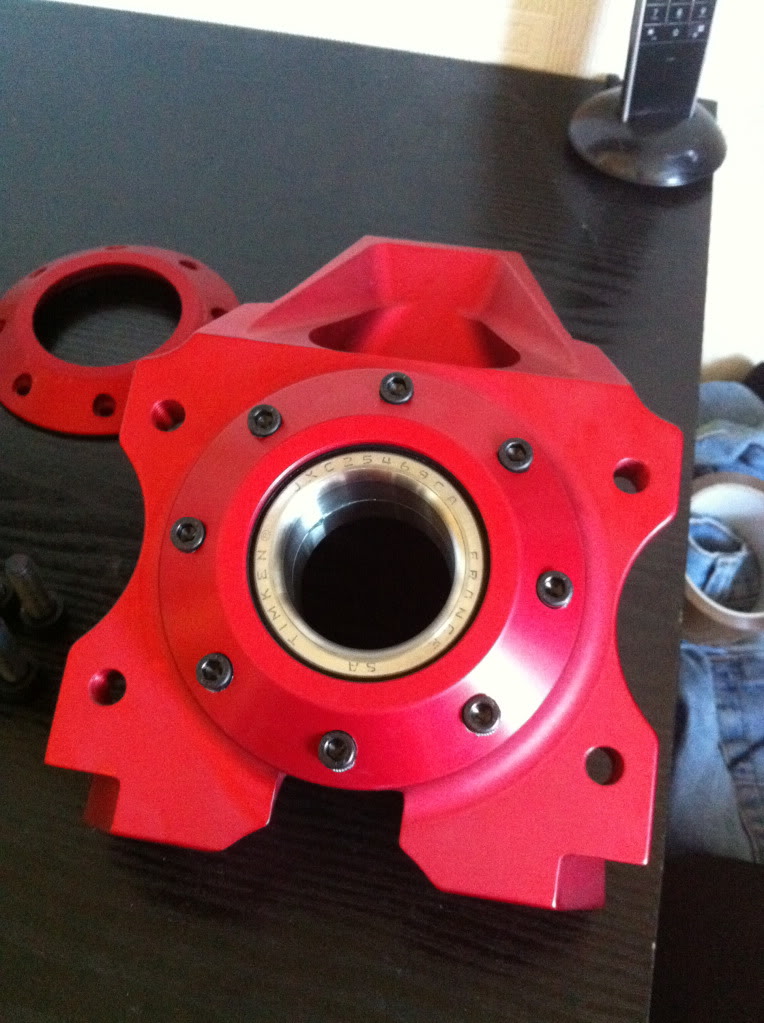
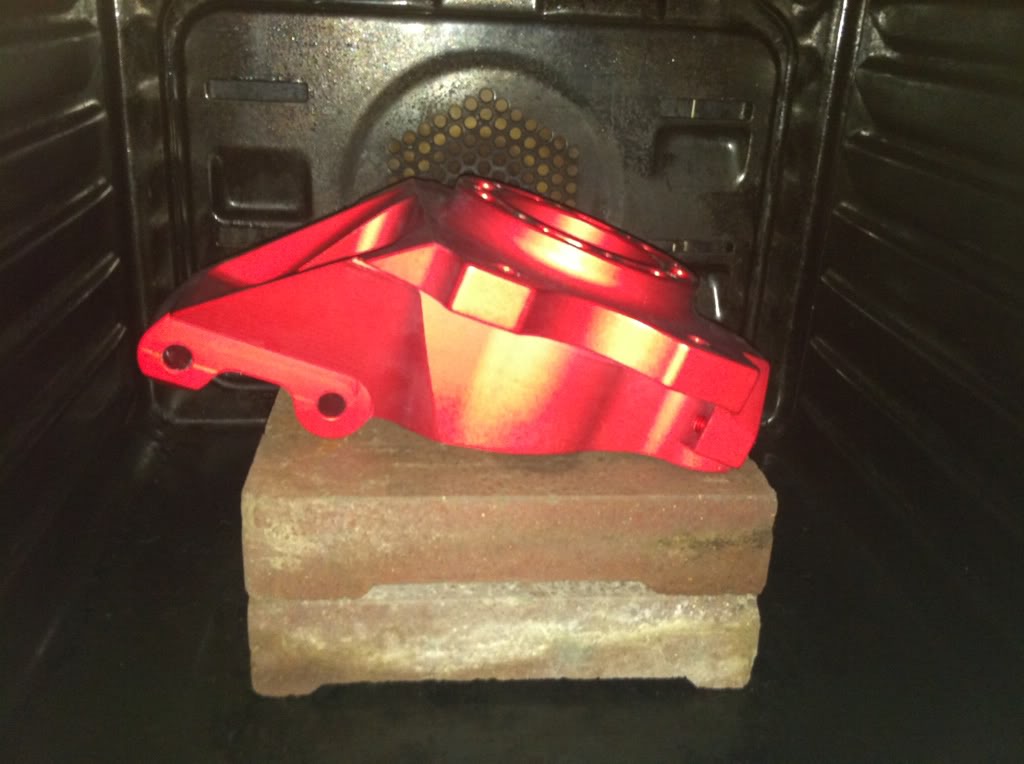
Step 5 after 40 minutes the upright is hot enough and has expanded enough for the frozen bearing to simply drop straight in, so take the bearing from the freezer and just drop it in

This photo shows the upright on the more suitable bricks so as not to melt the floor lol
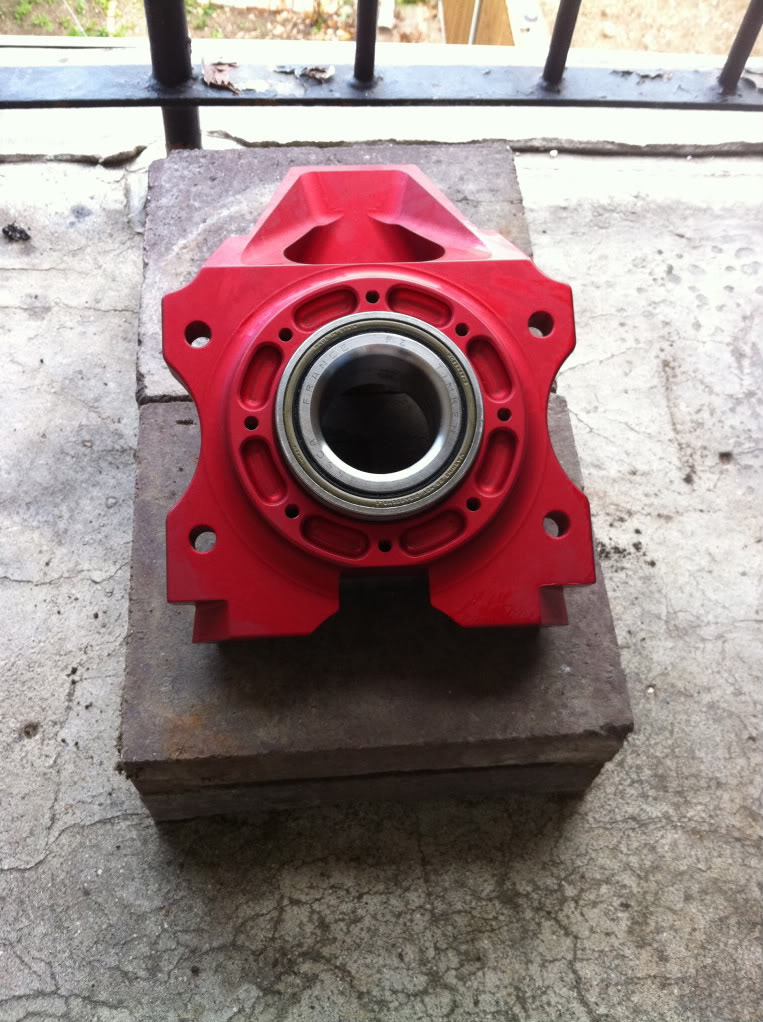
After leaving it to fully cool down as i assure you it will be stupidly hot, the bearing will be fitted and ready for the retaining cap to be fitted
Step 6 is fitting the cap and steering arm, so buy yourself some high tensile M6x25 & M10x35 cap head bolts and some matching schnorr washers and fit the cap and steering arm
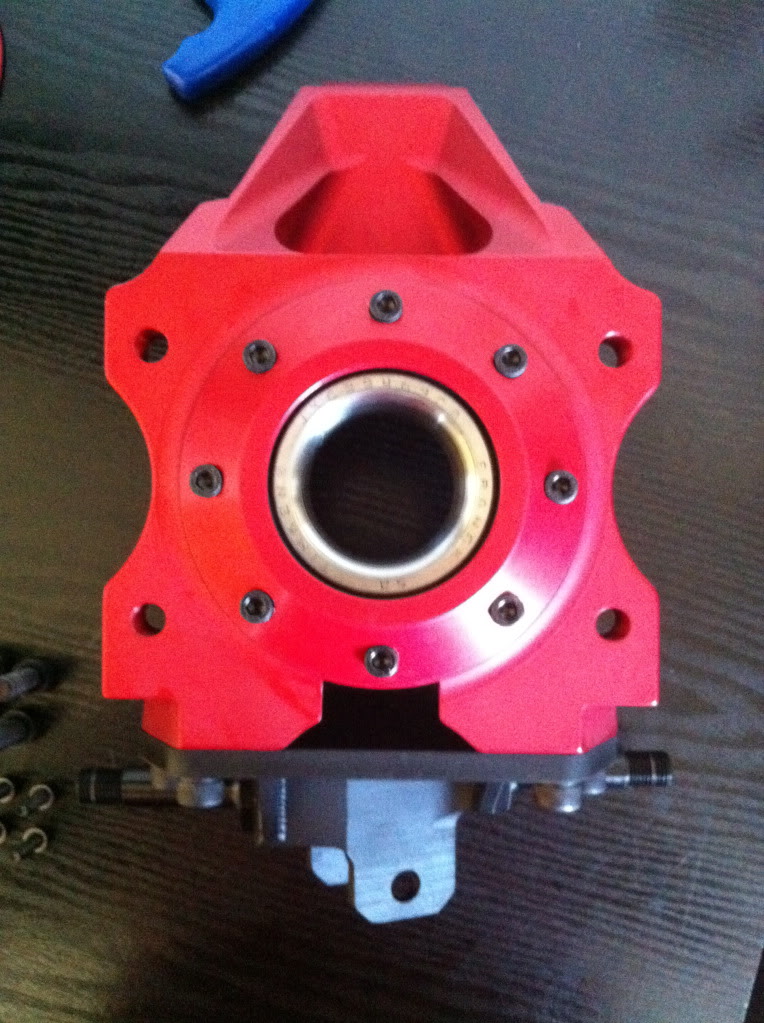
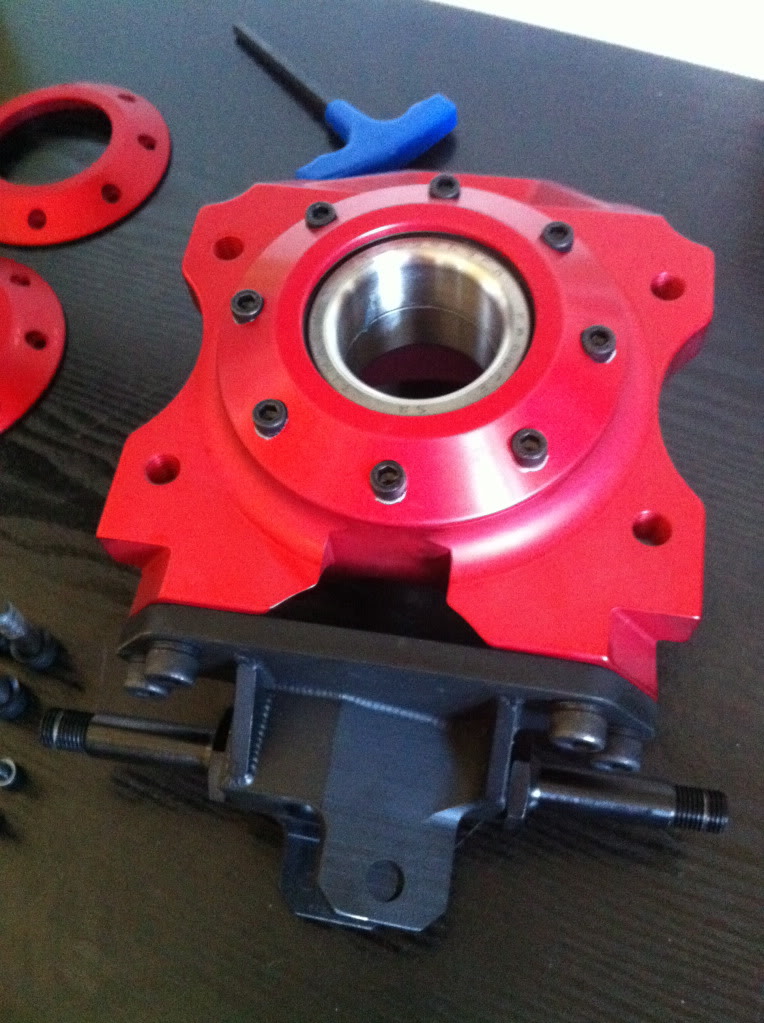
Step 7 is repeat the process for the other bearings/uprights and your done
MAKE DOUBLY SURE IF YOUR BEARINGS HAVE BEEN MACHINED WITH A RADIUS ON THE OUTER RACE THAT YOU FIT THEM THE CORRECT WAY ROUND!!!
Big thanks to Mark for the out of hours fitting advice, it's nice to have that kind of service to go along with the superb parts he makes, massive thanks mate
That's it for today folks
Thanks
Marc
I needed a bit of tech talk from Mark @ MK Motorsport as i had a bit of trouble at first but he kindly offered advice (out of hours i may add) which when i had a second attempt today worked and i have successfully fitted 2 of the bearings without the need of a press or bloody big hammer
My original problem was being too cautious really as i did not want to damage the upright or the anodizing but turns out it's all ok and causes no damage to anything so here is what works
Step 1 is too freeze the bearings overnight, i left mine for a full 24 hours
Step 2 is to find a suitable spot on the upright to heat it, i used the center point of the underneath of the upright as shown in the pic below
Step 3 is to get yourself a hot air gun, i already had a clarke/machine mart one which worked perfectly, it has 2 settings of 350 deg c or 600 deg c,
then position the hot air gun in front of the upright, being careful that nothing around it is gonna melt or catch fire during the process lol
I originally had my upright propped just off the floor as shown below
And no the mallet head did not melt.........i was quite surprised actually thinking about it after lol
But after doing the first one realized it had almost melted the floor as it's a bitumen type material
so i repositioned it before the other bearings/uprights were heated and fitted, you can see how i re positioned it in the later pics of the bearing fittedStep 4 is to heat the upright which is where i went wrong first time round as i was worried the heat would damage the anodizing or worse, the upright itself but after speaking to Mark and being assured there is no risk as long as you go steady i worked out the time needed through trial and error.
So with the gun positioned as described before, heat the upright non stop for approx 40 minutes in the said spot, 30 mins didnt work but 40 did as i tried various times during the heating process
Step 5 after 40 minutes the upright is hot enough and has expanded enough for the frozen bearing to simply drop straight in, so take the bearing from the freezer and just drop it in
This photo shows the upright on the more suitable bricks so as not to melt the floor lol
After leaving it to fully cool down as i assure you it will be stupidly hot, the bearing will be fitted and ready for the retaining cap to be fitted
Step 6 is fitting the cap and steering arm, so buy yourself some high tensile M6x25 & M10x35 cap head bolts and some matching schnorr washers and fit the cap and steering arm
Step 7 is repeat the process for the other bearings/uprights and your done
MAKE DOUBLY SURE IF YOUR BEARINGS HAVE BEEN MACHINED WITH A RADIUS ON THE OUTER RACE THAT YOU FIT THEM THE CORRECT WAY ROUND!!!
Big thanks to Mark for the out of hours fitting advice, it's nice to have that kind of service to go along with the superb parts he makes, massive thanks mate
That's it for today folks
Thanks
Marc
Last edited by M K; 04-09-2011 at 09:25 AM.
03-09-2011, 05:23 PM
#1819
10K+ Poster!!

Nice little guide there Marc
Those uprights are far to pretty to hide away underneath the car though!
How much do they weigh compared to a standard upright?
Those uprights are far to pretty to hide away underneath the car though!
How much do they weigh compared to a standard upright?
 03-09-2011, 09:16 PM
#1824
10K+ Poster!!
 04-09-2011, 12:58 AM
#1828
Ovens are great for car parts and projects I often bake off painted parts in mine. Also great for post curing small carbon parts
Another question to MK, how much over the standard cossie 4x4 front end does this widen track?? can you use the standard subframe or do you need a custom jobby???
I often bake off painted parts in mine. Also great for post curing small carbon parts Another question to MK, how much over the standard cossie 4x4 front end does this widen track?? can you use the standard subframe or do you need a custom jobby???
Last edited by Psycho Warren; 04-09-2011 at 01:01 AM.
04-09-2011, 07:28 AM
#1829
Ok here we go
Excuse the oven as it's due a clean, which is now my job ive been told because im using it to put car parts in
Pre heated to 150 degrees c then put in and left at 110 degrees c, so will try the bearing at different intervals to see how long is needed and let you guys know
Excuse the oven as it's due a clean, which is now my job ive been told because im using it to put car parts in
Pre heated to 150 degrees c then put in and left at 110 degrees c, so will try the bearing at different intervals to see how long is needed and let you guys know
Last edited by M K; 04-09-2011 at 07:31 AM.
04-09-2011, 09:23 AM
#1831
Ok the other 2 are now done, bit of trial and error but pre heating the fan oven to 100 degrees c, then placed the upright in the oven, 35 minutes and the bearing dropped straight in,
So there's 2 options for you guys now
Thanks
Marc
So there's 2 options for you guys now
Thanks
Marc
04-09-2011, 11:01 AM
#1832
I've found that life I needed.. It's HERE!!

Good work 
How would you remove the bearing if you ever need to change it? Put the whole lot in the oven and time it right to remove the bearing before it expands?
How would you remove the bearing if you ever need to change it? Put the whole lot in the oven and time it right to remove the bearing before it expands?
 17-09-2011, 04:06 PM
#1837
Part of a nutritious and stable diet
Thanks Matt
Nothing really done lately,
Mark at MK Motorsport had my wrc tca's and comp struts done and ready, along with spacers for tca pins and he is also sending me some steel bar for me to make my own chassis spacers to suit,
I had to send the sleeved flanges back for slight tweaking and they should be done this week as well, Mark also kindly offered to drill the flange stud holes bigger for the proper M14 studs so thanks for that mate
Look forward to getting all these bits back and bolting some more of it together
Thanks
Marc
Last edited by M K; 18-09-2011 at 03:12 AM.
17-09-2011, 04:13 PM
#1838
Also as my old daily runner got scrapped I'm on the look out for a 56 plate onward fiesta zetec-s tdci, under 60k miles around the 5k price mark, ideally sea grey with heated screen, electric mirrors, iPod dock socket, half leather, air con
If anybody knows of 1 for sale in or around Essex let me know
If anybody knows of 1 for sale in or around Essex let me know
