Mk6 JWRC fiesta cosworth
 09-09-2010, 03:48 PM
#841
Dont want to leave these kind of fiddly time consuming jobs to the painter mate as its labour costs i can save, also i think im going to buy a decent compressor and with help have a go at doing the shell myself and leave the outside to the pro's 
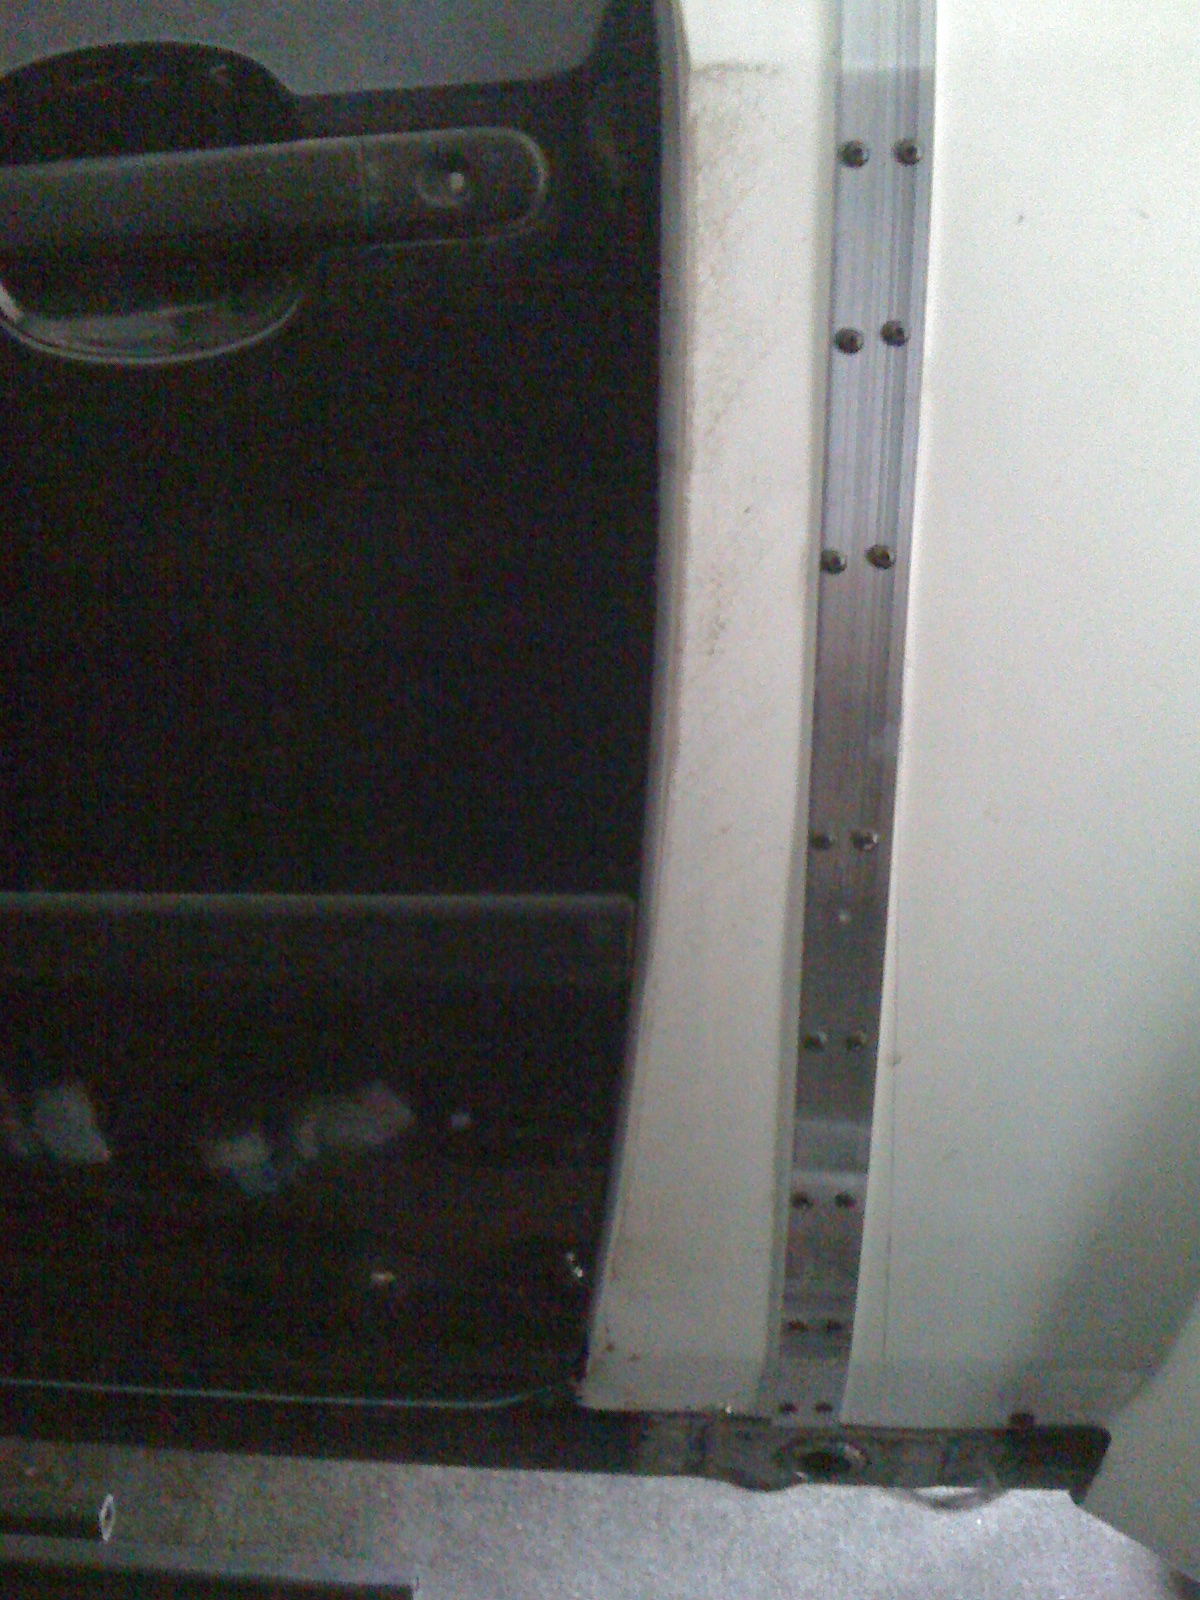
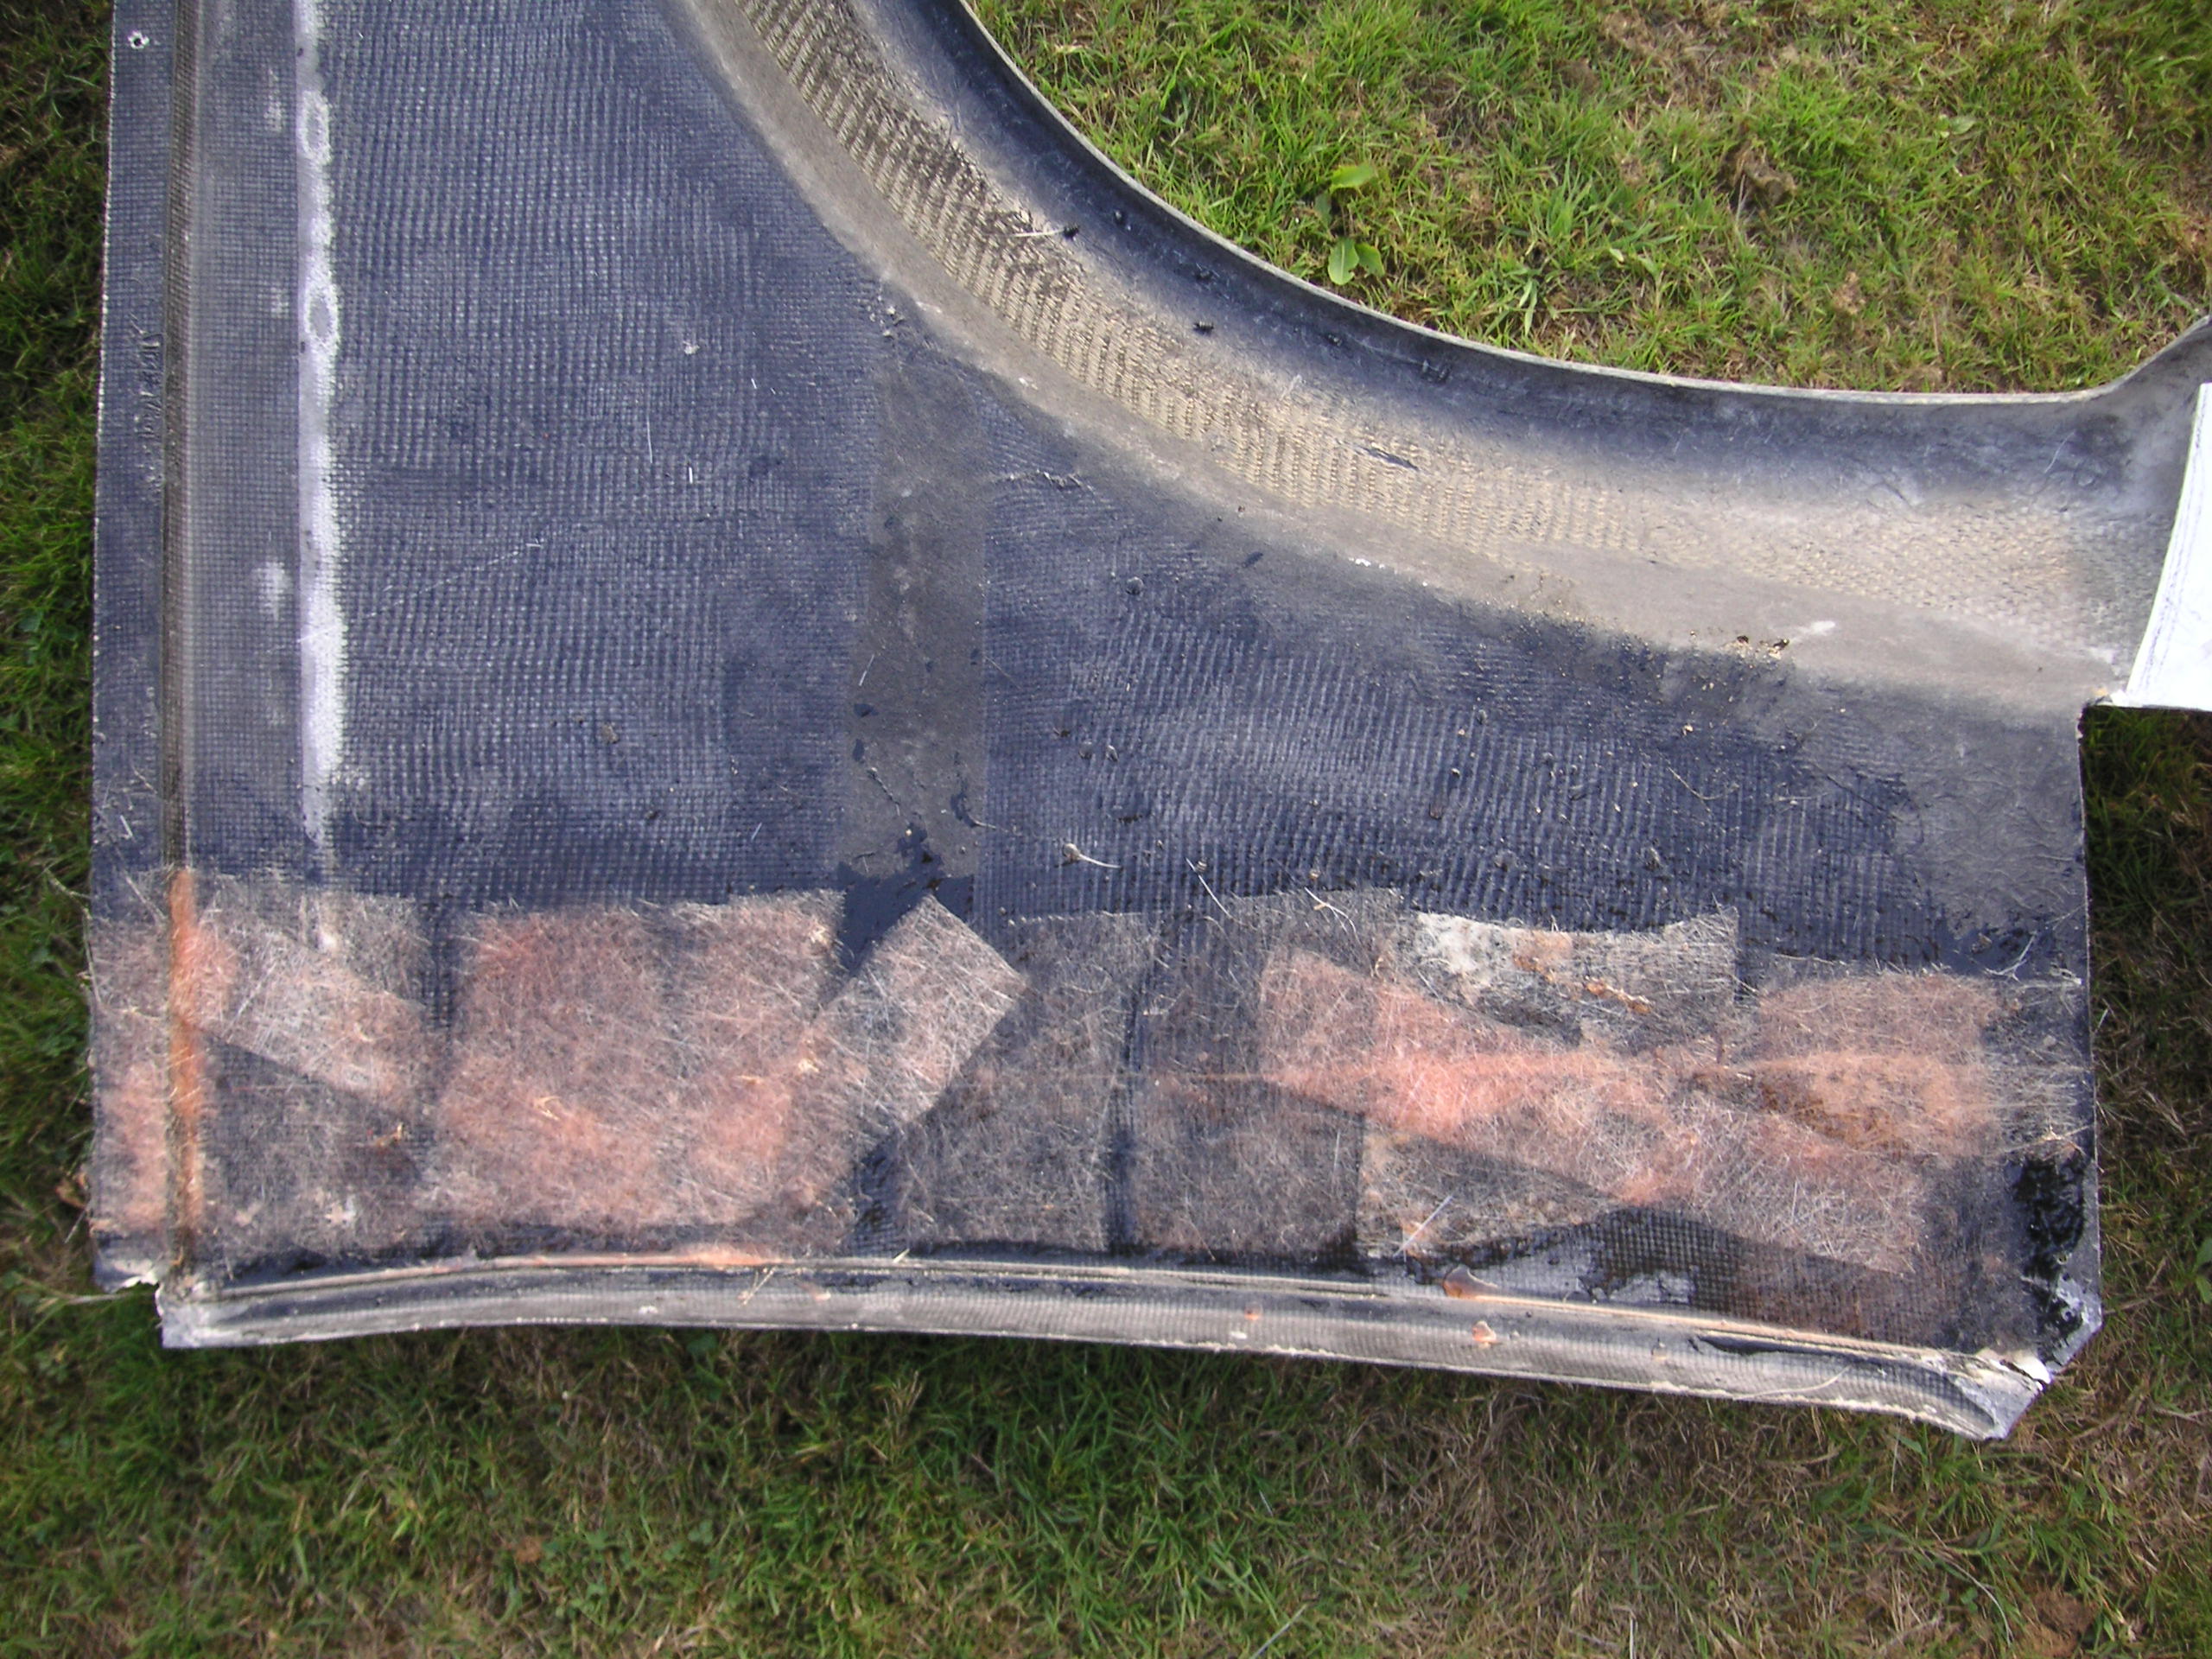
Got some 40mm x 1mm ally strip today so i will get the panels perfect tomorrow then screw them together using the strip so there ready for a few lays of fiberglass to bond them back together, i think i will also change the drivers side panel so it sits behind/under the original metal door shut part as it leaves a bigger gap to play with like the passenger one shown above,
Got some 40mm x 1mm ally strip today so i will get the panels perfect tomorrow then screw them together using the strip so there ready for a few lays of fiberglass to bond them back together, i think i will also change the drivers side panel so it sits behind/under the original metal door shut part as it leaves a bigger gap to play with like the passenger one shown above,
 09-09-2010, 06:24 PM
#845
Yeah behind the quarter panels will be bare metal'd then etch primed then seam seal all welds and joints etc then maybe stone chip then bond and rivet on the quartet panel for good with tiger seal or something similar then tidy up the door shut join by smoothing over with fibreglass /filler
Then crack on with etch priming the rest of the shell
Then crack on with etch priming the rest of the shell
09-09-2010, 06:31 PM
#846
15000

Join Date: Aug 2010
Location: Scunthorpe
Posts: 19
Likes: 0
Received 0 Likes
on
0 Posts
Cracking car mate !!! cant wait to see the finished look when its done !!
I would also paint under the rear panels too mate even if its not the same colour to protect the panels . Paint is better the just etch primer as it can absorb moisture !!
I would also paint under the rear panels too mate even if its not the same colour to protect the panels . Paint is better the just etch primer as it can absorb moisture !!
09-09-2010, 06:36 PM
#847
thats exactly the way i would do it but after the sealer is hard i would take the rivets out ,because they will show up later on i know because that what happened to my x pack ,i ended up drilling them out later on & painting the body kit again 
10-09-2010, 05:16 PM
#848
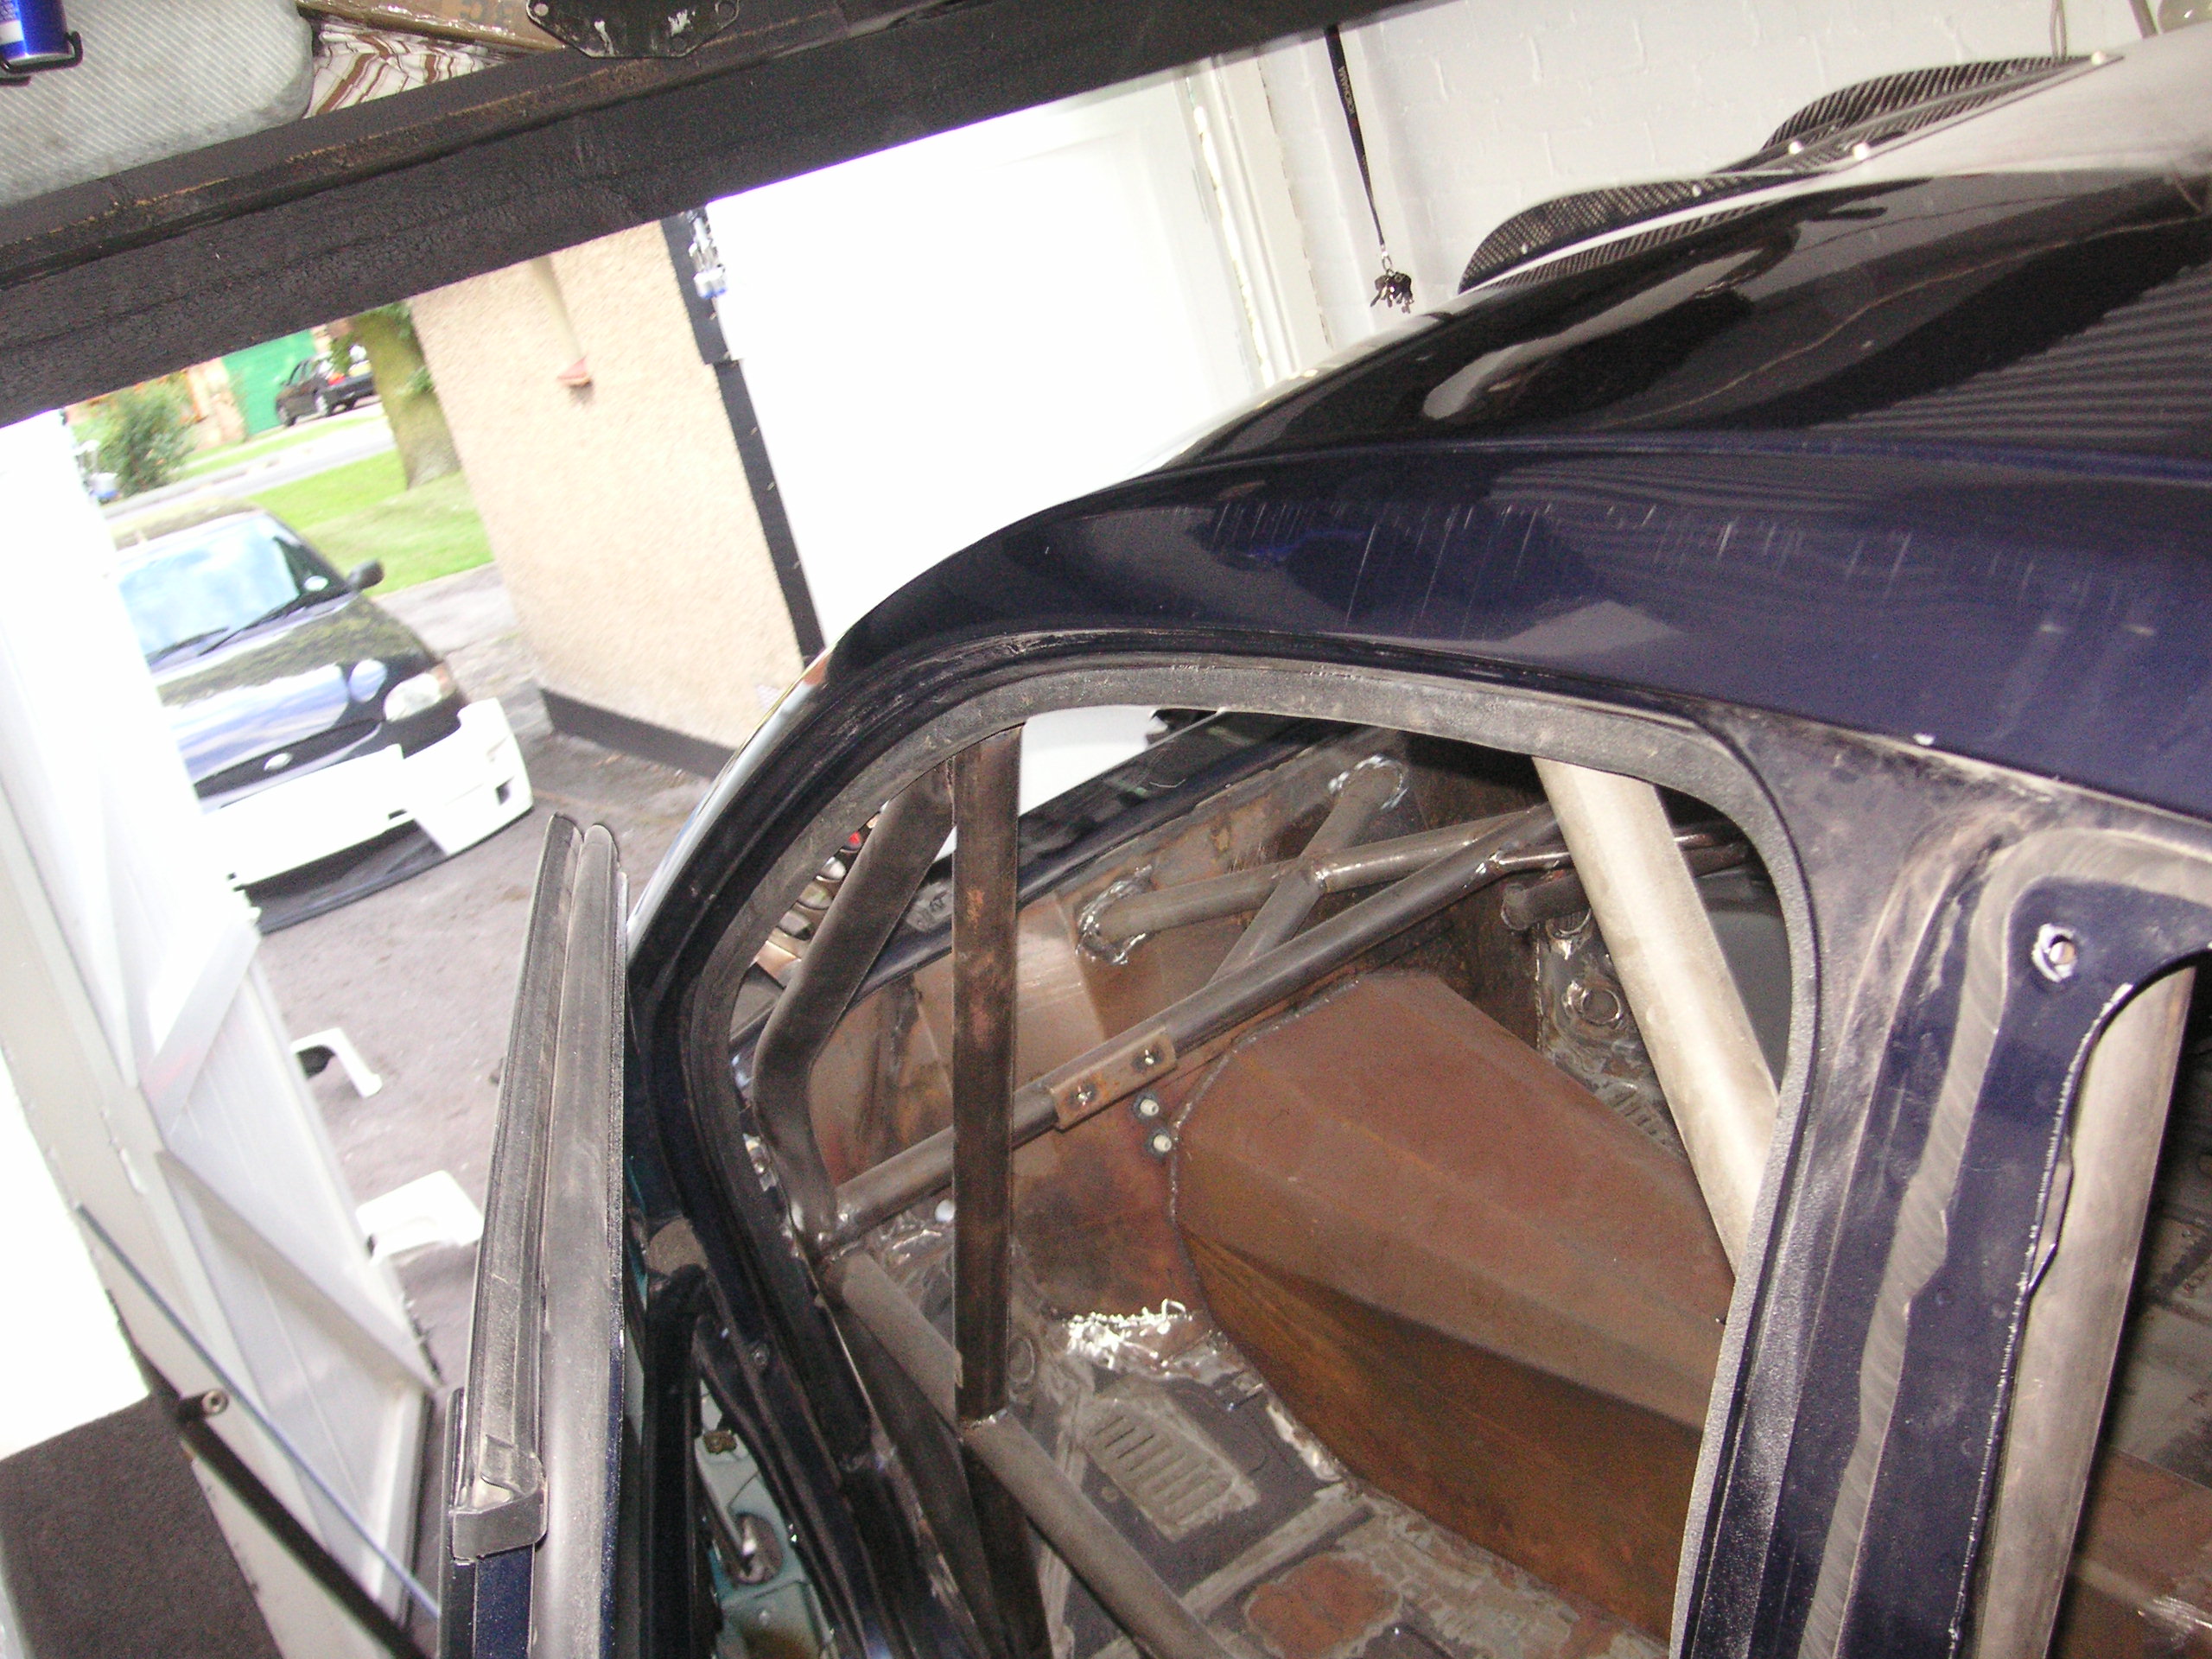
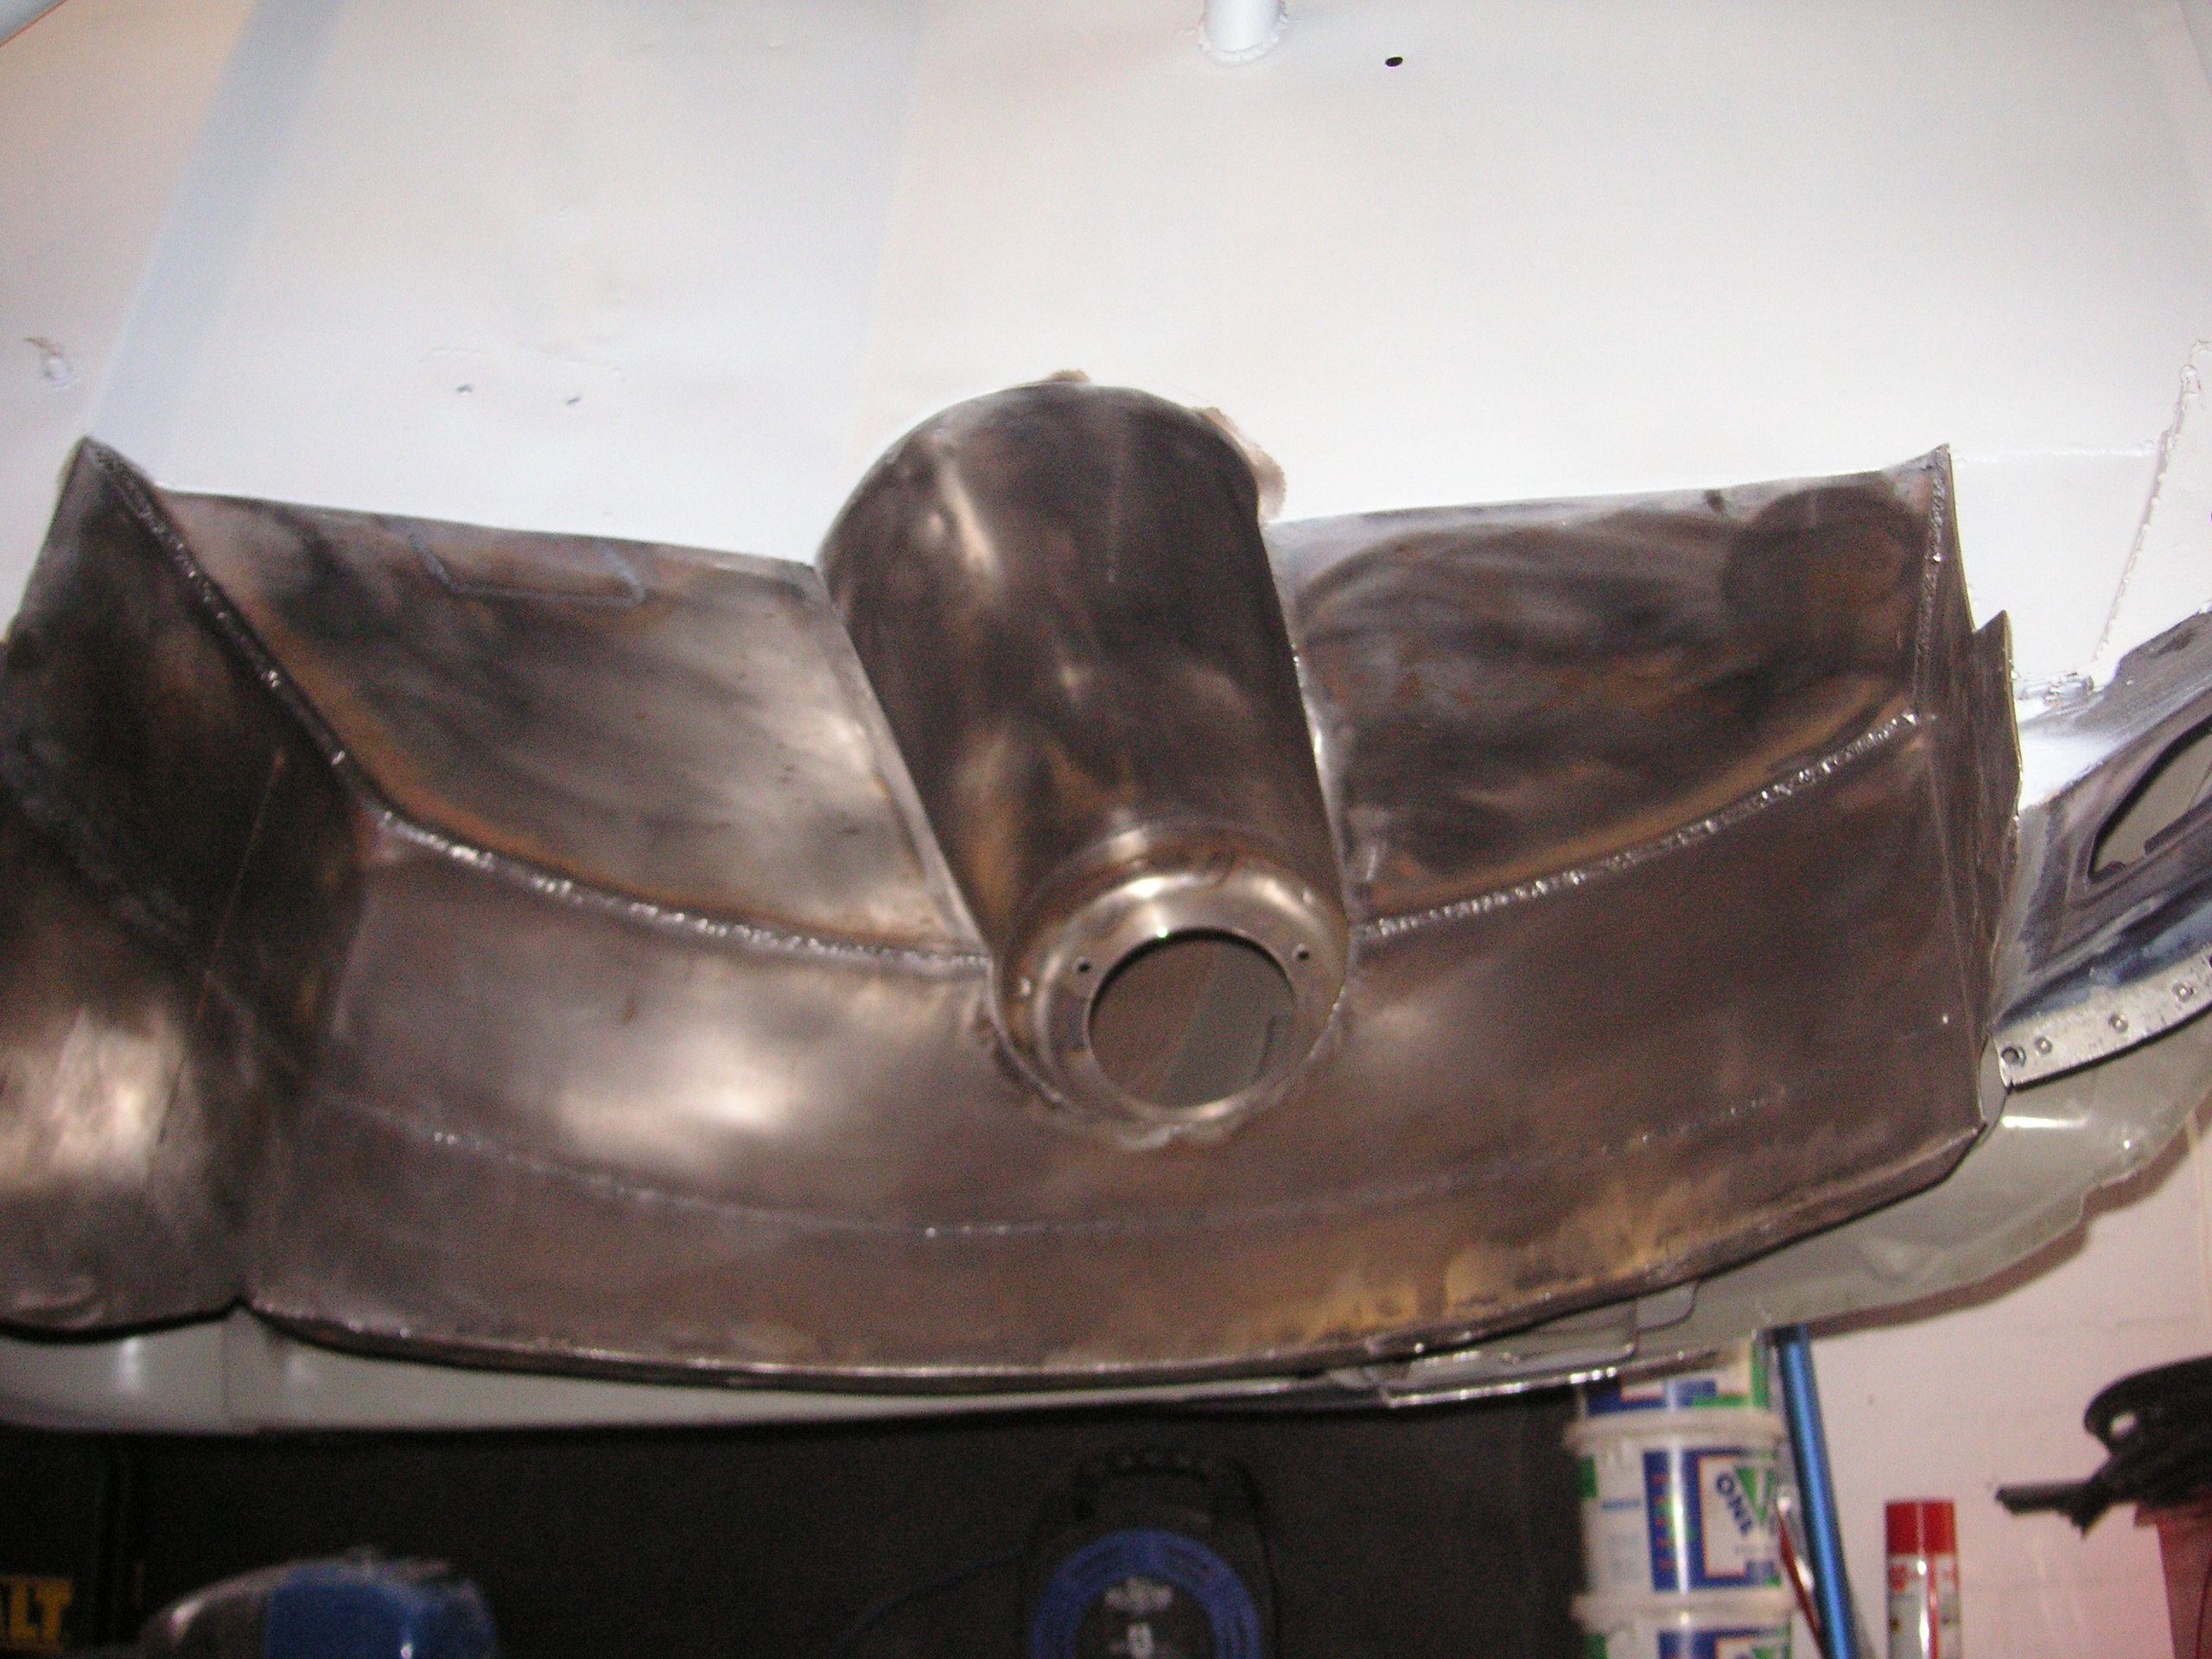
both sides are now done the same sitting inside the original door shut part so i was happy with the gap and screwed them up to the ally strip
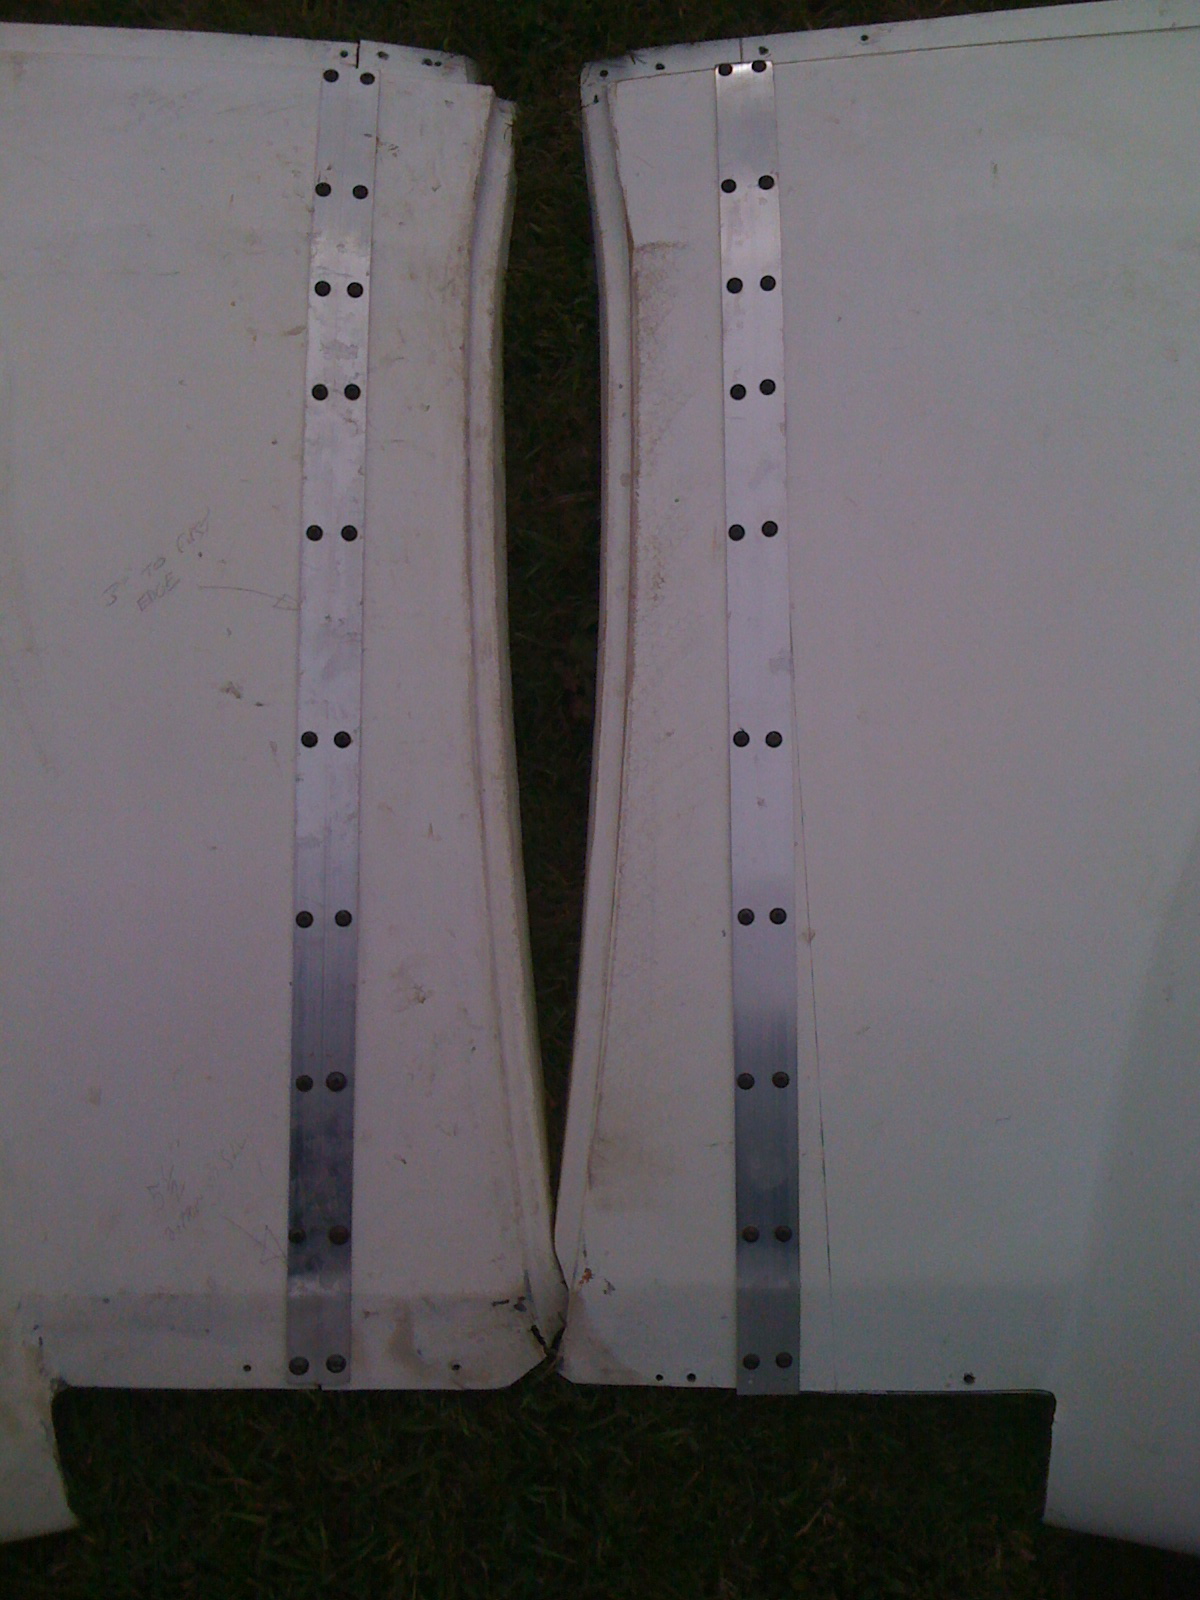
got a really neat join to start with so happy with that and should come out good once fiberglassed up,
sorry about the crappy iphone pics lol
also started making the mountings for the roll over jig but out of time so will continue with that tomorrow
got a really neat join to start with so happy with that and should come out good once fiberglassed up,
sorry about the crappy iphone pics lol
also started making the mountings for the roll over jig but out of time so will continue with that tomorrow
Last edited by M K; 28-09-2010 at 09:05 AM.

 10-09-2010, 08:57 PM
#854
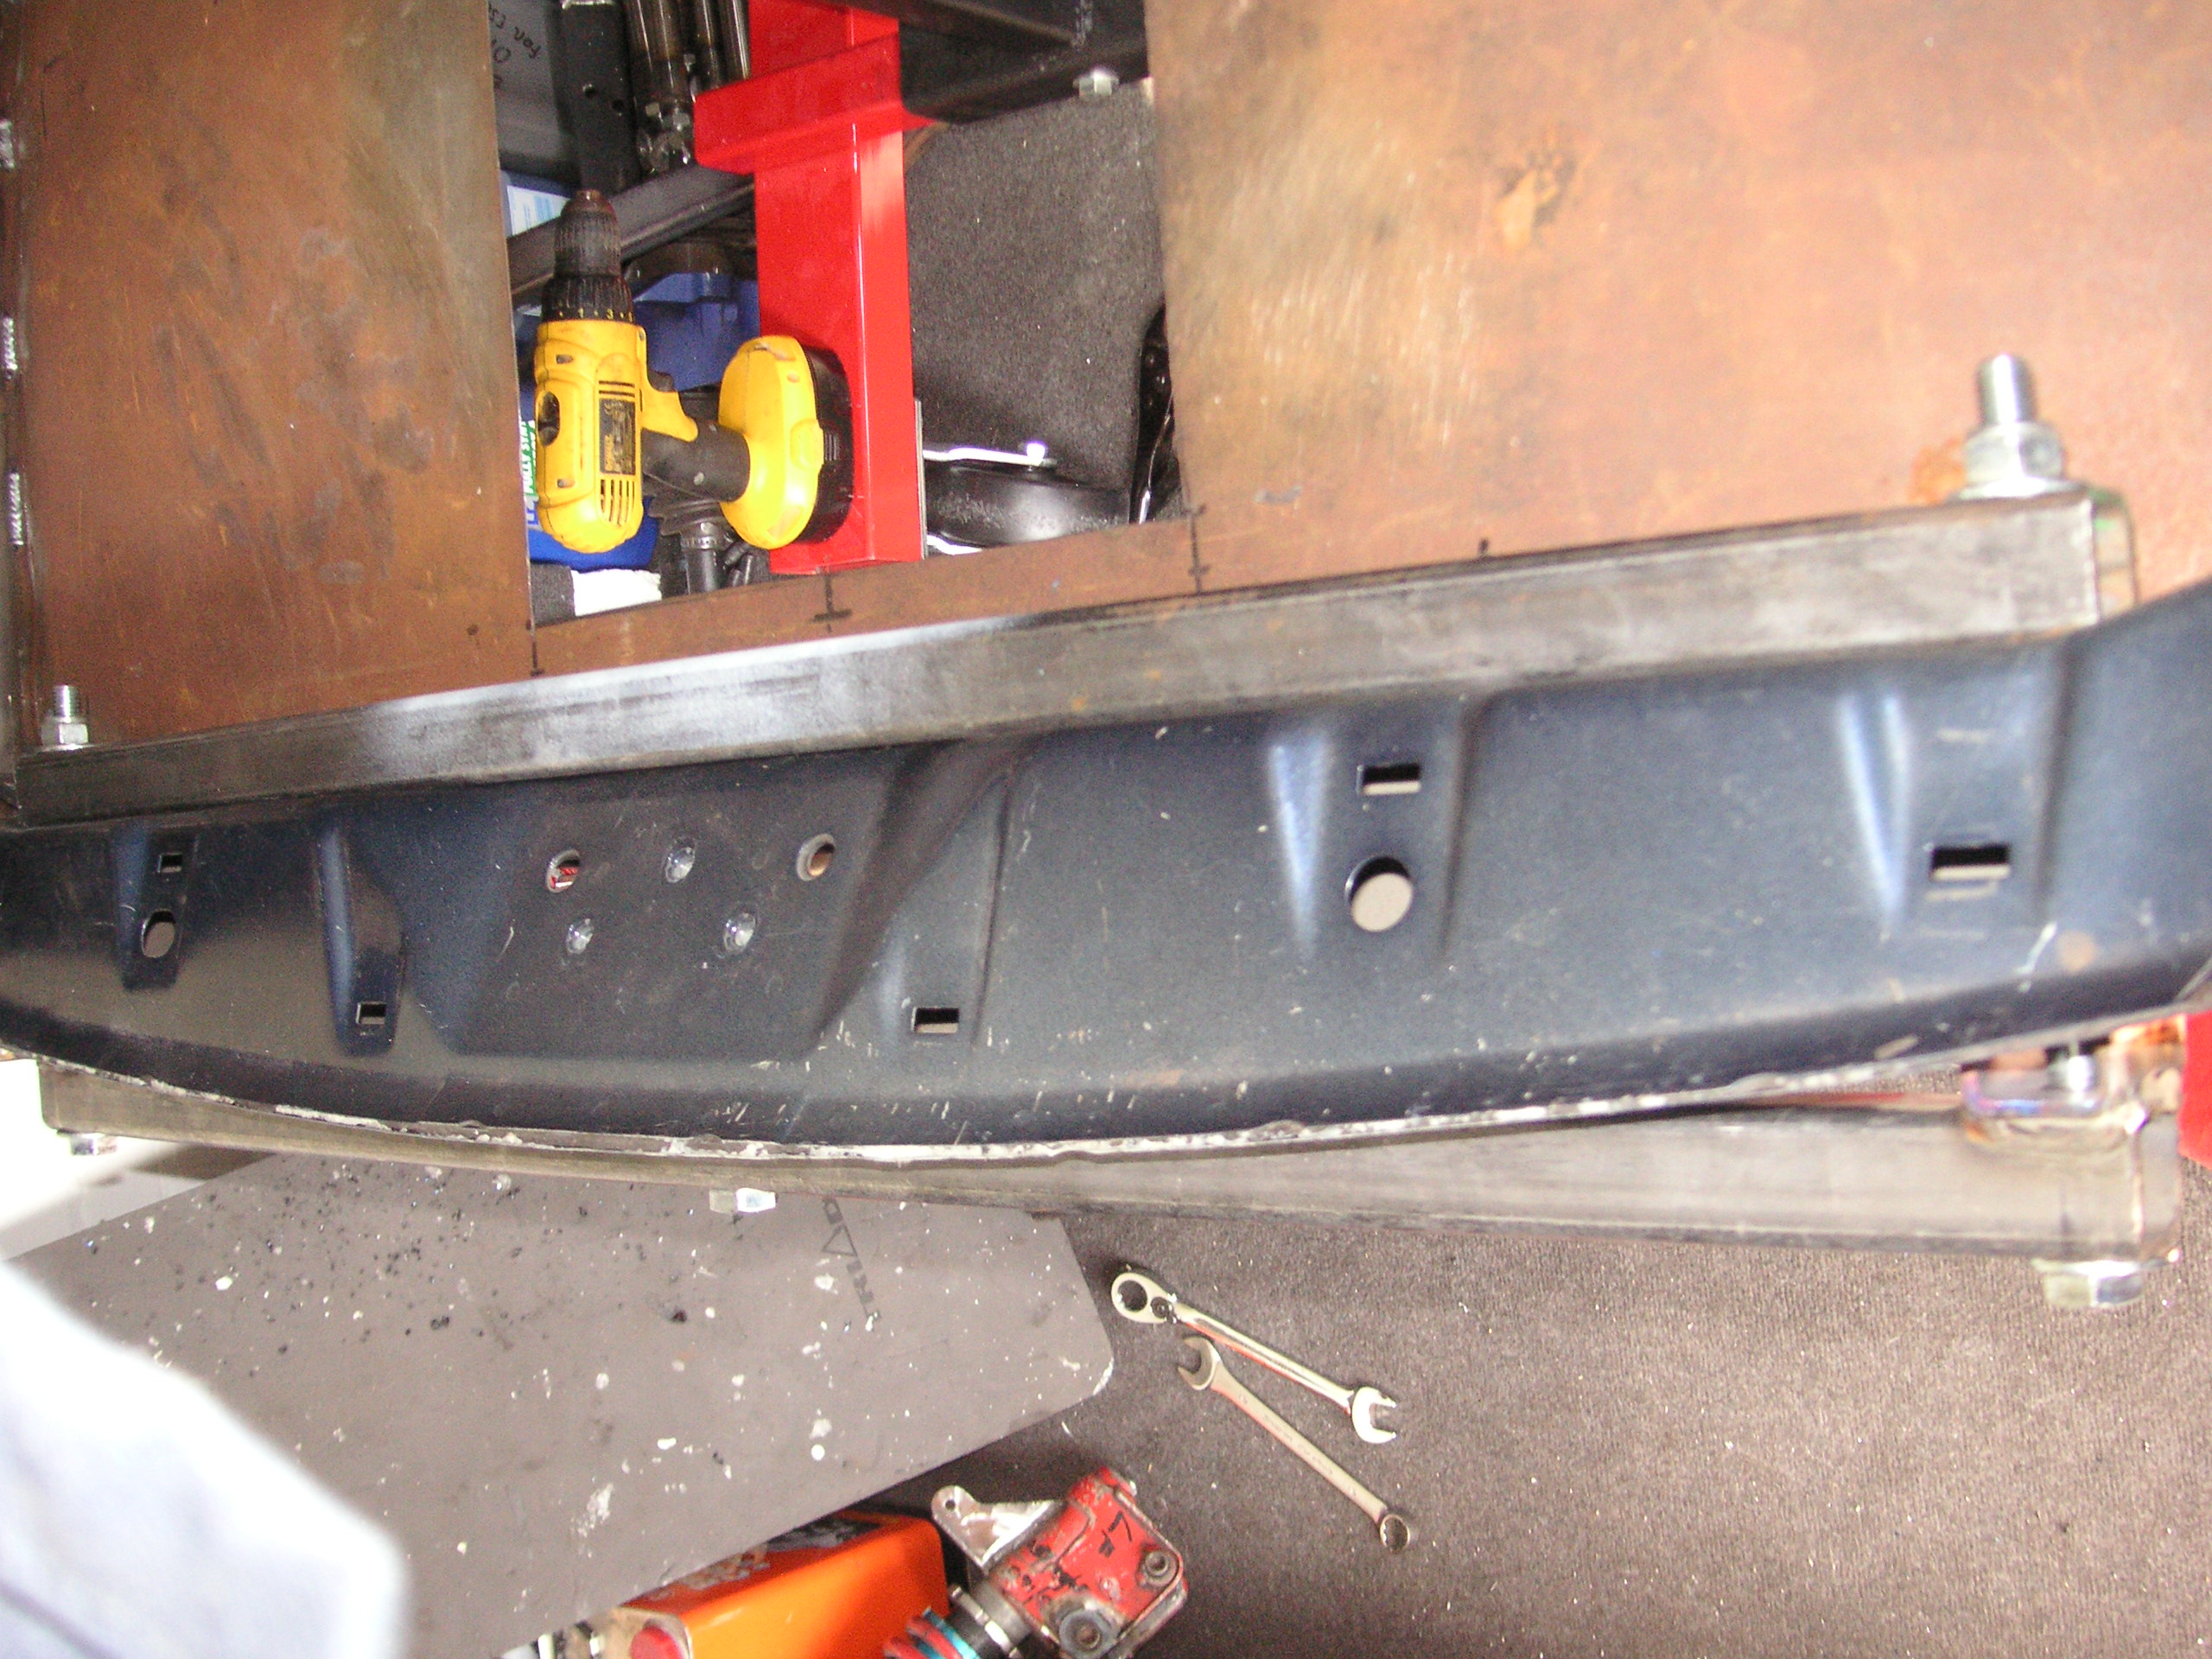
Panels are fibreglass Kevlar mix which are a hell of a lot stronger than kits from the likes of pumabuild and ebay etc, it's the Motorsport jwrc kit,
I got it through Peter Bennet @ MDV who is based in bradwell, Essex.
Cost I'd approx �1800 for bumpers wings and quarter panels then approx �800 for spoiler, brackets and roof vent.
I got it through Peter Bennet @ MDV who is based in bradwell, Essex.
Cost I'd approx �1800 for bumpers wings and quarter panels then approx �800 for spoiler, brackets and roof vent.
12-09-2010, 11:04 PM
#856
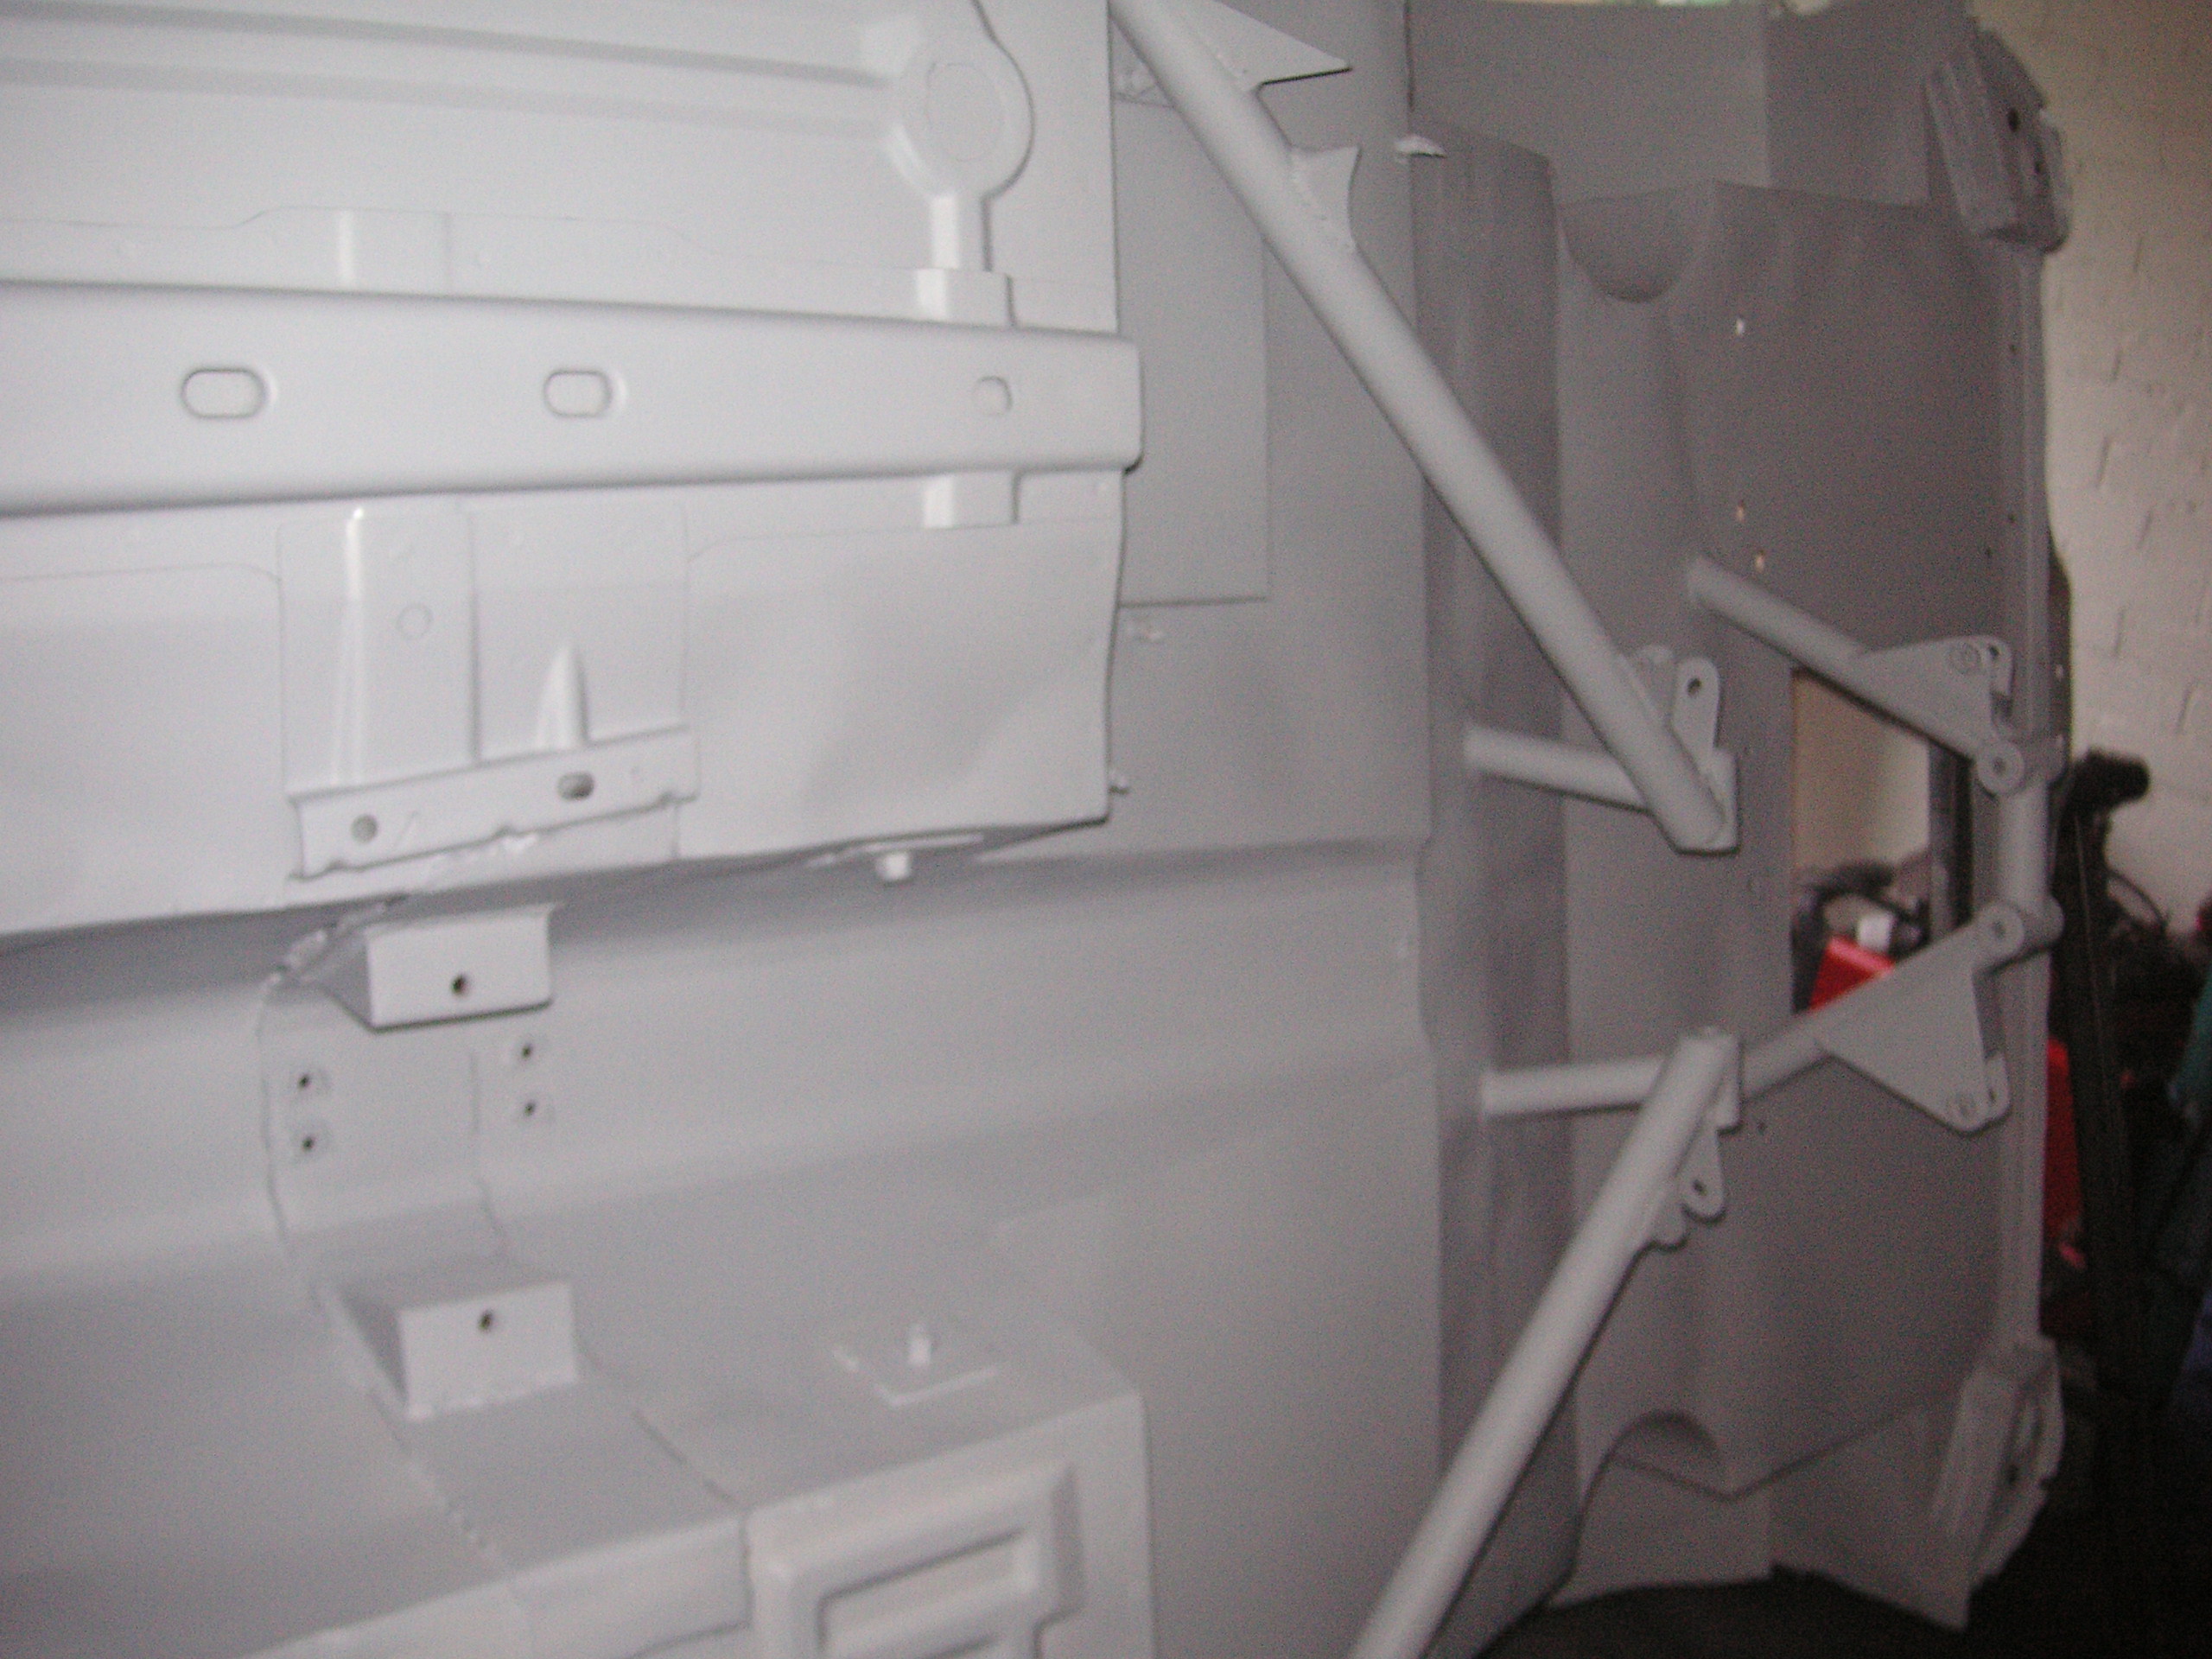
this weekends update,
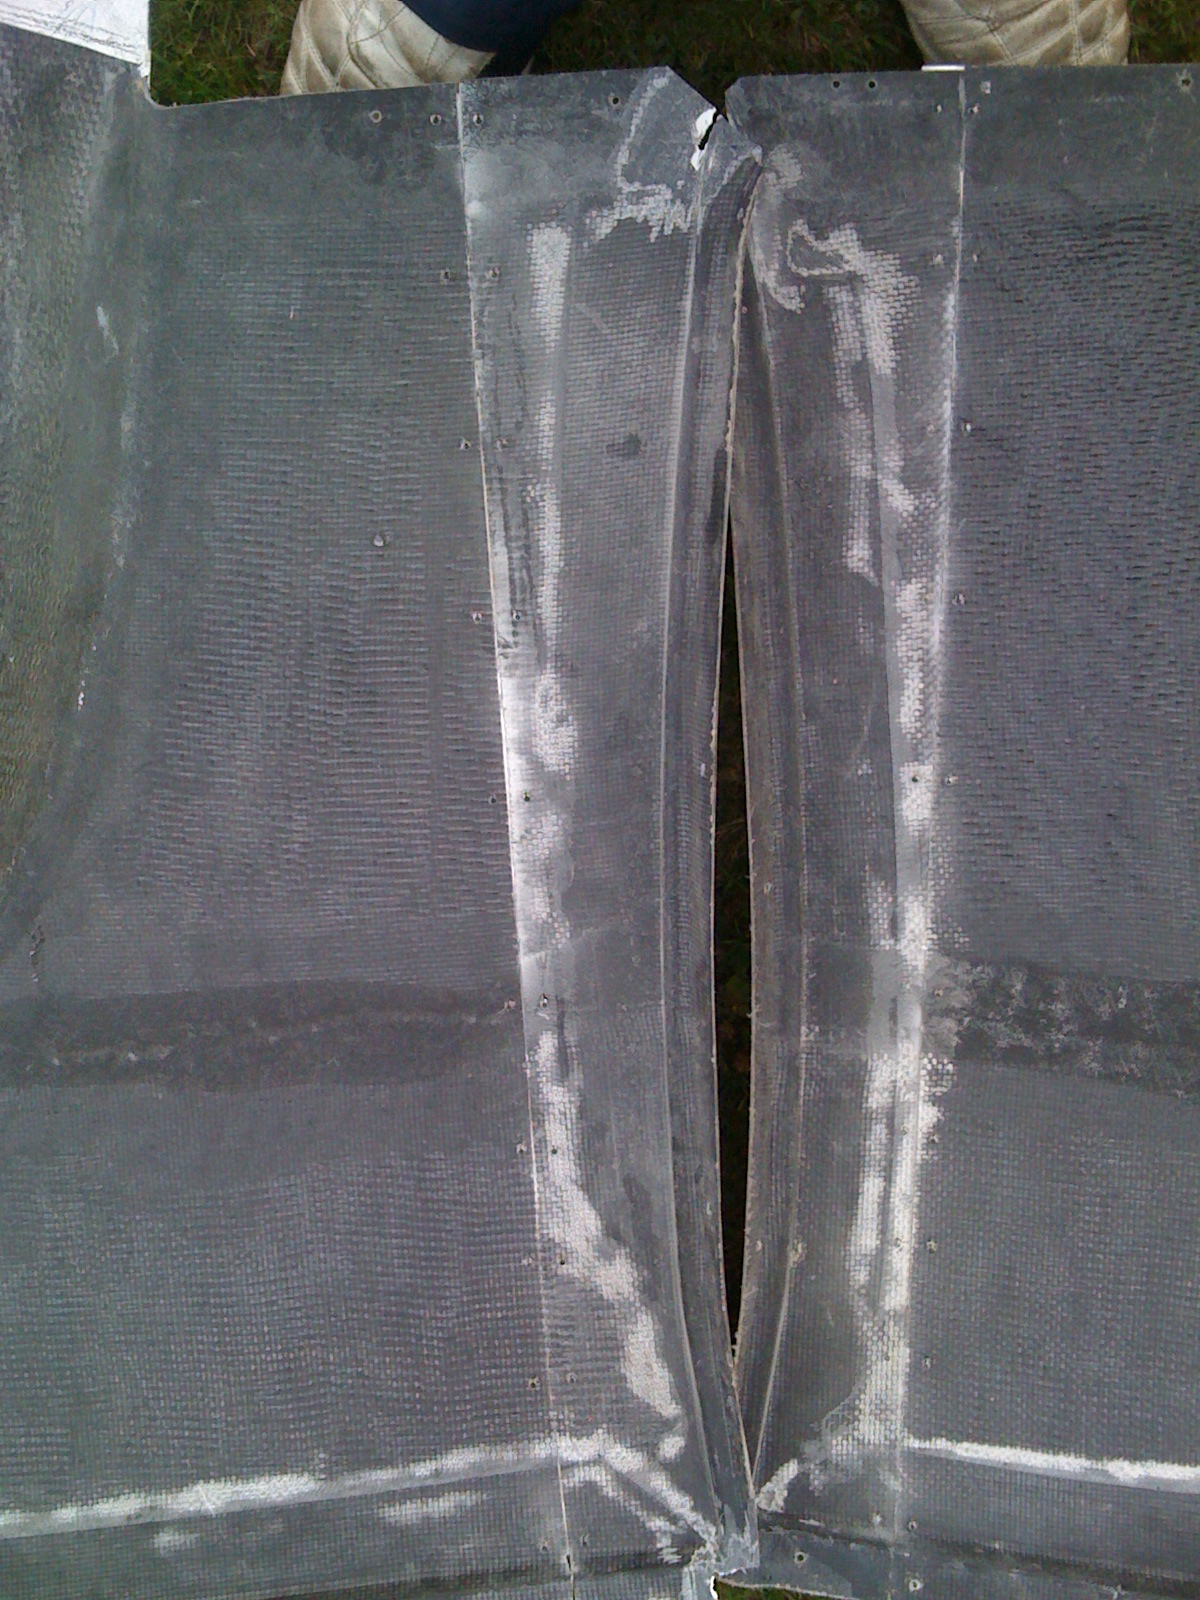
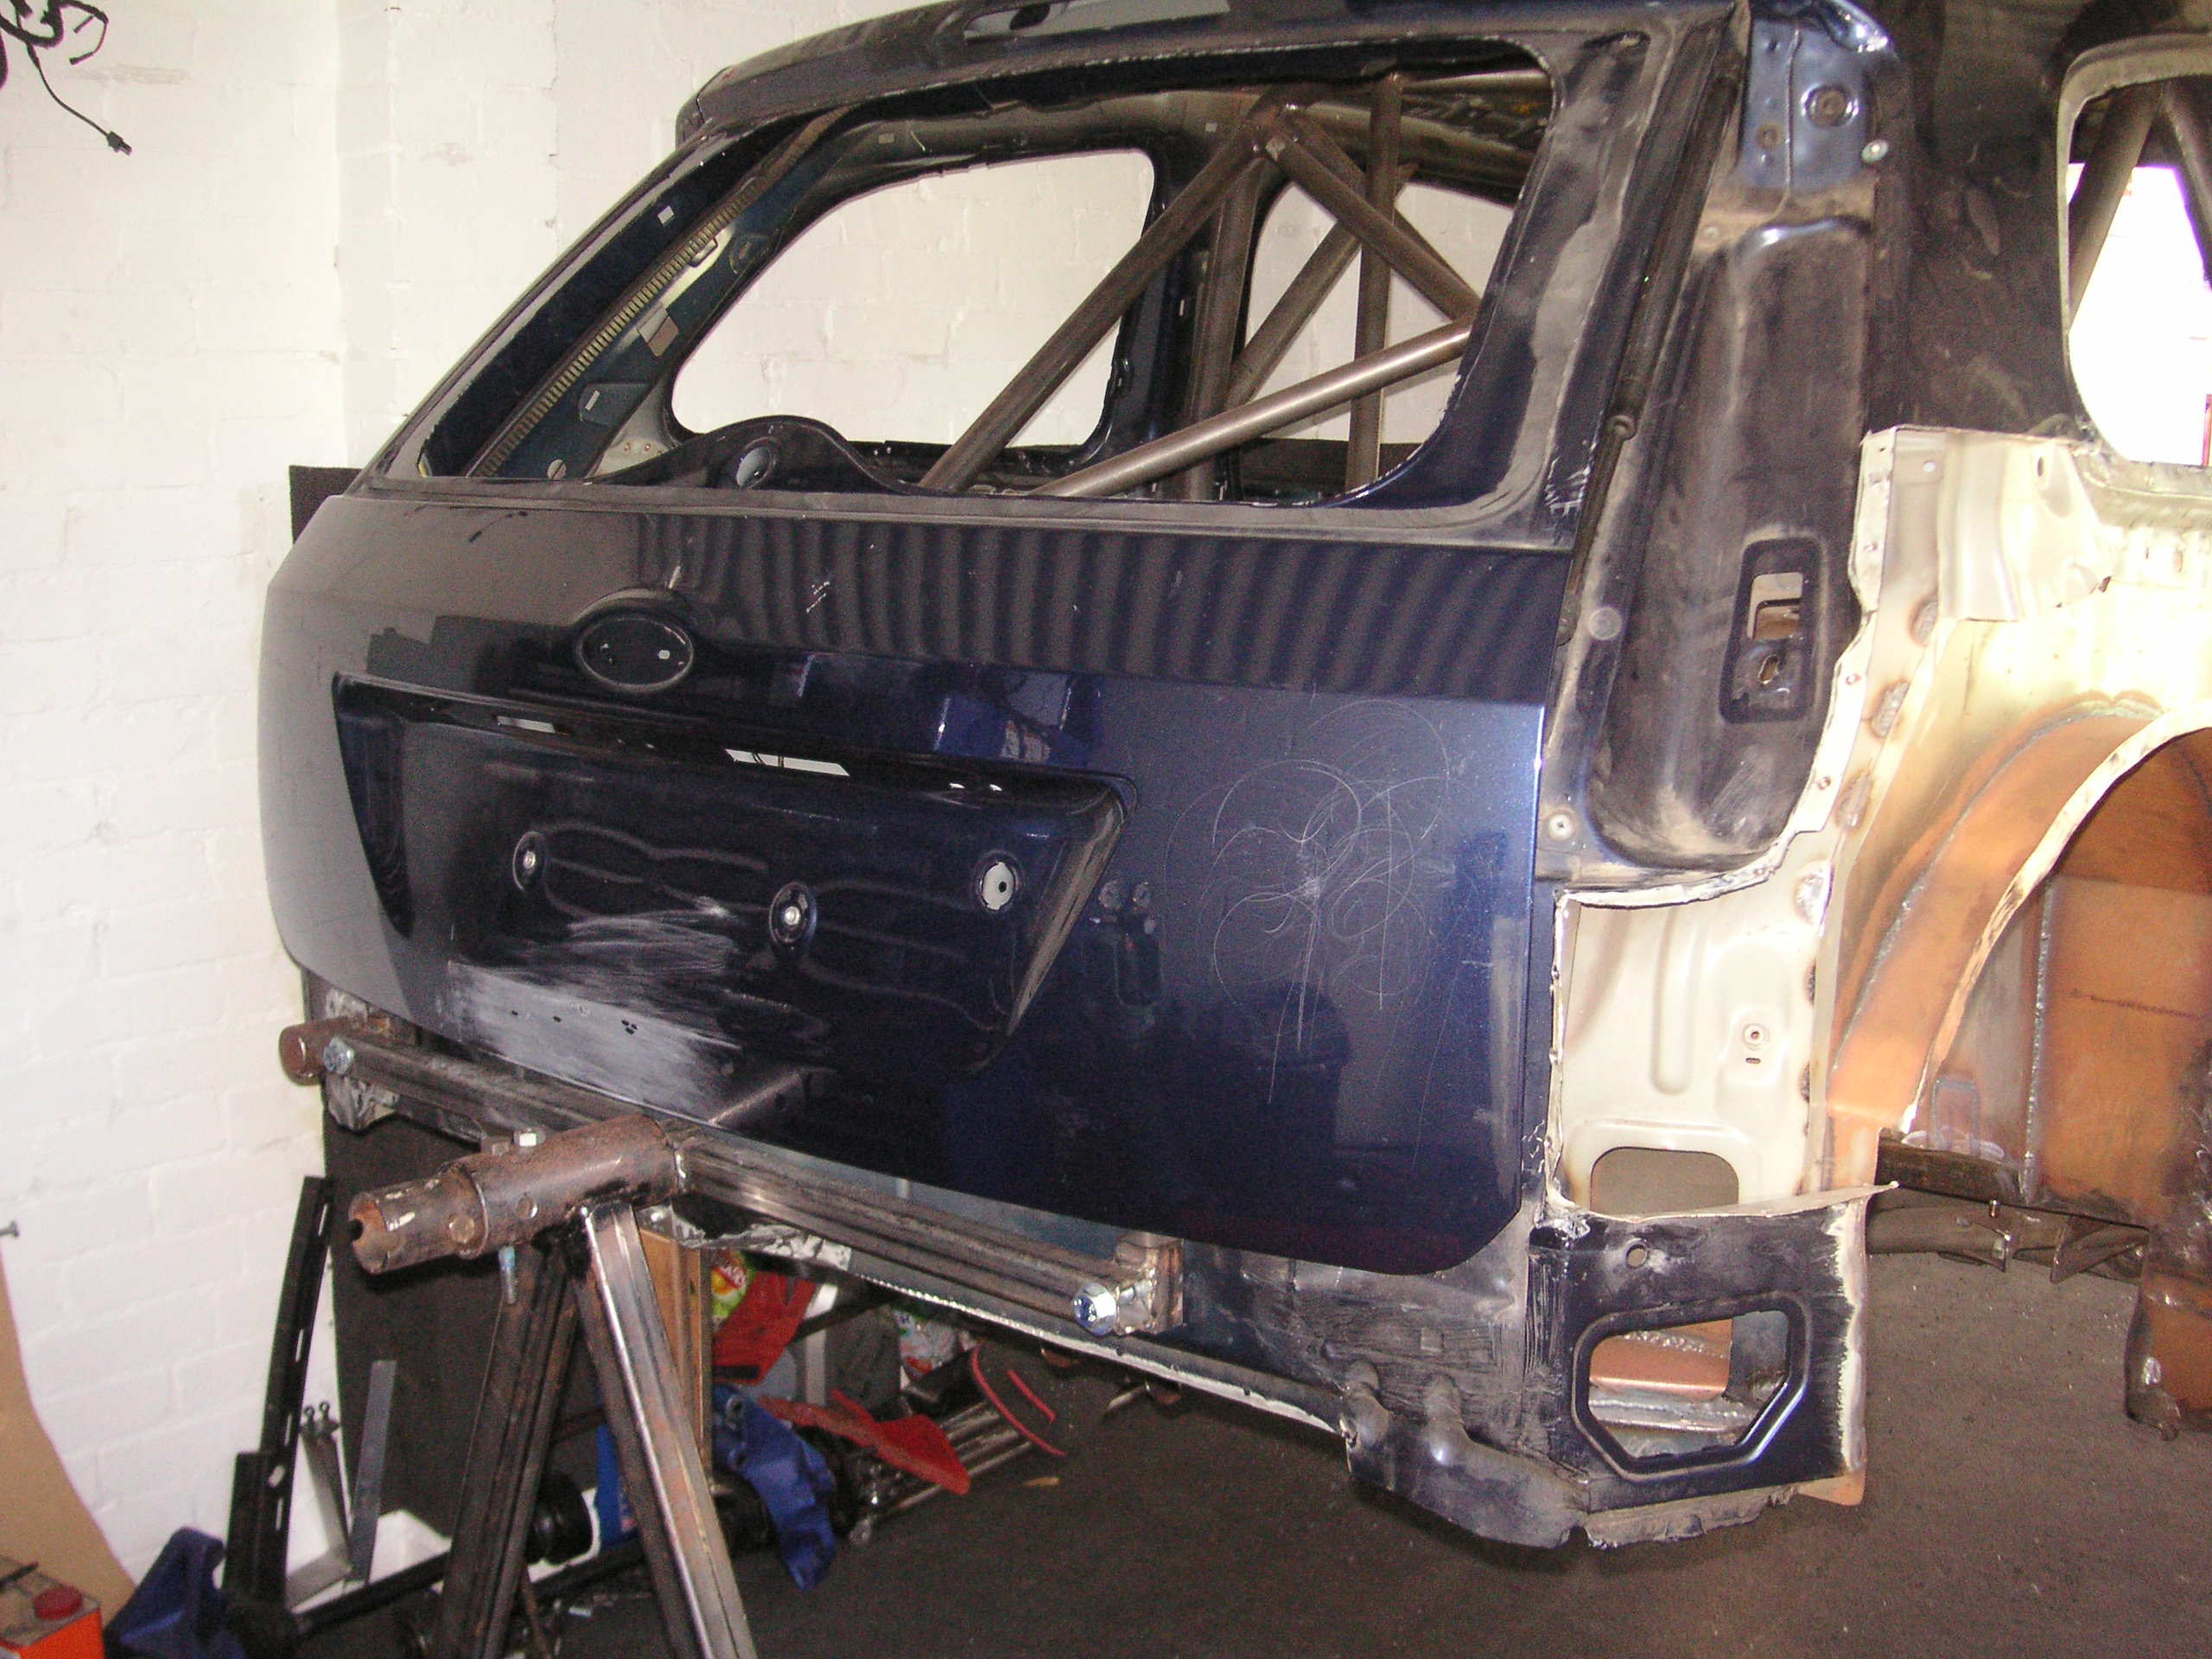
got the first layer on fiberglass on the rear quarters, got to involved with the car so didnt get time to do the second layer but will do it tomorrow then they are ready to be bonded on to the car for good when the shell is ready,
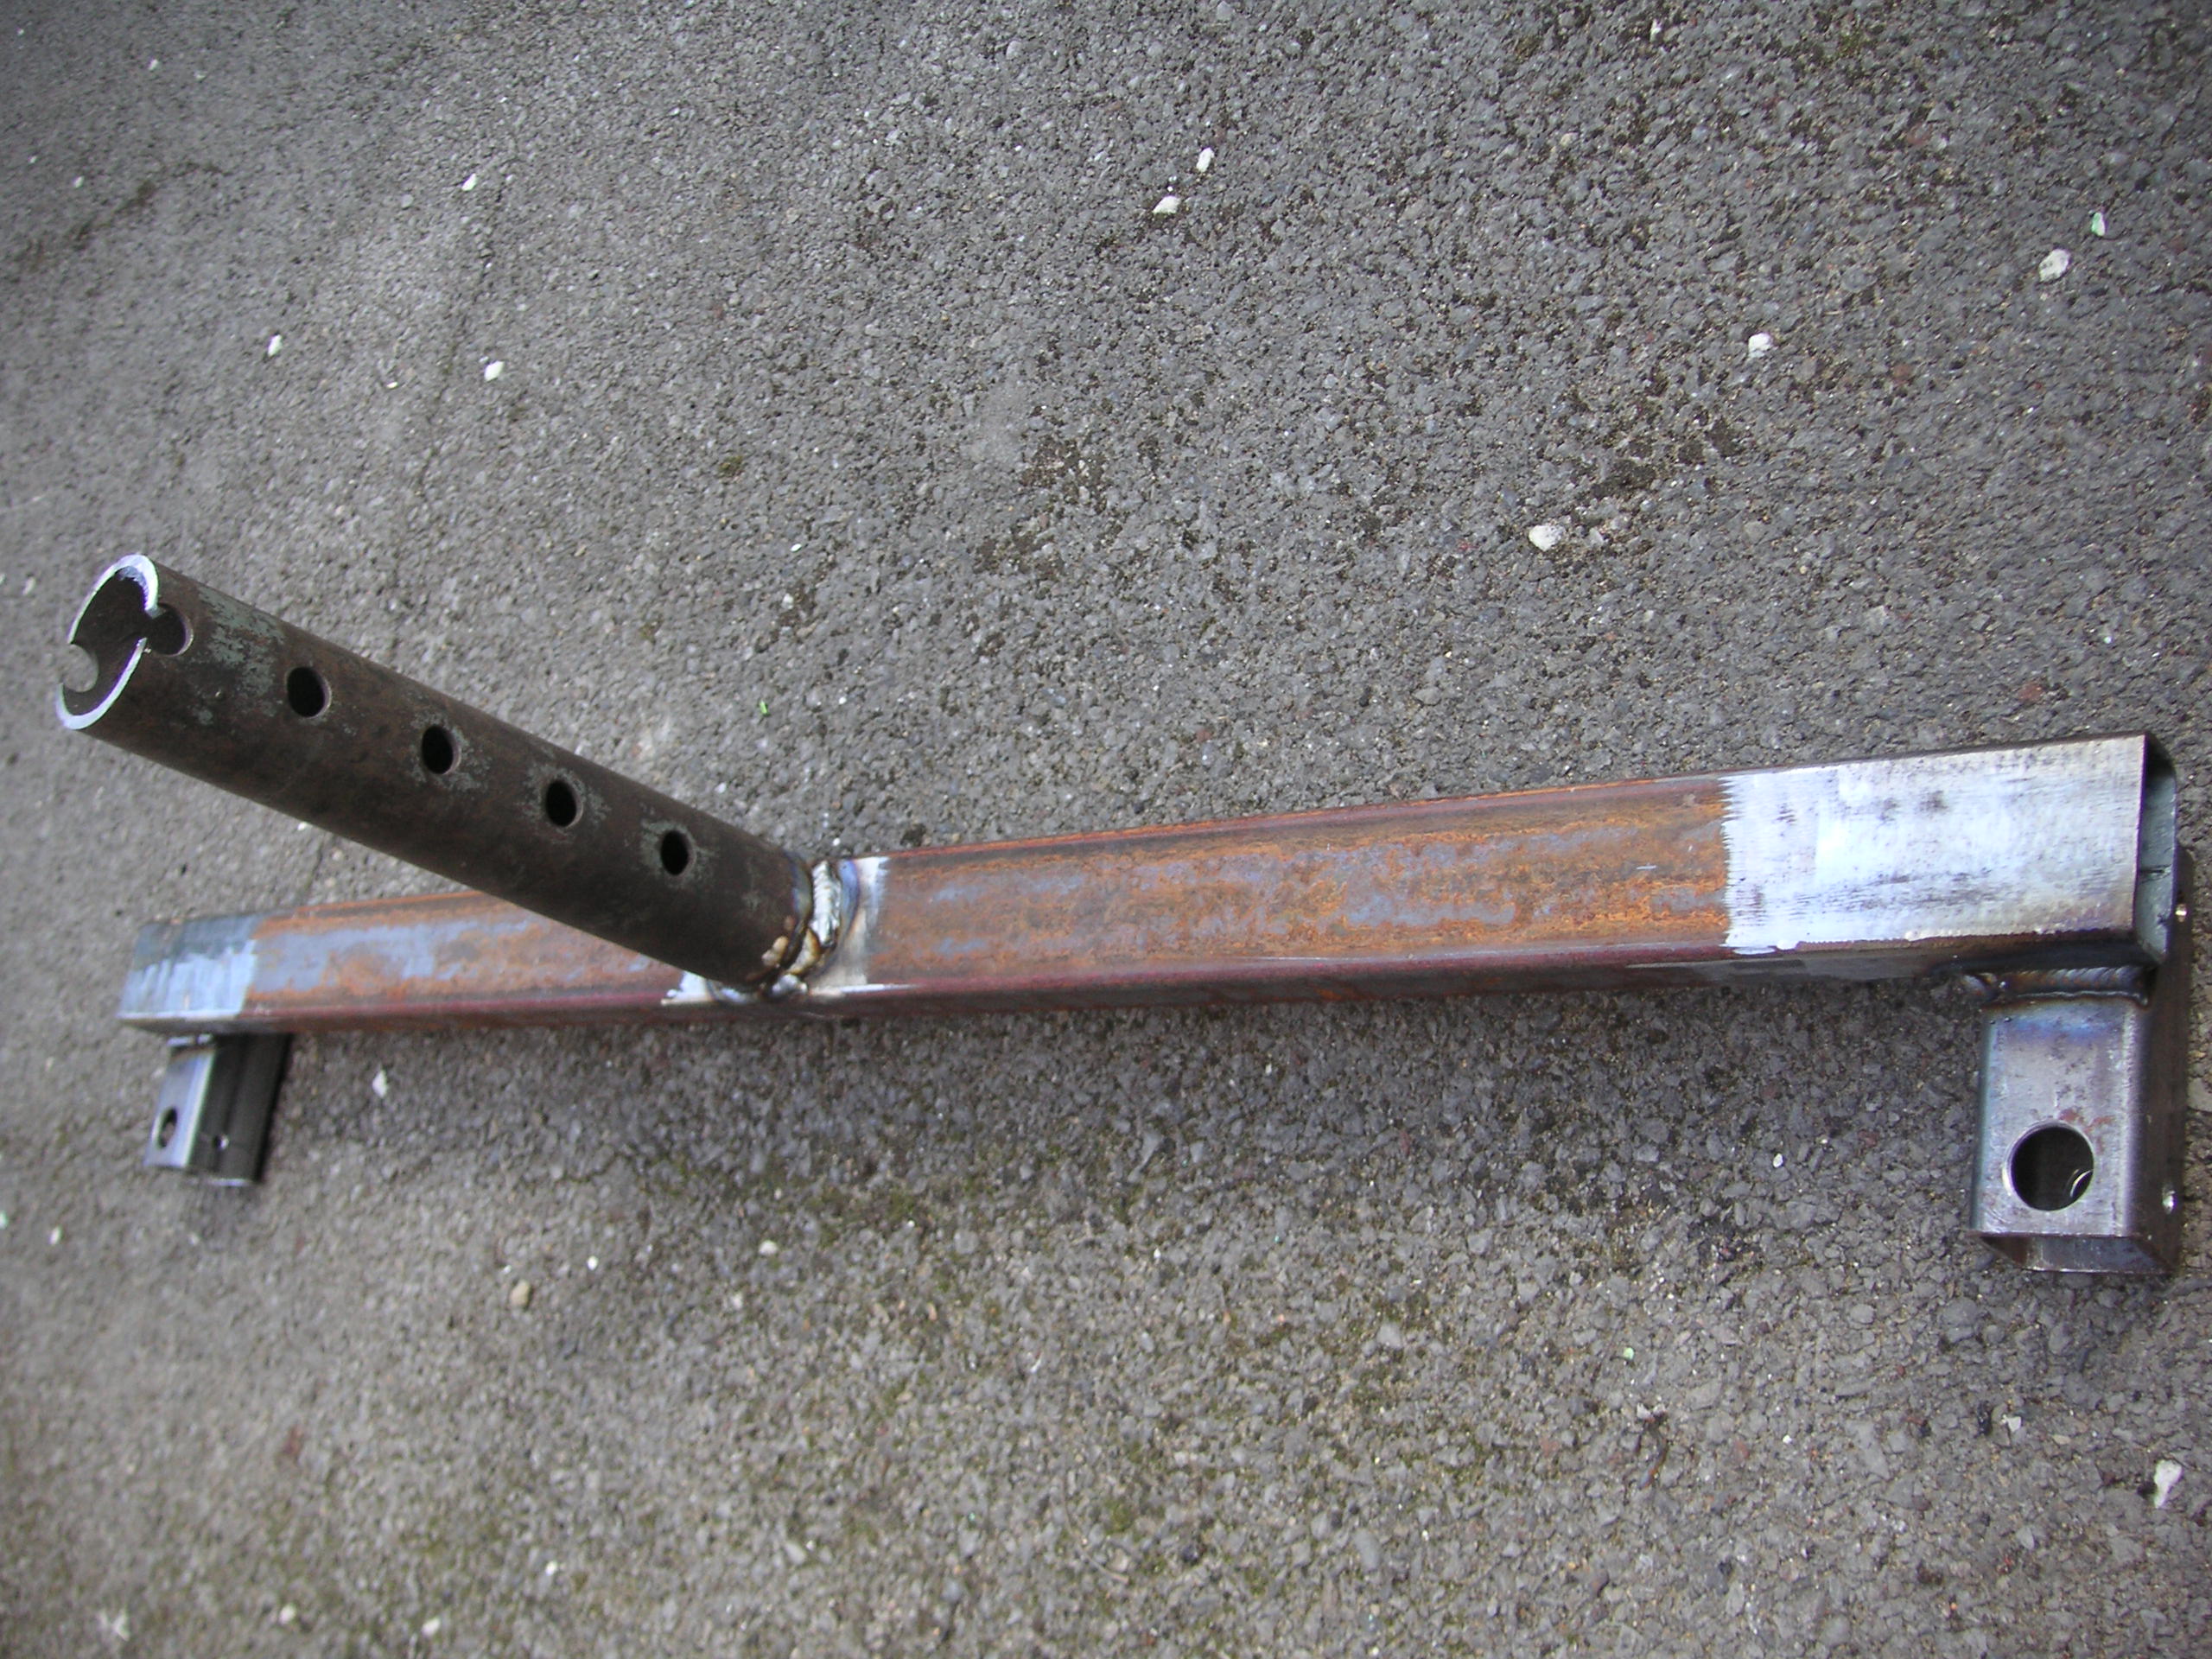
then made up the front and rear spit bars for the roll over jig
rear one
front one
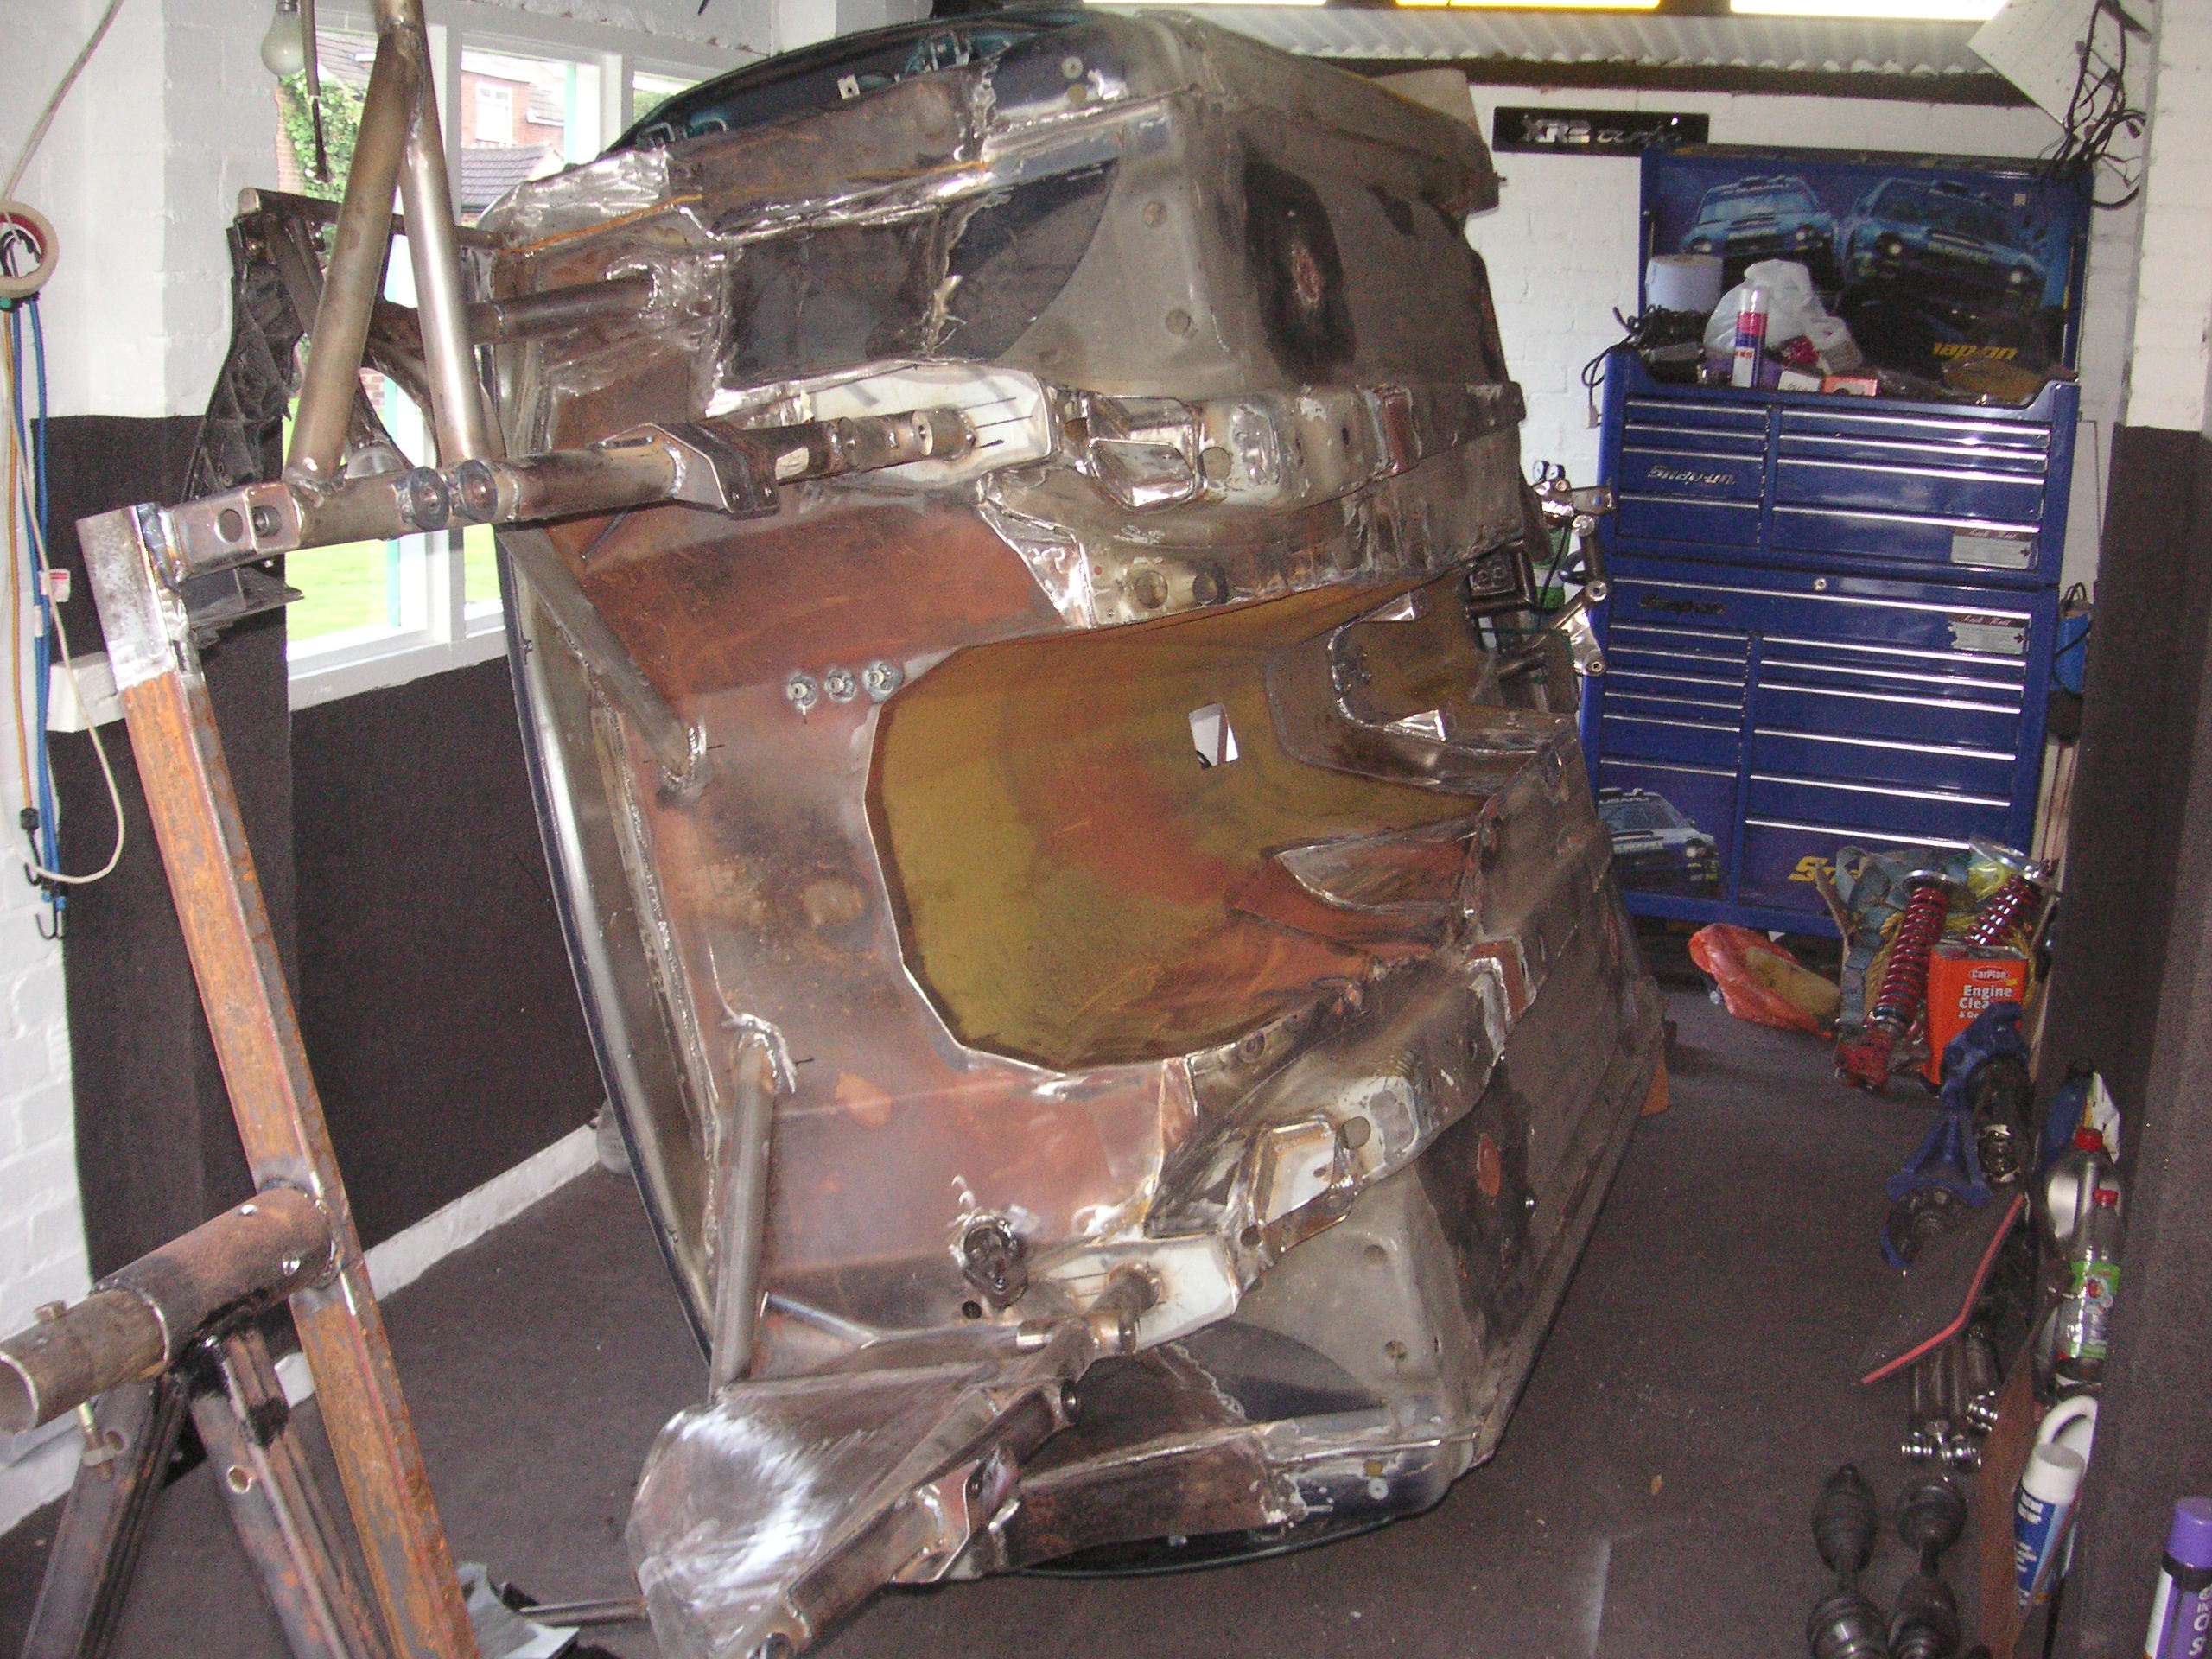
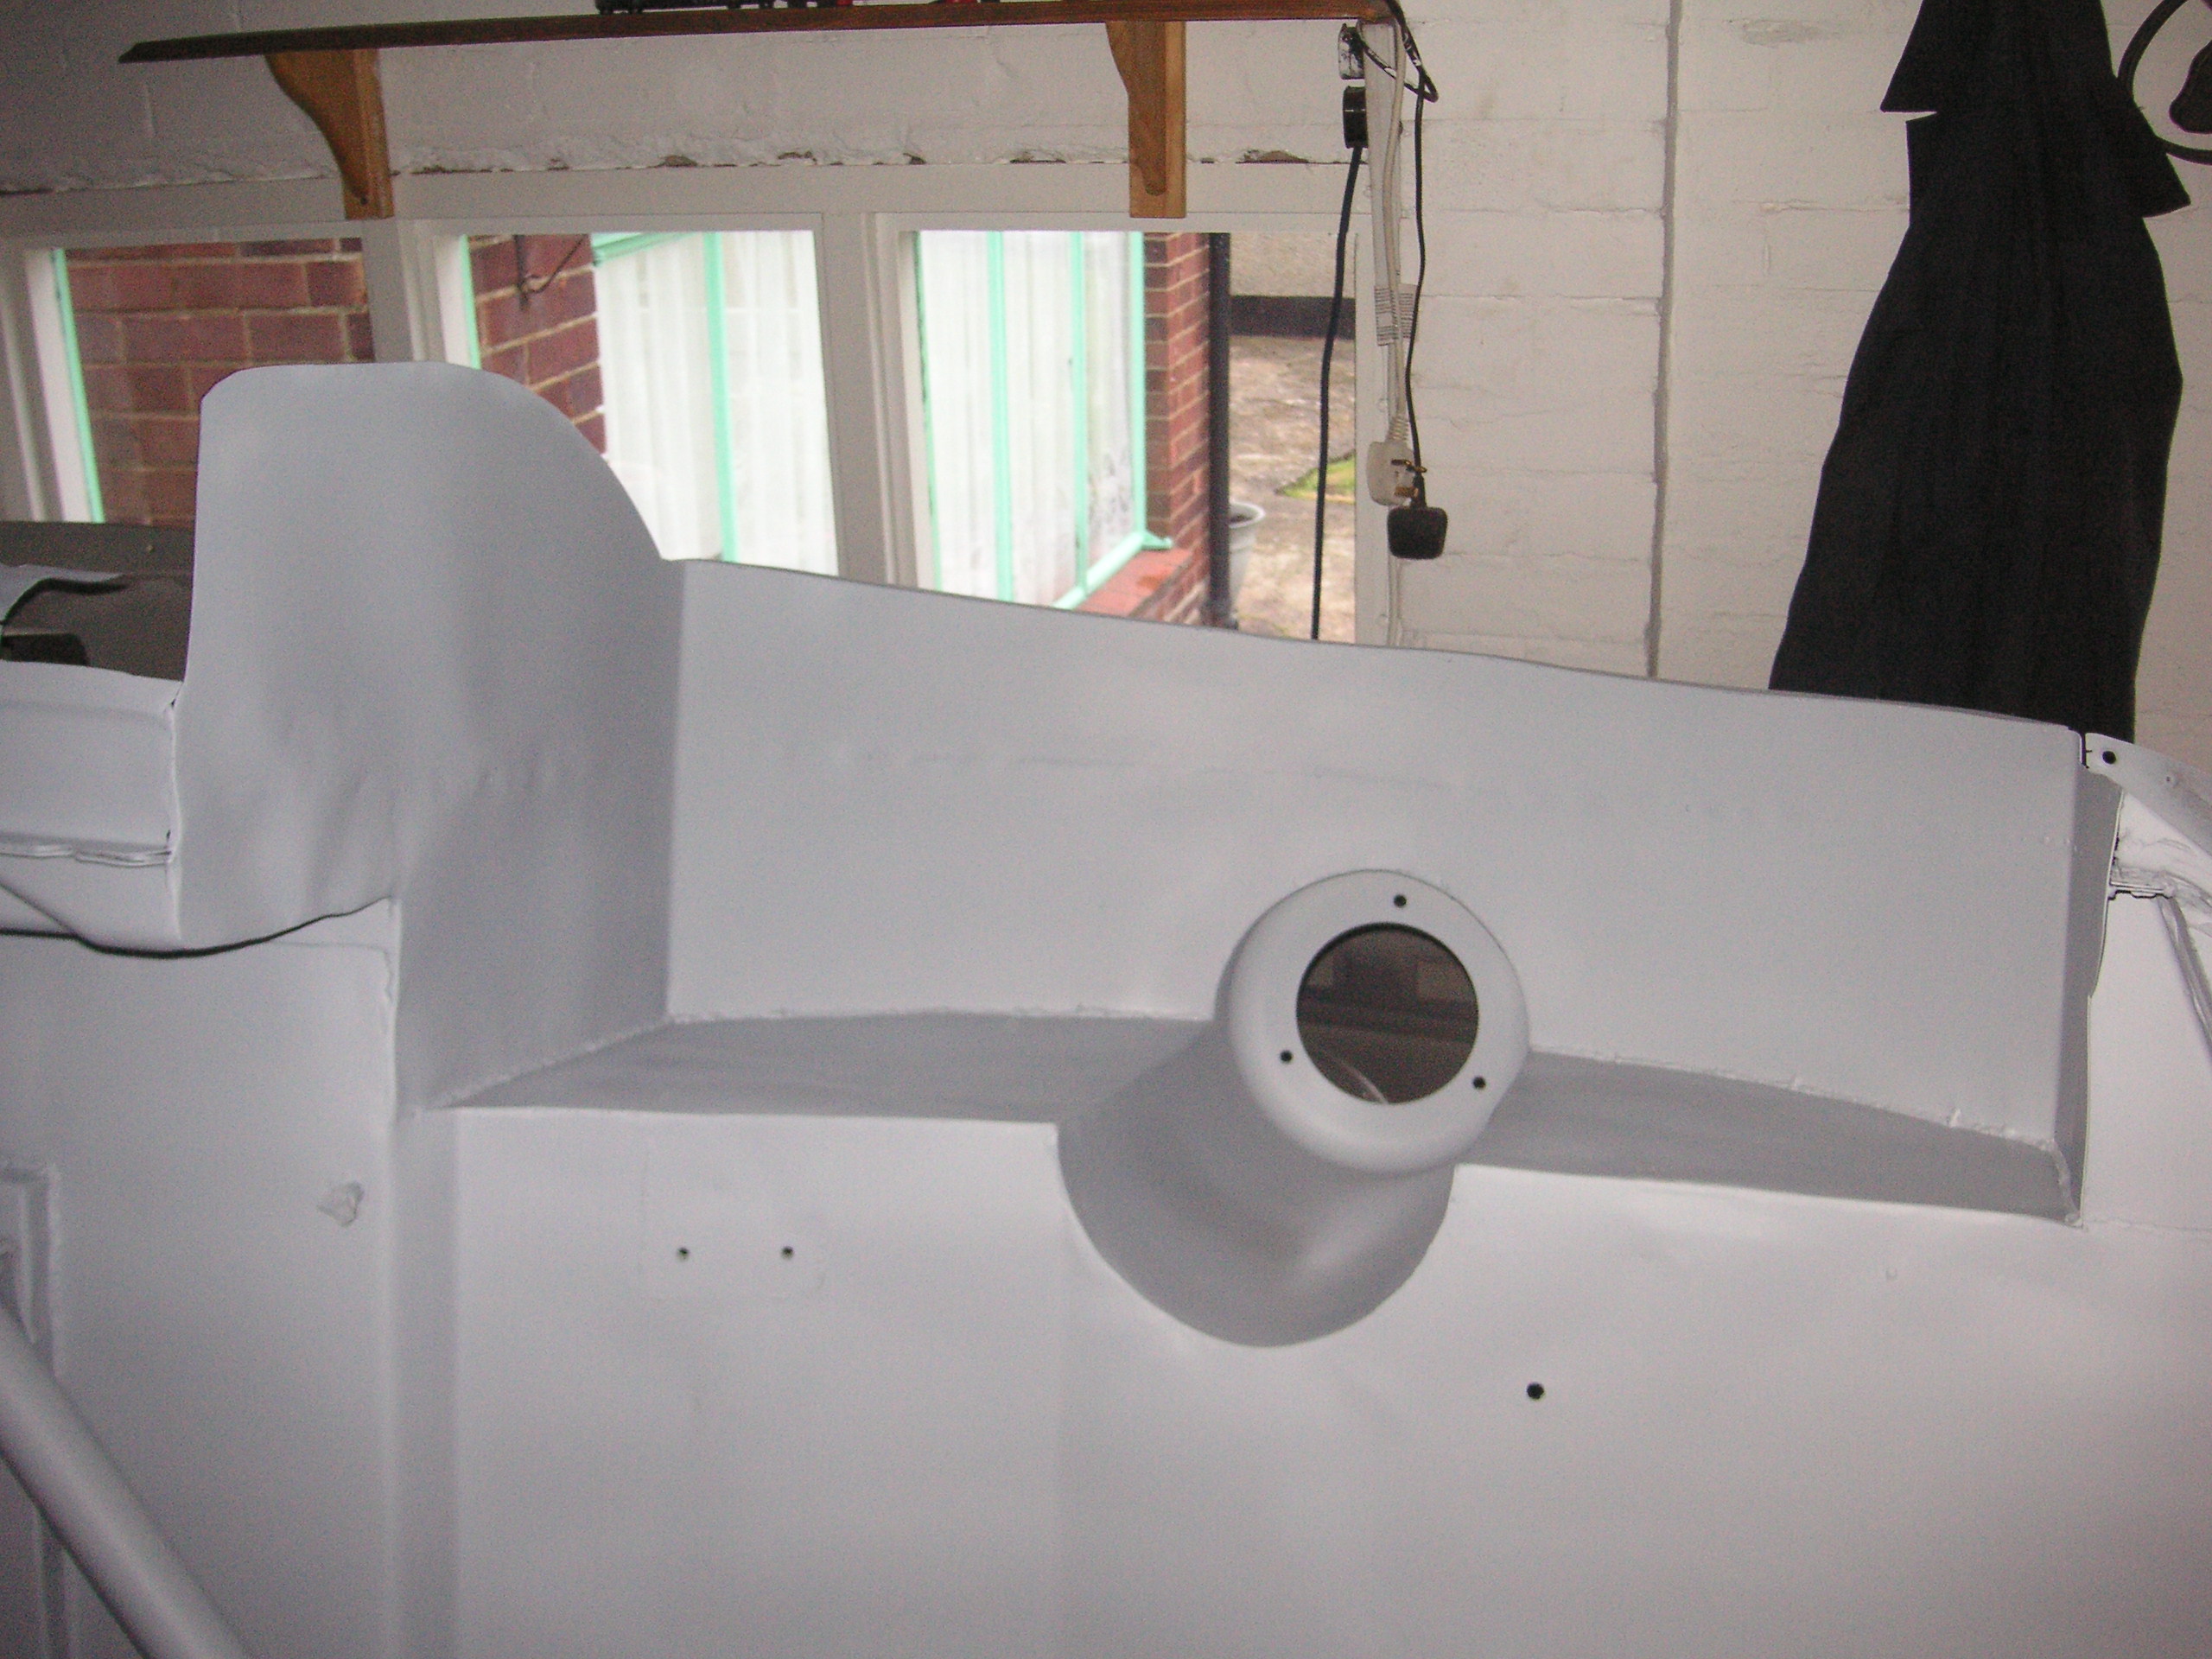
the car turns over easy but due to the fact the rollover point is not exactly in the vertically in the middle of the car so the car is top head and once turning wants to spin over quickly on its own and i found this out the hard way
after getting it on the spit i realized i hadn't taken the wings and lights off and forgot to lock the car in position and when i took the light and wing etc off one side that was enough for it to roll over on its own and because i was at the front of the car i could do fook all to stop it so it went over at speed and the passenger pillar hit the floor as the jig needs to be about 6" higher to roll right over freely so least this experiment told me something
the damage
its my own fault and am pissed off i made such a rookie error in not locking it off straight away but i always tend to learn these things the hard way, but the damage is minimal thank god, its not touched the roof at all at roof edge line and inside door pillar line are perfect still so its just dented in the middle so its an easy fix but should not of happened
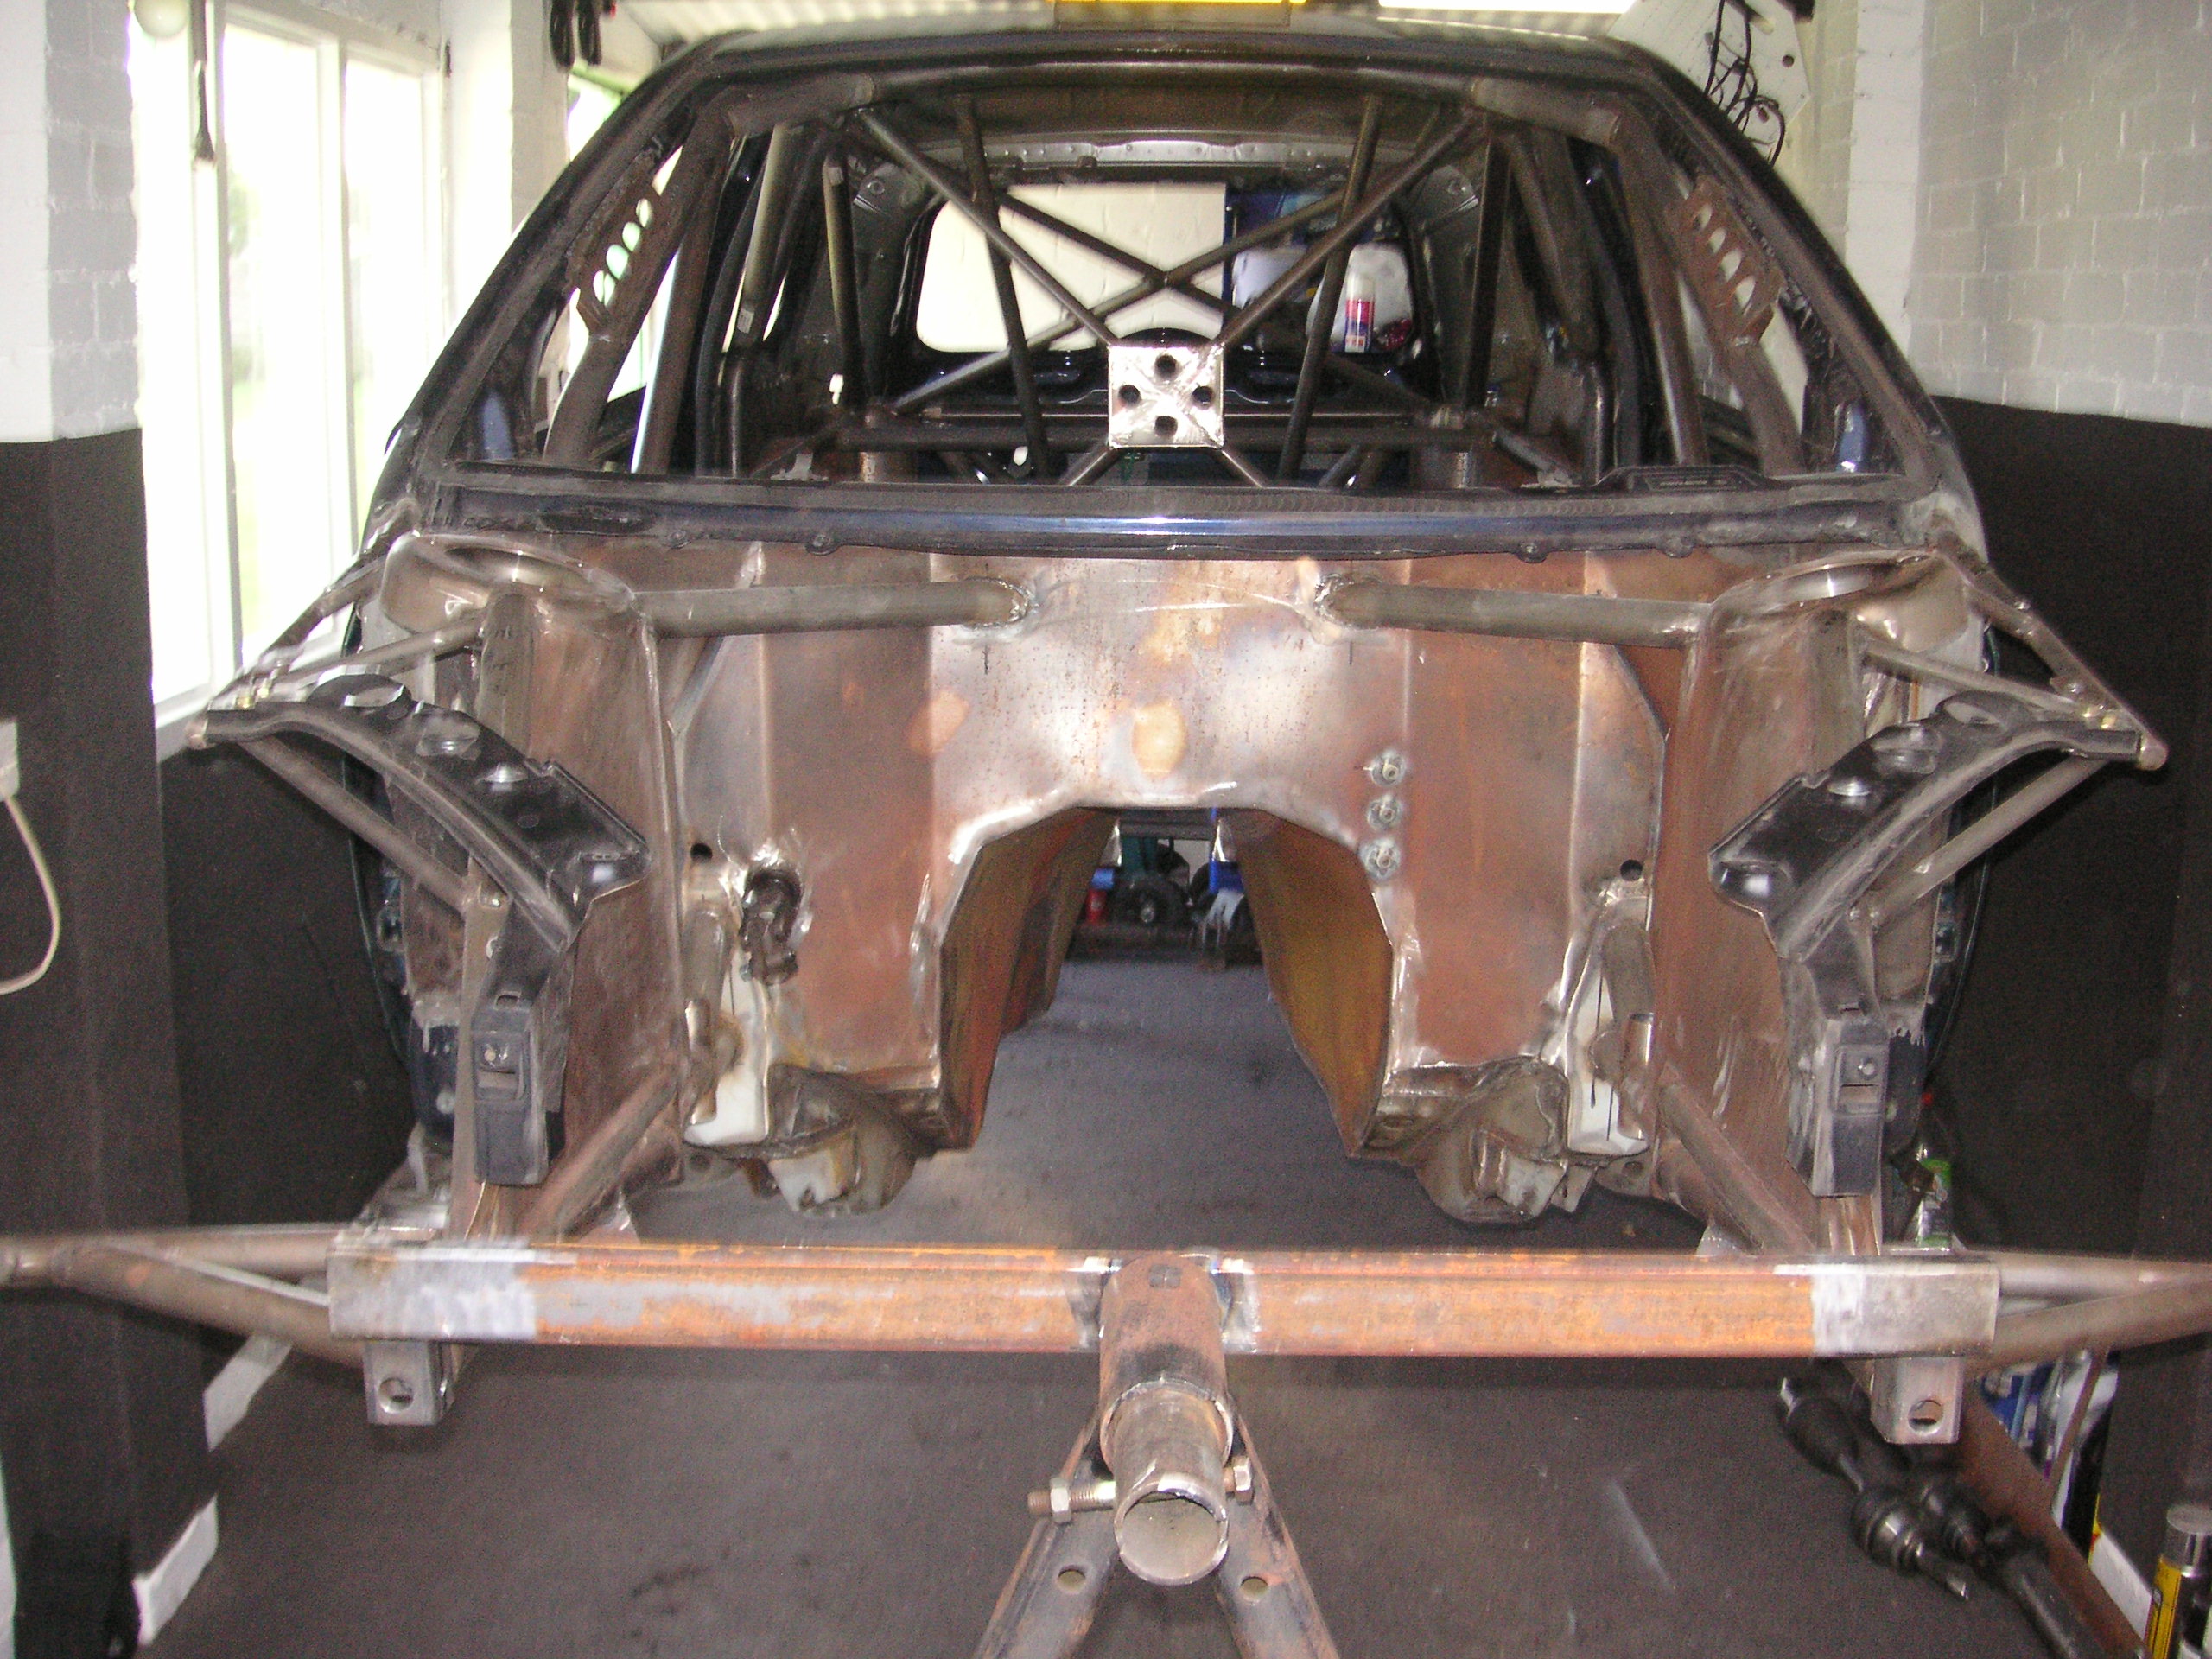
Any way the car is now on the jig and on its side so i can work on the underside
so tomorrow i will raise it up another 6" by welding bigger feet on the A-frames and make a start on cleaning it up and putting some etch primer on it at last so things should slowly beging to take shape now
got the first layer on fiberglass on the rear quarters, got to involved with the car so didnt get time to do the second layer but will do it tomorrow then they are ready to be bonded on to the car for good when the shell is ready,
then made up the front and rear spit bars for the roll over jig
rear one
front one
the car turns over easy but due to the fact the rollover point is not exactly in the vertically in the middle of the car so the car is top head and once turning wants to spin over quickly on its own and i found this out the hard way
after getting it on the spit i realized i hadn't taken the wings and lights off and forgot to lock the car in position and when i took the light and wing etc off one side that was enough for it to roll over on its own and because i was at the front of the car i could do fook all to stop it so it went over at speed and the passenger pillar hit the floor as the jig needs to be about 6" higher to roll right over freely so least this experiment told me something
the damage
its my own fault and am pissed off i made such a rookie error in not locking it off straight away but i always tend to learn these things the hard way, but the damage is minimal thank god, its not touched the roof at all at roof edge line and inside door pillar line are perfect still so its just dented in the middle so its an easy fix but should not of happened
Any way the car is now on the jig and on its side so i can work on the underside
so tomorrow i will raise it up another 6" by welding bigger feet on the A-frames and make a start on cleaning it up and putting some etch primer on it at last so things should slowly beging to take shape now
Last edited by M K; 28-09-2010 at 09:09 AM.
 13-09-2010, 06:33 AM
#858
Regular Contributor
Good stuff, see you got a nice place to work in too. The damage to the door top is pretty minor in the pics so looks like you got away with it
13-09-2010, 04:49 PM
#859
cheers guys, yeah was lucky damage was minor,
A-frame has now been made higher and although it doesnt really need to it can now be spun all the way over,
so gonna start the cleaning of the arches and underside ready for some primer, as i cant lay my hands on a compressor just yet alot of the etch primer will be rattle can for the underside and engine bay and after reading alot of good reviews i have decided to use ACID 8 etch primer which is grey as well so a good base for the magnum grey
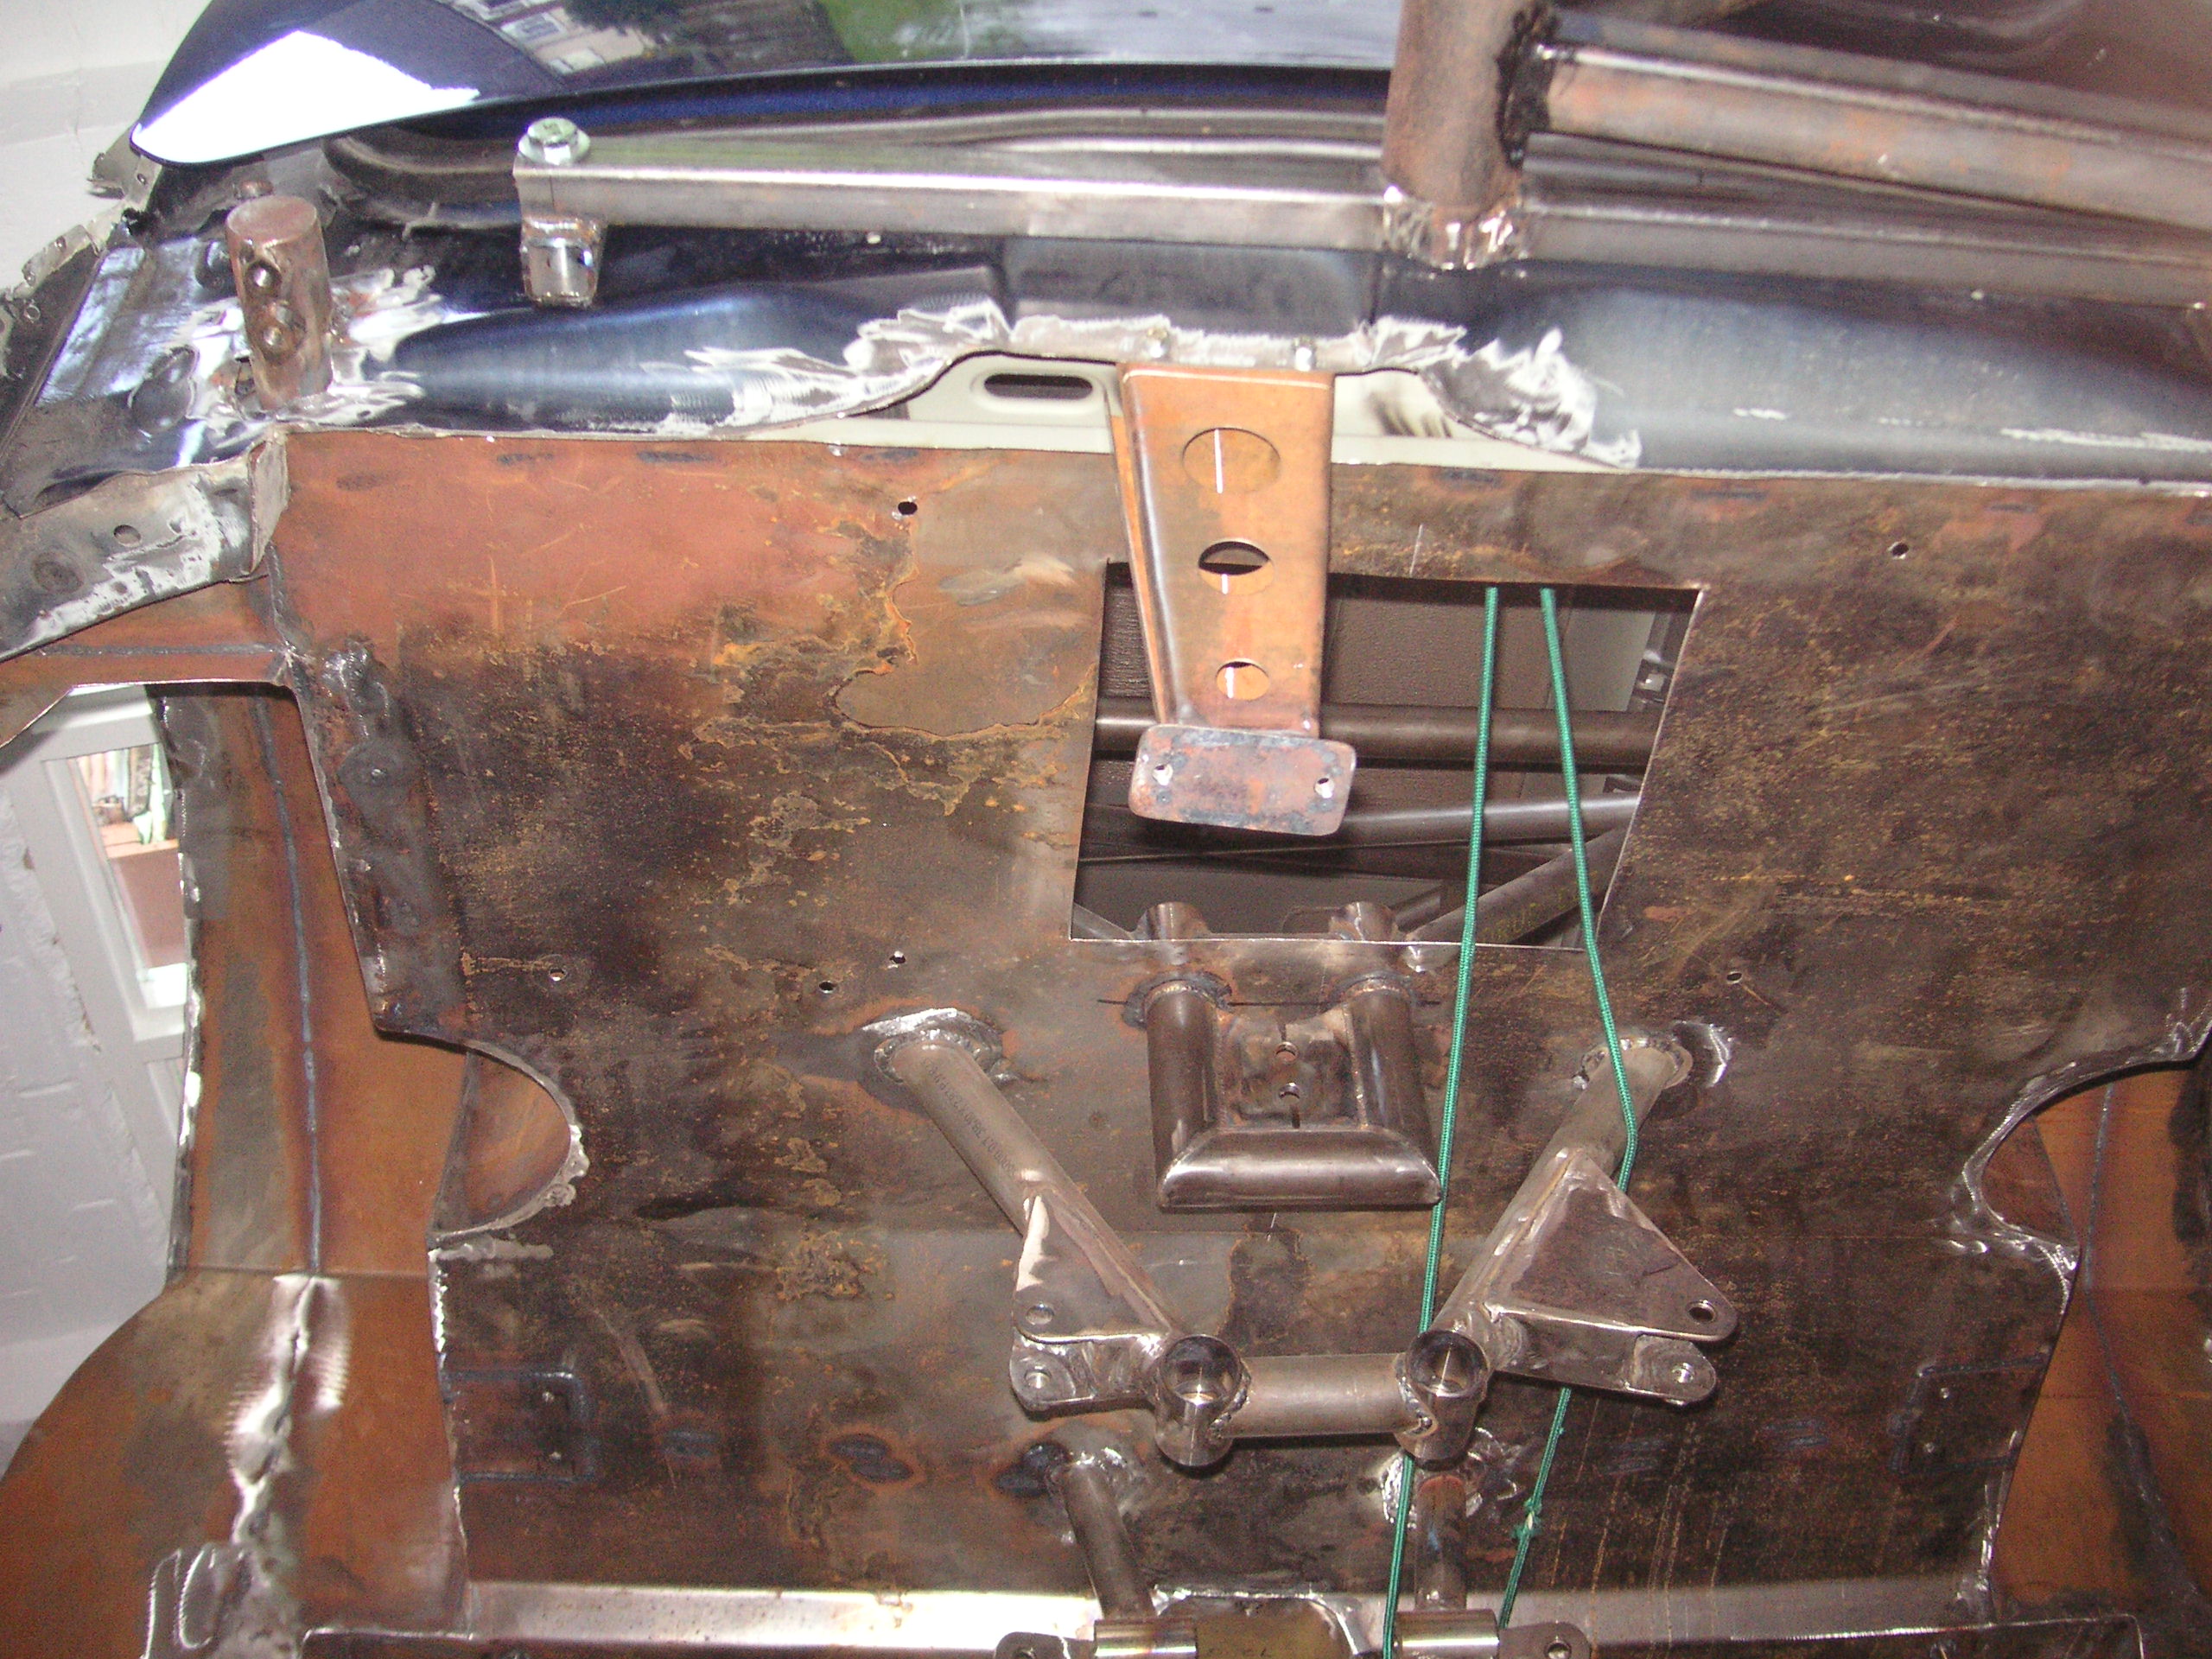
got a load of tiny holes to weld first though in the floor pans mainly where the old seat mounts were taken out with a spot weld drill and left loads of pin holes etc so once cleaned back to bare metal they will all be getting filled before primer
A-frame has now been made higher and although it doesnt really need to it can now be spun all the way over,
so gonna start the cleaning of the arches and underside ready for some primer, as i cant lay my hands on a compressor just yet alot of the etch primer will be rattle can for the underside and engine bay and after reading alot of good reviews i have decided to use ACID 8 etch primer which is grey as well so a good base for the magnum grey
got a load of tiny holes to weld first though in the floor pans mainly where the old seat mounts were taken out with a spot weld drill and left loads of pin holes etc so once cleaned back to bare metal they will all be getting filled before primer
 13-09-2010, 07:15 PM
#862
or modify the jig to the centerline of the car lol ,
keep cracking mate , if it makes you feel better when moving mine in the old unit on two engine stands that were modfied , i decided to pull on one of them stupidly forgetting the pin wasnt in ,
needless to say the mount came out , and the front end of the shell dropped 5 feet
glad id pre orderd a replacement front panel when buying the wings
21-09-2010, 03:39 PM
#863
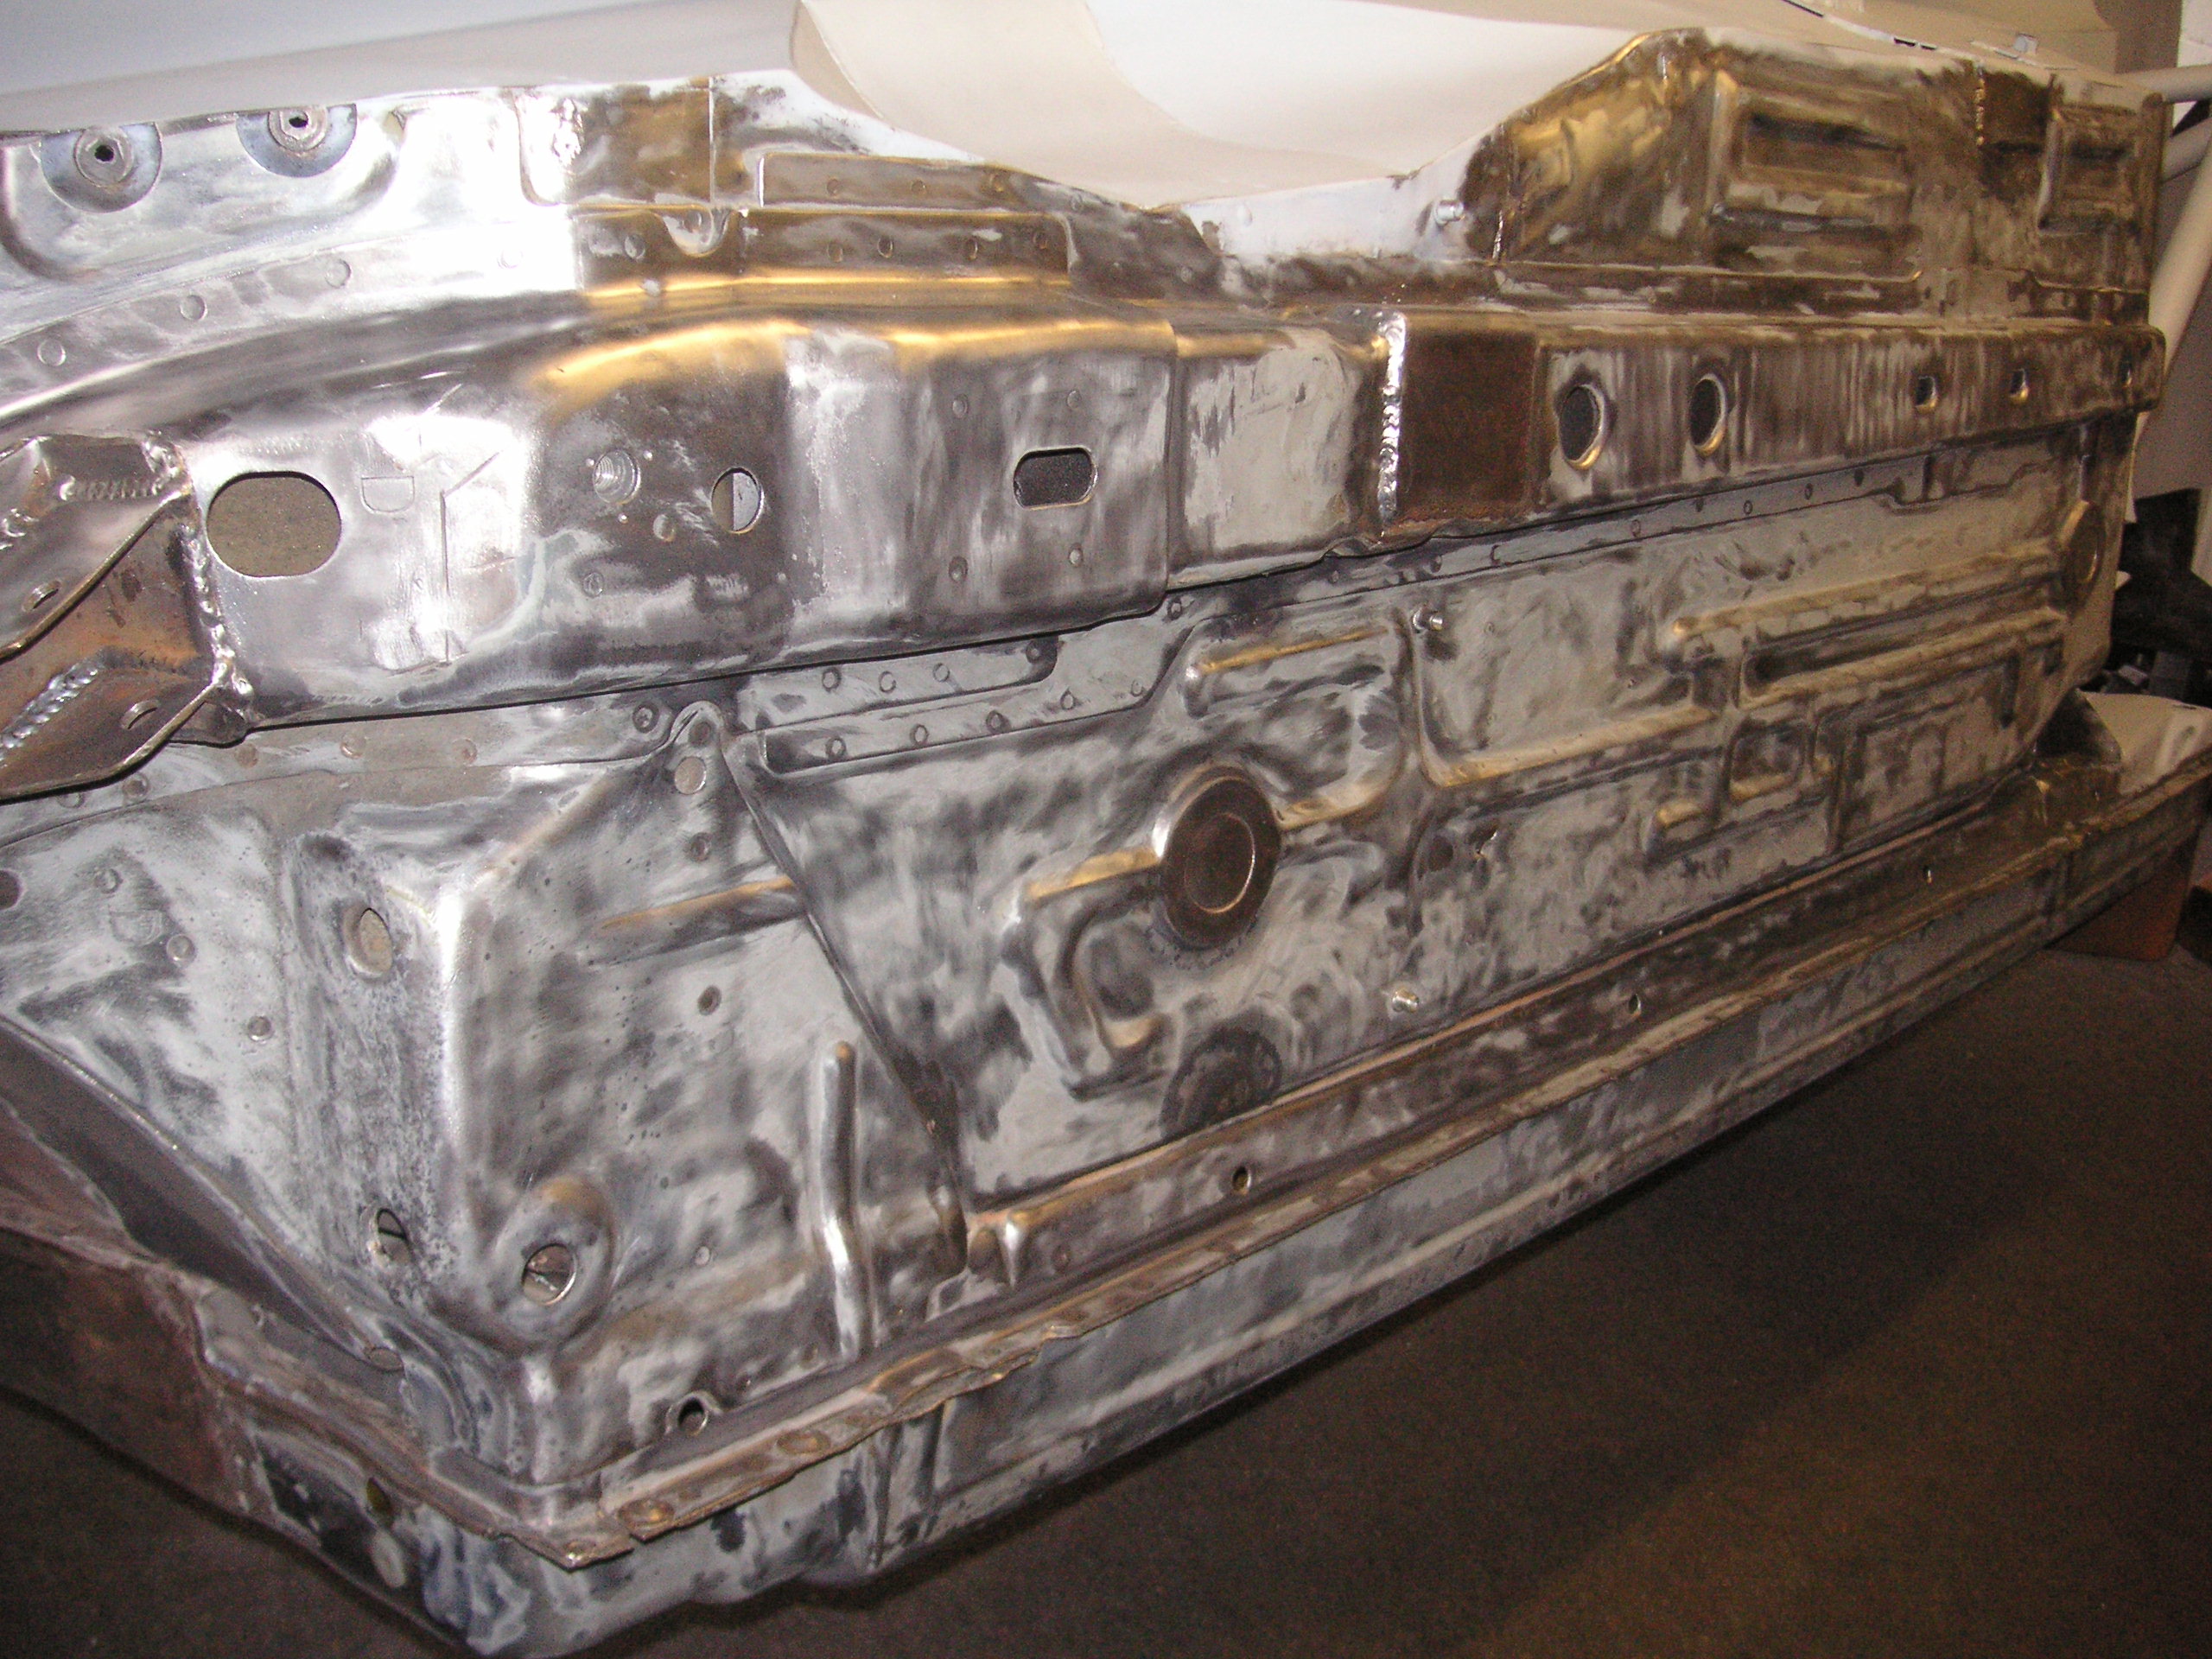
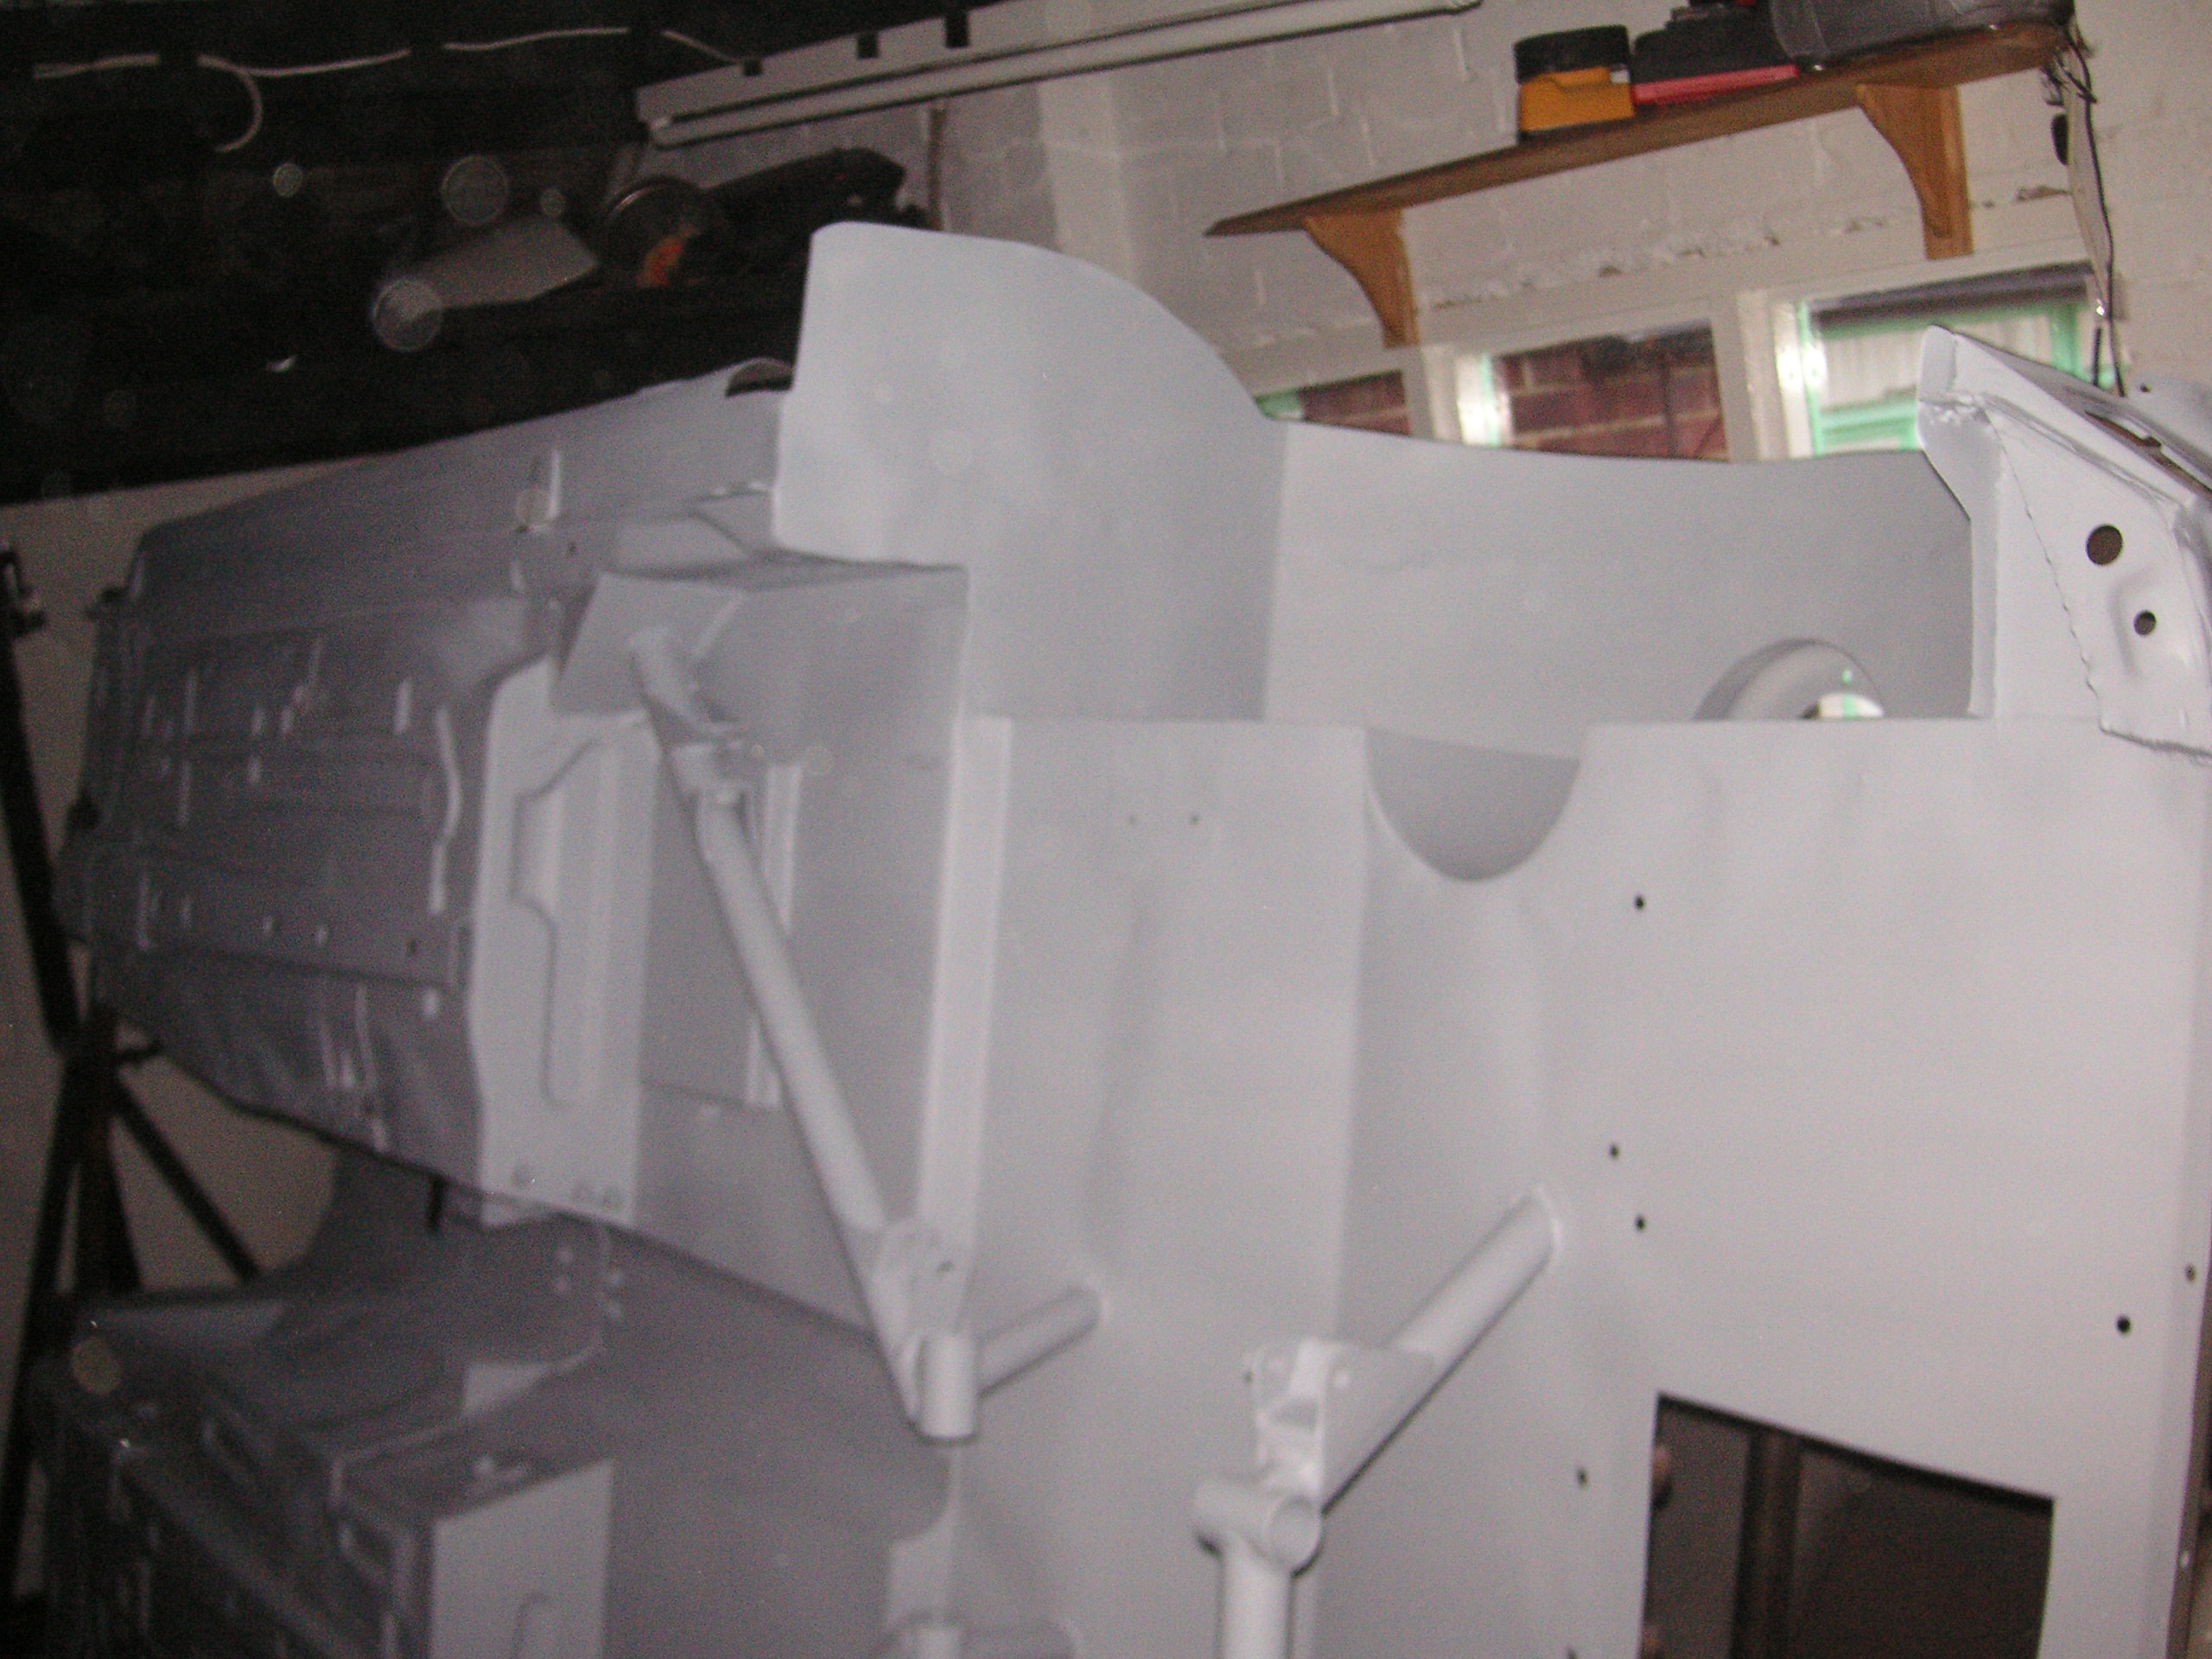
Spent a few hours with the grinder and sand paper the last 2 days and this is the result,
from this....

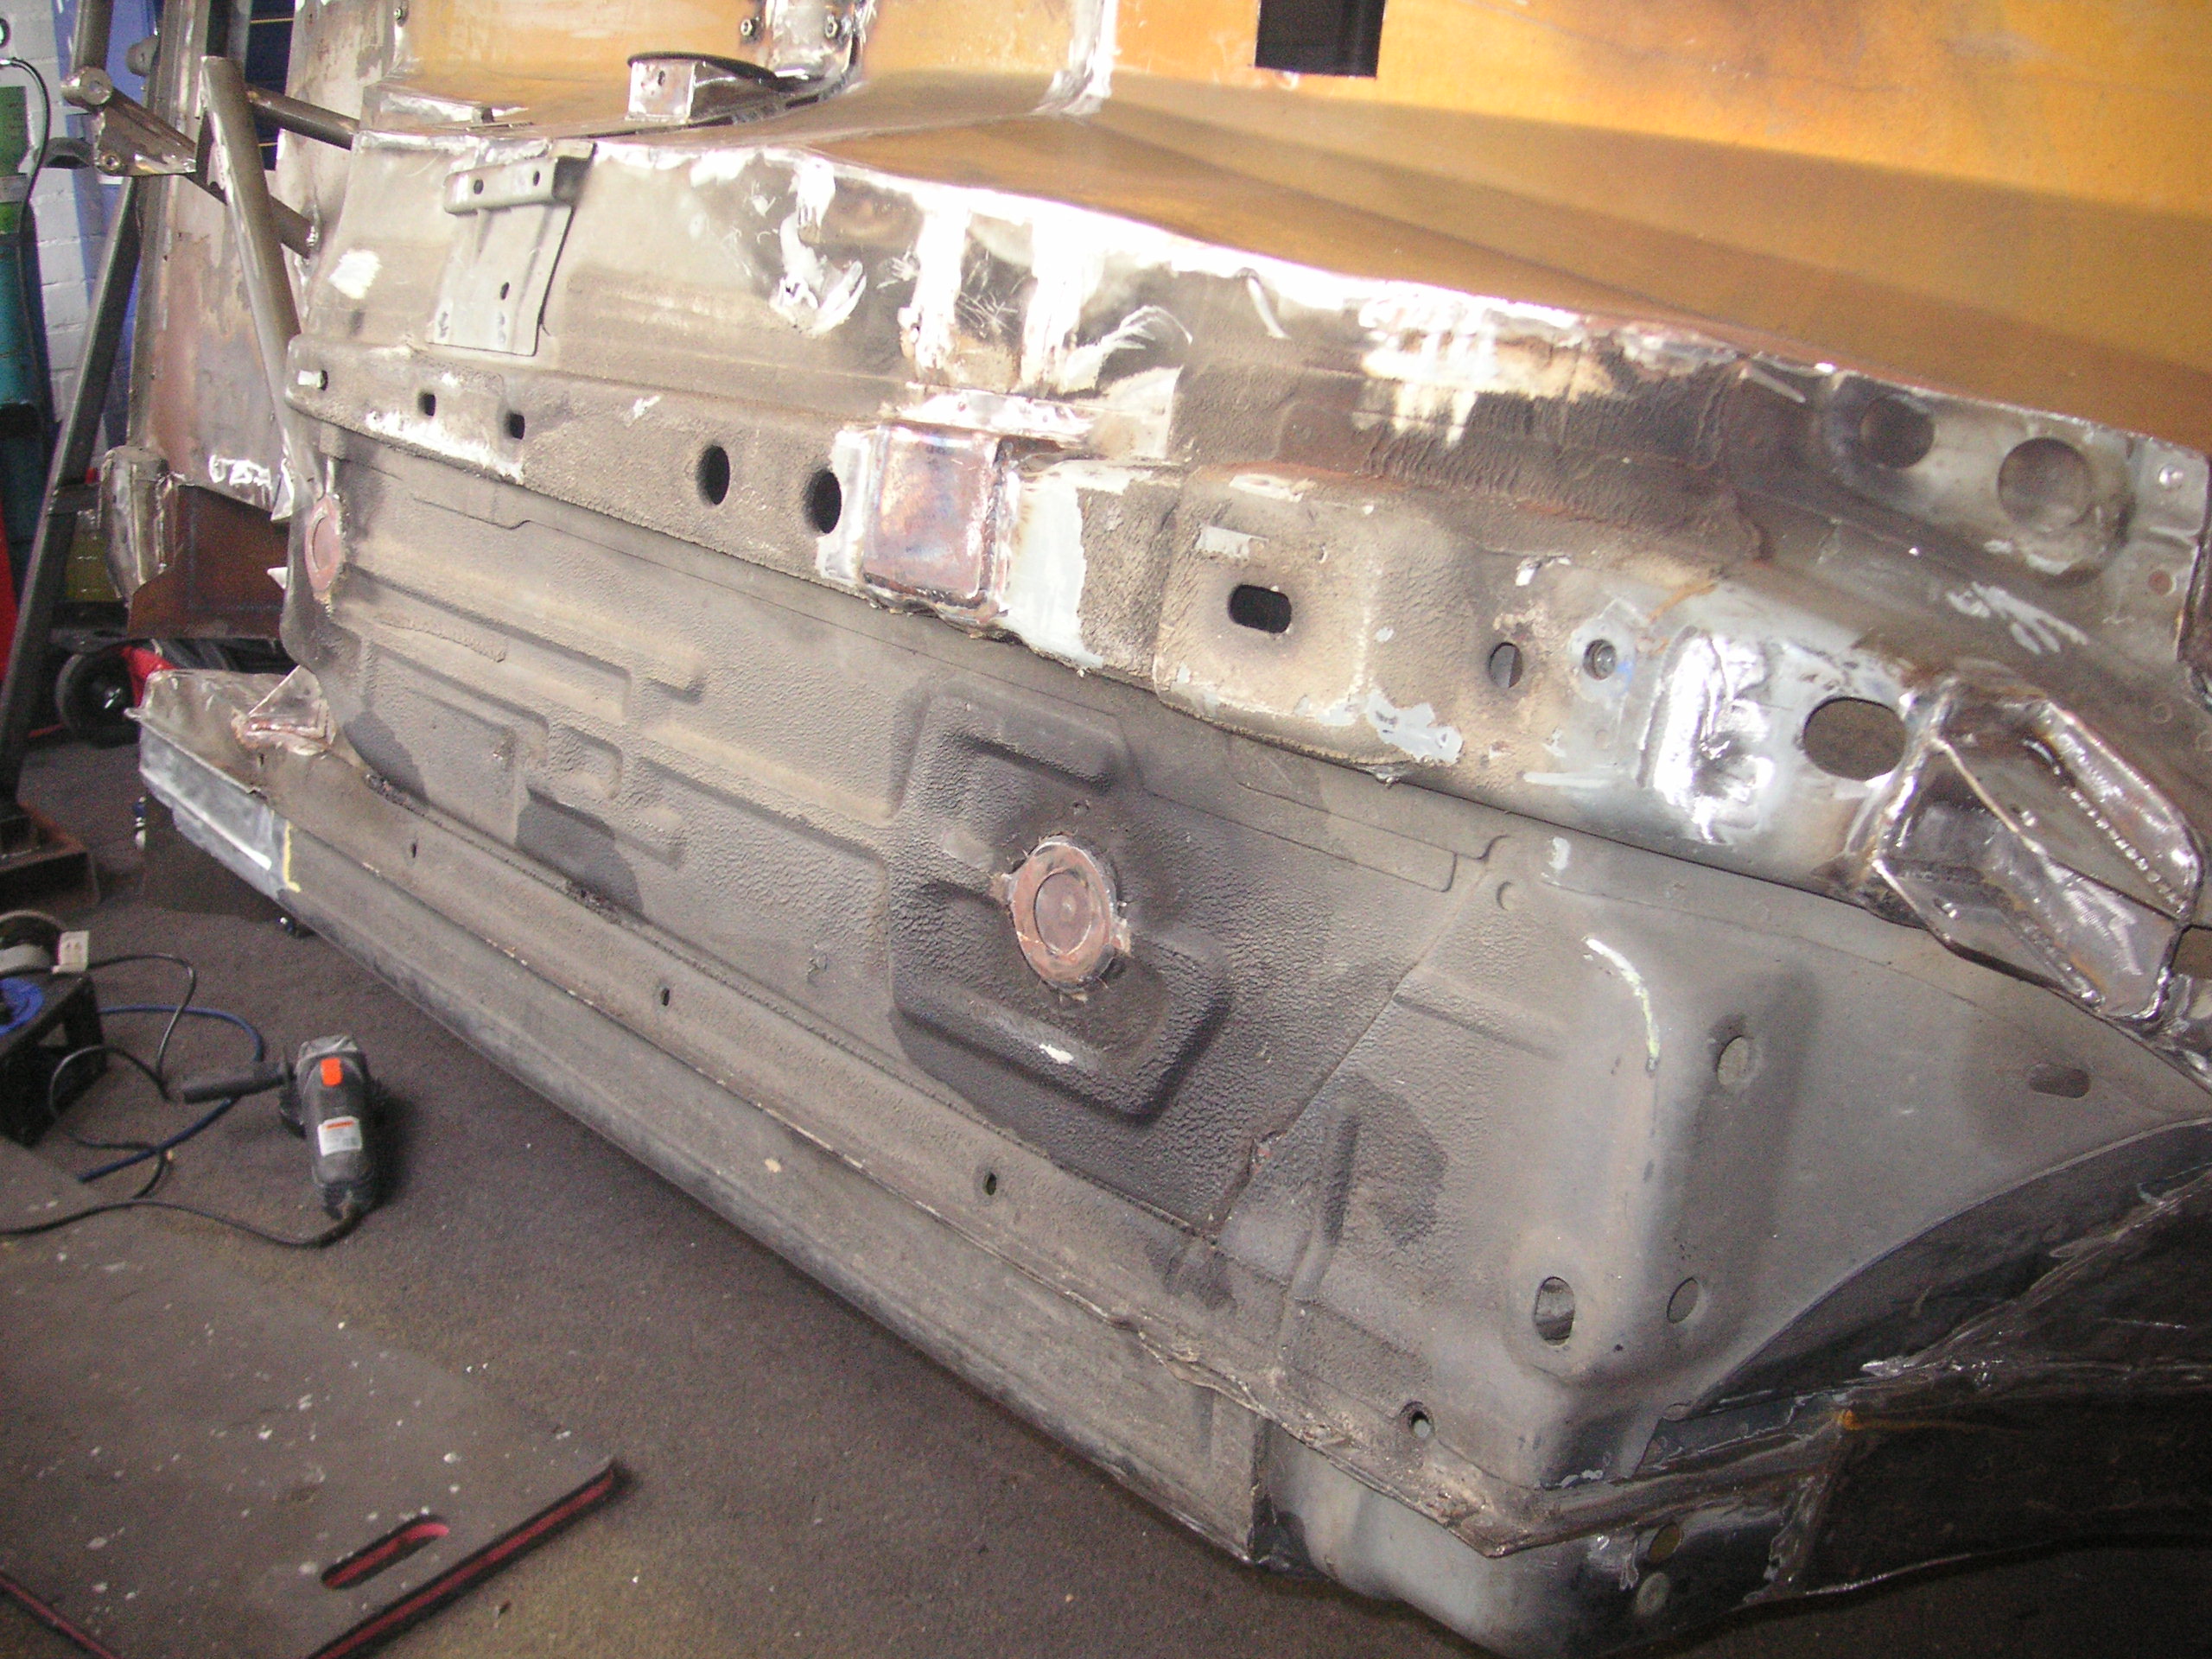
to this.....
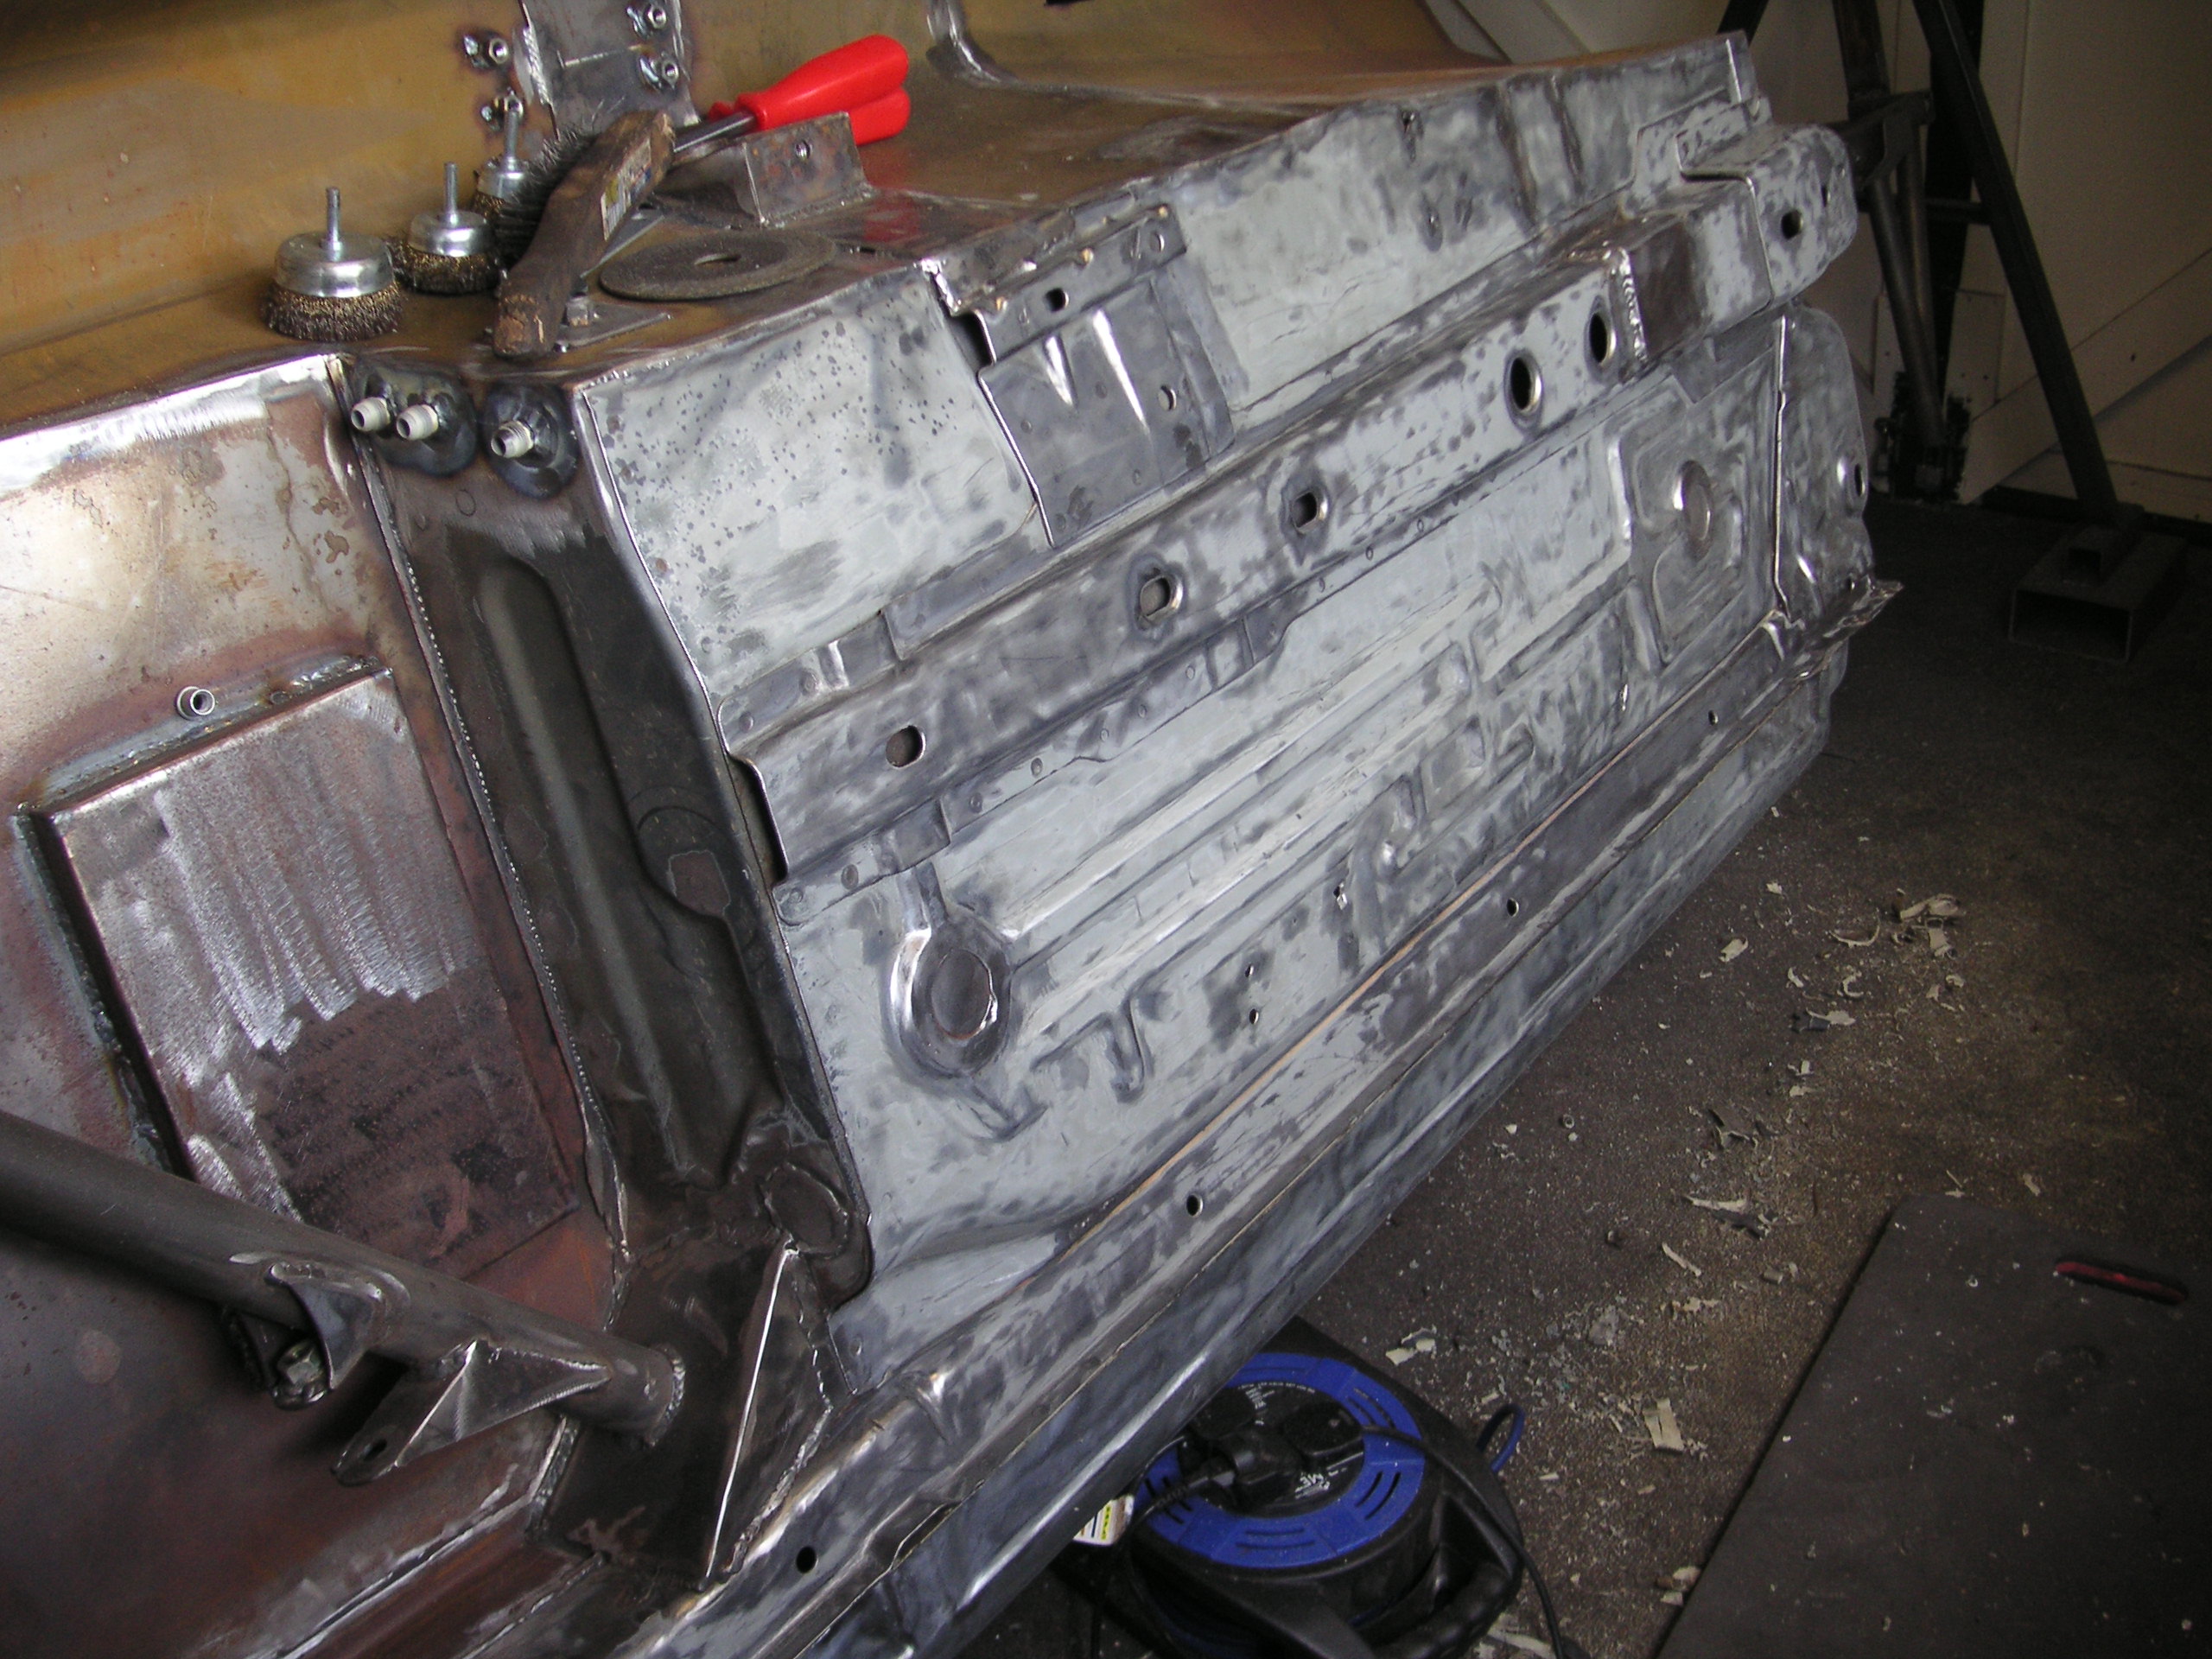
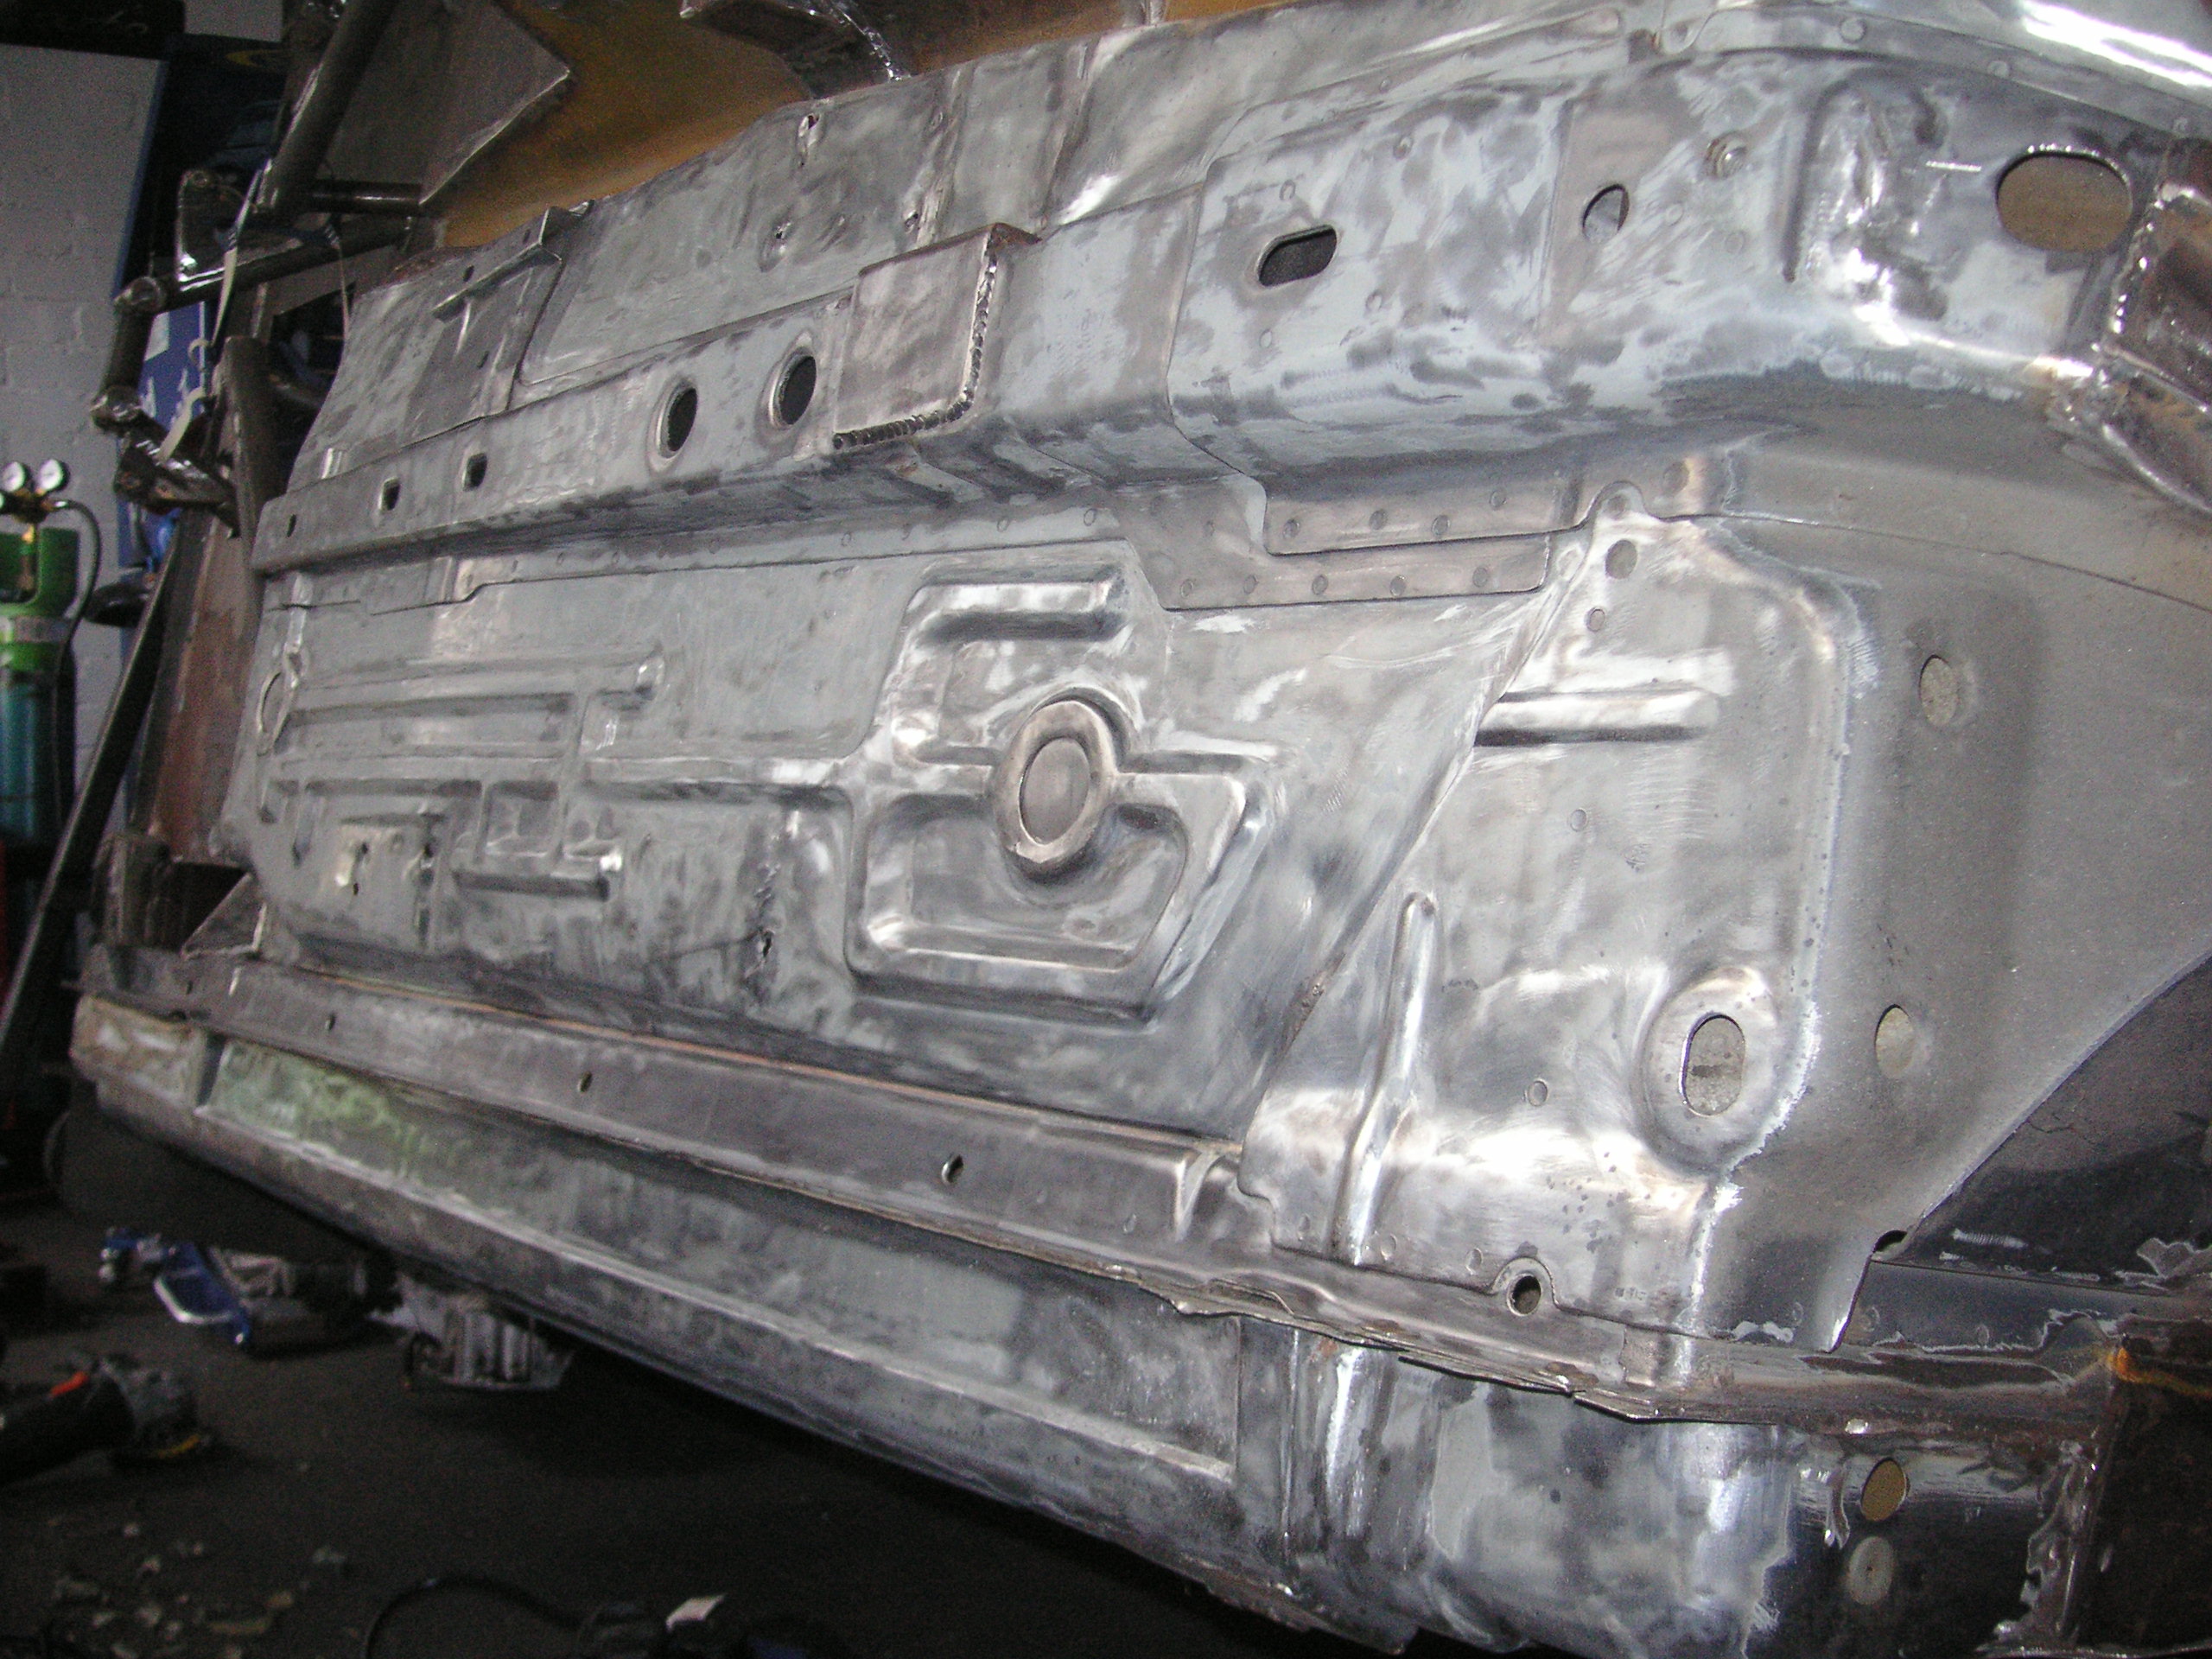
to this......
used the acid 8 etch primer in a rattle can and it only took 1 and a half cans to do that so not so bad,
I cant go to mad though as my neighbour is terminally il and the garage is right next to their house, and he can really do without the grinder etc going for hours on end so alot of it has to be done by hand with scraper and sand paper to keep the noise down but slowly and steadily im getting there
Also my 200 block that had the cracked head bolt threads has been sorted now but i dont have any pics of the first process im afraid,
the 4 cracks have been die grinded right down to the base of the thread then it was given to someone to fill the gap with weld using proper cast welding rod, so now there is no risk of water leaking through the cracks and doing the head gasket, and as im using long studs there will be no stress on the welded section as the long studs pull from the bottom of the block now
Also the block has gone to have a 1/2" bsp thread tapped into the side of the block for the oil return instead of returning back to the oil filter return
and is having one of the casting lugs removed from the side of the block to allow more room for the underslung grp a alternator set up,
so will maybe get some pics of all that when its back from machine shop
from this....
to this.....
to this......
used the acid 8 etch primer in a rattle can and it only took 1 and a half cans to do that so not so bad,
I cant go to mad though as my neighbour is terminally il and the garage is right next to their house, and he can really do without the grinder etc going for hours on end so alot of it has to be done by hand with scraper and sand paper to keep the noise down but slowly and steadily im getting there
Also my 200 block that had the cracked head bolt threads has been sorted now but i dont have any pics of the first process im afraid,
the 4 cracks have been die grinded right down to the base of the thread then it was given to someone to fill the gap with weld using proper cast welding rod, so now there is no risk of water leaking through the cracks and doing the head gasket, and as im using long studs there will be no stress on the welded section as the long studs pull from the bottom of the block now
Also the block has gone to have a 1/2" bsp thread tapped into the side of the block for the oil return instead of returning back to the oil filter return
and is having one of the casting lugs removed from the side of the block to allow more room for the underslung grp a alternator set up,
so will maybe get some pics of all that when its back from machine shop
Last edited by M K; 28-09-2010 at 09:12 AM.
 21-09-2010, 07:29 PM
#867
Cheers for the comments
I have no budget for the build just as and when I can afford to do things I will mate, il get the best I can afford at each stage and upgrade later if nessesary as too many people wait till they can get the best and it takes too long too much money and it never gets finished, I'd rather drive this at 350bhp with standard transmission for example than wait another year or 2 for super duper parts before I can use it,
And the build is more fun doing things yourself and il like to have a try at everything if I can
23-09-2010, 04:44 PM
#870
cheers guys,
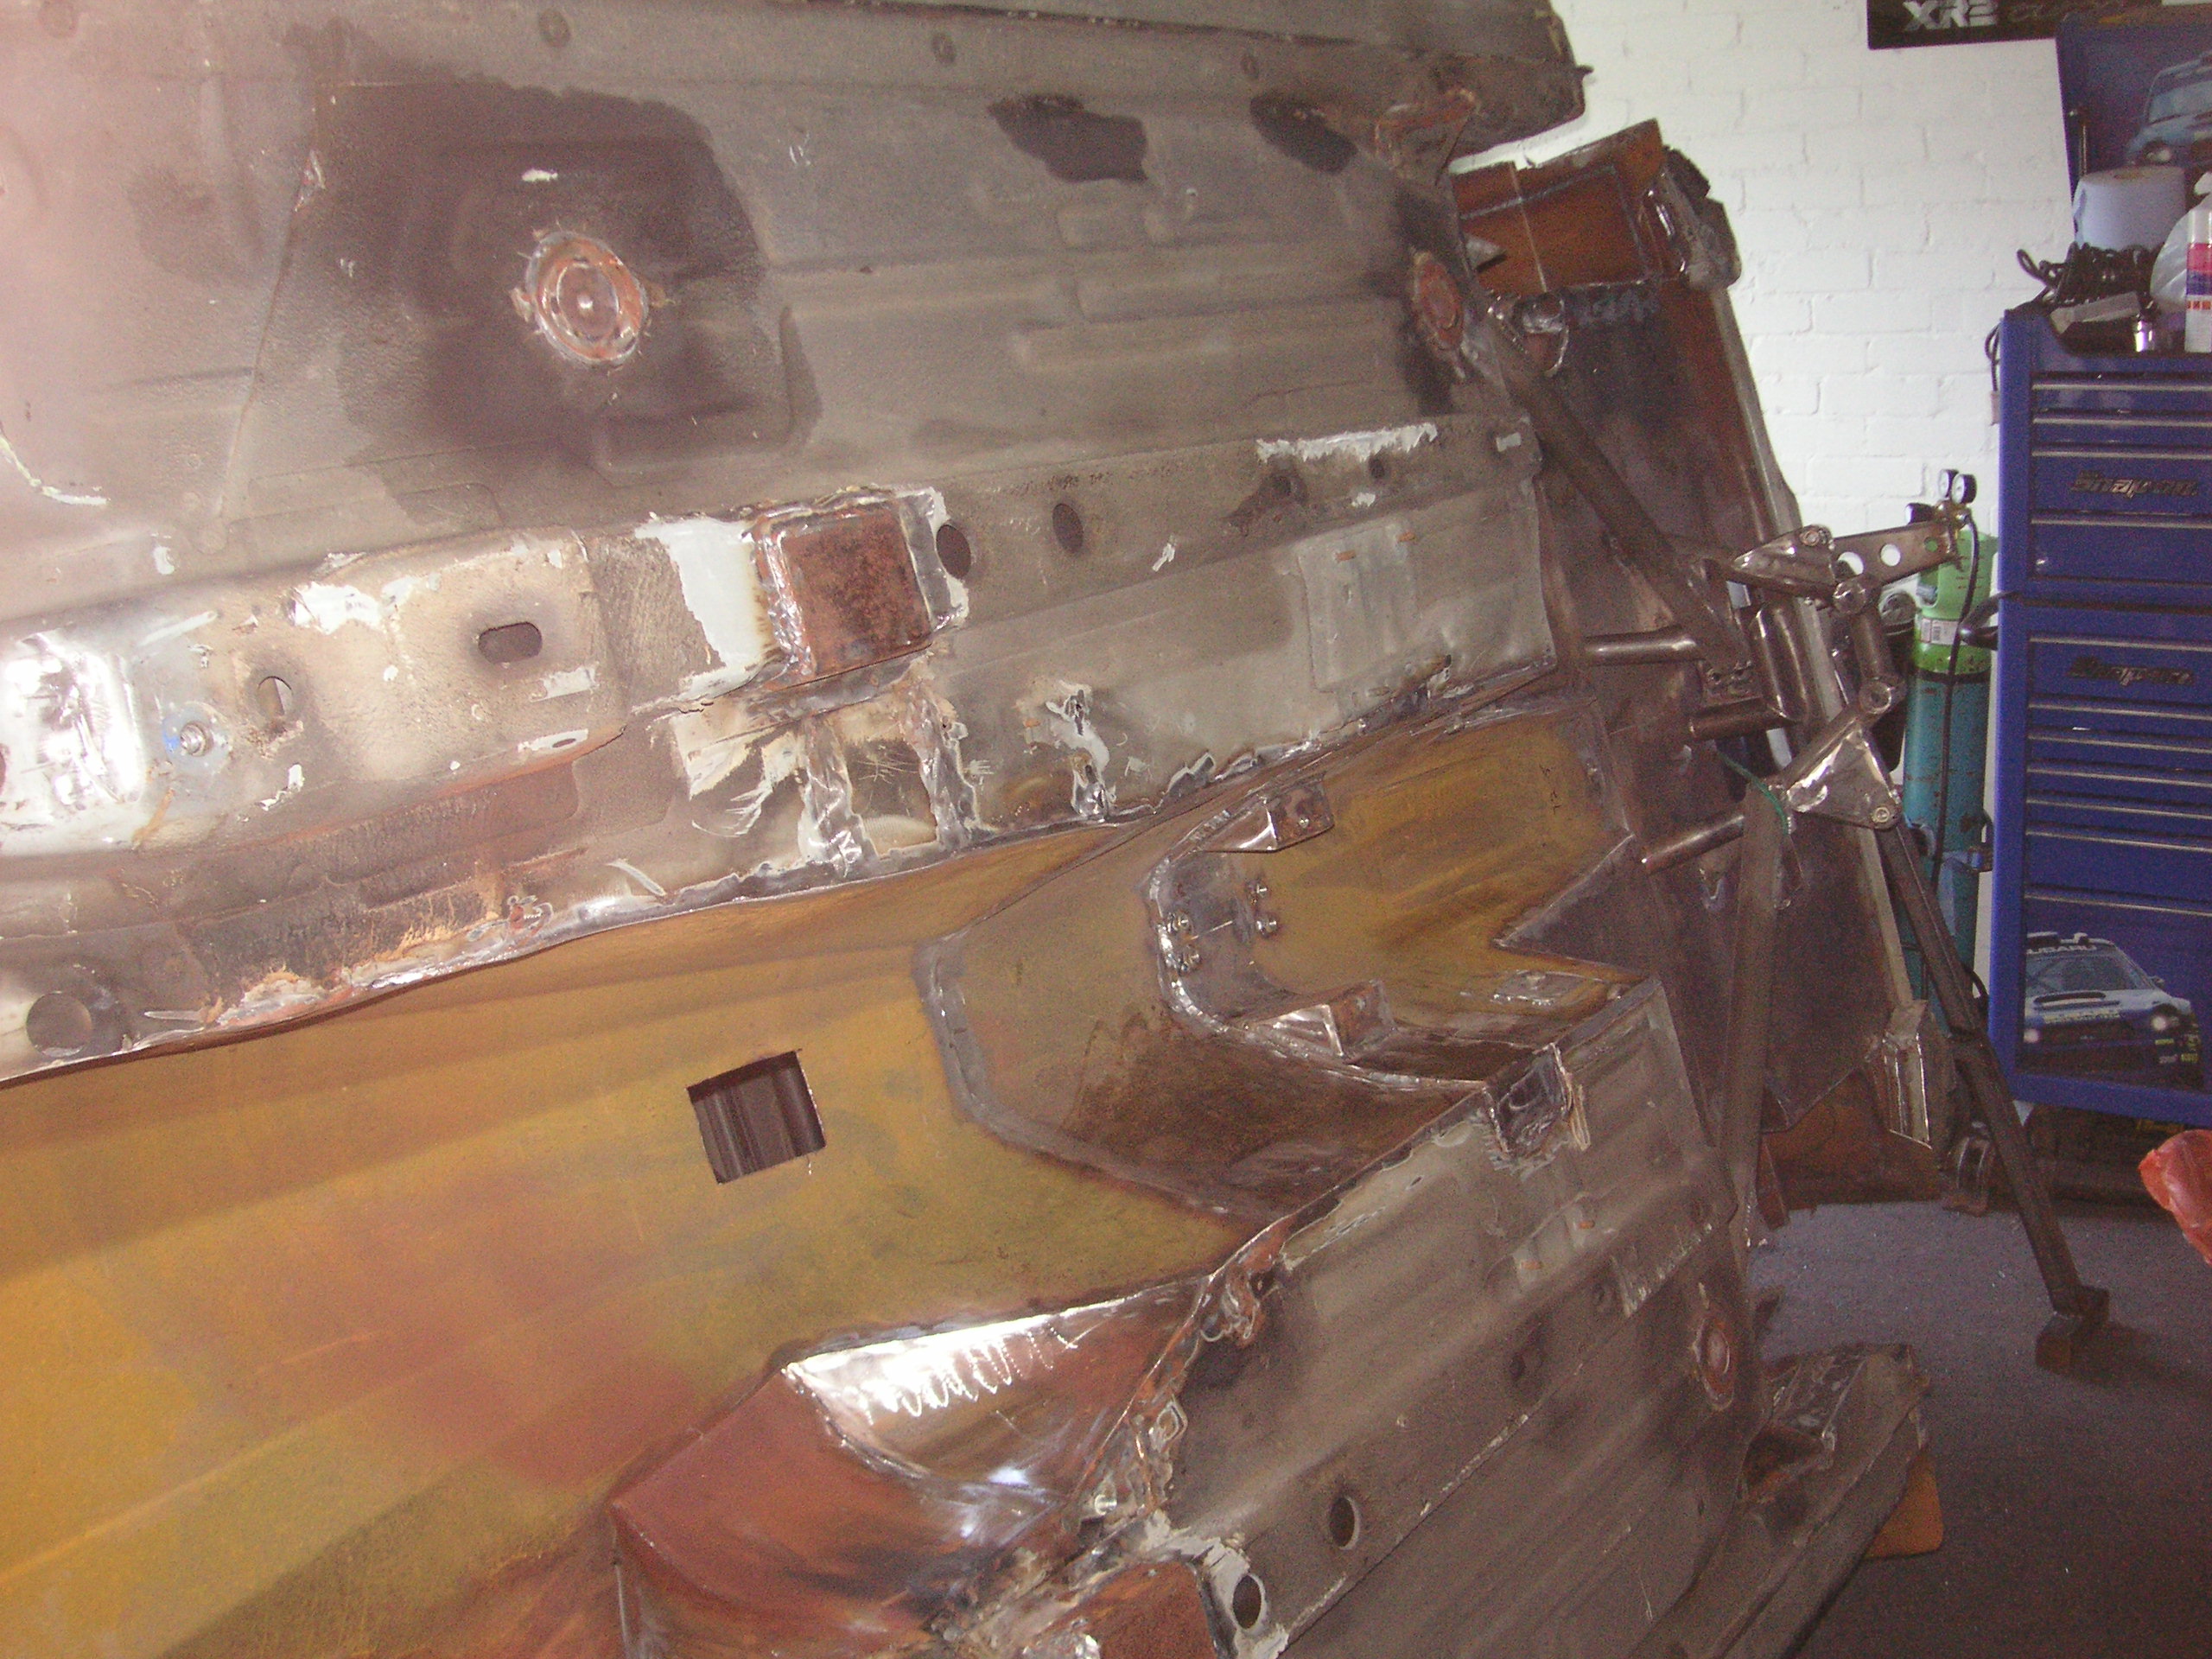
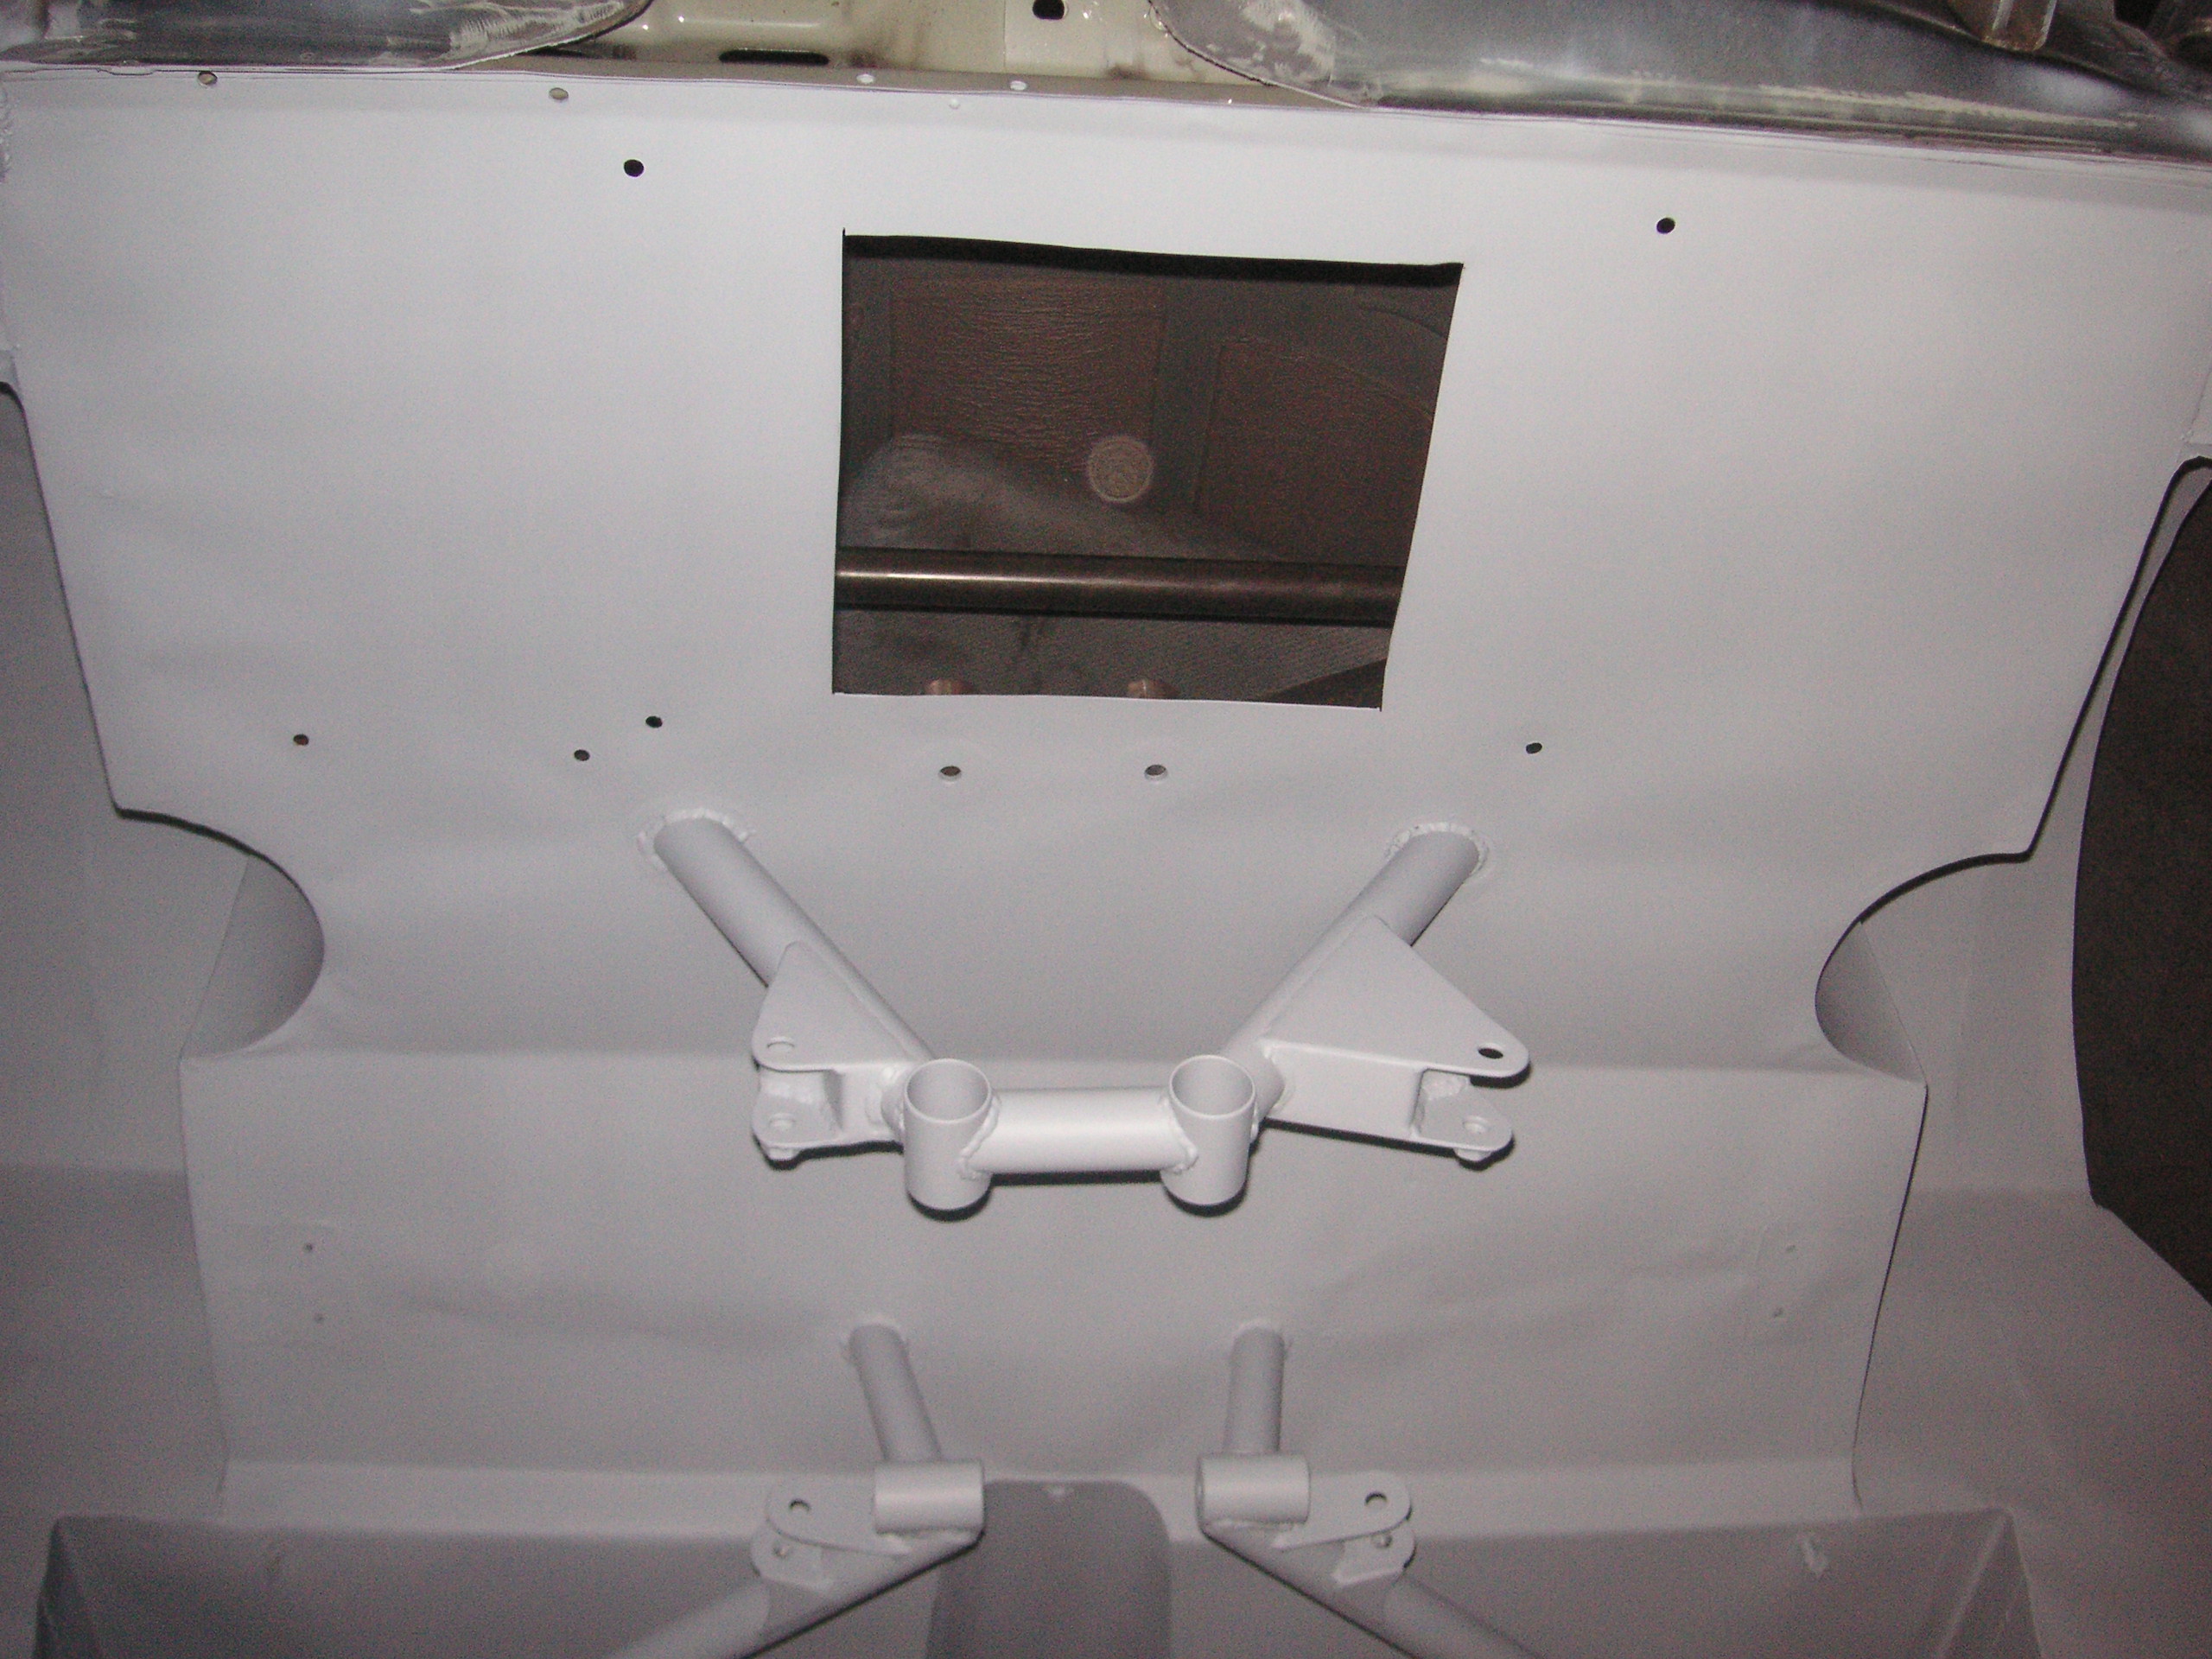
neighbour was out today so got a good few hours in being able to make as much noise as i liked so got the drivers side floor pan all stripped and cleaned of all sealer and underseal etc what a fooking messy job that is, im so glad its done
also got the inside rear wheel arch tubs and turrets cleaned up and etch primed along with the rear floor and diff mounting etc so over the weekend should see all underside and front space frame section in etch primer
then its the inside and cage
ANDY - what brushable paintable seam sealer do you recommend ???
and what stone chip did you use on underside of richies ka and inner fllor pans etc?
thanks
Marc
23-09-2010, 07:09 PM
#871
as for stone guard i used bodyline as it is cheap but good i can not warrant spending 100,s of ���s on 3m sprayable shit in a bag ,because
1 they are ripping you off on the price
2 it looks fooking awful rough as fook
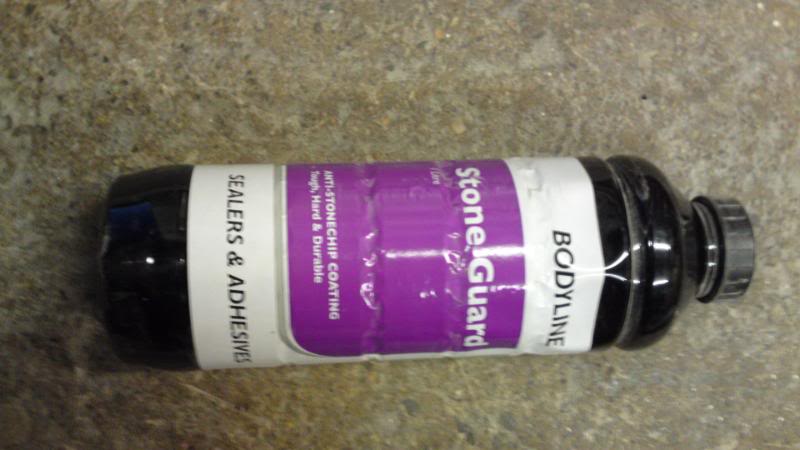
bodyline stone guard looks good to the eye & it does its job well you can get smooth or textured in white ,grey ,or black
23-09-2010, 08:27 PM
#872
Tiger seal doesn't come as a brushable sealer though does it? And why must it be polyurethane? Is that due to it being over paintable?
Also is it textured stone chip you used on Richies inside floor pans and underside of the car? I assum it would need to be done with a compressor and spray gun to get such a nice finish like Richies ?
Thanks for all your info mate really appreciate the guidance and help
Also is it textured stone chip you used on Richies inside floor pans and underside of the car? I assum it would need to be done with a compressor and spray gun to get such a nice finish like Richies ?
Thanks for all your info mate really appreciate the guidance and help
24-09-2010, 04:44 PM
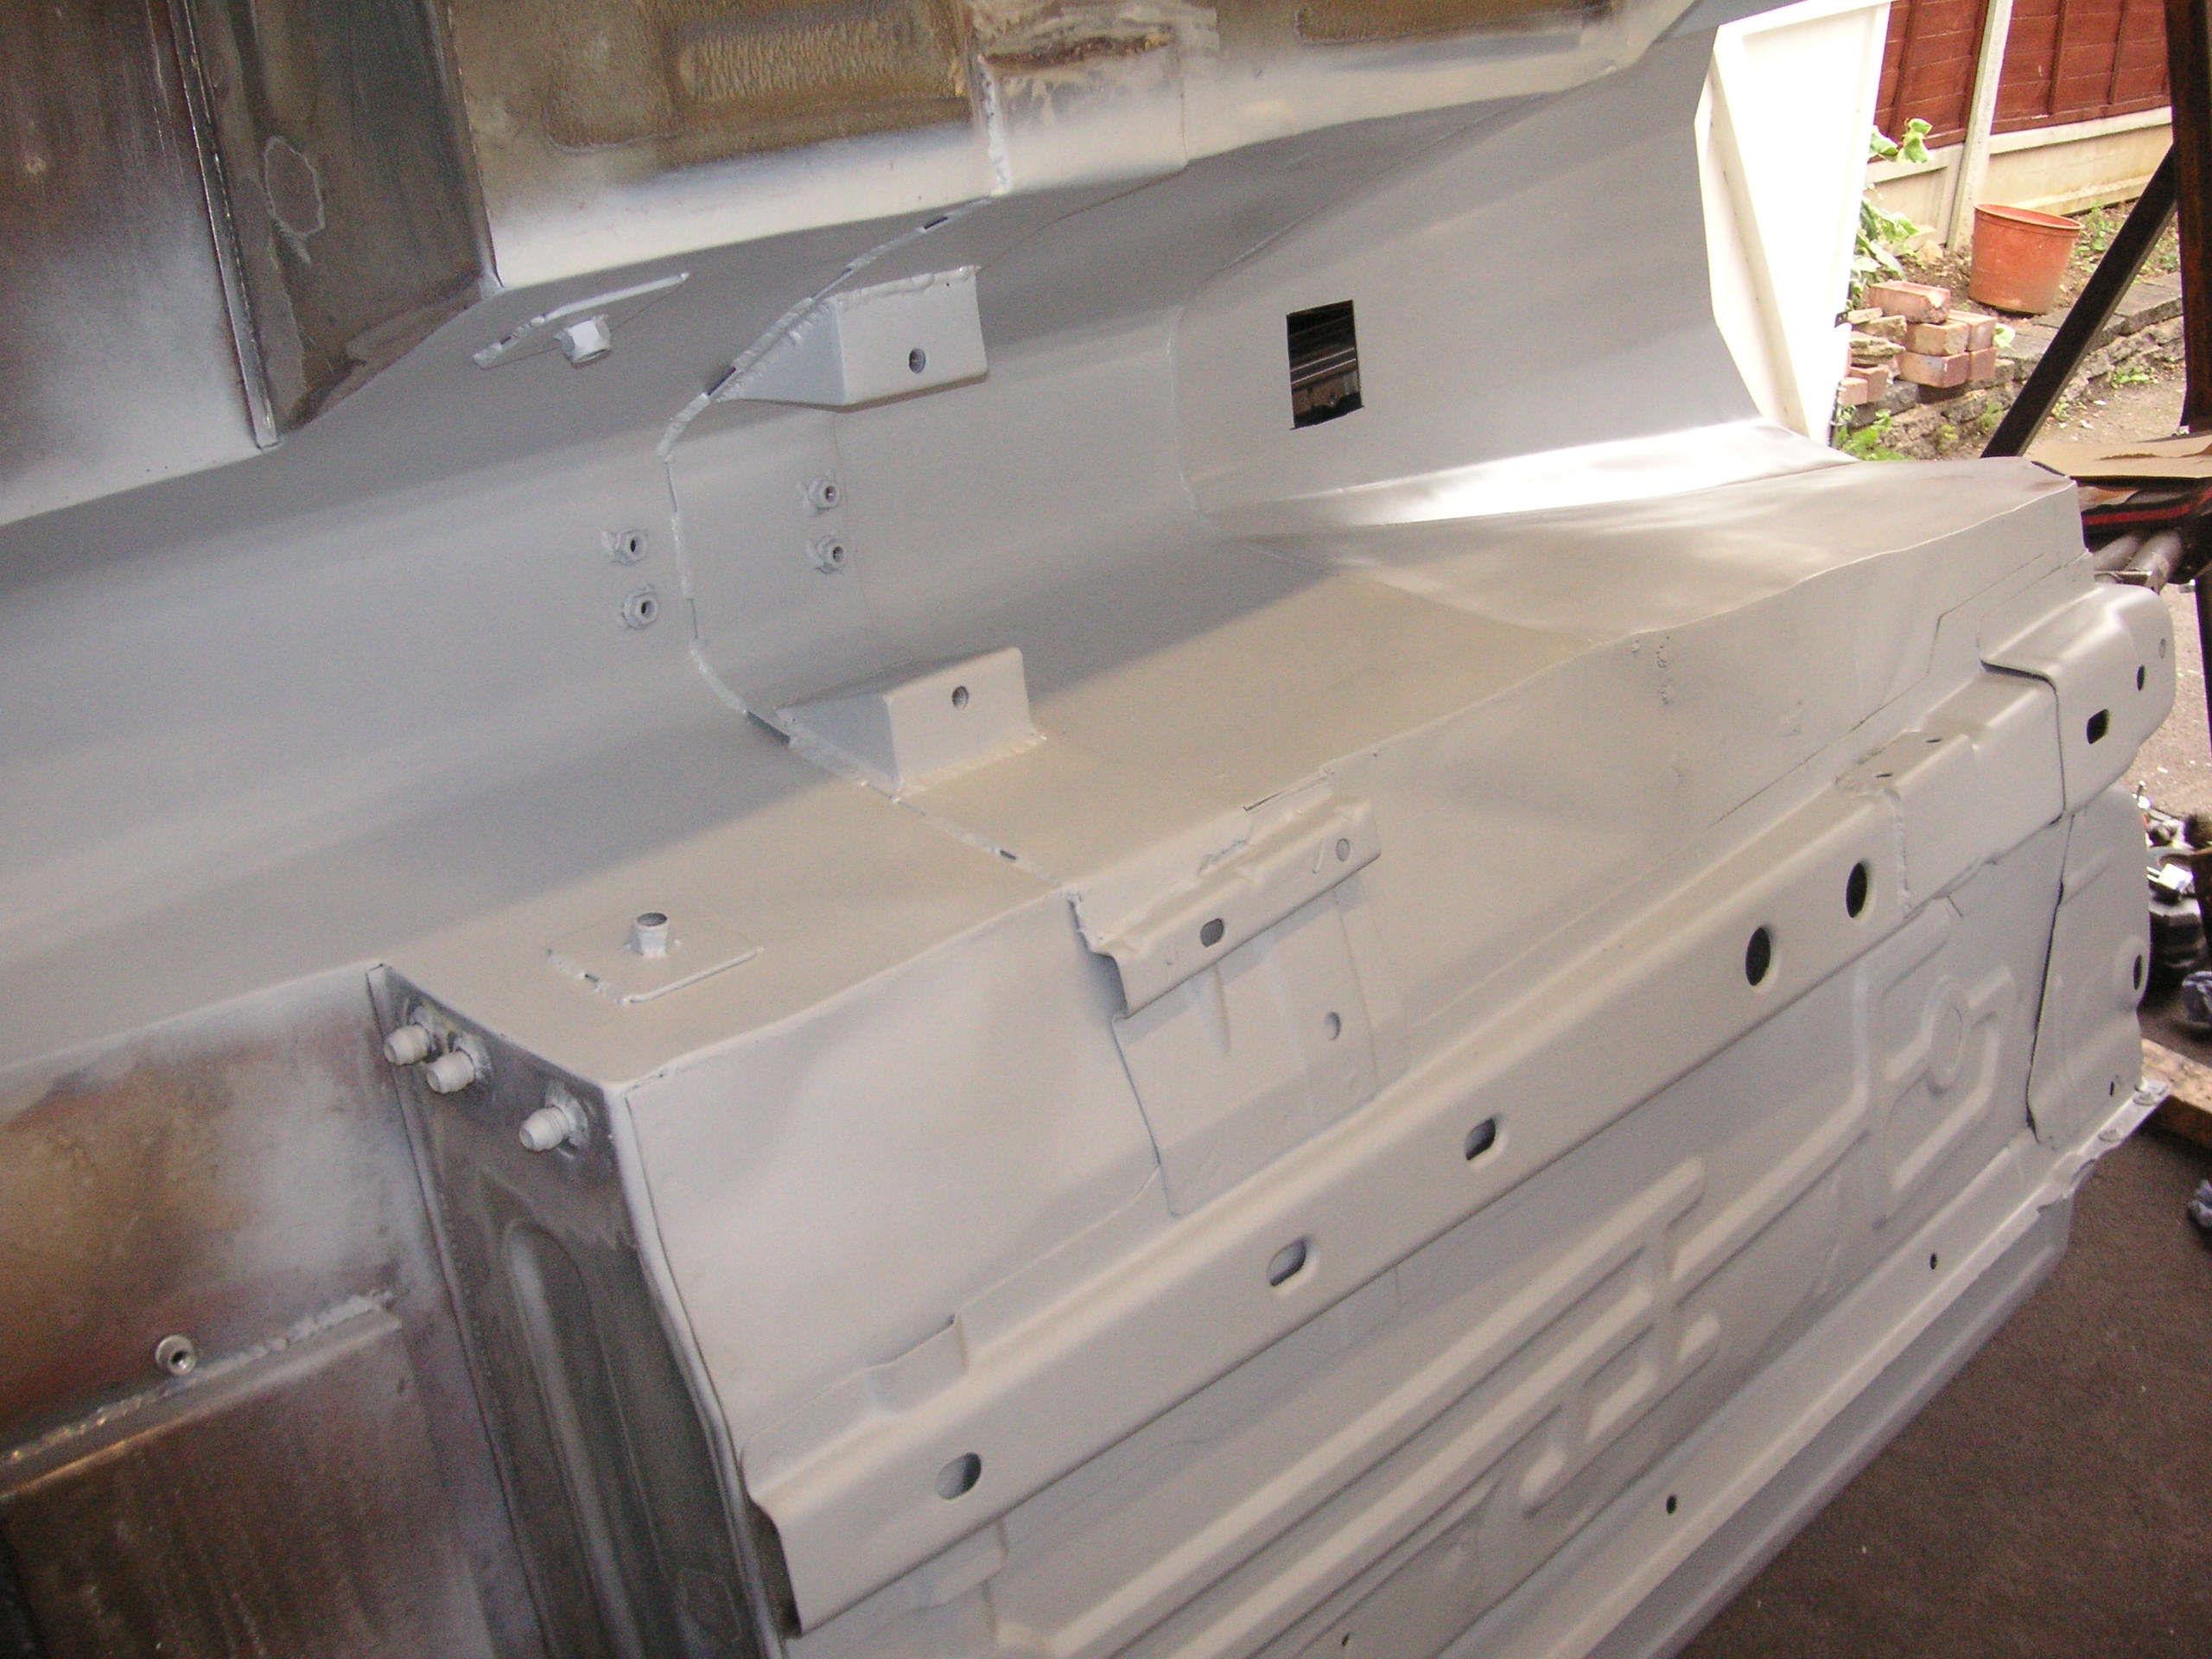
#873
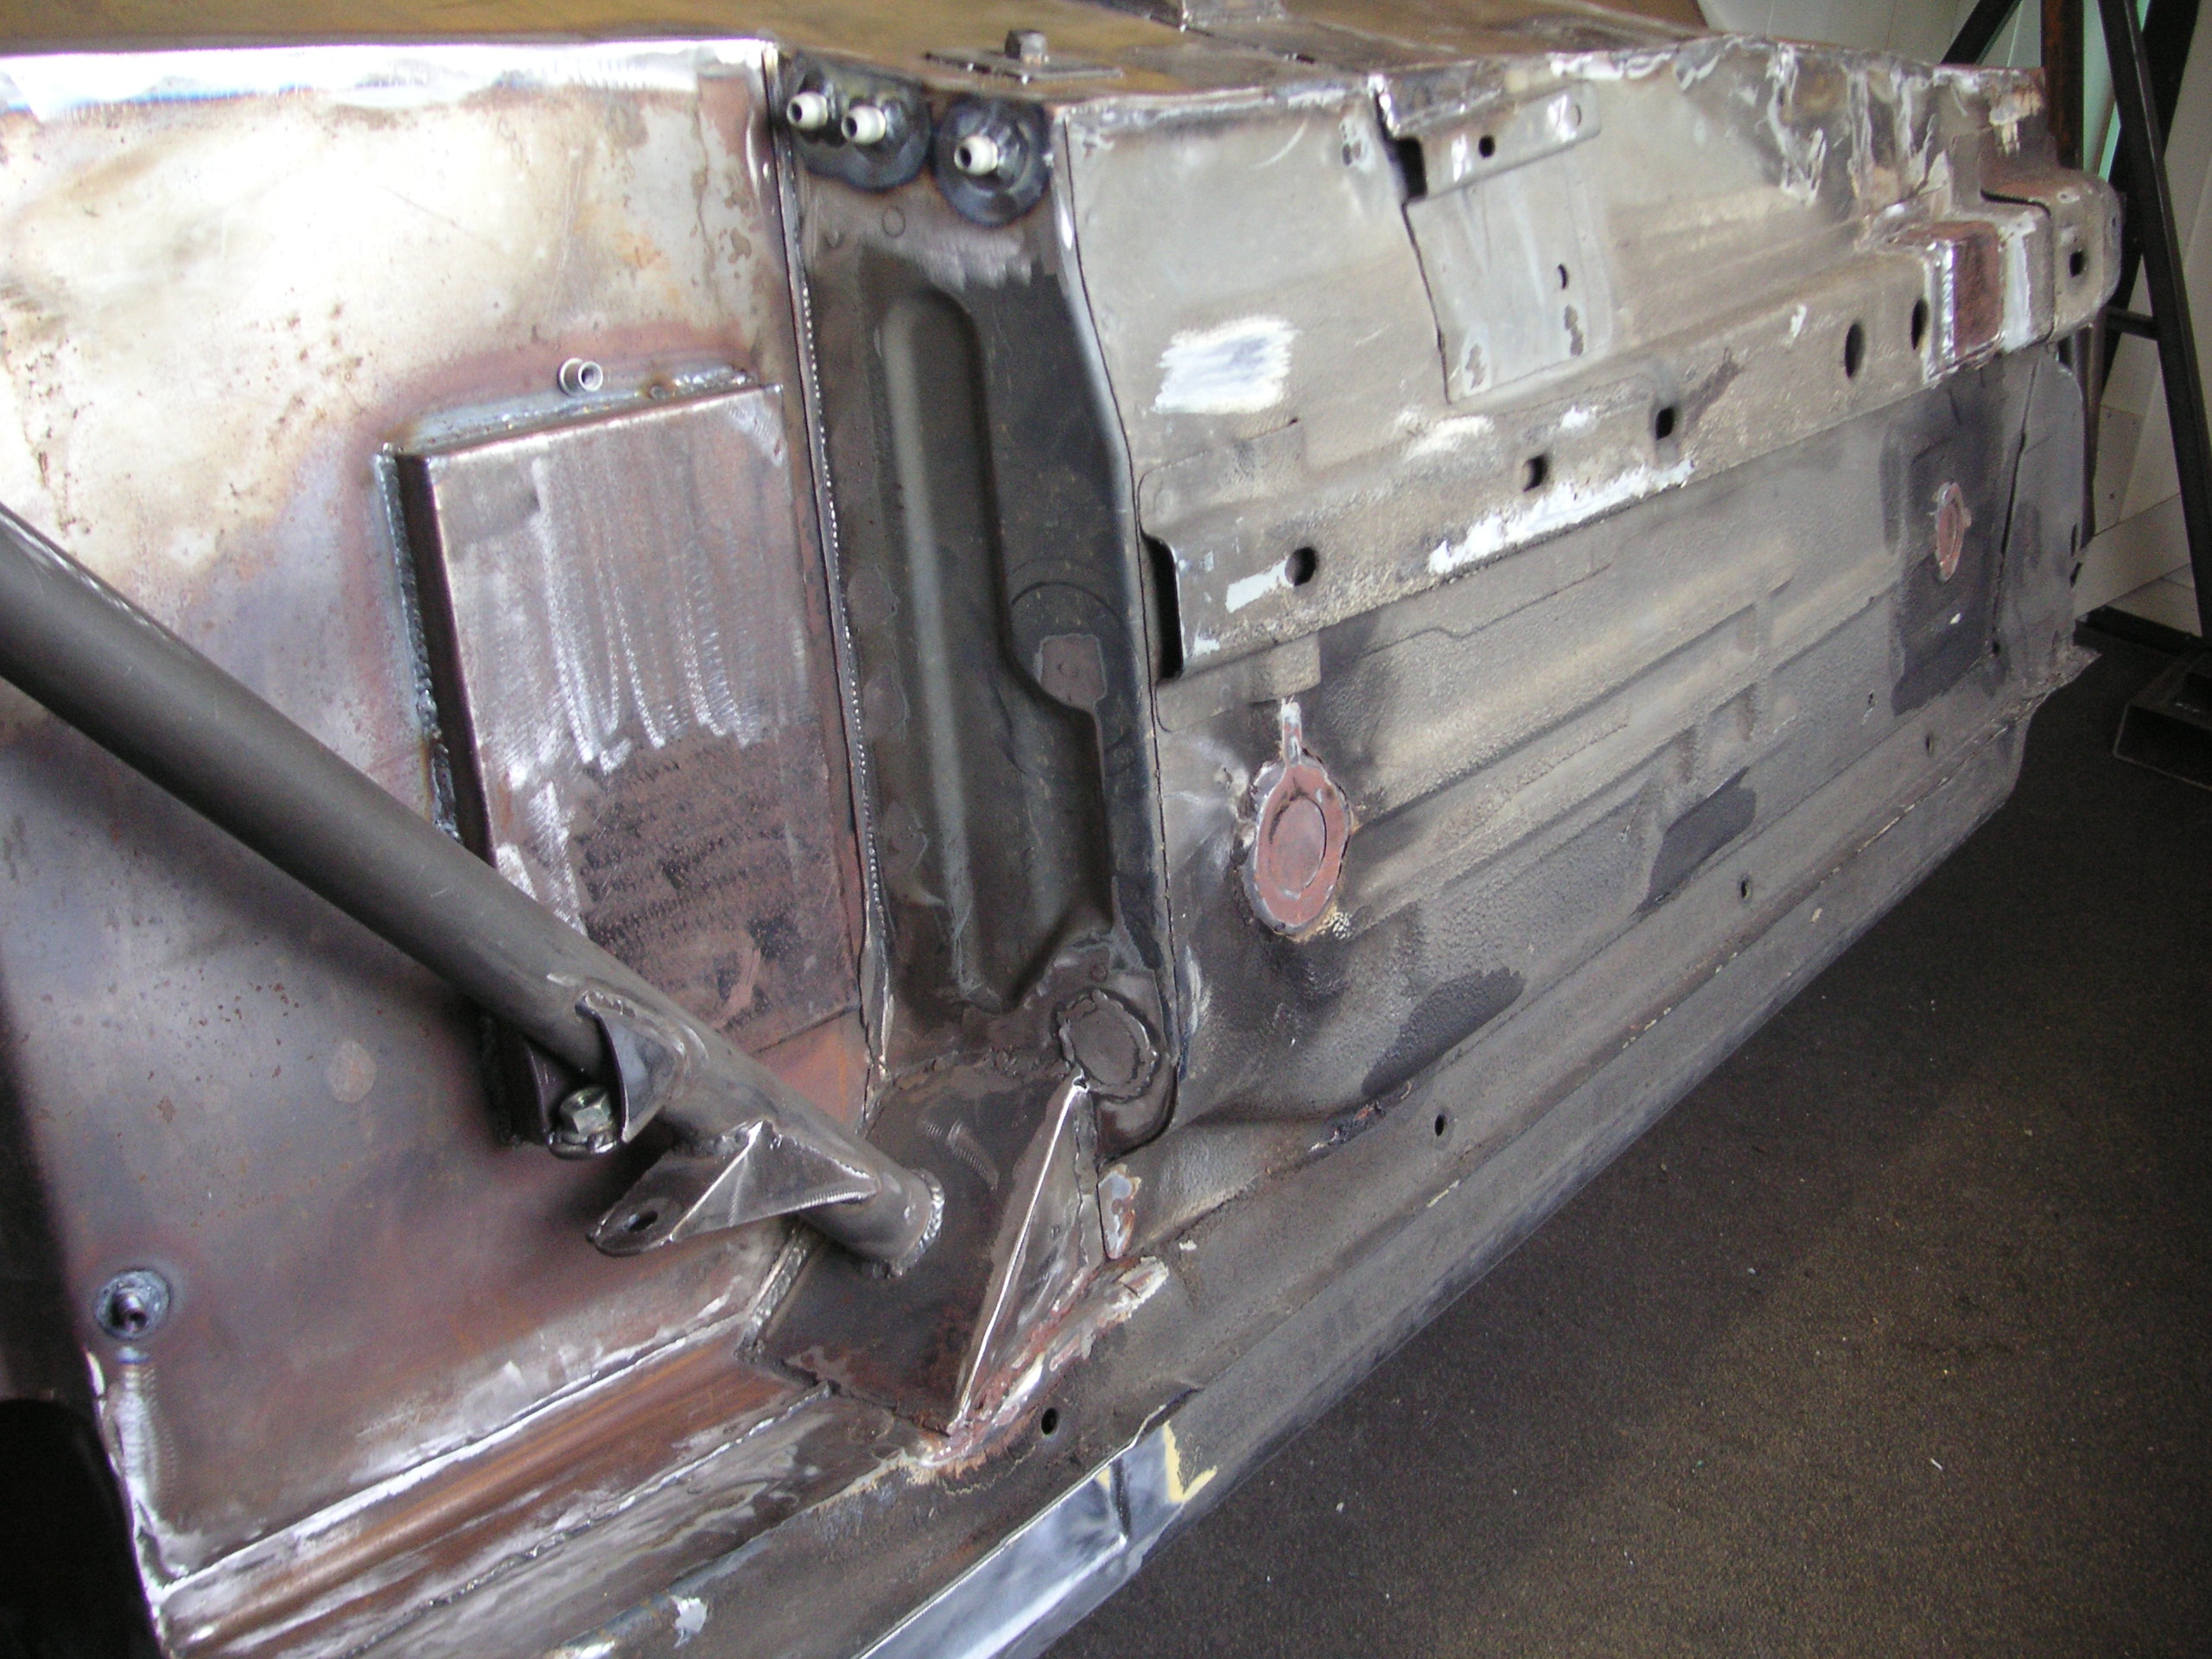
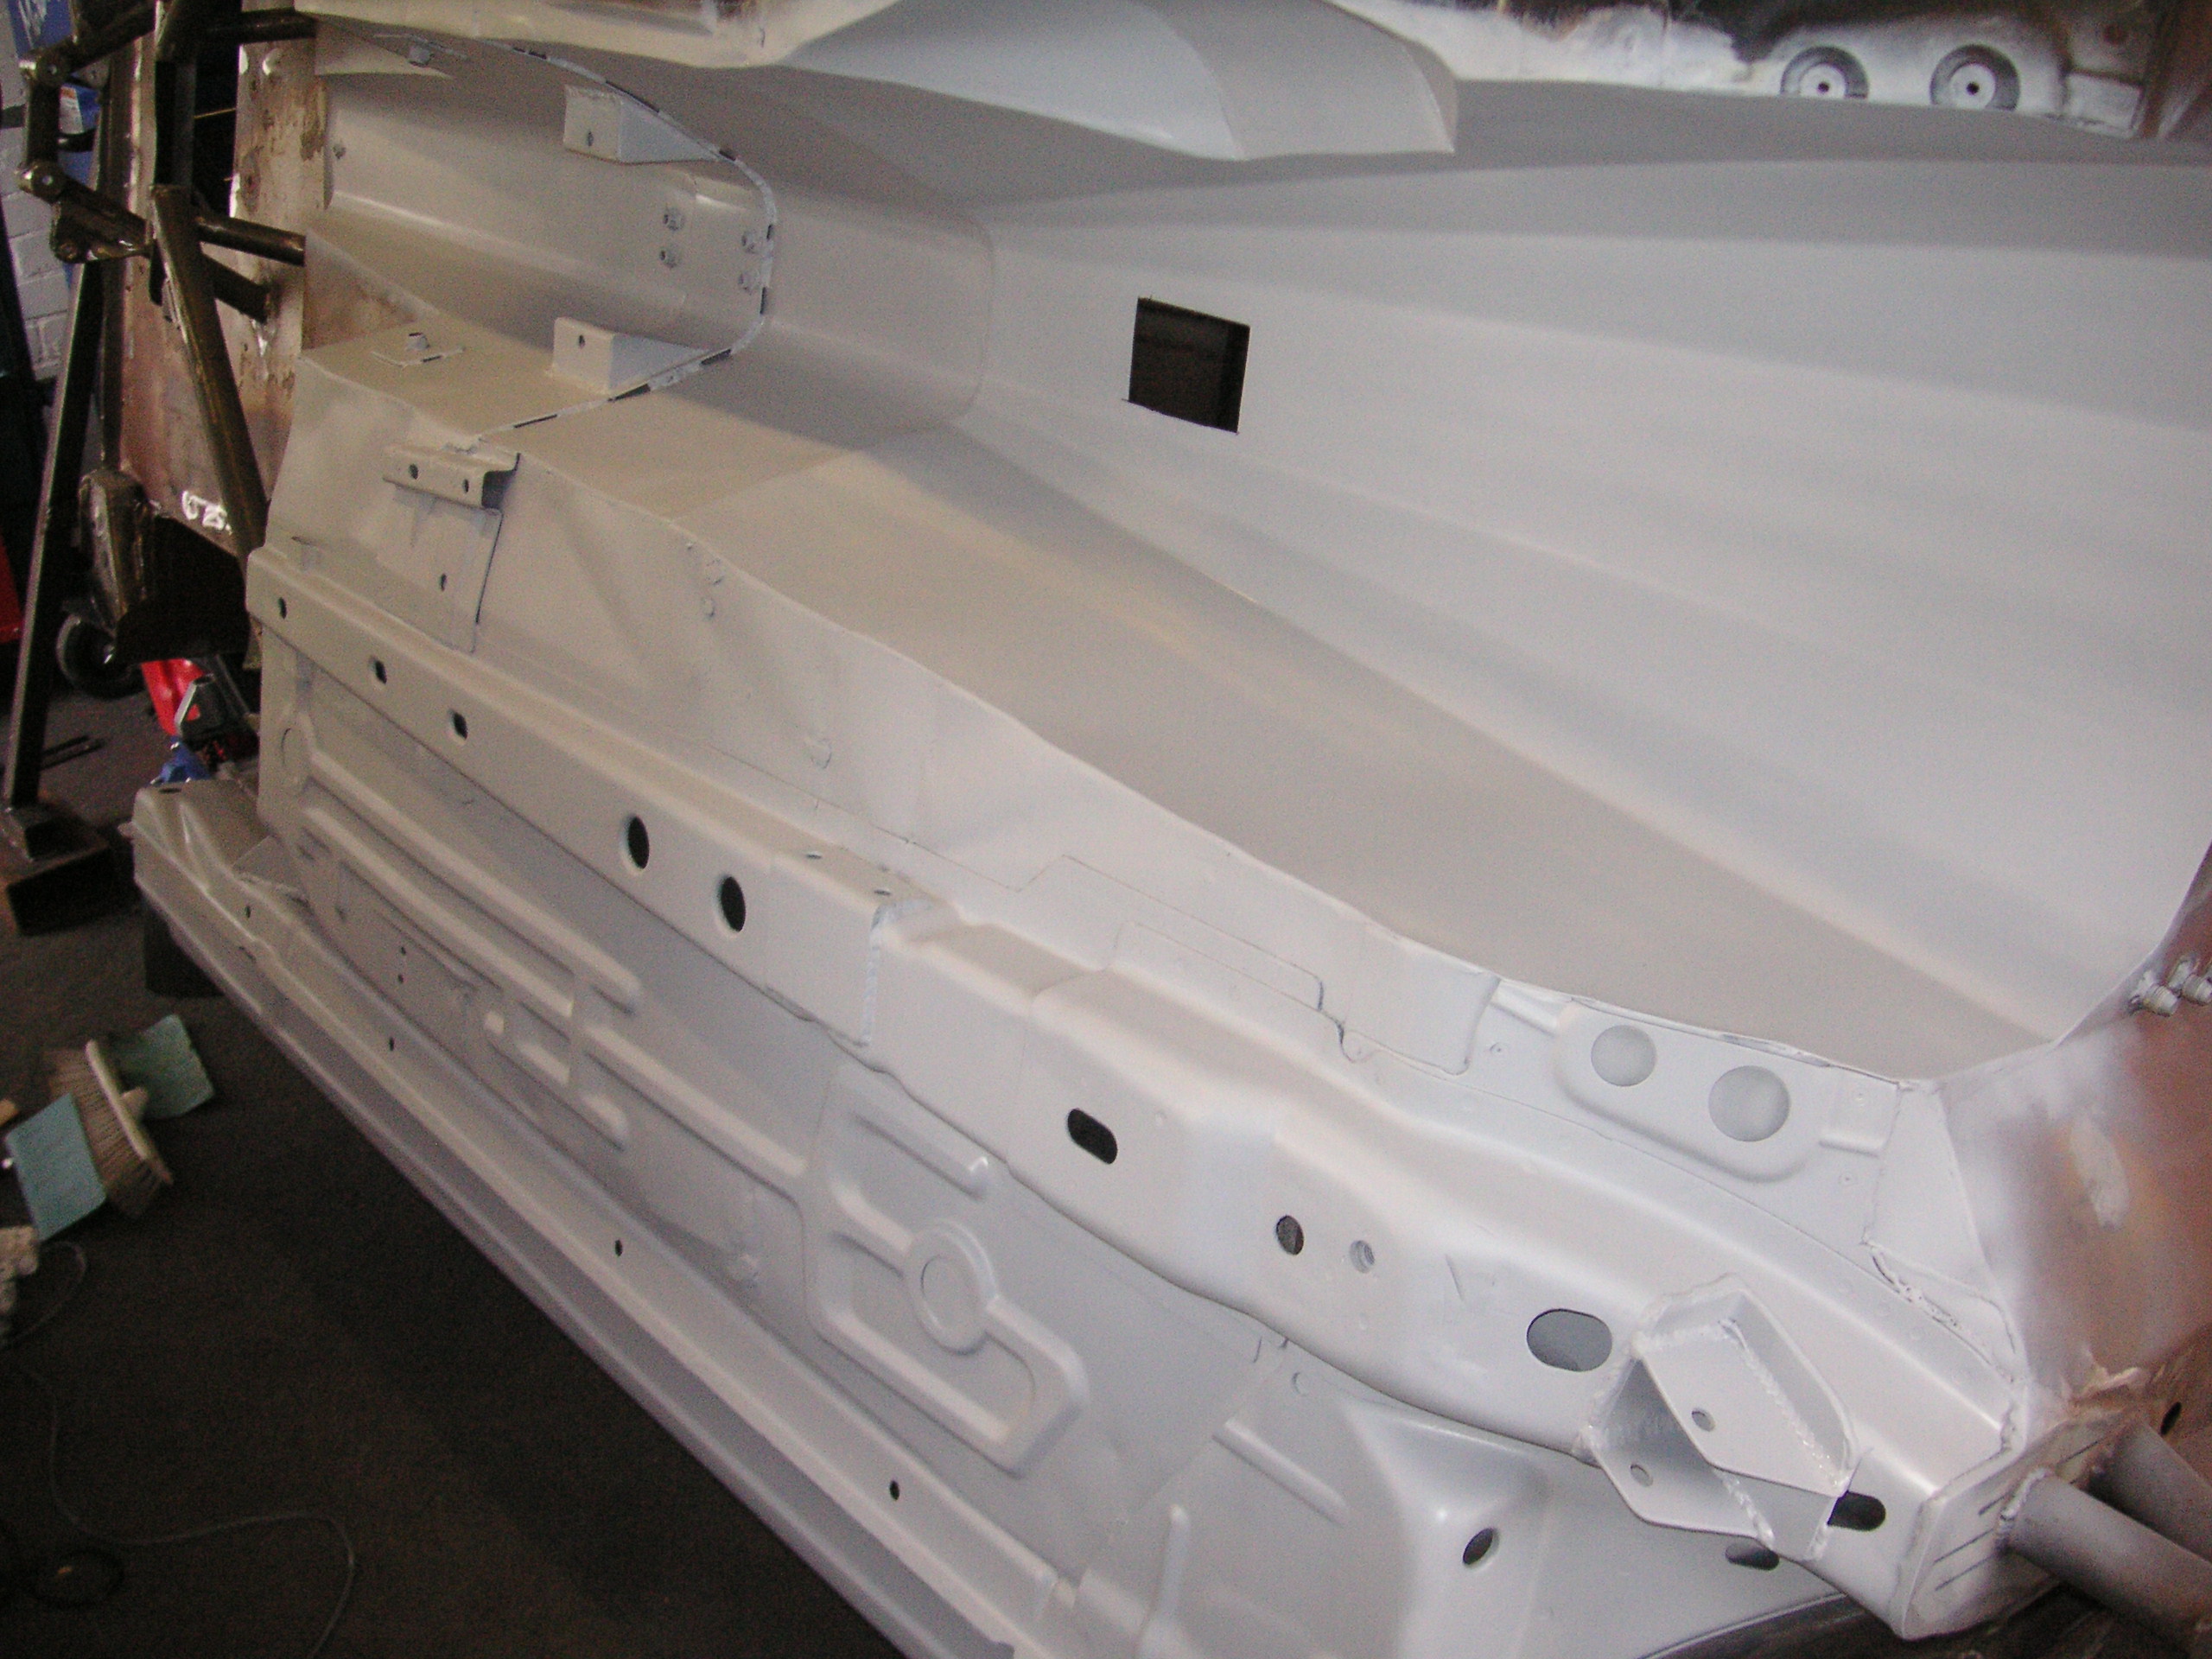
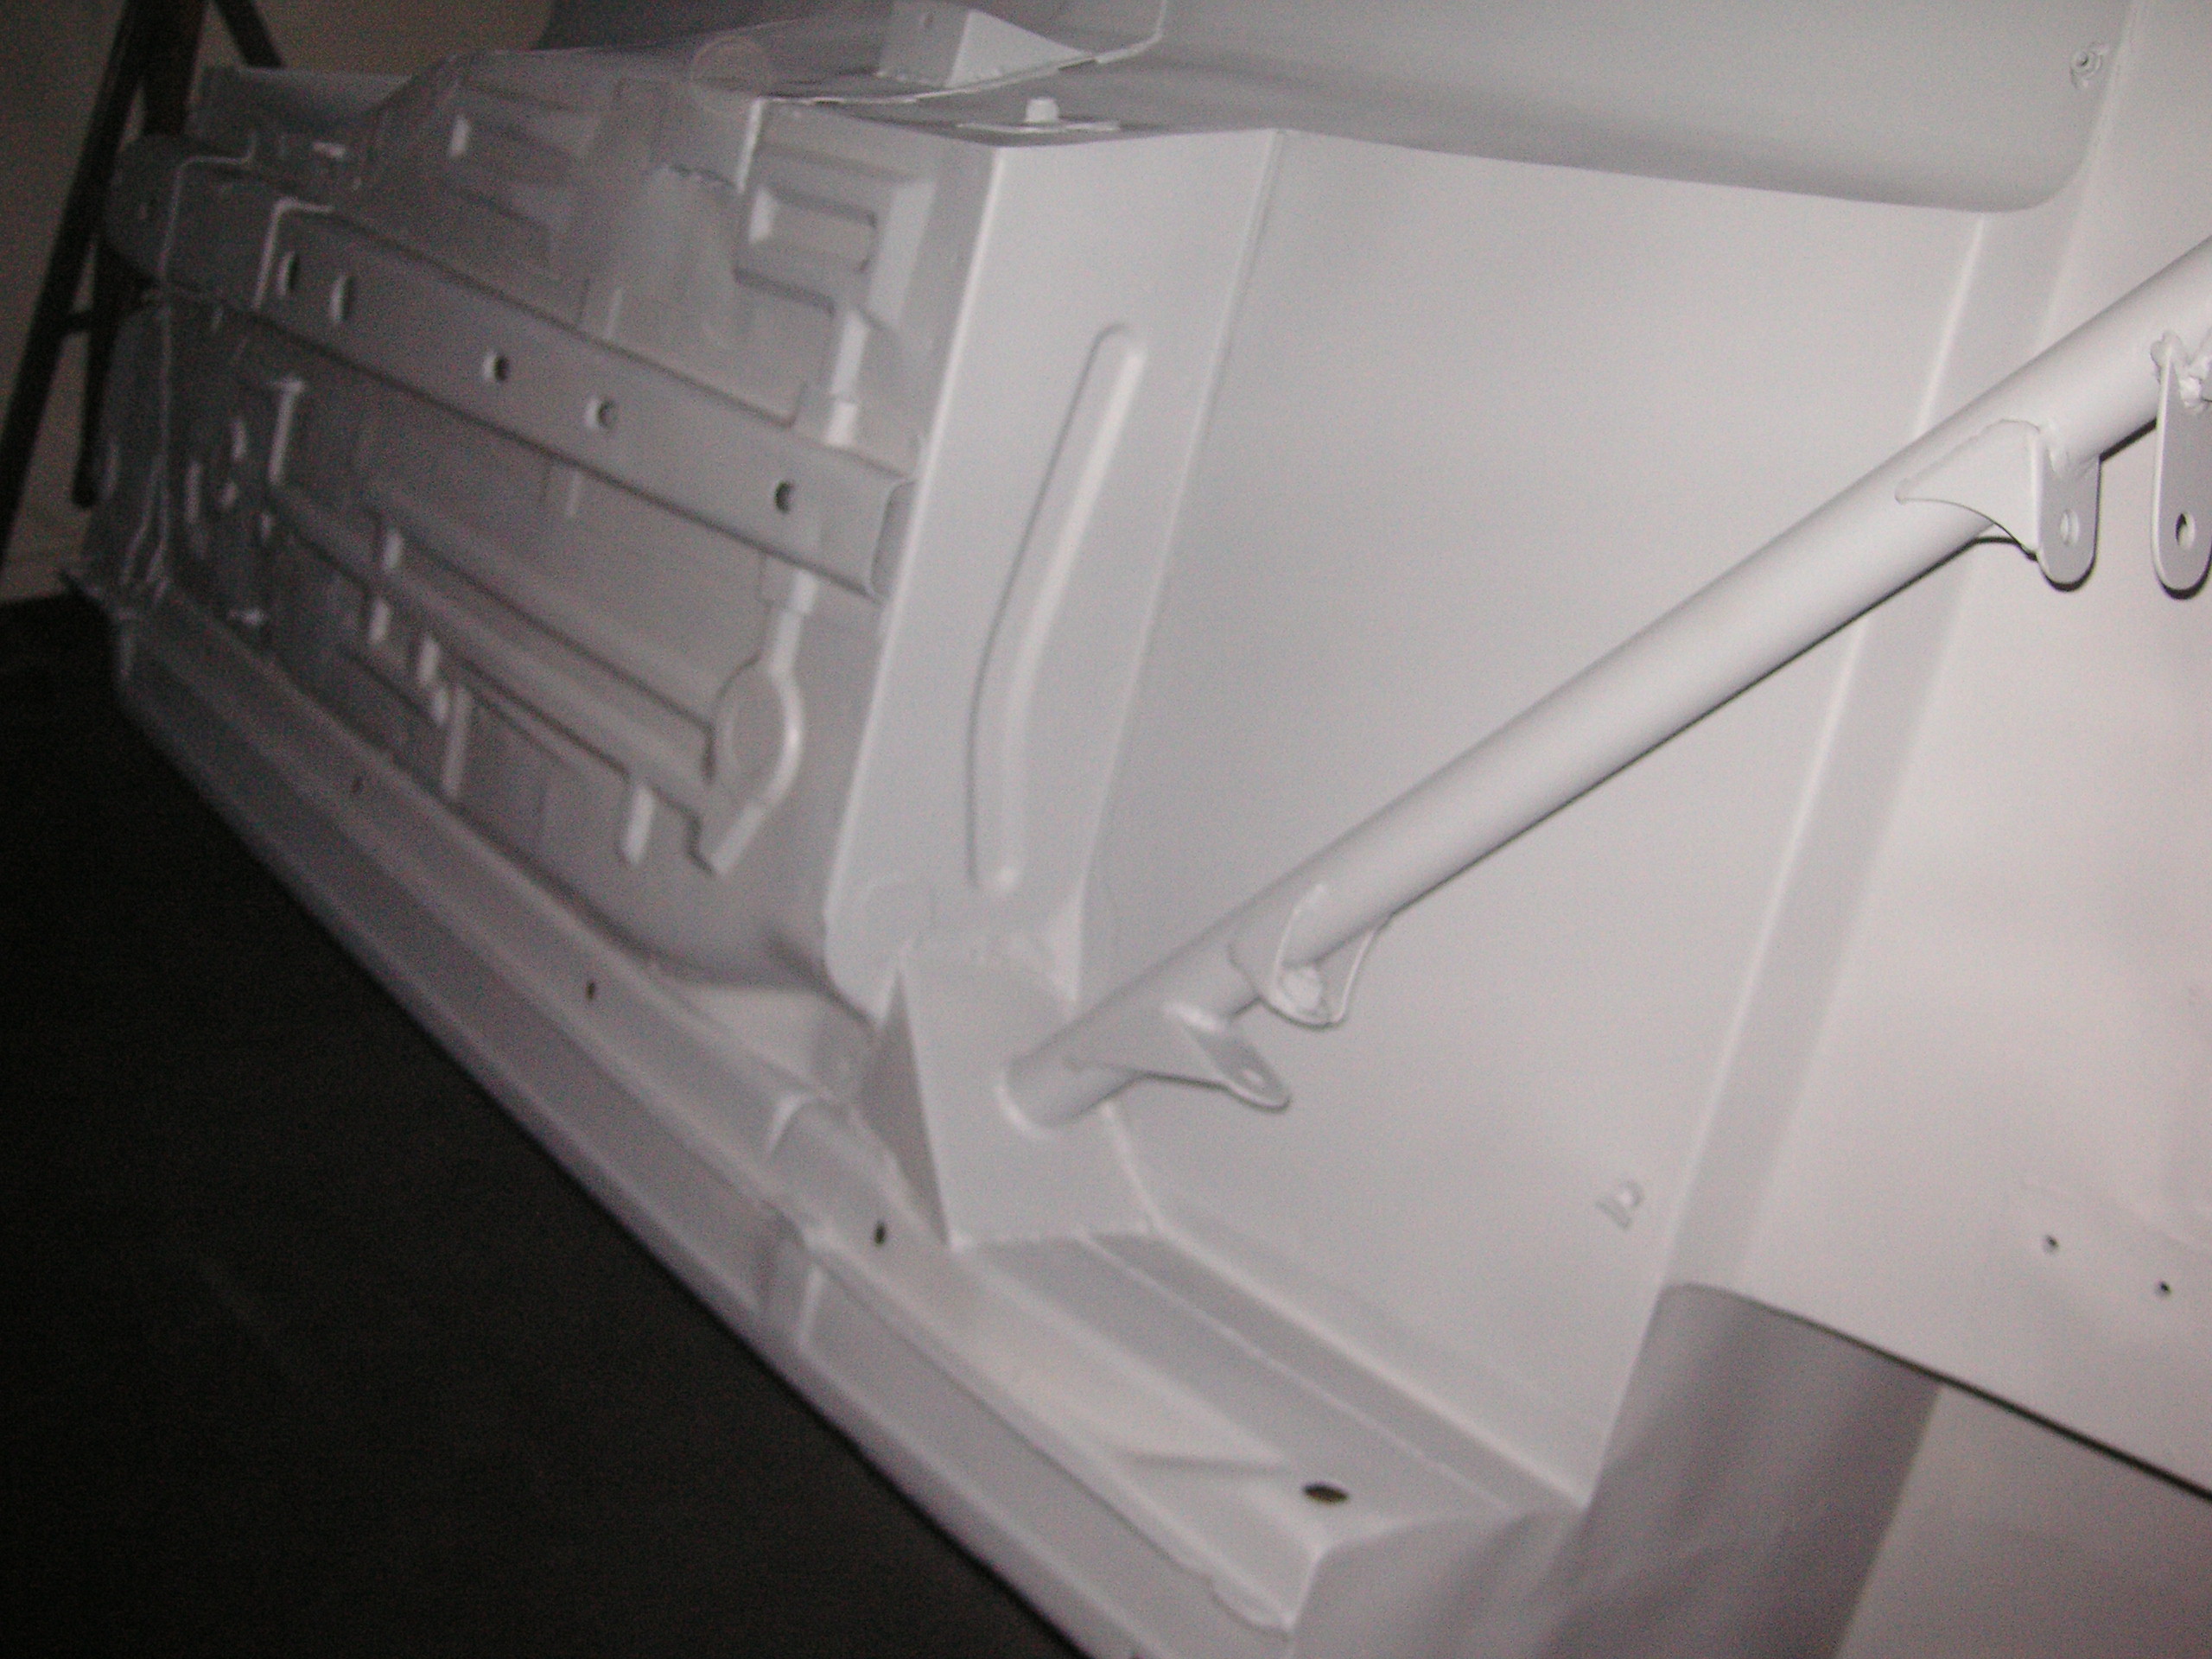
got the rest of the underside done today so just have to do space frame front end etc which is hardly anything then i will sort out stone chipping the floors and sills etc
with a bit of etch primer on and ready for some seam sealer
with a bit of etch primer on and ready for some seam sealer
Last edited by M K; 28-09-2010 at 09:15 AM.
24-09-2010, 05:14 PM
#874
Andy - would this seam sealer be polyurethane? looks good and they have some in my local halfords so might pick some up tomorrow if its ok
http://www.halfords.com/webapp/wcs/s...egoryId_165625
http://www.halfords.com/webapp/wcs/s...egoryId_165625
24-09-2010, 05:15 PM
#876
Tiger seal doesn't come as a brushable sealer though does it? And why must it be polyurethane? Is that due to it being over paintable?
Also is it textured stone chip you used on Richies inside floor pans and underside of the car? I assum it would need to be done with a compressor and spray gun to get such a nice finish like Richies ?
Thanks for all your info mate really appreciate the guidance and help
Also is it textured stone chip you used on Richies inside floor pans and underside of the car? I assum it would need to be done with a compressor and spray gun to get such a nice finish like Richies ?
Thanks for all your info mate really appreciate the guidance and help
the stone guard i used on richies ka is textured stone guard
