
T26 WRC - "RE-IMAGINED" 550bhp+ Prodrive S8 WRC

 01-08-2011, 07:45 PM
#483
Boost Junkie
Thread Starter
Late nights are paying off guys.
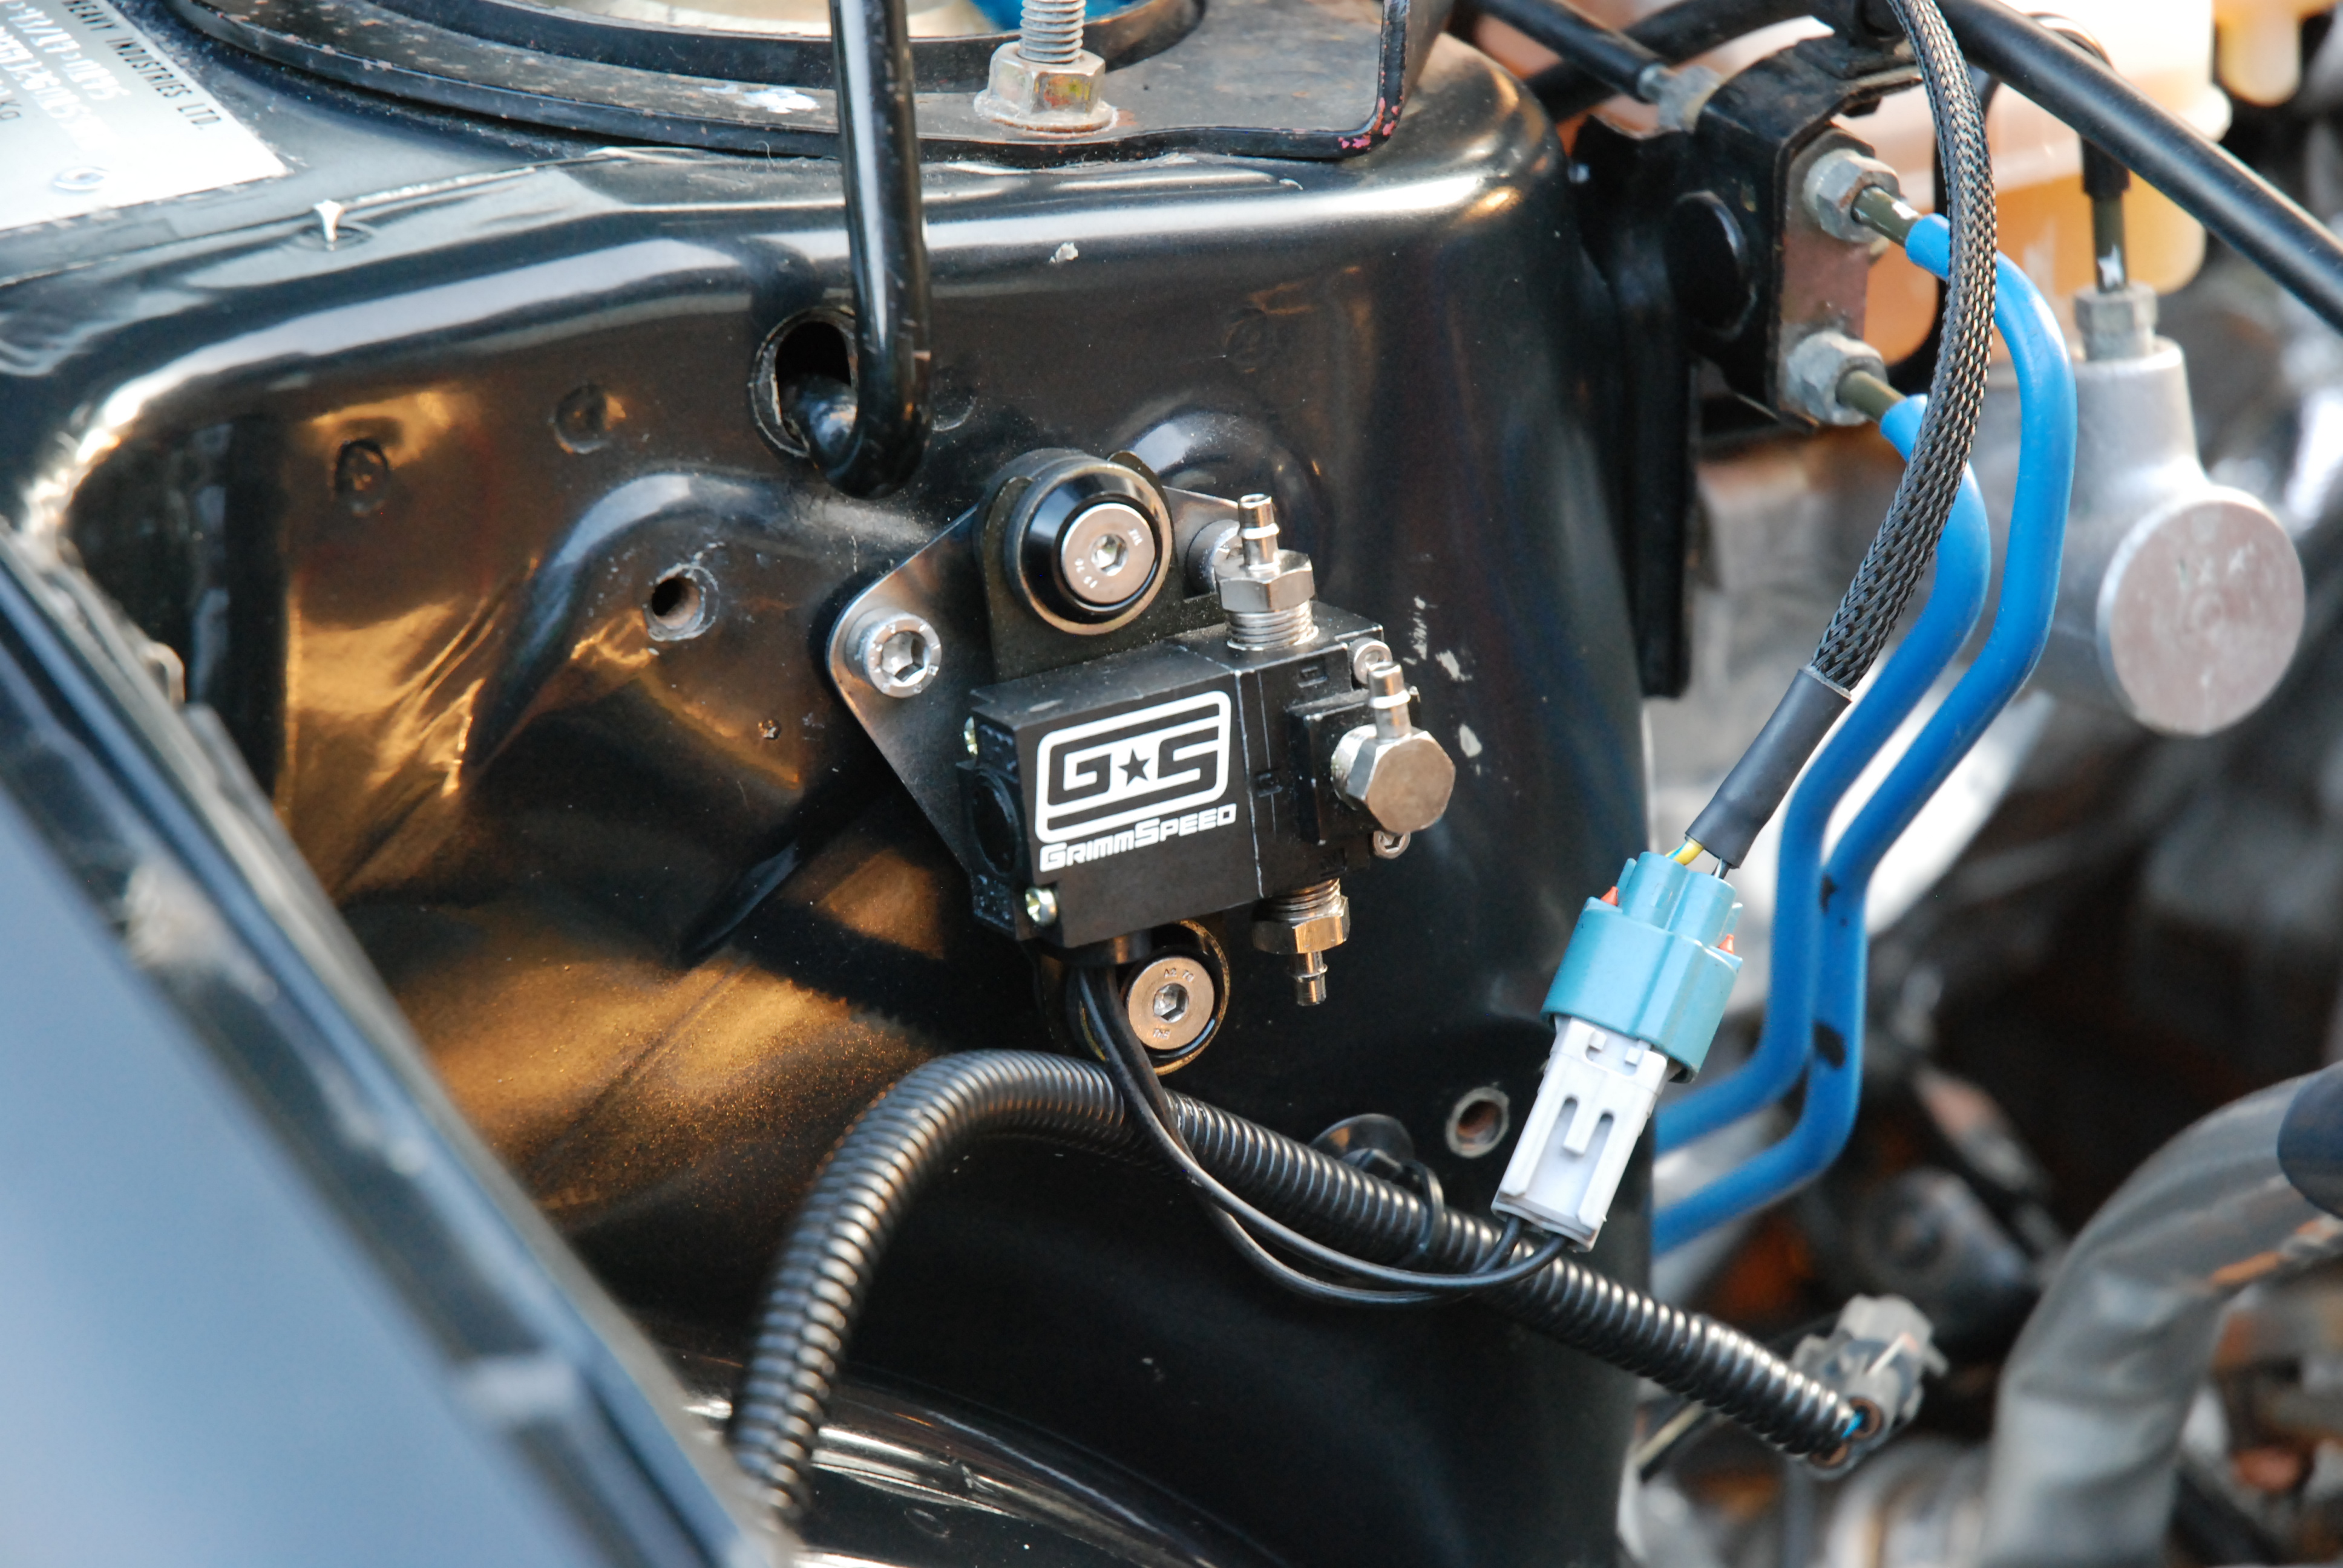
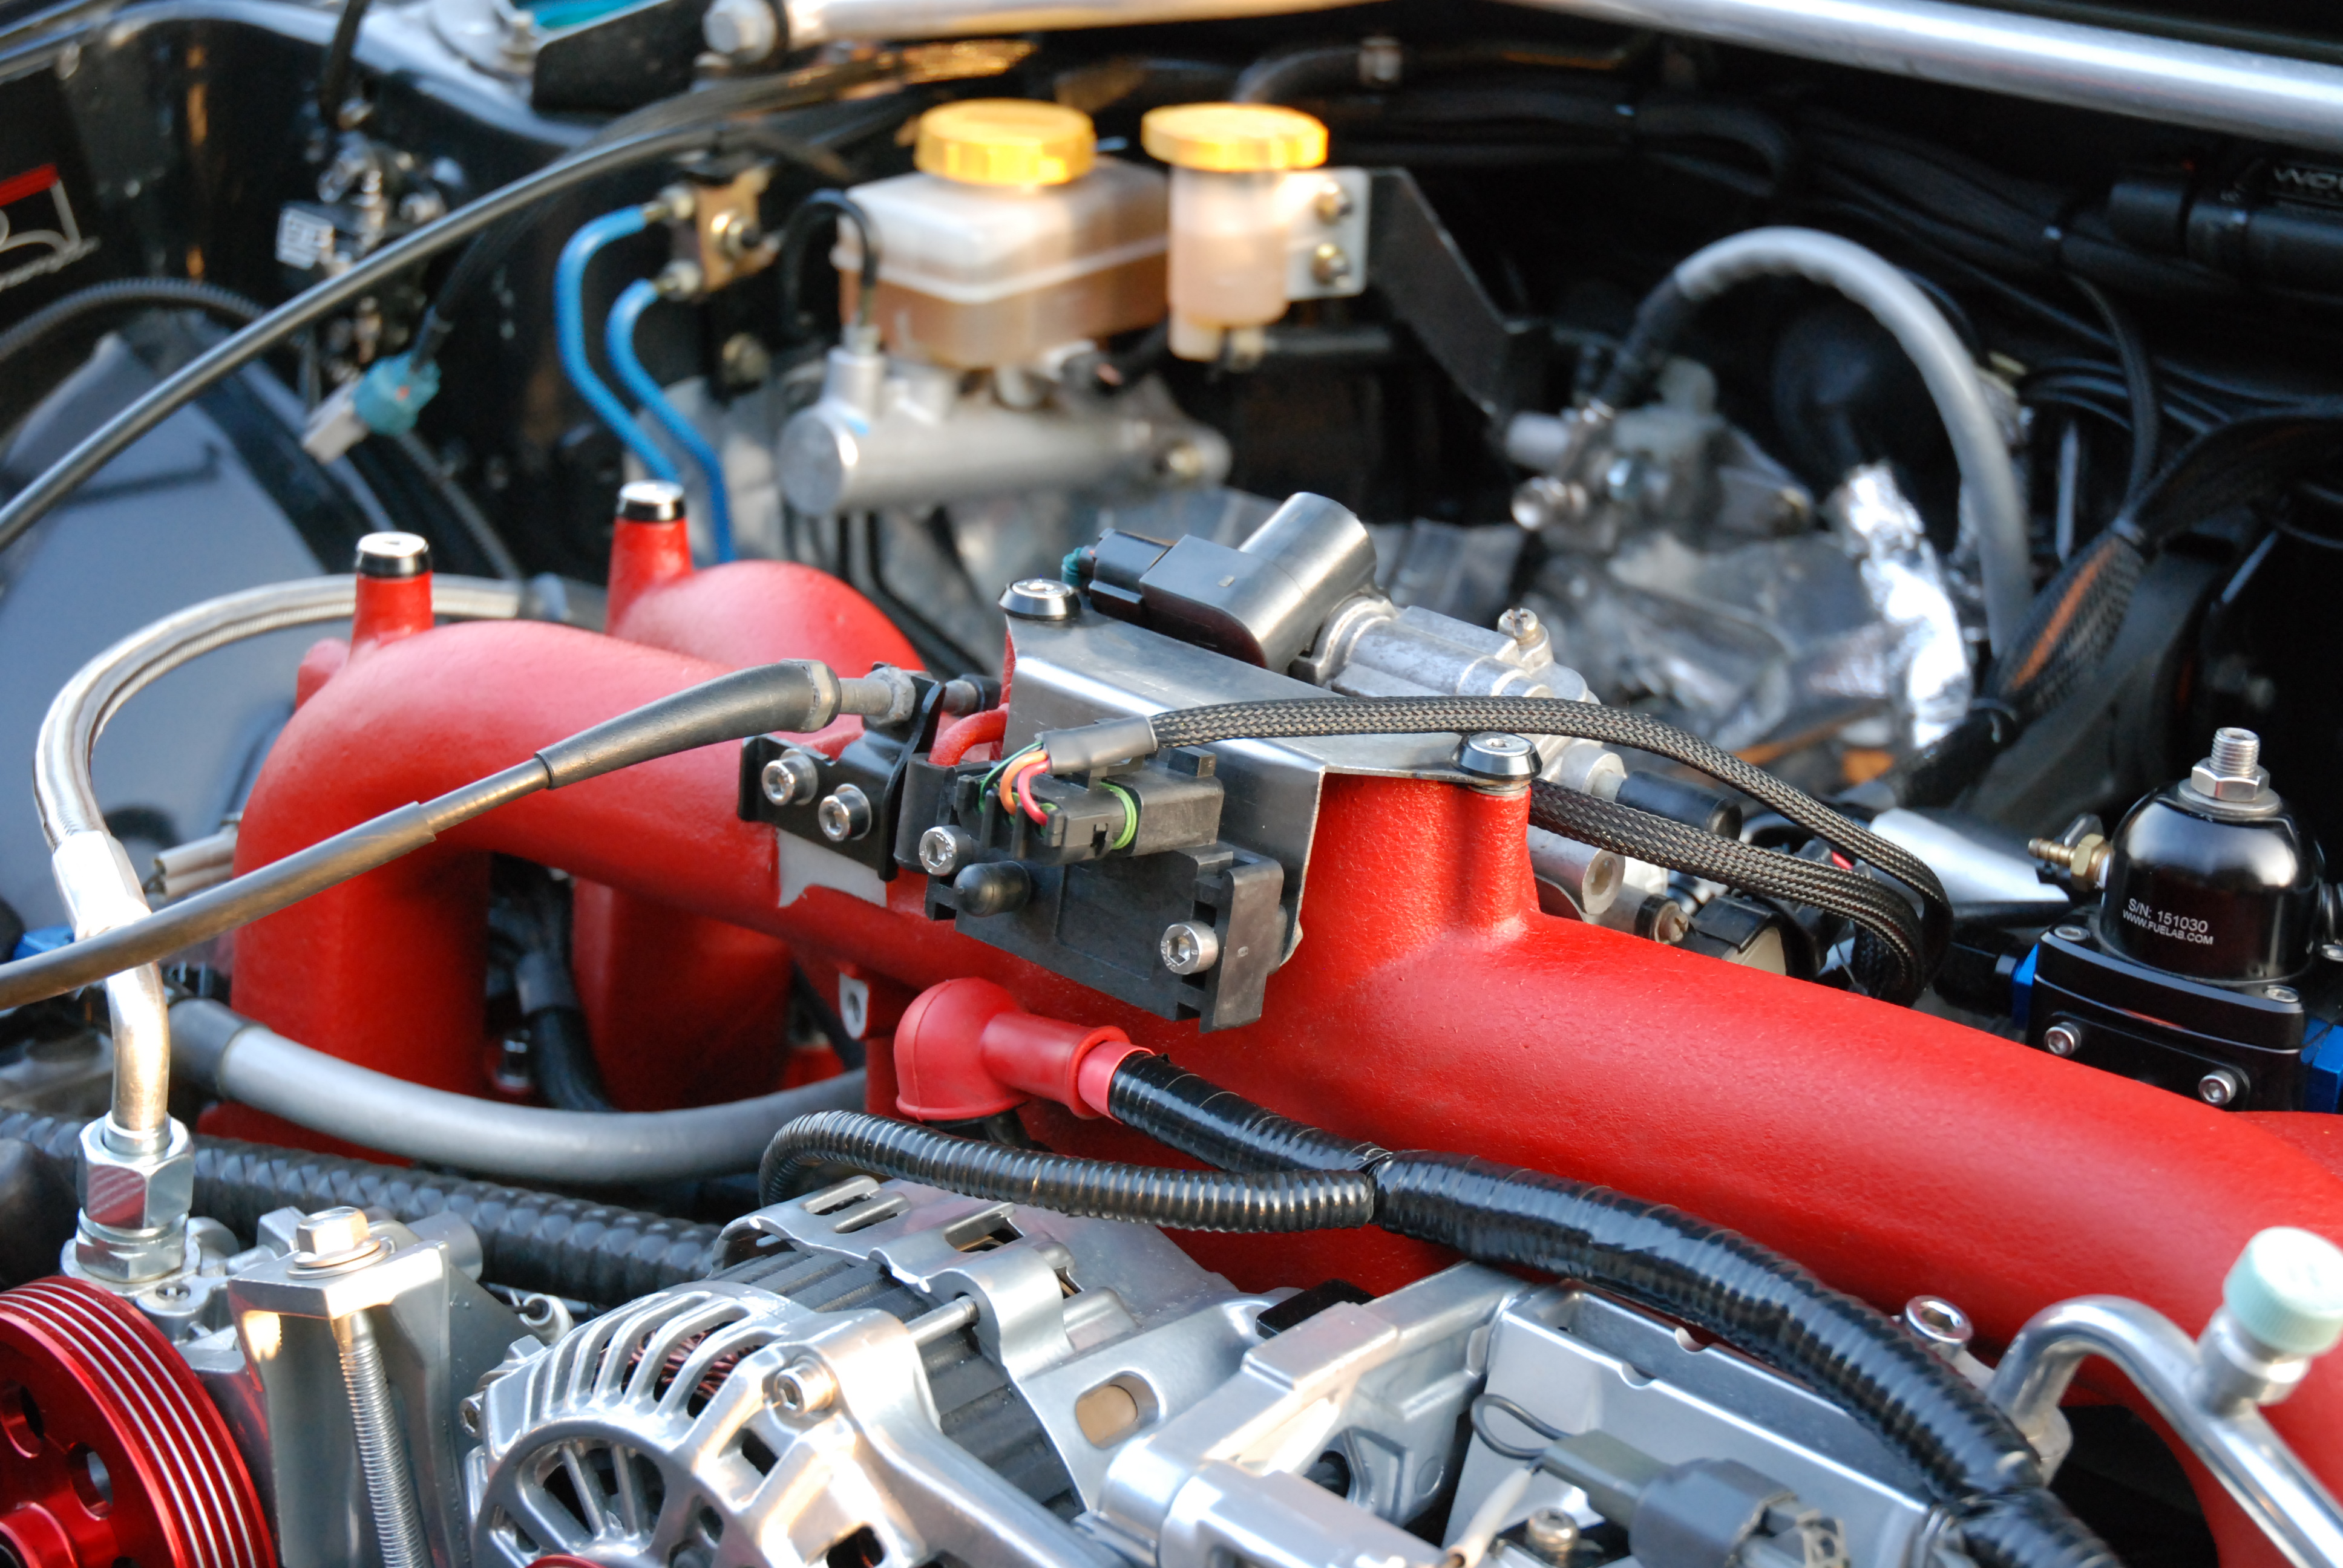
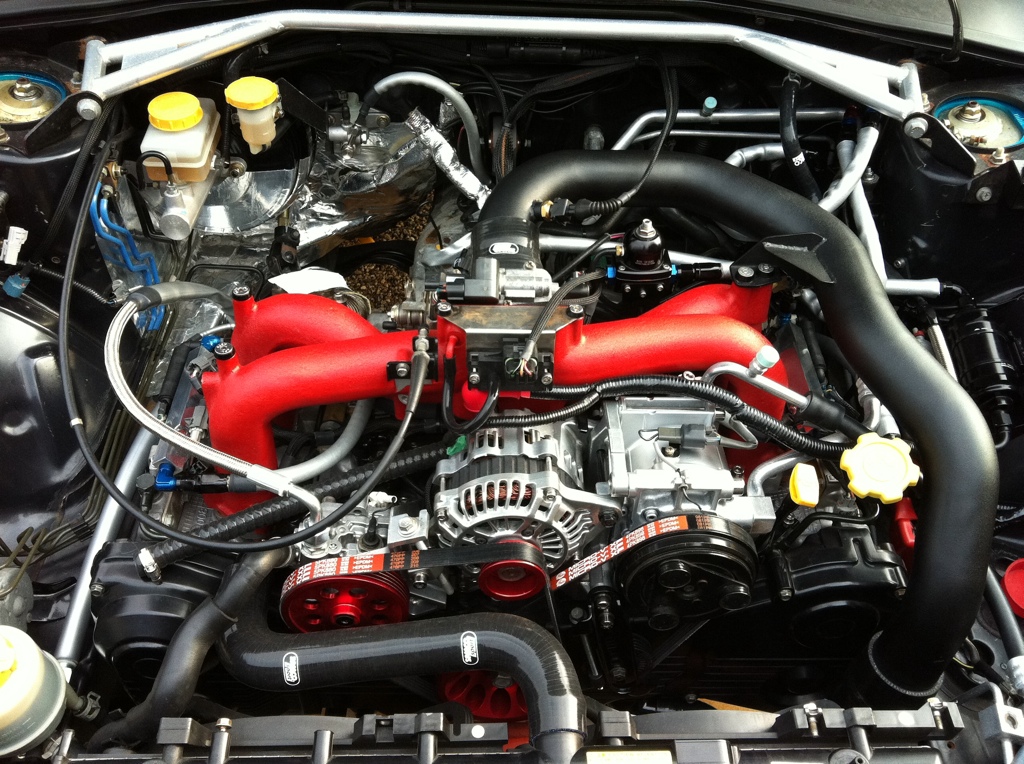
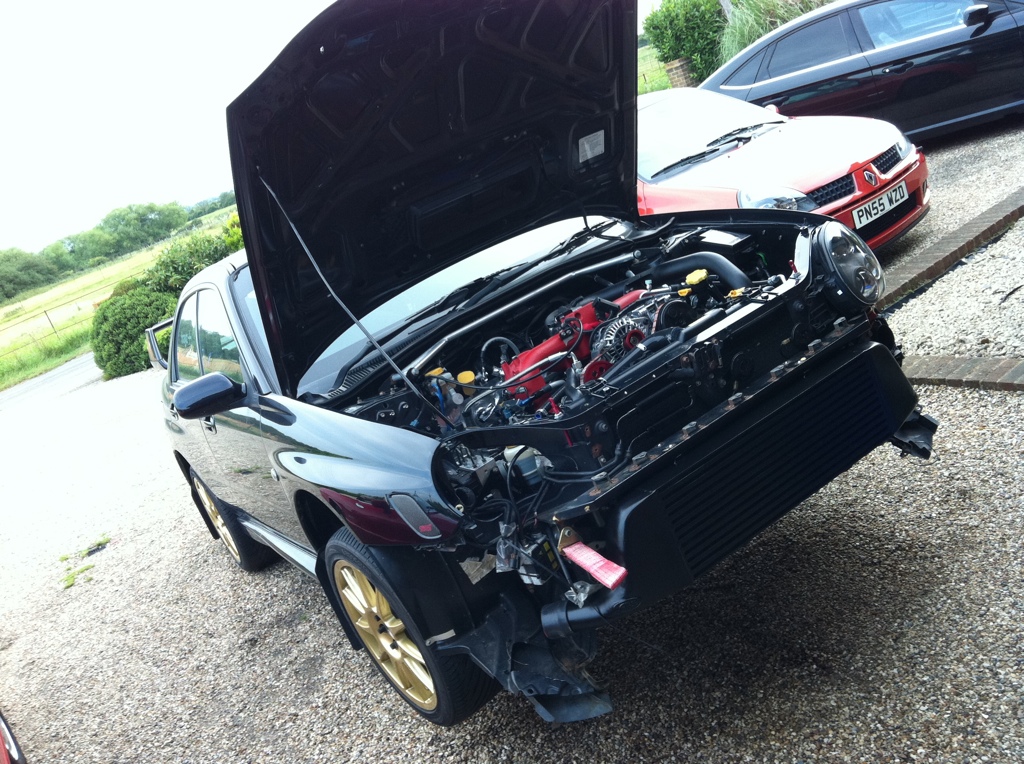
Wiring complete, plugs updated and heat protected where required, various brackets made and parts mounted including boost control solenoid, MAP sensor and A/C pump now back in situe.
Just waiting to get my turbo back and we can make the last boost hose, do the oil separator and get the final parts off to powdercoat.
Getting there

 02-08-2011, 08:06 PM
#488
Boost Junkie
Thread Starter
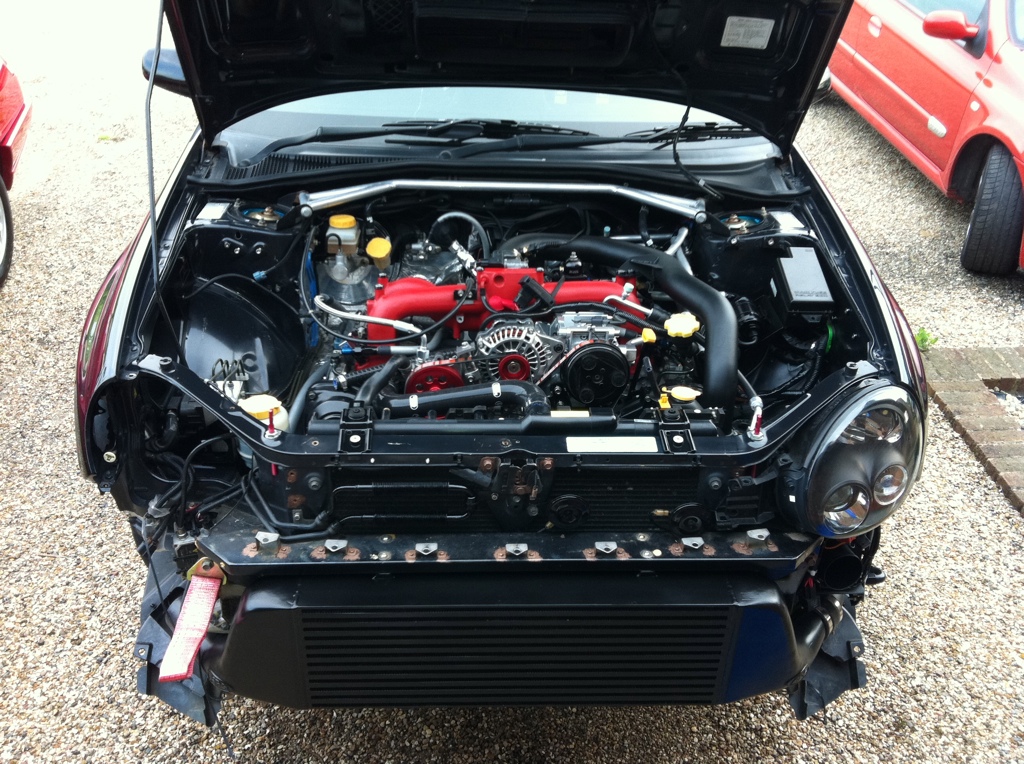
As of tonight. Waiting on turbo now guys.
Thinking of having teh cooler off and taking that to the powdercoaters too for a coat of satin black.
Thinking of having teh cooler off and taking that to the powdercoaters too for a coat of satin black.

 04-08-2011, 10:23 AM
#494
Boost Junkie
Thread Starter
Yeah it's getting that way. Although I'm absolutely bricking it about starting it up lol. I've probably built more engines than I've had hot dinners. But none have been my own lol
04-08-2011, 11:57 AM
#495
1st start is always a scary moment! All i could think about was 'im sure i torqued up that rod bolt' whilst turning the key
Looking good mate, IMO drive it then get the intercooler powdercoated later (winter) along with the other niggles your bound to find!.
Rob,
Looking good mate, IMO drive it then get the intercooler powdercoated later (winter) along with the other niggles your bound to find!.
Rob,
04-08-2011, 08:03 PM
#496
Boost Junkie
Thread Starter
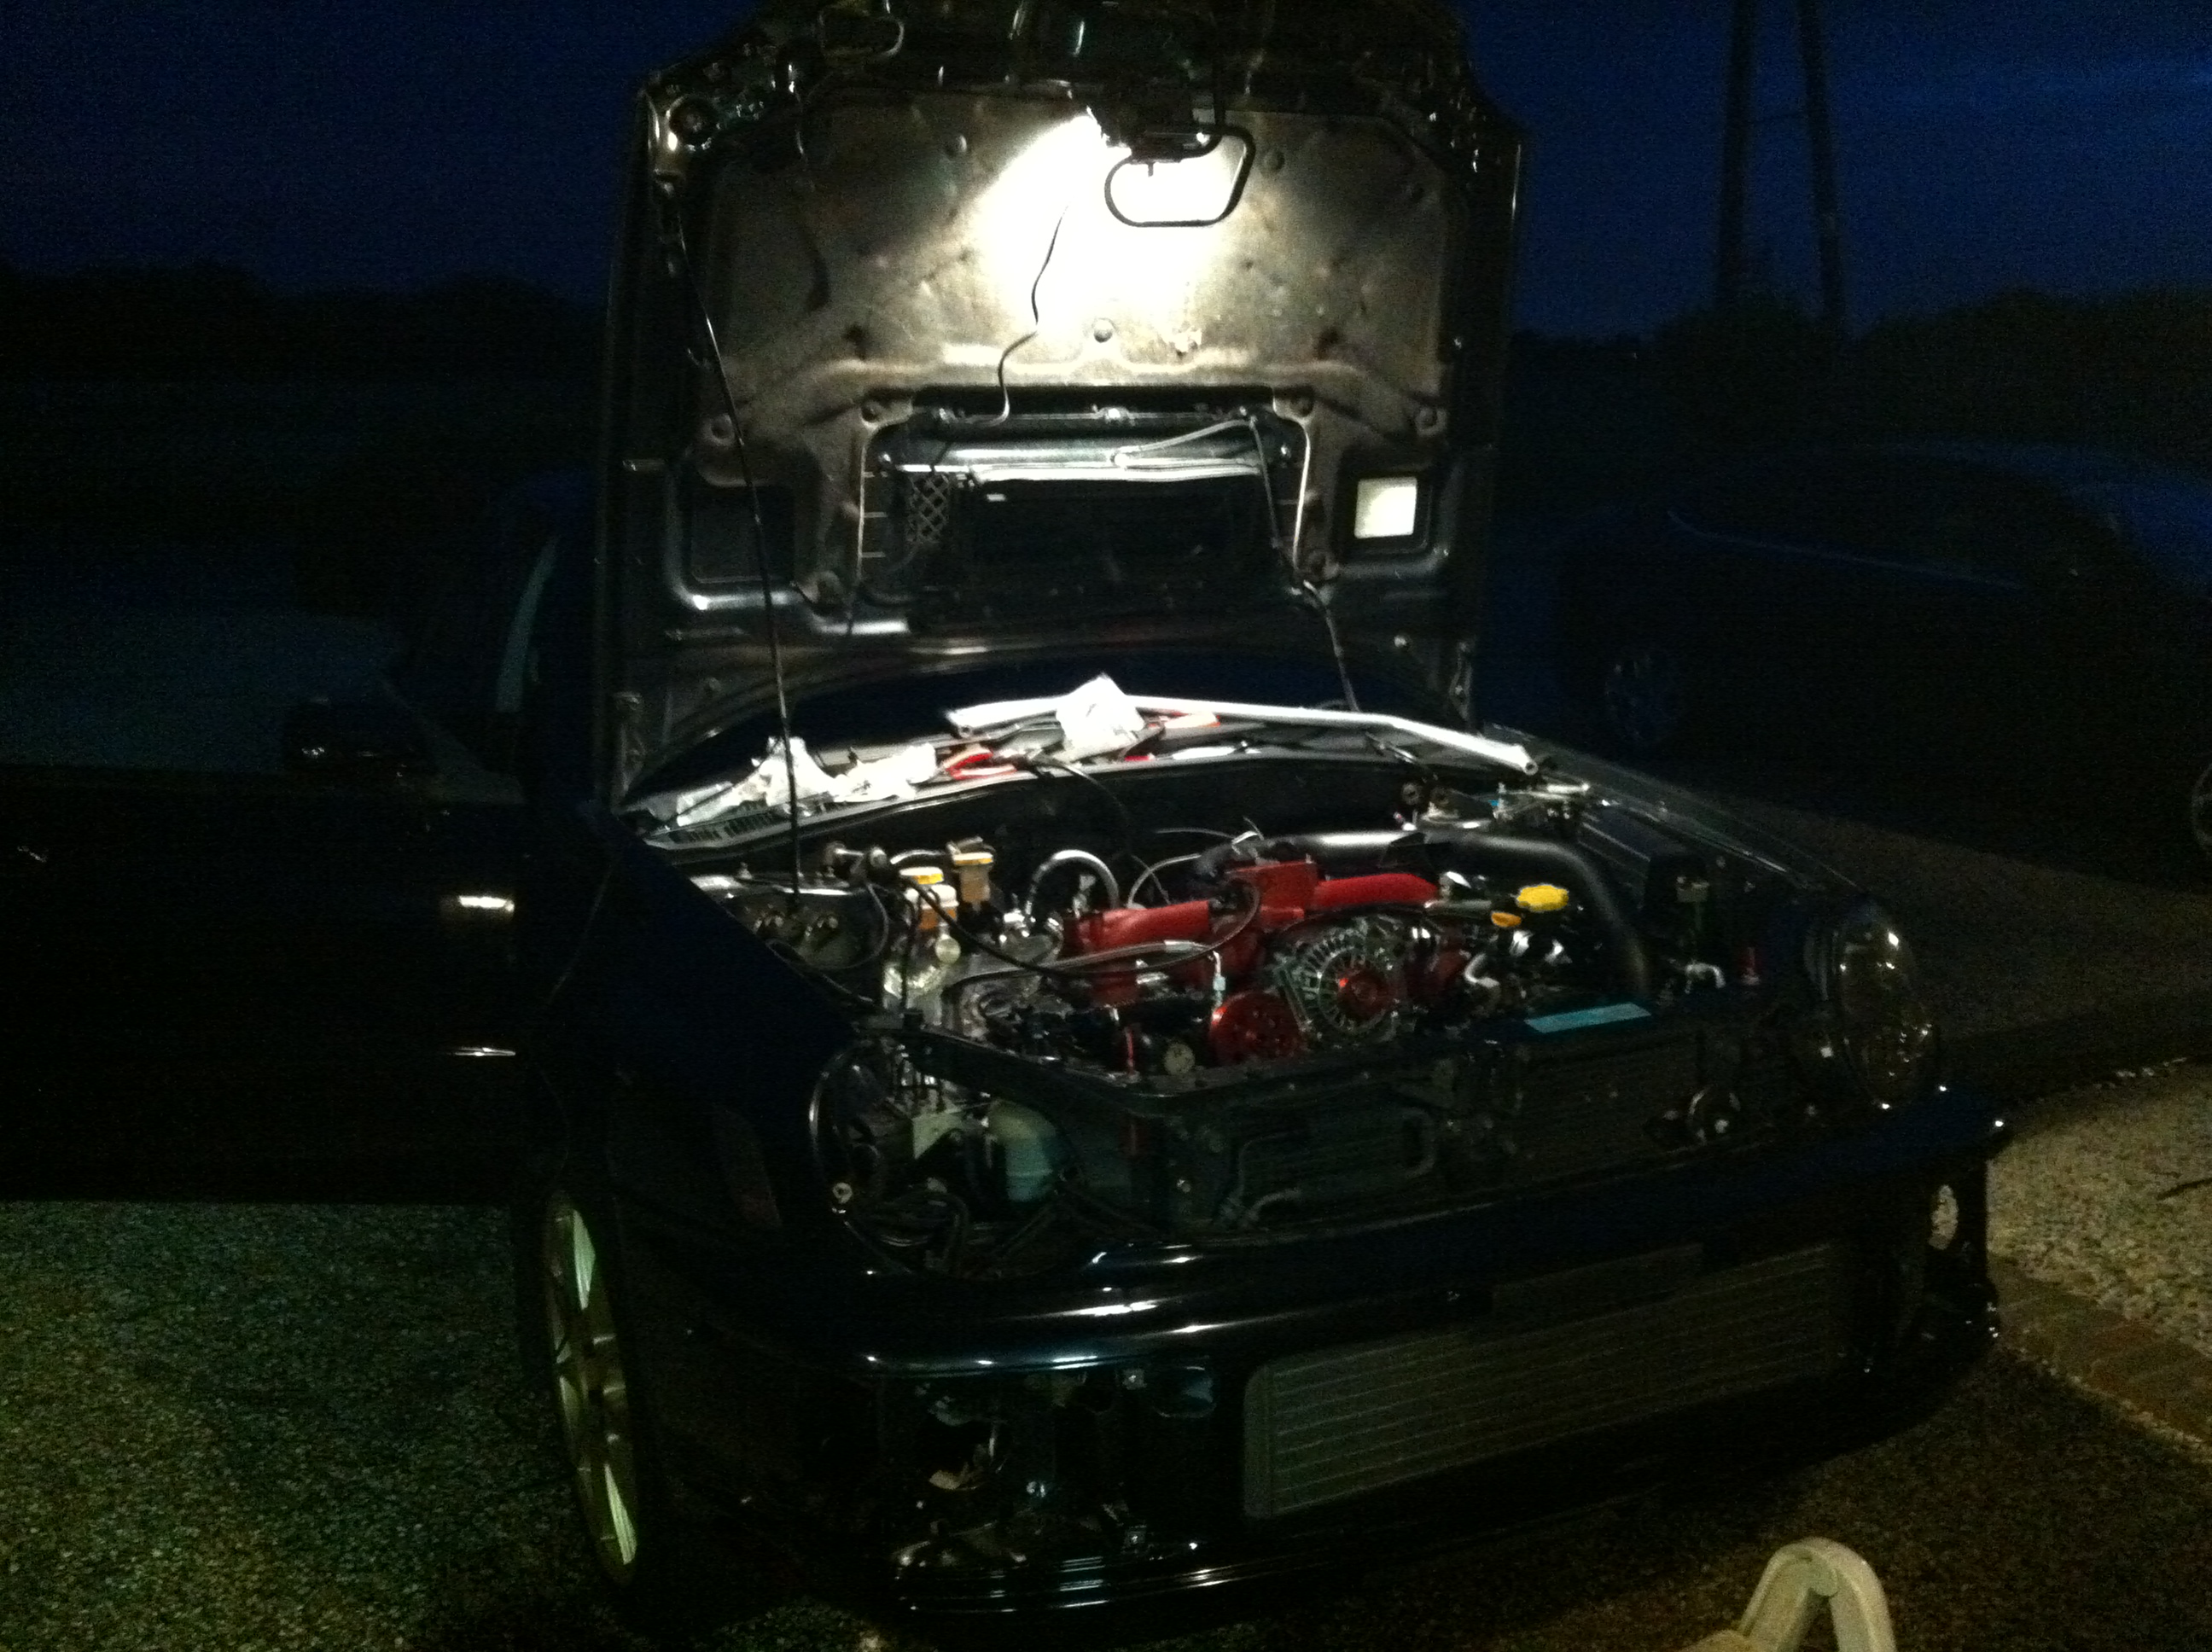
Too late Rob,
There was no way i could bring myself to bolt up the bumper with the intercoolers paint finish annoying me.
This was taken earlier when i started, it was dark by time id finished. The whole core is back to bare metal now. Hopefully if the weather holds, tomorrow i might get some etch primer on it.
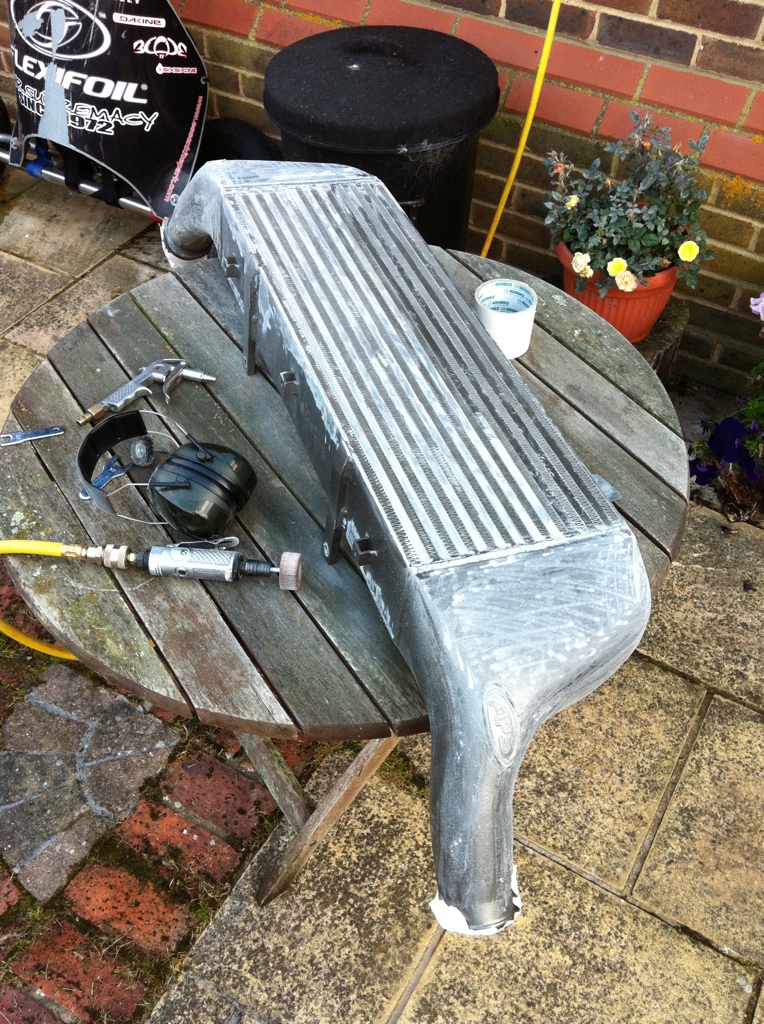
There was no way i could bring myself to bolt up the bumper with the intercoolers paint finish annoying me.
This was taken earlier when i started, it was dark by time id finished. The whole core is back to bare metal now. Hopefully if the weather holds, tomorrow i might get some etch primer on it.
05-08-2011, 07:36 PM
#500
Boost Junkie
Thread Starter
Thanks Carlos,
Well,
After mucho prep, 2 coats of acid etch primer and 2 coats of satin black, here she is.
Quite pleased as it looks way better than before in my opinion
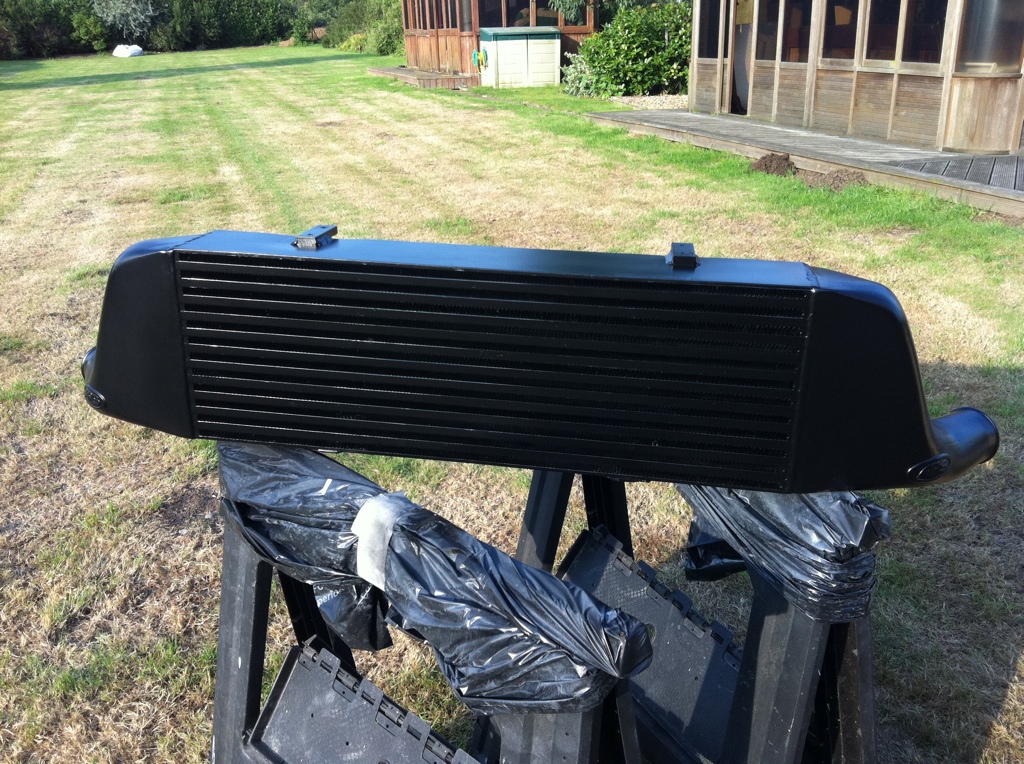
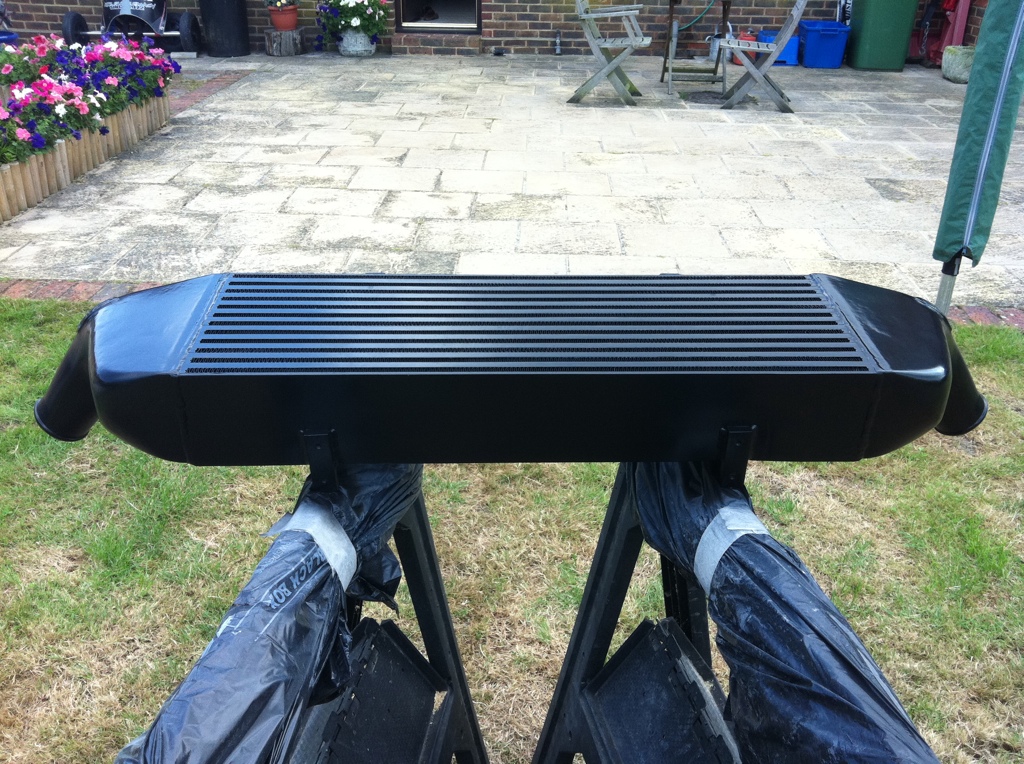
Well,
After mucho prep, 2 coats of acid etch primer and 2 coats of satin black, here she is.
Quite pleased as it looks way better than before in my opinion
 06-08-2011, 11:42 AM
#505
15000

Join Date: May 2011
Posts: 34
Likes: 0
Received 0 Likes
on
0 Posts
Hey frayz your fuel set up, im asuming ur swirlmpot is close to the tank which a feul pump feeds, then the fuel pump in the engine bay obvs feeds the engine? Or is the swirl pot tucked away in the engine bay some where. 
Was thinking bout this for my pulsar a while back
Regards
Was thinking bout this for my pulsar a while back
Regards
06-08-2011, 01:03 PM
#506
Boost Junkie
Thread Starter
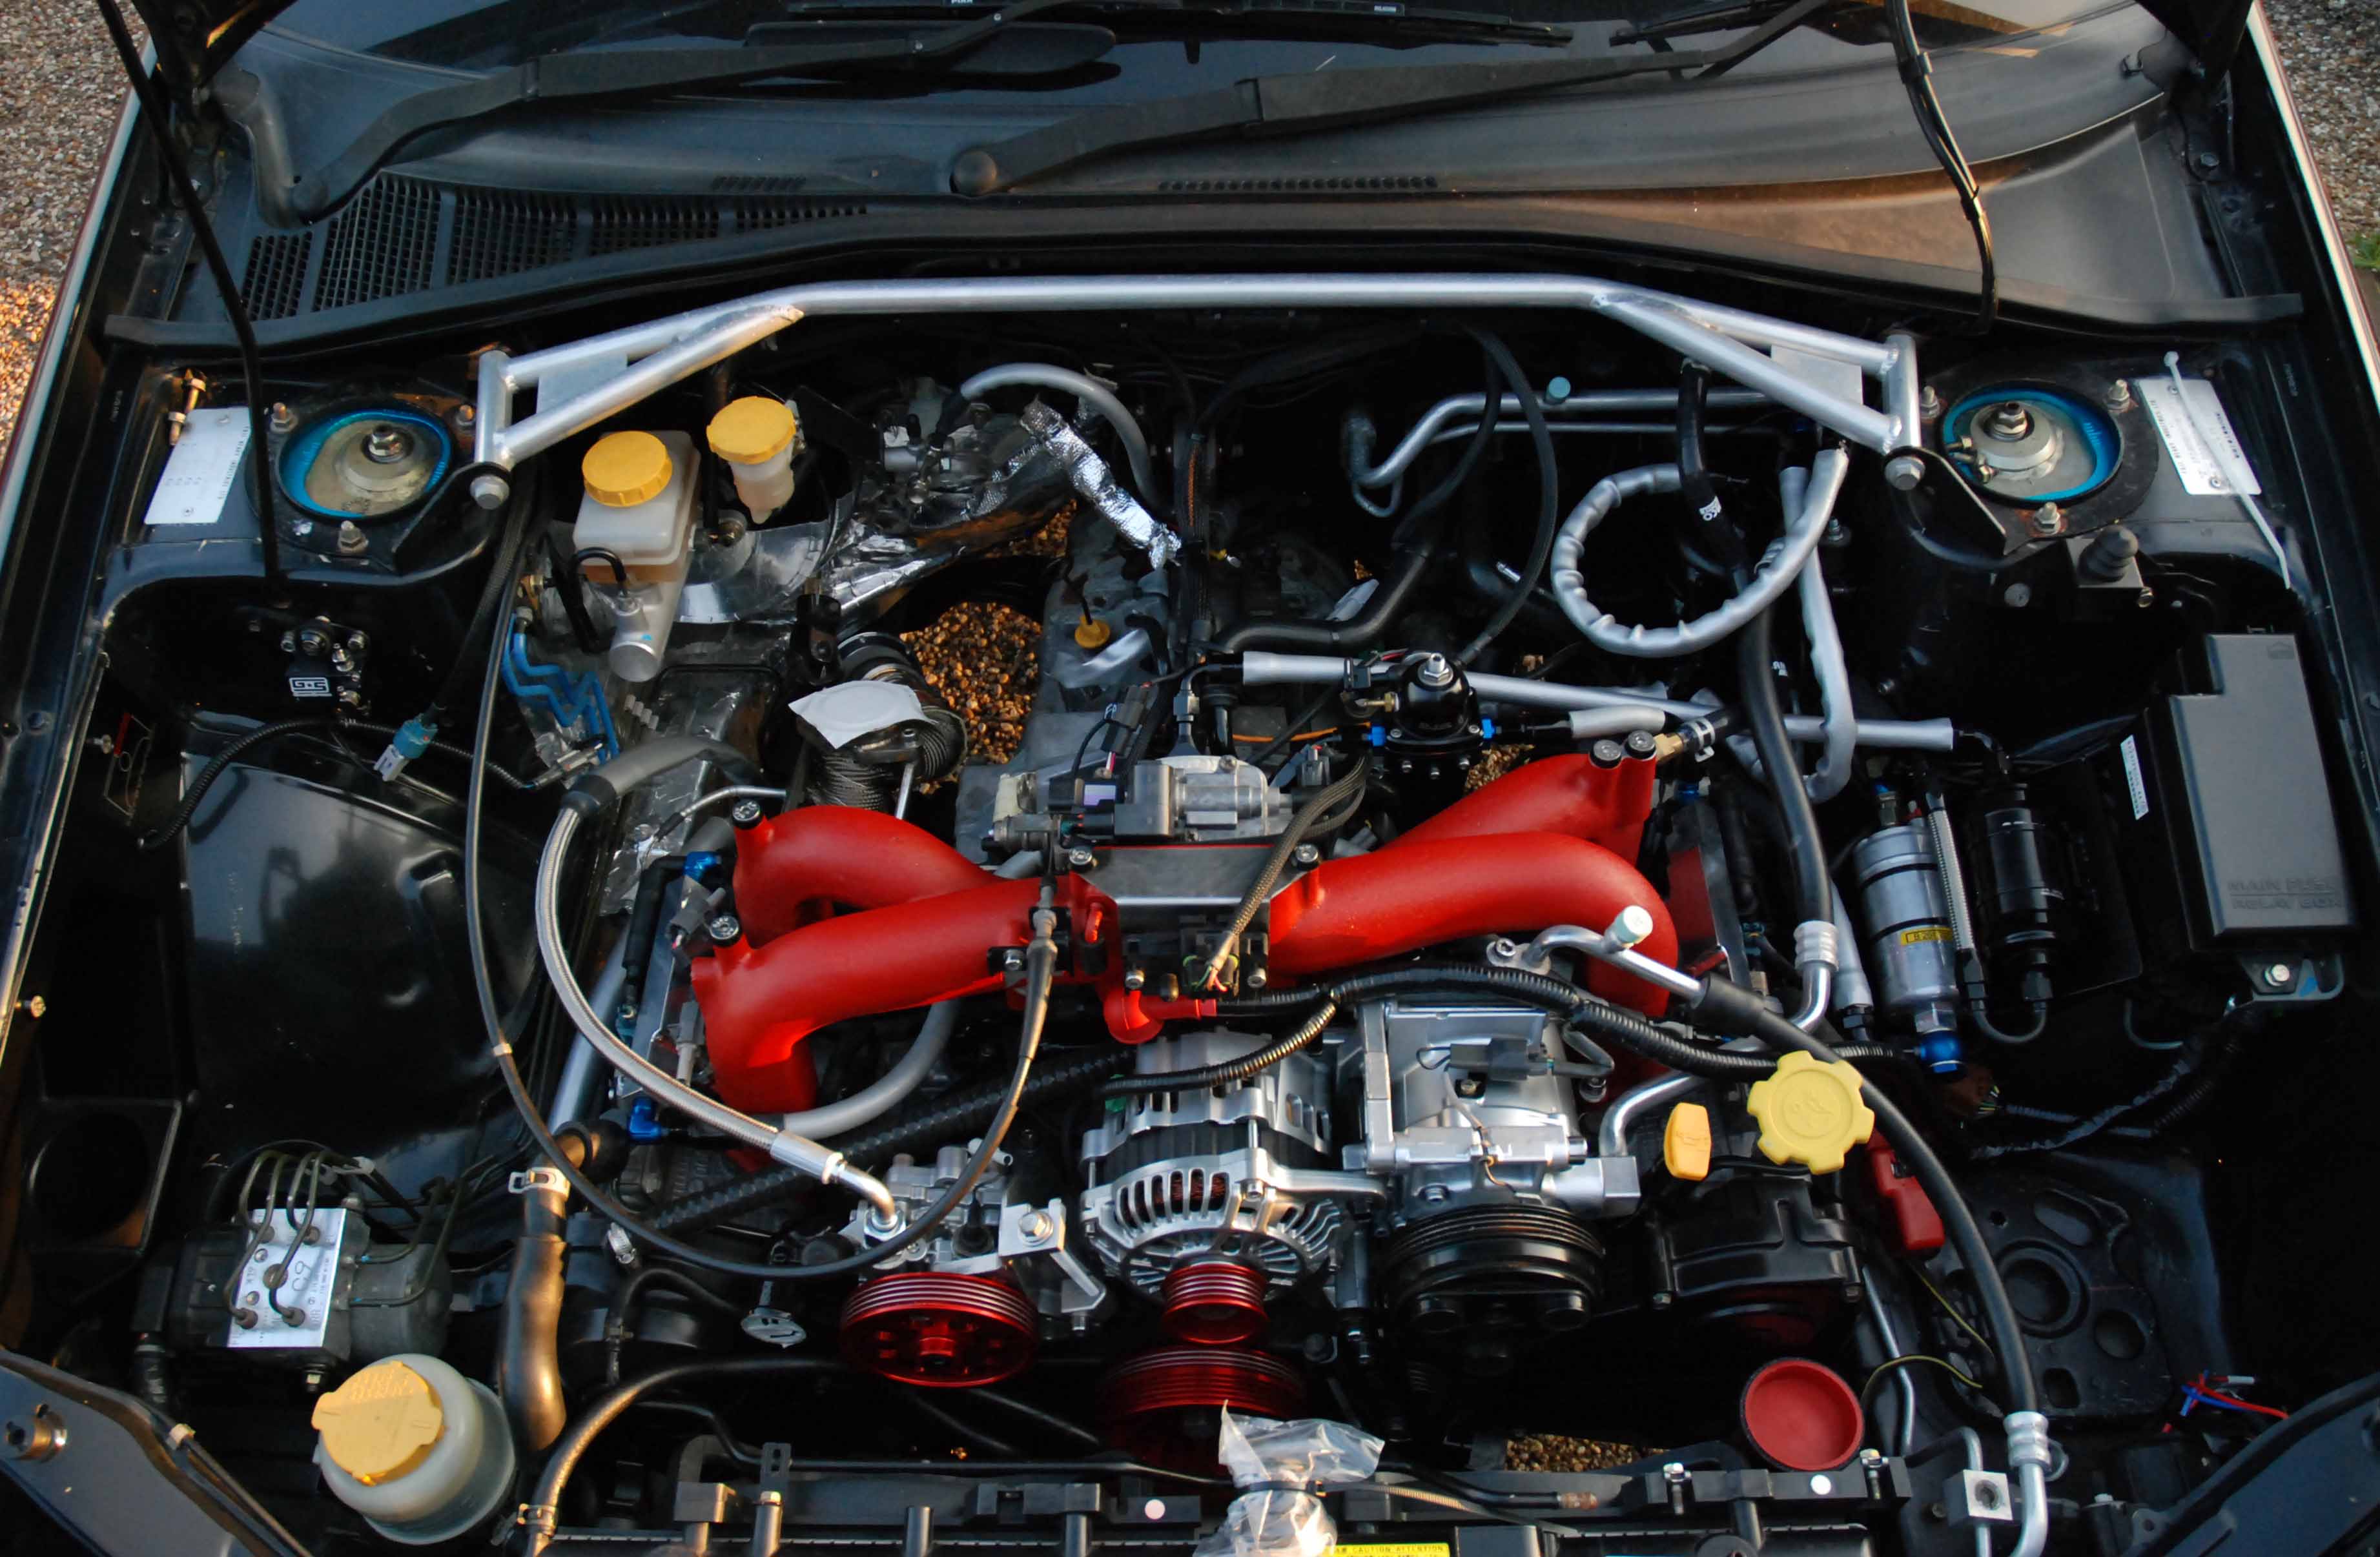
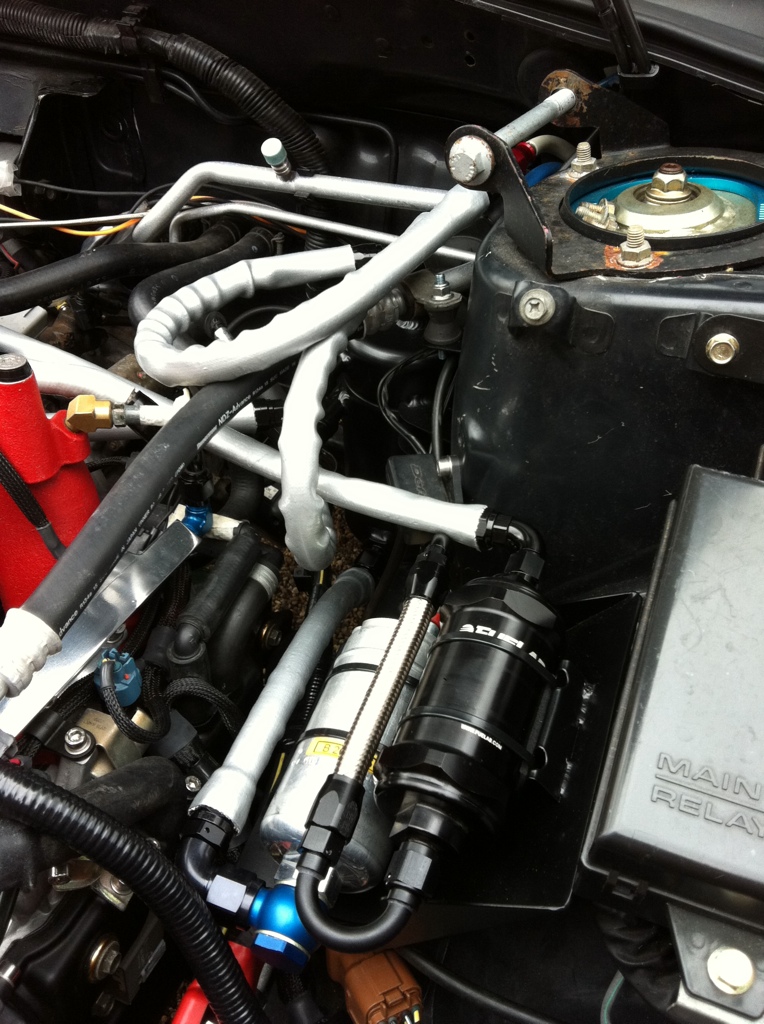
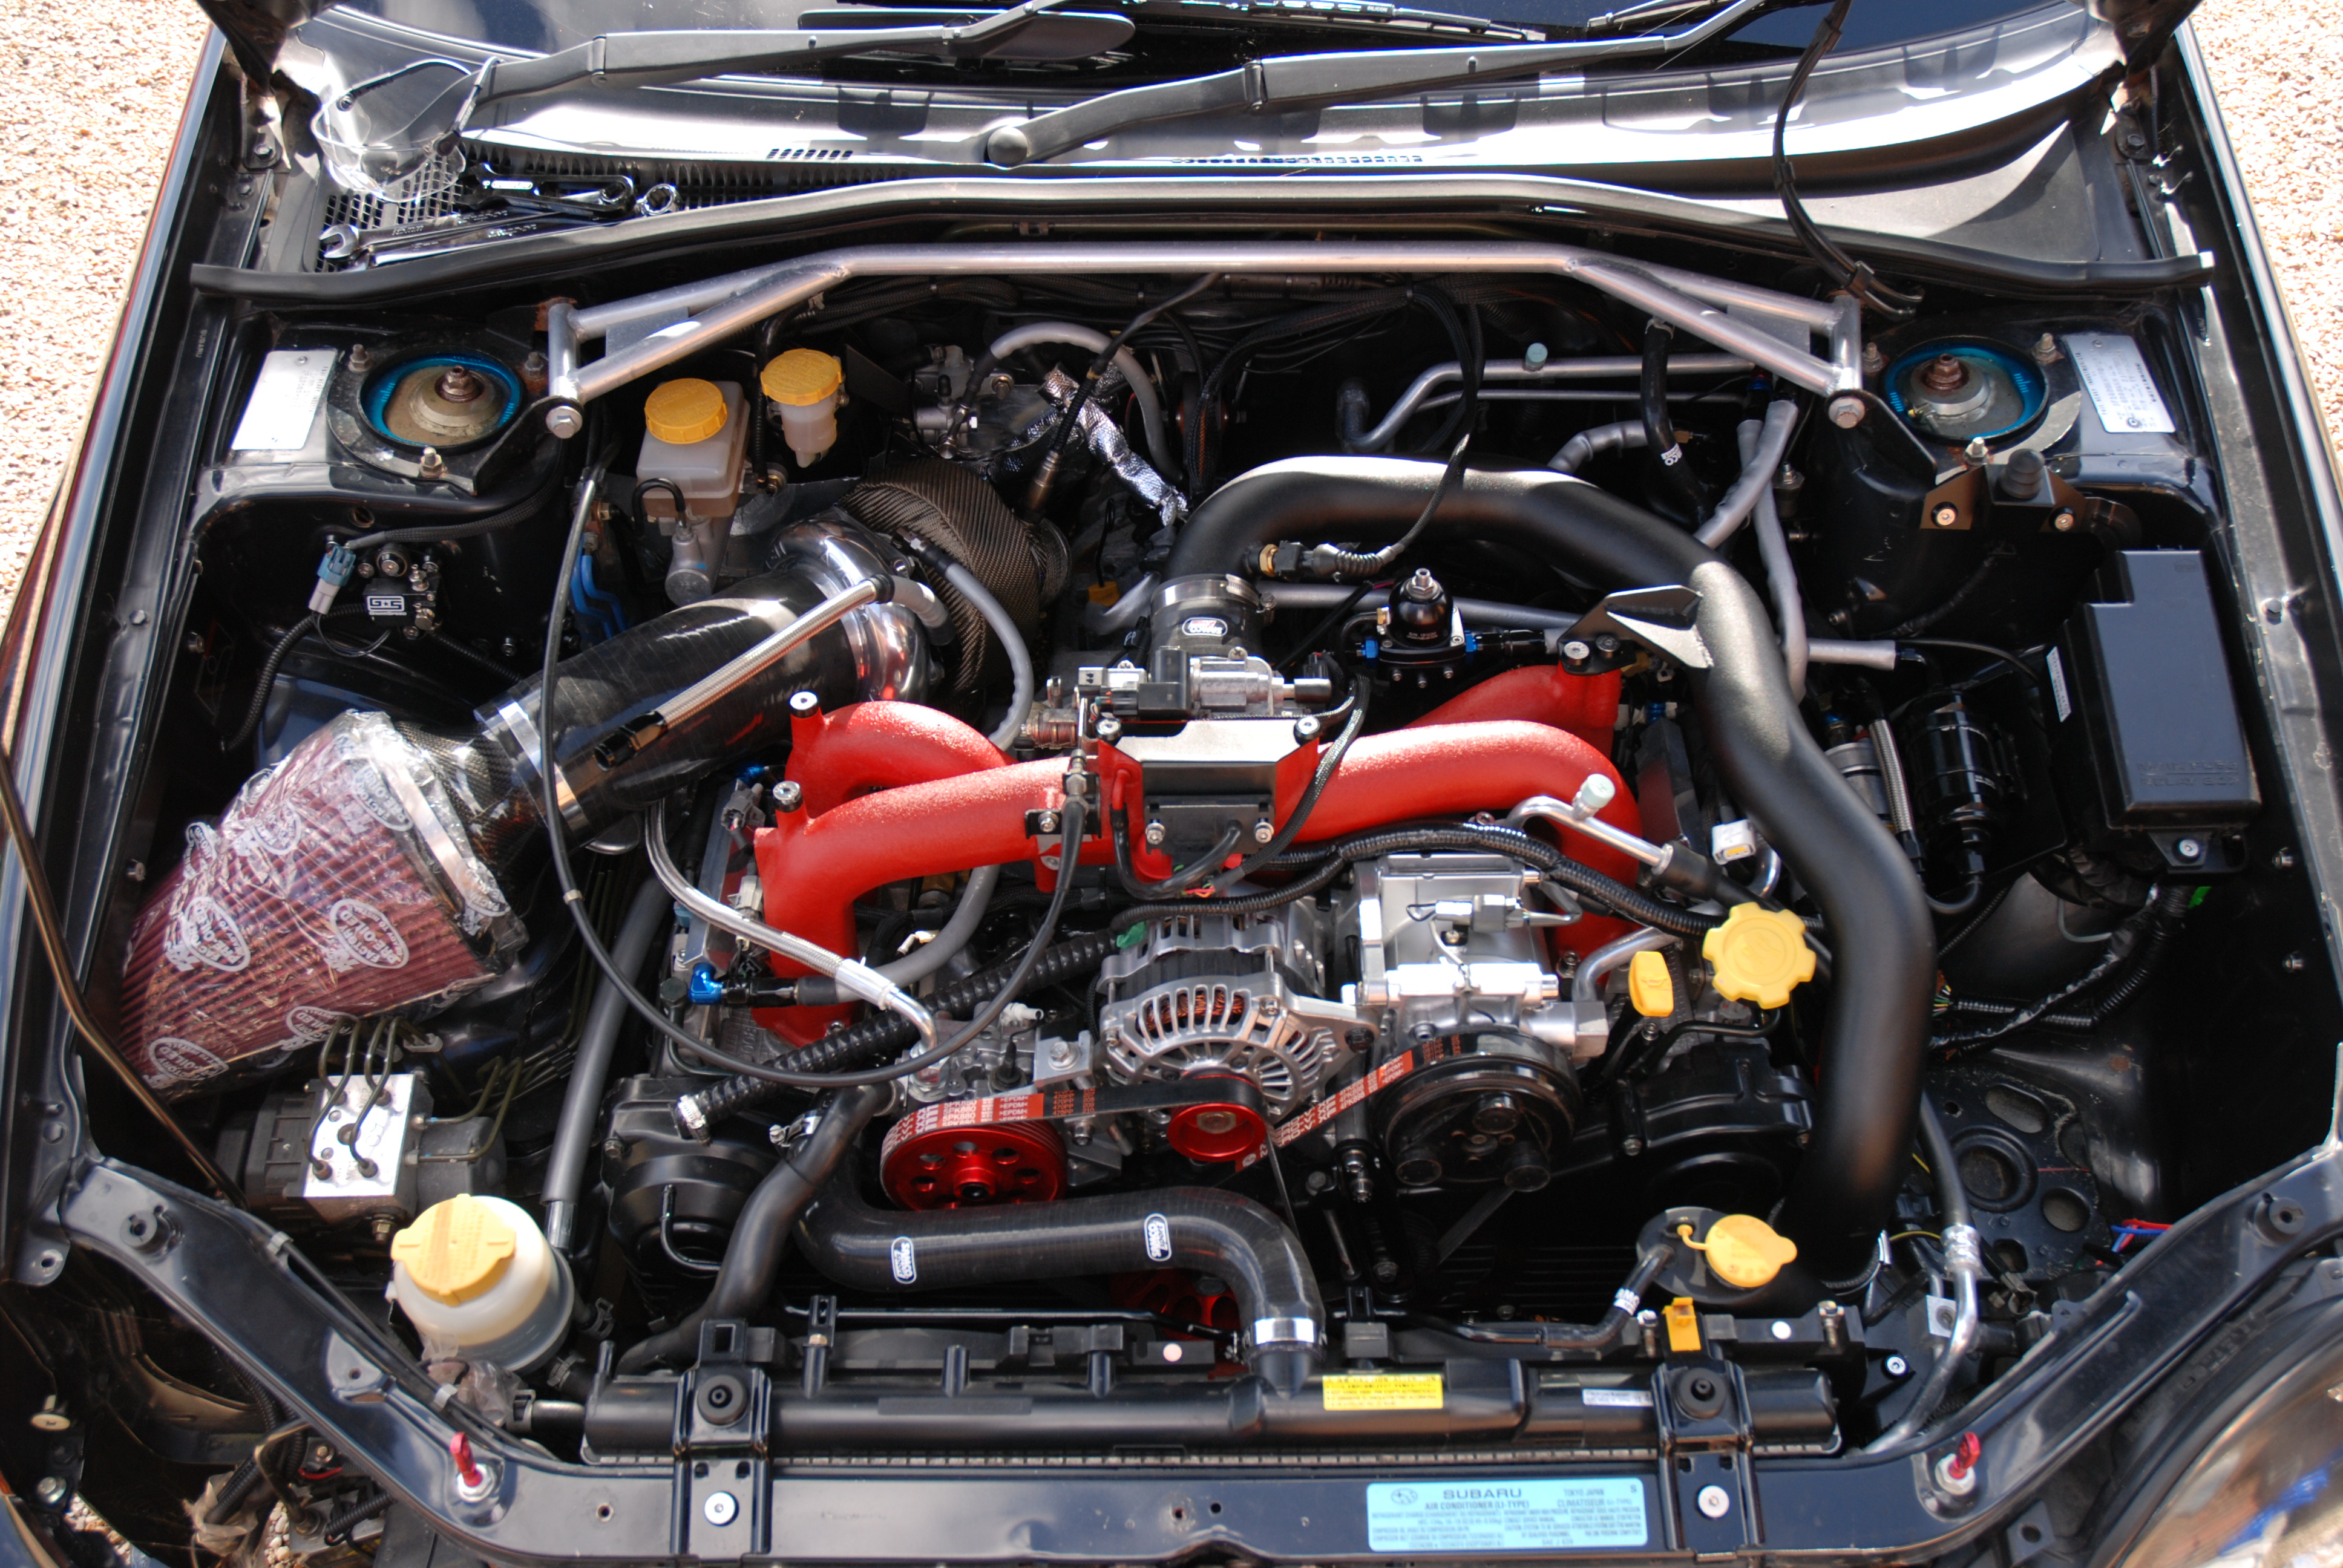
Swirl pot is in the far rear left hand side of the engine bay. (Right side if youre viewing from the front of the car) Its satin black so you can barely even see it.
Look closely and you can see the pot lurking at the back (Centre of photo)
Look closely and you can see the pot lurking at the back (Centre of photo)
Last edited by frayz; 06-08-2011 at 01:08 PM.
 09-09-2011, 05:51 PM
#512
Boost Junkie
Thread Starter
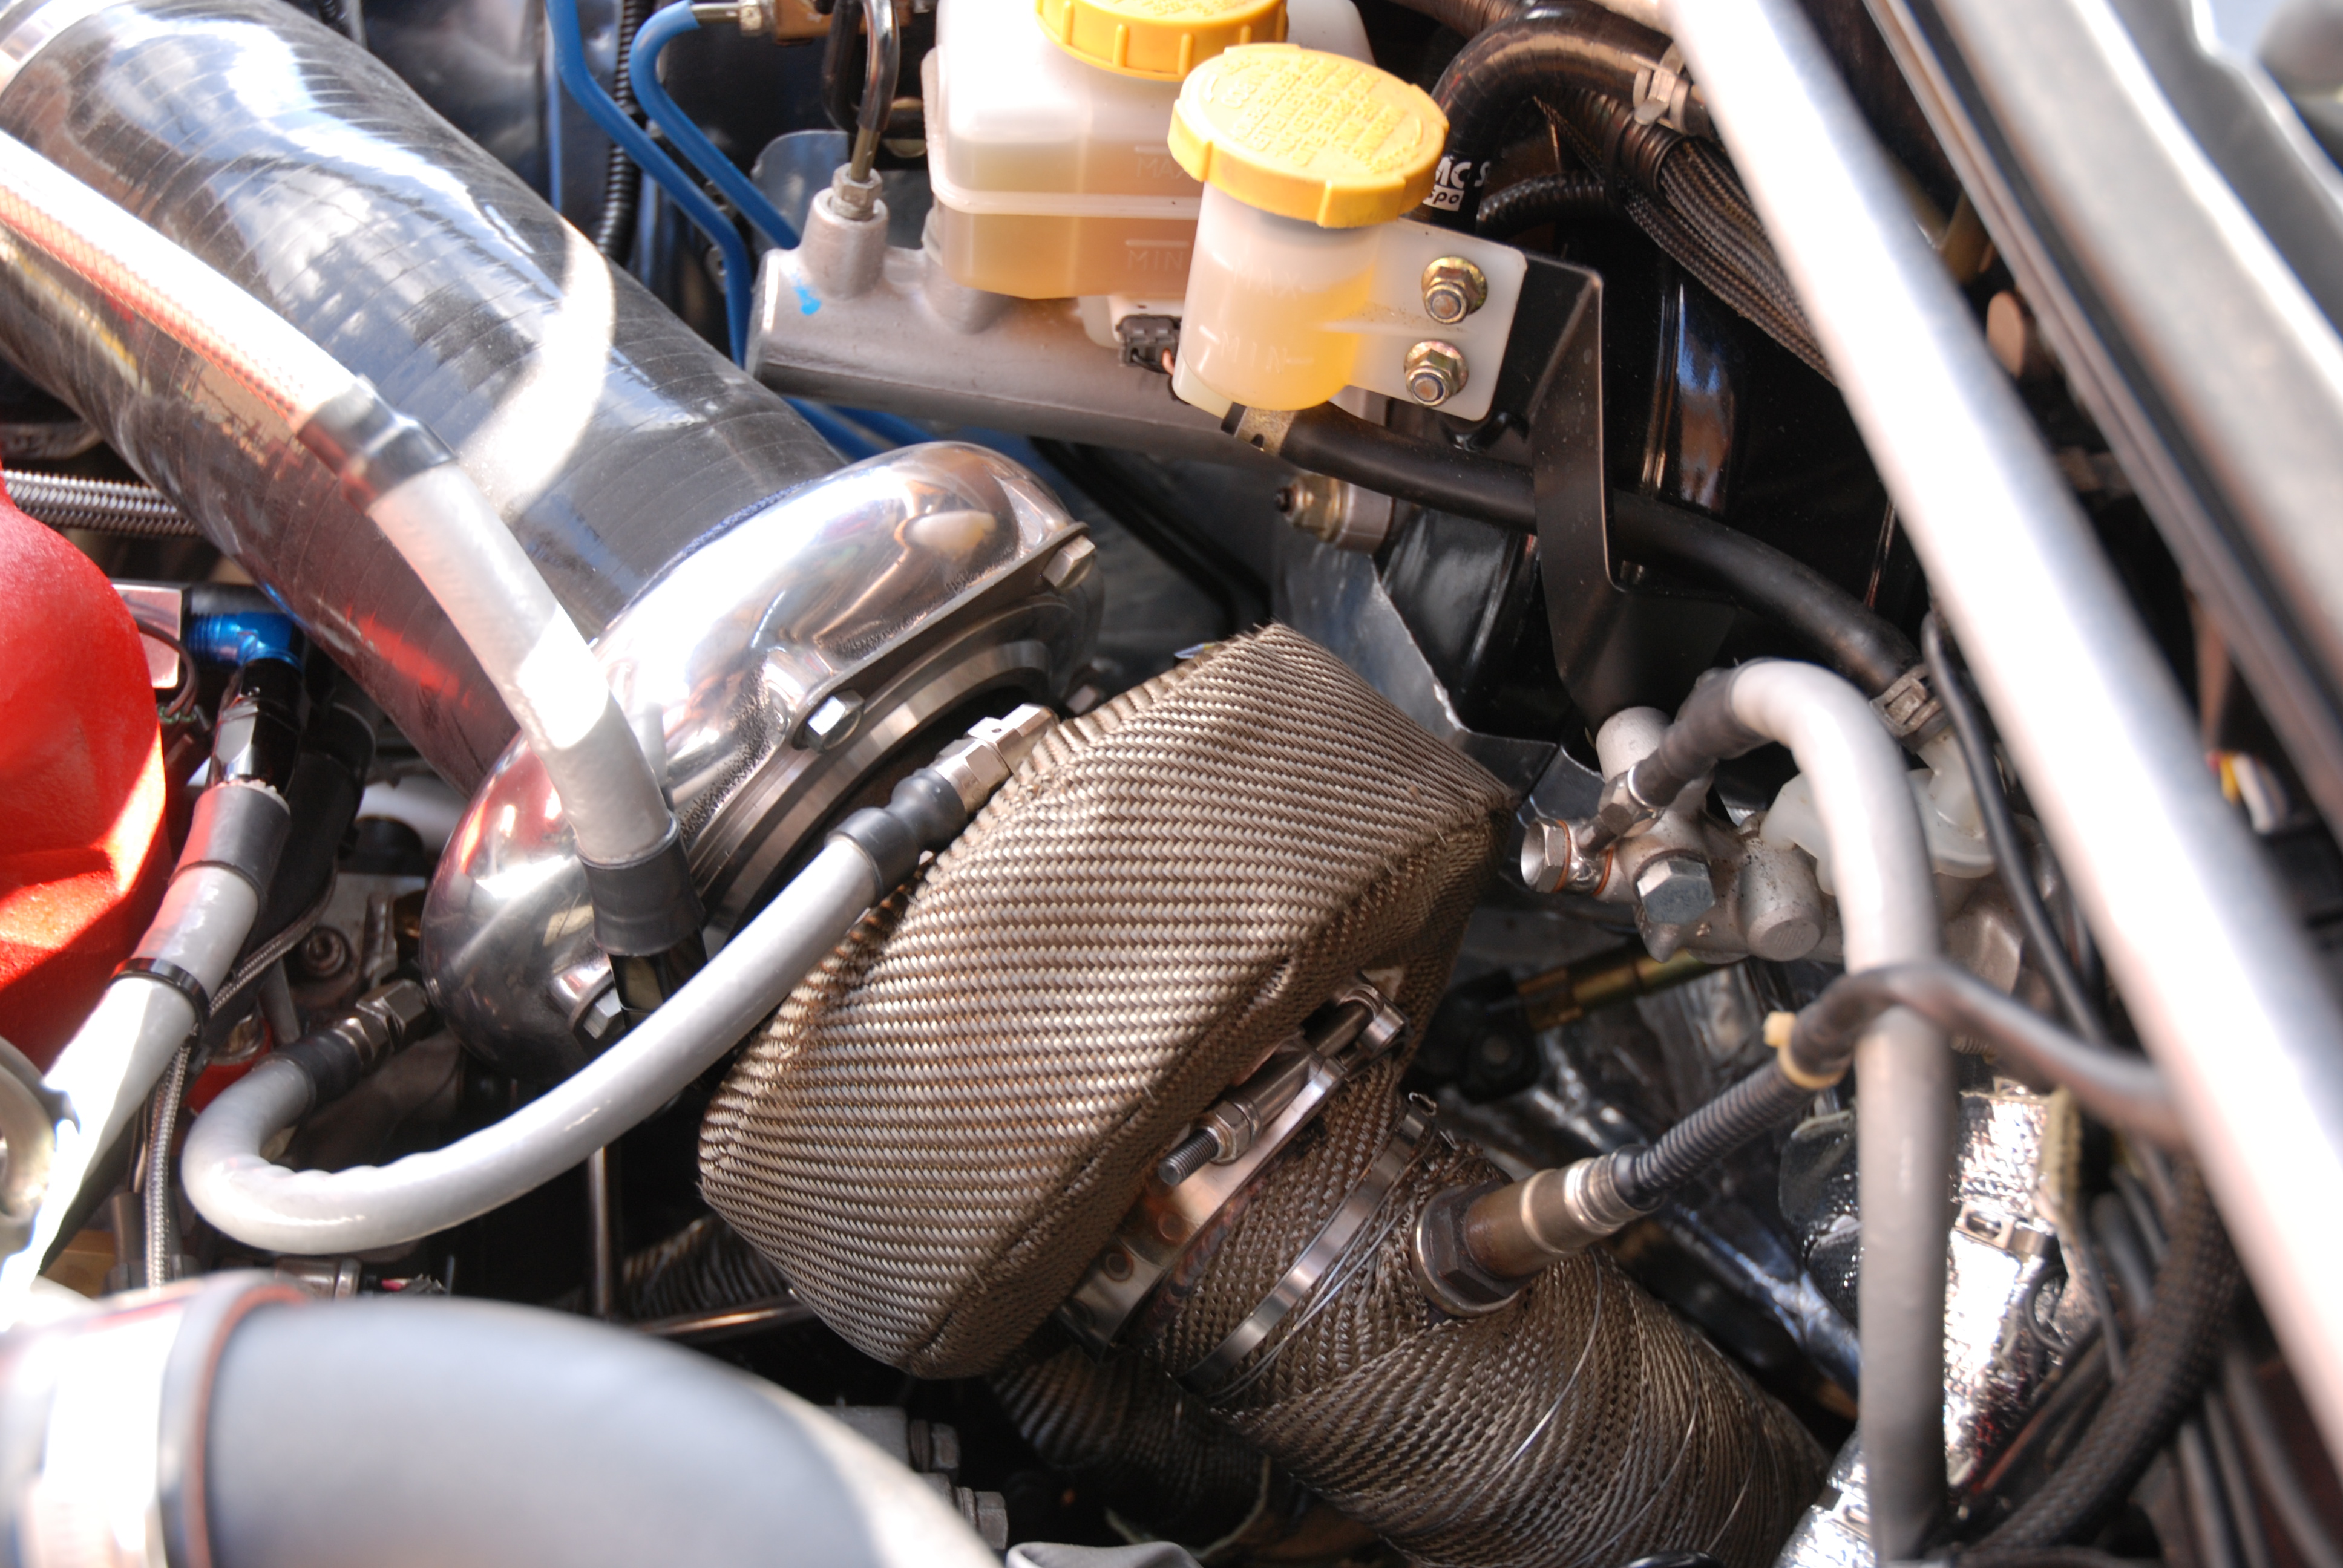
Turbo modded, just needs fully welding.

Also got the turbo a nice little jacket to keep her warm this winter

Changed the routing of both the turbo oil feed and the PAS HP line, so these will be remade. Dropped a couple of items at the coaters this morning too.
Getting closer

Also got the turbo a nice little jacket to keep her warm this winter
Changed the routing of both the turbo oil feed and the PAS HP line, so these will be remade. Dropped a couple of items at the coaters this morning too.
Getting closer
 10-09-2011, 06:52 PM
#514
PassionFord Post Whore!!

 11-09-2011, 03:13 PM
#515
Boost Junkie
Thread Starter
Thanks Mark, i'll keep an eye on it.
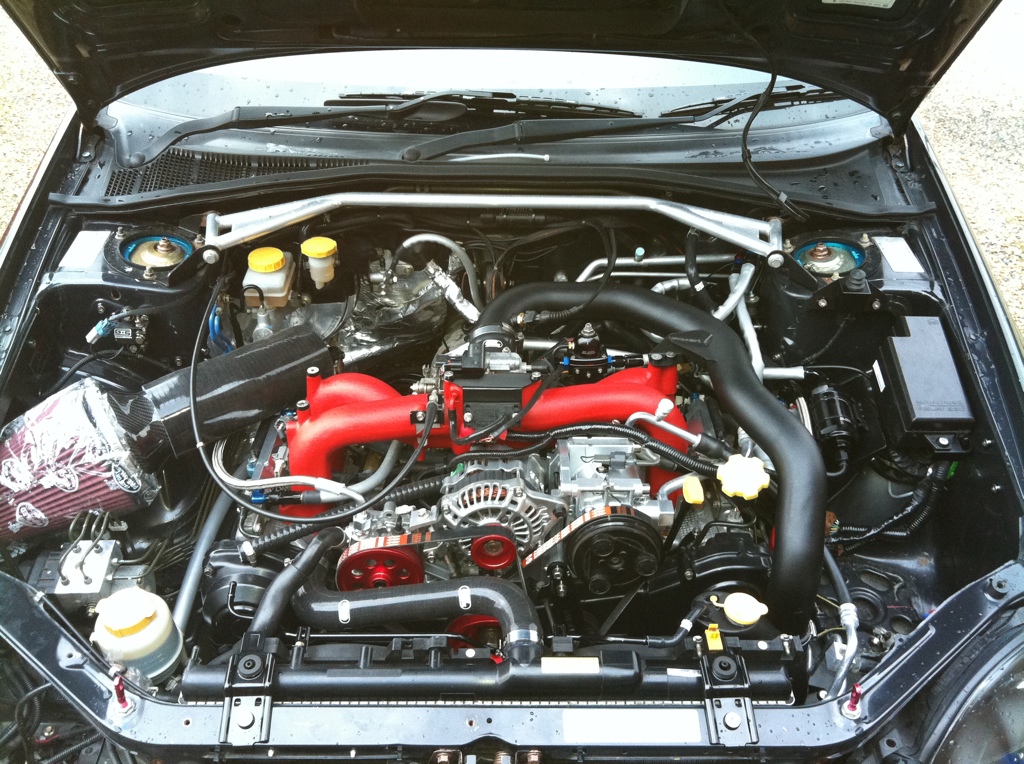
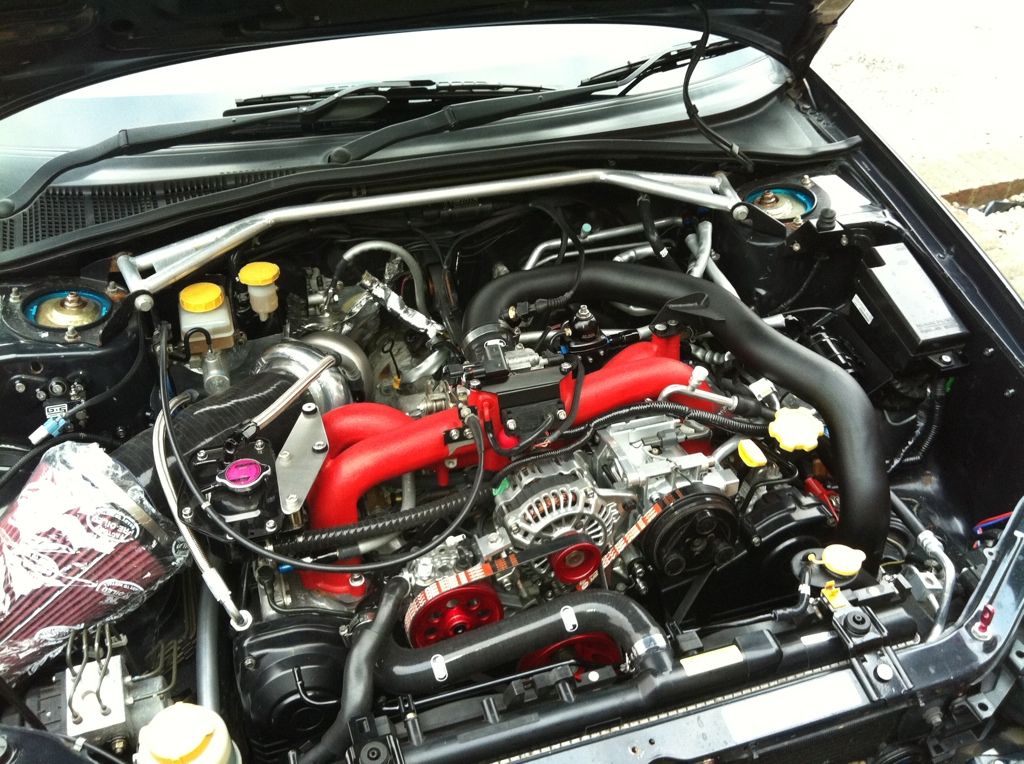
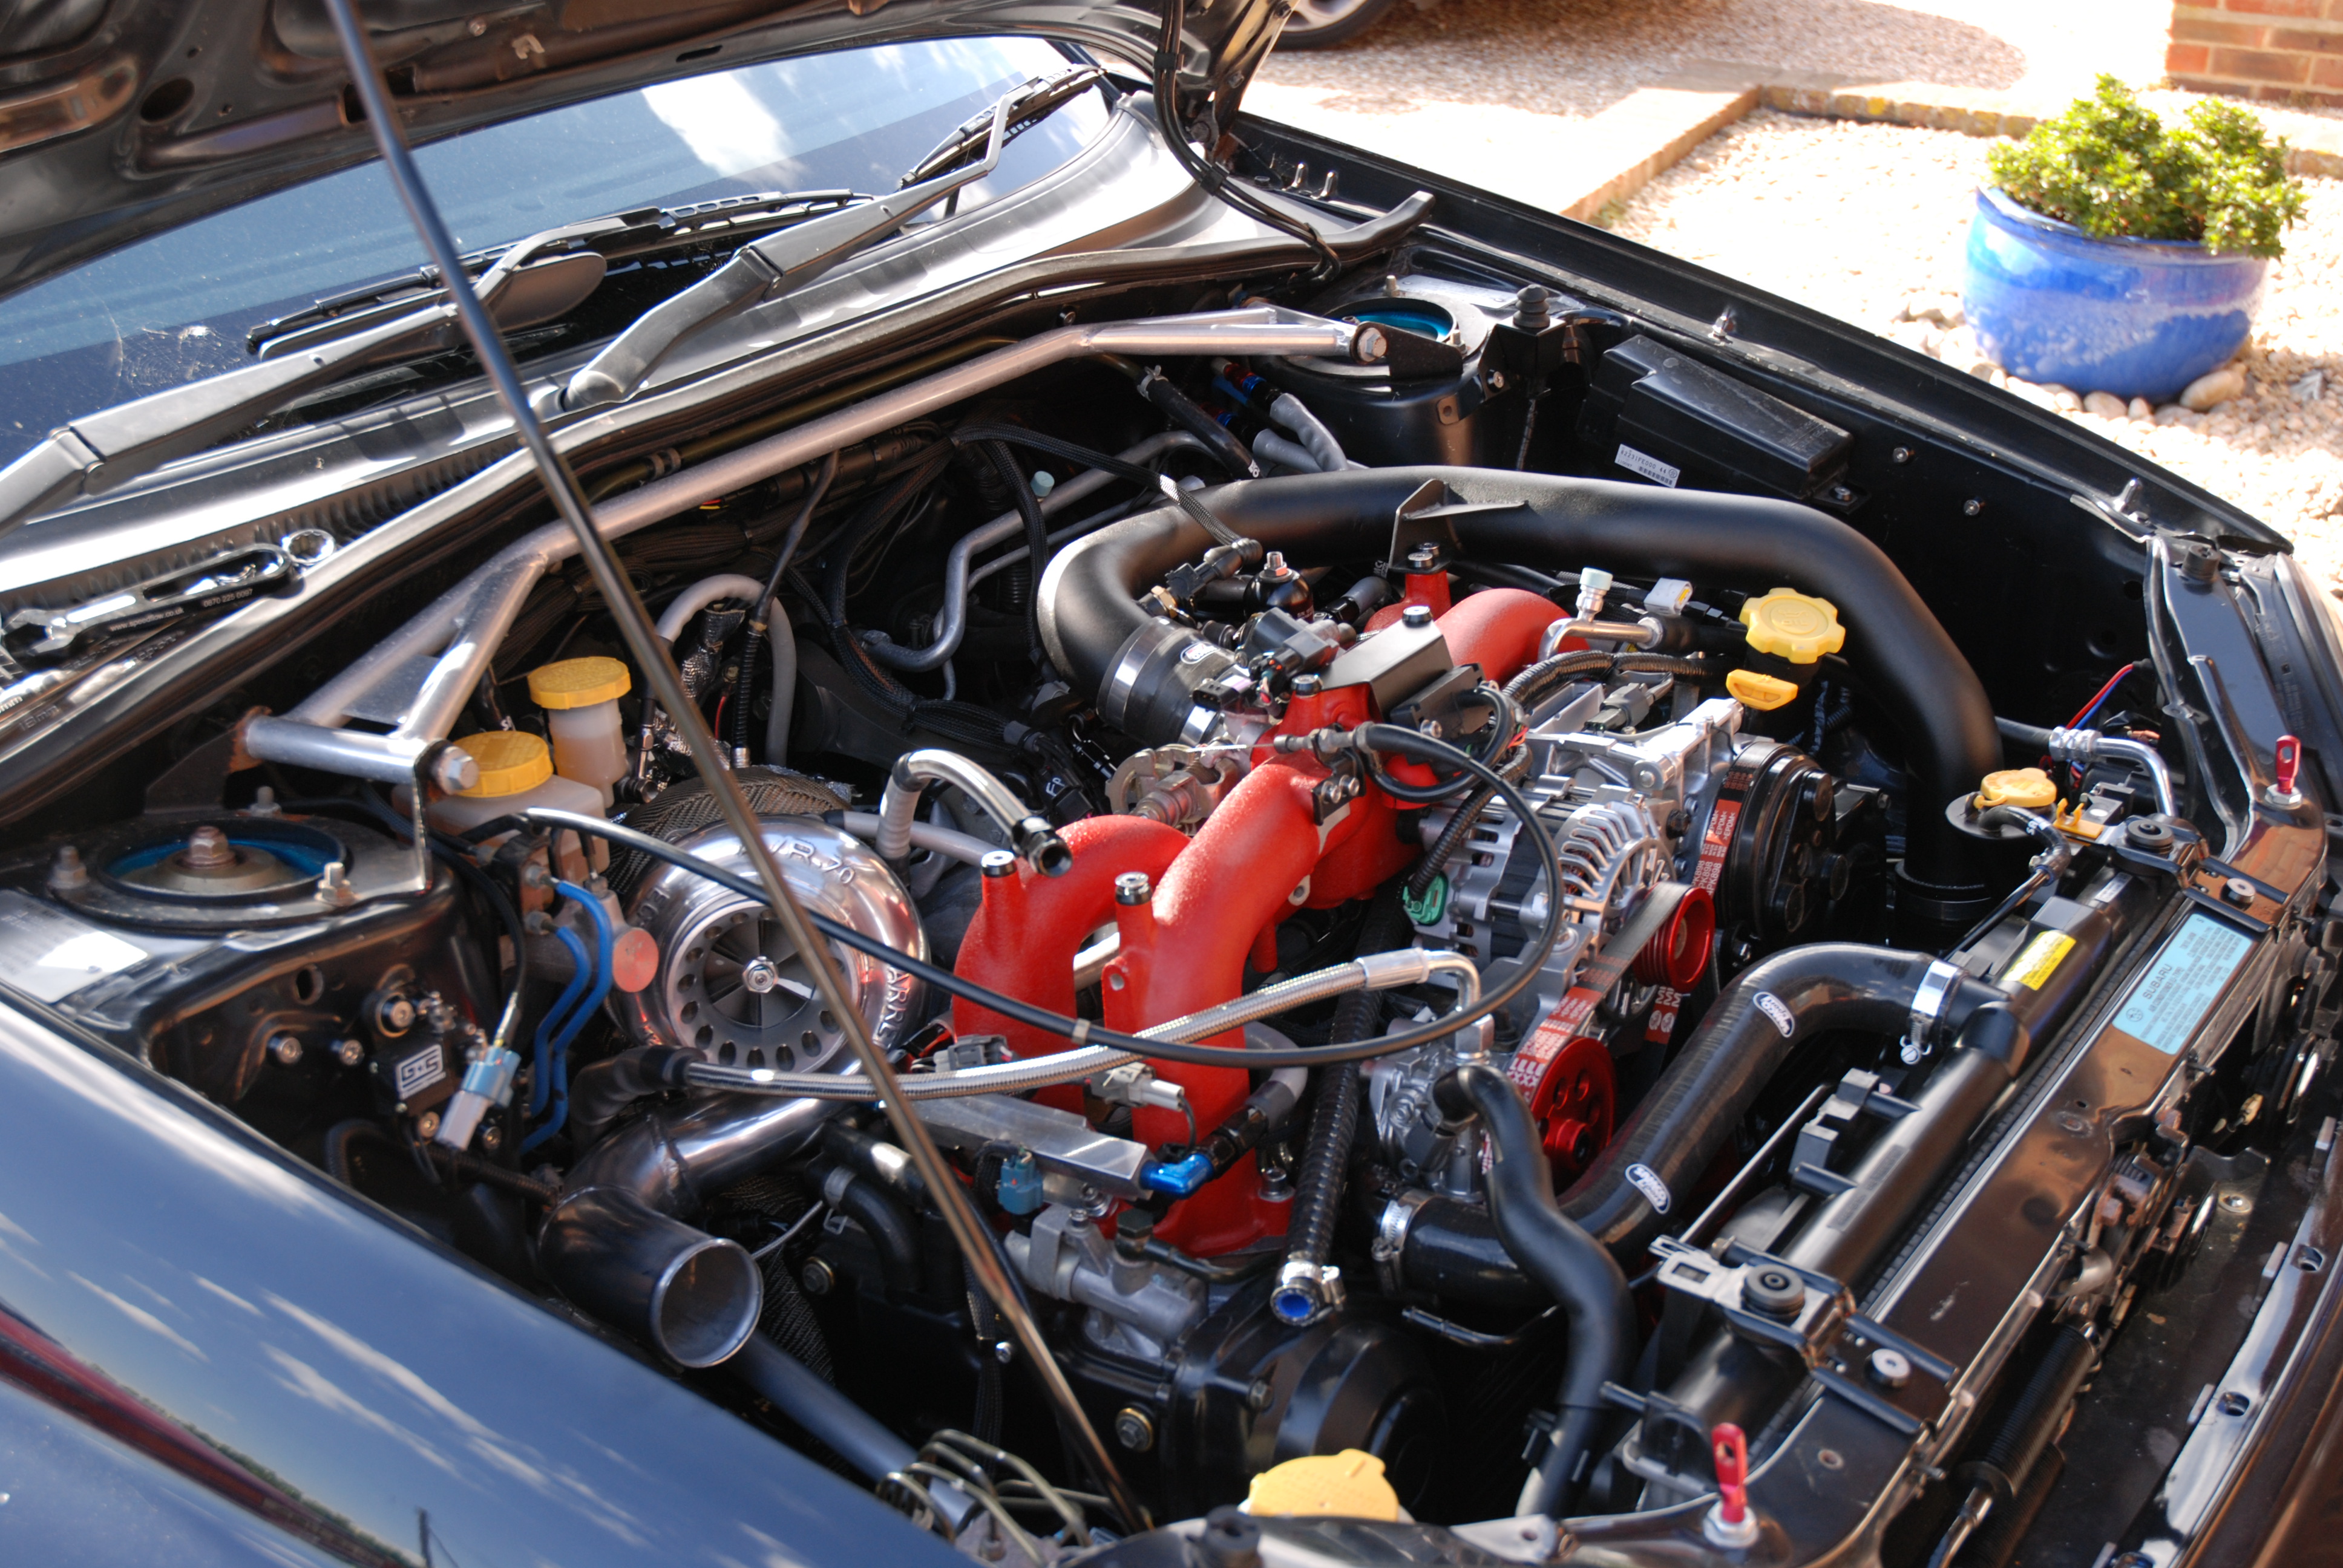
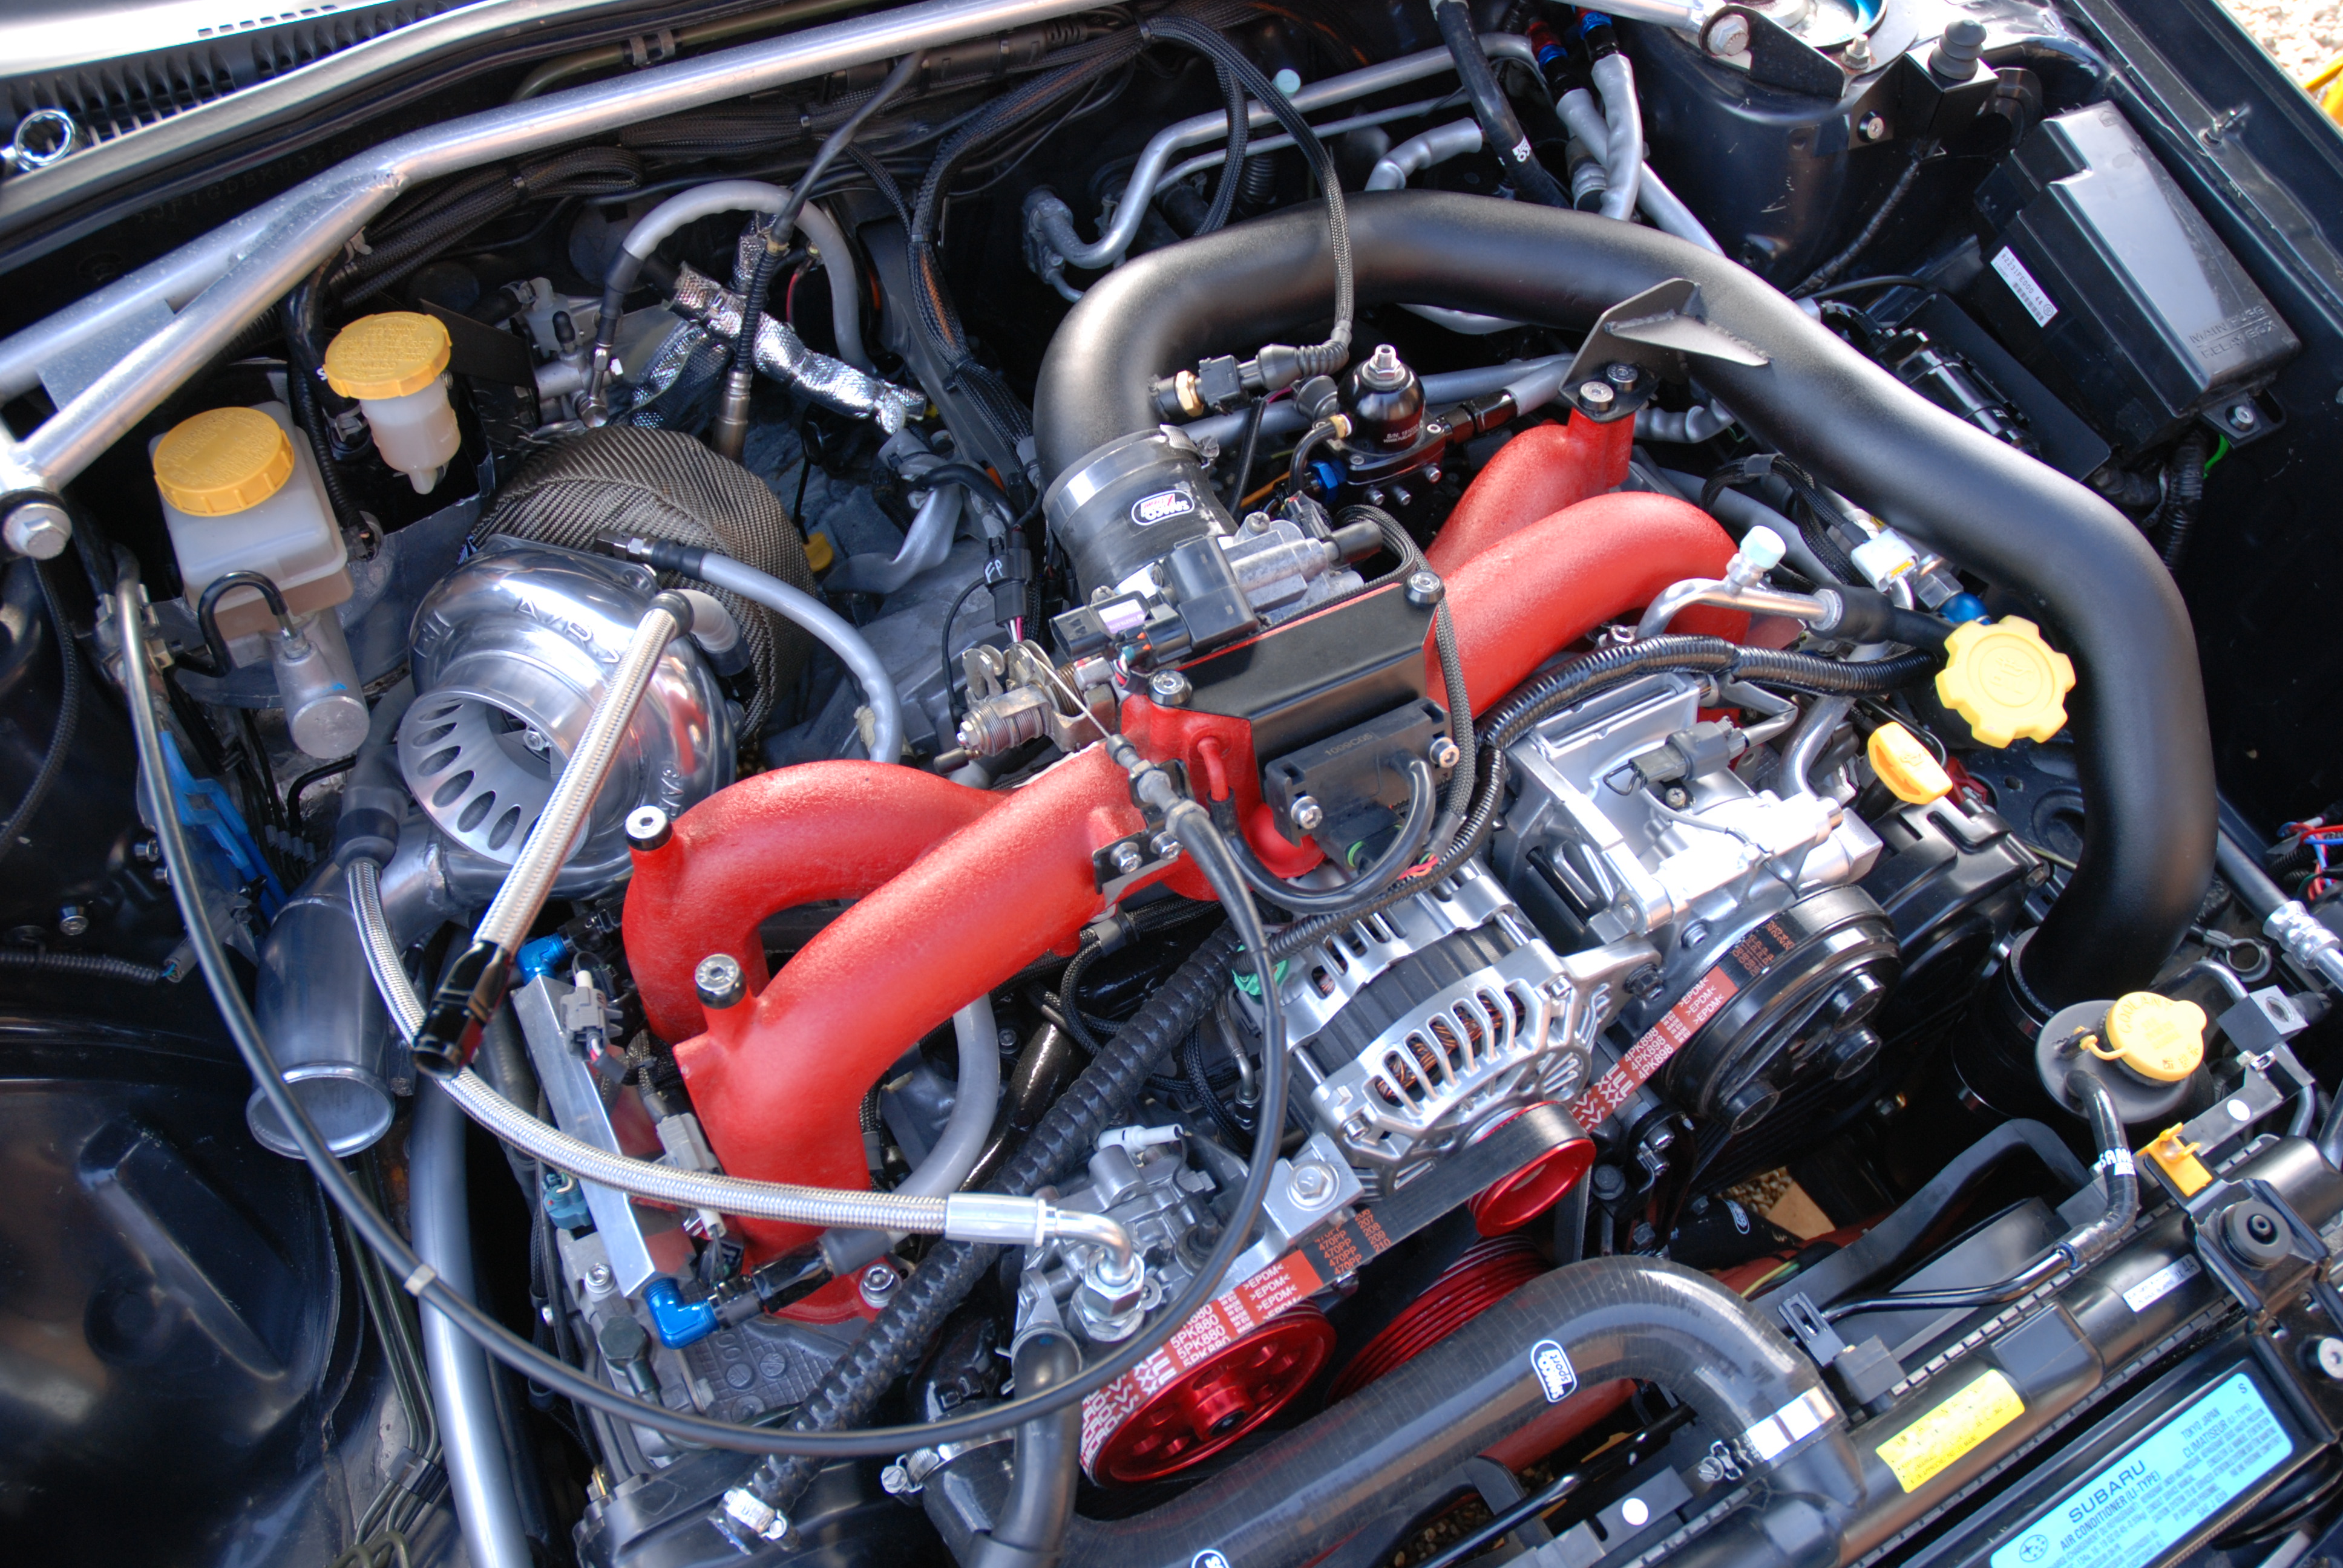
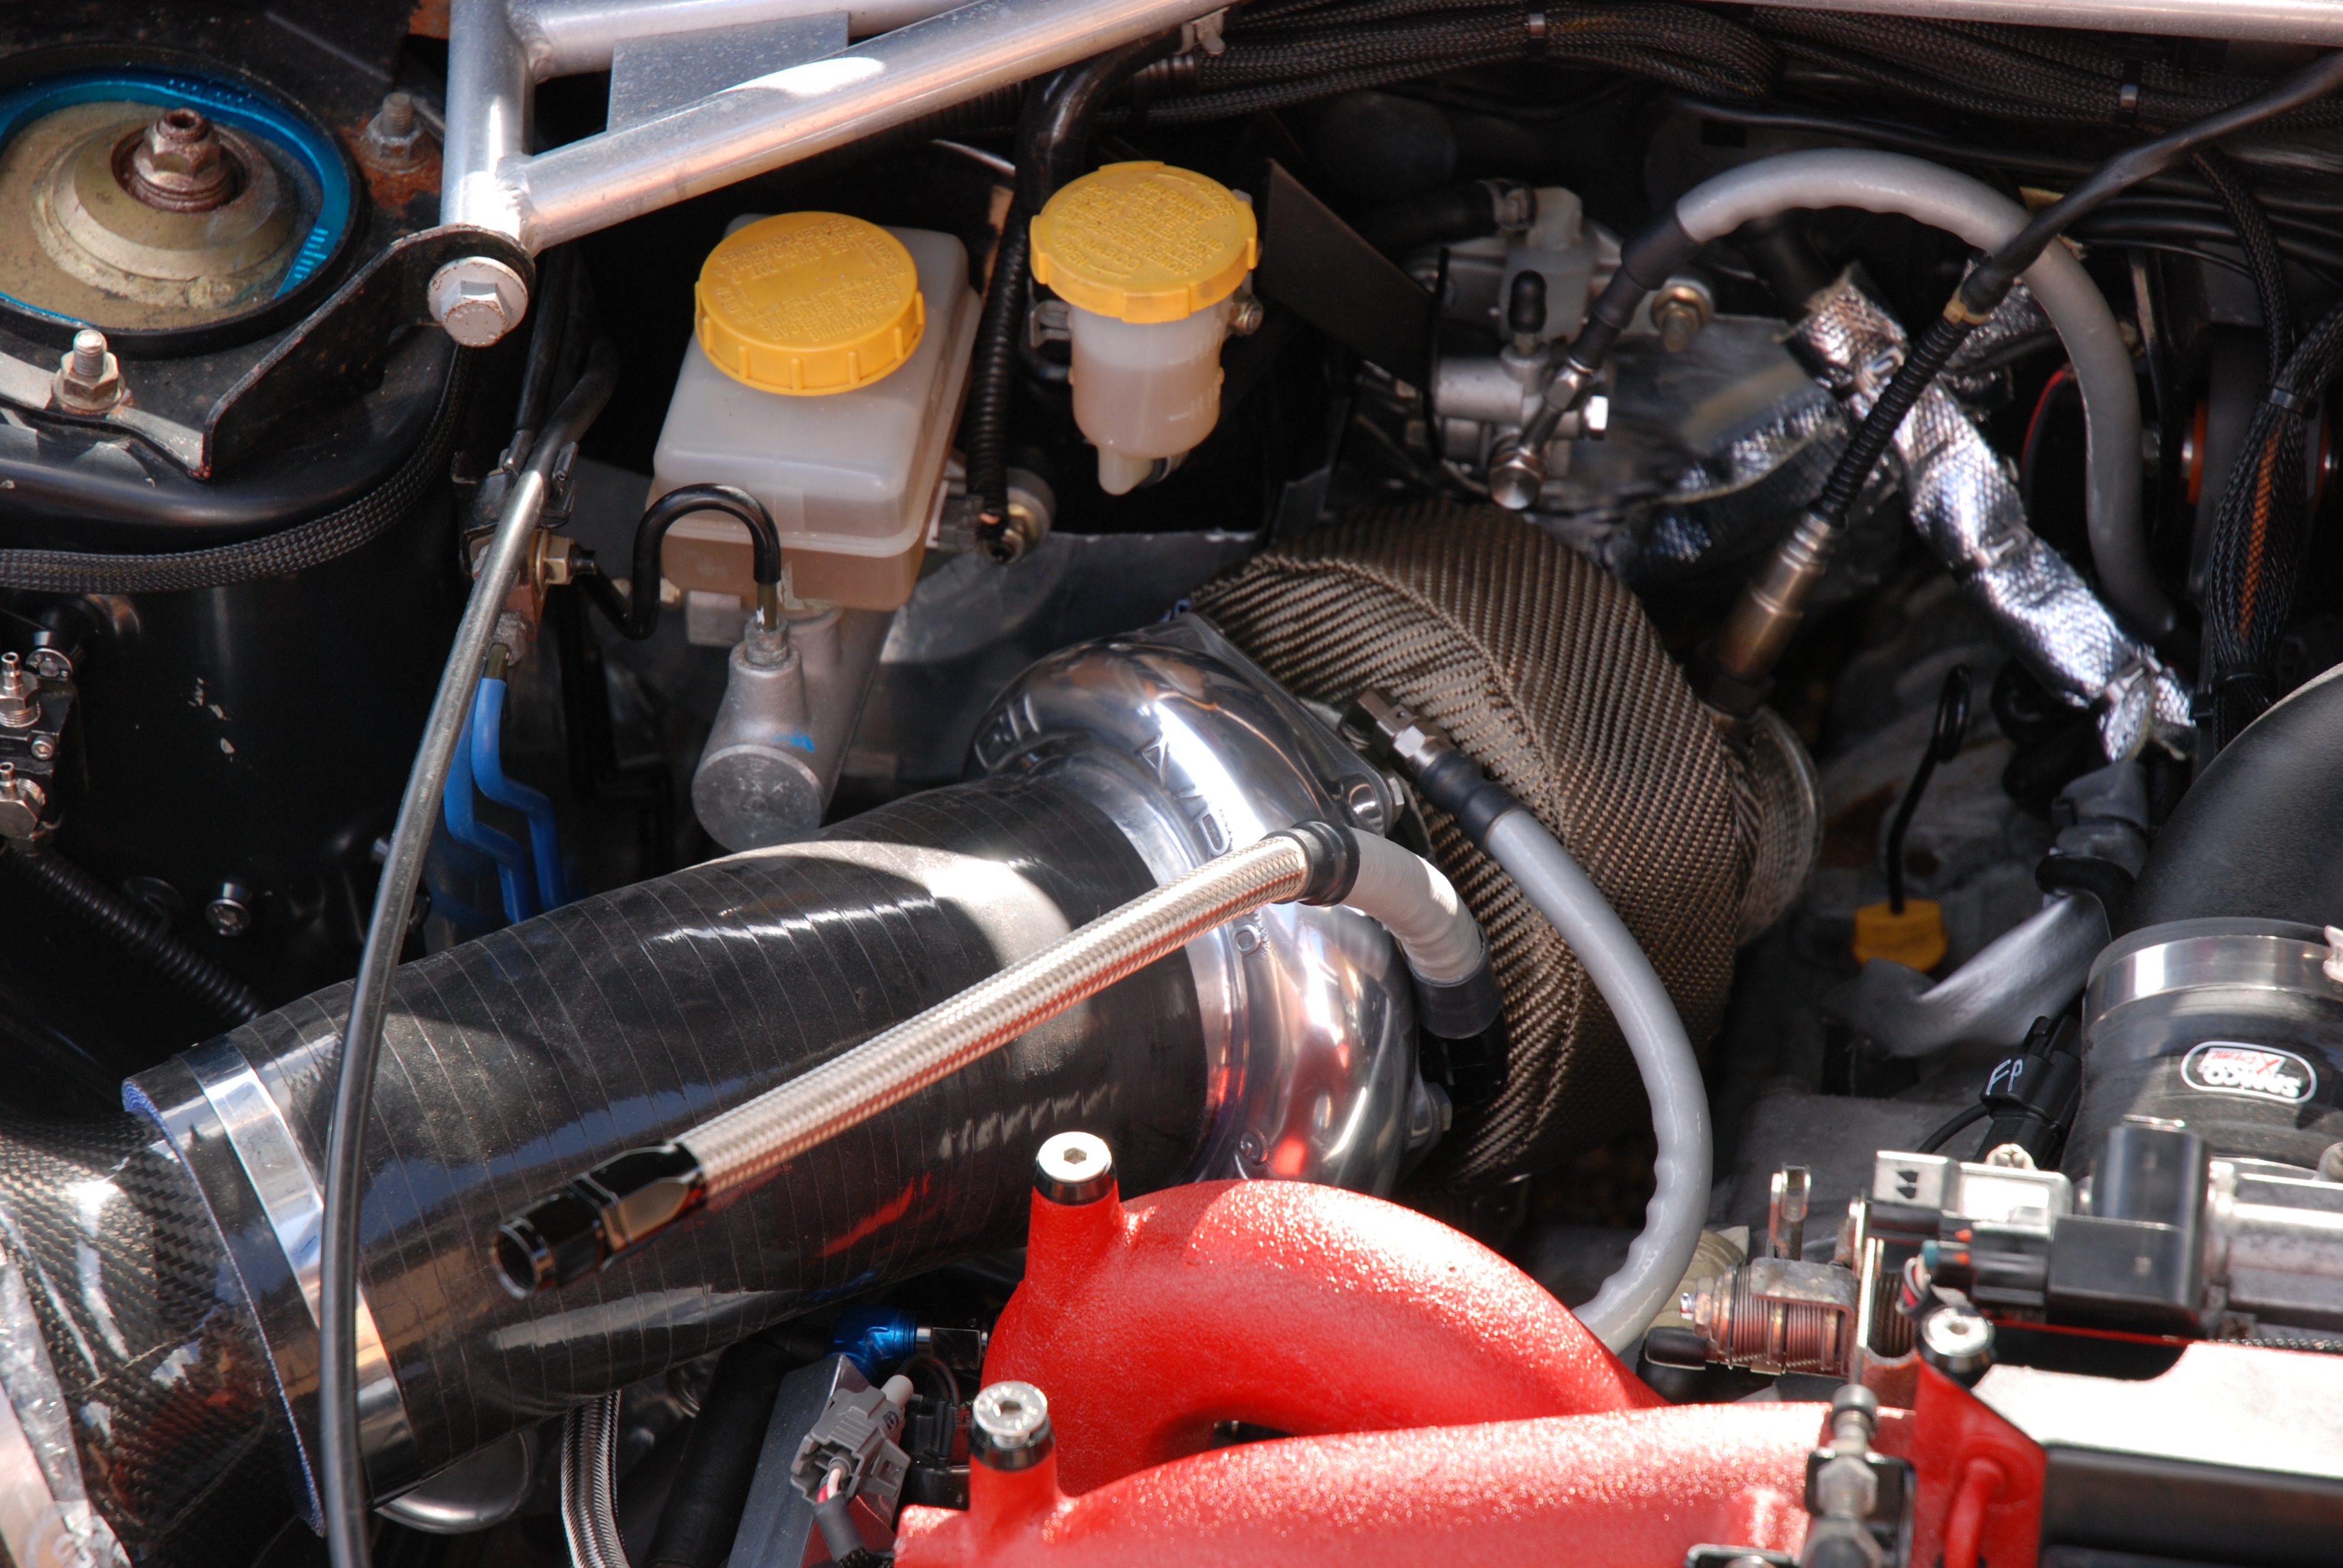
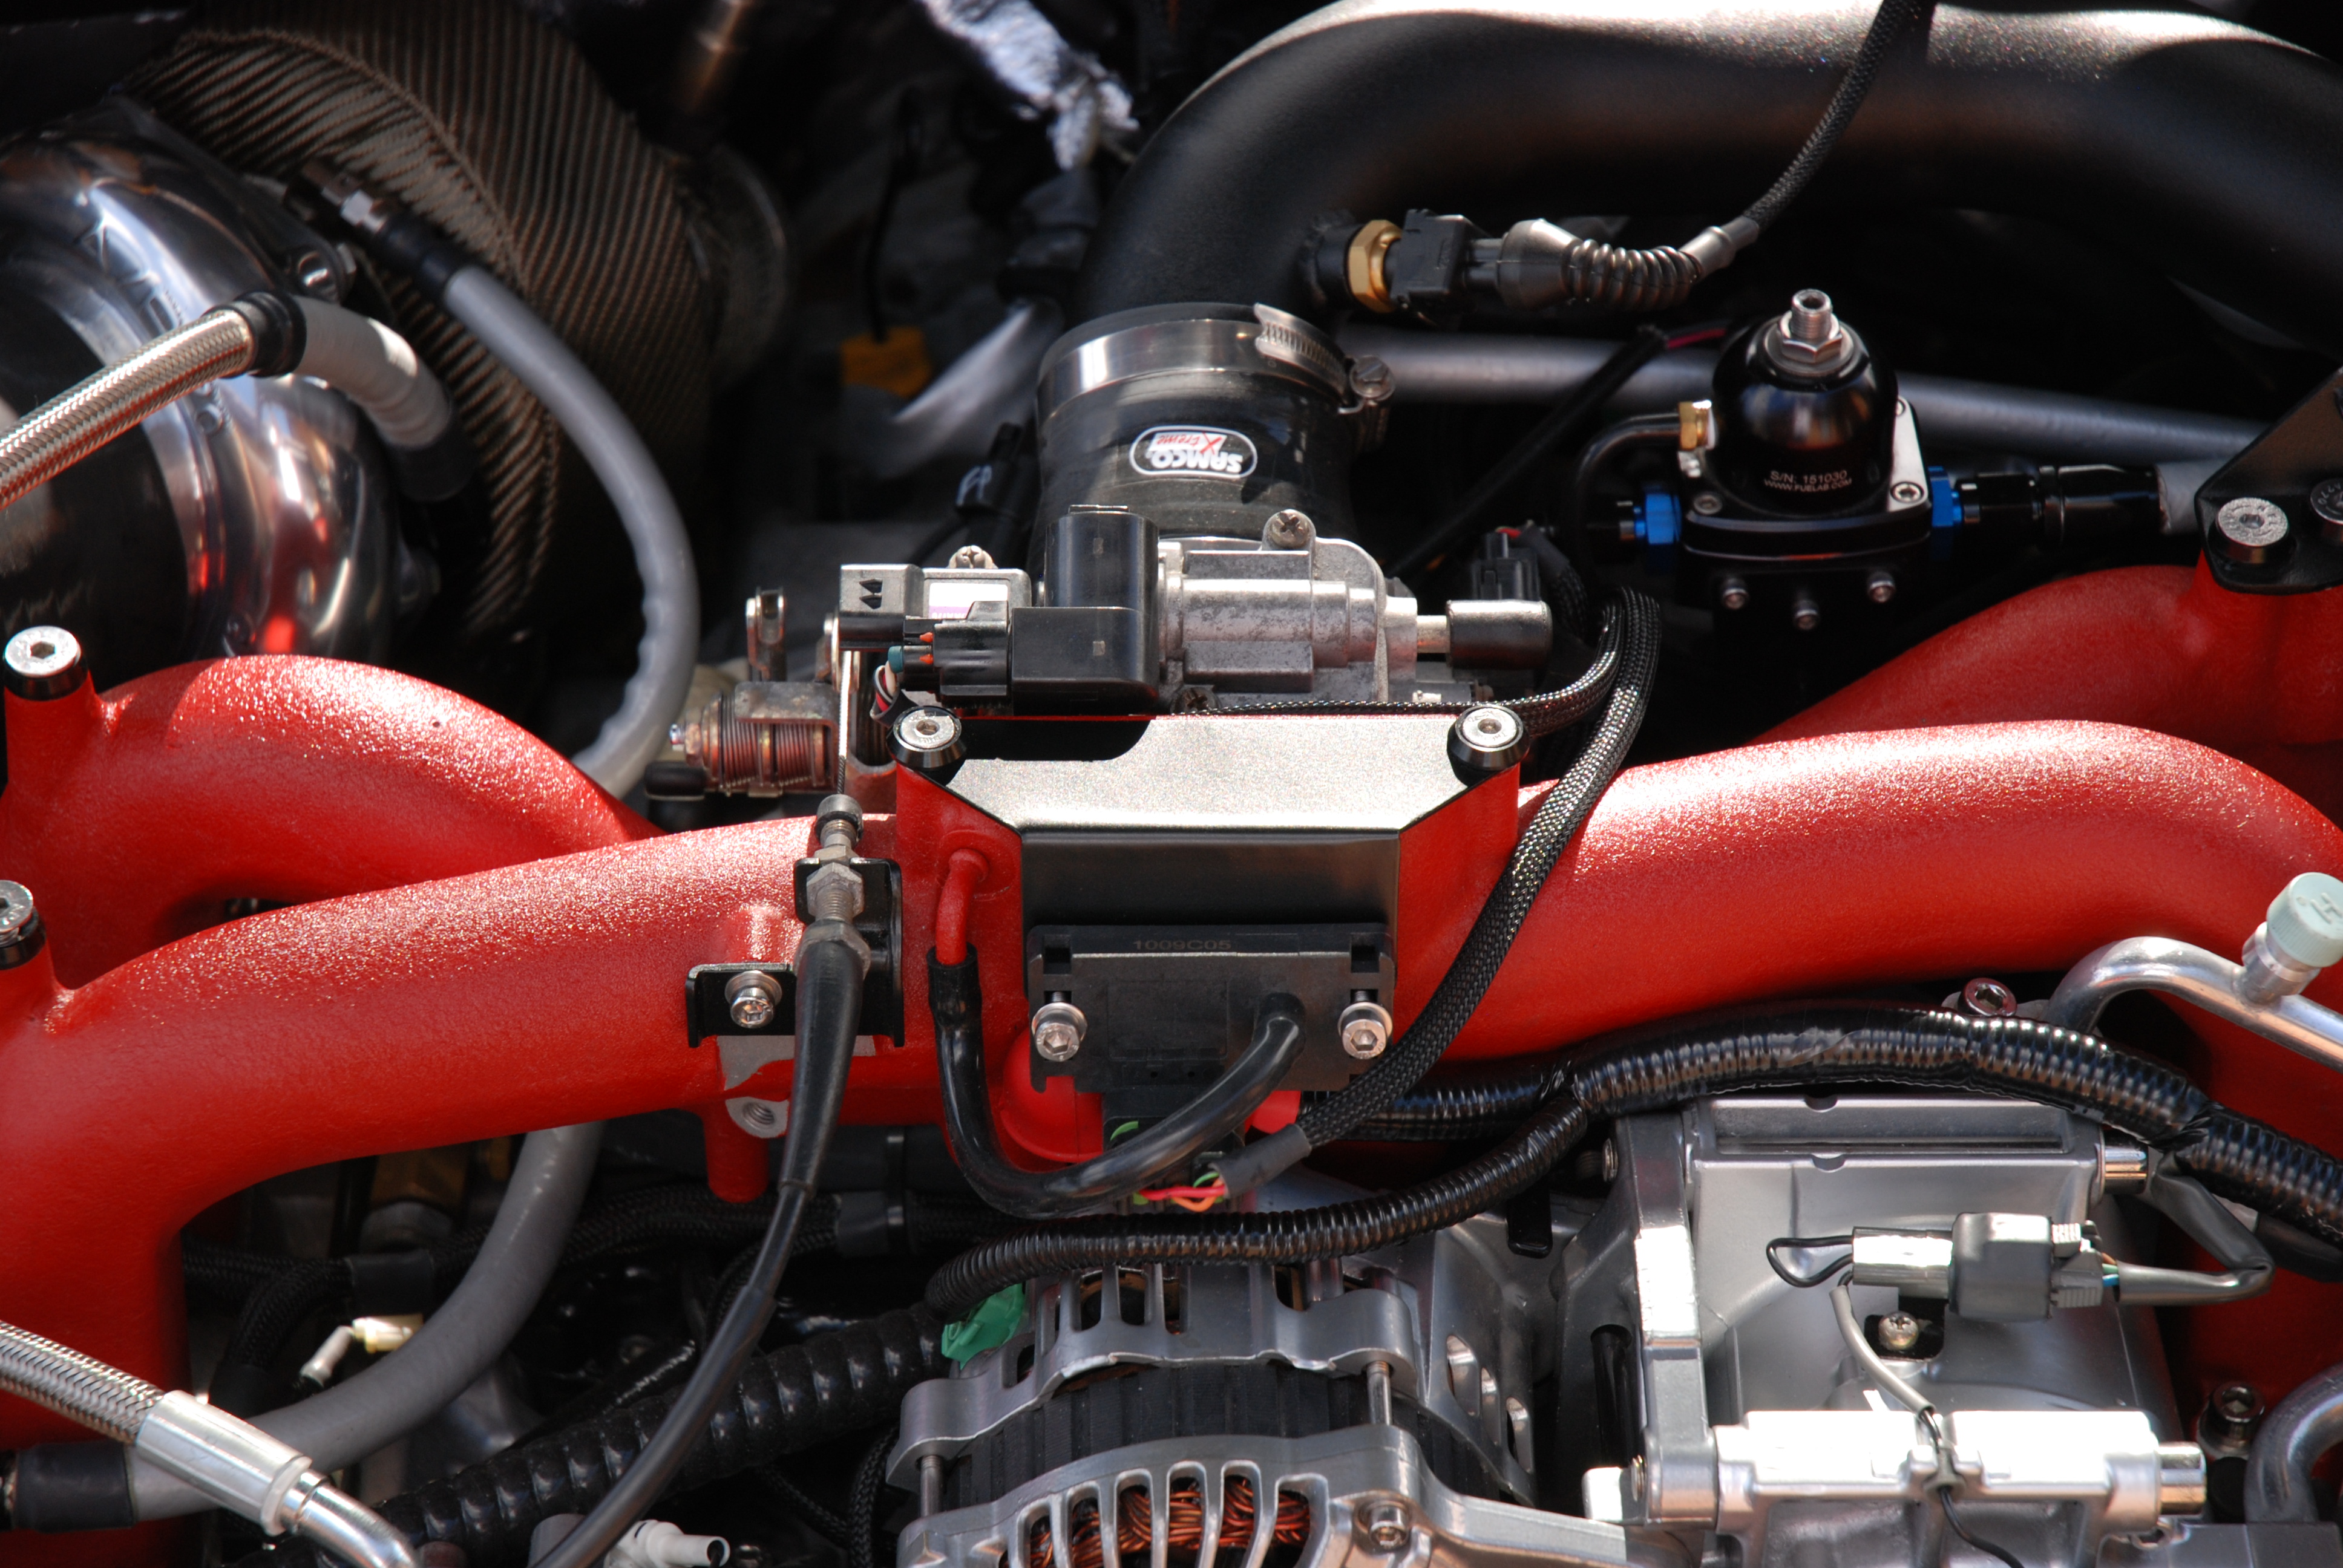
Turbos been welded and now fitted along with the downpipe and wastegate. Shortened the inlet hose slightly for better fit. Hopefully get header tank bracket back this week from the coaters and then that can also go on. Oil separator is currently being made. Will size up for the last boost pipe this week too.
My recent pics have been from my iPhone. Here are some new snaps with a real camera lol. So close now its getting frustrating. lol.

 11-09-2011, 09:04 PM
#518
ive discovered a serious problem mate ,
the level of detail is simply amazing , the planning and for thought is a real credit ,
only problem is your going to pull up somewhere and pop the bonnet , and i gaurentee all the numptys looking at it dont even realise even half the mods done lol ,
youll just get " thats clean mate ..........did you paint that bit red yaself "
but epic build muckaa
best get bk on with mine
11-09-2011, 09:10 PM
#519
Boost Junkie
Thread Starter
Lol, too tru Beefy boy.
Its mental if you actually look at a stock one at just how much work has gone on under there. It all takes so long to get right. Especially doing on your own at home lol.
The aim is to get it looking like a special editon that has an OEM kinda look to it. Not just slapped together like some builds are.
Not much more to do now mate before we can fire it up. Once run in and mapped, im thinking cage