My '88 Sapphire RS Cosworth 2wd (update 23.04.11)
#248
Wow, that's a lot of nice comments, thank you so much fellas 
@AGAR-COSWORTH: Of course you can. It's the first time I'm doing such an restoration myself and finally all my patience has shown is results. Remember I was so close giving it all up during winter, laying under the car in minus degrees on a cold floor and removing the underseal.
Next things to do now is giving the prop shaft and starter motor a little freshen up and then the underside should be complete, except the exhaust which will be mounted after I'm finished with the engine work.
#250
Hi again! It's been a while since I was here last time. I thought you're planning to refresh the car a little bit but as I see it now, lifting my yaw back from the ground, you're building here a brand new car! With that attention to every detail it will be even better than a new one! Good luck!


#251
Hi mirkules. Nice to see you dropping by again, everything well with you and your car?
Well guys, I've been thinking ALOT the last week whether to give the engine bay a complete refreshment too to match the underside. I wasn't quite happy to see the fresh white color underneath hard and brutally cuts up just around the gearbox into a dirty bay. And if I didn't decide to do it right now I would just regret in short time.
So, during this weekend I have begun disassemble the bay. I wanted to organize and mark all the small parts such as clips, nuts, bolts etc. this time so the mounting should go alot easier, therefore the whole progress take some time. When I left the car earlier today it was like this - sad look

Really looking forward to get this dirty engine out and start cleaning it up.

I'm hoping to get the whole bay empty very soon so I can paint it before it's getting to cold.


Managed to get the starter engine refurbished also.

Well guys, I've been thinking ALOT the last week whether to give the engine bay a complete refreshment too to match the underside. I wasn't quite happy to see the fresh white color underneath hard and brutally cuts up just around the gearbox into a dirty bay. And if I didn't decide to do it right now I would just regret in short time.
So, during this weekend I have begun disassemble the bay. I wanted to organize and mark all the small parts such as clips, nuts, bolts etc. this time so the mounting should go alot easier, therefore the whole progress take some time. When I left the car earlier today it was like this - sad look

Really looking forward to get this dirty engine out and start cleaning it up.

I'm hoping to get the whole bay empty very soon so I can paint it before it's getting to cold.


Managed to get the starter engine refurbished also.

Last edited by RS-Stian; 31-08-2009 at 09:29 AM.
#252
Well at the end of the day your right what you say! you might as well finish it off then it's done.
Fantastic the quality of work going into this! my favourite resto since L22 COS =]
Fantastic the quality of work going into this! my favourite resto since L22 COS =]
#254
@saphcosmike: Yes, finally I can sleep well again, all the thinking about whether to do it or not kept me awake.
@fezzajsy: That's nice mate, how far have you come?
Was lucky to loan one Compomotive MO1881 ET35 wheel yesterday so I had to try-mount it today. Didn't managed to get the wheel closer up to the arch because then the whole car started to let off the support buck but at least you get a good figure. ET35 is probably the lowest offset I can have in front, it also went clear off the damper. I guess only a sheet of paper could have slided between.


In back everything was perfect, maby a 1 or 2mm spacer would done it even more perfect.


@fezzajsy: That's nice mate, how far have you come?
Was lucky to loan one Compomotive MO1881 ET35 wheel yesterday so I had to try-mount it today. Didn't managed to get the wheel closer up to the arch because then the whole car started to let off the support buck but at least you get a good figure. ET35 is probably the lowest offset I can have in front, it also went clear off the damper. I guess only a sheet of paper could have slided between.


In back everything was perfect, maby a 1 or 2mm spacer would done it even more perfect.


#256
did you get any front fog lamps after if not p.m me your contact number i can help you out....
that reminds me paul i havent sent you your invoice for your stuff i got you from ford, i will do that this week
that reminds me paul i havent sent you your invoice for your stuff i got you from ford, i will do that this week
#257

@Rs Baz: Cheers, will send you a PM
#260
Yesterday the engine finally went out. Had bought a so-called elephant jack and a engine stand so at least I have the equipment in place. This is a last pic of the engine in the car for a while I guess.

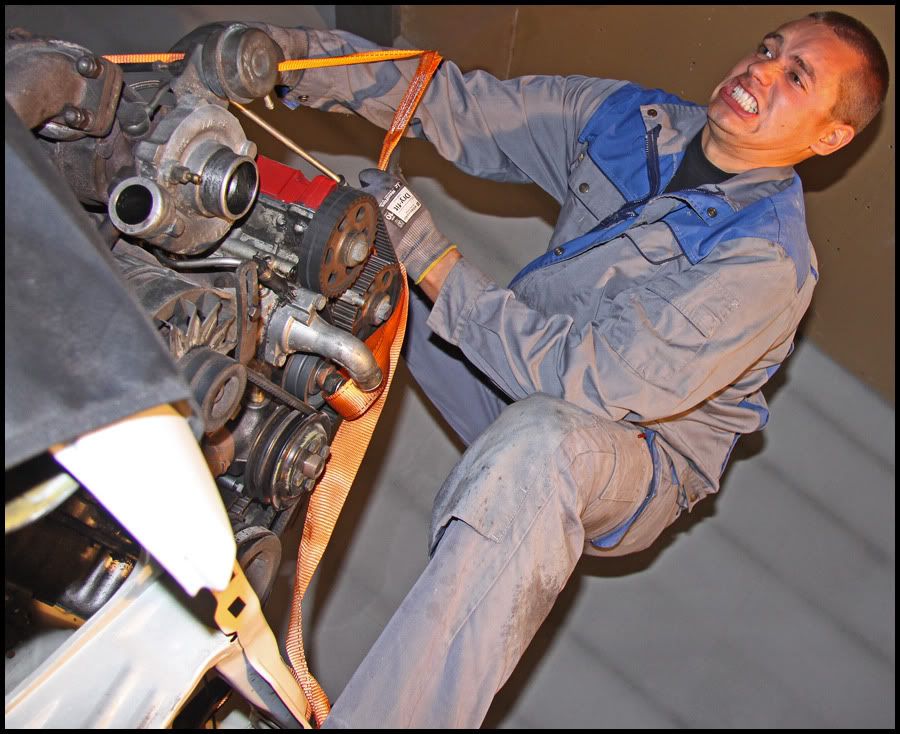
But who needs a big elephant jack when you got such a strong friend on visit? Wasted money I would say :-P

Short time after the engine was out.

Everything else will be disassembled during the weekend.

Didn't managed to get the engine on the stand because I miss some bolts to fasten it properly.


But who needs a big elephant jack when you got such a strong friend on visit? Wasted money I would say :-P

Short time after the engine was out.

Everything else will be disassembled during the weekend.

Didn't managed to get the engine on the stand because I miss some bolts to fasten it properly.

#263
You smell good, Marco  This is how far I got during the weekend. The engine bay is close from fully stripped, only need to get control of all the wiring which make me sick. I'm gonna be proud of myself if I get all of this into place again.


Managed to get almost everything disassembled around the engine, it's soon ready to be sent away for a check and rebuild. I also found out that almost every bolt for the exhaust manifold was loose so that's why it caused a hell of a lot vibration.


Managed to get almost everything disassembled around the engine, it's soon ready to be sent away for a check and rebuild. I also found out that almost every bolt for the exhaust manifold was loose so that's why it caused a hell of a lot vibration.


#267
Sorry for the lack of updates here mate. There has not been the biggest progress here lately but the engine bay is fully stripped and I'm going to paint it next week as I have one week off  Been thinking alot whether to rebuild the whole engine or not and came to a decision not to do it. The engine worked like a charm when the car was on road so why fix something that is not broken. I want to build a new engine instead based on a 200 block, then I can both use and enjoy the car and have good time to build engine. I have used so much money on the car (my girlfriend says too much) since I got it and now the goal is to get it ready for summer next year.
Waiting for some new parts from Woodford to arrive, all gaskets and seals for the engine, sensors, dark green injectors, new engine mounts, -31 actuator ++. Been searching through Microcat alot these days to find all the different clips I need which is a pain in the ass, let's hope most of them is available
Block is cleaned and painted with some high quality paint from Bill Hirsch. Also has begun disassembling the head as I want to clean it properly and change valve seals. Then I need some help fixing all the broken manifold bolts as I don't have the proper tools to do it. Manifold will be painted with Bill Hirsch cast iron gray paint which is rated to 980 degrees. Turbo will get overhauled with 360 bearings in short time.
Pics will come...
Waiting for some new parts from Woodford to arrive, all gaskets and seals for the engine, sensors, dark green injectors, new engine mounts, -31 actuator ++. Been searching through Microcat alot these days to find all the different clips I need which is a pain in the ass, let's hope most of them is available

Block is cleaned and painted with some high quality paint from Bill Hirsch. Also has begun disassembling the head as I want to clean it properly and change valve seals. Then I need some help fixing all the broken manifold bolts as I don't have the proper tools to do it. Manifold will be painted with Bill Hirsch cast iron gray paint which is rated to 980 degrees. Turbo will get overhauled with 360 bearings in short time.
Pics will come...
Last edited by RS-Stian; 01-10-2009 at 06:43 AM.
#268
Stian I am fully impressed. This is the exact twin of my car. A 1988 LHD in white. I've copied almost every pic here just for a reference for lot bolts and nuts for reassembly myself. Top work.
Although I may pass on such a detailed repaint on the bottom I do see myself cleaning up the fuel system and the beam more as daily driver rust protection as opposed to your sanitary approach.
The engine bay is what I look forward to. Making it look good. I'd love to see what (if anything) you have done to the interior since starting.
Plans for motor upgrades?
#269
@pacwest: Thanks mate. Any pics of your car? I'm looking forward to mount it all back together again, always the fun part during an restoration. I want the engine bay to look good too, mostly standard but more tidy than before. I don't have any particular plans for the engine, just checking it and change all gaskets and seals. The engine has only covered 94.000 km and so far the block and head seems to be very good. But a 3 bar map sensor, green injectors and -31 actuator is coming on and I will get the car live-mapped next year, hopefully I can achieve around 300hp. That is more than enough for me at this stage.
The interior is untouched and completely standard but next project (probably next winter) is to clean that up too. New foam bolsters in the front seats, clean them and the floor carpet properly and stretch up the headliner etc. I need some gauges too and will probably fit them where the radio usually is placed or the slot underneath it. Does anyone know where I can get hold of gauge plates to fit in these slots?
The interior is untouched and completely standard but next project (probably next winter) is to clean that up too. New foam bolsters in the front seats, clean them and the floor carpet properly and stretch up the headliner etc. I need some gauges too and will probably fit them where the radio usually is placed or the slot underneath it. Does anyone know where I can get hold of gauge plates to fit in these slots?
#270
ebay has a number of these plates. Some polished aluminium bit suppliers have these in the UK as well. They are mostly for the vents, but some for the radio. My lamp out modules were toast on my Merkur so I opted to replace the clock and the lamp out/door ajar display.
I would recommend the spare radio amplifier spot for non-essential gauges. Too far to look down in sunlight sometimes. With my Saff I plan on a boost gauge and a SECS monitor.
But I like my vents since there is no AC. What options have you planned for this?
I would recommend the spare radio amplifier spot for non-essential gauges. Too far to look down in sunlight sometimes. With my Saff I plan on a boost gauge and a SECS monitor.
But I like my vents since there is no AC. What options have you planned for this?
#271
You can make it yourself Stian, very simple as the gauges will hold the plate in place 
I also would recommend the SECS monitor, as gauges i have a oil temp, oil press and a fuel press gauge under the stereo
I also would recommend the SECS monitor, as gauges i have a oil temp, oil press and a fuel press gauge under the stereo
#272
So how does this SECS monitor works? Been thinking of buying boost and a combined oil temp/oil pressure gauge from Racetech, is that good stuff? For the oil pressure I'm going to mount an adapter between block and the original oil pressure switch, and for the oil temp a sump plug with sender.
#273
As I have one week off now the plan is to get the engine bay painted. This is how it looked like when I left the workshop today, tomorrow I'll clean it with silicon remover and mask it up properly, then it's time to get the primer on.


#277
I've found that life I needed.. It's HERE!!
iTrader: (20)
Joined: Dec 2004
Posts: 1,454
Likes: 1
From: West Sussex
Proper proper job going on here... the end result will be truly stunning i'm sure! 
Stian... the SECS monitors are wired to the ECU in parallel so they display the information the ECU sees from the sensors. I've used the Racetech gauges and thought they were very good myself compared to similar priced gauges from say Autometer, and if getting them from somewhere like Burton Power they sell all the correct adapters/lines too.

So how does this SECS monitor works? Been thinking of buying boost and a combined oil temp/oil pressure gauge from Racetech, is that good stuff? For the oil pressure I'm going to mount an adapter between block and the original oil pressure switch, and for the oil temp a sump plug with sender.
#278
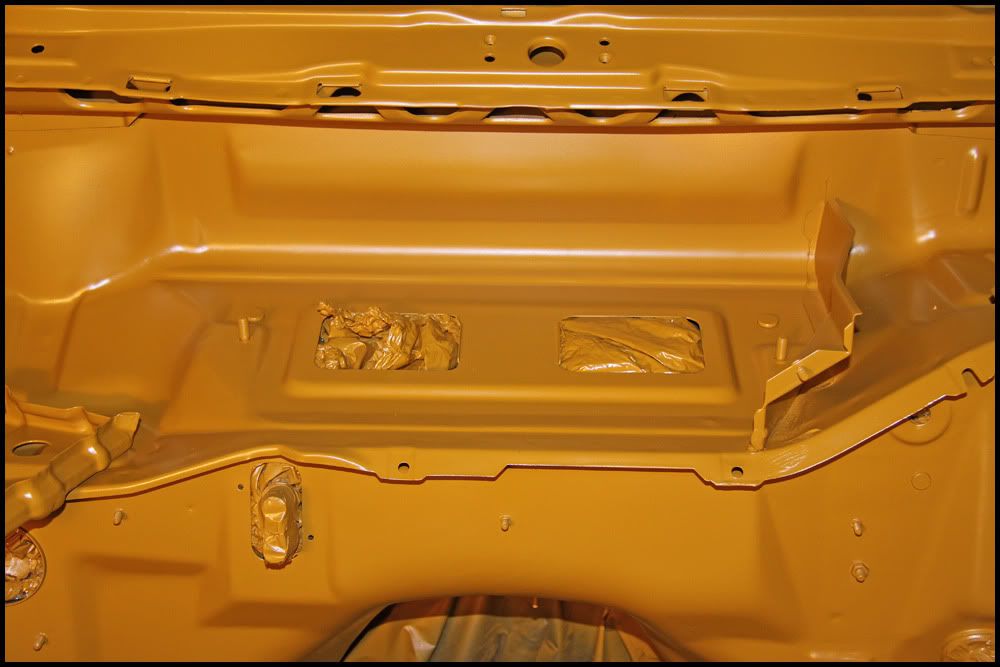
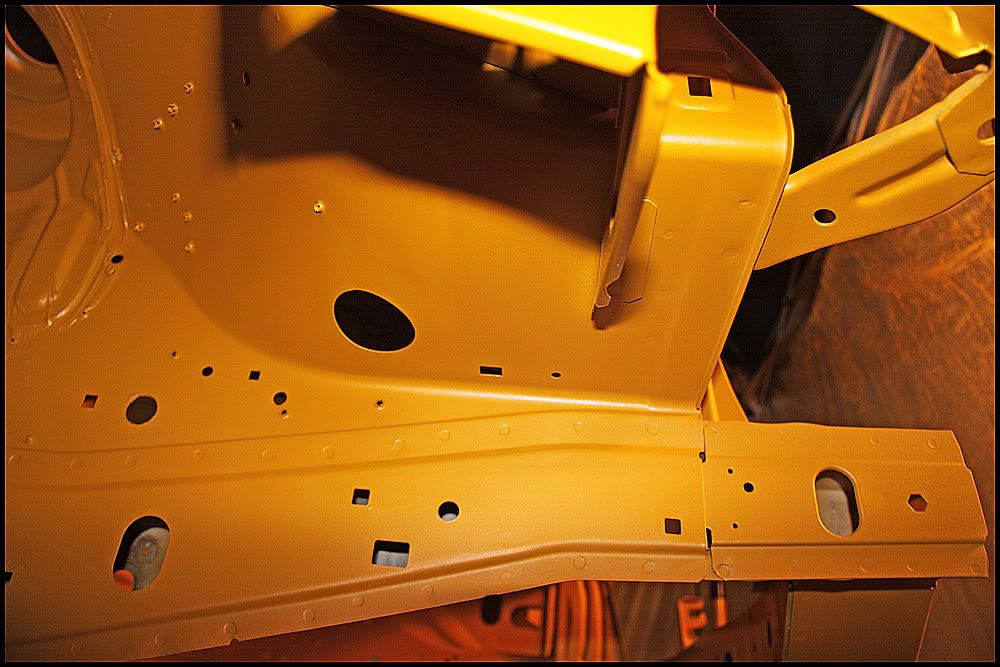
Cheers everyone. The engine bay finally got primed today. Gonna let it dry over the night and go on with stone chip in the front arches tomorrow, and hopefully get the first coat of diamond white later on.


