1.7 project, slow but steady [picture heavy!]
 06-10-2012, 09:08 PM
#1
Wahay!! I've lost my Virginity!!
Thread Starter

Join Date: Oct 2012
Location: manchester
Posts: 52
Likes: 0
Received 0 Likes
on
0 Posts
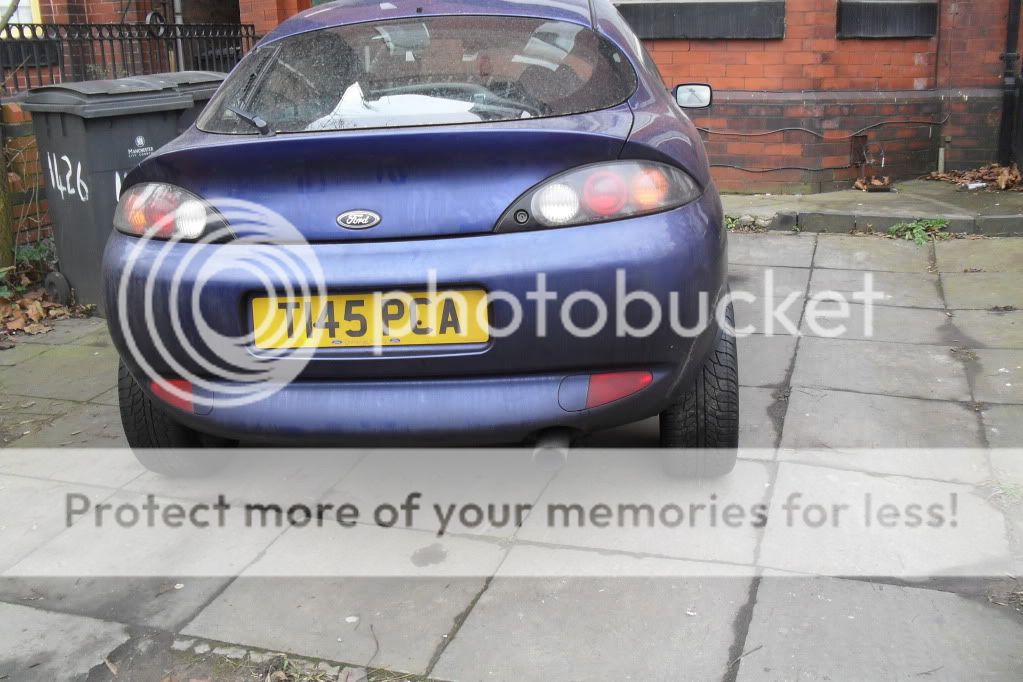
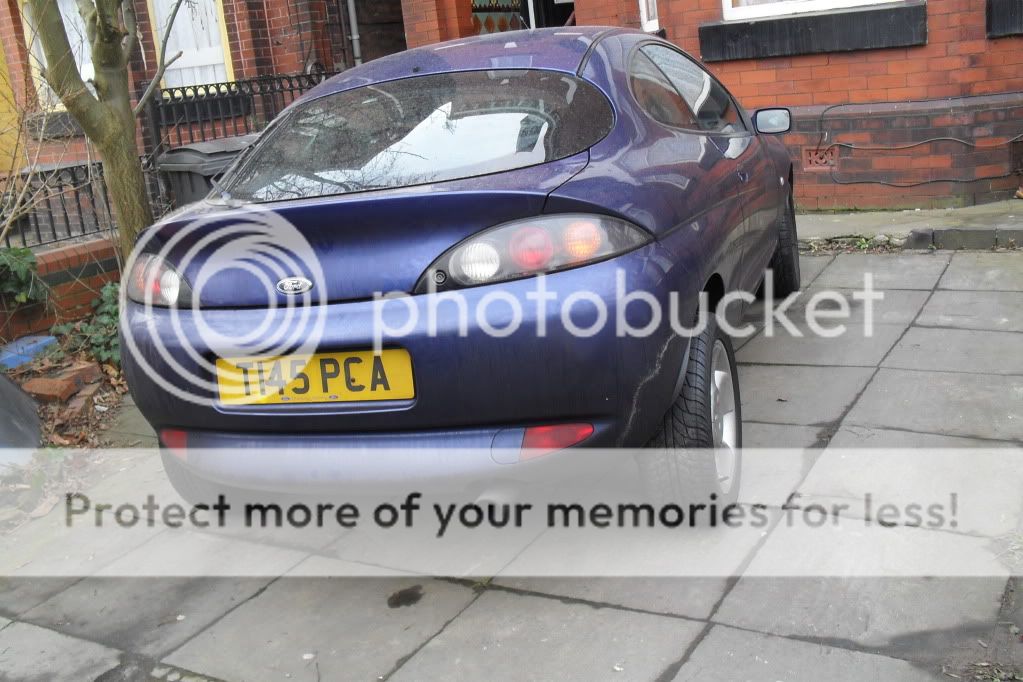
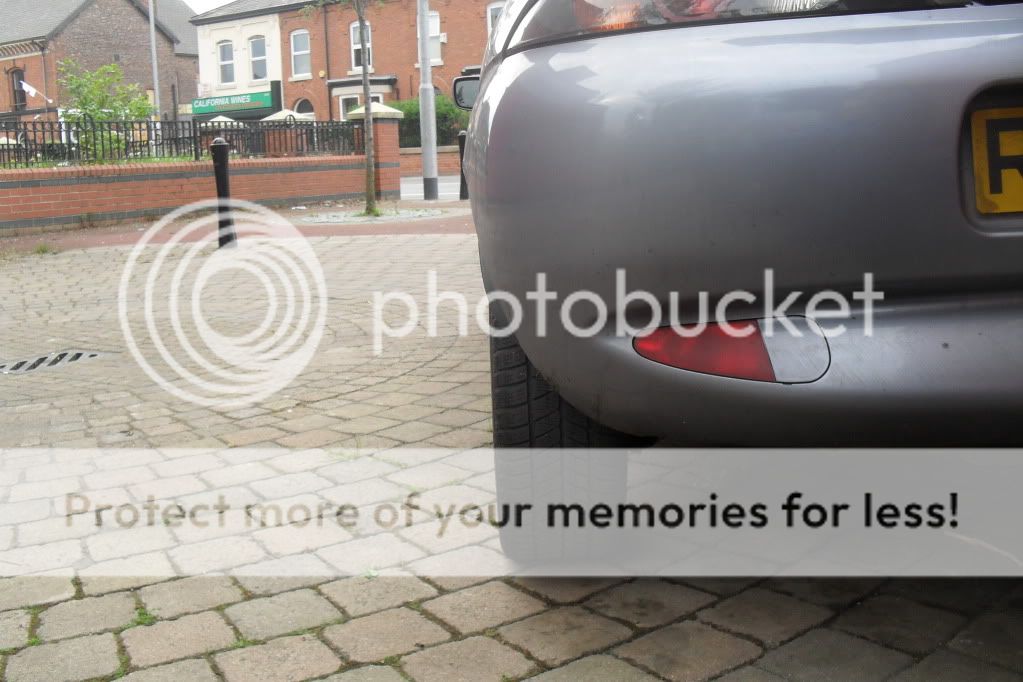
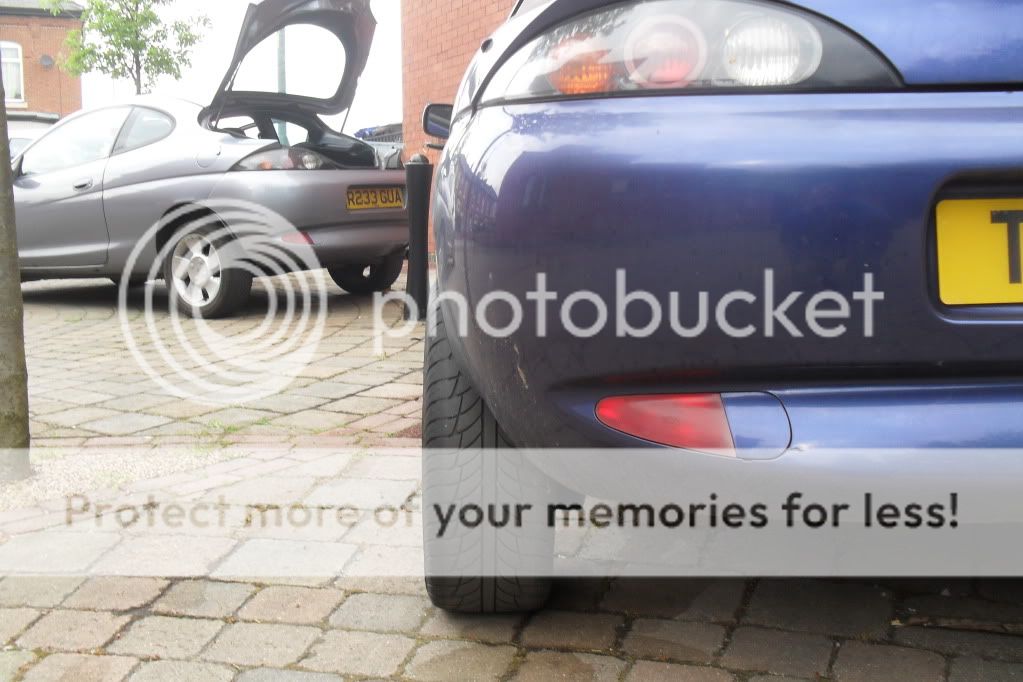
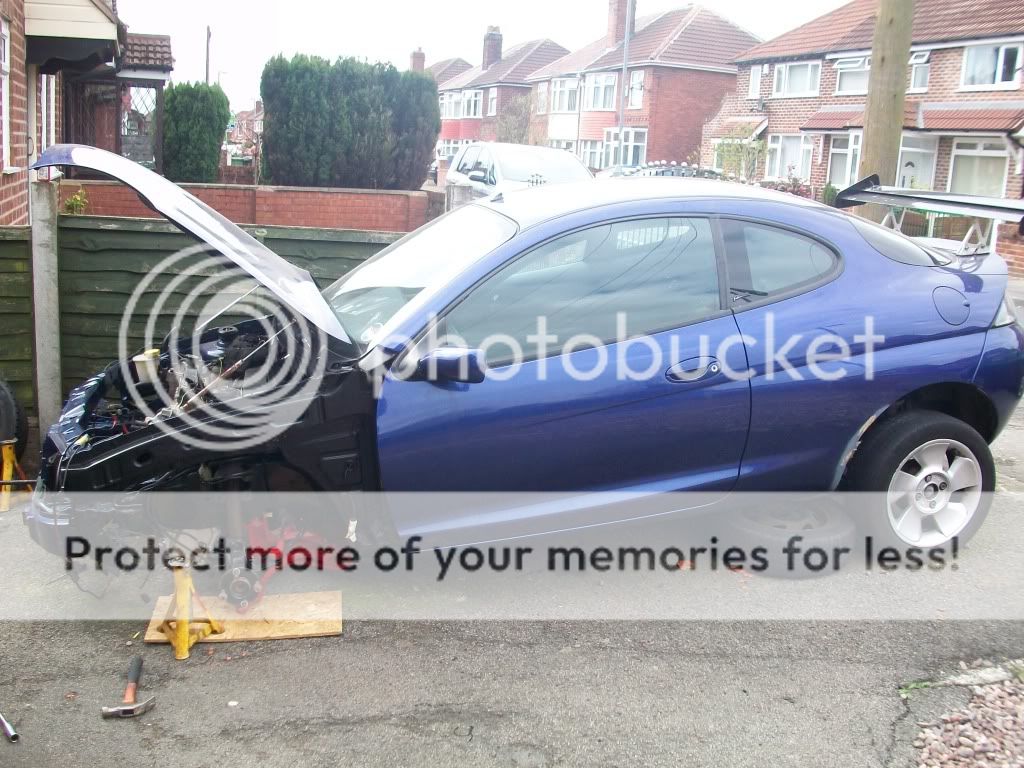
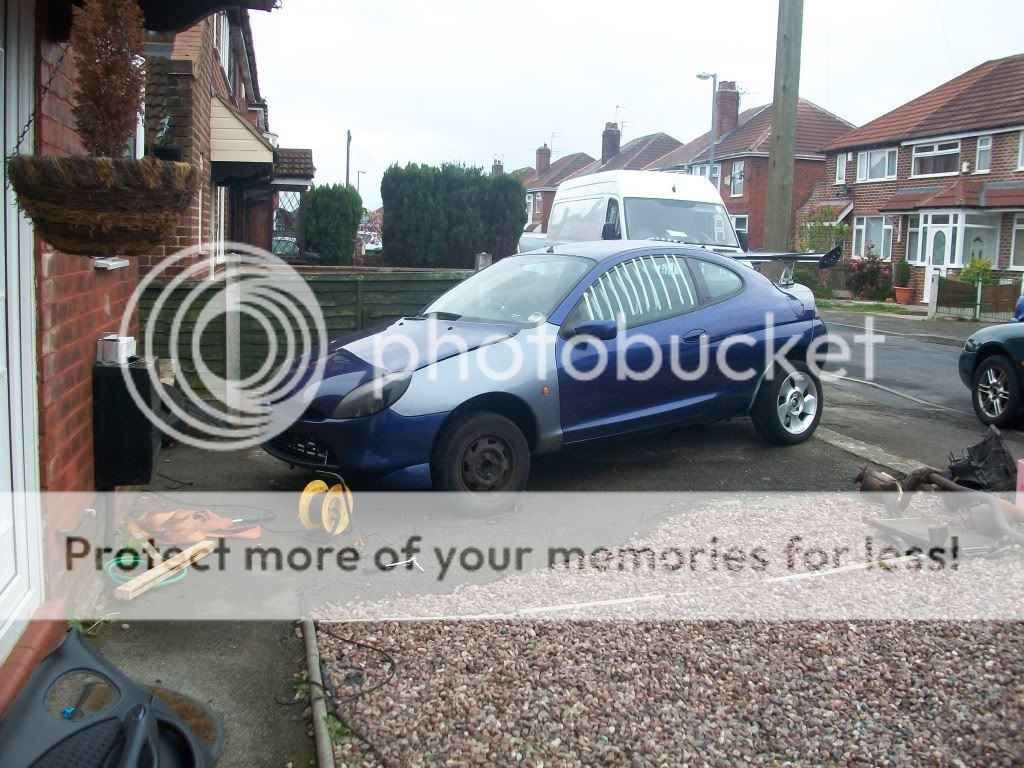
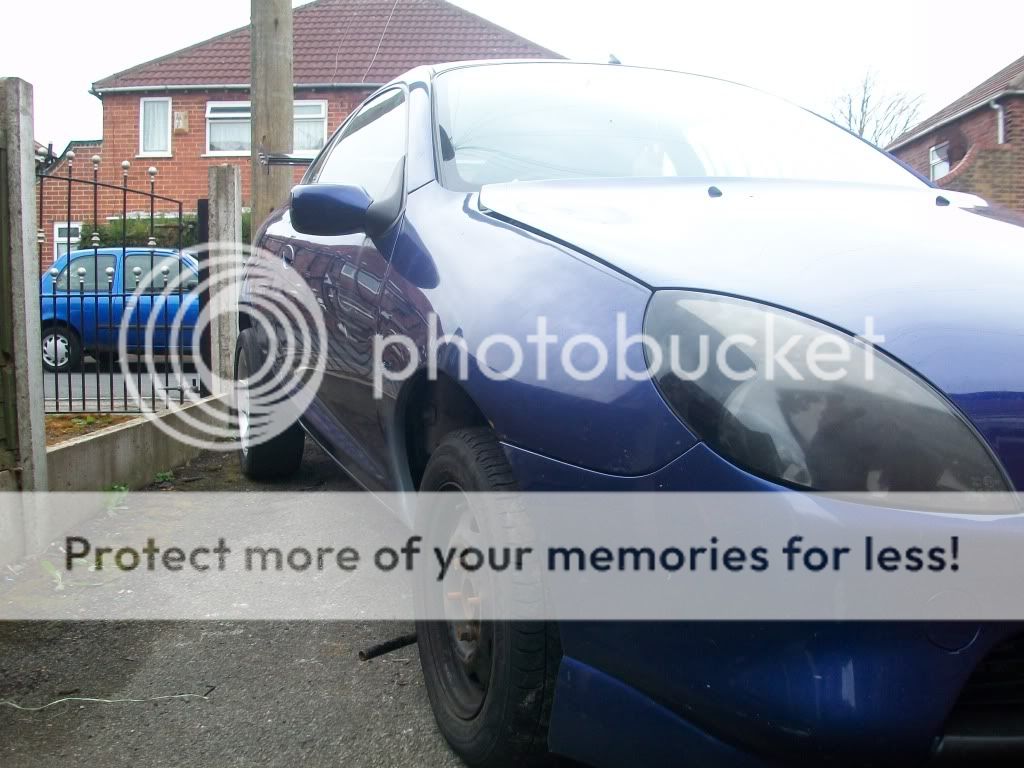
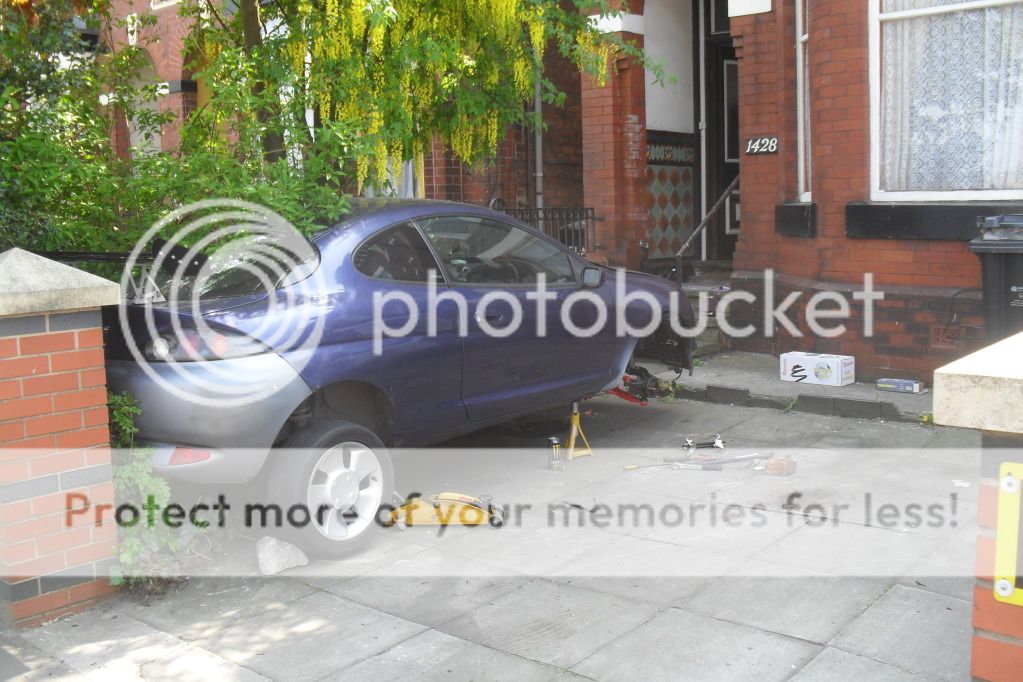
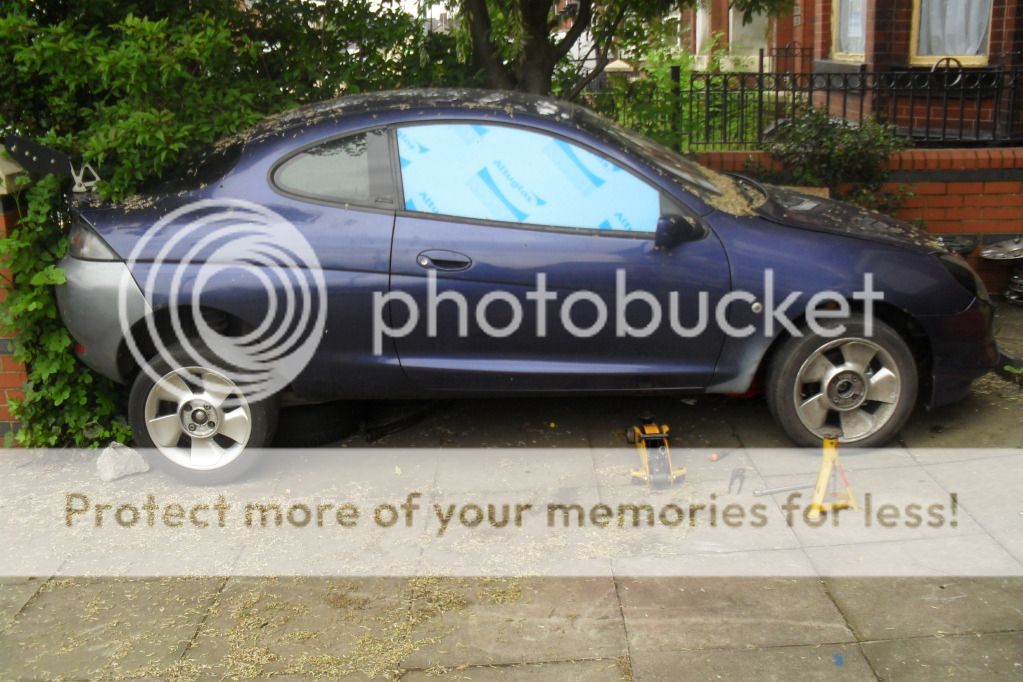
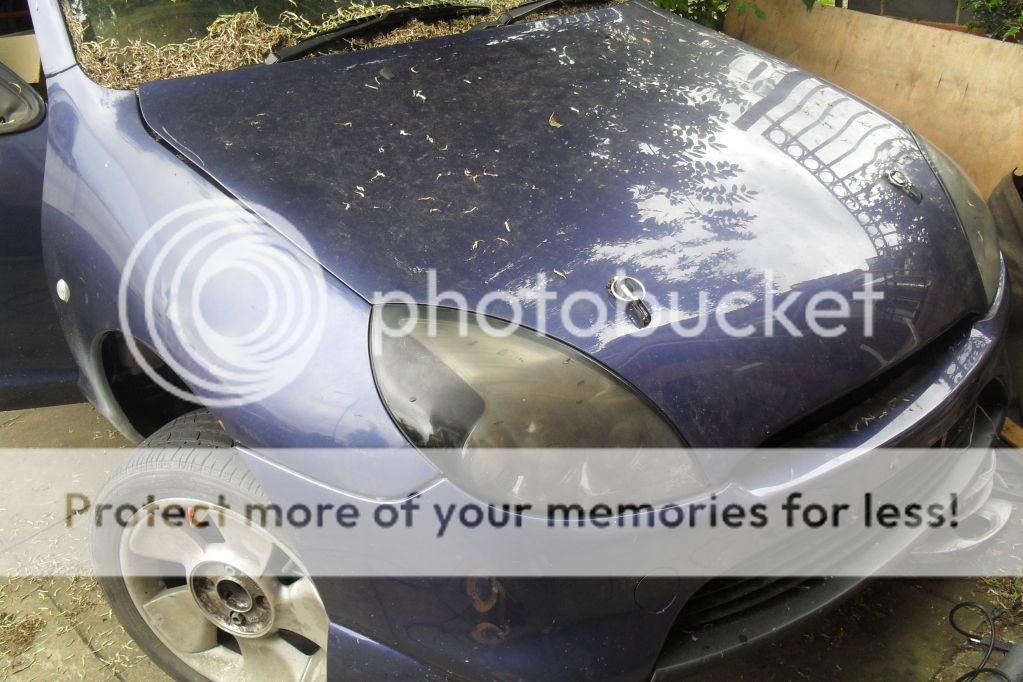
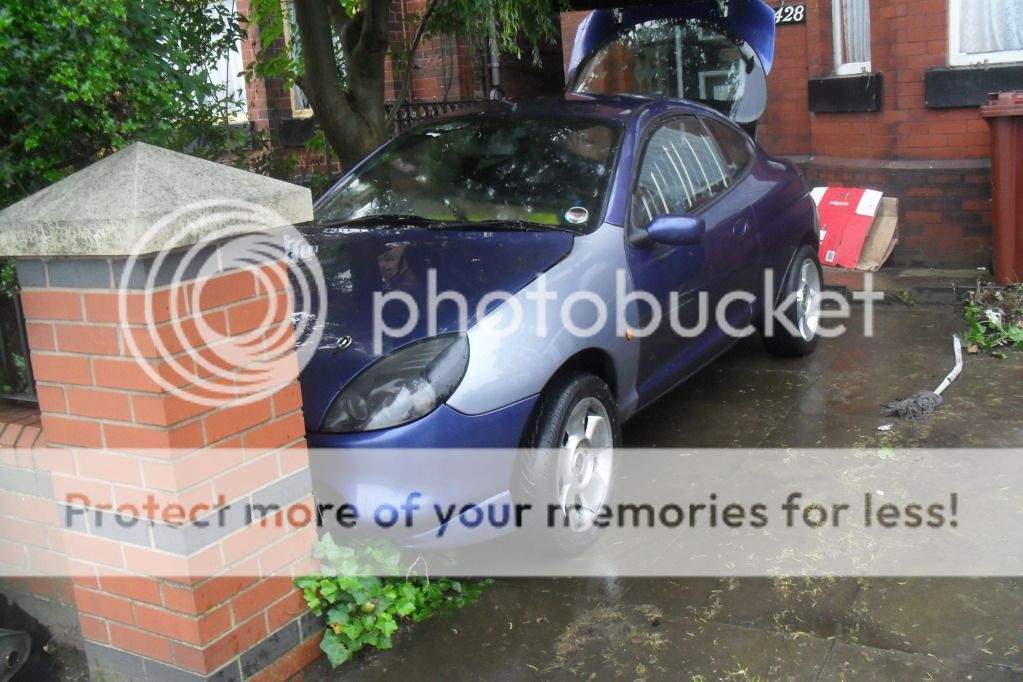
hi all im new to this site but not to others  i bought my puma 2 years ago for Ł900 with 8 months mot, 5 months tax and 93k on the clock. i loved how it handled and the way it took off and left alot of cars for dead
  it had a top end rebuild with new cam belt and water pump at 82k and with very little rust on the rear arches and no dints anywere i got a good example. or so i thought
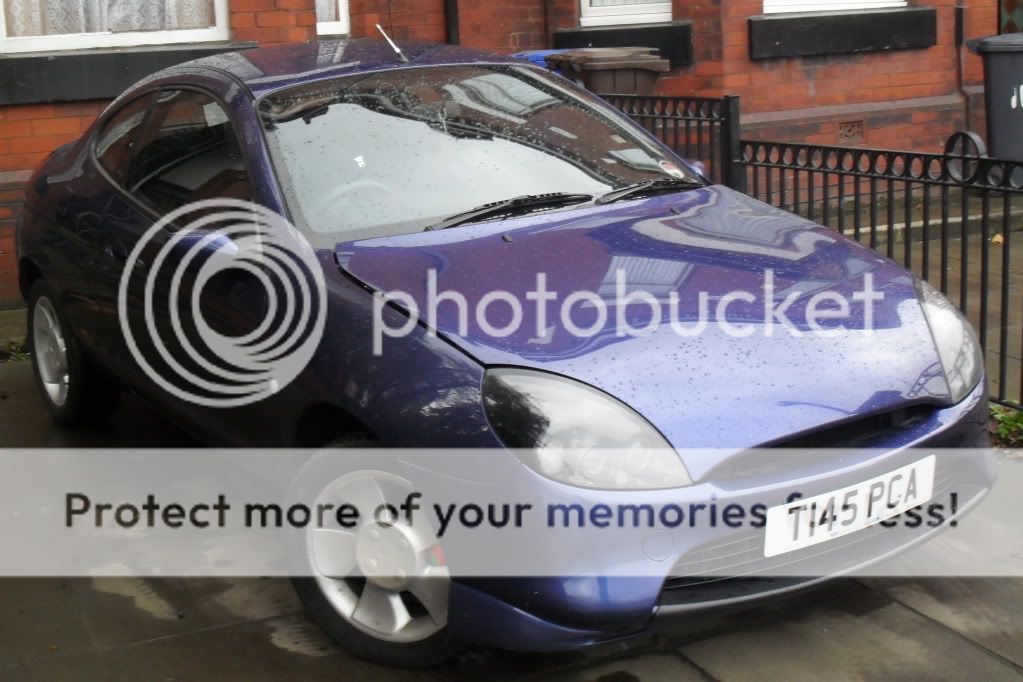
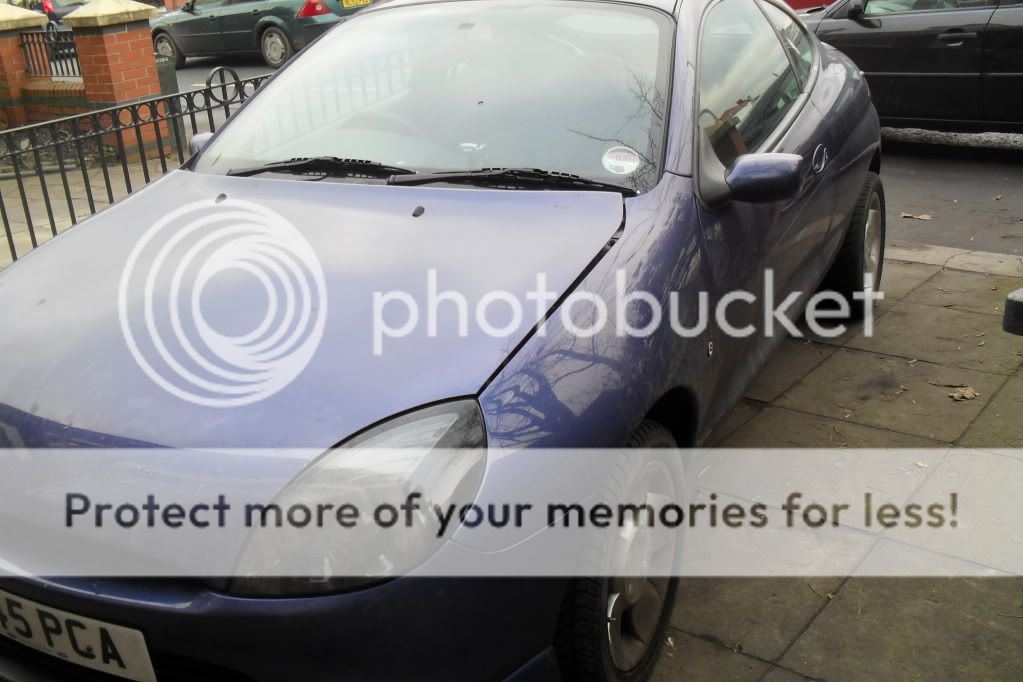
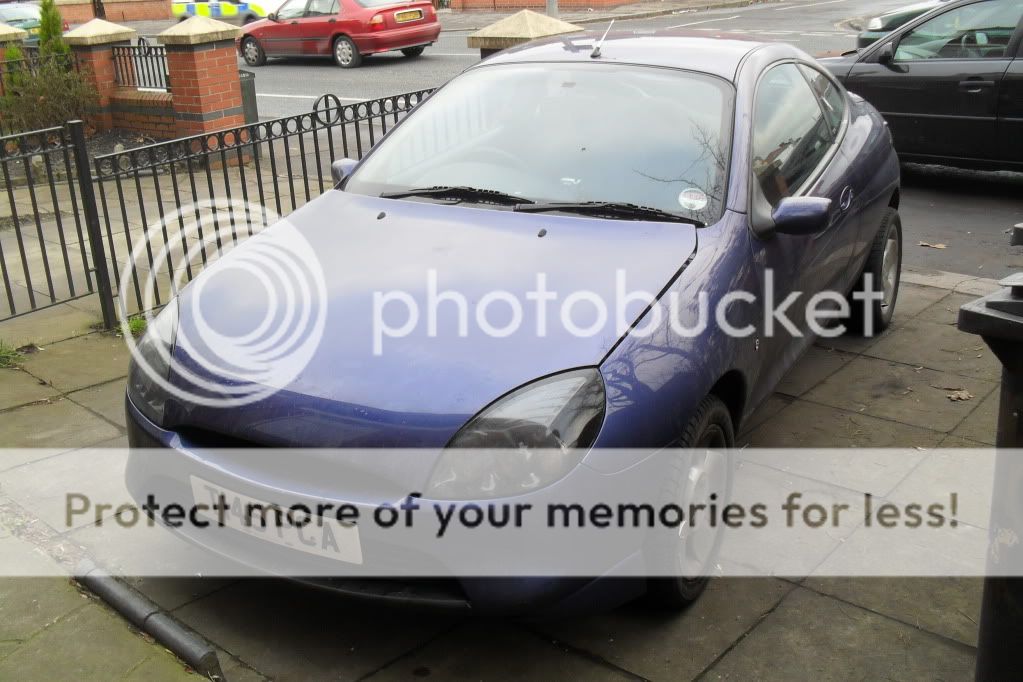
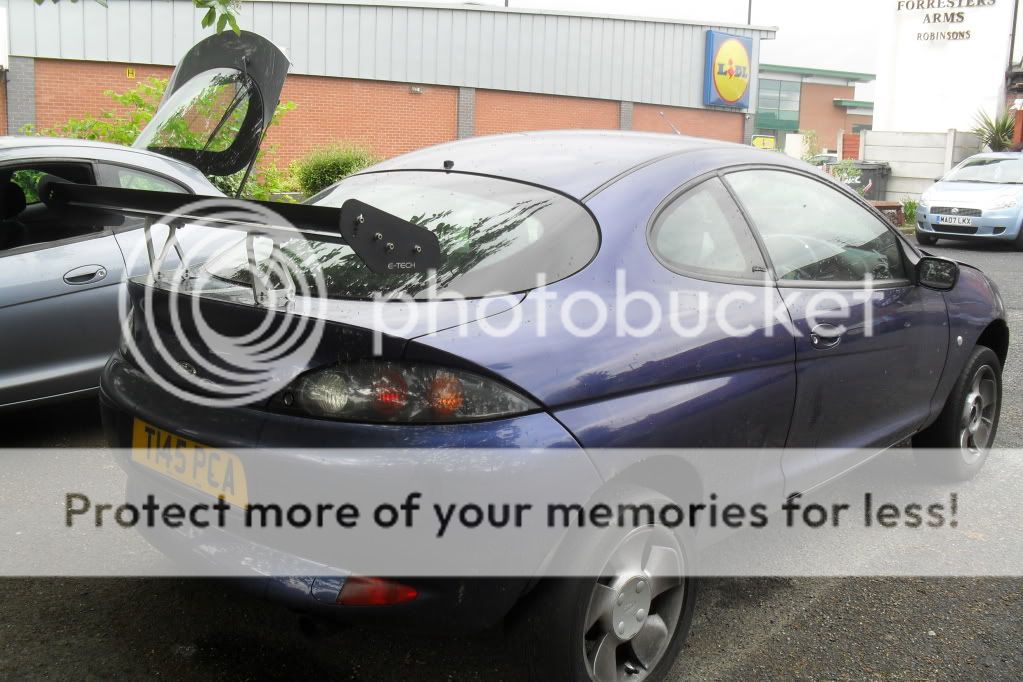
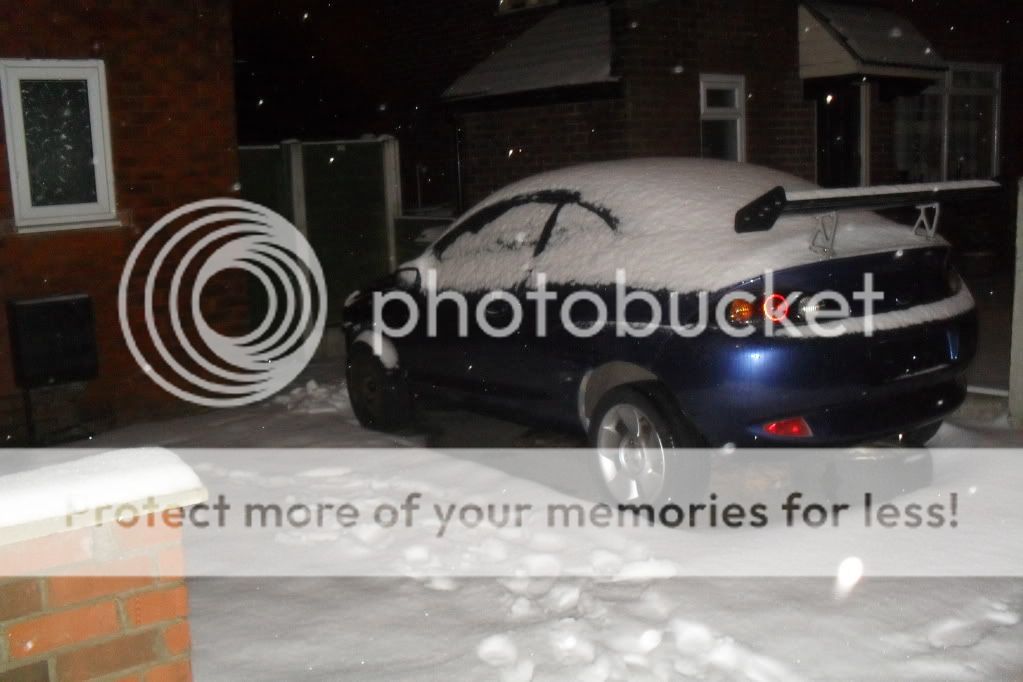
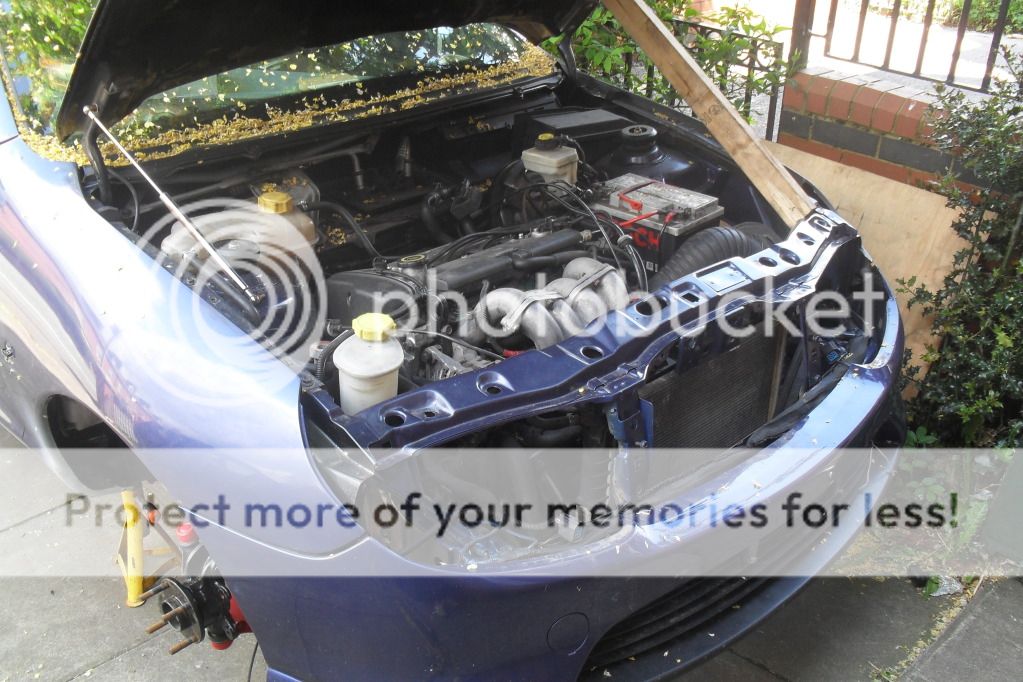
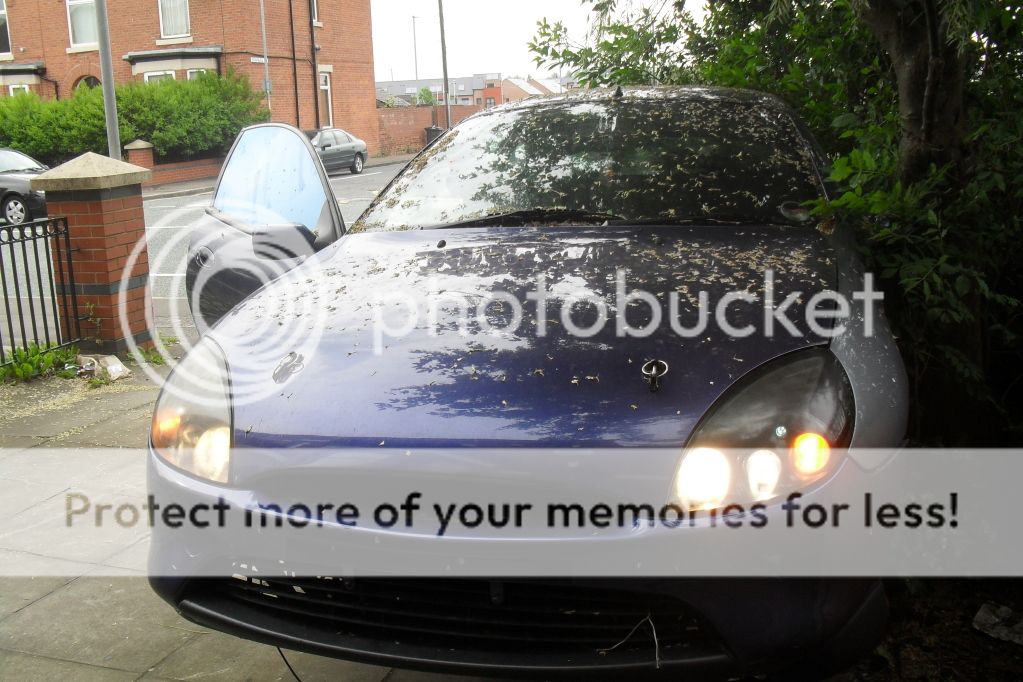
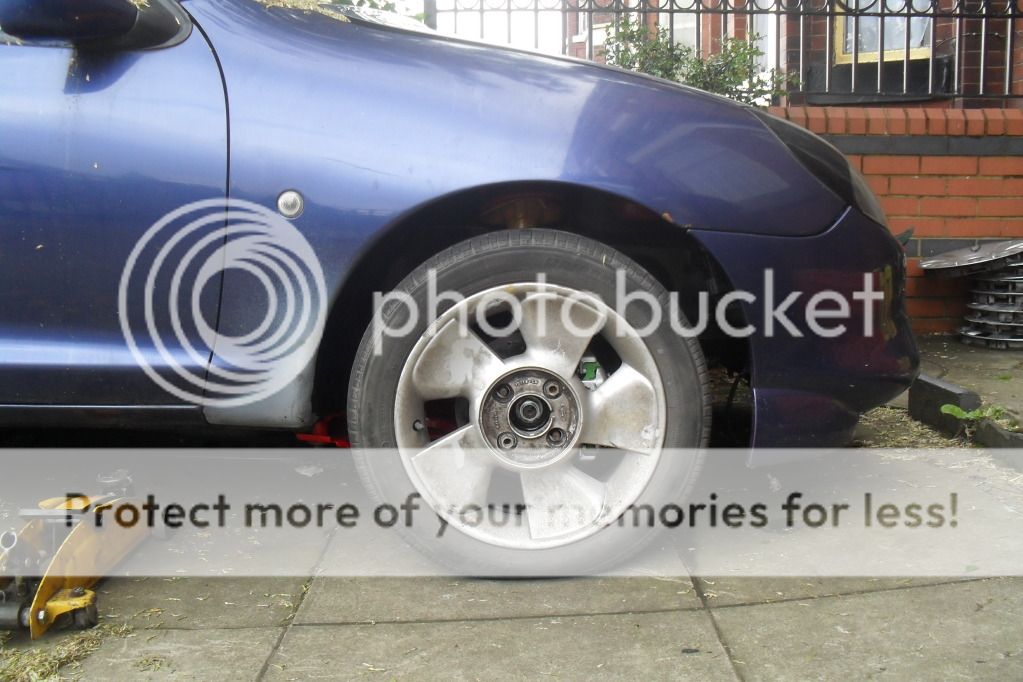
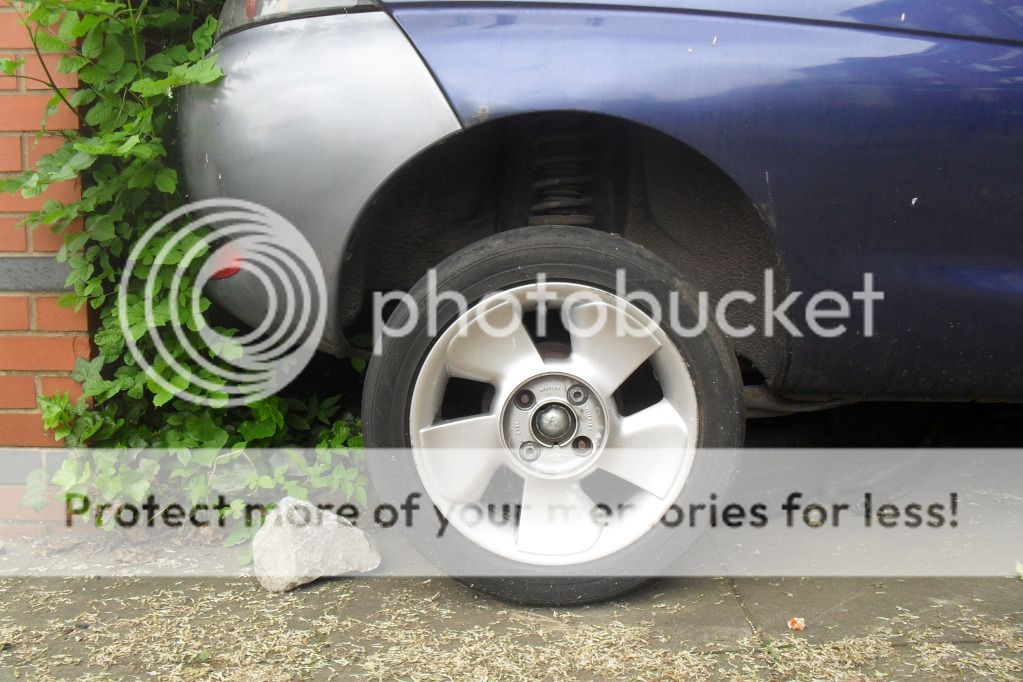
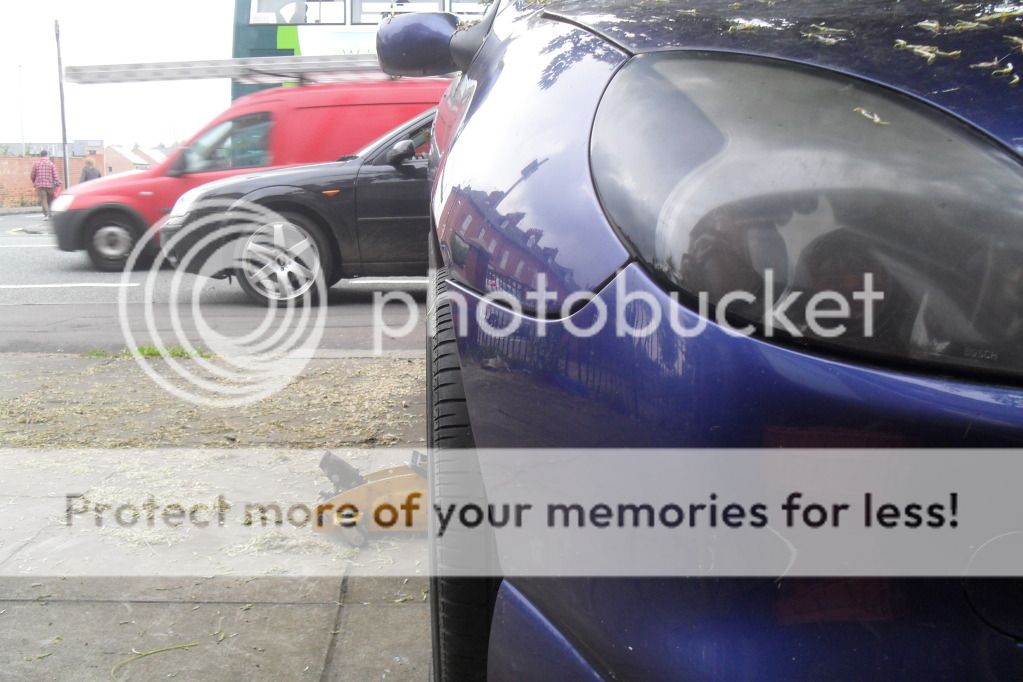
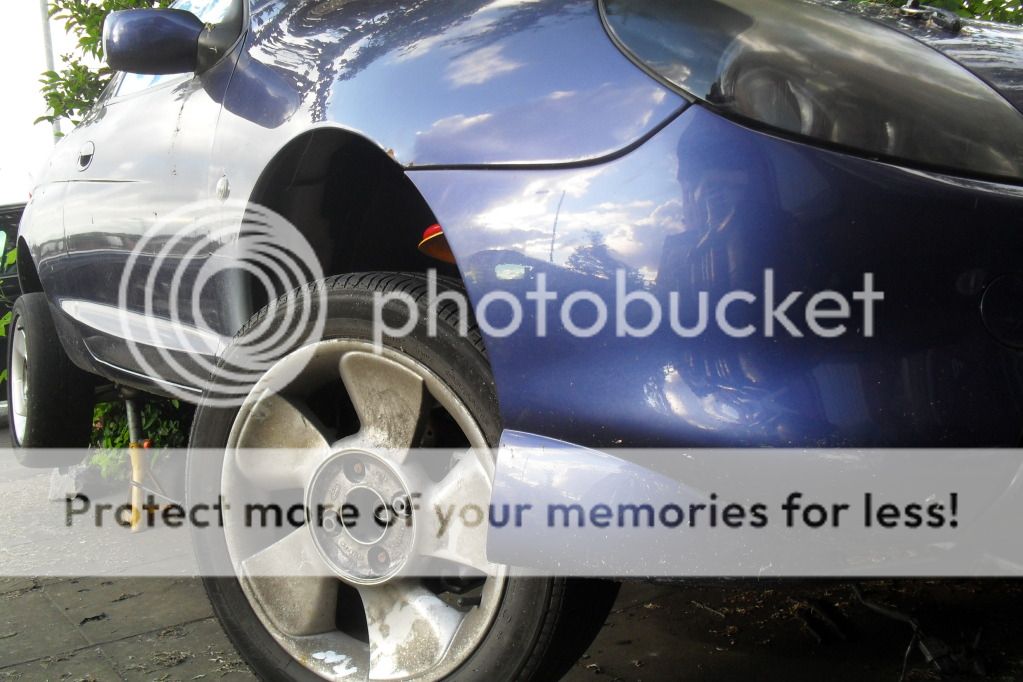
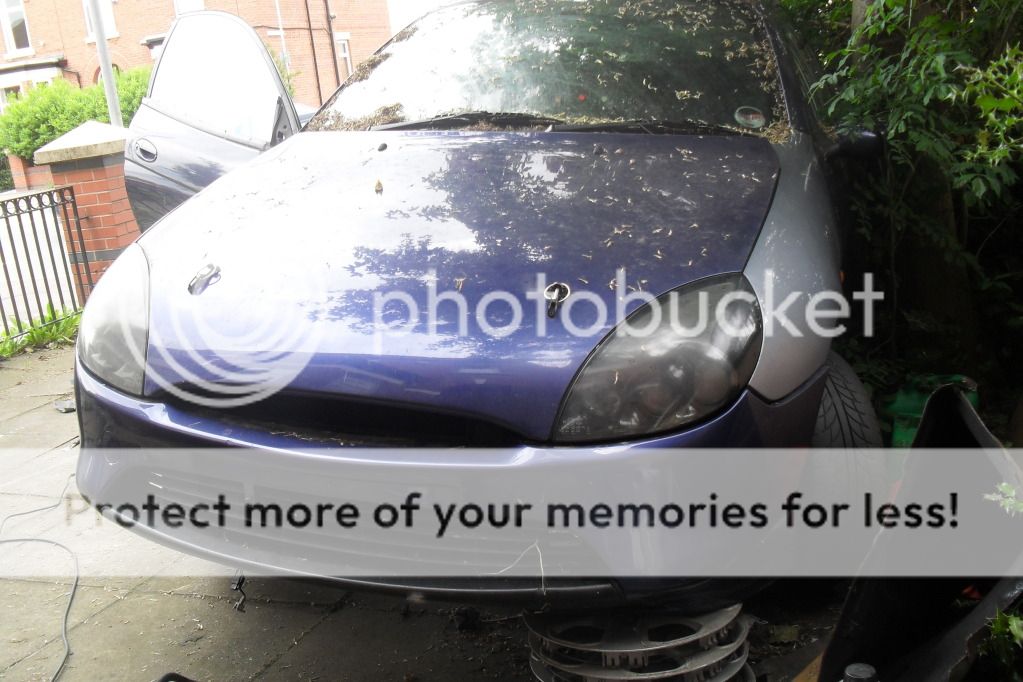
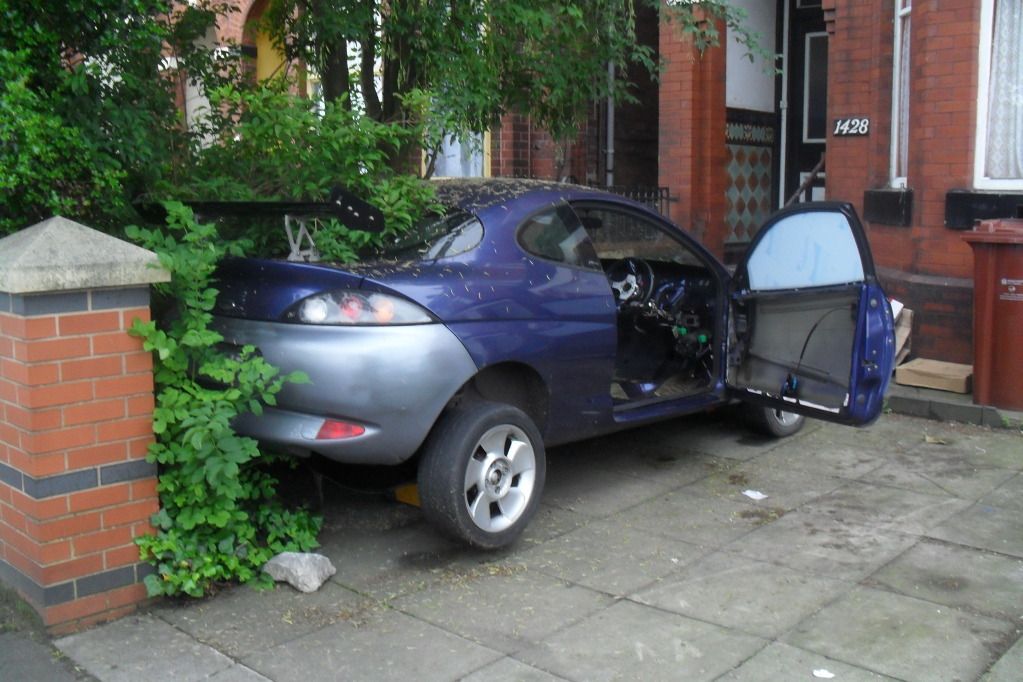
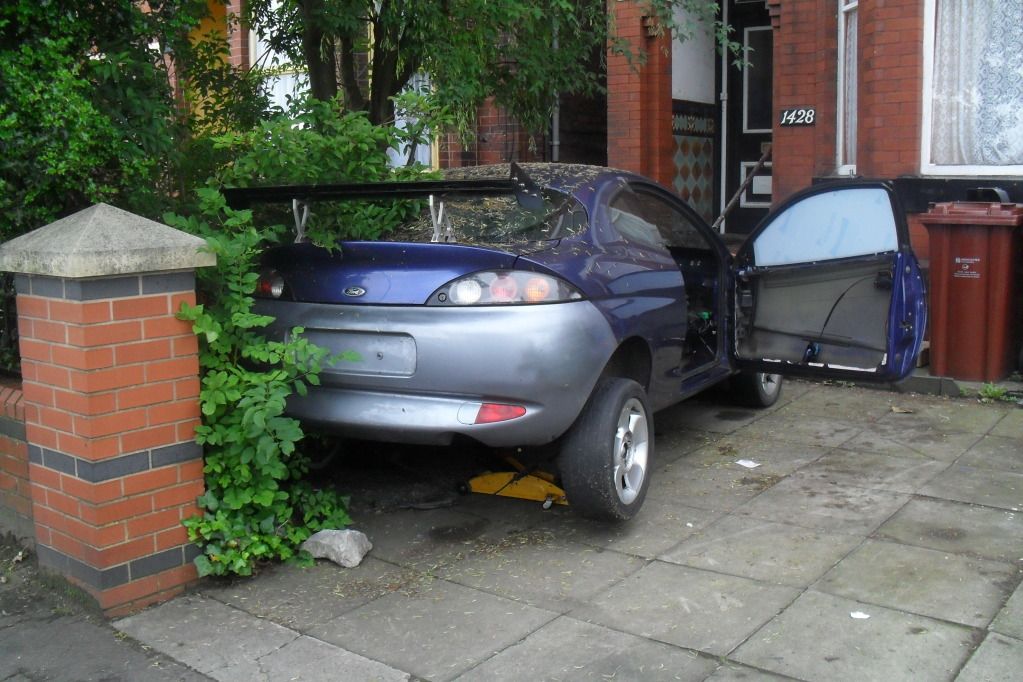
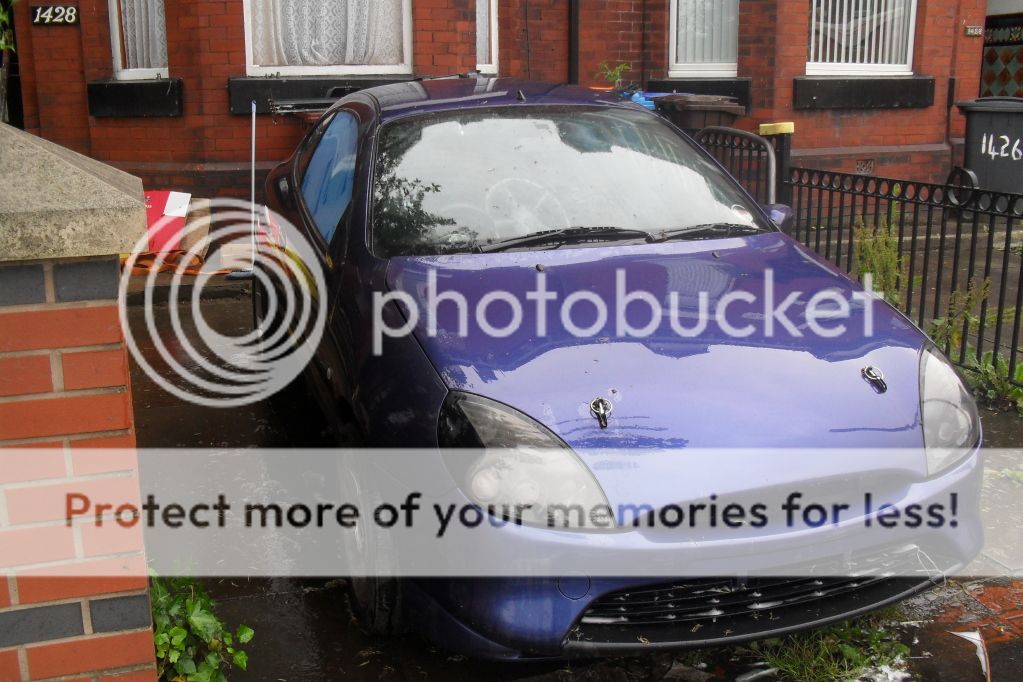
  here are some pics of the car when i bought it


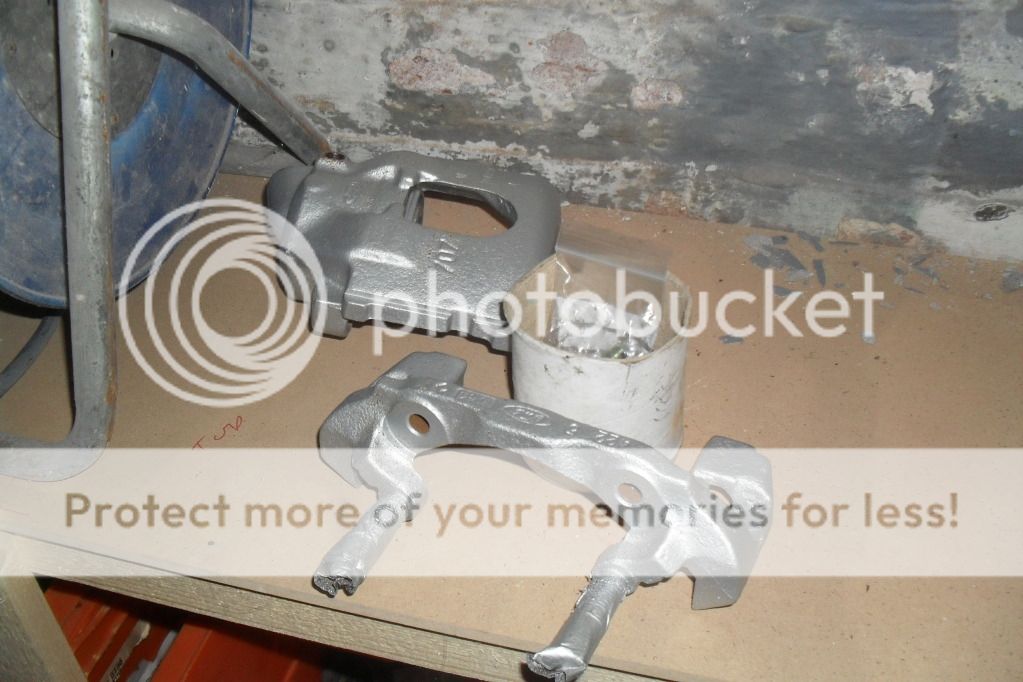
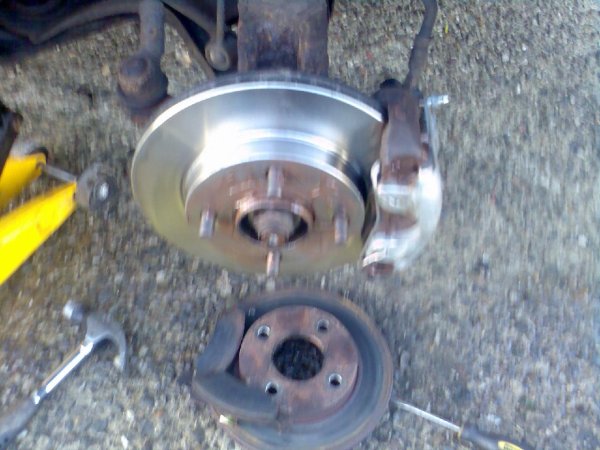
shortly after the brakes started grinding and after a good look i found they needed changing BADLY!
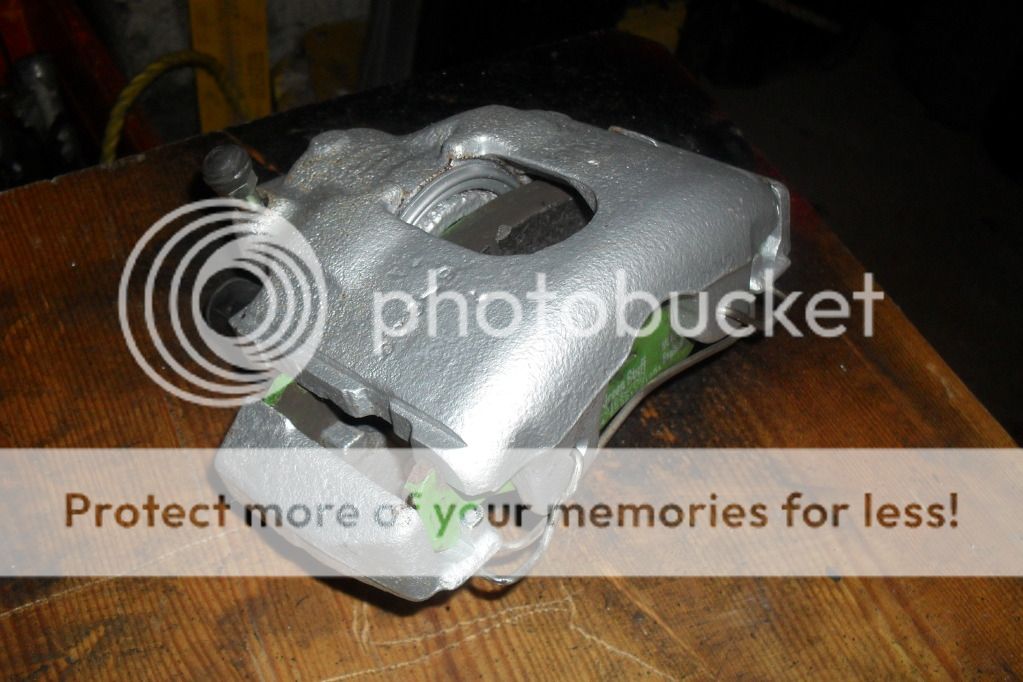
pics of the old and new
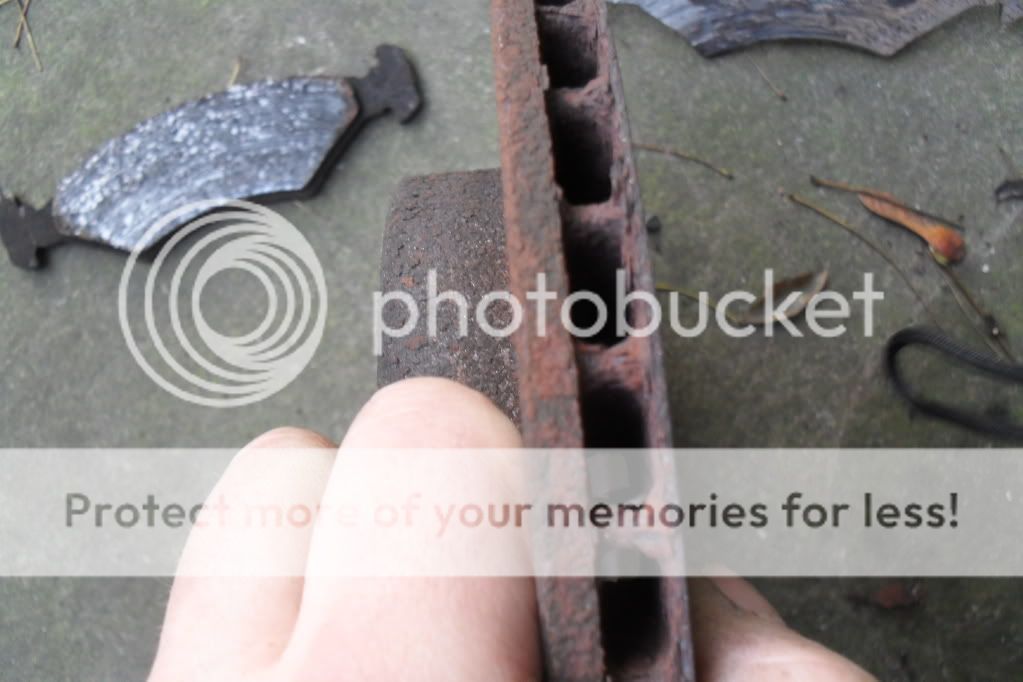


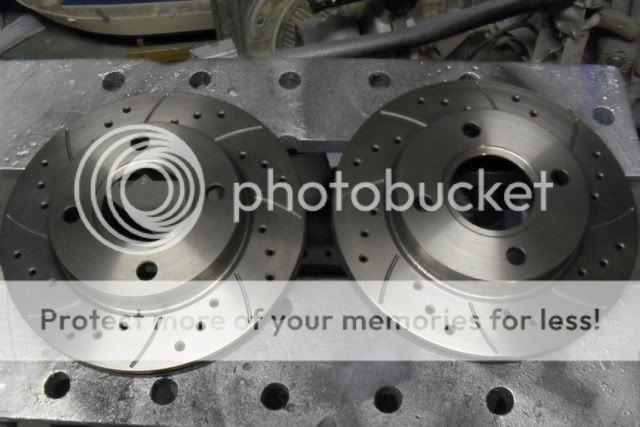
the brakes cost me less than Ł80 with the paint to do the caliper
on the car and painted
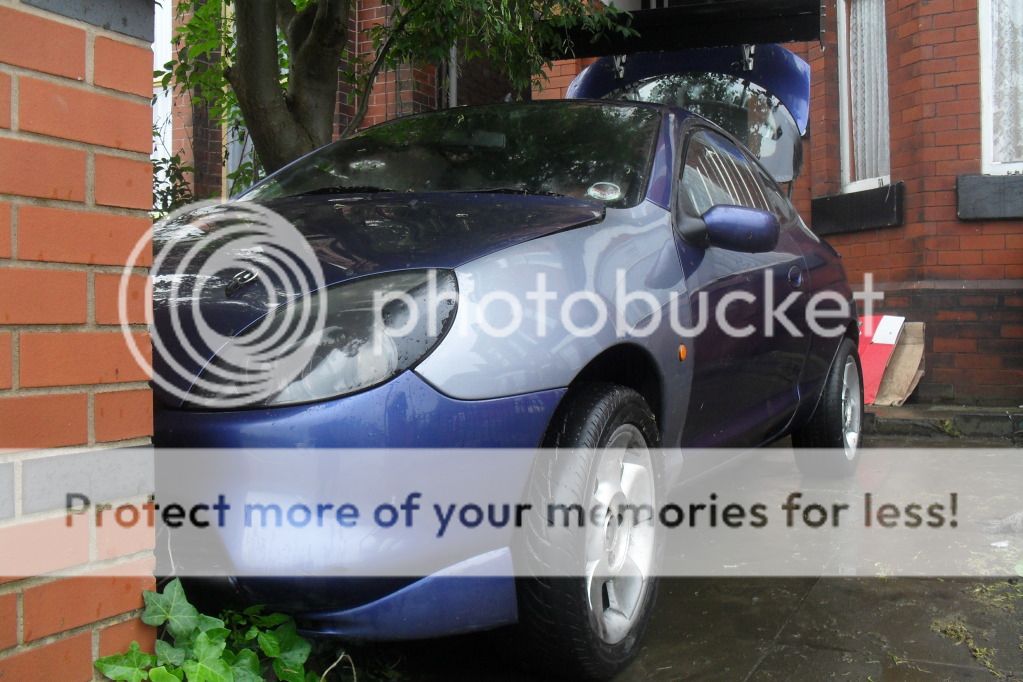
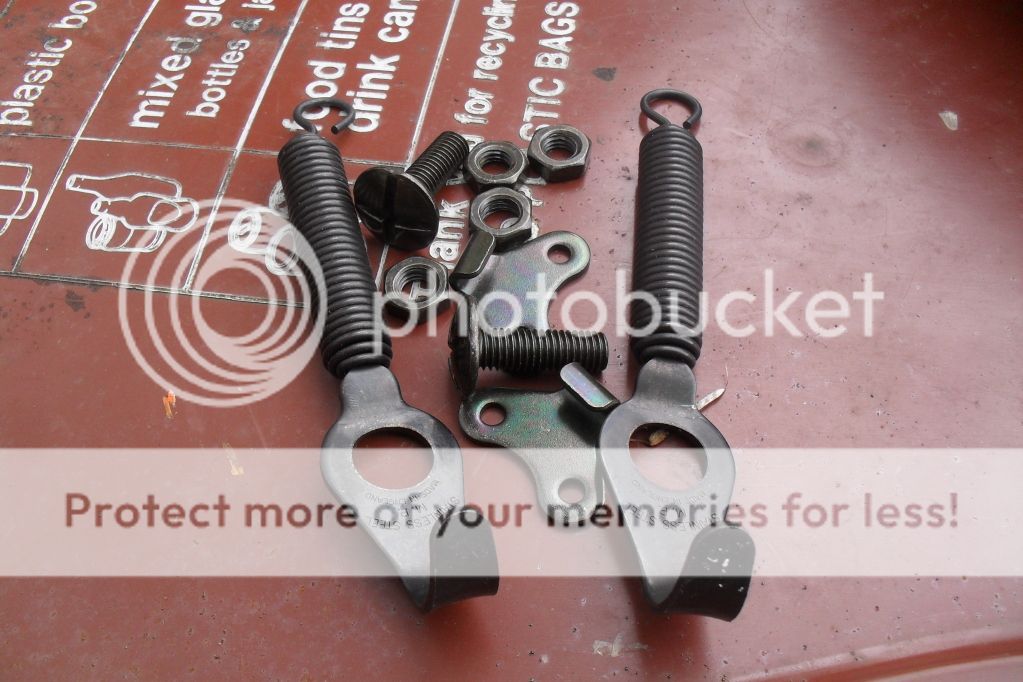
here she is polished up with bonnet liftersand no grille (i think it looks better that way)
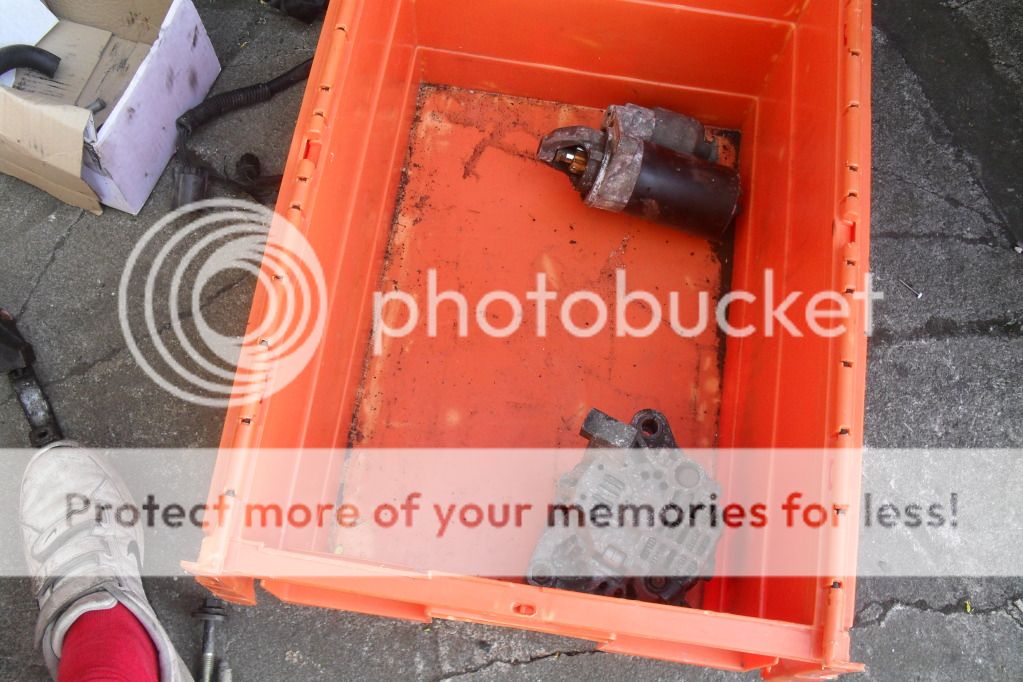
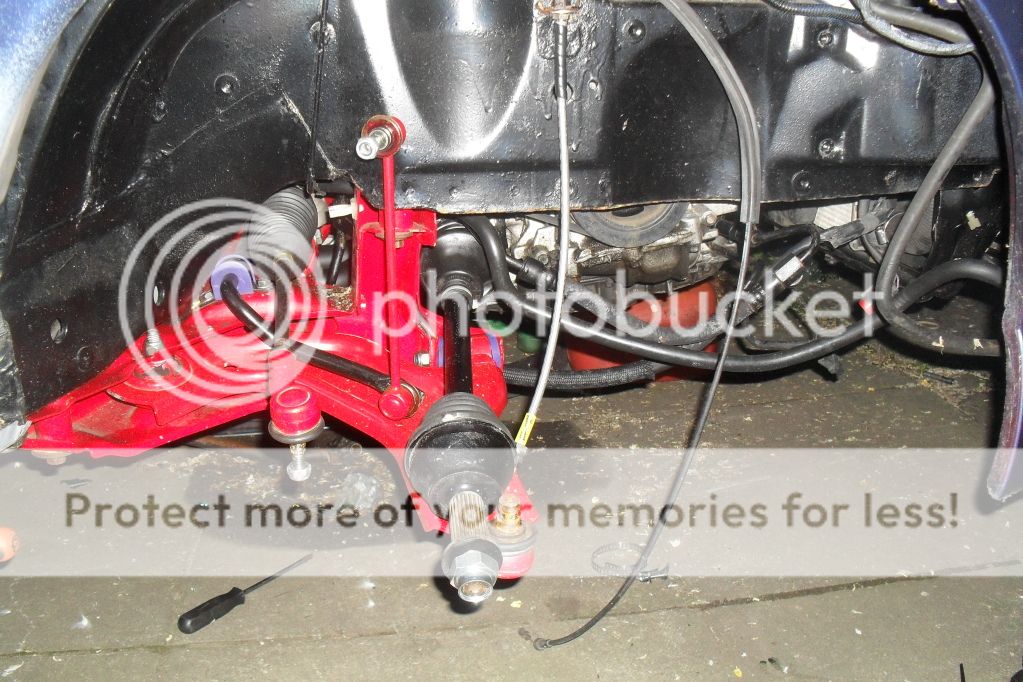
soon after i fitted some custom 35mm axle spacers along with changing the alternator because it went pop doin 90 on the m60 and worst thing is i had to get towed back by my ex gf not the best day ive had hahahahahah
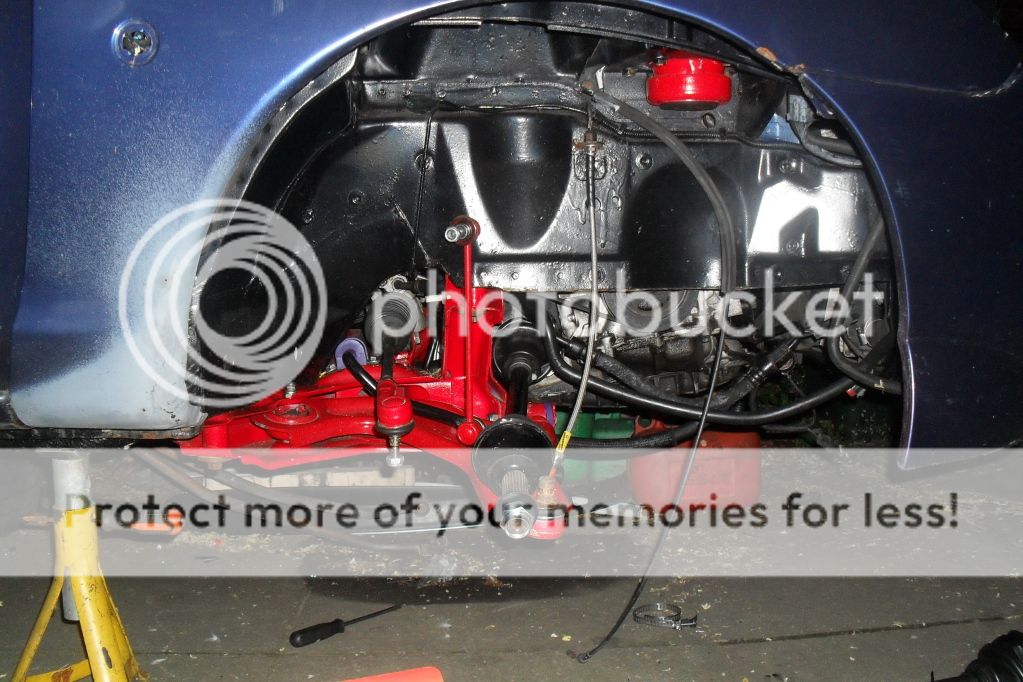
pics of the spacers
here thay are againt a standard puma the i bought to use while i worked on the melina puma
5 months after i bought the car the big end bearing went. at that point i decided to track the car and change the engine.
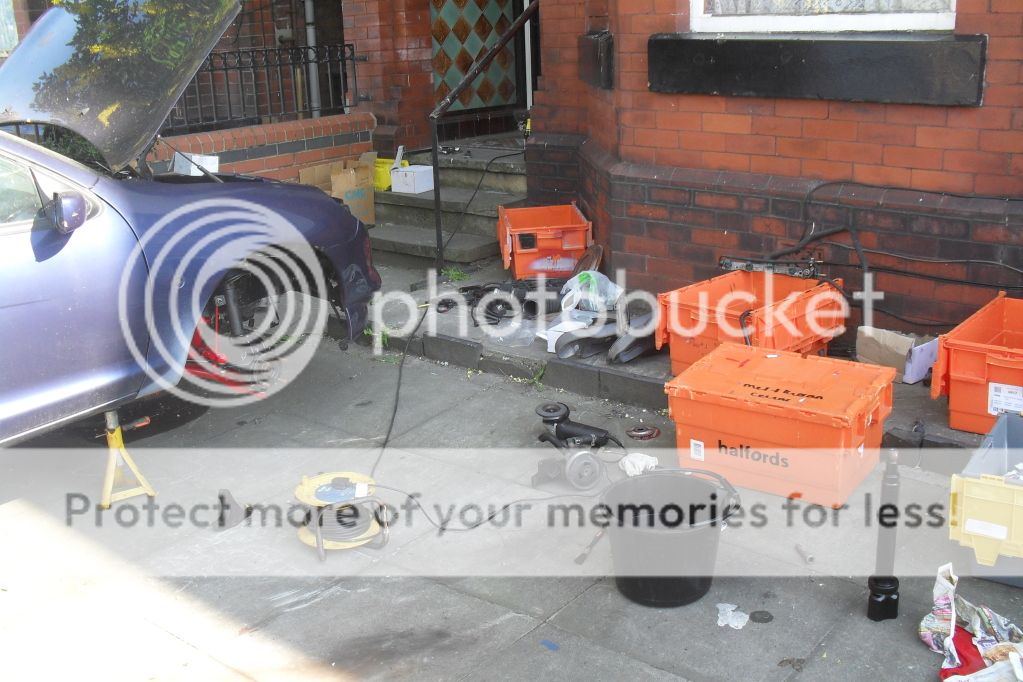
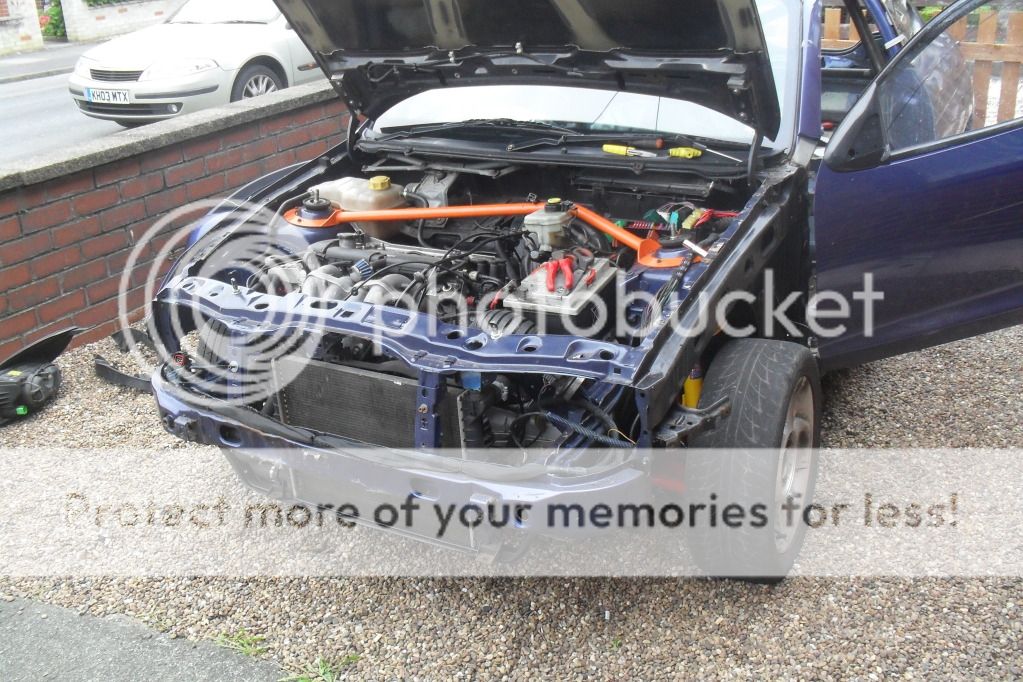
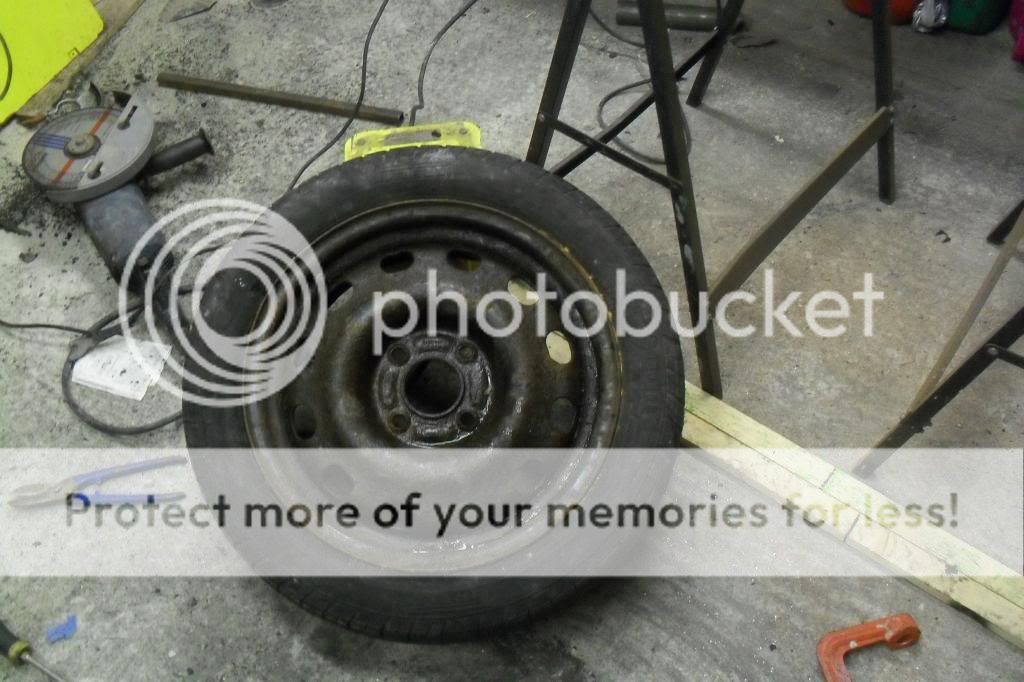
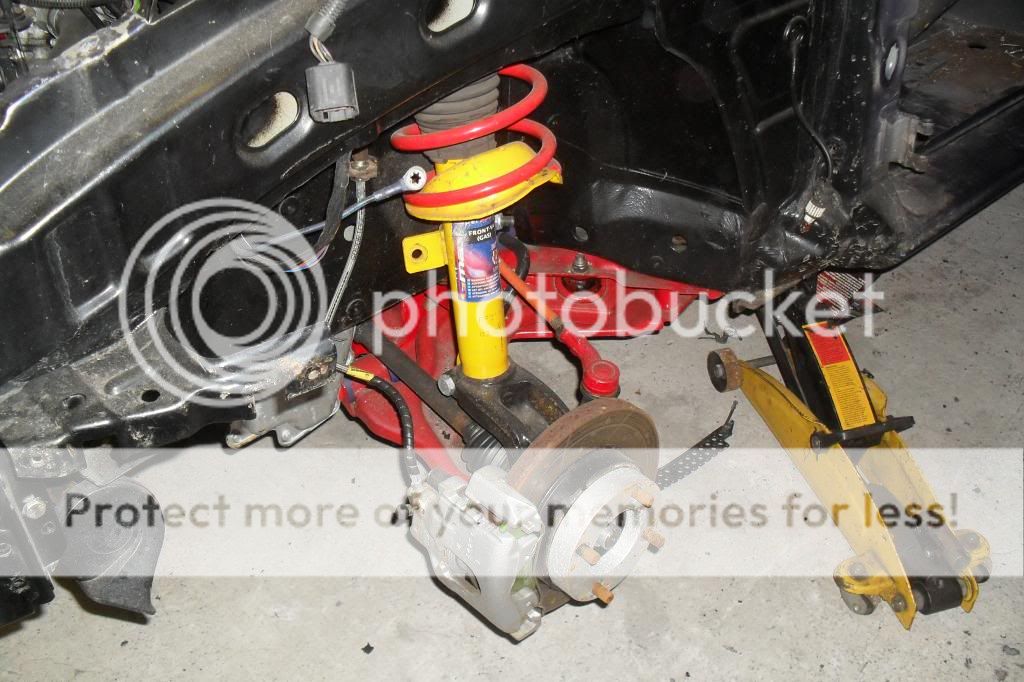
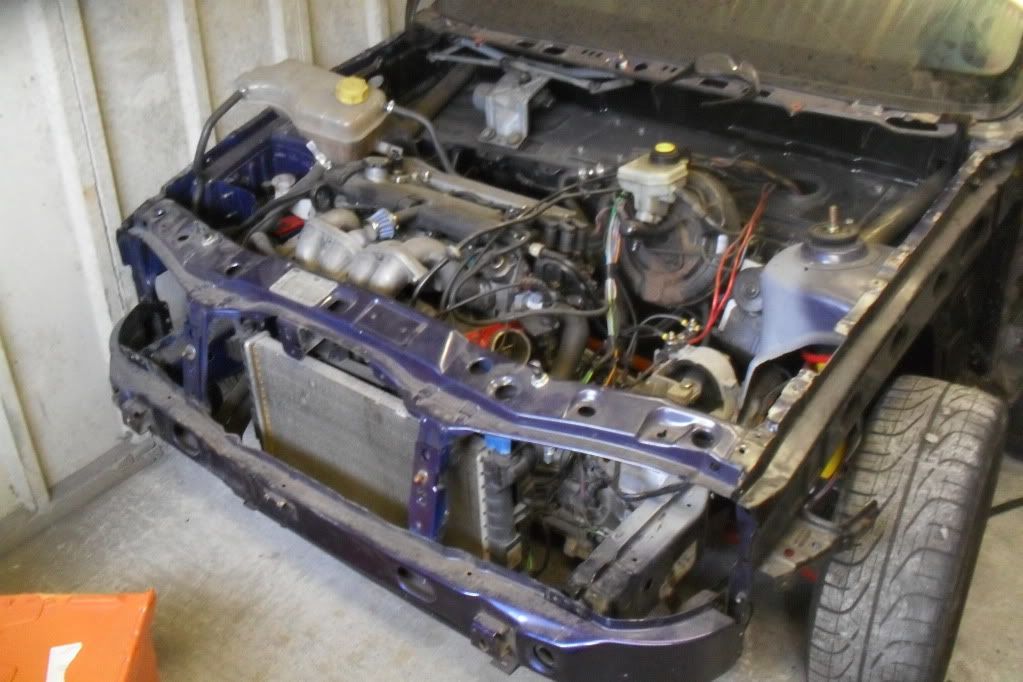
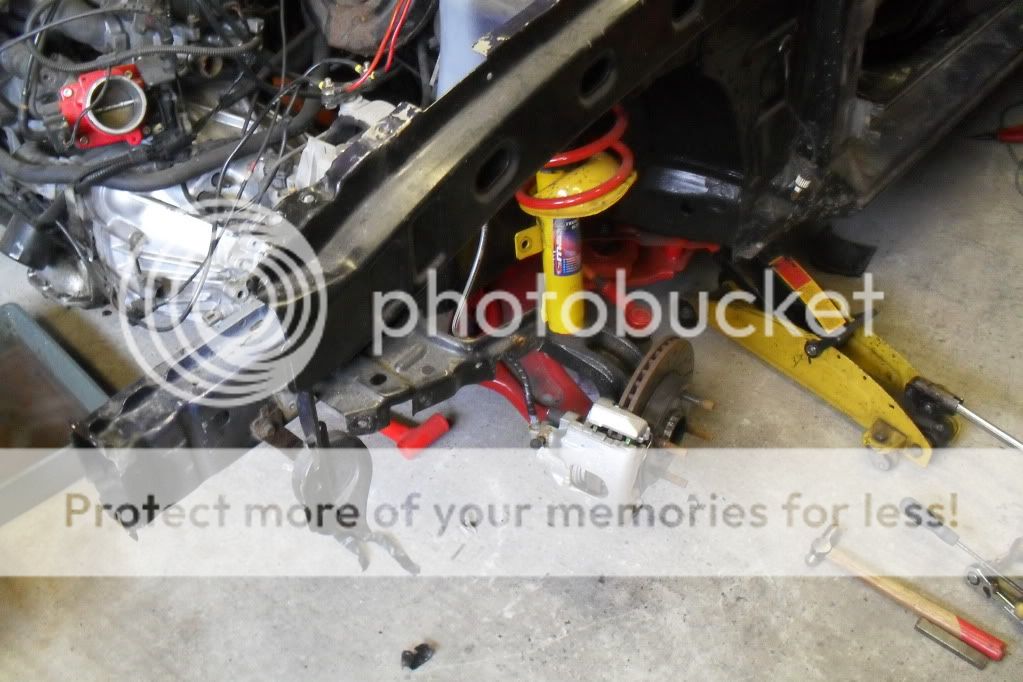
here are some pics of me removing the engine and the running gear
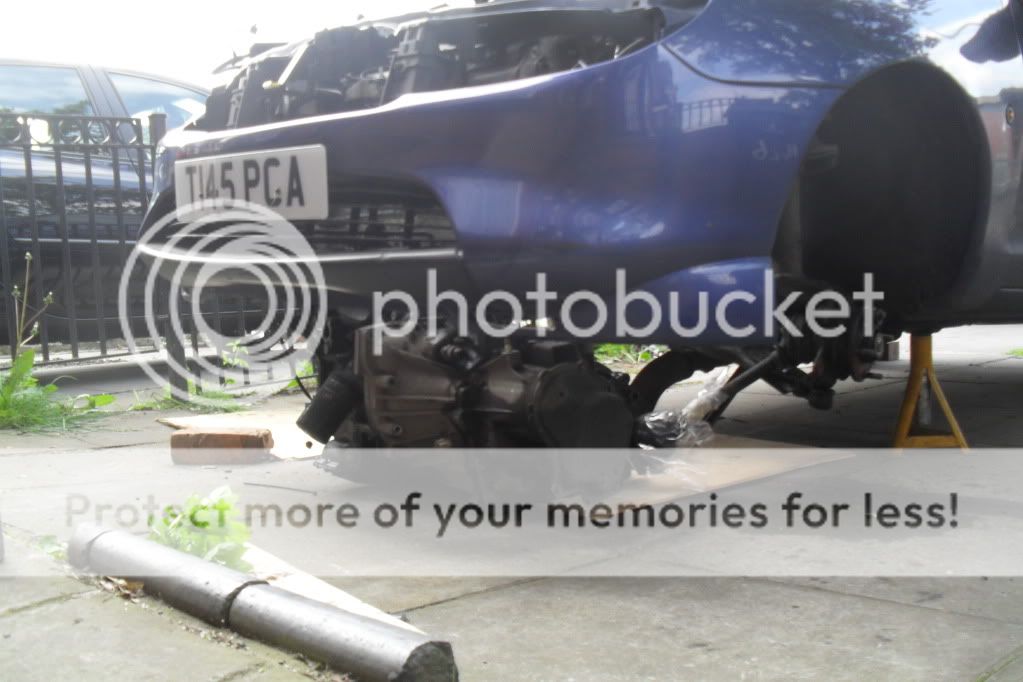
the old nackerd lump out
i did save the gearbox, head, cams, water puma and everything else i could salvage hhaha
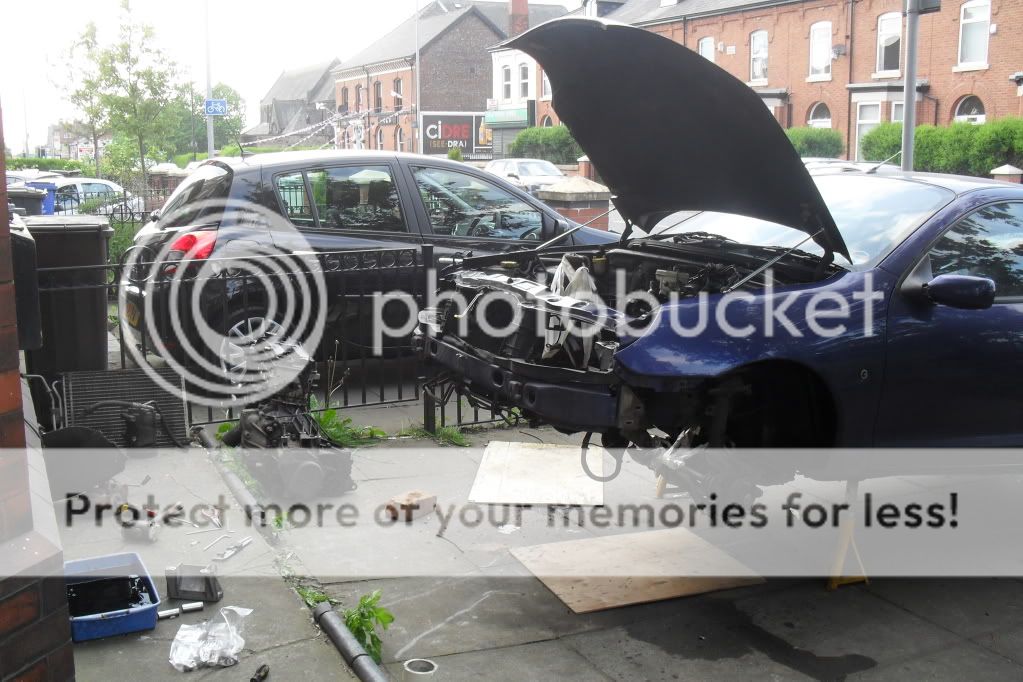
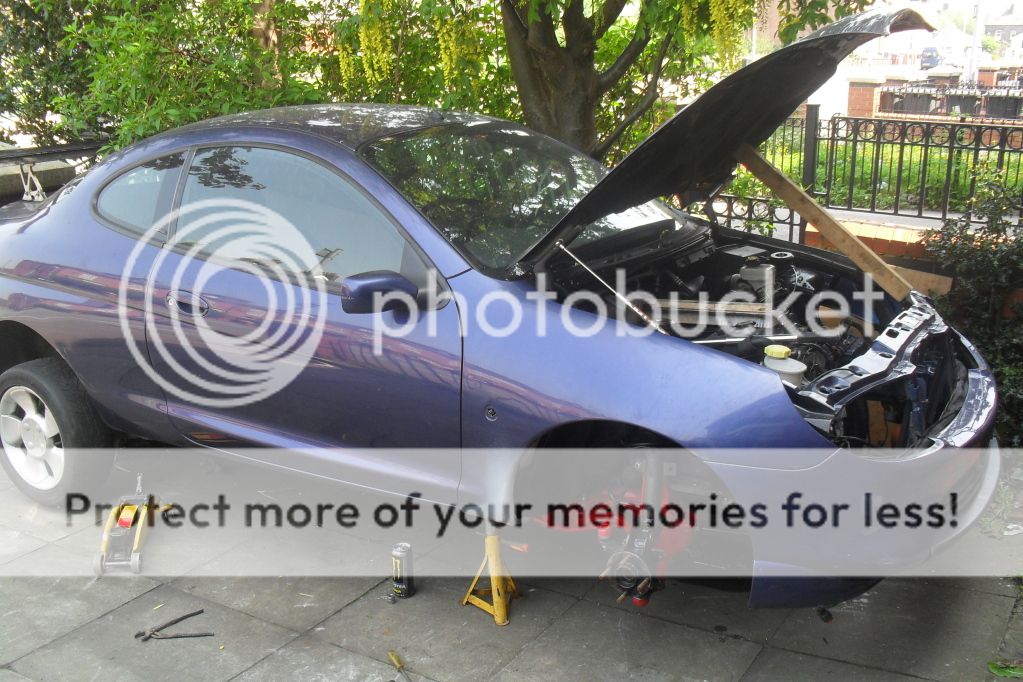
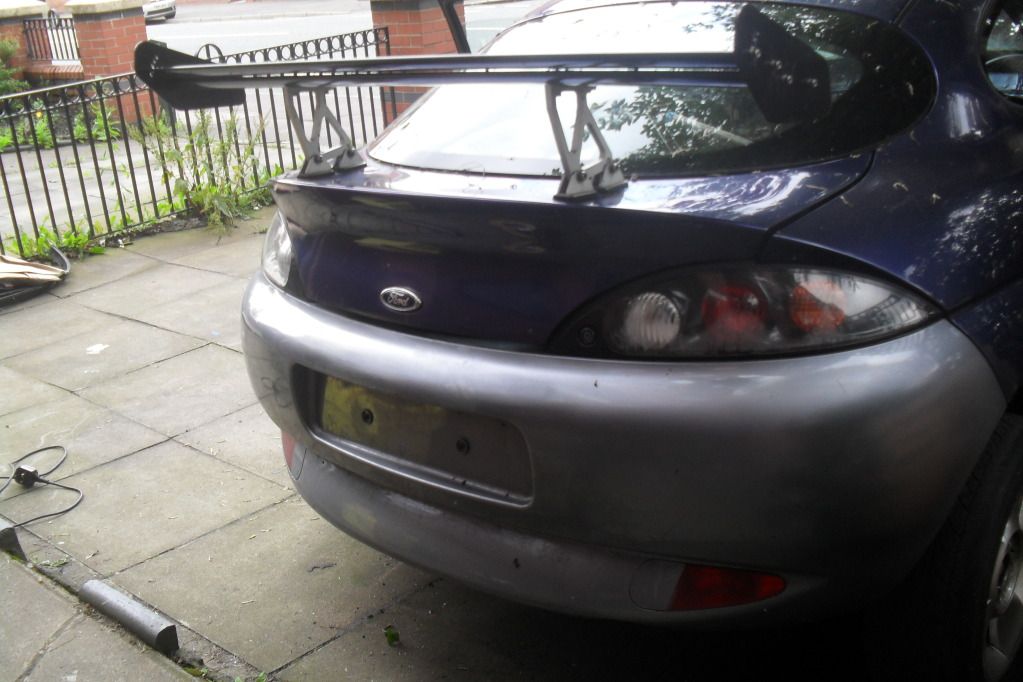
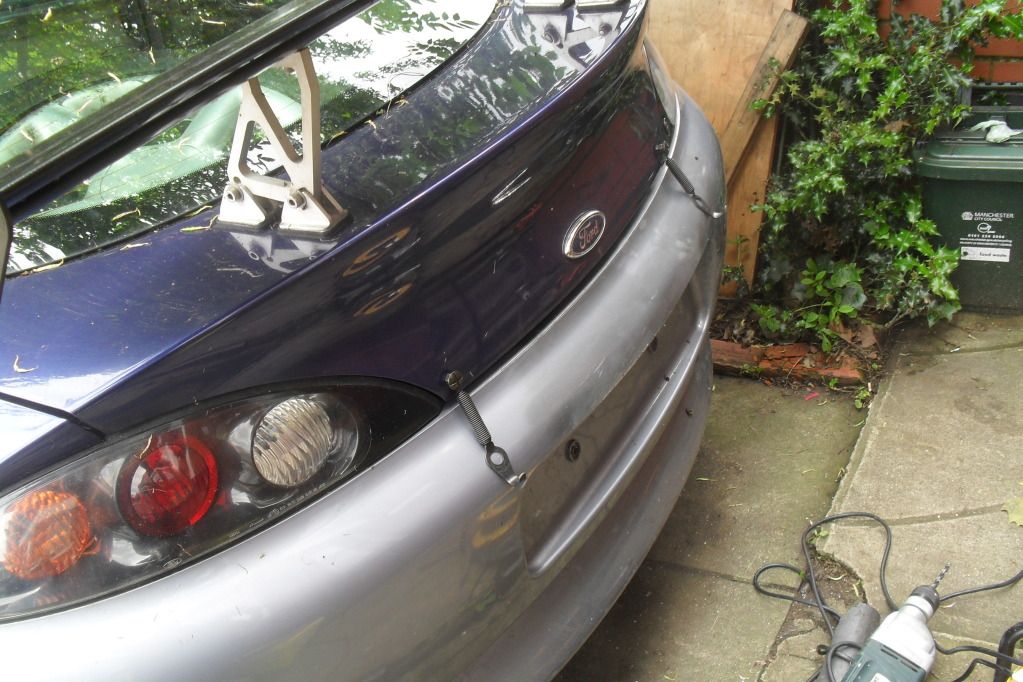
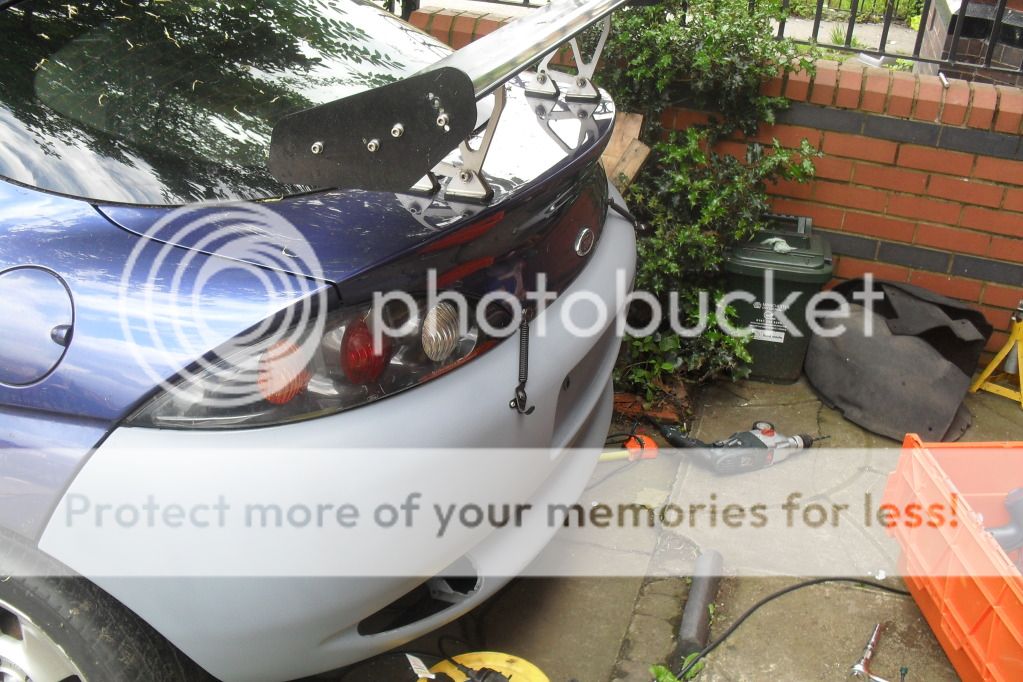
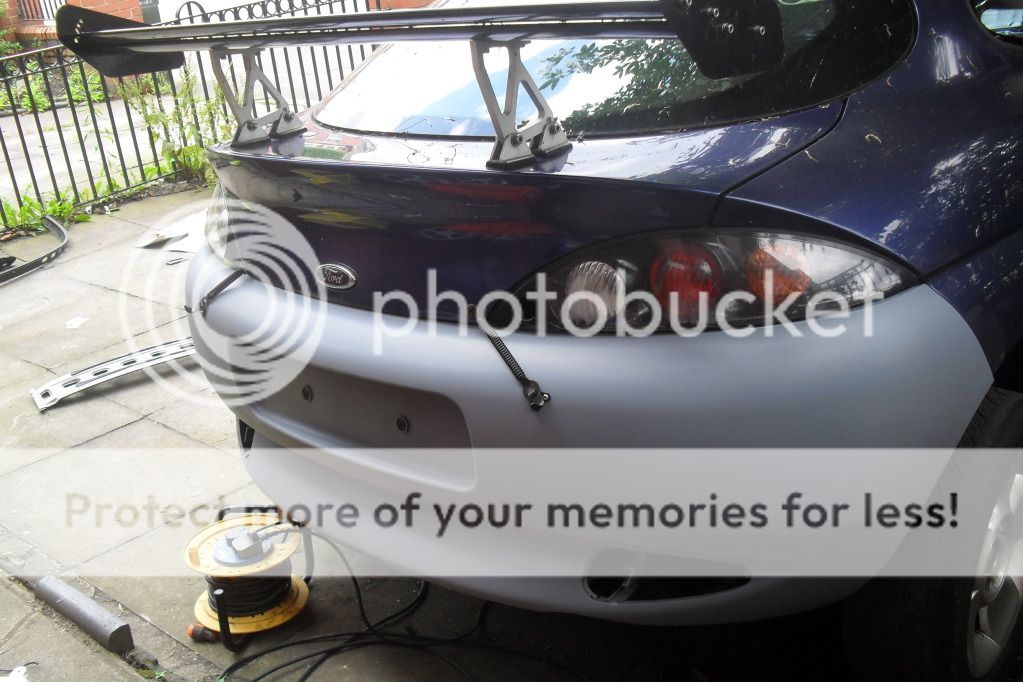
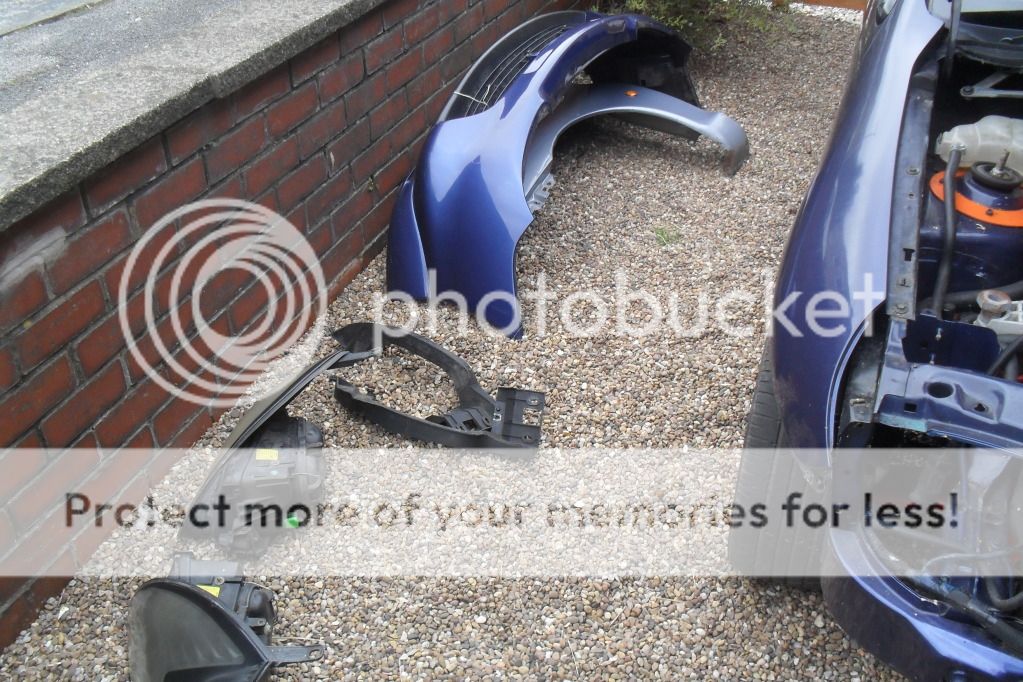
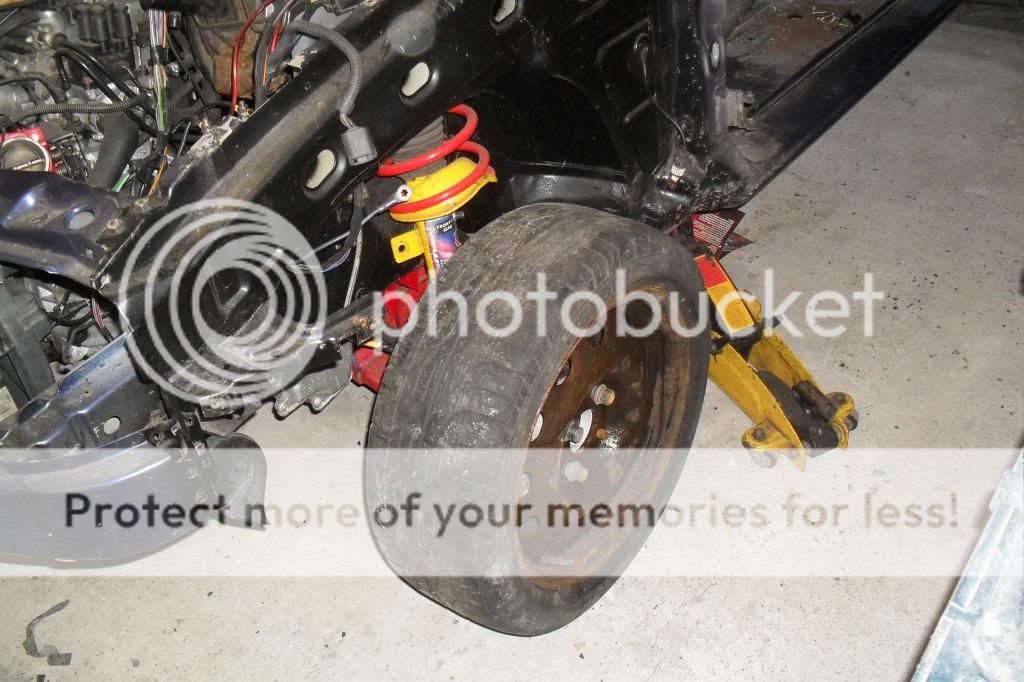
here are some pics of the rest of the front getting taken off and my new e-tec spoiler that i got for Ł40

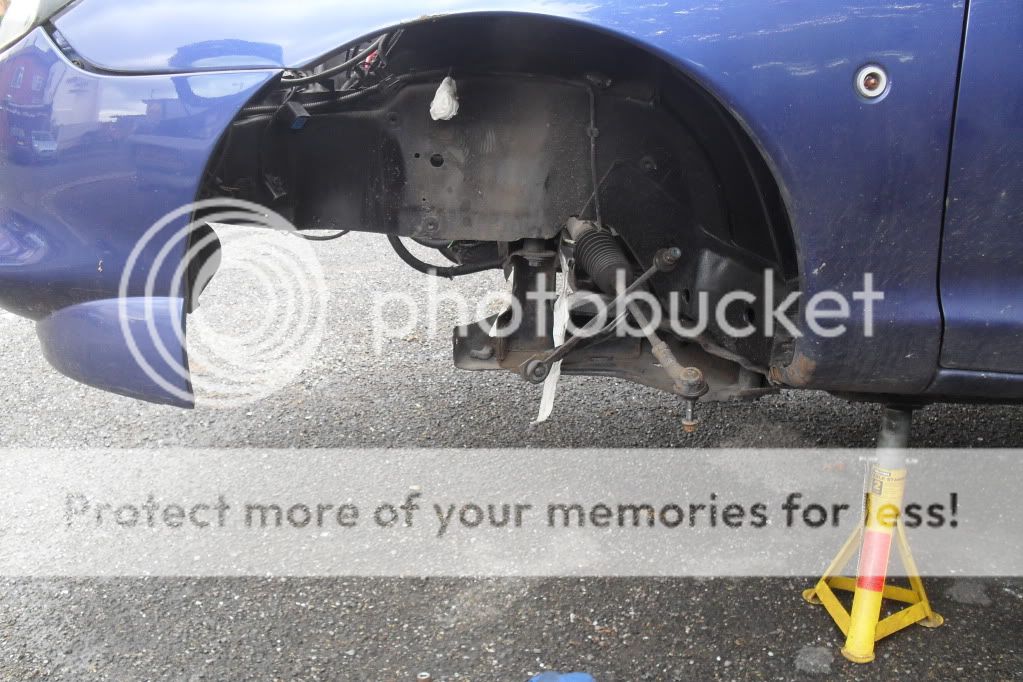

shortly after i had dismantled the front of the car i lost my job so had to stop rebuilding and fixing the car :-(
but before i lost my job i managed to buy:
a new engine woth 56kon the clock
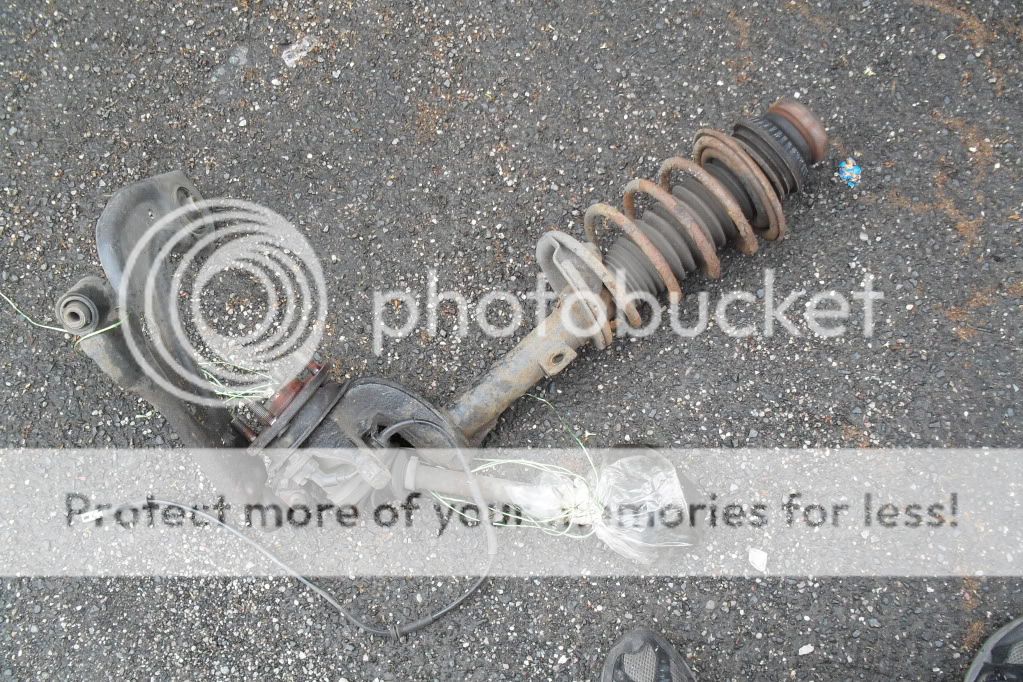
new wish bones
drop links
new cam belt
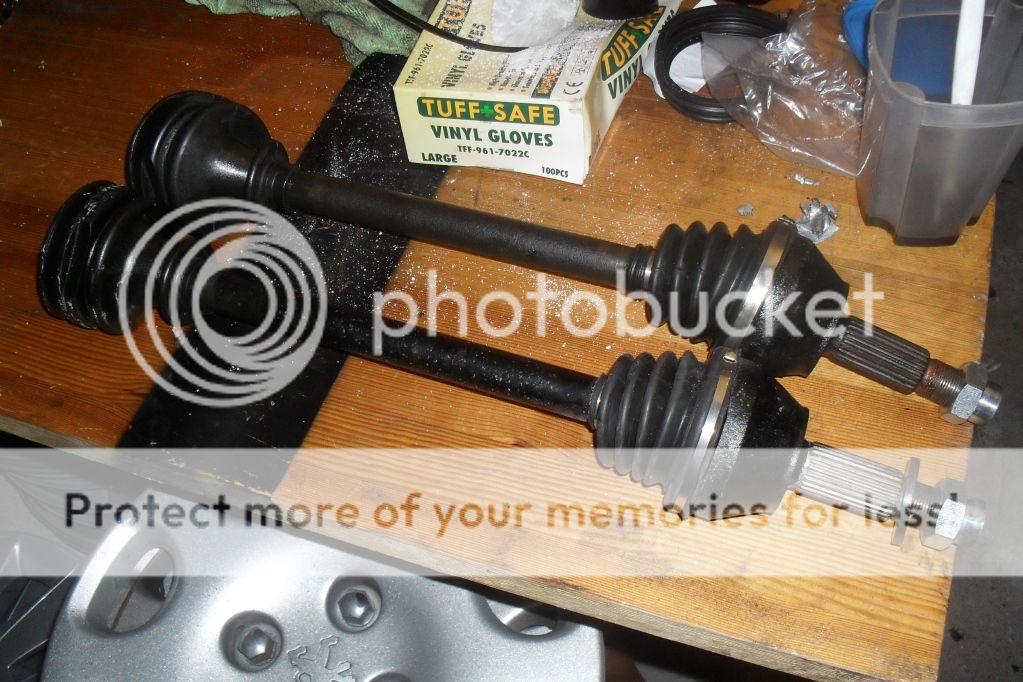
new cv boots all 4 of them inners and outers
and enought paint to repaint them all after i shot blast all the front pieces at work
i will upload more of my progress sometime tomorow
would like to know what everybody thinks of it
cheers kieran
i bought my puma 2 years ago for Ł900 with 8 months mot, 5 months tax and 93k on the clock. i loved how it handled and the way it took off and left alot of cars for dead shortly after the brakes started grinding and after a good look i found they needed changing BADLY!
pics of the old and new
the brakes cost me less than Ł80 with the paint to do the caliper
on the car and painted
here she is polished up with bonnet liftersand no grille (i think it looks better that way)
soon after i fitted some custom 35mm axle spacers along with changing the alternator because it went pop doin 90 on the m60 and worst thing is i had to get towed back by my ex gf
pics of the spacers
here thay are againt a standard puma the i bought to use while i worked on the melina puma
5 months after i bought the car the big end bearing went. at that point i decided to track the car and change the engine.
here are some pics of me removing the engine and the running gear
the old nackerd lump out
i did save the gearbox, head, cams, water puma and everything else i could salvage hhaha
here are some pics of the rest of the front getting taken off and my new e-tec spoiler that i got for Ł40
shortly after i had dismantled the front of the car i lost my job so had to stop rebuilding and fixing the car :-(
but before i lost my job i managed to buy:
a new engine woth 56kon the clock
new wish bones
drop links
new cam belt
new cv boots all 4 of them inners and outers
and enought paint to repaint them all after i shot blast all the front pieces at work
i will upload more of my progress sometime tomorow
would like to know what everybody thinks of it
cheers kieran
 06-10-2012, 09:18 PM
#2
Wahay!! I've lost my Virginity!!
Thread Starter
Join Date: Oct 2012
Location: manchester
Posts: 52
Likes: 0
Received 0 Likes
on
0 Posts
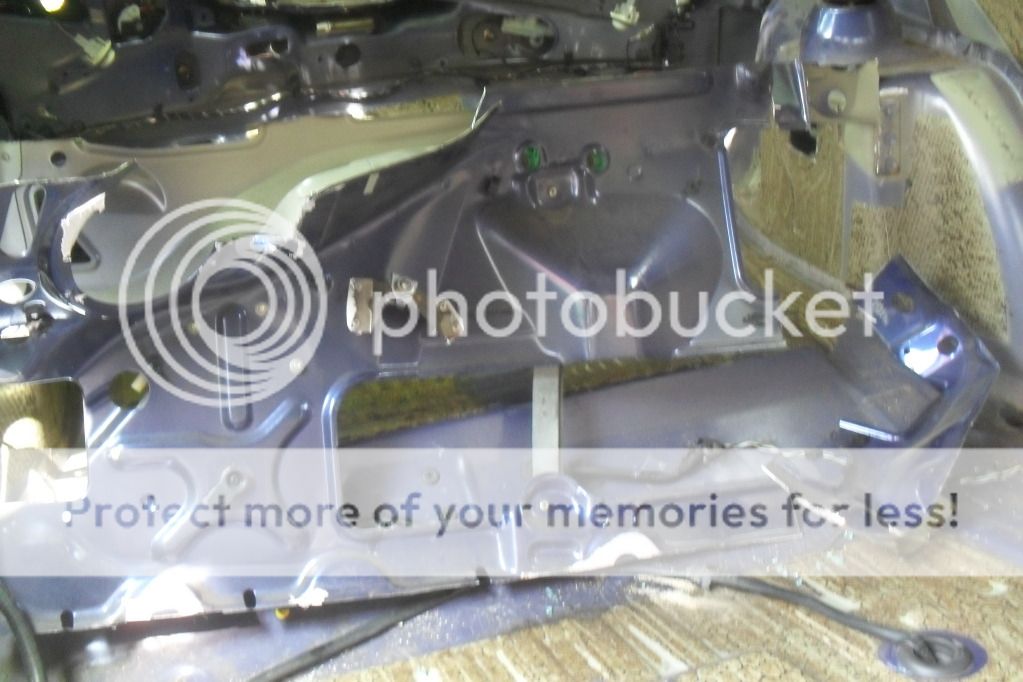
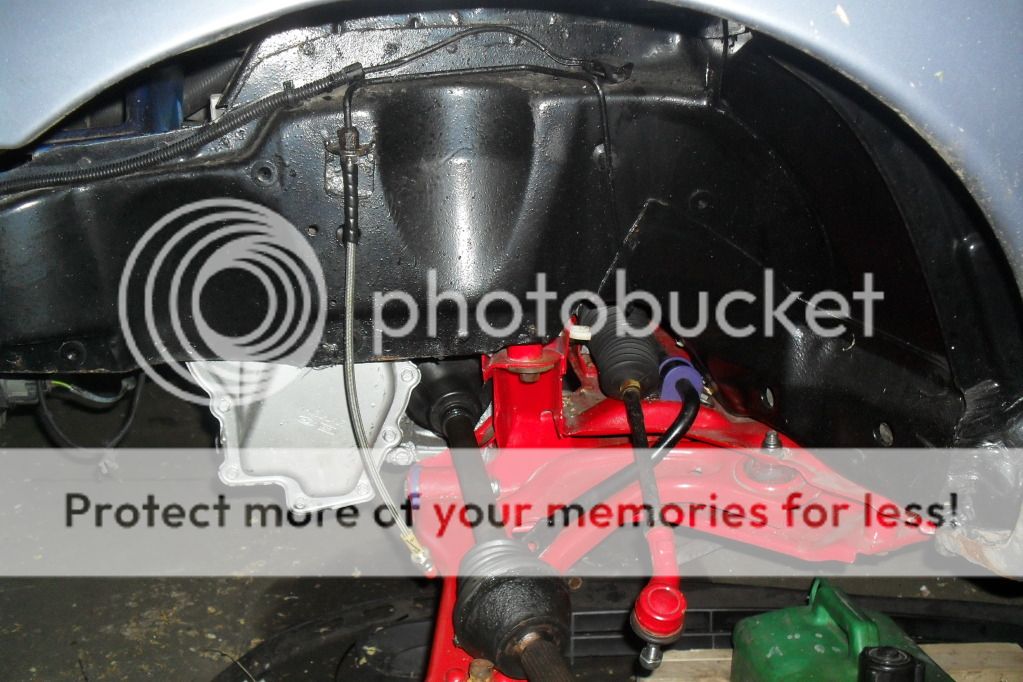
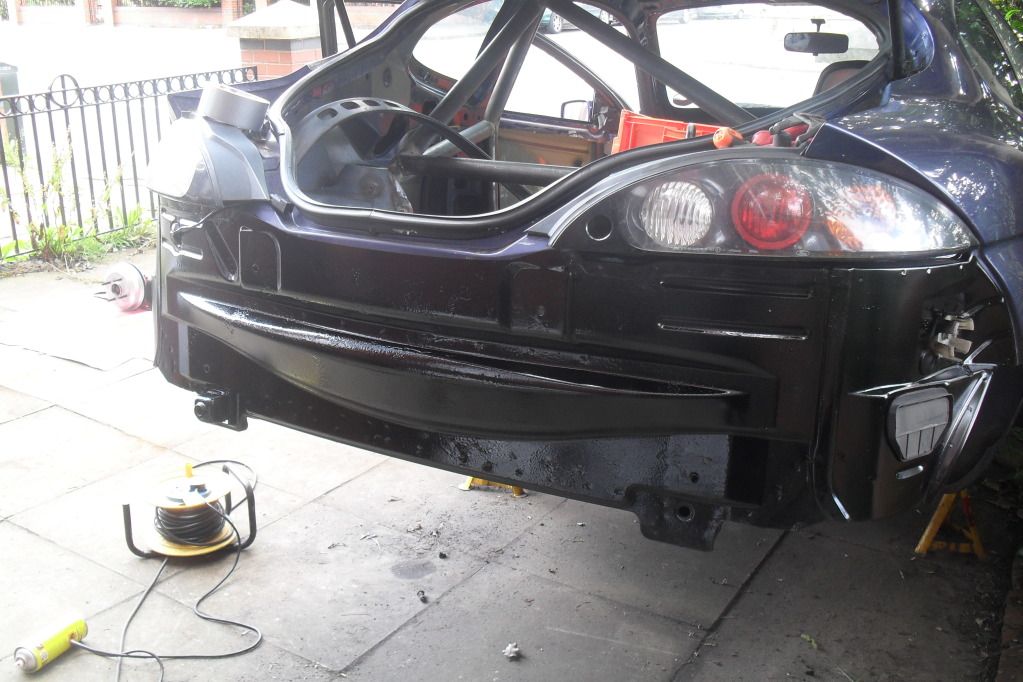
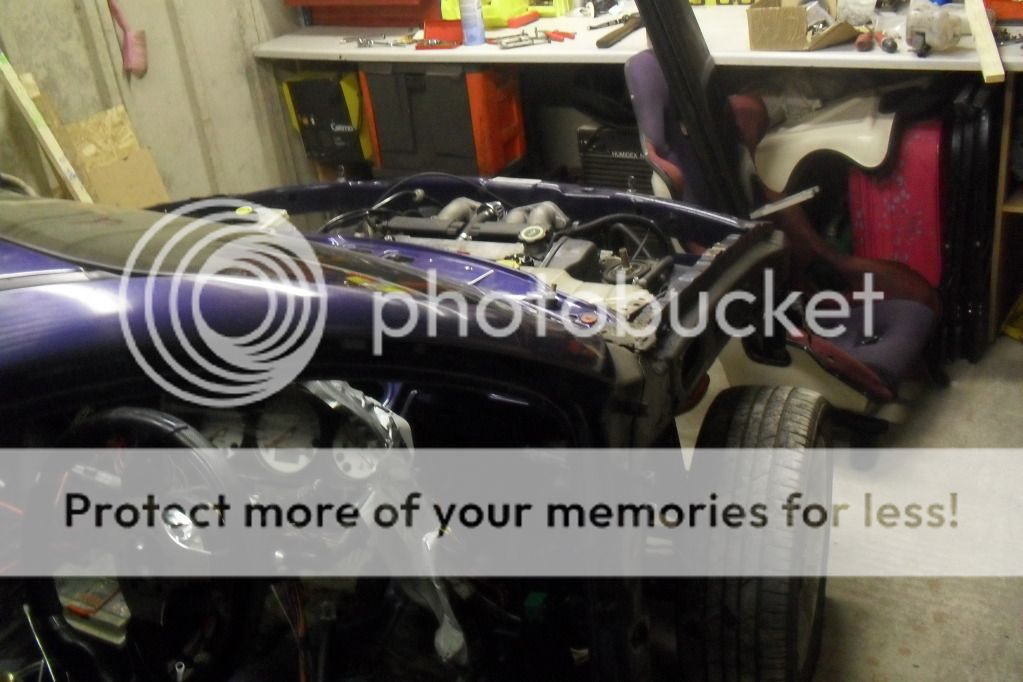
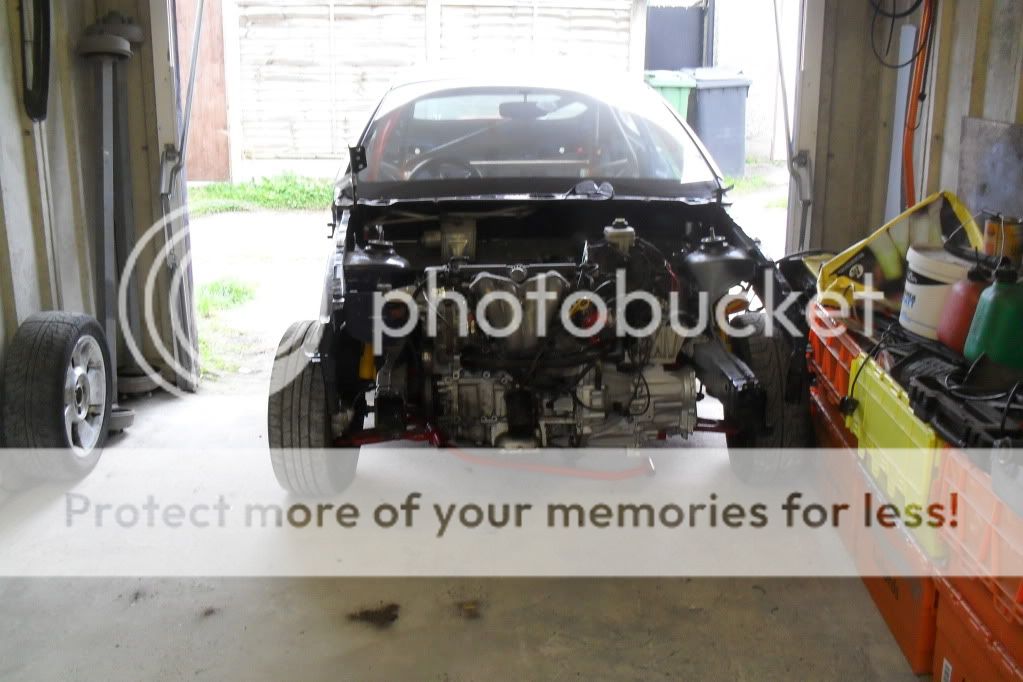
another post on the progress ive mad with my loved puma. well after 6 months i got back on my feet with a new job and started work on the car again. i havent got any pics of the rebuilt of the front end but the engine bay has been fully painted along with the under carrage and undresealed to the axle mounting brackets. some pics of the work done along with its new home.
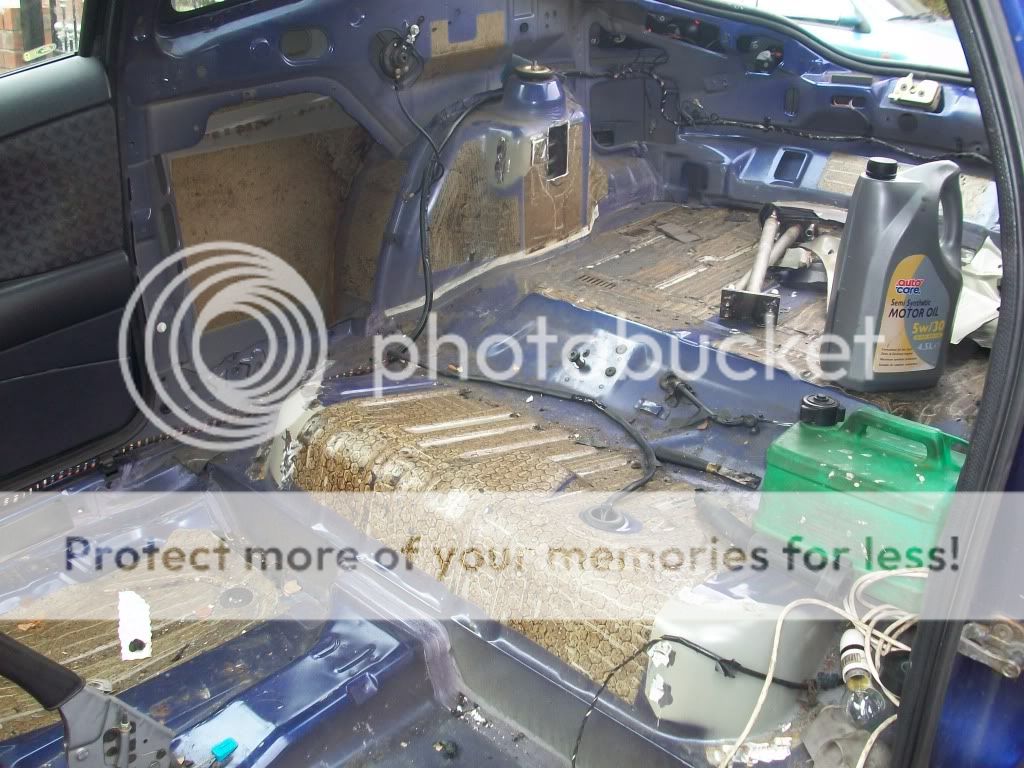
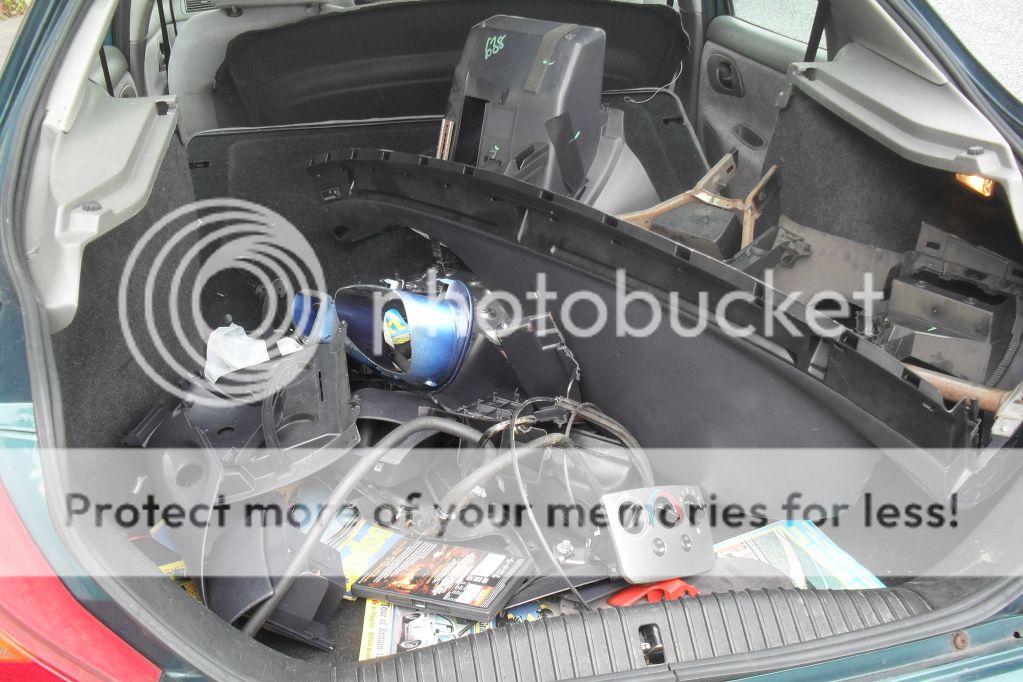
i started removing the interior
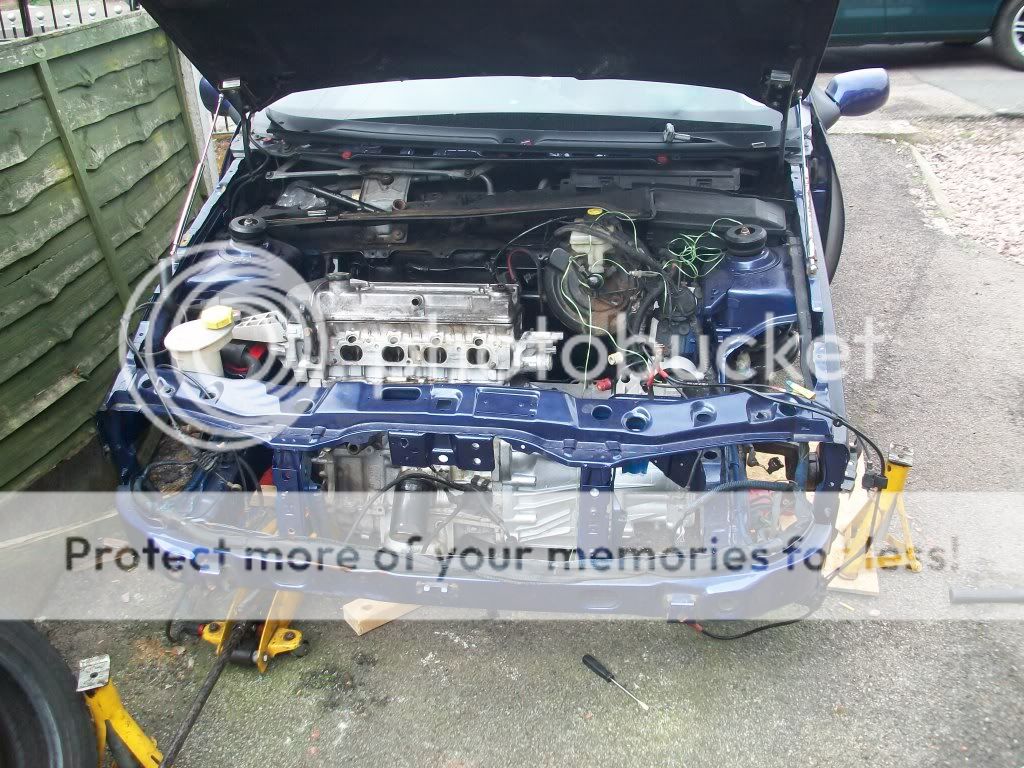
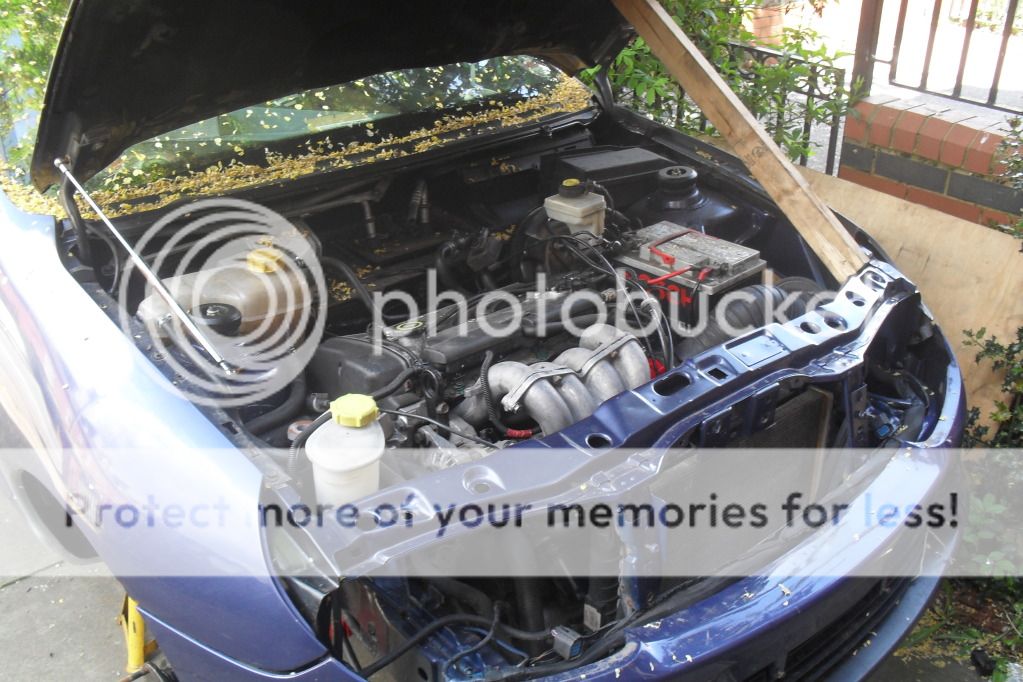
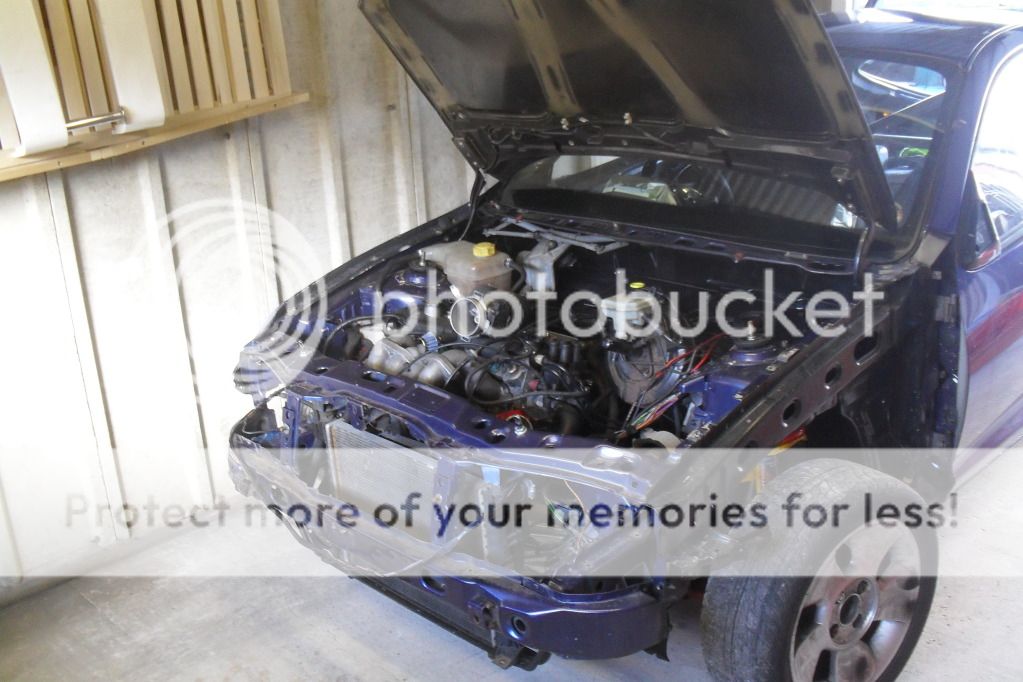
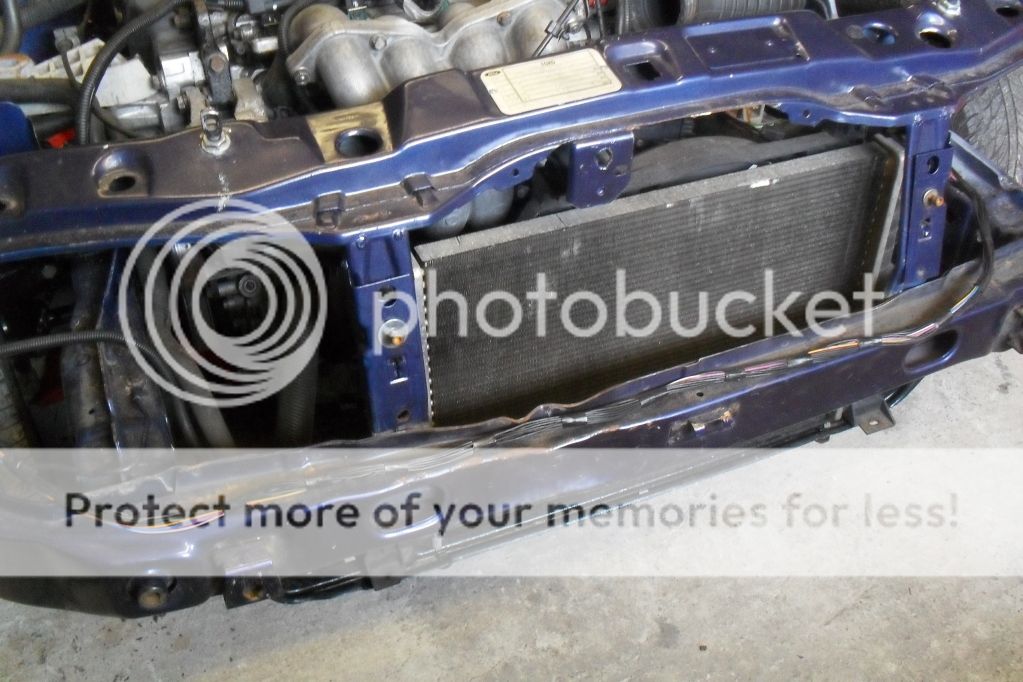
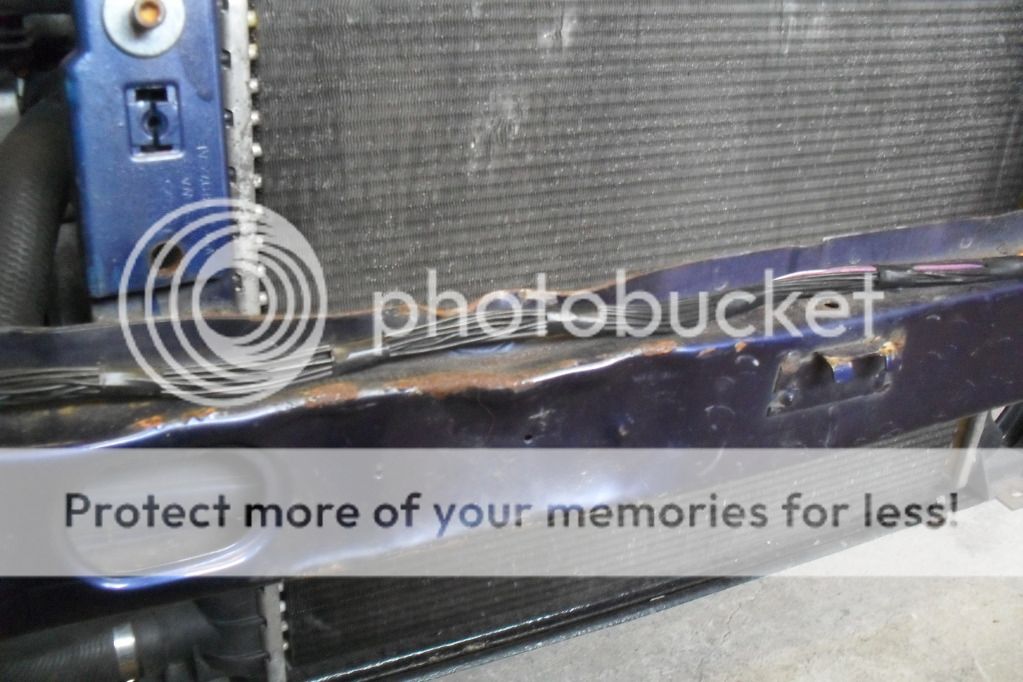
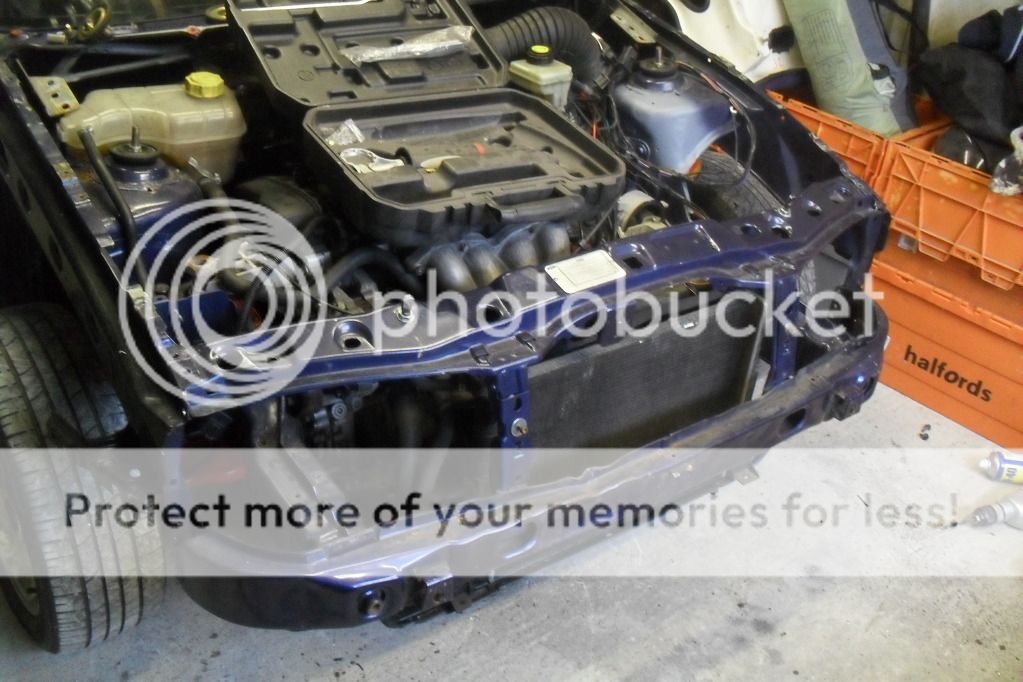
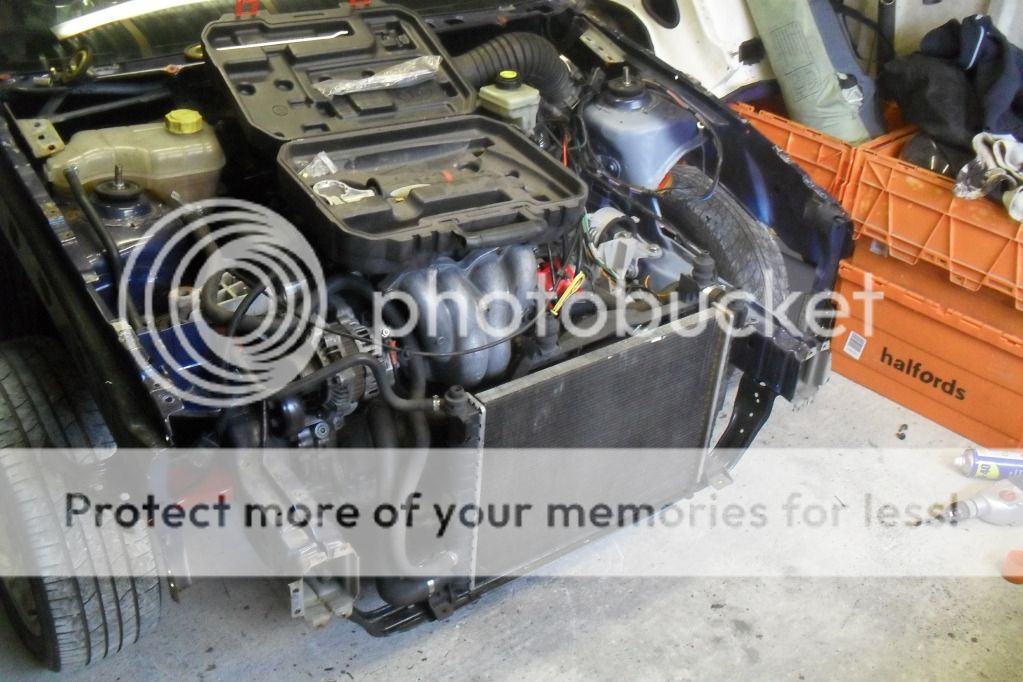
the front end built up and painted


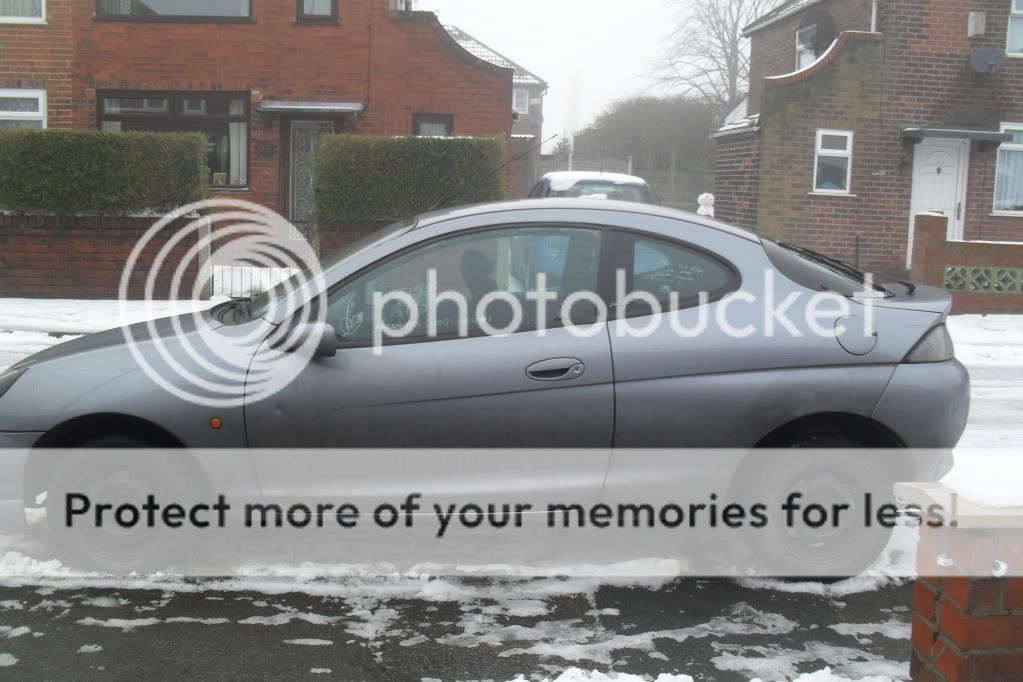
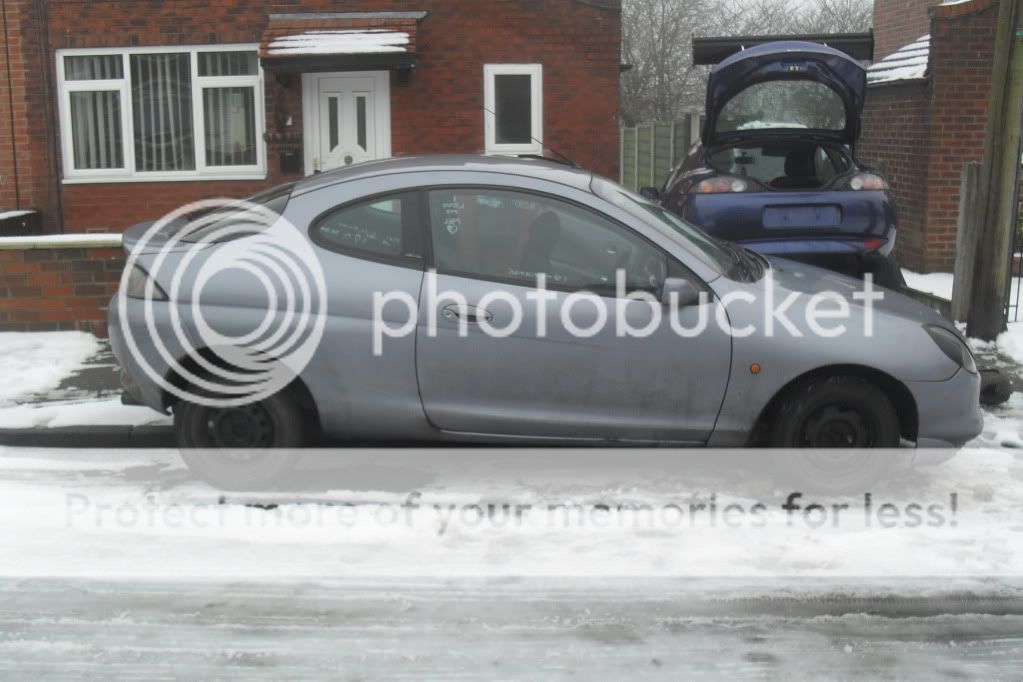
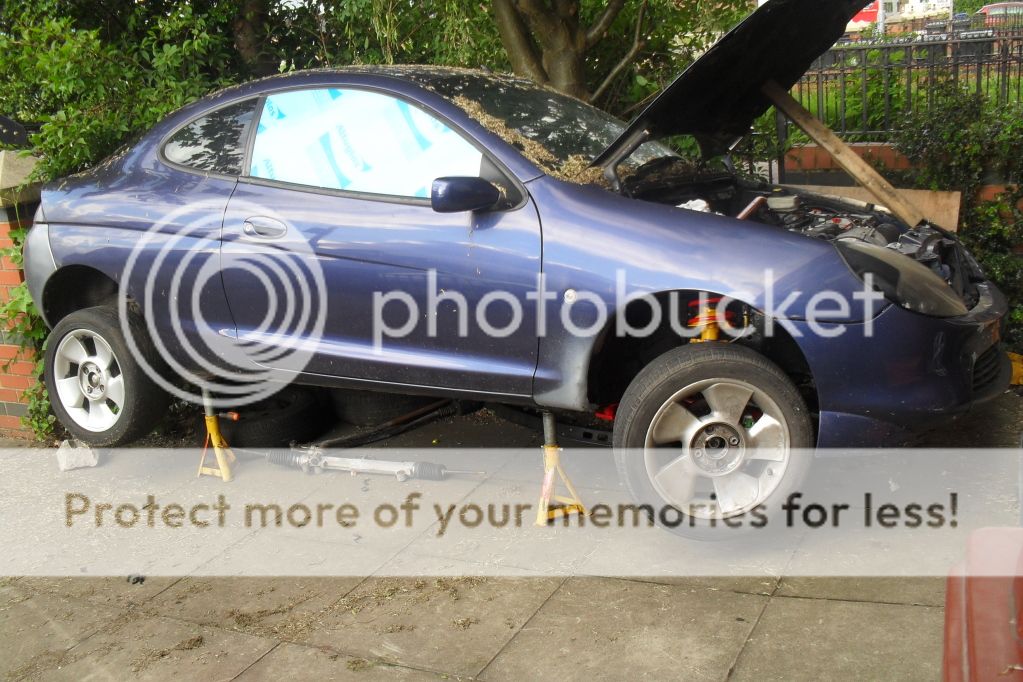
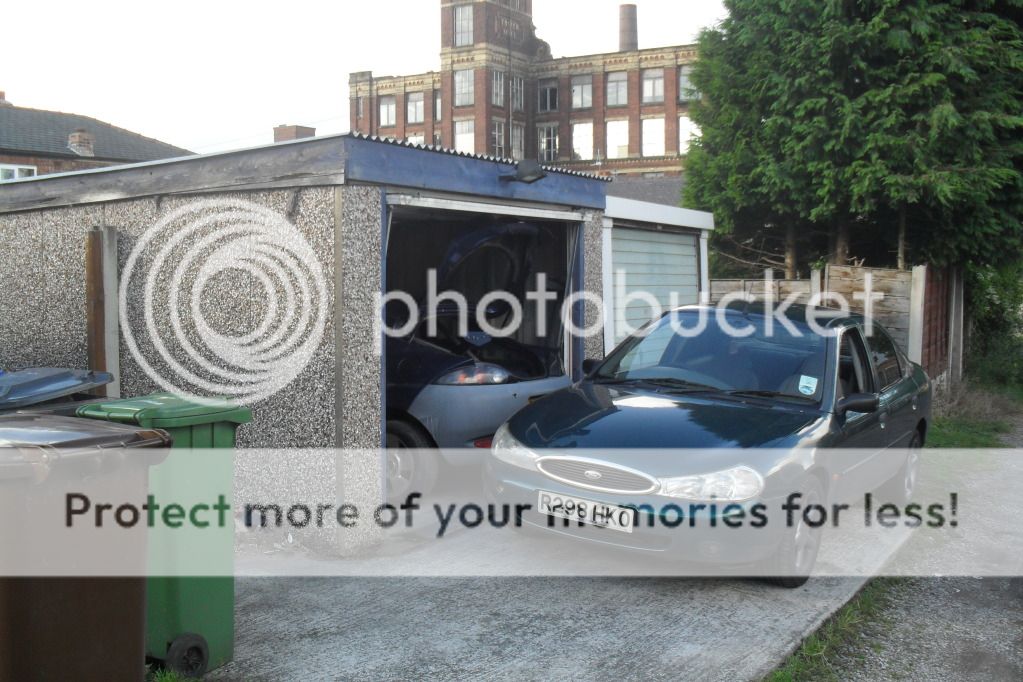
here is the little gem that i got for Ł500 with 12 months mot.


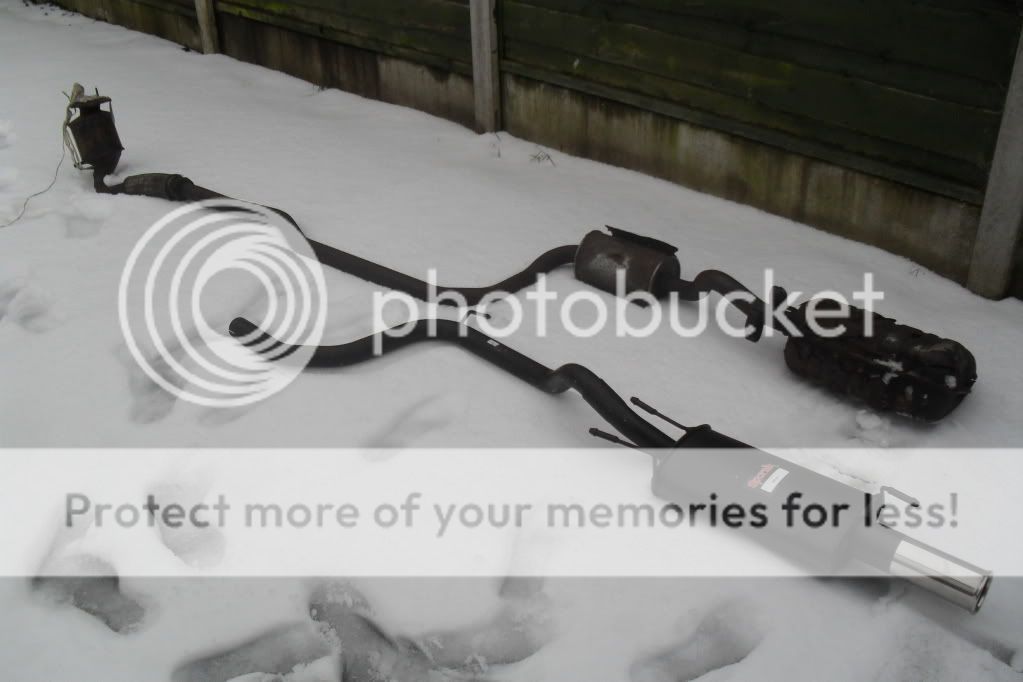
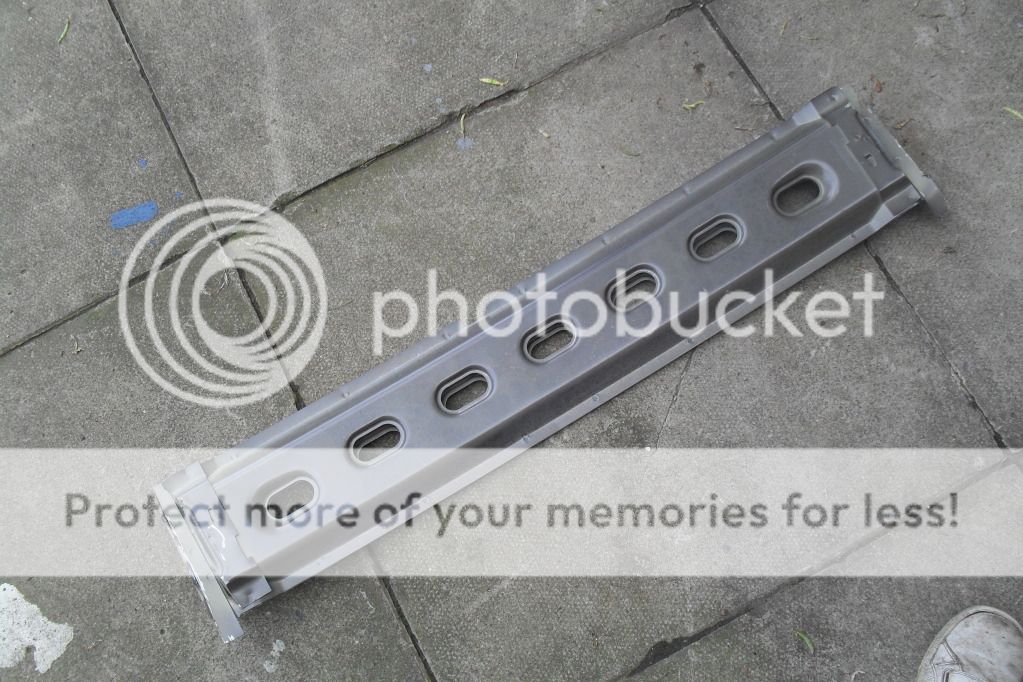
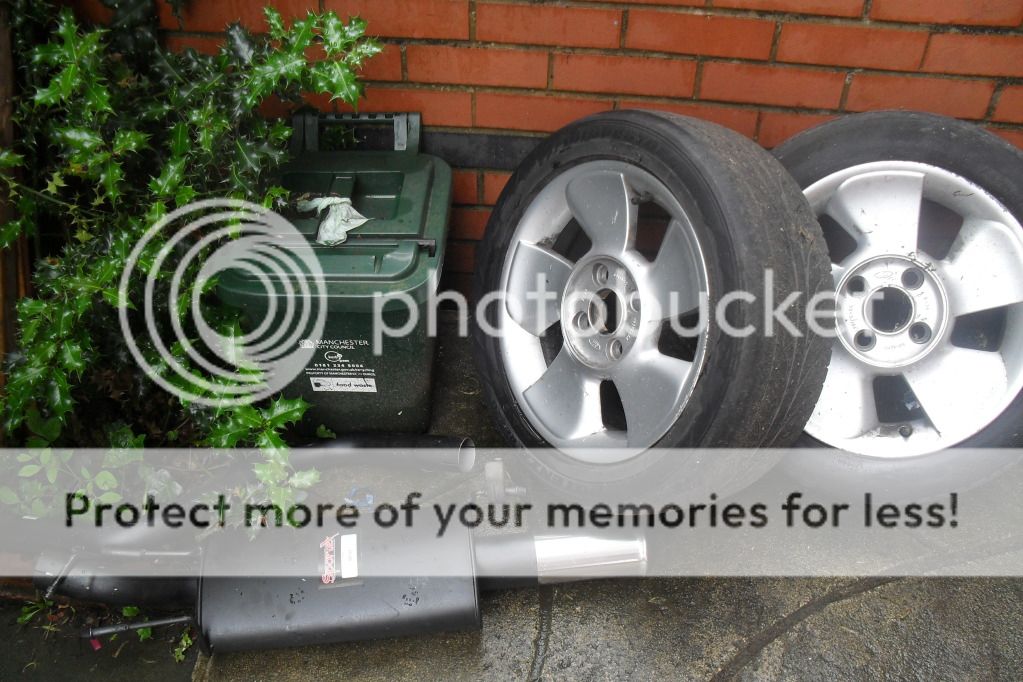
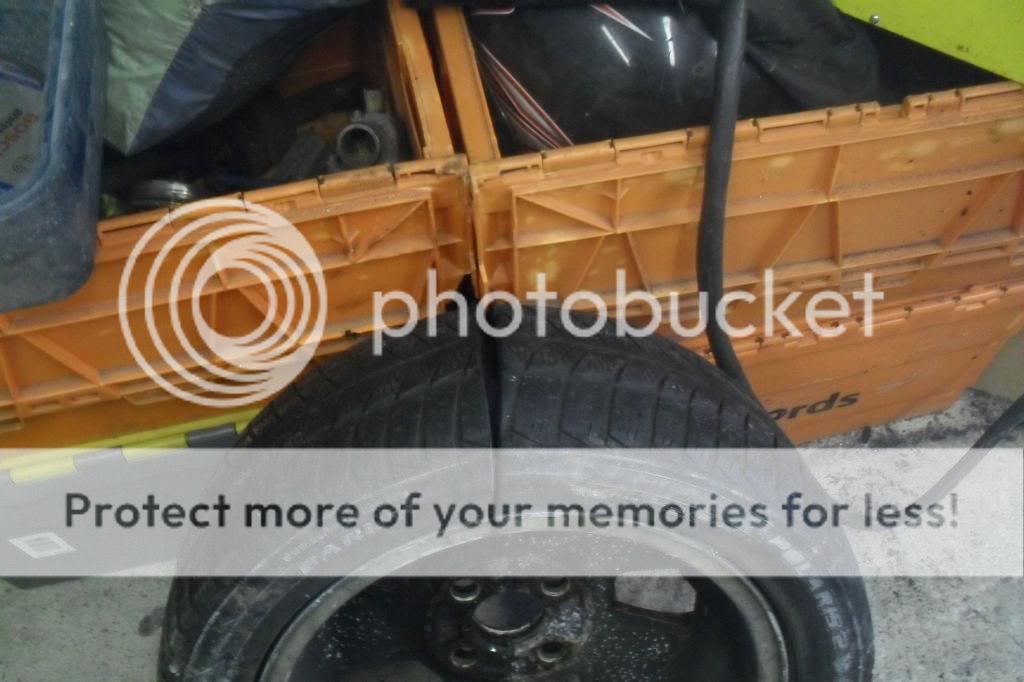
i removed the back box but because my grider was dead and the exhaust was in one full piece i had to drop the rear beam to get it out with the cat intact hahahahaha
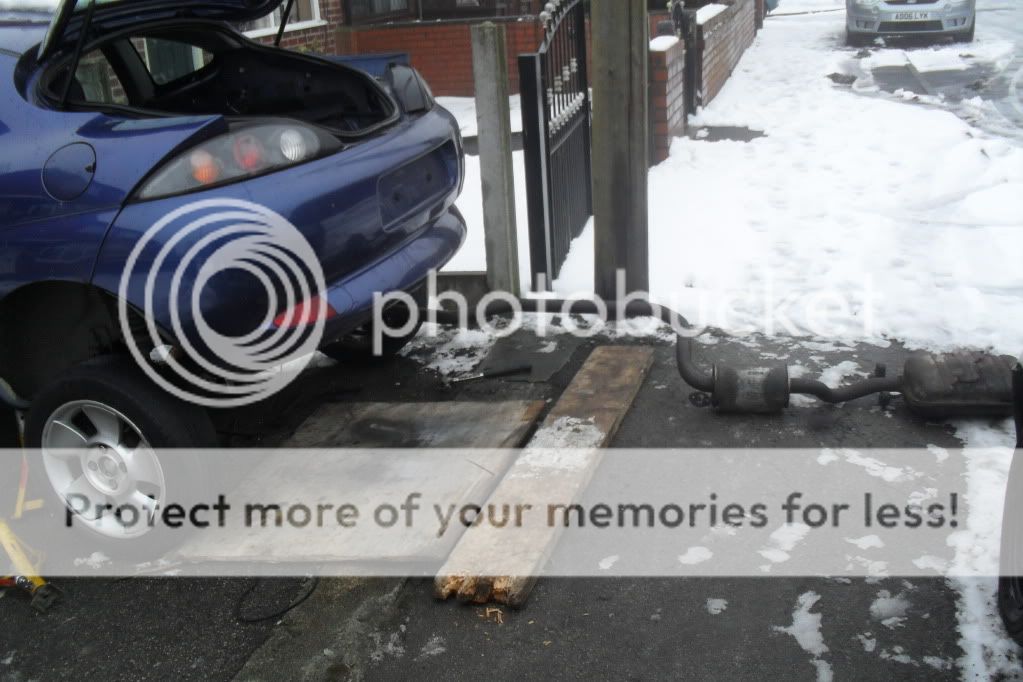
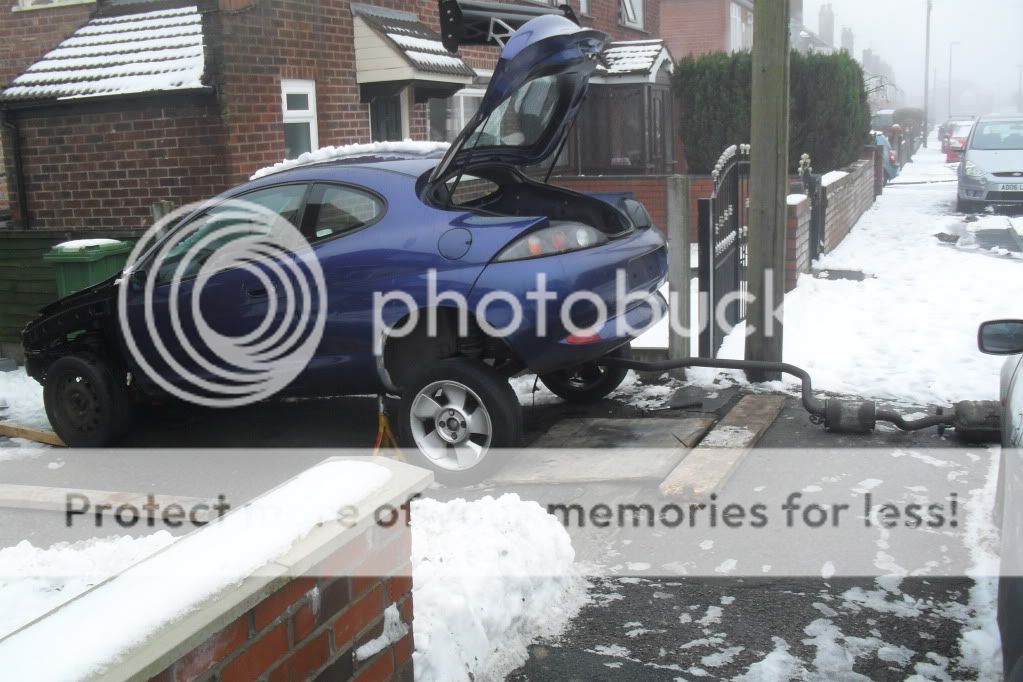
and its fair to say it was nackered
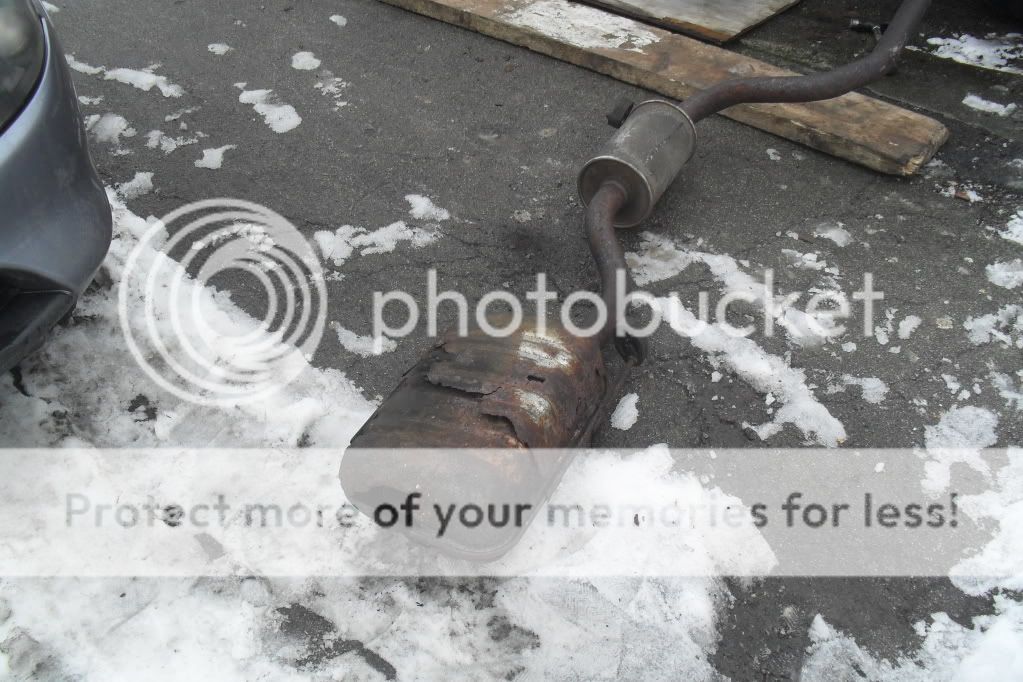
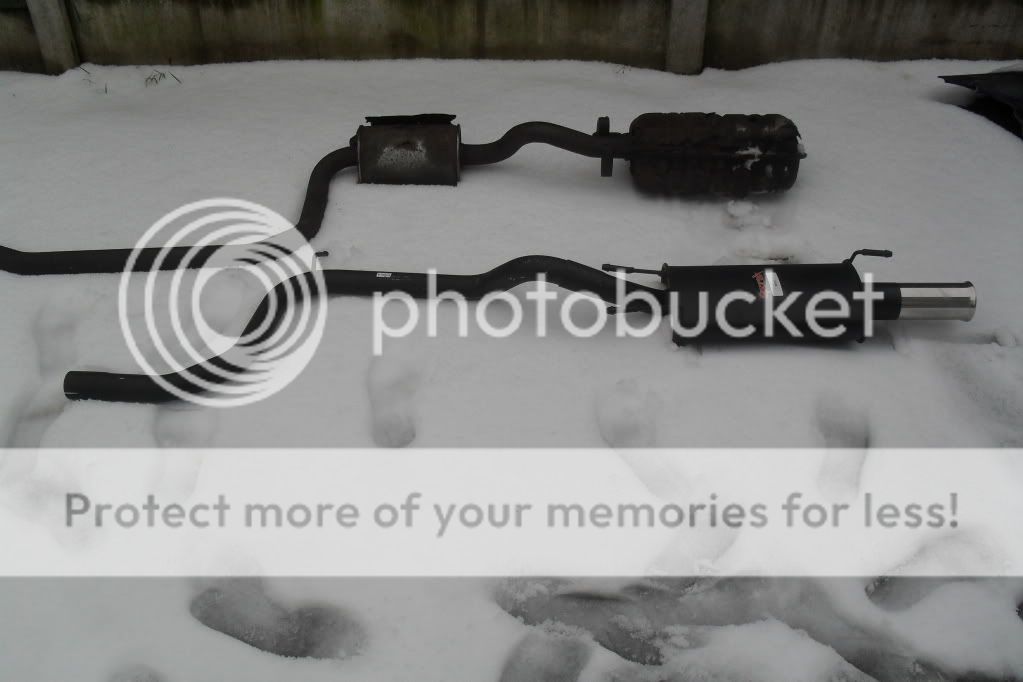
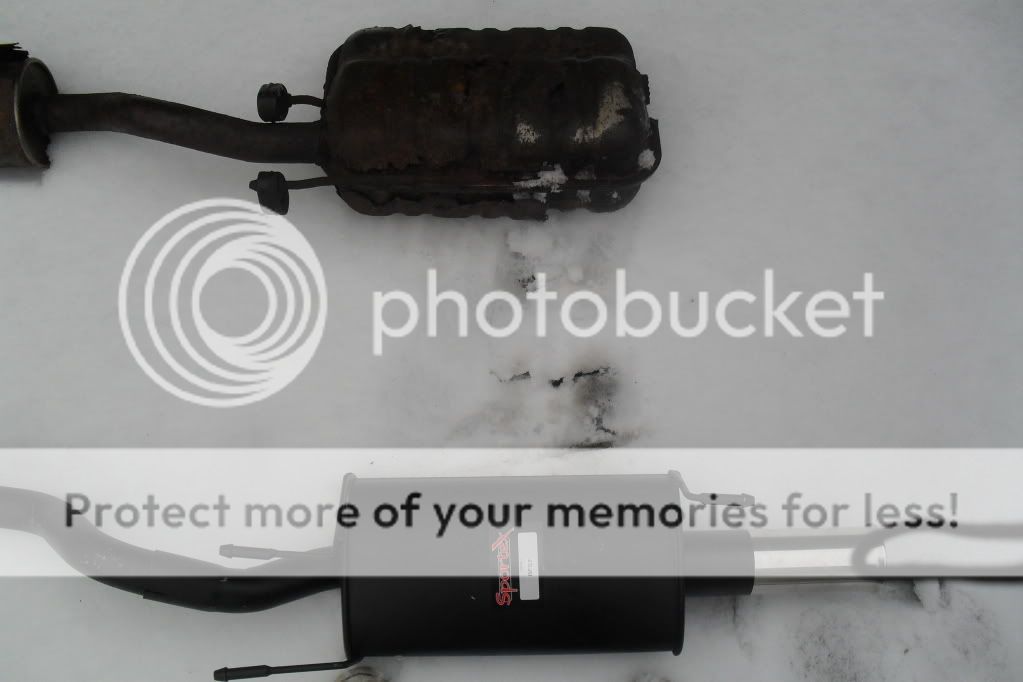
pics of the old against the new, i bought a sportex middle section and back boxbefore i lost my job.

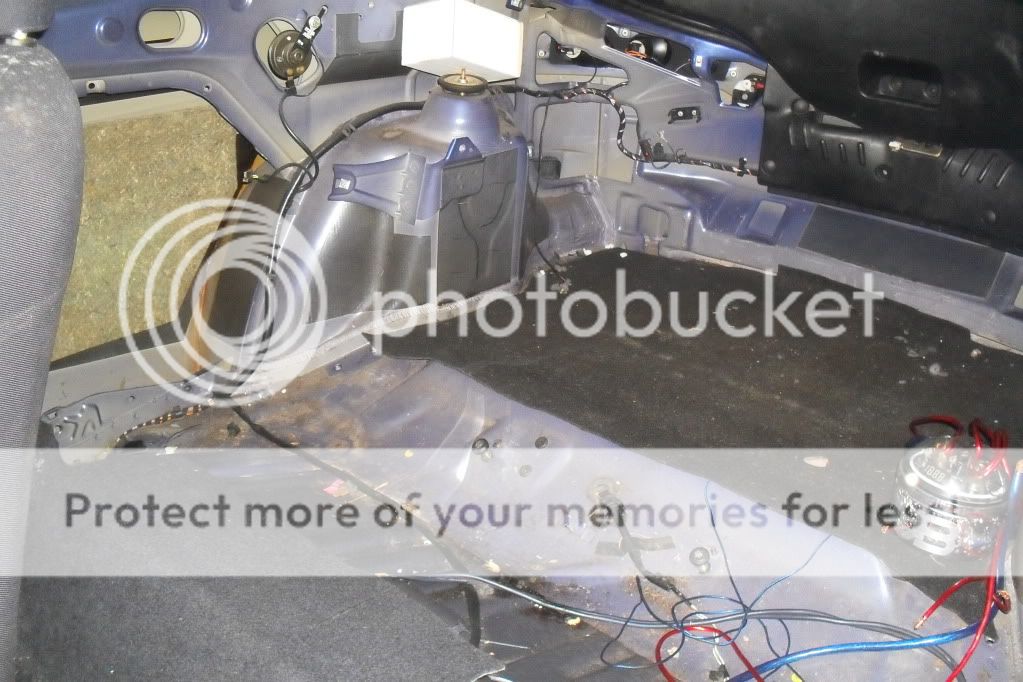
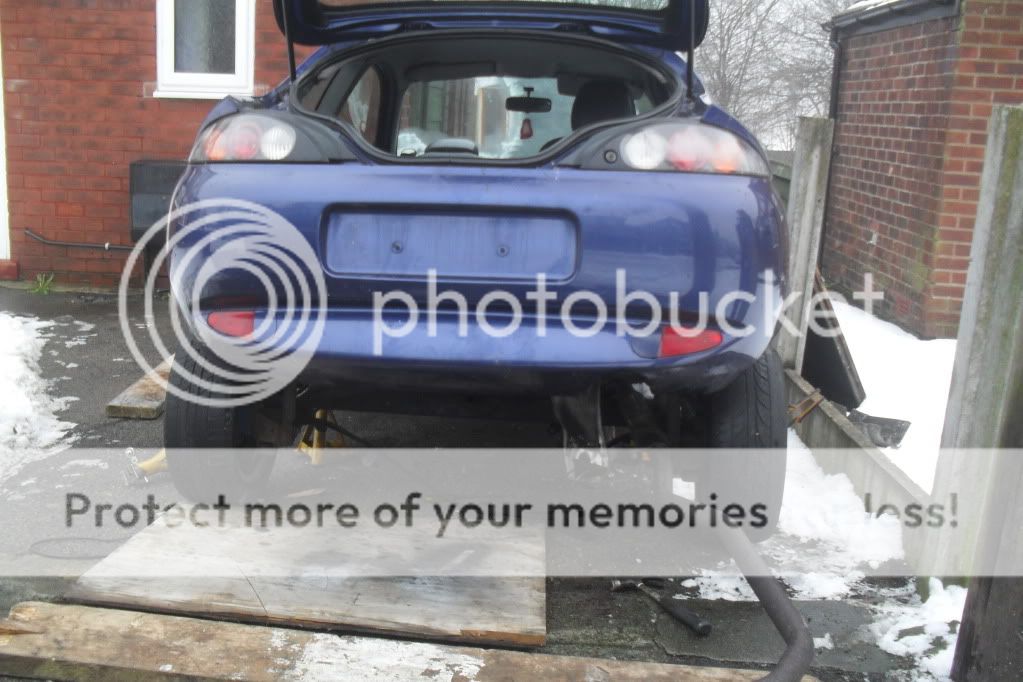
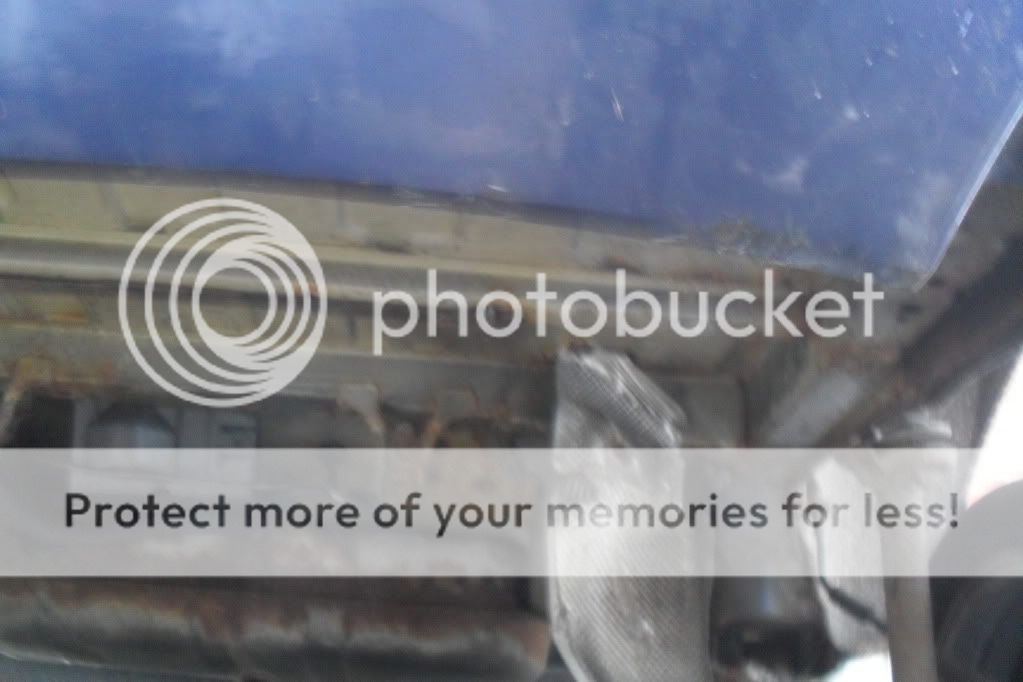
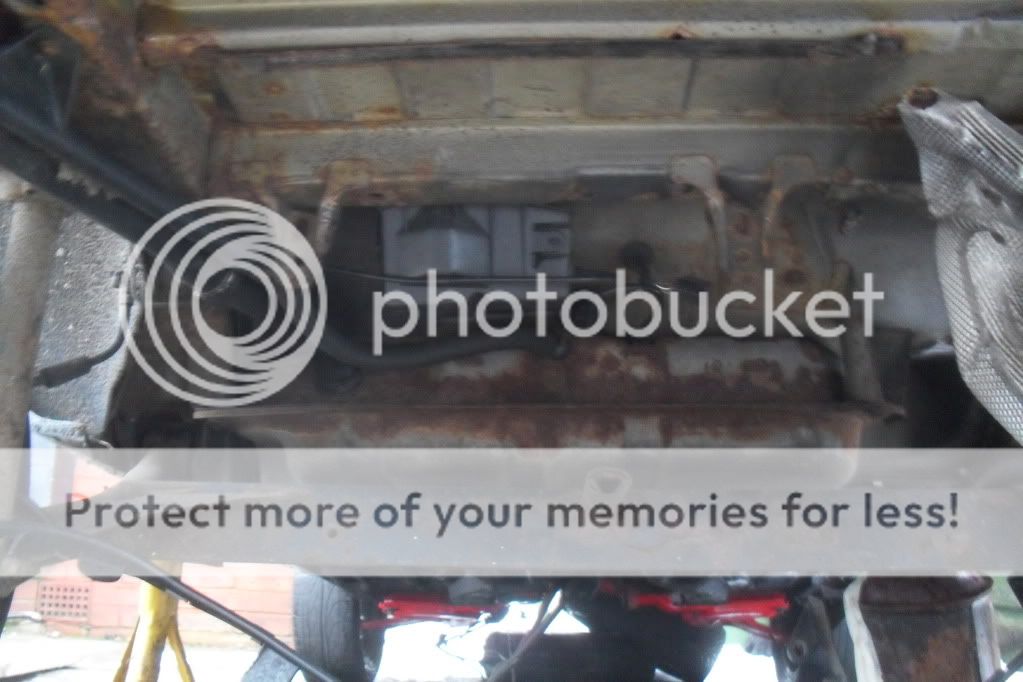
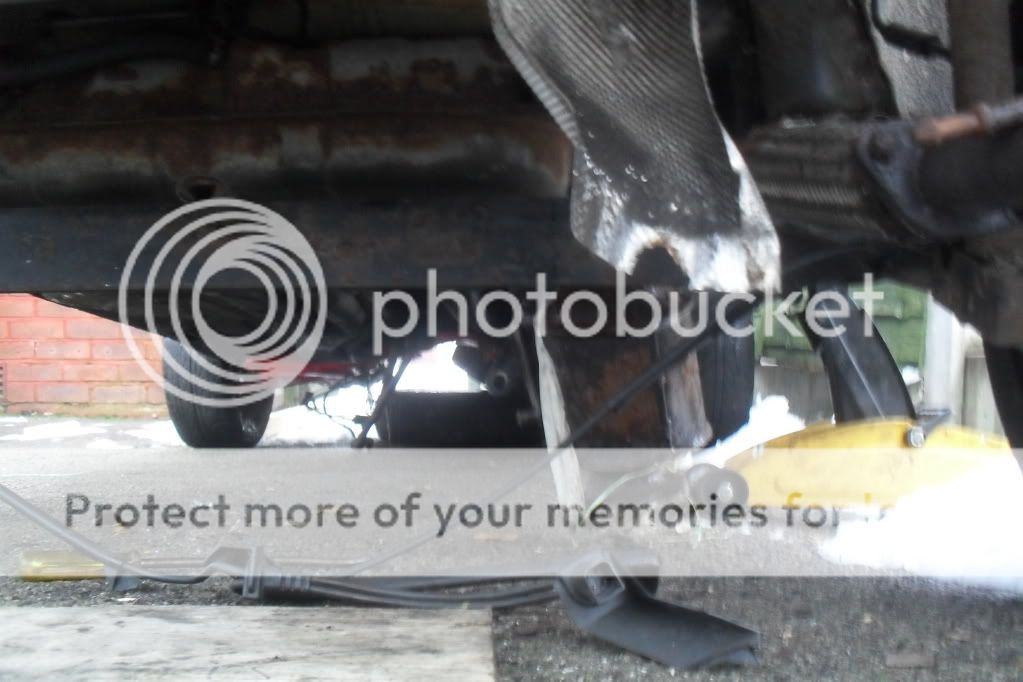
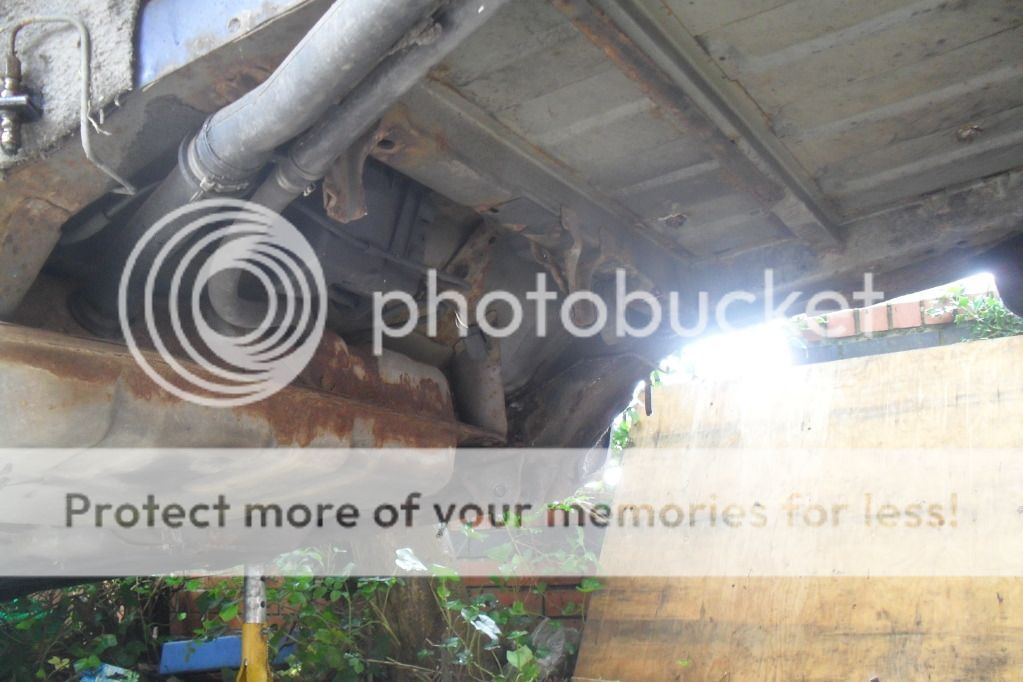
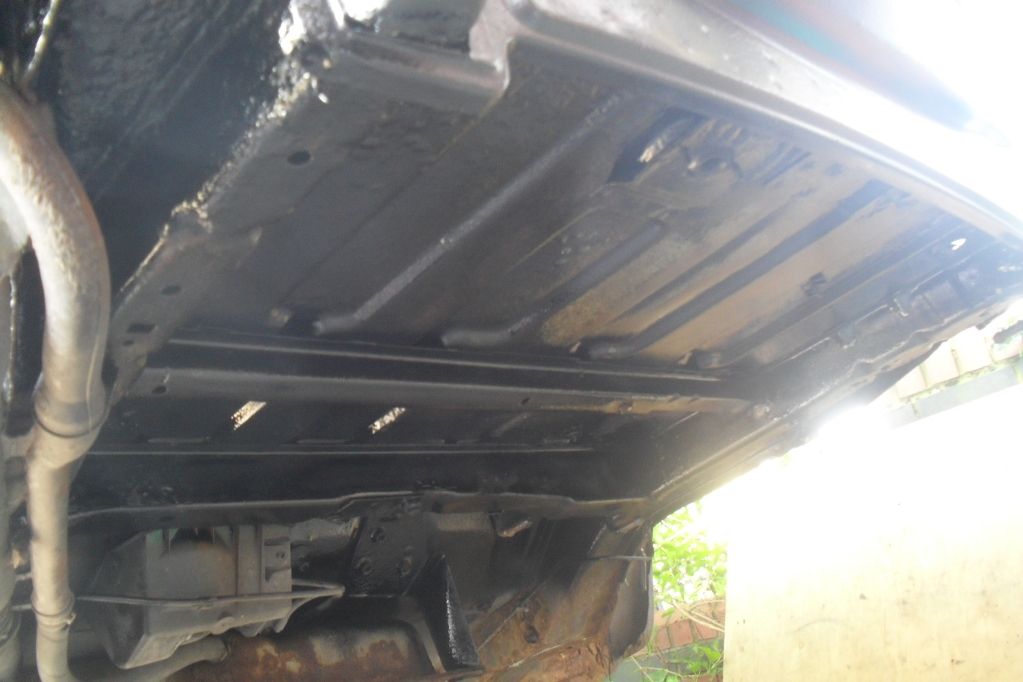
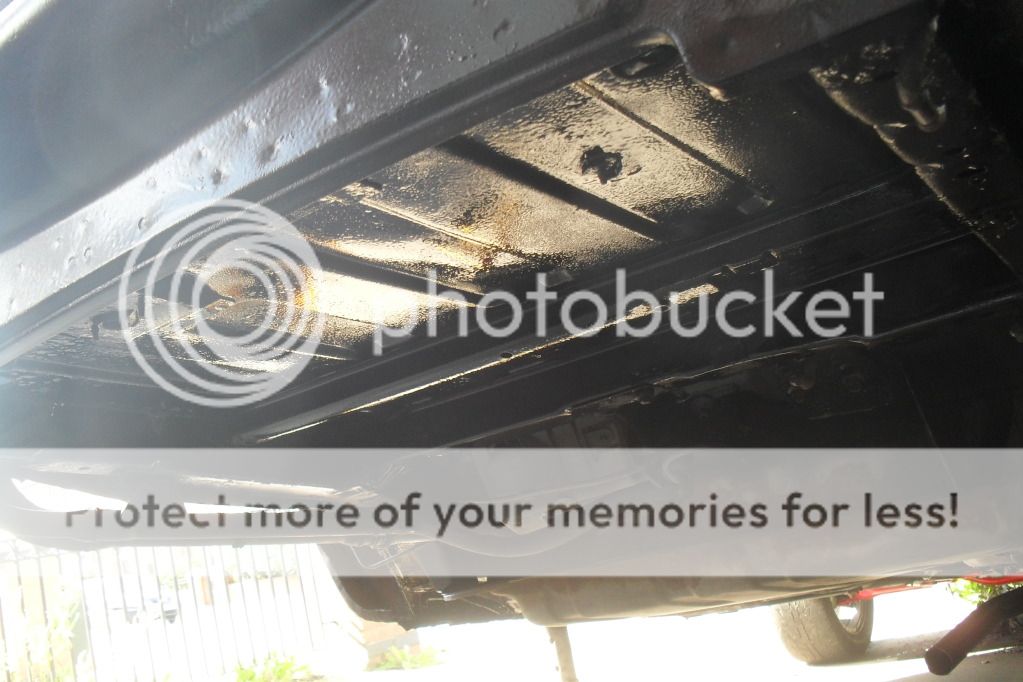
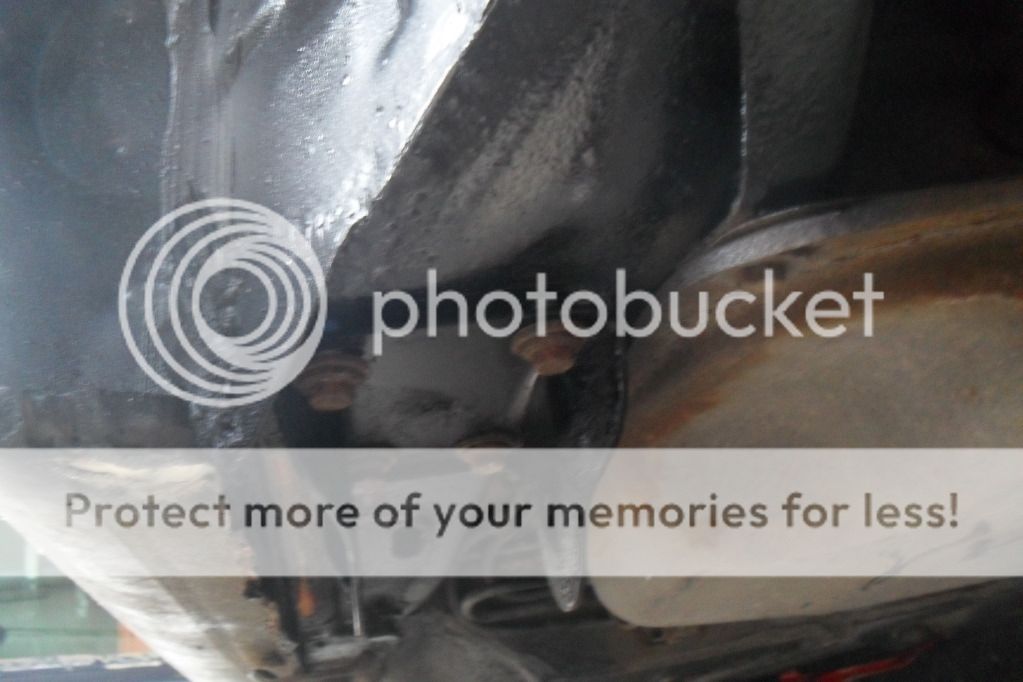
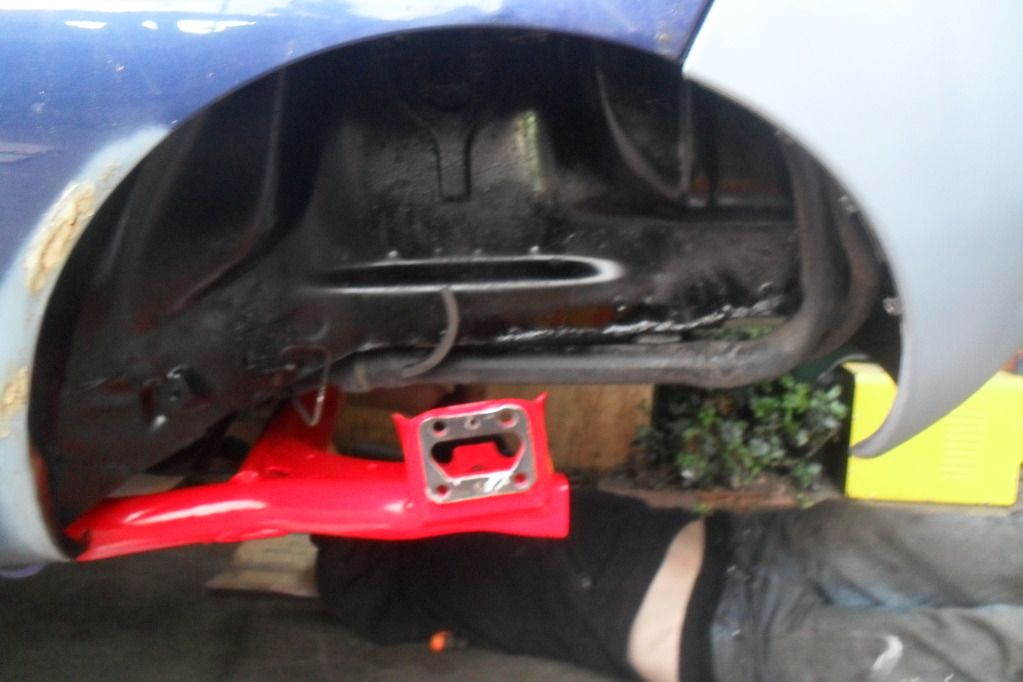
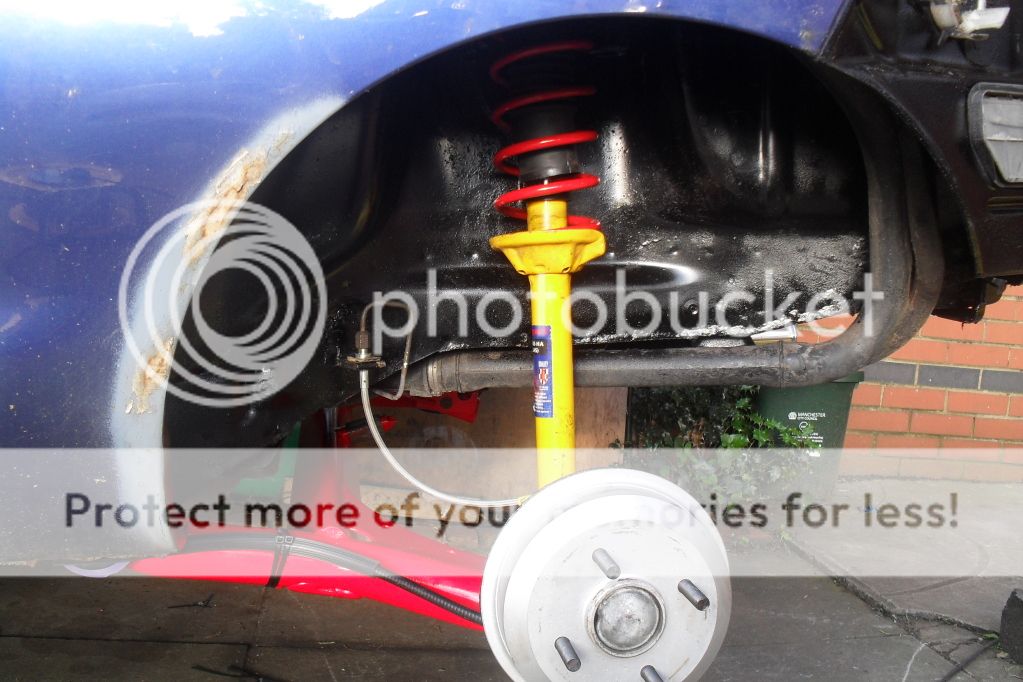
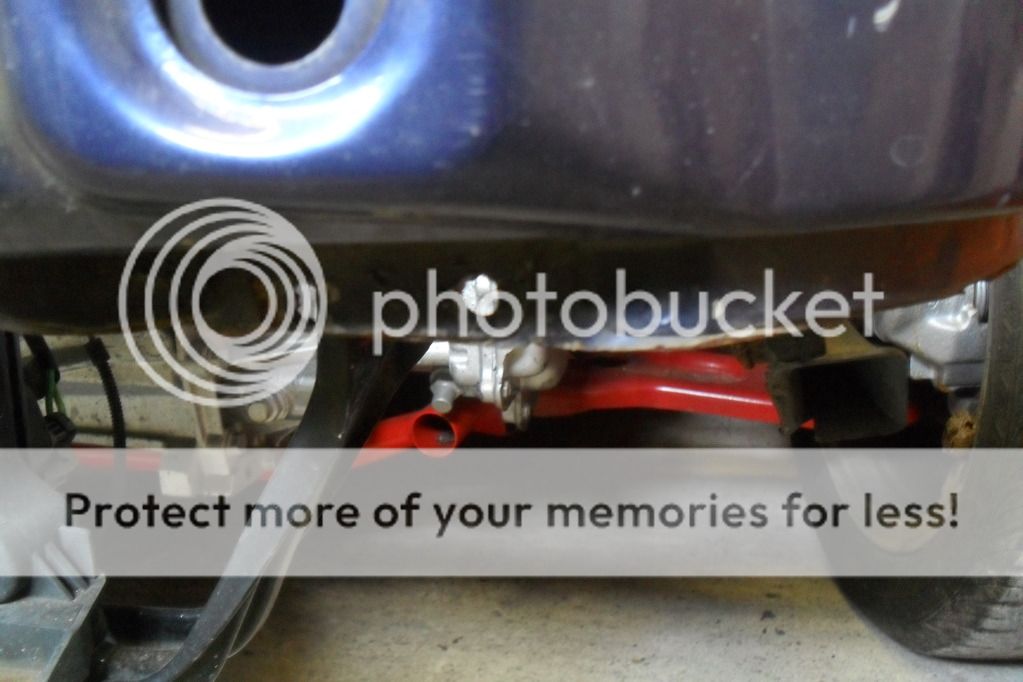
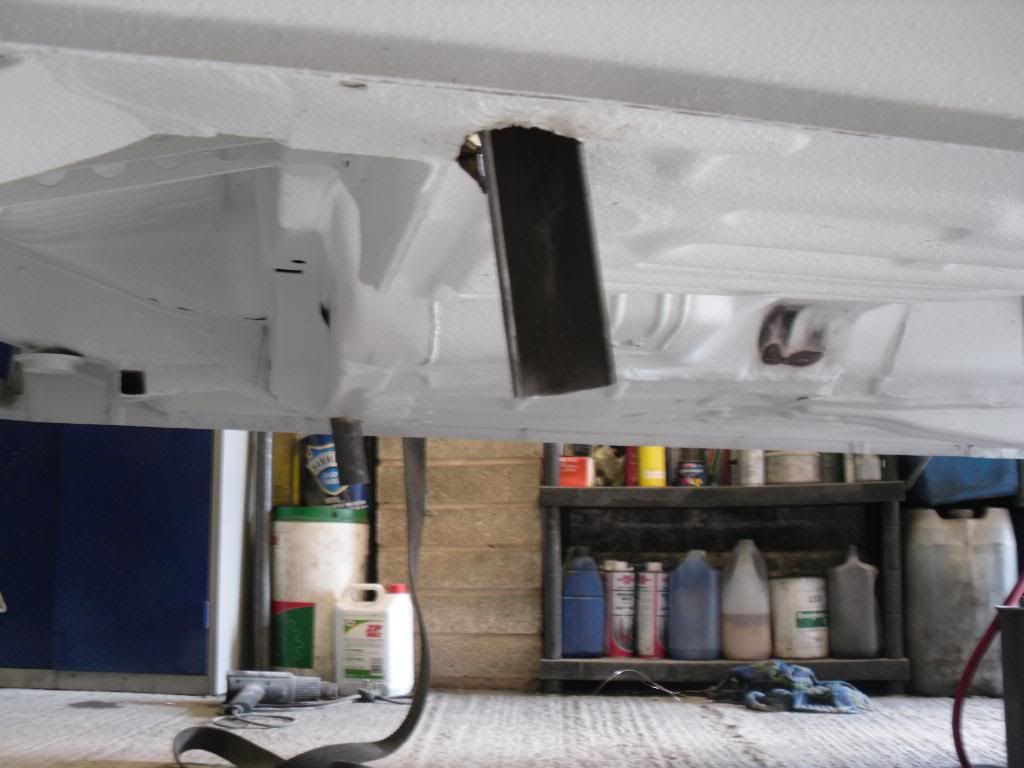
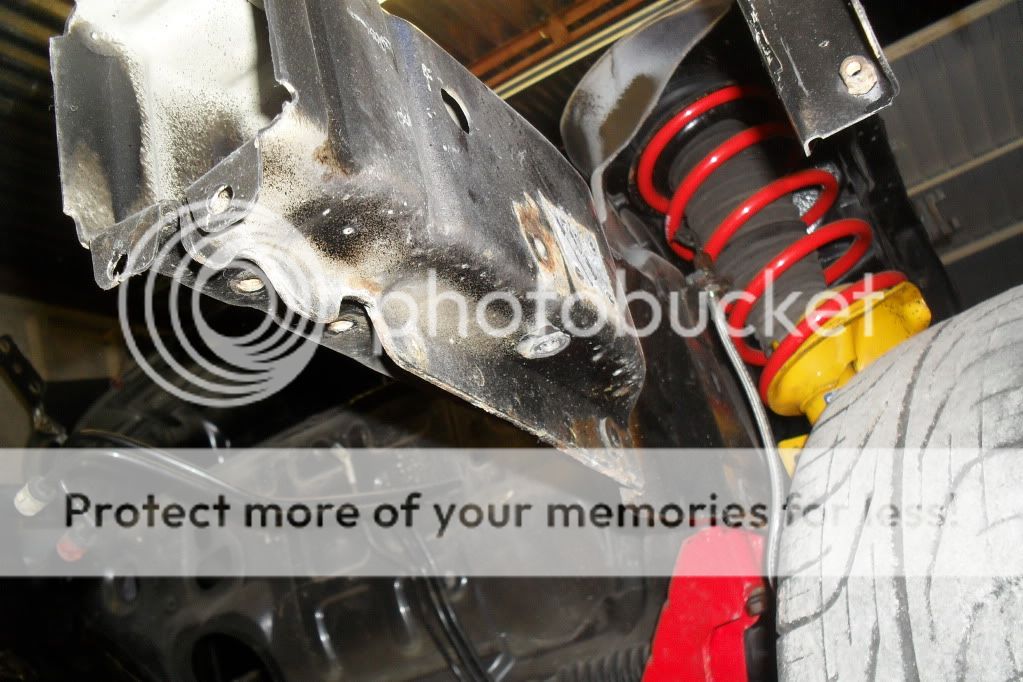
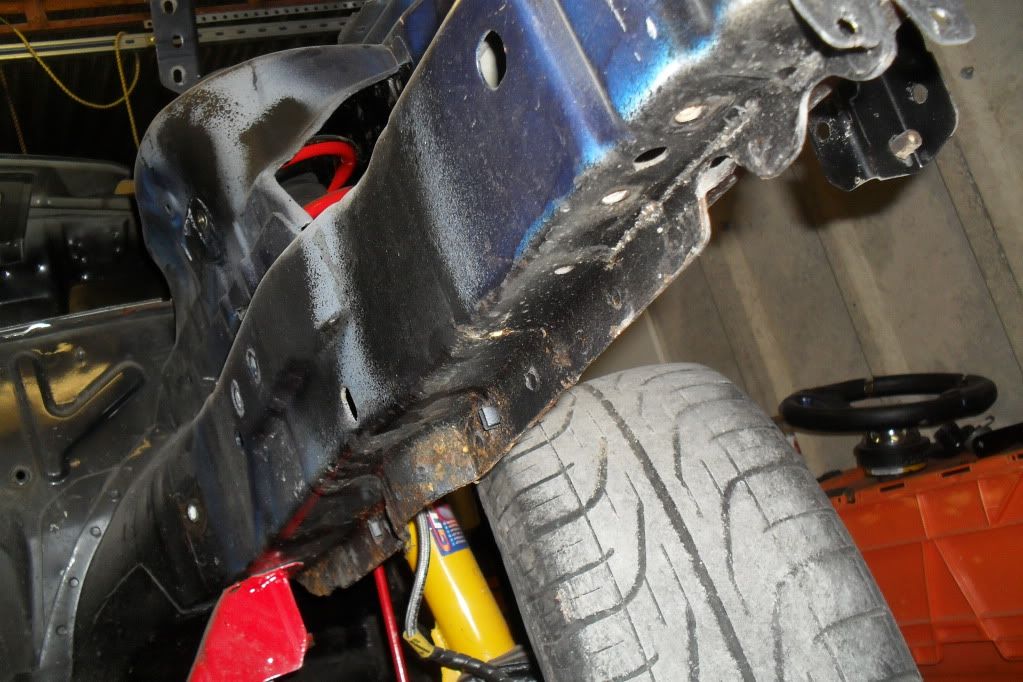
also i couple of pics of the underneath of the rear of the car
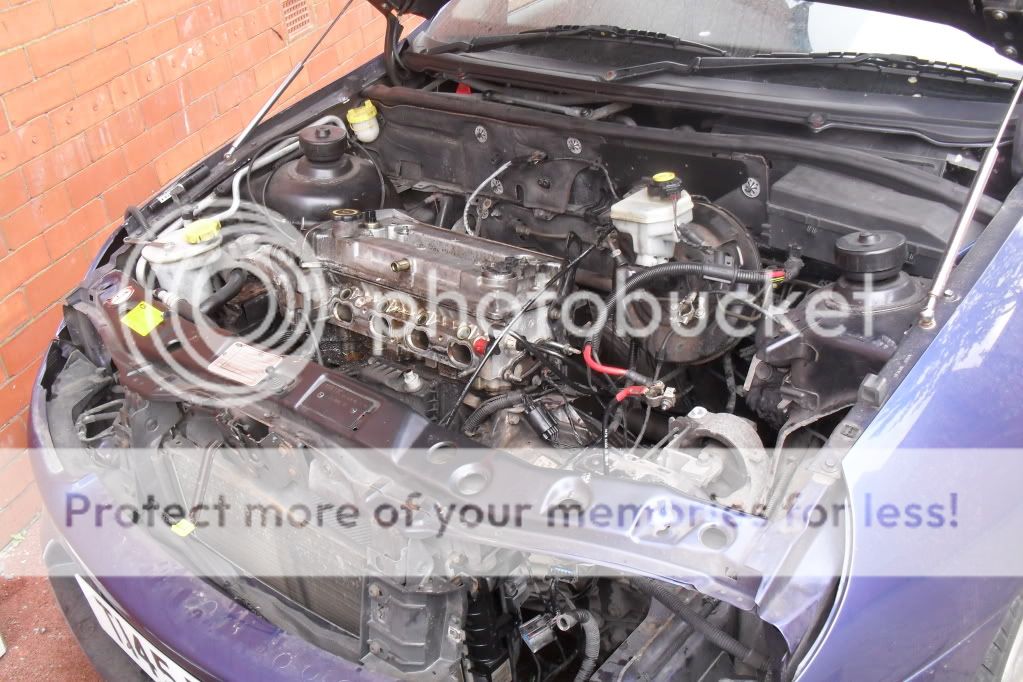
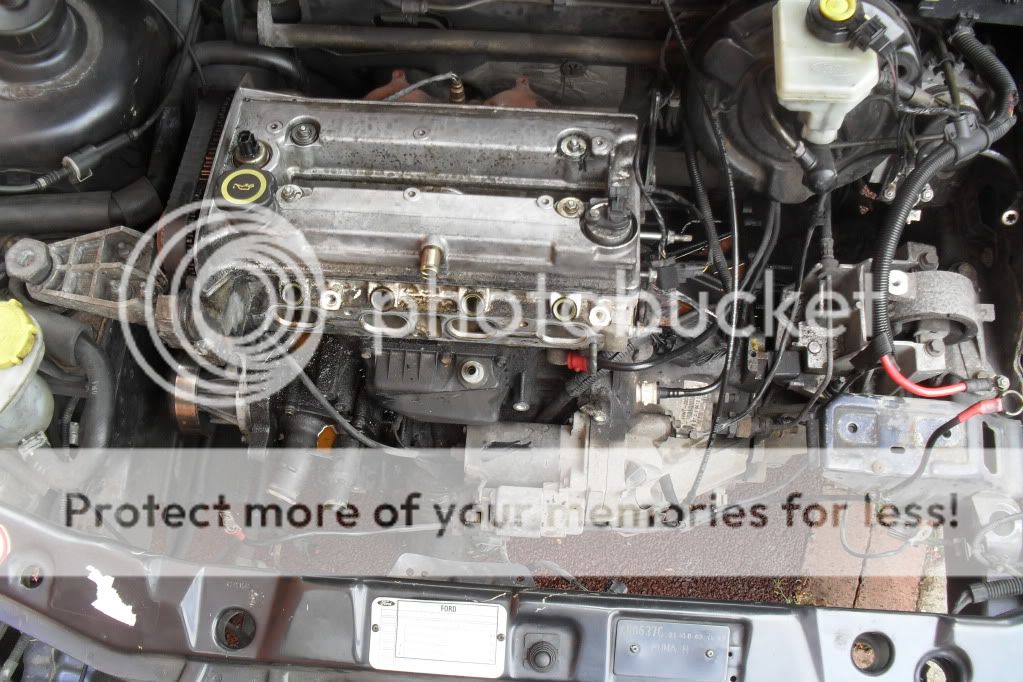
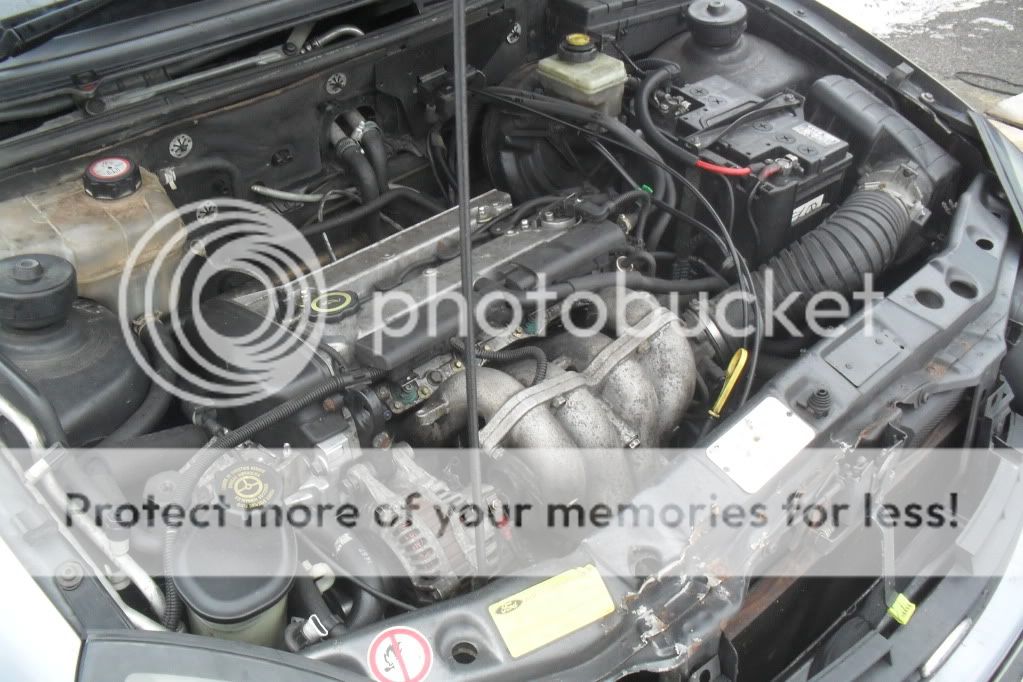
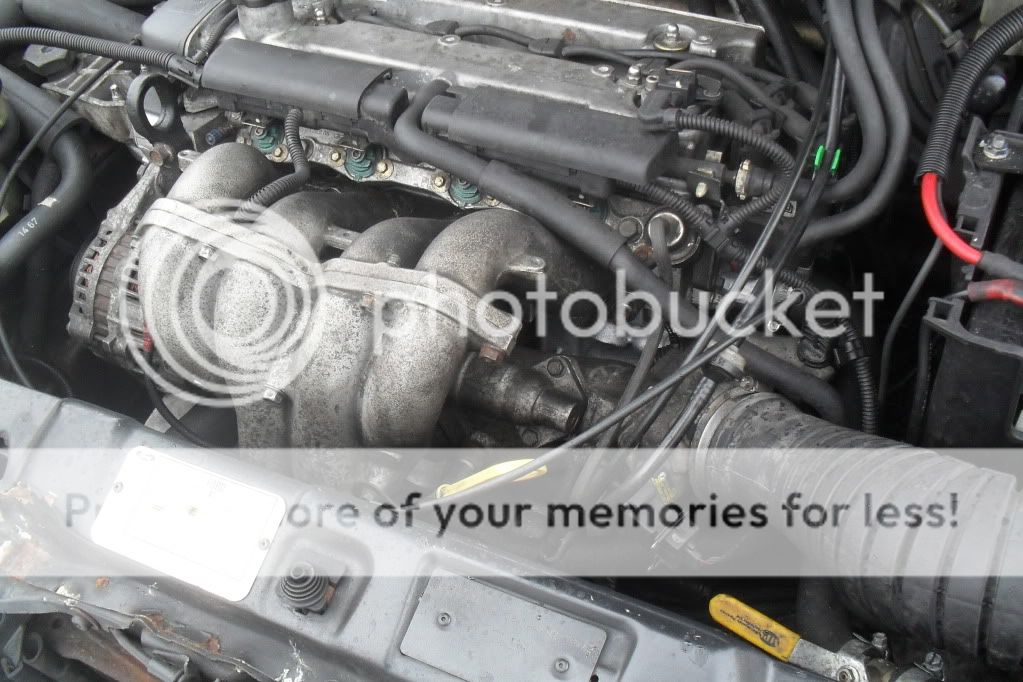
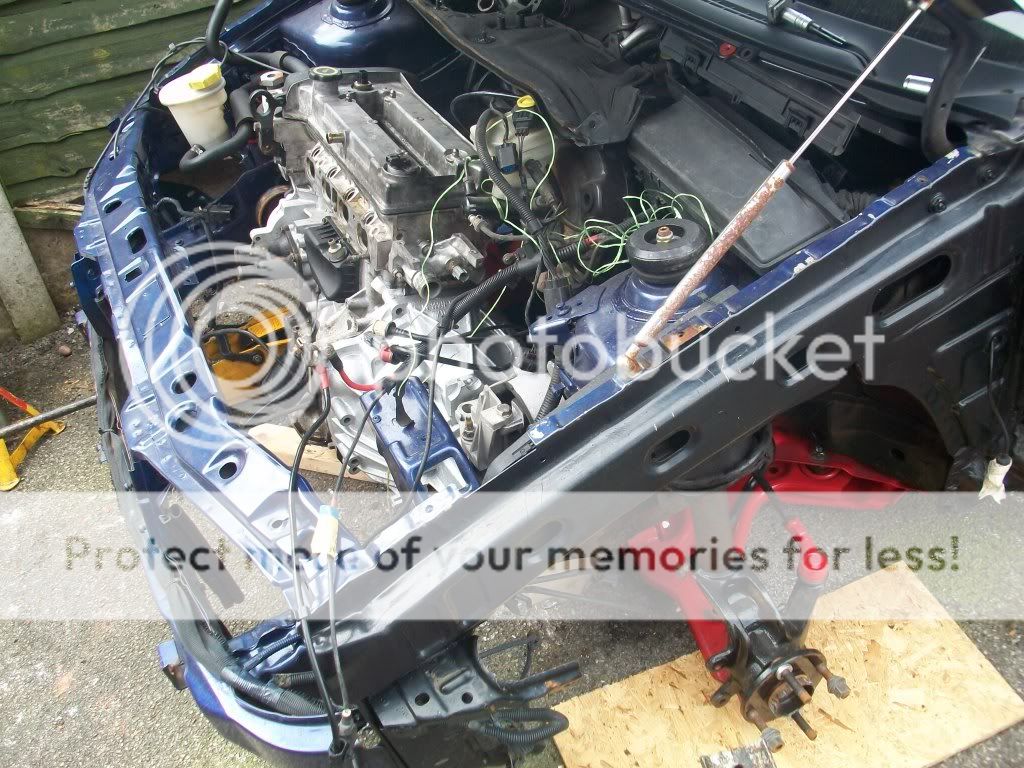
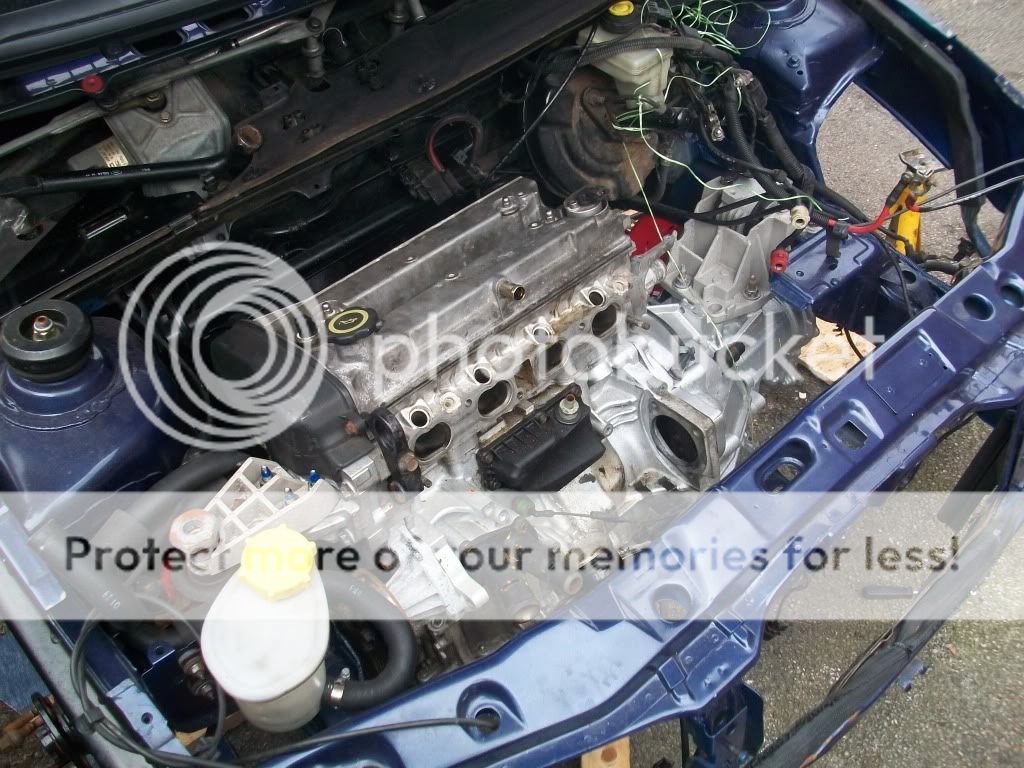
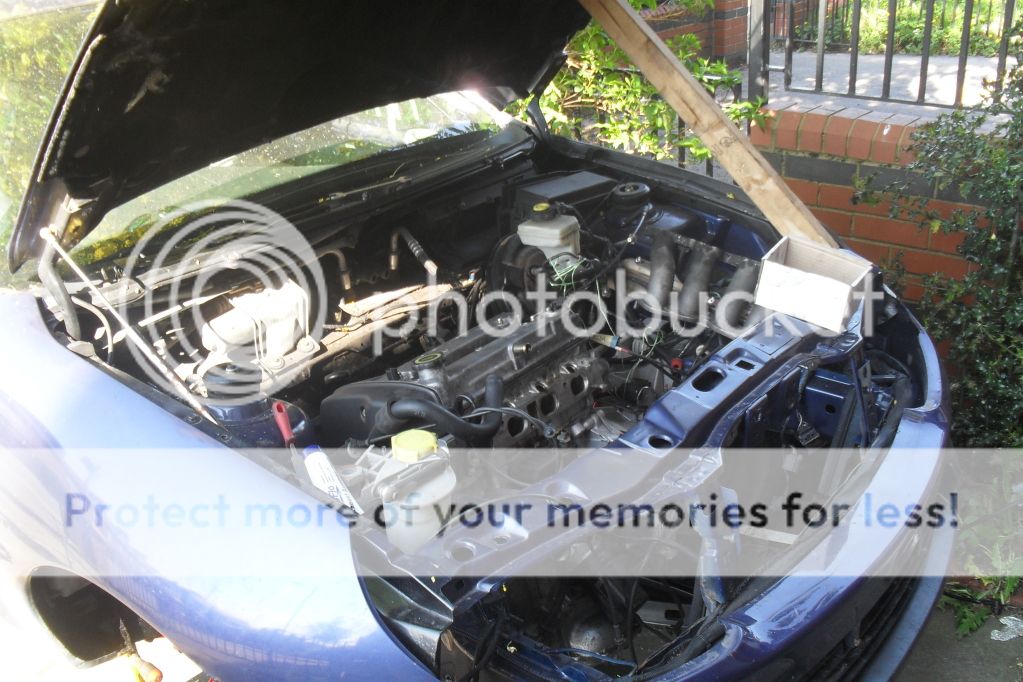
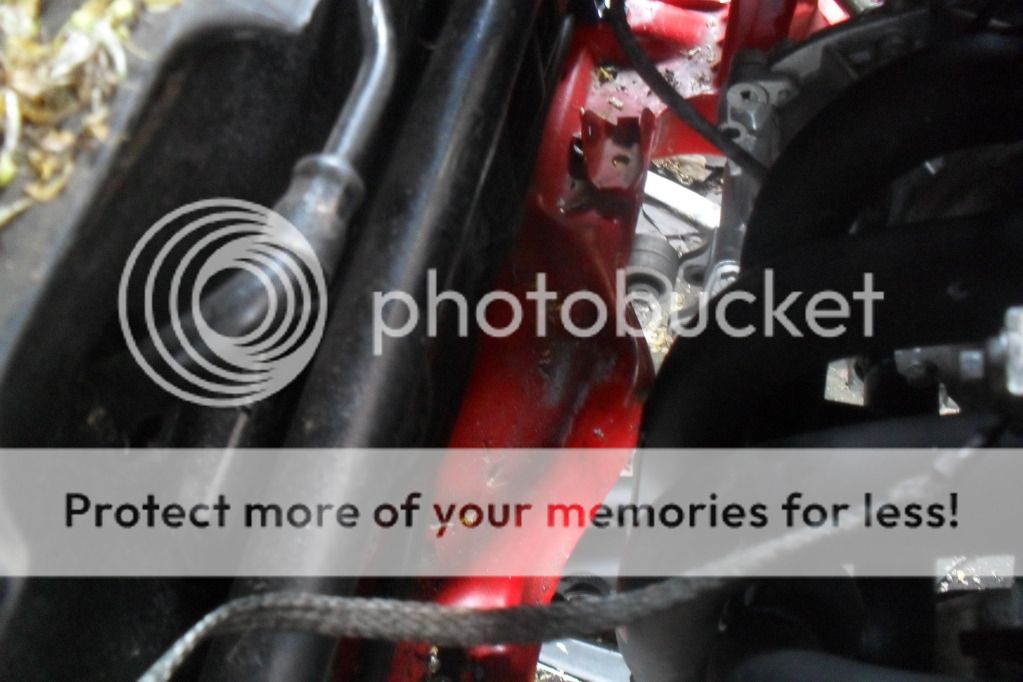
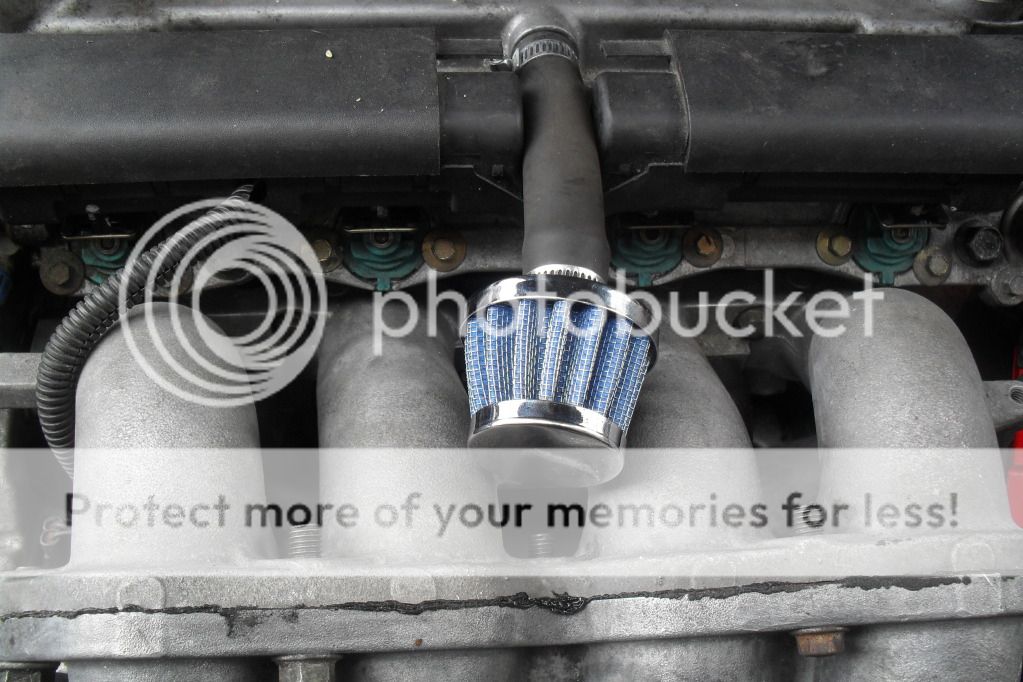
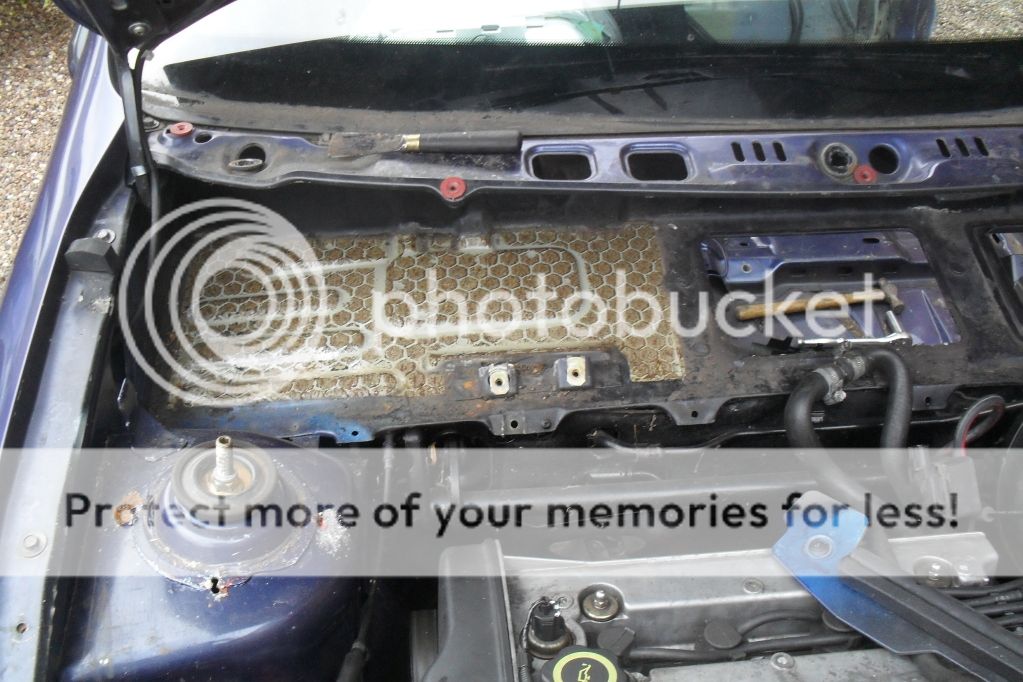
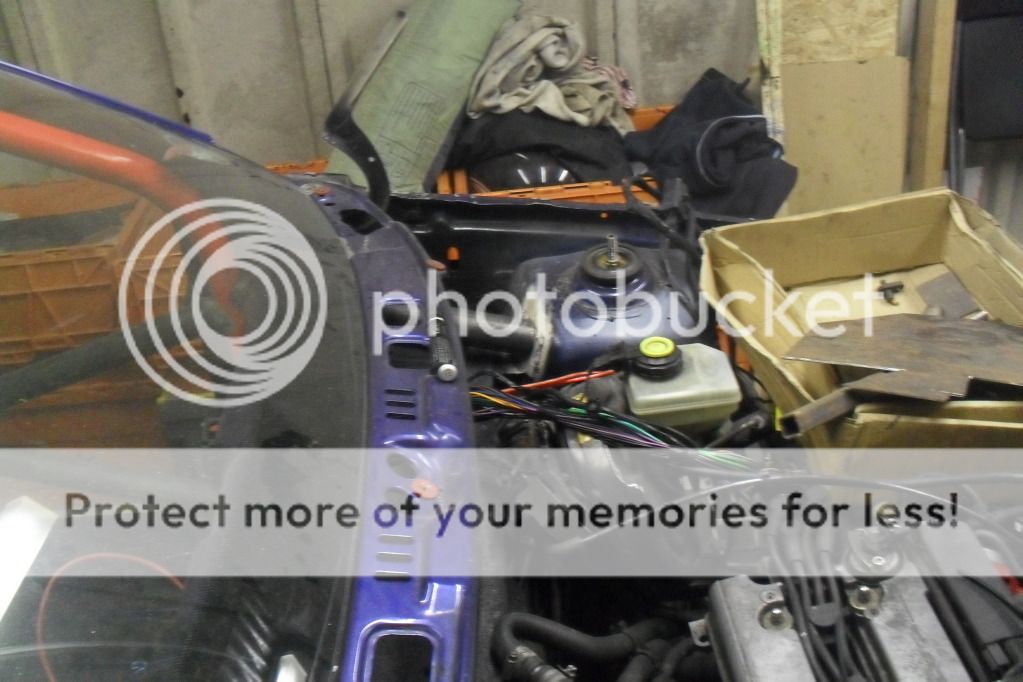
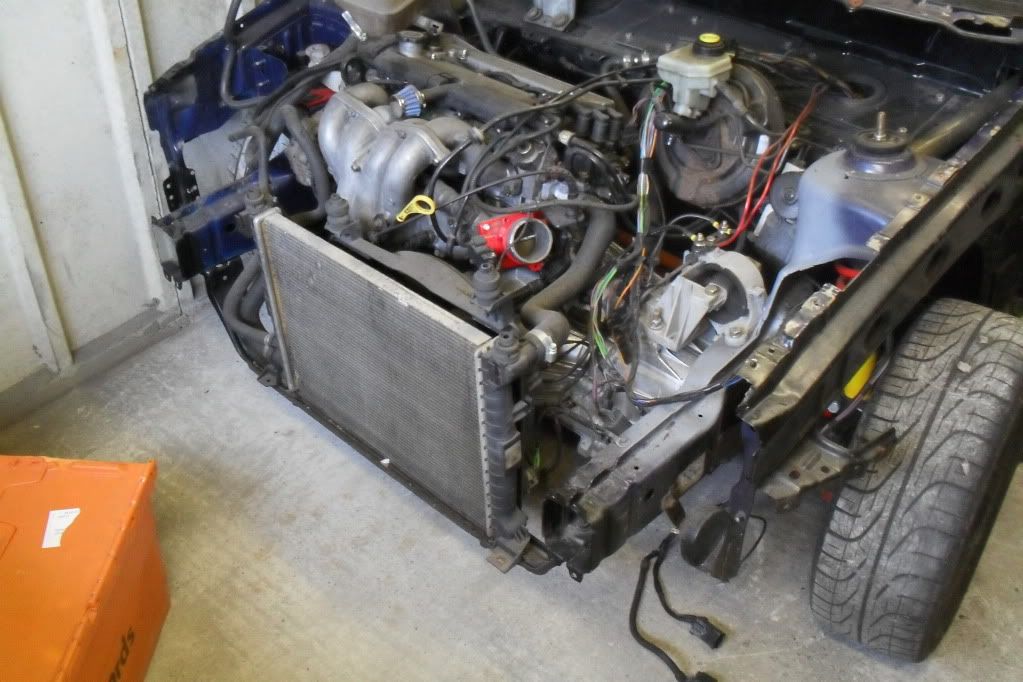
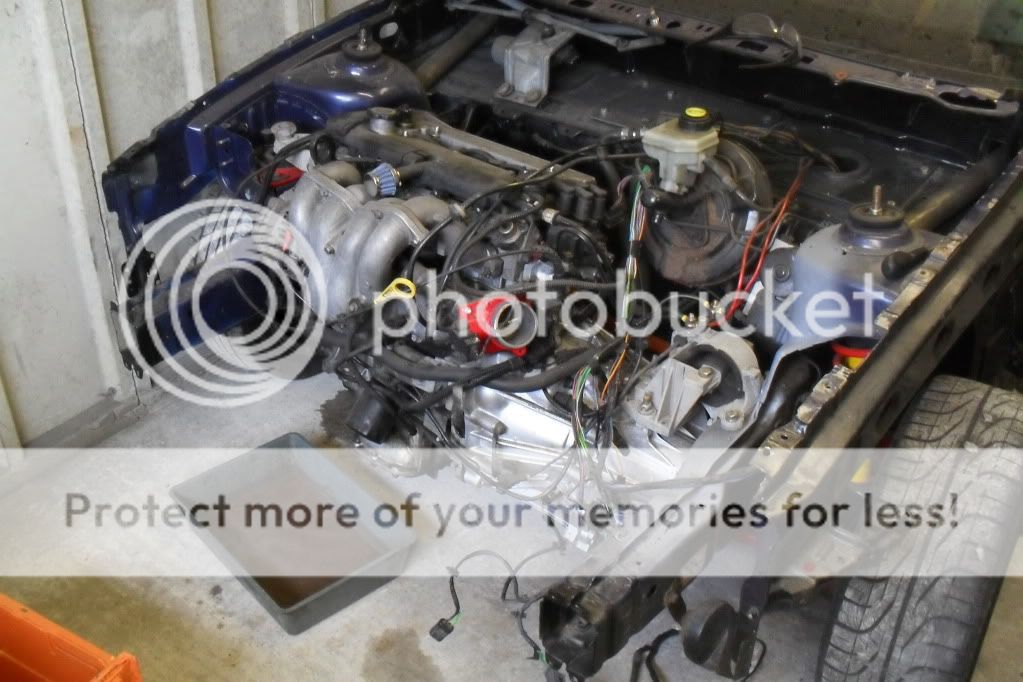
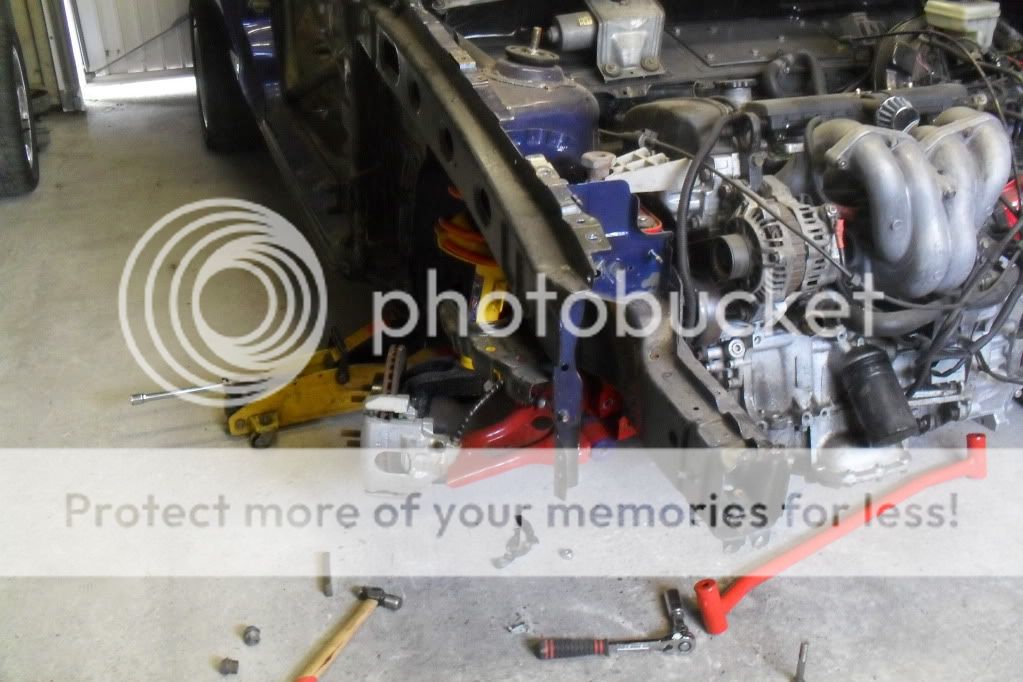
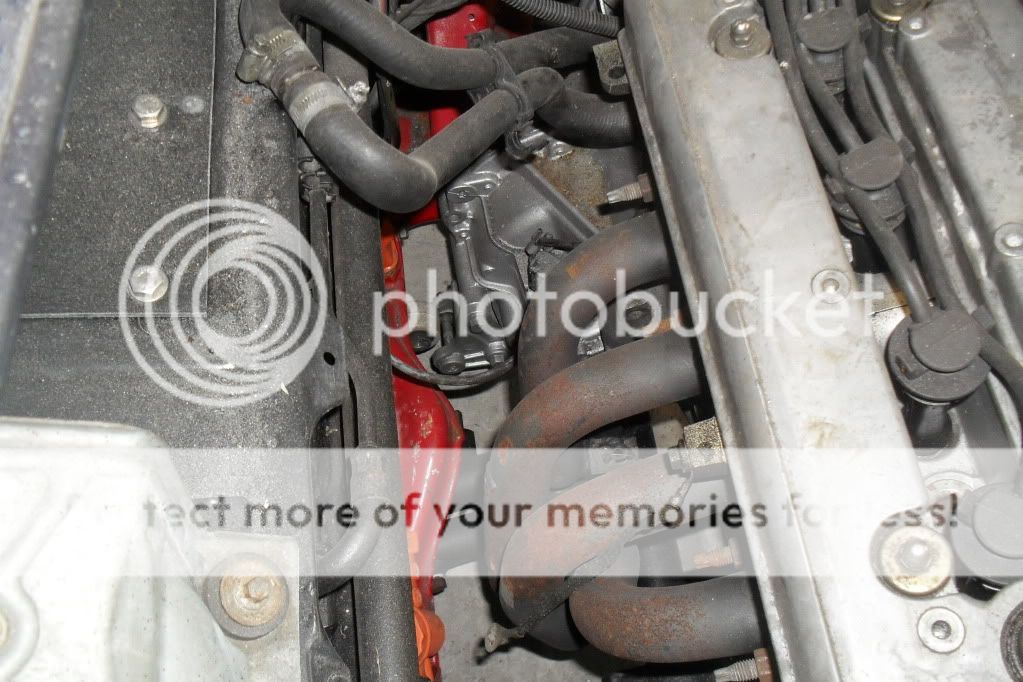
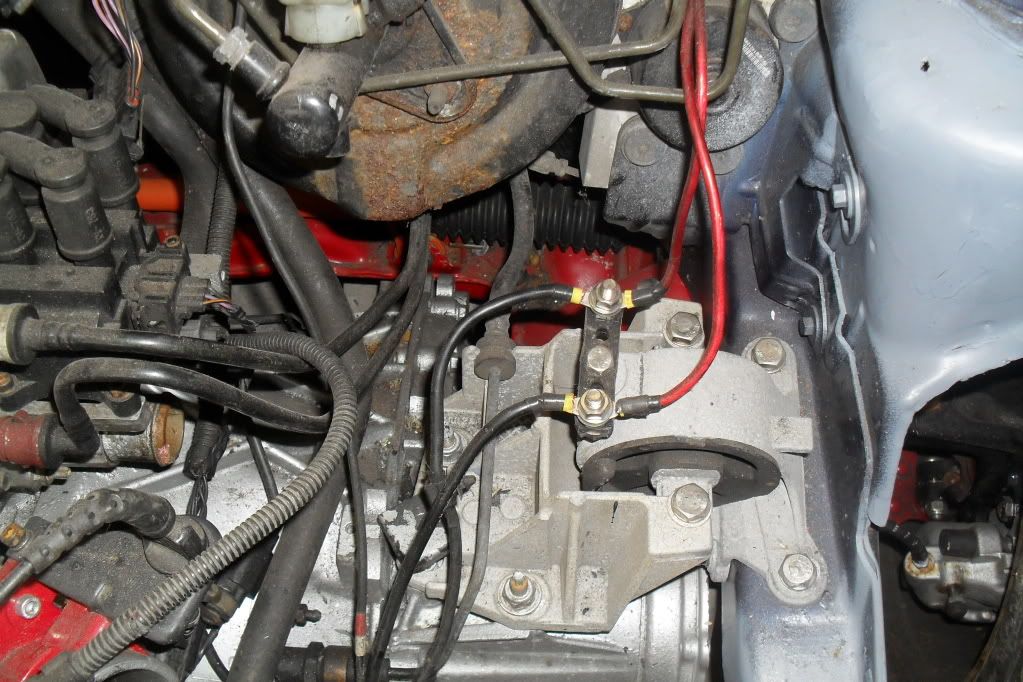
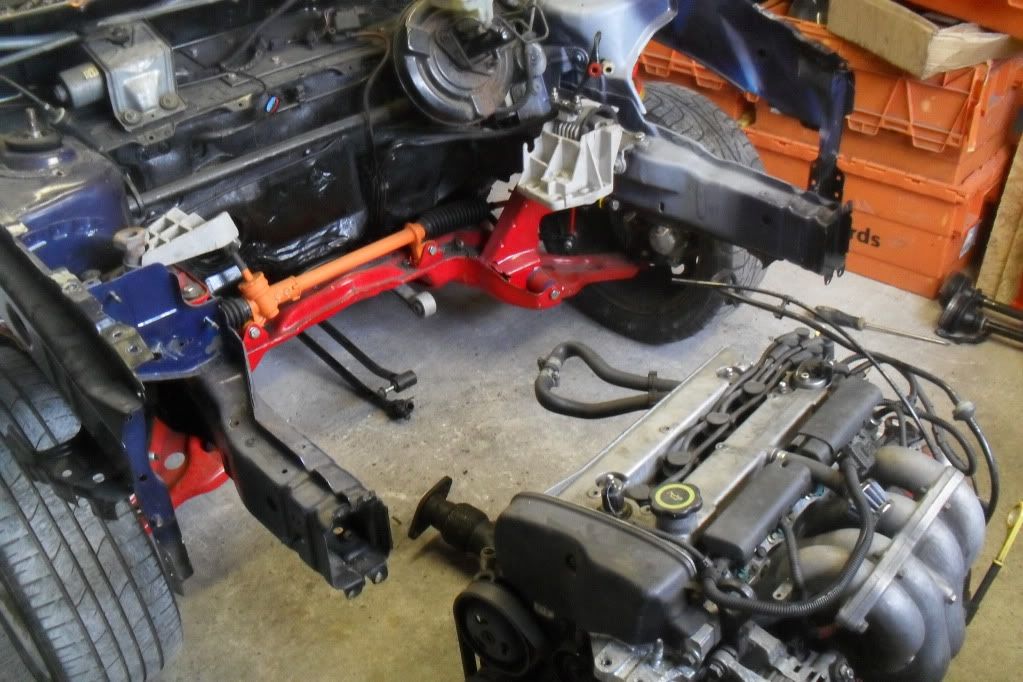
also the engine for the car had to be fitted into my silver puma, long story but i went throught a 10-14 inch puddle on the way to work doin about 40mph and only was it as my front wheels nearly touched the waters edge. needless to saythe engine sucked in lots of water. when i droped the oil i had about 2-3 seconds of water before oil came out also when i took off the inlet and found about a pint of water sitting there it was nackered. here are some pics of the new engine. you can see the clean engine through all the dirty old parts from the original engine. pics

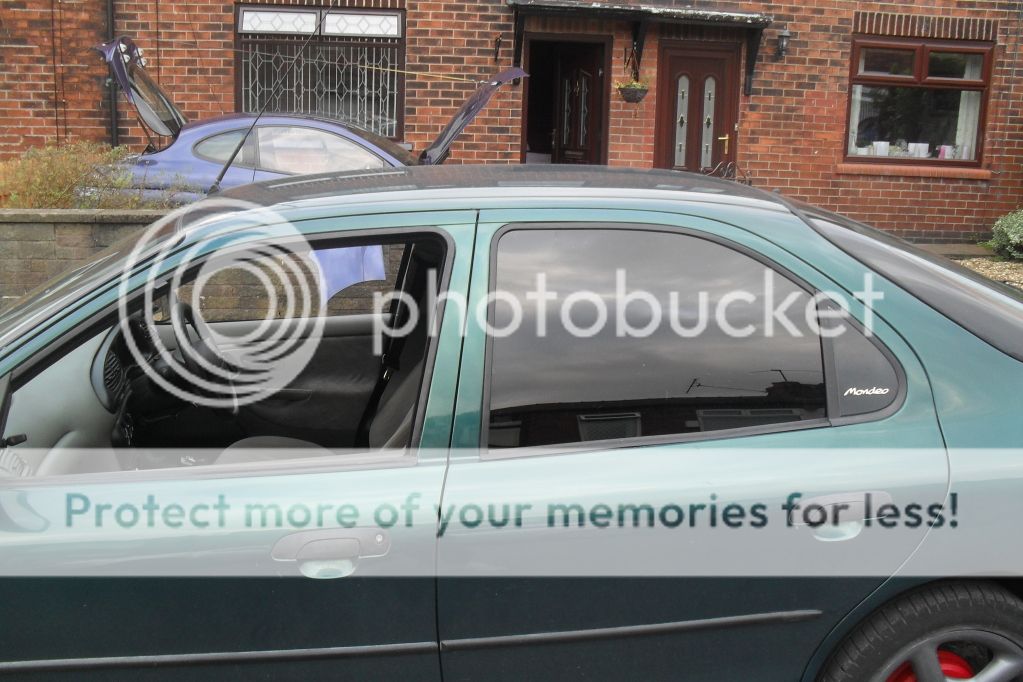
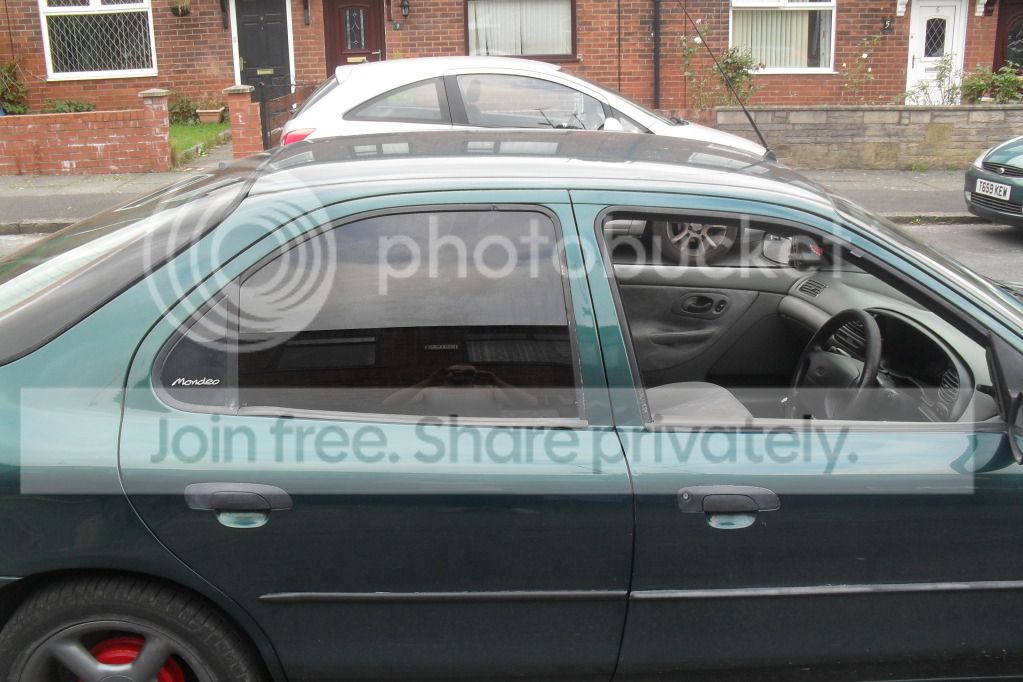
i then bought a car with my next wage packet, a 1997 mk2 ford mondeo with 74k on the clock and a full ford service history for Ł500 off frea bay the person i bought if from paid Ł800 for the car from a dealer 2 weeks before and was only the second owner from new but after spending Ł100 putting new tires on it he then lost his job so put the car up for sale and i was the lucky bidder
i scrapped the silver car after removing all the studd i could reuse in one way or another.
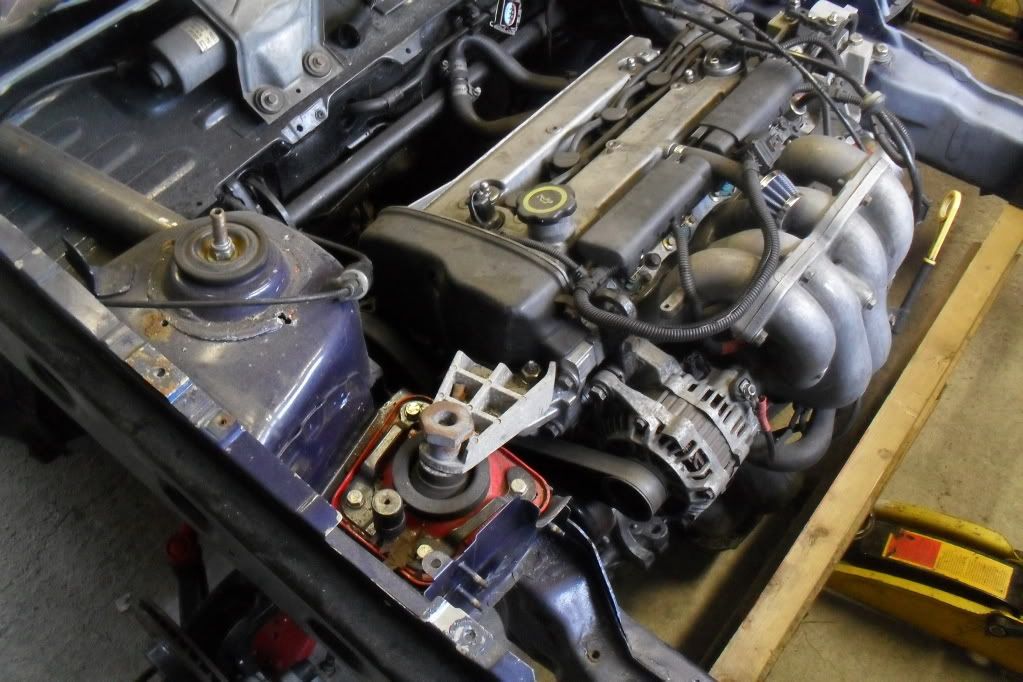
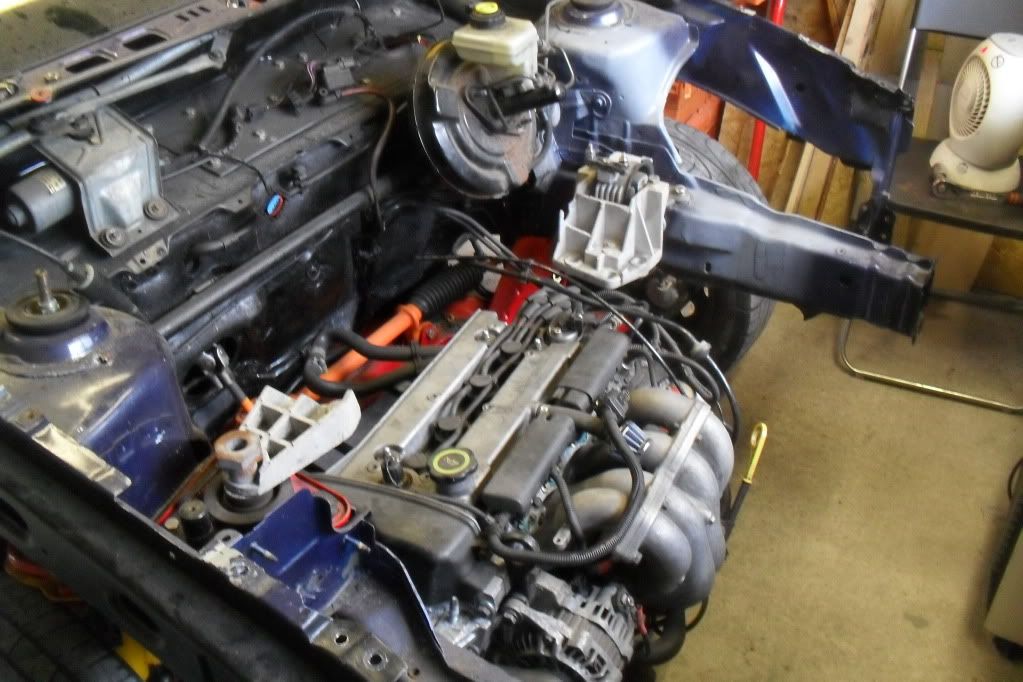
pics of the engine being fitted into the blue puma and the removal of the sound proofing
then i started with a bit of weight loss
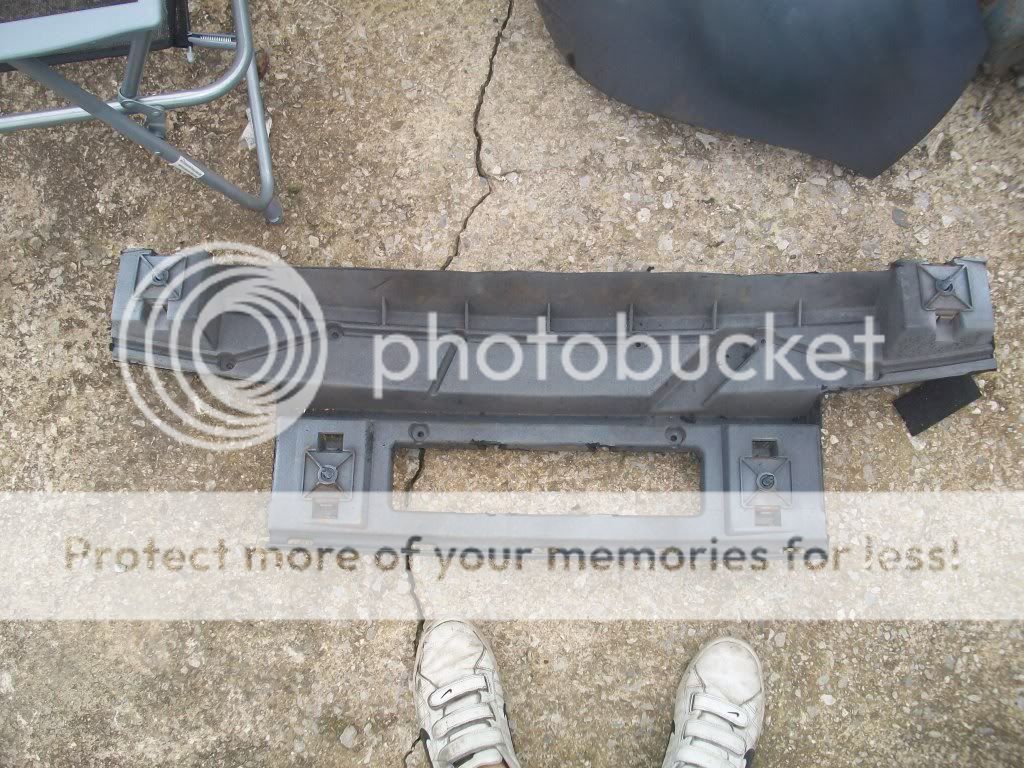
i cut down the plastic in the rear bumper to saveweight
cutting out metal
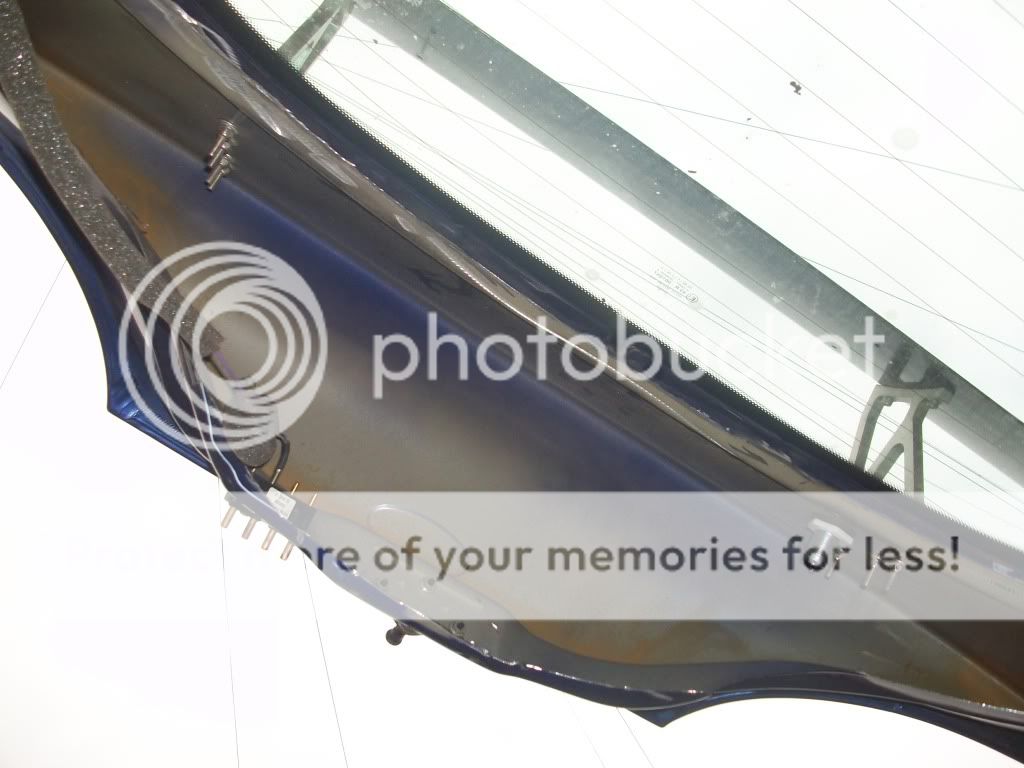
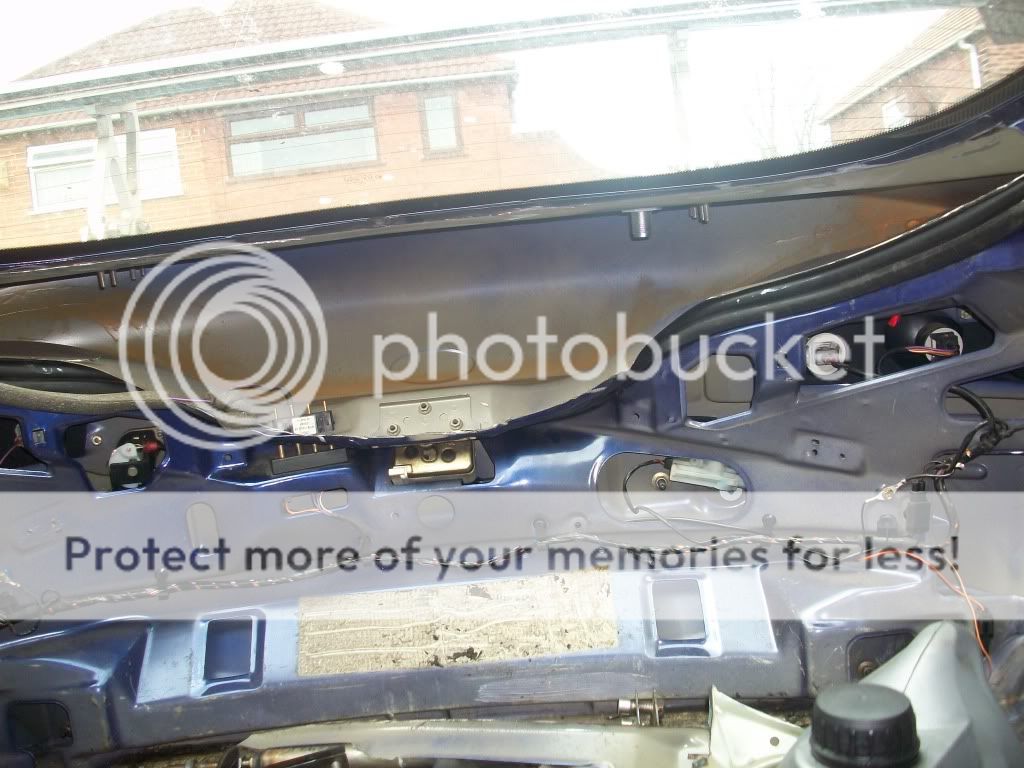
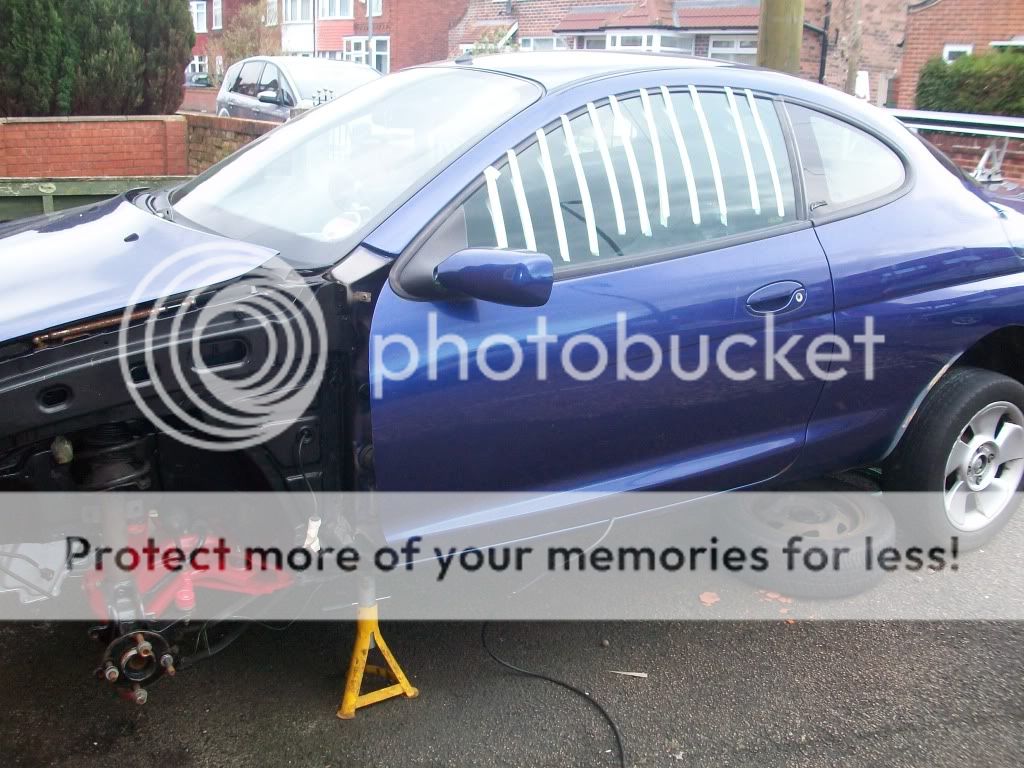
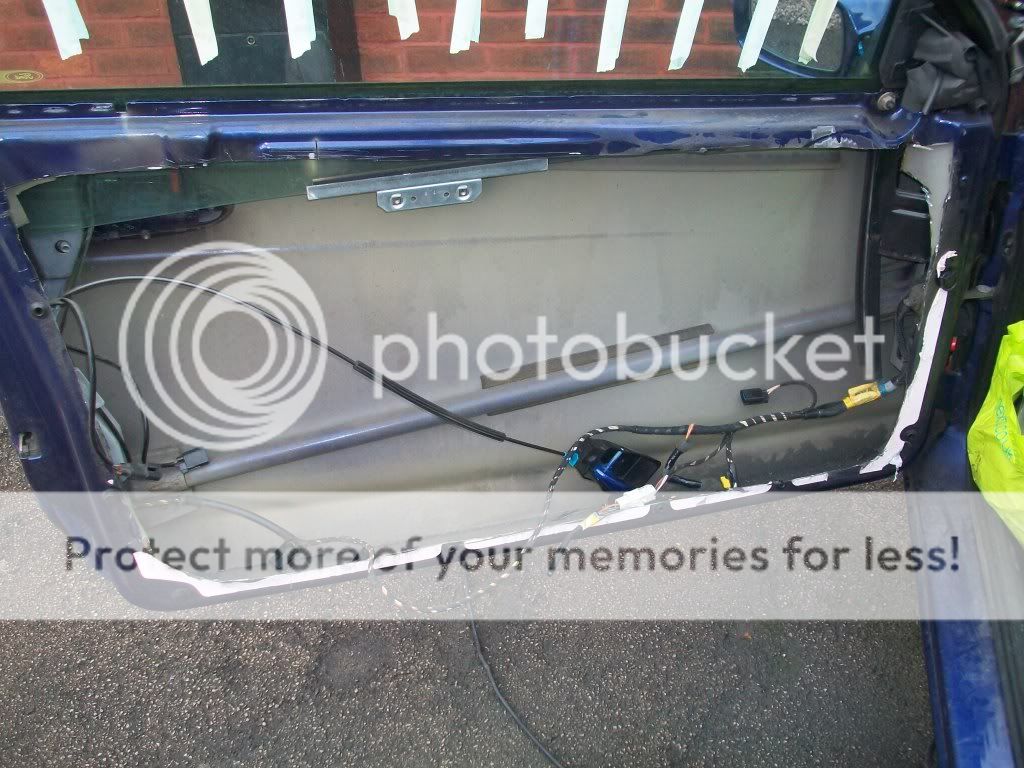
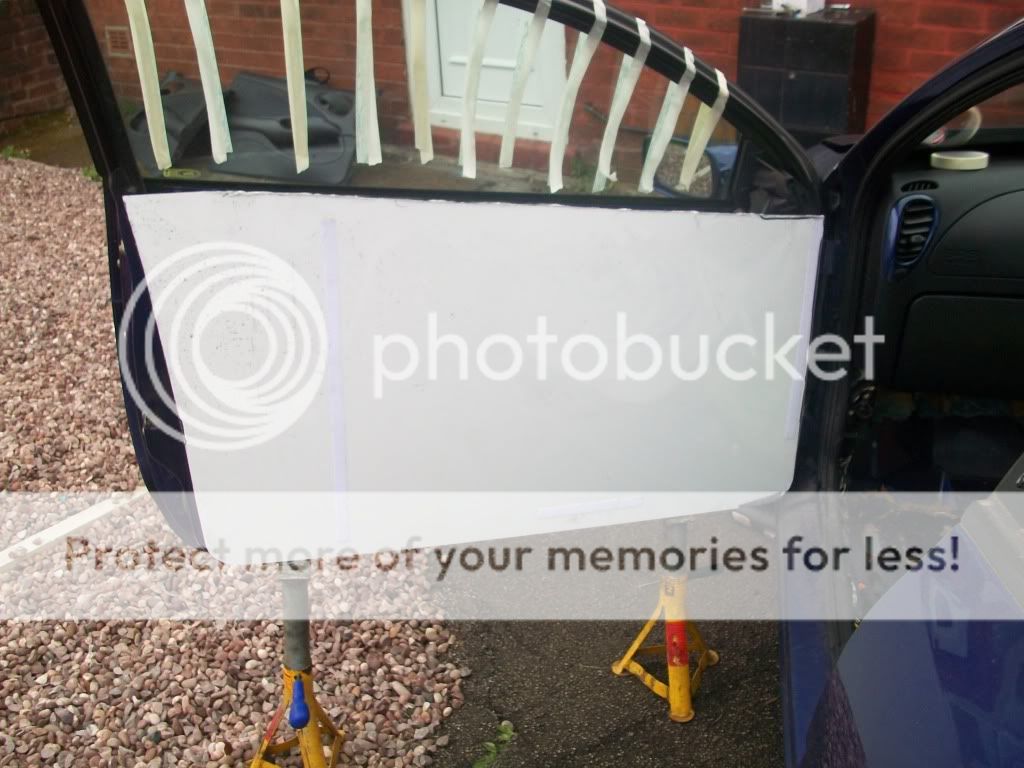
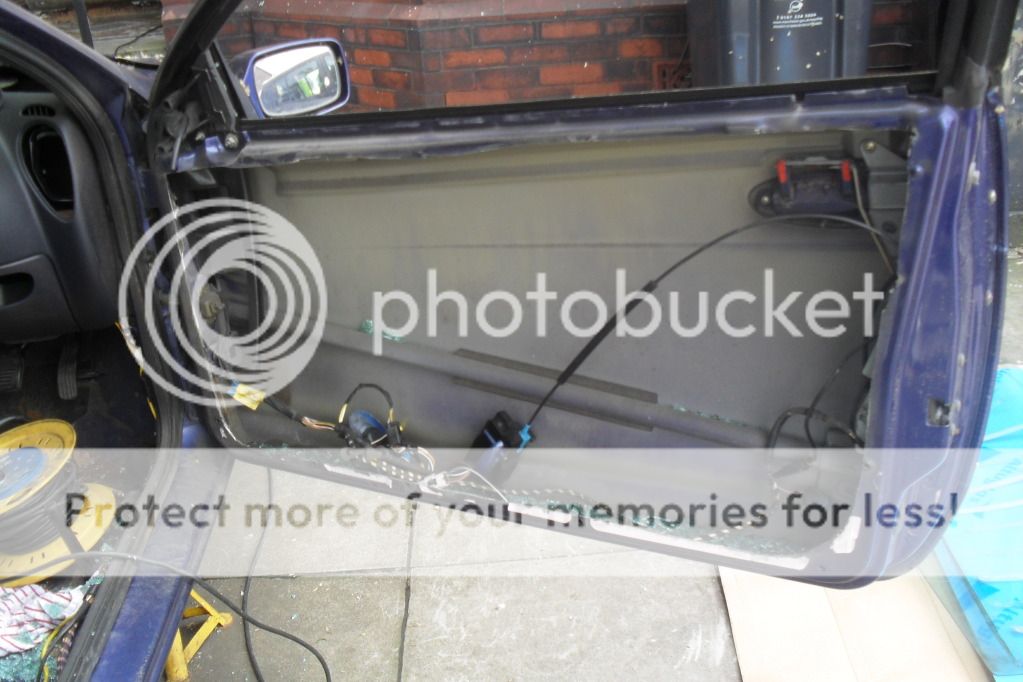
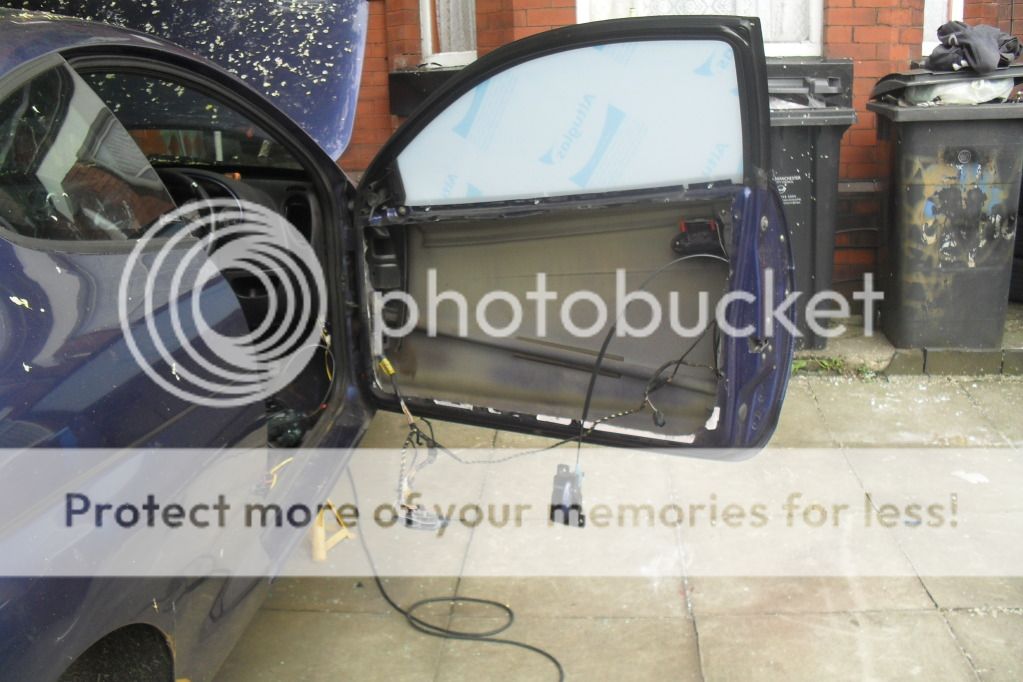
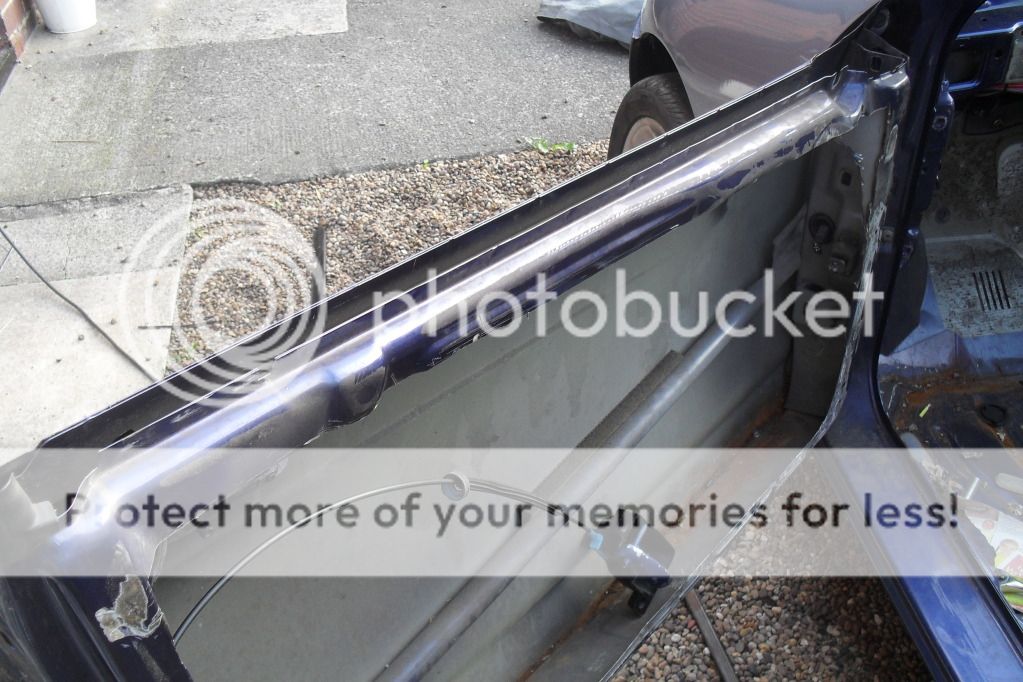
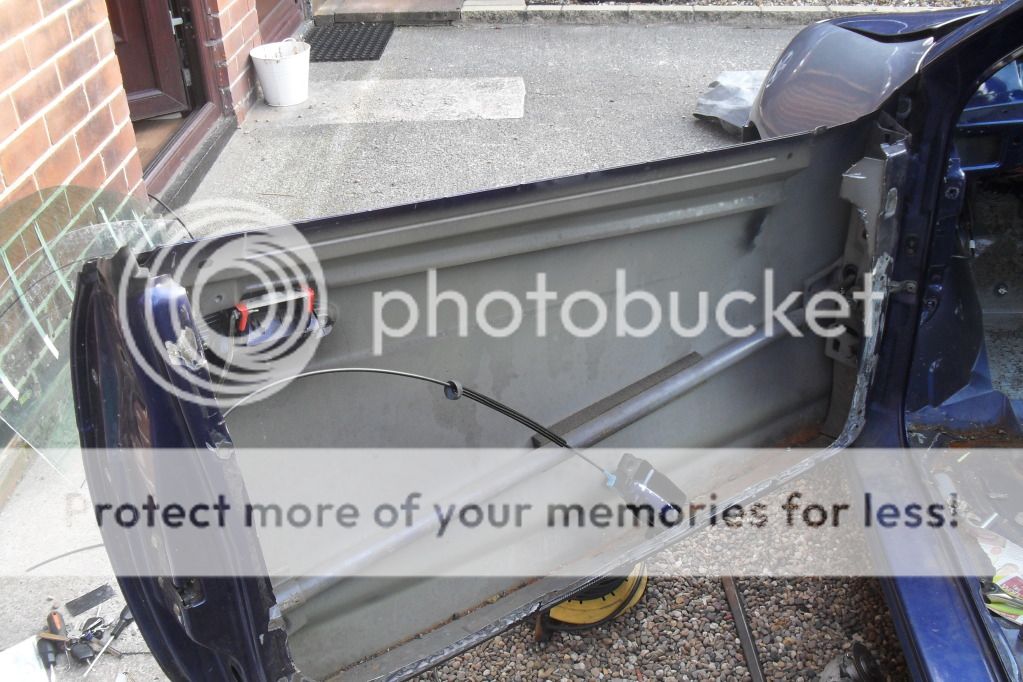
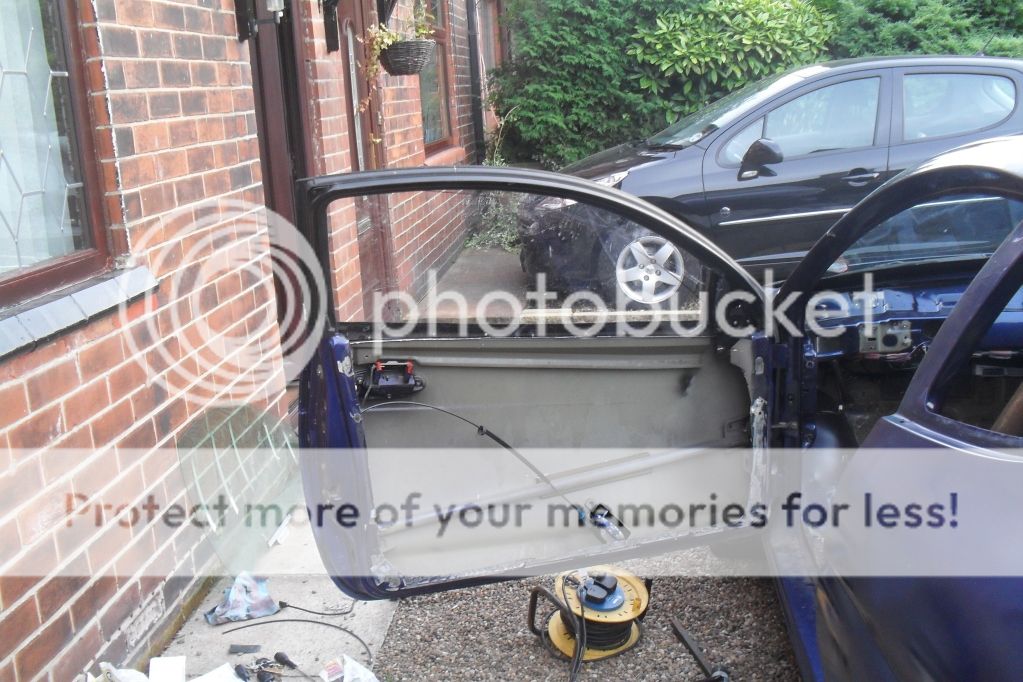
also started striping the door and getting rid of some of the unwanted weight. i also cut a pannel to cover the door from the inside.
pics
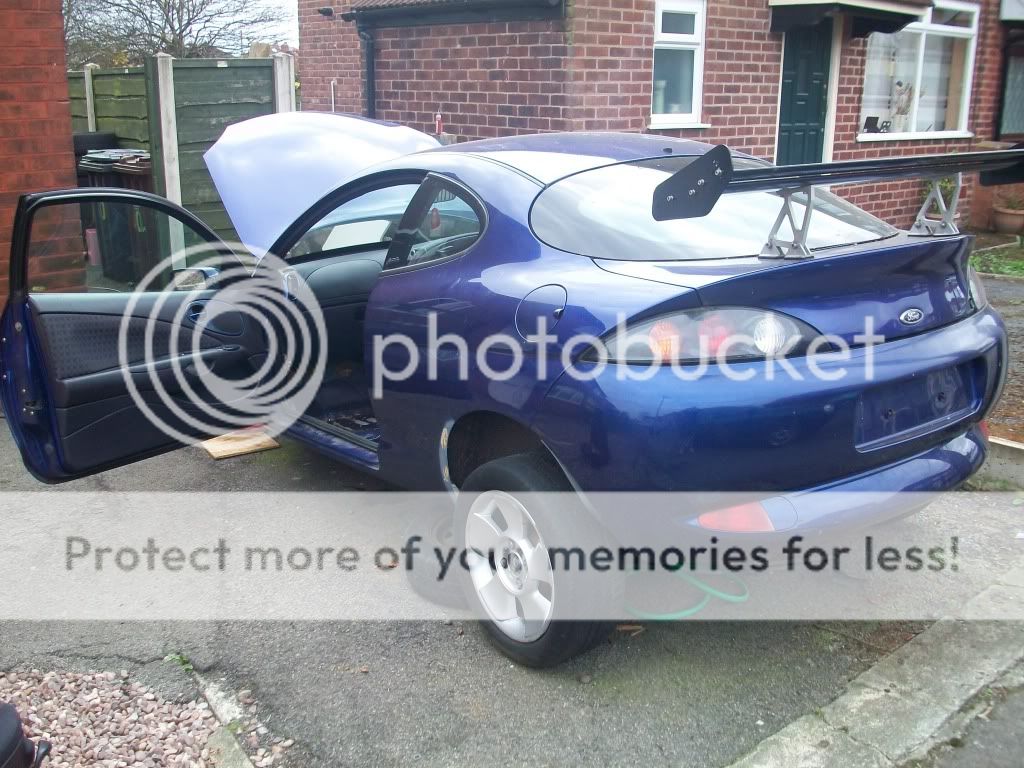
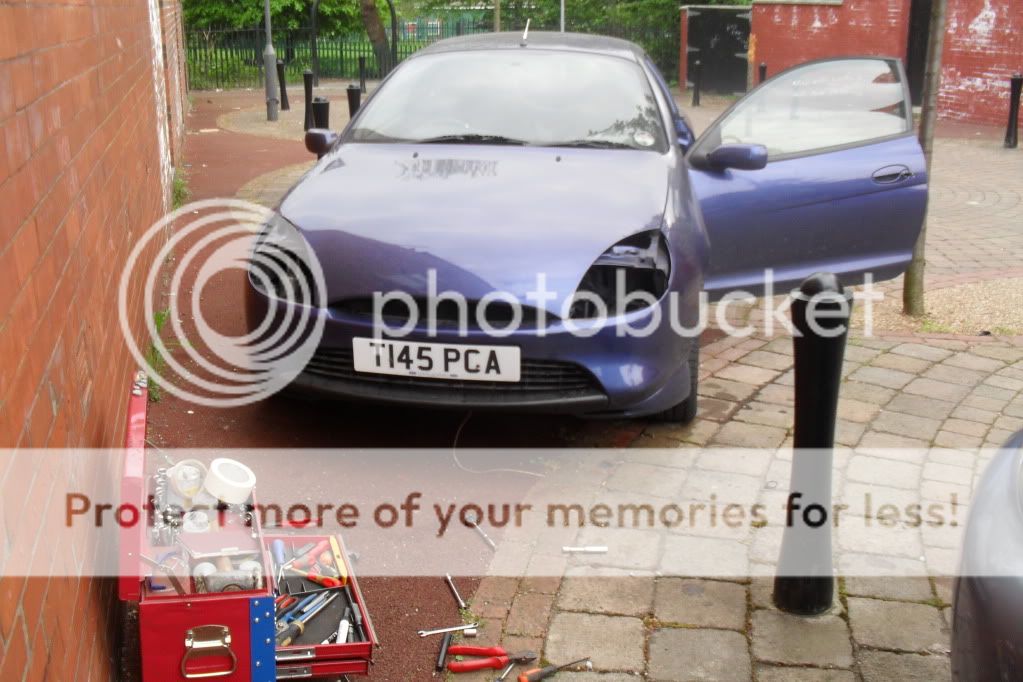
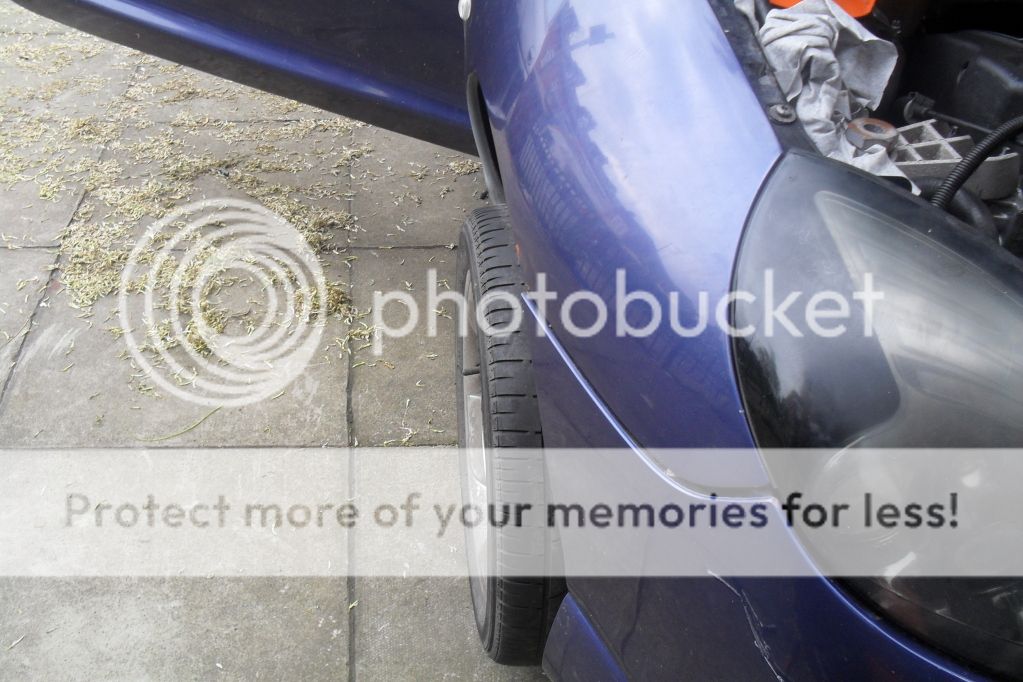
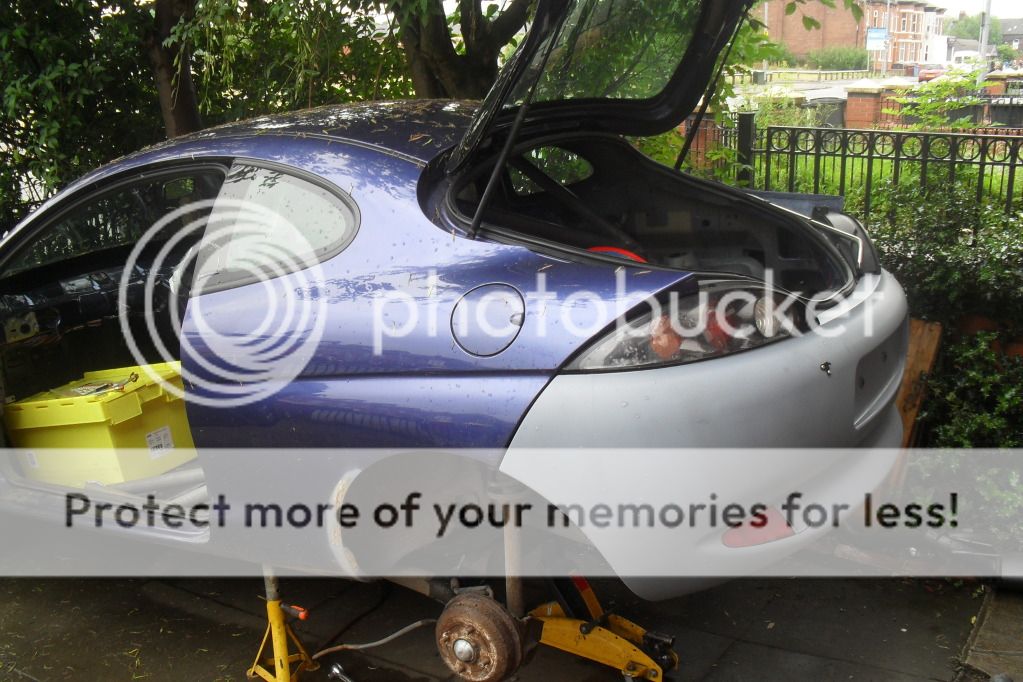
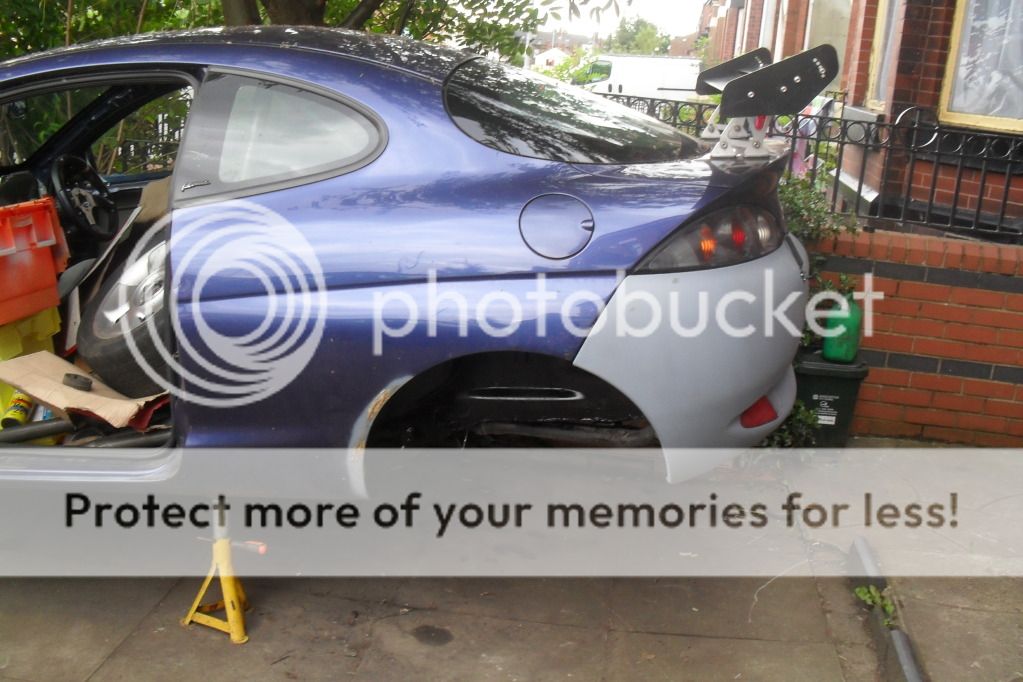
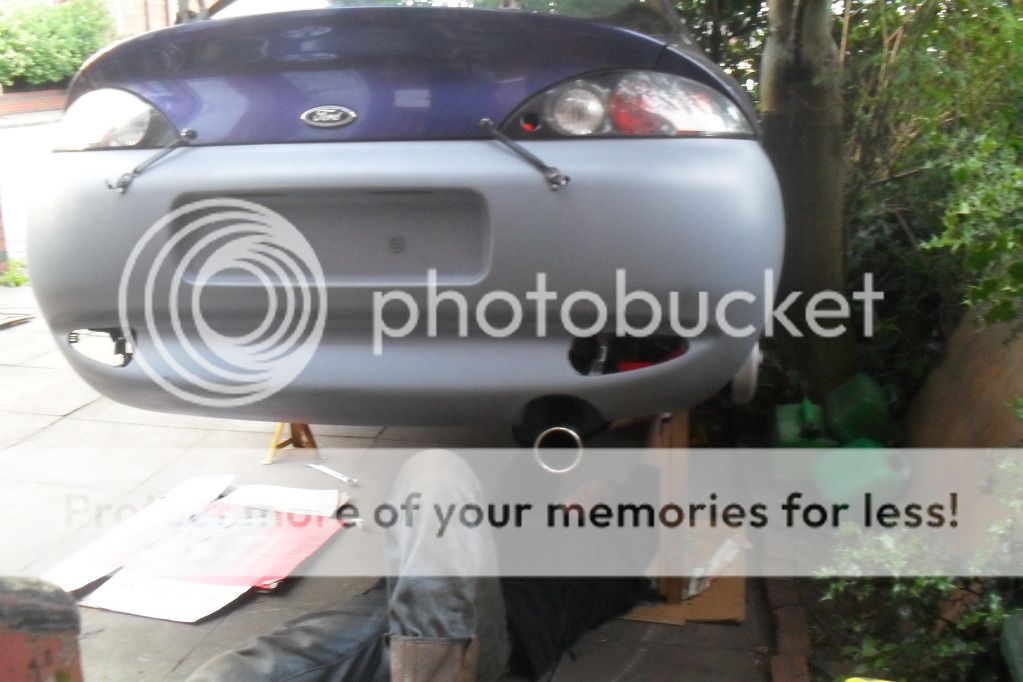
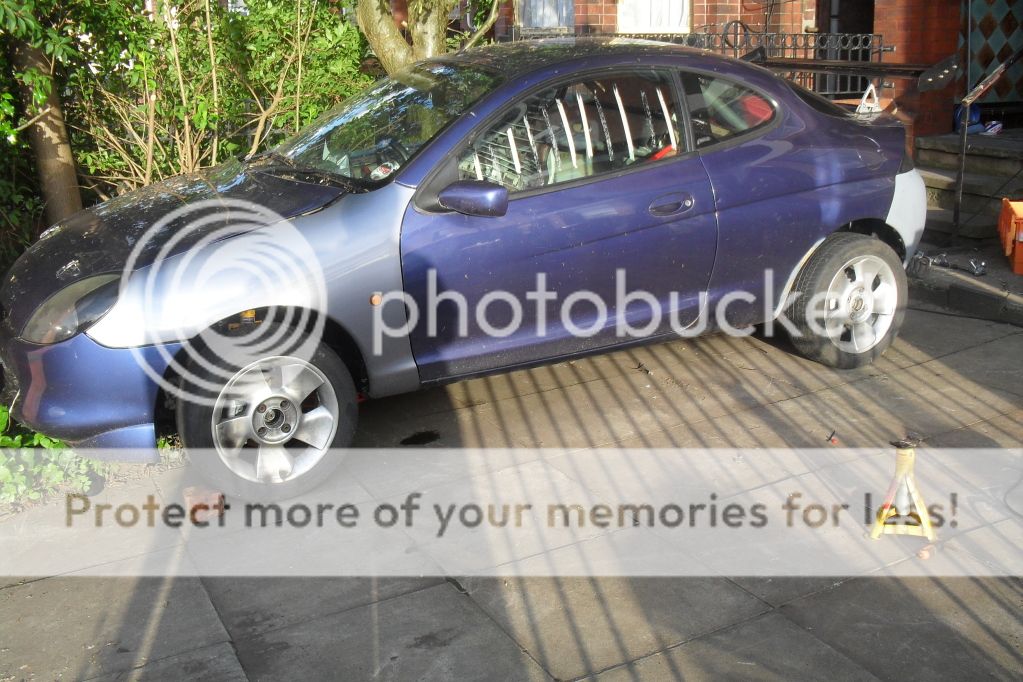
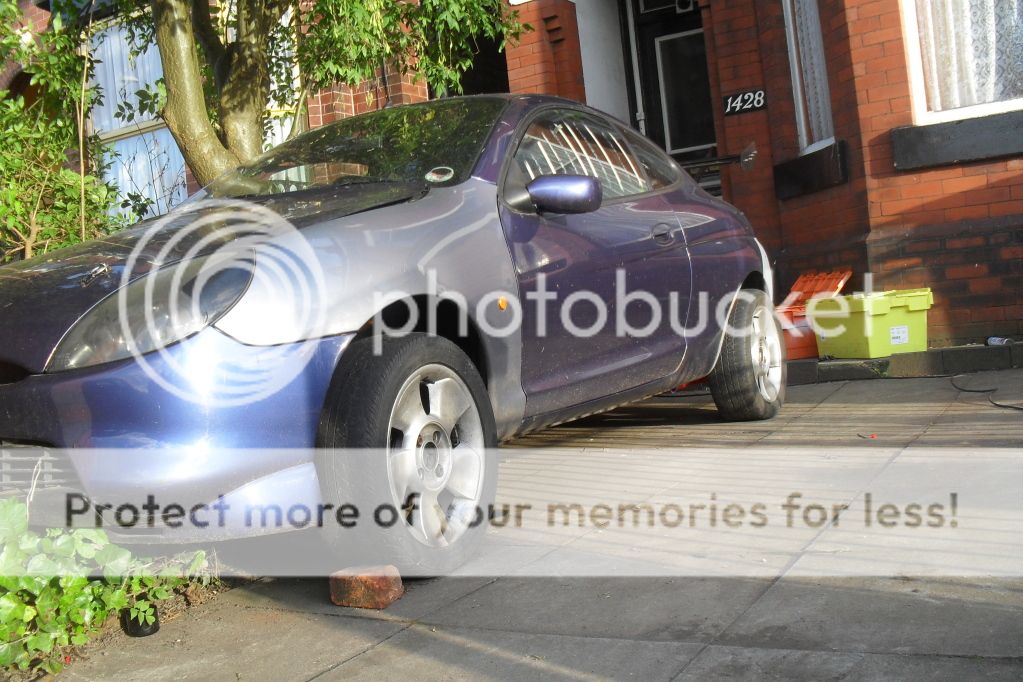
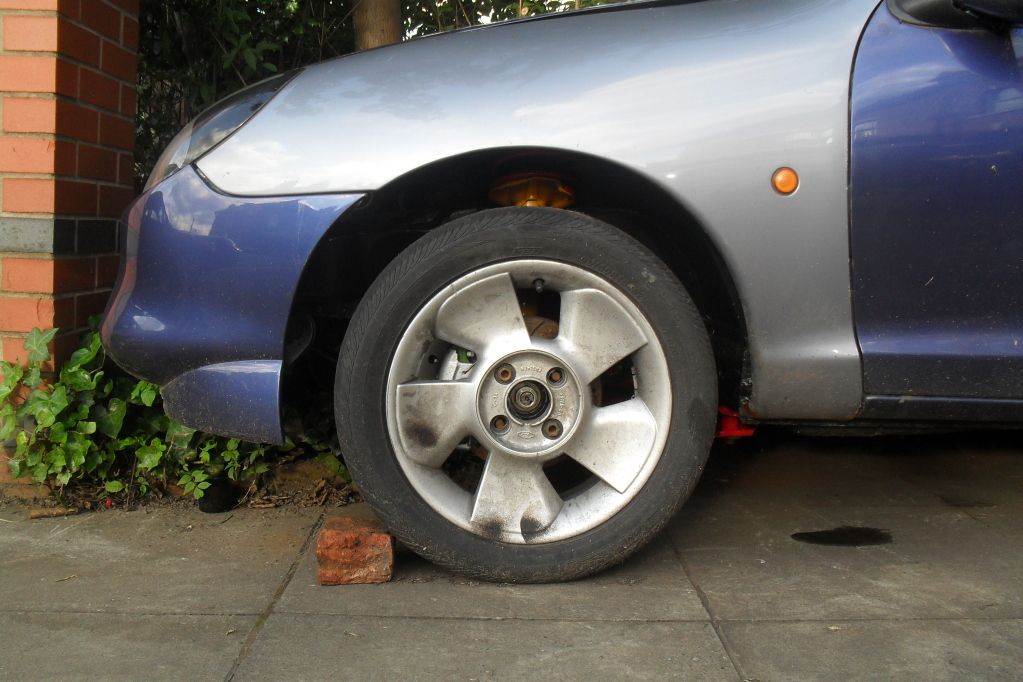
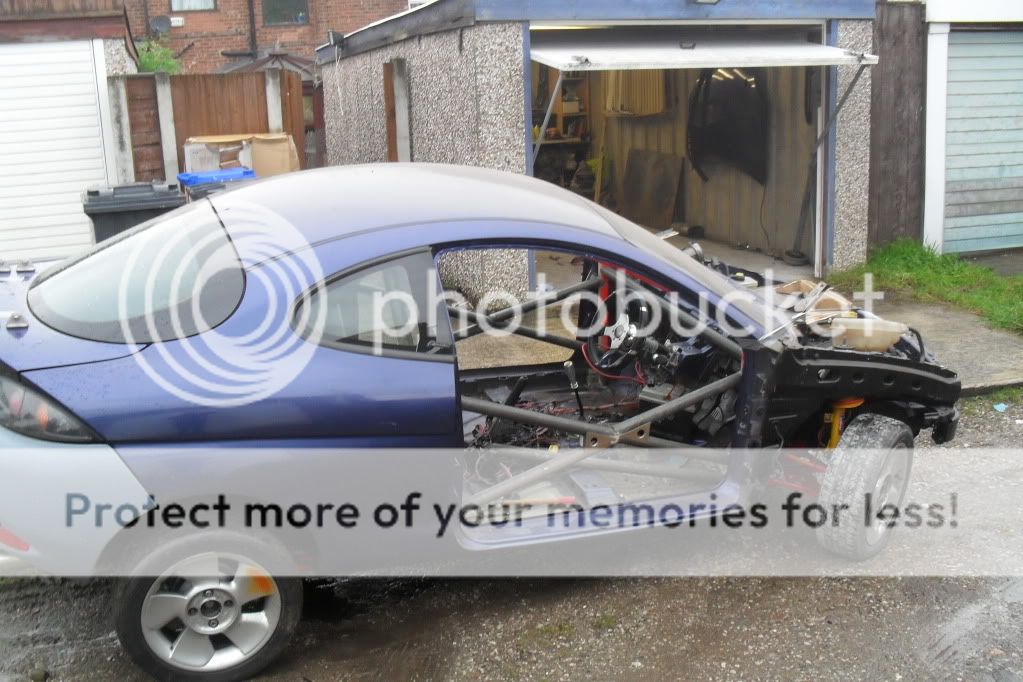
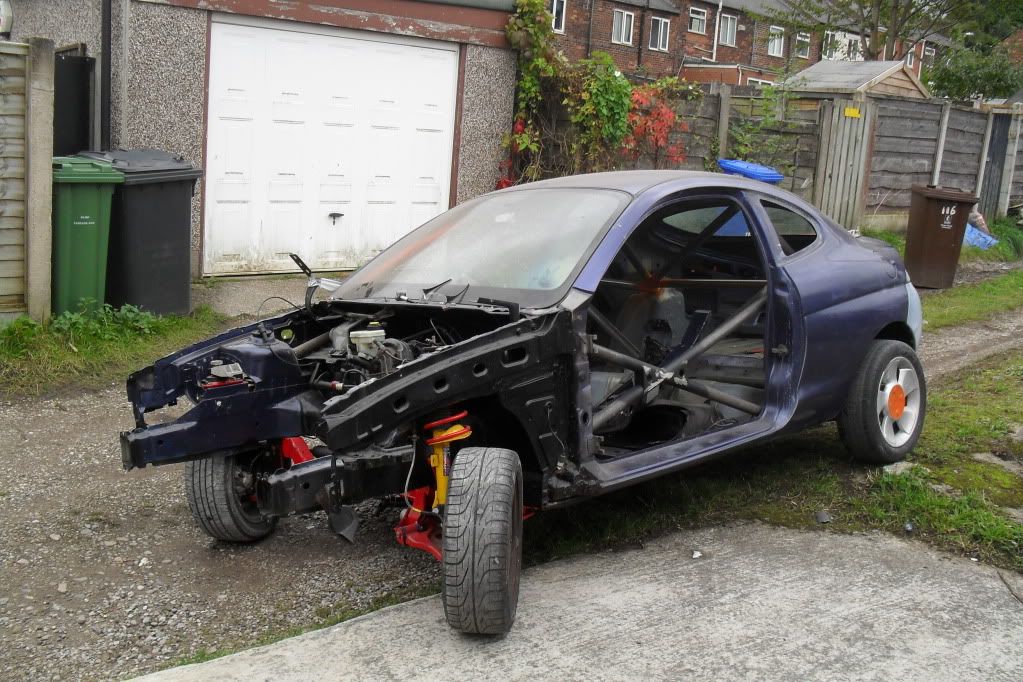
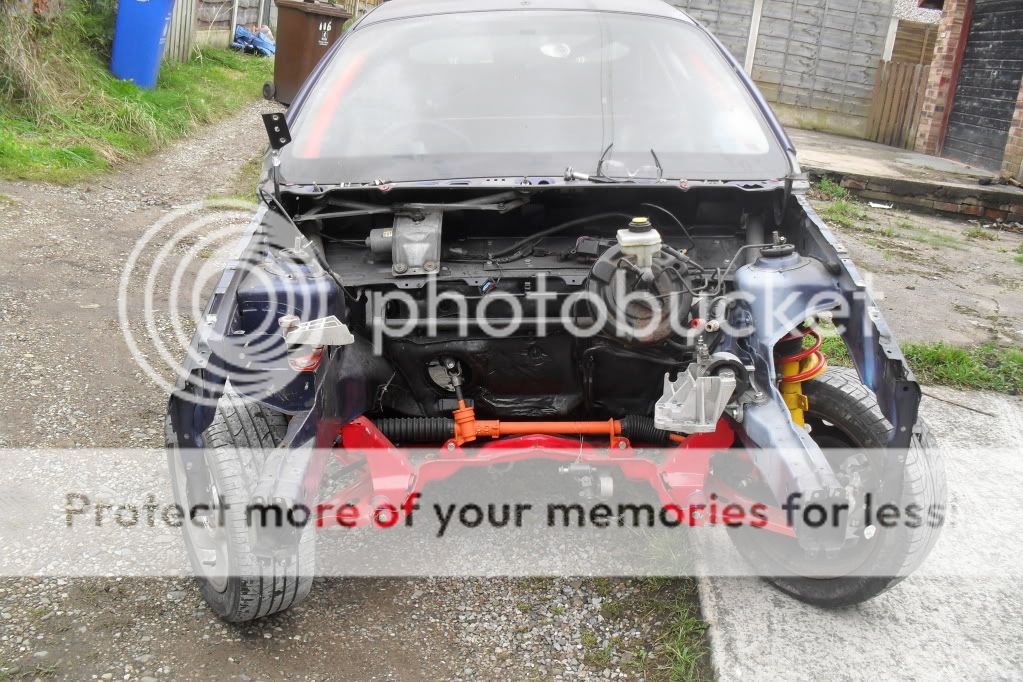
i moved back in with my mum and dad along with my fiancee and her son so i stopped work on the car again so here are the final pics of the car at our old house. once i moved i had alot more monet to spend on the car and i progressed a long way. here are the final pics of the car when i got the rest of the body onto the car and put it back on its wheel. pics
before
after
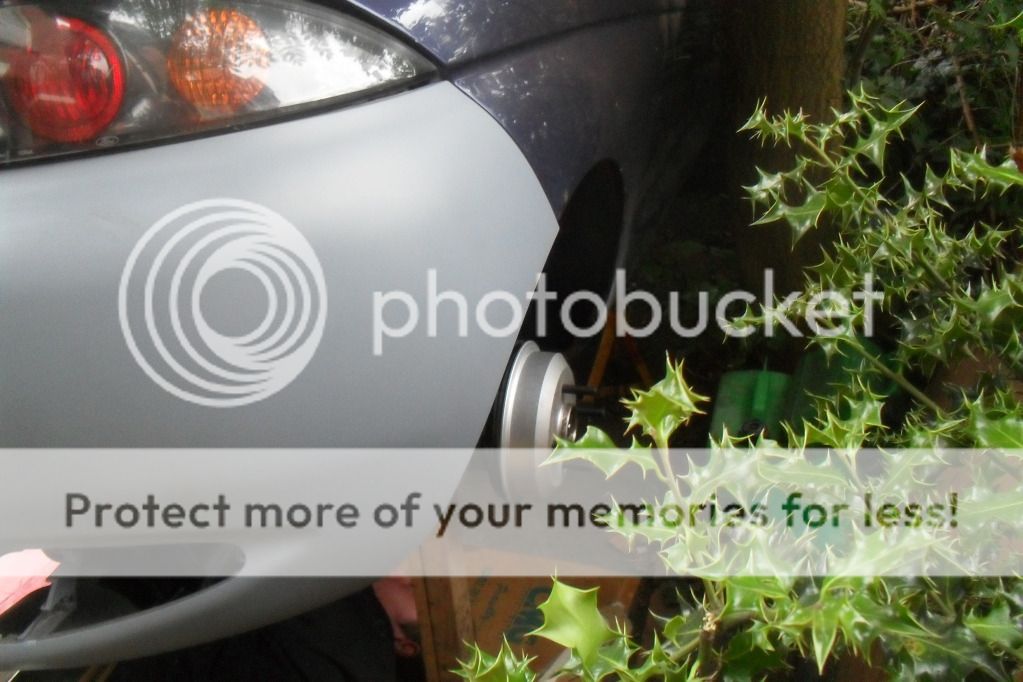
looking good again all be it with a silver wing after a little misshap ooops lol
i have about 6 months of updates still to put up on here. so what does anybody think?
cheers kieran
i started removing the interior
the front end built up and painted
here is the little gem that i got for Ł500 with 12 months mot.
i removed the back box but because my grider was dead and the exhaust was in one full piece i had to drop the rear beam to get it out with the cat intact hahahahaha
and its fair to say it was nackered
pics of the old against the new, i bought a sportex middle section and back boxbefore i lost my job.
also i couple of pics of the underneath of the rear of the car
also the engine for the car had to be fitted into my silver puma, long story but i went throught a 10-14 inch puddle on the way to work doin about 40mph and only was it as my front wheels nearly touched the waters edge. needless to saythe engine sucked in lots of water. when i droped the oil i had about 2-3 seconds of water before oil came out also when i took off the inlet and found about a pint of water sitting there it was nackered. here are some pics of the new engine. you can see the clean engine through all the dirty old parts from the original engine. pics
i then bought a car with my next wage packet, a 1997 mk2 ford mondeo with 74k on the clock and a full ford service history for Ł500 off frea bay the person i bought if from paid Ł800 for the car from a dealer 2 weeks before and was only the second owner from new but after spending Ł100 putting new tires on it he then lost his job so put the car up for sale and i was the lucky bidder
i scrapped the silver car after removing all the studd i could reuse in one way or another.
pics of the engine being fitted into the blue puma and the removal of the sound proofing
then i started with a bit of weight loss
i cut down the plastic in the rear bumper to saveweight
cutting out metal
also started striping the door and getting rid of some of the unwanted weight. i also cut a pannel to cover the door from the inside.
pics
i moved back in with my mum and dad along with my fiancee and her son so i stopped work on the car again so here are the final pics of the car at our old house. once i moved i had alot more monet to spend on the car and i progressed a long way. here are the final pics of the car when i got the rest of the body onto the car and put it back on its wheel. pics
before
after
looking good again all be it with a silver wing after a little misshap ooops lol
i have about 6 months of updates still to put up on here. so what does anybody think?
cheers kieran
06-10-2012, 09:21 PM
#3
Wahay!! I've lost my Virginity!!
Thread Starter
Join Date: Oct 2012
Location: manchester
Posts: 52
Likes: 0
Received 0 Likes
on
0 Posts
a little bit later than i wanted but oh well.
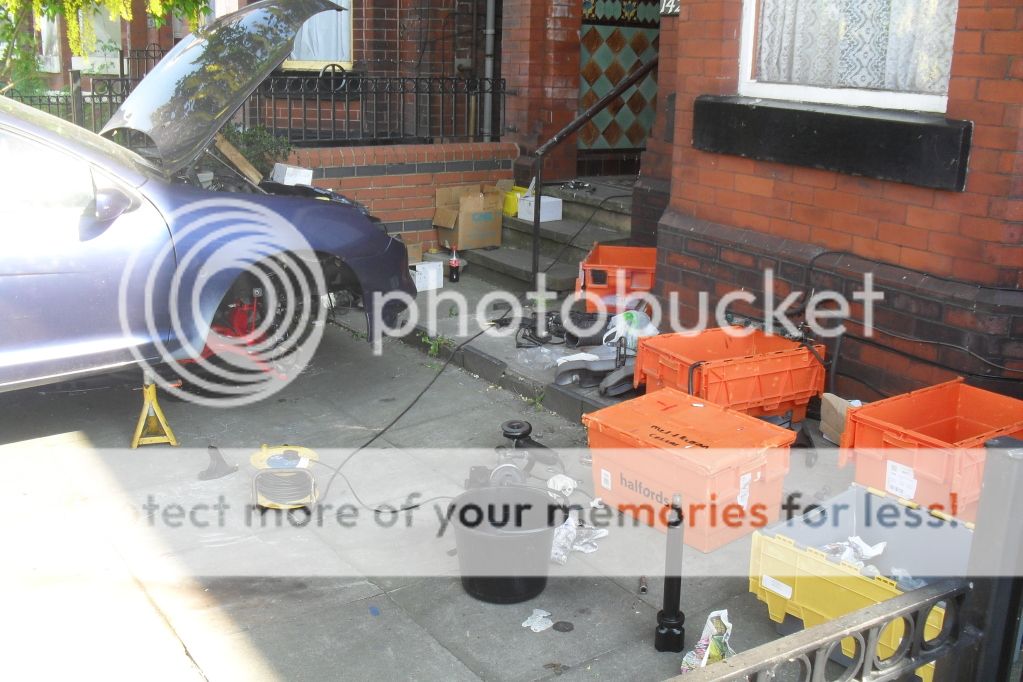
here is were the car was while we lived at my mum and dads
also got alot of parts for my car from flea bay cheap and cheerfull
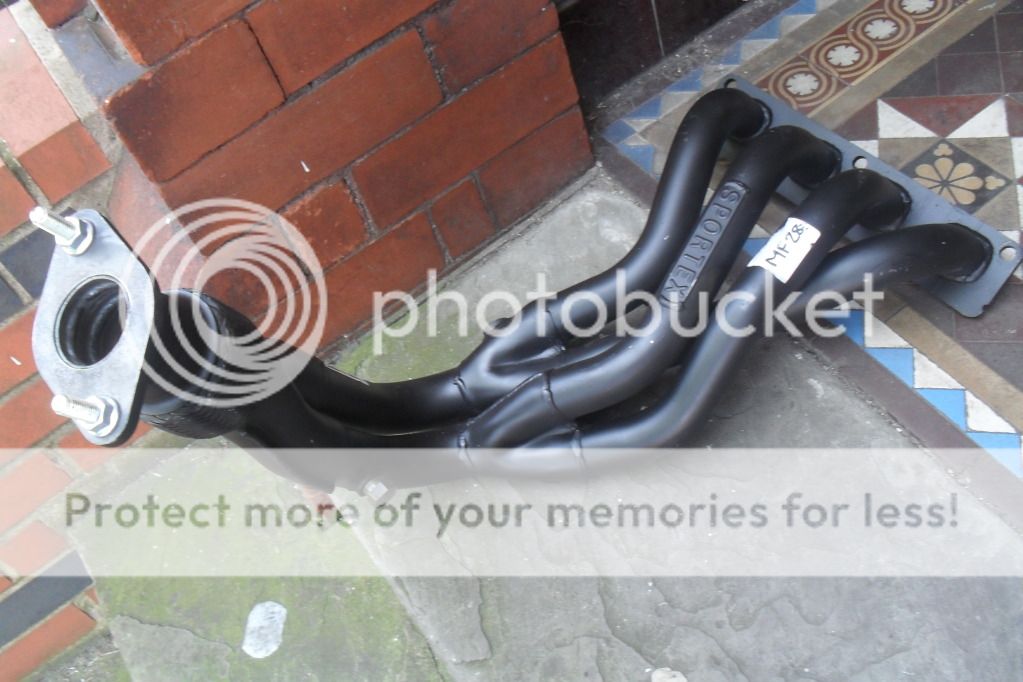
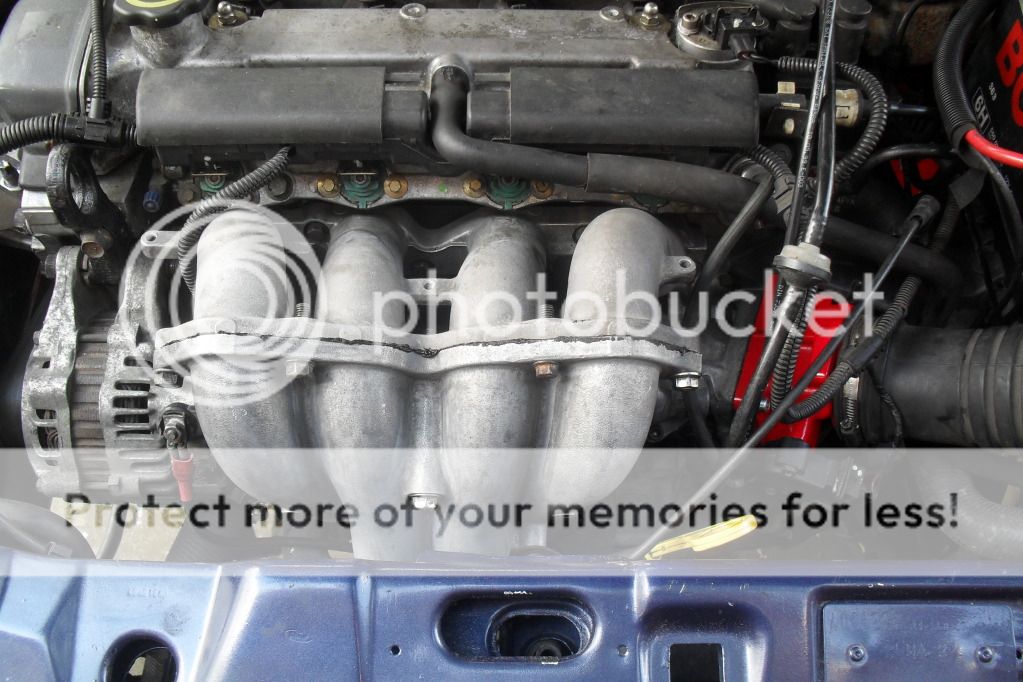
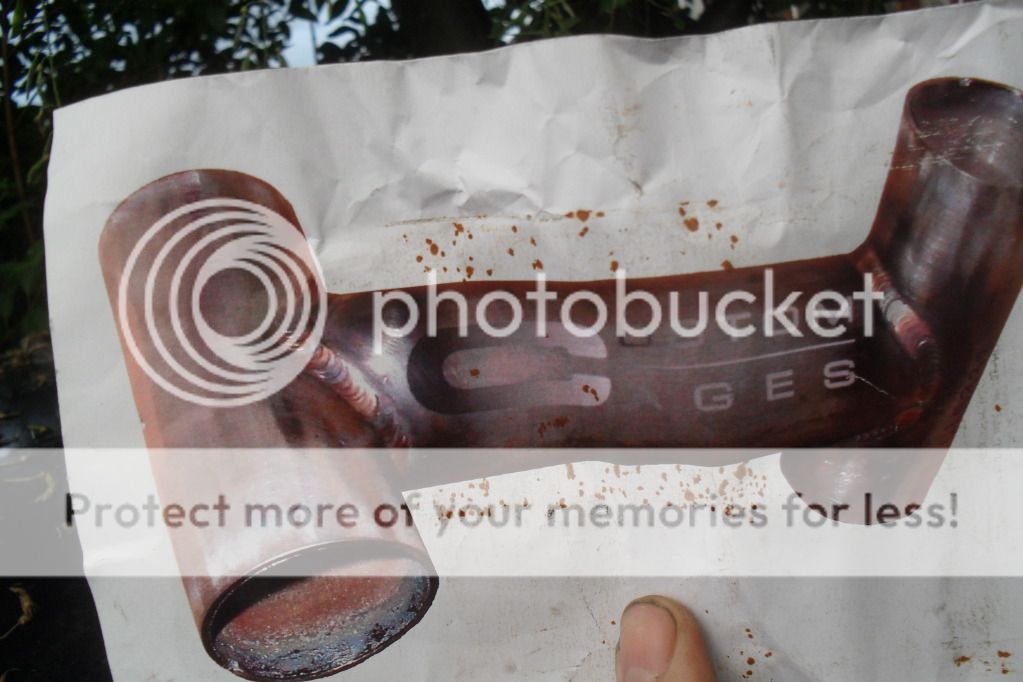
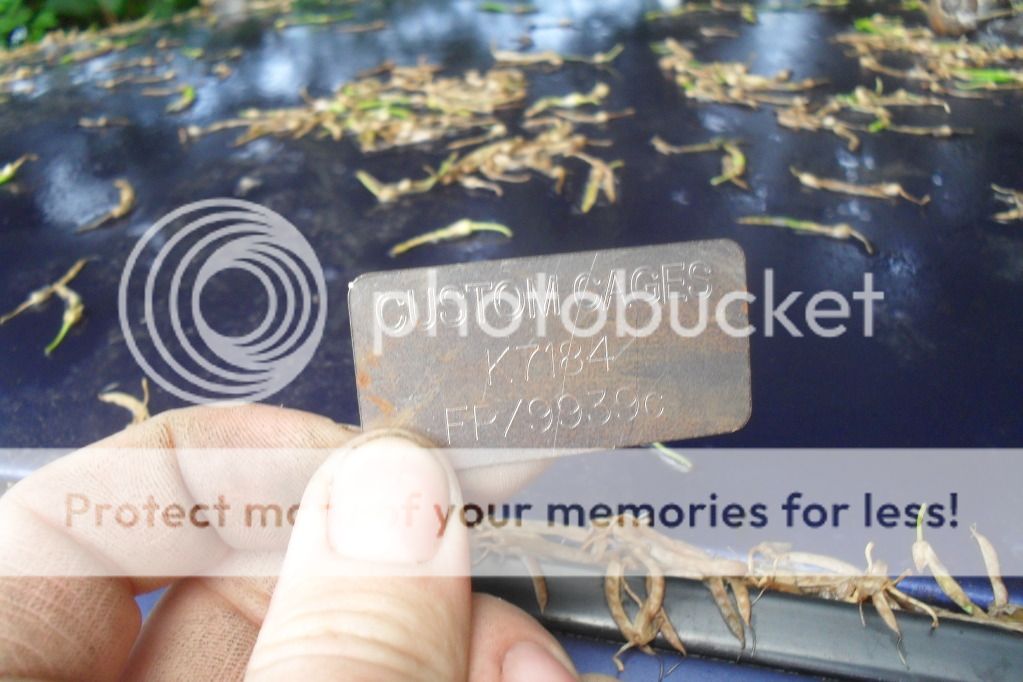
sportex manifold to go with my sportex exhaust.
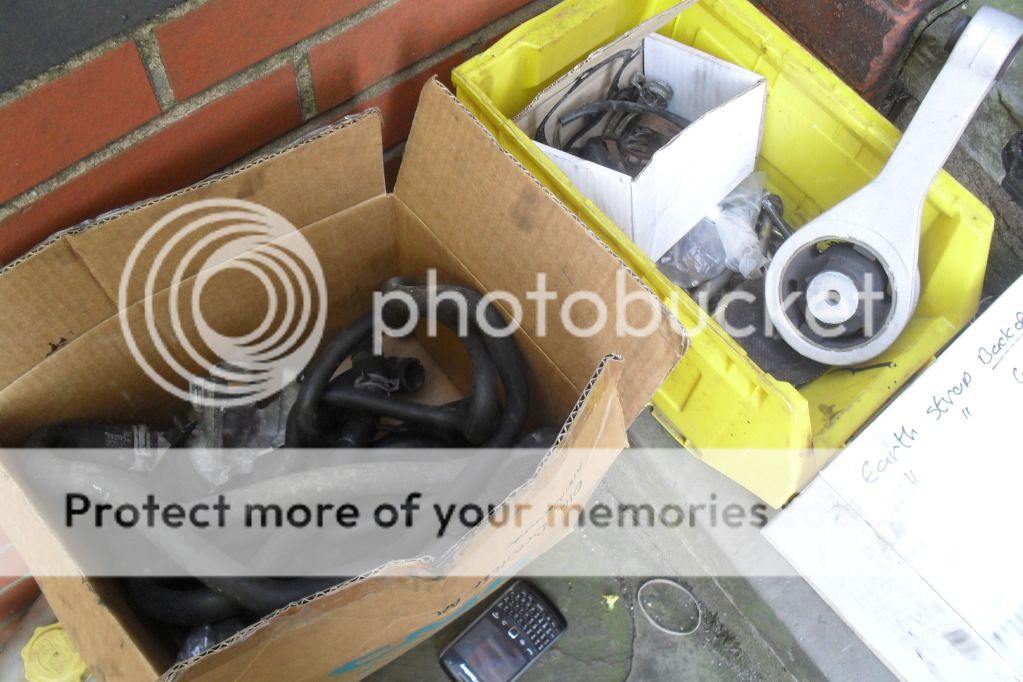
got these from a mate of mine for free
all the gaskets aswell along with the paste
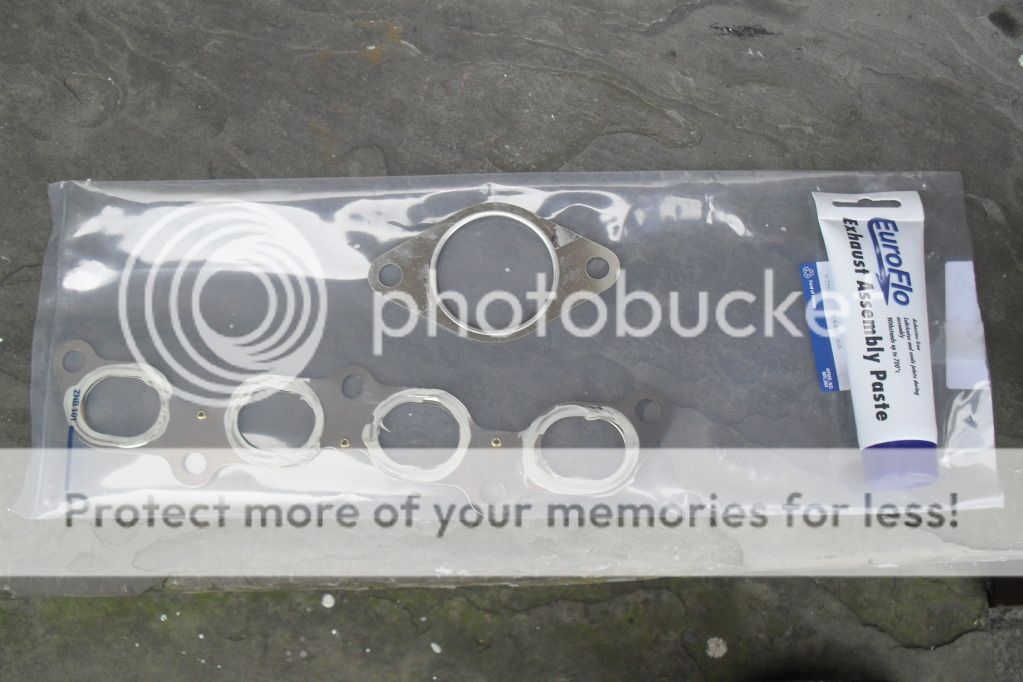
got the new/old stock from ebay Ł4.79 bargain!!!
so i started to get the engine up and running so i got everything i could need for the car out of the cellor. i have 2 or 3 of about everything so decided to clean up the best of what i had and bolt it to the puma.
pics of all the parts.
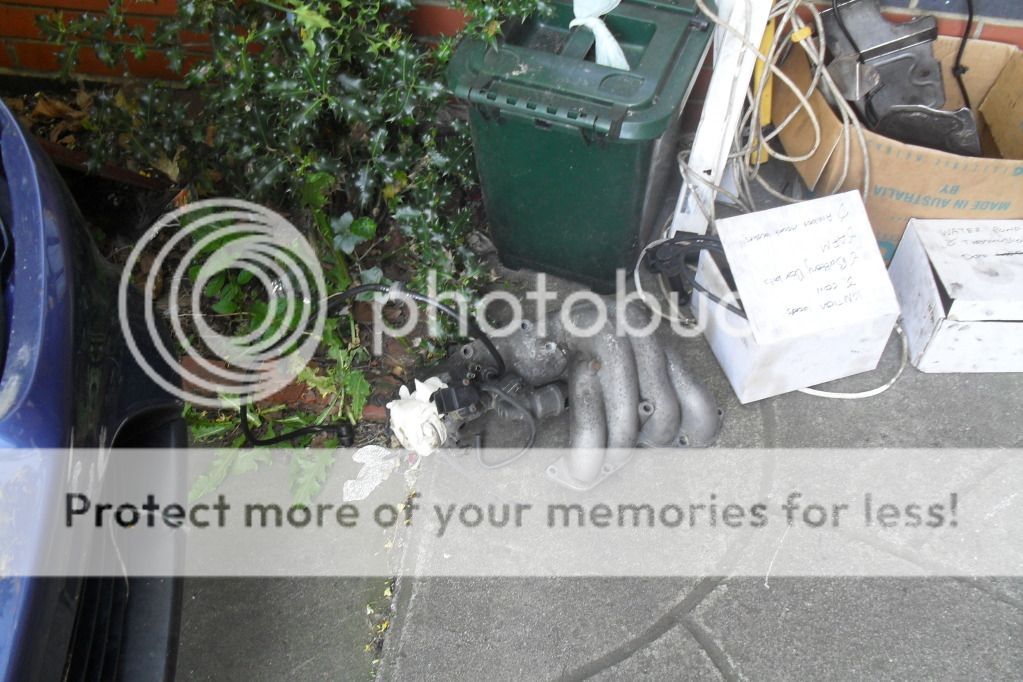
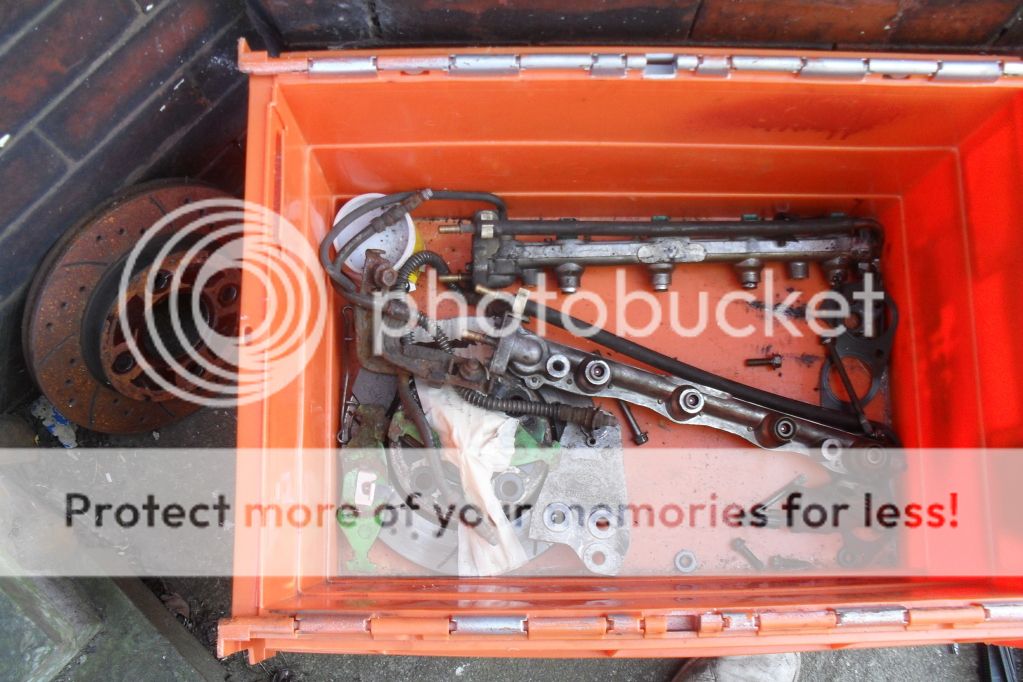
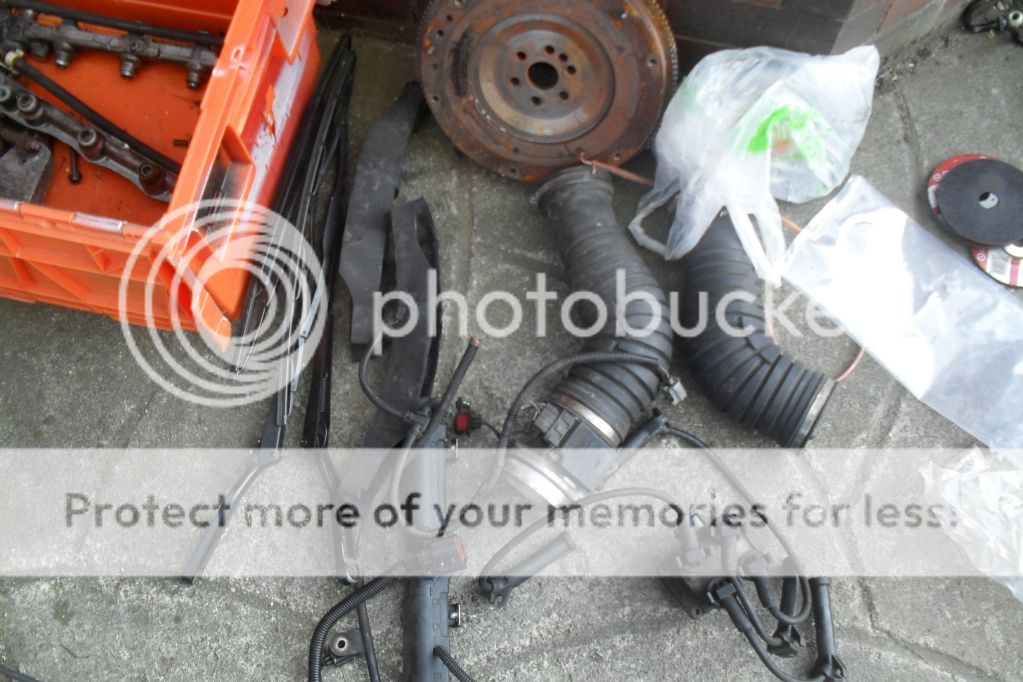
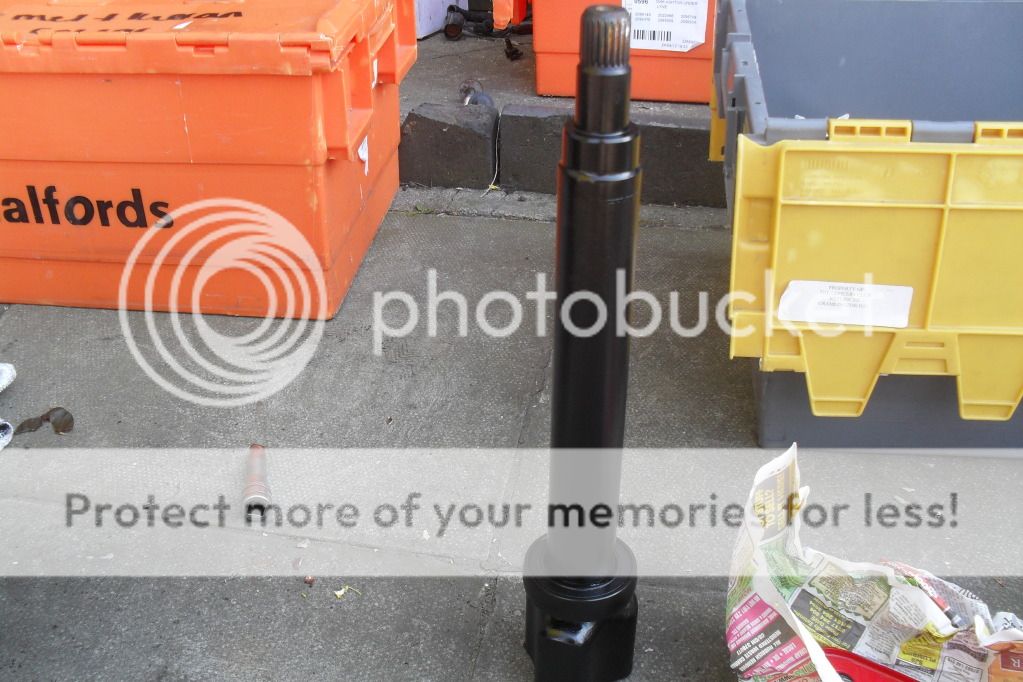
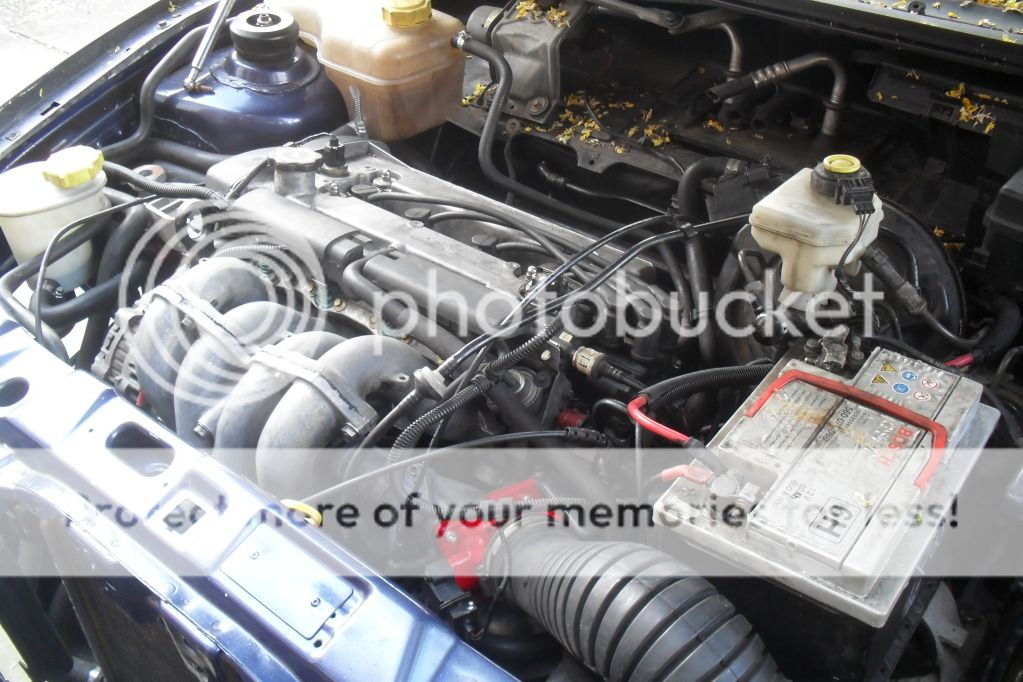
firstly i started to put all the difficult stuff onto the back of the engine like the manifold, power steering and drive shaft ect pics of the parts cheaned up and painted
also pics of the progress

started to fit everything else i need to get her running for the first time in over 8 months

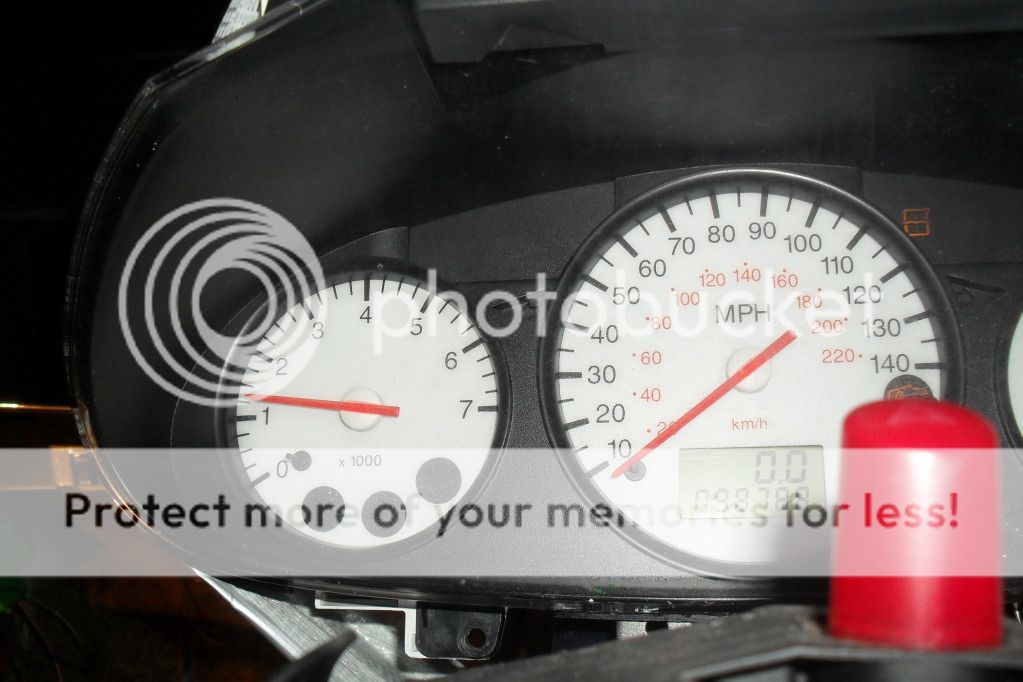
i havent got any video's of the car running but i have pics of the rev counter.

i will put another post up tomorow of more progress.
see you soon
here is were the car was while we lived at my mum and dads
also got alot of parts for my car from flea bay cheap and cheerfull
sportex manifold to go with my sportex exhaust.
got these from a mate of mine for free
all the gaskets aswell along with the paste
got the new/old stock from ebay Ł4.79 bargain!!!
so i started to get the engine up and running so i got everything i could need for the car out of the cellor. i have 2 or 3 of about everything so decided to clean up the best of what i had and bolt it to the puma.
pics of all the parts.
firstly i started to put all the difficult stuff onto the back of the engine like the manifold, power steering and drive shaft ect pics of the parts cheaned up and painted
also pics of the progress
started to fit everything else i need to get her running for the first time in over 8 months
i havent got any video's of the car running but i have pics of the rev counter.
i will put another post up tomorow of more progress.
see you soon
Last edited by Kizza; 06-10-2012 at 09:24 PM.
 06-10-2012, 09:25 PM
#5
Wahay!! I've lost my Virginity!!
Thread Starter
Join Date: Oct 2012
Location: manchester
Posts: 52
Likes: 0
Received 0 Likes
on
0 Posts
for starters here are some more things i managed to get my hands on
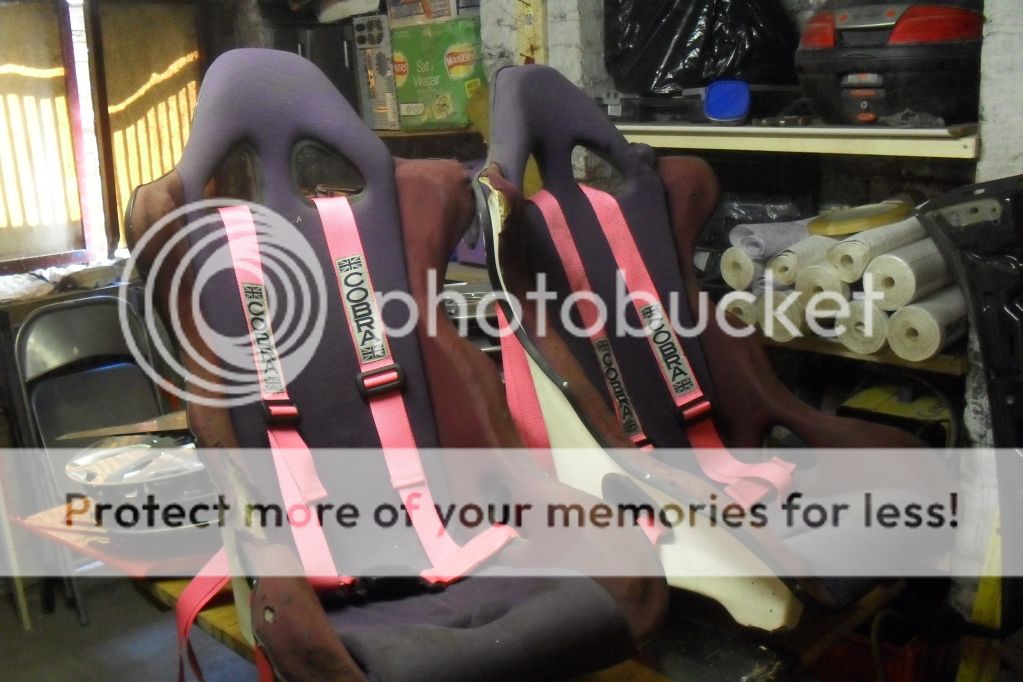
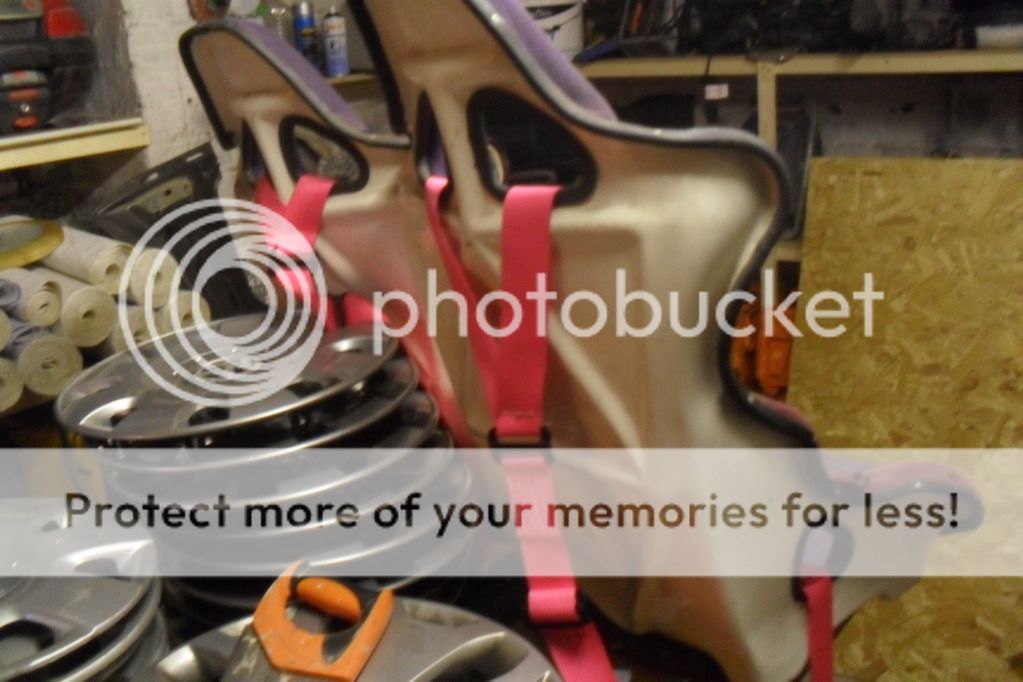
got these seats for Ł35 and the belts for Ł25 posted not the best in the world but 2 seats and belts for Ł60 not bad i dont think the worst thing is the belts are pink lol
got these for Ł50
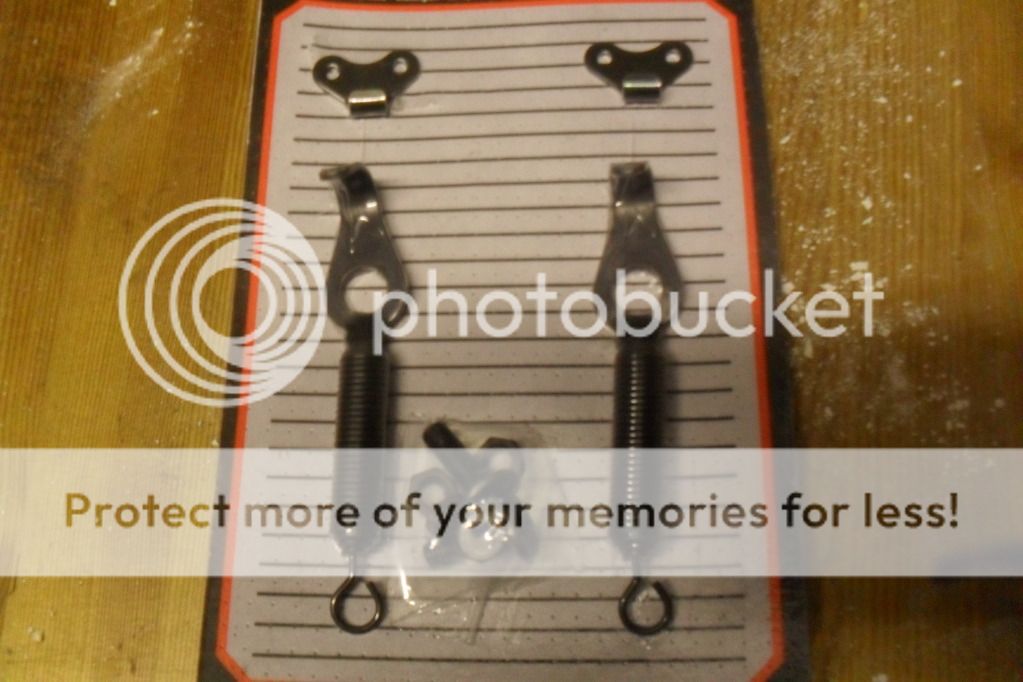
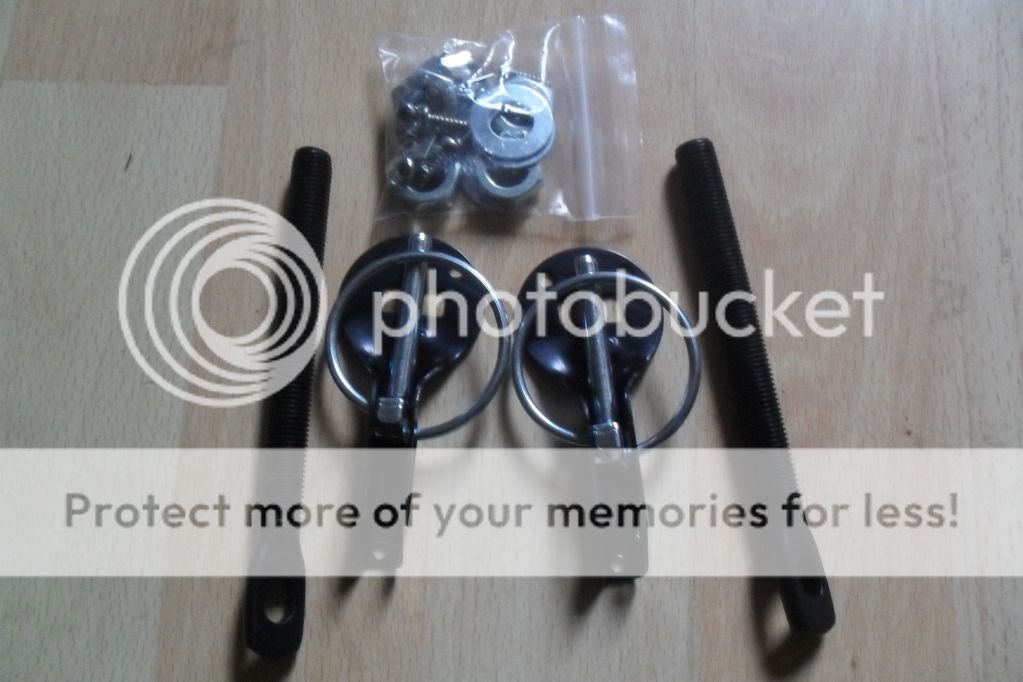
also imanaged to get thses little beautys for Ł70 posted
also for Ł7.50 each i manages to get these
after getting loads of stuff at bargain prices i decided to start to fit it all.
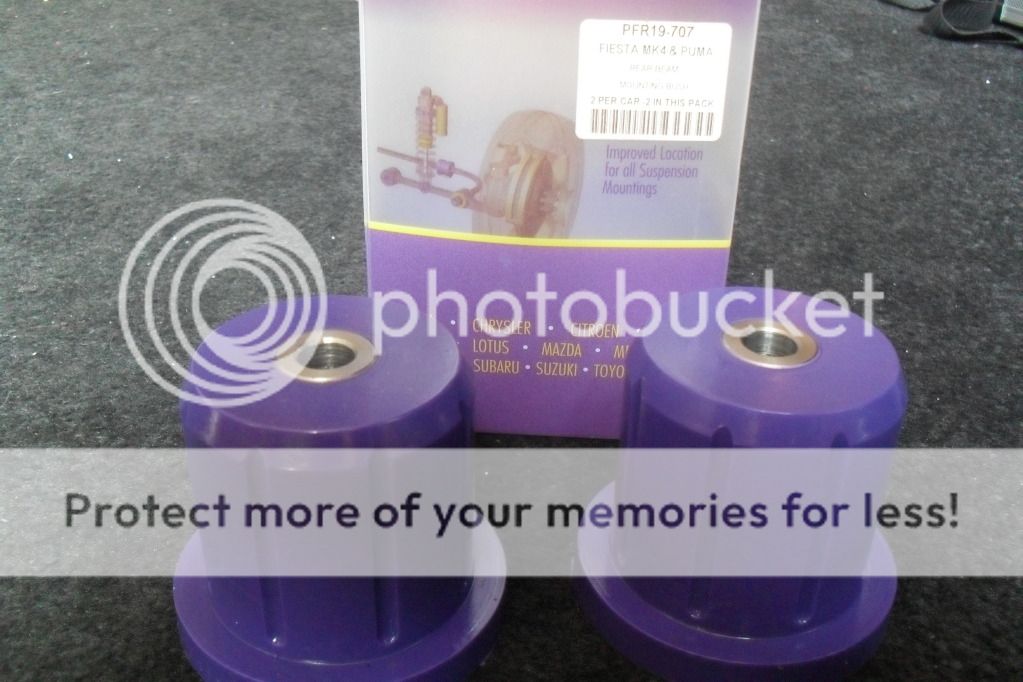
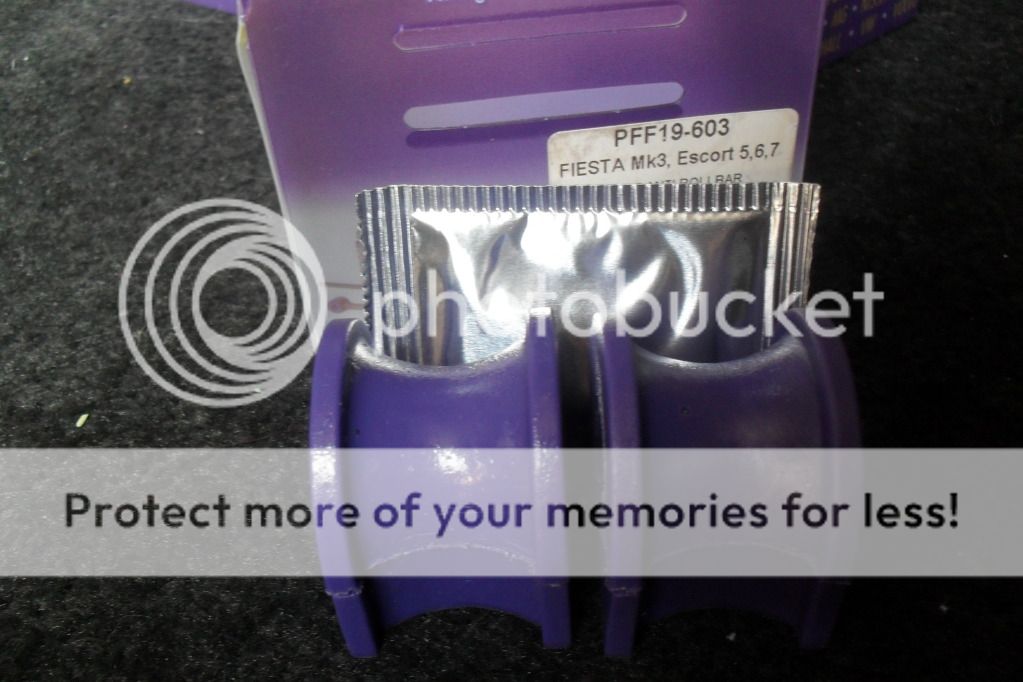
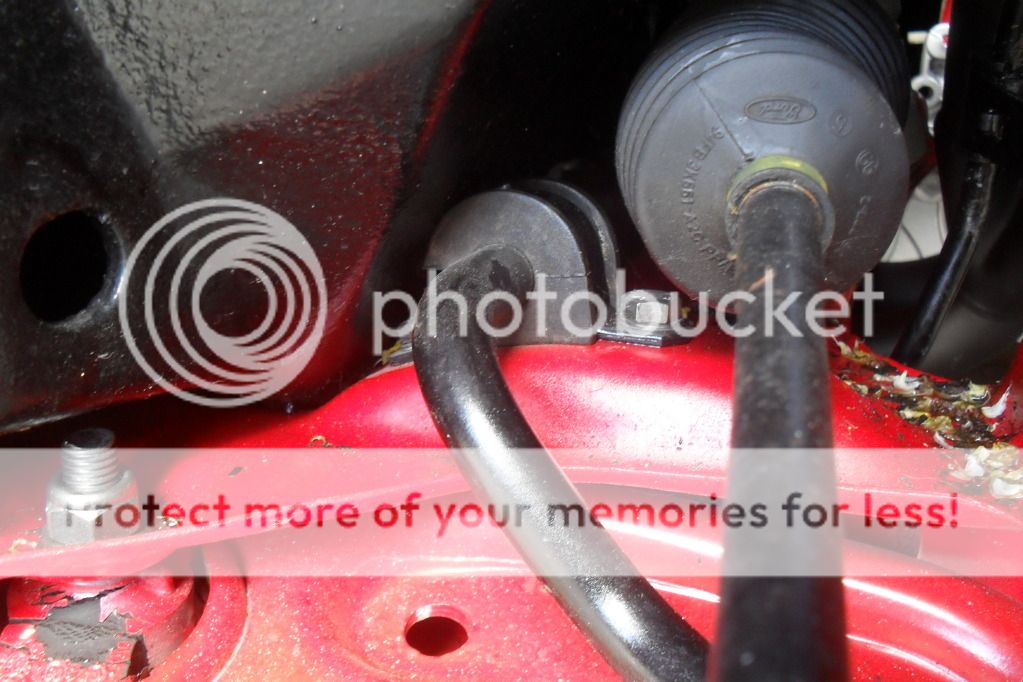
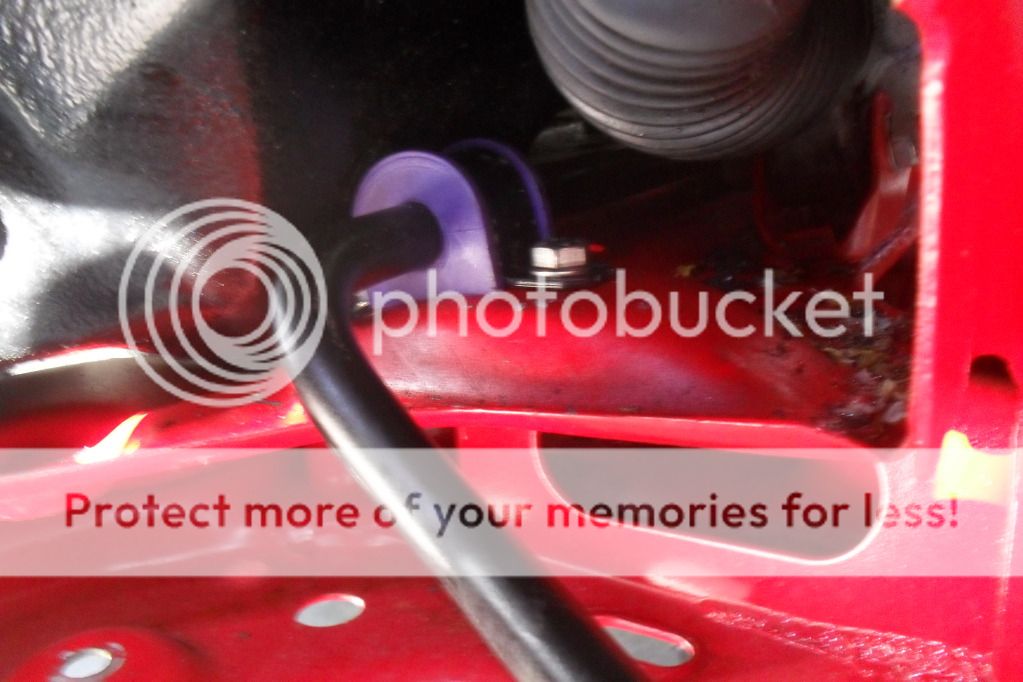
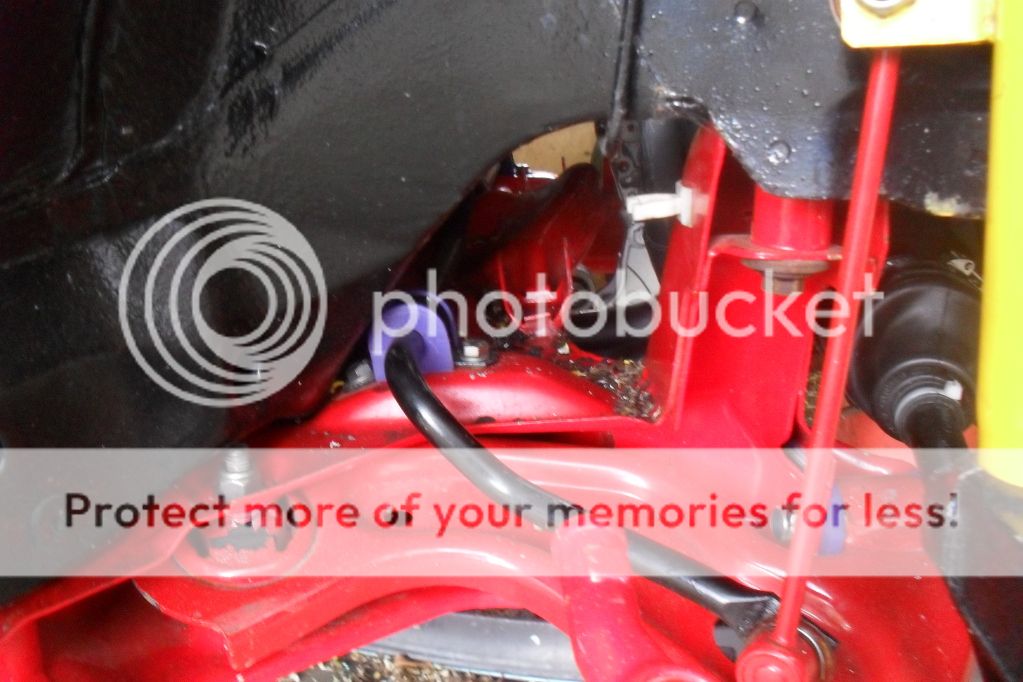
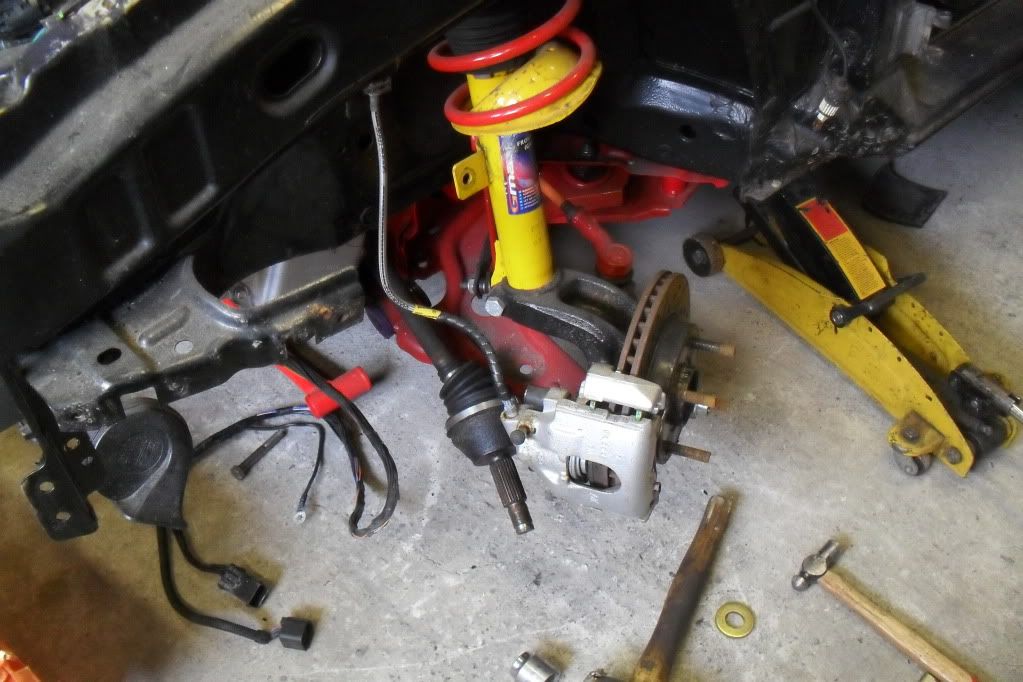
pics of the bushes getting changed

sadly i had to change the wheel bearing :-( again!
but il be doin that later on
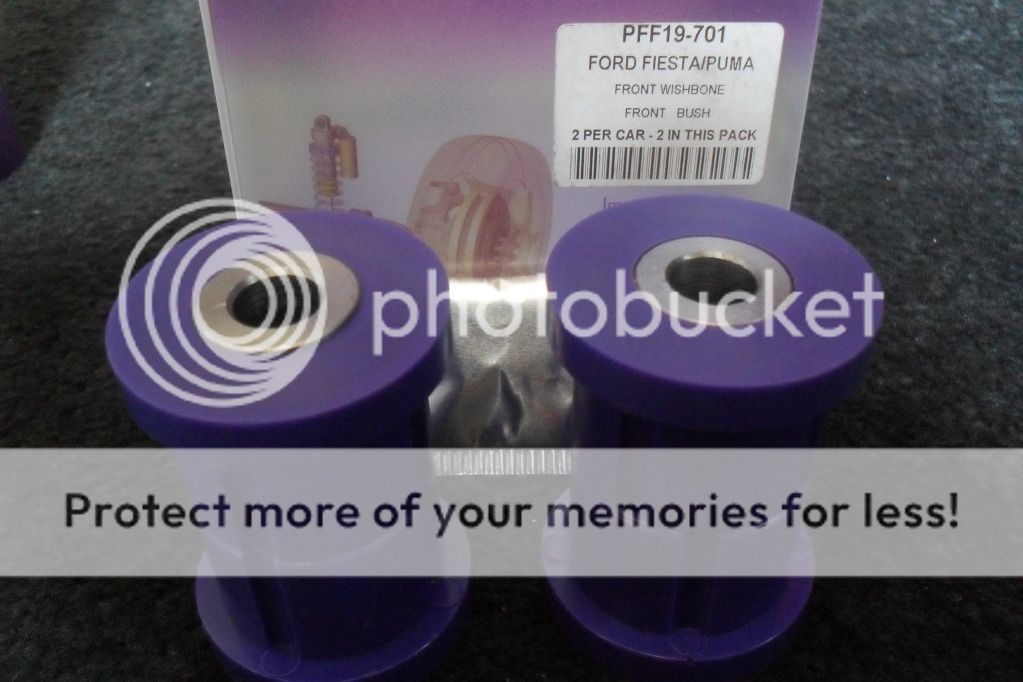
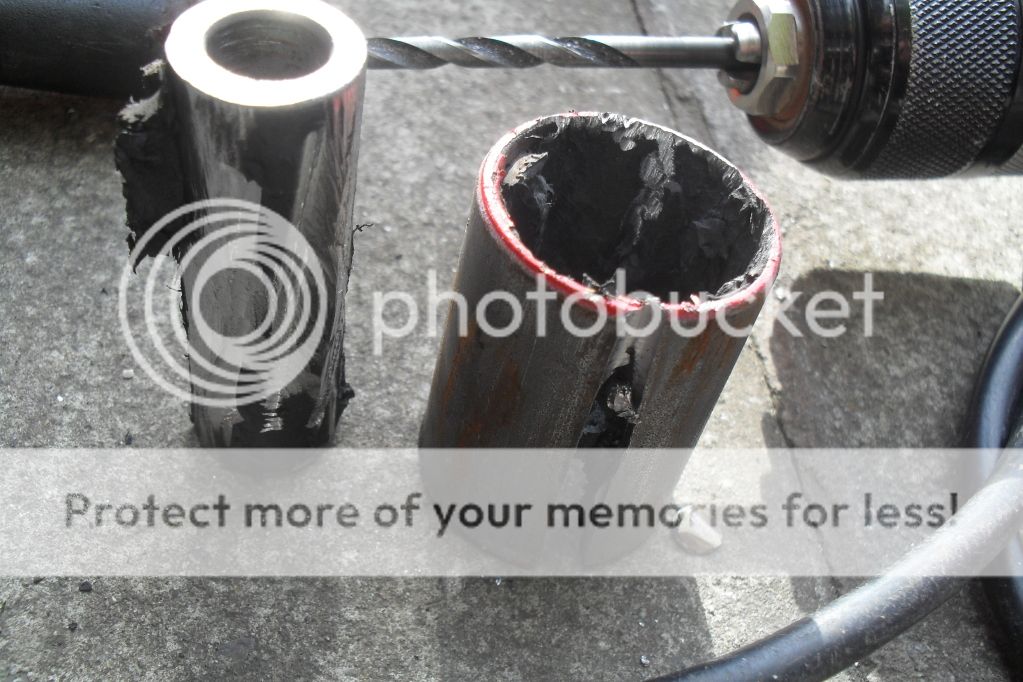
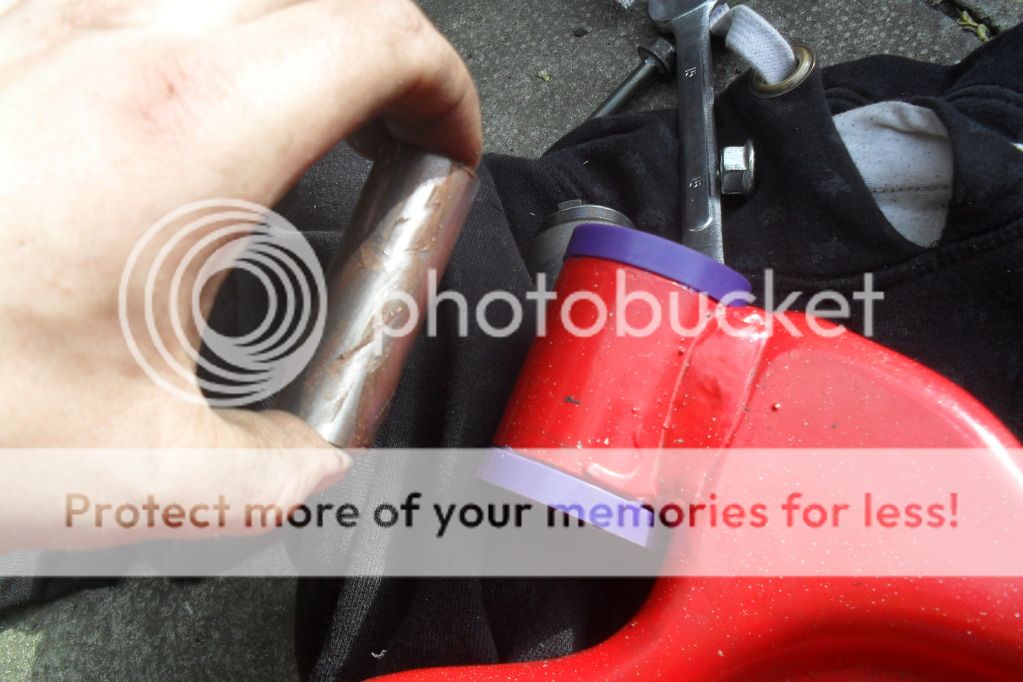
firstly i tryed pulling out the front wishbone bush but i didnt have a big enough socket to i had to take a different aproach
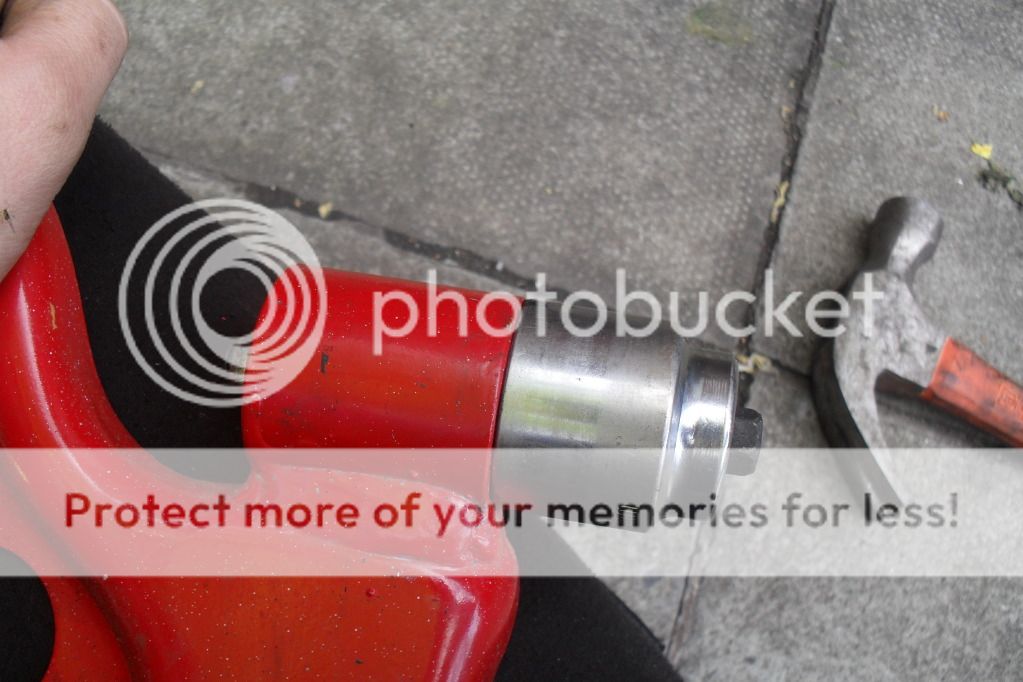
i found my trust drill did the job properly
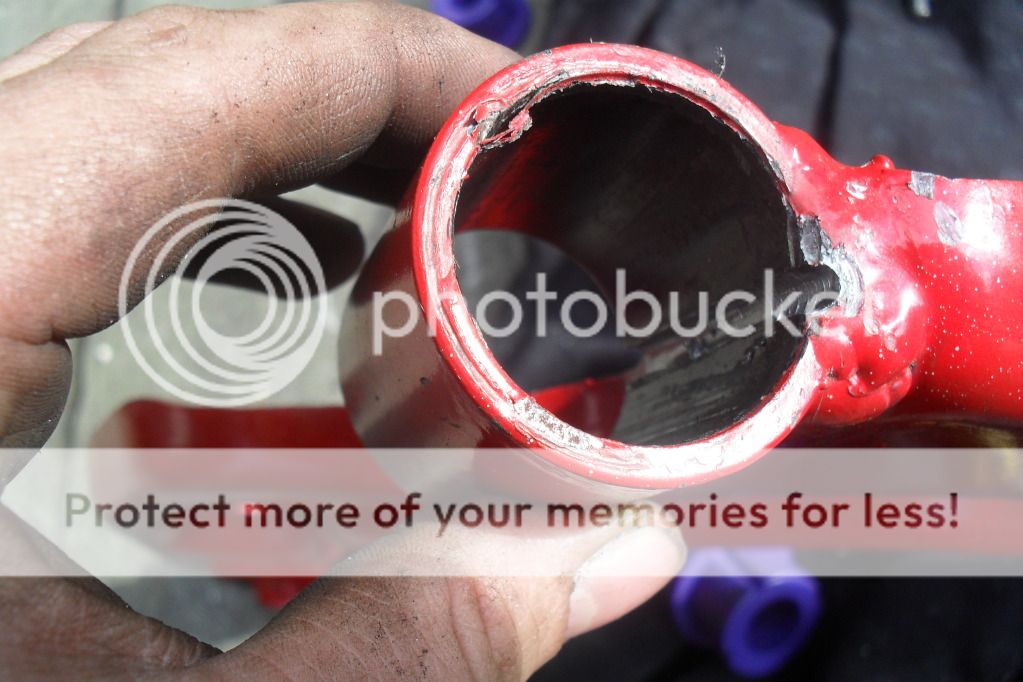
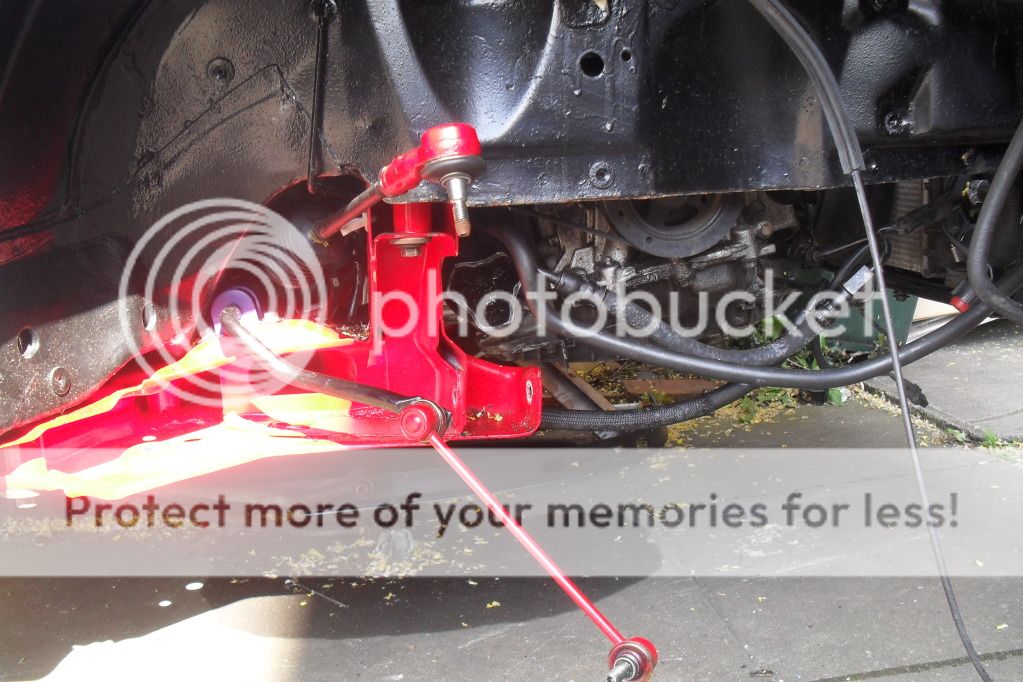
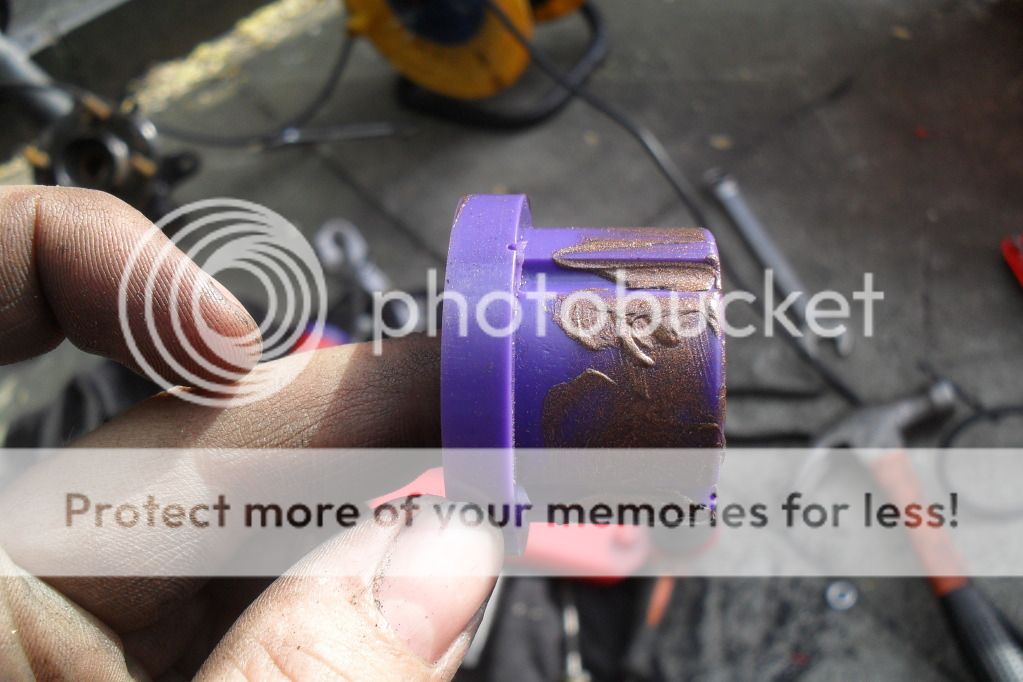
then i fitted the bushes and fitted them back onto the car.
oiled up
fitted
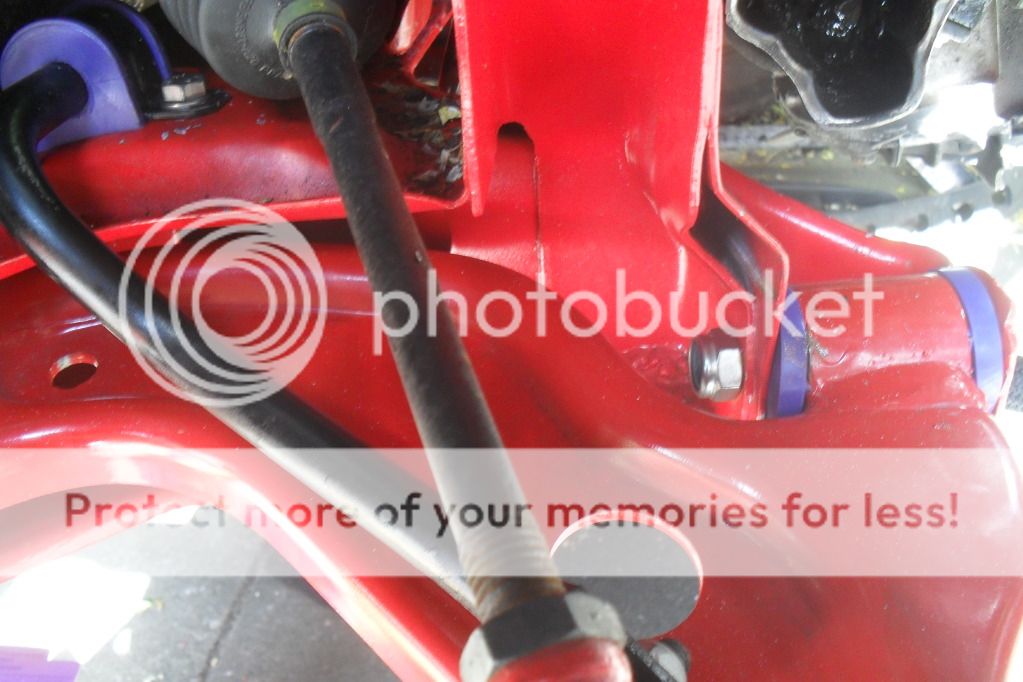
it took about an hour to the the first side and about 15 mins to do the other side, well thay do say practice makes perfect
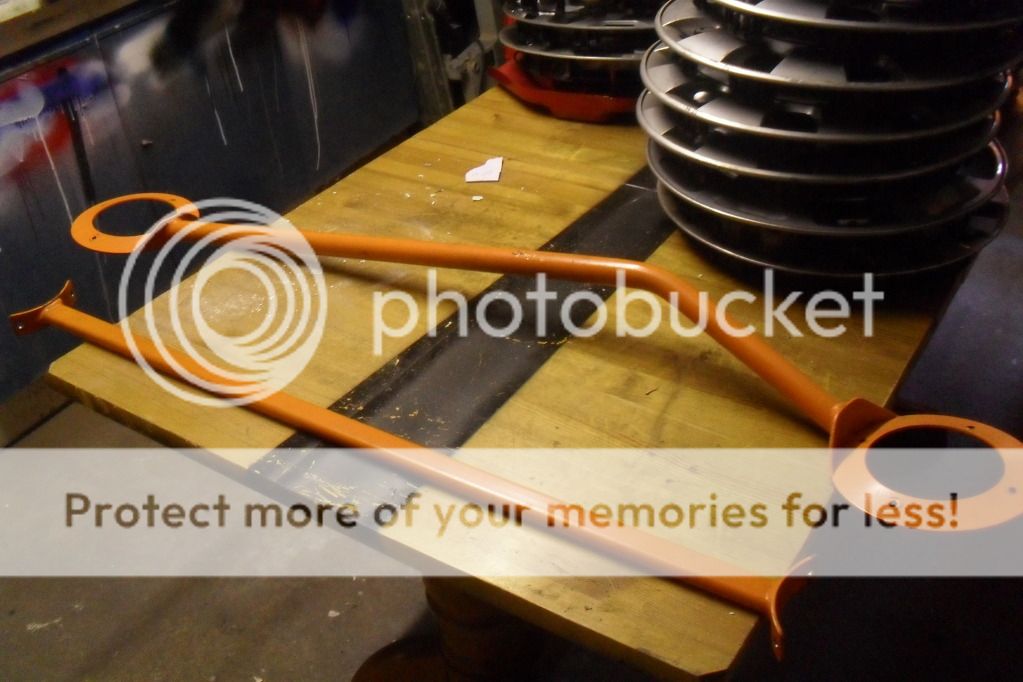
got these through the post then got them cut, crushed and reheated by a mate of mines brother who works on truck springs for a living

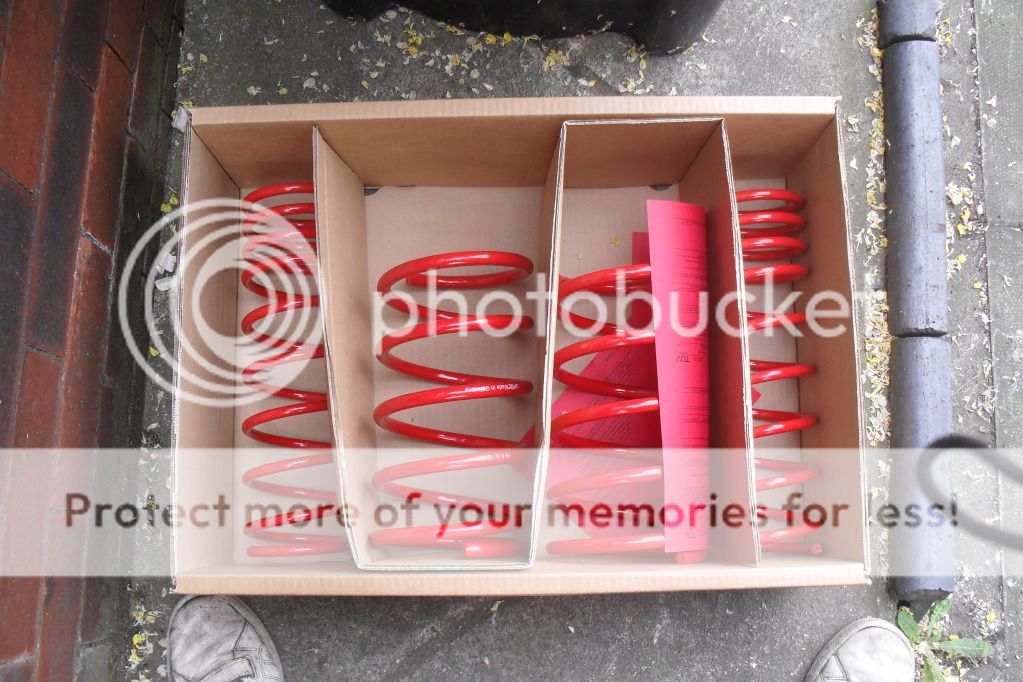
after the reworking they were estamated to be about a 60-80mm drop on the standard car.
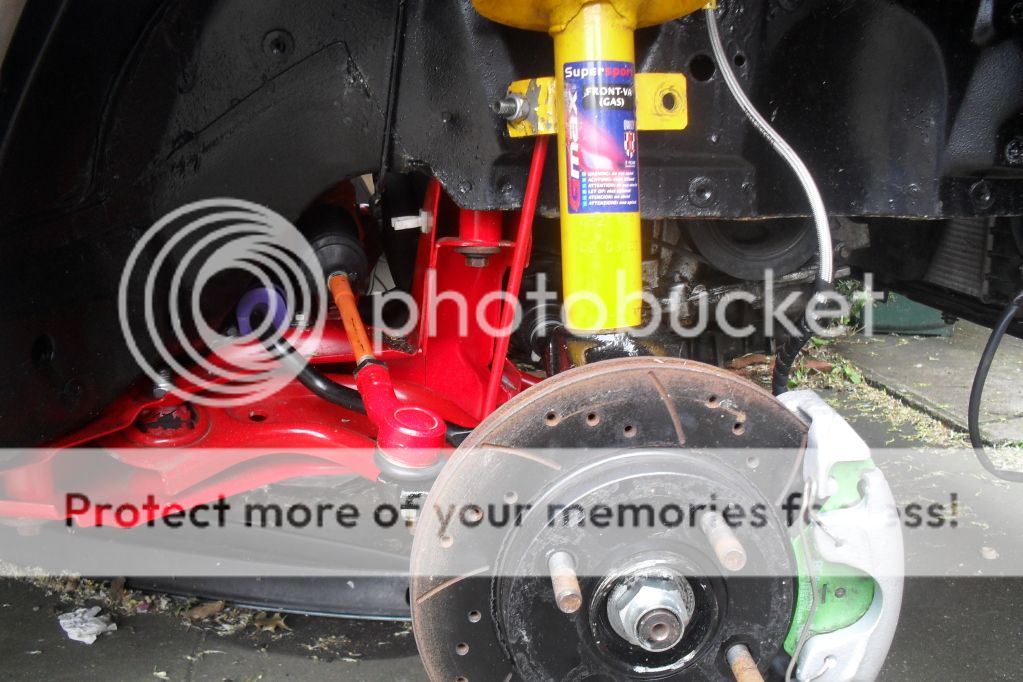
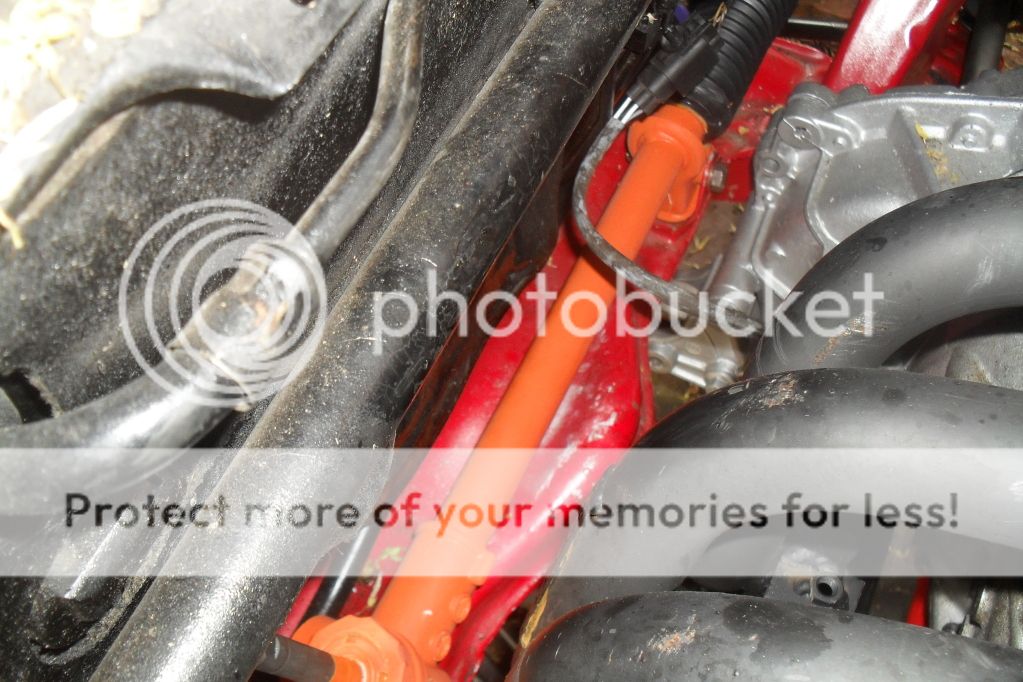
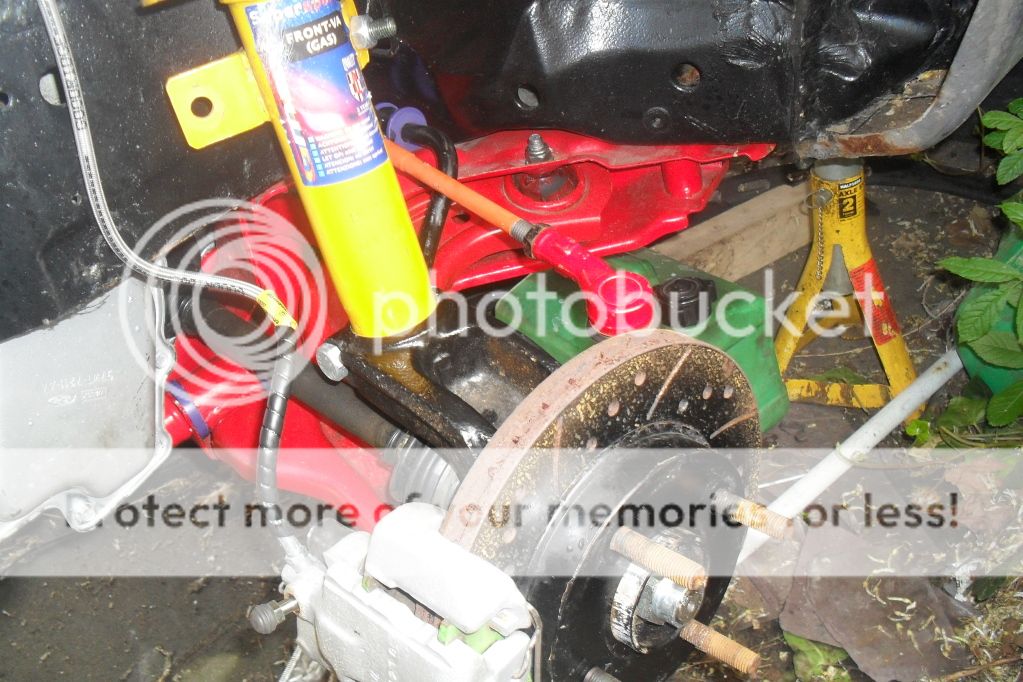
i was waiting for other things to eather come up cheap here and there or to come through the post so i started fitting all the other things i had pics


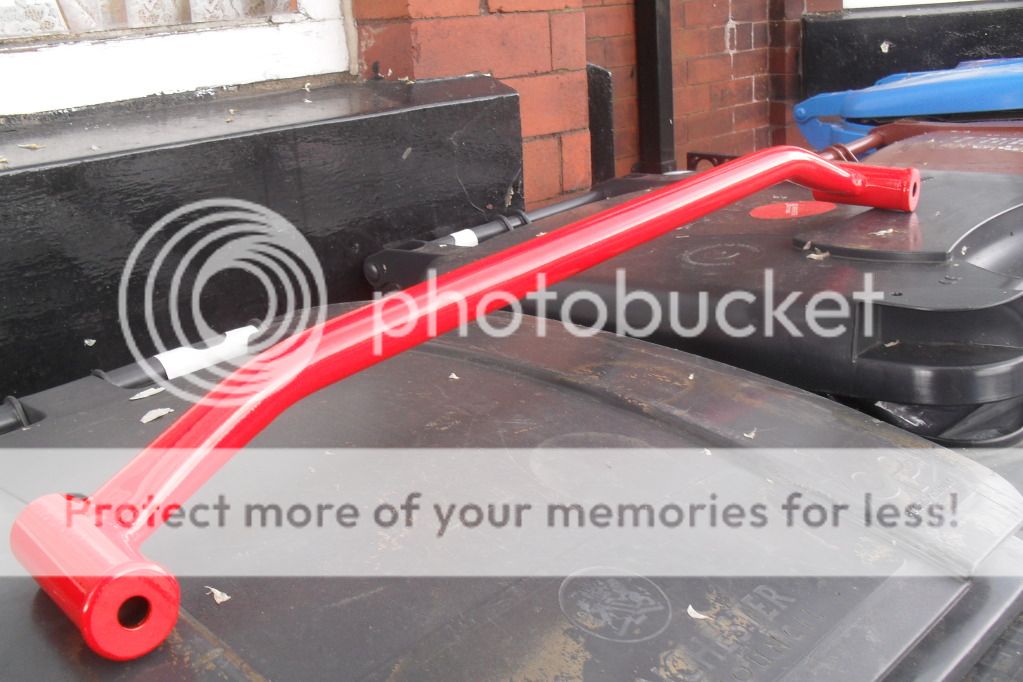
then i put the brace on
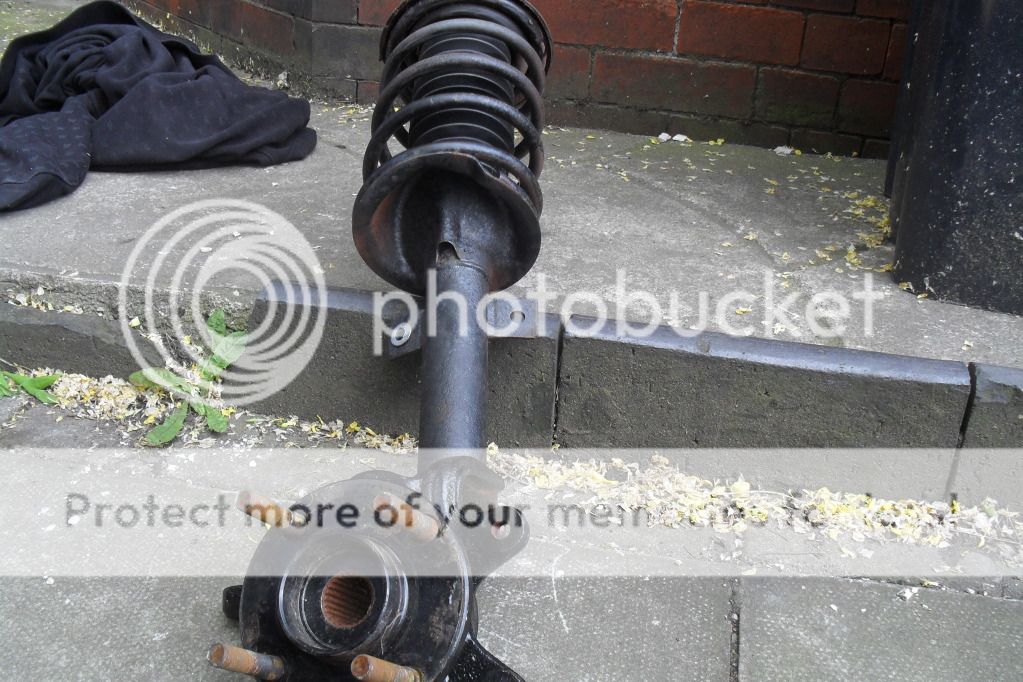
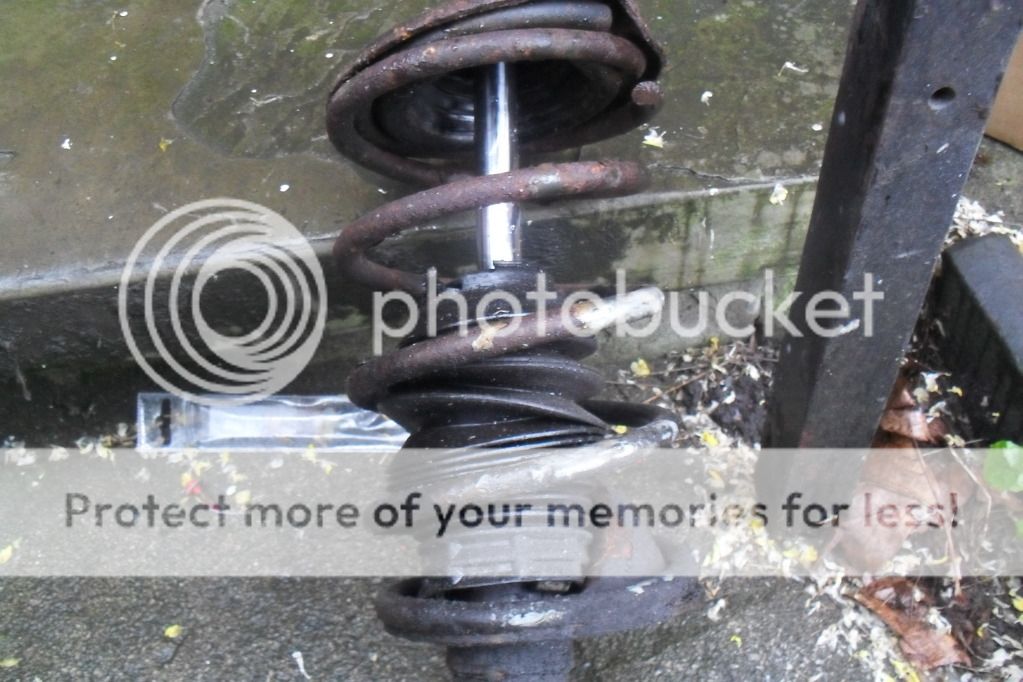
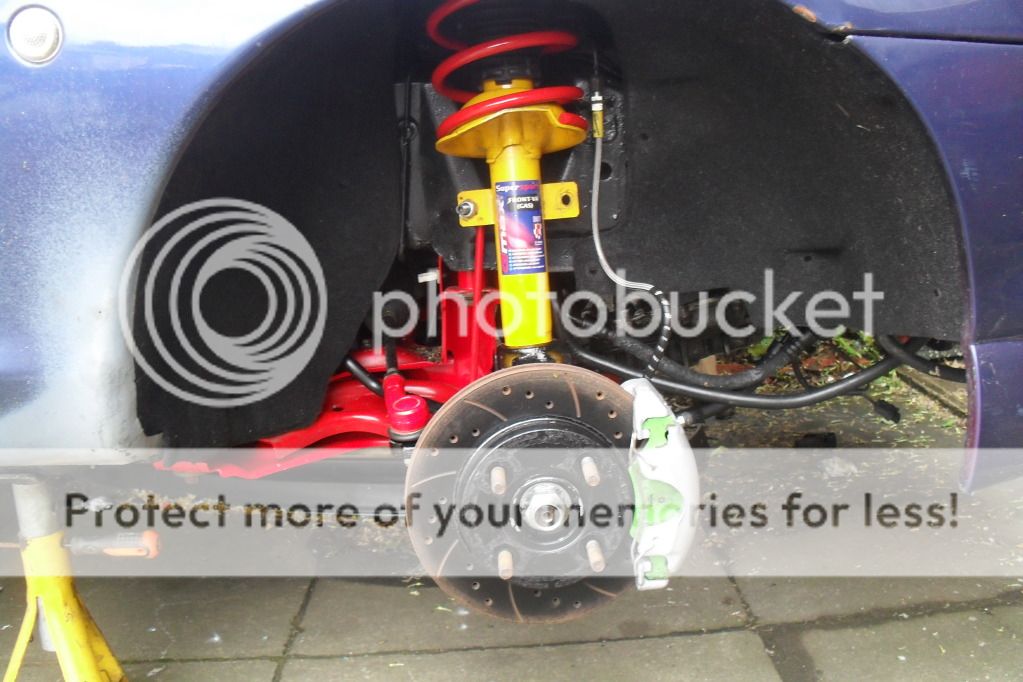
after looking at the state of all my shocks i decided to get some more uprated ones
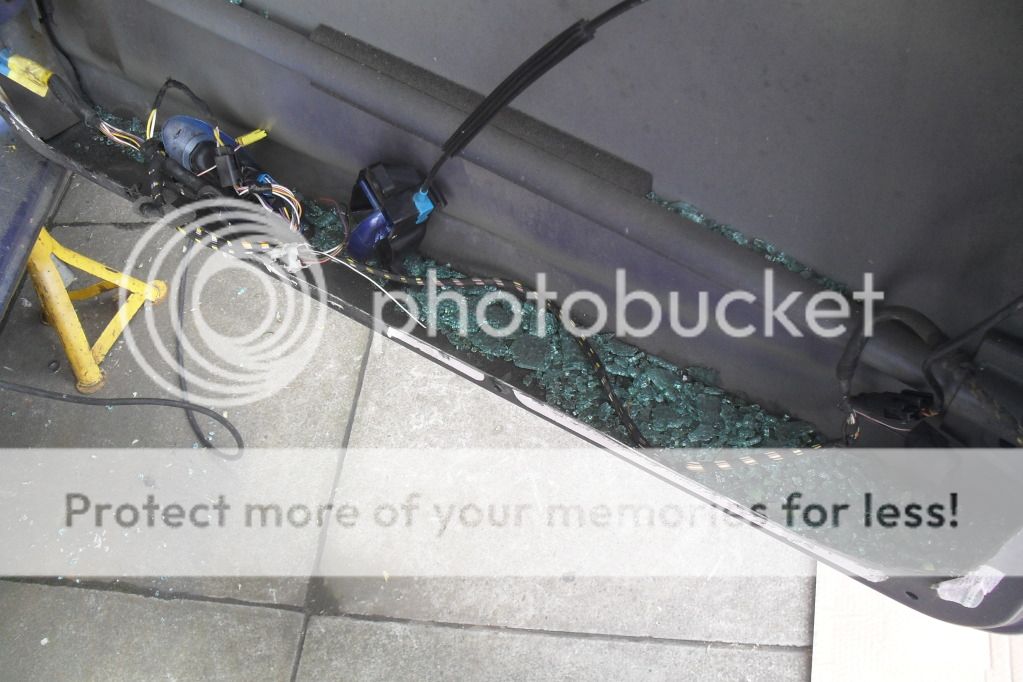
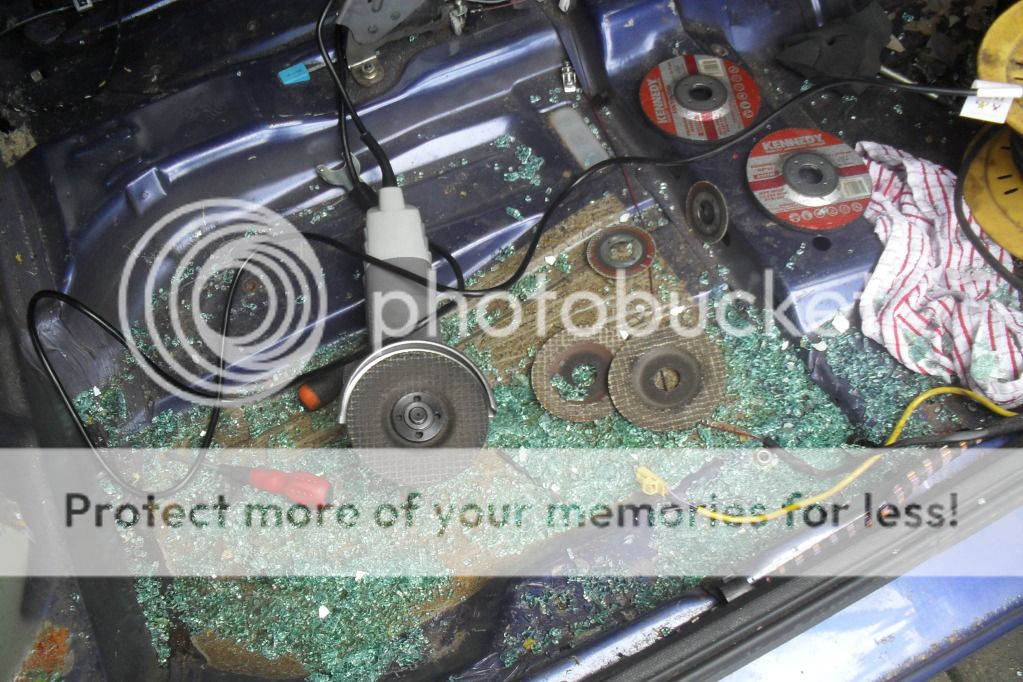
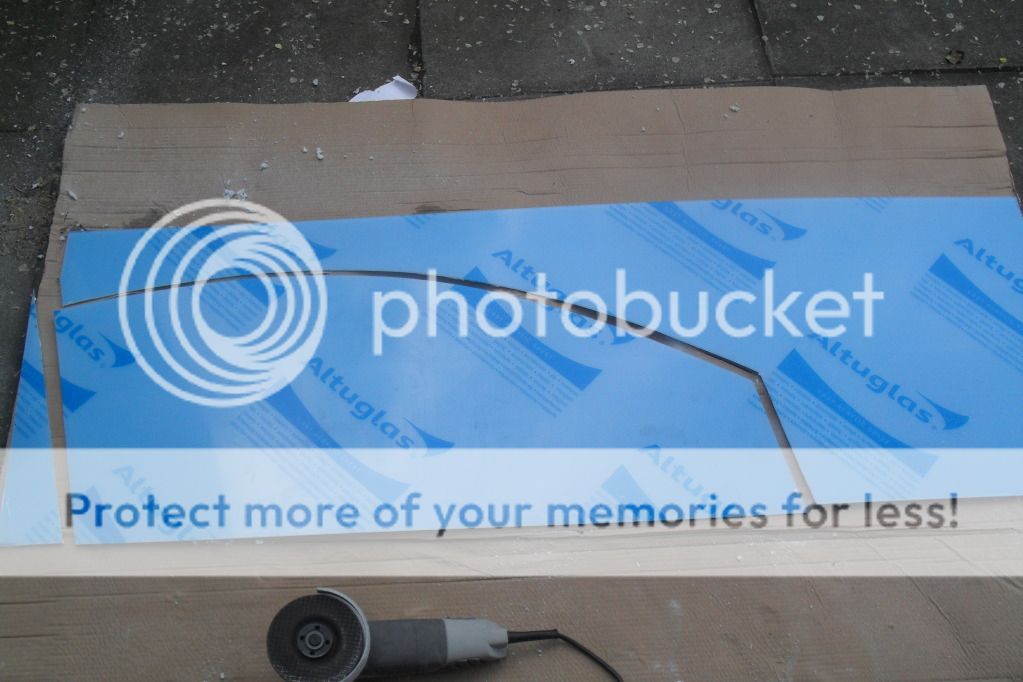
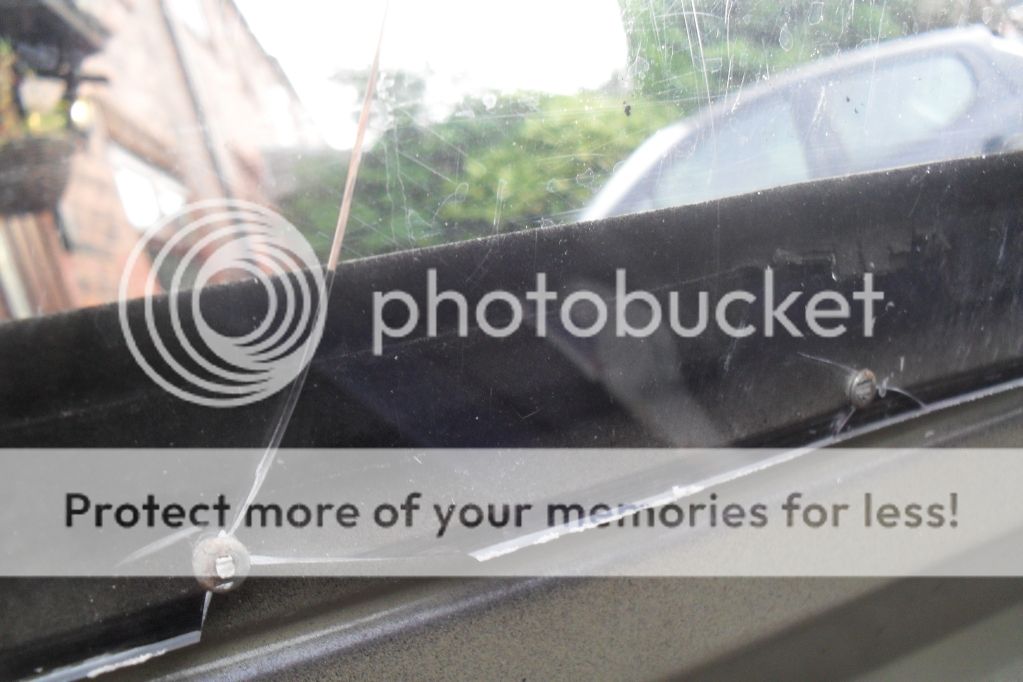
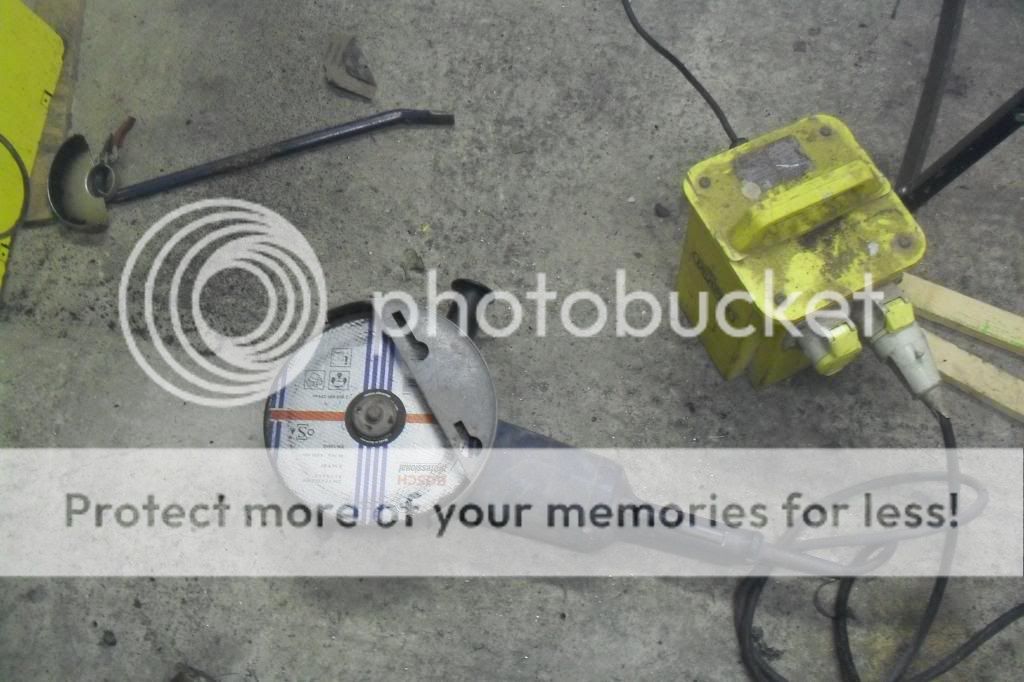
while i was cutting out the drivers door my grinder went pop and started to smoke, not the best start to a saturday morning so after i went to B&Q to take it back and get a new one i got a free upgrade because the price had been cut across the range so took it back home and started again then soon after i touched the glass and bang....no more glass so i decided to pack up and leave it for the day before something else went wrong. pics
the day after i fitted perpsex pics

i then started to clean up the back of the car, it was looking a mess
i got the bearing changed at work ready to go back onto the car.
i will upload another progress report later ive got to take the misses to the docs back soon
got these seats for Ł35 and the belts for Ł25 posted not the best in the world but 2 seats and belts for Ł60 not bad i dont think the worst thing is the belts are pink lol
got these for Ł50
also imanaged to get thses little beautys for Ł70 posted
also for Ł7.50 each i manages to get these
after getting loads of stuff at bargain prices i decided to start to fit it all.
pics of the bushes getting changed
sadly i had to change the wheel bearing :-( again!
but il be doin that later on
firstly i tryed pulling out the front wishbone bush but i didnt have a big enough socket to i had to take a different aproach
i found my trust drill did the job properly
then i fitted the bushes and fitted them back onto the car.
oiled up
fitted
it took about an hour to the the first side and about 15 mins to do the other side, well thay do say practice makes perfect
got these through the post then got them cut, crushed and reheated by a mate of mines brother who works on truck springs for a living
after the reworking they were estamated to be about a 60-80mm drop on the standard car.
i was waiting for other things to eather come up cheap here and there or to come through the post so i started fitting all the other things i had pics
then i put the brace on
after looking at the state of all my shocks i decided to get some more uprated ones
while i was cutting out the drivers door my grinder went pop and started to smoke, not the best start to a saturday morning so after i went to B&Q to take it back and get a new one i got a free upgrade because the price had been cut across the range so took it back home and started again then soon after i touched the glass and bang....no more glass so i decided to pack up and leave it for the day before something else went wrong. pics
the day after i fitted perpsex pics
i then started to clean up the back of the car, it was looking a mess
i got the bearing changed at work ready to go back onto the car.
i will upload another progress report later ive got to take the misses to the docs back soon
06-10-2012, 09:27 PM
#6
Wahay!! I've lost my Virginity!!
Thread Starter
Join Date: Oct 2012
Location: manchester
Posts: 52
Likes: 0
Received 0 Likes
on
0 Posts
06-10-2012, 09:28 PM
#7
Wahay!! I've lost my Virginity!!
Thread Starter
Join Date: Oct 2012
Location: manchester
Posts: 52
Likes: 0
Received 0 Likes
on
0 Posts
time for another update of progress on the puma,
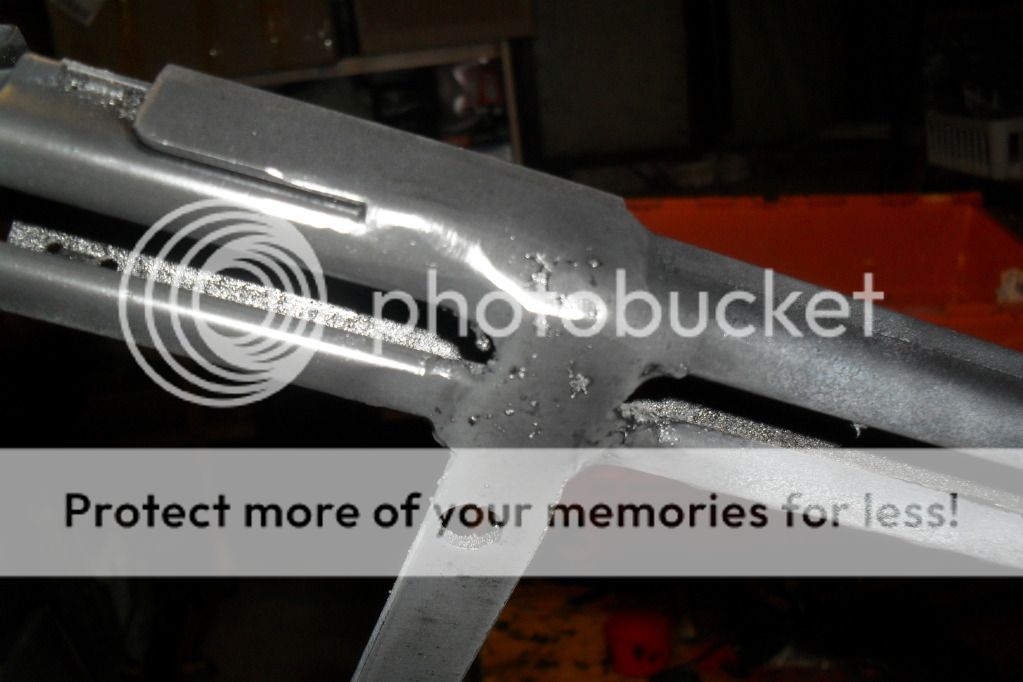
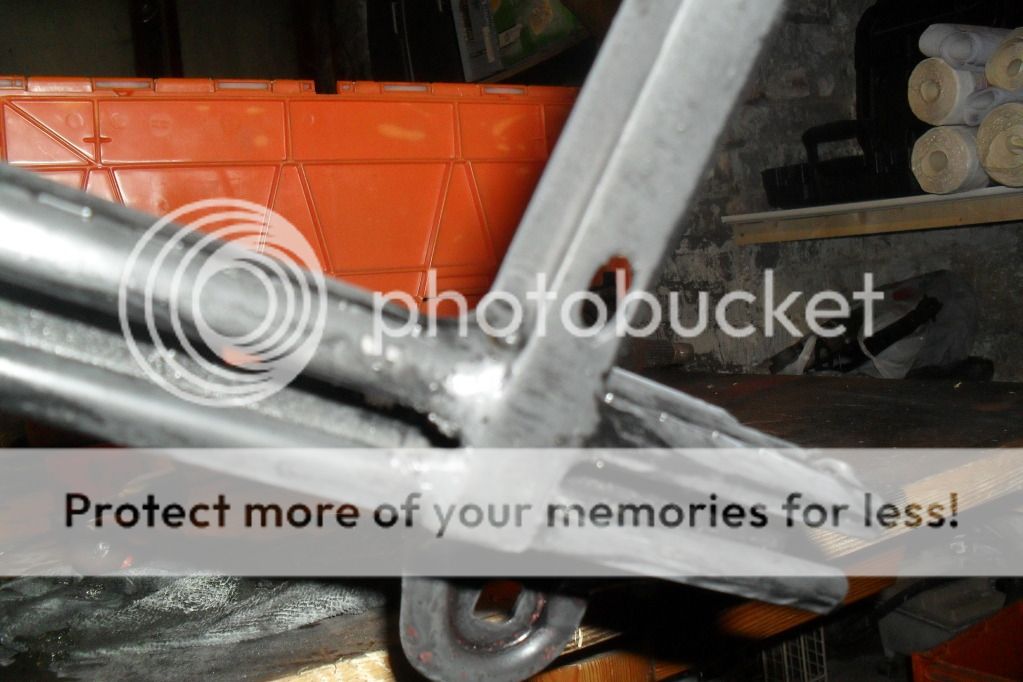
i go the welder out and made a drivers seat bracket, picss
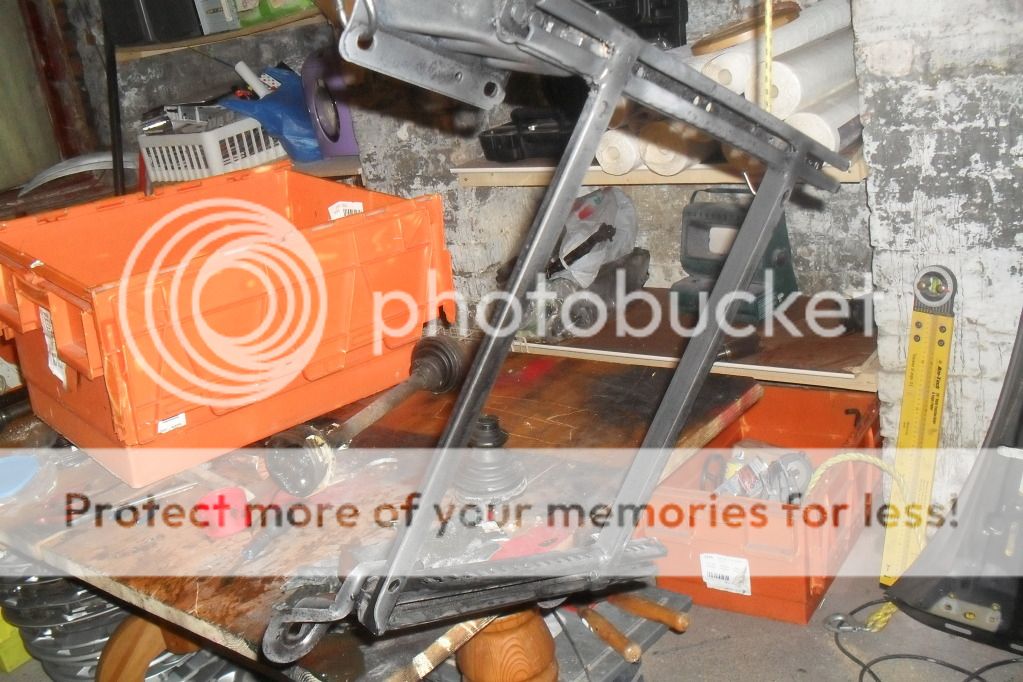
then i got the drive shafts ready for the car along with the calipers. i was missing a couple of bits but ian g sorted me out, top bloke
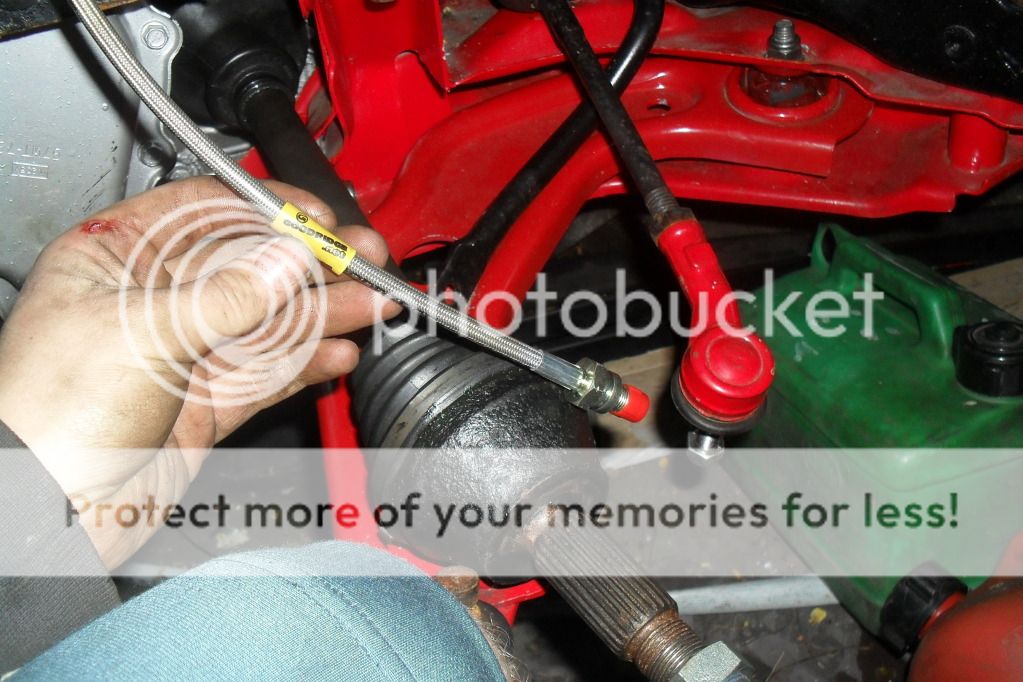
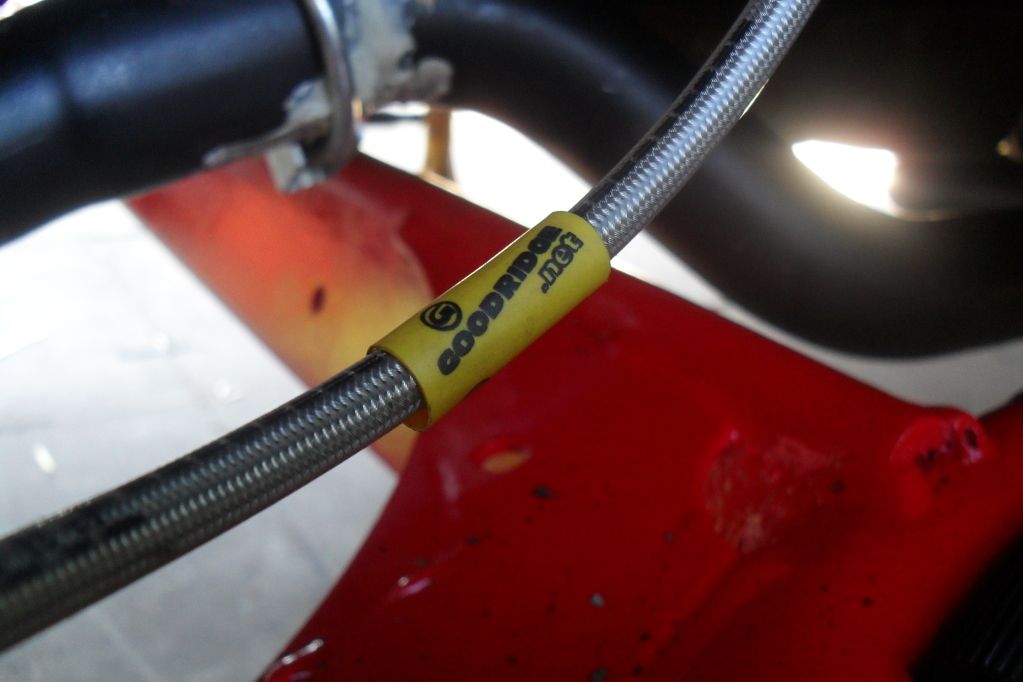
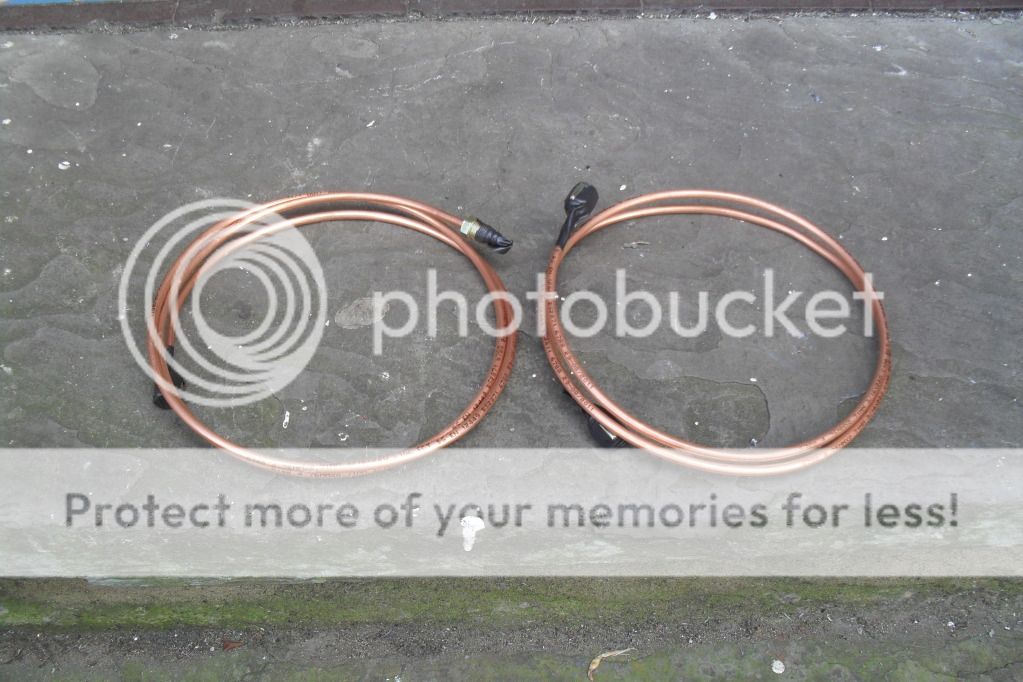
i got a second hand set of brake hoses from ebay that have only done about 150 miles and look like brand new.
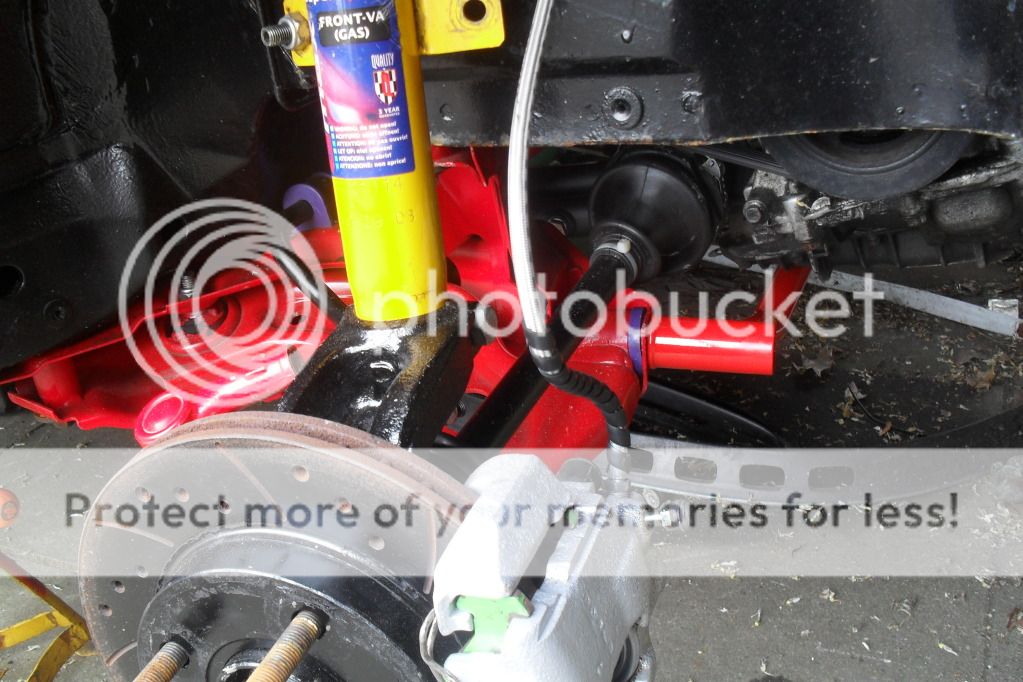
i started to build up the front end pics
another job ticked off the list, all the lights working again

i got the shocks in a set from ebay but one of the rear one were leaking so i need to get another one.
here's the front end built up
il post another update soon
i go the welder out and made a drivers seat bracket, picss
then i got the drive shafts ready for the car along with the calipers. i was missing a couple of bits but ian g sorted me out, top bloke
i got a second hand set of brake hoses from ebay that have only done about 150 miles and look like brand new.
i started to build up the front end pics
another job ticked off the list, all the lights working again
i got the shocks in a set from ebay but one of the rear one were leaking so i need to get another one.
here's the front end built up
il post another update soon
Trending Topics
06-10-2012, 09:30 PM
#8
Wahay!! I've lost my Virginity!!
Thread Starter
Join Date: Oct 2012
Location: manchester
Posts: 52
Likes: 0
Received 0 Likes
on
0 Posts
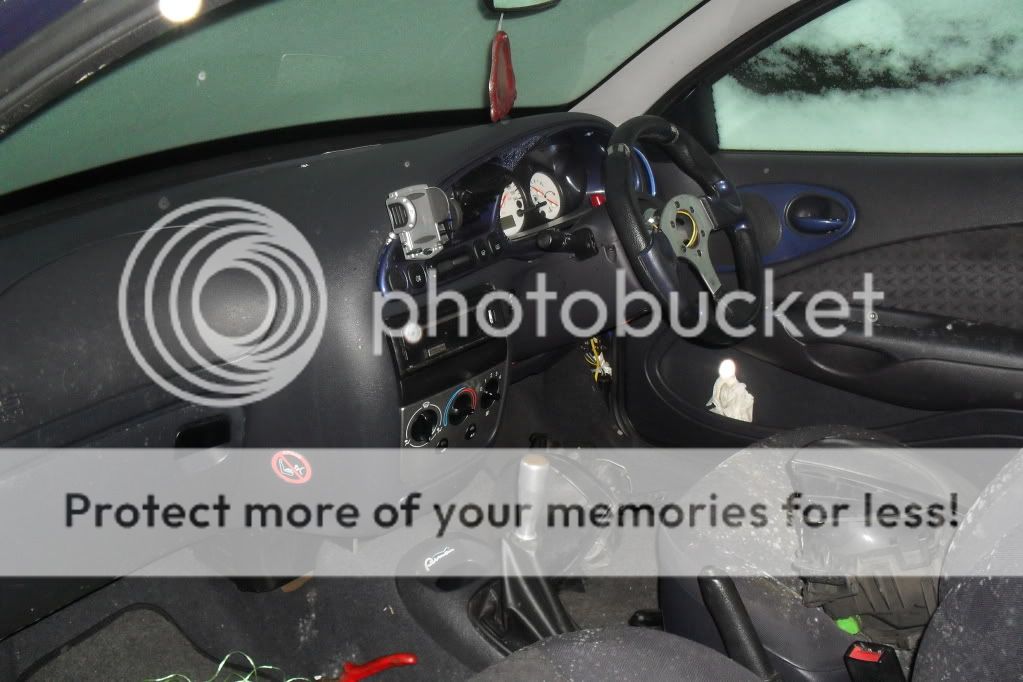
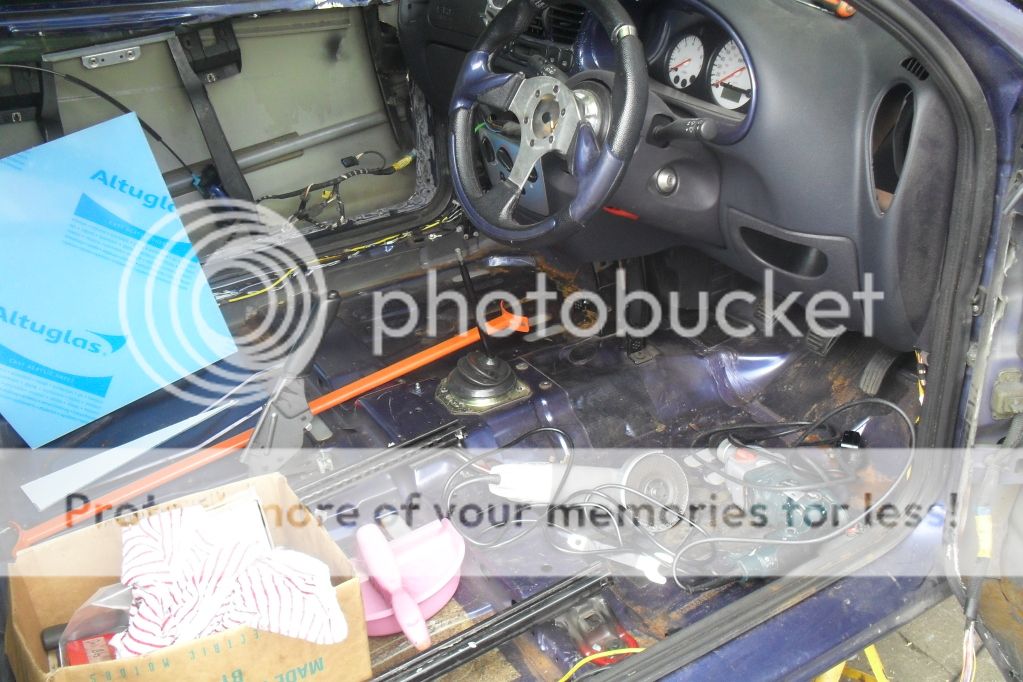
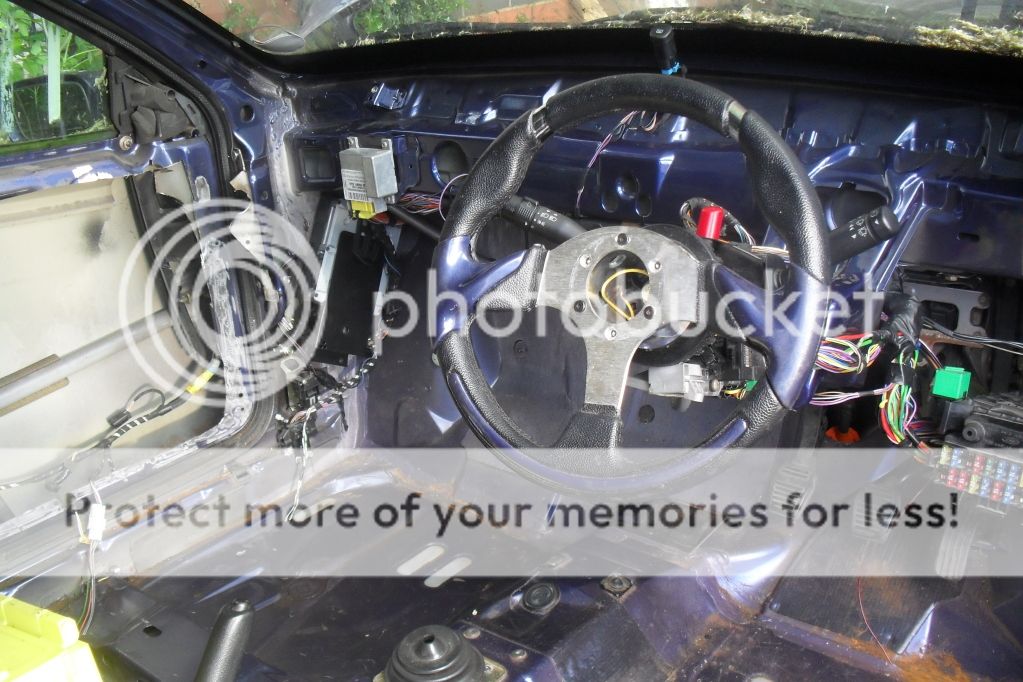
so i decided to remove the dash and give the back a good clean up.
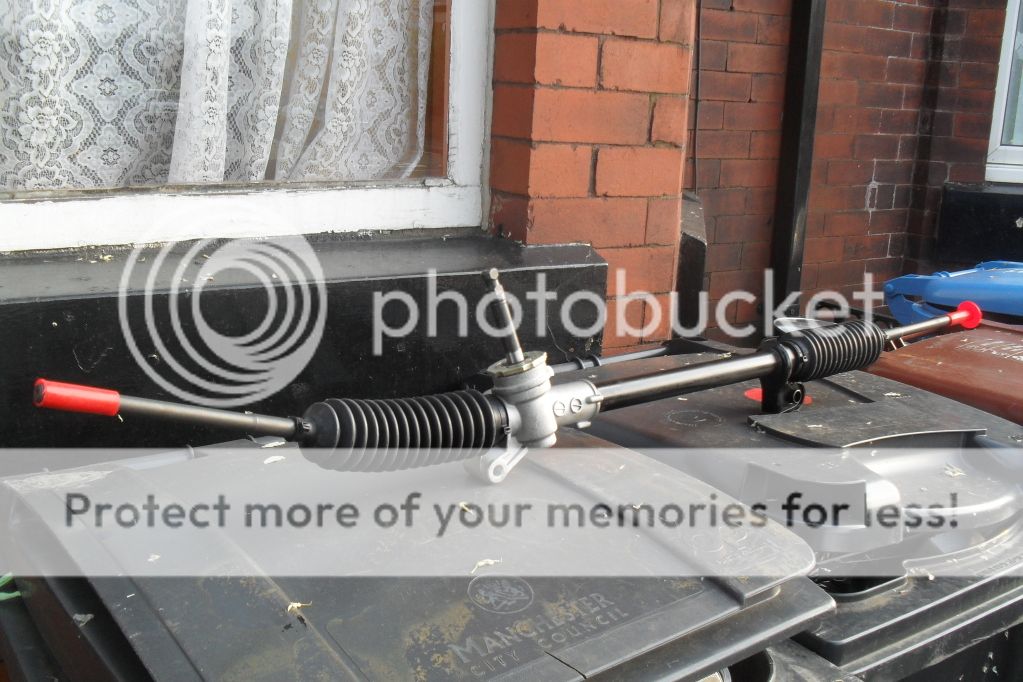
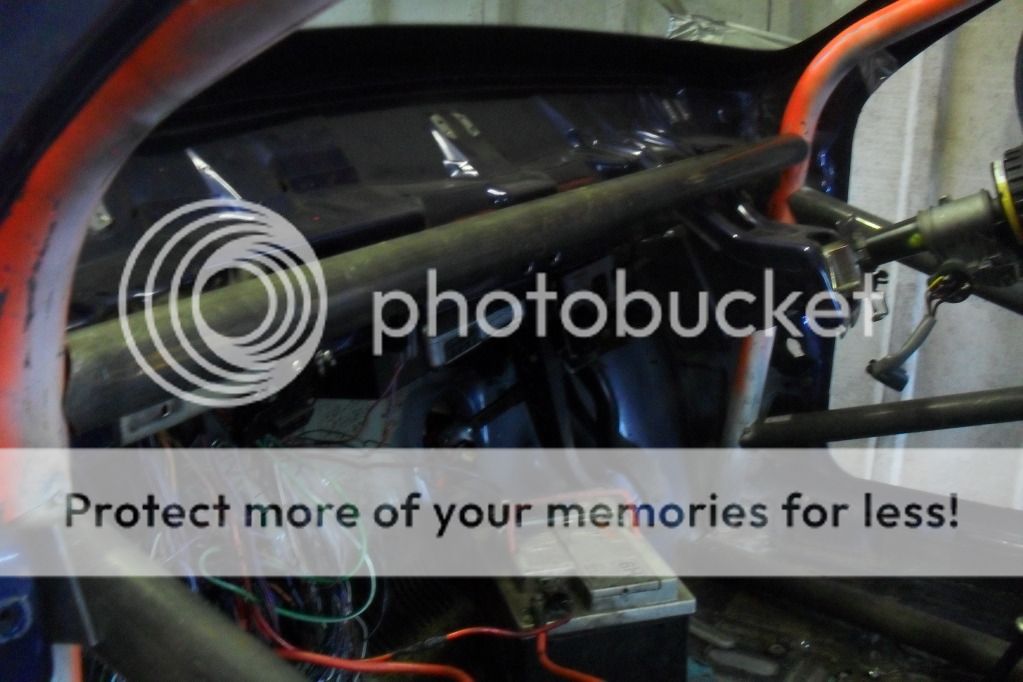
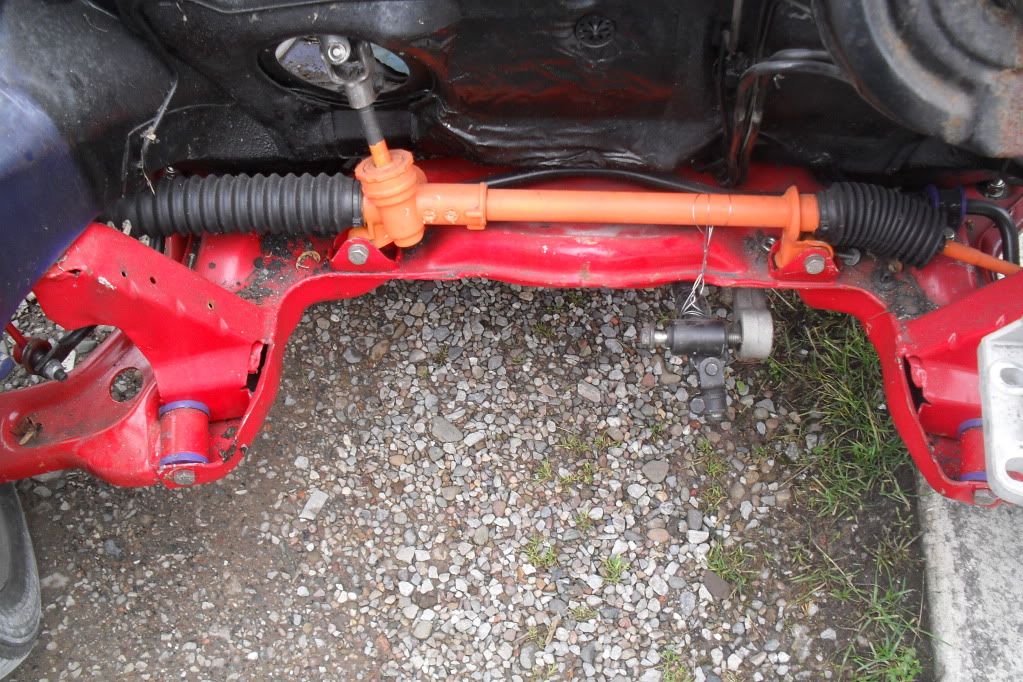
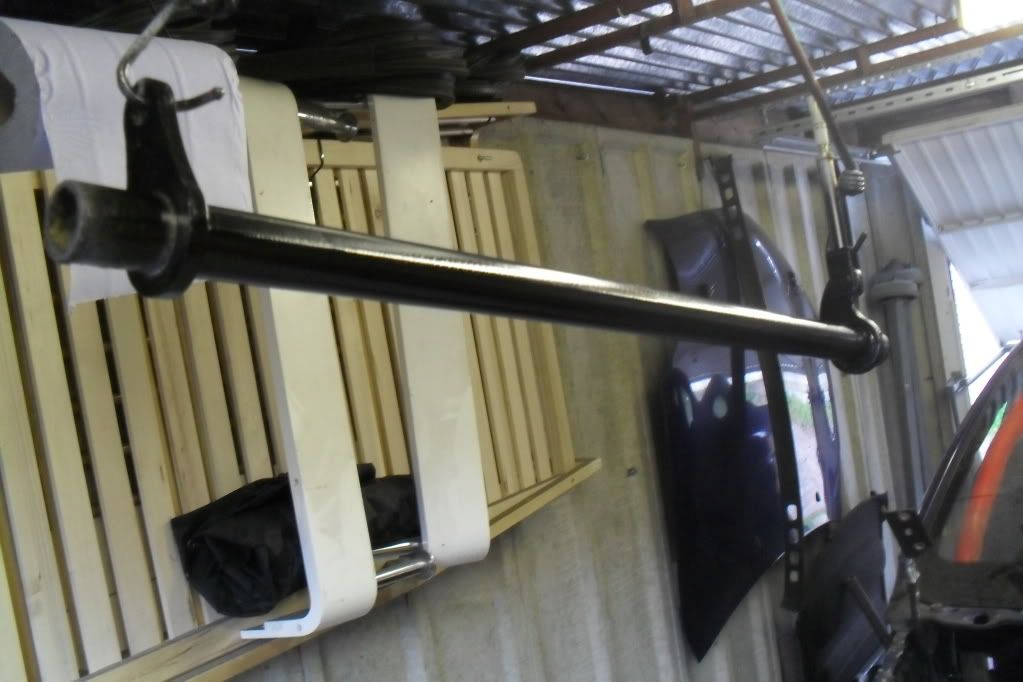
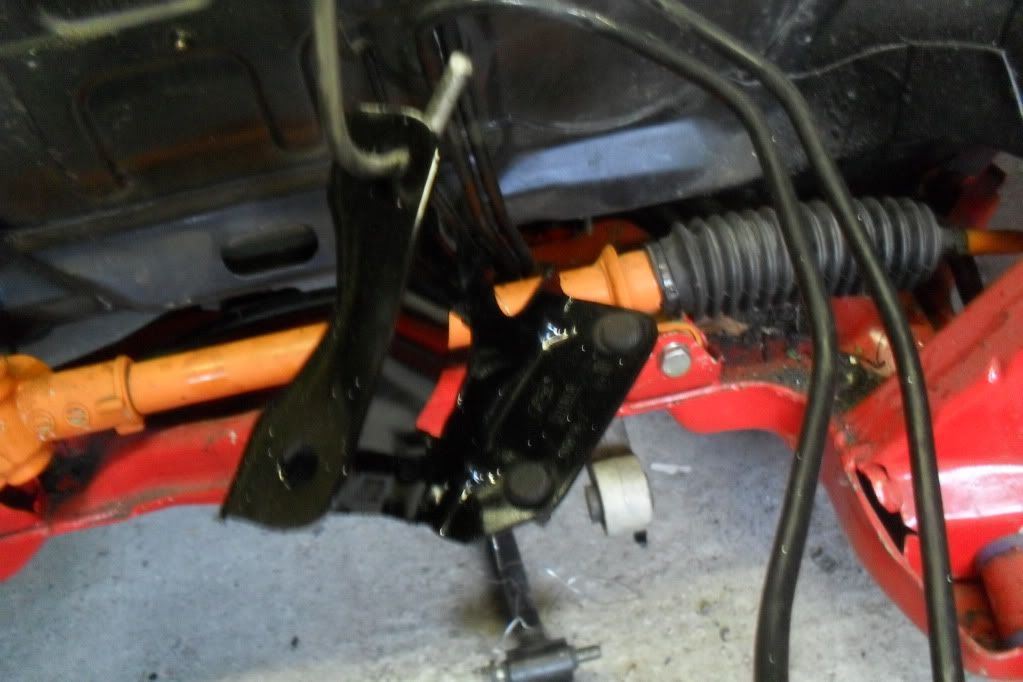
after having loads of problems with my power steering i decided to throw away the old system and replace it with an older system lol so i ordered a manual rack from the mk4 fiesta picss
here is the new rack painted and fitted to the car.
i still need another colunm because its different. so i ordered it the next day.
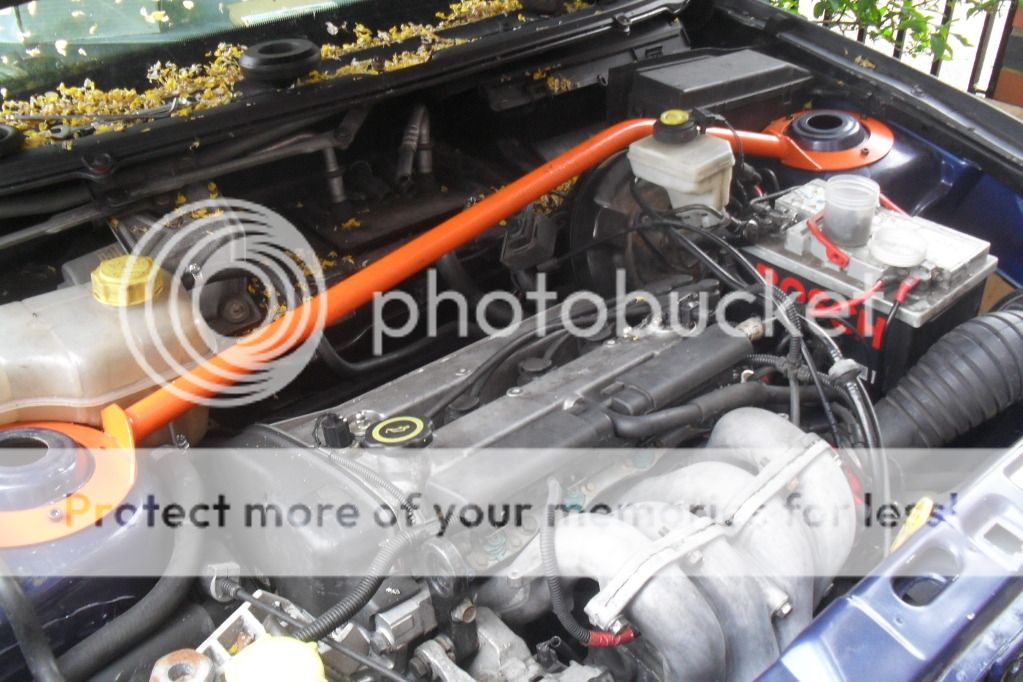
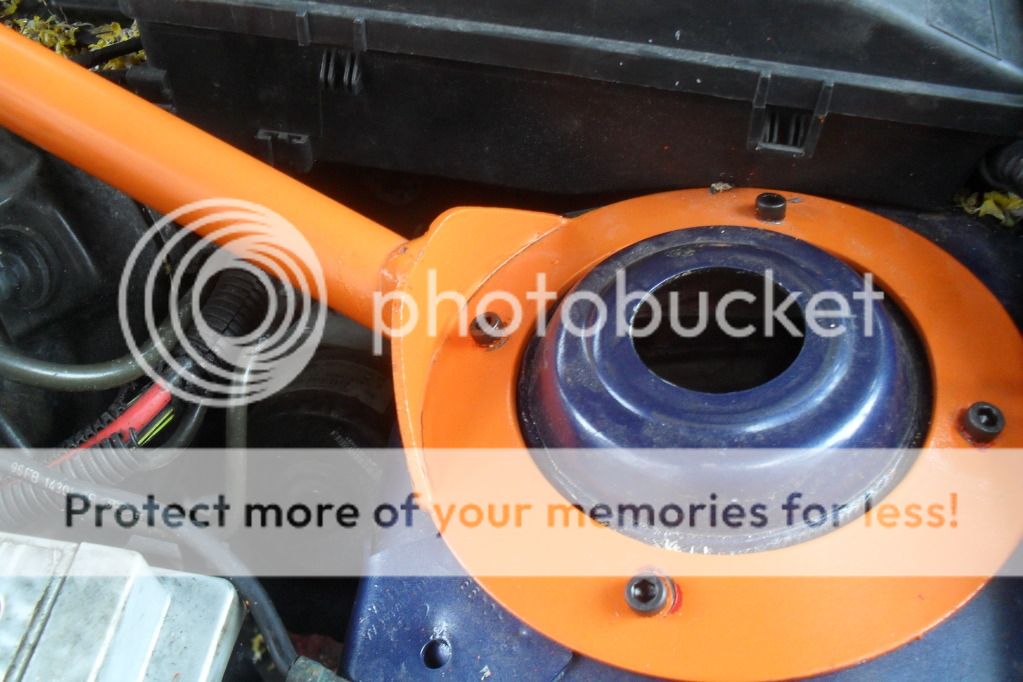
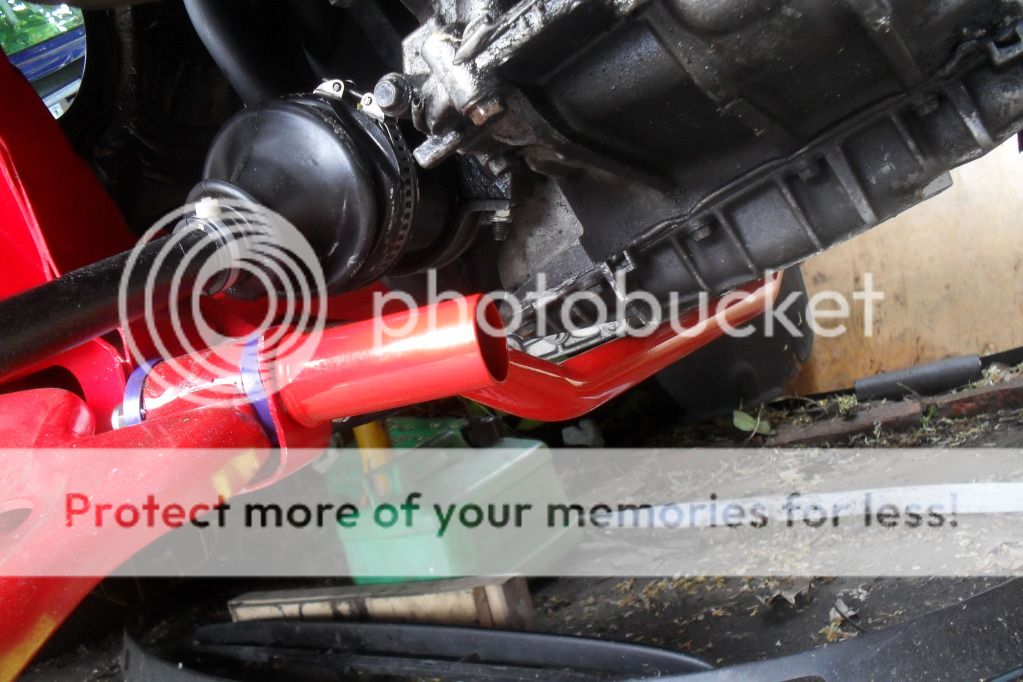
also go a new lower strut brace from the bay and fitted it straight away picssss
with all that fitted it put her back on the ground to see how she sat. pics

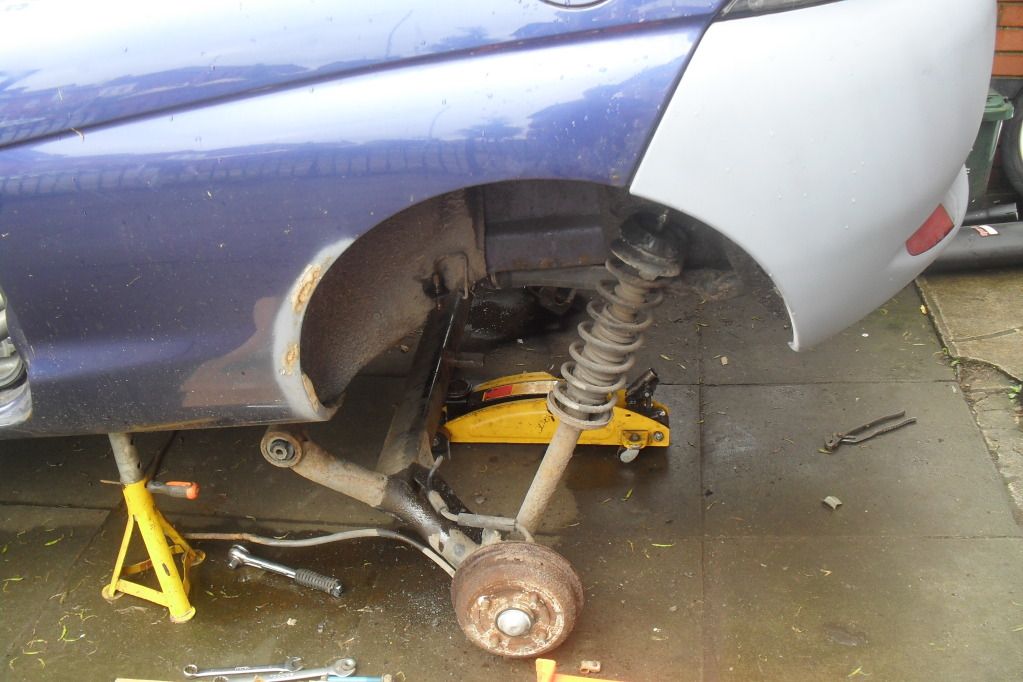
before i get her driving again i needed to change the gear shifter, the old one got bent when i moved the car at some point. so she is up in the air again as i changed it.

pics of the dash are all cleaned up
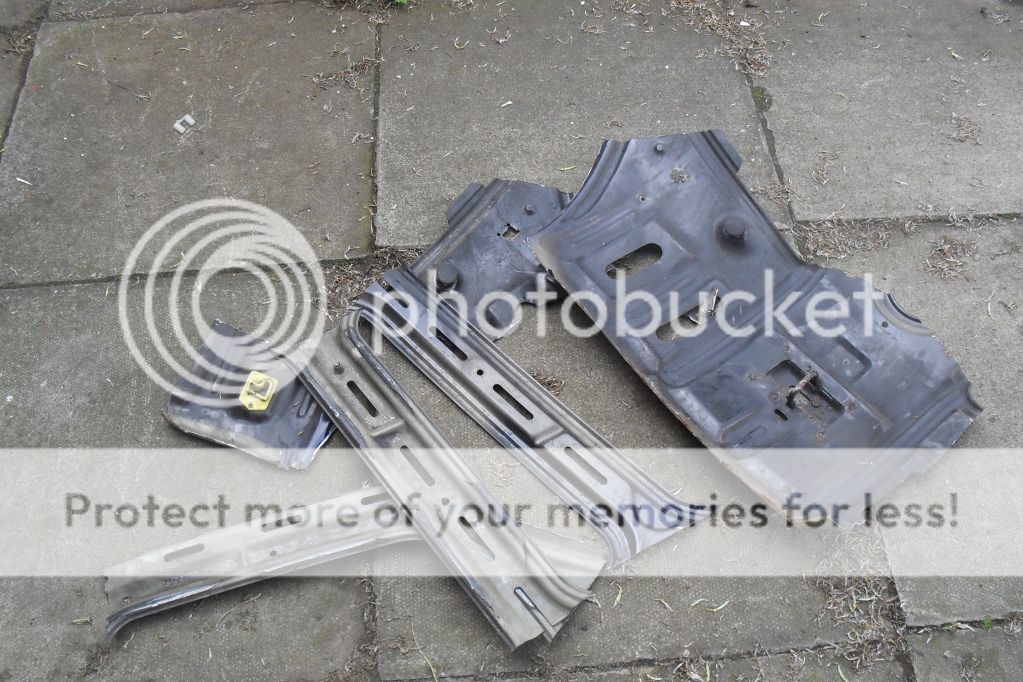
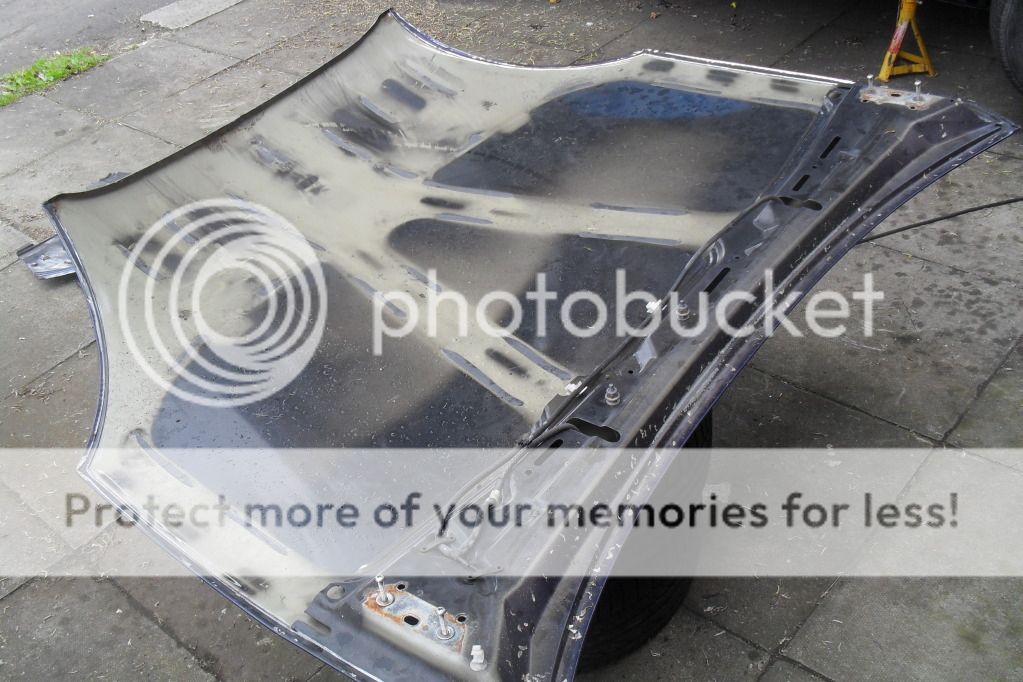
i cut all the unwanted weight out of the bonnet. picsss
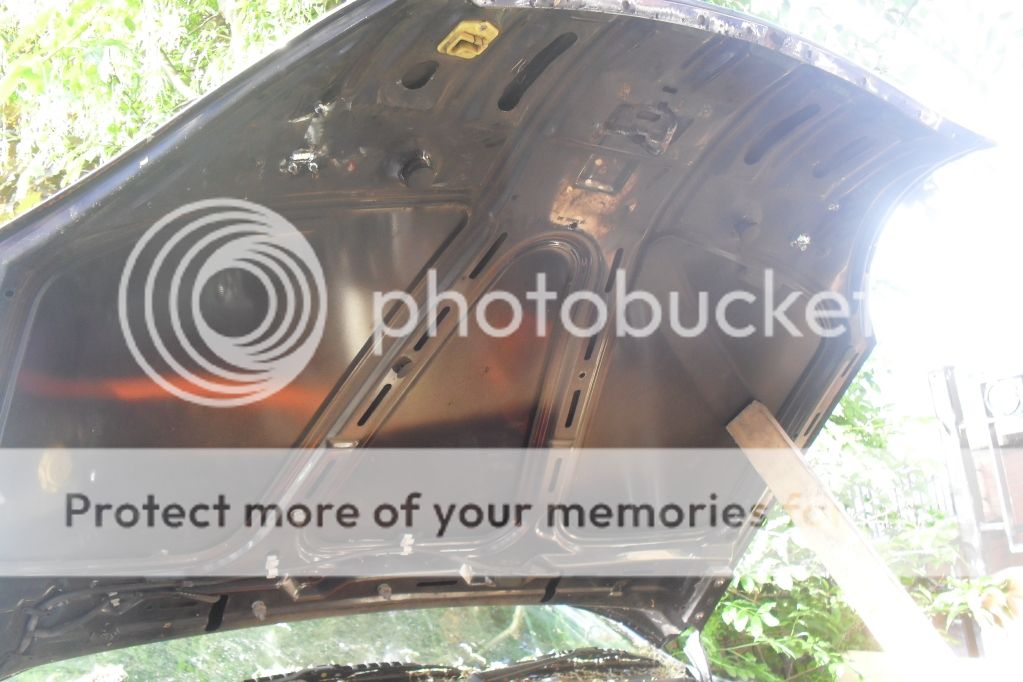
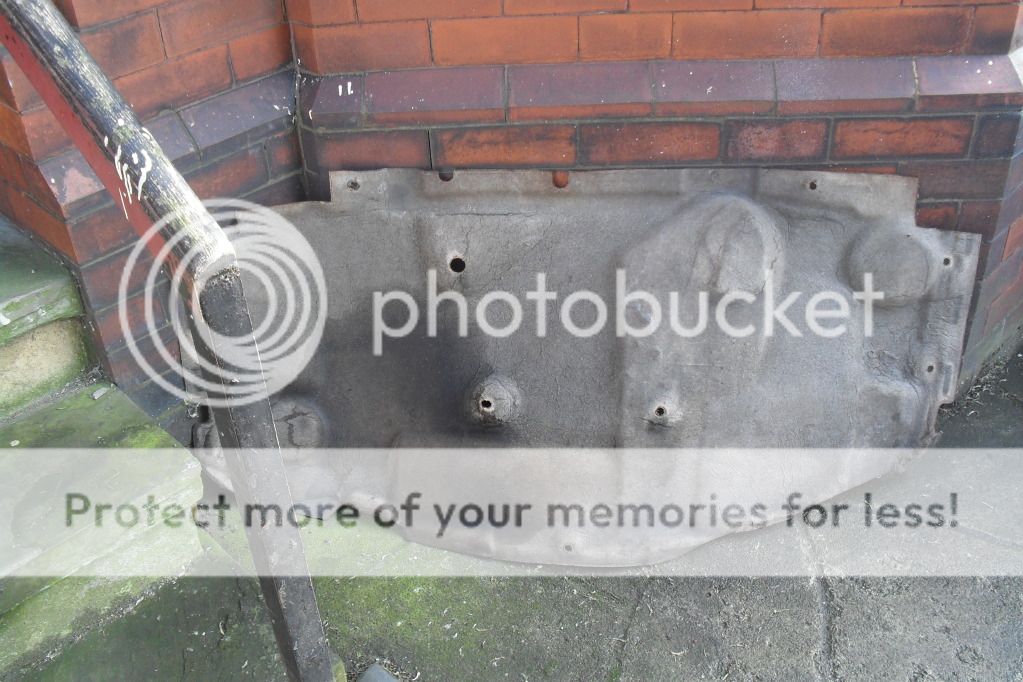

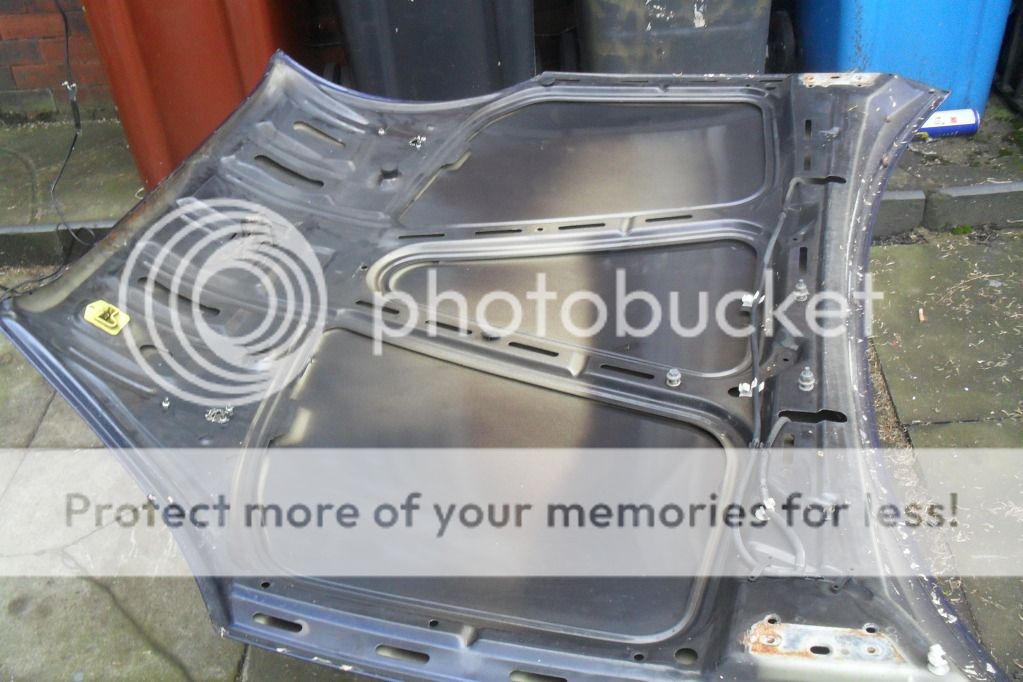
rust not good :-(
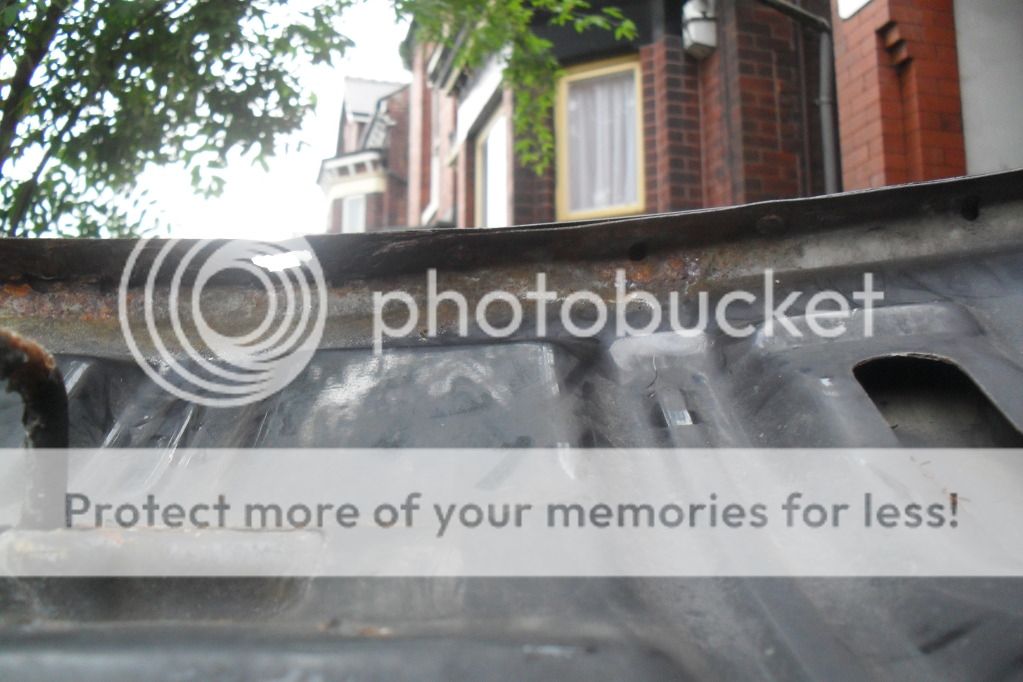
so i cut it all out

fitted back onto the car.
also another little touch under the engine bay
thats it for now il put another post up when i get a chance
seeyou all soon
after having loads of problems with my power steering i decided to throw away the old system and replace it with an older system lol so i ordered a manual rack from the mk4 fiesta picss
here is the new rack painted and fitted to the car.
i still need another colunm because its different. so i ordered it the next day.
also go a new lower strut brace from the bay and fitted it straight away picssss
with all that fitted it put her back on the ground to see how she sat. pics
before i get her driving again i needed to change the gear shifter, the old one got bent when i moved the car at some point. so she is up in the air again as i changed it.
pics of the dash are all cleaned up
i cut all the unwanted weight out of the bonnet. picsss
rust not good :-(
so i cut it all out
fitted back onto the car.
also another little touch under the engine bay
thats it for now il put another post up when i get a chance
seeyou all soon
06-10-2012, 09:31 PM
#9
Wahay!! I've lost my Virginity!!
Thread Starter
Join Date: Oct 2012
Location: manchester
Posts: 52
Likes: 0
Received 0 Likes
on
0 Posts
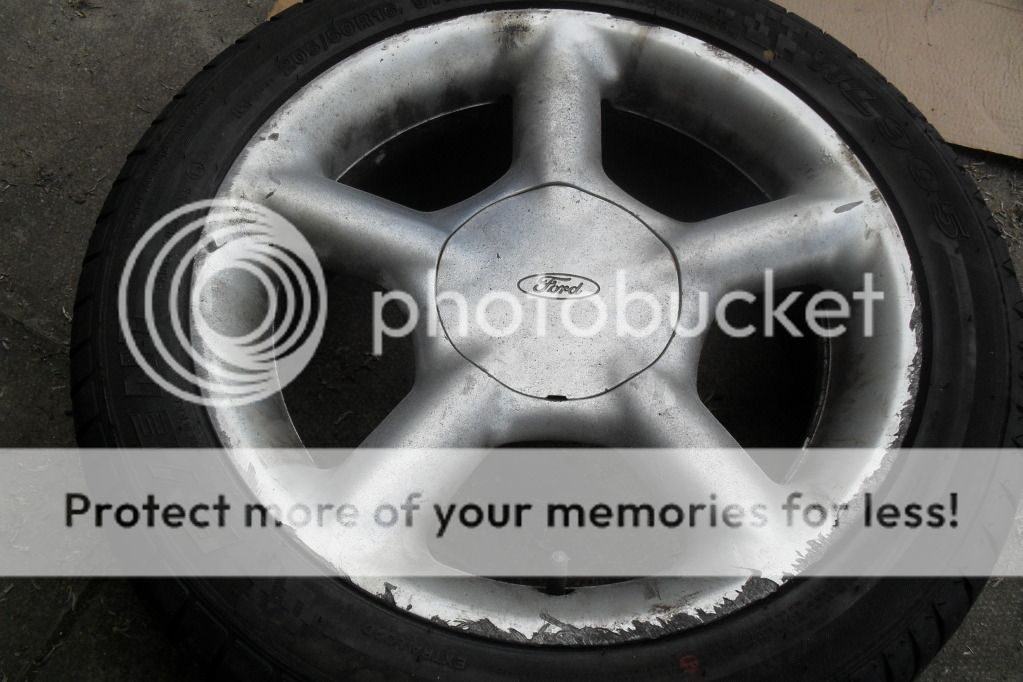
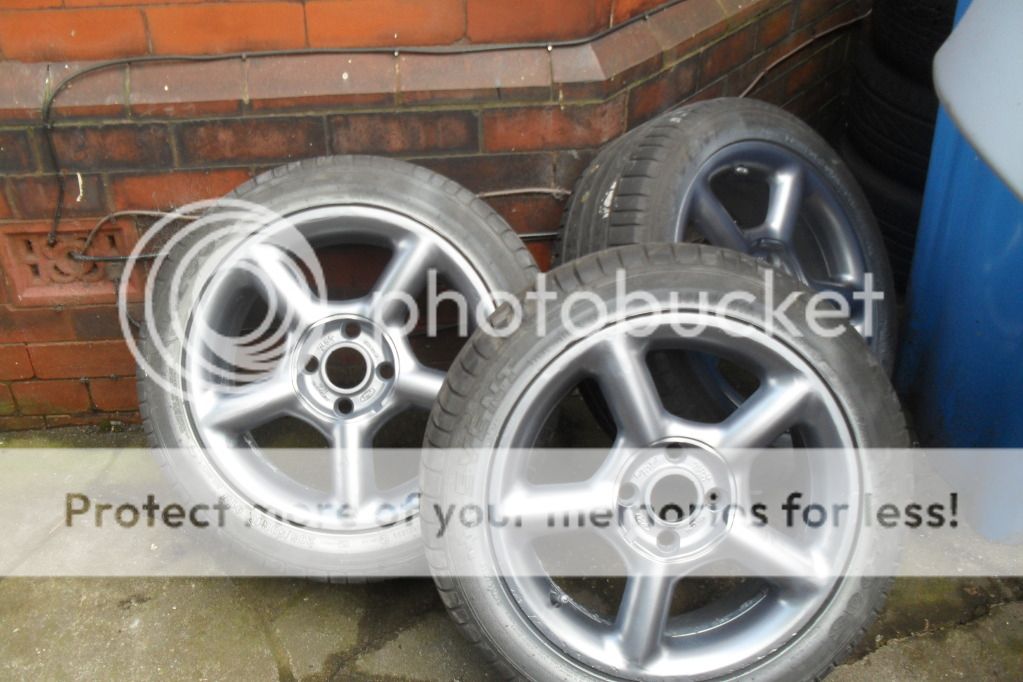
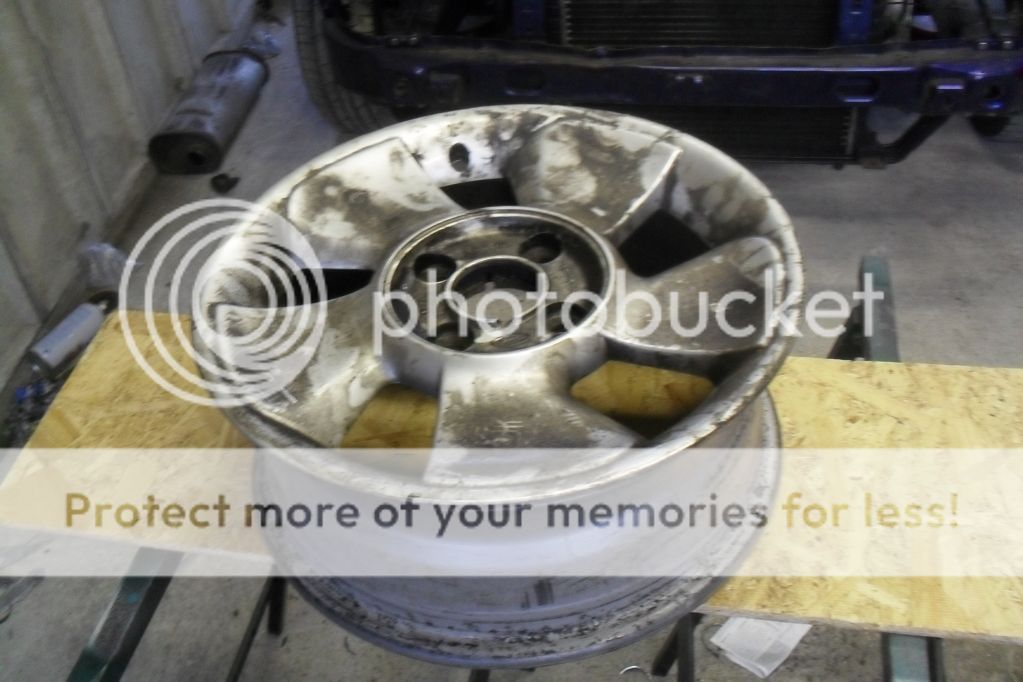
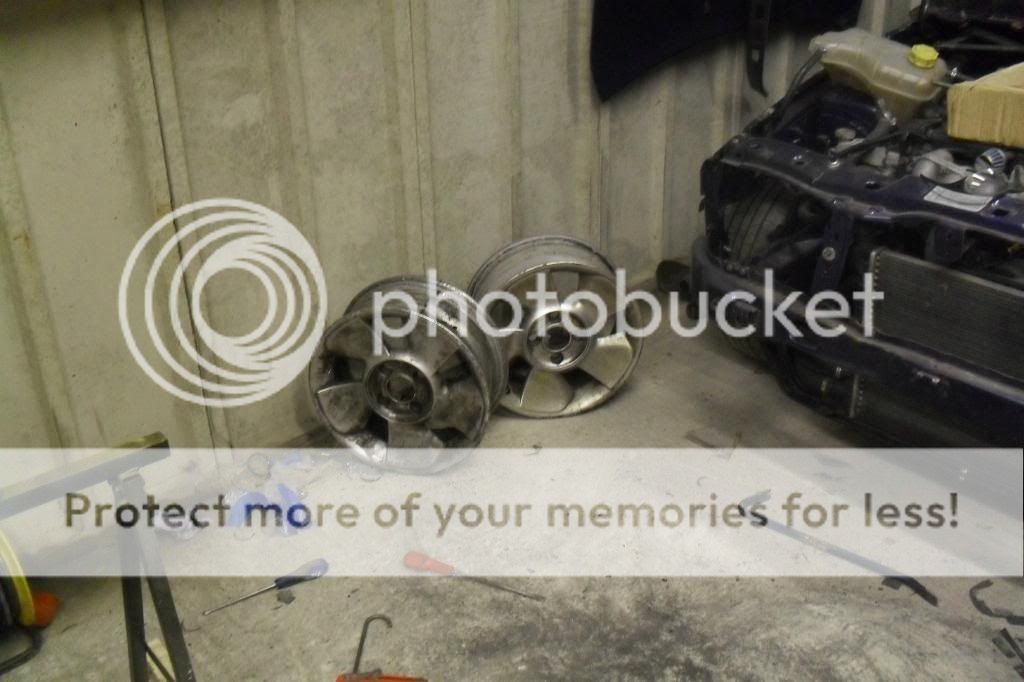
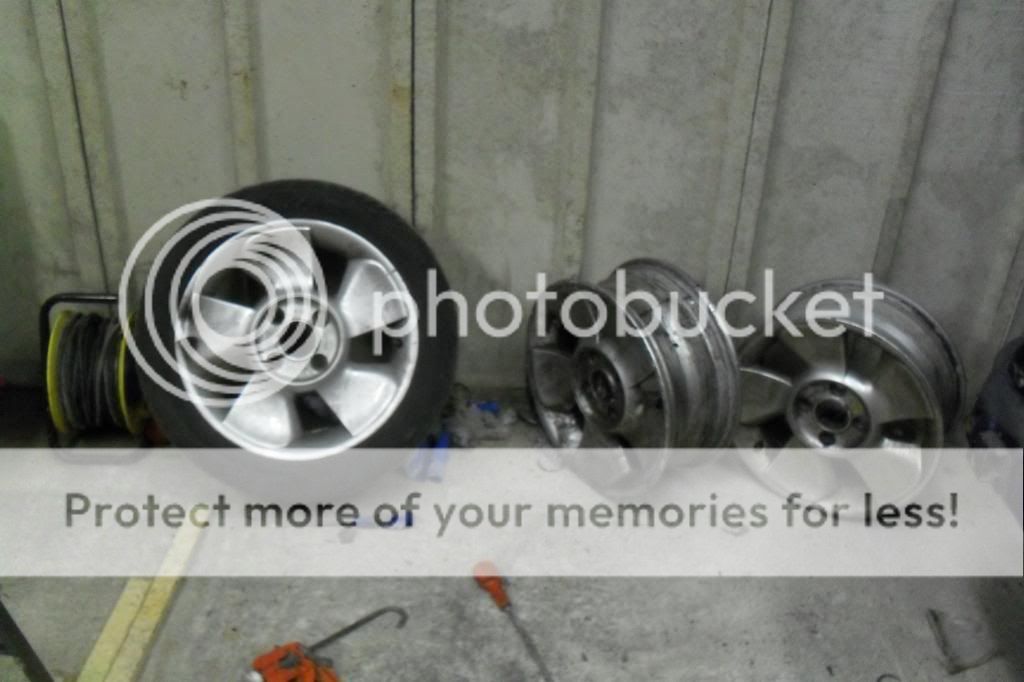
mor work done. firstly i got a set oaf alloys for my mondeo and have them a good clean and a coat of paint. pics
as i got them
after i rub down and a coat of primer
after another rub down and a coat of colour (still needs some laquire)
then after a 450 ish round trip to london i came back with tis little beauty. never fitted to a car and was bought for Ł800 or so but i got it for Ł220 BARGAIN!!!

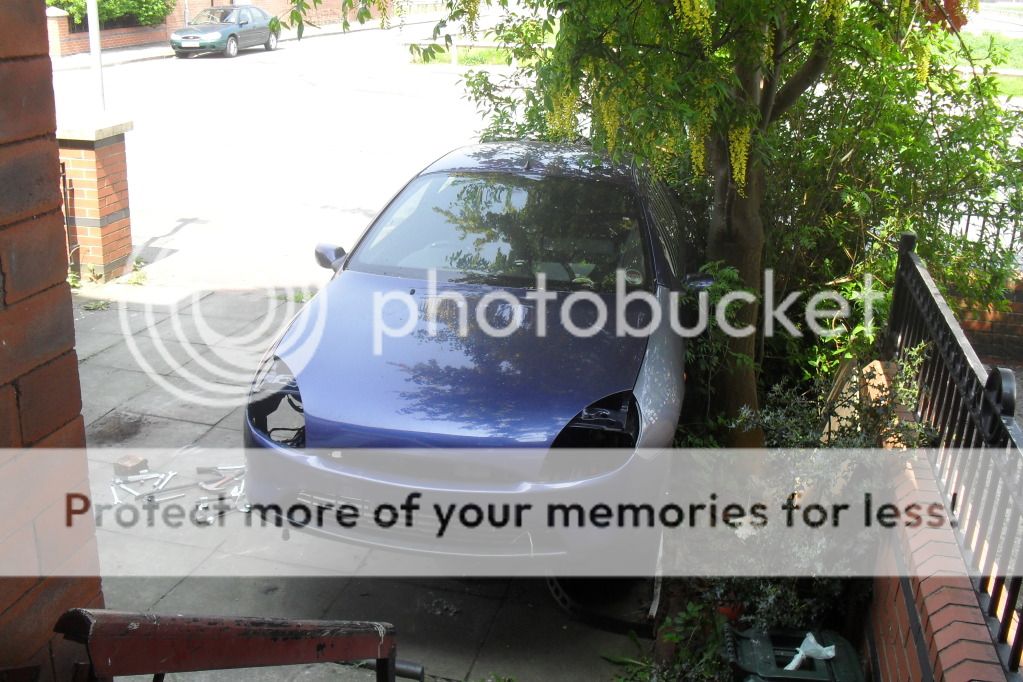
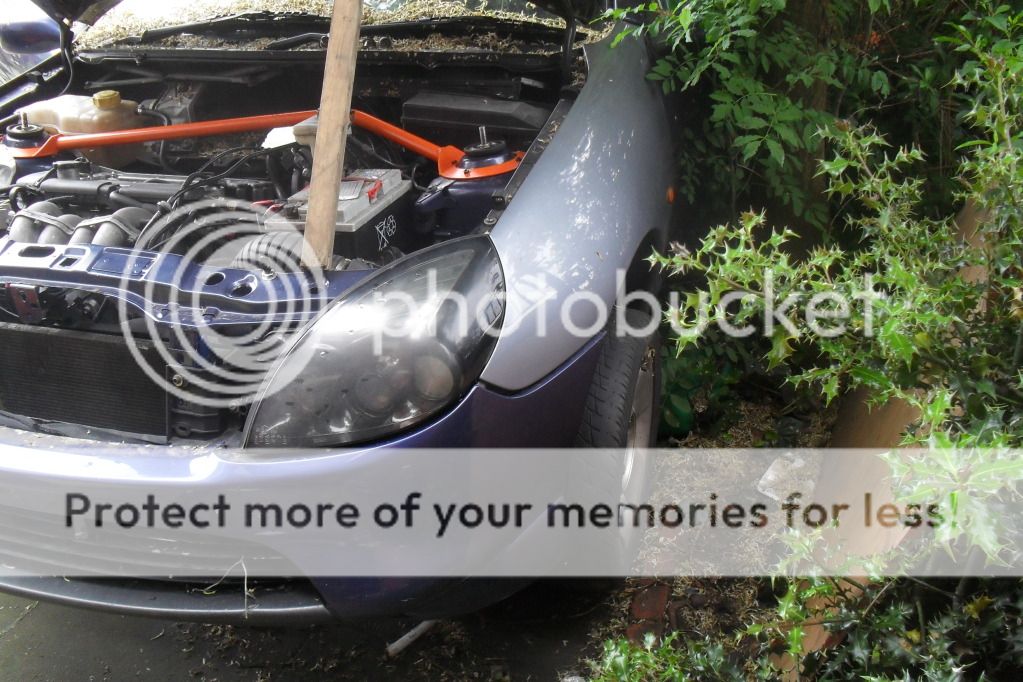
the day after the lower part of column arrived so i fittedthan and got the car out of the bush it had been living under
pic of the column fitted
and here she is coming out of the bush
i spun her around on the road and put her back on the drive
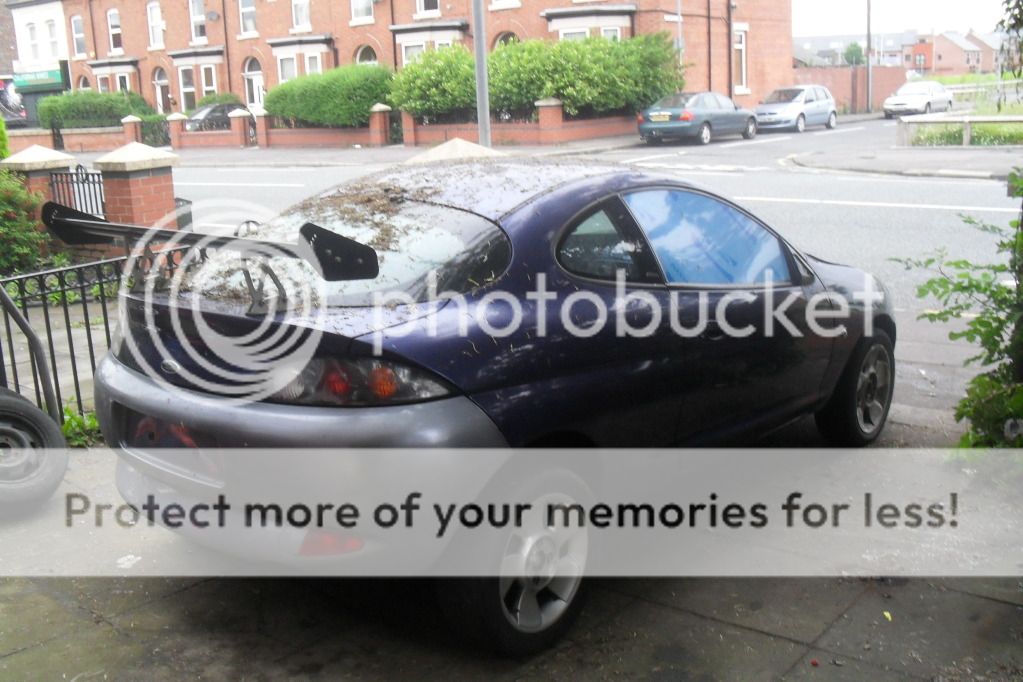
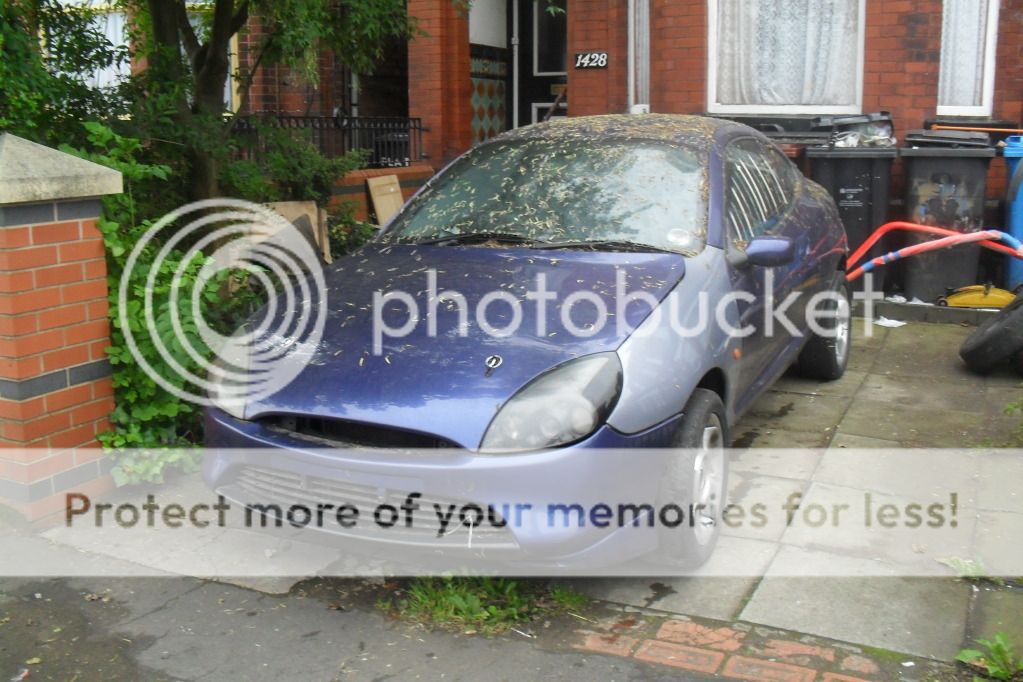
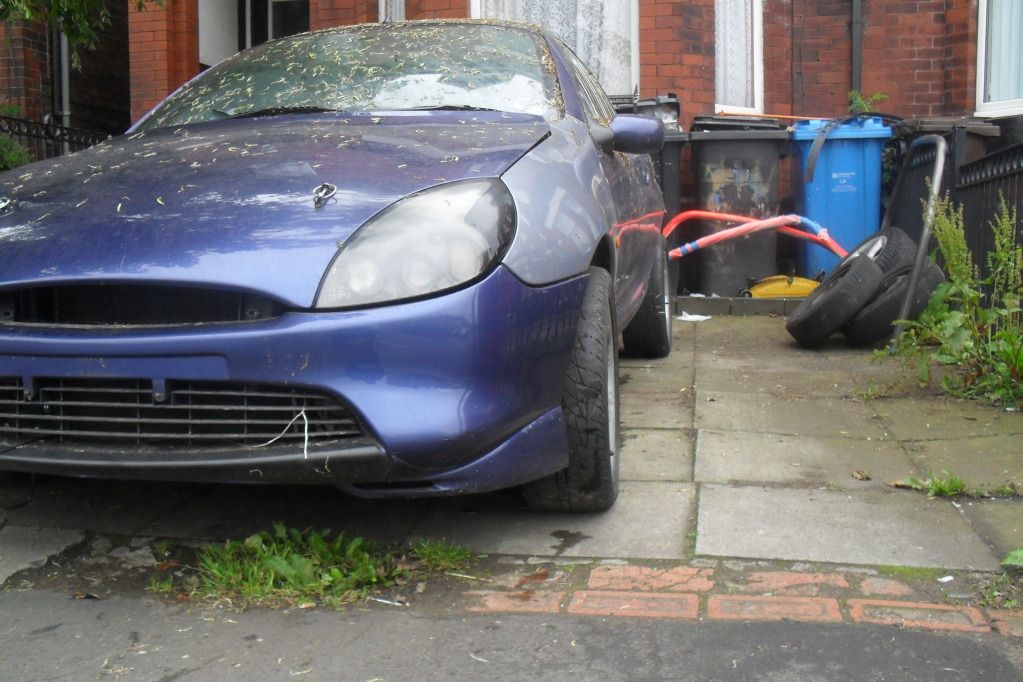
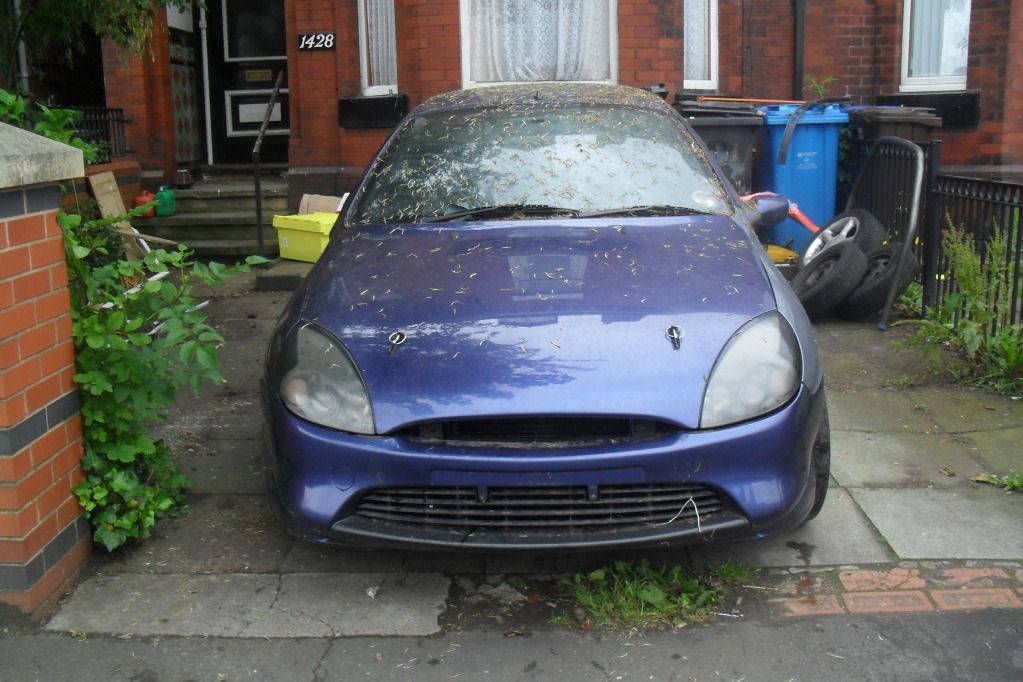
after spending 3 months under the bush her's how she looked
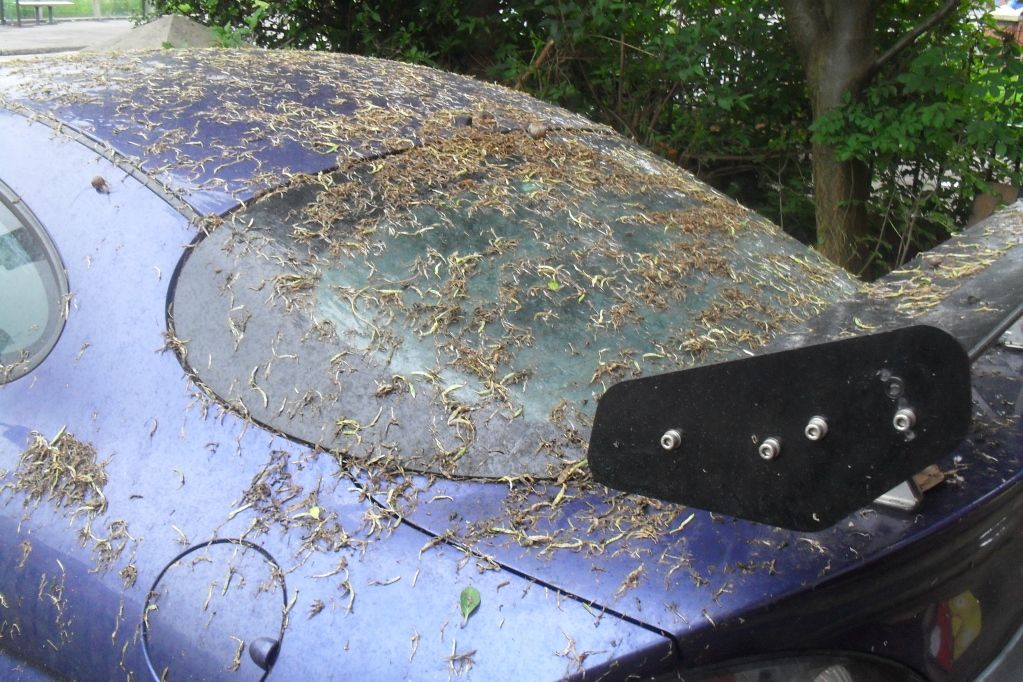
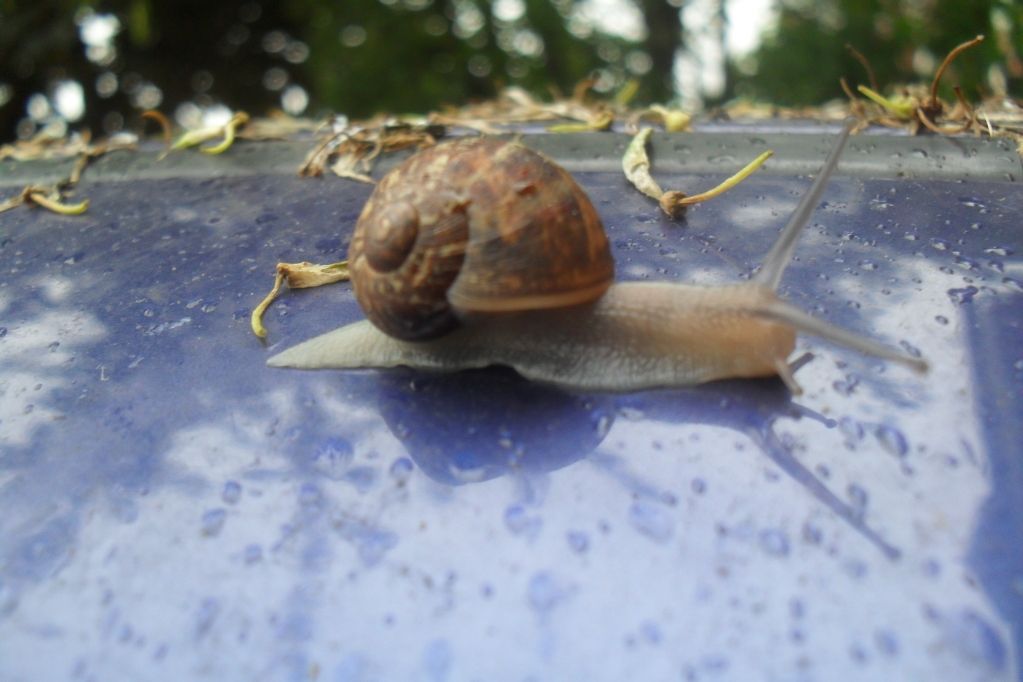
she also had a few unwanted friends on her hahahahah
after i gave her a brush off
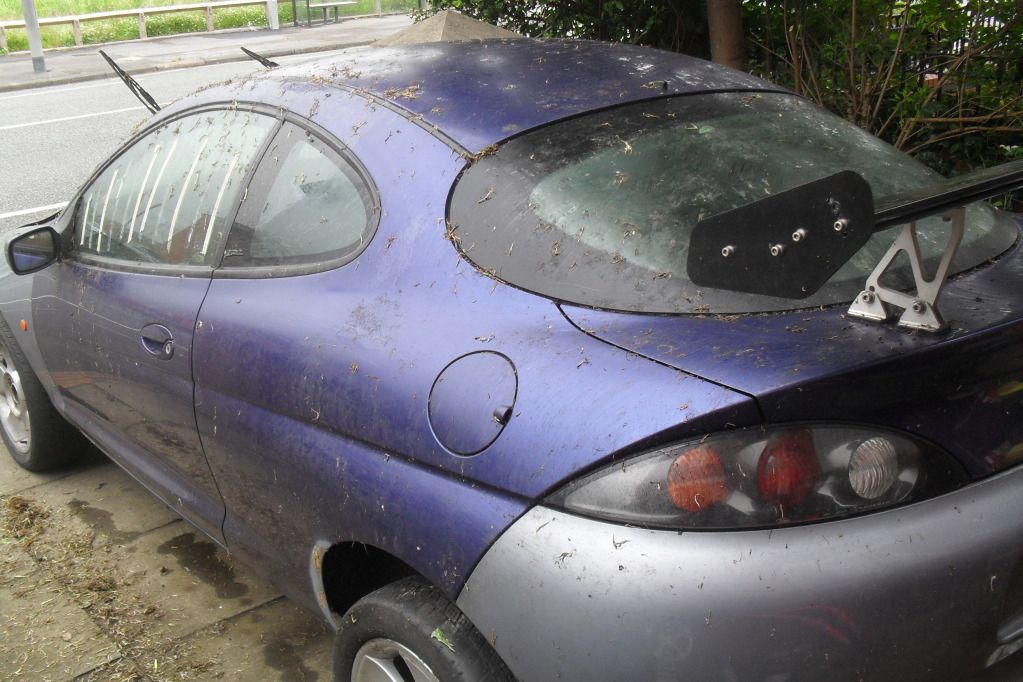
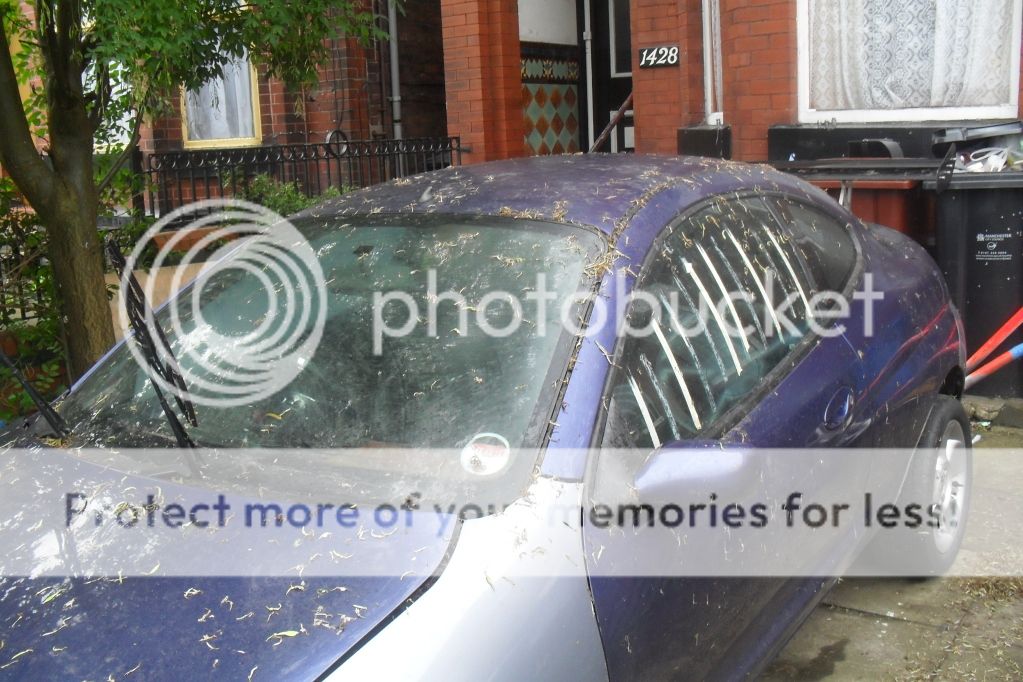
i ran a sponge over her to get rid of all the crap on her.

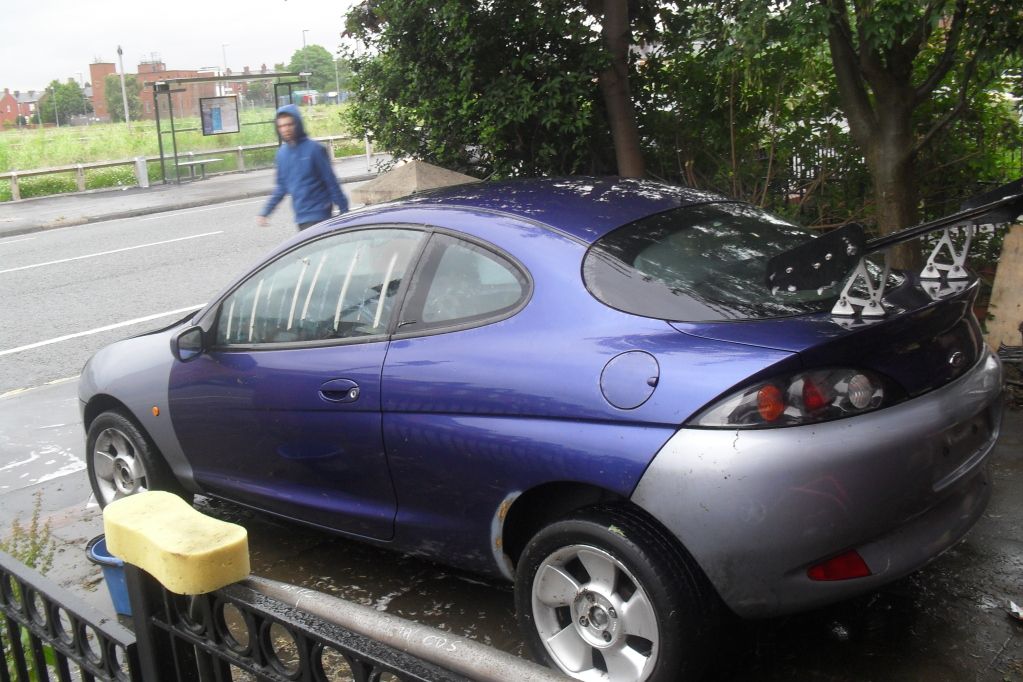
i love this car so much looking at all the progress ive made on her realy makes me proud
i cut yet more off her.

fitted these

then i cut this out because i couldnt get the roll cage loop in properly.

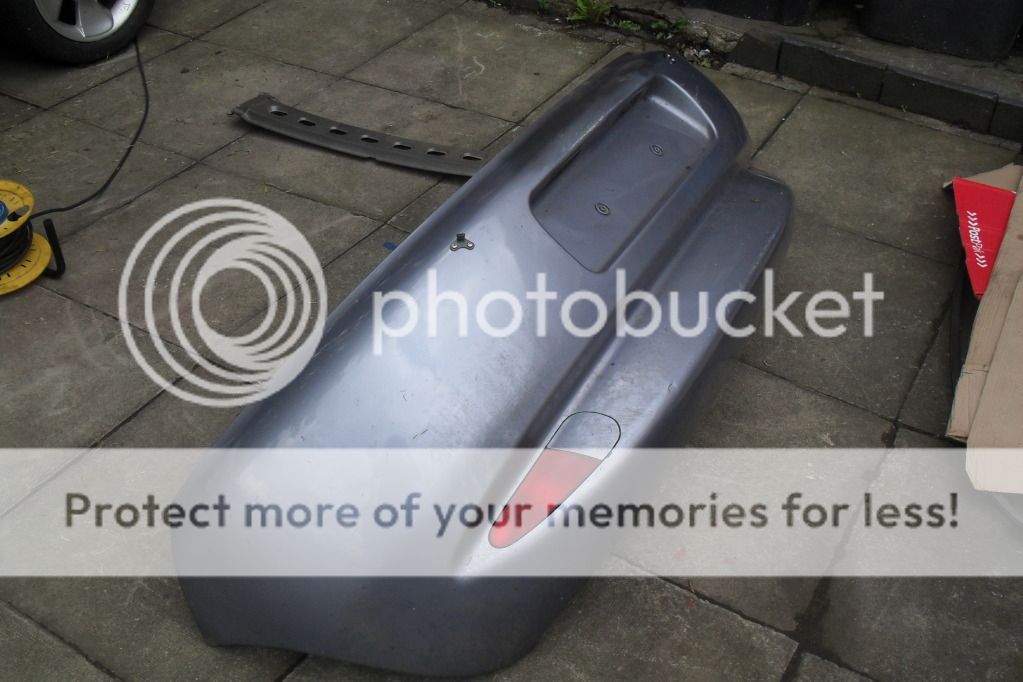
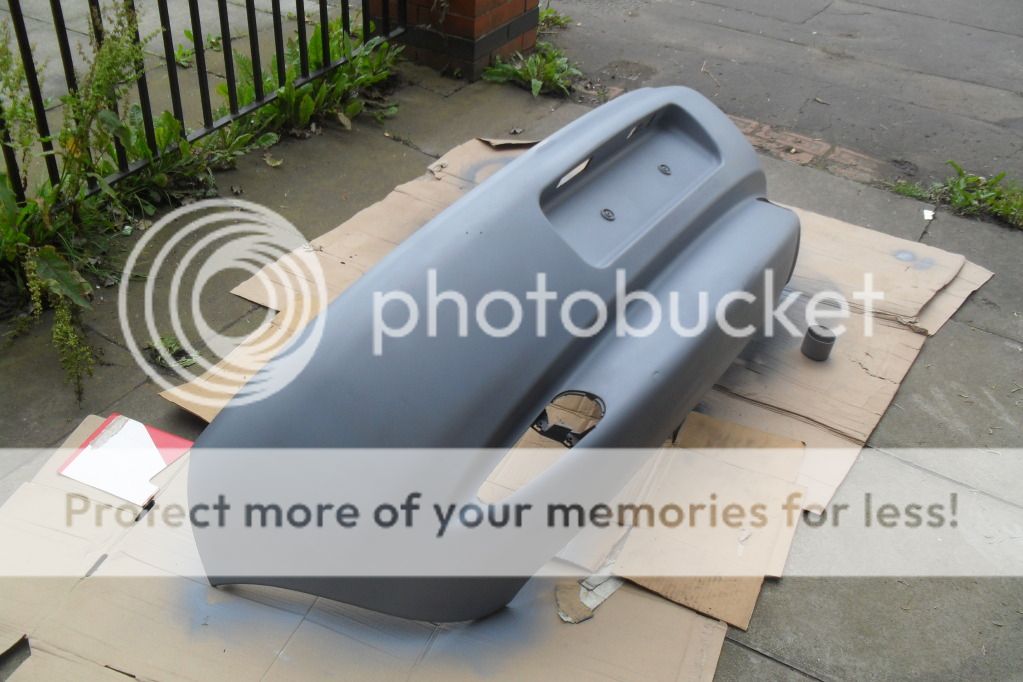
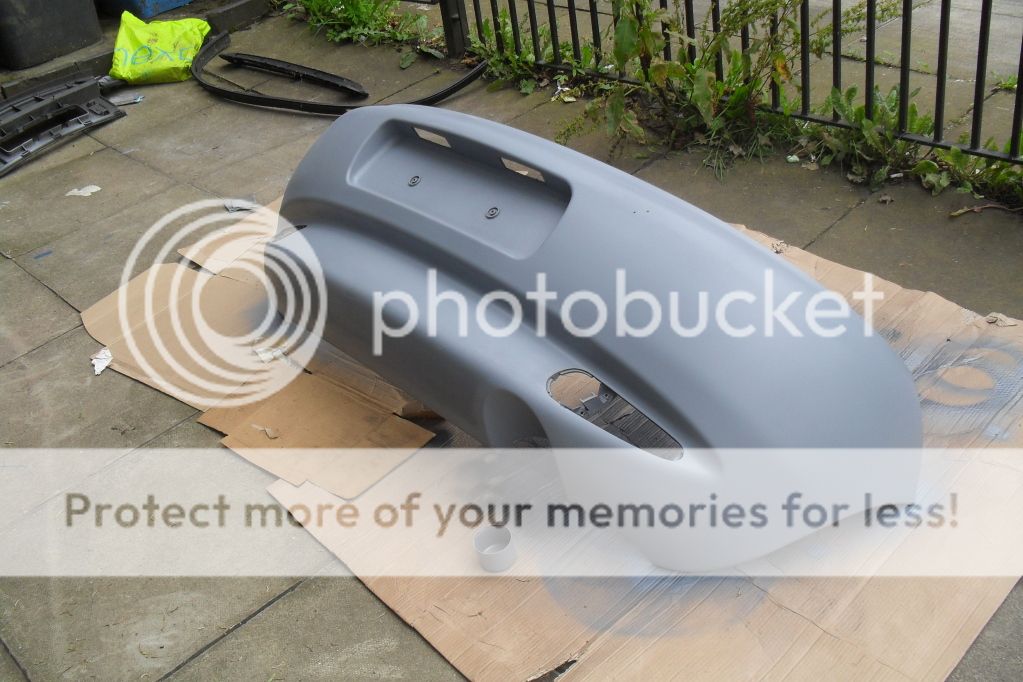
then i gave the rear bumper i rub down and a coat of paint.
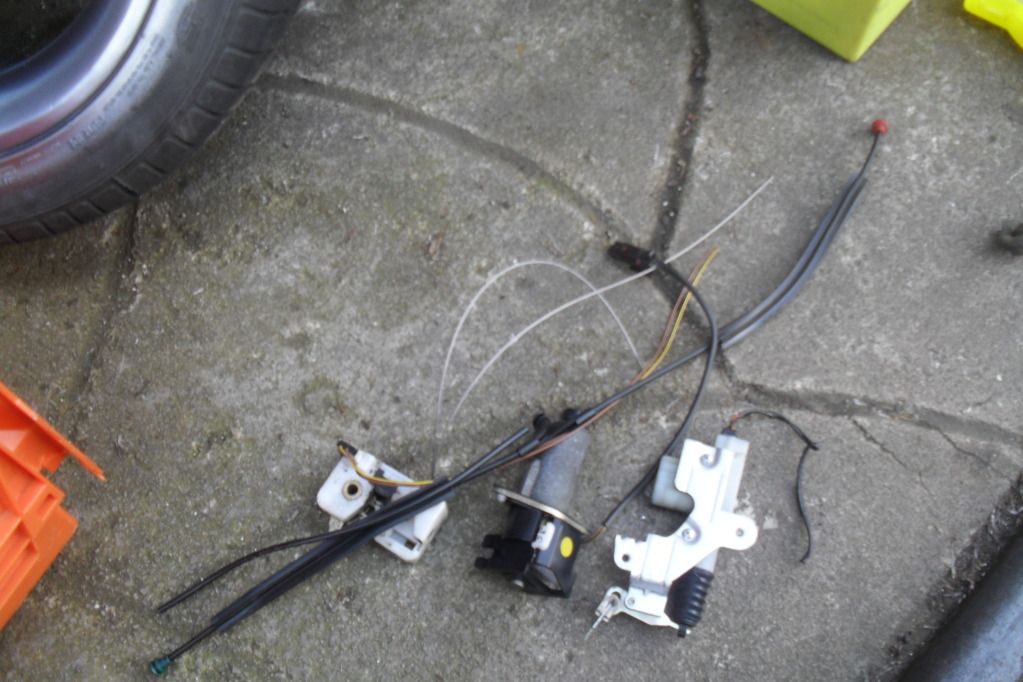
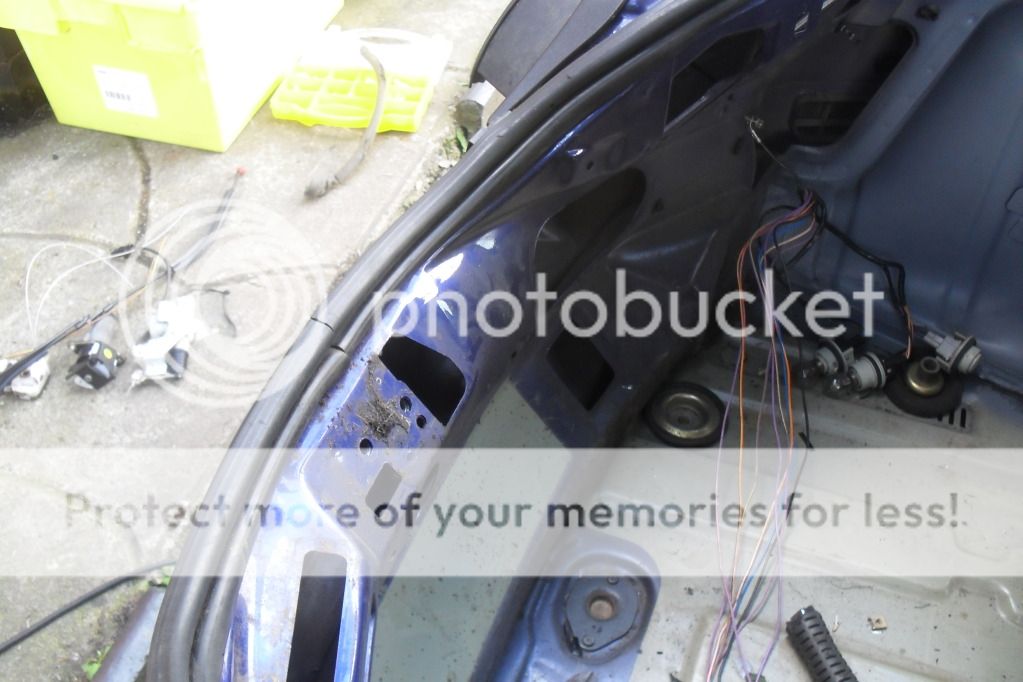
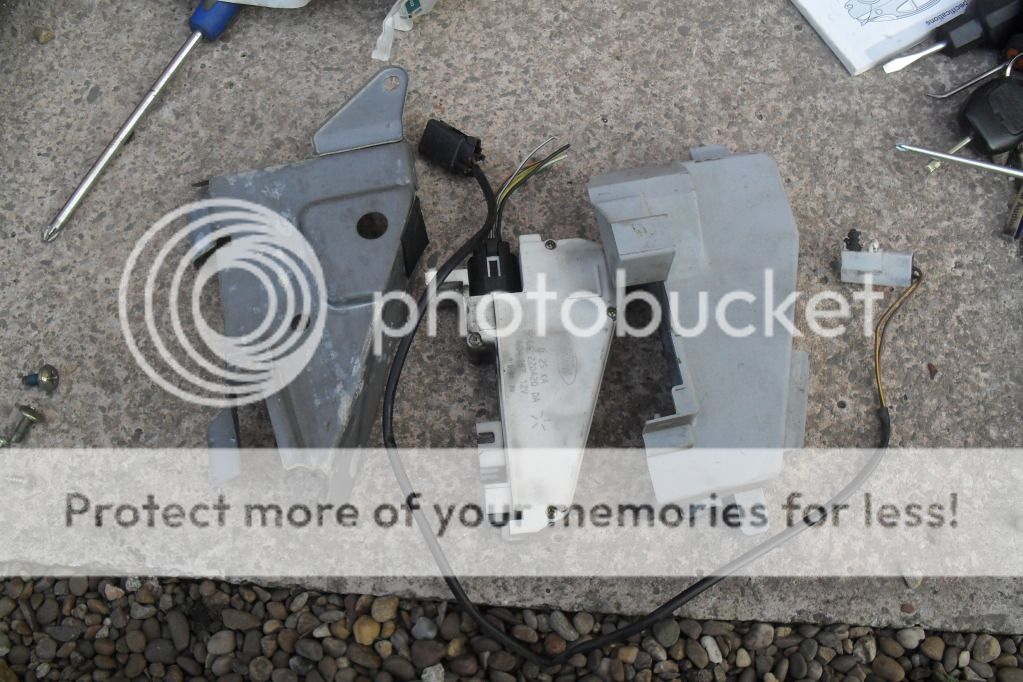
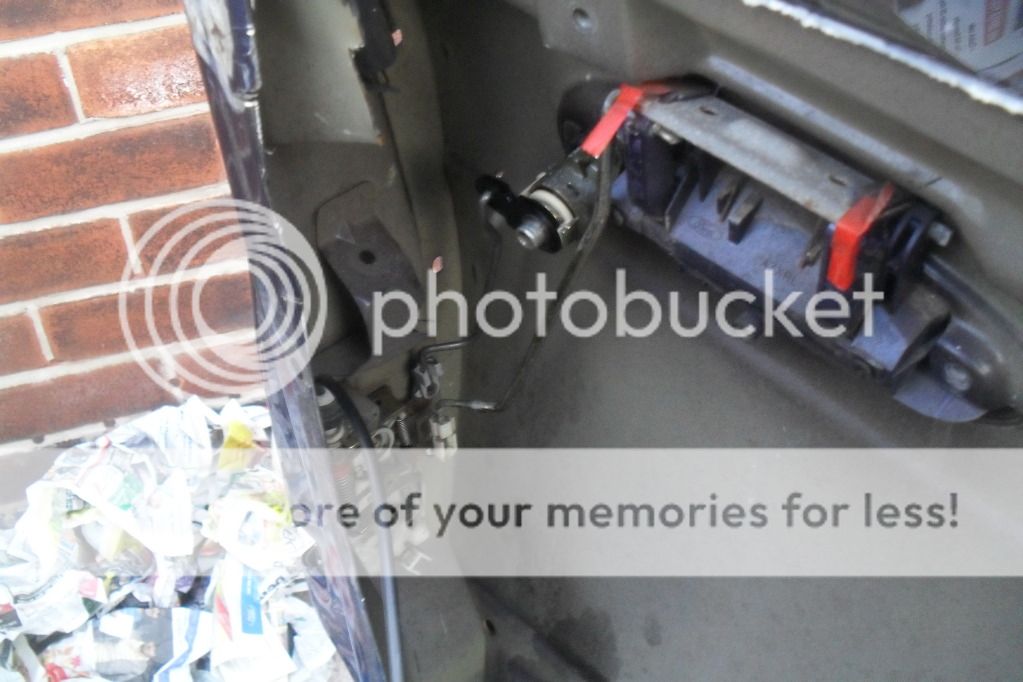
i got rid of the rest of the lock mechanism and electronics
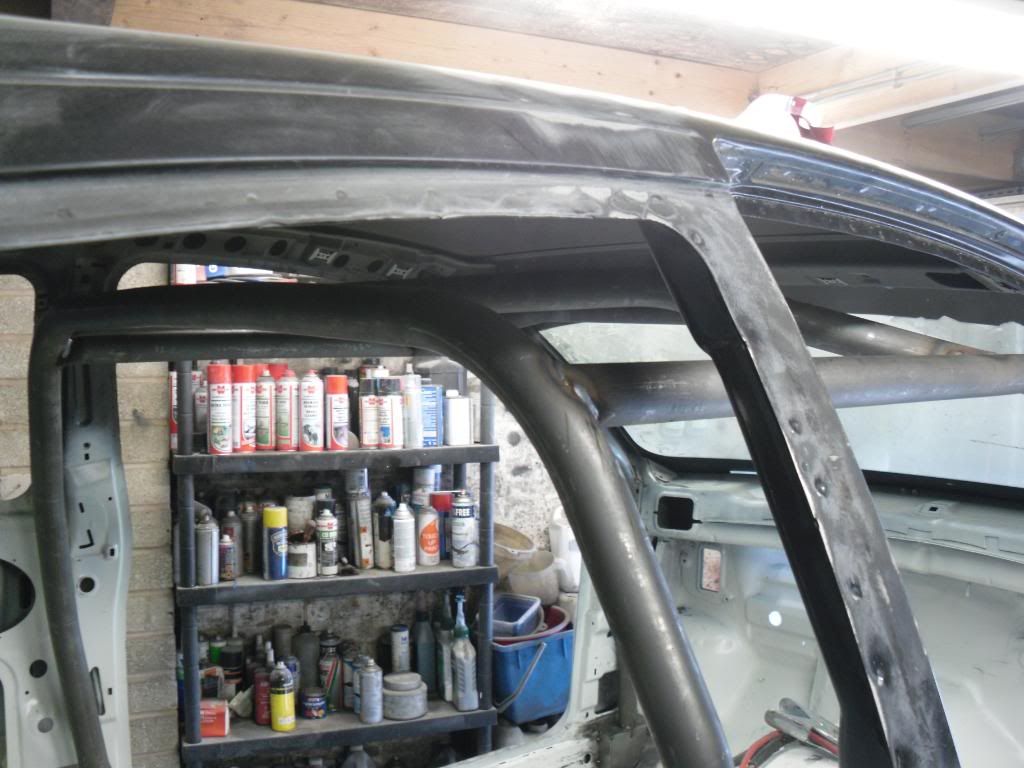
playing around with the roll cage
ill upload another post soon, i strip and rebuild the rear end.
let me know what you think, i also spend all day on the car today so ive got even more done hahahaha
see ya soon
as i got them
after i rub down and a coat of primer
after another rub down and a coat of colour (still needs some laquire)
then after a 450 ish round trip to london i came back with tis little beauty. never fitted to a car and was bought for Ł800 or so but i got it for Ł220 BARGAIN!!!
the day after the lower part of column arrived so i fittedthan and got the car out of the bush it had been living under
pic of the column fitted
and here she is coming out of the bush
i spun her around on the road and put her back on the drive
after spending 3 months under the bush her's how she looked
she also had a few unwanted friends on her hahahahah
after i gave her a brush off
i ran a sponge over her to get rid of all the crap on her.
i love this car so much looking at all the progress ive made on her realy makes me proud
i cut yet more off her.
fitted these
then i cut this out because i couldnt get the roll cage loop in properly.
then i gave the rear bumper i rub down and a coat of paint.
i got rid of the rest of the lock mechanism and electronics
playing around with the roll cage
ill upload another post soon, i strip and rebuild the rear end.
let me know what you think, i also spend all day on the car today so ive got even more done hahahaha
see ya soon
06-10-2012, 09:32 PM
#10
Wahay!! I've lost my Virginity!!
Thread Starter
Join Date: Oct 2012
Location: manchester
Posts: 52
Likes: 0
Received 0 Likes
on
0 Posts
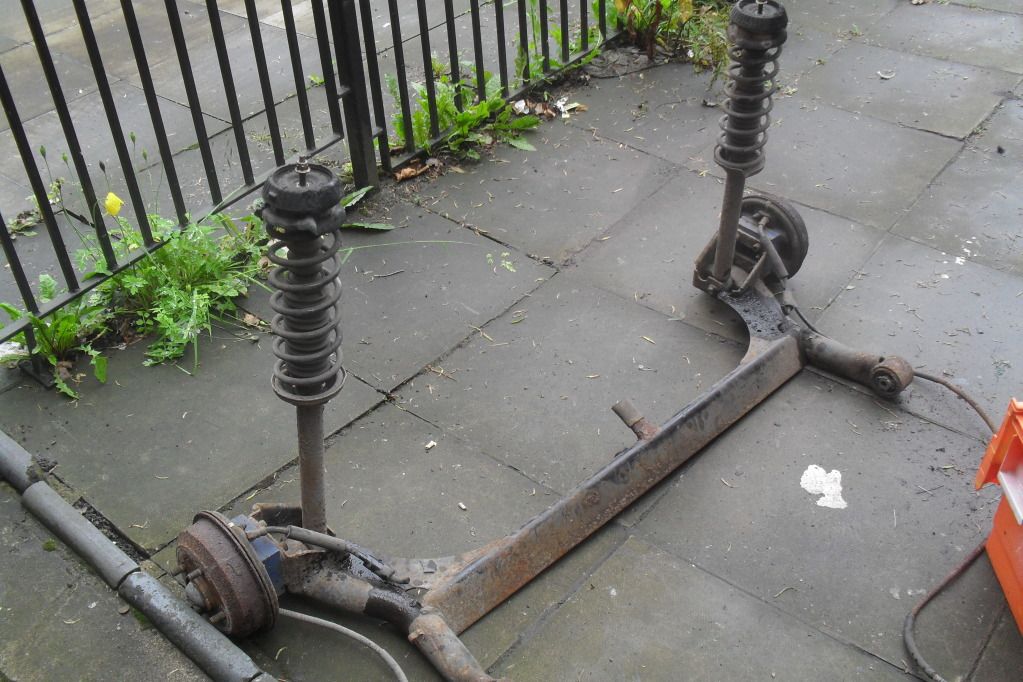
time for another post of previous progress
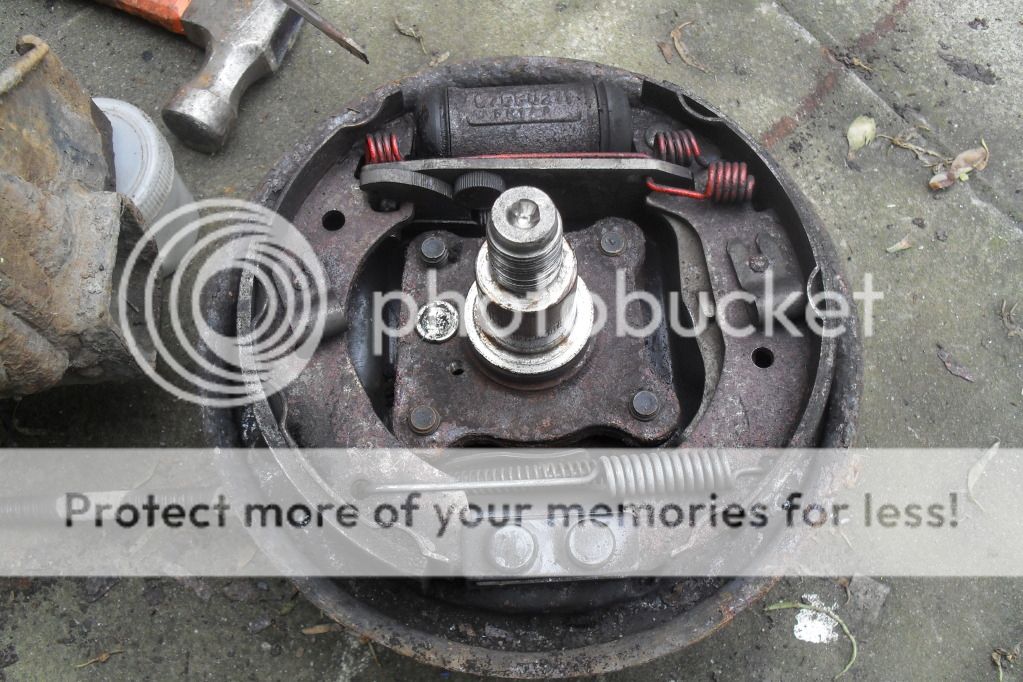
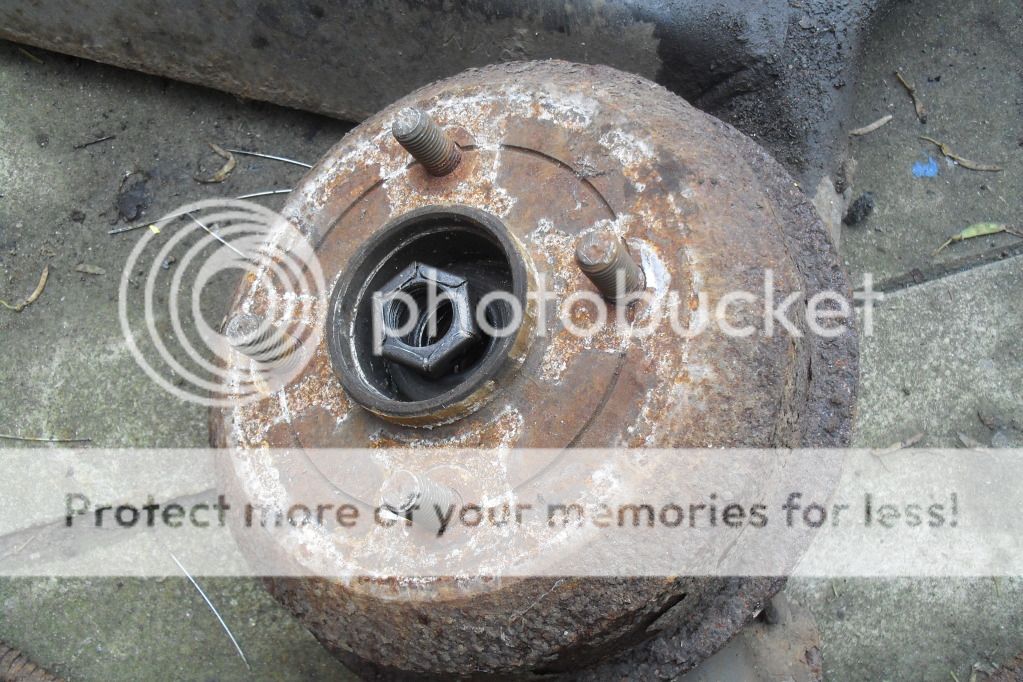
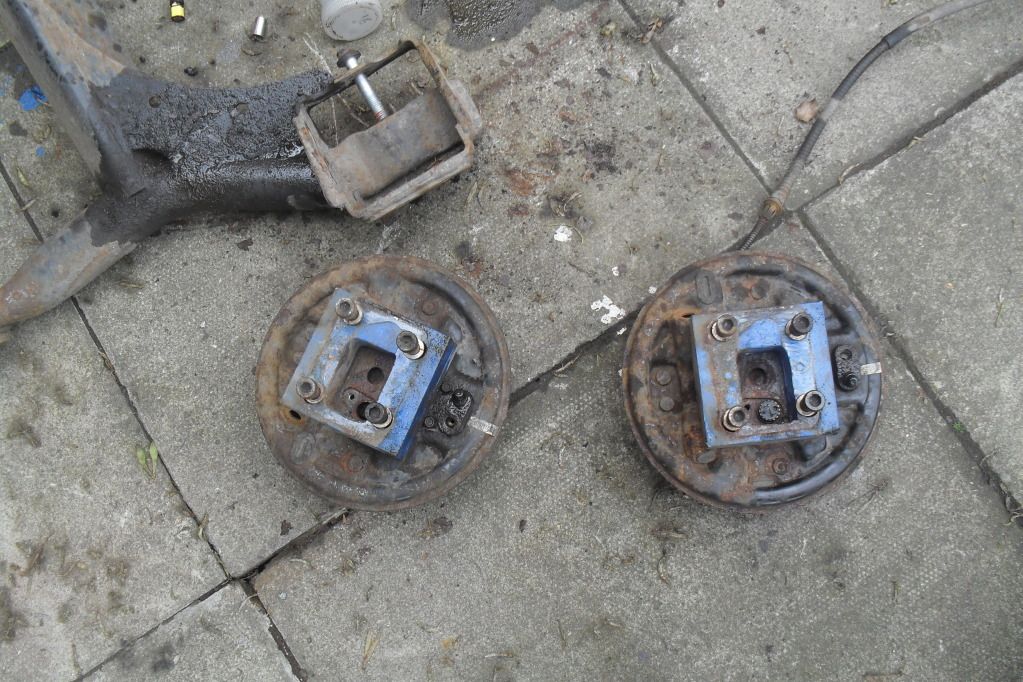
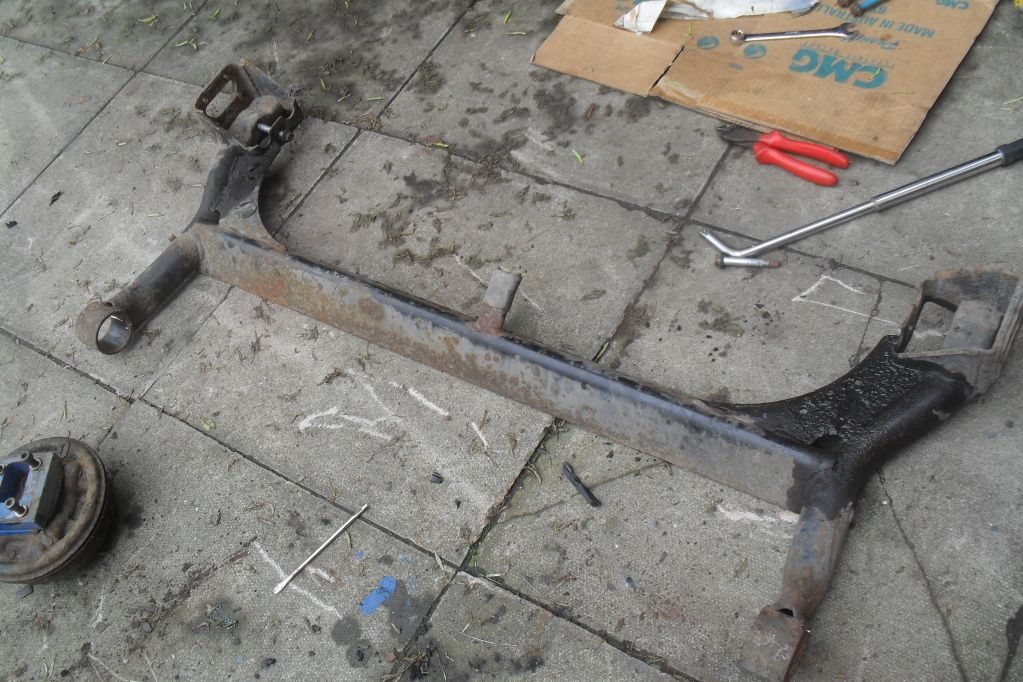
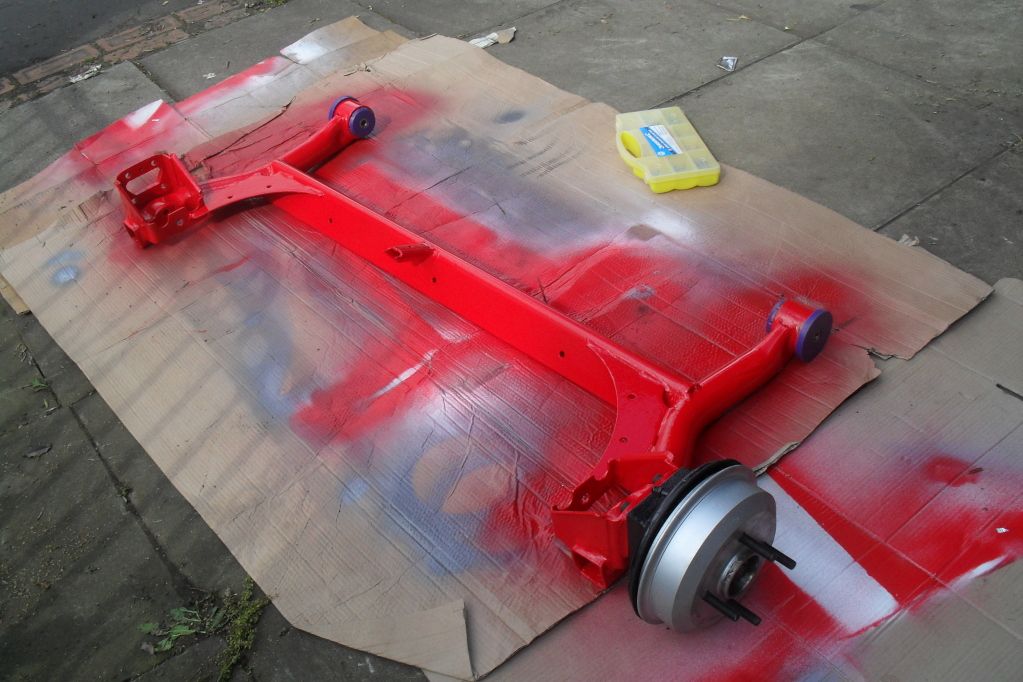
here are the pics of me stripping the rear end
35mm rear spacers
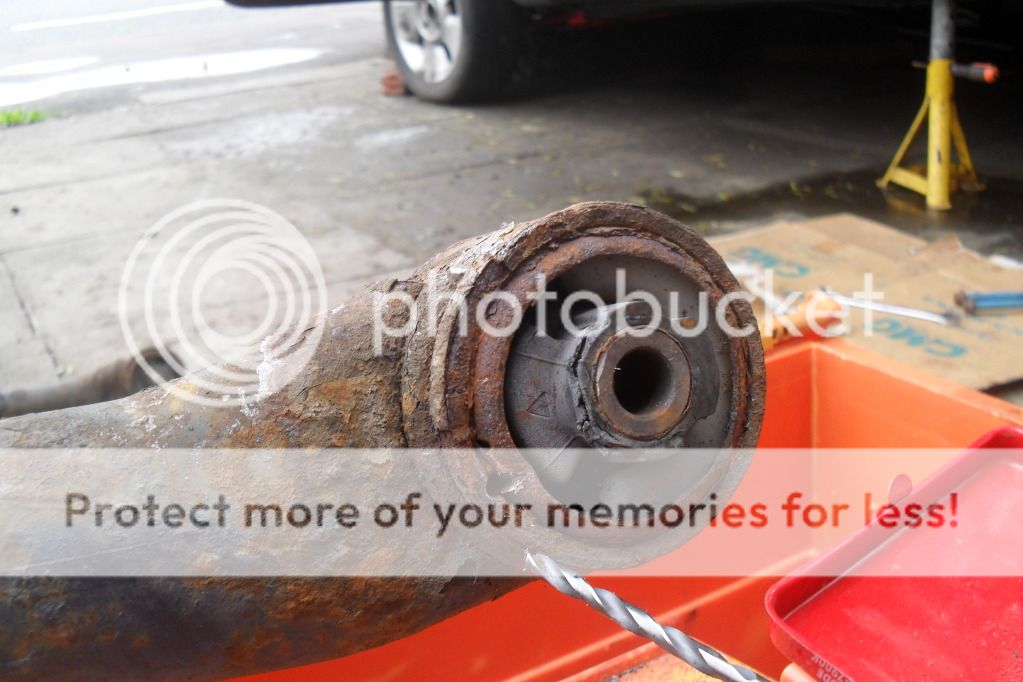
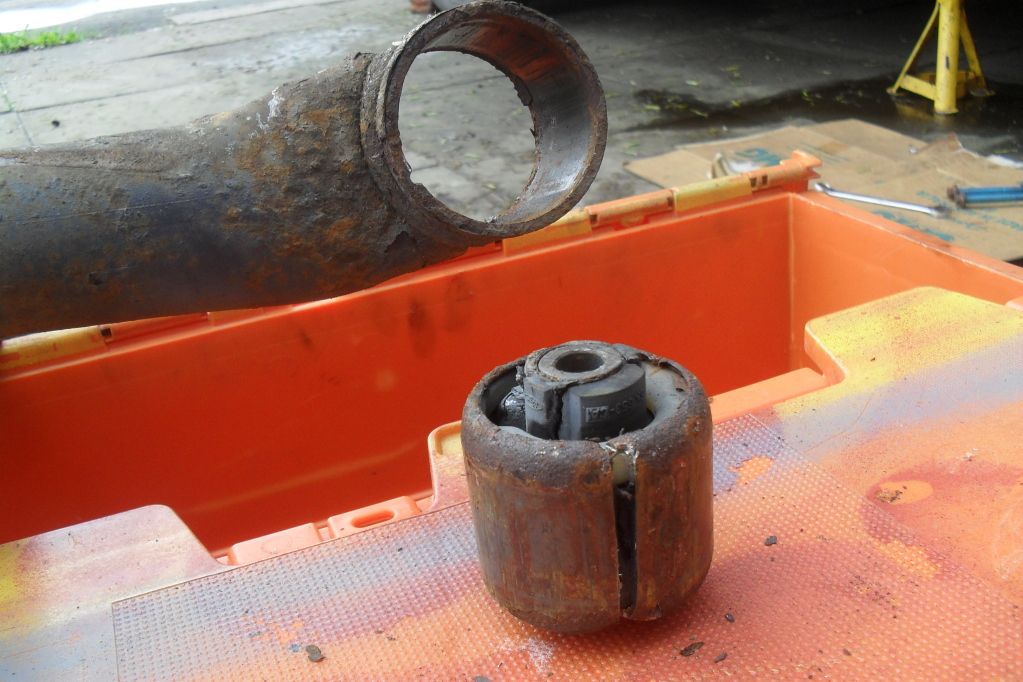
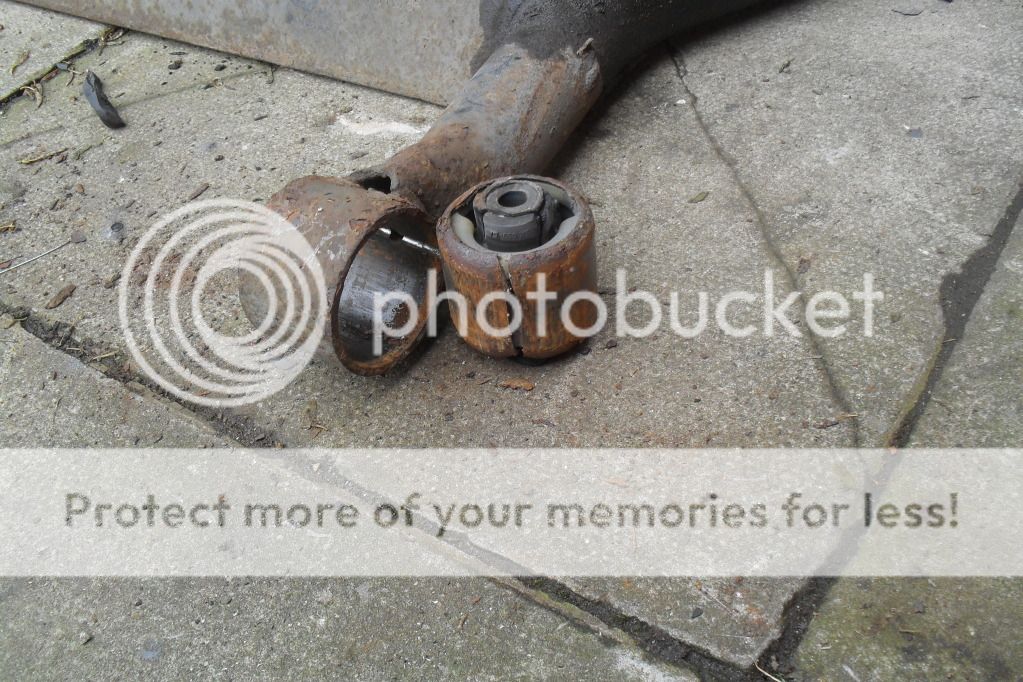
removing the beam bushes
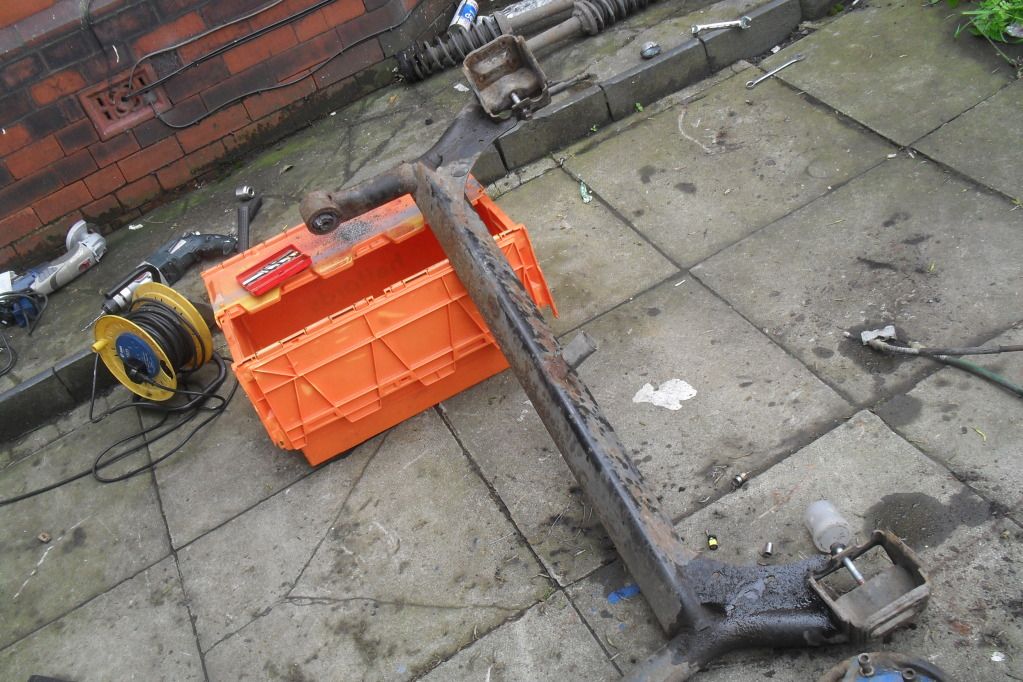
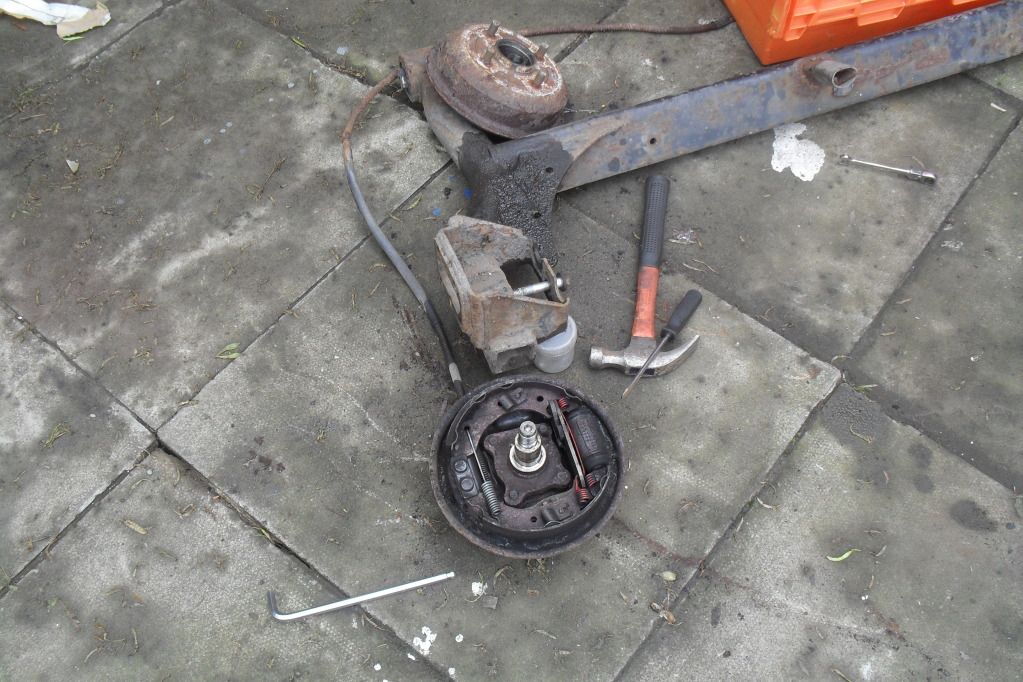
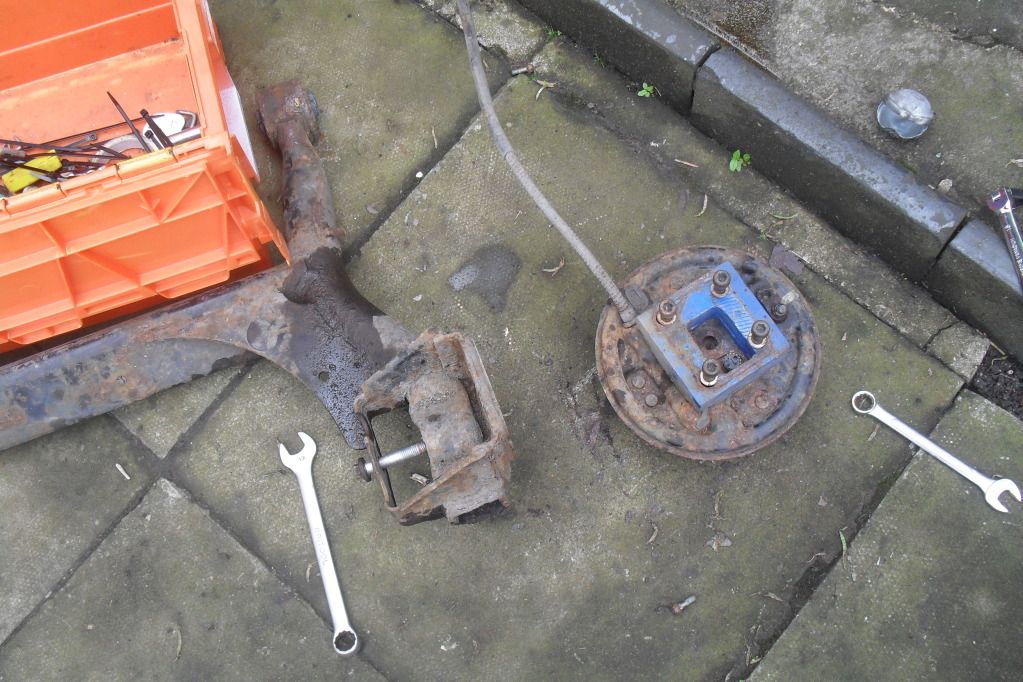
ready to strip all the rust off it
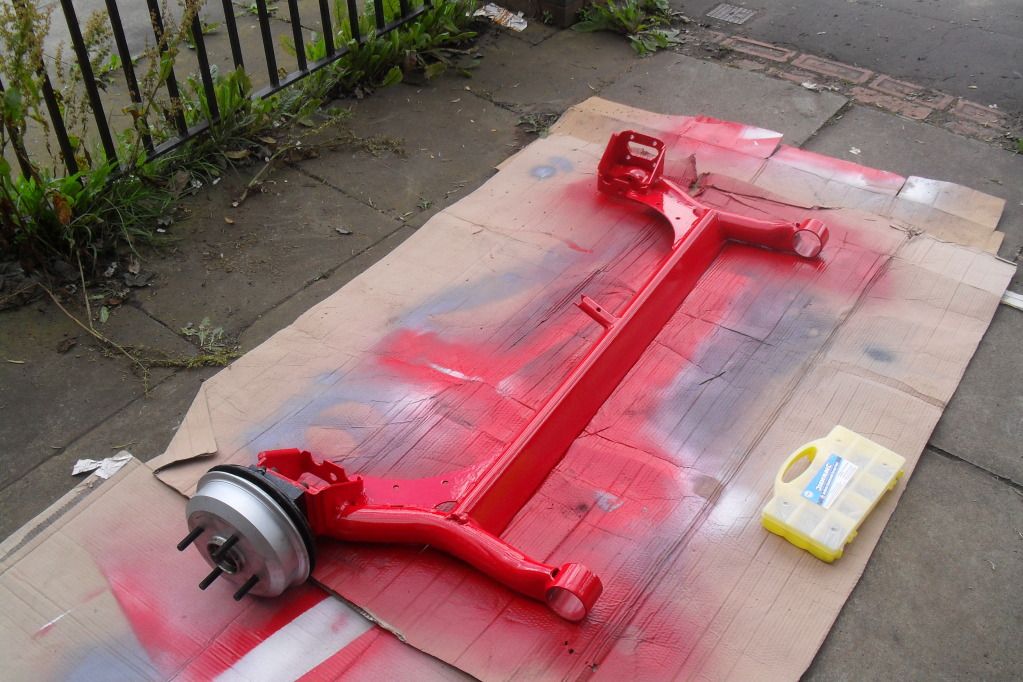
after about 2 hours of grinding, sanding and scraping the rust off it and after about 10 coats of paint
ive got all new brakes at the back new:
drums Ł30 posted (for the pair)
shoes Ł10 posted
cylinders Ł15 posted
25mm longer wheel studs Ł10 posted
bearings Ł20 posted
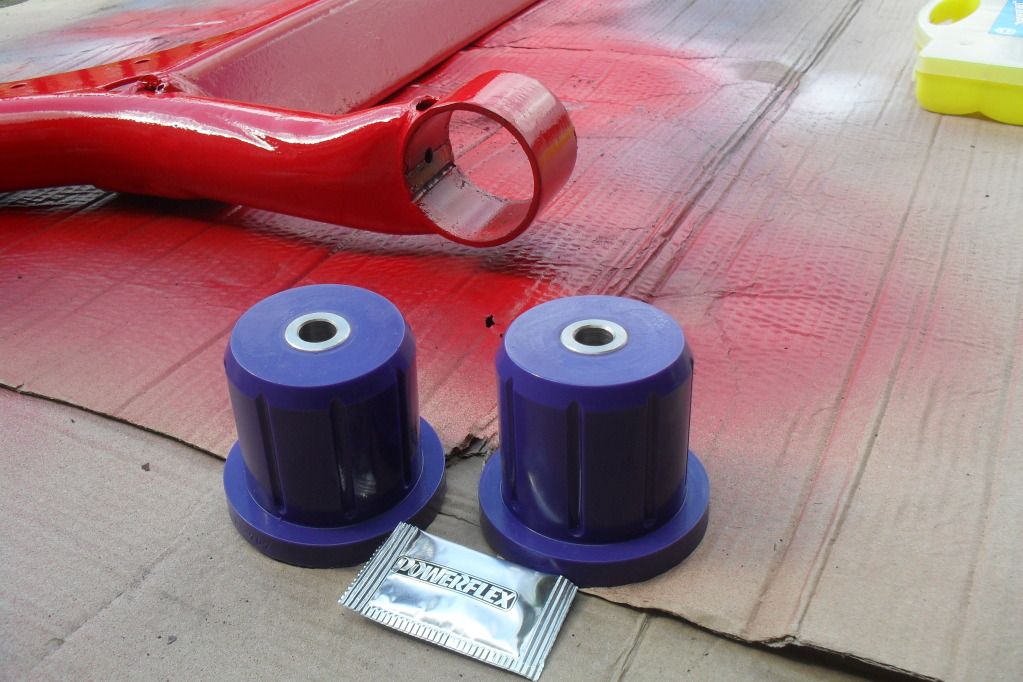
i got the rear bushes in a set off a person on pumap.....
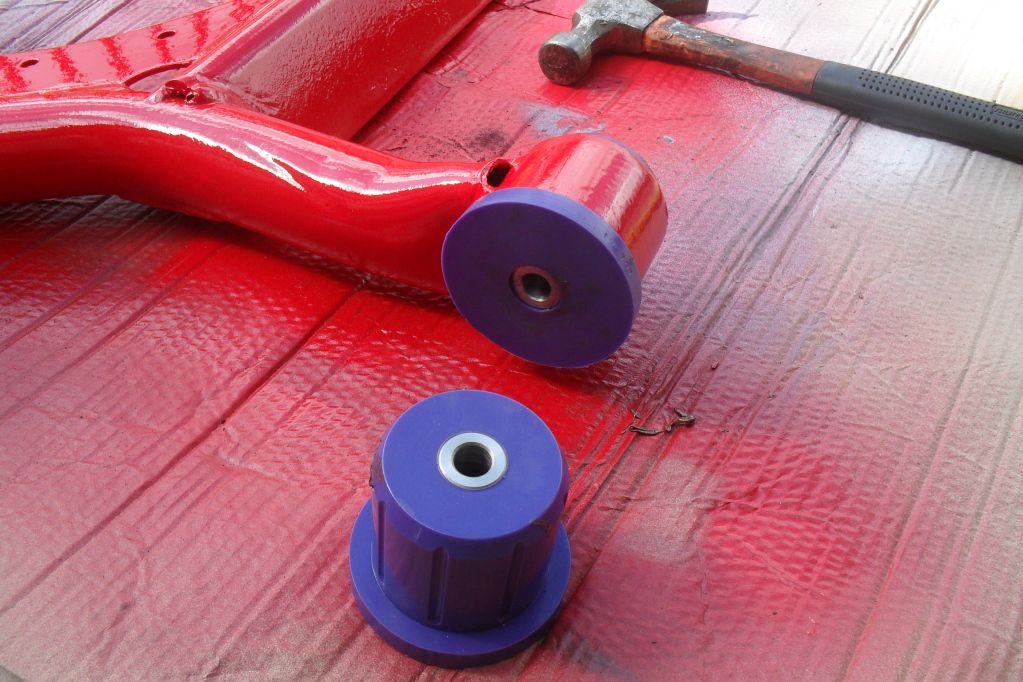
more pics of it goin together

35mm rear spacers custom mad by myself
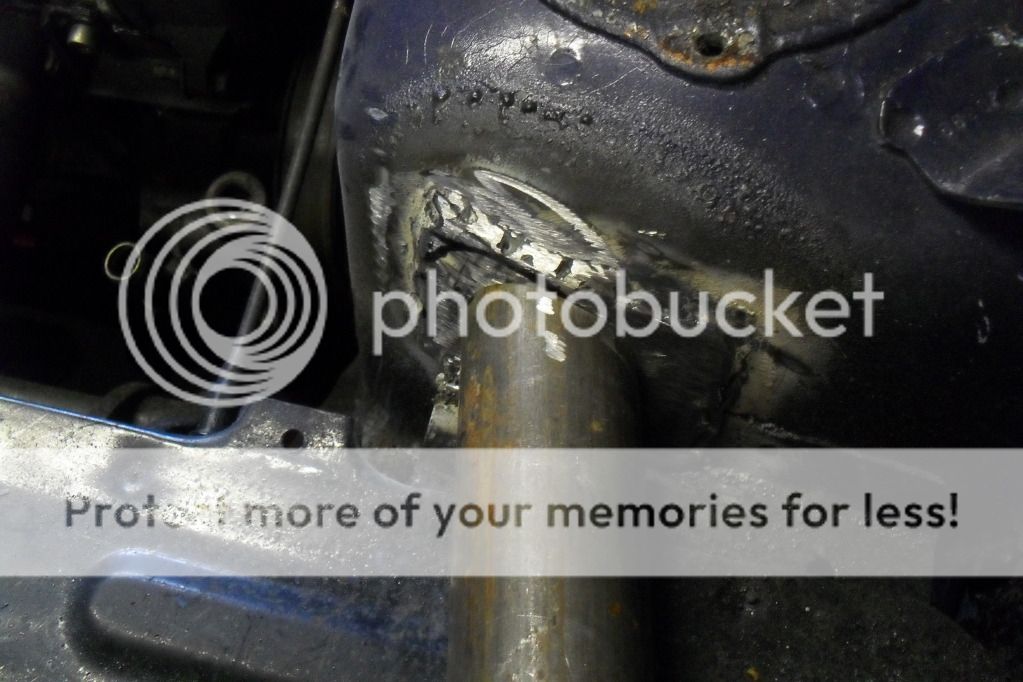
i had to do a spot of welding to the rear. then i scraped off all the dirt, rust and other nastys (a nest of baby spiders lol)
i gave it all a rub down and a coat of underseal
patch


then it was build uptime!
a good friend there giving me a helping hand with the exhaust
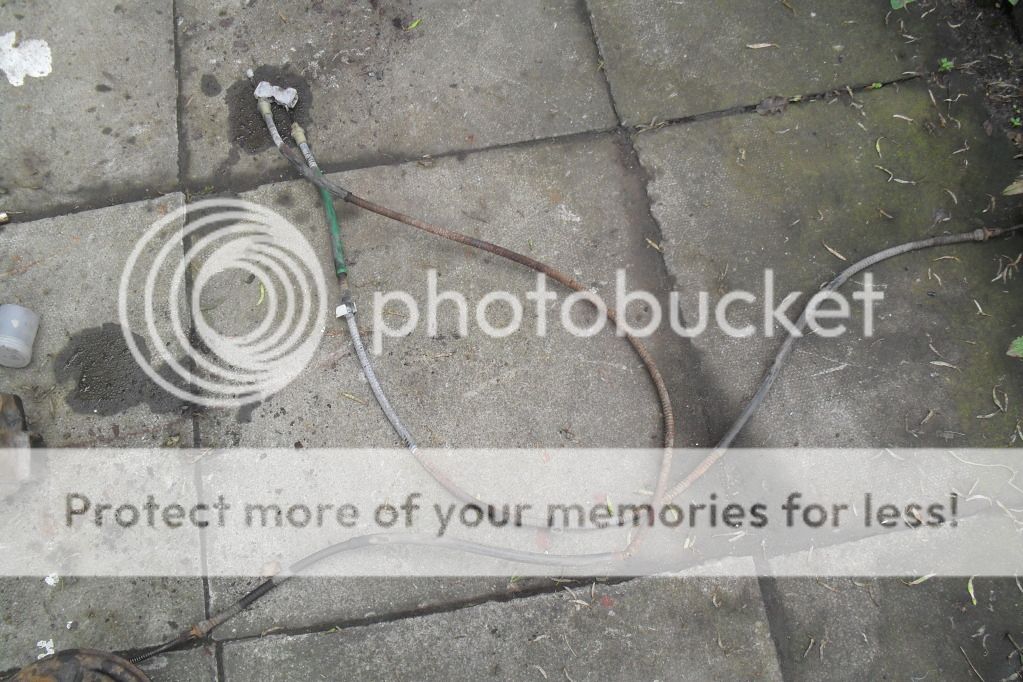
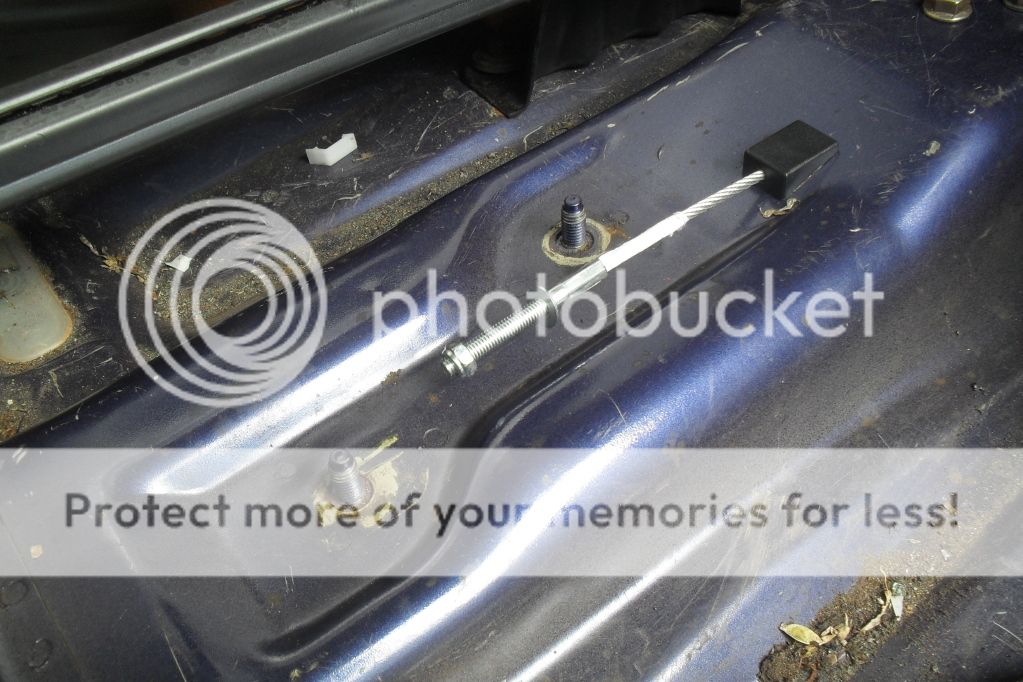
new hand brake cable Ł30 posted
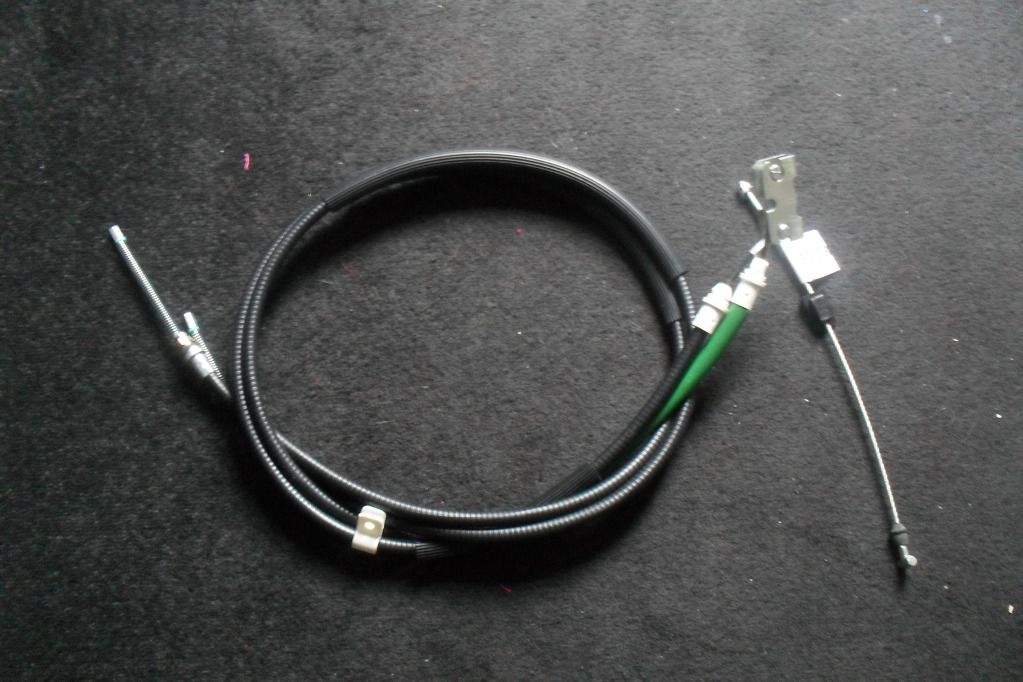
fitted

all built up now
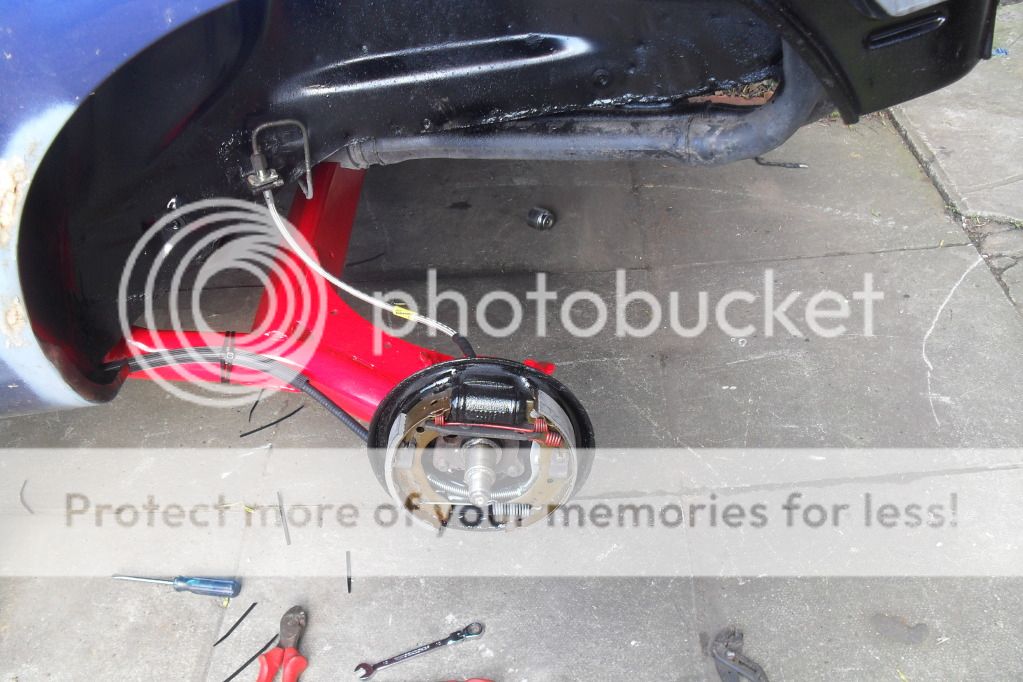
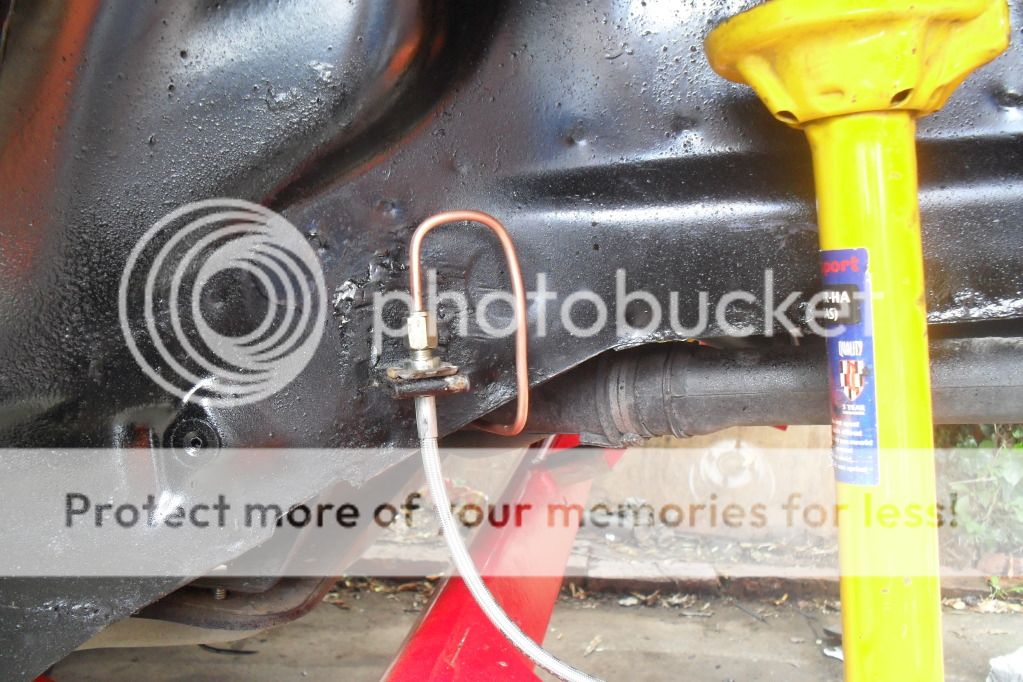
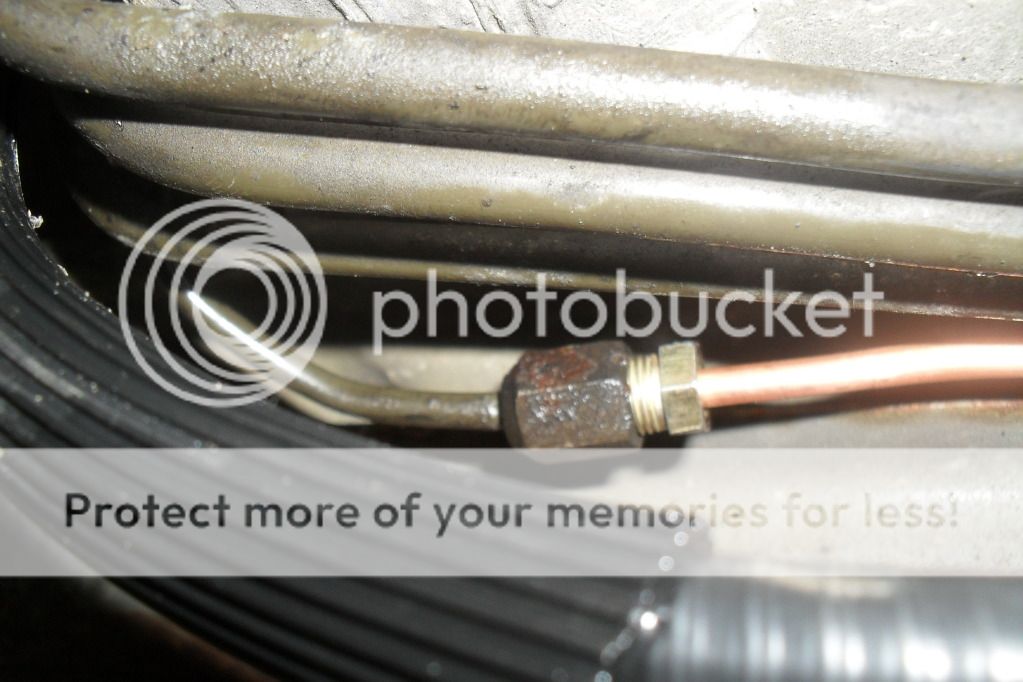
when i bled the rear brakes one of the pipes on the car sprung a leak so i had to order some from ebay. Ł15 posted for both sides.
i put her back on the ground and took some pics

got the wheels finished for the mondeo
thay arrived 2 days after i ordered them
fitting
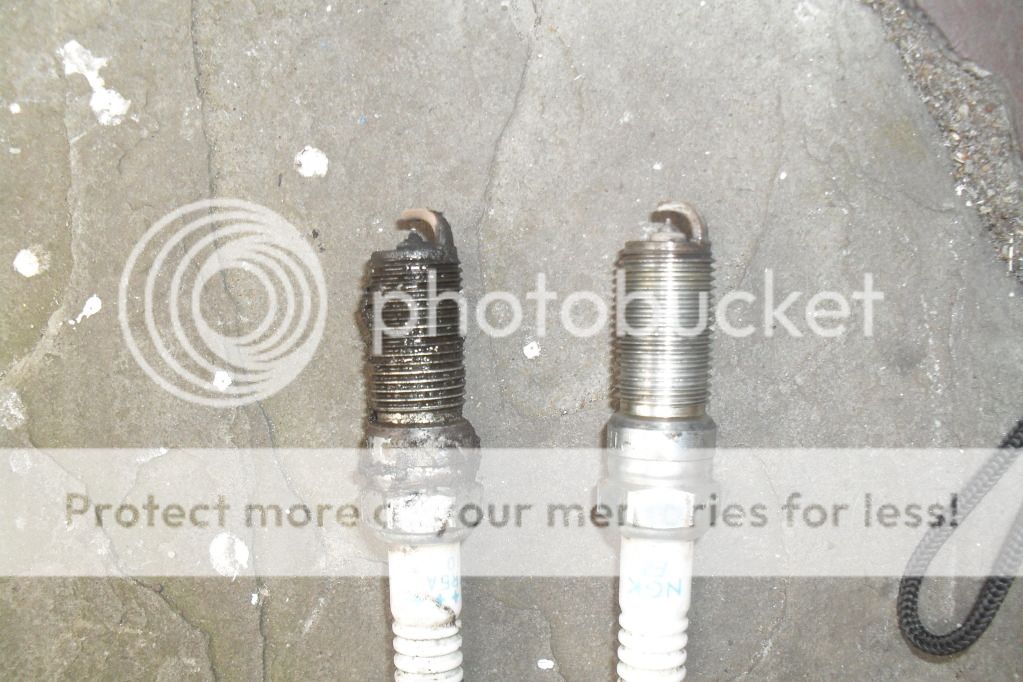
she was running rough so i cleaned up the spark plugs to give then a littlebit more life, i not goin to be racing her around just yet but they will do for moving her here and there.
i have stripped most of the unwanted wires out of the cabin and now its time to start with the engine bay
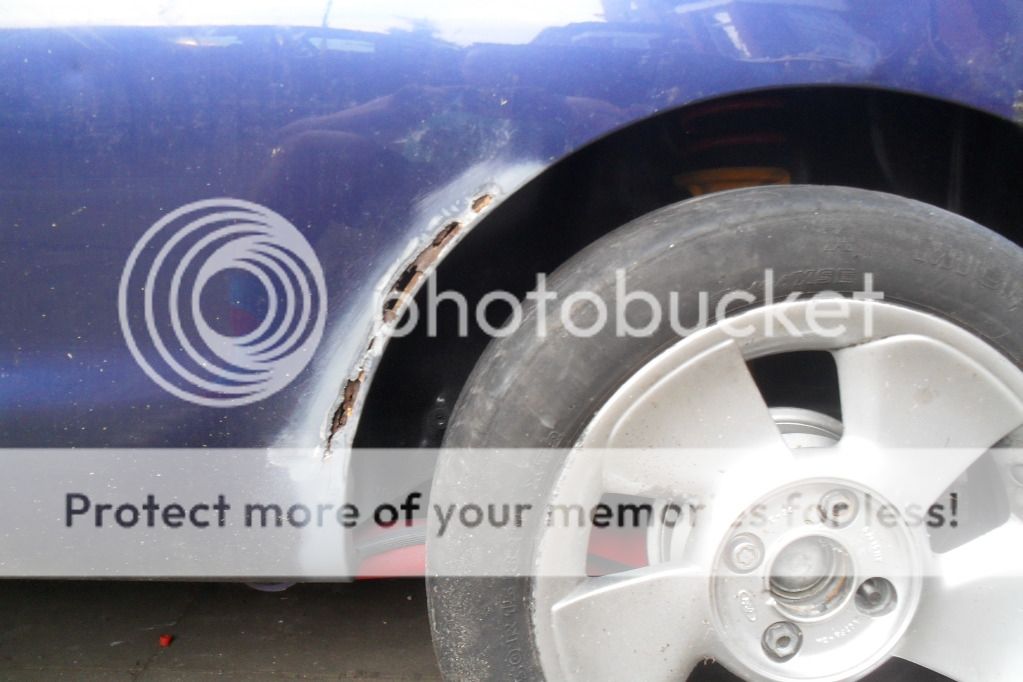
on my next update il be temporarily fixing the rust on the rear arch to slow down the rust ingress and keep it looking ok until i can aford frp rear arches.
yet again ive spend a couple of hours on it again today so got more to update with.
bye bye for now
here are the pics of me stripping the rear end
35mm rear spacers
removing the beam bushes
ready to strip all the rust off it
after about 2 hours of grinding, sanding and scraping the rust off it and after about 10 coats of paint
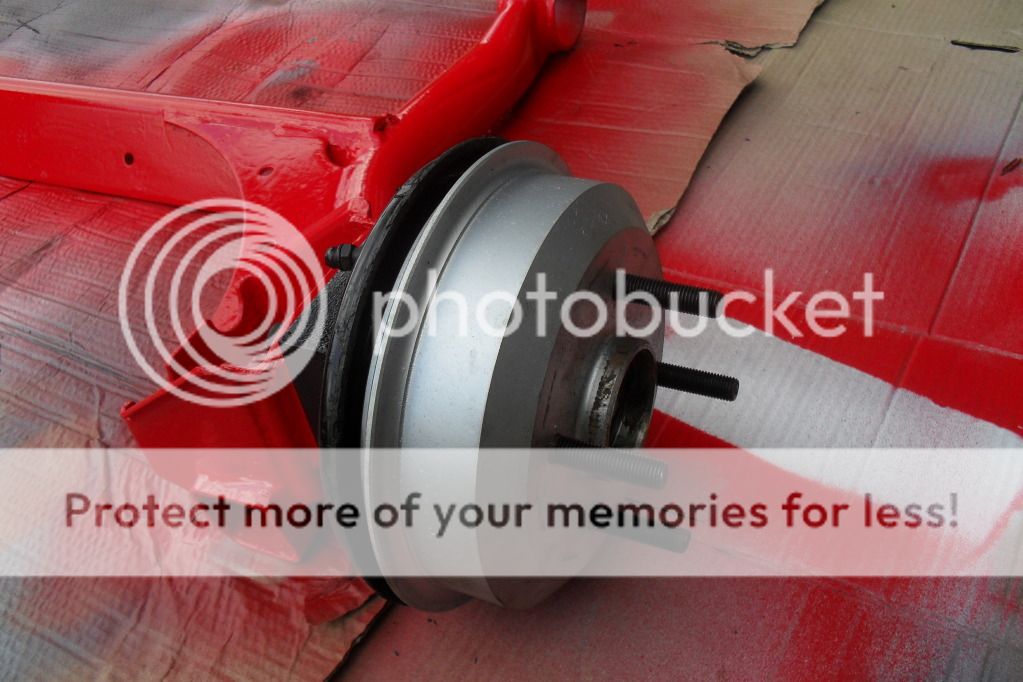
ive got all new brakes at the back new:
drums Ł30 posted (for the pair)
shoes Ł10 posted
cylinders Ł15 posted
25mm longer wheel studs Ł10 posted
bearings Ł20 posted
i got the rear bushes in a set off a person on pumap.....
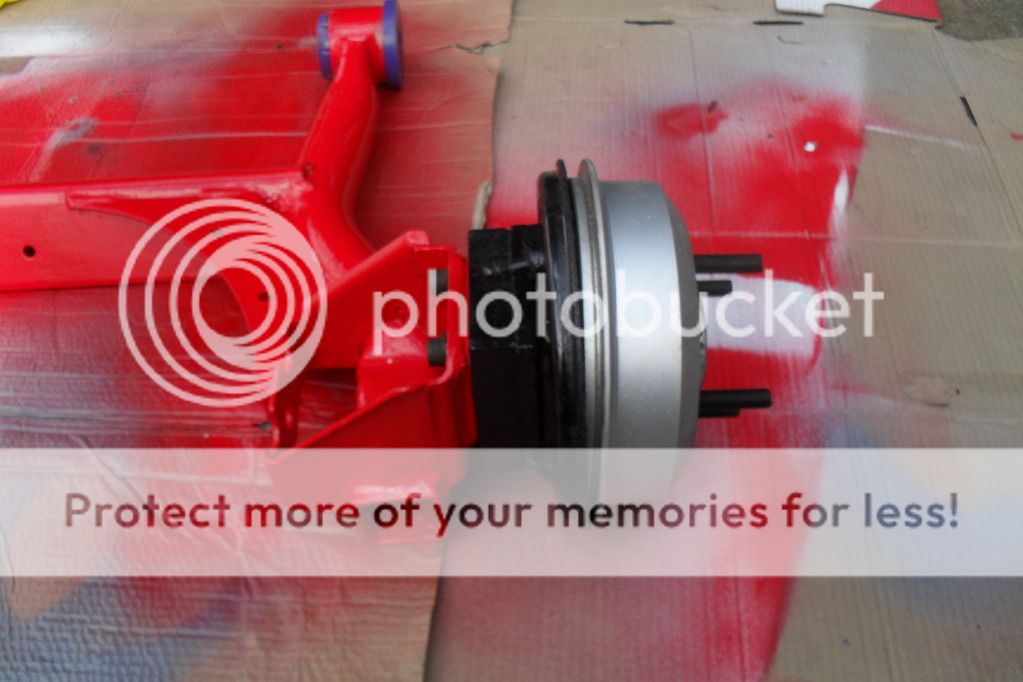
more pics of it goin together
35mm rear spacers custom mad by myself
i had to do a spot of welding to the rear. then i scraped off all the dirt, rust and other nastys (a nest of baby spiders lol)
i gave it all a rub down and a coat of underseal
patch
then it was build uptime!
a good friend there giving me a helping hand with the exhaust
new hand brake cable Ł30 posted
fitted
all built up now
when i bled the rear brakes one of the pipes on the car sprung a leak so i had to order some from ebay. Ł15 posted for both sides.
i put her back on the ground and took some pics
got the wheels finished for the mondeo
thay arrived 2 days after i ordered them
fitting
she was running rough so i cleaned up the spark plugs to give then a littlebit more life, i not goin to be racing her around just yet but they will do for moving her here and there.
i have stripped most of the unwanted wires out of the cabin and now its time to start with the engine bay
on my next update il be temporarily fixing the rust on the rear arch to slow down the rust ingress and keep it looking ok until i can aford frp rear arches.
yet again ive spend a couple of hours on it again today so got more to update with.
bye bye for now
06-10-2012, 09:33 PM
#11
Wahay!! I've lost my Virginity!!
Thread Starter
Join Date: Oct 2012
Location: manchester
Posts: 52
Likes: 0
Received 0 Likes
on
0 Posts
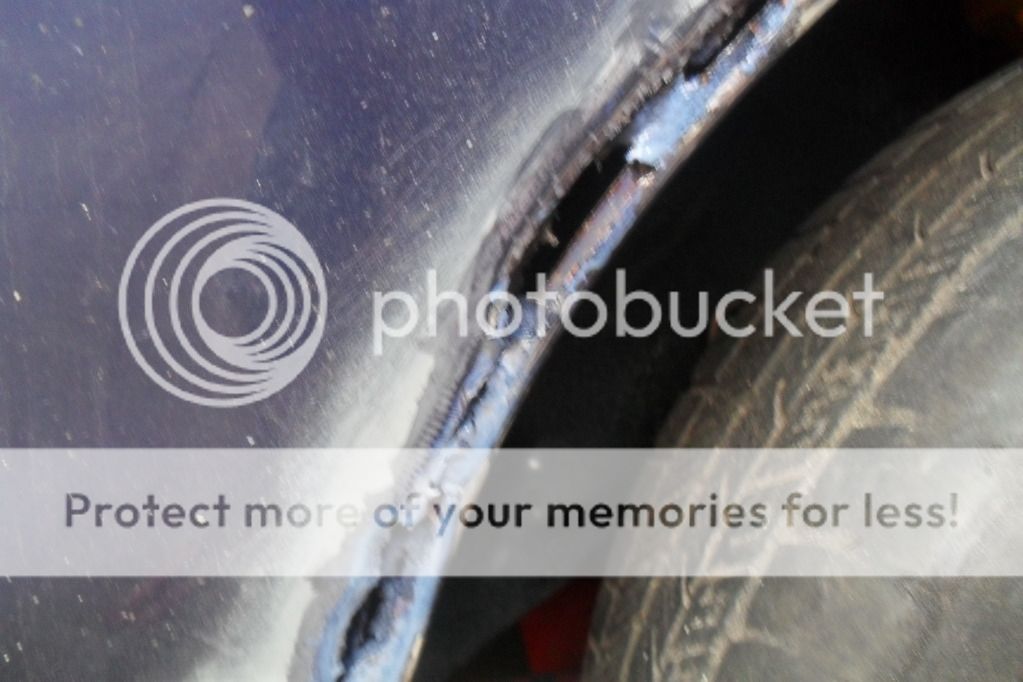
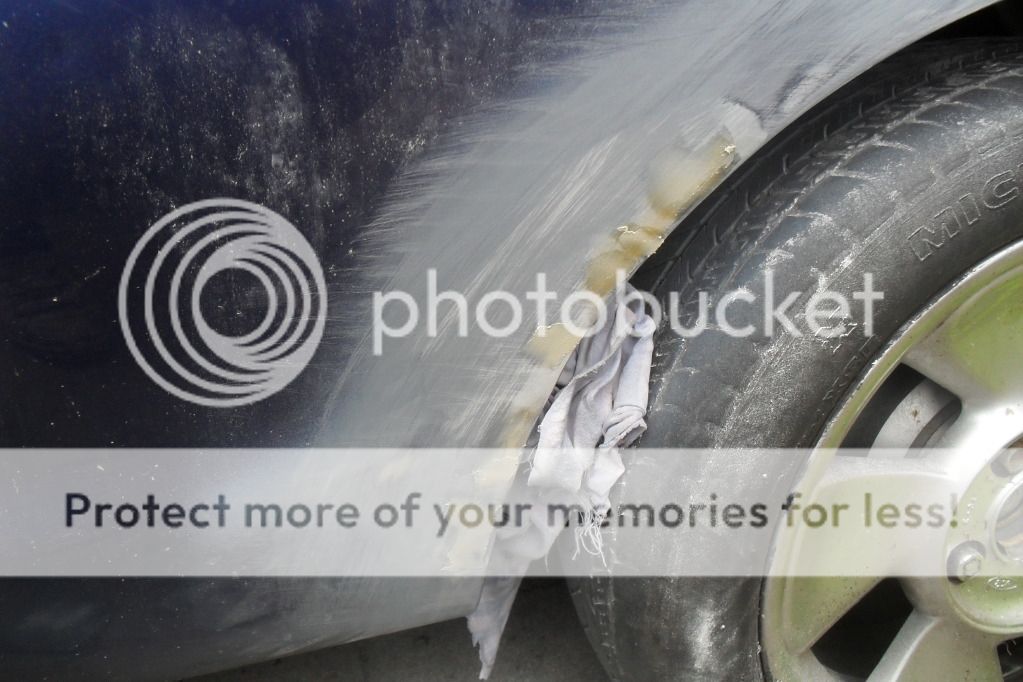
right another update, time to get the rusty rear arch sorted.
all the rust ground out


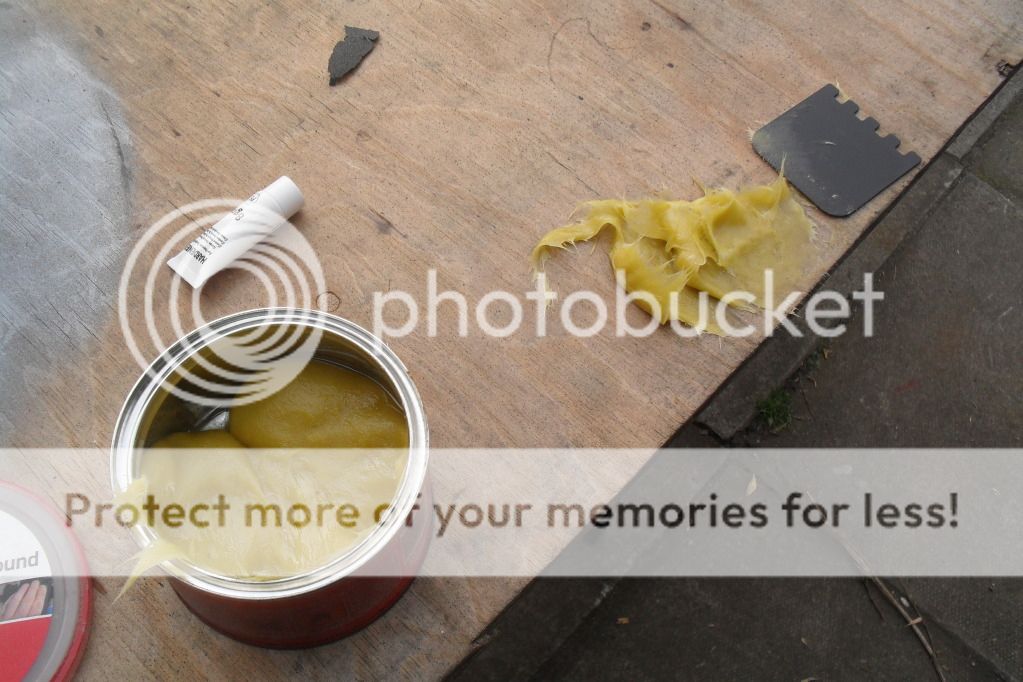
rust killer smoothed onto it
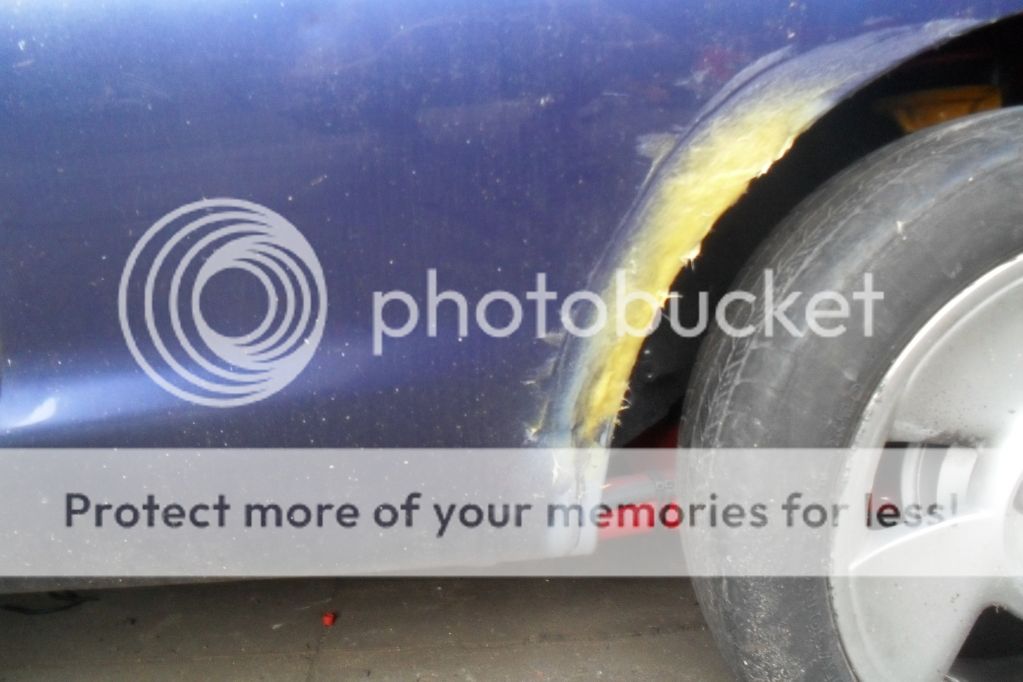
a bit of fibre glass filler.
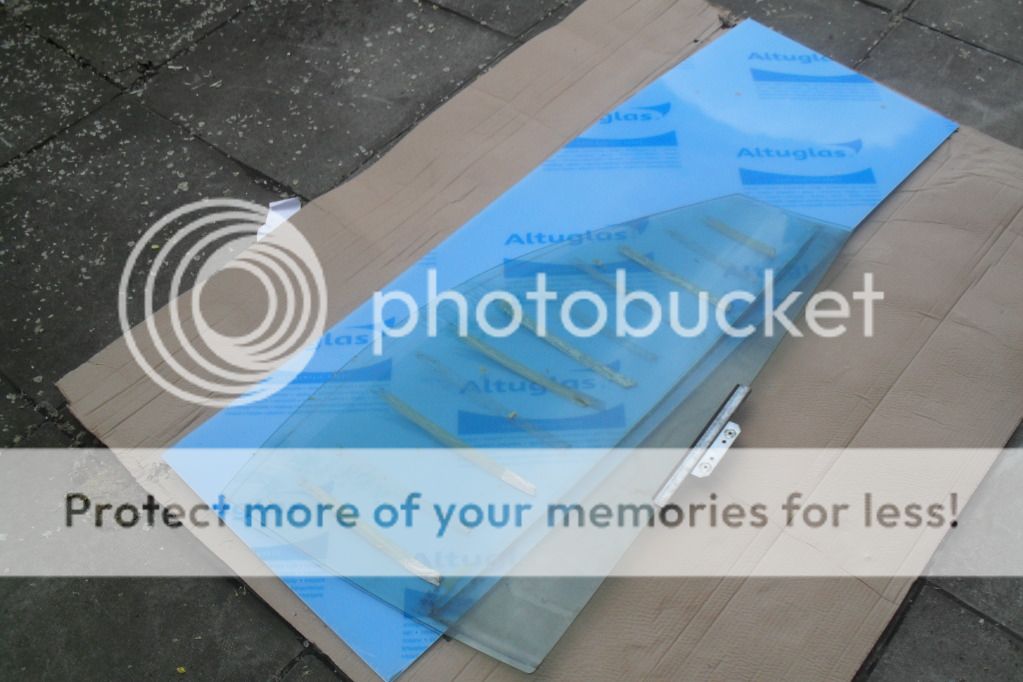
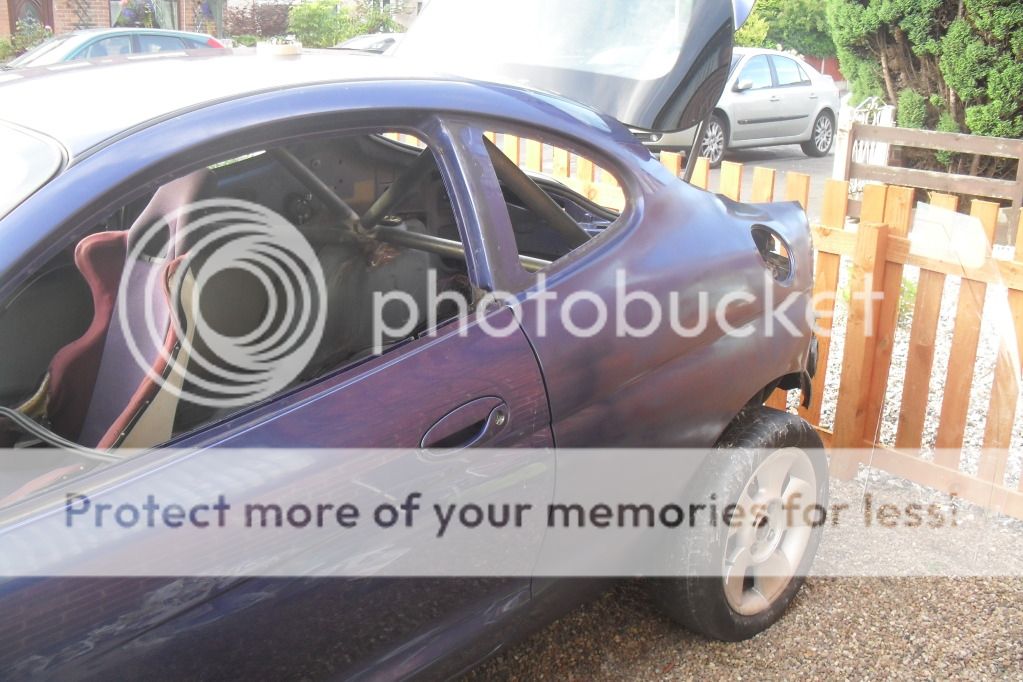
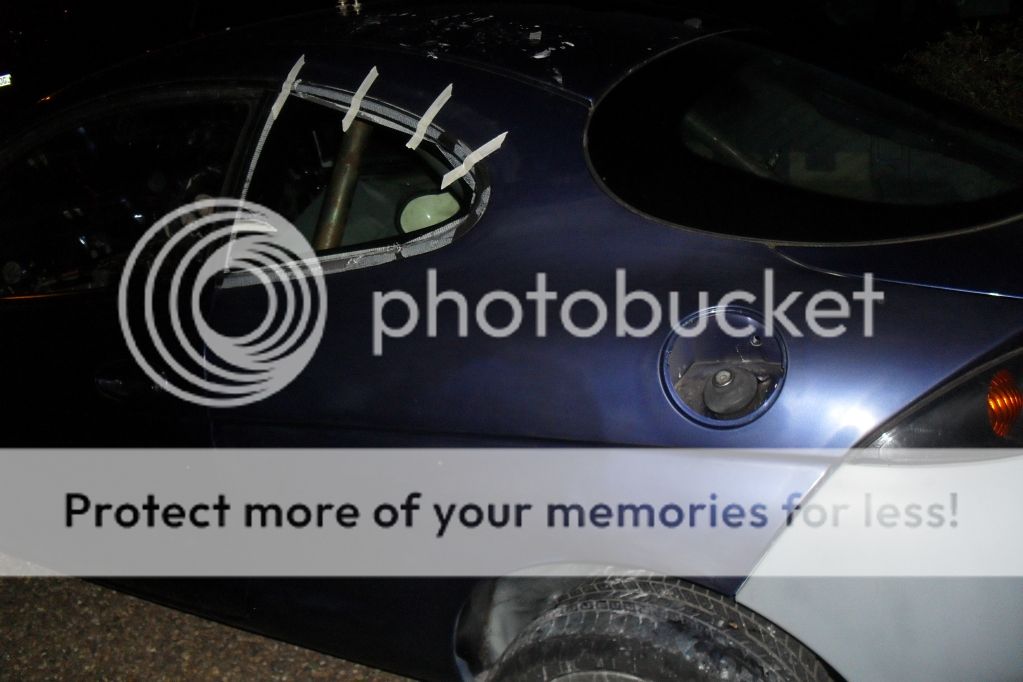
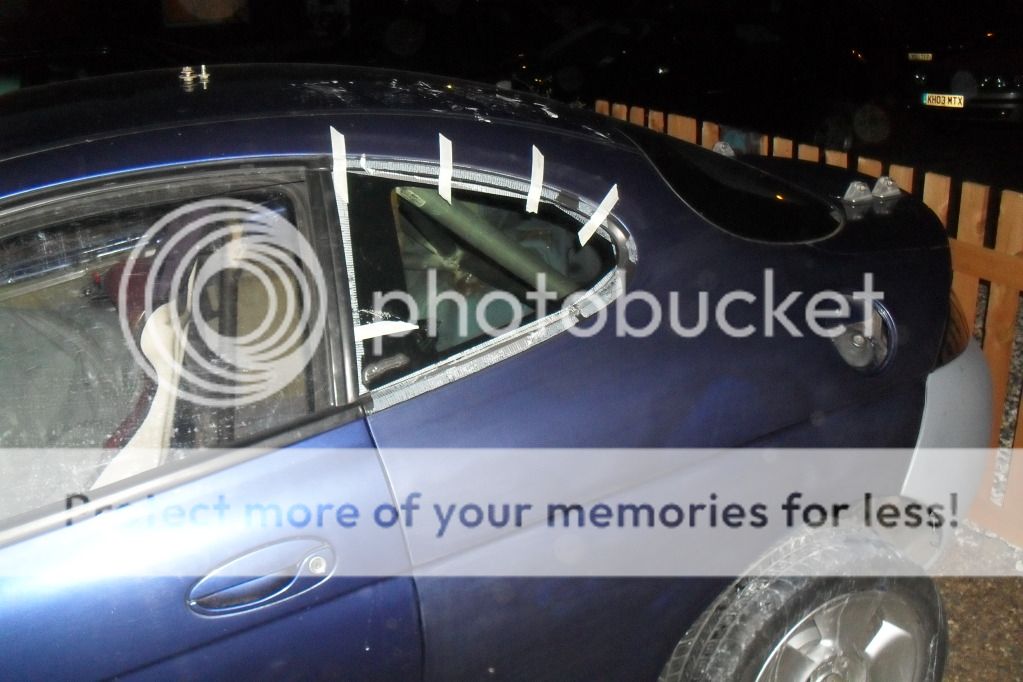
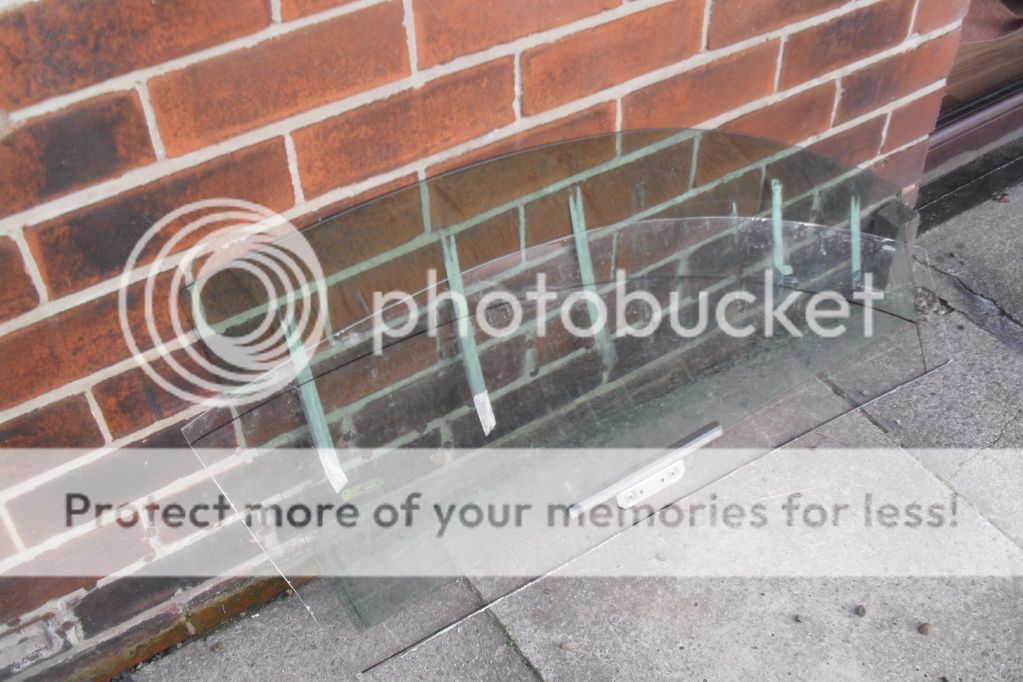
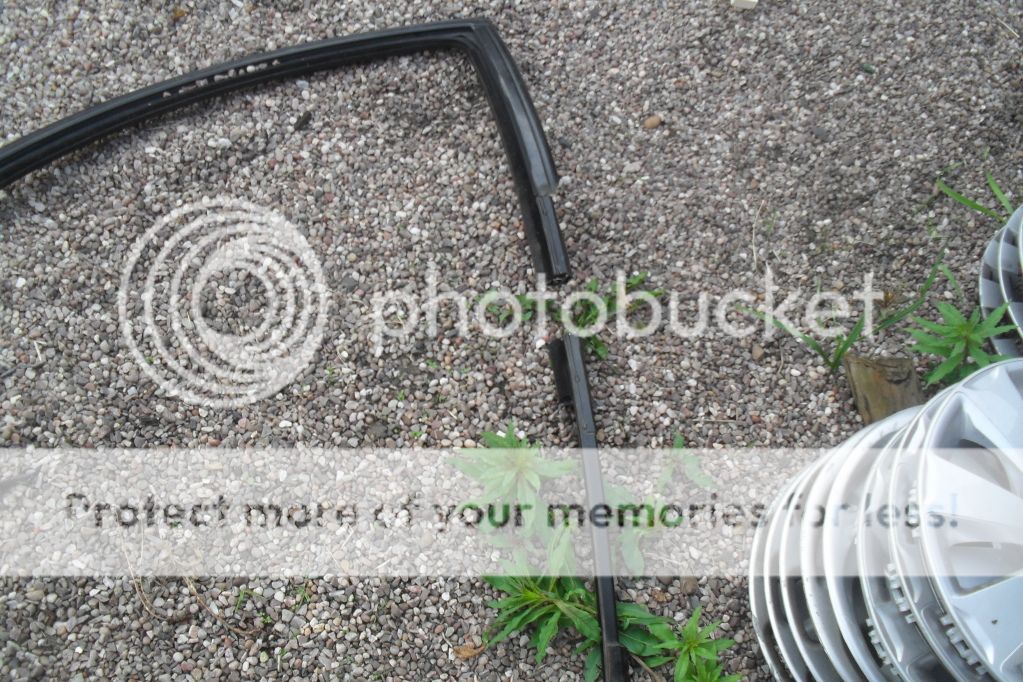
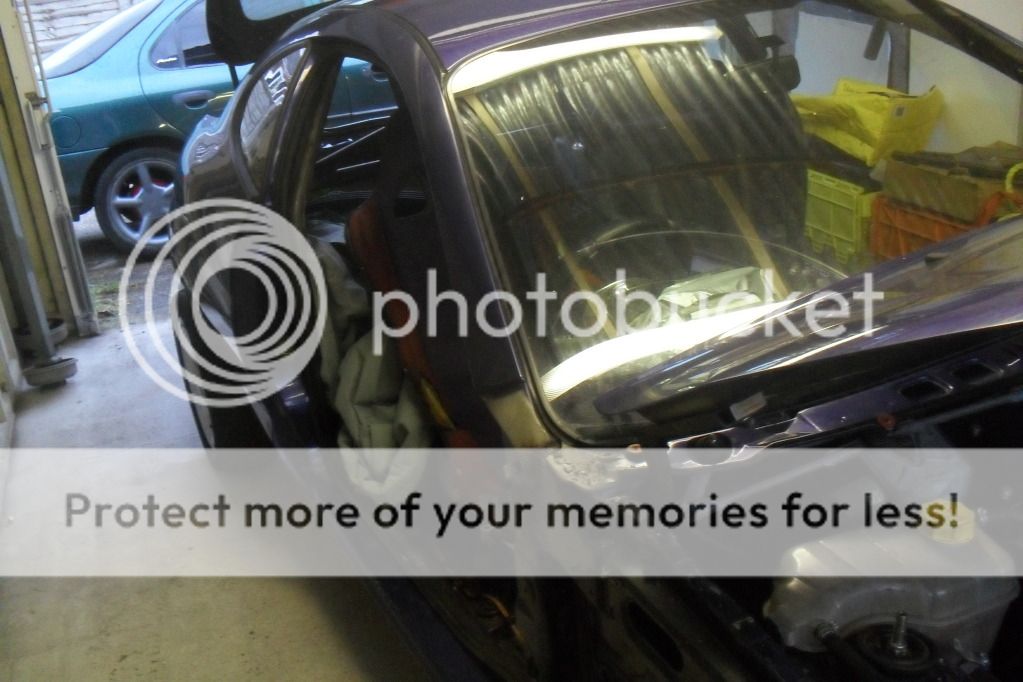
then i decided to remove the rear window, im goin to be replacing it with plastic at some point and when i put a coat of paint on the rear arch it will be easter with it not being there
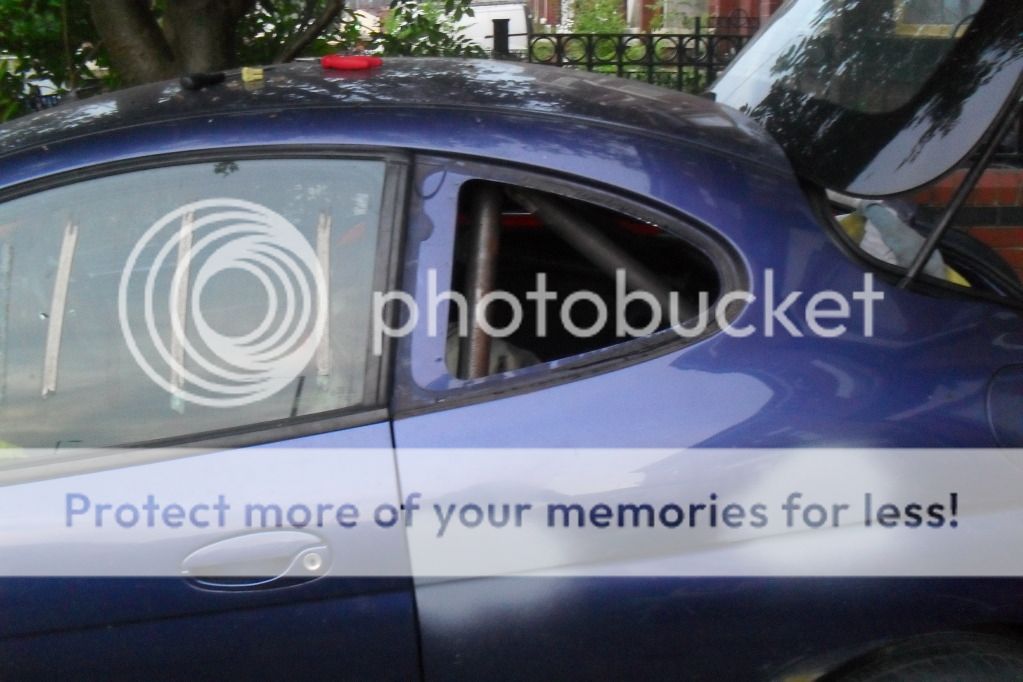

how the car ended up at the end of the day
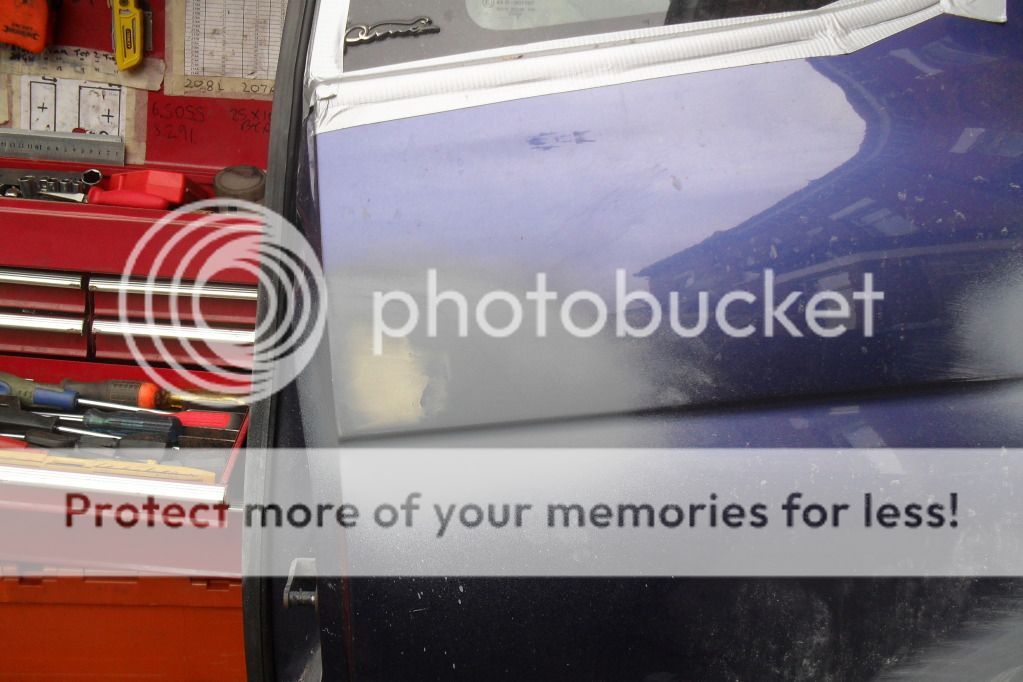
another day, more work done on the car pics of the arch coming along


another little problem area
sanded down
rust killer applied
dried
primer applied

ready for a coat of paint

primer applied
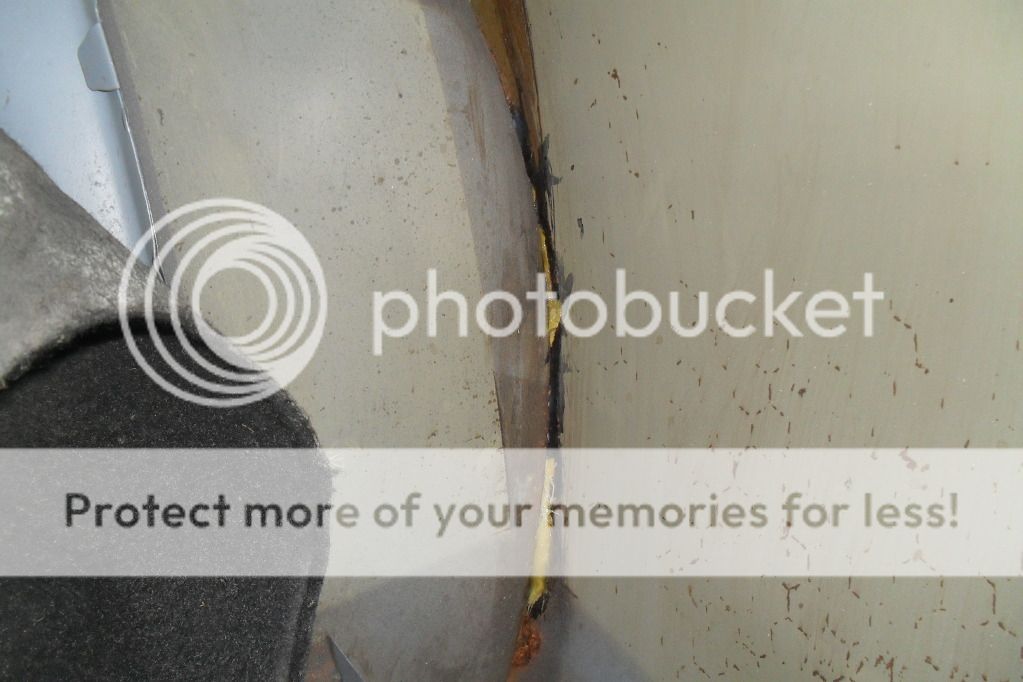
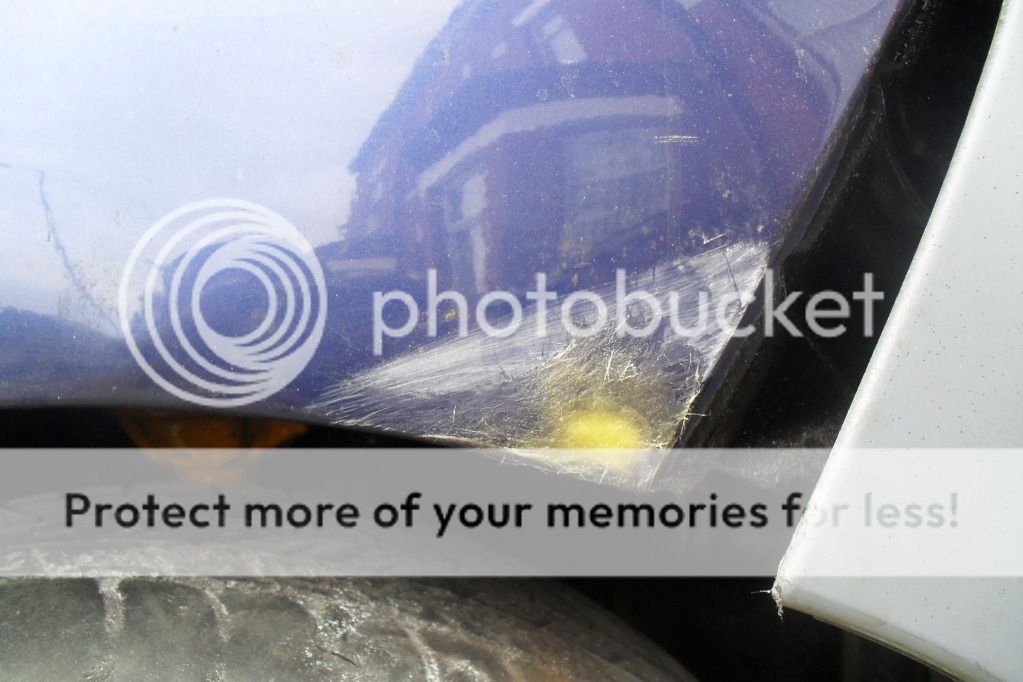
then another little rust bubble. it couldnt be anything big can it????
yes a hole right throught the arch shocking but of tell lits crack out the rust killer, filler and primer haha

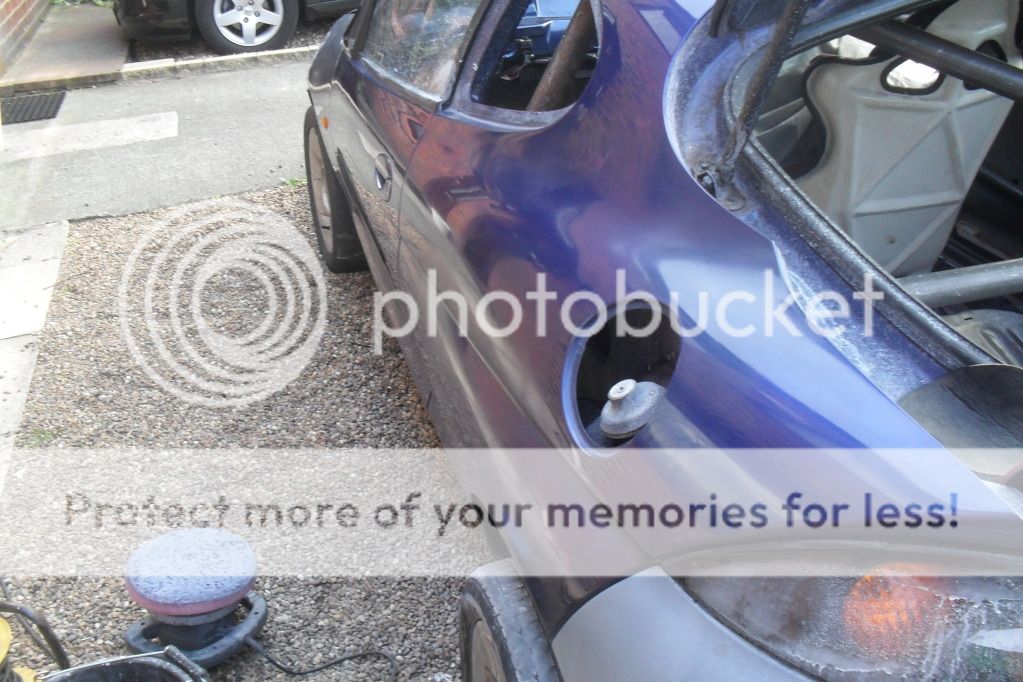
thought i would remove the filler cap to see how

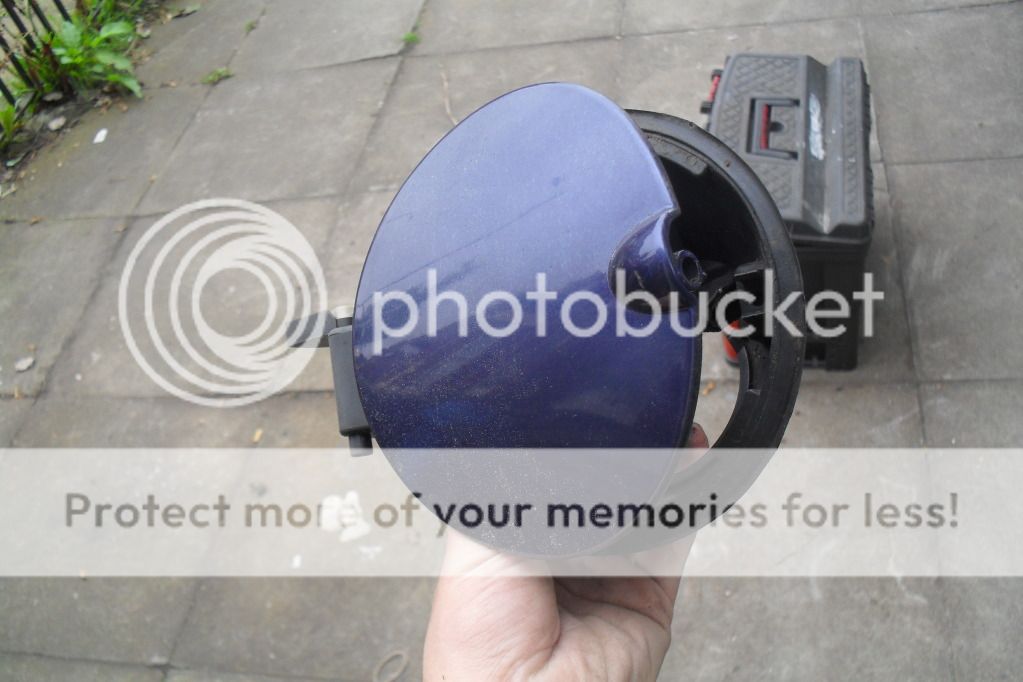
more pics
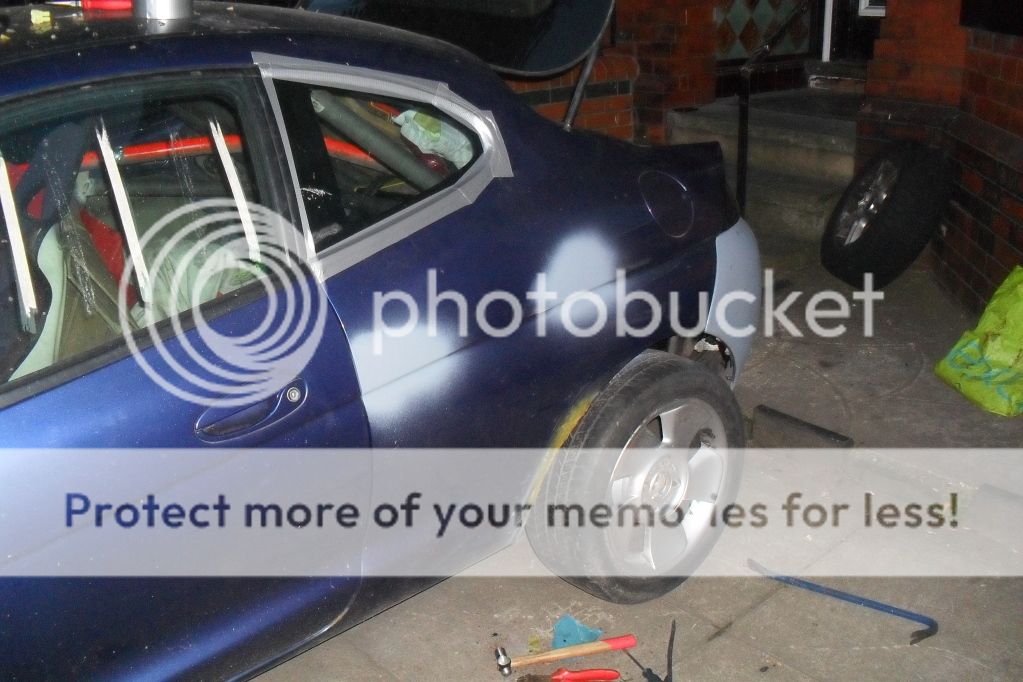
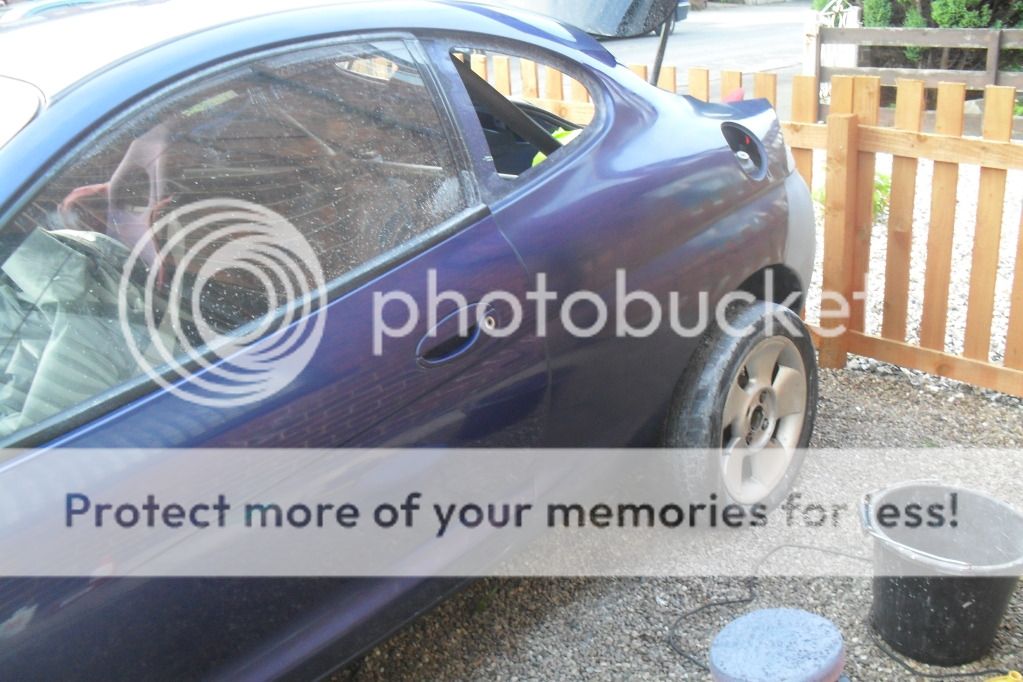
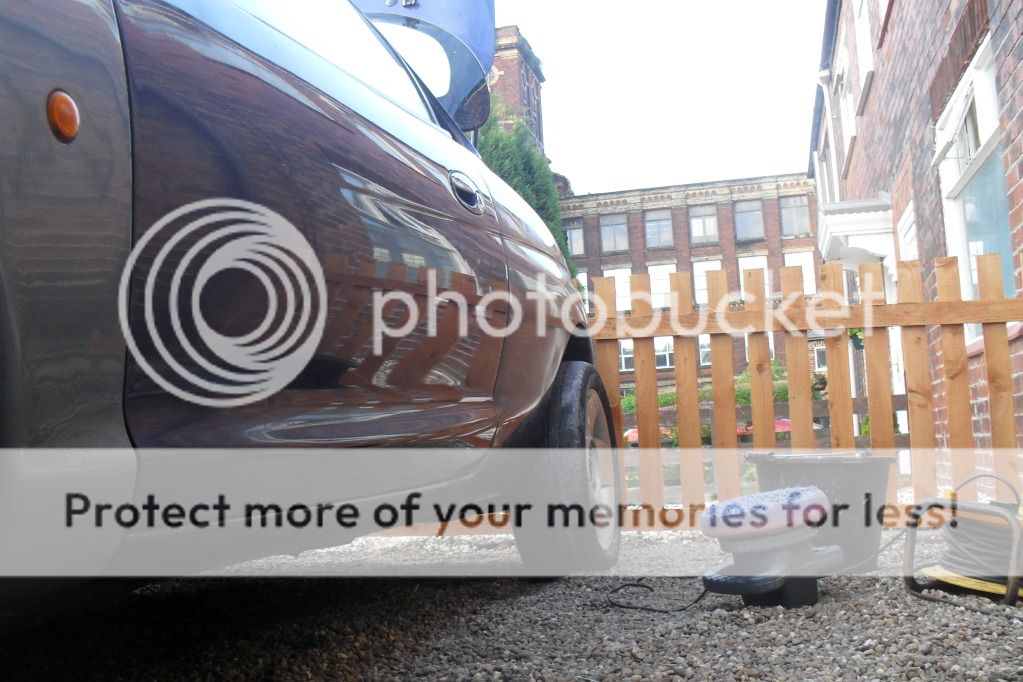
i moved into my ew house and after a few weekds u started work on the car again so a few weeks ago i sprayed the arch not the best i know but it looks alot better than a rusty arch with dints ALOT BETTER!!!
pics


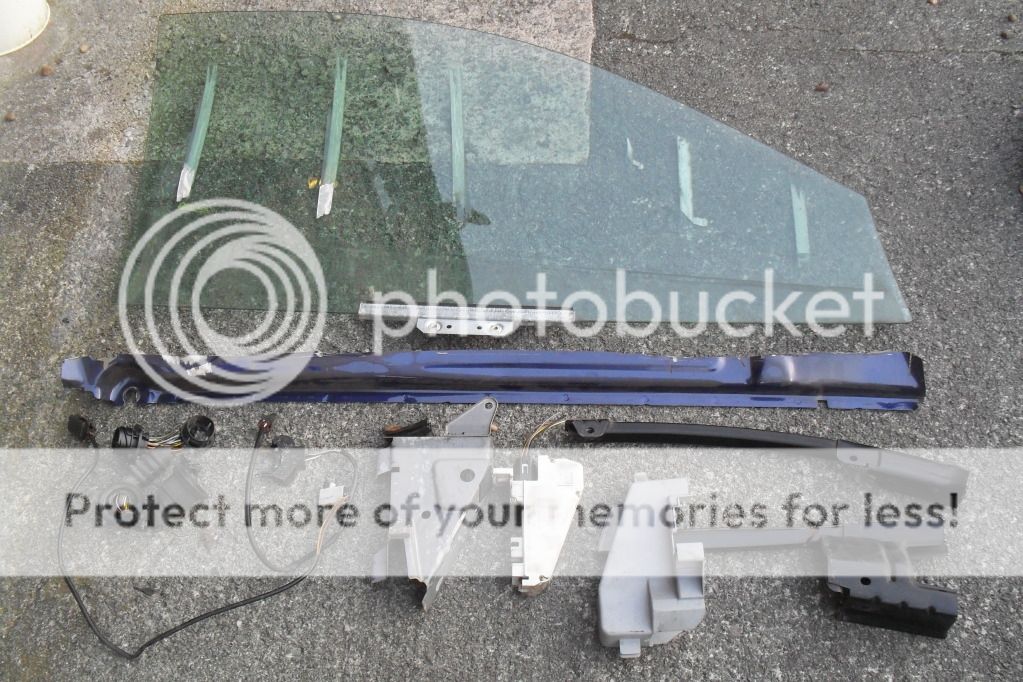
after i did the arch i started to get the door sorted (the less weight the better)
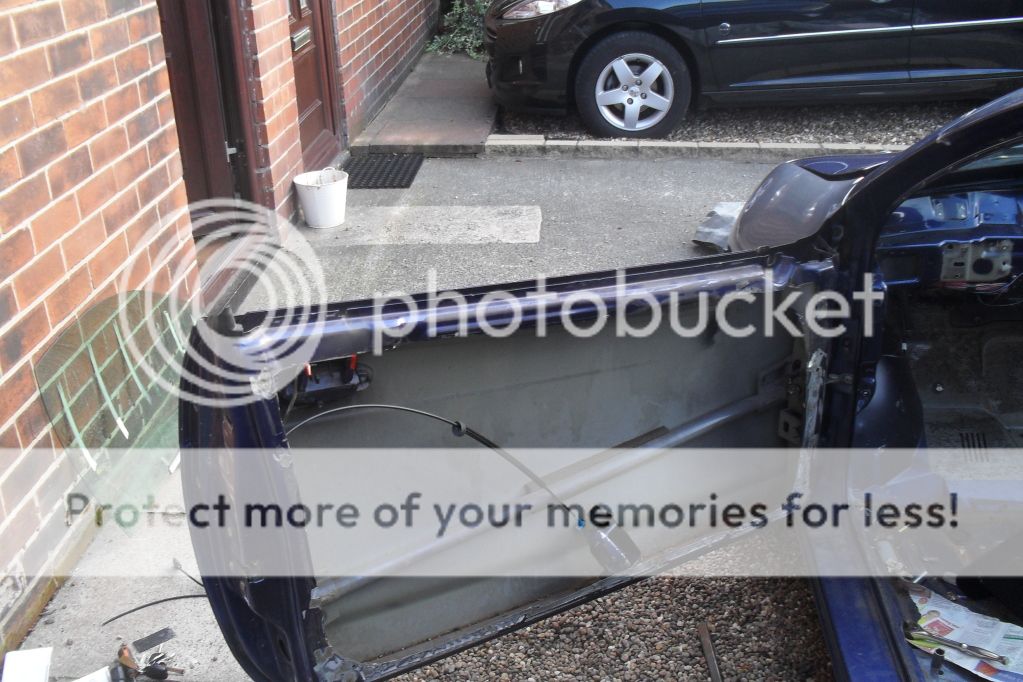
cut more weight out of the door pics
all back together again
riveted

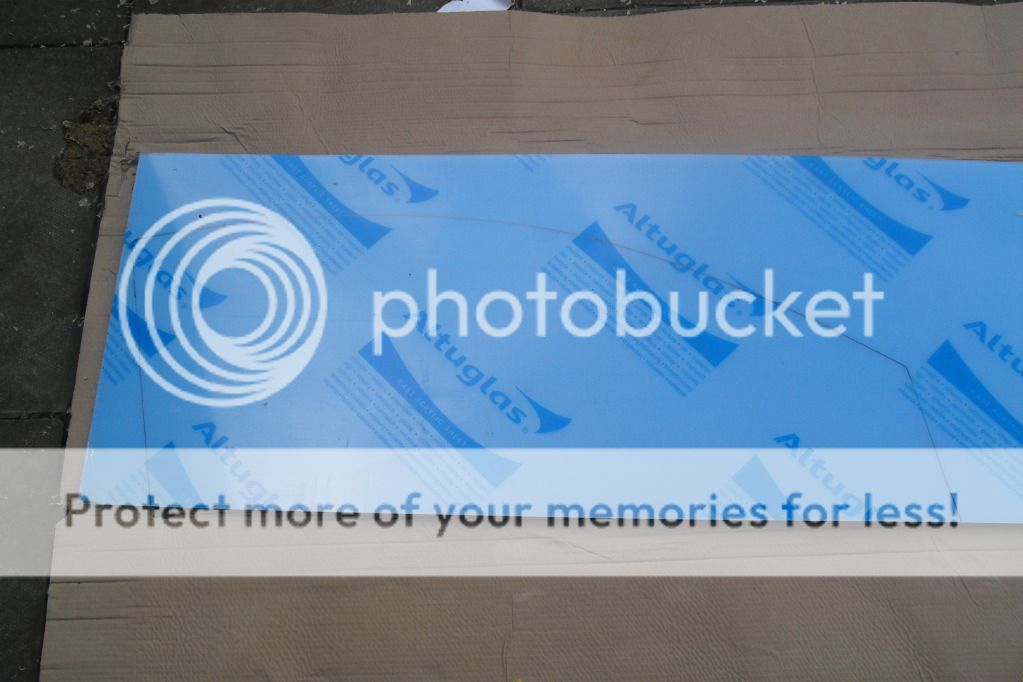
sadly i broke the perspex but after speaking to some people ive decided when i can im goin to change it for Polycarbonate when i can aford it that is hahah
no extra's on this door anymore hahahahah
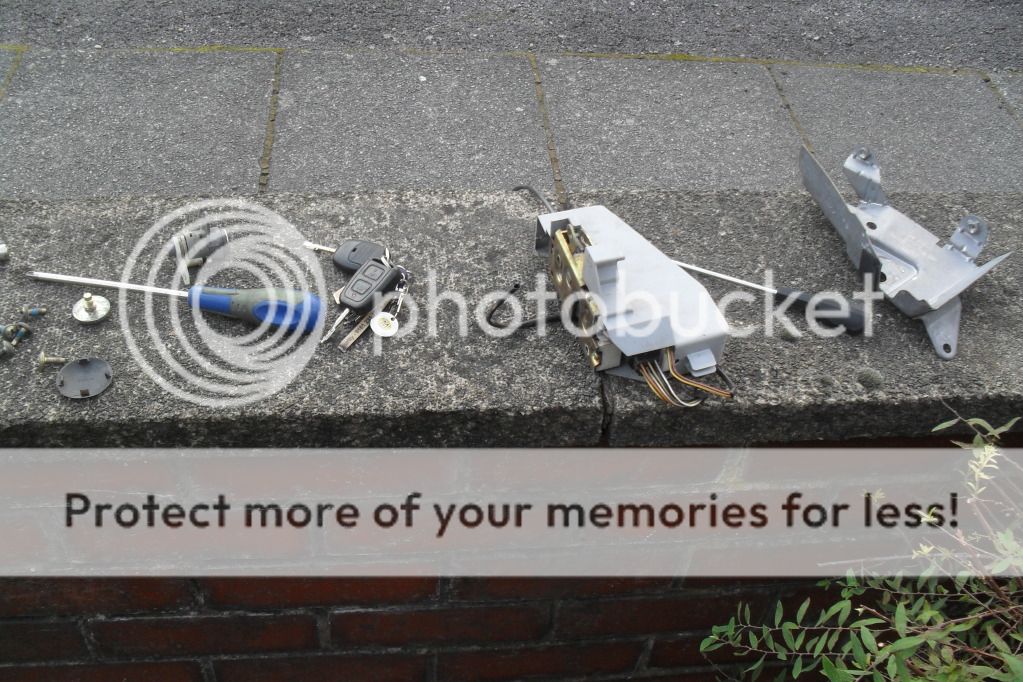
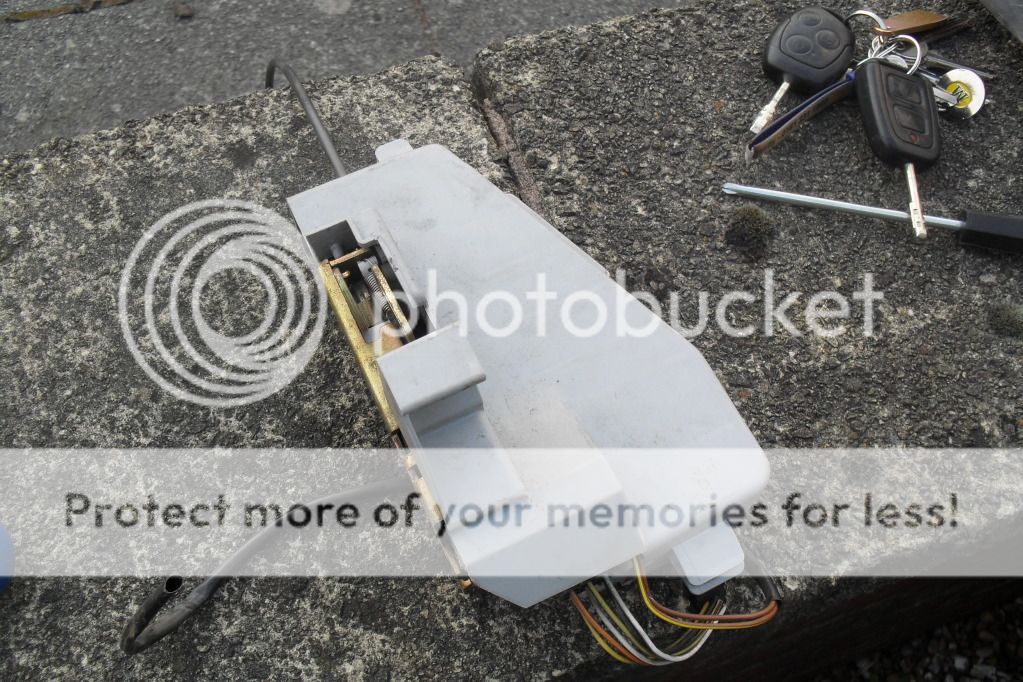
all the stuff no longer in the door
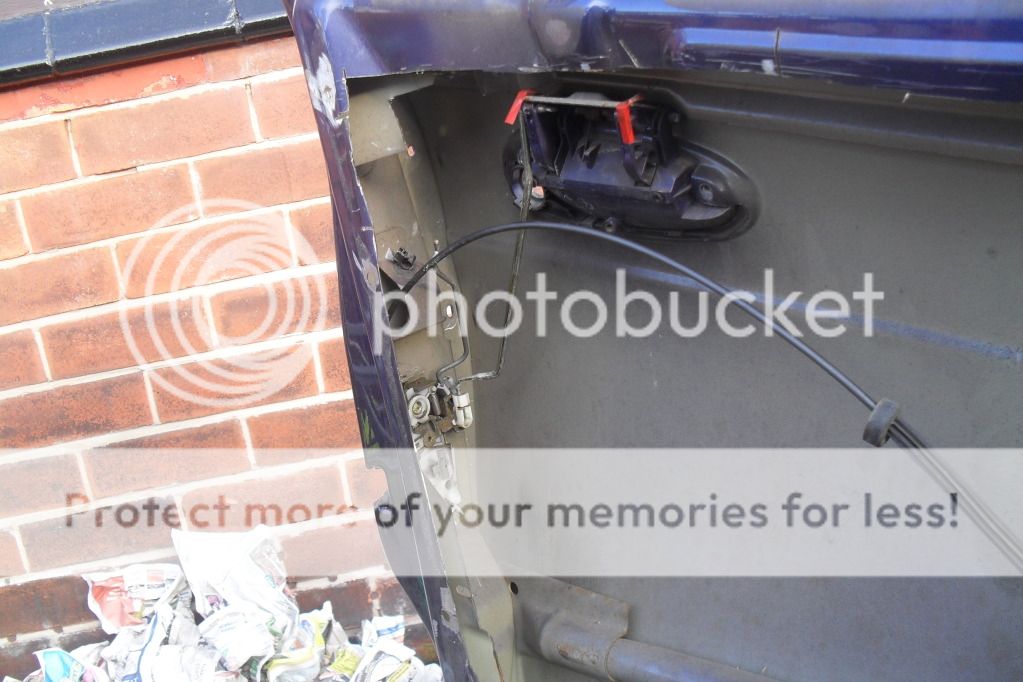
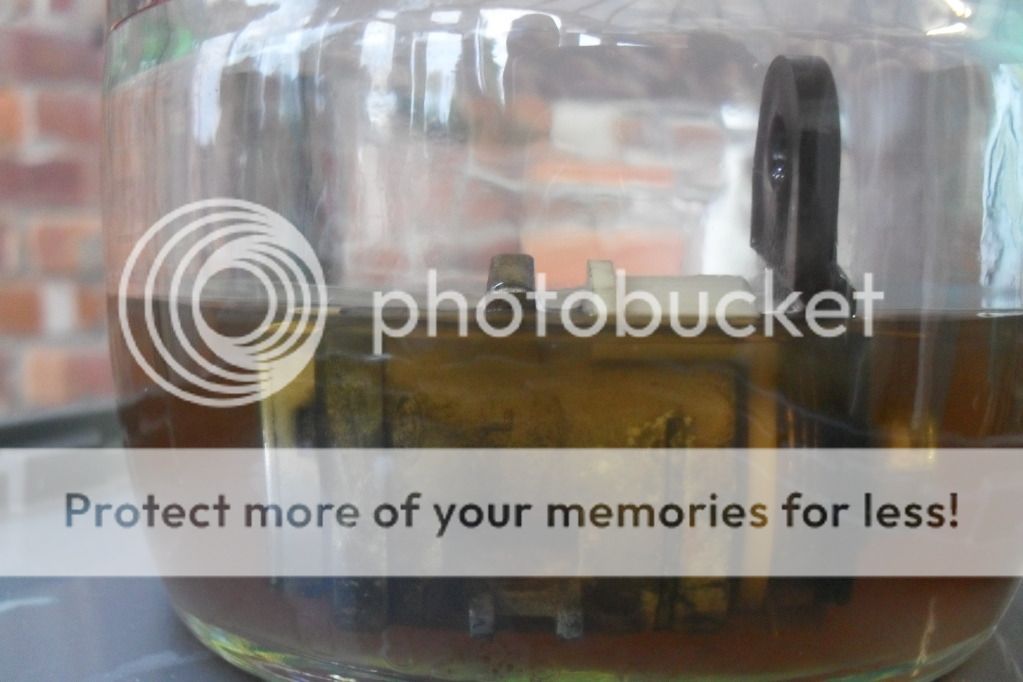
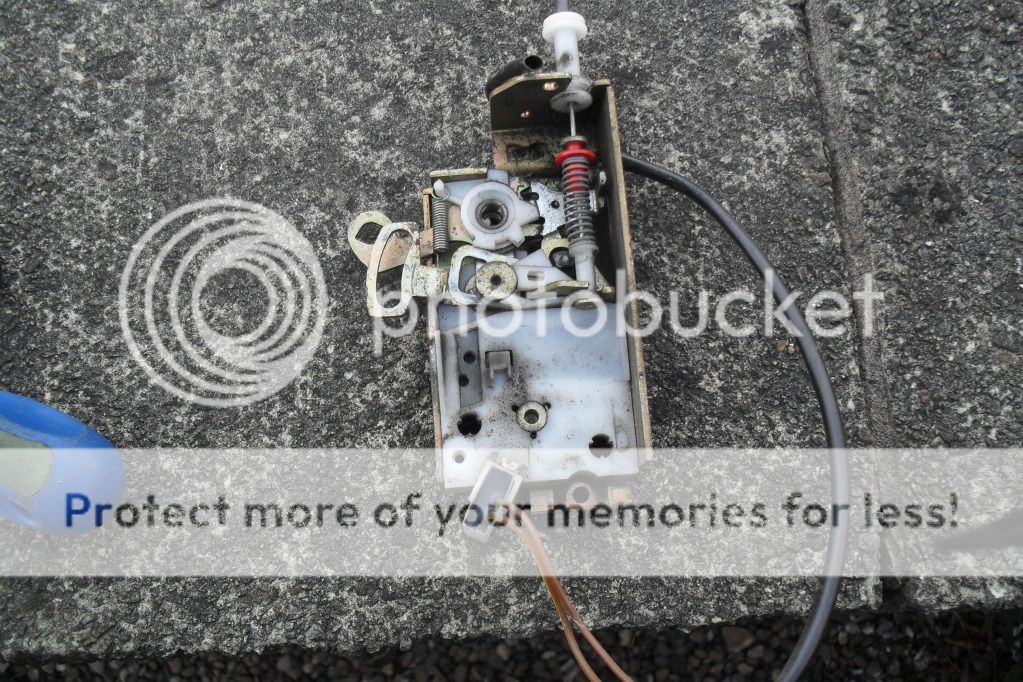
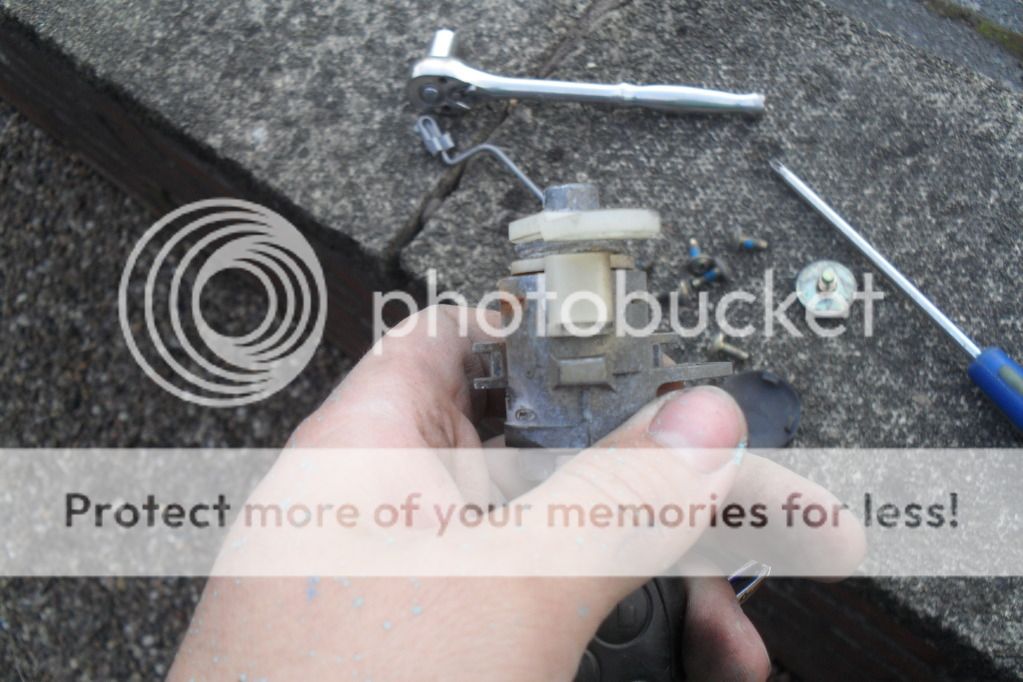
the lock was nackerd so i took it to pieces, sanded it oiled it and put it back together again. i left it in engine oil over night to make sure its well oiled
fitted and working perfectly
i did start on the drivers door but rain stopped play here are the pics of my progress
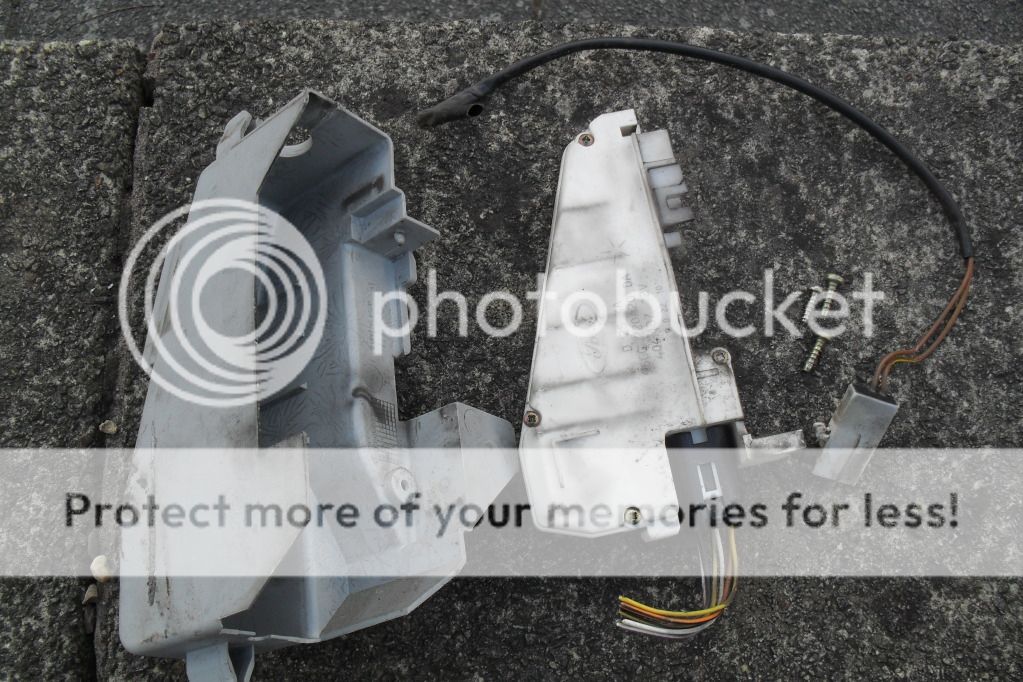
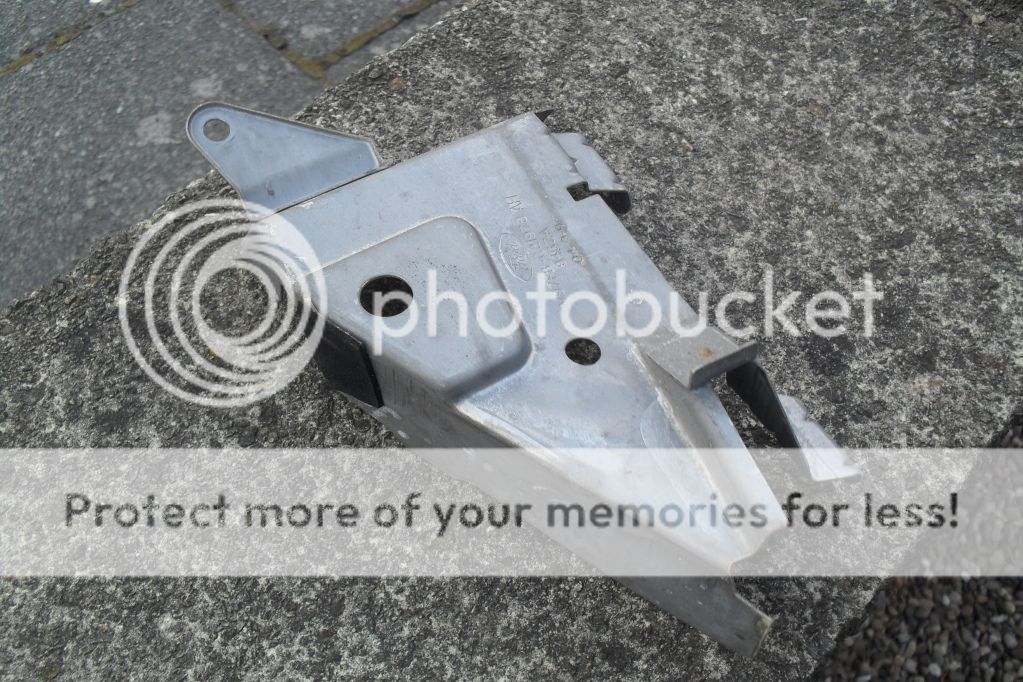
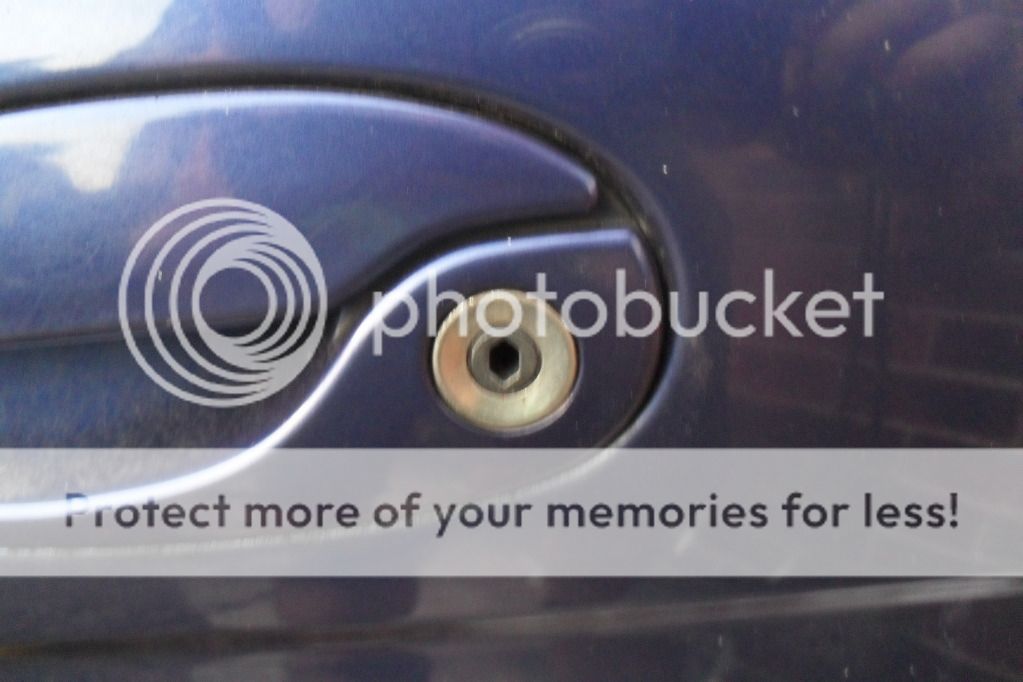
i had the same problem with the driver door that i had for the other, here is a pic of the lock it would lock but wouldnt unlock so i did the same and took it to pieces saded, oiled and rebuild and now it works like its anew lock from ford. pics
lock
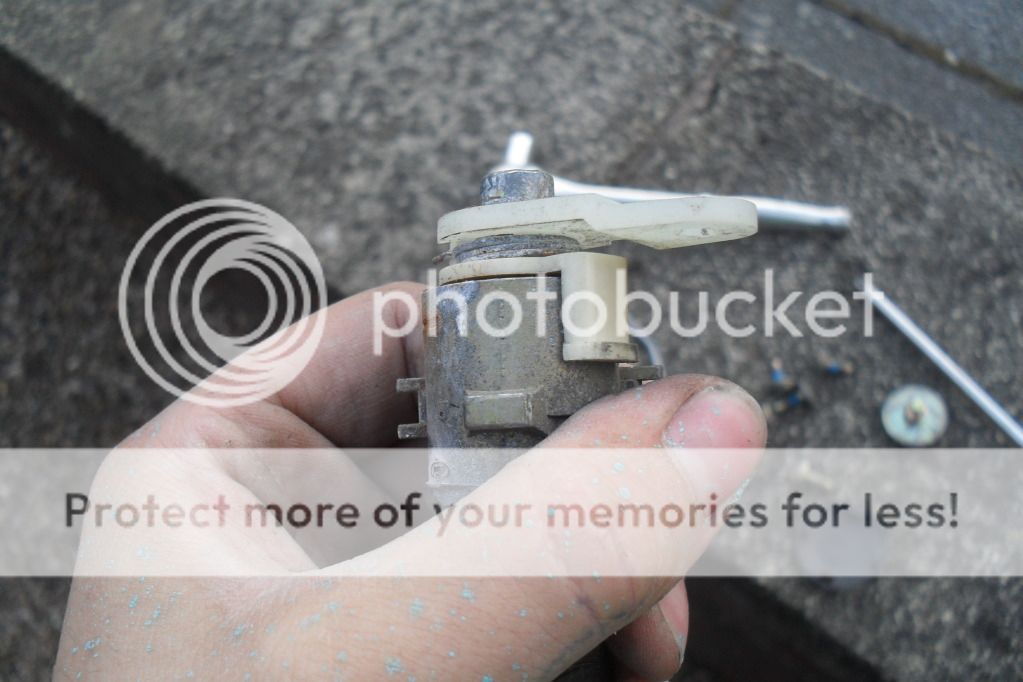
central postion
i have more to upload but now i am up to date with my other project page i spent about 4 hours on the car again today so when i get a chance tomorow il put everything bang up to date with where i am at. not spending loads of money on the car right now but its swallowing all my hours with no problem what so every
back soon people
all the rust ground out
rust killer smoothed onto it
a bit of fibre glass filler.
then i decided to remove the rear window, im goin to be replacing it with plastic at some point and when i put a coat of paint on the rear arch it will be easter with it not being there
how the car ended up at the end of the day
another day, more work done on the car pics of the arch coming along
another little problem area
sanded down
rust killer applied
dried
primer applied
ready for a coat of paint
primer applied
then another little rust bubble. it couldnt be anything big can it????
yes a hole right throught the arch shocking but of tell lits crack out the rust killer, filler and primer haha
thought i would remove the filler cap to see how
more pics
i moved into my ew house and after a few weekds u started work on the car again so a few weeks ago i sprayed the arch not the best i know but it looks alot better than a rusty arch with dints ALOT BETTER!!!
pics
after i did the arch i started to get the door sorted (the less weight the better)
cut more weight out of the door pics
all back together again
riveted
sadly i broke the perspex but after speaking to some people ive decided when i can im goin to change it for Polycarbonate when i can aford it that is hahah
no extra's on this door anymore hahahahah
all the stuff no longer in the door
the lock was nackerd so i took it to pieces, sanded it oiled it and put it back together again. i left it in engine oil over night to make sure its well oiled
fitted and working perfectly
i did start on the drivers door but rain stopped play here are the pics of my progress
i had the same problem with the driver door that i had for the other, here is a pic of the lock it would lock but wouldnt unlock so i did the same and took it to pieces saded, oiled and rebuild and now it works like its anew lock from ford. pics
lock
central postion
i have more to upload but now i am up to date with my other project page
i spent about 4 hours on the car again today so when i get a chance tomorow il put everything bang up to date with where i am at. not spending loads of money on the car right now but its swallowing all my hours with no problem what so everyback soon people
06-10-2012, 09:34 PM
#12
Wahay!! I've lost my Virginity!!
Thread Starter
Join Date: Oct 2012
Location: manchester
Posts: 52
Likes: 0
Received 0 Likes
on
0 Posts
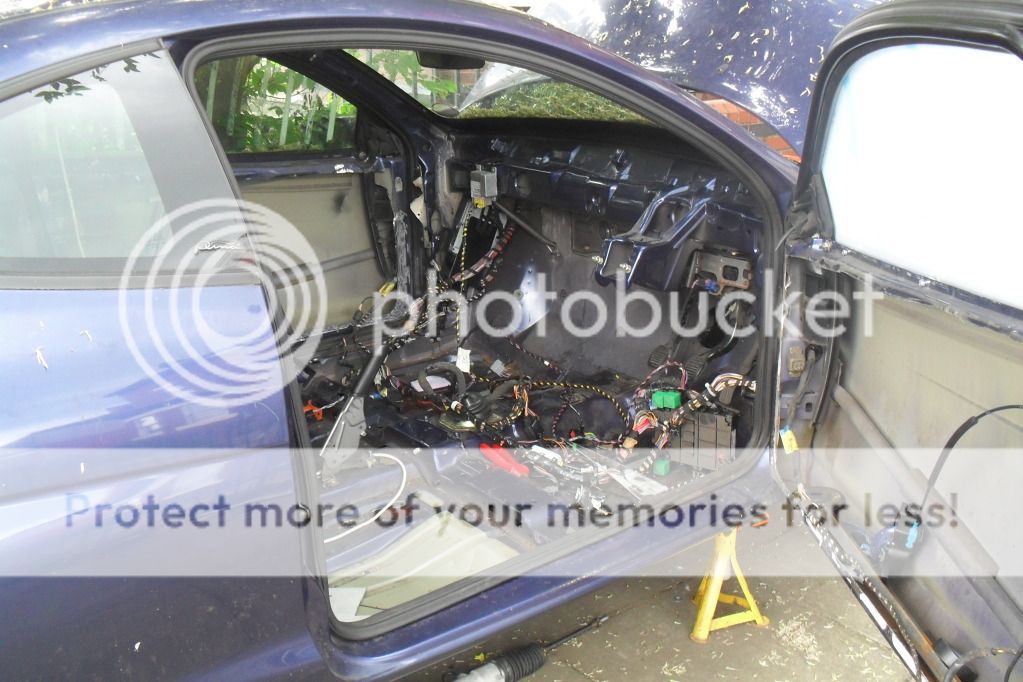
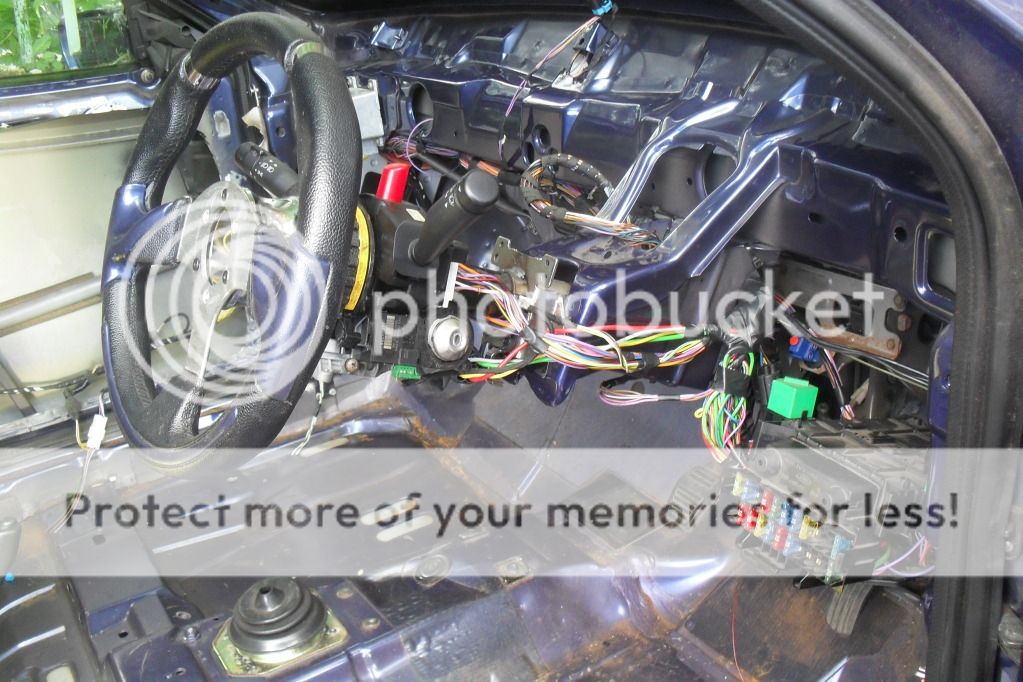
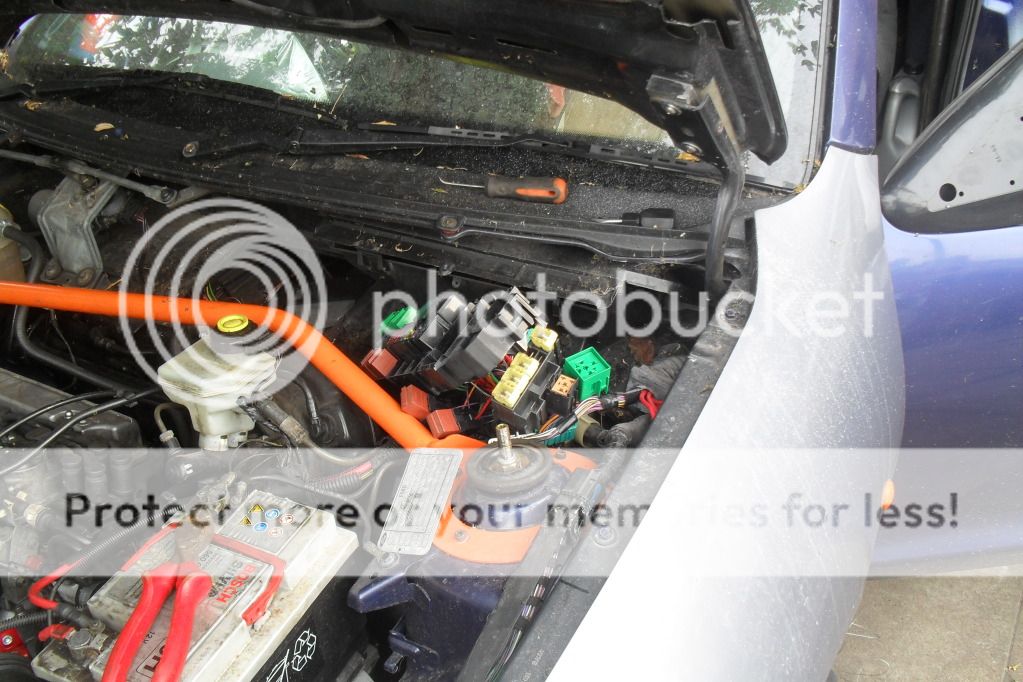
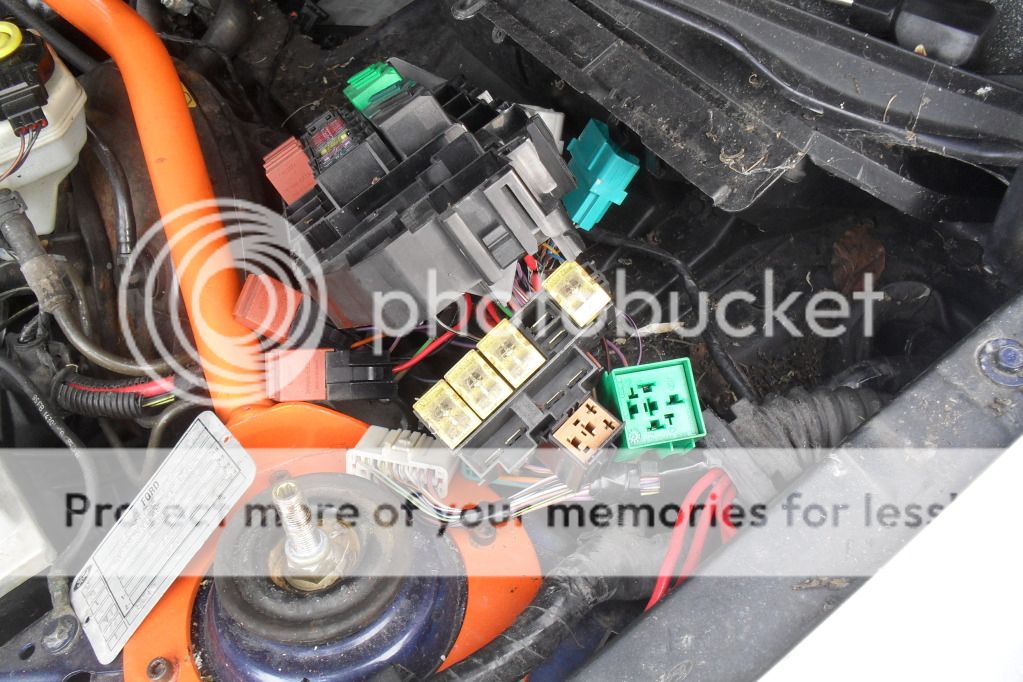
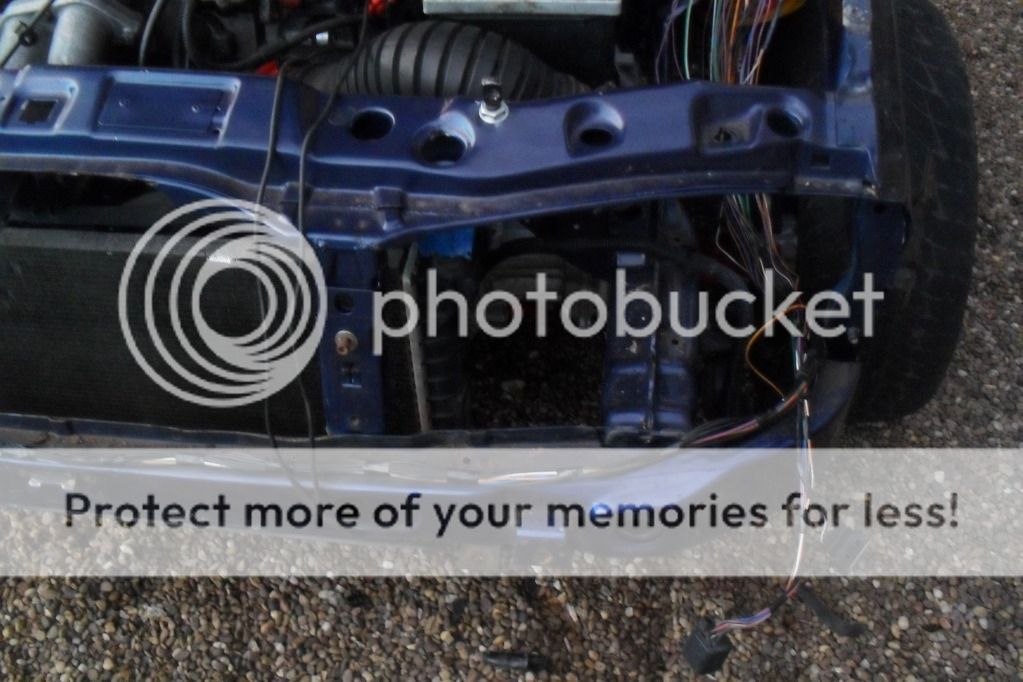
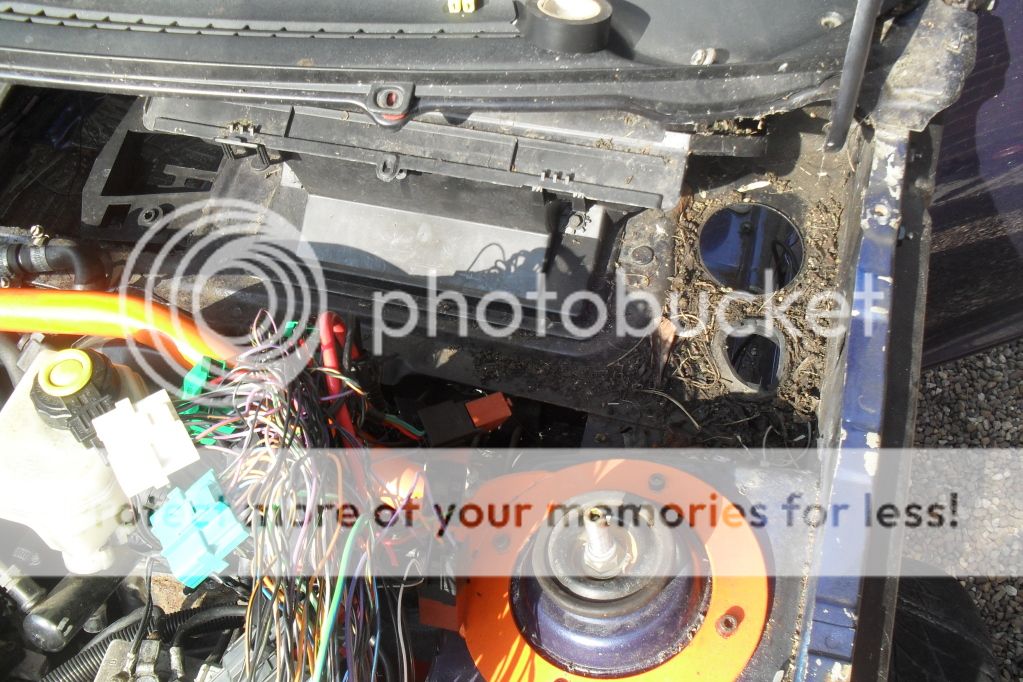
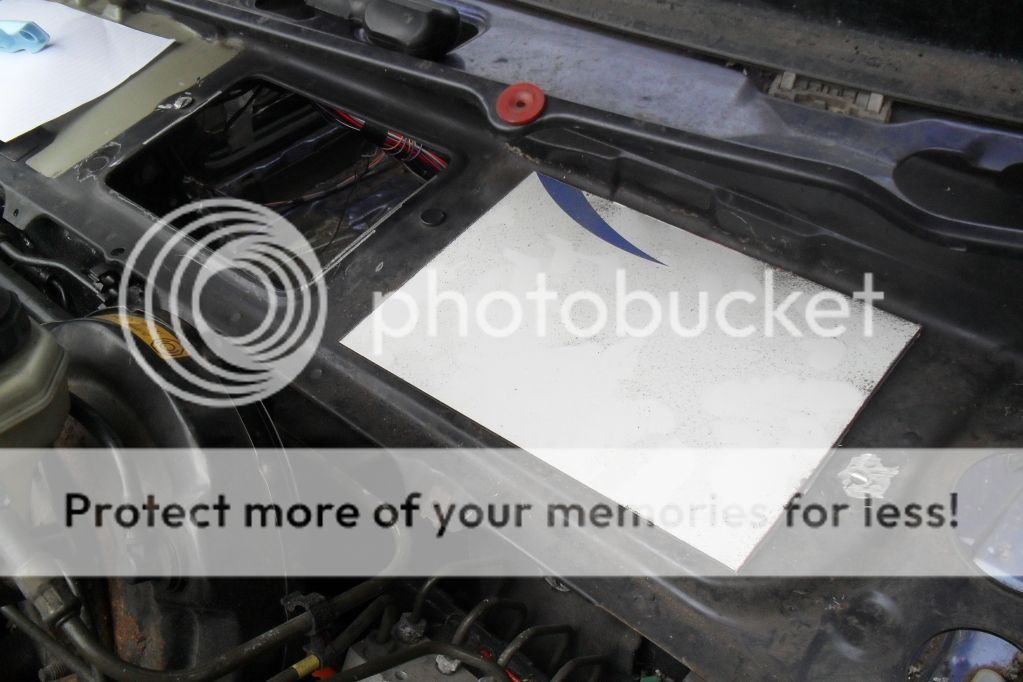
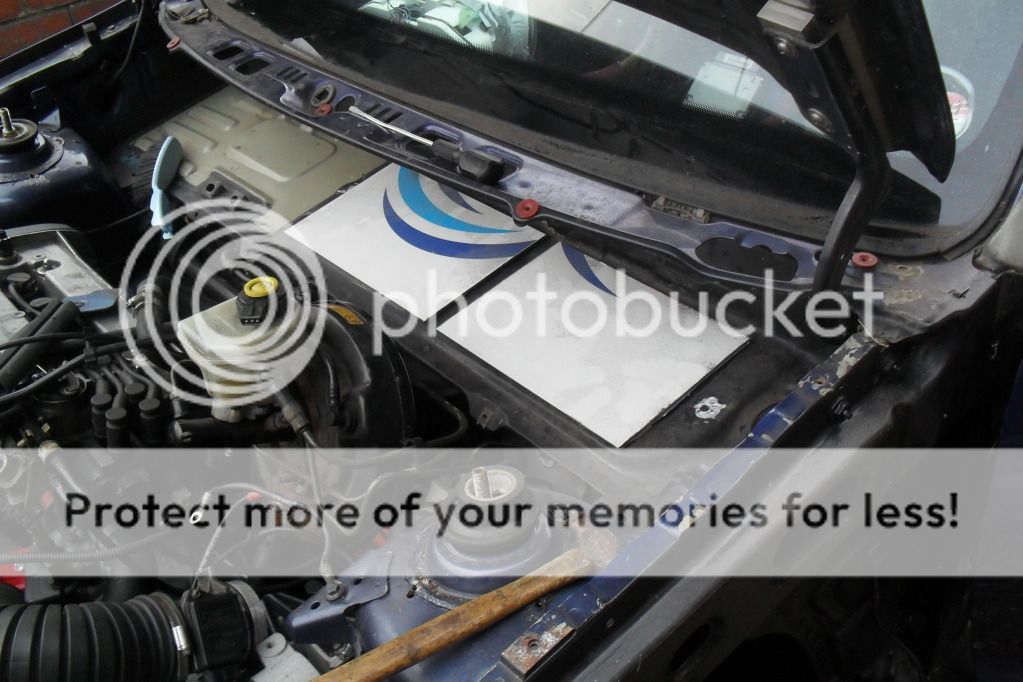
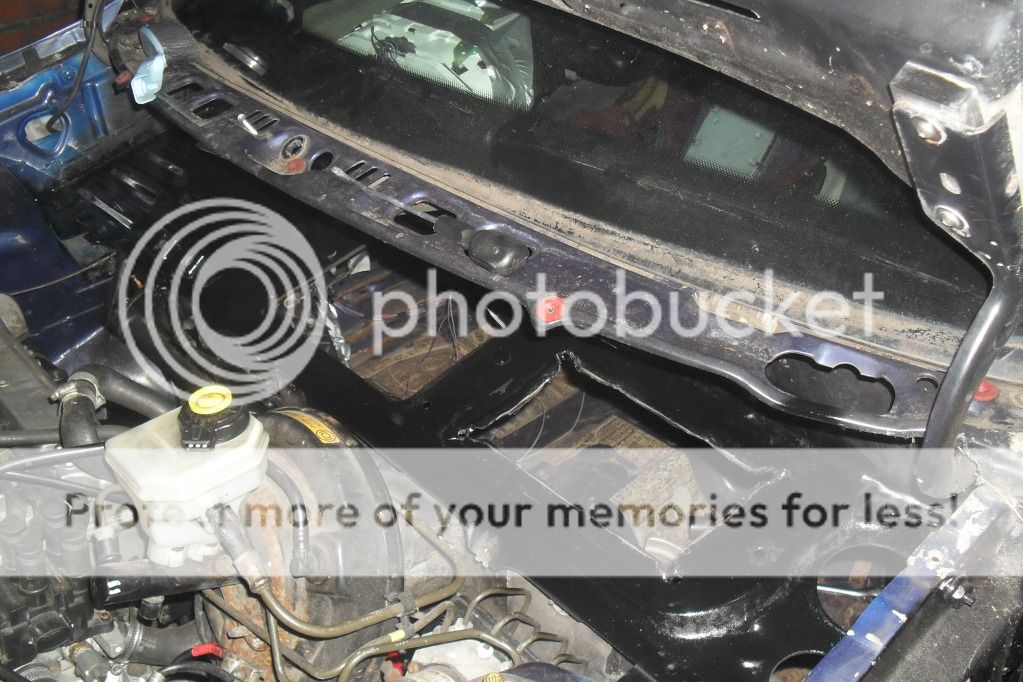
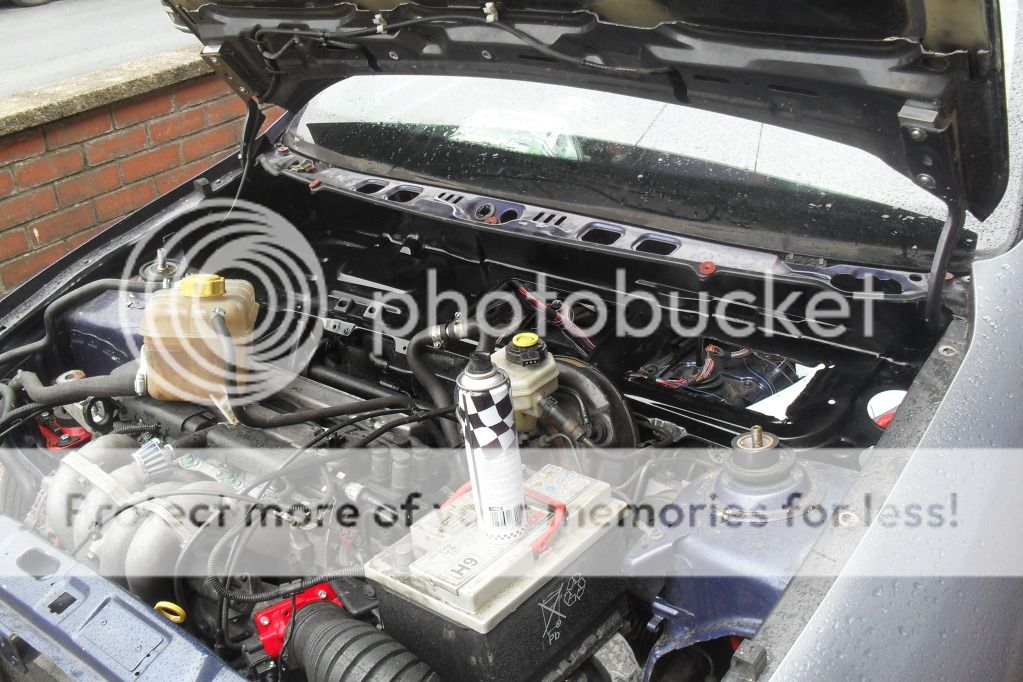
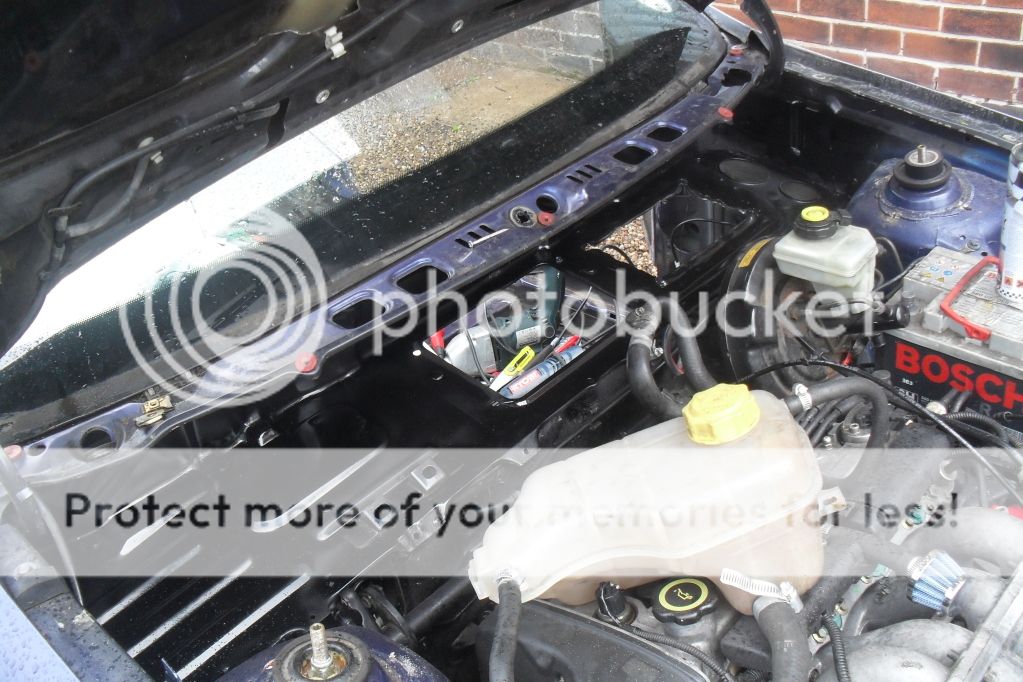
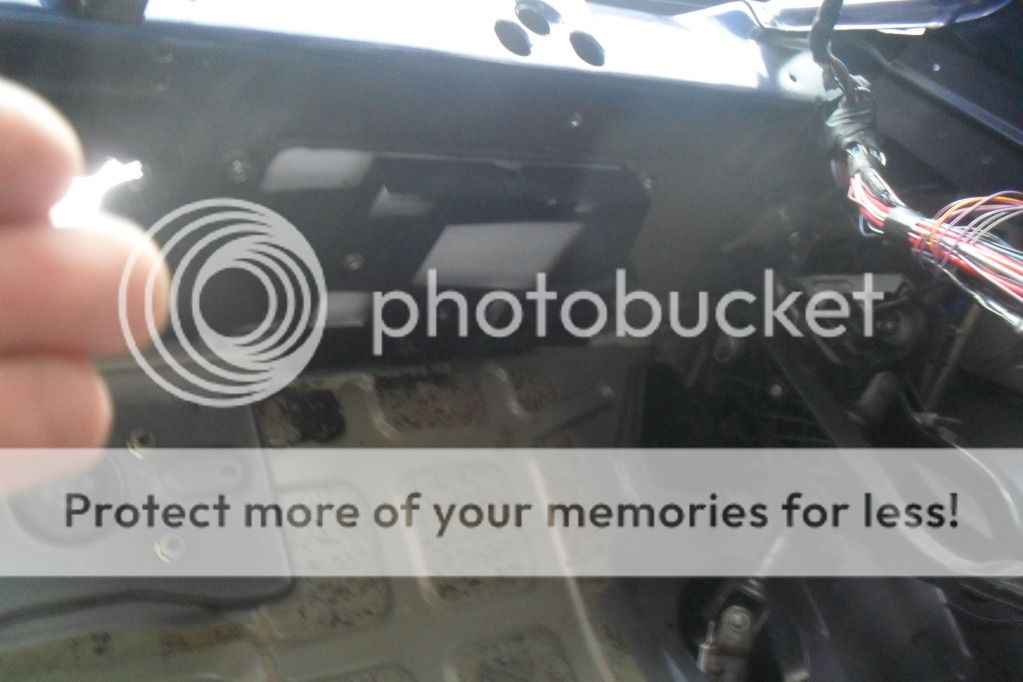
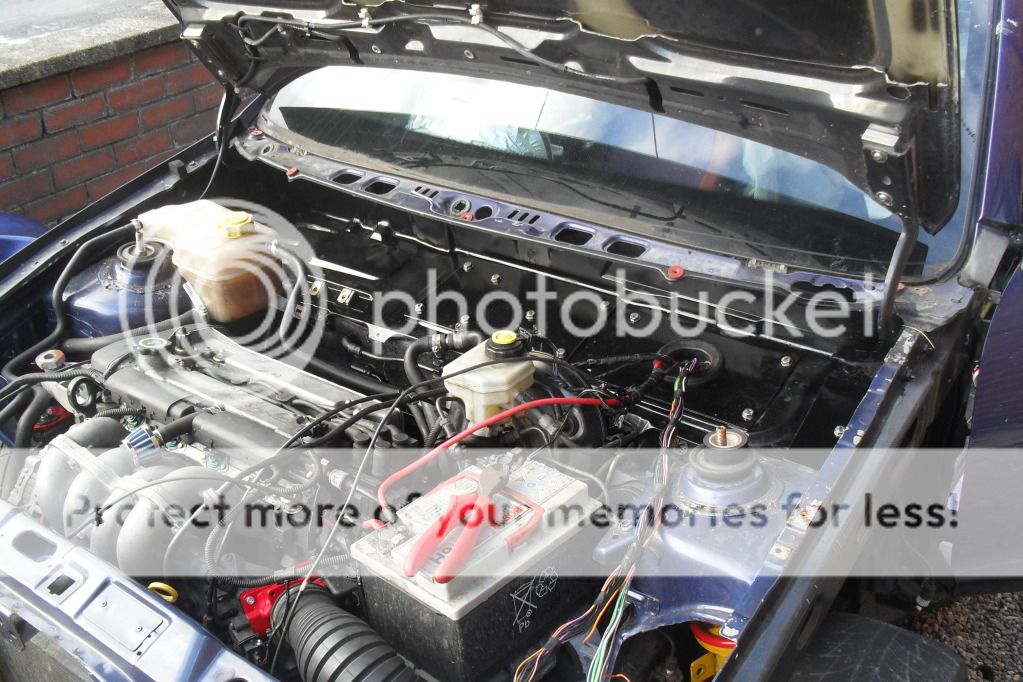
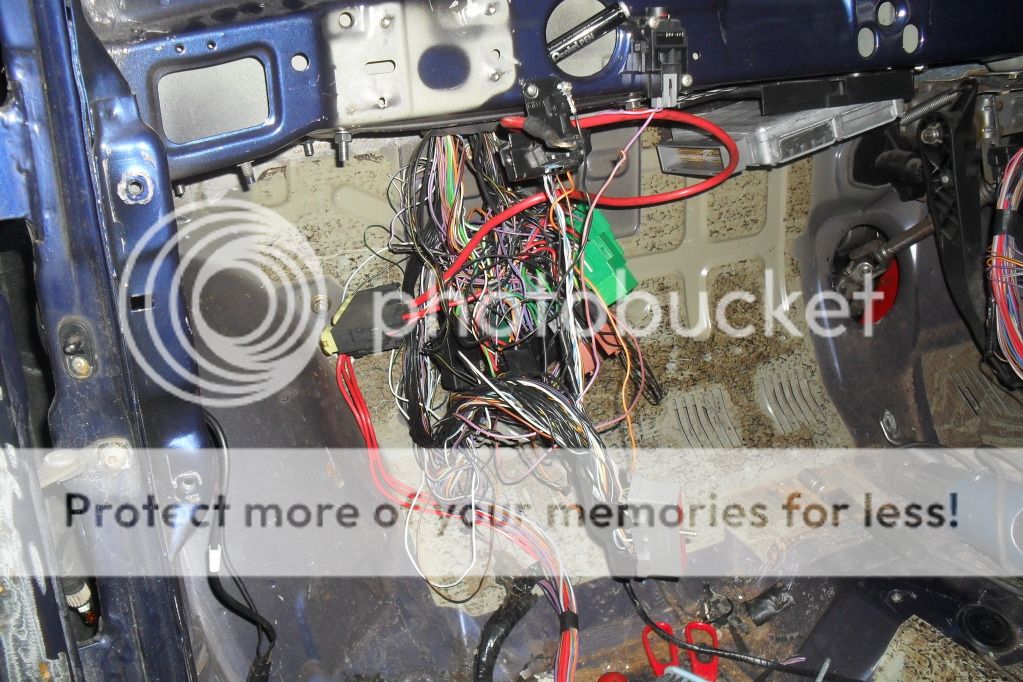
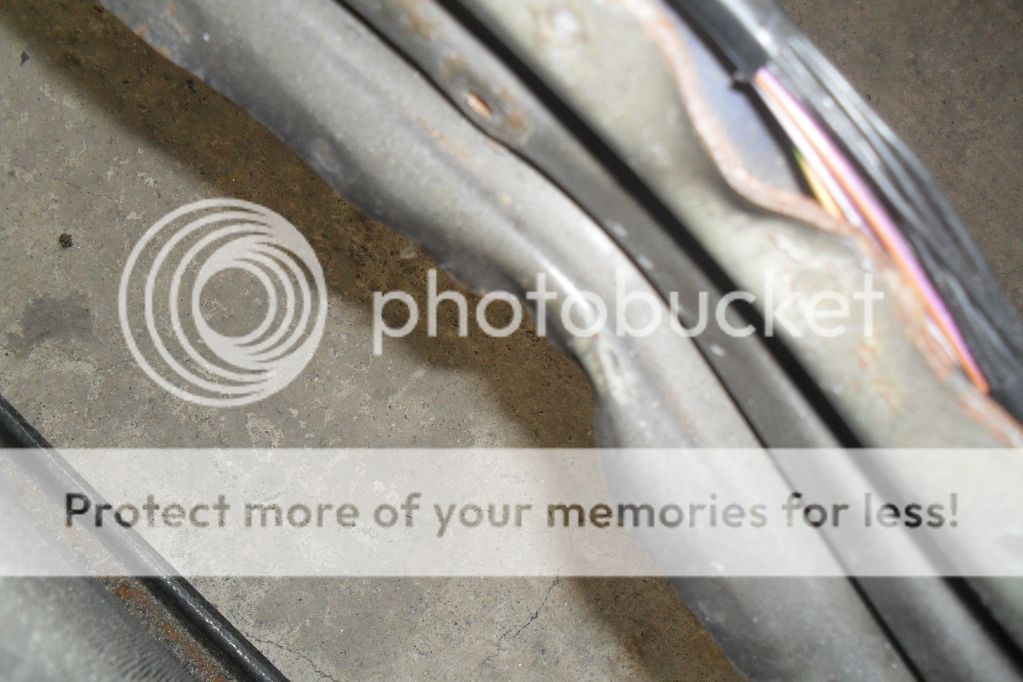
right here we go again, ive stripped more out of my puma and cut the loom down even further. ive also got a good jump at moving the fuse box into the car so the engine bay looks alot cleaner now. pics
dissmantled
what im up against

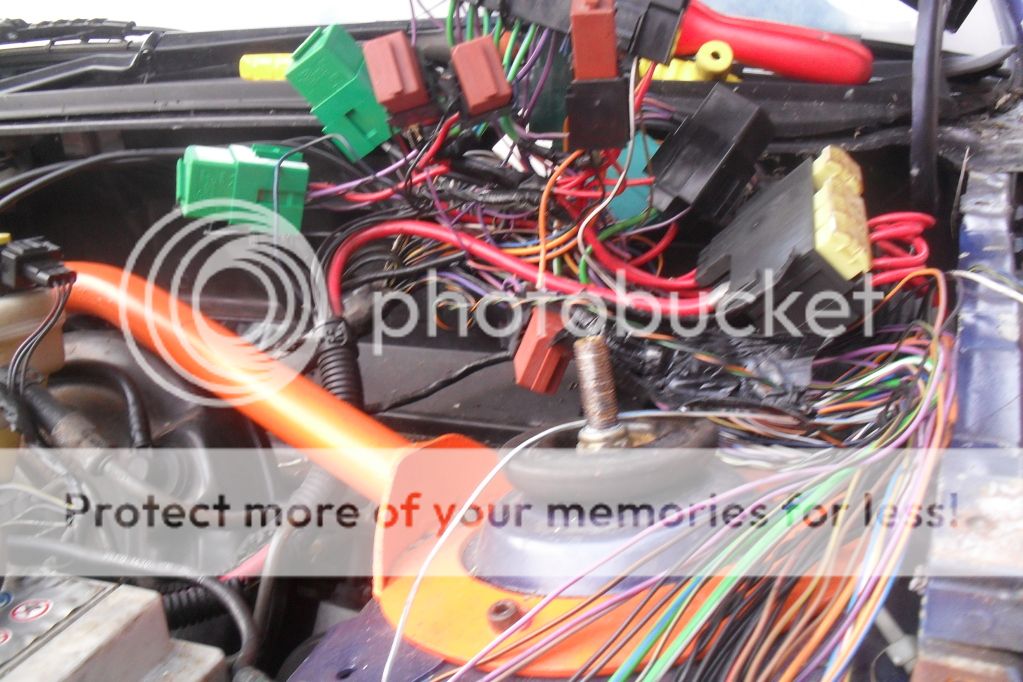
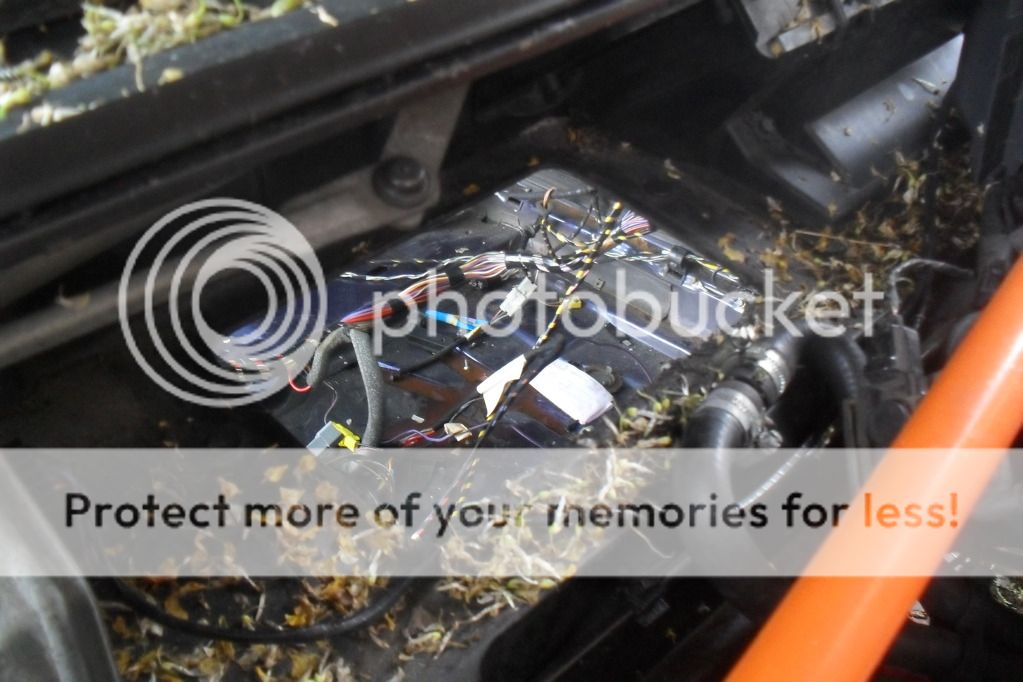
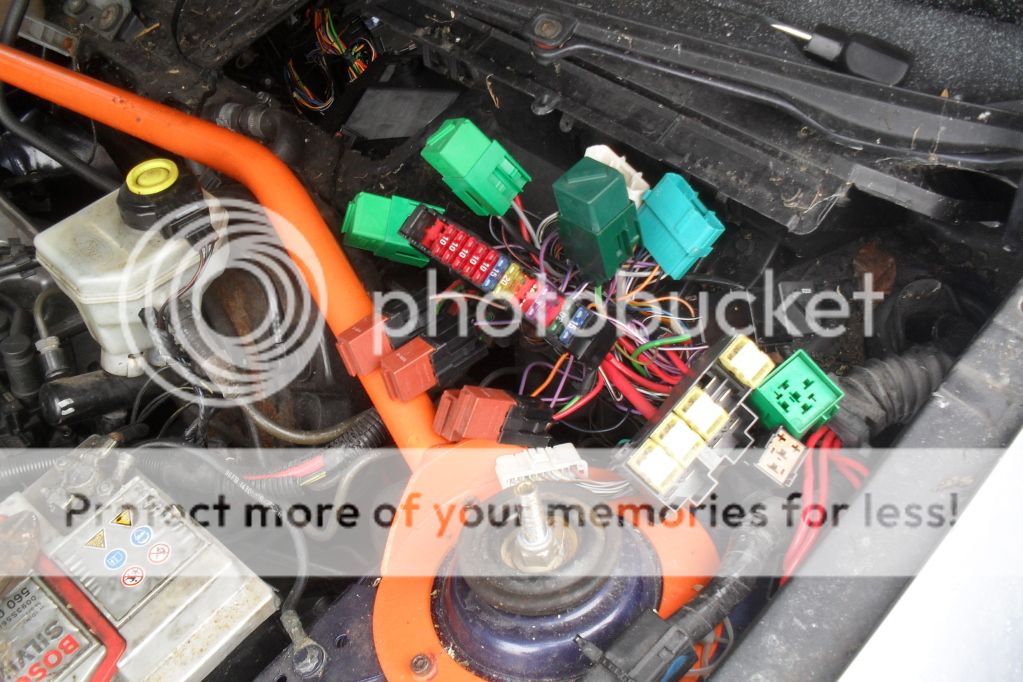
cut unwanted wires out of the loom
internal loom

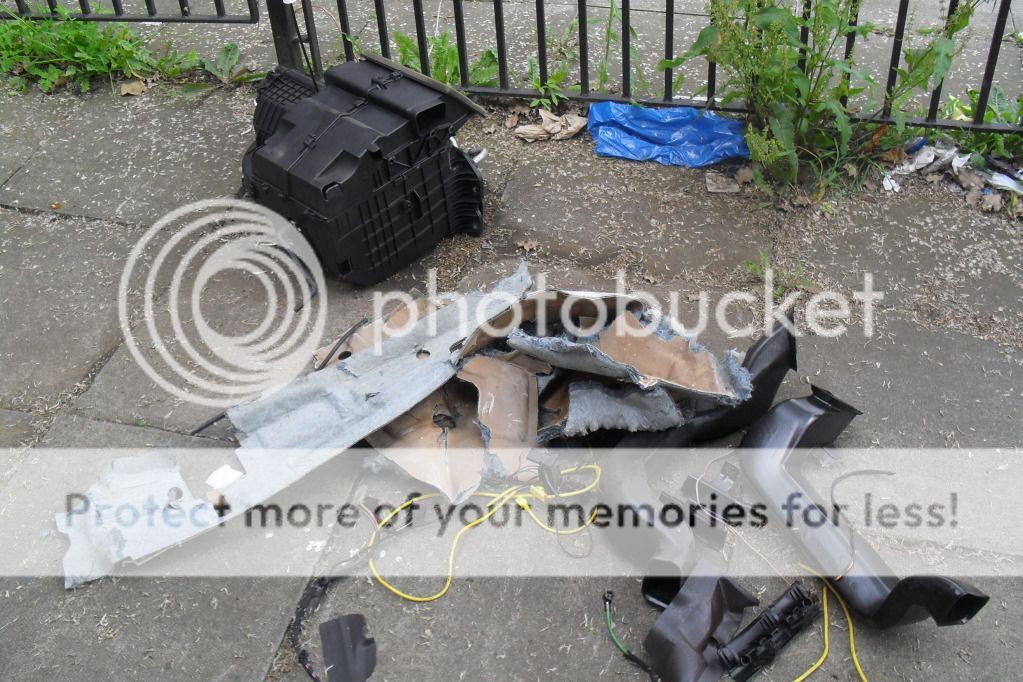
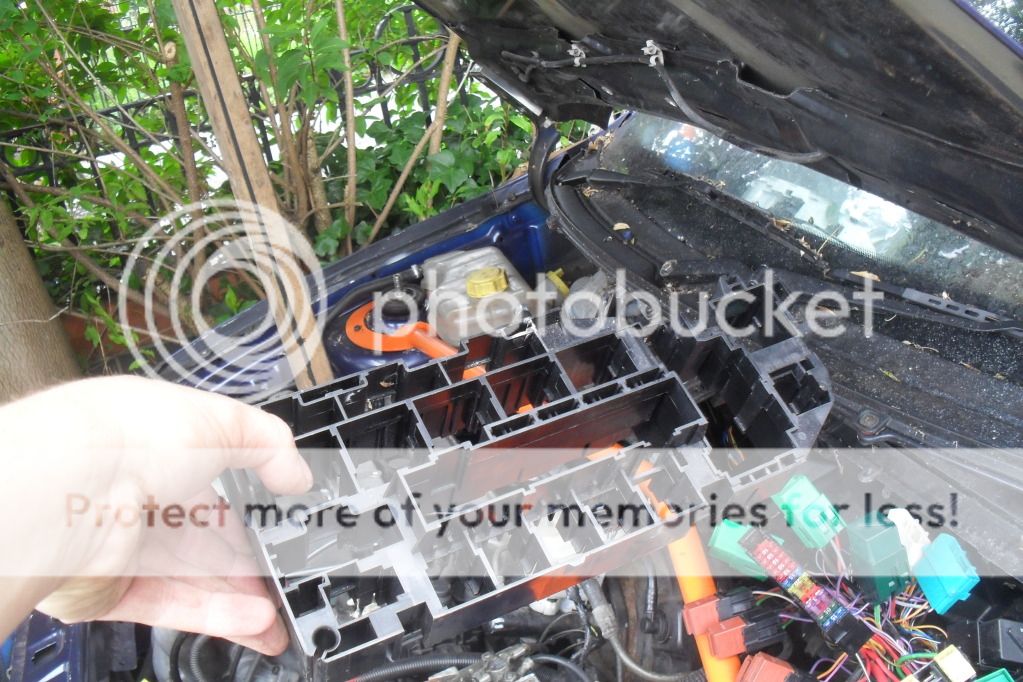
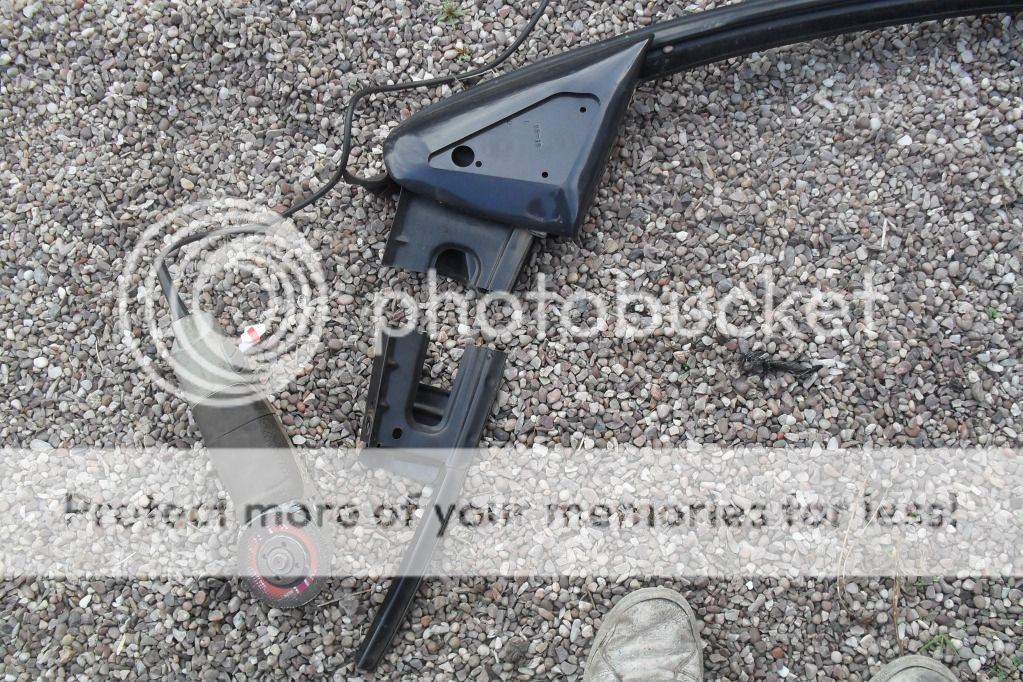
removal of parts

my little helper

empty space, thin it needs a clean

what i will be cutting to cover the holes. ally and plastic

in between times i decided to tint the windows of my puma
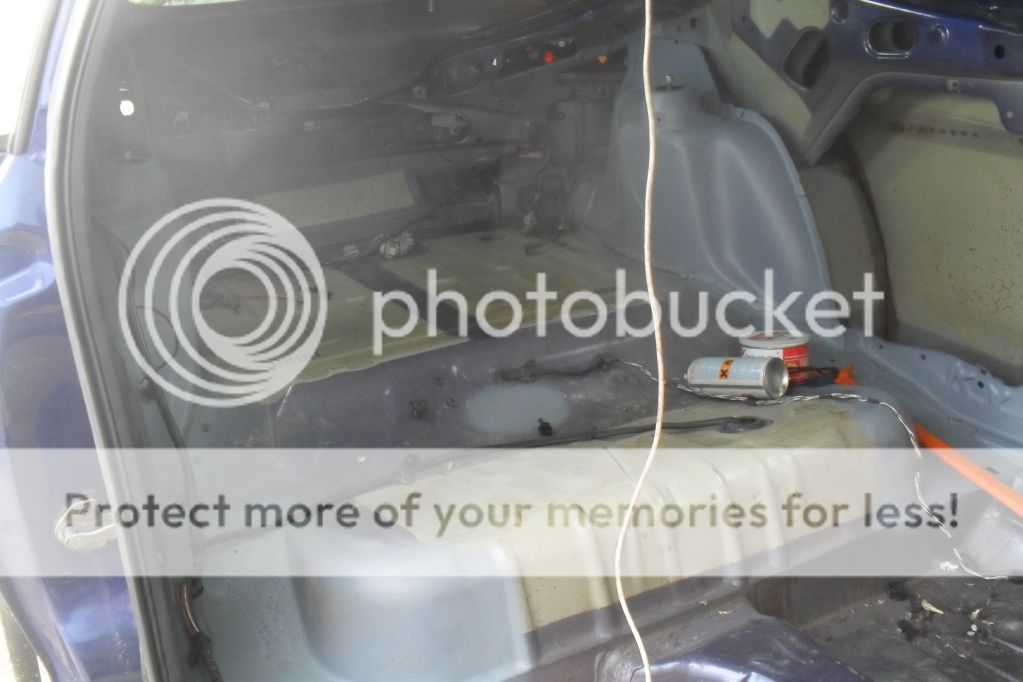
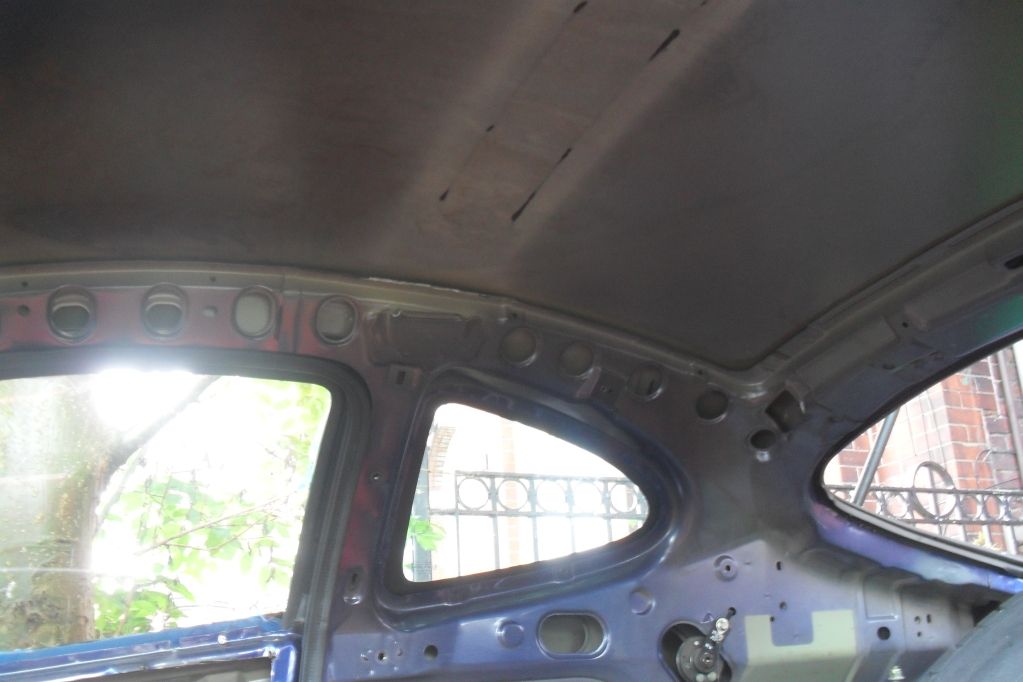
after i removed the last bit of sound proofing and giving it a good clean

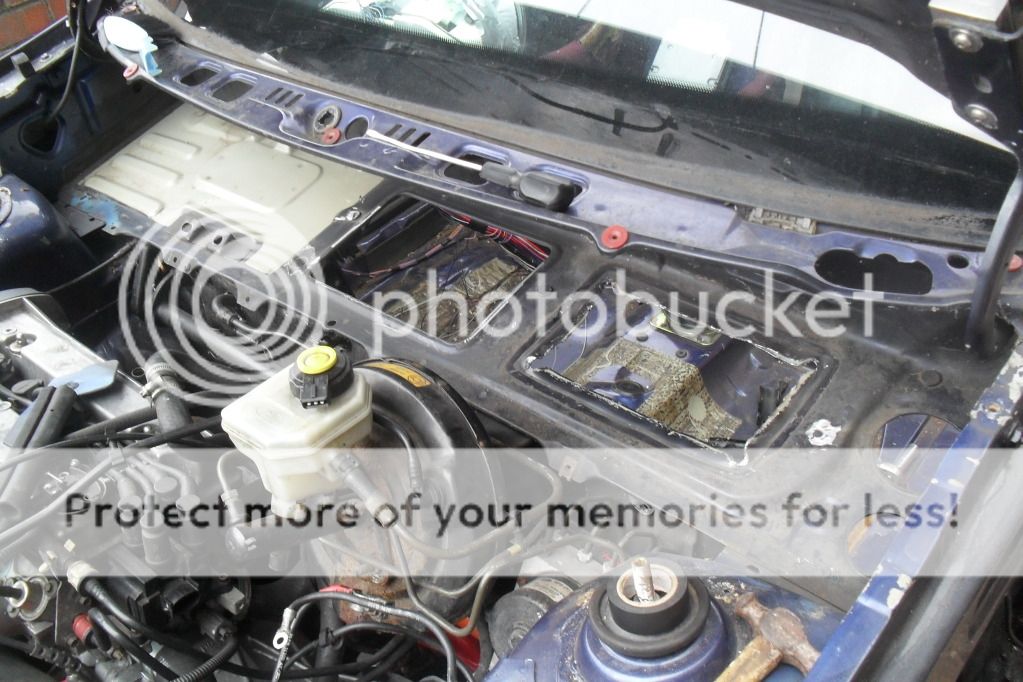
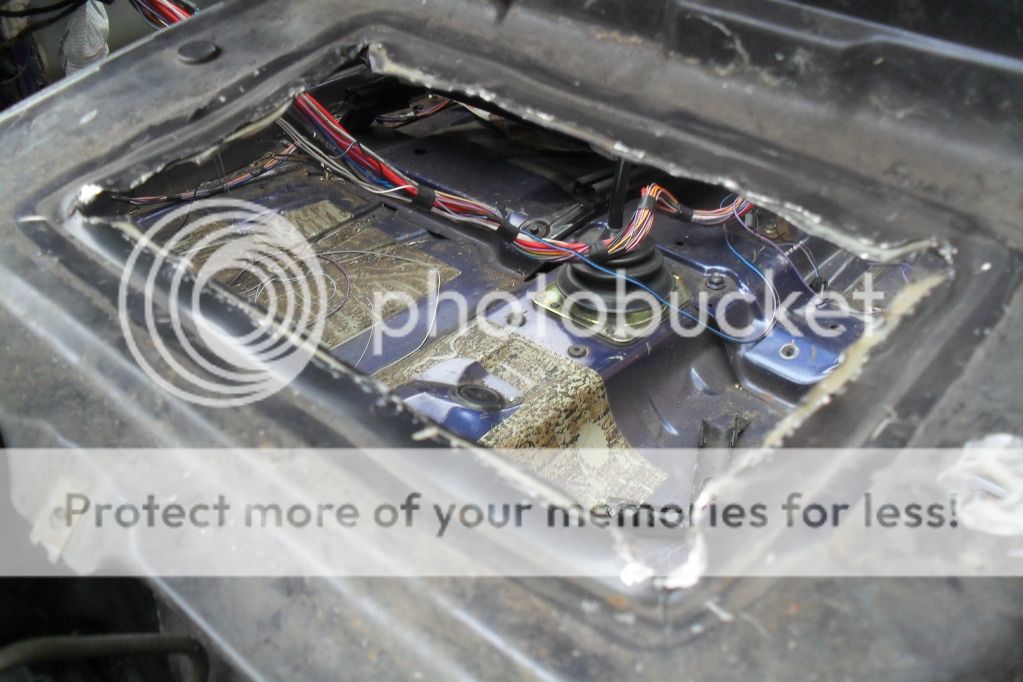
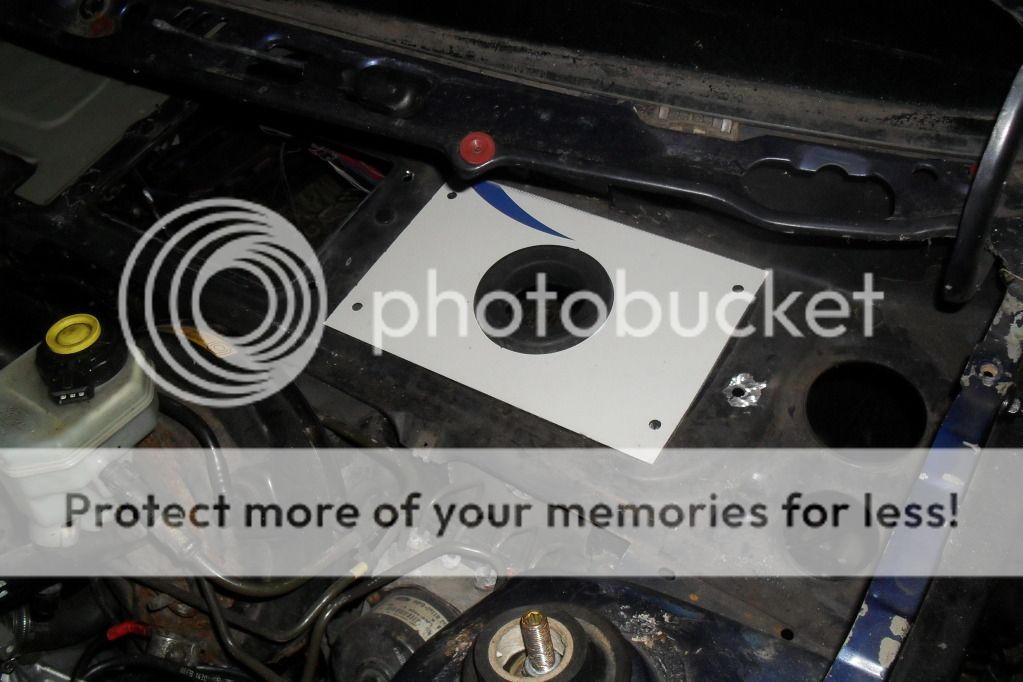
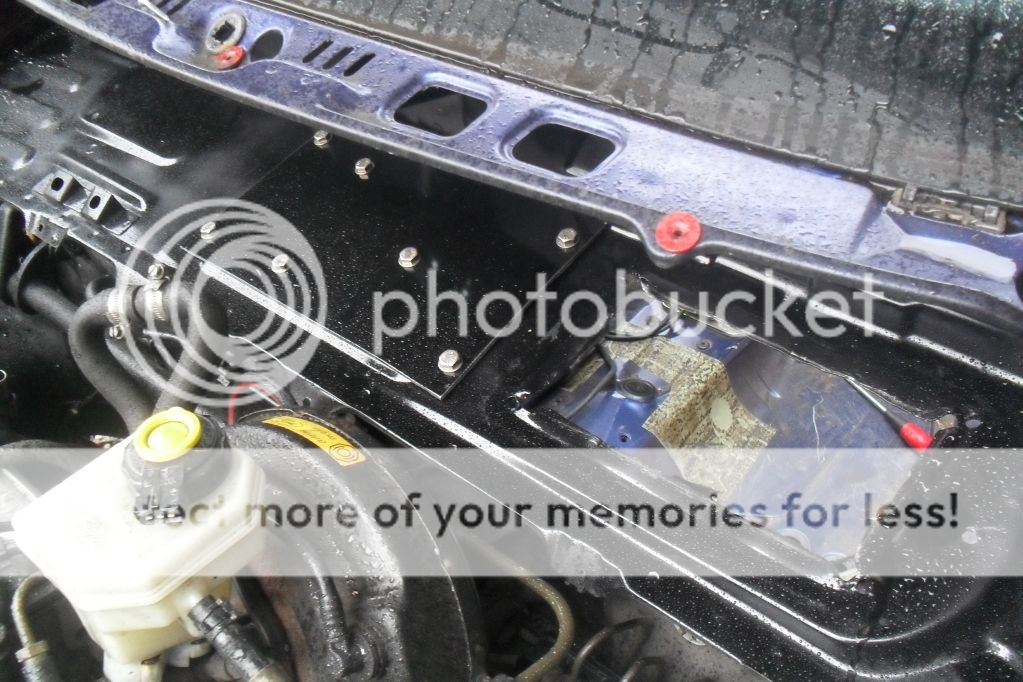
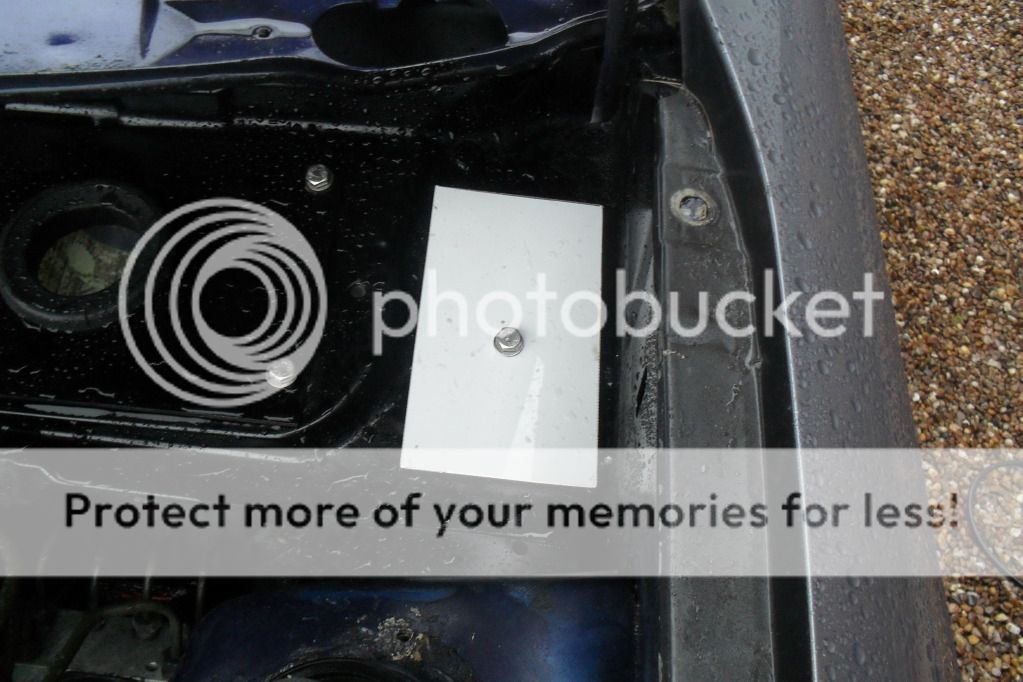
cutting the pieces to cover the holes
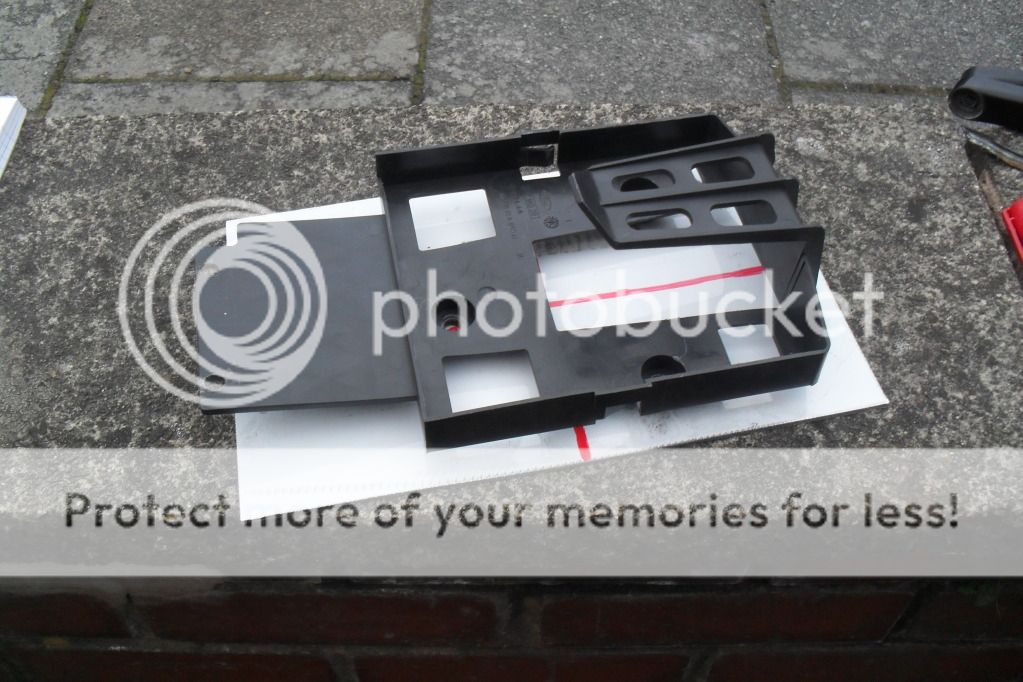
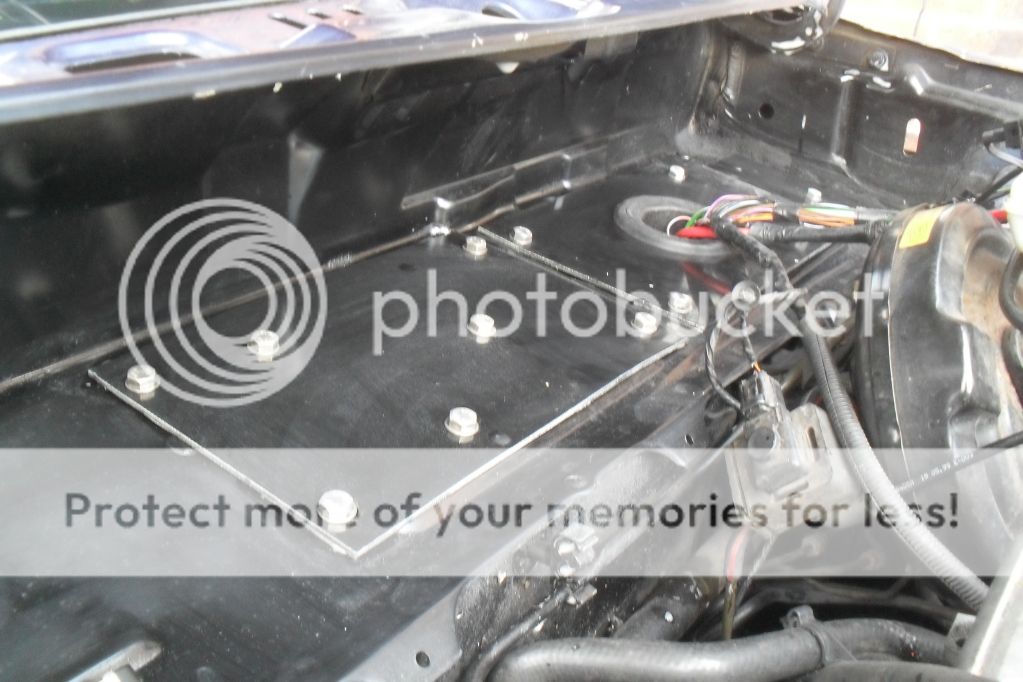
i mounted the ecu carrier under the left one
i drilled the holes to fix it


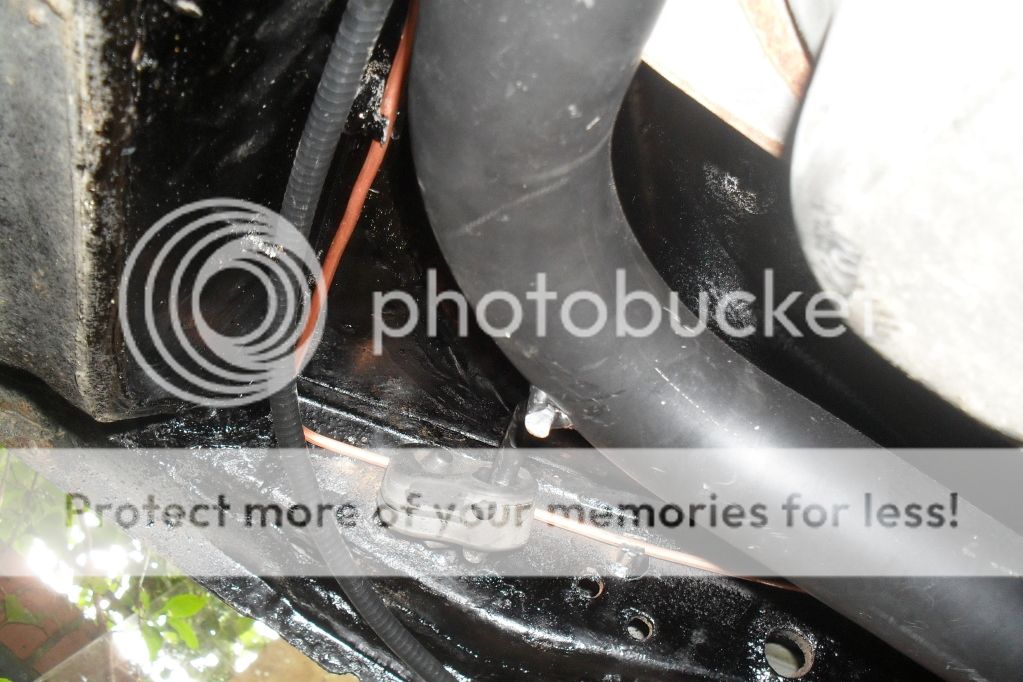
the new route for the look
after a coat of gloss black
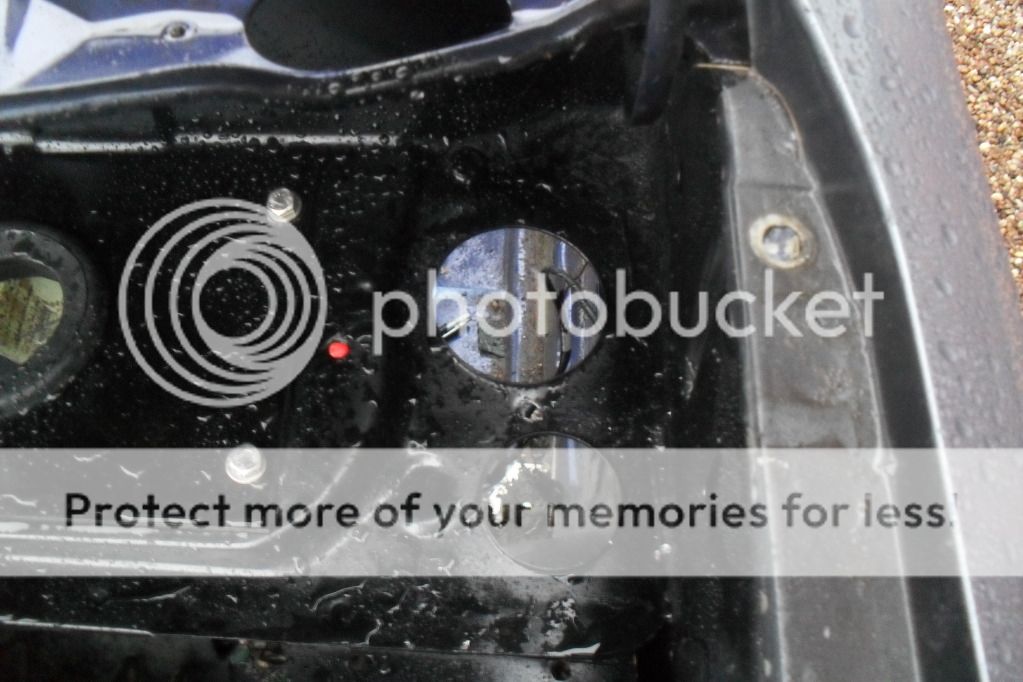
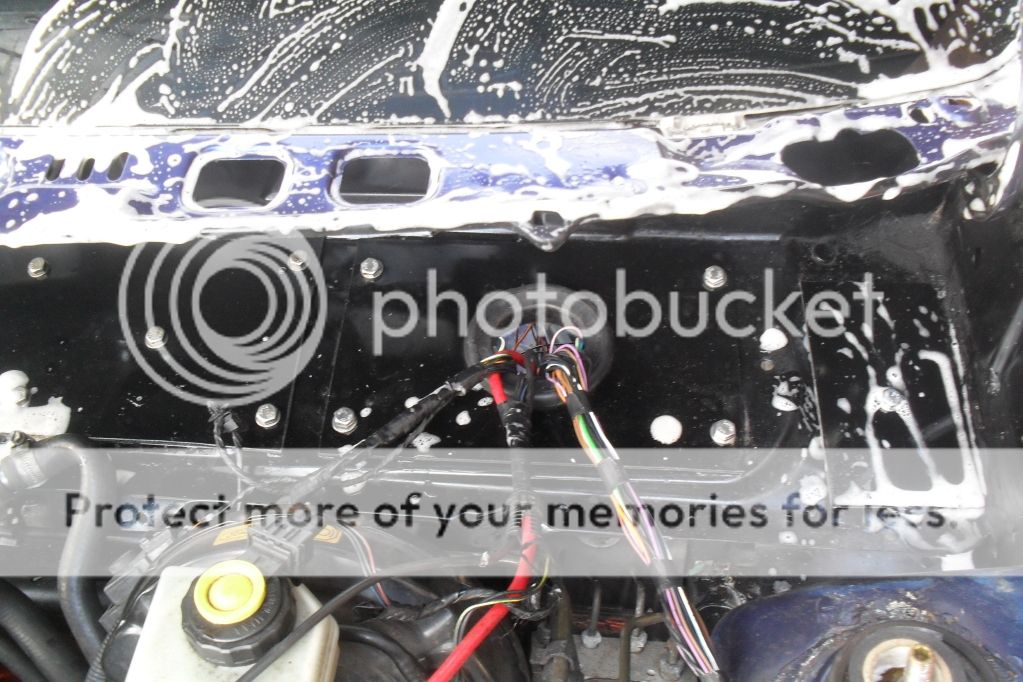
i used silicon to seal the holes
i also sealedthe old loom holes in the same mannor
all clean now and being rebuilt

after removing the loom from the car and stripping all the unwanted wires i then refitted it and made sure it works


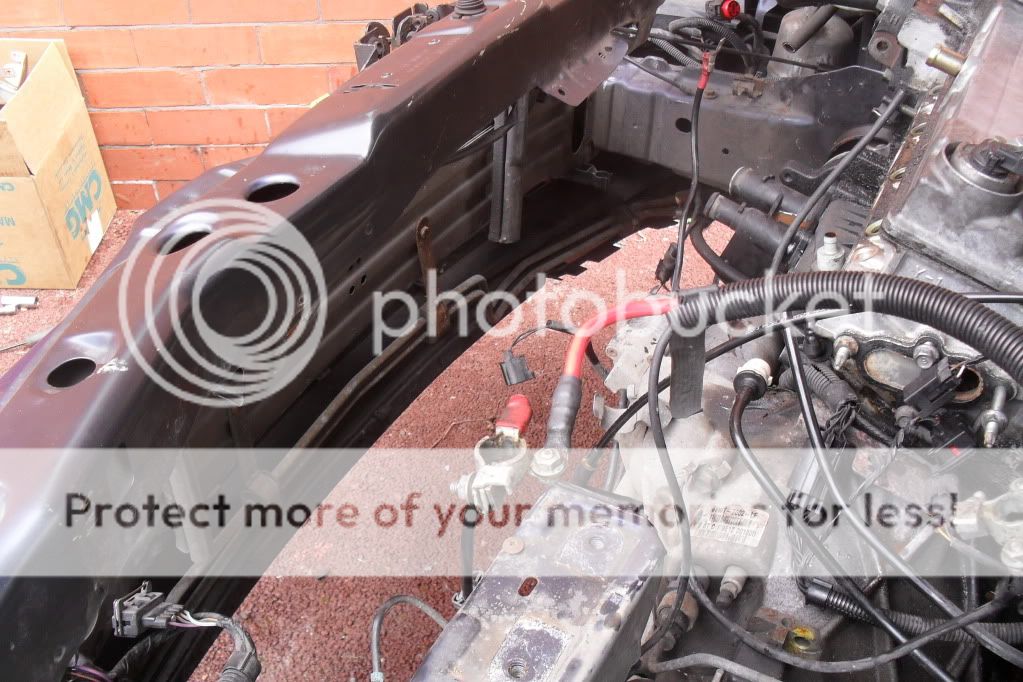
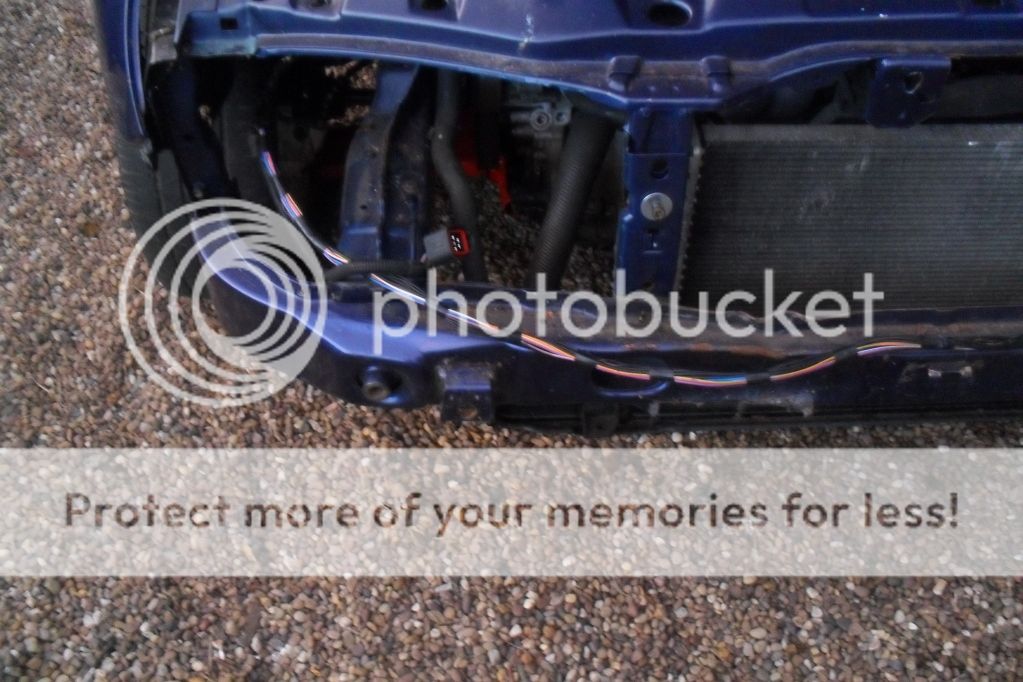
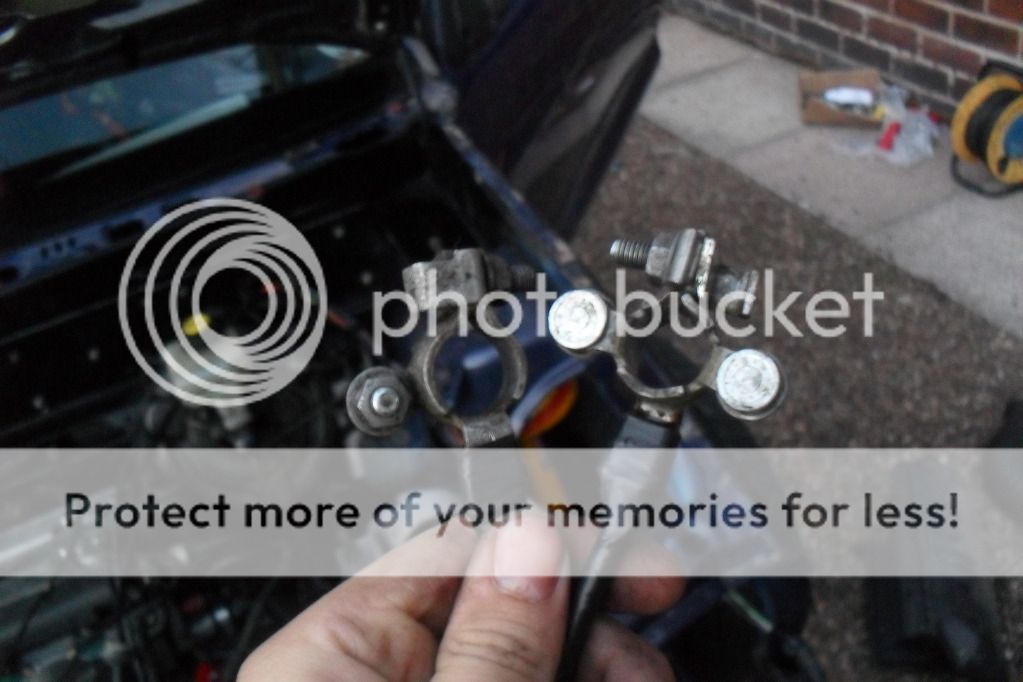
i re routed the battery wires through the hole
so i wired it all up and chacked everything still worked
now not only have i moved the battery, i have also uncoverd more weight to remove out fromunder the bonnet
pics

after all the work is done
dissmantled
what im up against
cut unwanted wires out of the loom
internal loom
removal of parts
my little helper
empty space, thin it needs a clean
what i will be cutting to cover the holes. ally and plastic
in between times i decided to tint the windows of my puma
after i removed the last bit of sound proofing and giving it a good clean
cutting the pieces to cover the holes
i mounted the ecu carrier under the left one
i drilled the holes to fix it
the new route for the look
after a coat of gloss black
i used silicon to seal the holes
i also sealedthe old loom holes in the same mannor
all clean now and being rebuilt
after removing the loom from the car and stripping all the unwanted wires i then refitted it and made sure it works
i re routed the battery wires through the hole
so i wired it all up and chacked everything still worked
now not only have i moved the battery, i have also uncoverd more weight to remove out fromunder the bonnet
pics
after all the work is done
06-10-2012, 09:36 PM
#13
Wahay!! I've lost my Virginity!!
Thread Starter
Join Date: Oct 2012
Location: manchester
Posts: 52
Likes: 0
Received 0 Likes
on
0 Posts
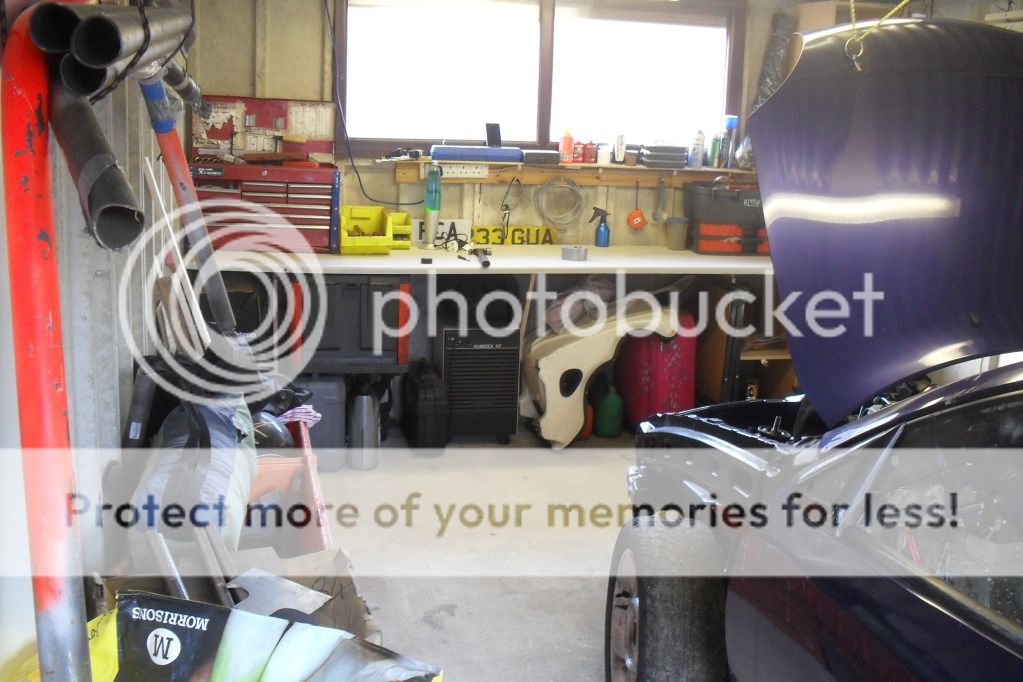
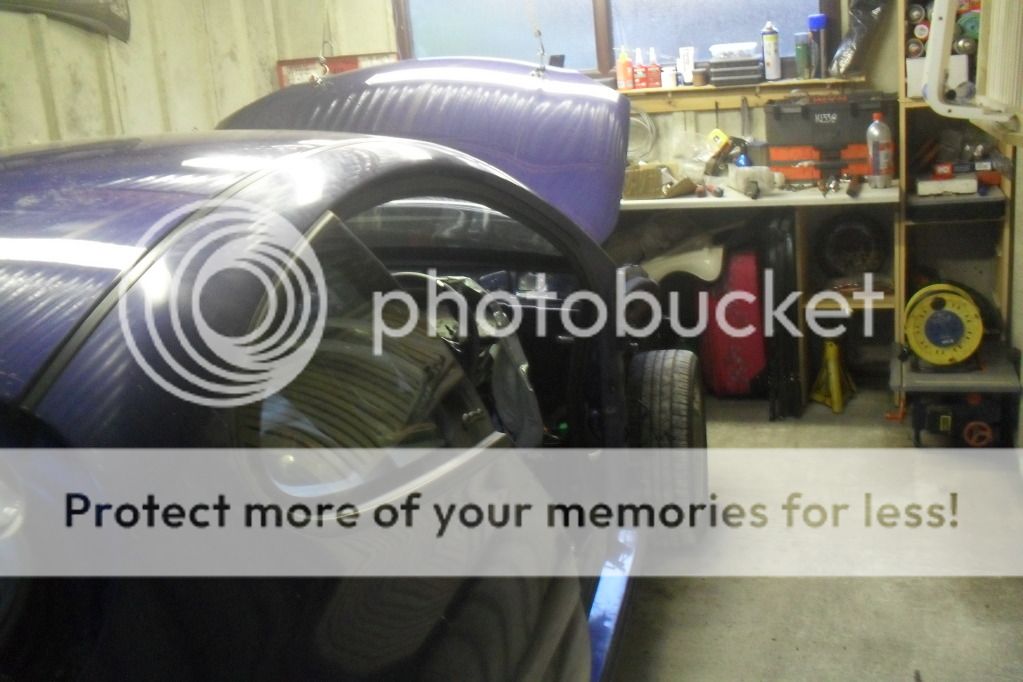
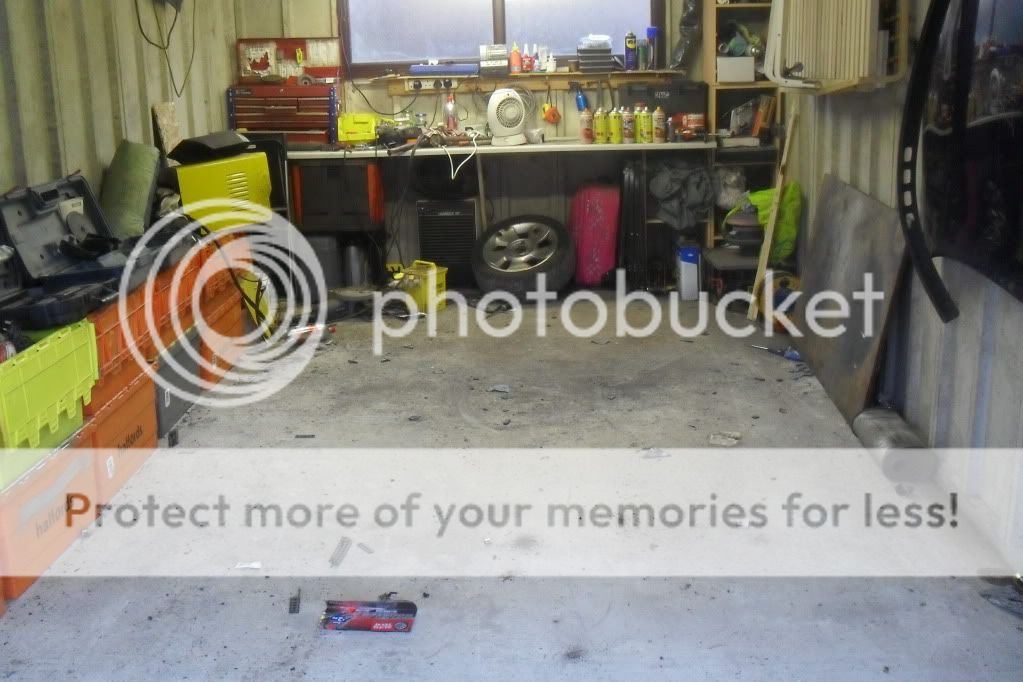
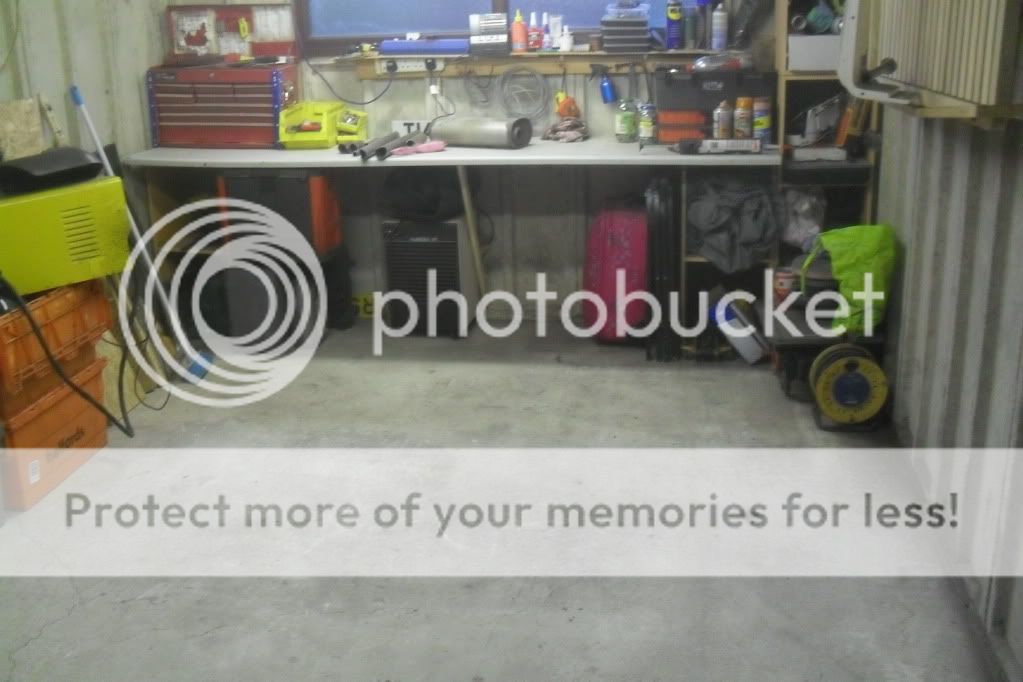
today i finished cleaning and sorting out the garage, i put a work bench and some space to store some stuff. pics!!
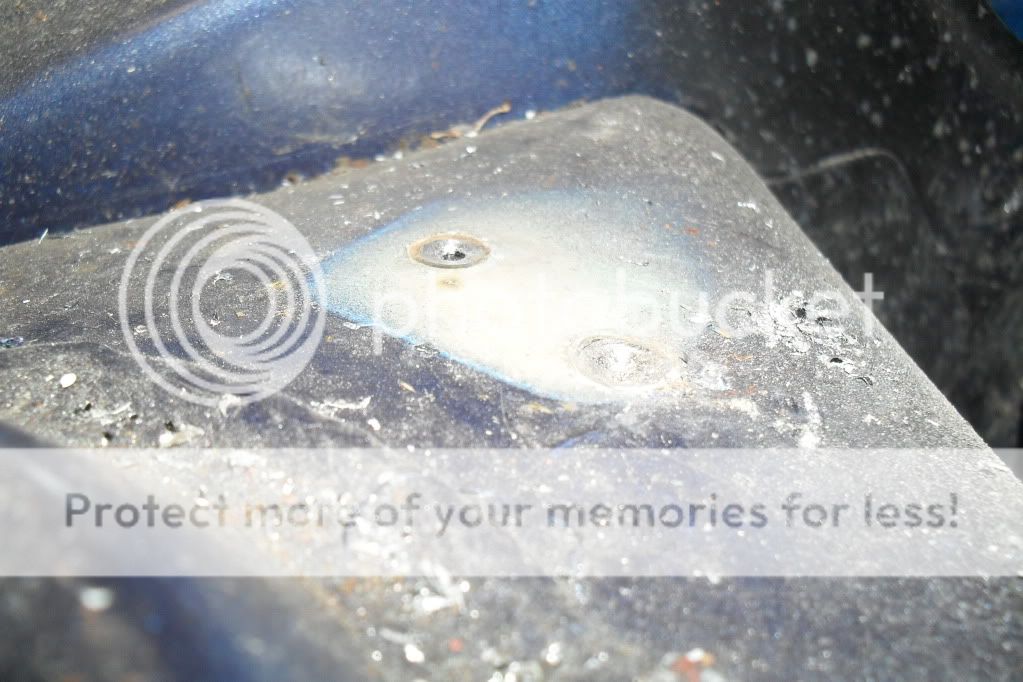
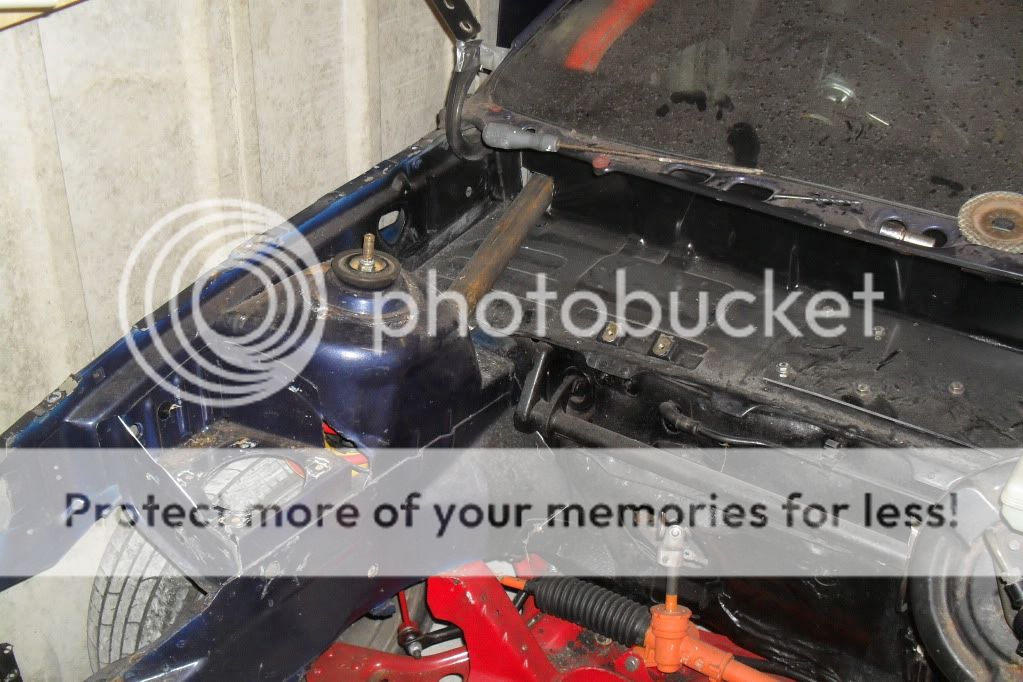
after i got the puma in the garage i started to remove the old battery mounts from under the bonnet
centre popped
then i drilled them out
removed
then i started on the big one 8-)
then i ground it all down, put rust killer on it then primered it all

rust killer applied
primed
i will be stripping all the car down this winter to finish it to a much better standard, well thats the plan anyway.
cheers kieran
after i got the puma in the garage i started to remove the old battery mounts from under the bonnet
centre popped
then i drilled them out
removed
then i started on the big one 8-)
then i ground it all down, put rust killer on it then primered it all
rust killer applied
primed
i will be stripping all the car down this winter to finish it to a much better standard, well thats the plan anyway.
cheers kieran
06-10-2012, 09:38 PM
#14
Wahay!! I've lost my Virginity!!
Thread Starter
Join Date: Oct 2012
Location: manchester
Posts: 52
Likes: 0
Received 0 Likes
on
0 Posts
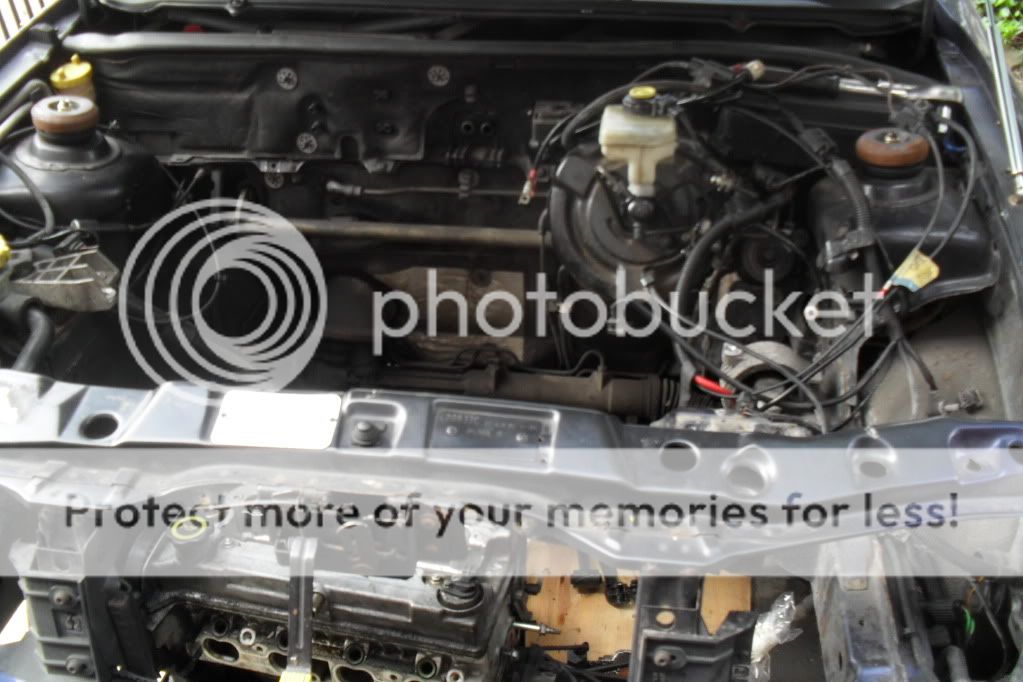
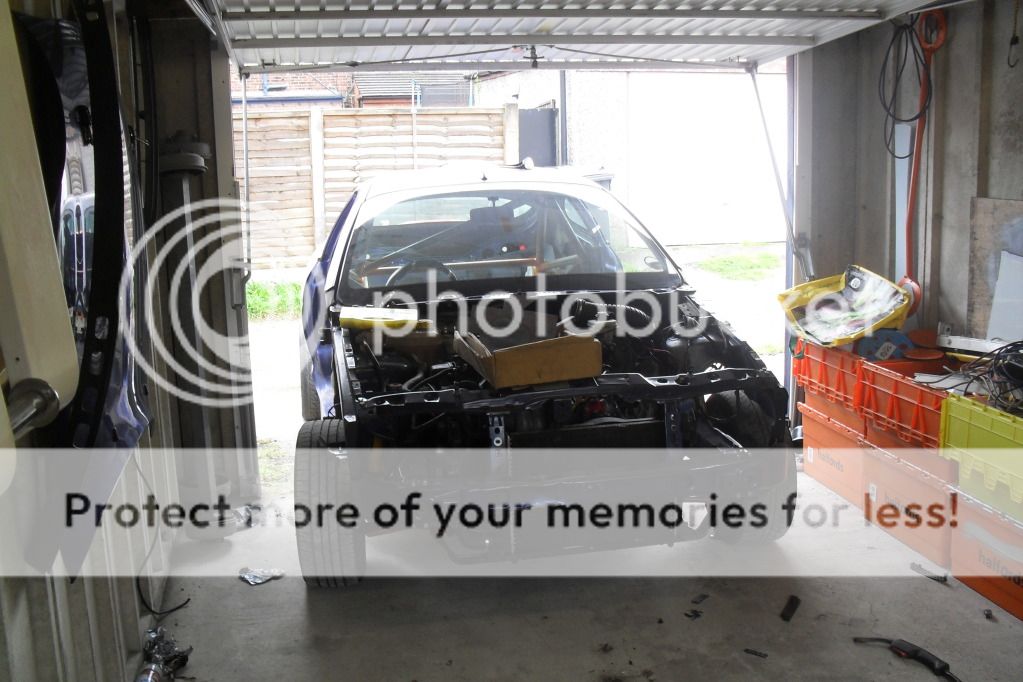
ive only spent about an hour on the old girl today working and tbh i only got round to removing all the front end and drivers seat. pics


nothing major but i like to keep you all updated
nothing major but i like to keep you all updated
06-10-2012, 09:39 PM
#15
Wahay!! I've lost my Virginity!!
Thread Starter
Join Date: Oct 2012
Location: manchester
Posts: 52
Likes: 0
Received 0 Likes
on
0 Posts
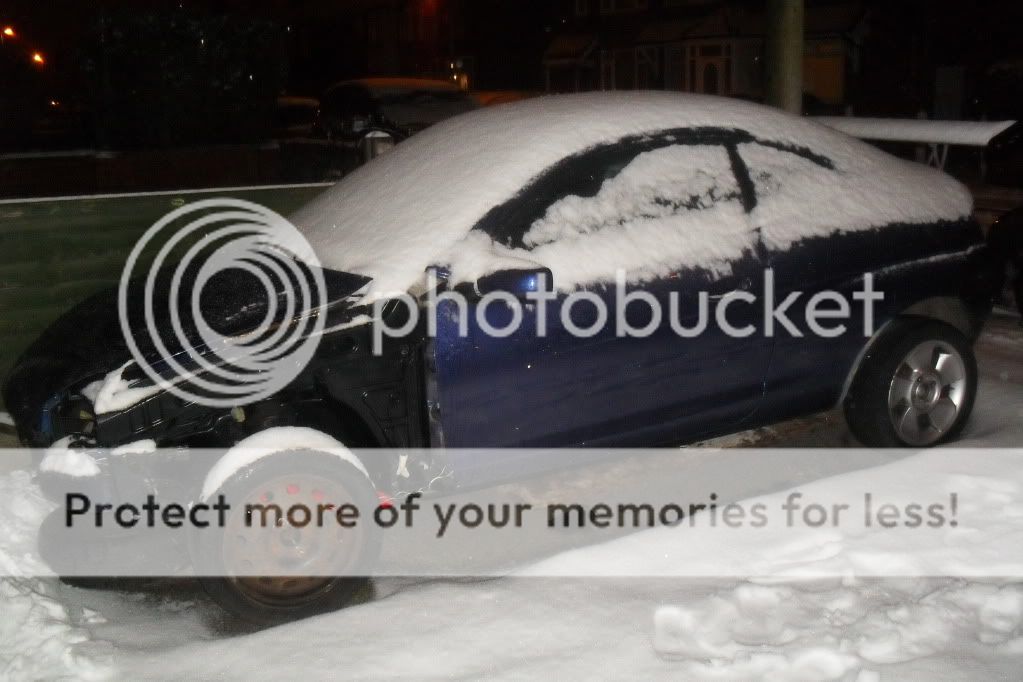
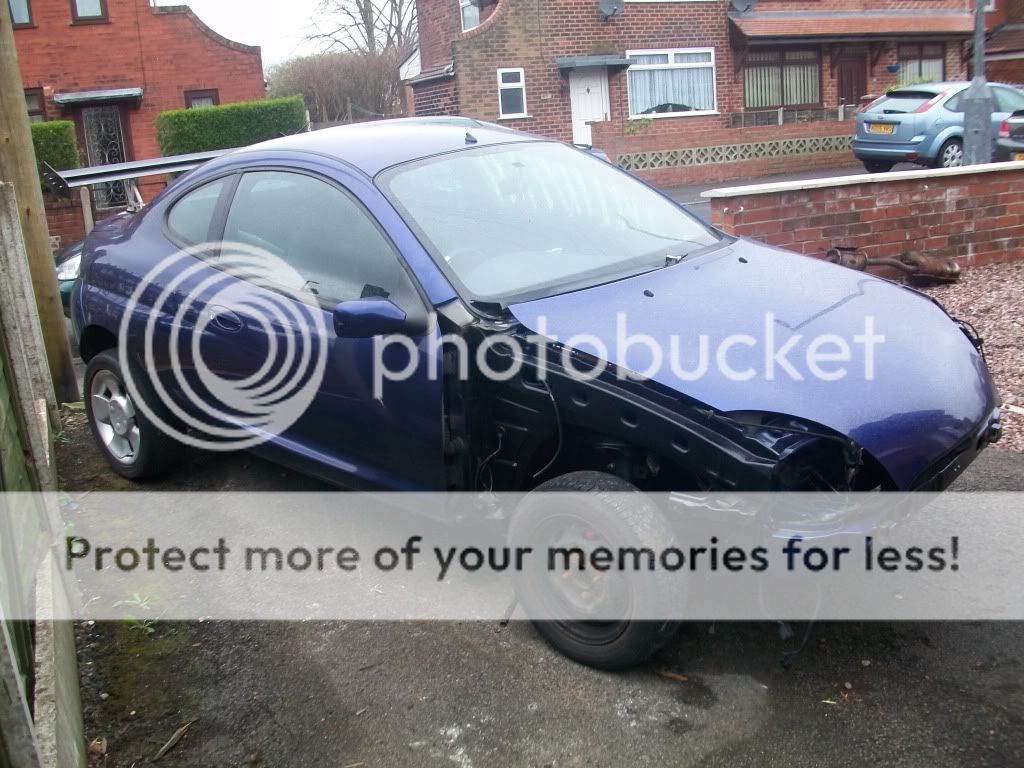
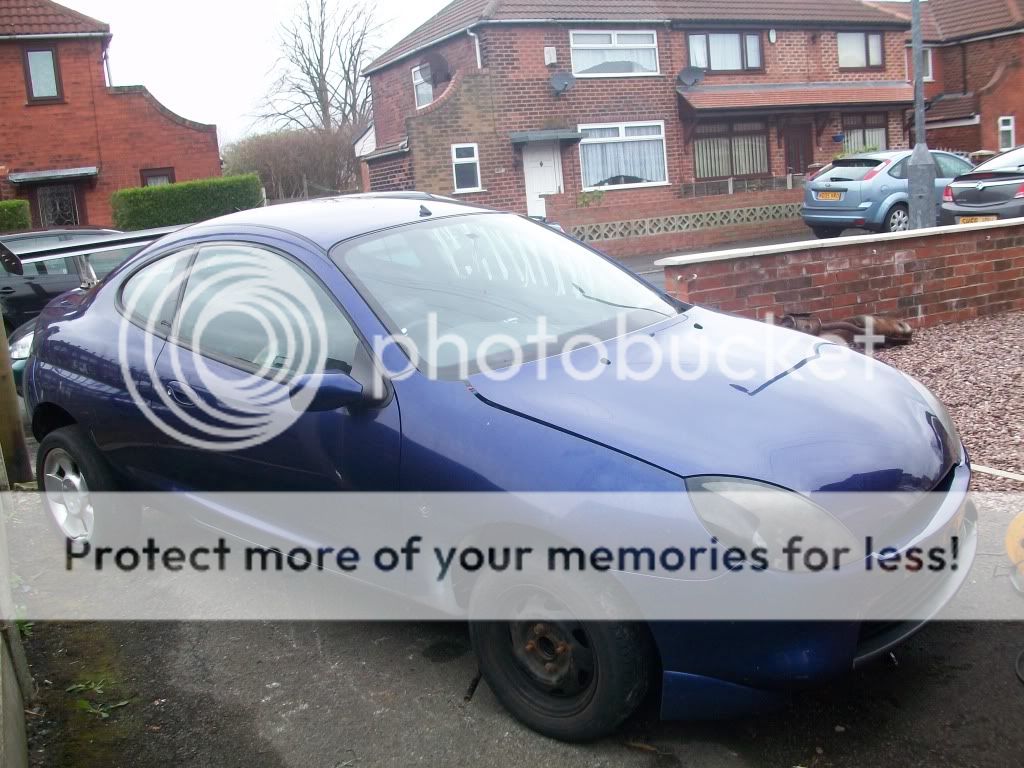
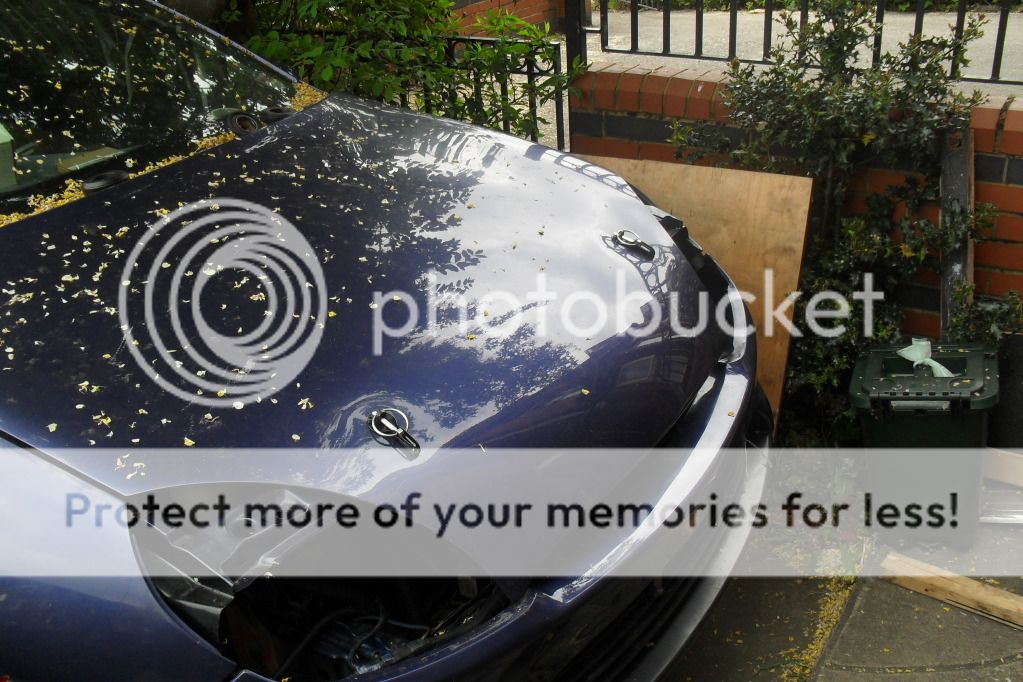
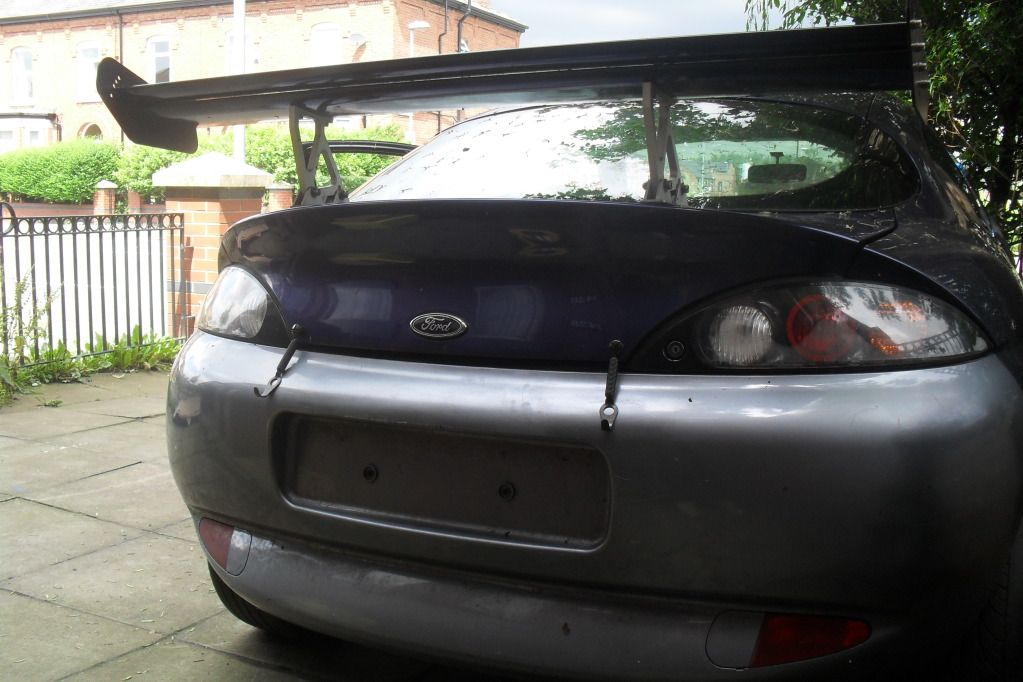
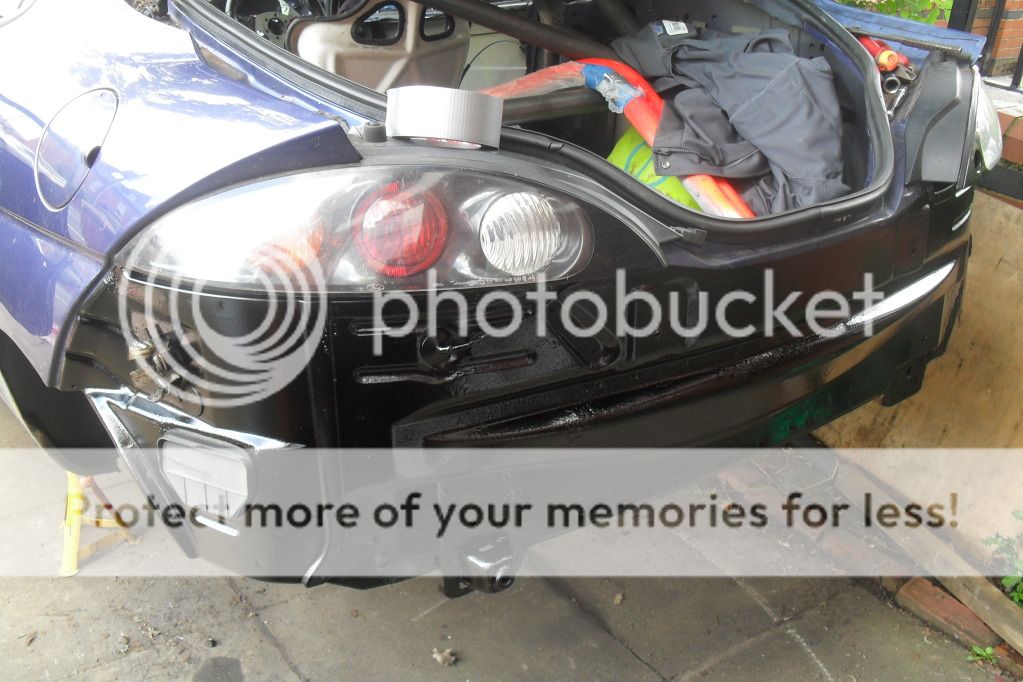
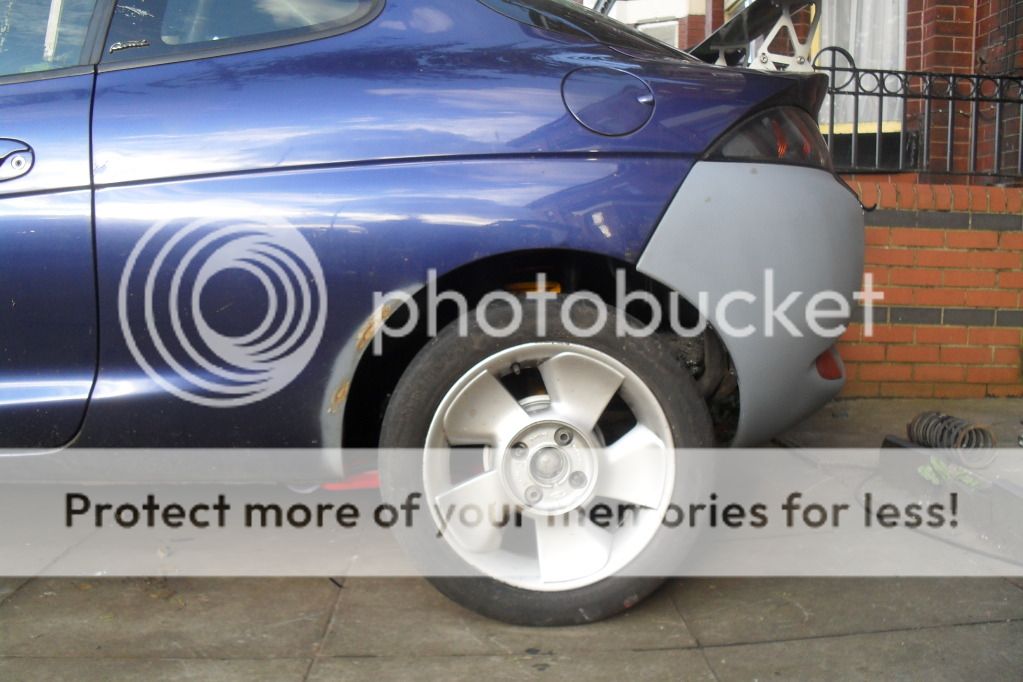
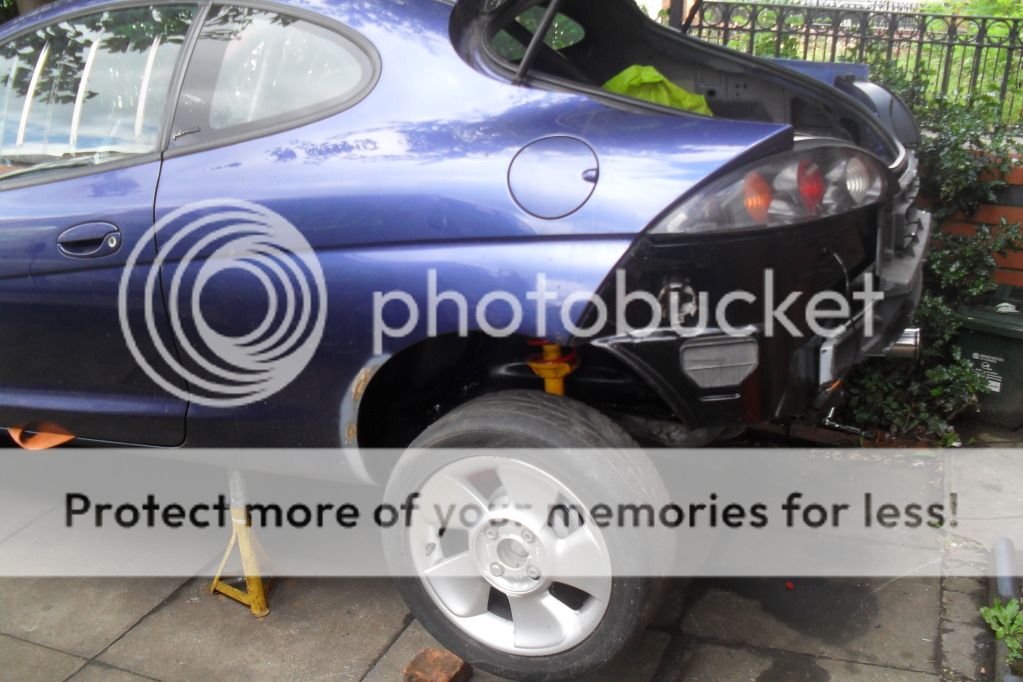
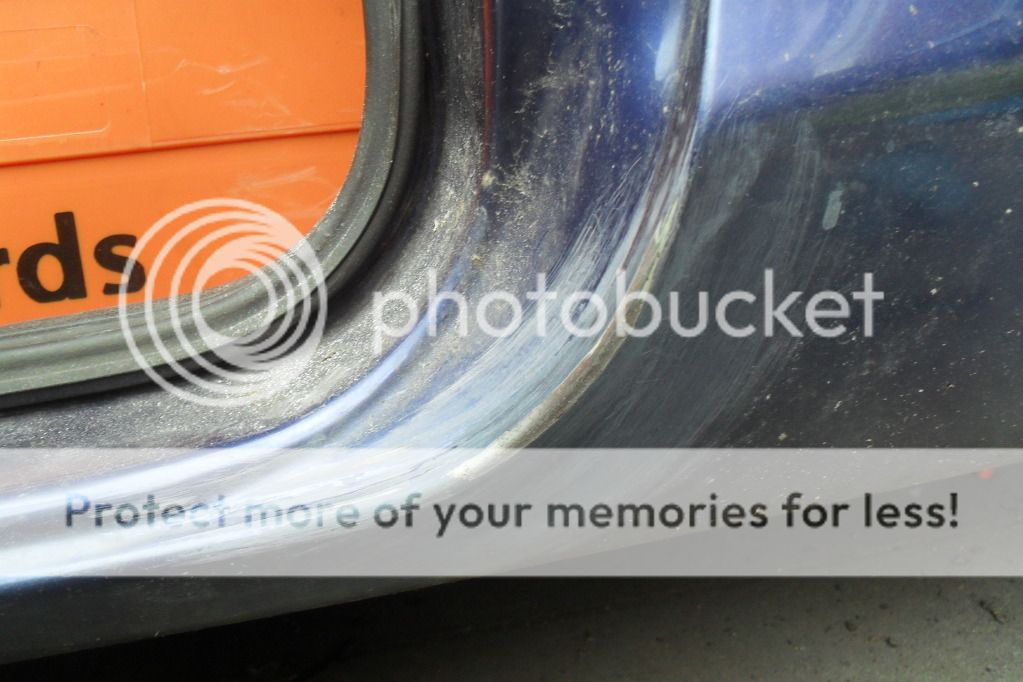
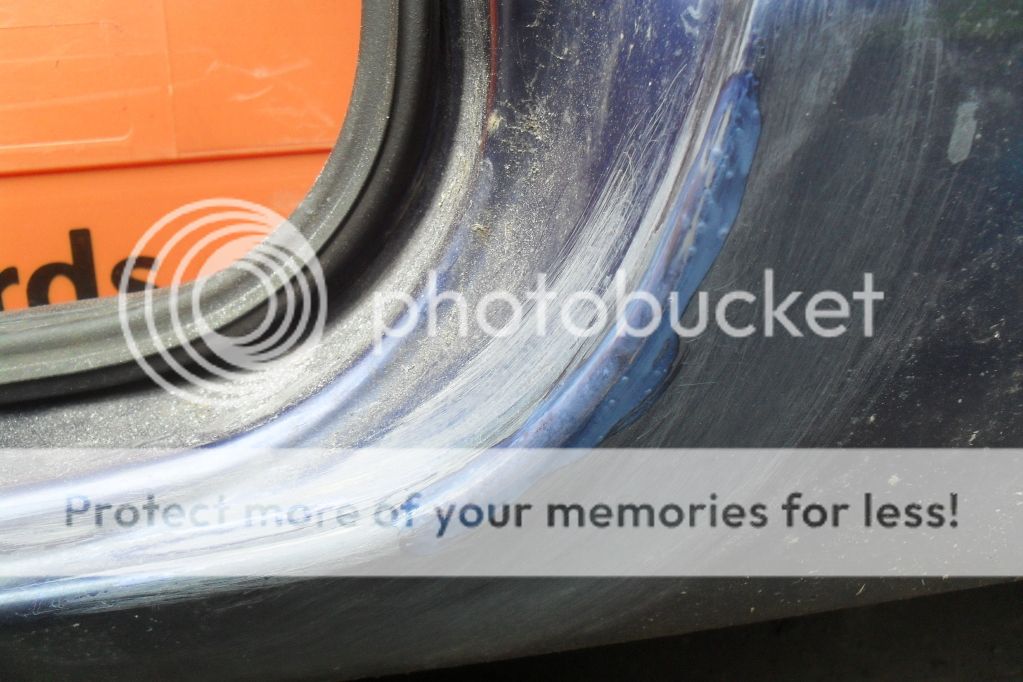
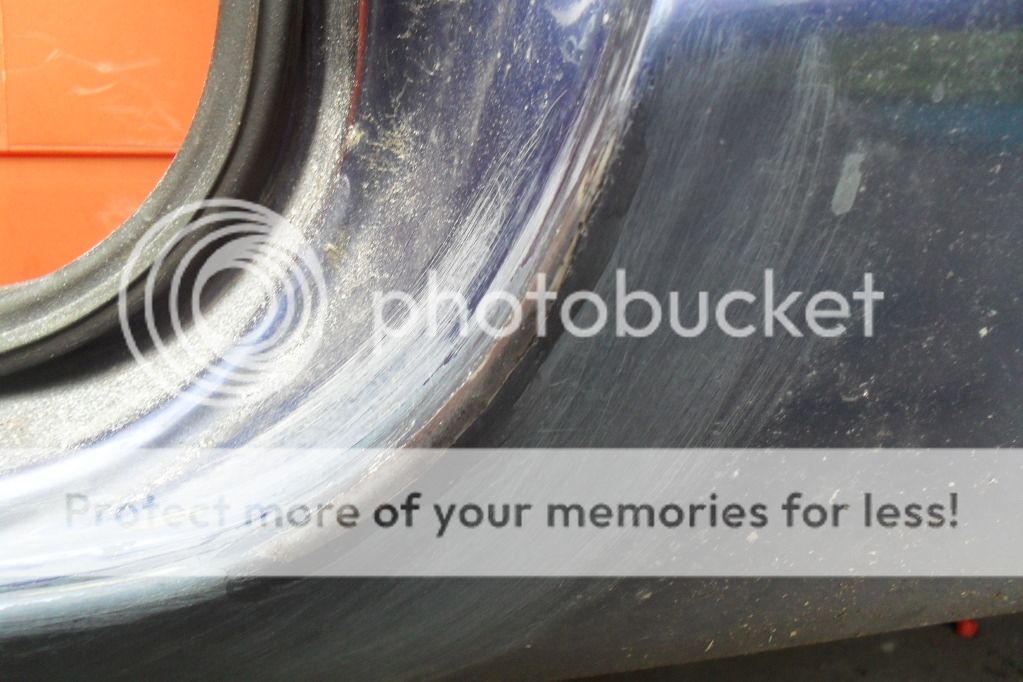
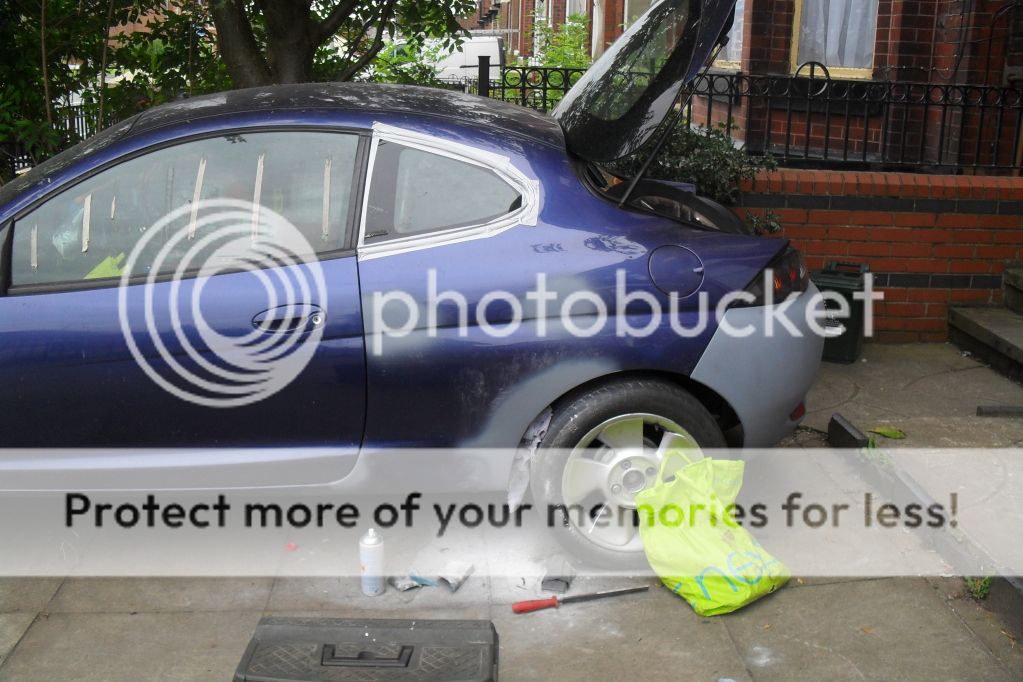
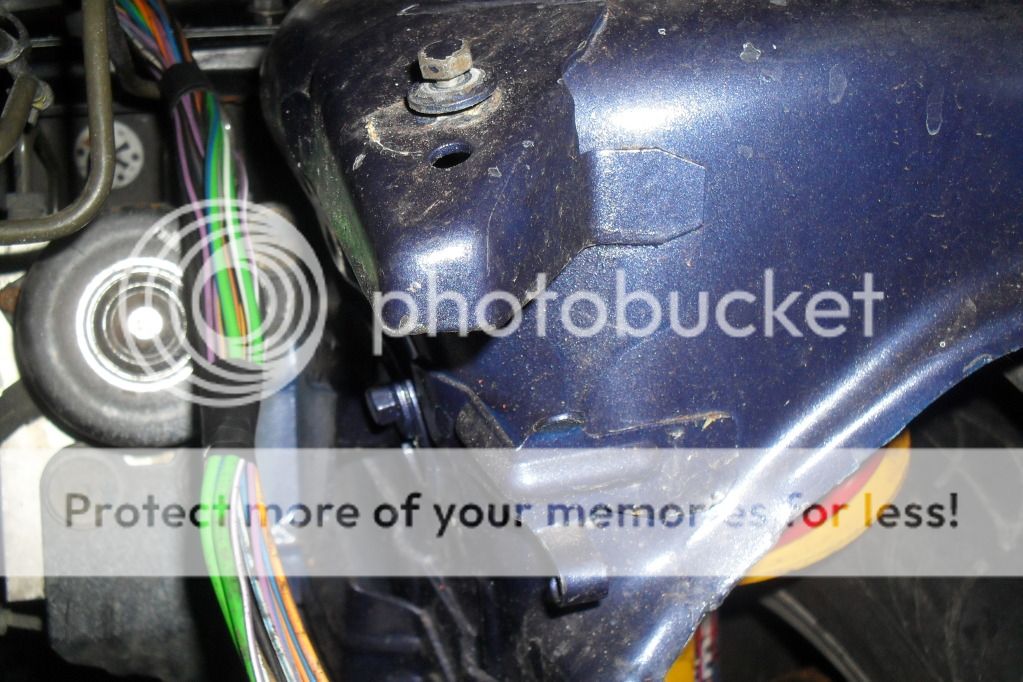
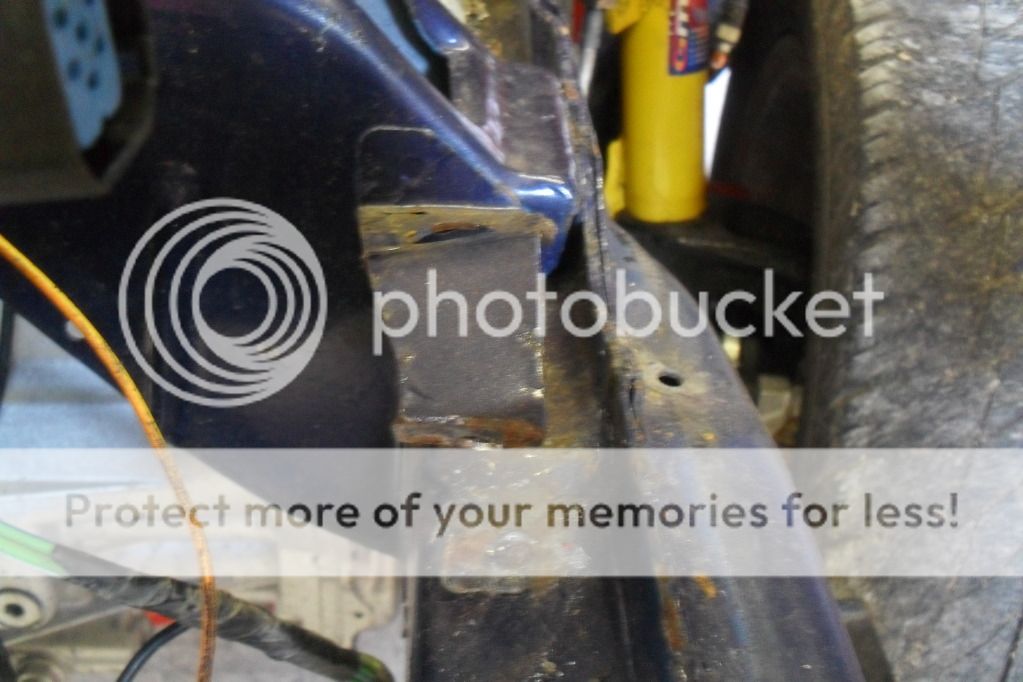
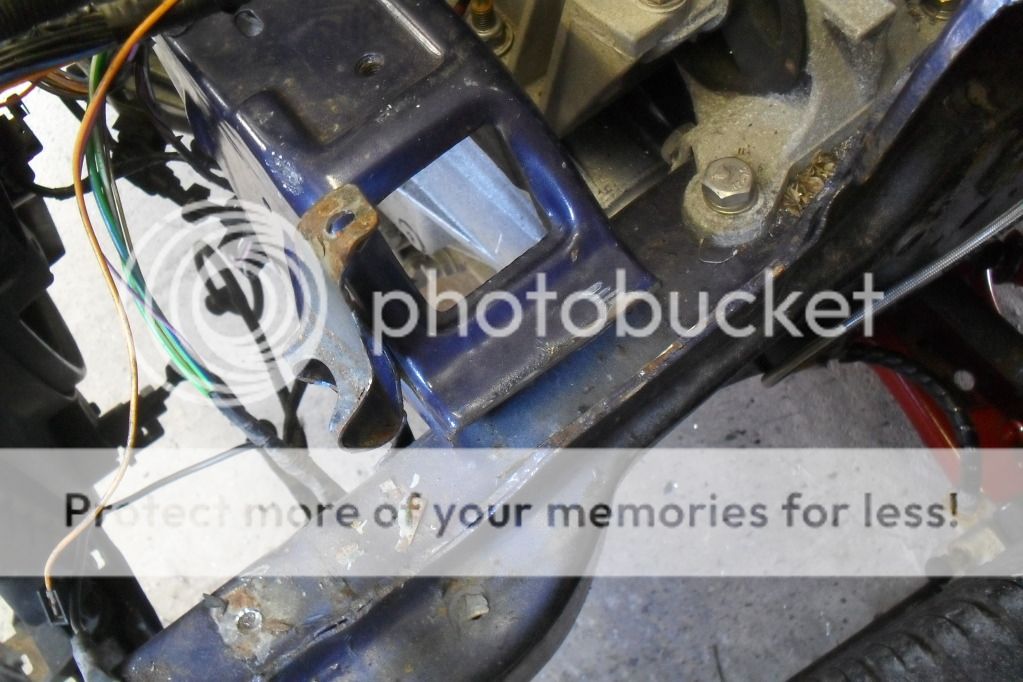
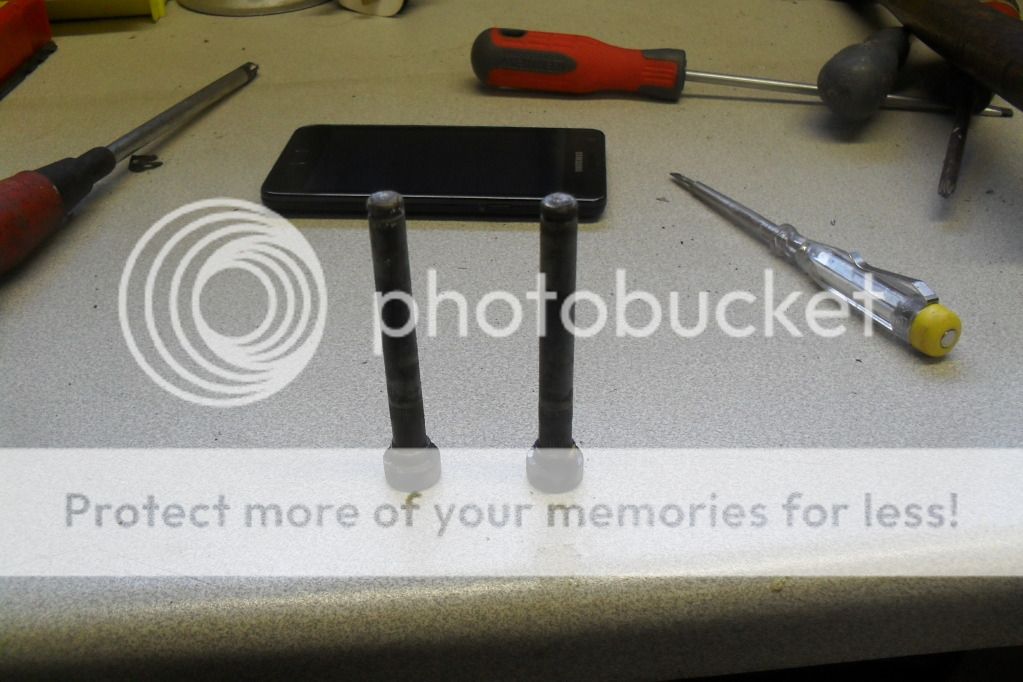
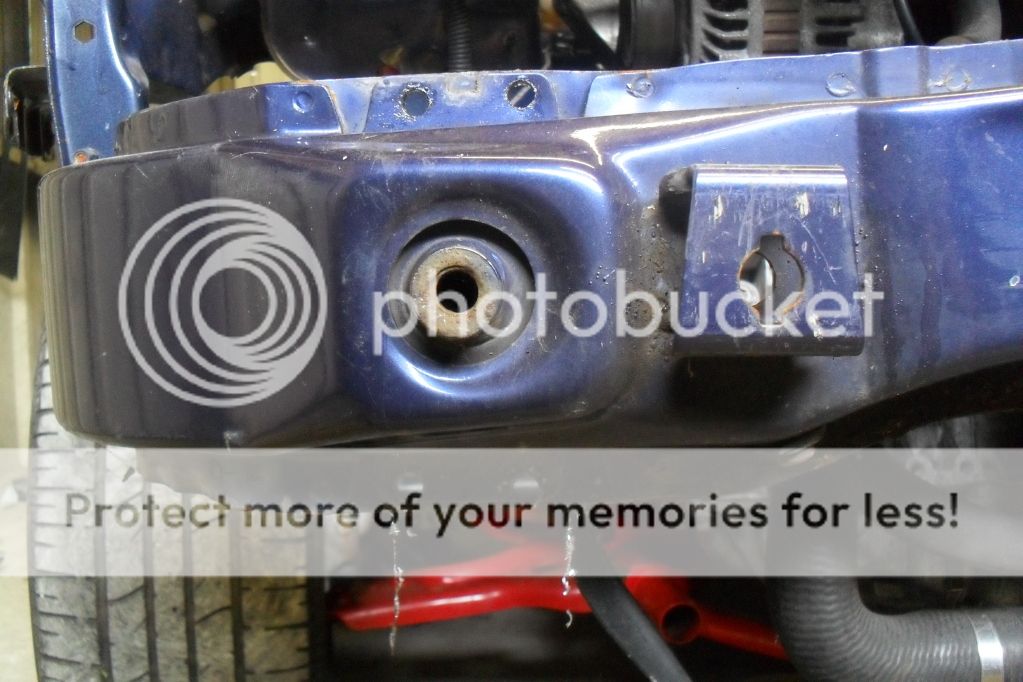
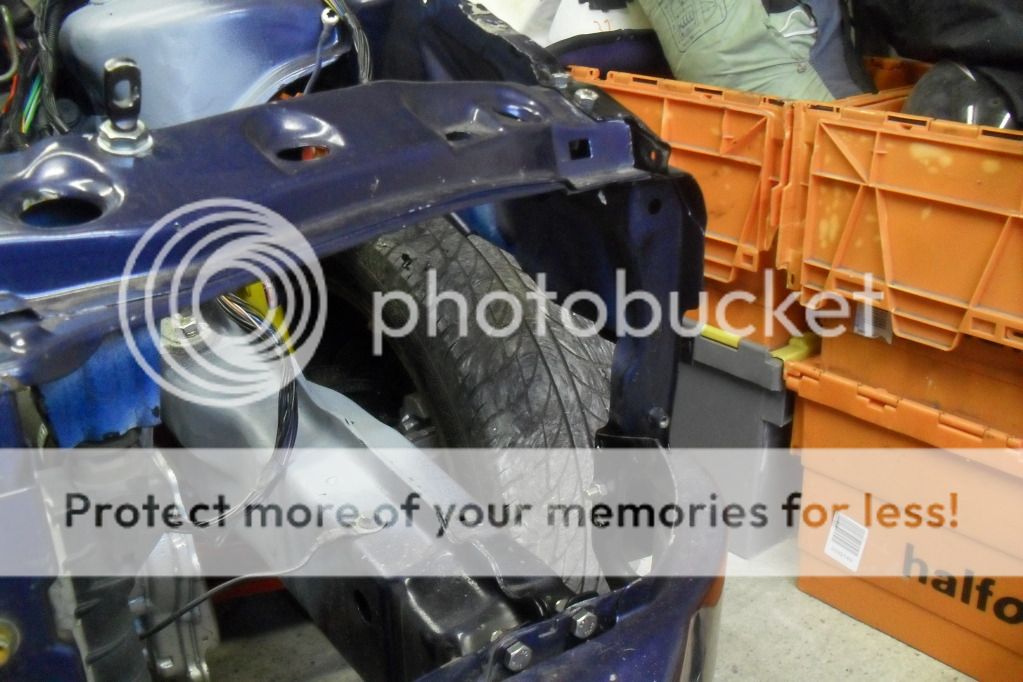
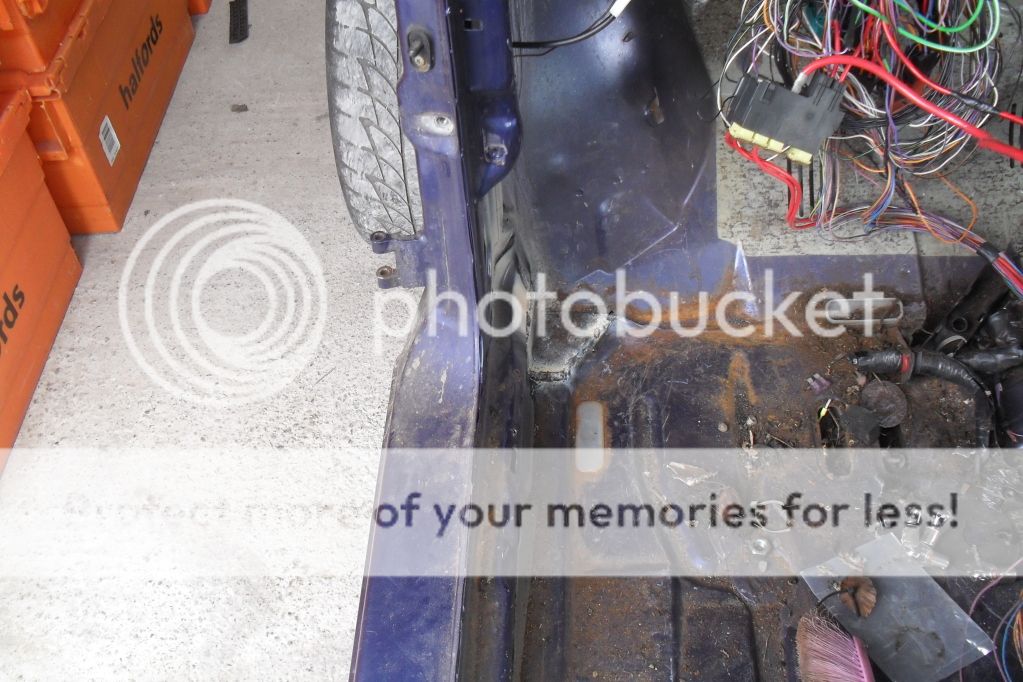
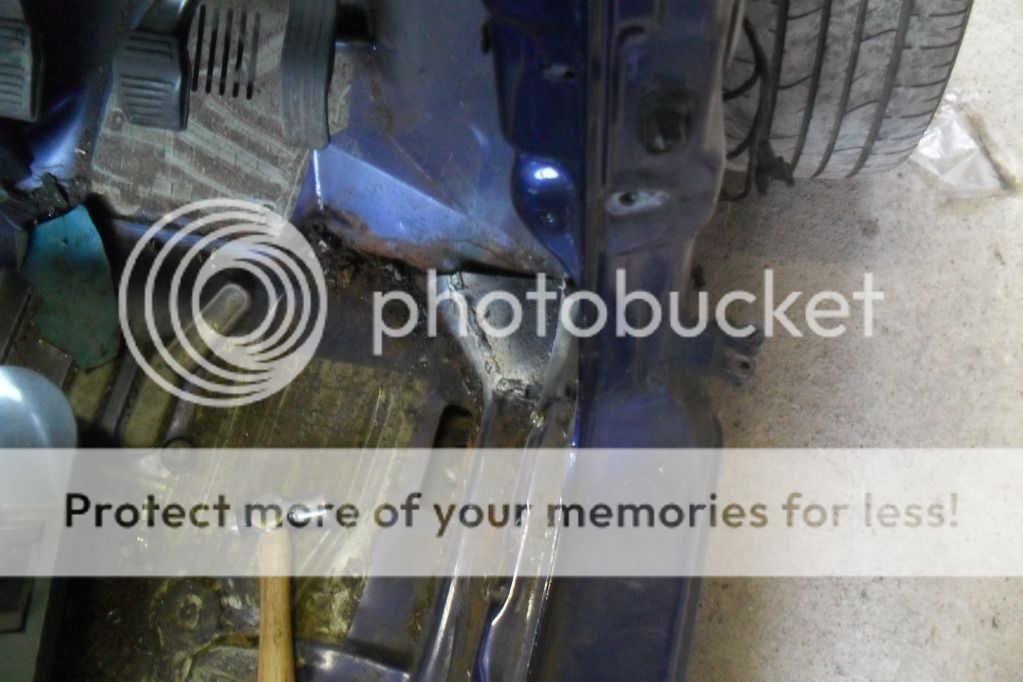
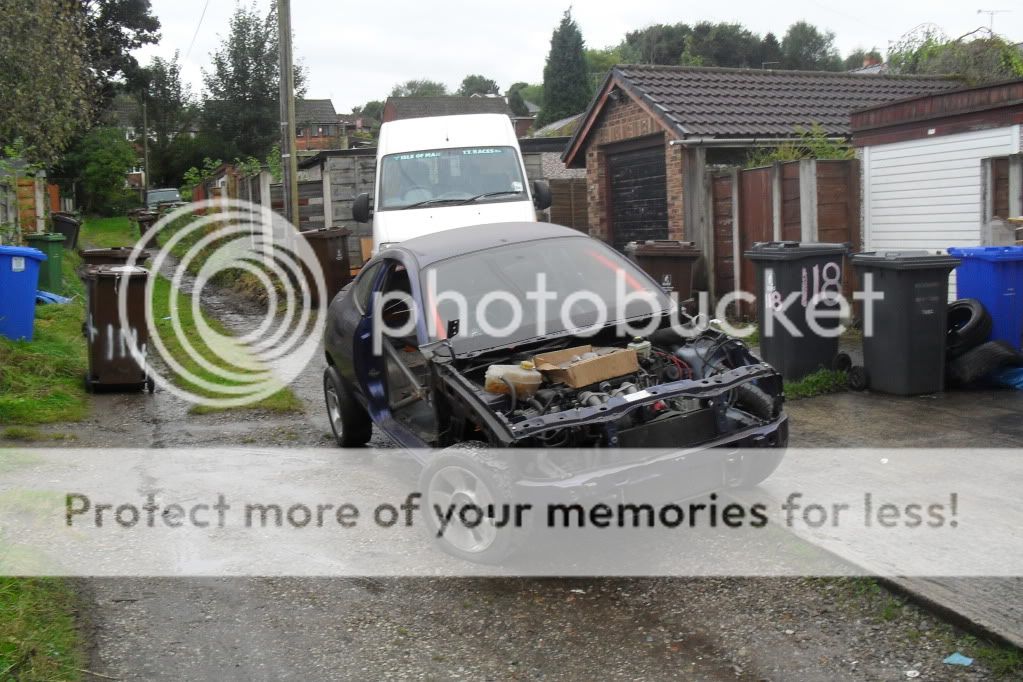
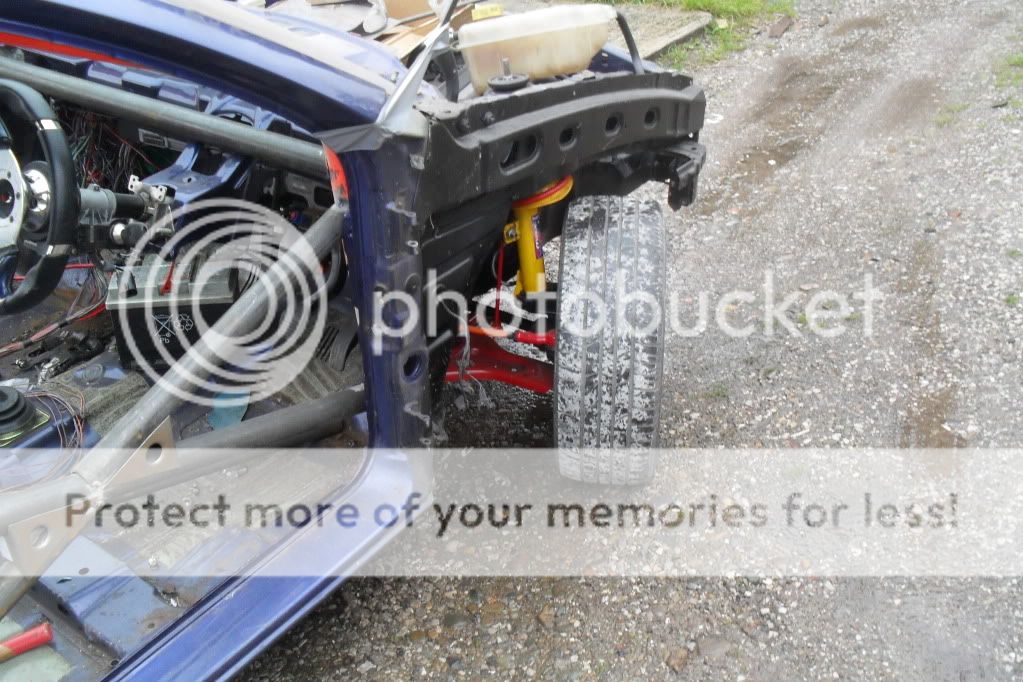
hi all i had the car moved before it had the front end built up 14 months ago. the reason was the stupid govermant said it was not allowed on the car park at the side of my mum and dads house because it was a SCRAP CAR!! checky bastards!!! and if i didnt move it they would take it away and charge me for scrapping it so got it moved to my gf's drive (were now engaged and having a baby in a couple of weeks ) it was slightly damaged getting moved and i had to knock it back with a hammer to get the bumper to fit back on. ive decided to remove the front end and change it at some point so until i can aford to get ahold of another one ive decided to remove the current one and make it removable in a couple of mins. im goin to slightly reconstruct the new one (when i get it) so that i can remove it in seconds while keeping the overall strength still intact 8-)
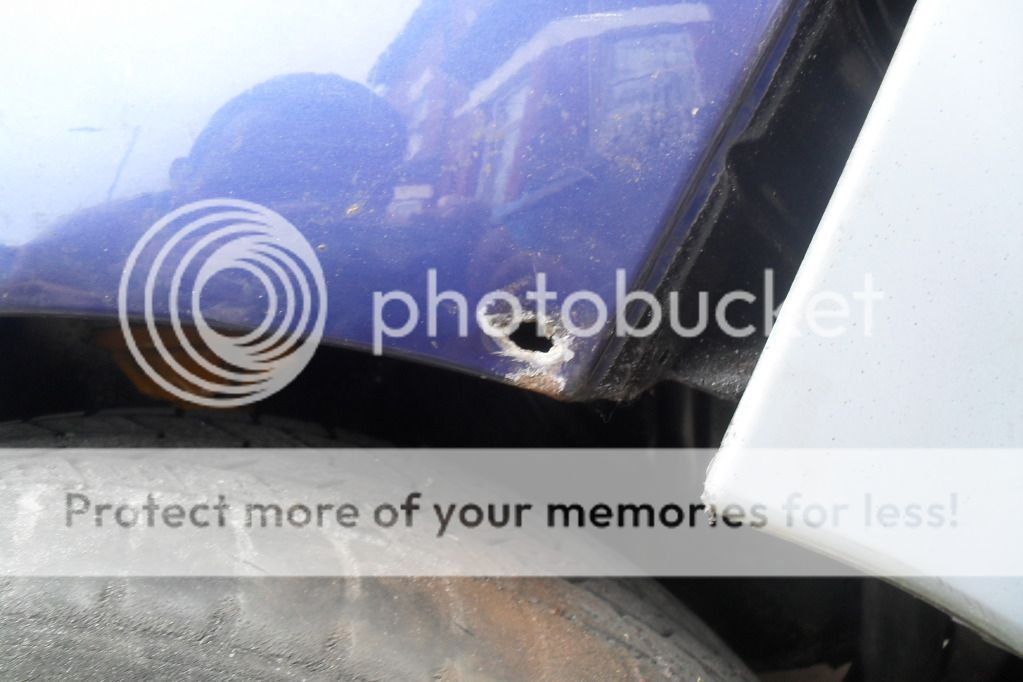
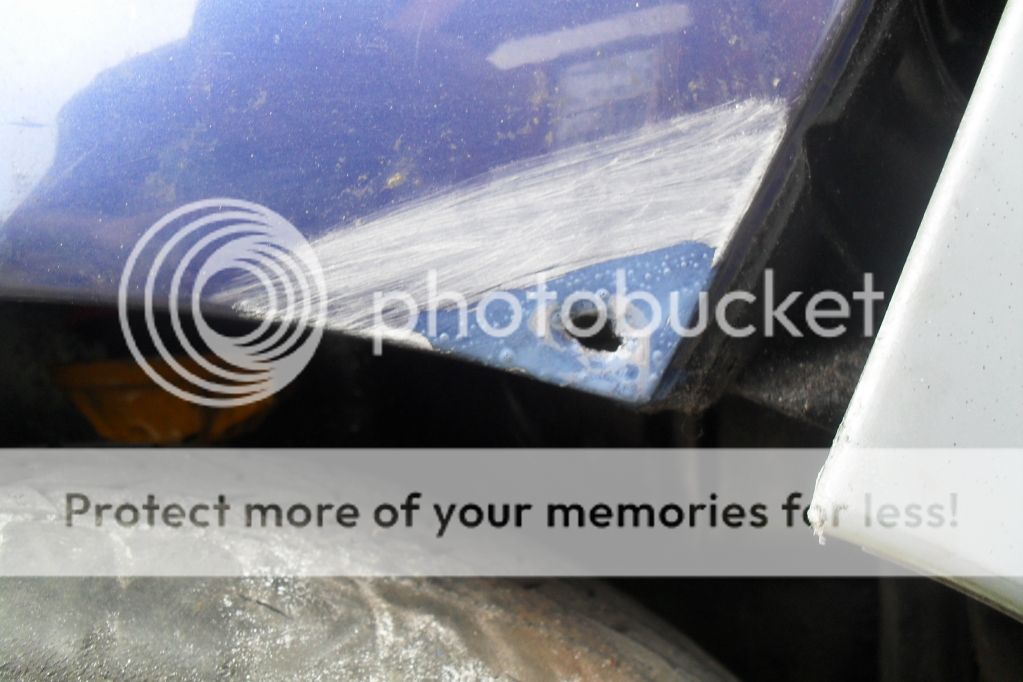
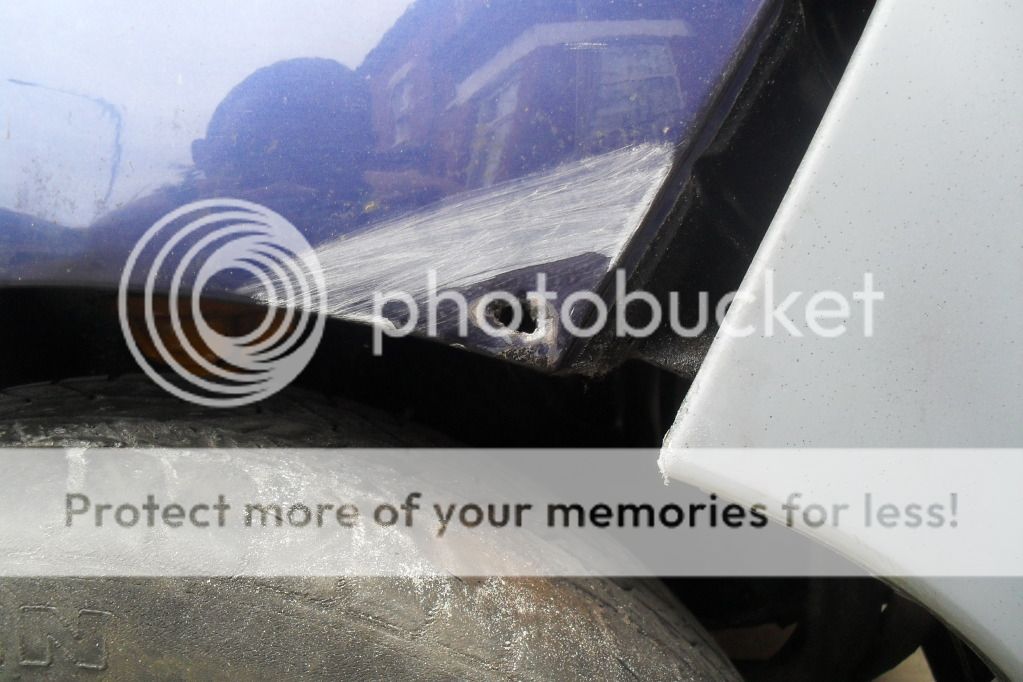
pics of the damage on the front

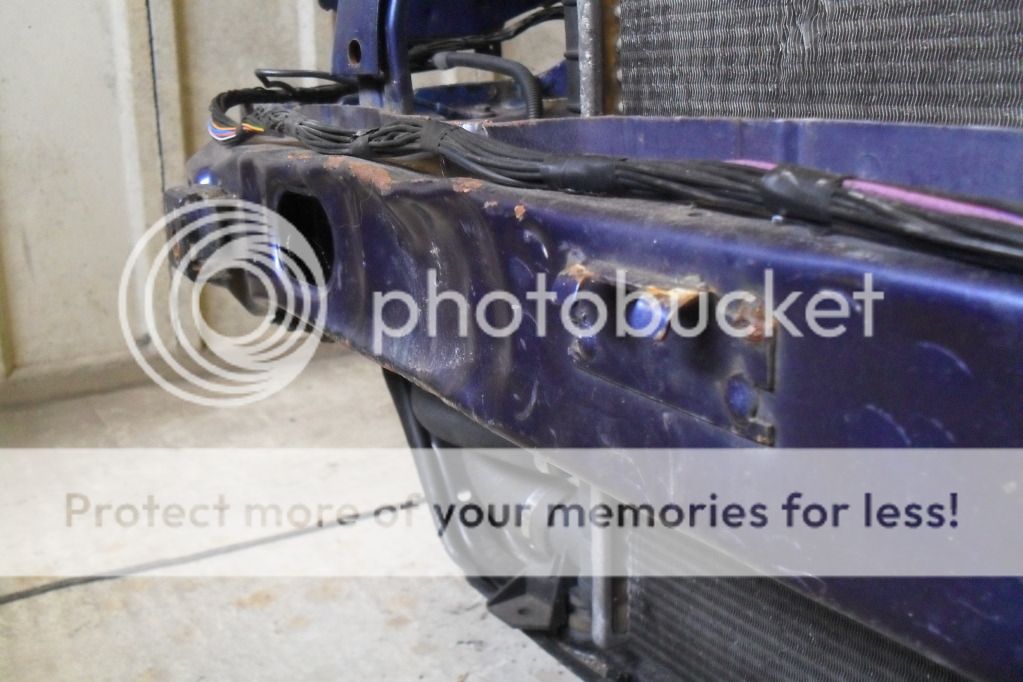
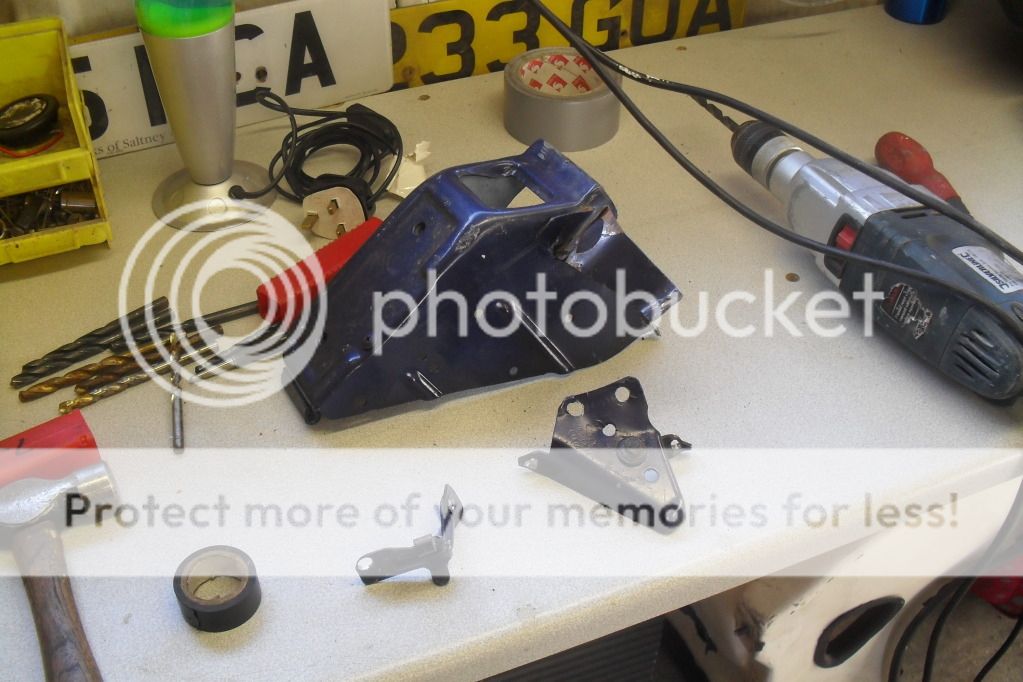
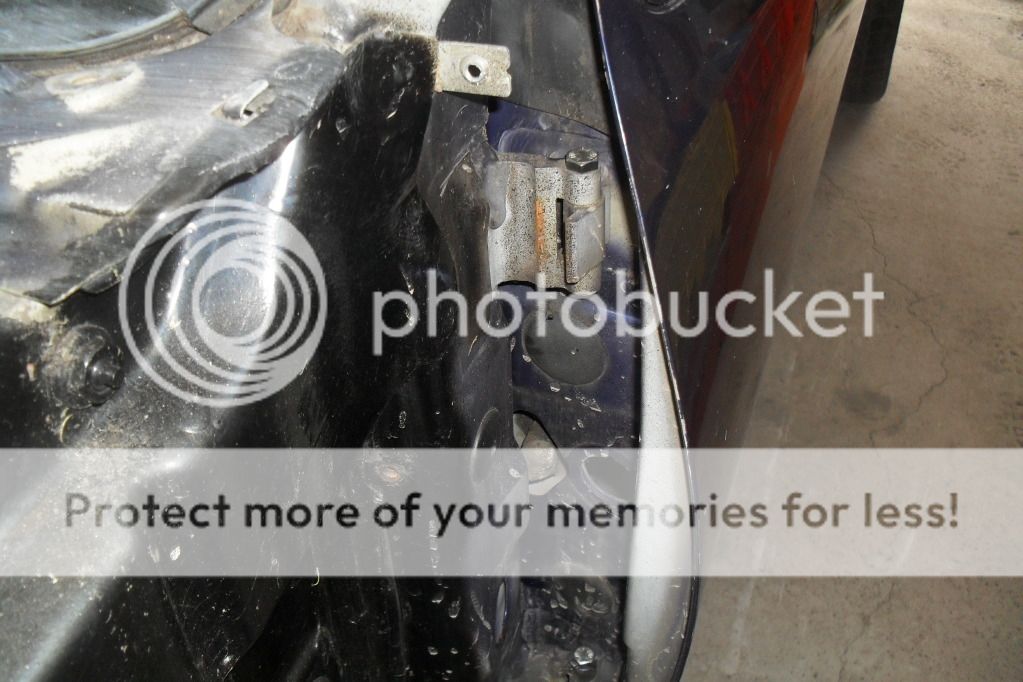
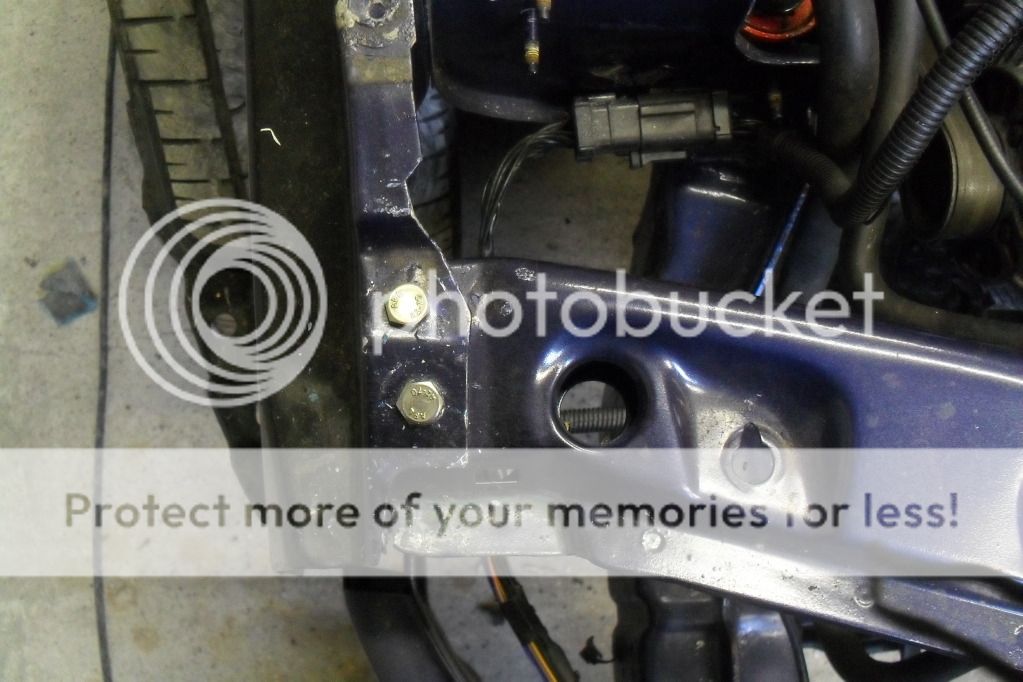
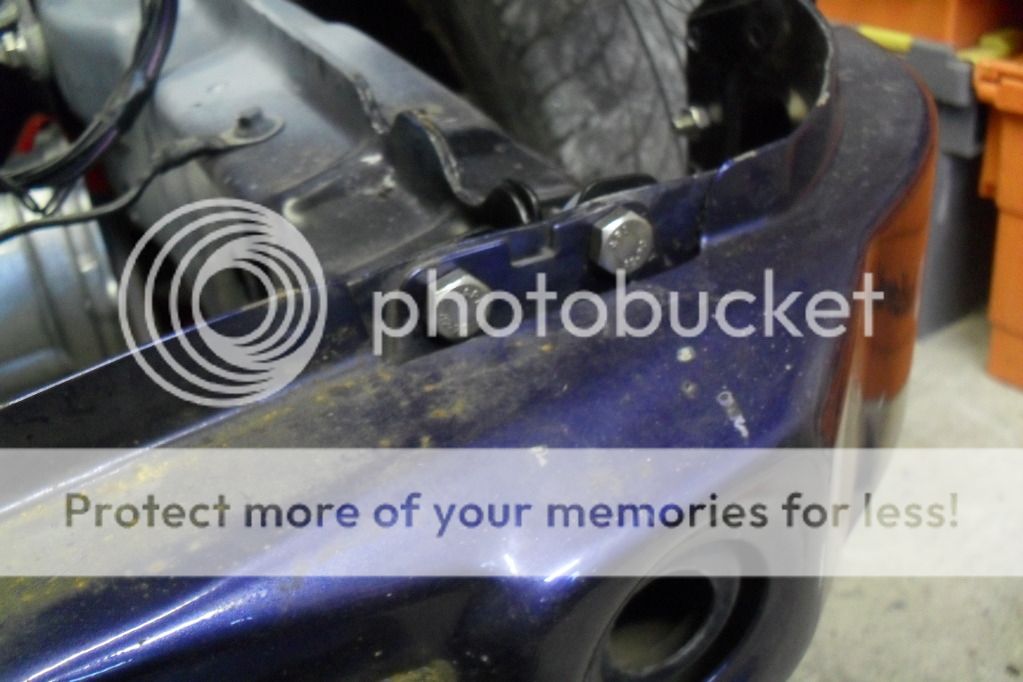
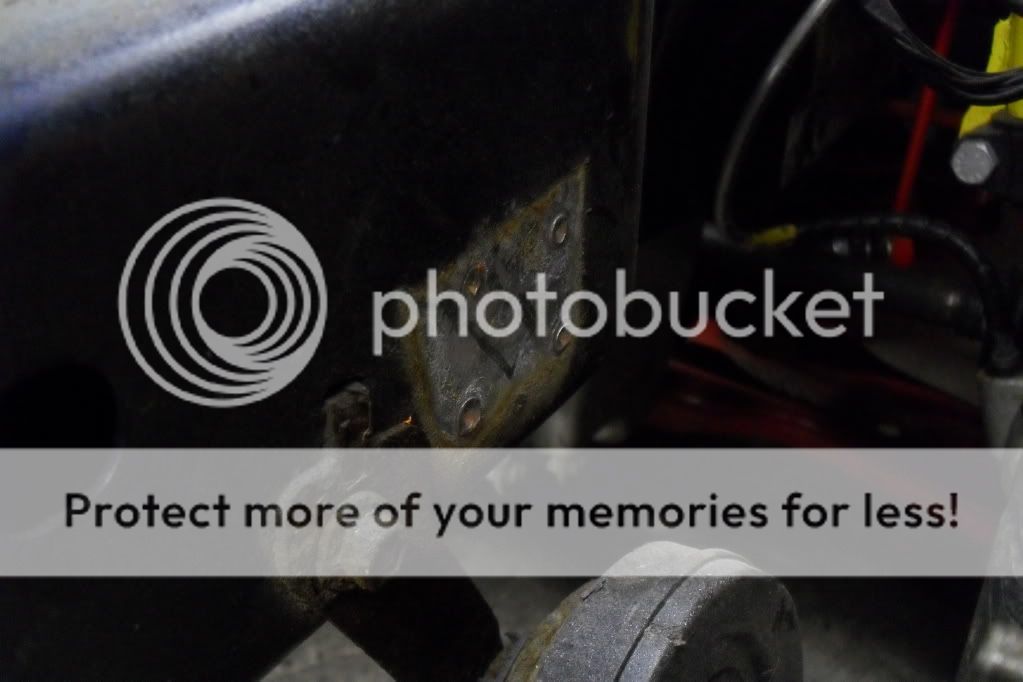
me drilling out the spotwelds and replacing them with bolts (for the time being)
one side

the other side
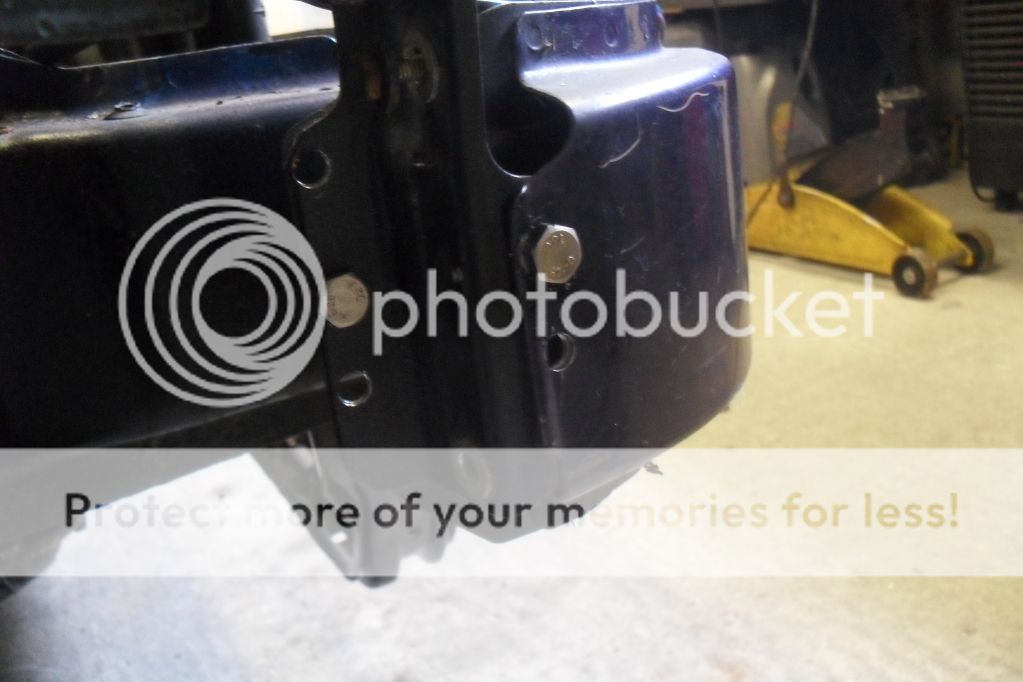
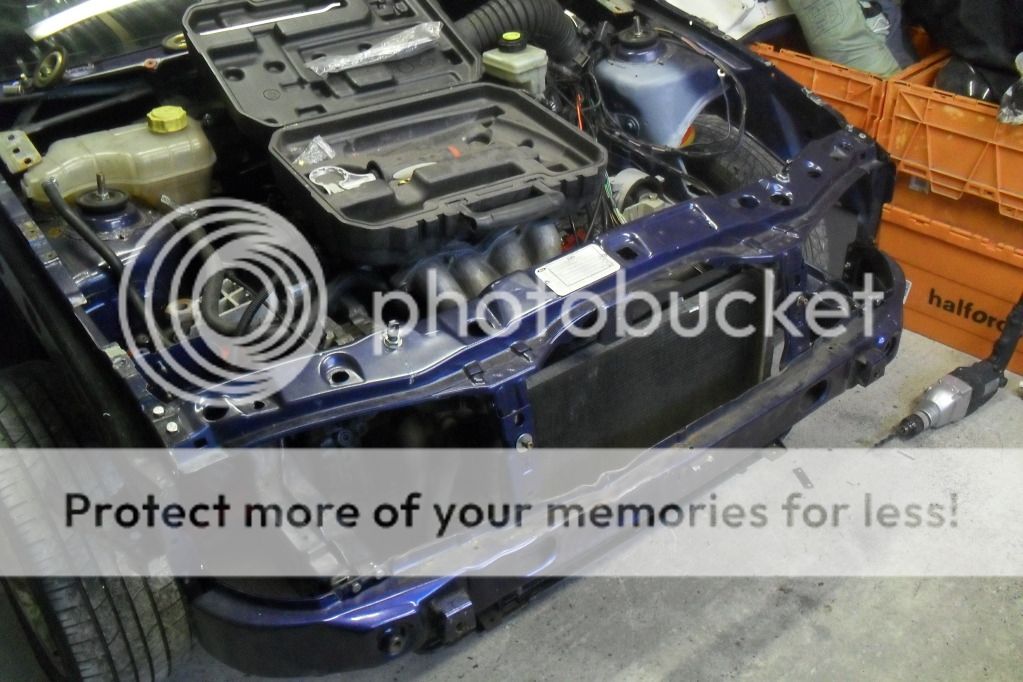
now you see it
now you dont!
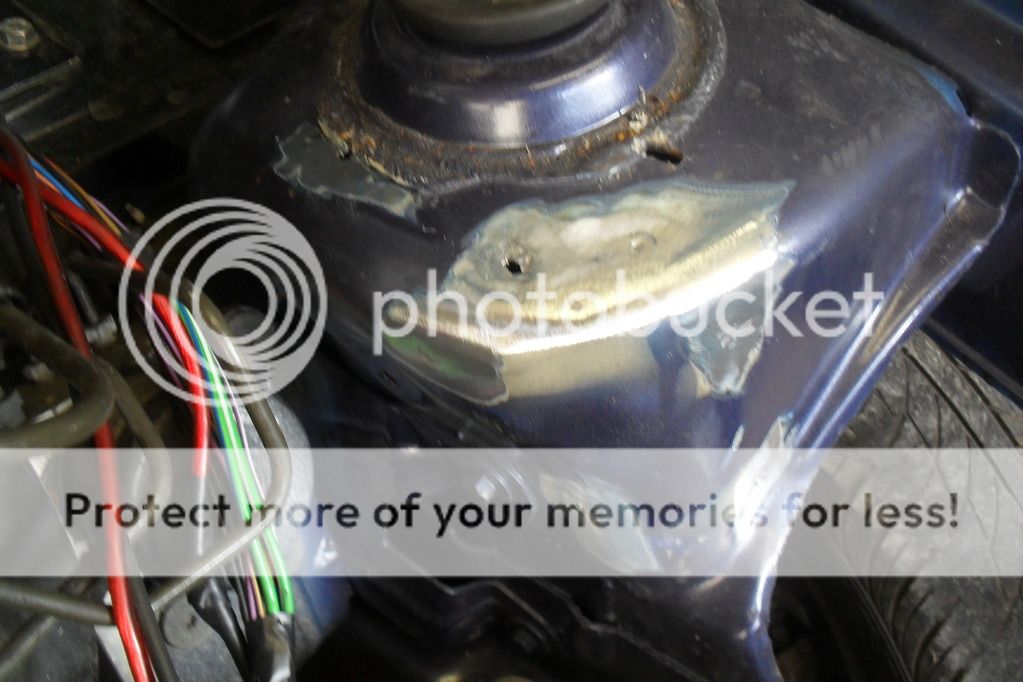
i ground it all down a little bit and refitted it.

another thing sorted now but yet again im stopped because im skint. hope things work out and i get back on my feet soon.
pics of the damage on the front
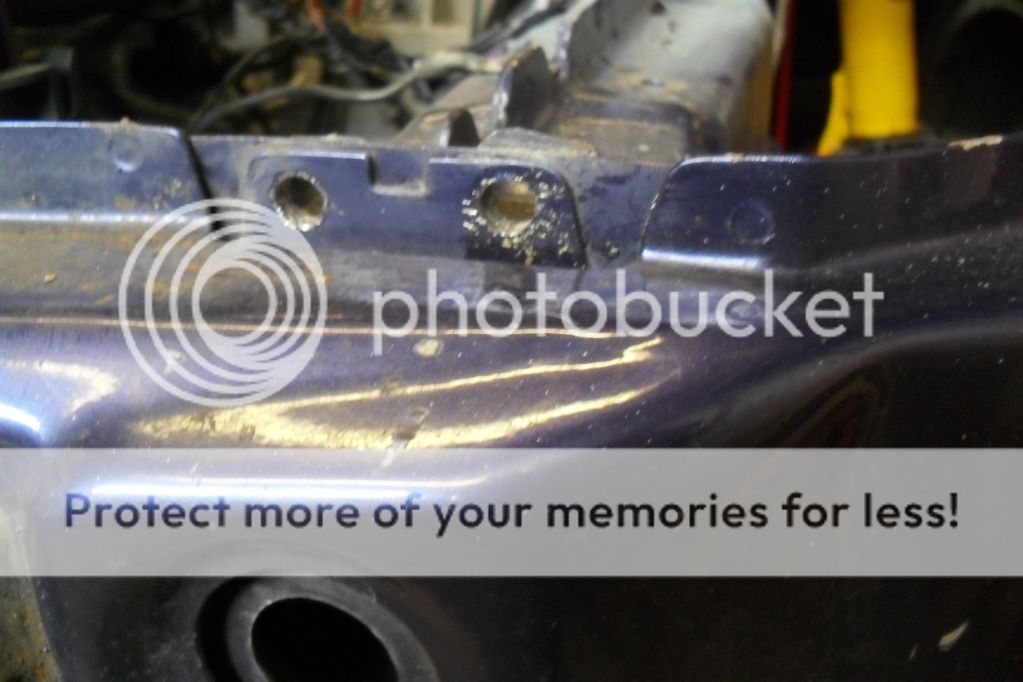
me drilling out the spotwelds and replacing them with bolts (for the time being)
one side
the other side
now you see it
now you dont!
i ground it all down a little bit and refitted it.
another thing sorted now but yet again im stopped because im skint. hope things work out and i get back on my feet soon.
06-10-2012, 09:43 PM
#16
Wahay!! I've lost my Virginity!!
Thread Starter
Join Date: Oct 2012
Location: manchester
Posts: 52
Likes: 0
Received 0 Likes
on
0 Posts
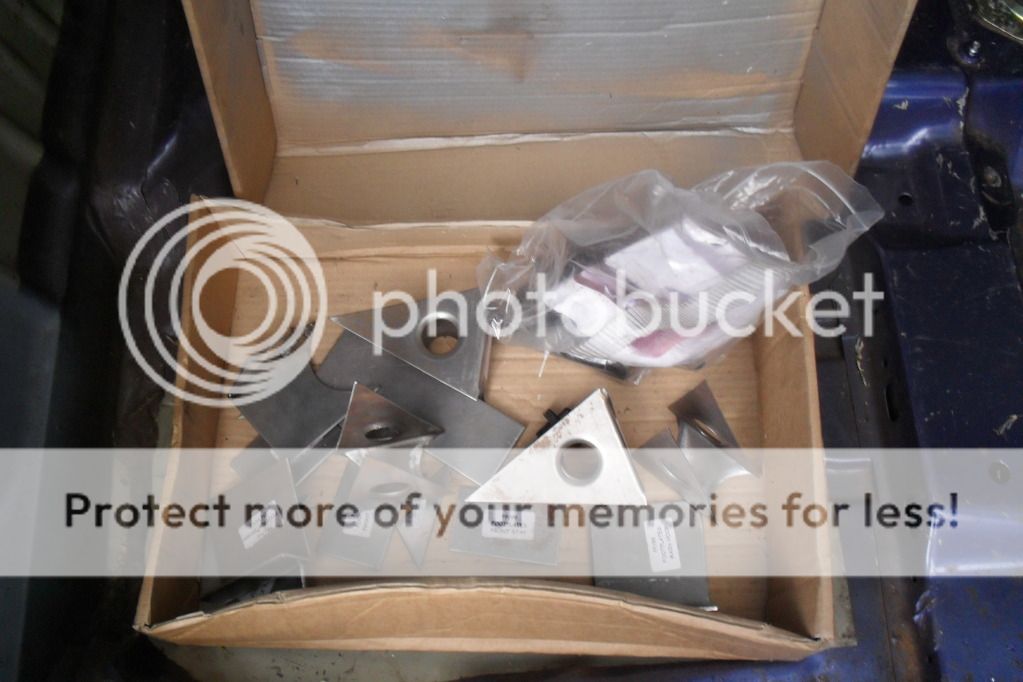
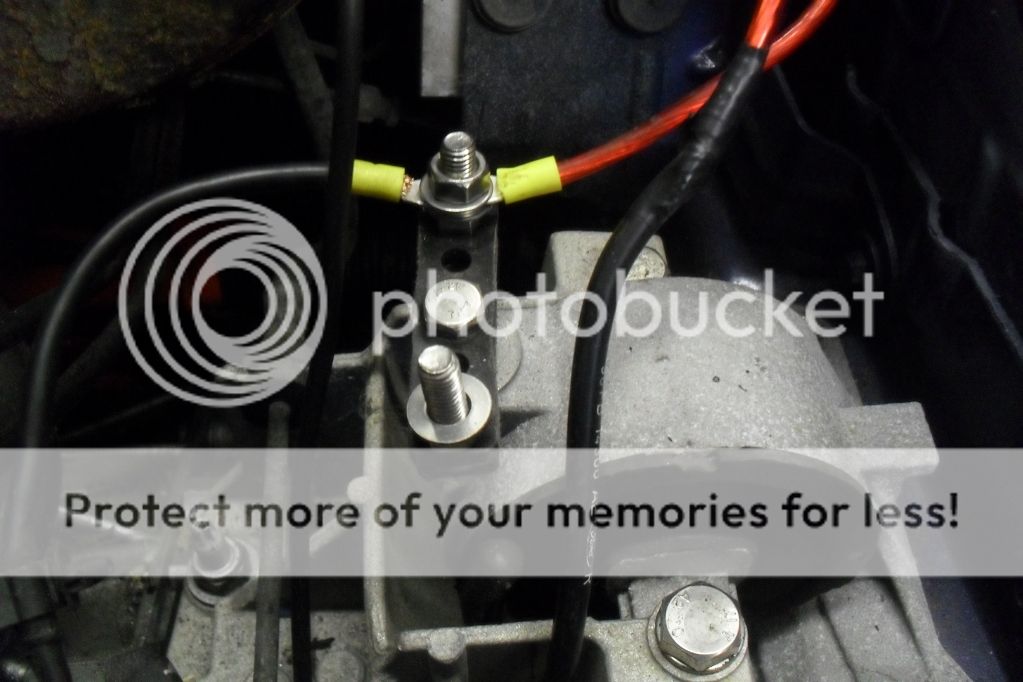
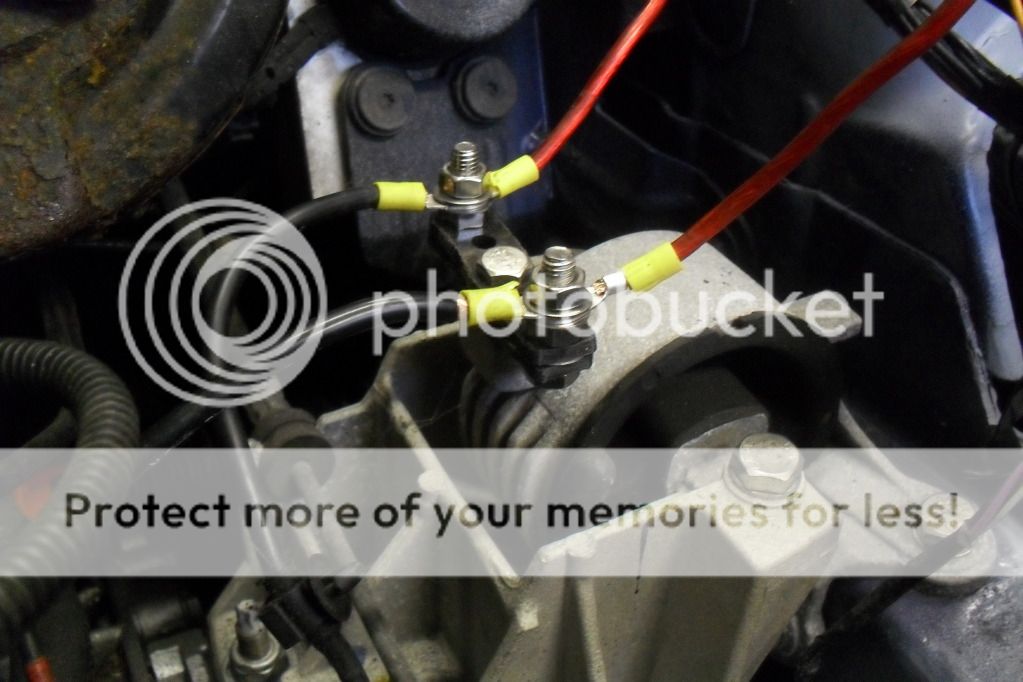
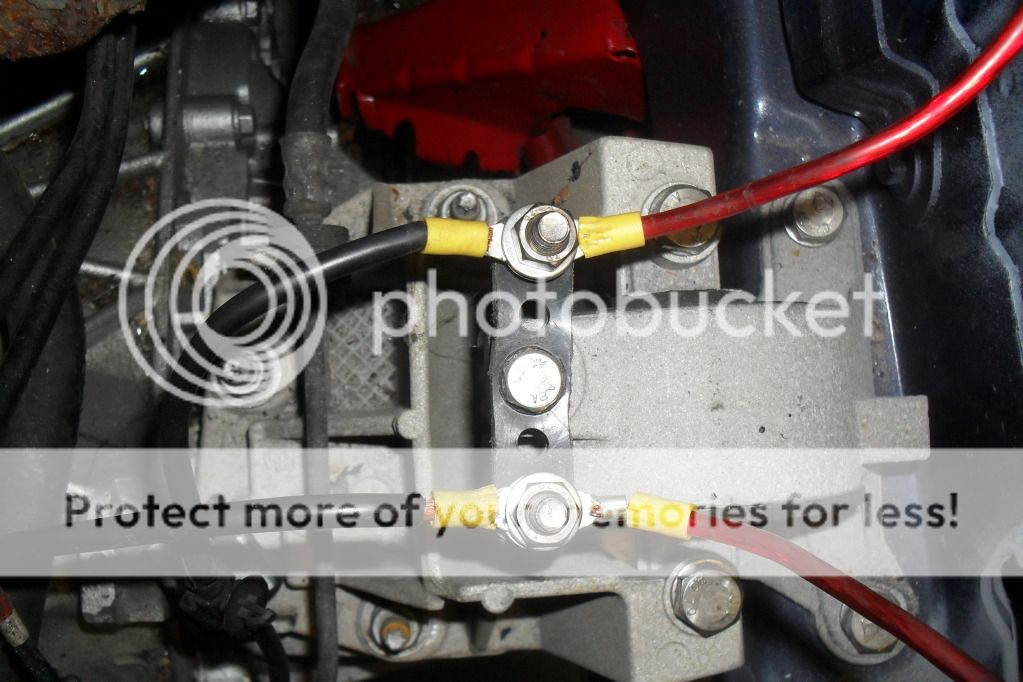
small update on what i have done so far today, also ive scapped together a couple of quid and stuck an order in for a little bit of welding wire so should get the reast of the cage tacked into the car and the passengers seat frame welded up. today i made a temporary junction black for the - & + under the bonnet.
picsss
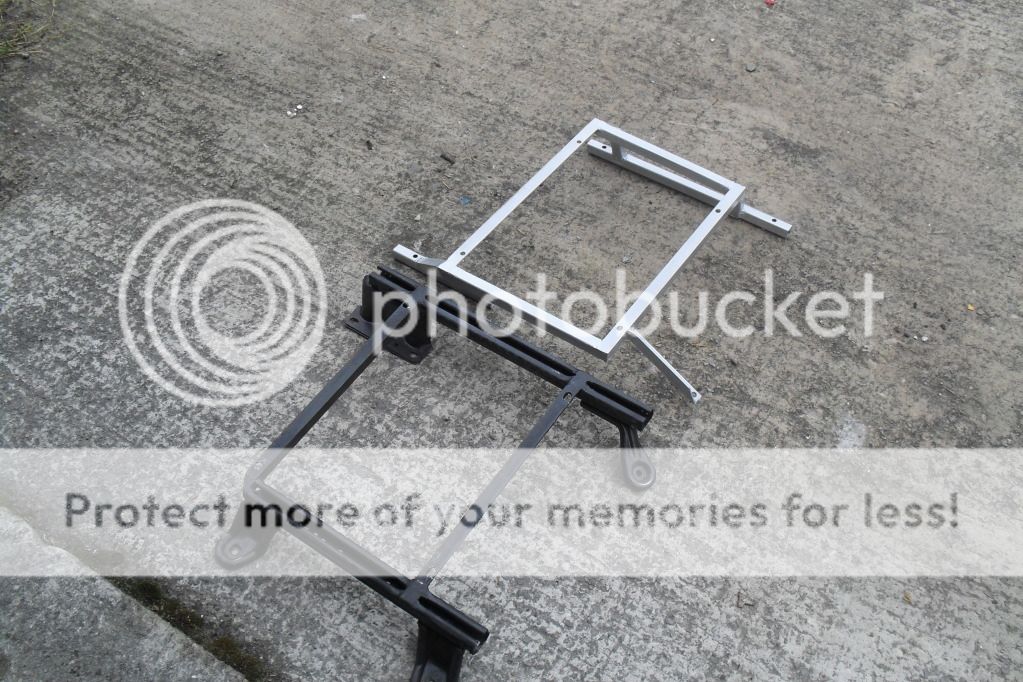
also got a jump at making the seat base (will be finished when the wire arrives) picsss
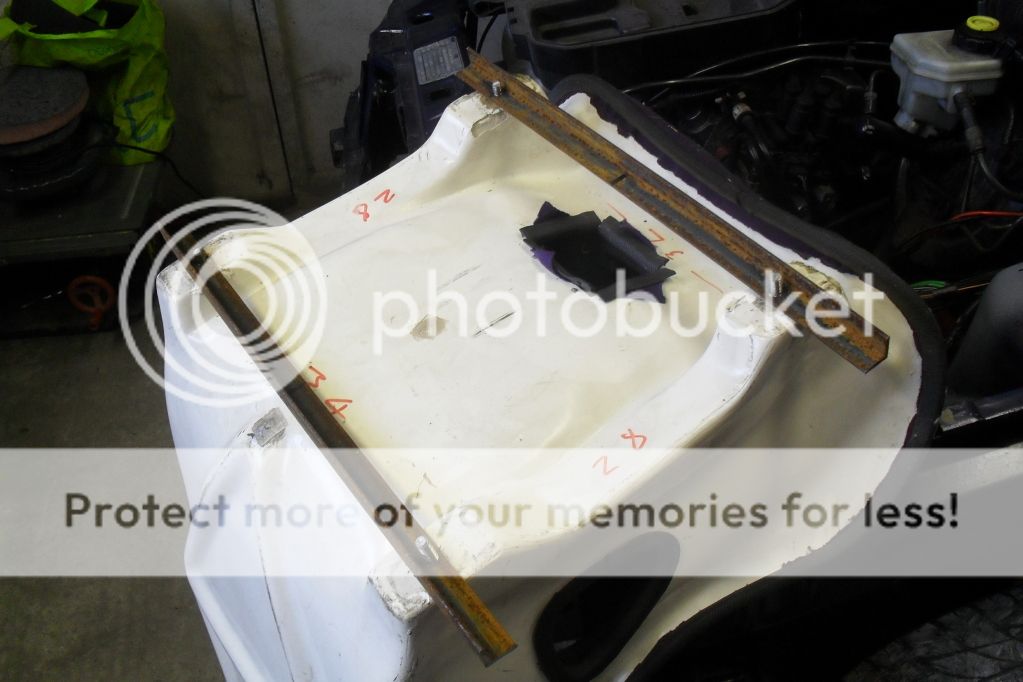
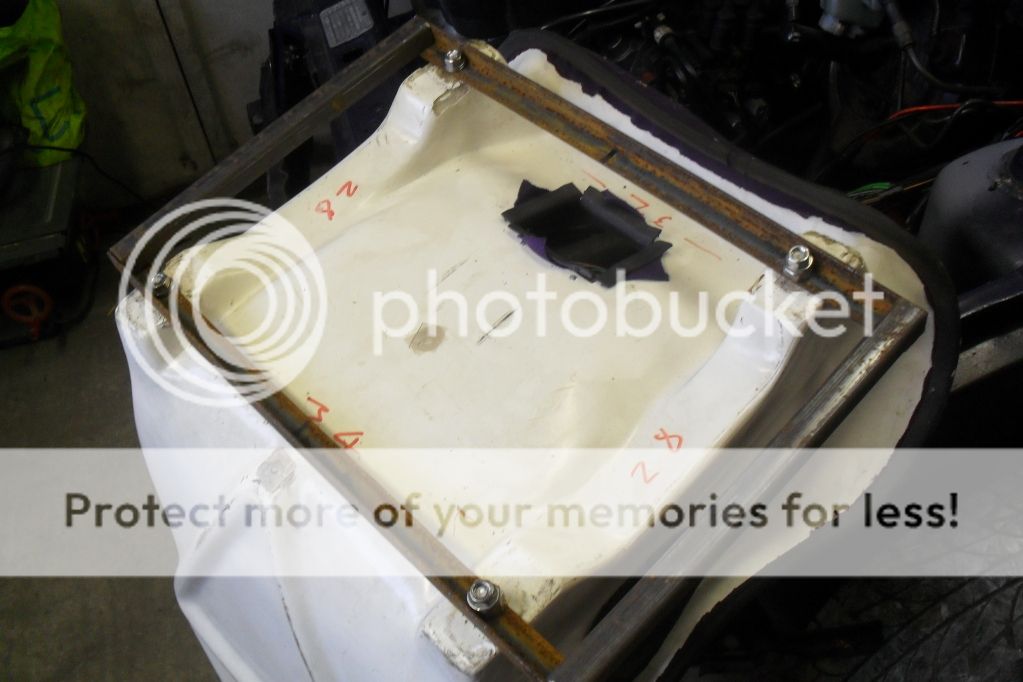
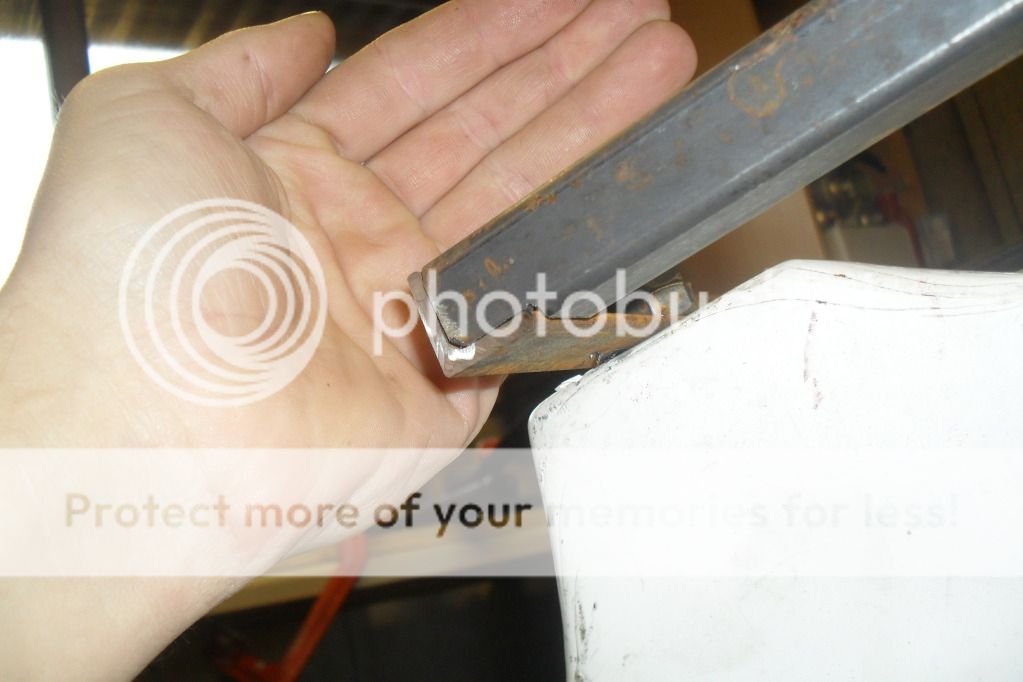
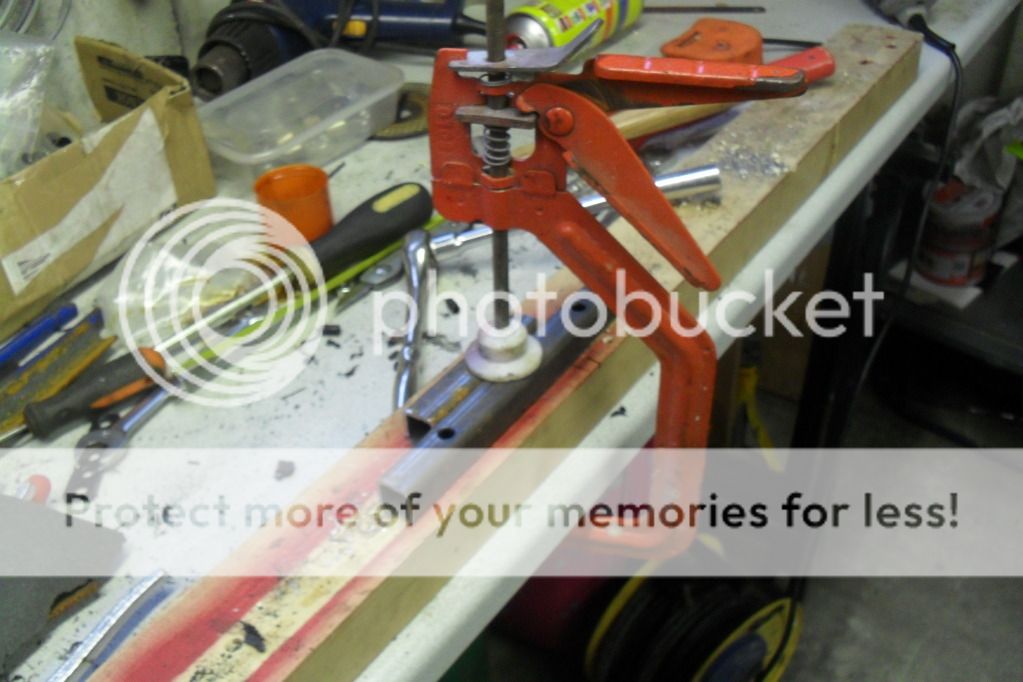
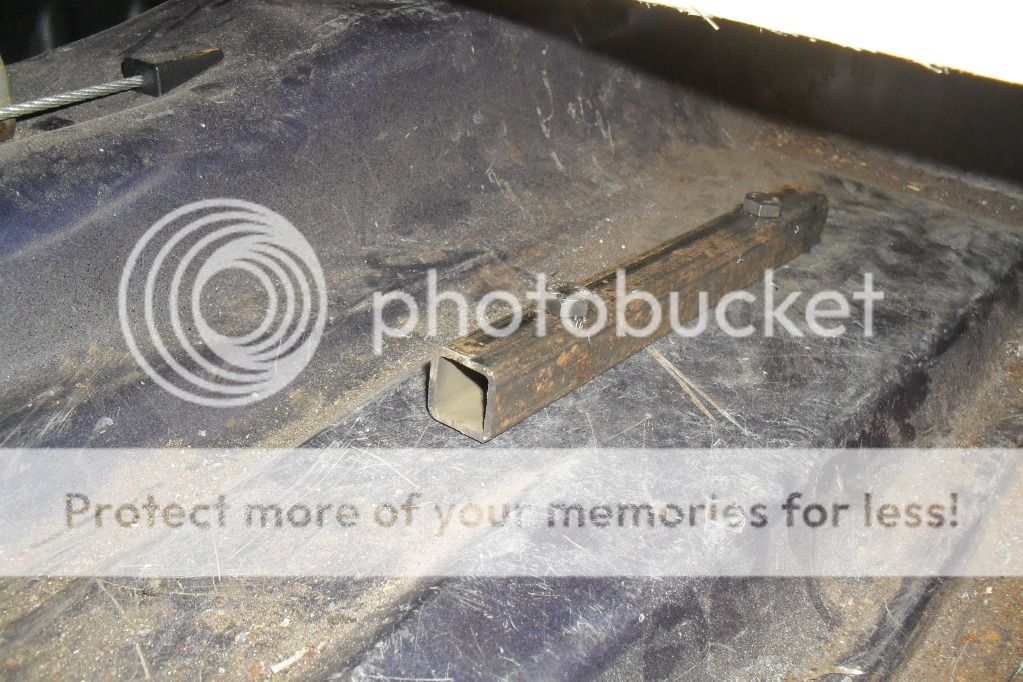
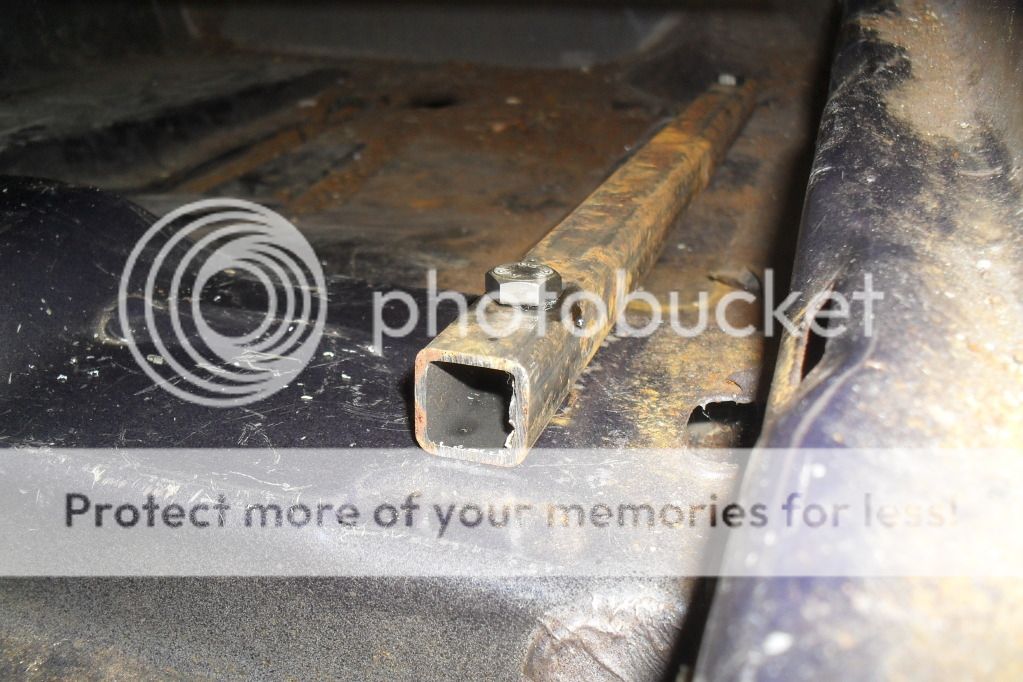
i put a notch into the box section so it sits nicely onto the angle iron when its welded up
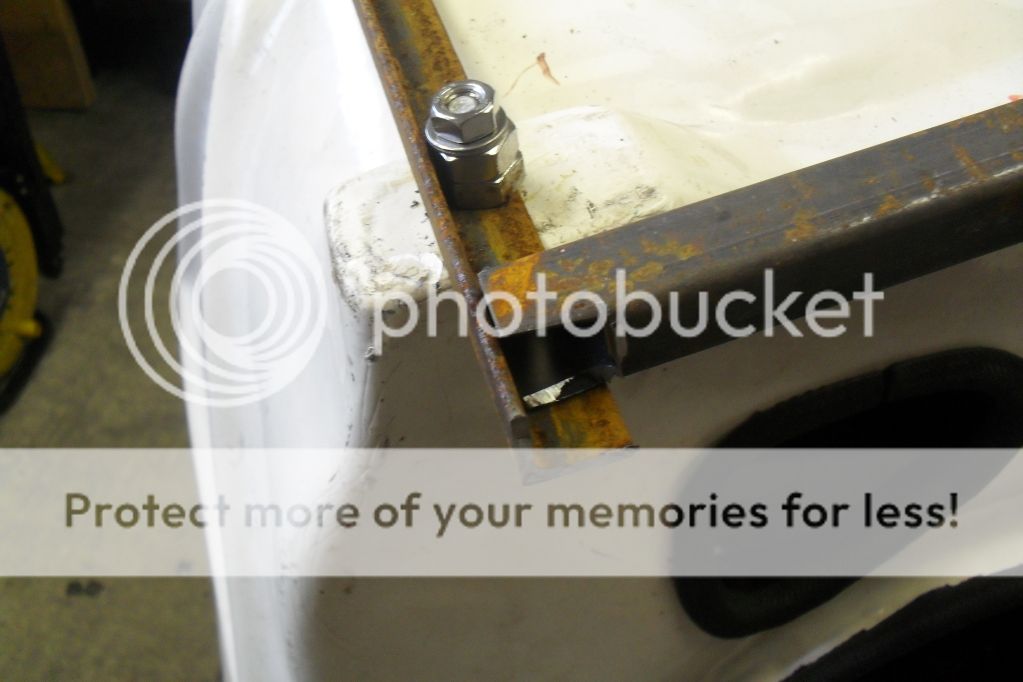
a bit of a clean up to make it fit and now its ready for welding
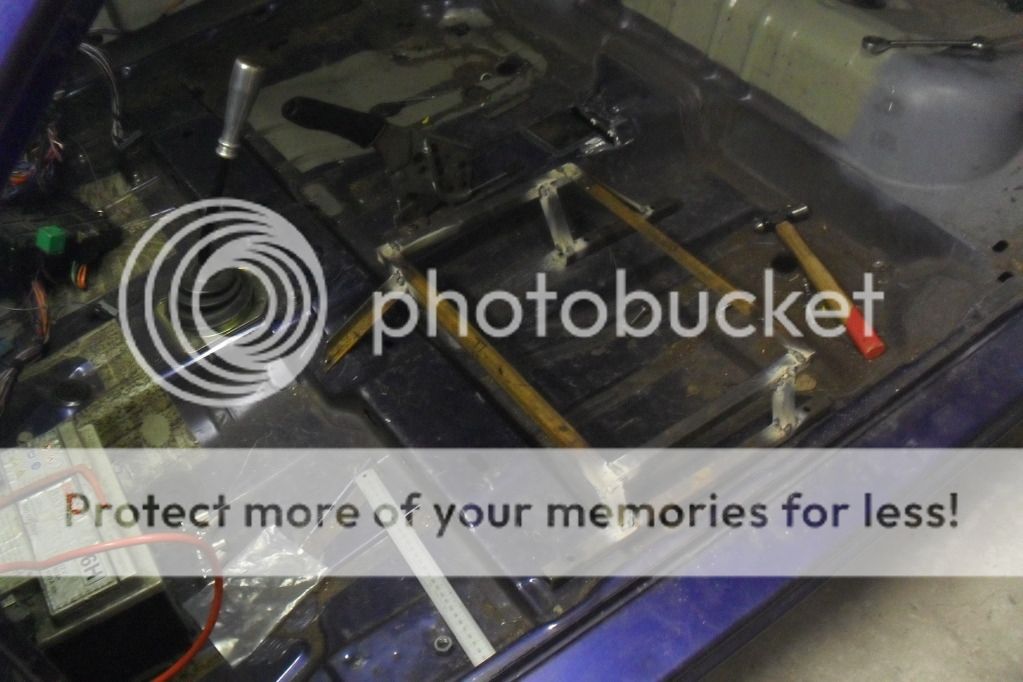
i put 2 pieces of wood across from the drivers side so i know the level of the pasengers seat and also cut two pieces of box section ready to be welded too when i get the wire. picss
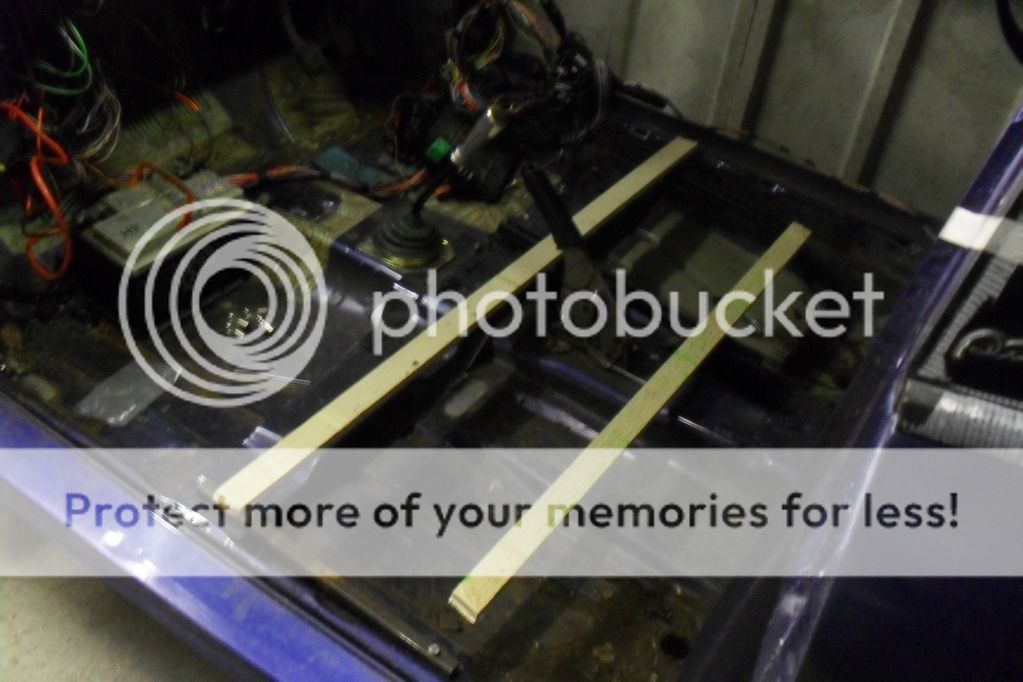
drilling the pieces
fitted
not a lot i know but progress is progress
picsss
also got a jump at making the seat base (will be finished when the wire arrives) picsss
i put a notch into the box section so it sits nicely onto the angle iron when its welded up
a bit of a clean up to make it fit and now its ready for welding
i put 2 pieces of wood across from the drivers side so i know the level of the pasengers seat and also cut two pieces of box section ready to be welded too when i get the wire. picss
drilling the pieces
fitted
not a lot i know but progress is progress
 06-10-2012, 09:45 PM
#18
Wahay!! I've lost my Virginity!!
Thread Starter
Join Date: Oct 2012
Location: manchester
Posts: 52
Likes: 0
Received 0 Likes
on
0 Posts
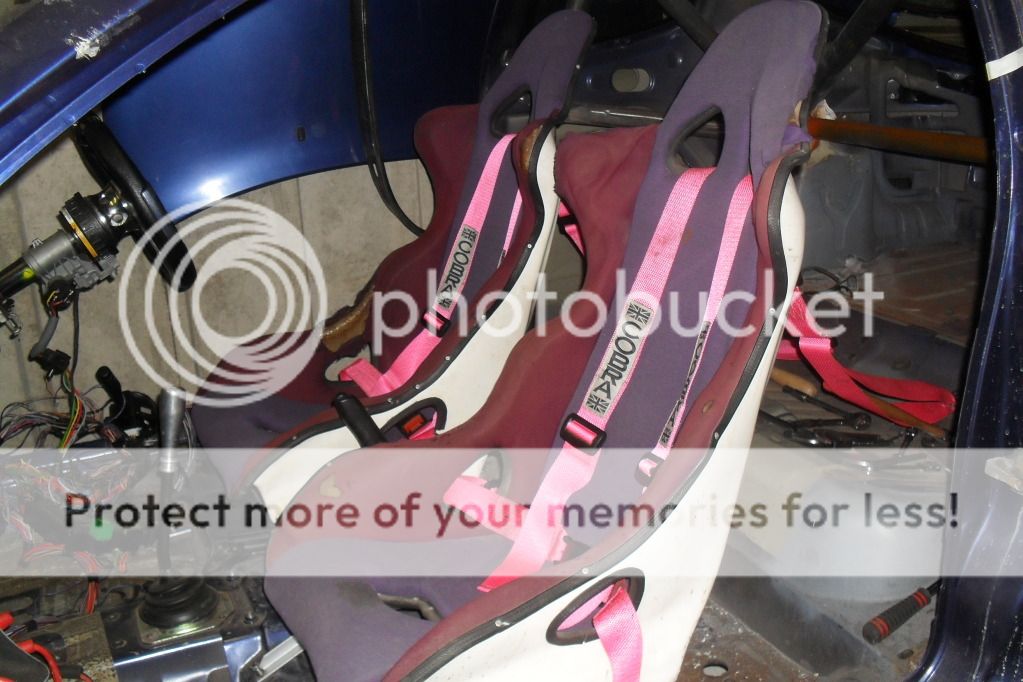
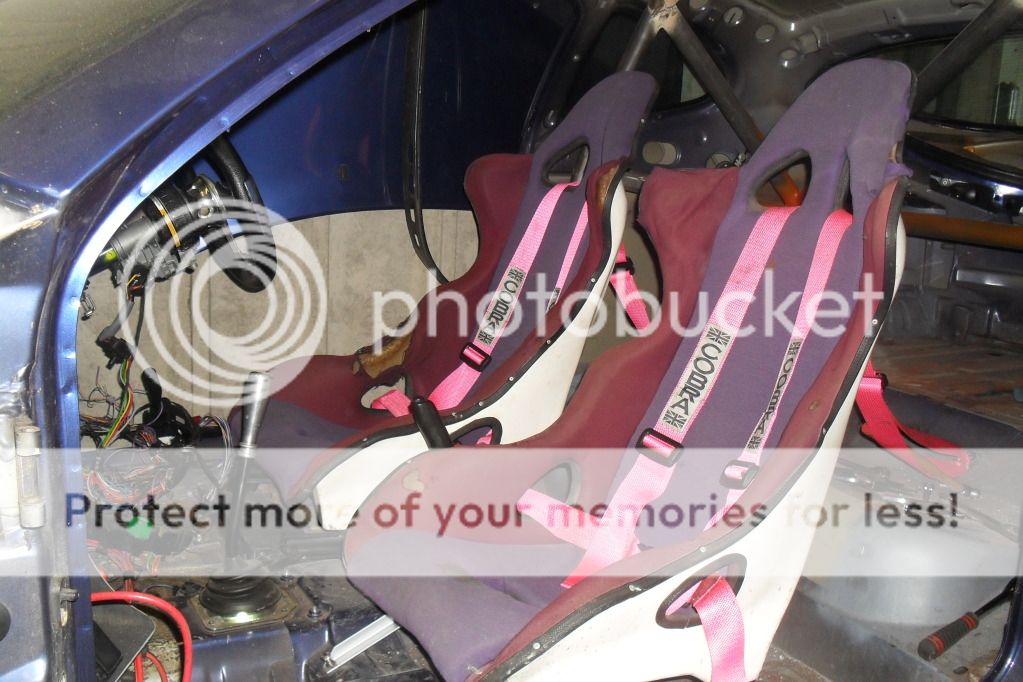
more progress made today, ive got the passenger seat fully welded up with a coat of silver paint. here are pics of it finished with the seats in and the bolted up
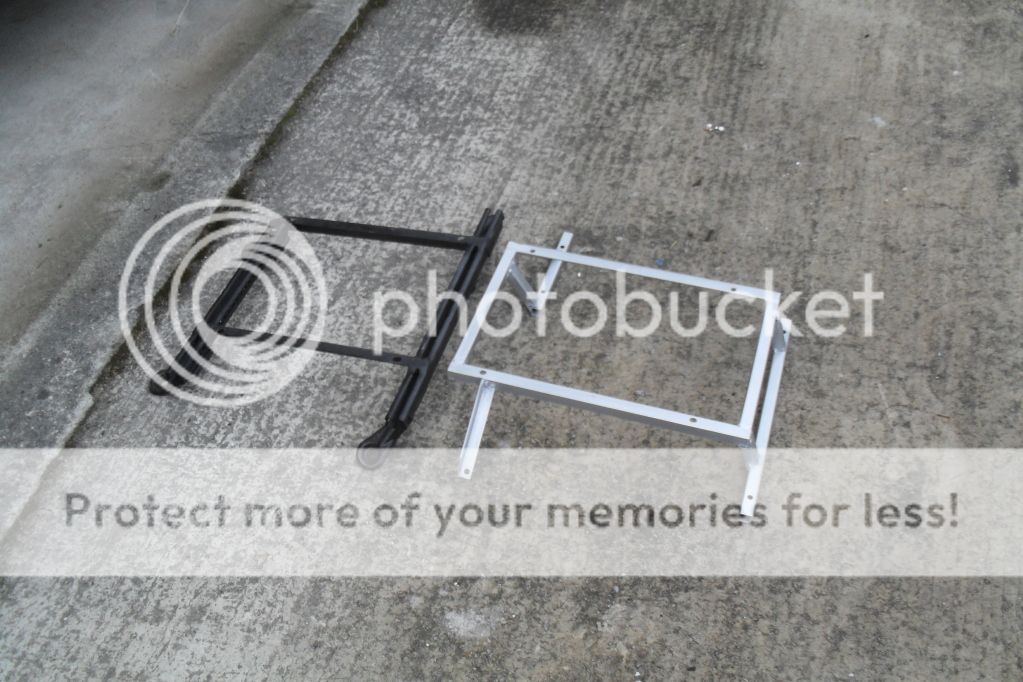
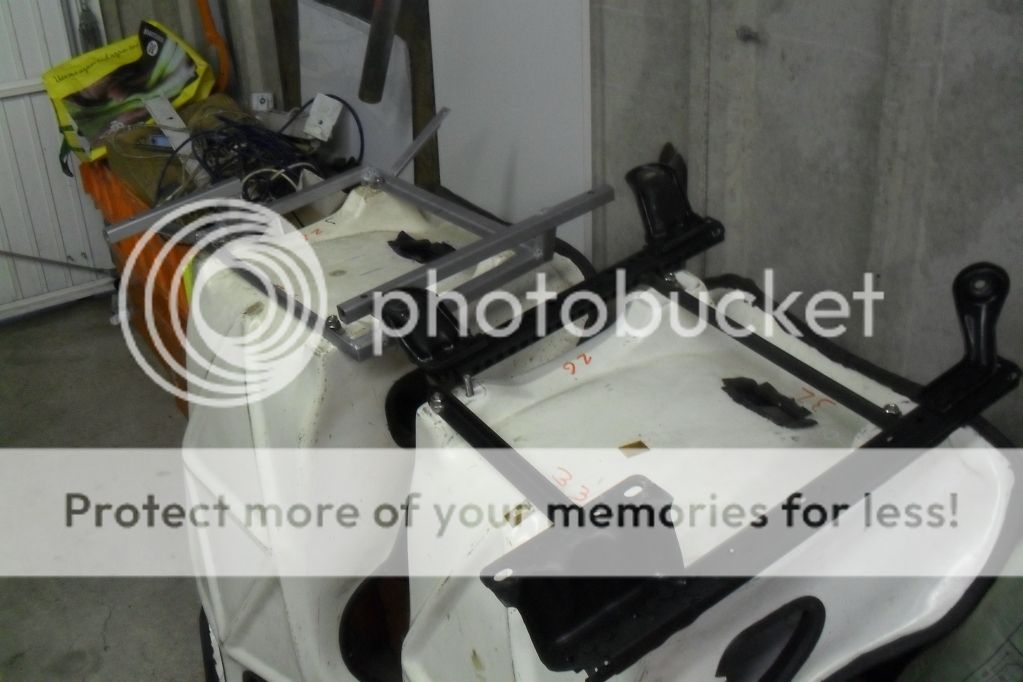
seats bolted in and belts on
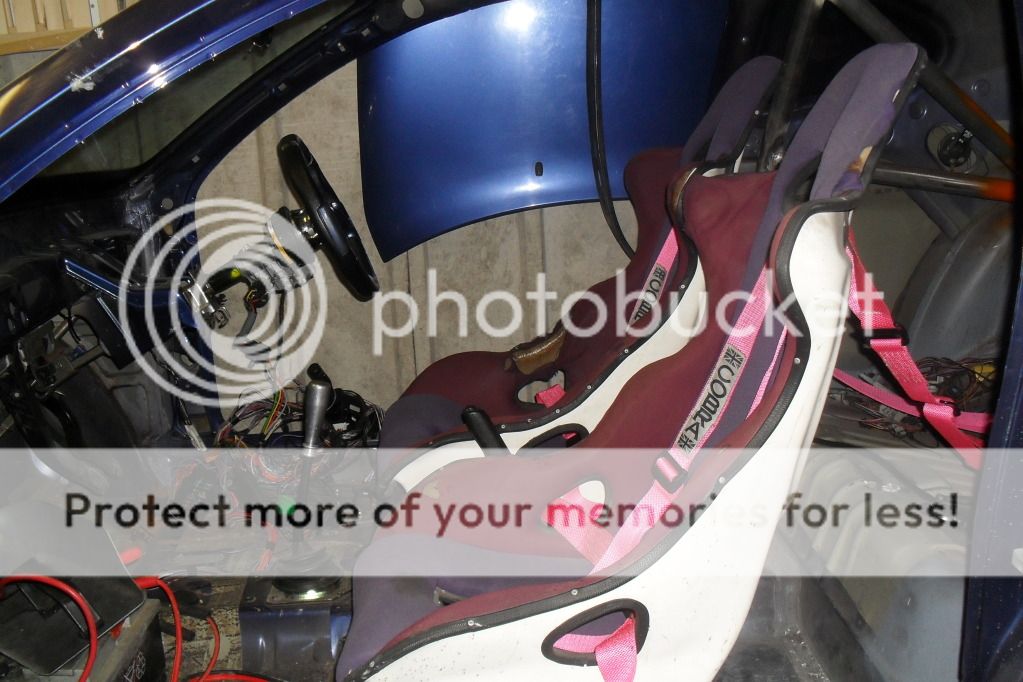
all out again
another job sorted now
seats bolted in and belts on
all out again
another job sorted now
06-10-2012, 09:46 PM
#19
Wahay!! I've lost my Virginity!!
Thread Starter
Join Date: Oct 2012
Location: manchester
Posts: 52
Likes: 0
Received 0 Likes
on
0 Posts
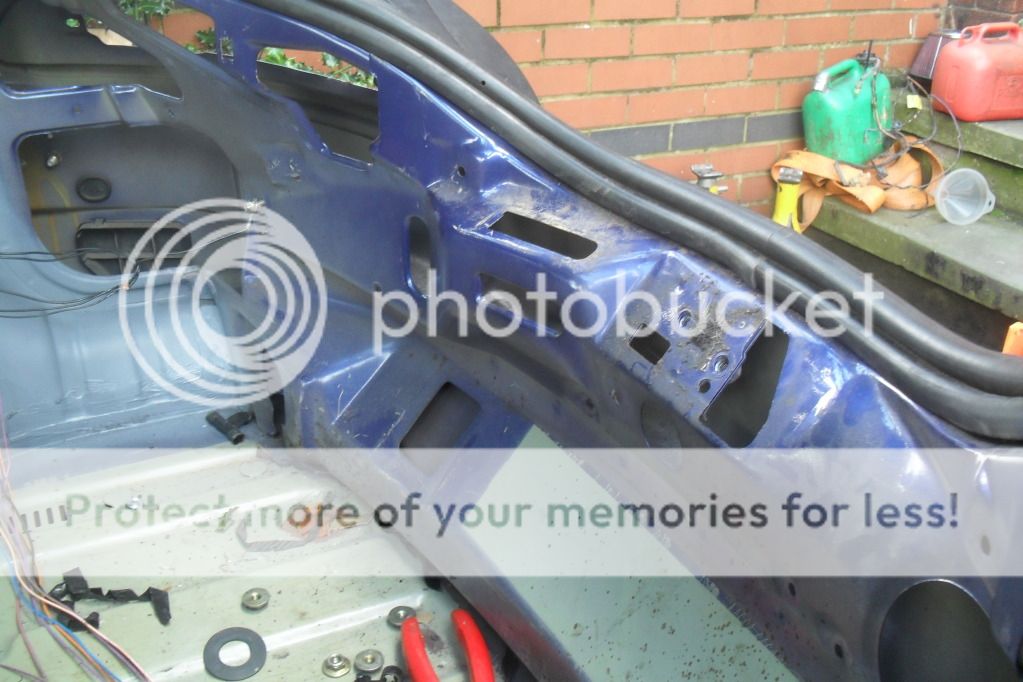
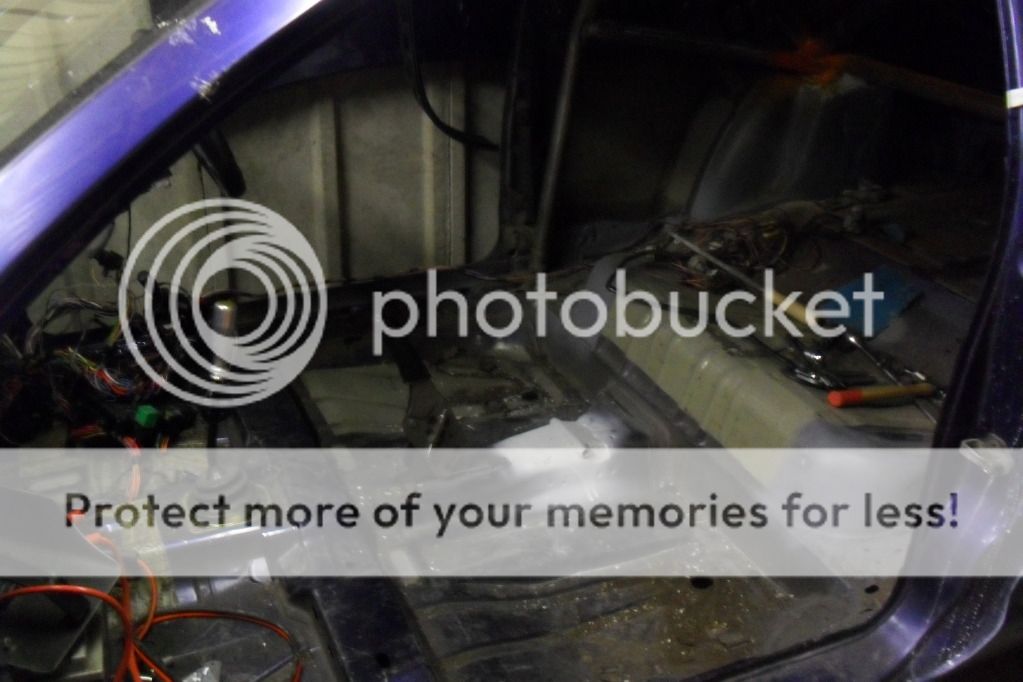
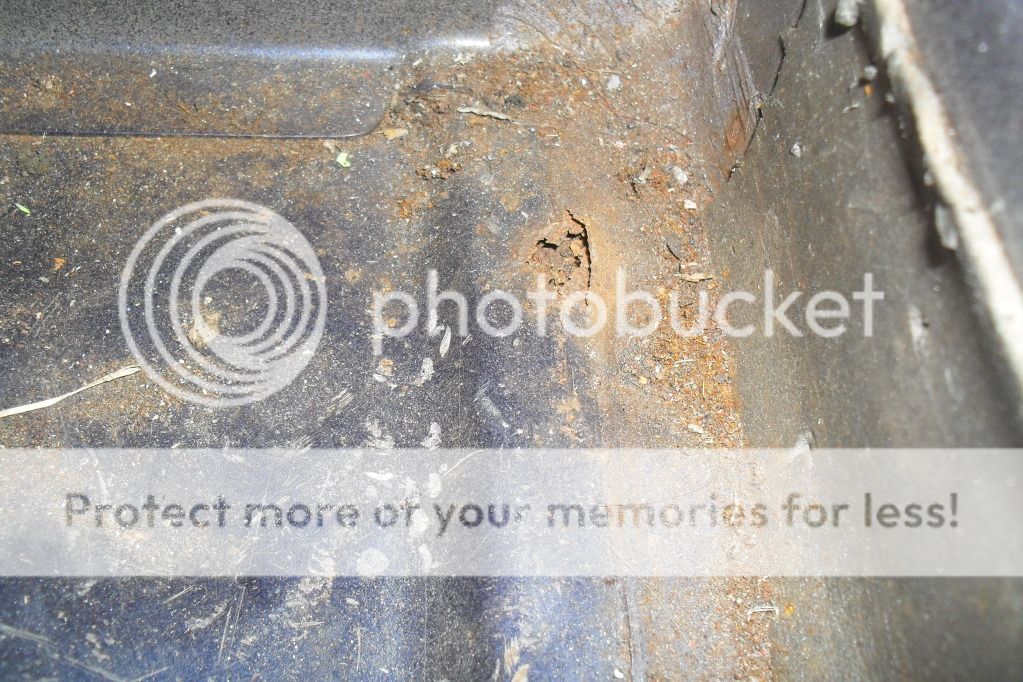
ive started to tack in the rest of the cage but firstly i found a little rust hole that i need to sort
pics

more to be done later
pics
more to be done later
06-10-2012, 09:46 PM
#20
Wahay!! I've lost my Virginity!!
Thread Starter
Join Date: Oct 2012
Location: manchester
Posts: 52
Likes: 0
Received 0 Likes
on
0 Posts
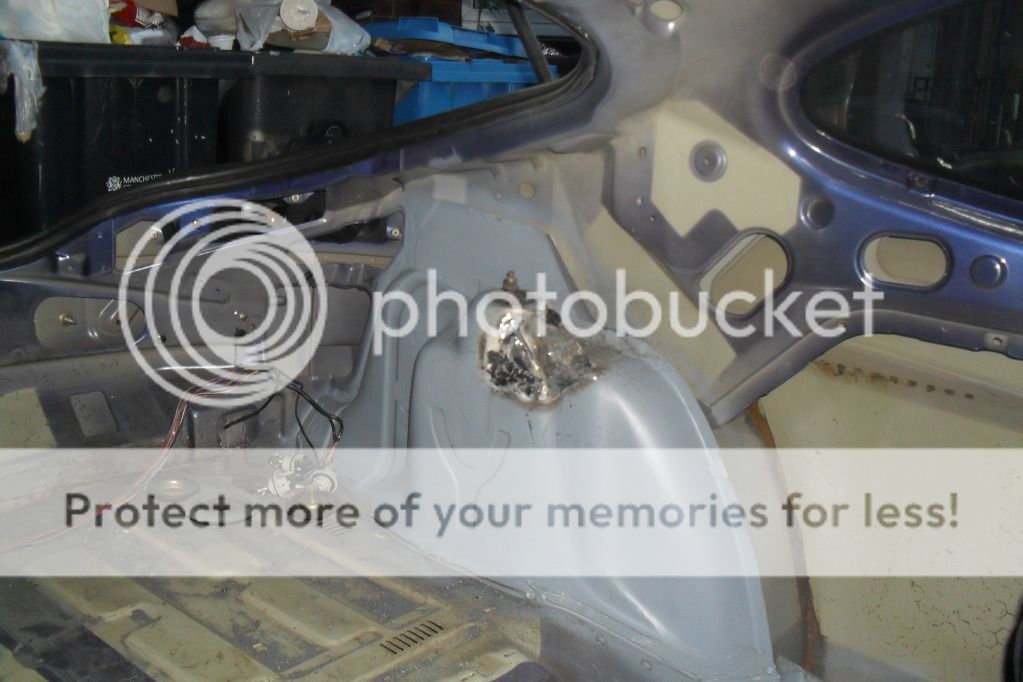
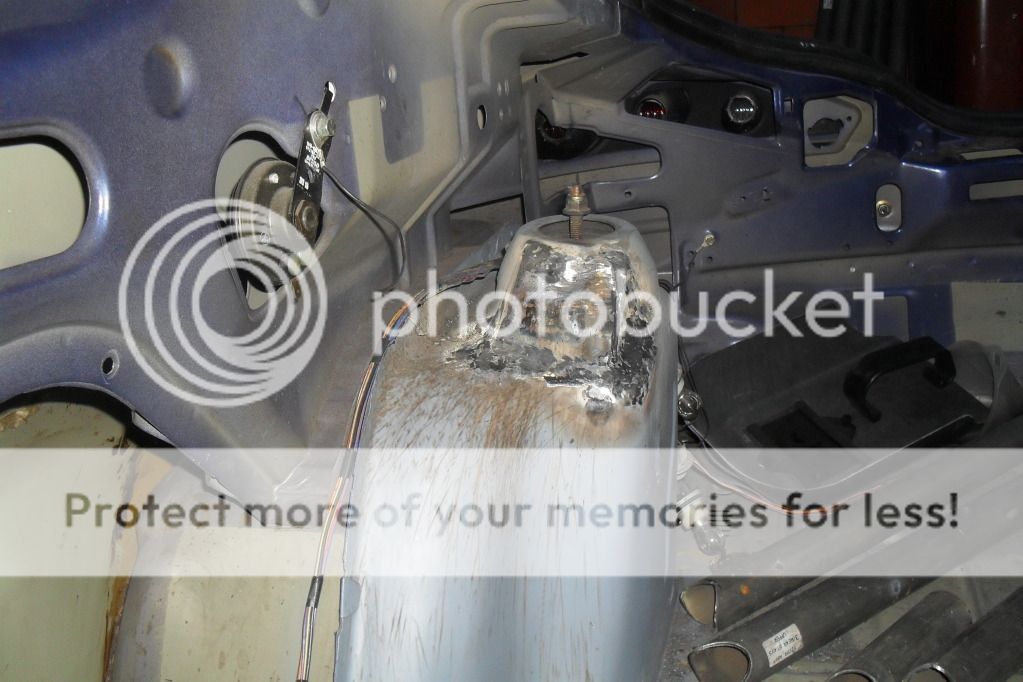
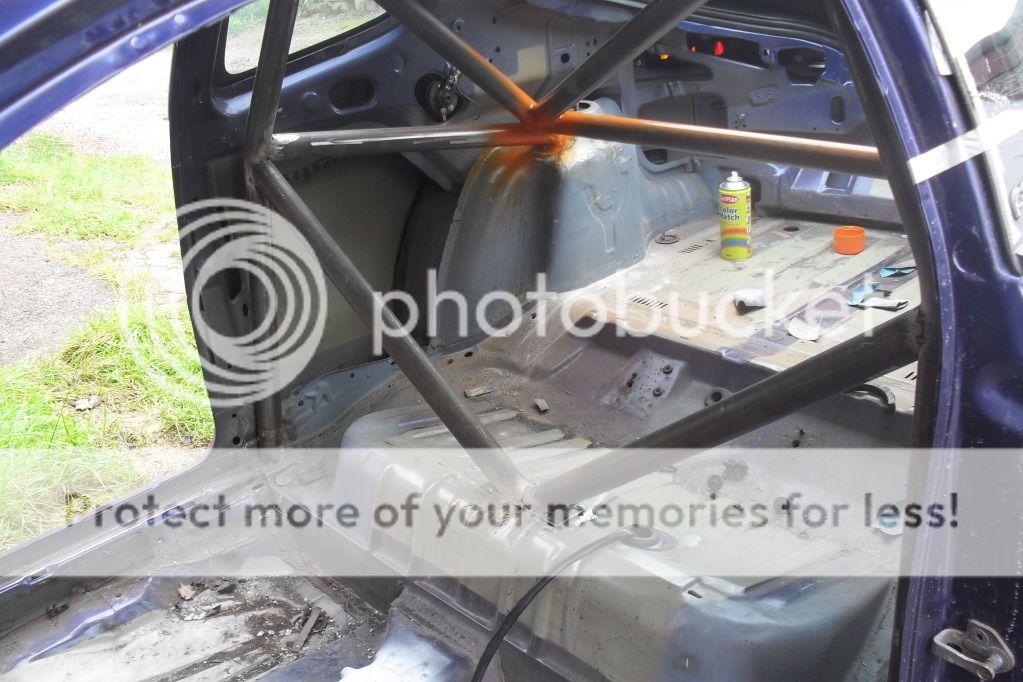
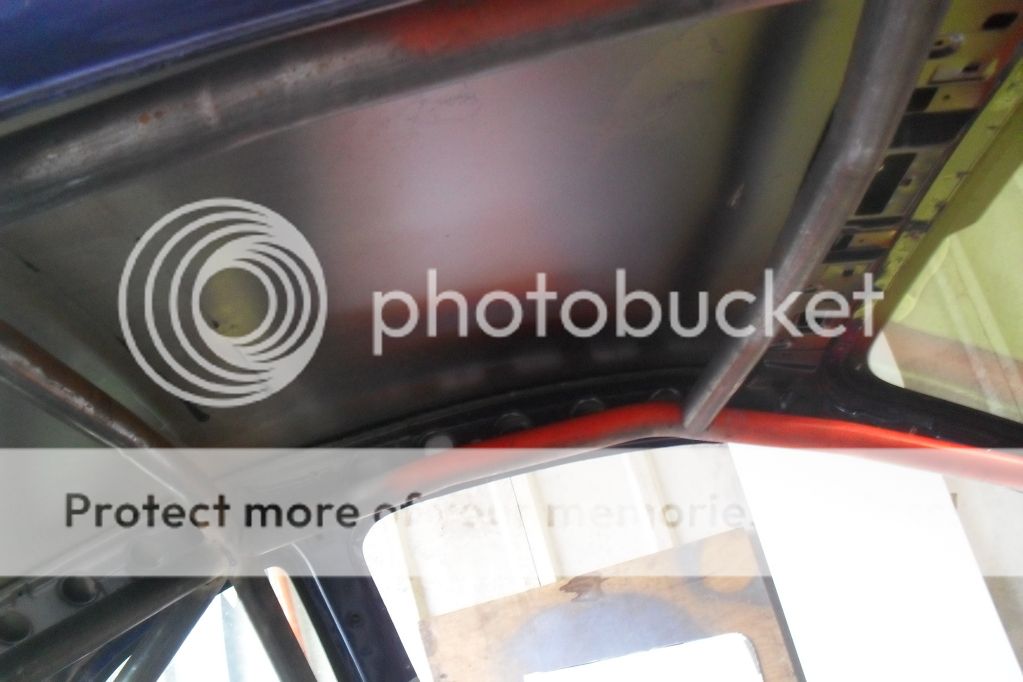
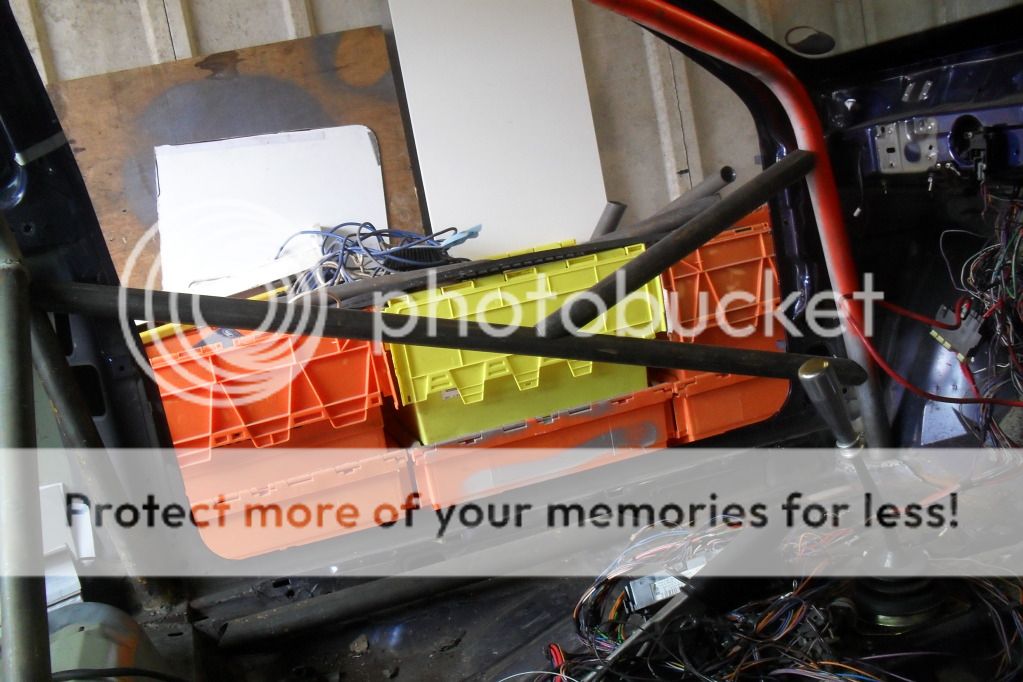
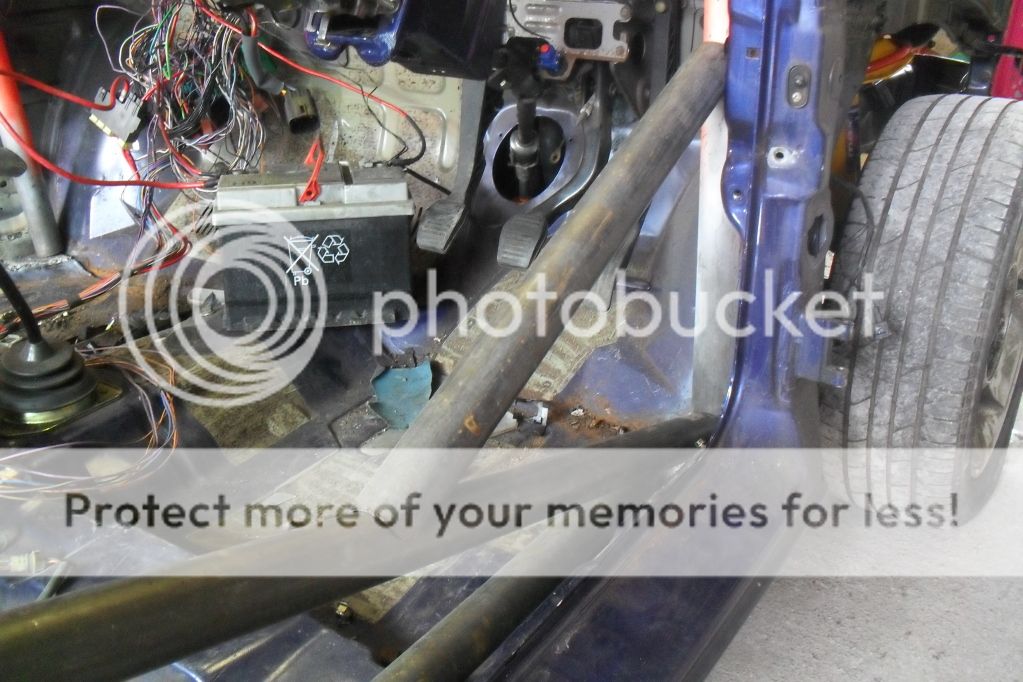
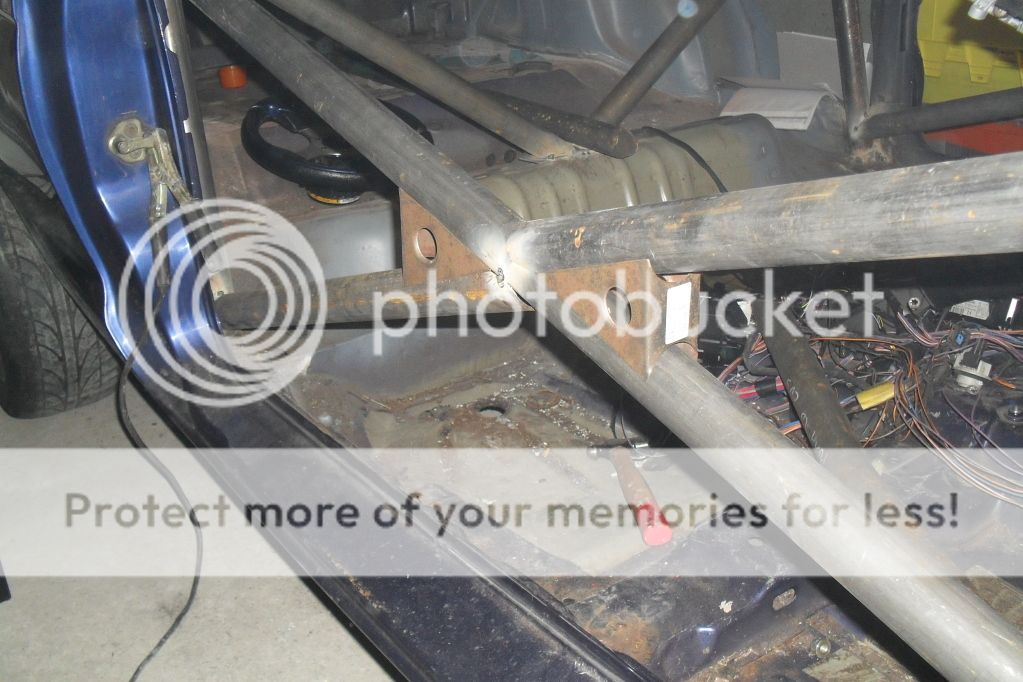
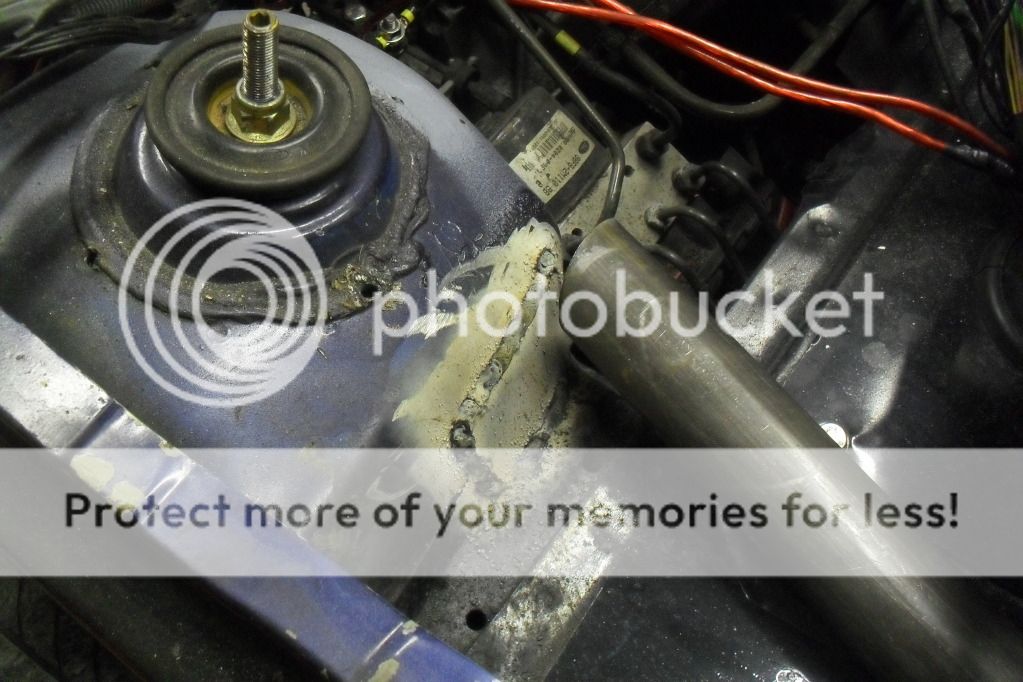
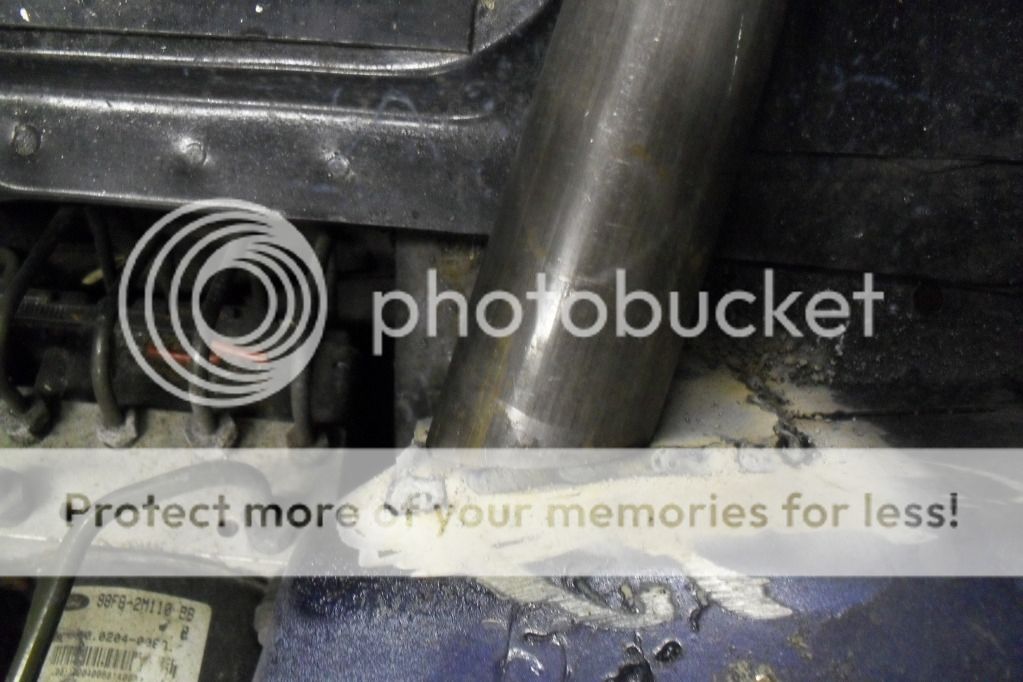
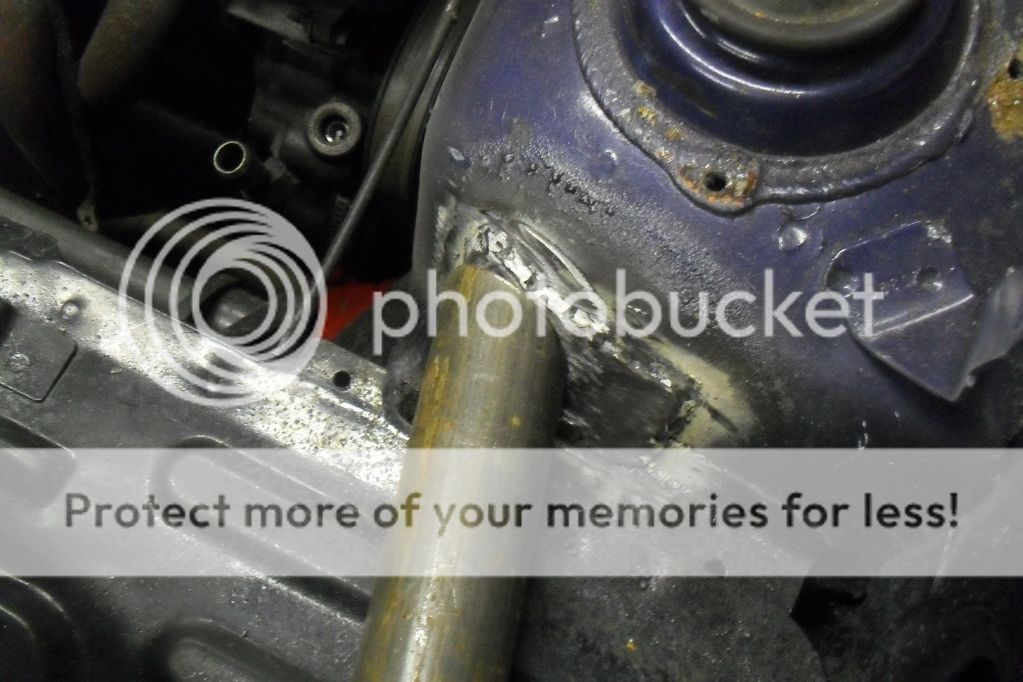
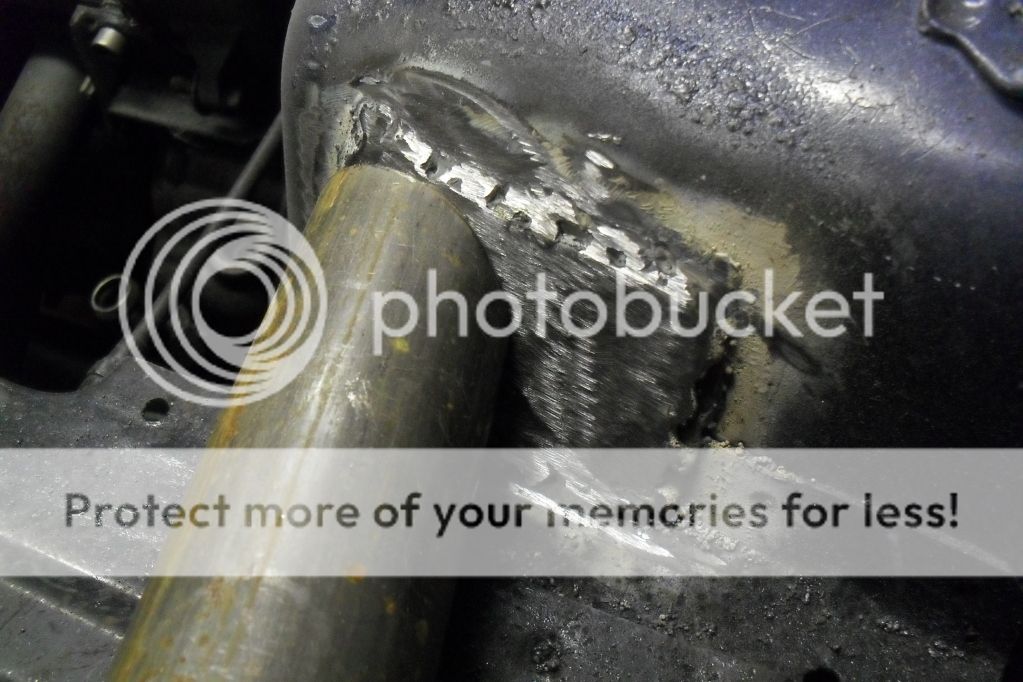
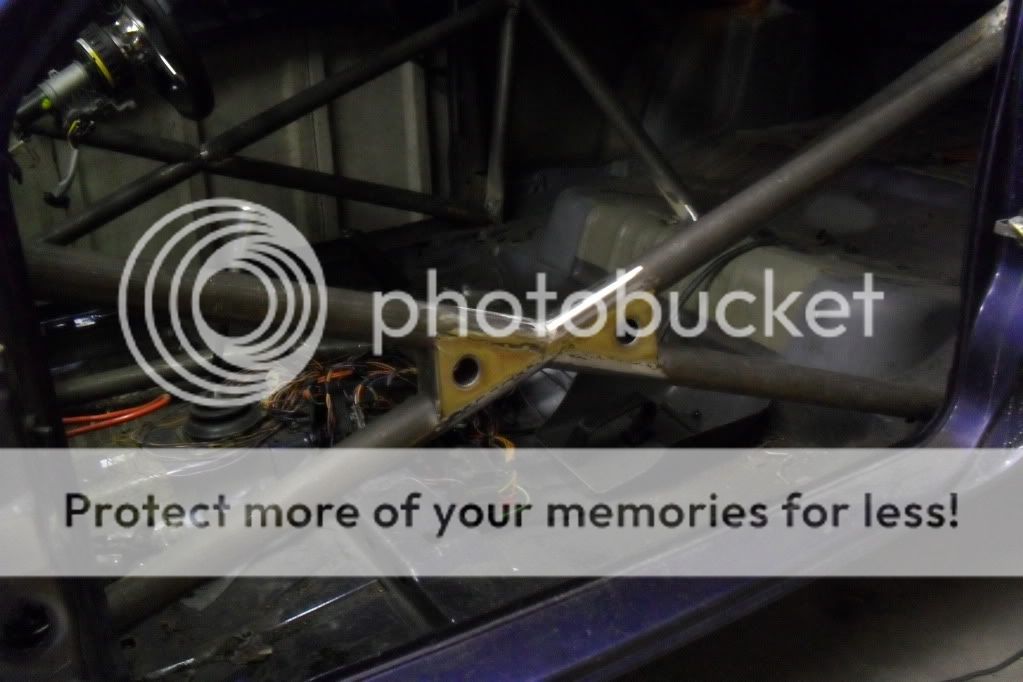
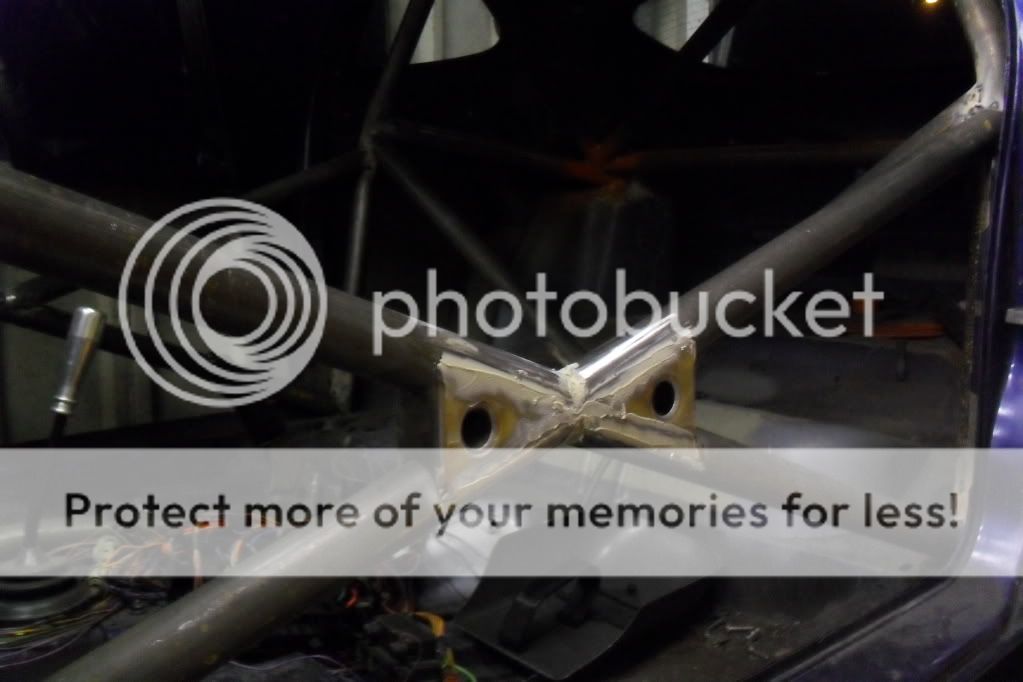
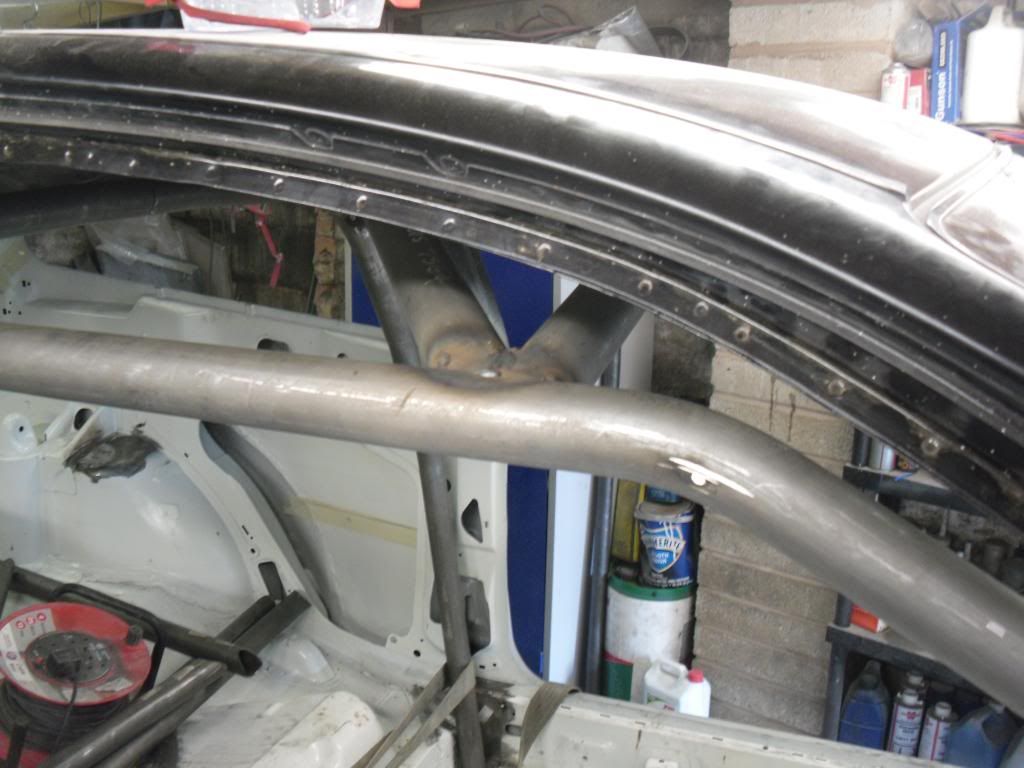
got a little bit more done now not lots but every little helps 8)
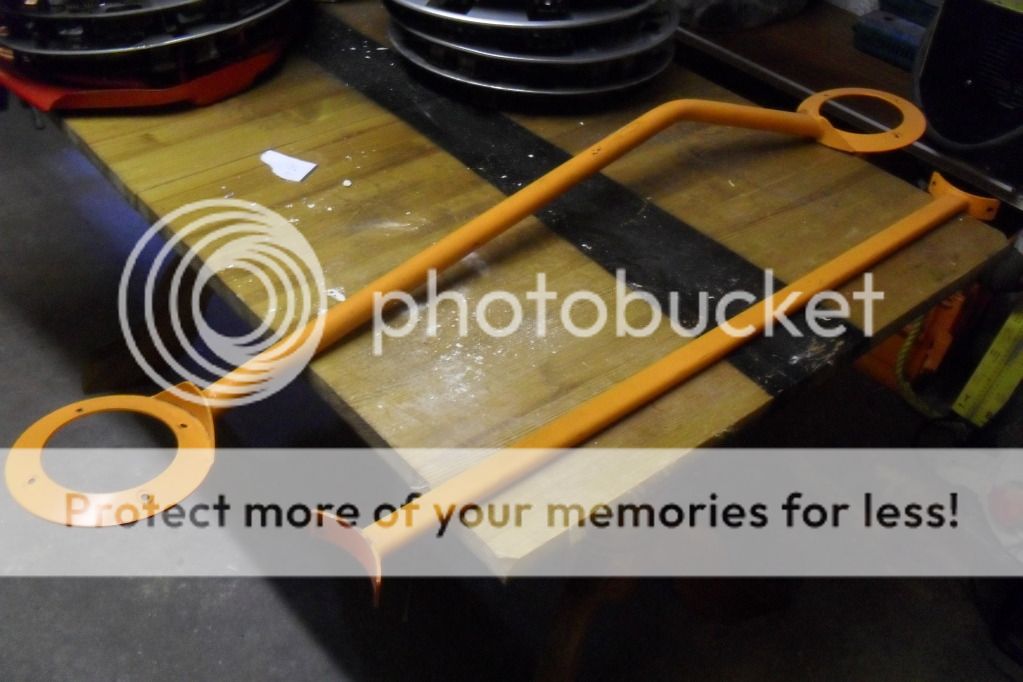
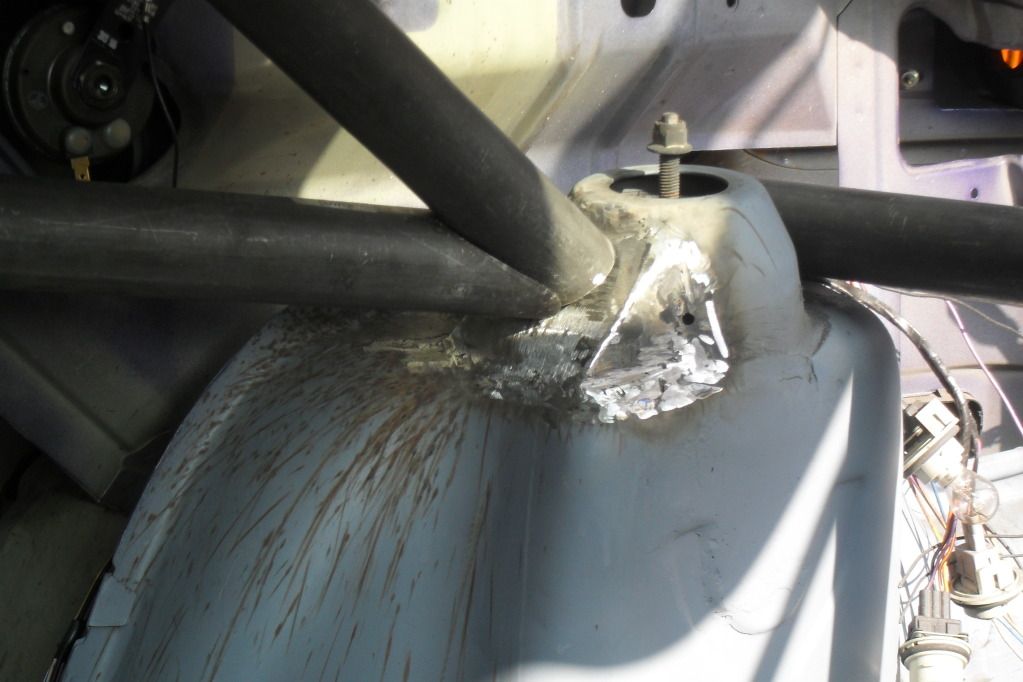
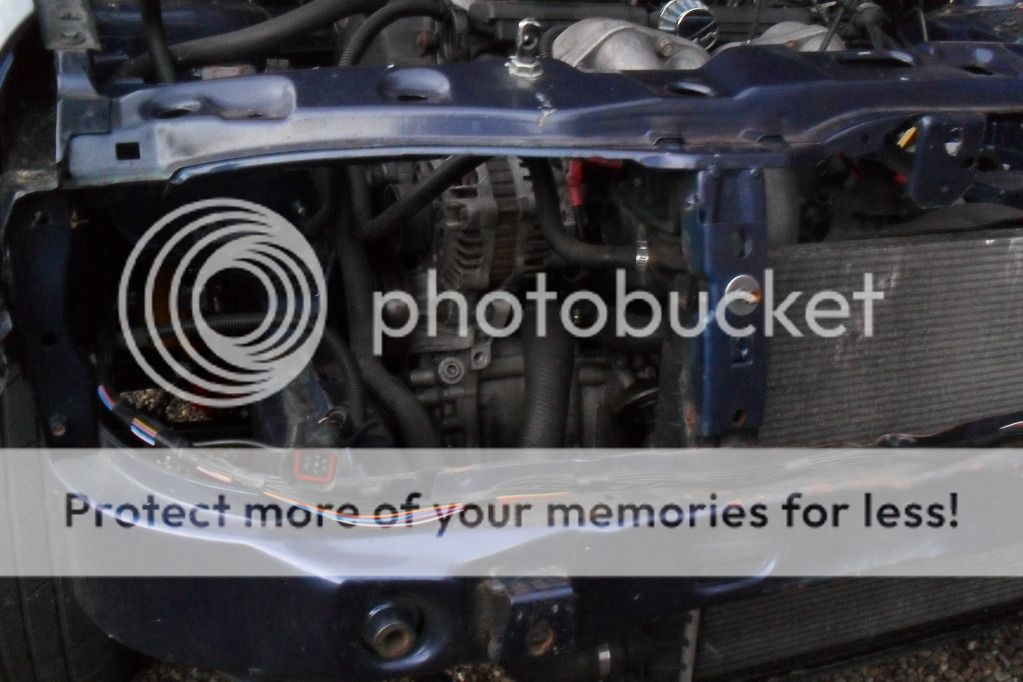
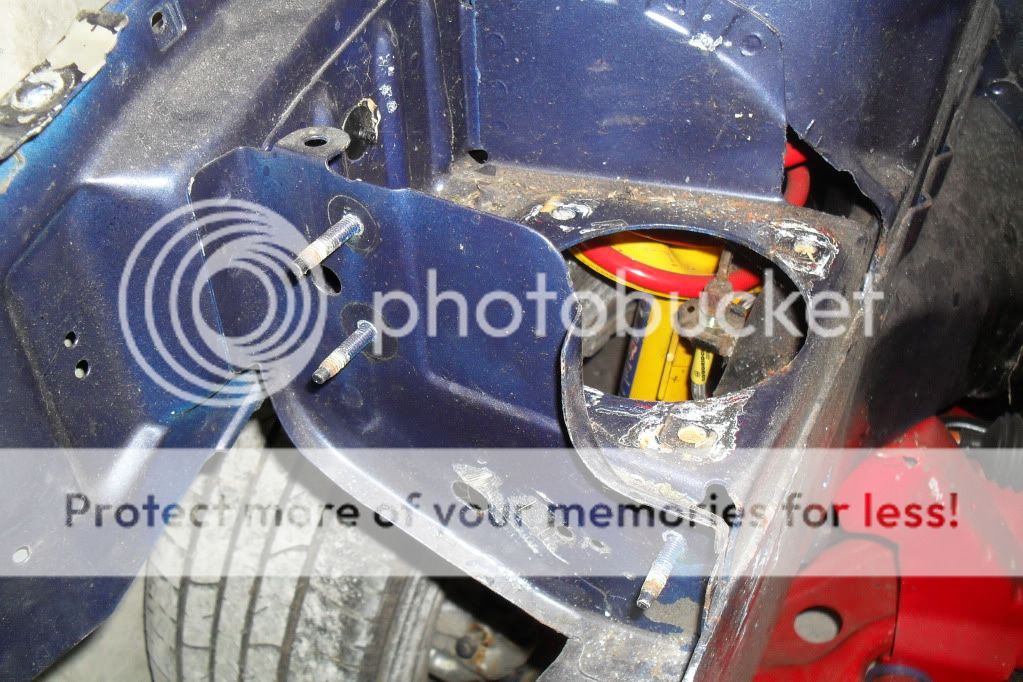
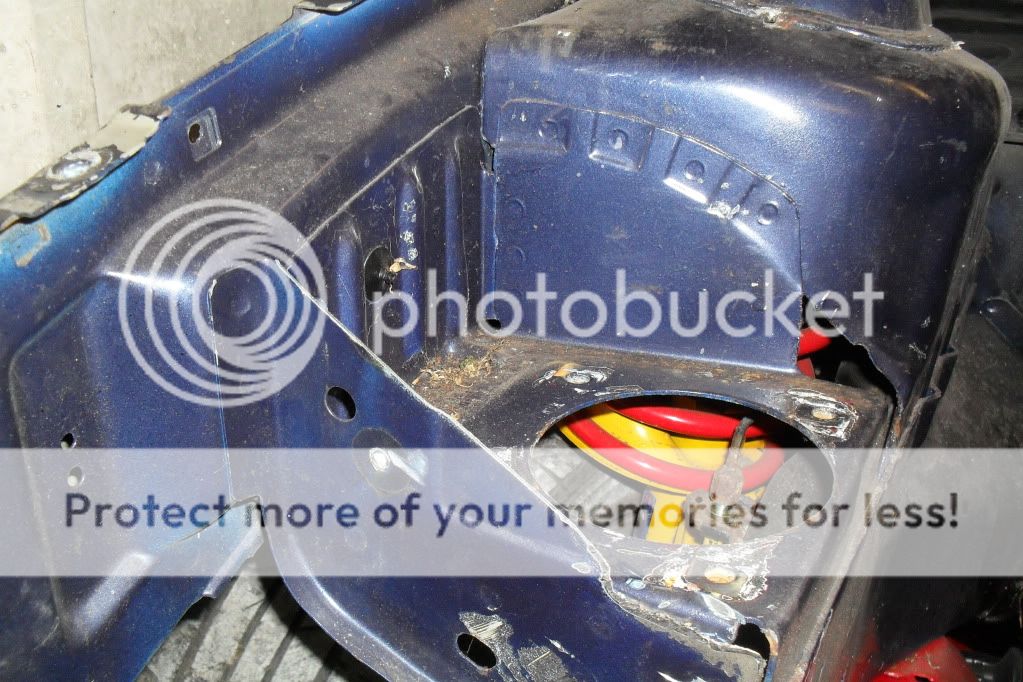
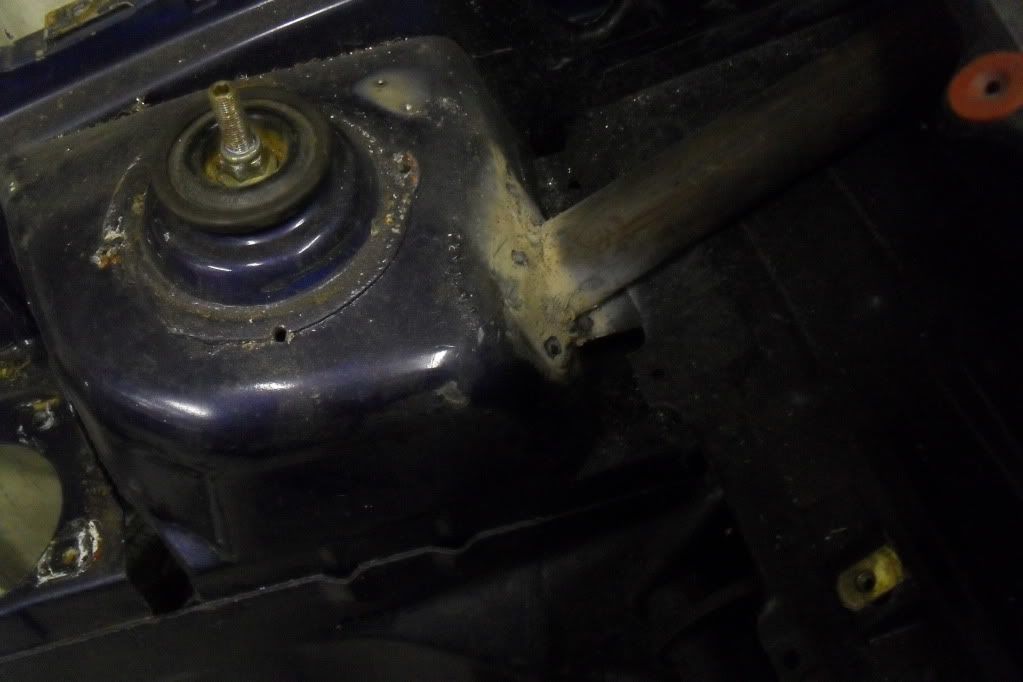
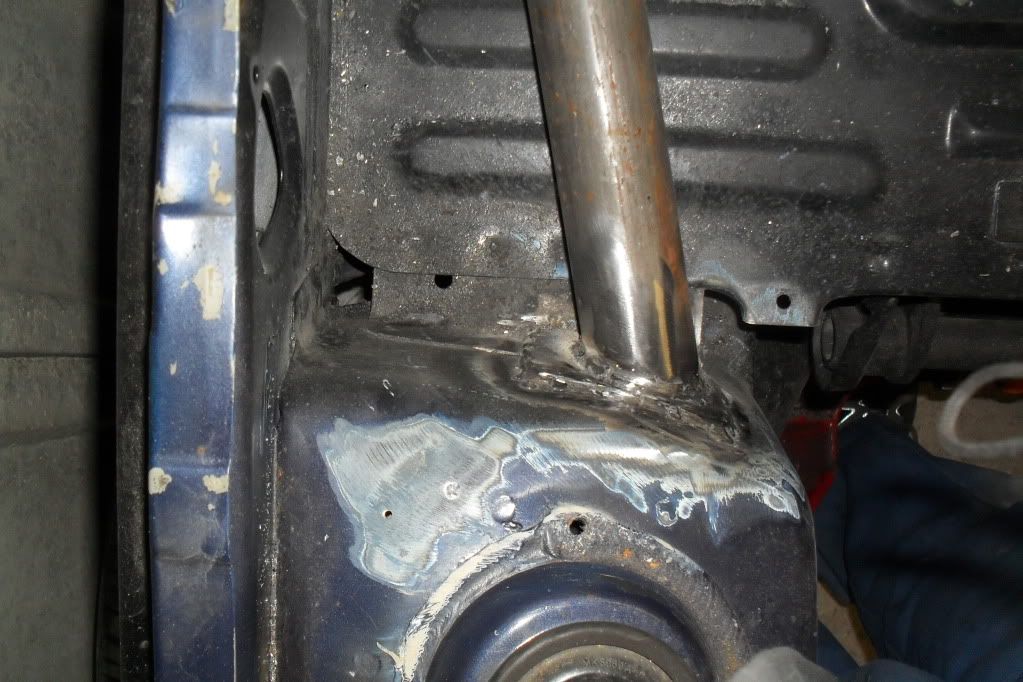
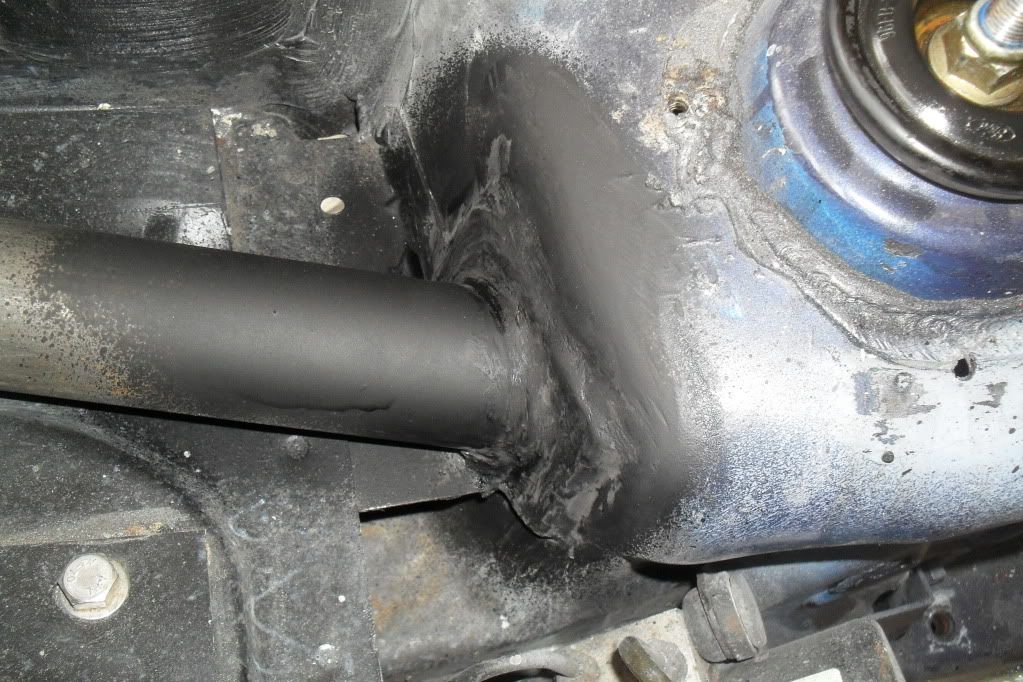
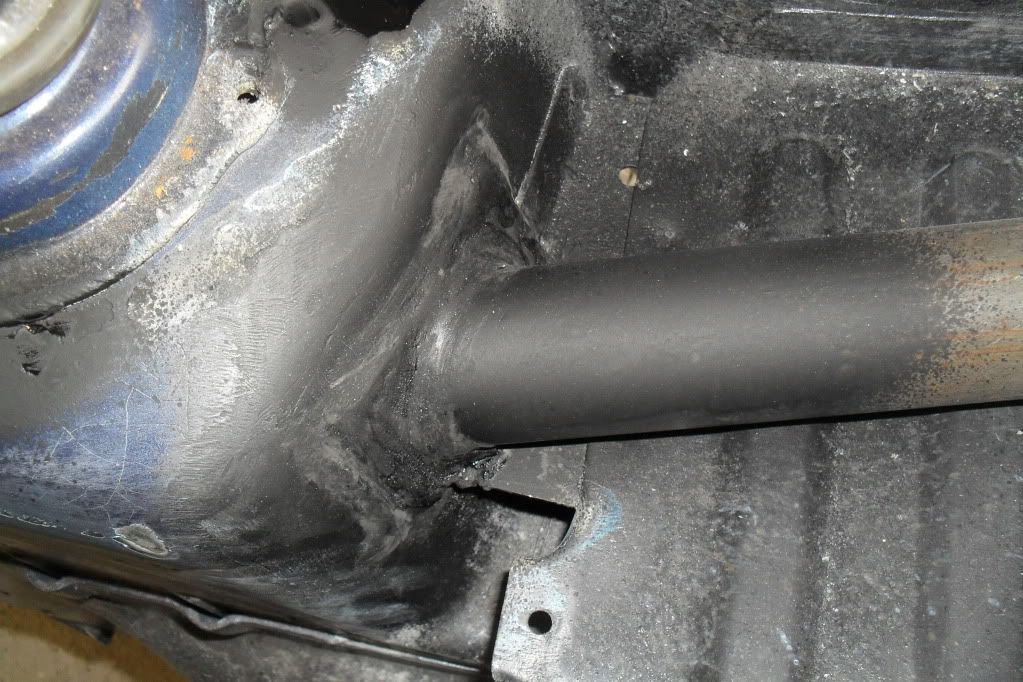
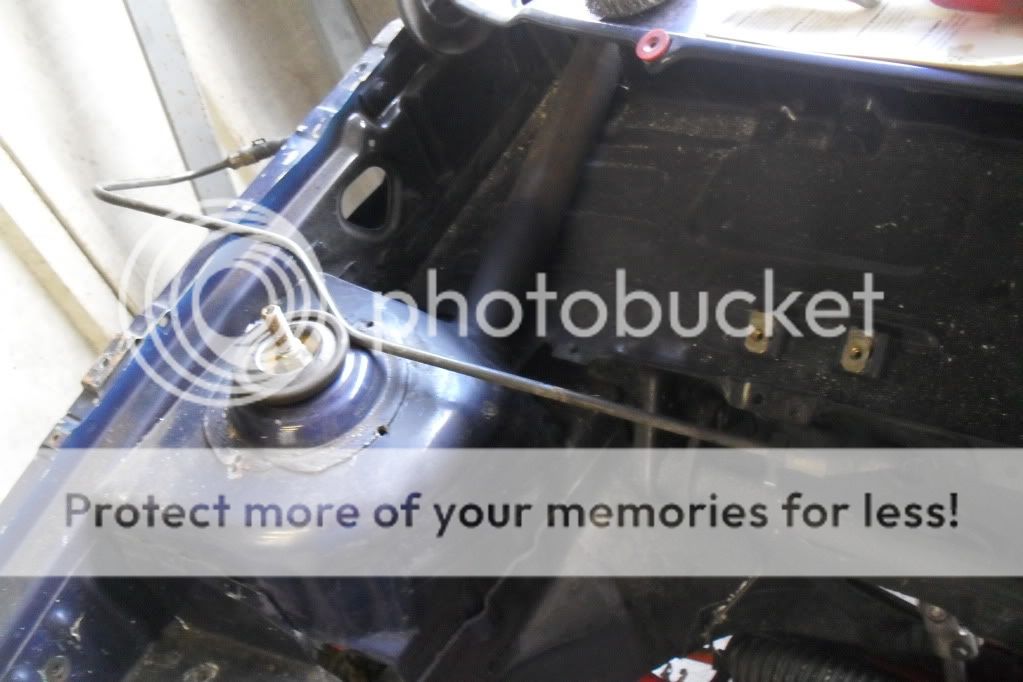
here is the reason why i had to move the fuse box and still need to get ahold of a scorpio diesel header tank.
pics
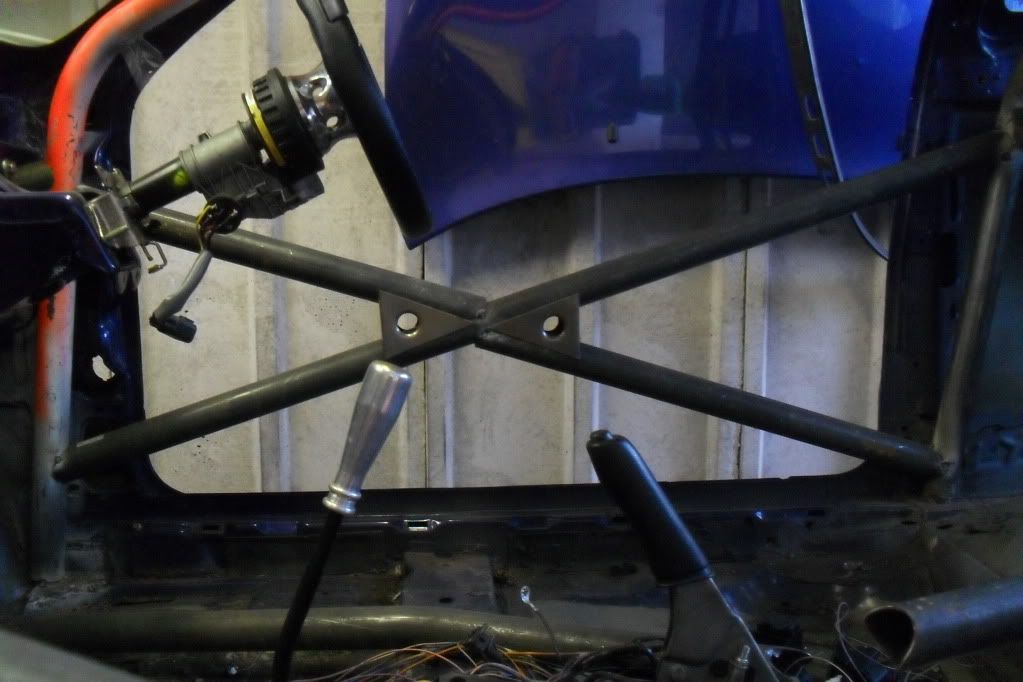
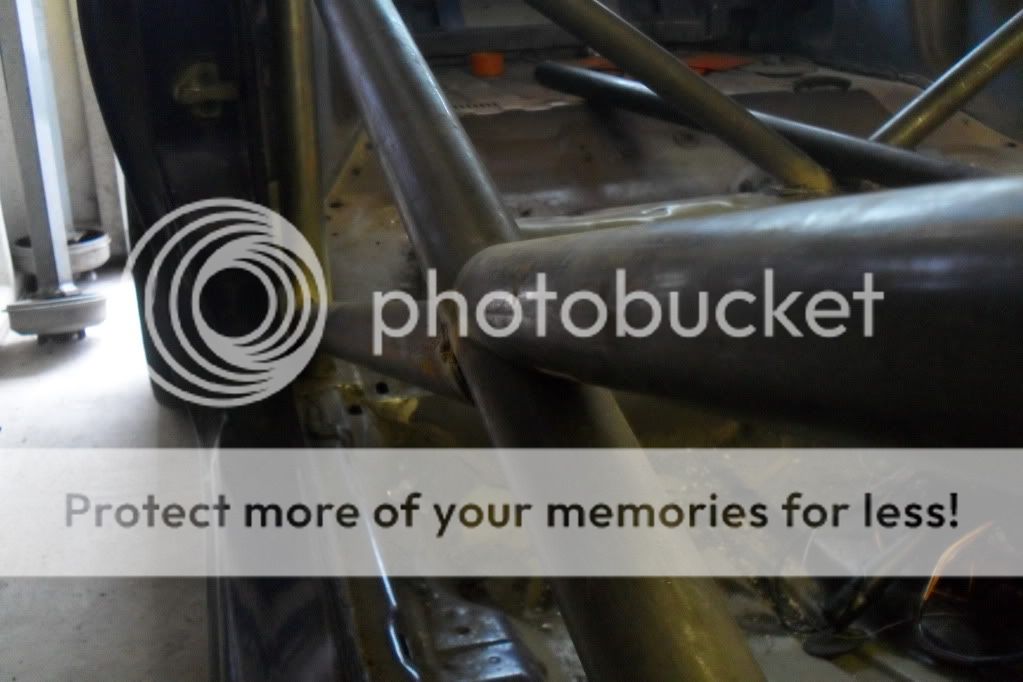
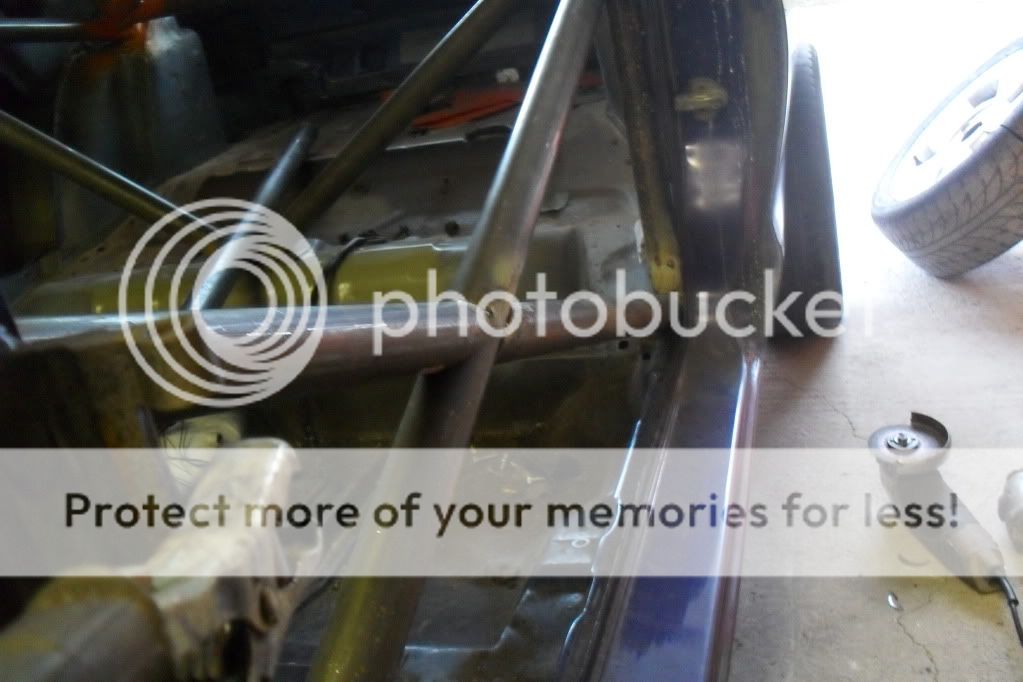
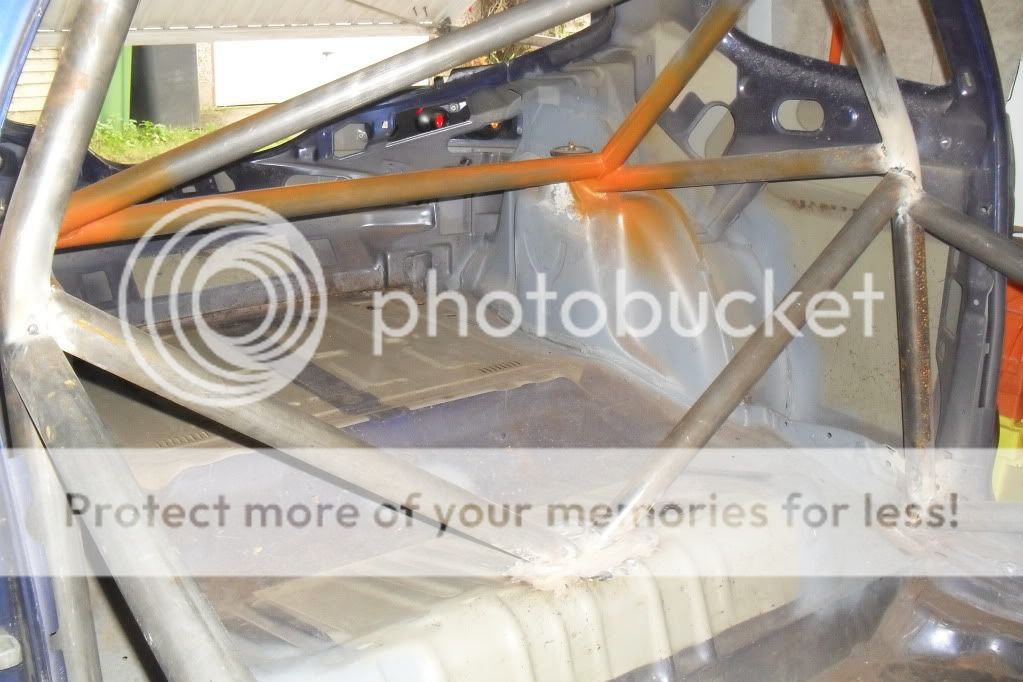
all tacked in
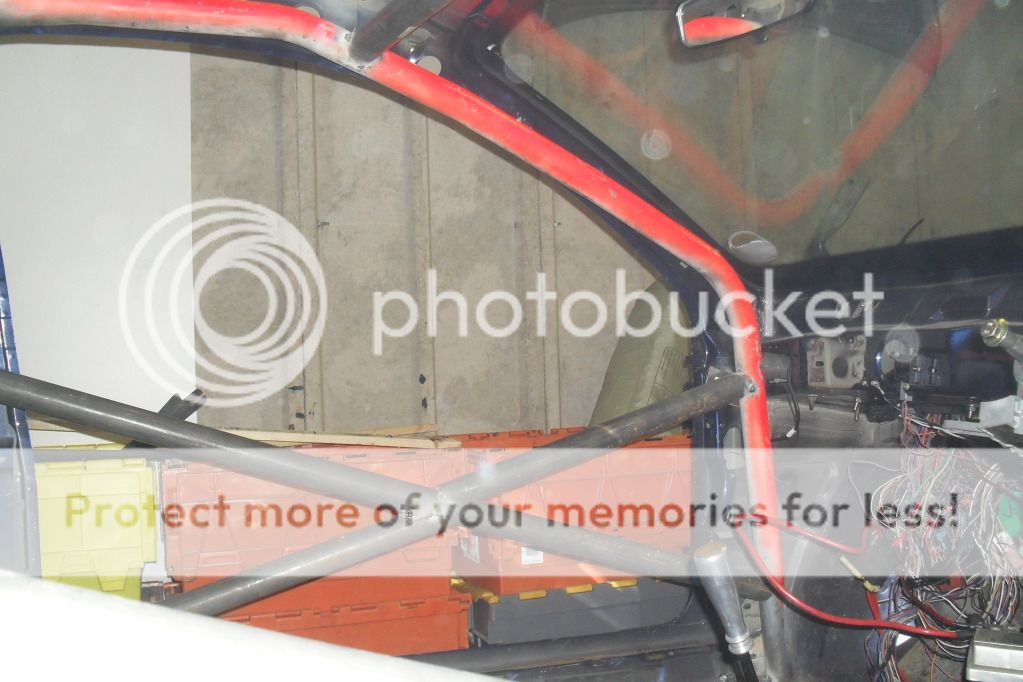
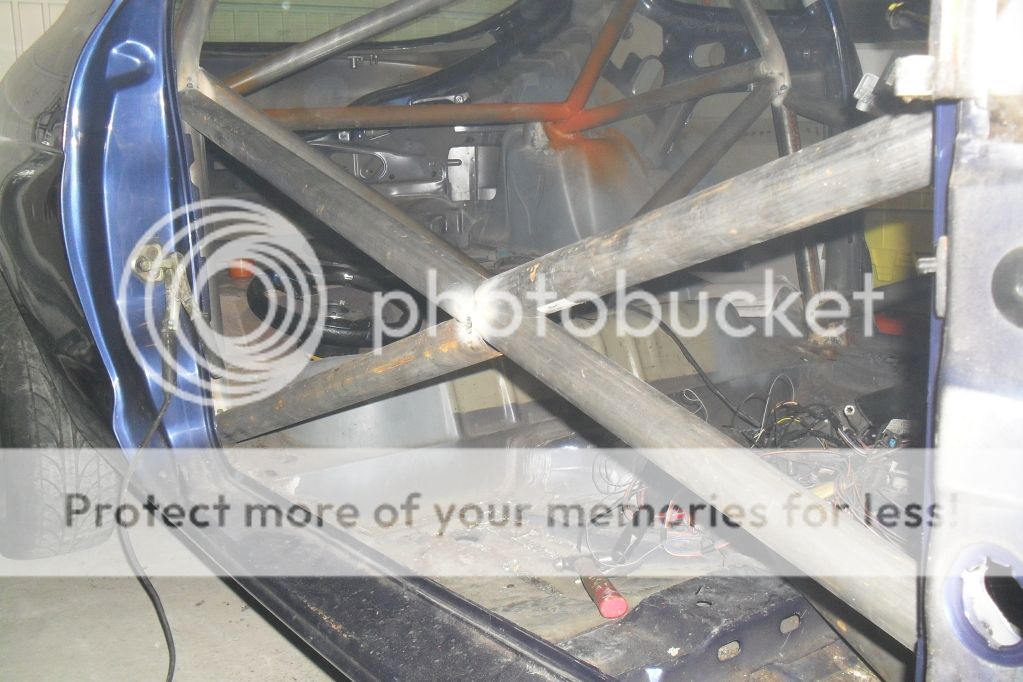
what its goin to look like when its finished
well be doing more on her tomorow, i cant seem to go a day without doin something on her hahaha
here is the reason why i had to move the fuse box and still need to get ahold of a scorpio diesel header tank.
pics
all tacked in
what its goin to look like when its finished
well be doing more on her tomorow, i cant seem to go a day without doin something on her hahaha
06-10-2012, 09:47 PM
#21
Wahay!! I've lost my Virginity!!
Thread Starter
Join Date: Oct 2012
Location: manchester
Posts: 52
Likes: 0
Received 0 Likes
on
0 Posts
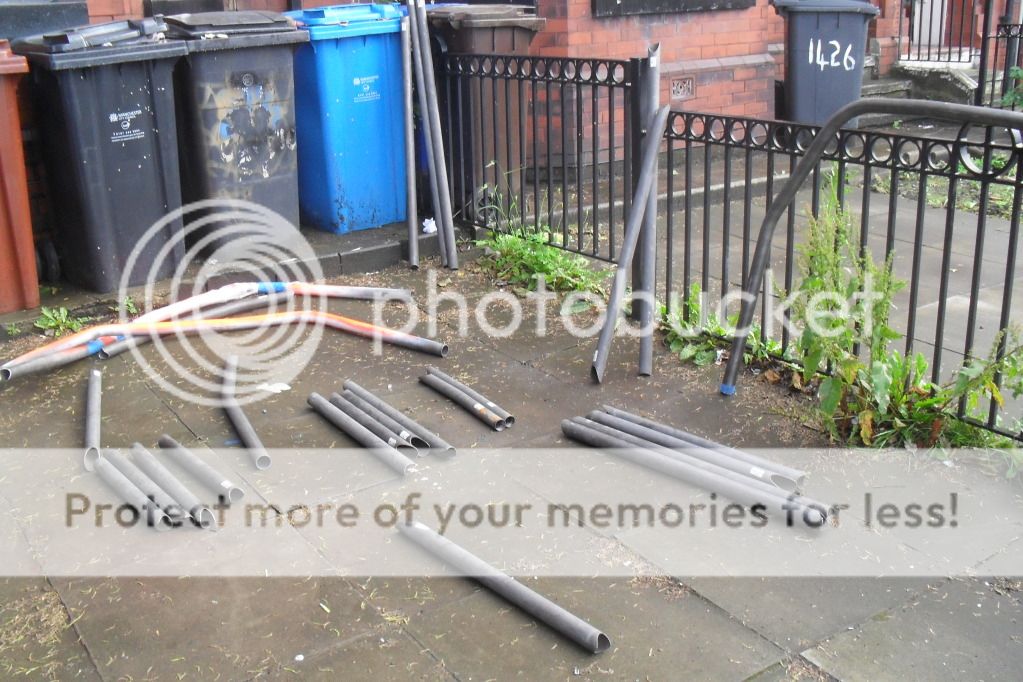
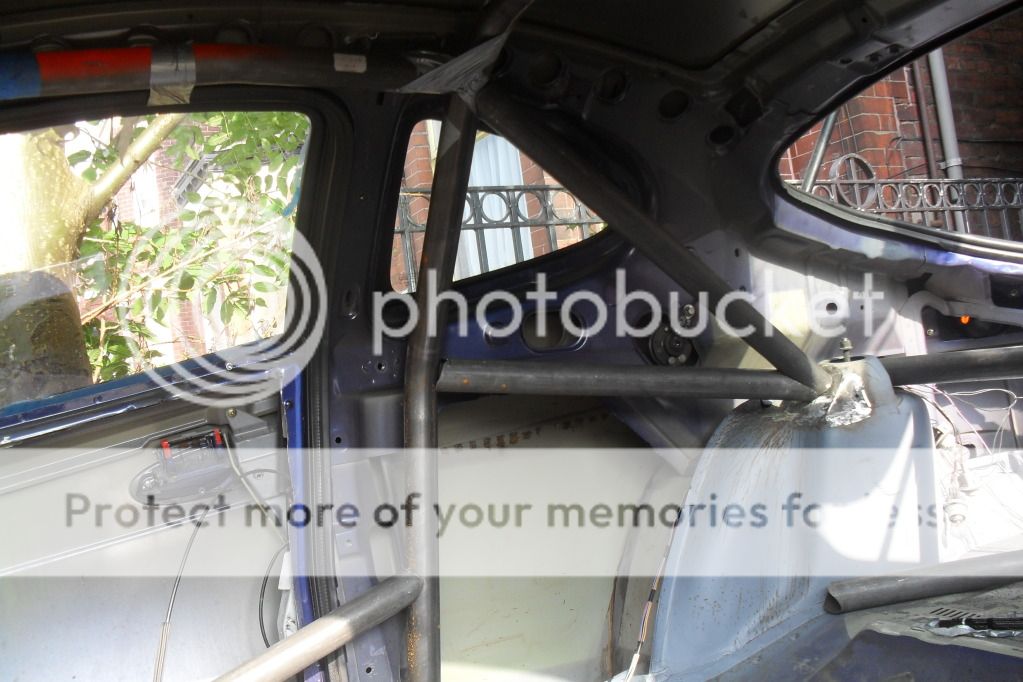
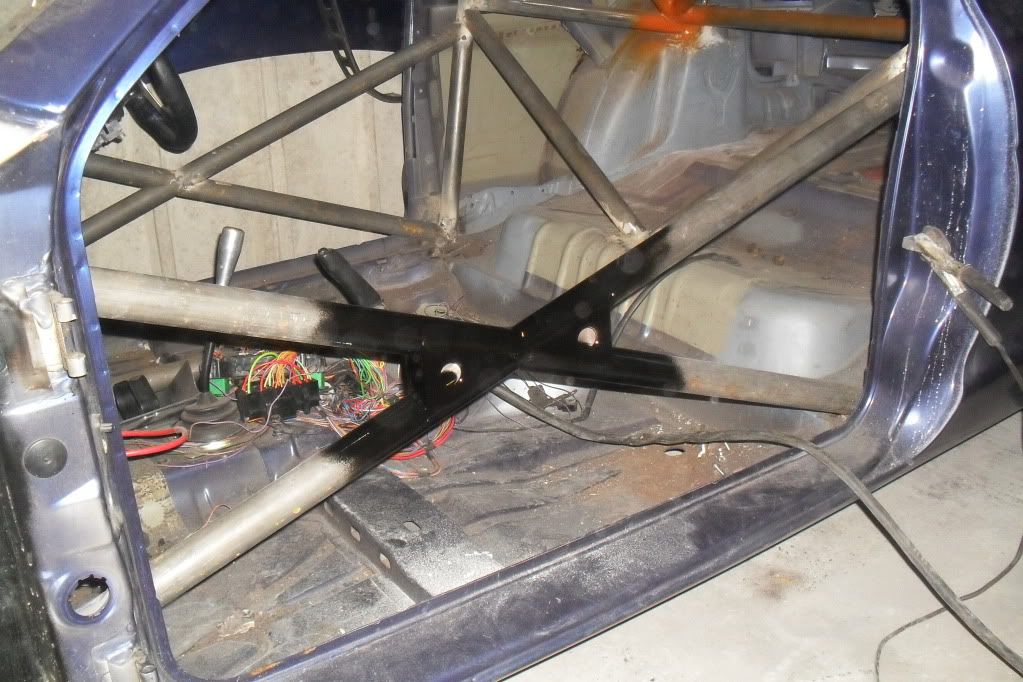
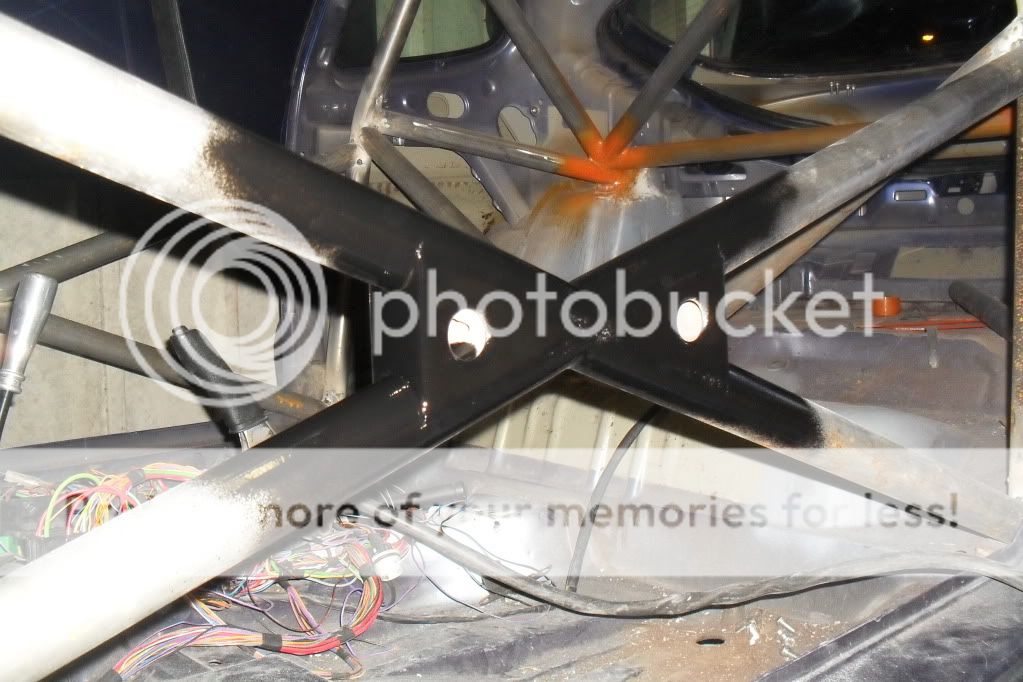
right not got loads done but ive also done some work on the mondeo aswell. ive now run out of welding wire and it will be a few days/weeks until i can order some more so the cage is on hold for a while but ive got almost all of it tacked in now so its all as it should be, it just all needs welding up properly.
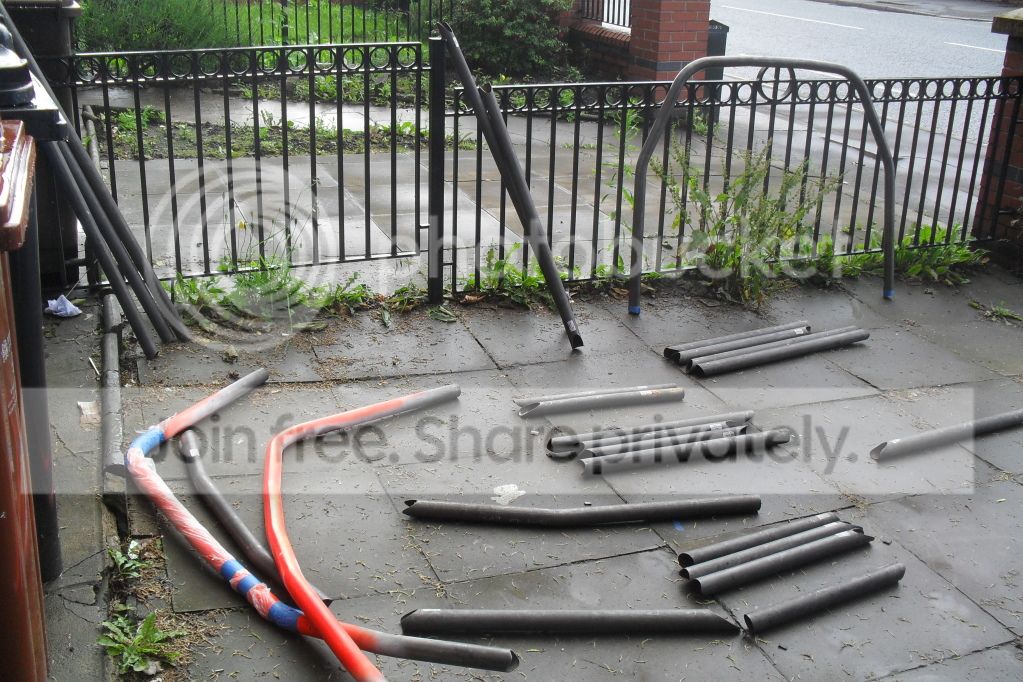
pics of what ive done today.
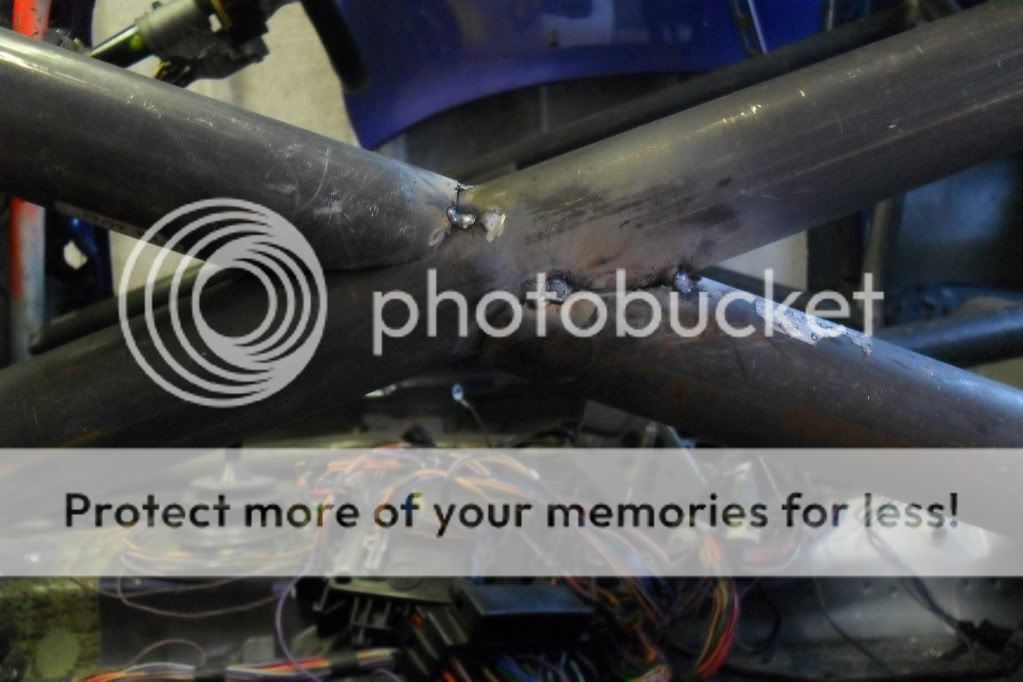
i need to cut the bars down a touch more to make them fit a bit better
no more wire now so thats all the welding for now
pics of what ive done today.
i need to cut the bars down a touch more to make them fit a bit better
no more wire now so thats all the welding for now
06-10-2012, 09:48 PM
#22
Wahay!! I've lost my Virginity!!
Thread Starter
Join Date: Oct 2012
Location: manchester
Posts: 52
Likes: 0
Received 0 Likes
on
0 Posts
]ive got done what i could today, cut the front cage bars to fit properly and put the dash bar in place ready for more welding wire to arrive pics of progress made

also removed a few bits that ive been meaning to do for a while
its been raining all day glad if got a garage

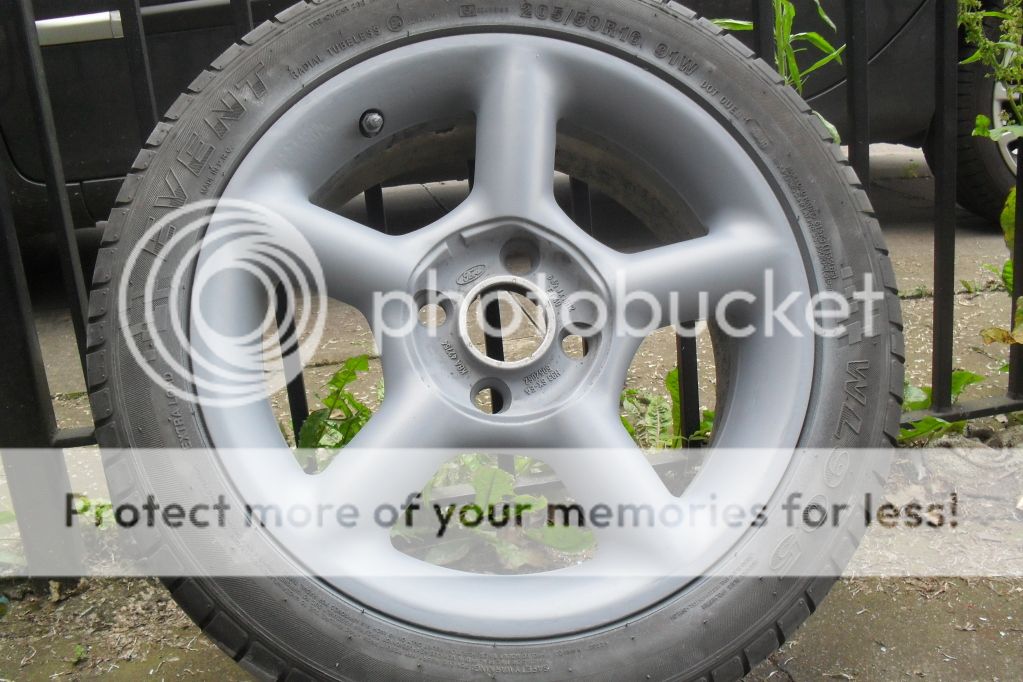
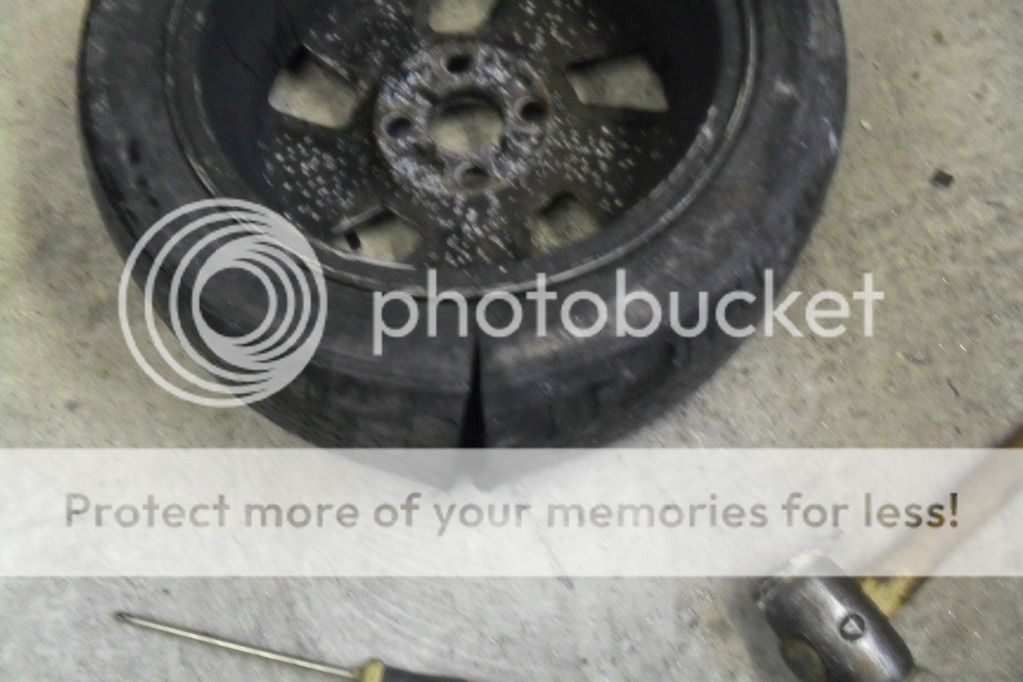
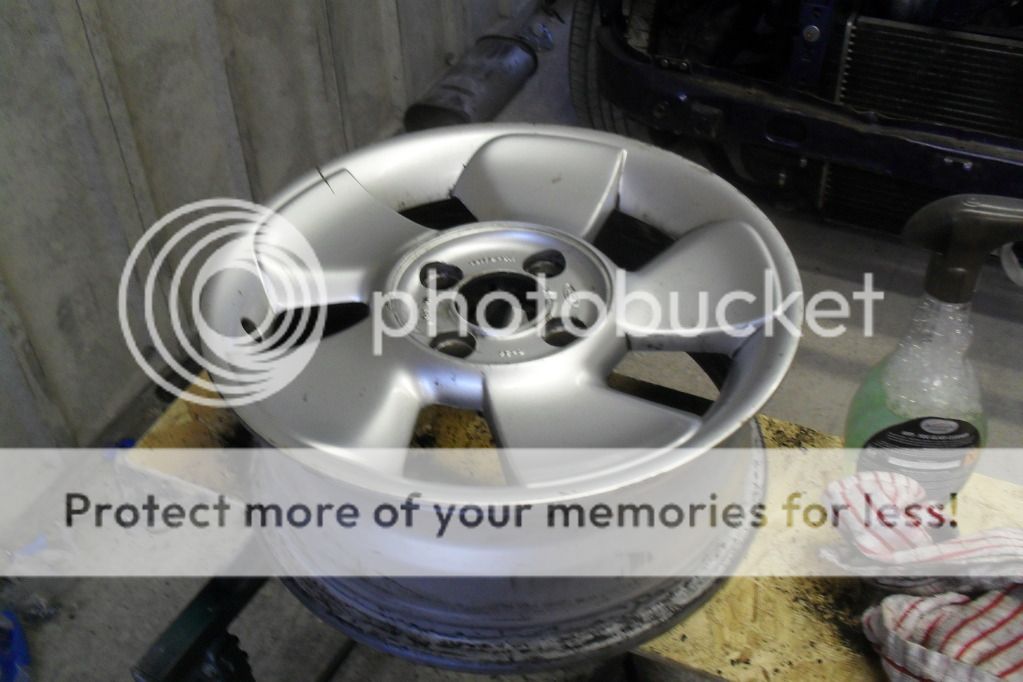
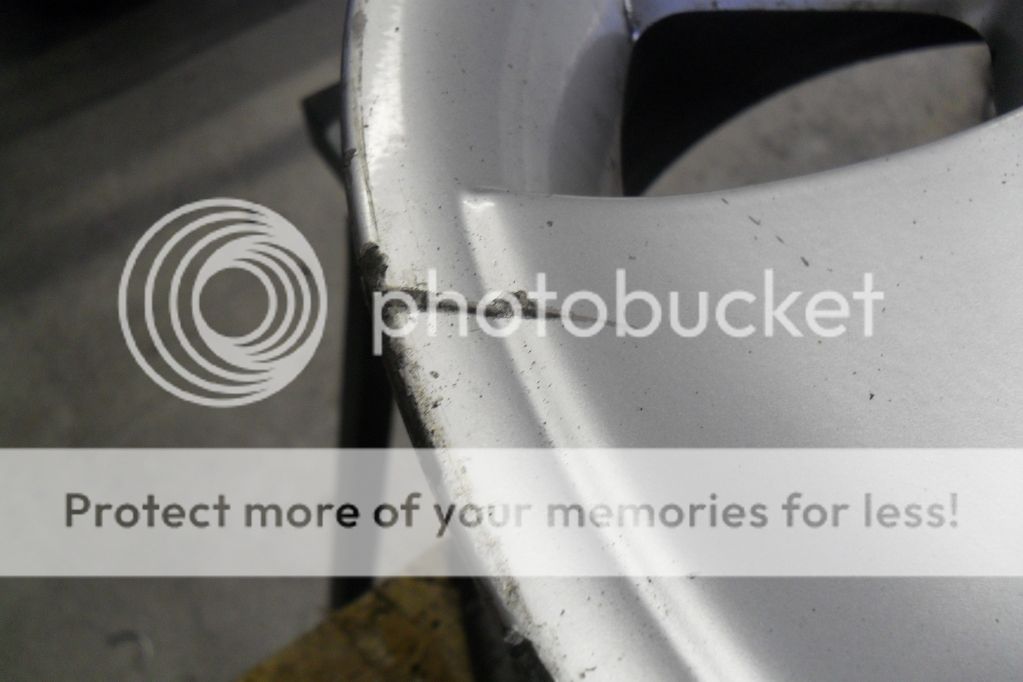
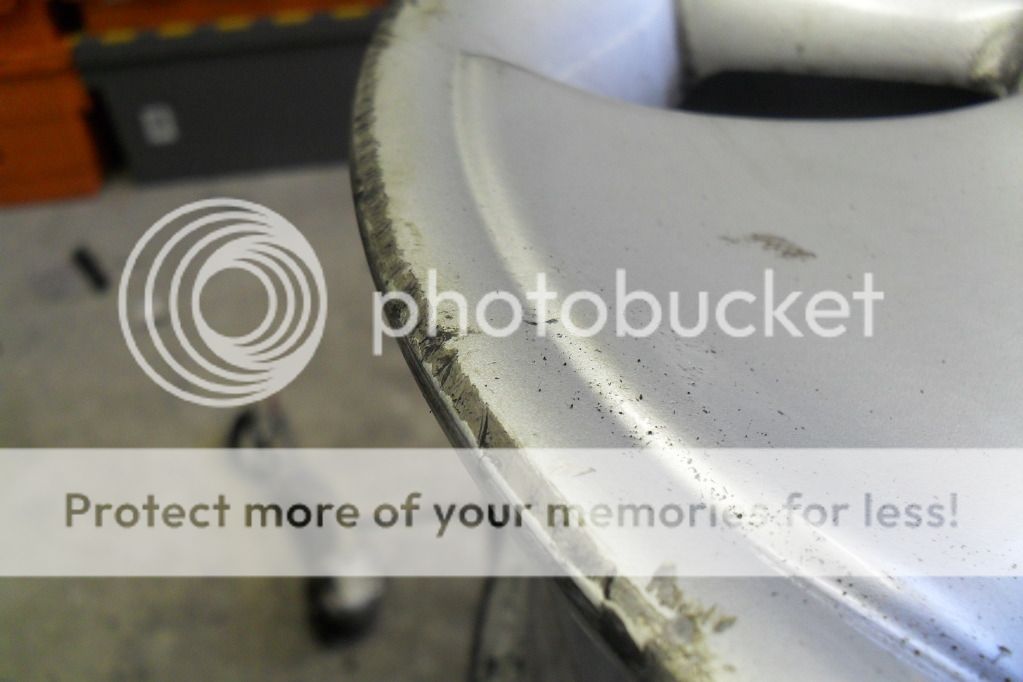
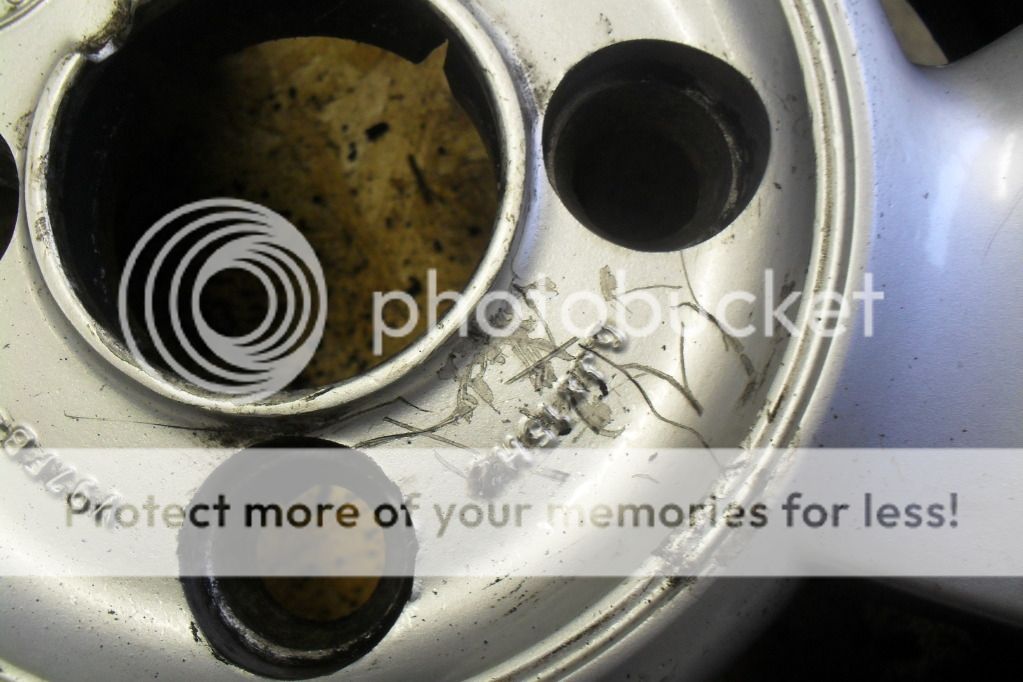
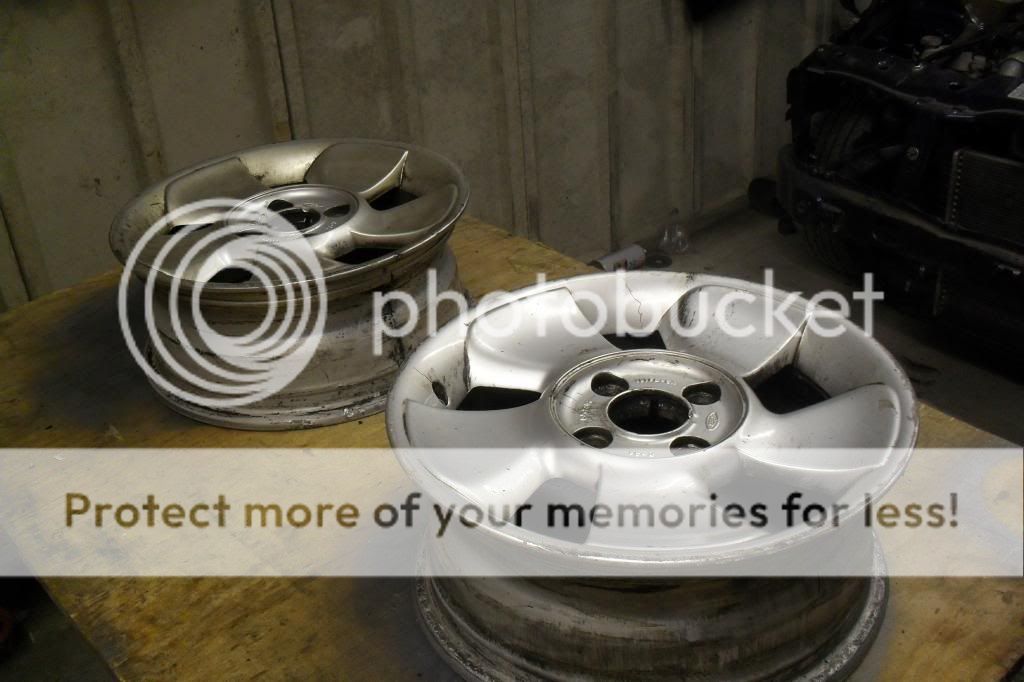
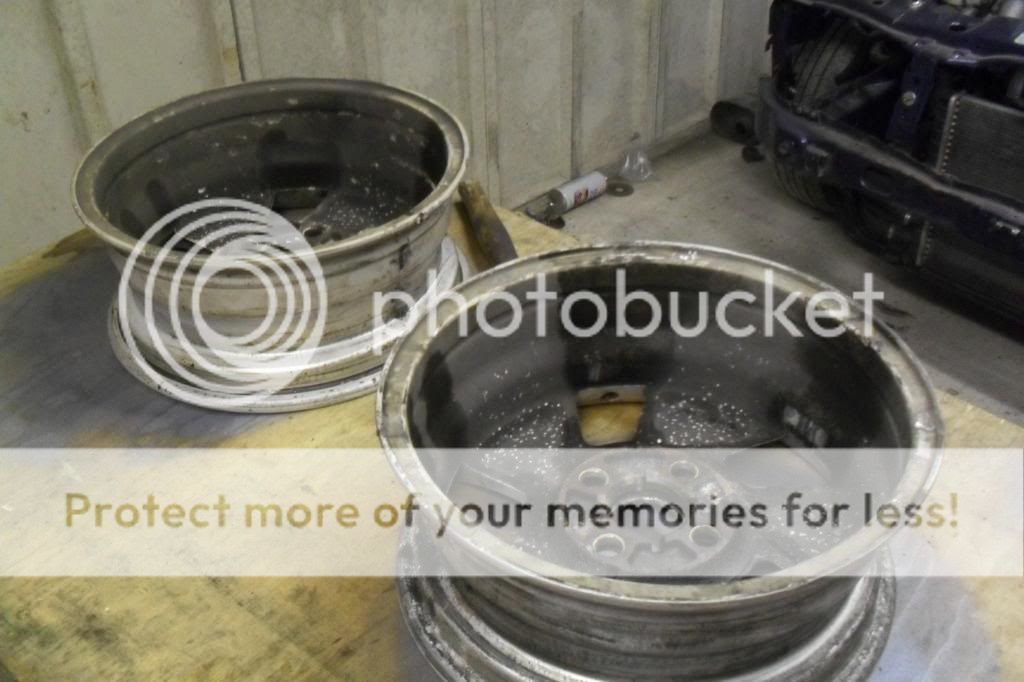
i have started to do the wheels now one at a time and here is the first
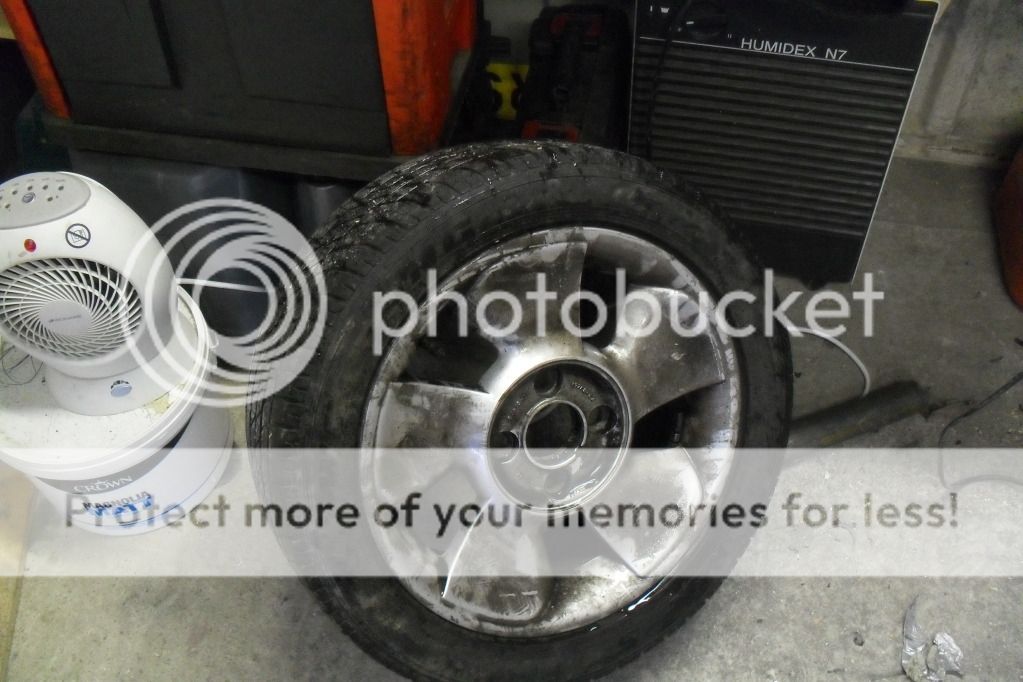
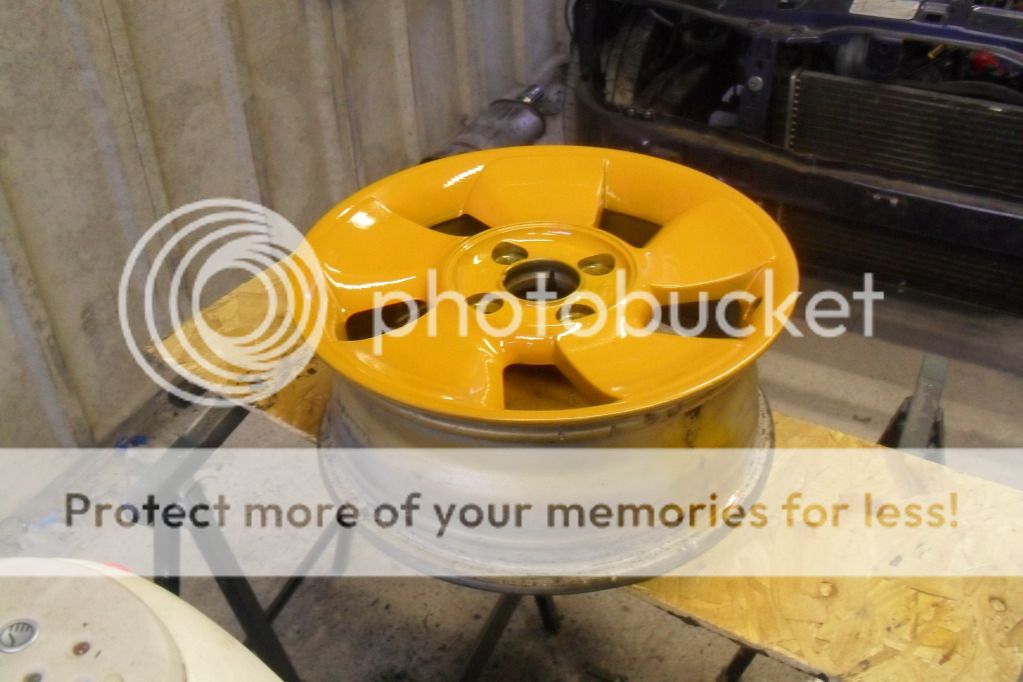
a couple more coats and thats one down 3 to go hahaha
pics of progress madealso removed a few bits that ive been meaning to do for a while
its been raining all day glad if got a garage
i have started to do the wheels now one at a time and here is the first
a couple more coats and thats one down 3 to go hahaha
06-10-2012, 09:48 PM
#23
Wahay!! I've lost my Virginity!!
Thread Starter
Join Date: Oct 2012
Location: manchester
Posts: 52
Likes: 0
Received 0 Likes
on
0 Posts
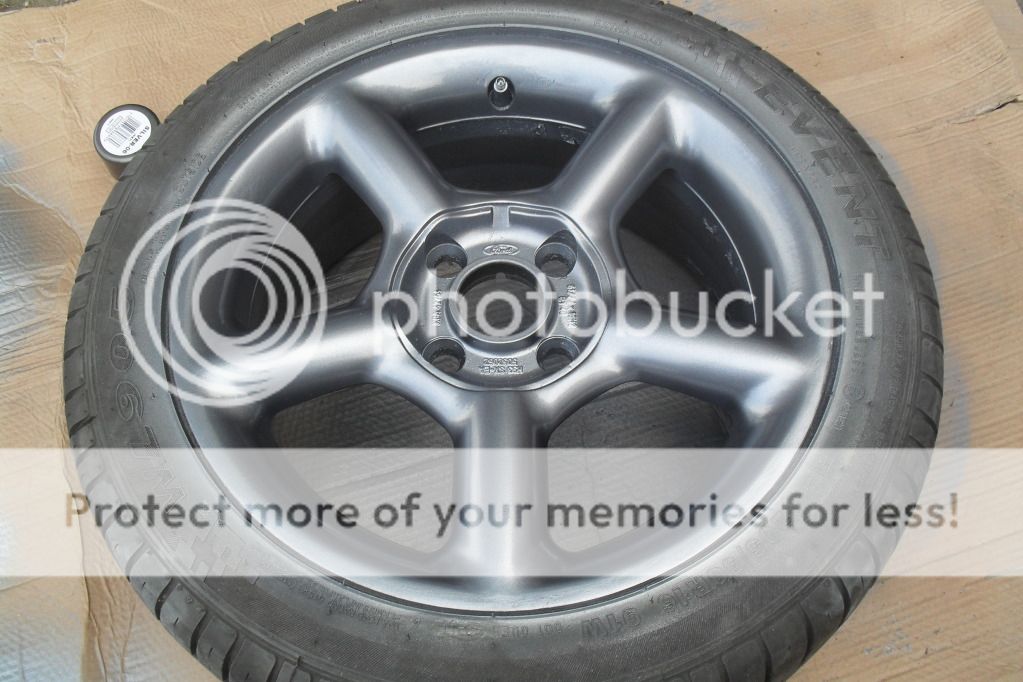
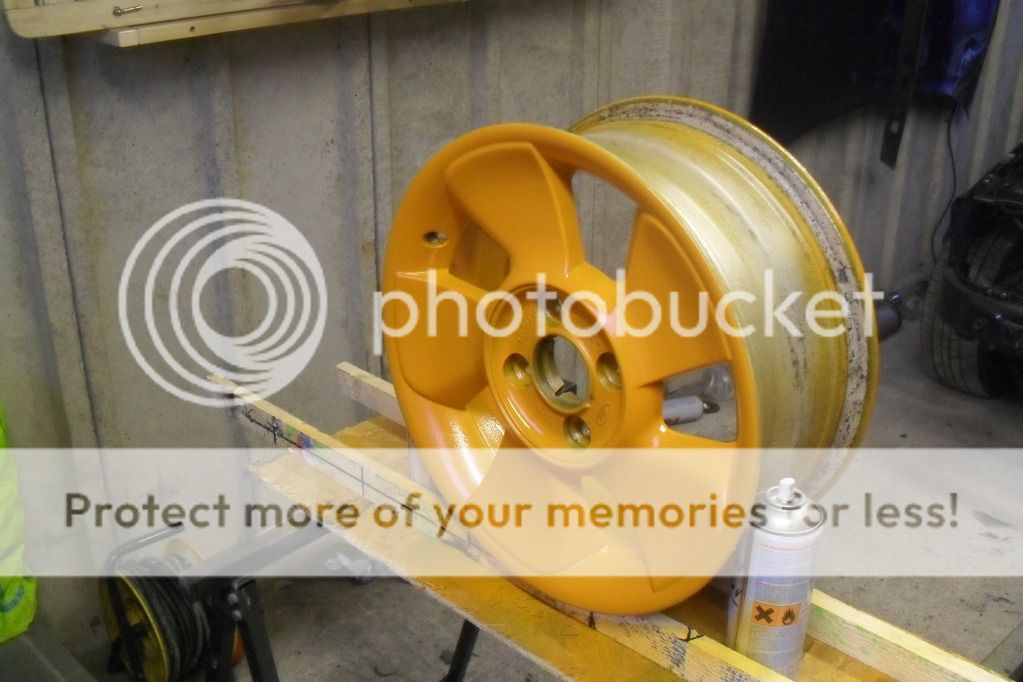
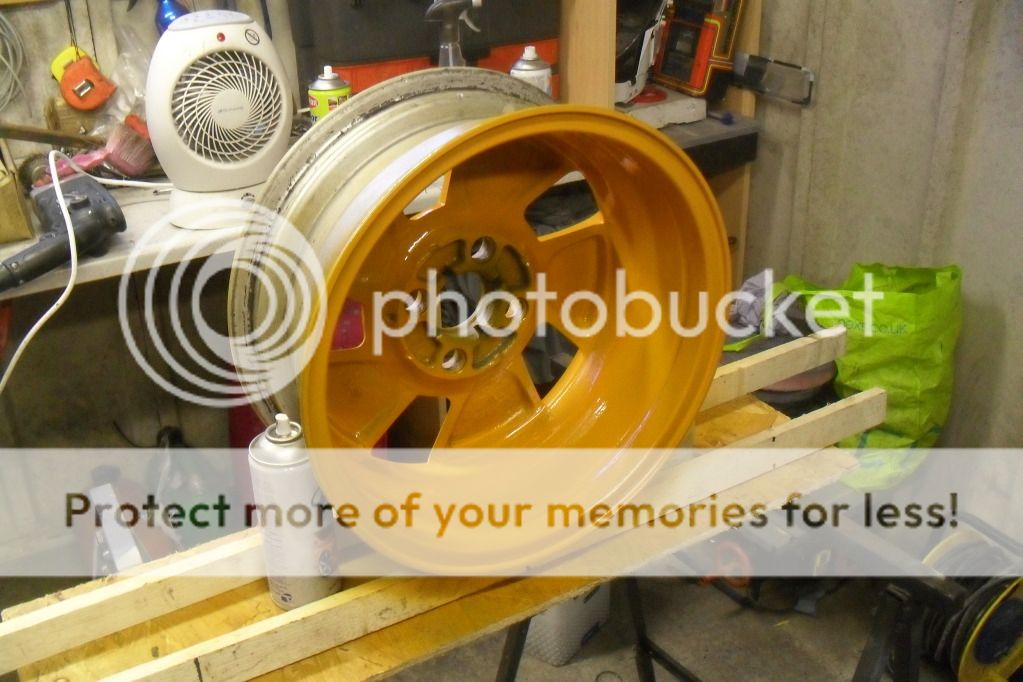
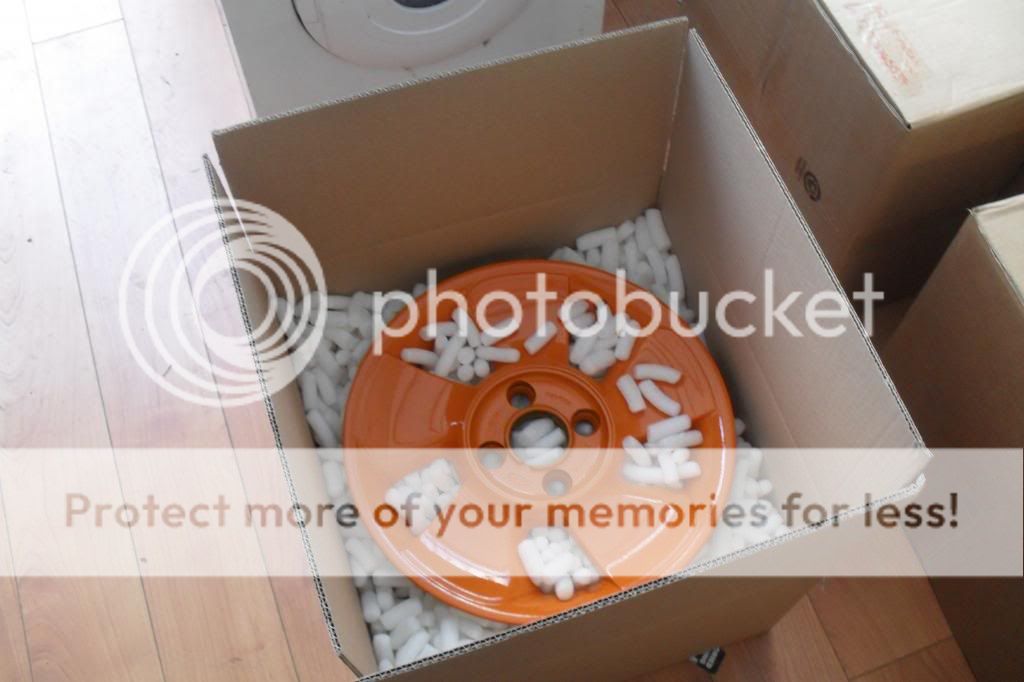
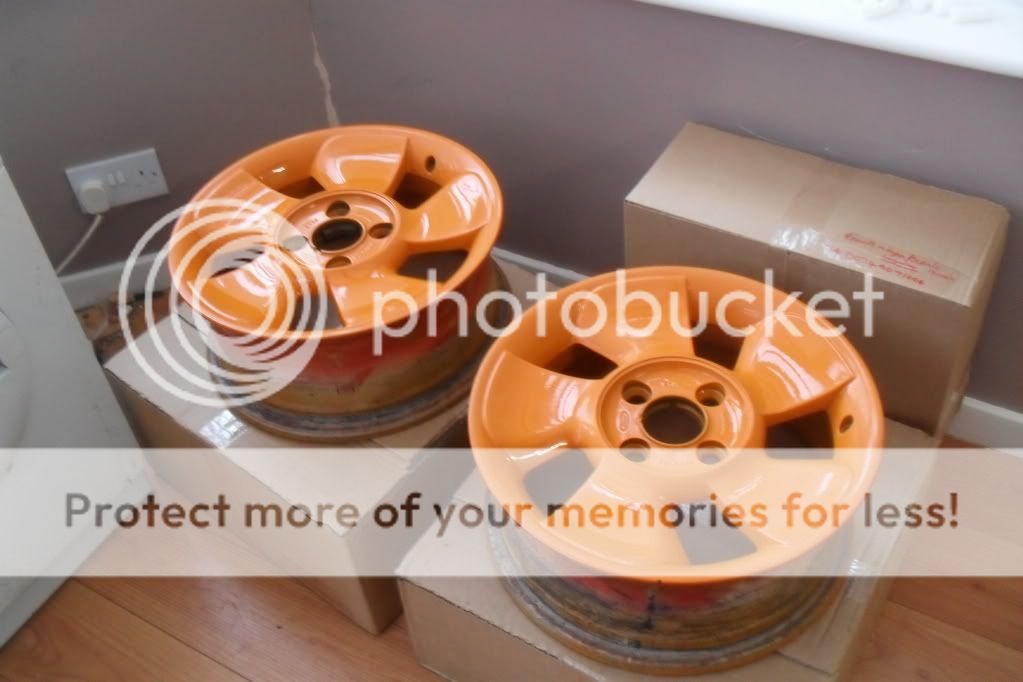
i sealed up the first wheel in a box so they dont get damaged. then i started on the others, i will finish off the forth tomorow. pics

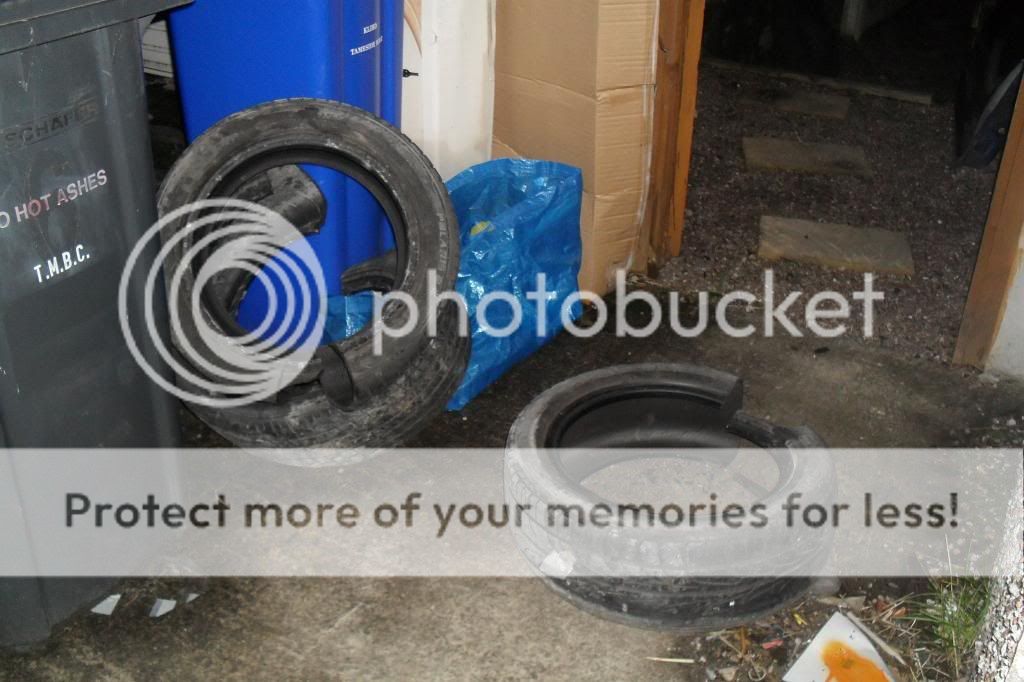
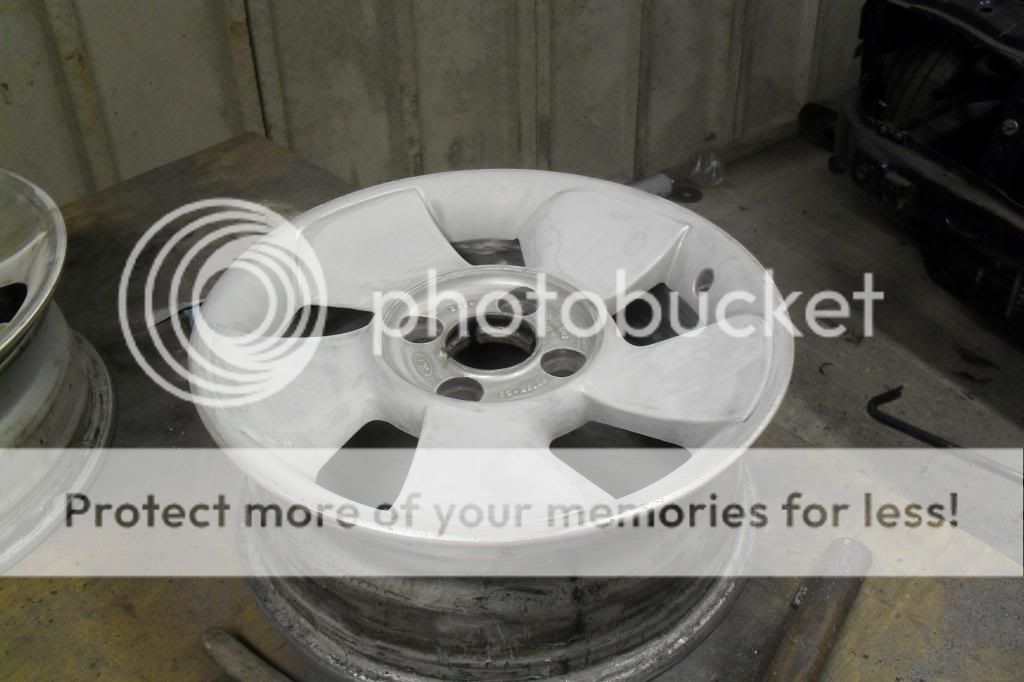
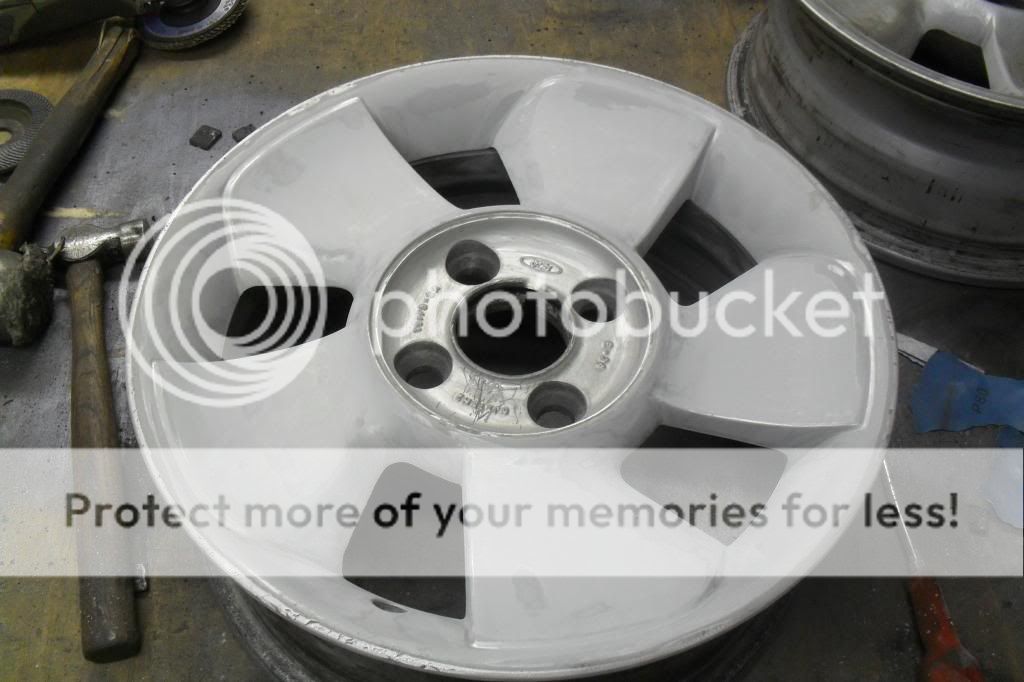
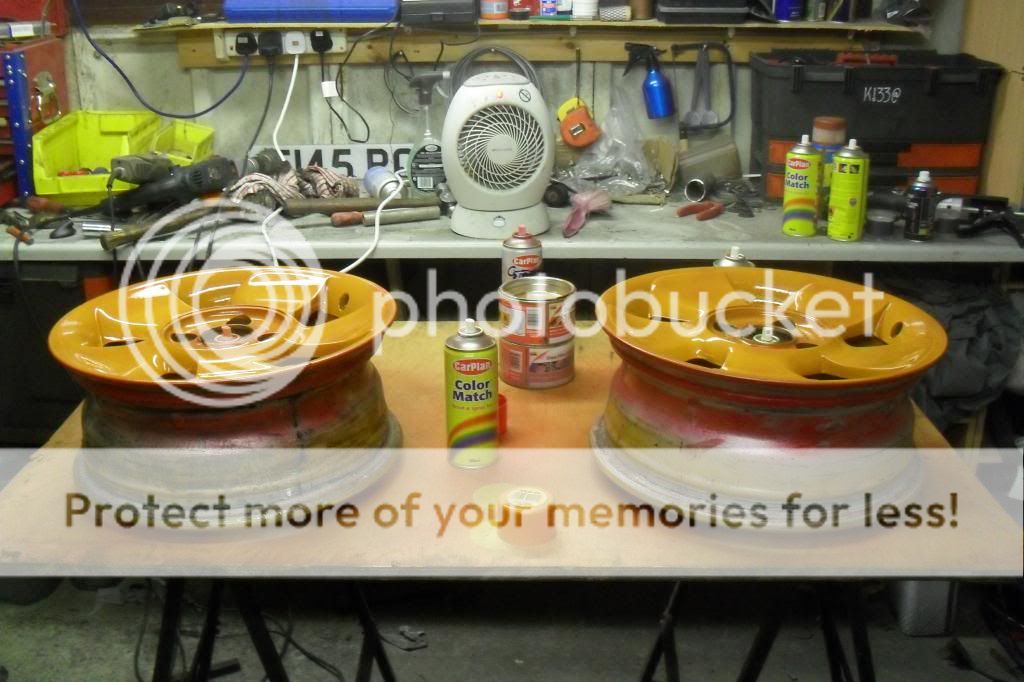
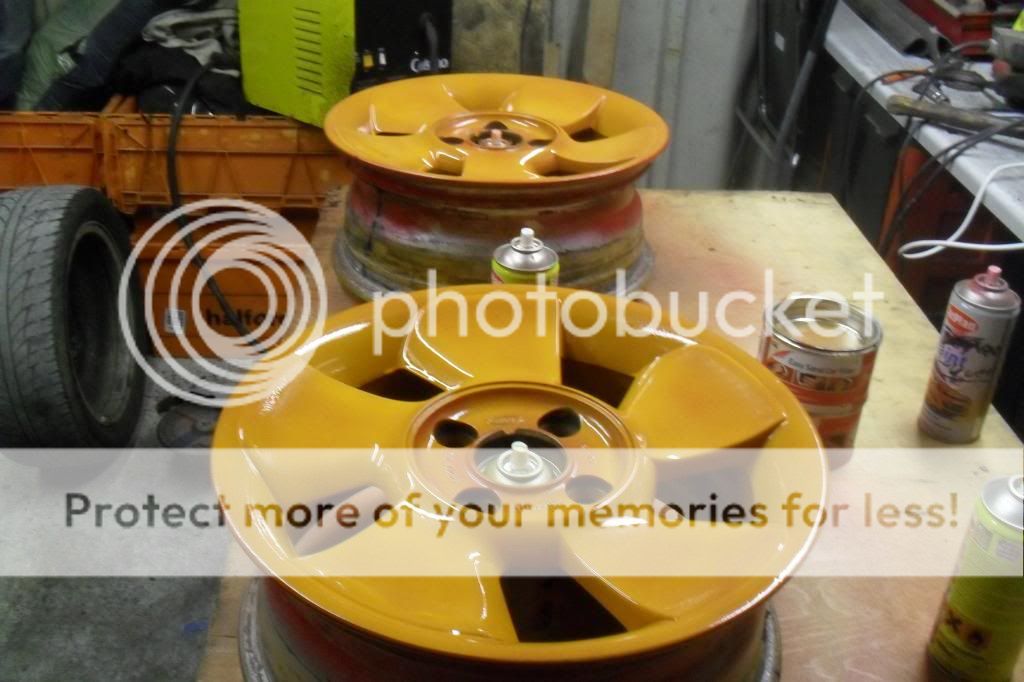
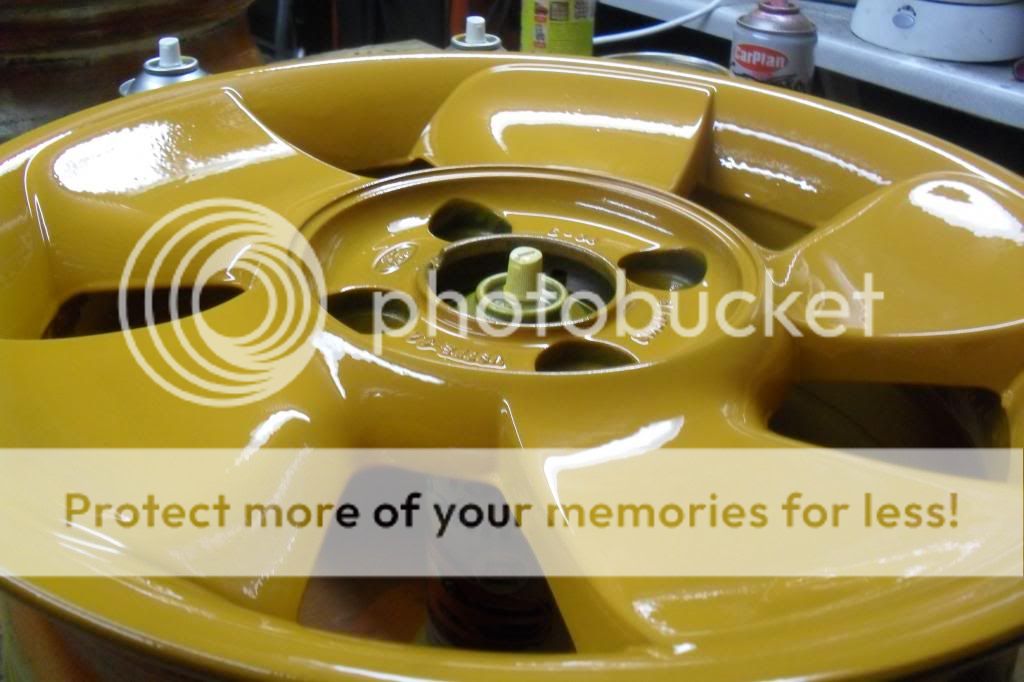
il give them another coat tomorow and also get the forth wheel finished aswell, it looks more yellow under the garage lights but in day light its a realy deep orange
cheers kieran
il give them another coat tomorow and also get the forth wheel finished aswell, it looks more yellow under the garage lights but in day light its a realy deep orange
cheers kieran
06-10-2012, 09:50 PM
#24
Wahay!! I've lost my Virginity!!
Thread Starter
Join Date: Oct 2012
Location: manchester
Posts: 52
Likes: 0
Received 0 Likes
on
0 Posts
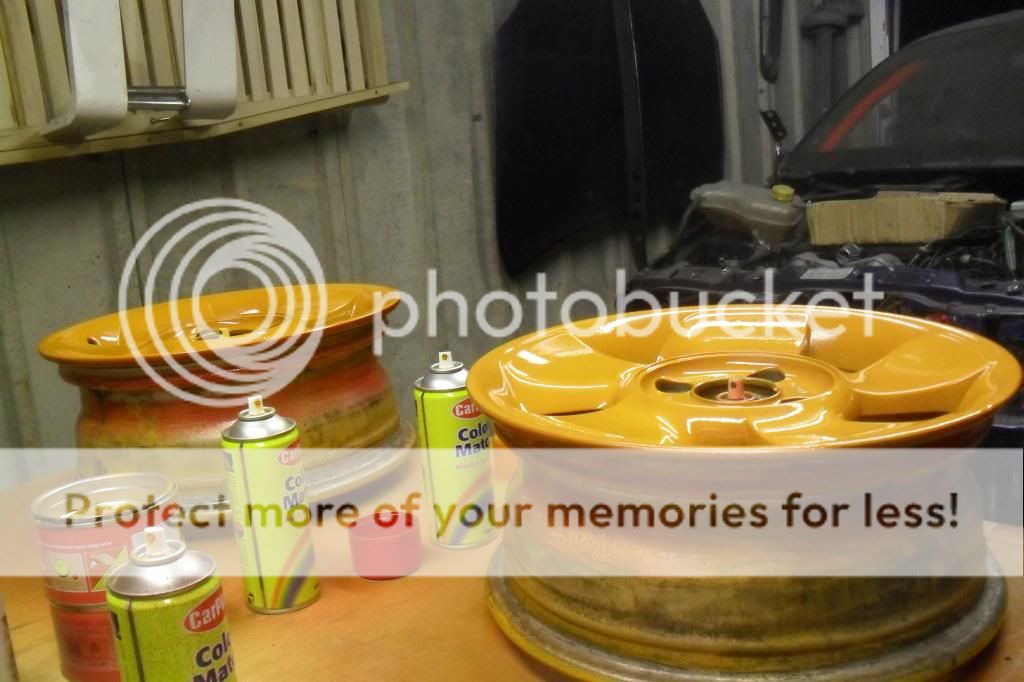
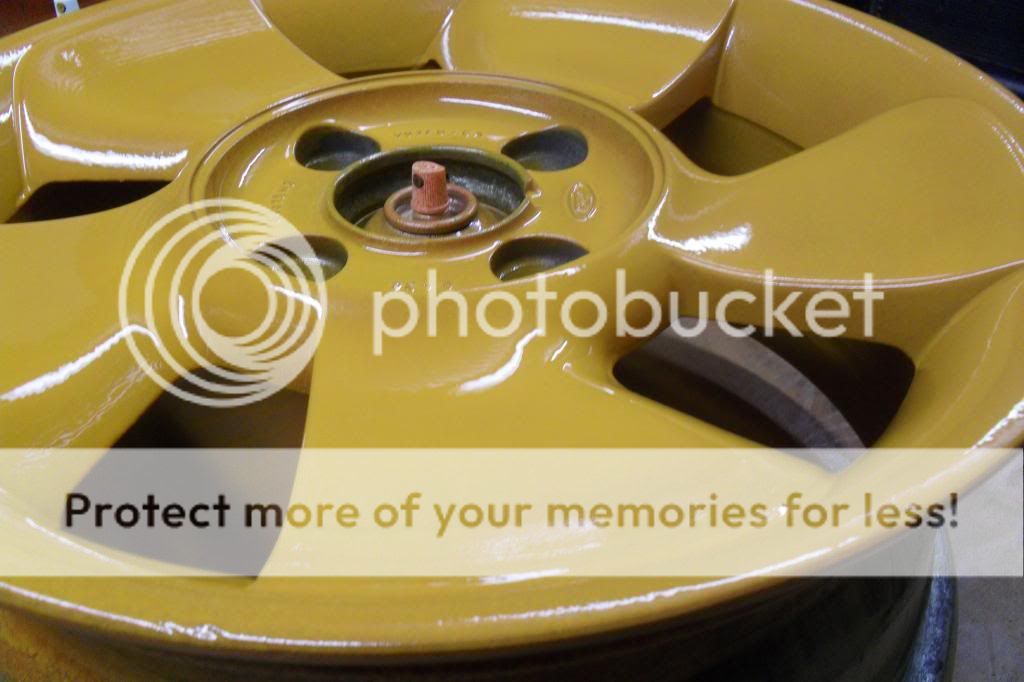
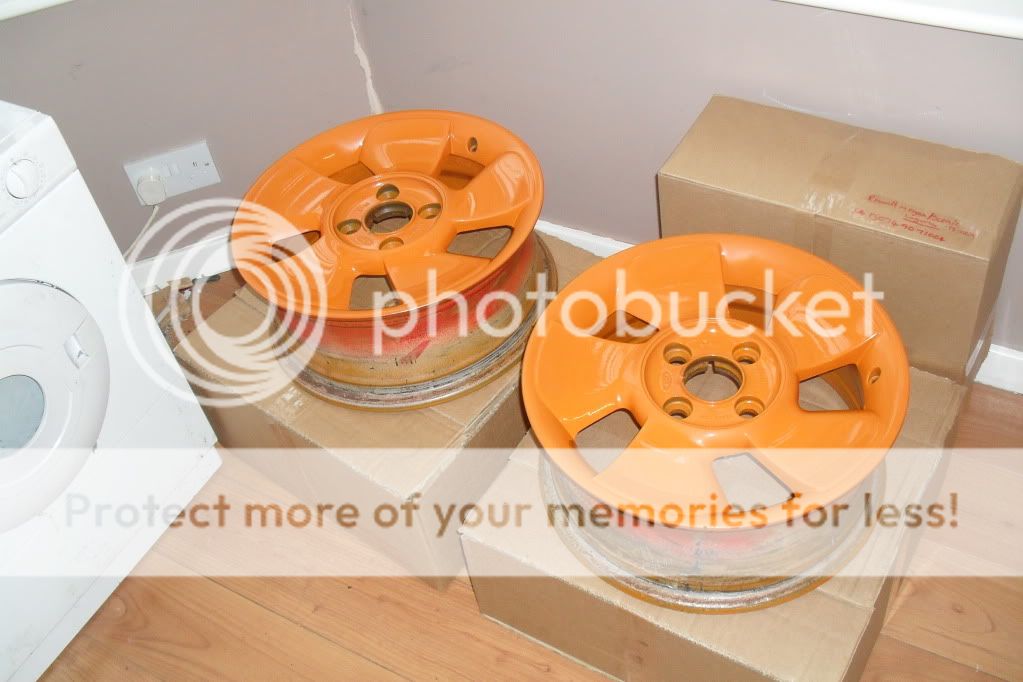
not done much today, im coming to the end of things i can do without spending any money. i finished off the other 2 wheels but i dont have enough paint to finish the forth so im leaving it for now.
pics of the finished wheels
also had to give the garage a quick clean so got the car out for a few cheeky pics of how it looks atm
a cheeky shot of the front end
before
after
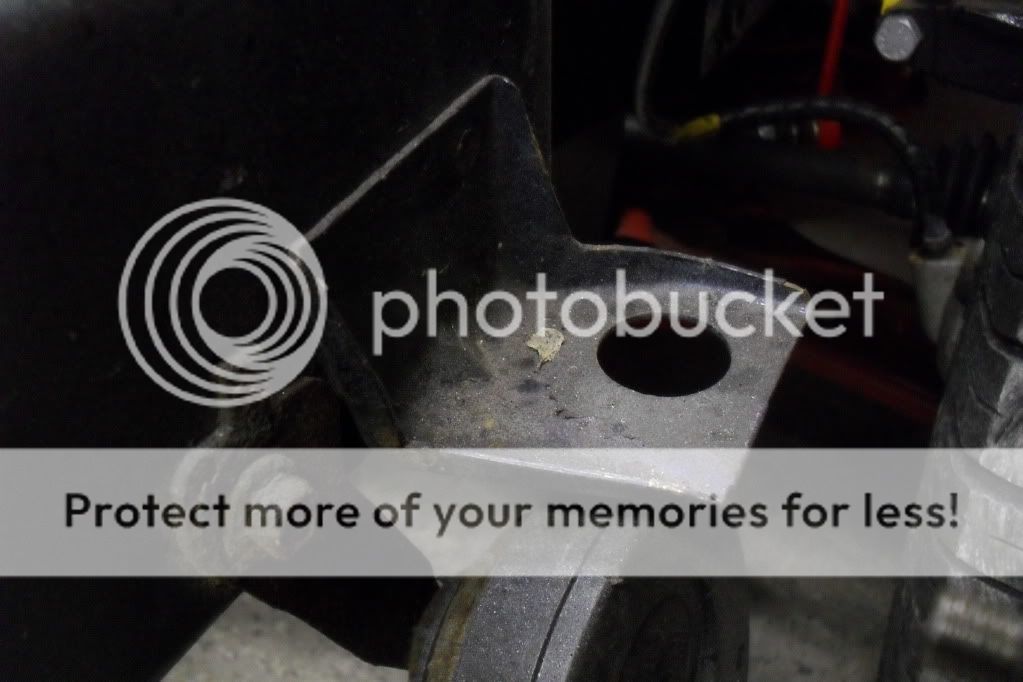
i also found another bracket that needs removing

more progress will be made when the welding wire arrives
pics of the finished wheels
also had to give the garage a quick clean so got the car out for a few cheeky pics of how it looks atm
a cheeky shot of the front end
before
after
i also found another bracket that needs removing
more progress will be made when the welding wire arrives
06-10-2012, 09:50 PM
#25
Wahay!! I've lost my Virginity!!
Thread Starter
Join Date: Oct 2012
Location: manchester
Posts: 52
Likes: 0
Received 0 Likes
on
0 Posts
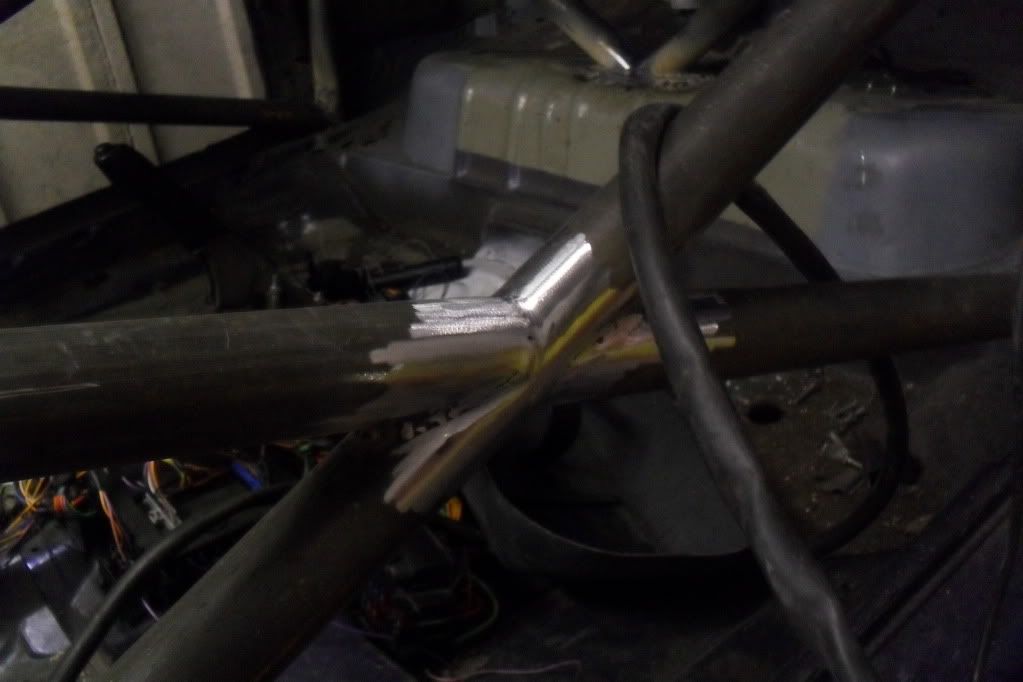
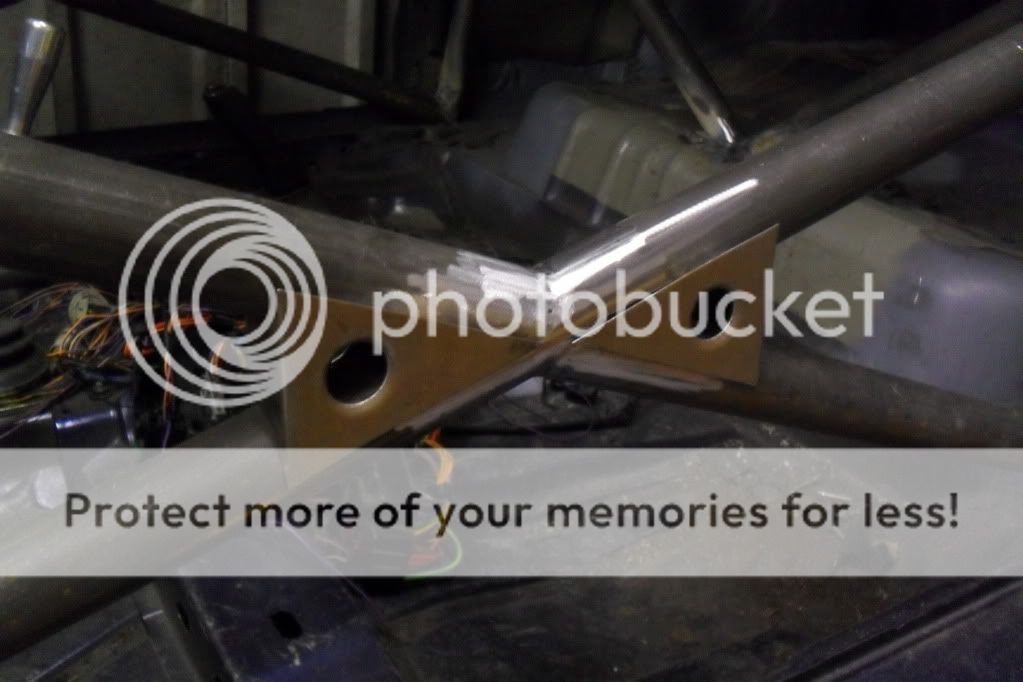
got some welding done tonight, not going to show pics of everything yet i want to wait until its all done before i let you all see the finished product. here are a couple of snap shots though :thumbs:
for starters i altered the door bars as advice from turby.

flexable seam filler
more than that has been done but il let you see that when its all done
for starters i altered the door bars as advice from turby.
flexable seam filler
more than that has been done but il let you see that when its all done
06-10-2012, 09:51 PM
#27
Wahay!! I've lost my Virginity!!
Thread Starter
Join Date: Oct 2012
Location: manchester
Posts: 52
Likes: 0
Received 0 Likes
on
0 Posts
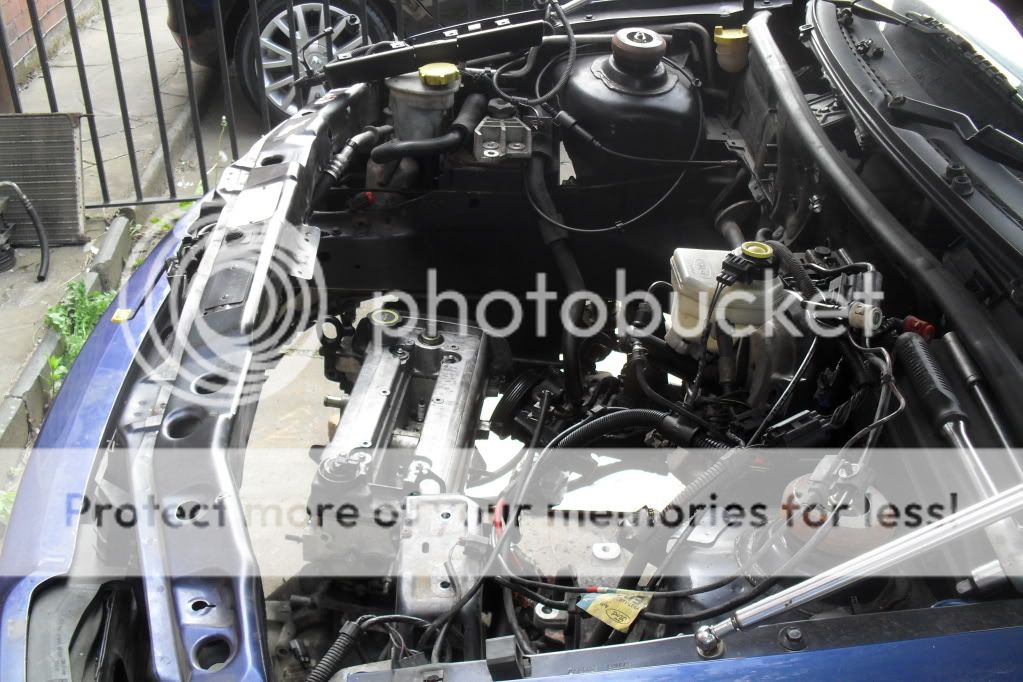
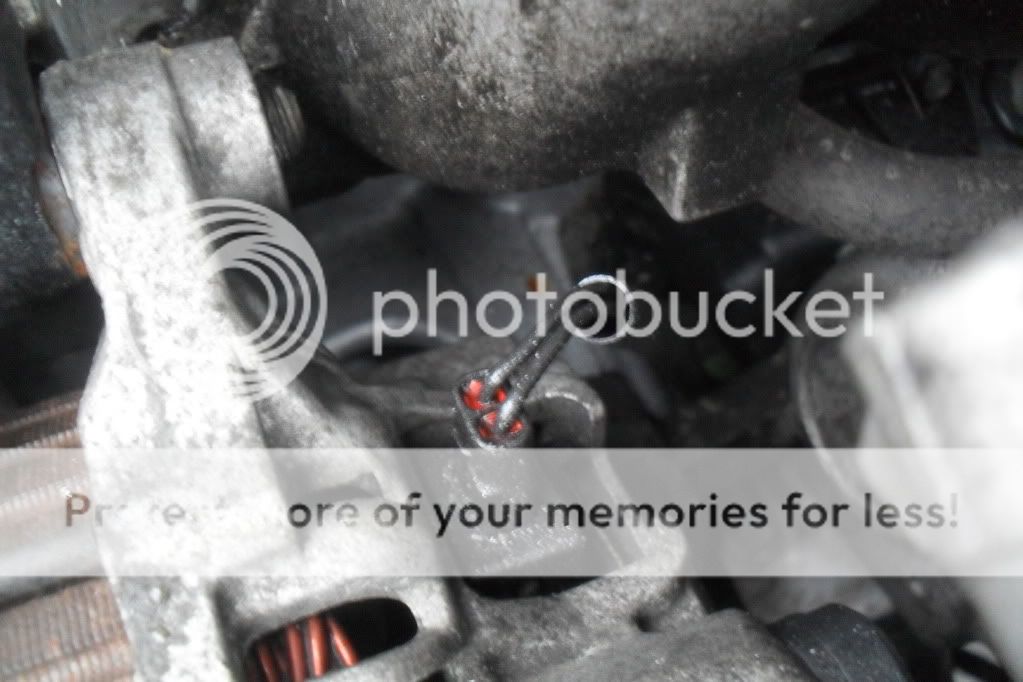
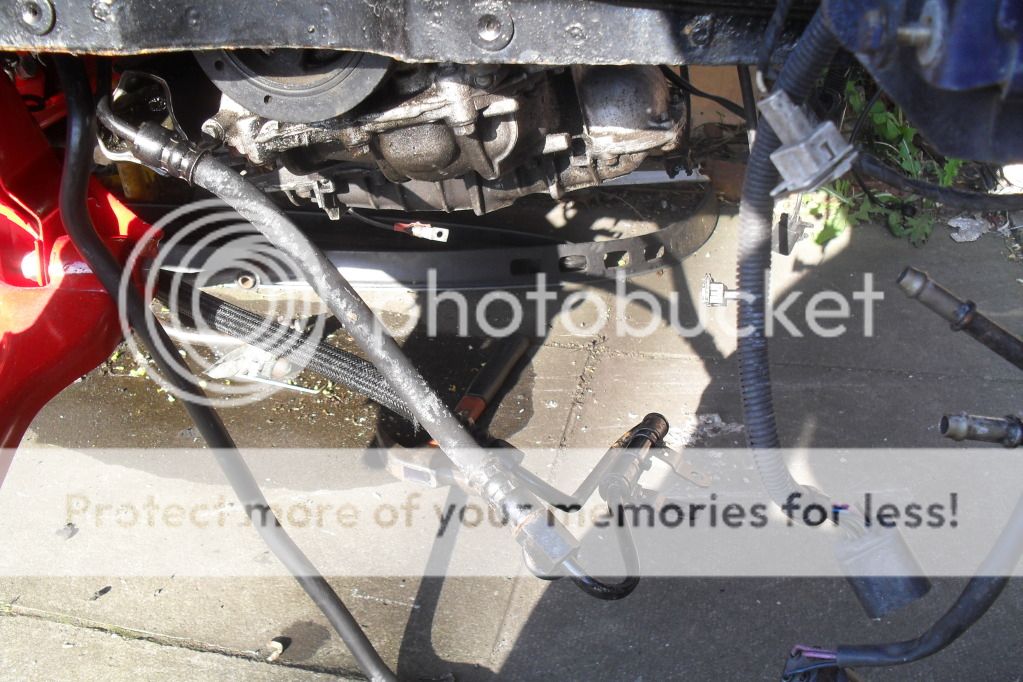
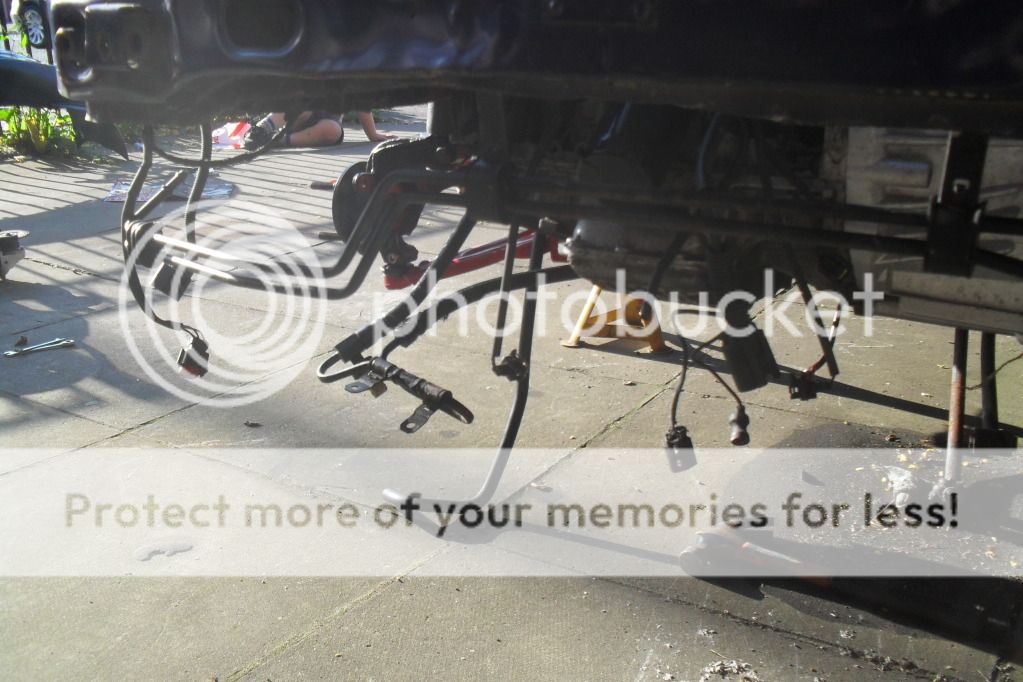
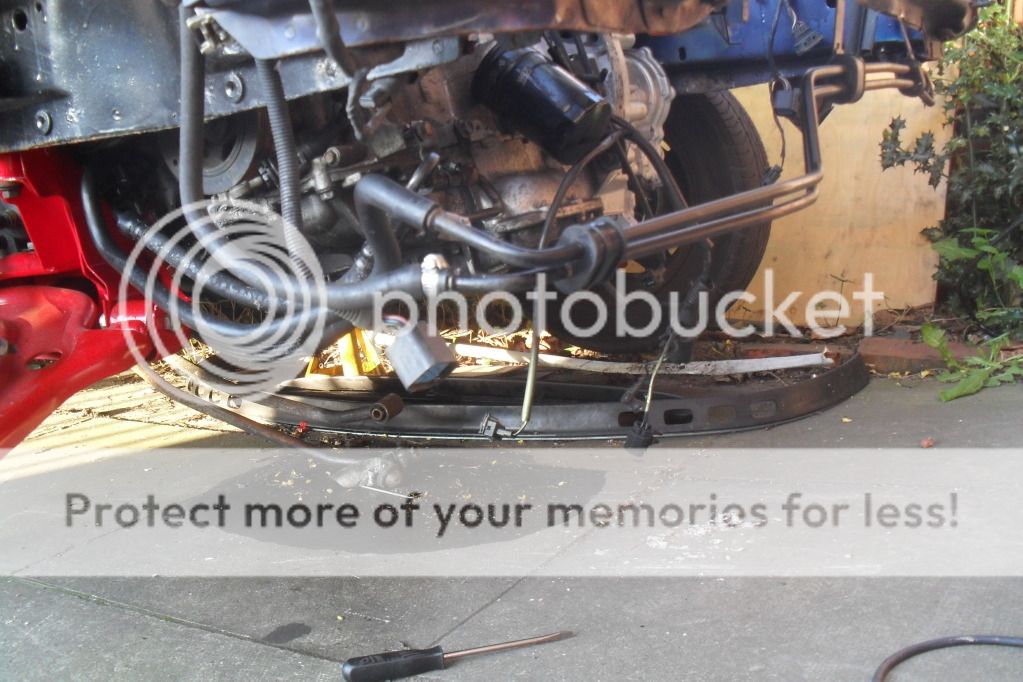
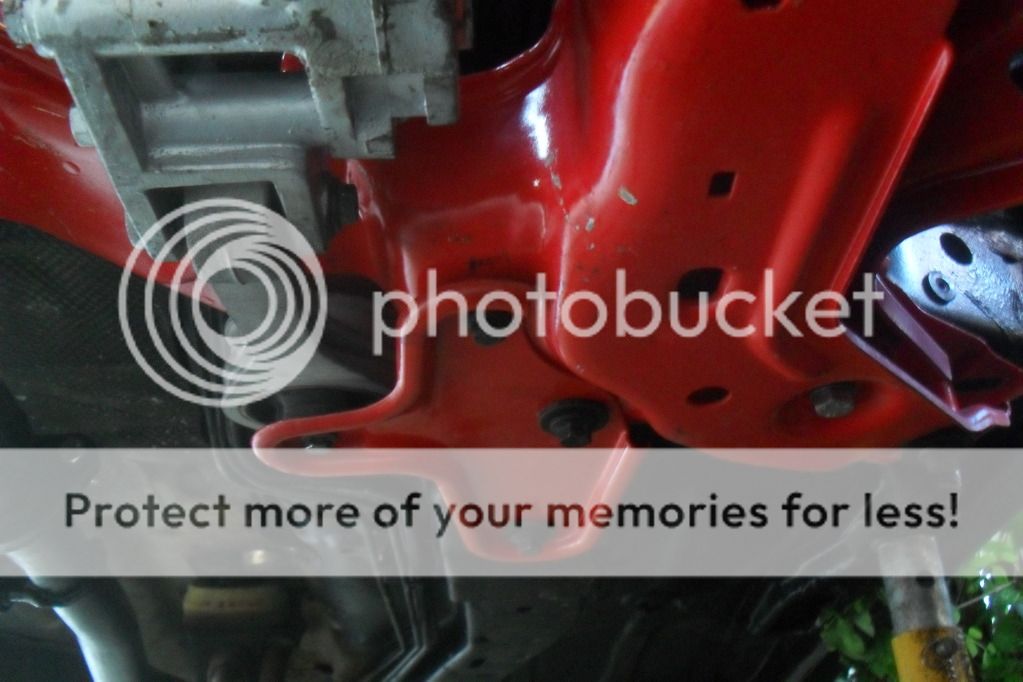
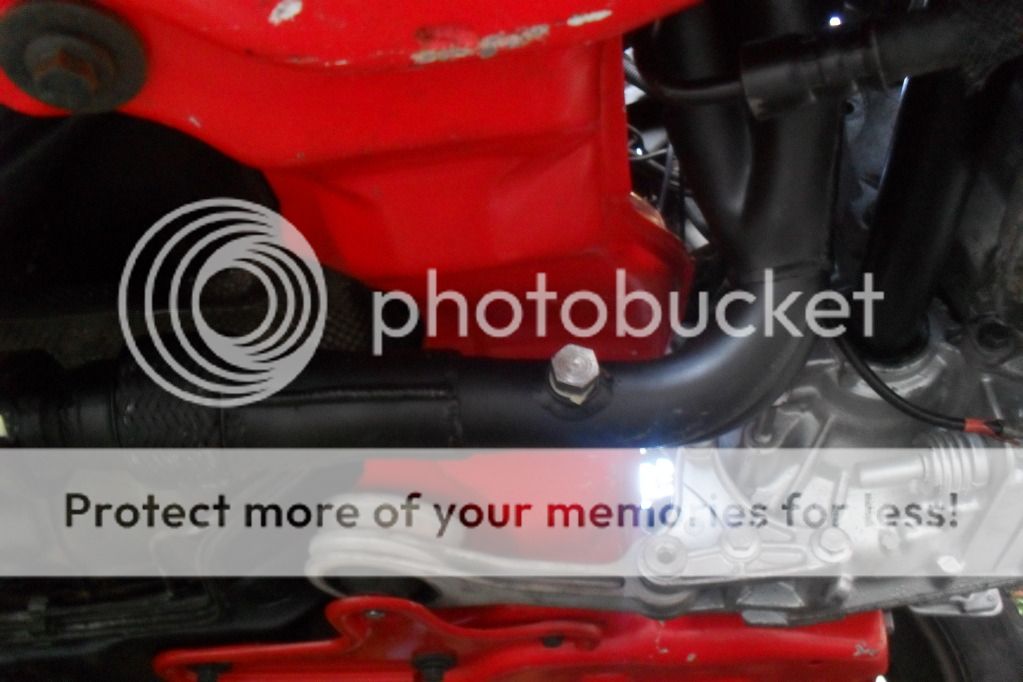
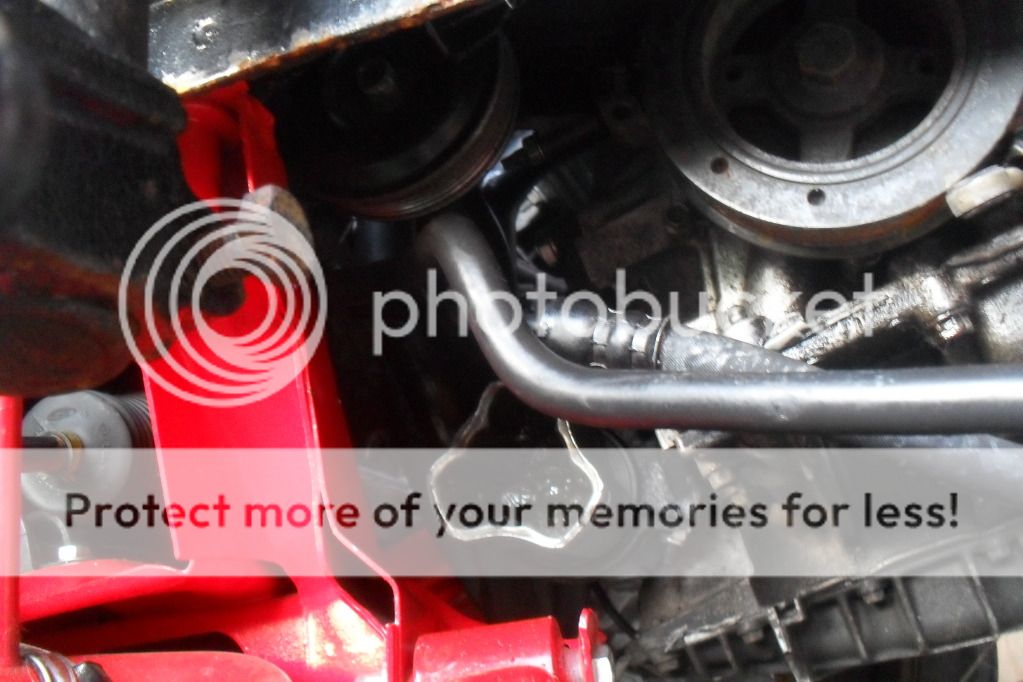
first post of the day, ive started to remove the engine. spent about an hour and half on it up to yet and probs got about 30 mins to an hour left to go. pics of removal.
removing the drive shaft, rear engine mount, gear leaver and exhaust.
repositioning for the otherside
nothing except the top engine mounts and gearbox pipe holding it in now
more to be done after dinner
removing the drive shaft, rear engine mount, gear leaver and exhaust.
repositioning for the otherside
nothing except the top engine mounts and gearbox pipe holding it in now
more to be done after dinner
06-10-2012, 09:52 PM
#28
Wahay!! I've lost my Virginity!!
Thread Starter
Join Date: Oct 2012
Location: manchester
Posts: 52
Likes: 0
Received 0 Likes
on
0 Posts
well the engine is out now. only took about 30-40 mins after my dinner so i think about 2:15 to get it out. more pics
there she is looking like a scrapper hahahahah
first job on the list
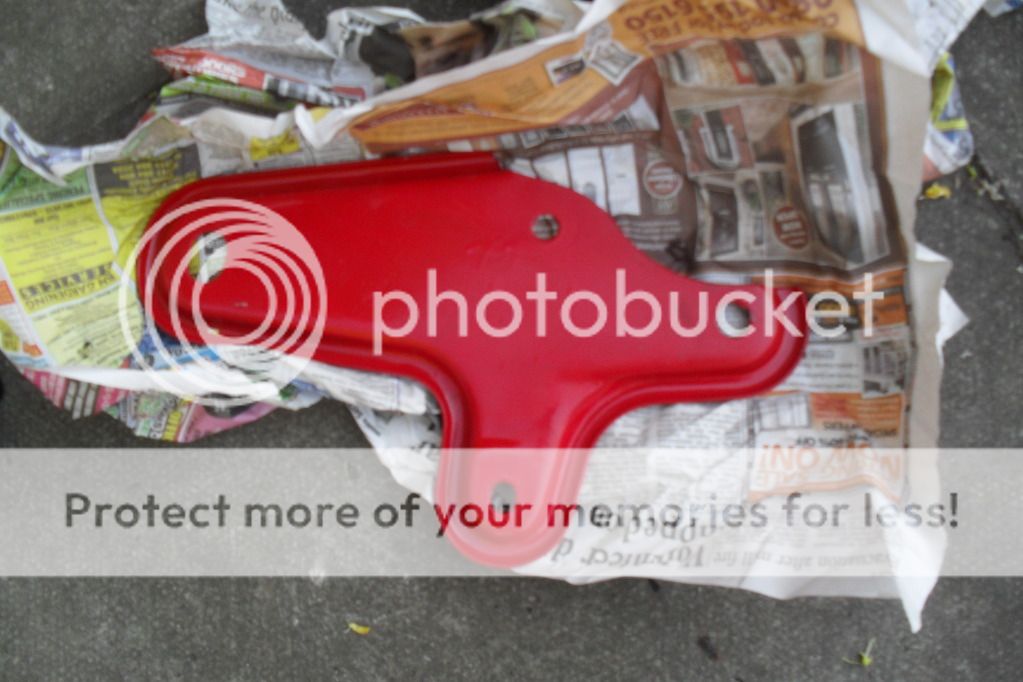
i think i'll give the red bits another coat of paint

engines new home for a while
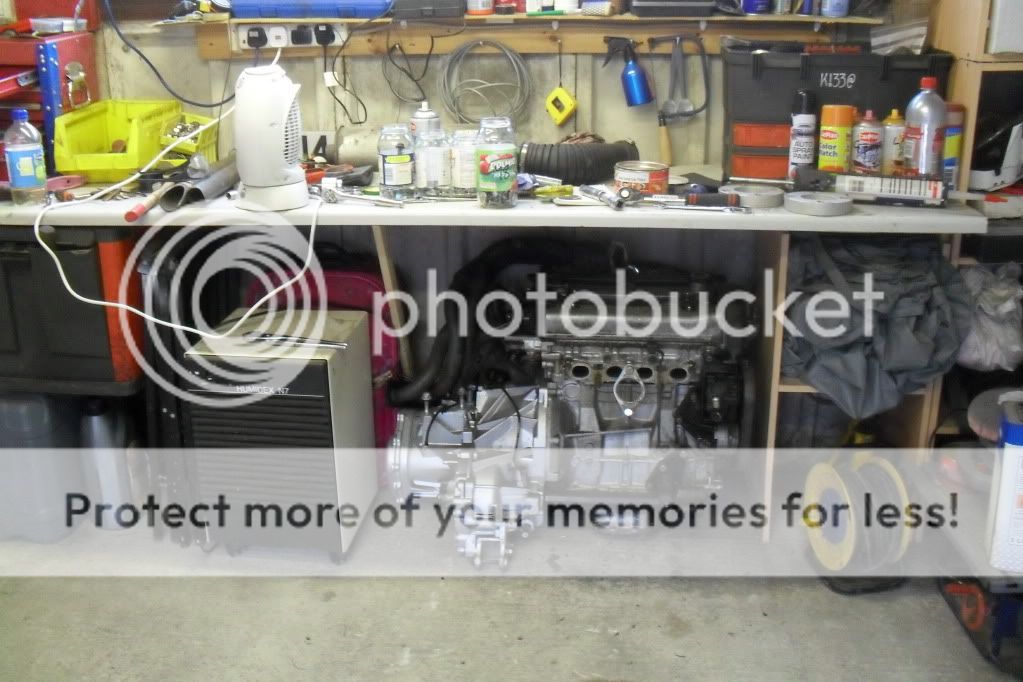
back in garage
there she is looking like a scrapper hahahahah
first job on the list
i think i'll give the red bits another coat of paint
engines new home for a while
back in garage
06-10-2012, 09:53 PM
#29
Wahay!! I've lost my Virginity!!
Thread Starter
Join Date: Oct 2012
Location: manchester
Posts: 52
Likes: 0
Received 0 Likes
on
0 Posts
spent another hour on the car tonight when the missus was watching corri. sorted!
not done lots but anything is better than nothing
removed the throttle cable
cut away even more useless bits of metal from on the car
run out of welding wire now but got the welding under the bonnet done first
cleaned up
as always more to be done tomorow
not done lots but anything is better than nothing
removed the throttle cable
cut away even more useless bits of metal from on the car
run out of welding wire now but got the welding under the bonnet done first
cleaned up
as always more to be done tomorow
06-10-2012, 09:54 PM
#30
Wahay!! I've lost my Virginity!!
Thread Starter
Join Date: Oct 2012
Location: manchester
Posts: 52
Likes: 0
Received 0 Likes
on
0 Posts
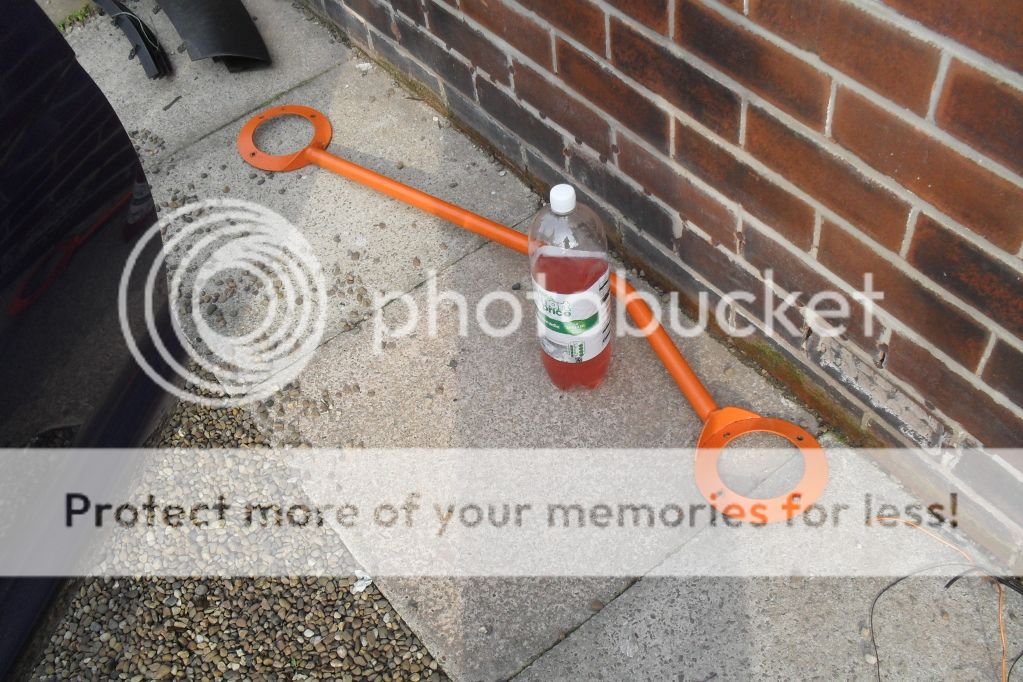
getting more of the engine bay sorte now, ground, sanded and painted the roll cage bars to stop them rusting.
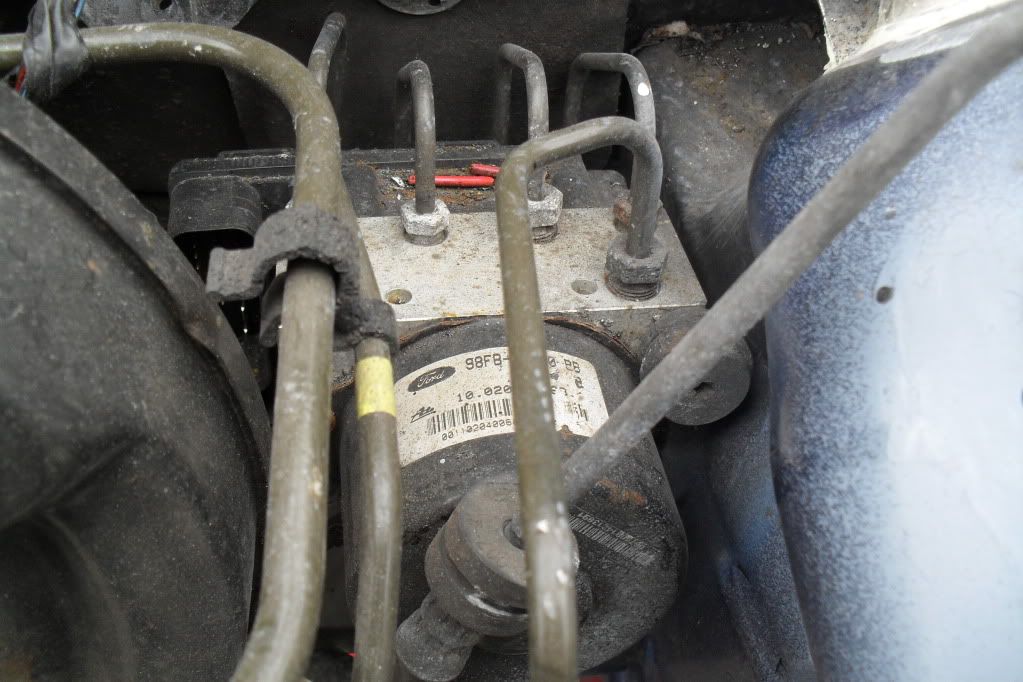
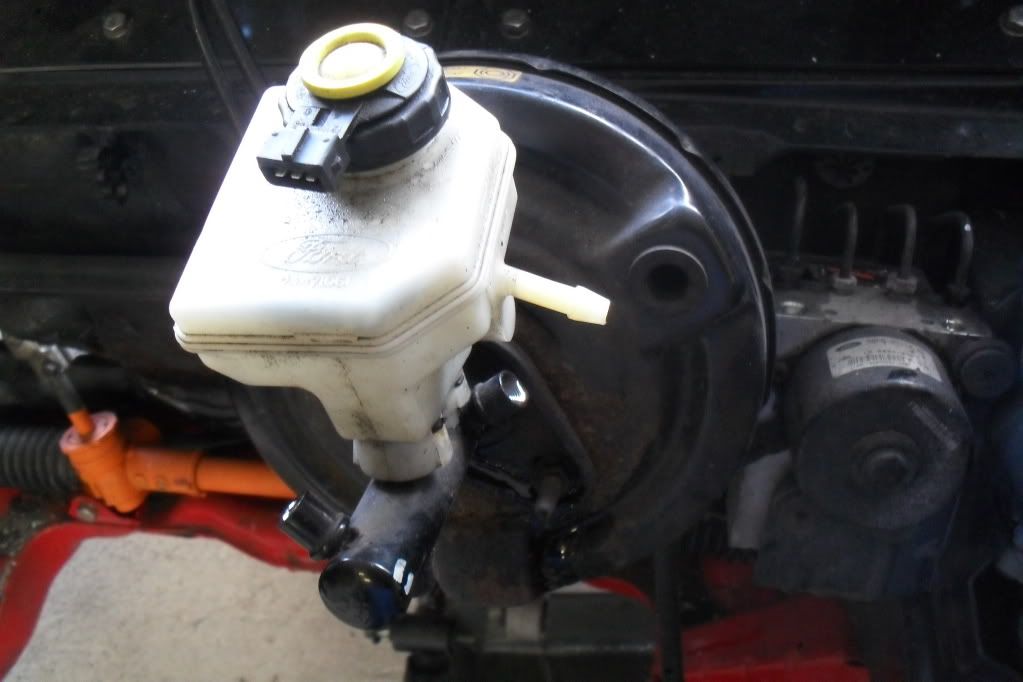
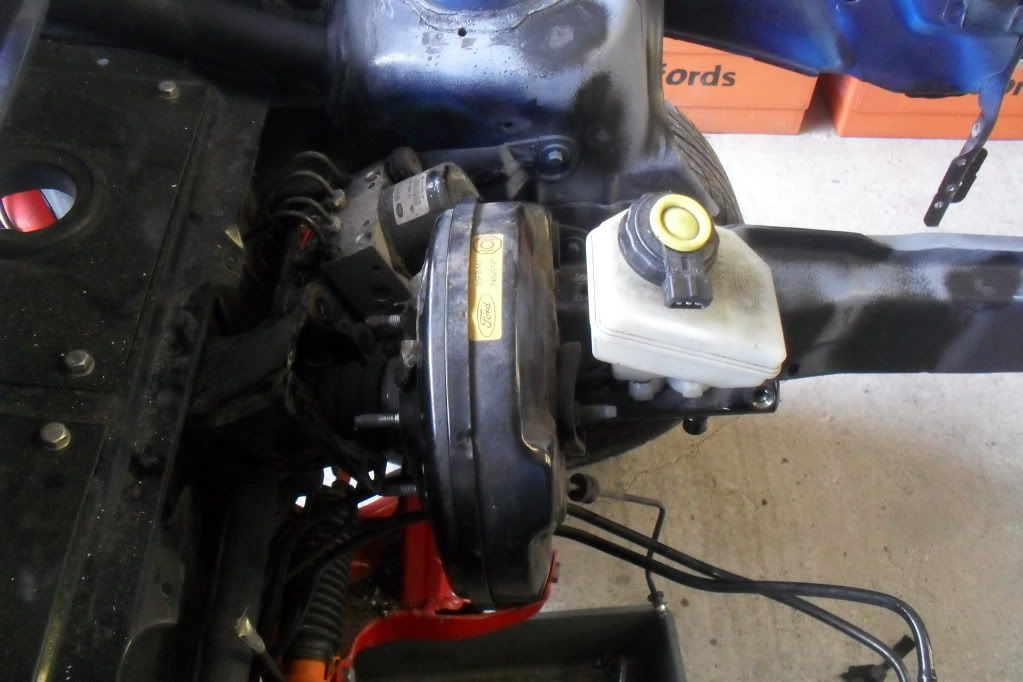
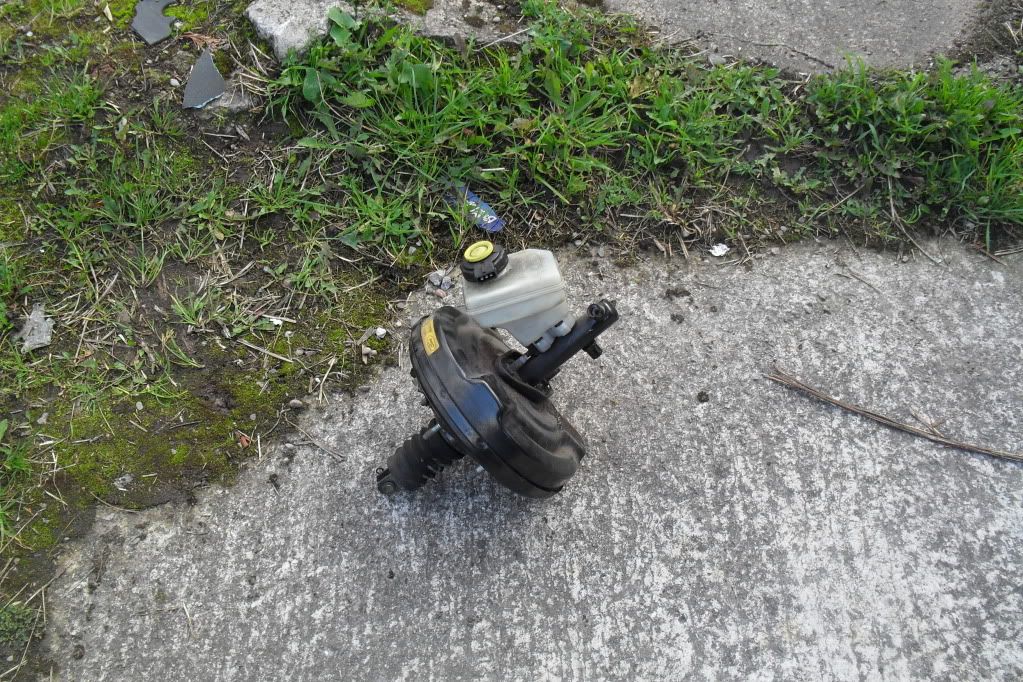
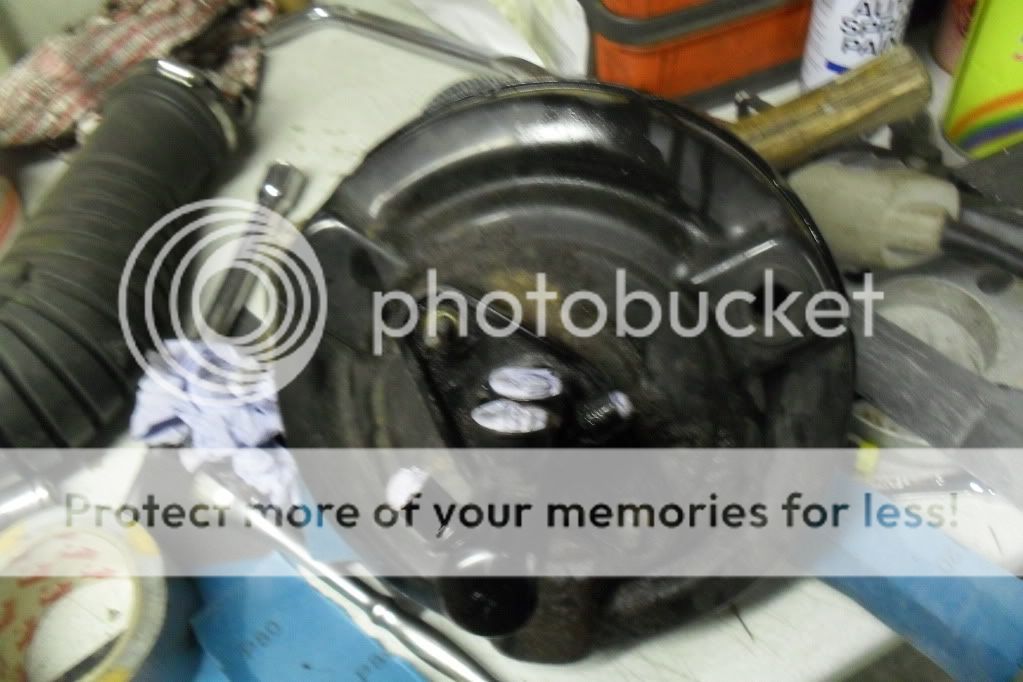
then i cracked on with removing the brake servo and abs pump.
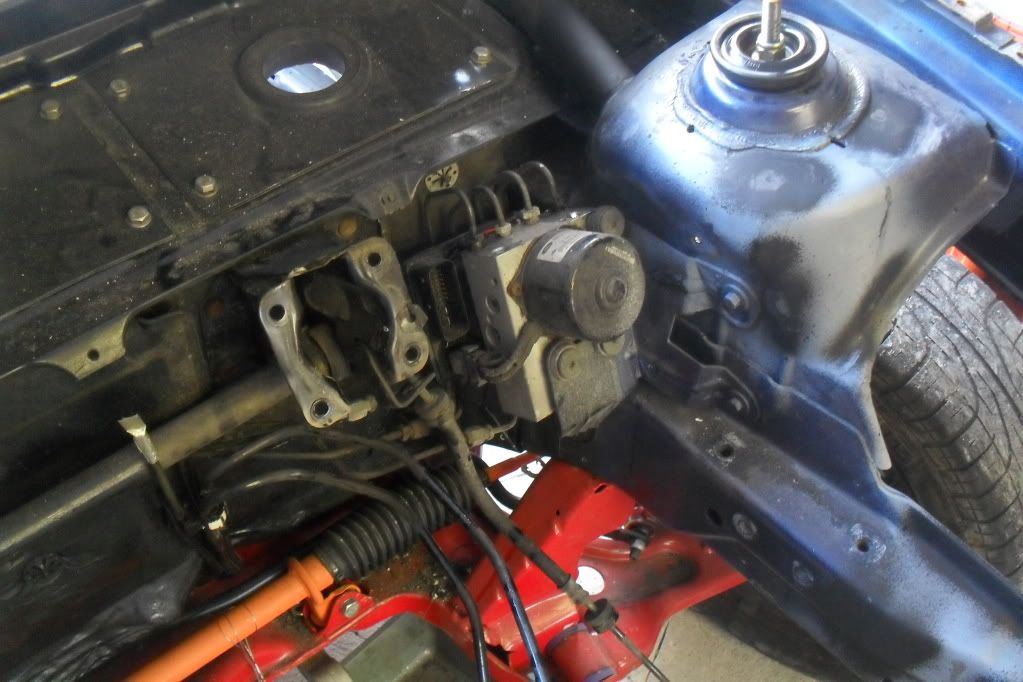
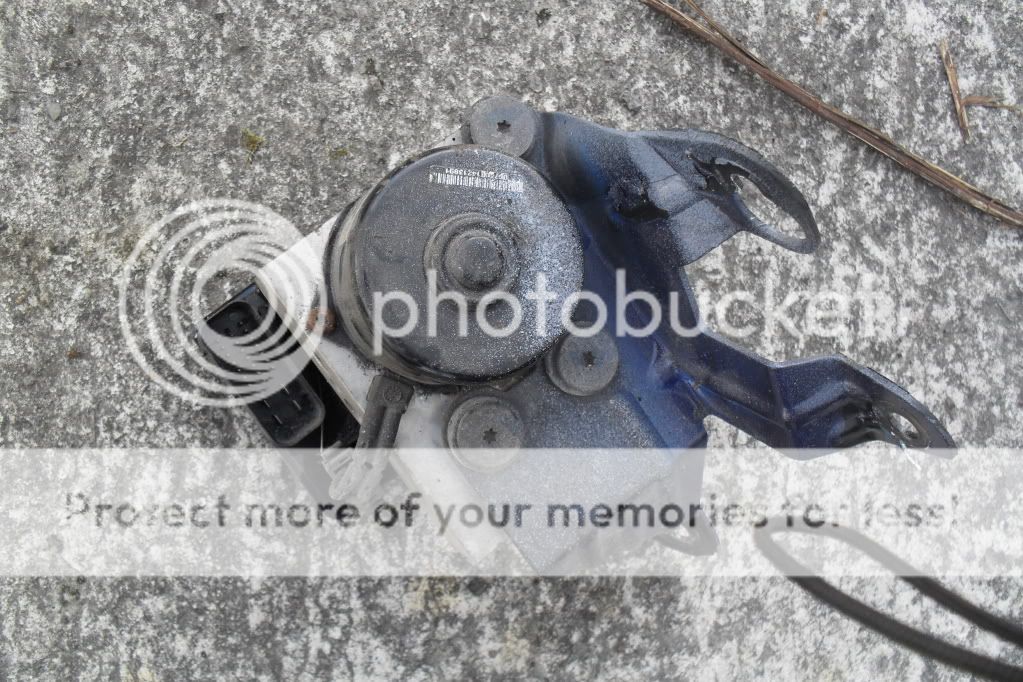
anybody want to buy an abs pump? open to offers
then i cracked on with removing the brake servo and abs pump.
anybody want to buy an abs pump? open to offers
06-10-2012, 09:55 PM
#31
Wahay!! I've lost my Virginity!!
Thread Starter
Join Date: Oct 2012
Location: manchester
Posts: 52
Likes: 0
Received 0 Likes
on
0 Posts
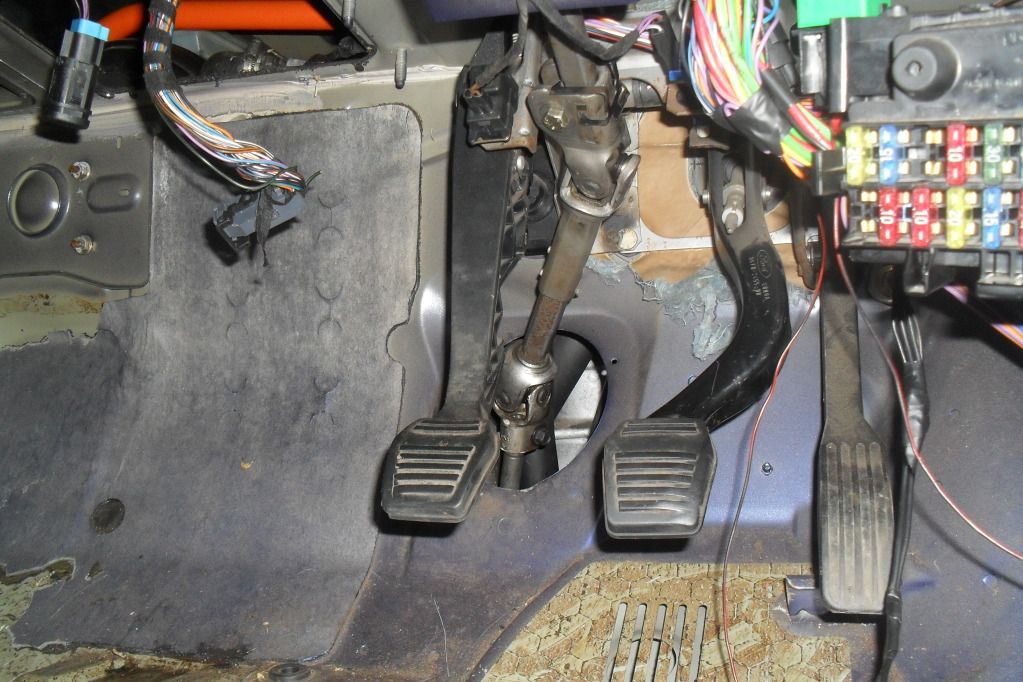
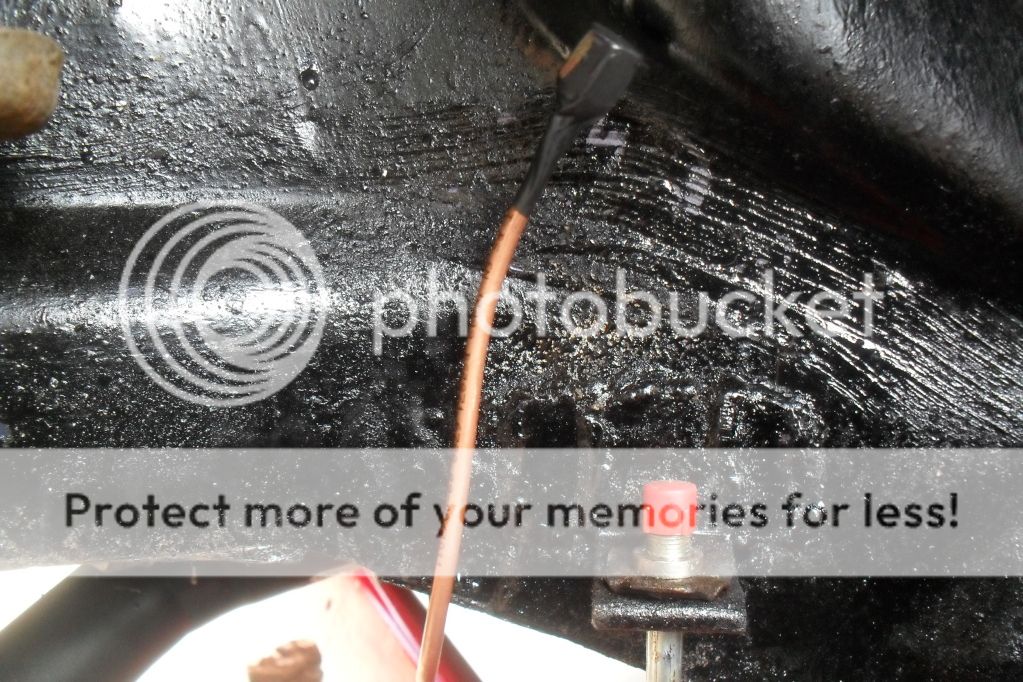
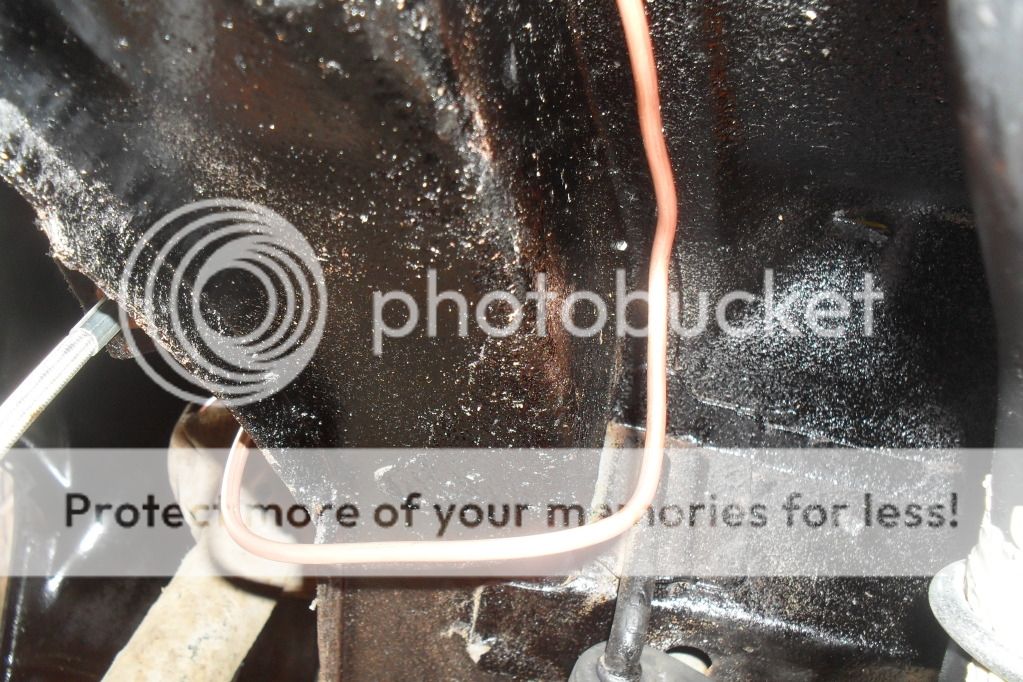
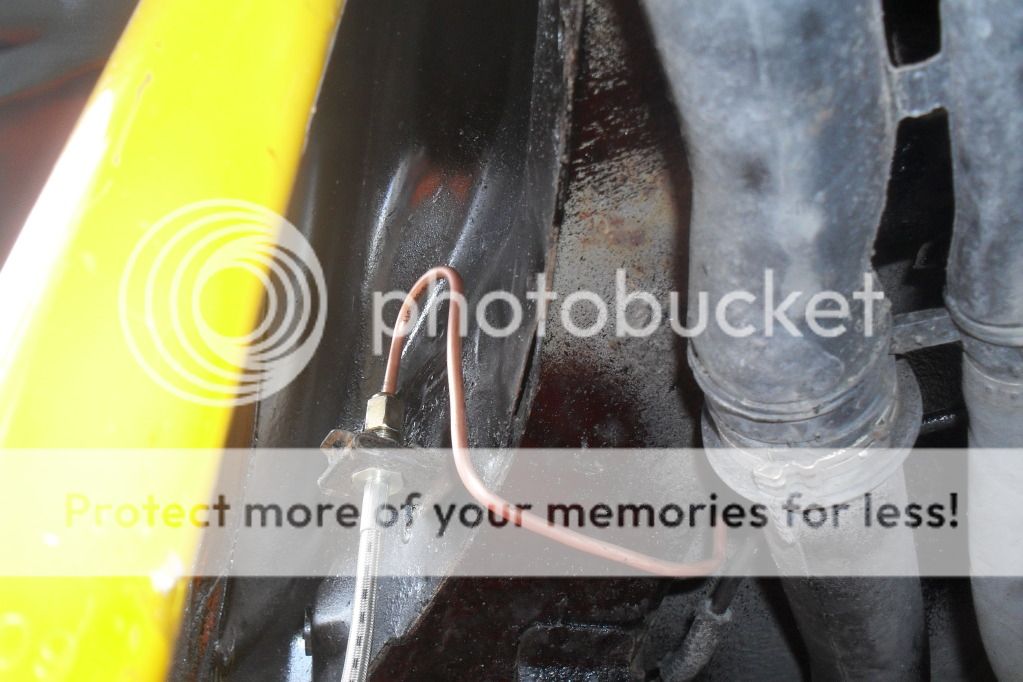
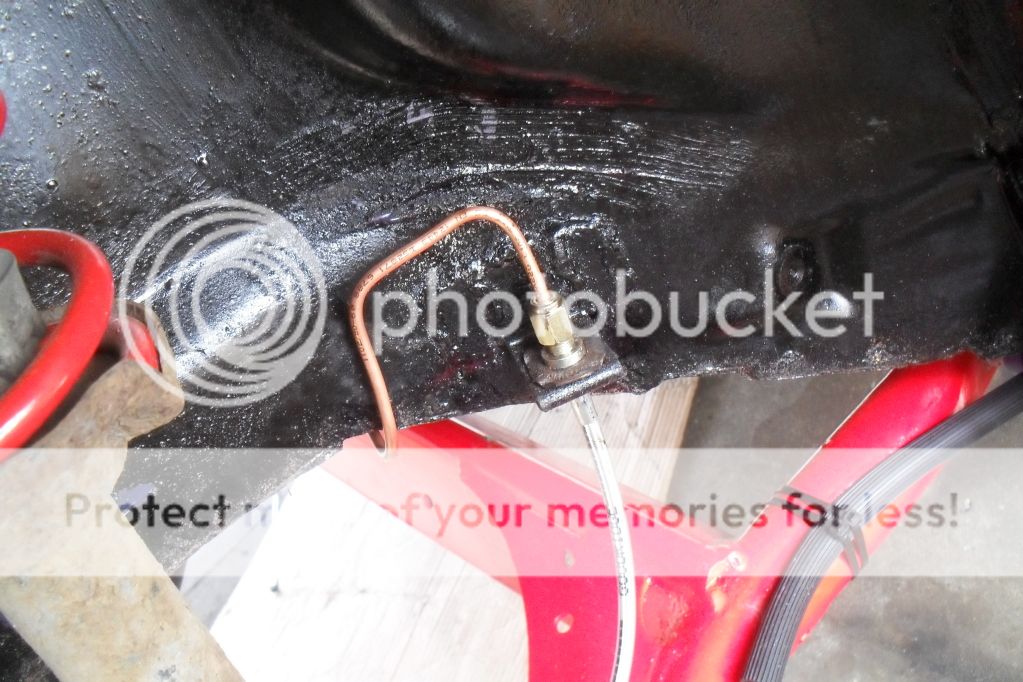
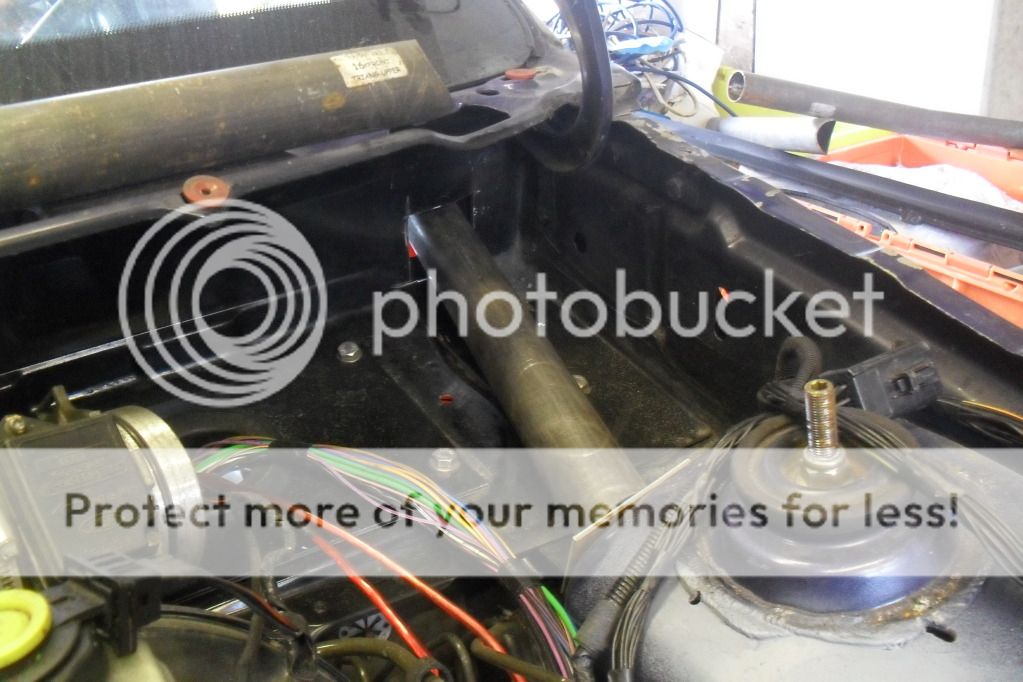
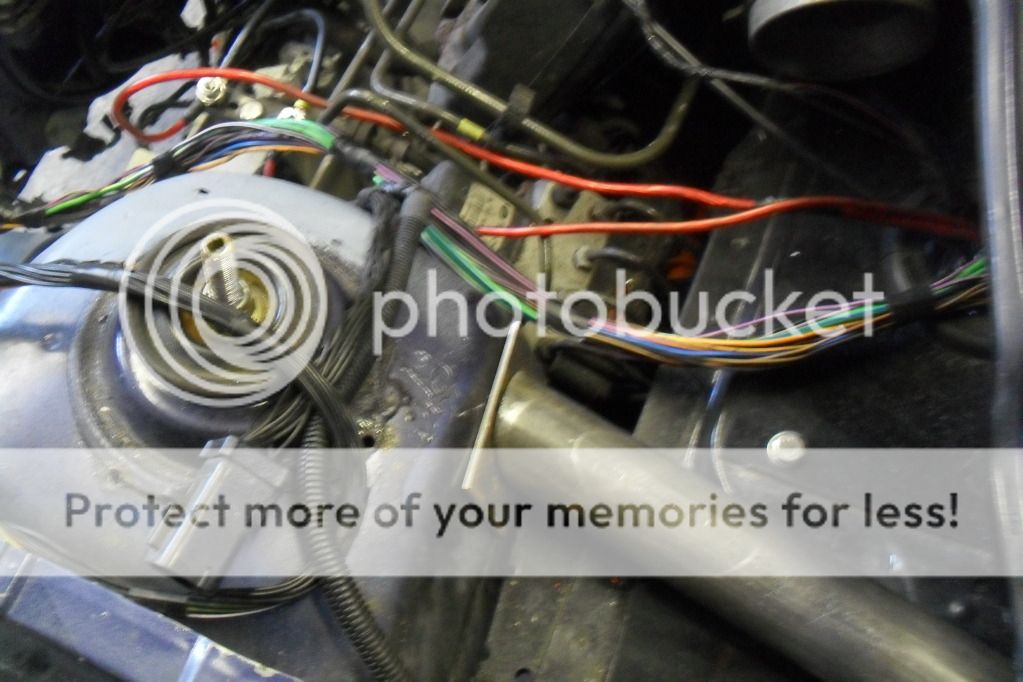
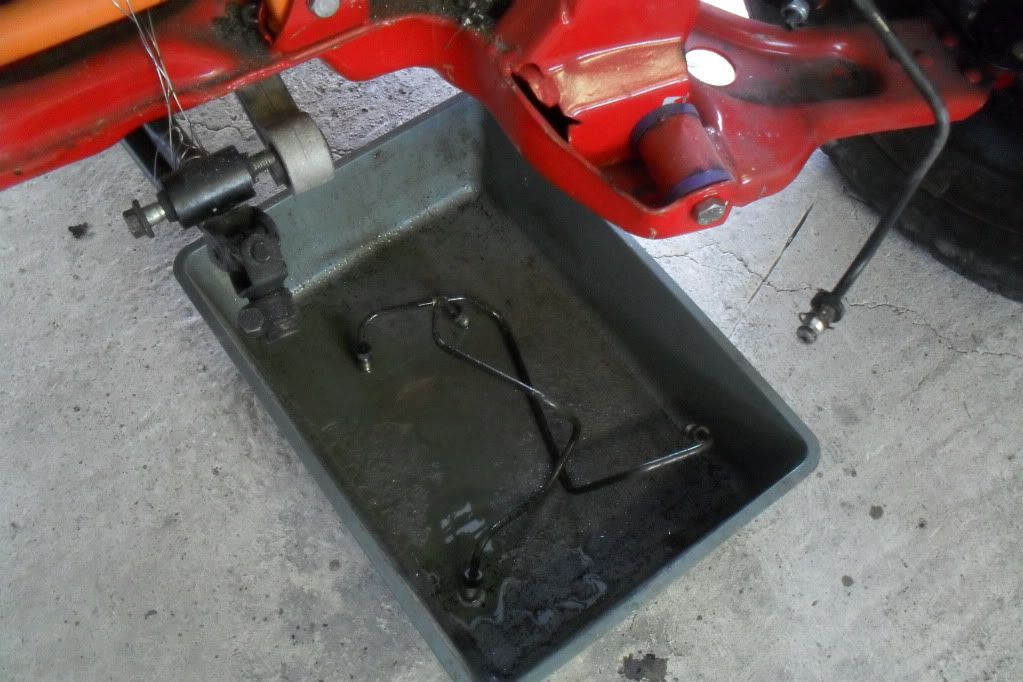
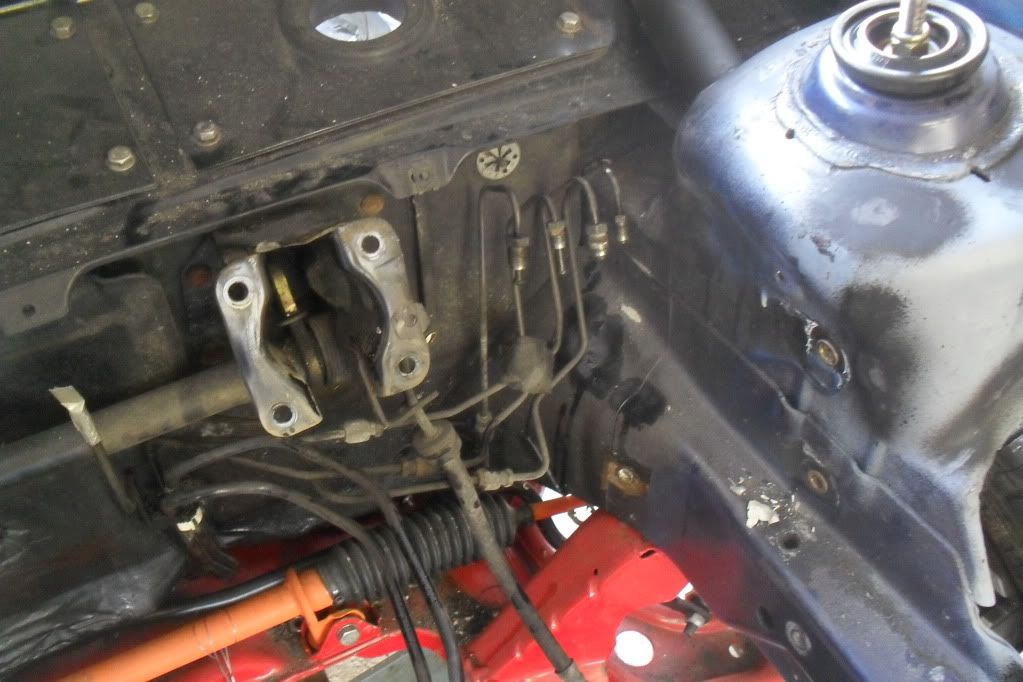
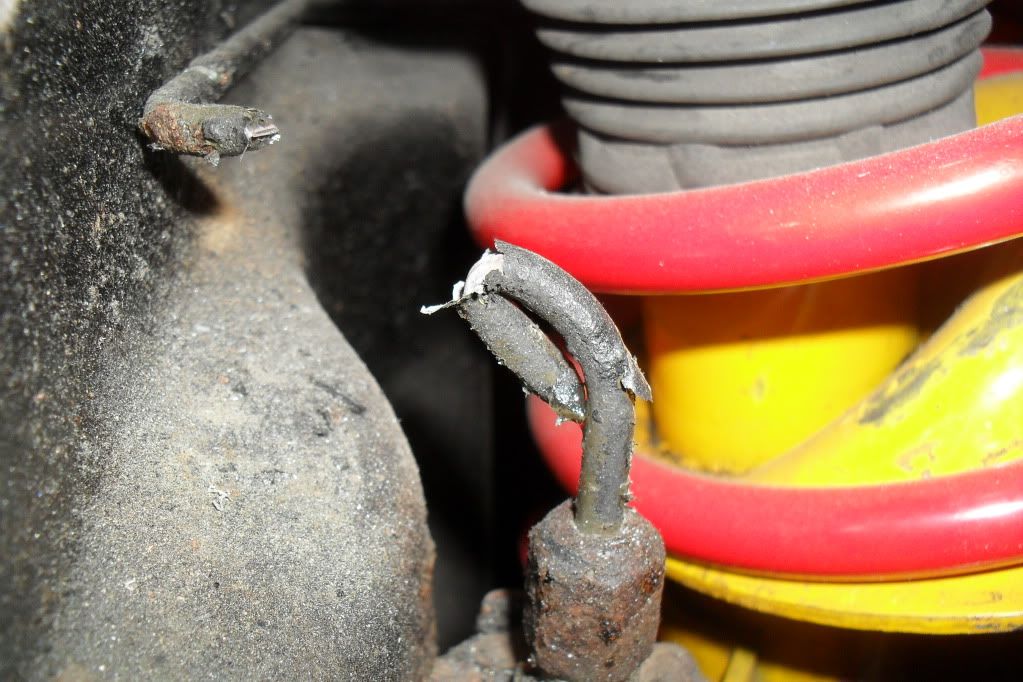
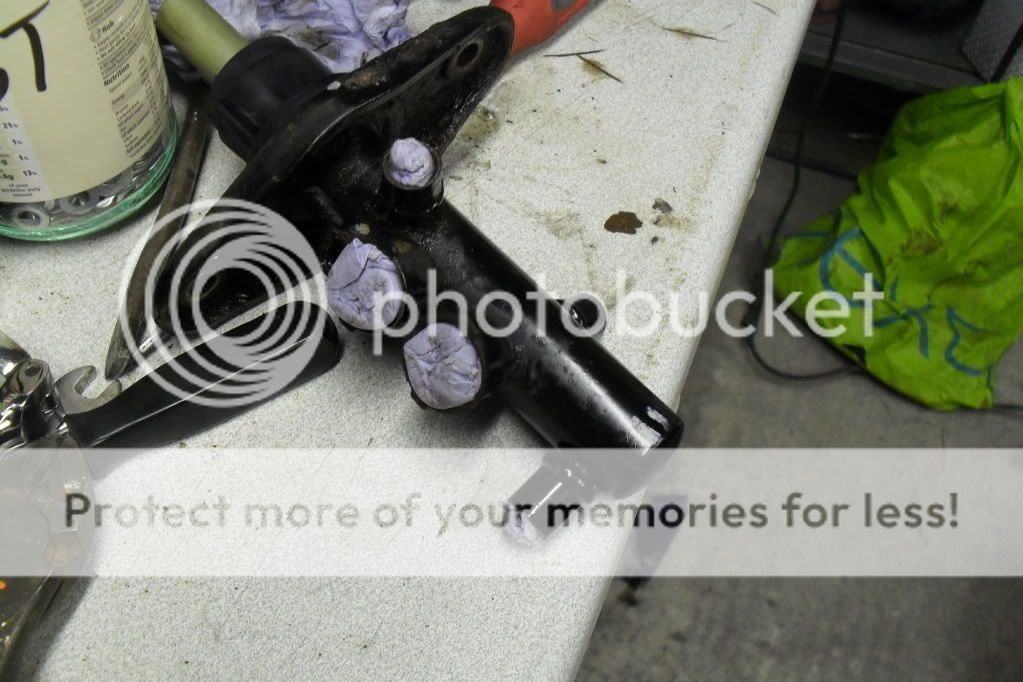
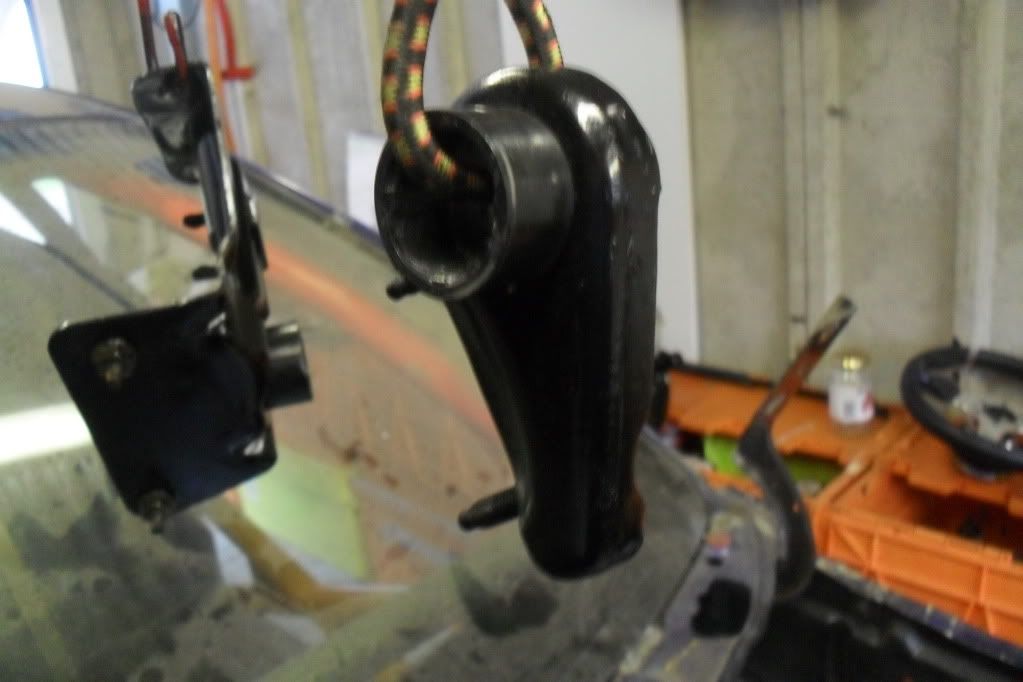
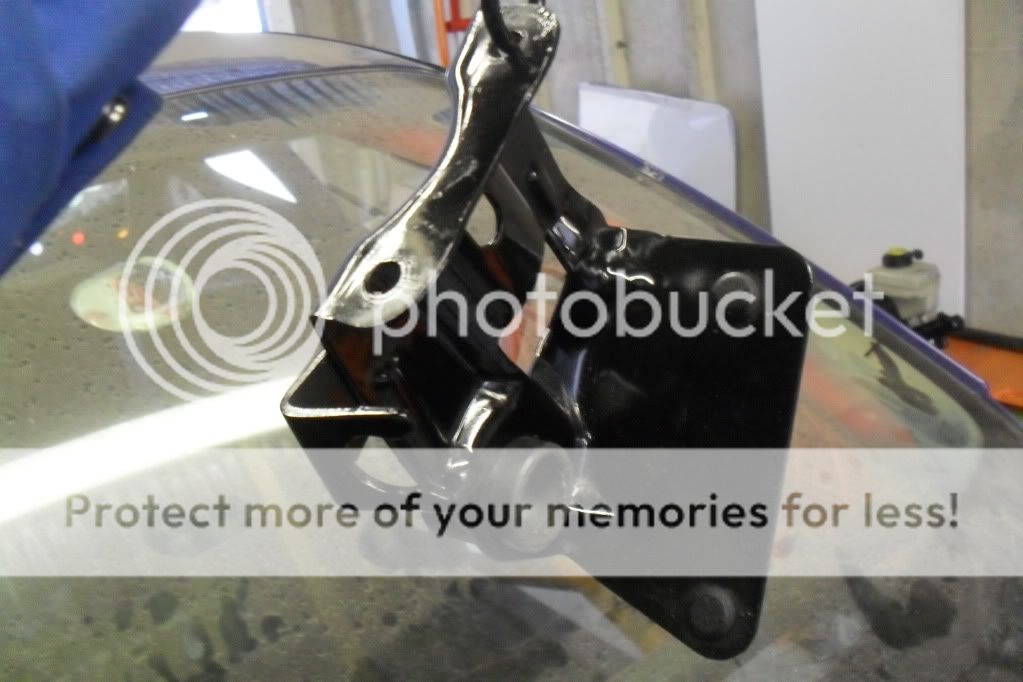
i started to remove the brake lines, i rounded over the front lines so no dirt gets in there before i fit the new lines.
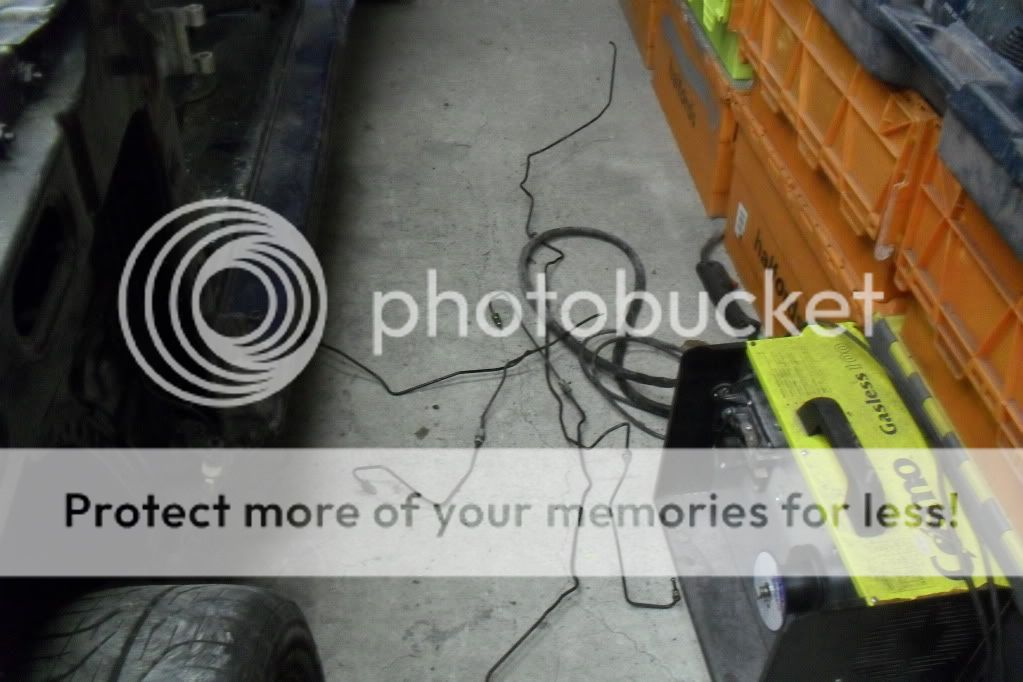
looking less clutered after i removed the cluch pipes and brake lines.
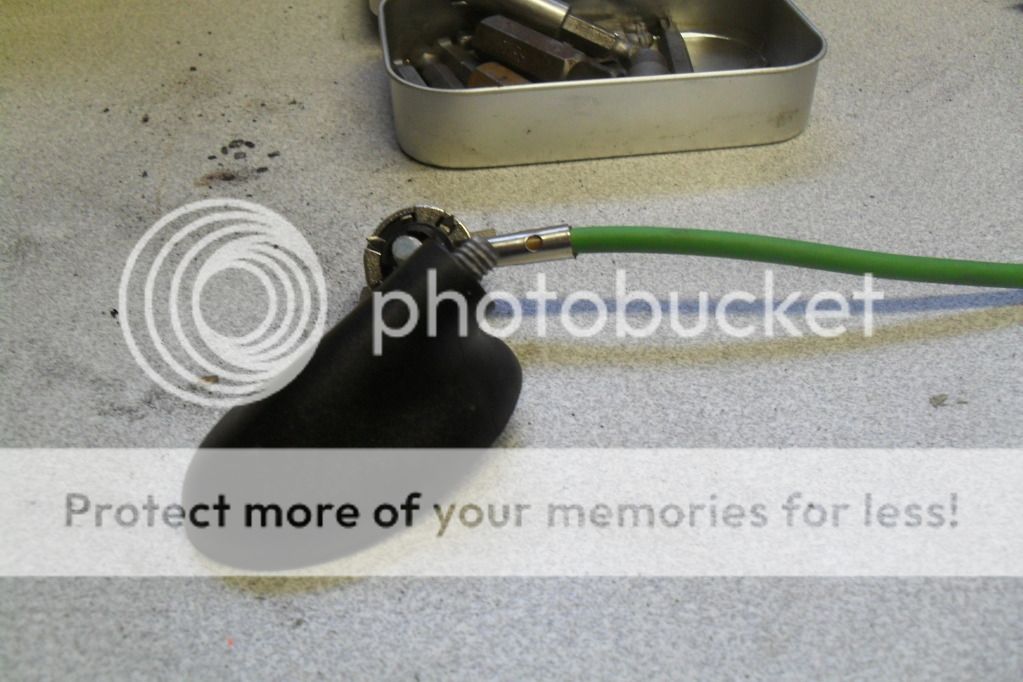
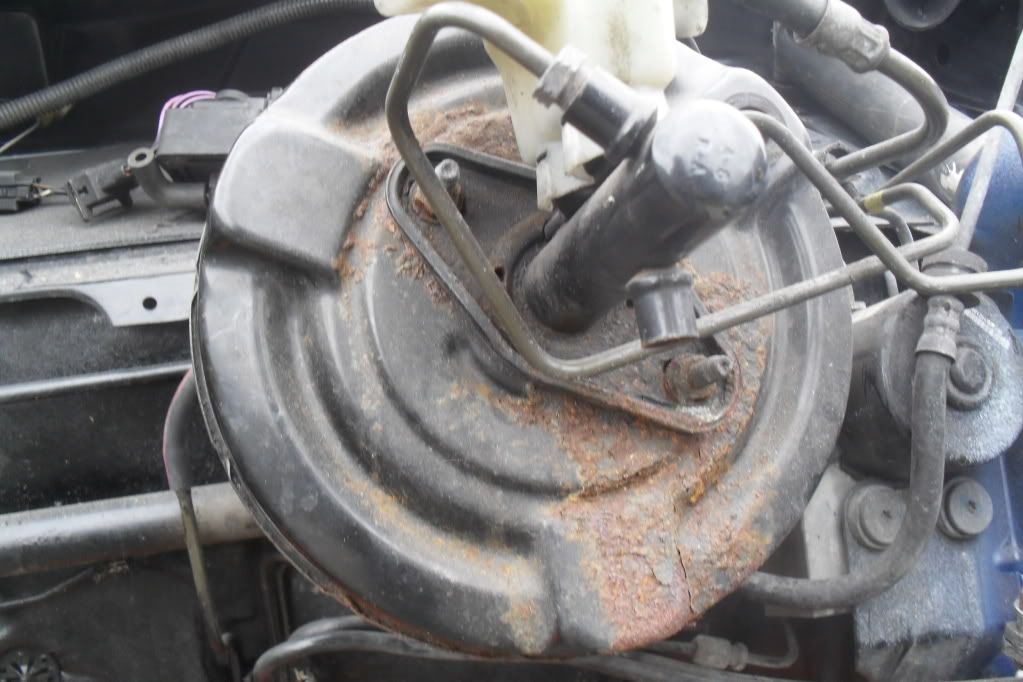
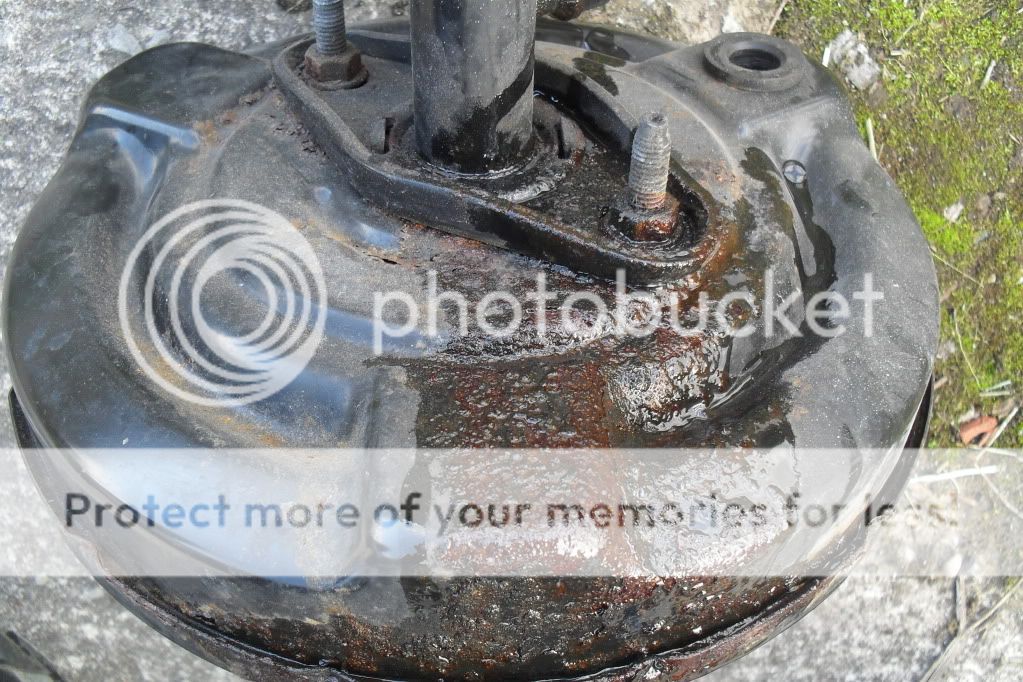
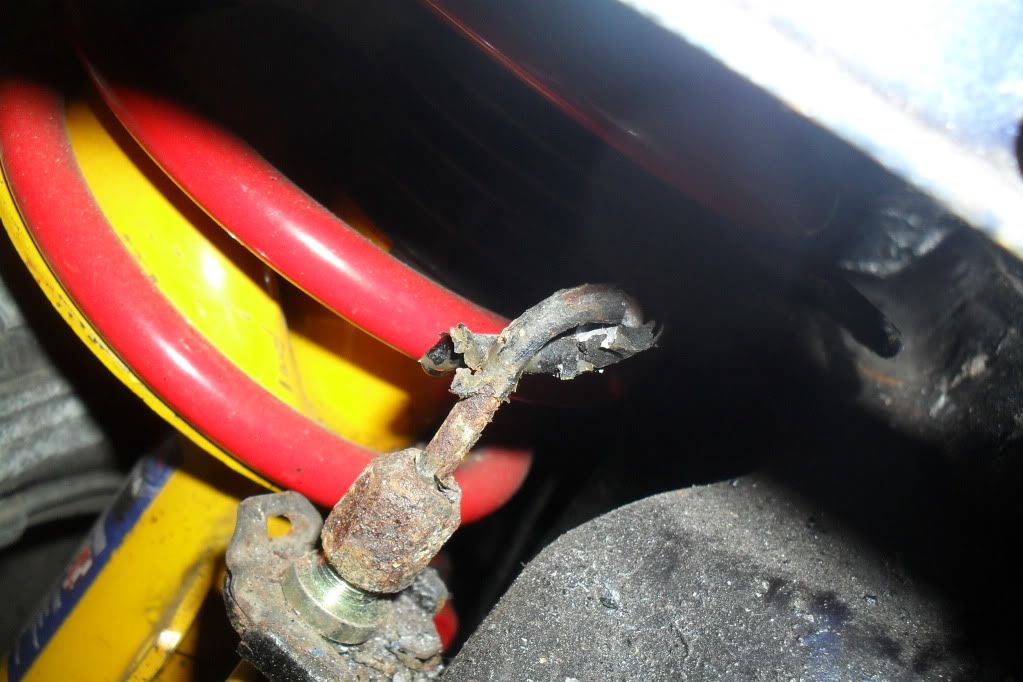
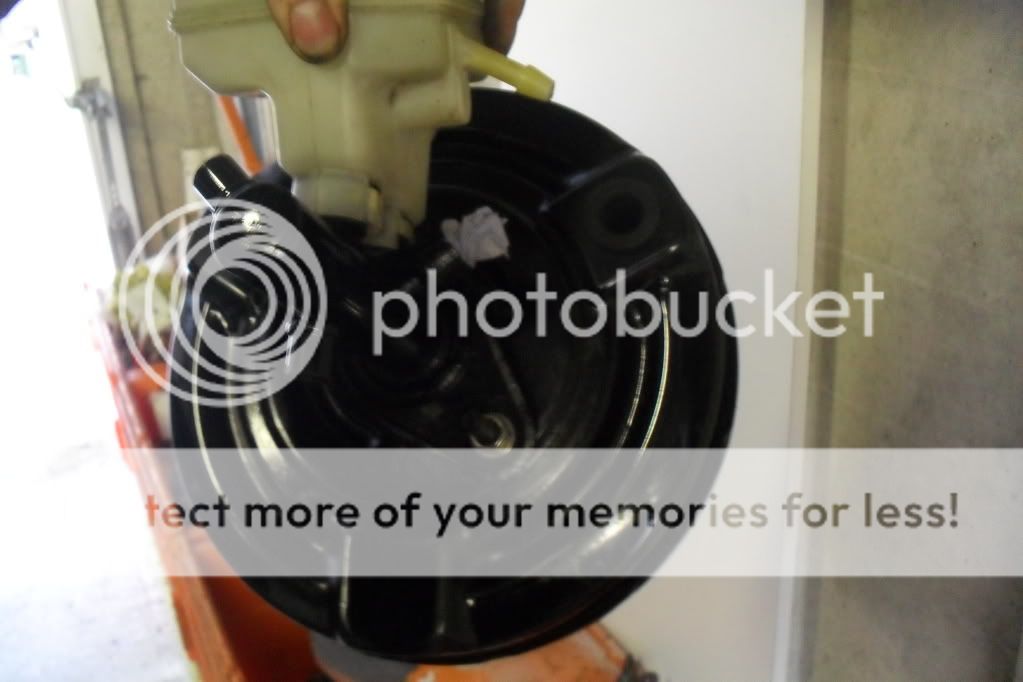
i also dismantled the brake cylinder to see where it was leaking from, needed to know if i had to buy a new one.
i found a dodgy seal hmmm
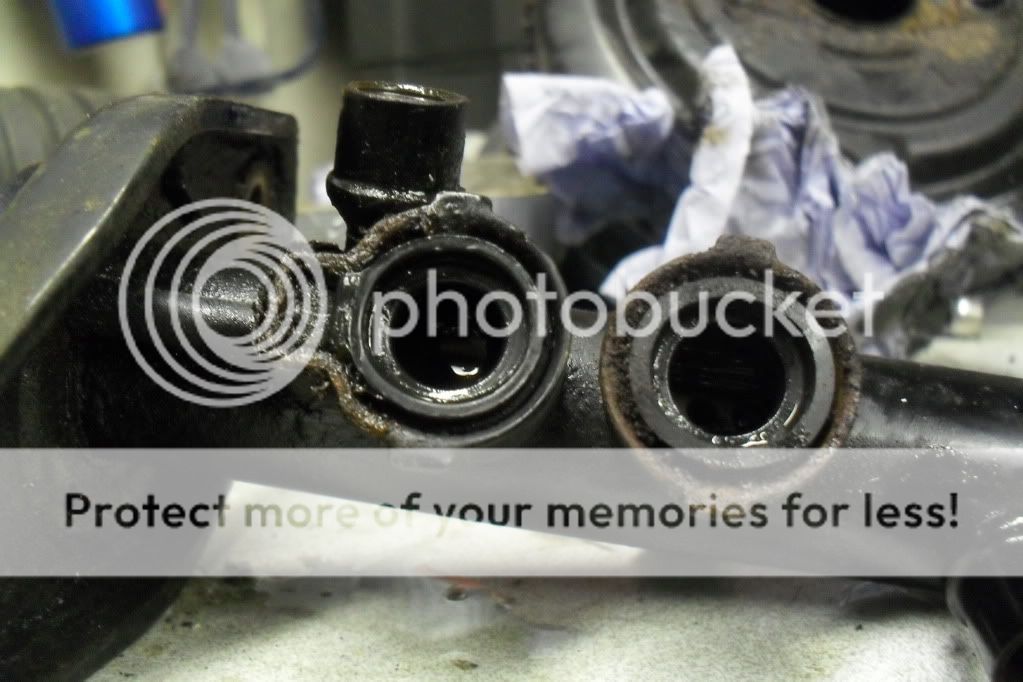
so i removed the seal and cleaned it in the kitchen sink. before i cleaned it i blocked up the holes in the cylinder so they dont get any dirt in there
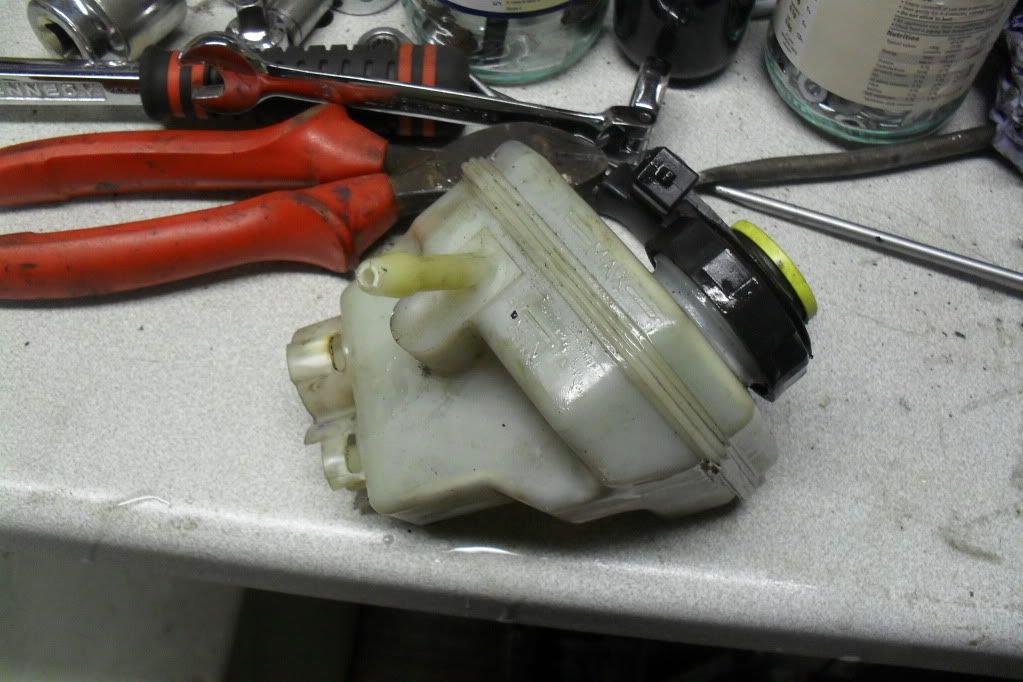
fitted to the servo again to stop dirt
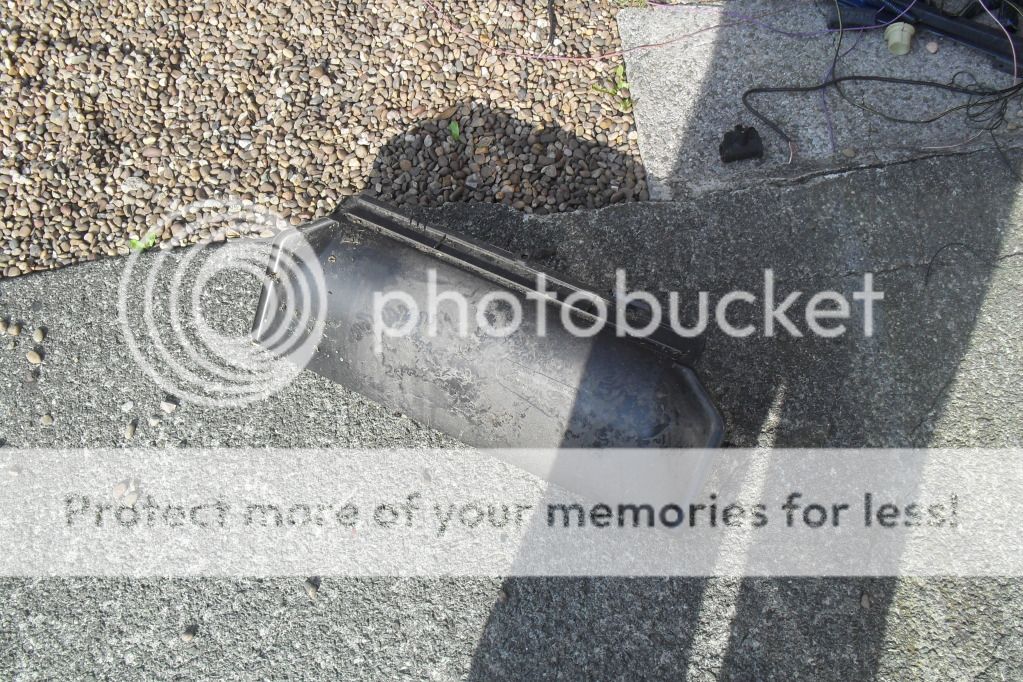
im goin to need a new tank though its very shabby and the fitment to the cylinder is slightly damaged so dont want to chance it back on the car
here are some pics of the broken seal
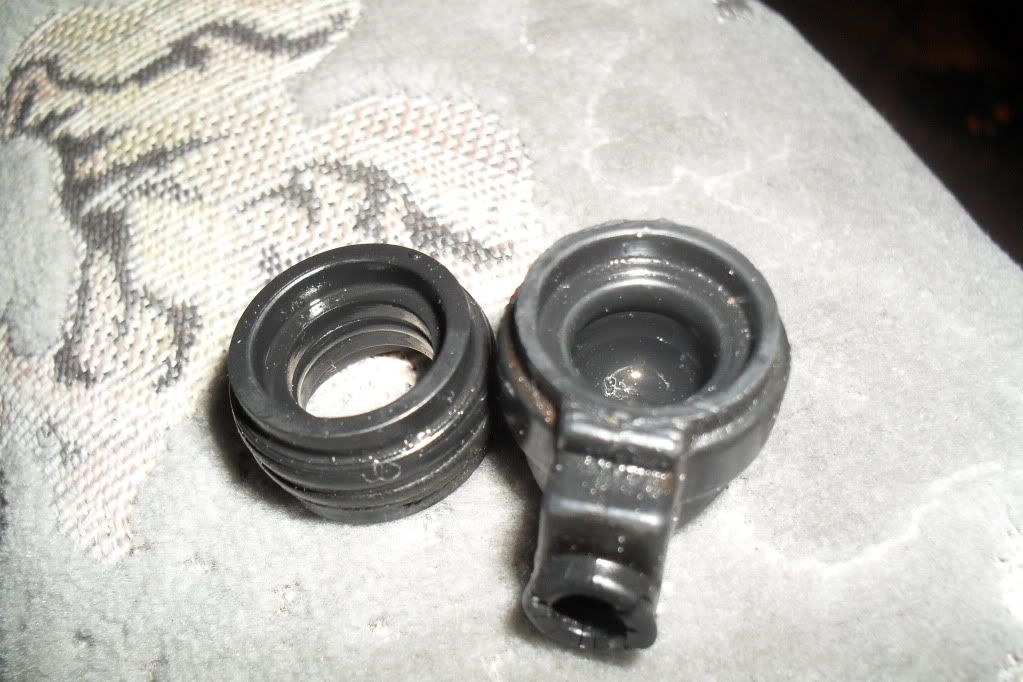

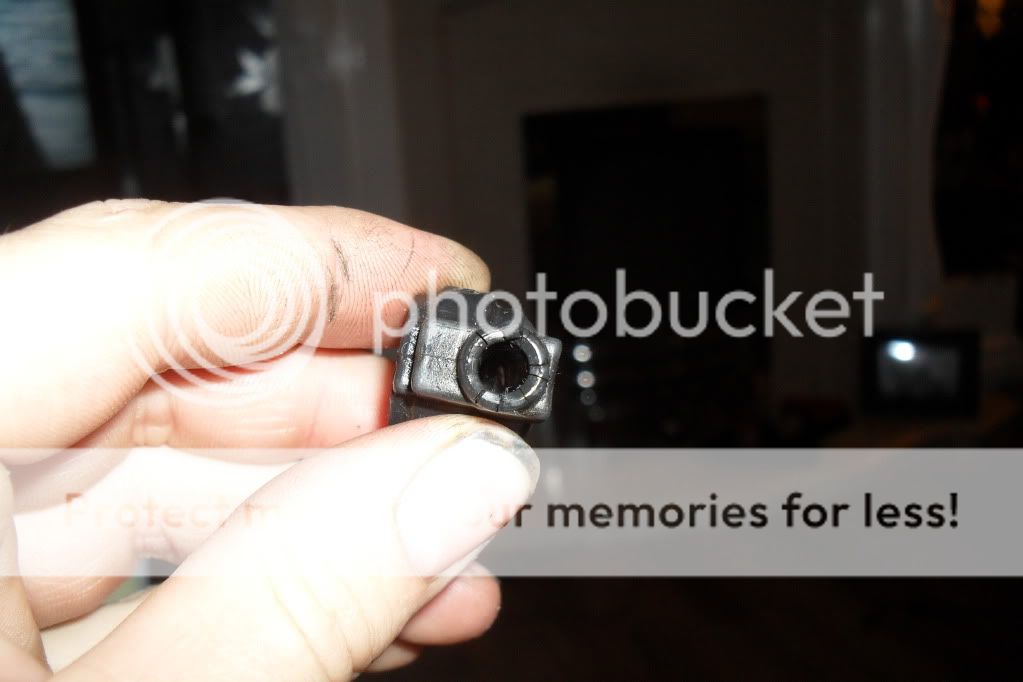
other than ford are they for sale anywhere else?
looking less clutered after i removed the cluch pipes and brake lines.
i also dismantled the brake cylinder to see where it was leaking from, needed to know if i had to buy a new one.
i found a dodgy seal hmmm
so i removed the seal and cleaned it in the kitchen sink. before i cleaned it i blocked up the holes in the cylinder so they dont get any dirt in there
fitted to the servo again to stop dirt
im goin to need a new tank though its very shabby and the fitment to the cylinder is slightly damaged so dont want to chance it back on the car
here are some pics of the broken seal
other than ford are they for sale anywhere else?
06-10-2012, 10:05 PM
#32
Wahay!! I've lost my Virginity!!
Thread Starter
Join Date: Oct 2012
Location: manchester
Posts: 52
Likes: 0
Received 0 Likes
on
0 Posts
 06-10-2012, 10:13 PM
#34
ffoc.co.uk
Top progress man. I see the birds love your car  .
.
.
06-10-2012, 10:21 PM
#35
looking very good i think its a bit late for this bit of advice iv got a custom cage in my fouc cosworth im bilding . wot it is so you can weld the top of the cage you have to cut holes in the floor then put a strap round the bottom of the hoop then pull it in then drop the hoop throw the floor then weld the top then lift it back up then carry on with the welding and please make shower you have a stong welder so it penatrats the metal not just sit on top of the metal . all the best with you bild its looking good
Last edited by COLEYST200; 06-10-2012 at 10:34 PM.
06-10-2012, 10:27 PM
#36
Wahay!! I've lost my Virginity!!
Thread Starter
Join Date: Oct 2012
Location: manchester
Posts: 52
Likes: 0
Received 0 Likes
on
0 Posts
cheers bud i like to keep myself busy.
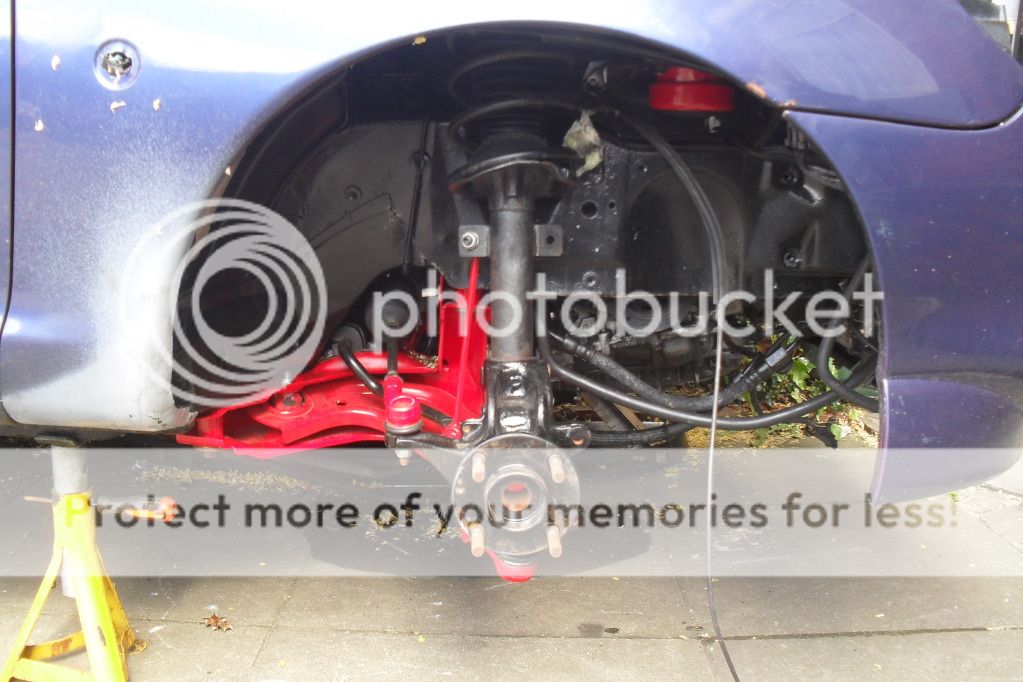
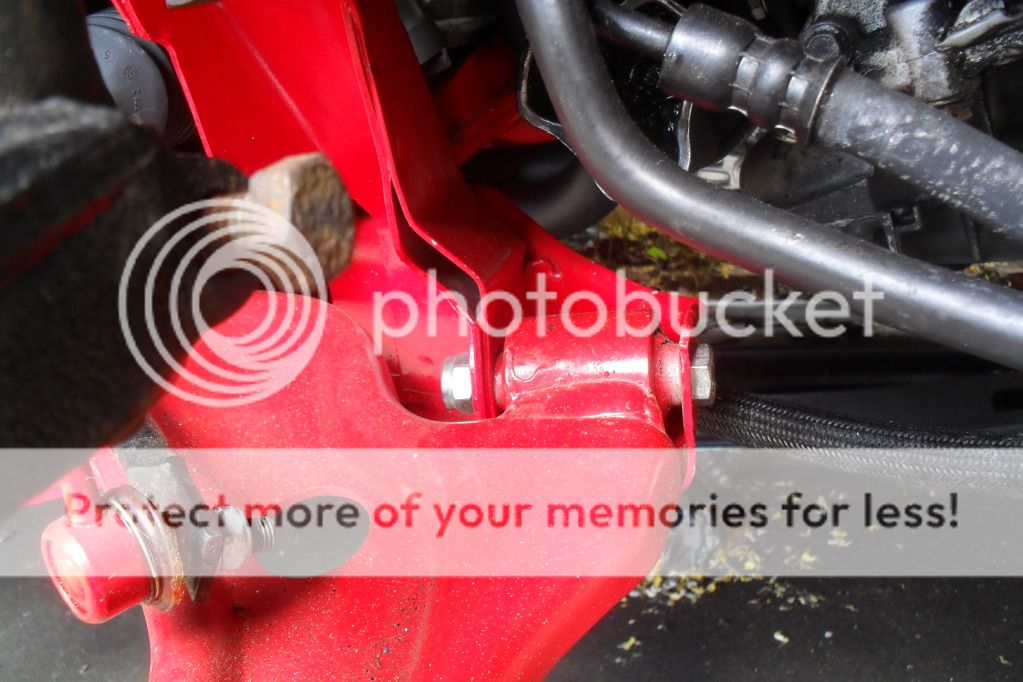
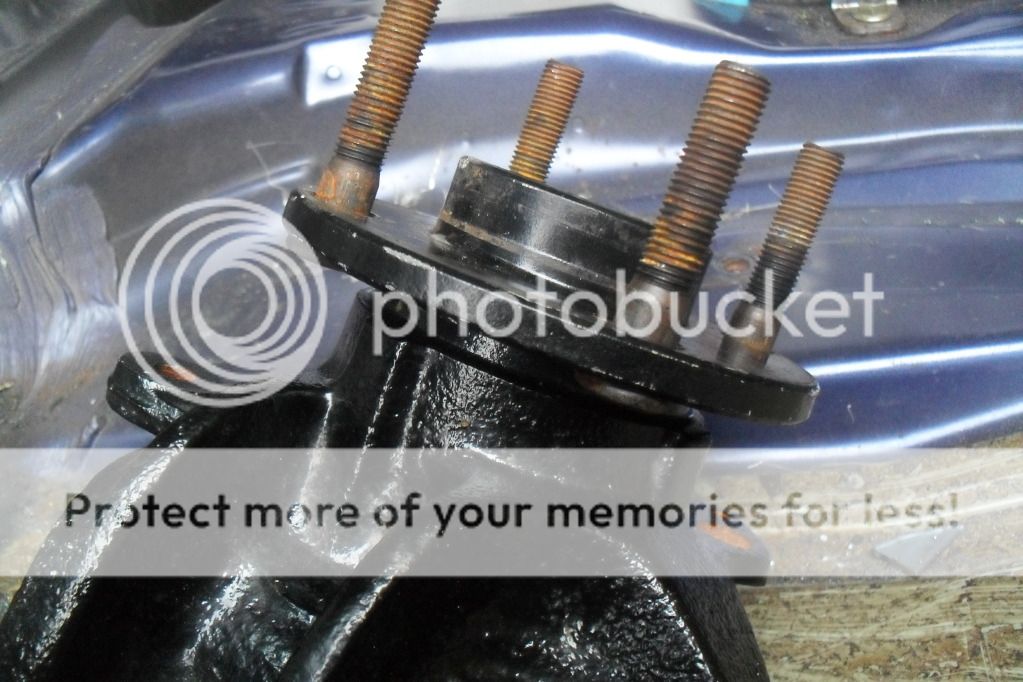
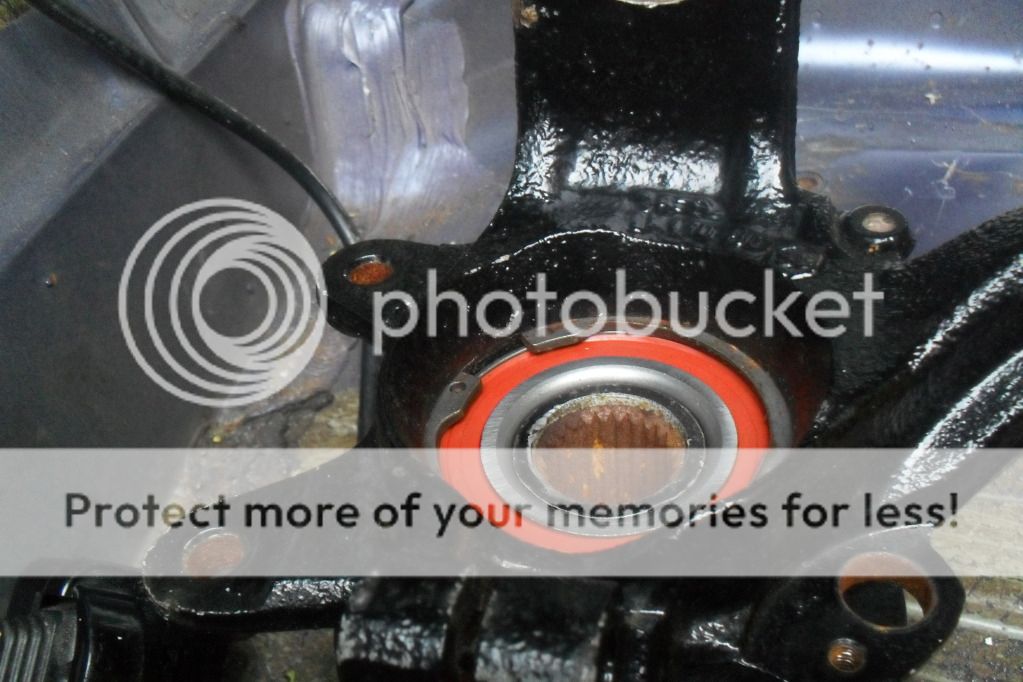
and thanks sam ive just had a look and yeah they are the wrong way i must of put them on the wrong way after i swapped the rack, im stripping the front end down soon so ill swap them then
cheers kieran
and thanks sam ive just had a look and yeah they are the wrong way i must of put them on the wrong way after i swapped the rack, im stripping the front end down soon so ill swap them then
cheers kieran
06-10-2012, 10:33 PM
#37
Wahay!! I've lost my Virginity!!
Thread Starter
Join Date: Oct 2012
Location: manchester
Posts: 52
Likes: 0
Received 0 Likes
on
0 Posts
looking very good i think its a bit late for this bit of advice iv got a custom cage in my fouc cosworth im bilding . wot it is so you can weld the top of the cage you have to cut holes in the floor then put a strap round the bottom of the hoop then pull it in then drop the hoop throw the floor then weld the top then lift it back up then carry on with the welding and please make shower you have a stong welder so it penatrats the metal not just sit on top of the metal . all the best with you bild its looking good
06-10-2012, 10:49 PM
#38
nice progress mate, far too many pics for this to be all one page it takes ages to load lol!
and like mentioned above about the cage make sure you get some proper welds on there non of the gasless mig types you wont get the proper penetration on the weld and in an accident, the cage breaking up could actually kill you not save you!
and like mentioned above about the cage make sure you get some proper welds on there non of the gasless mig types you wont get the proper penetration on the weld and in an accident, the cage breaking up could actually kill you not save you!
12-10-2012, 11:29 PM
#40
Wahay!! I've lost my Virginity!!
Thread Starter
Join Date: Oct 2012
Location: manchester
Posts: 52
Likes: 0
Received 0 Likes
on
0 Posts
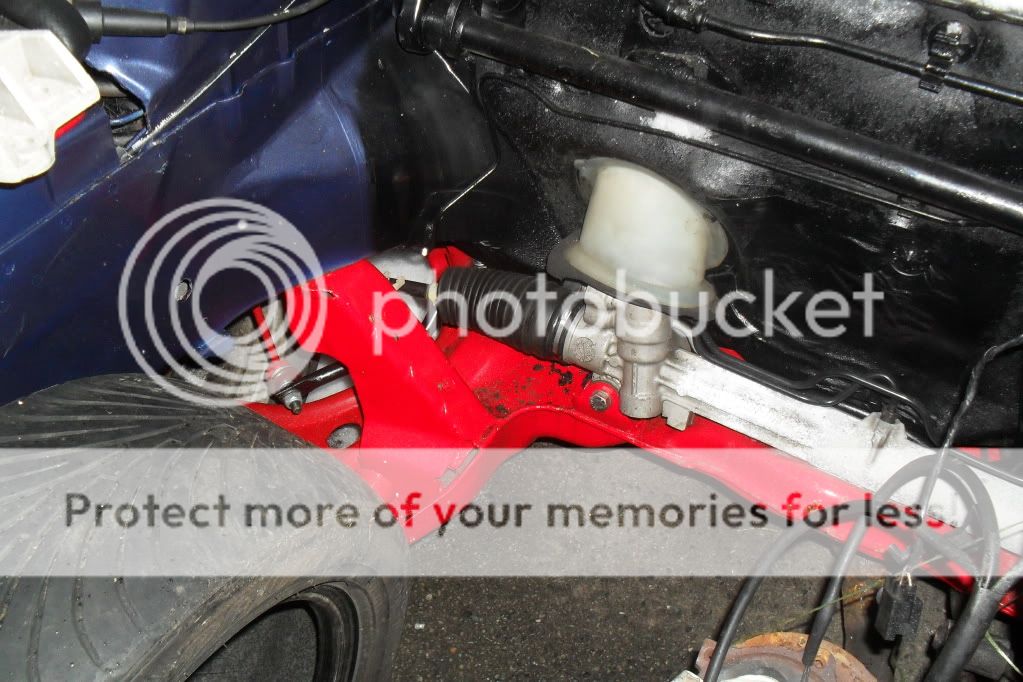
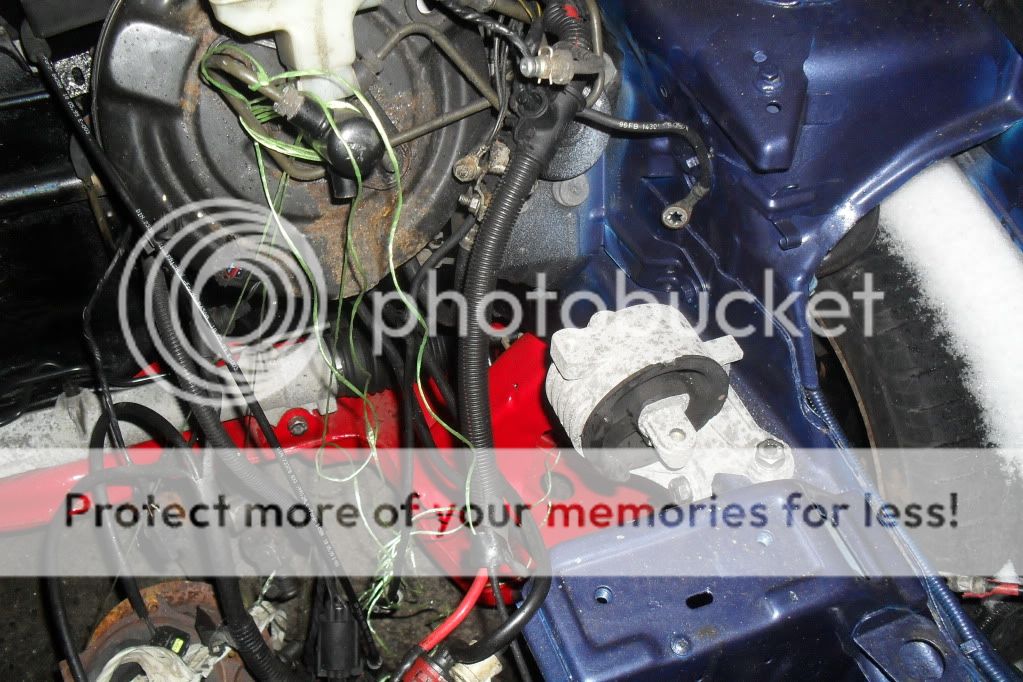
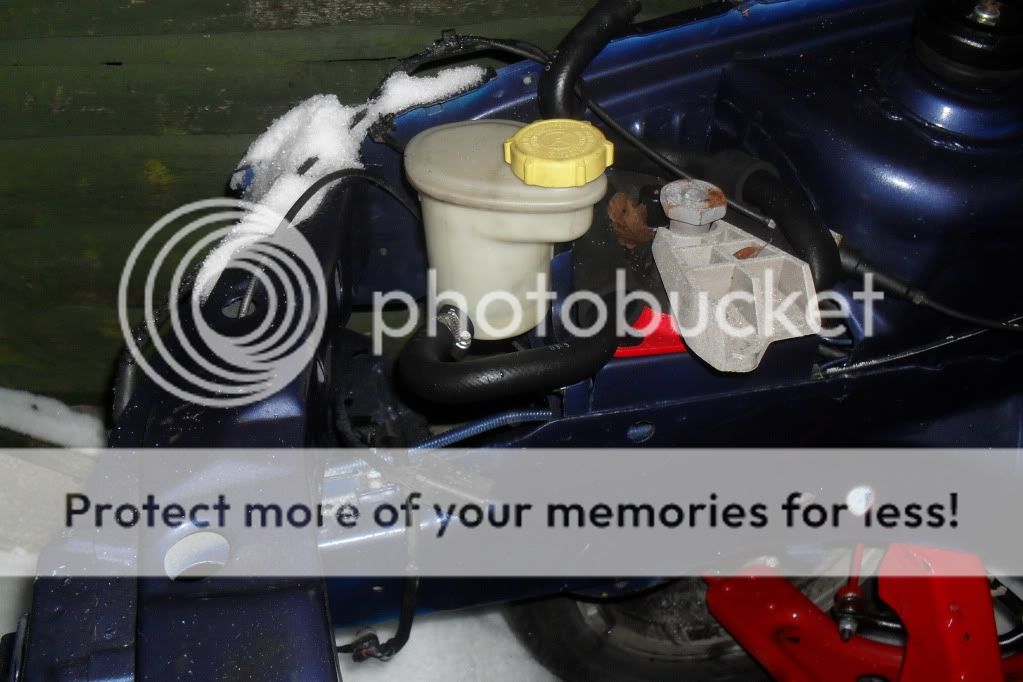
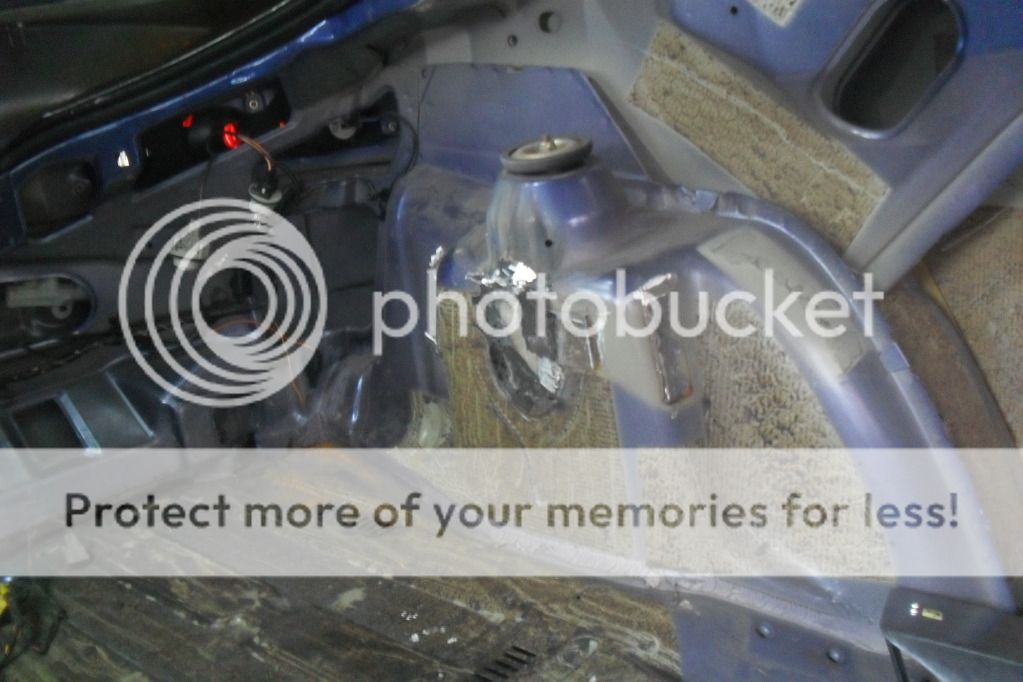
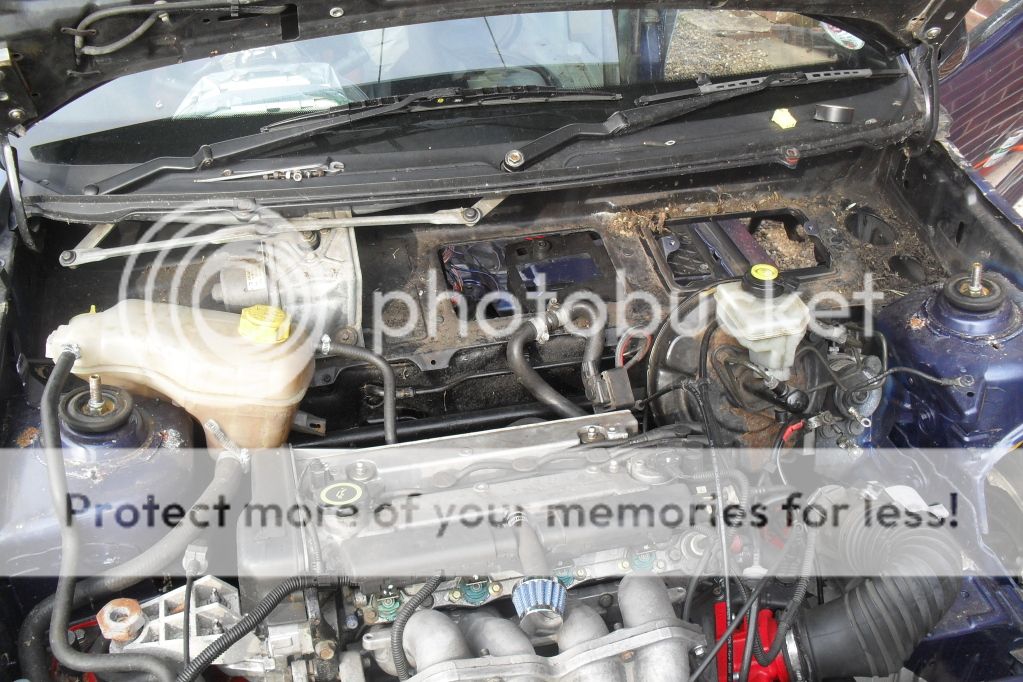
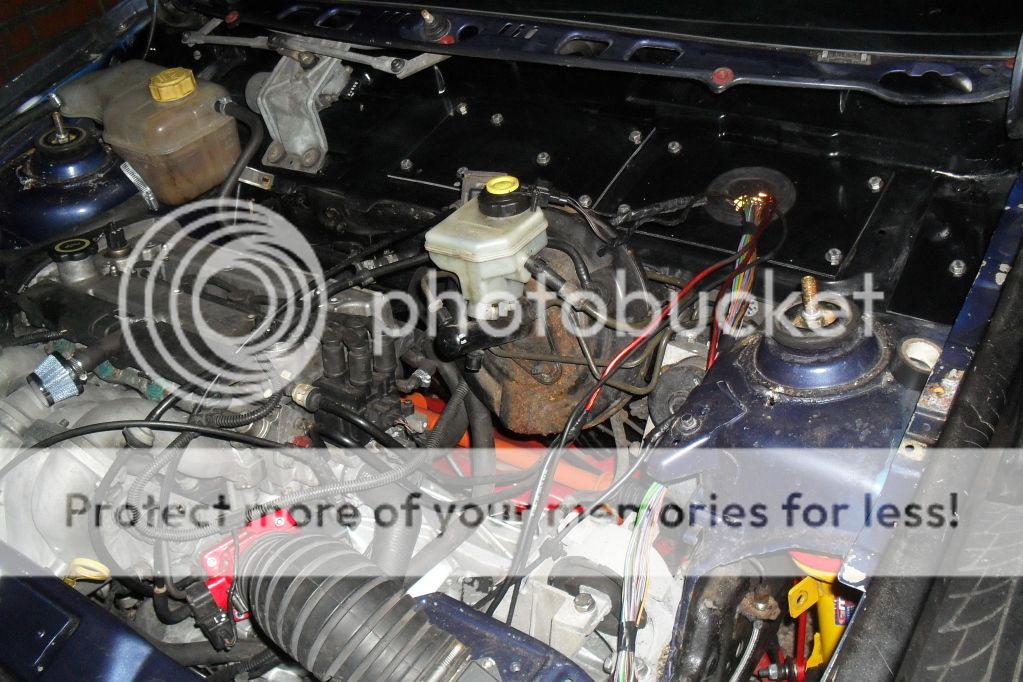
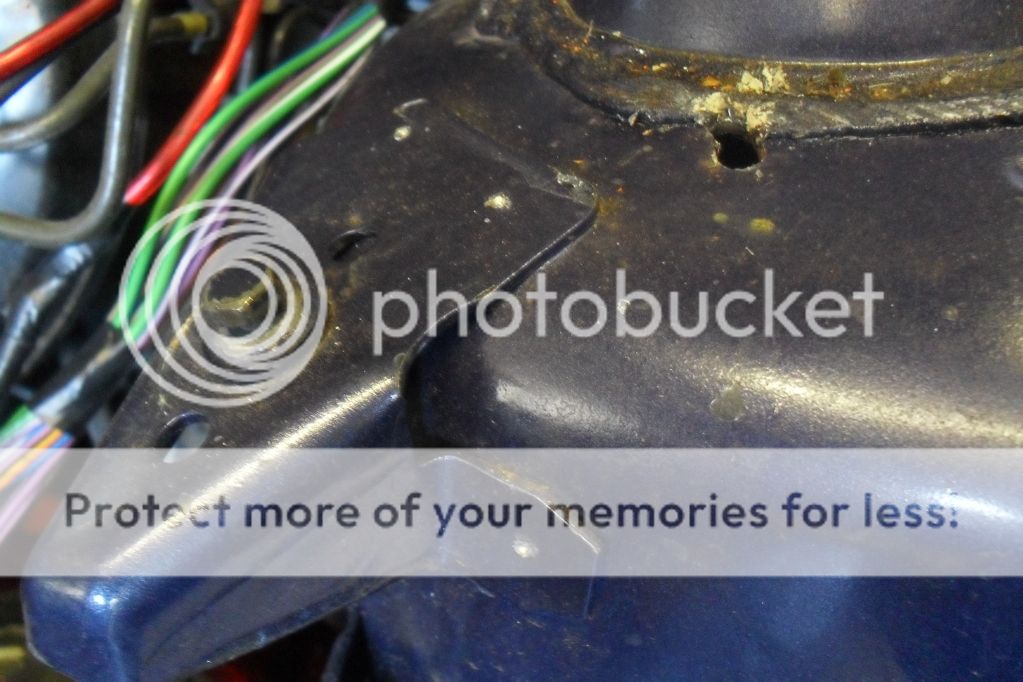
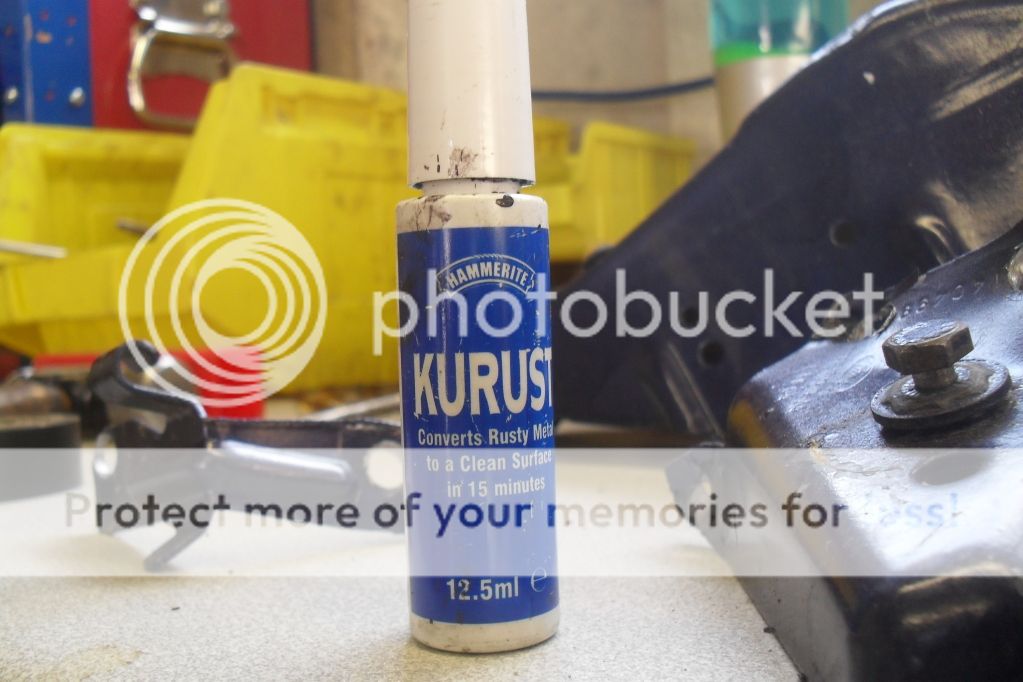
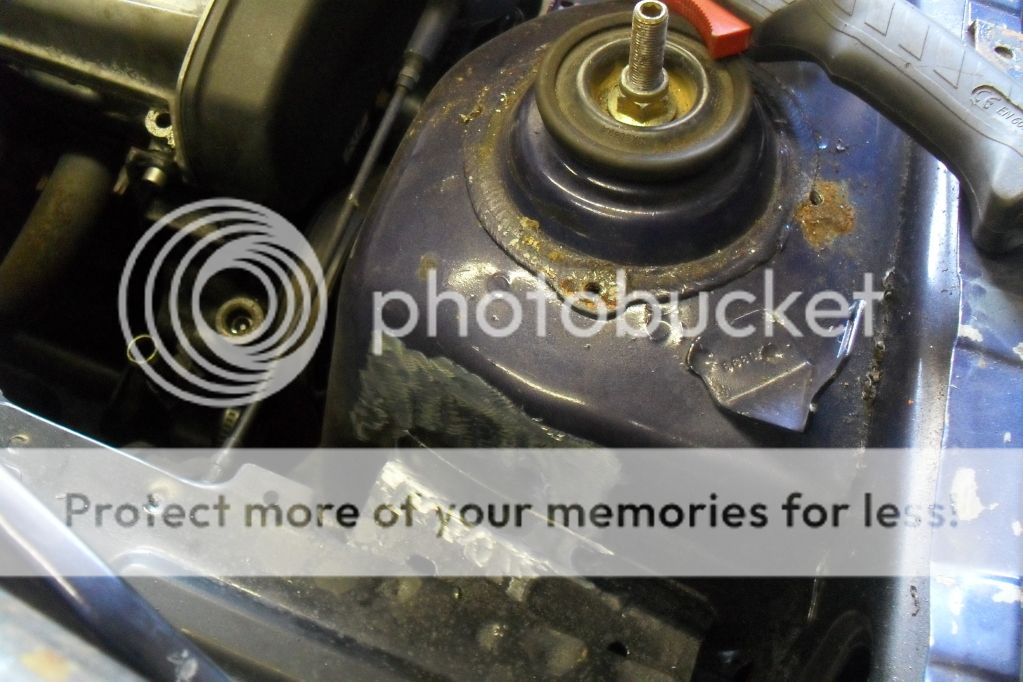
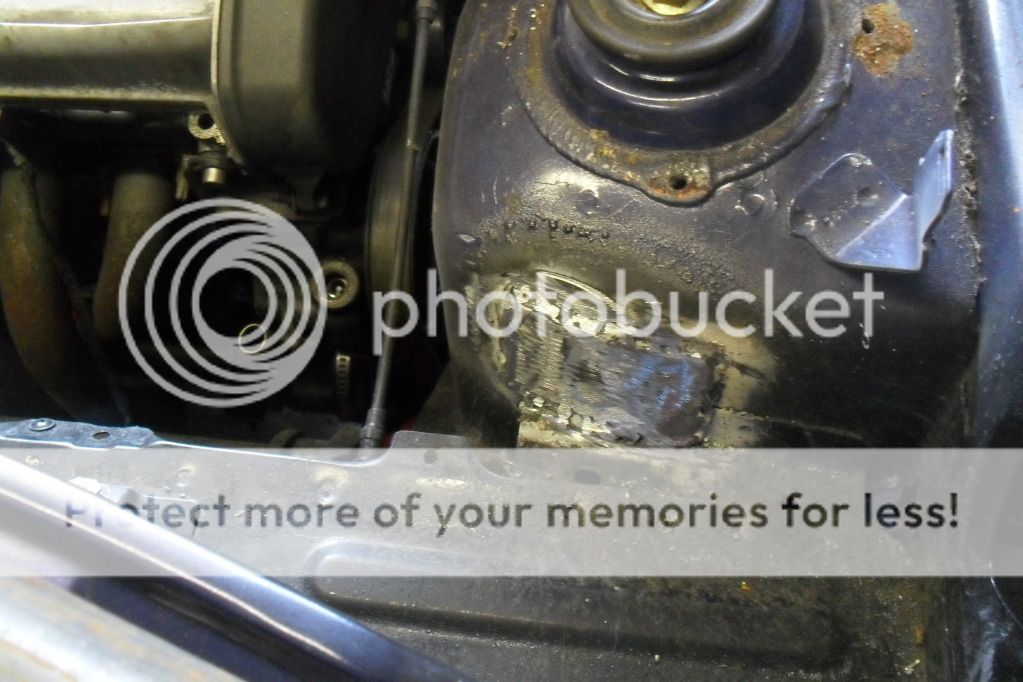
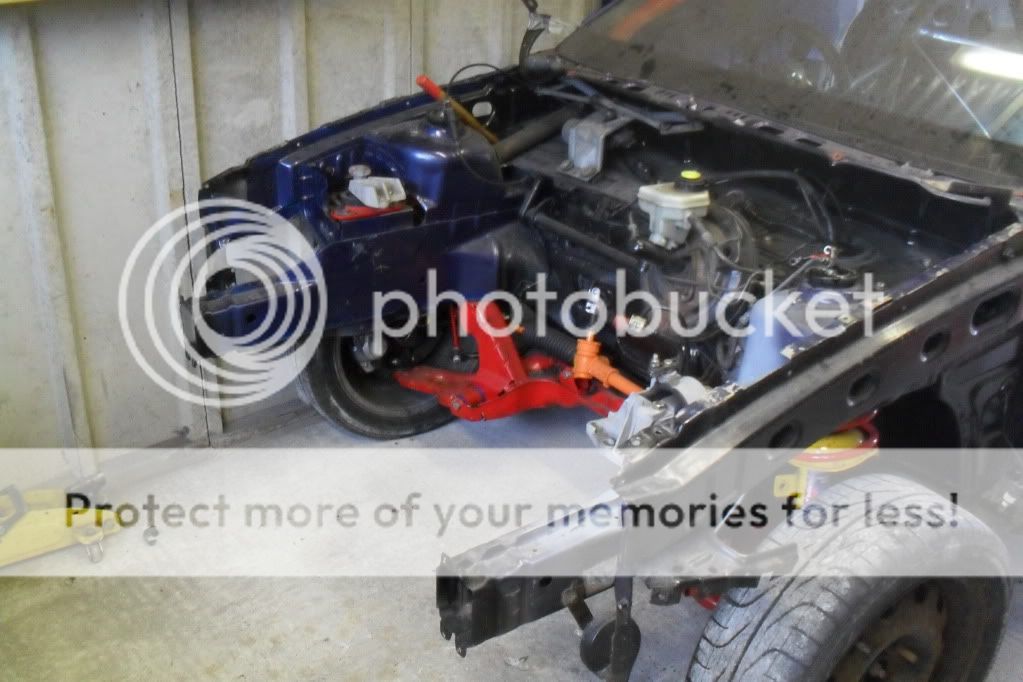
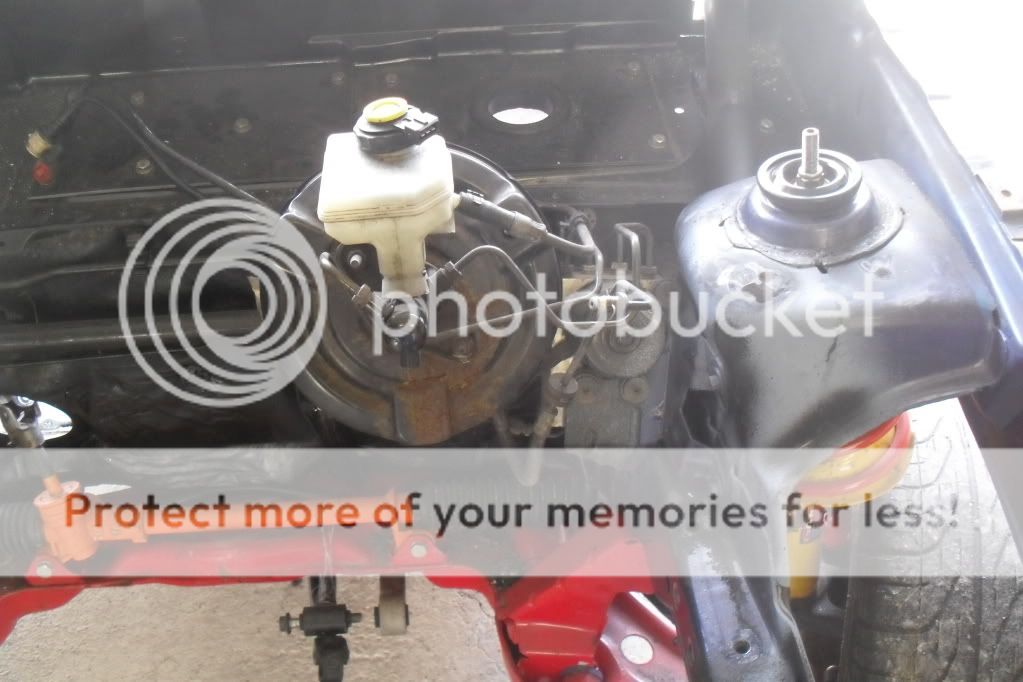
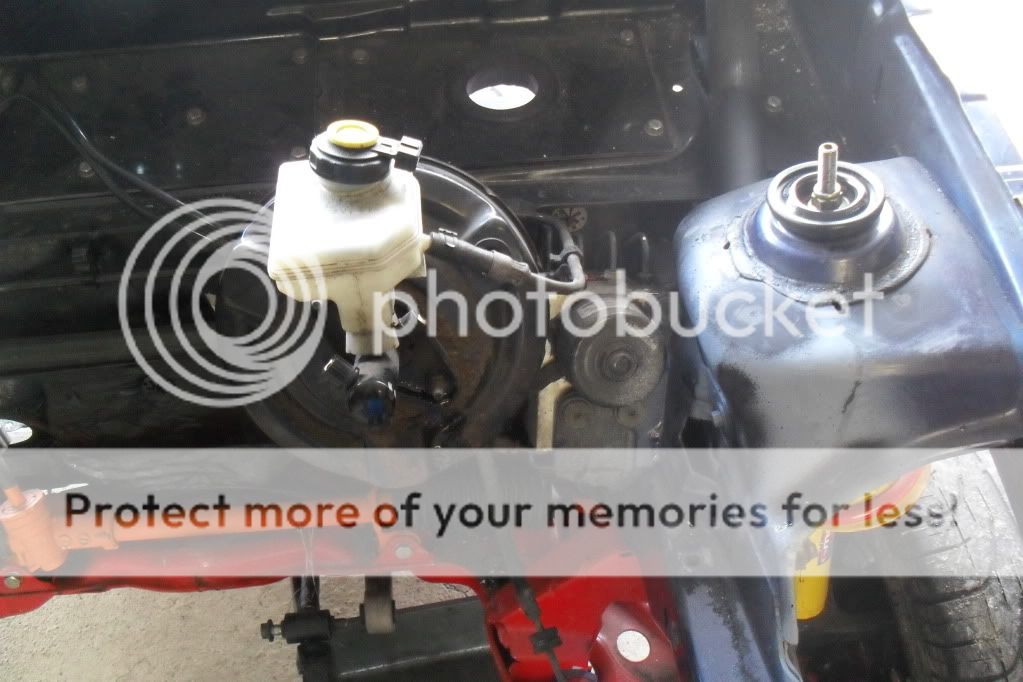
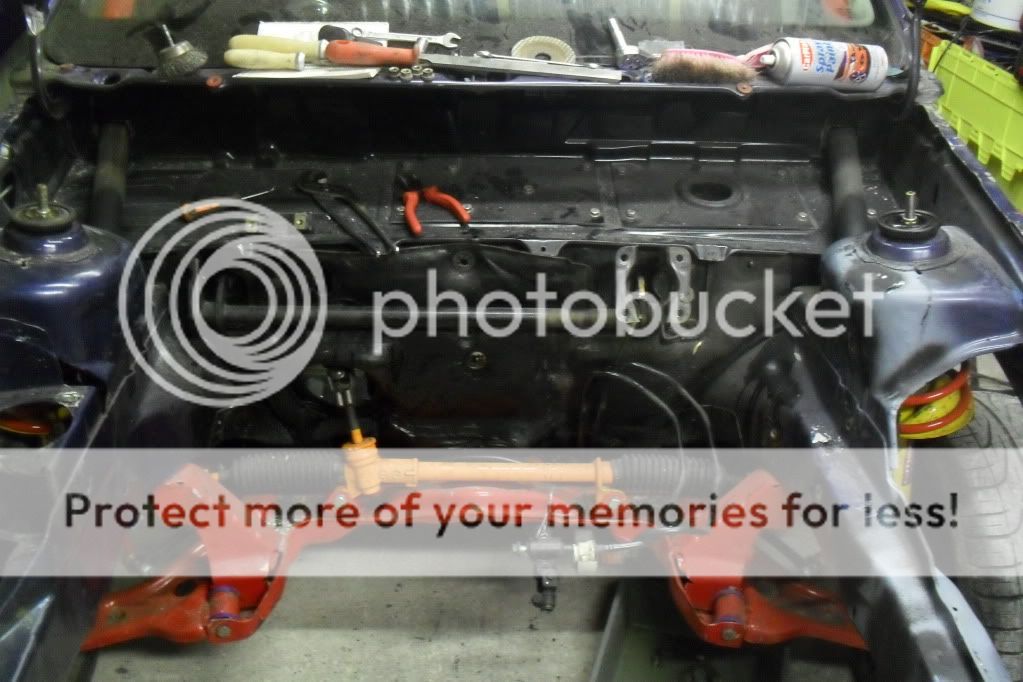
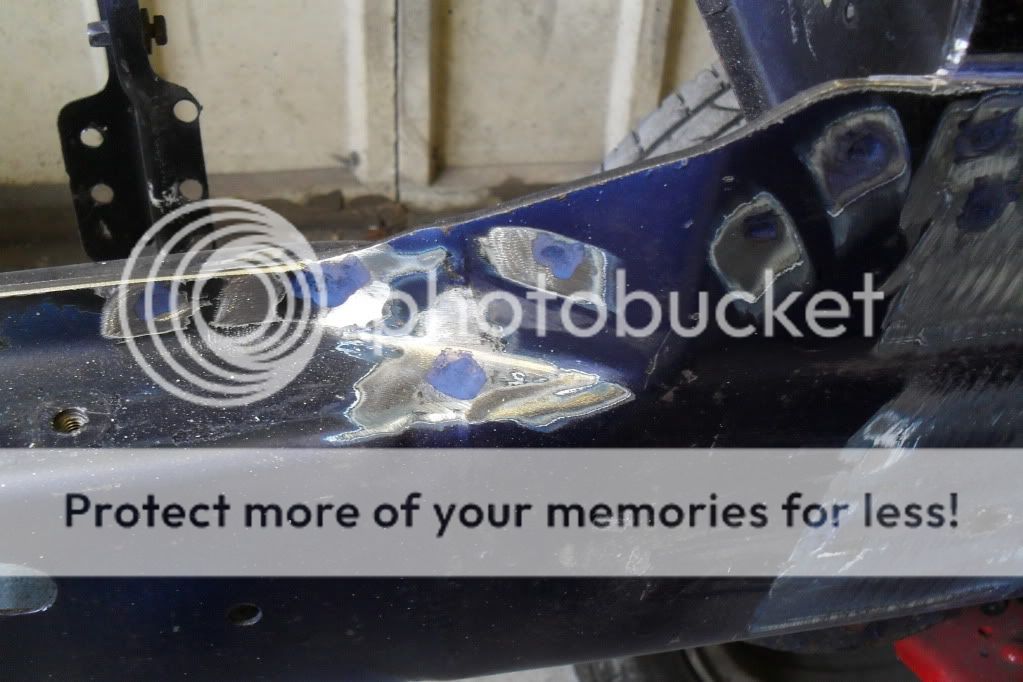
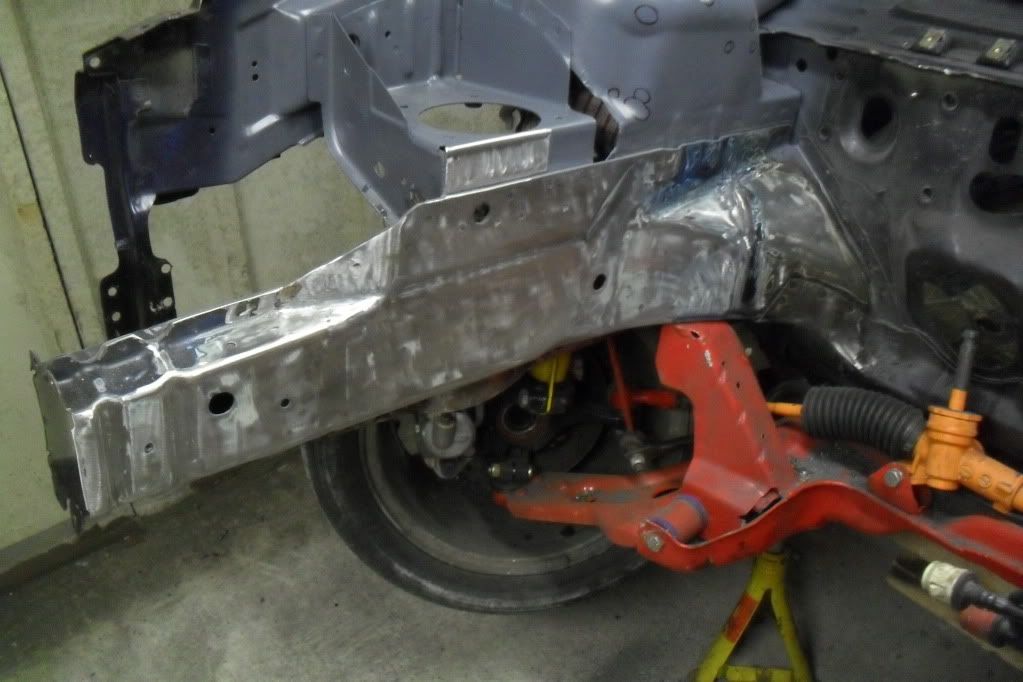
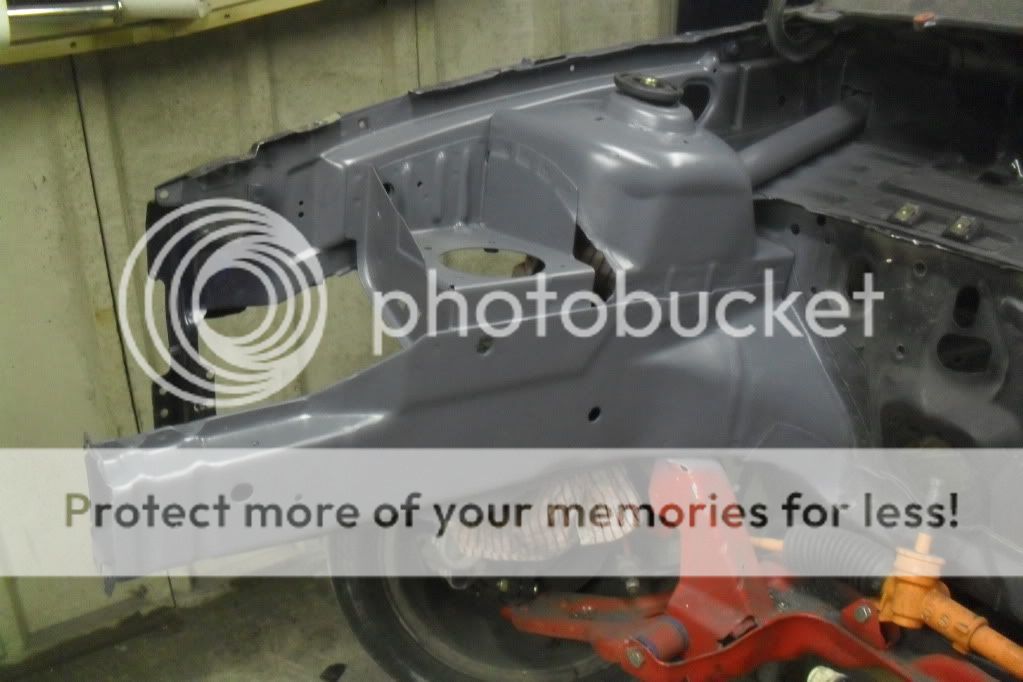
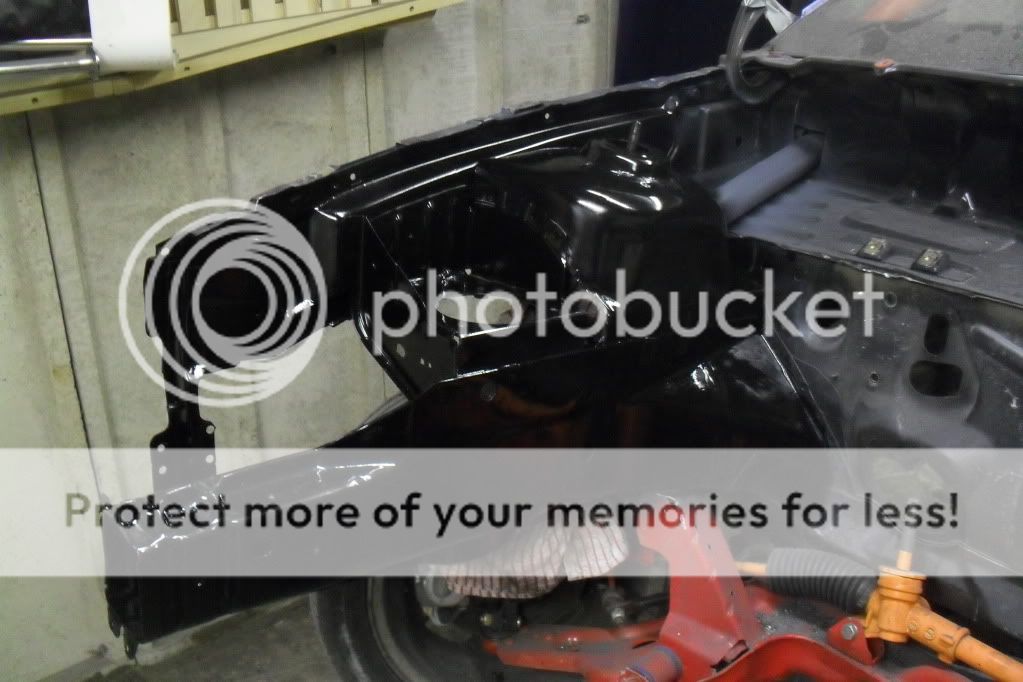
update on the overhaul of the front end. i couldnt get any new seals from ford so iveused PTFE and some sealant to seal where it was leaking and seems like its been doing its job and its not critical to the function of the master cylinder but if it goes again i will buy a new one, ive also ground and sanded all the rust off the servo and cylinder, put rust killer on the areas effected then primed with etch primer and painted with gloss back followed by a couple of clear coats. ive also done the same with the rest of the braking mechanism. here are the pics.
before
after
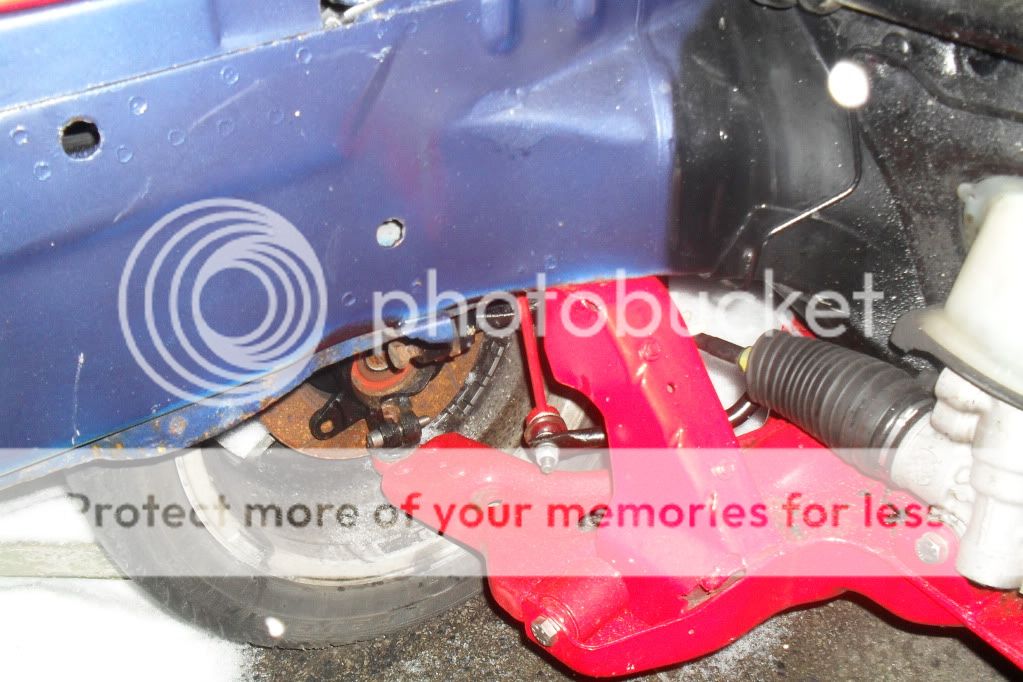
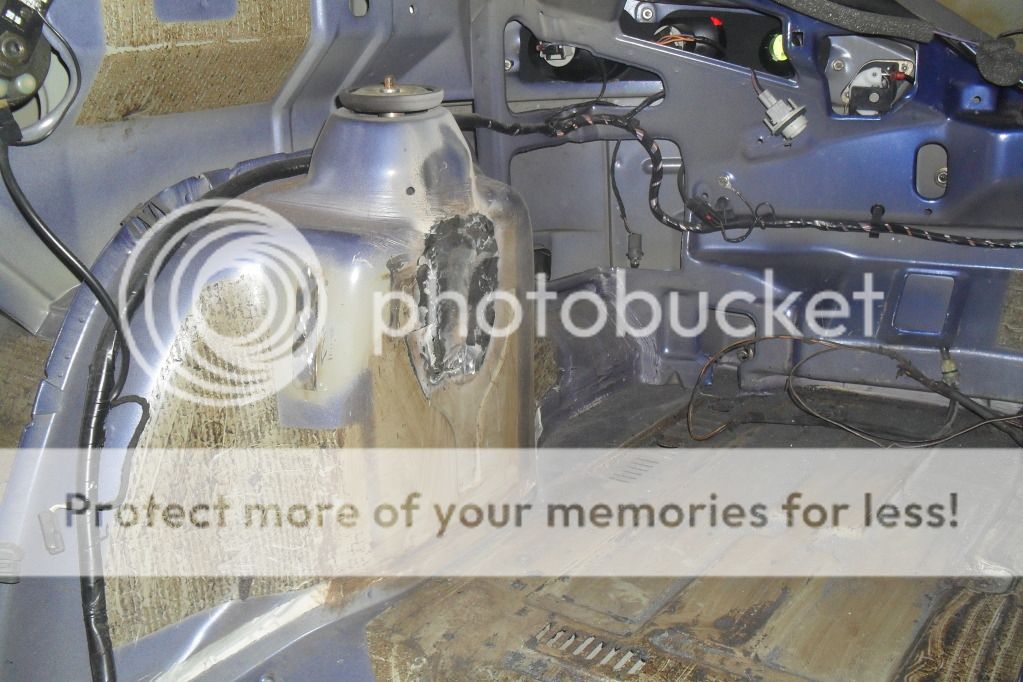
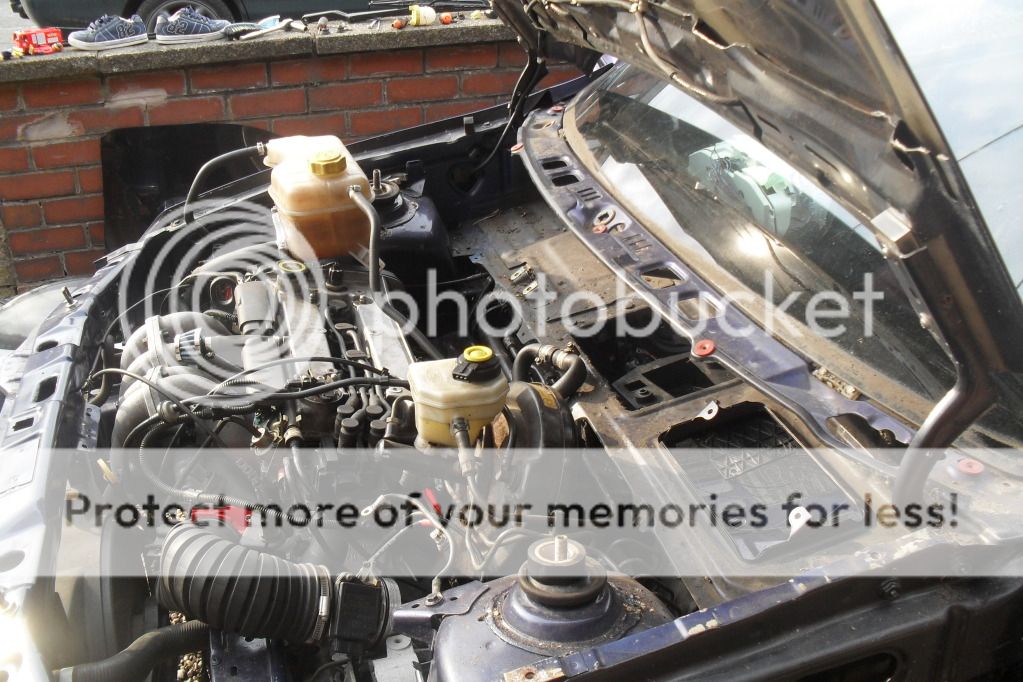
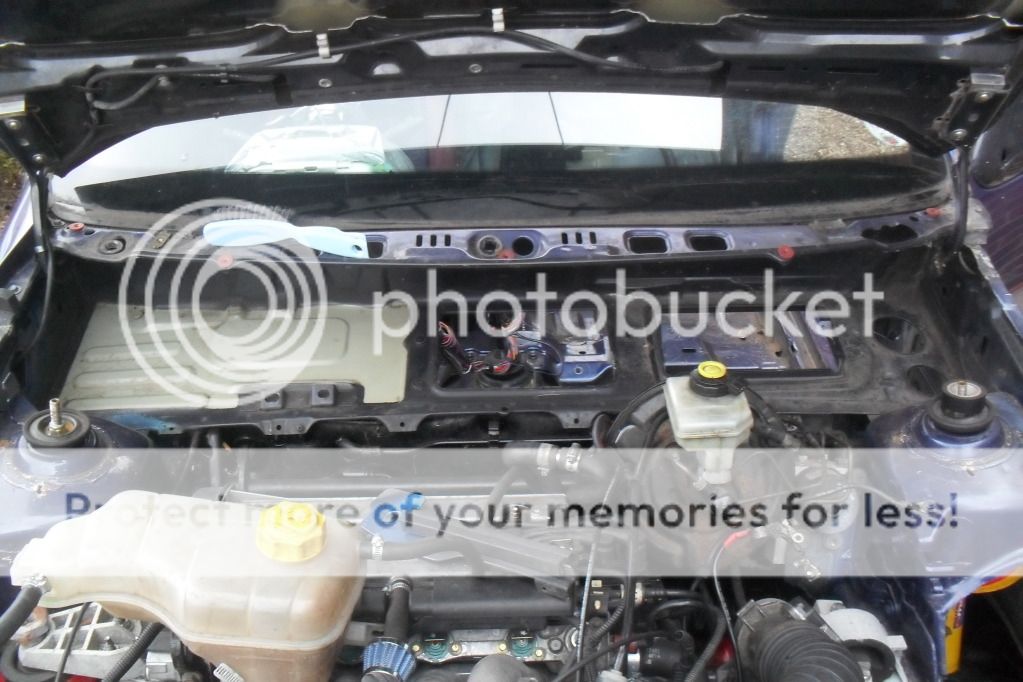
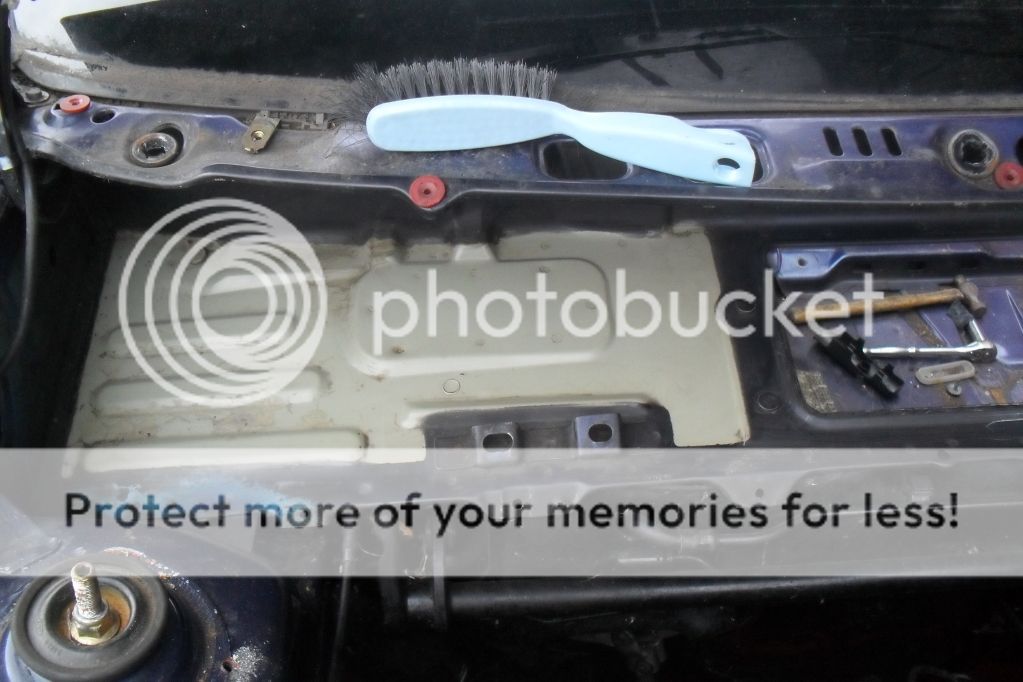
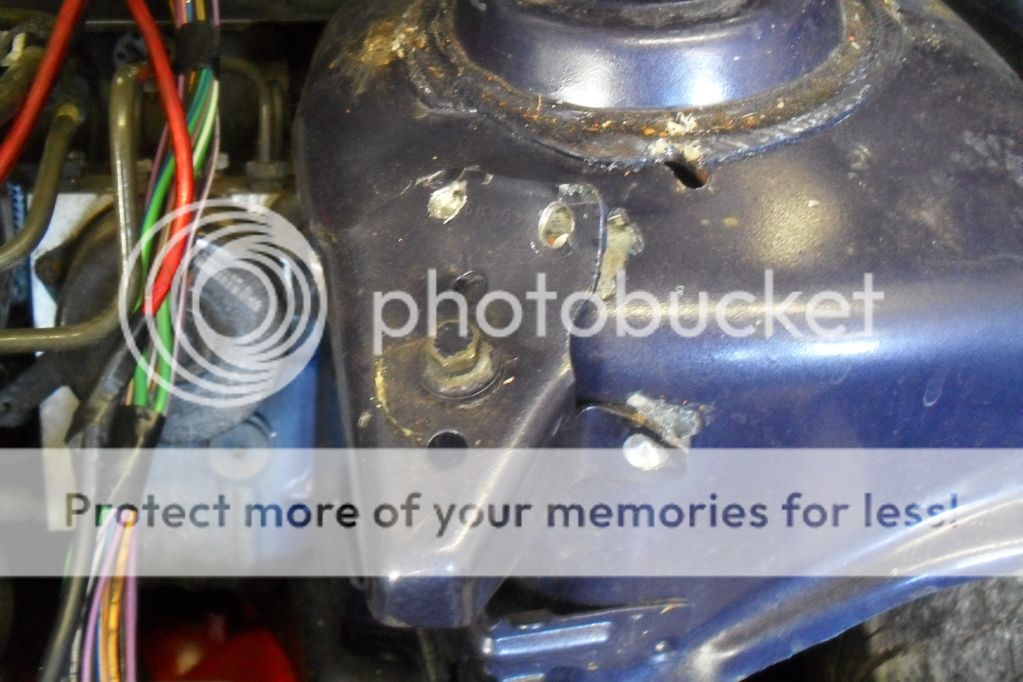
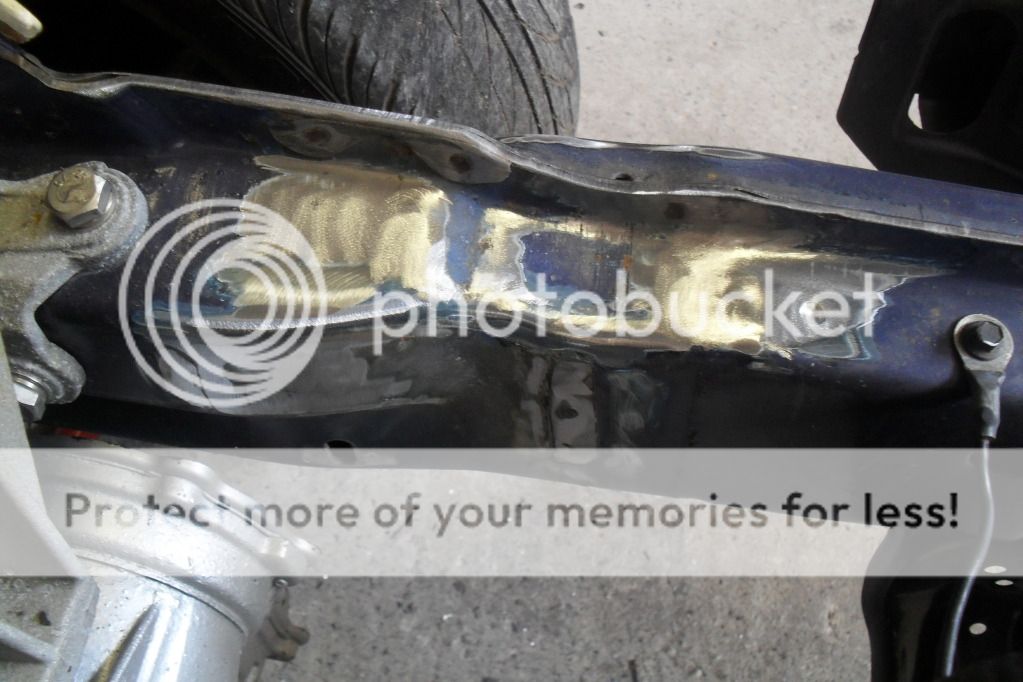
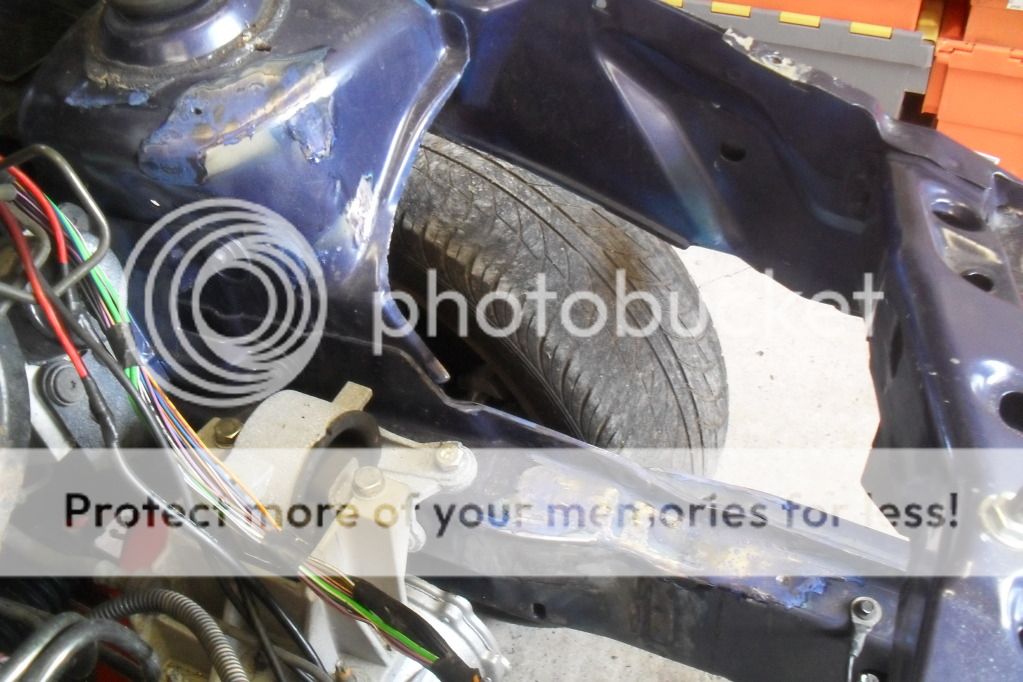
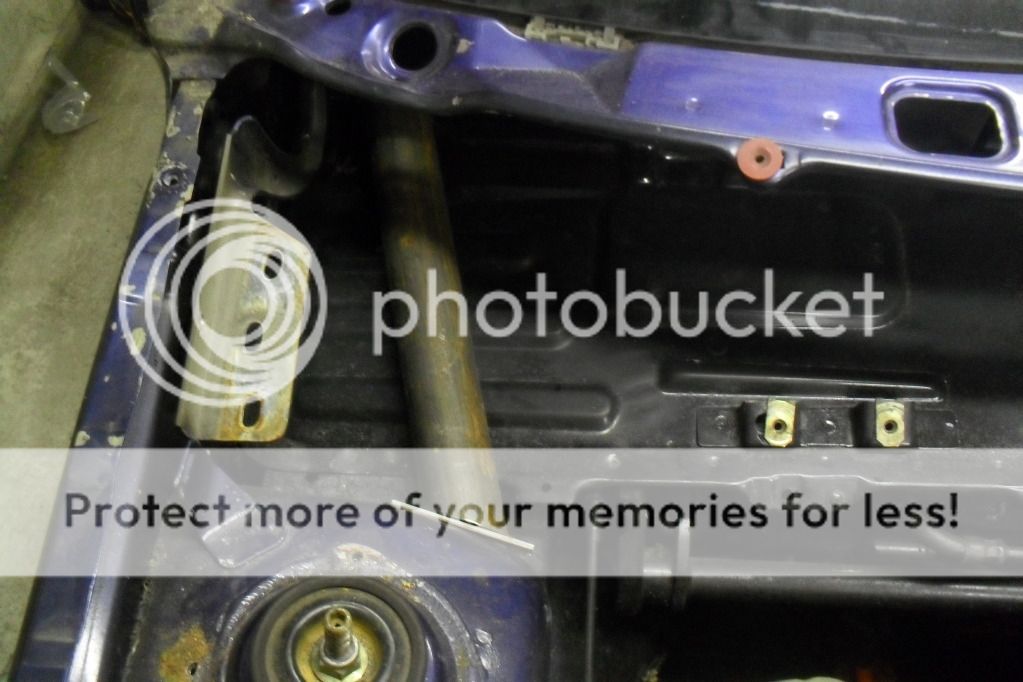
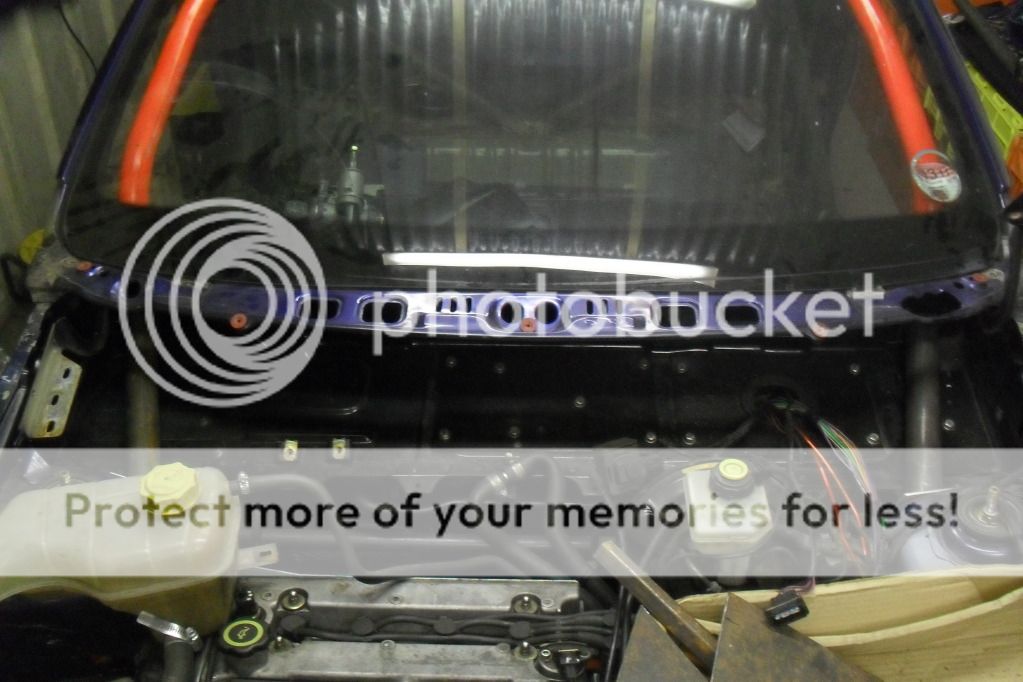
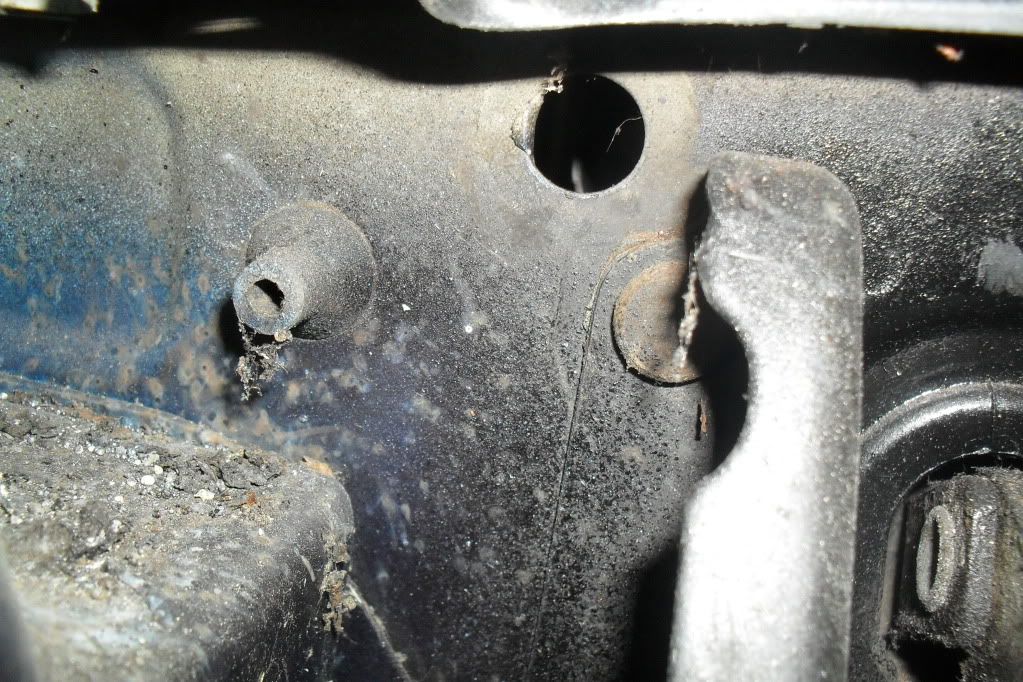
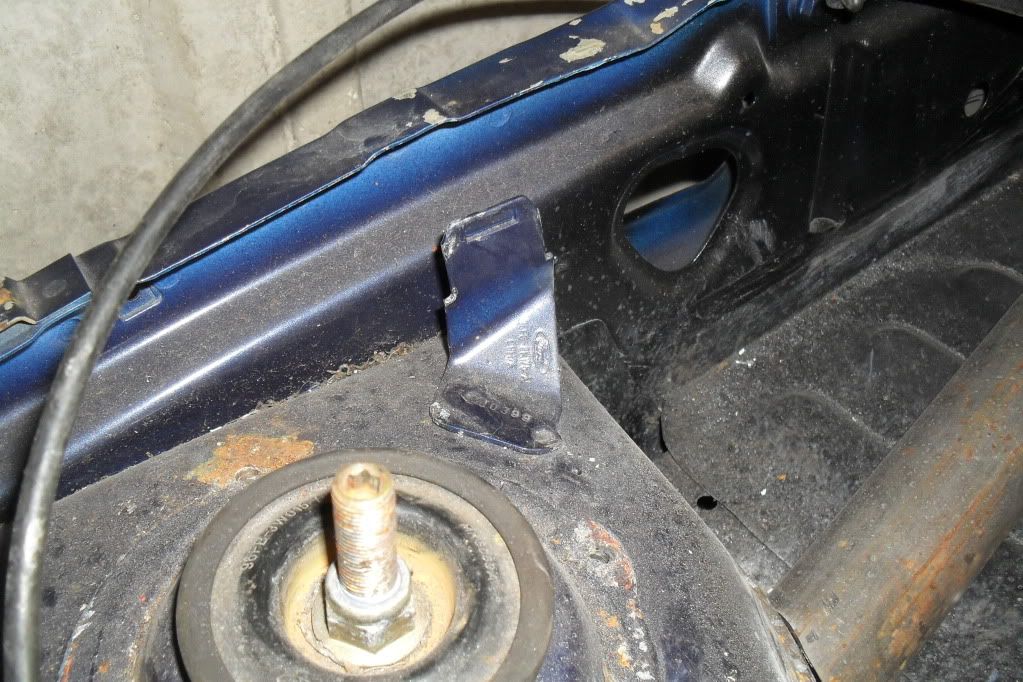
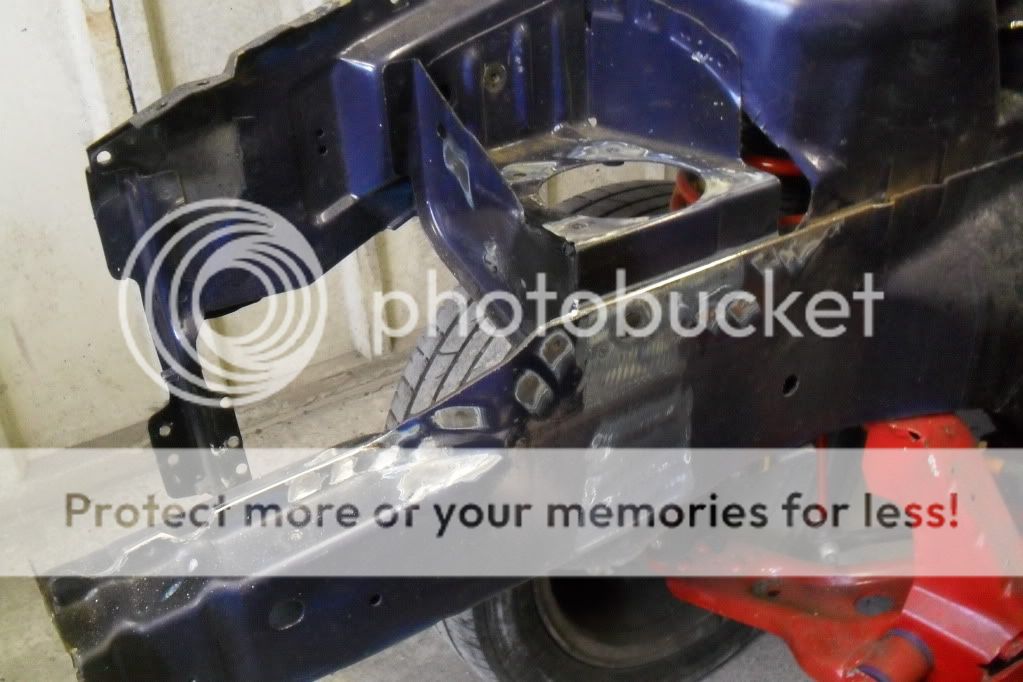
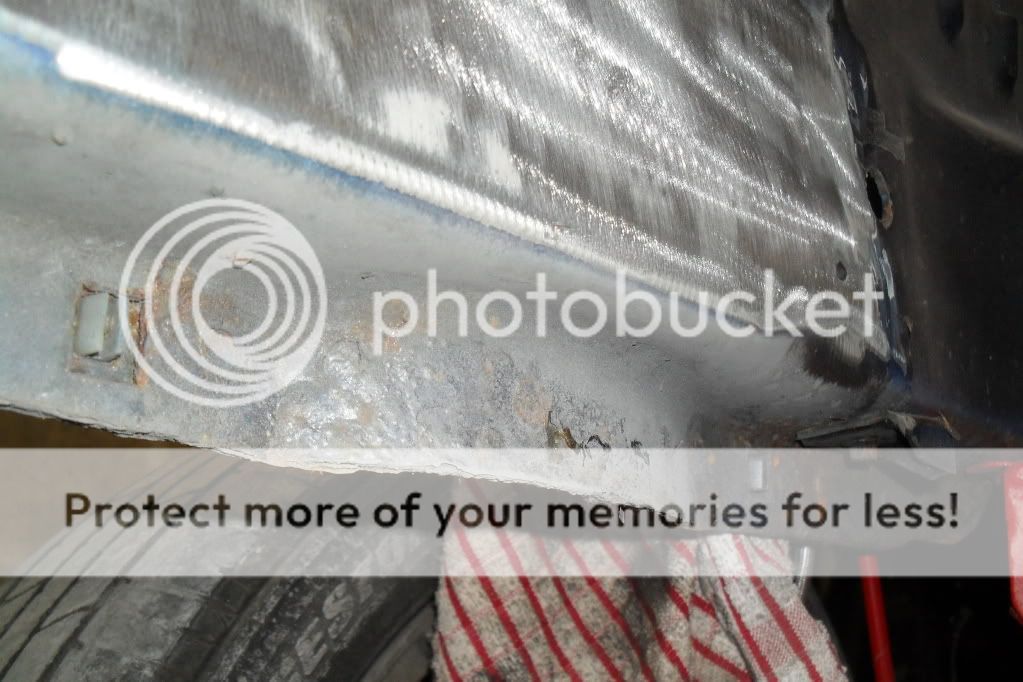
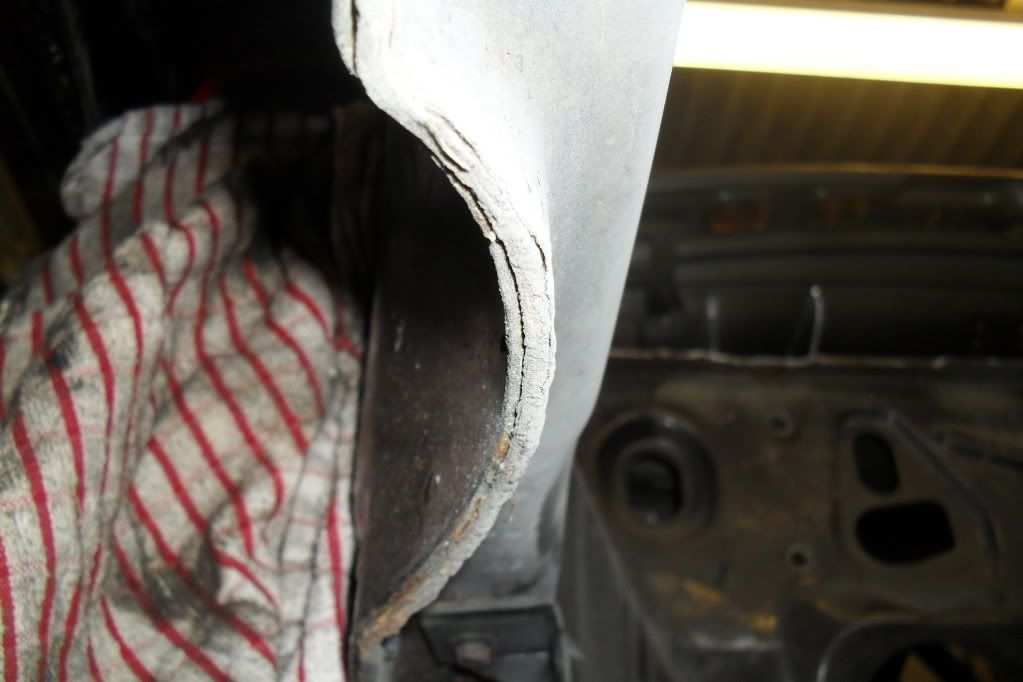
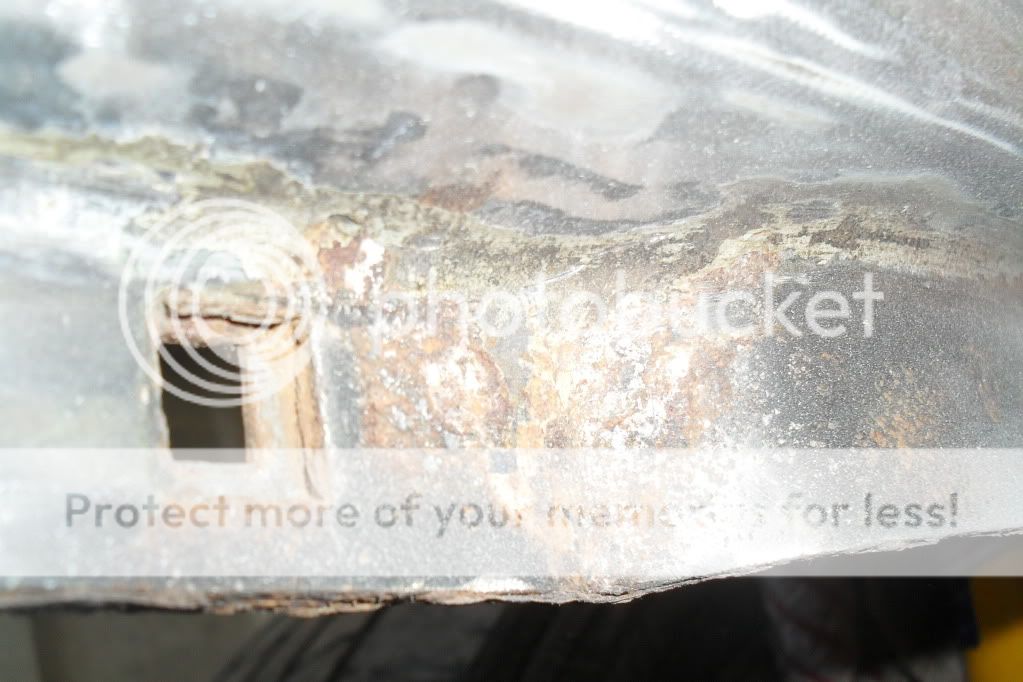
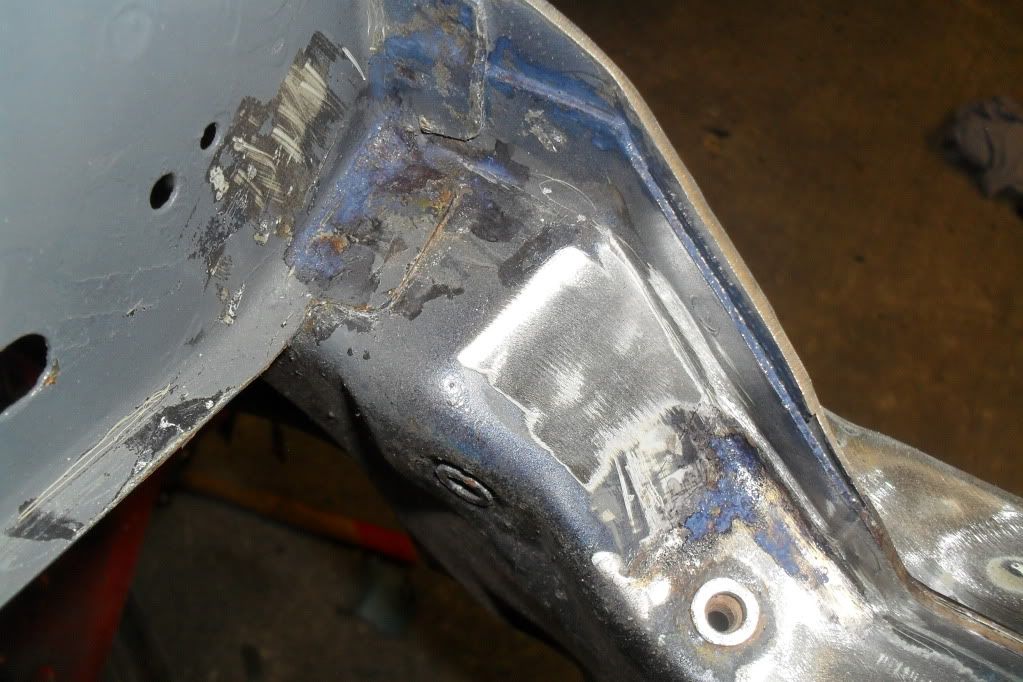
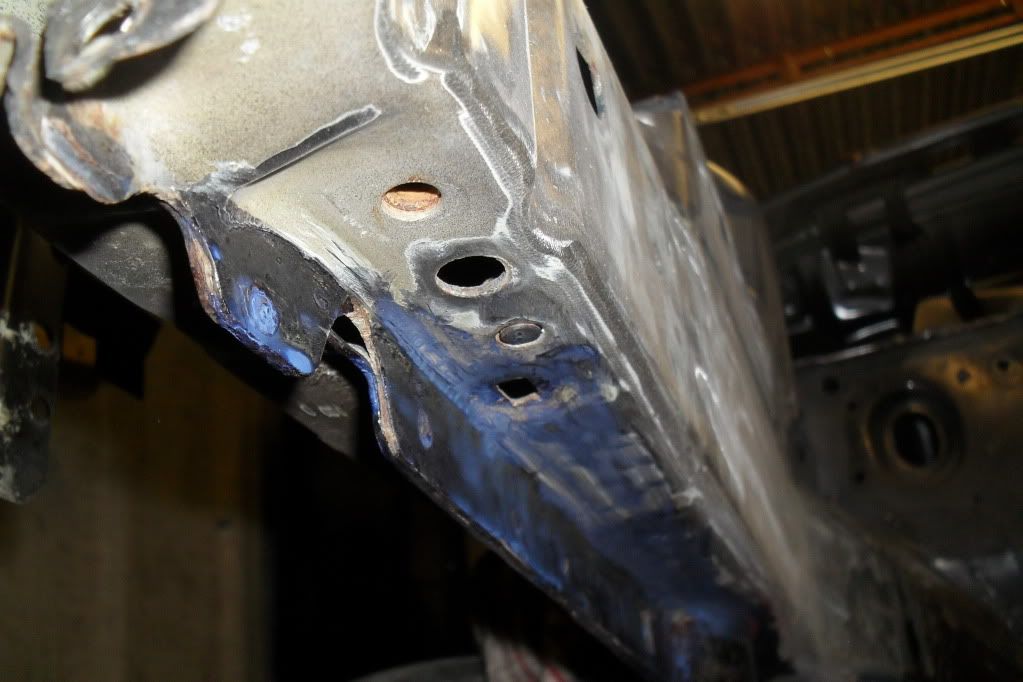
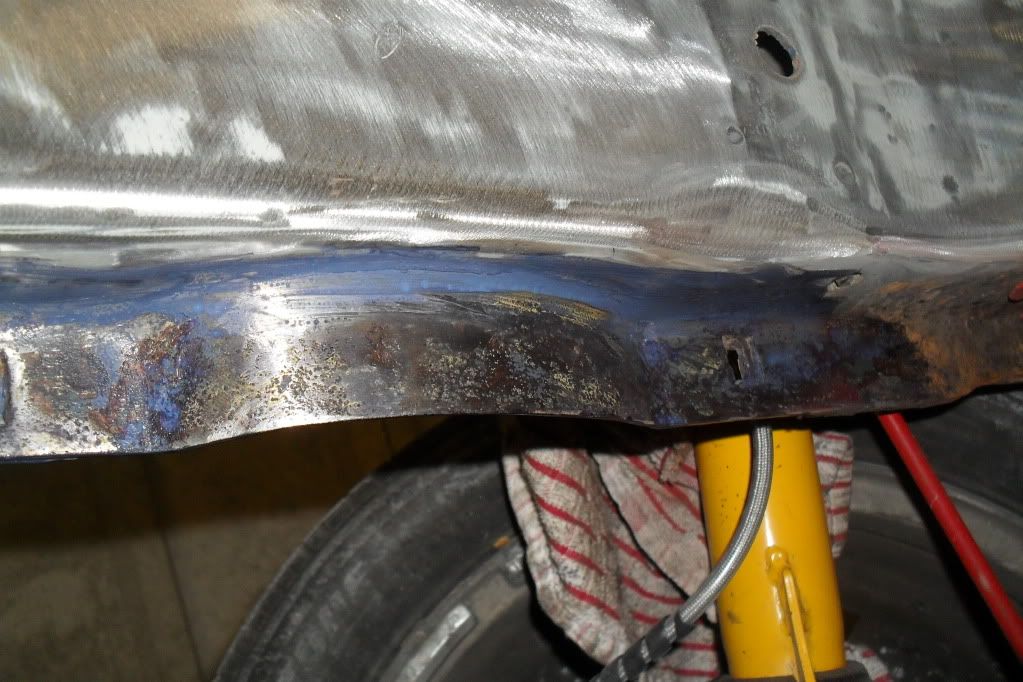
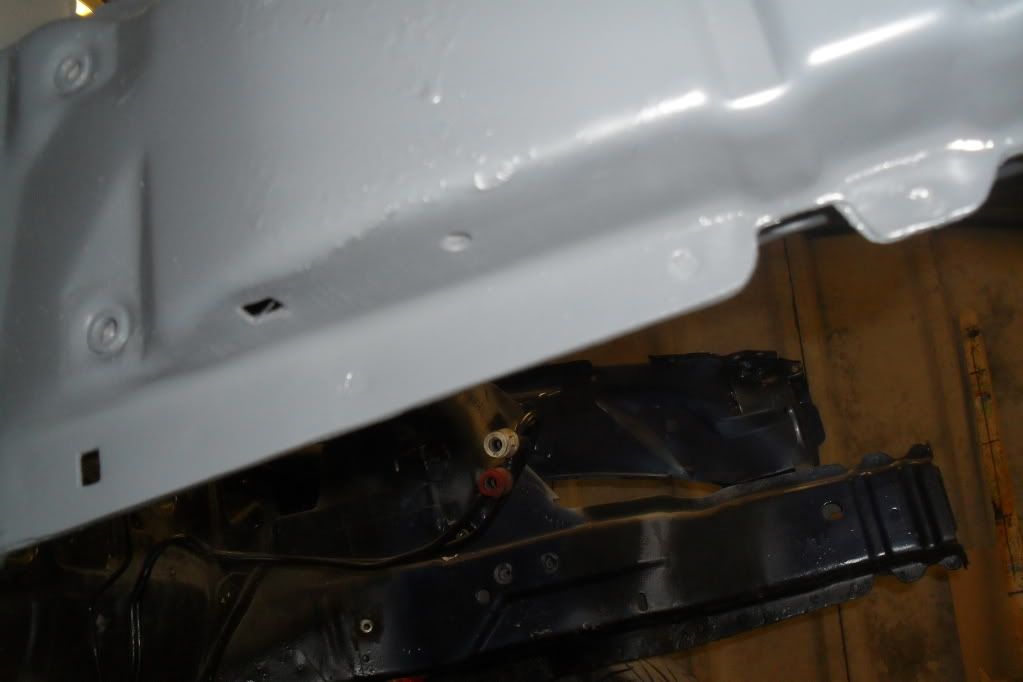
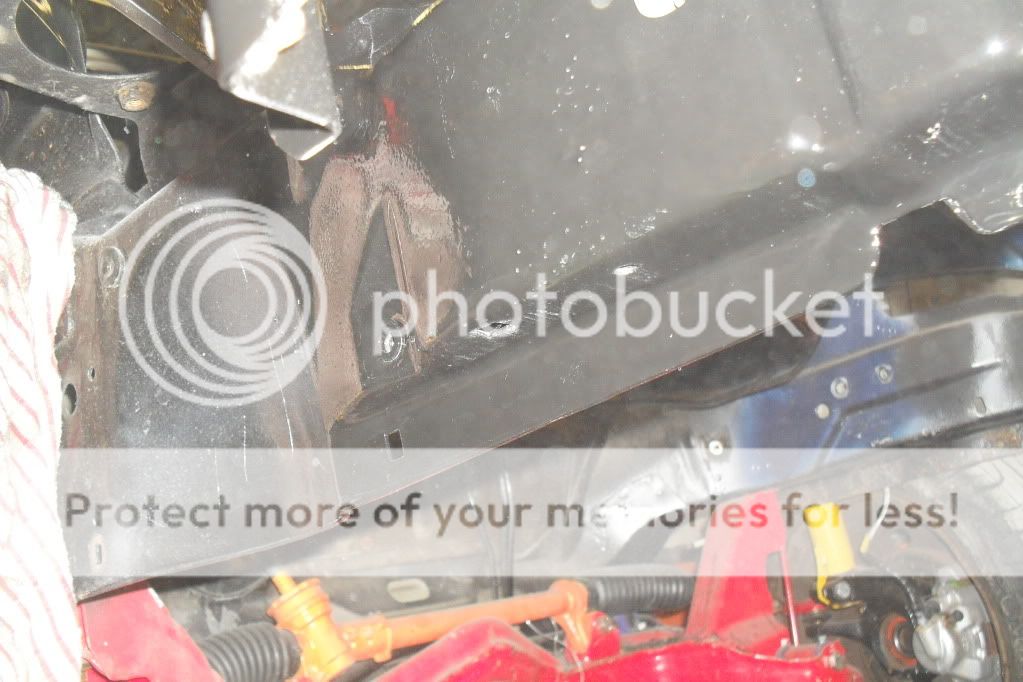
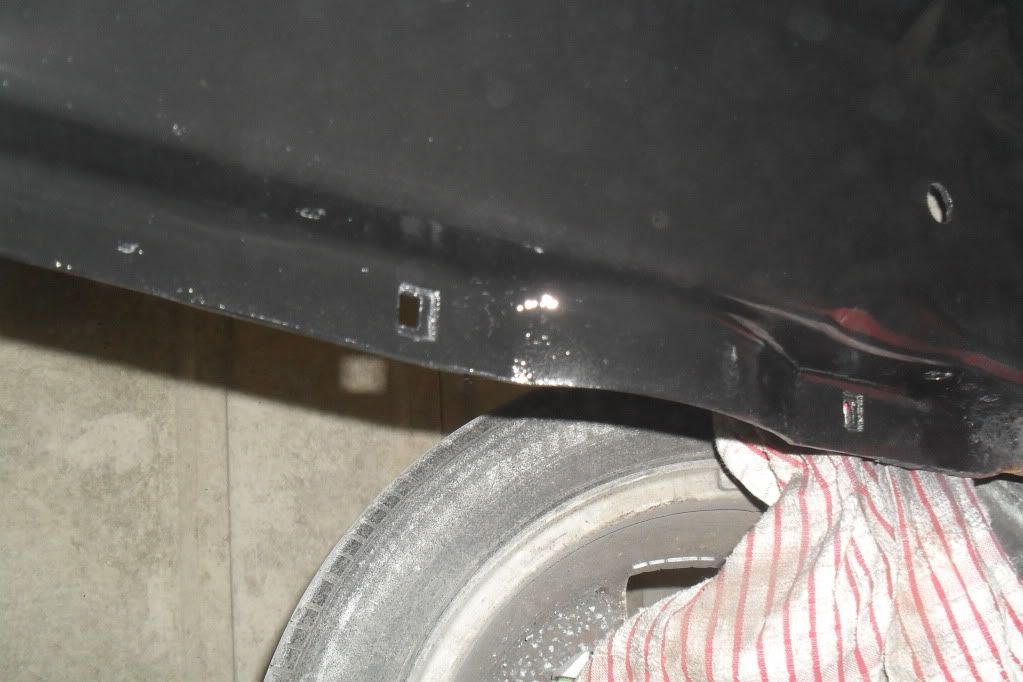
ive been sorting out the common rust problem. pics of me sorting out the rust.
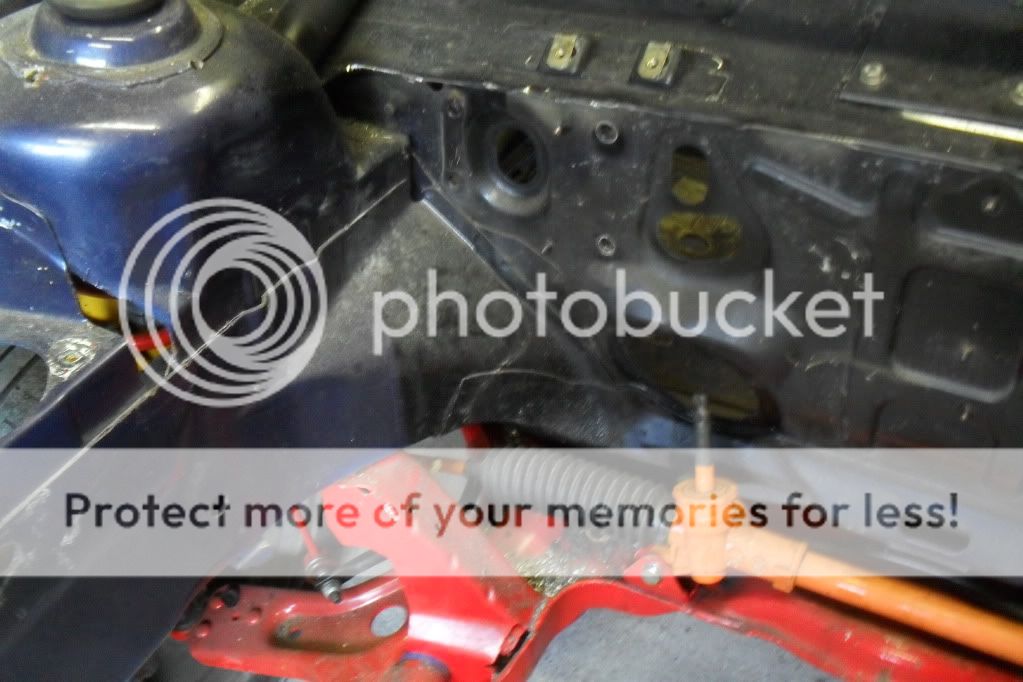
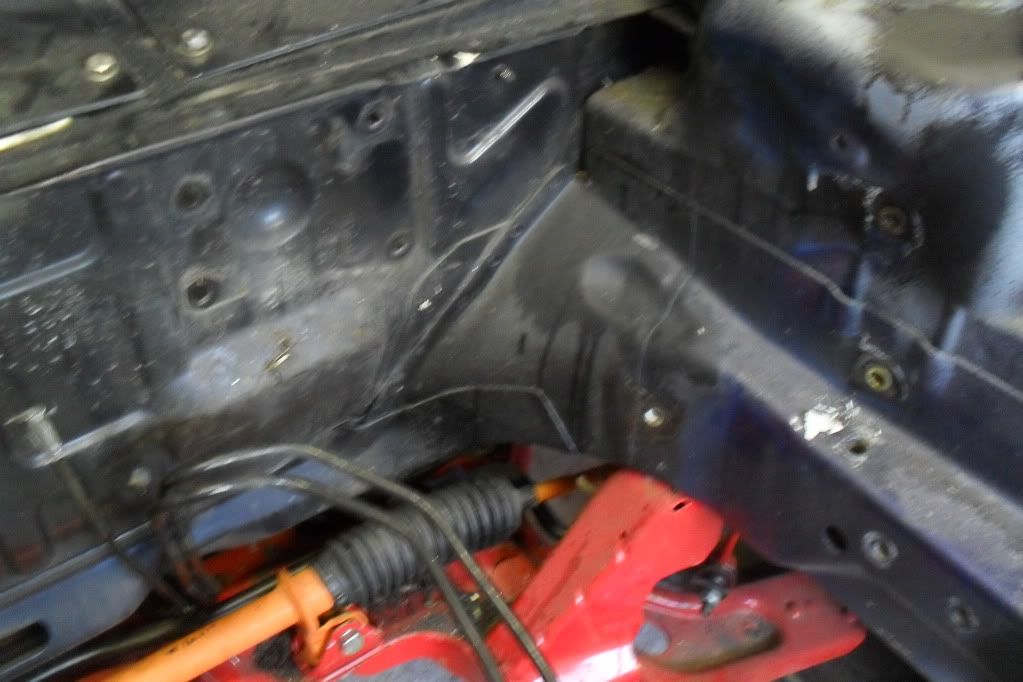
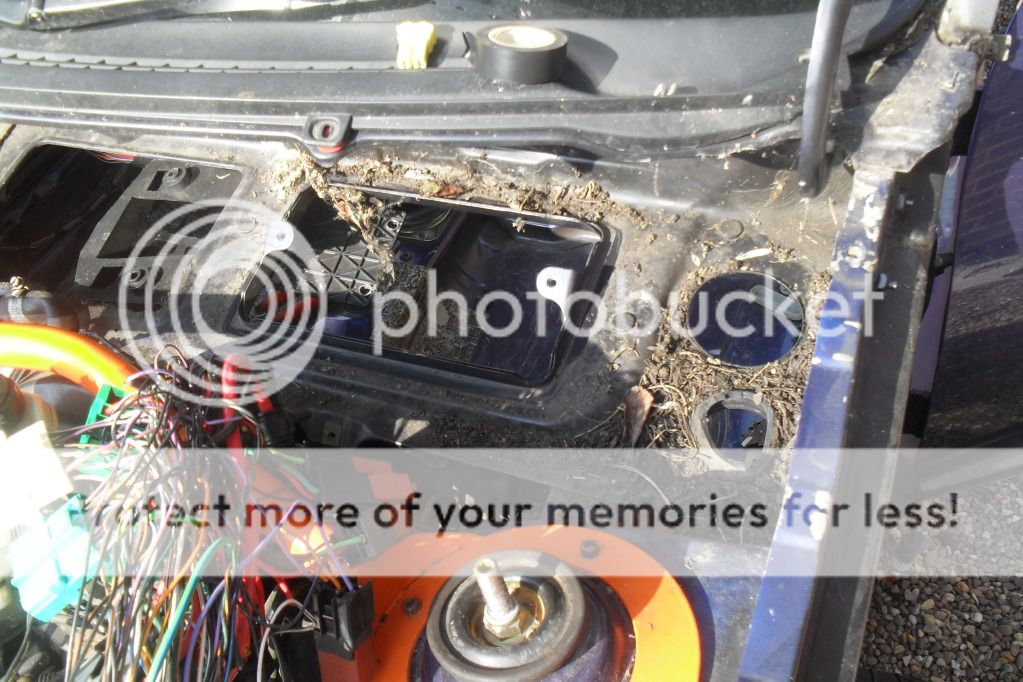
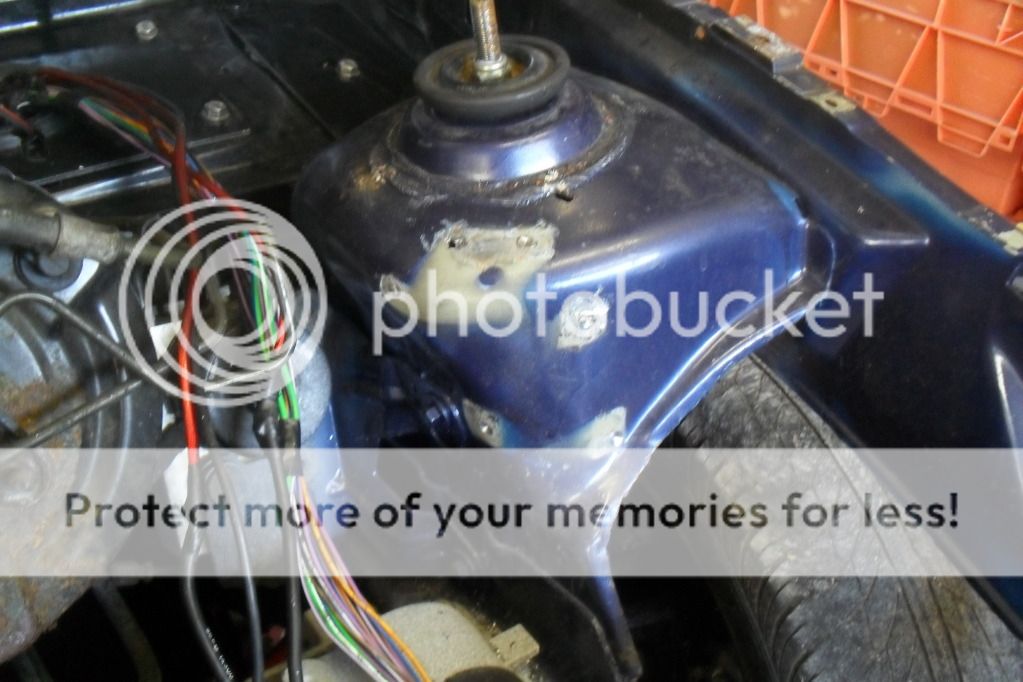
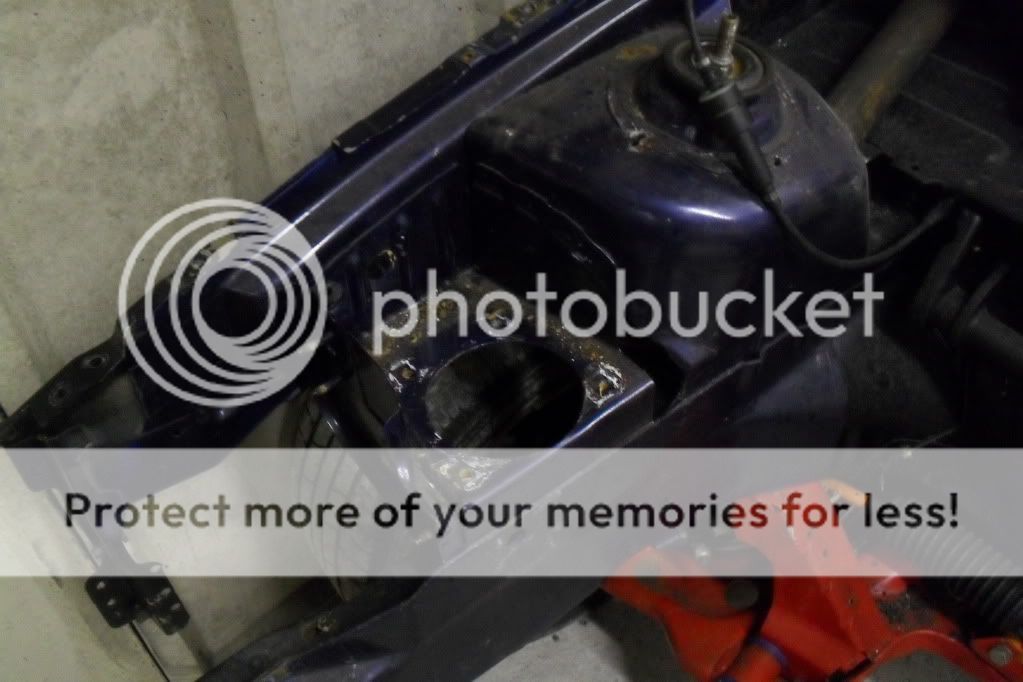
ive also removed the heat shield to get to see any possible rust that needs sorting.

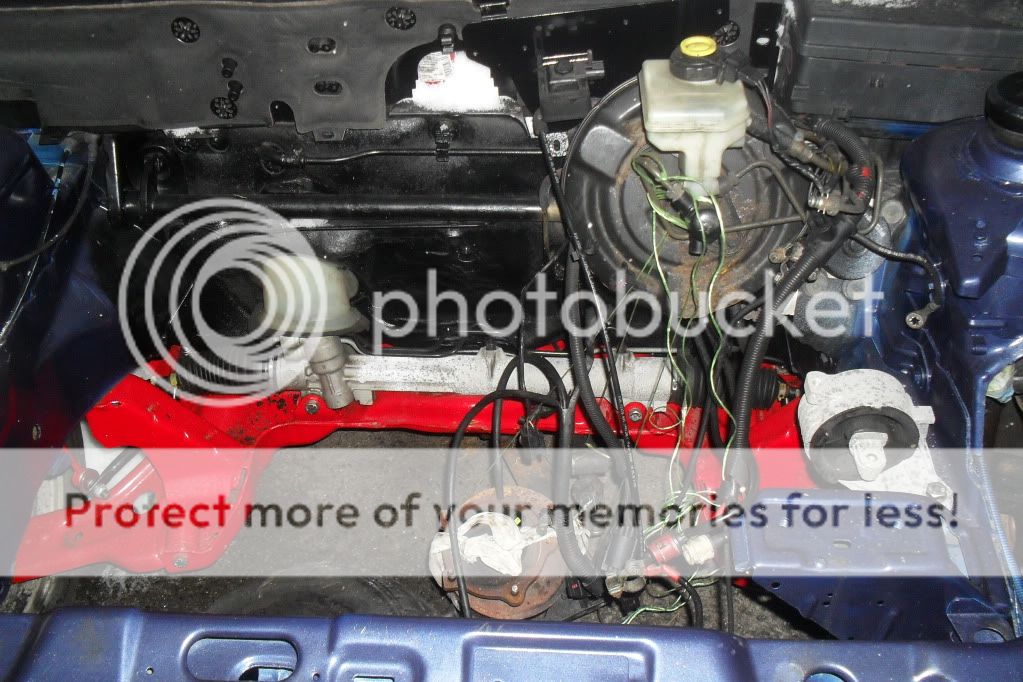
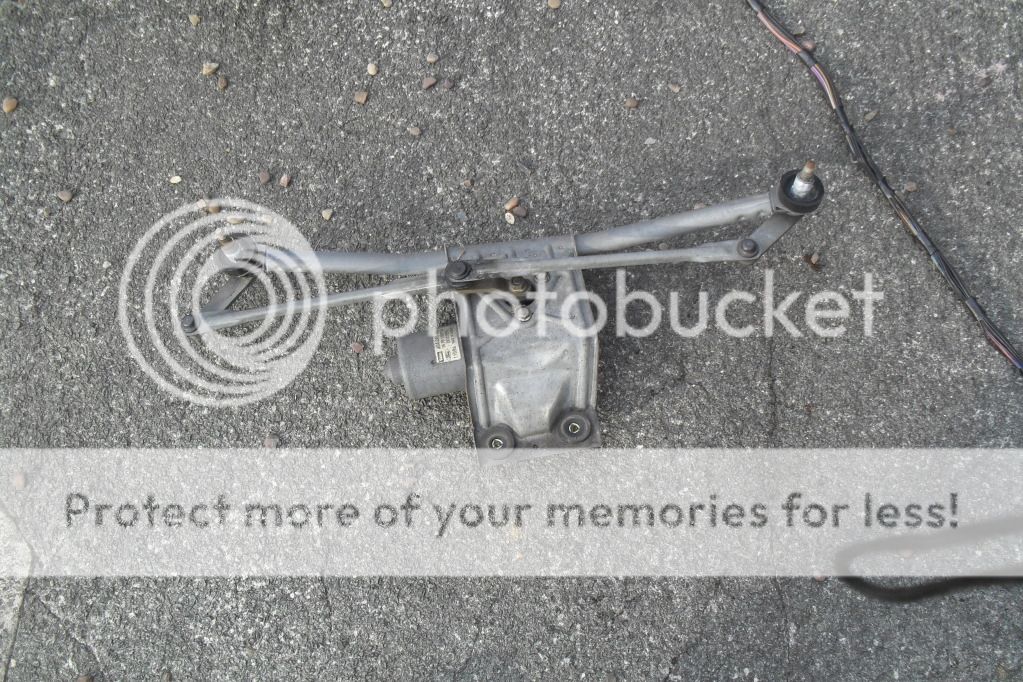
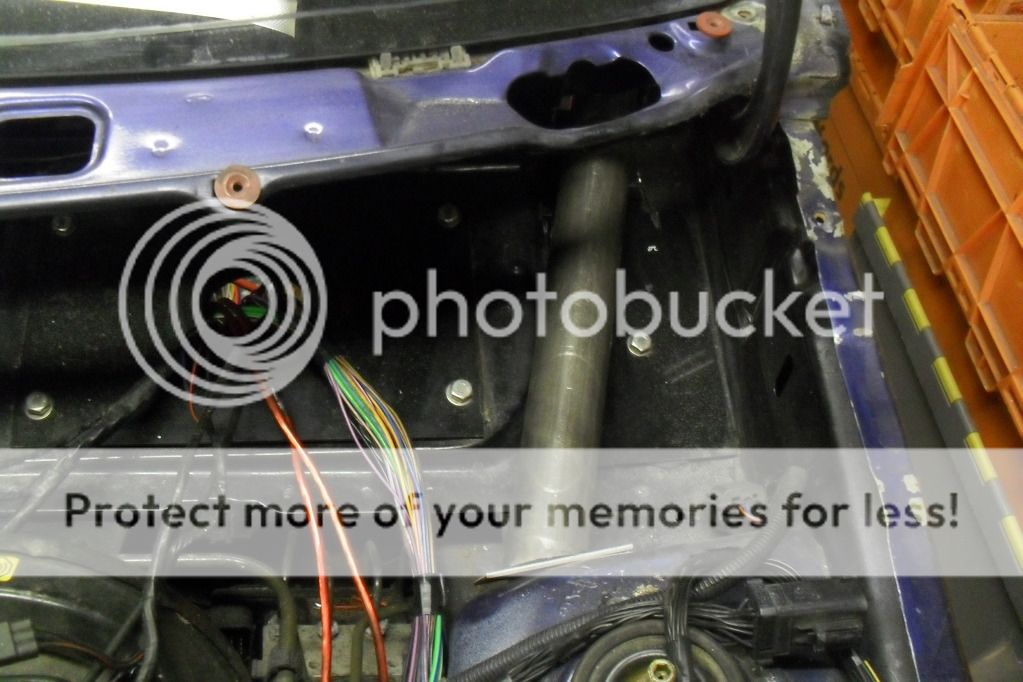
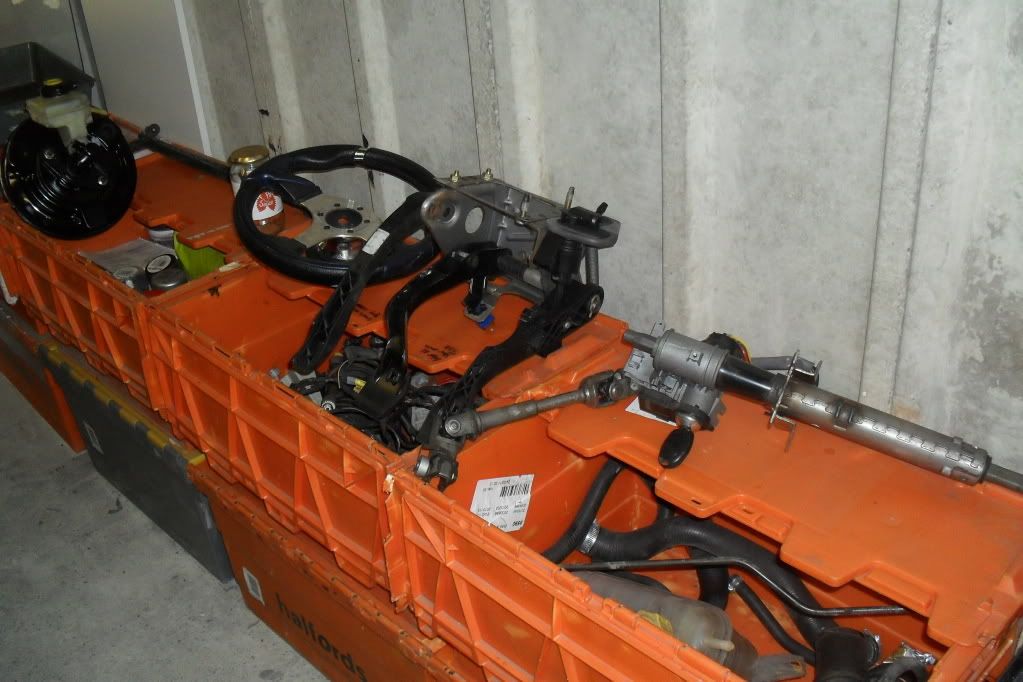
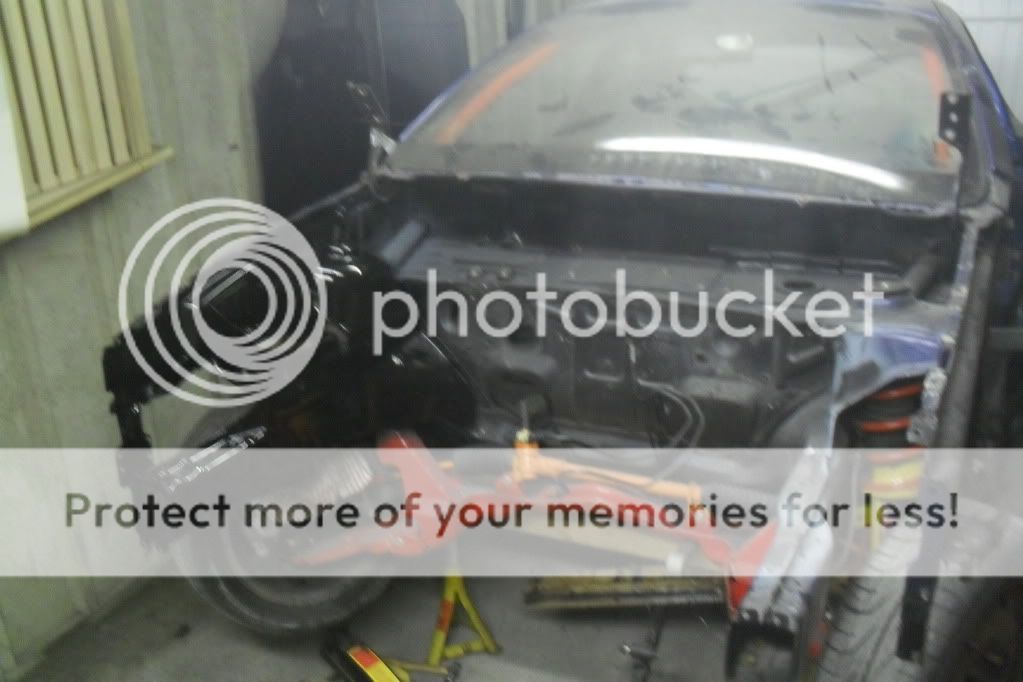
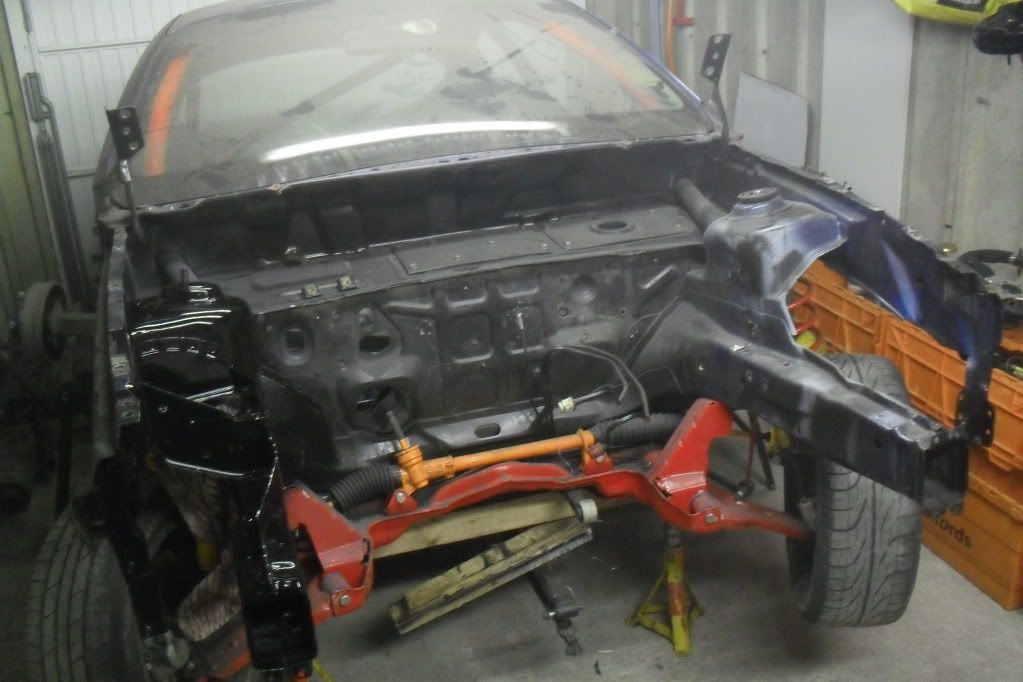
also cleaned the inside of the car (it needed doing) looks alot cleaner now. ive also removed the steering column and the wiring loom until i need it again.
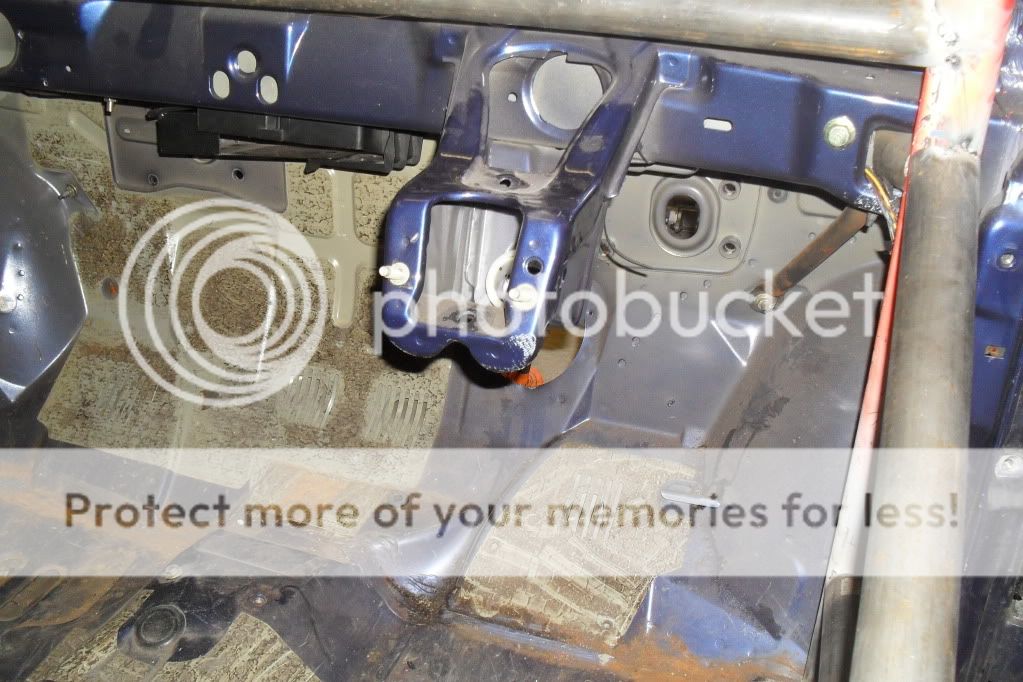
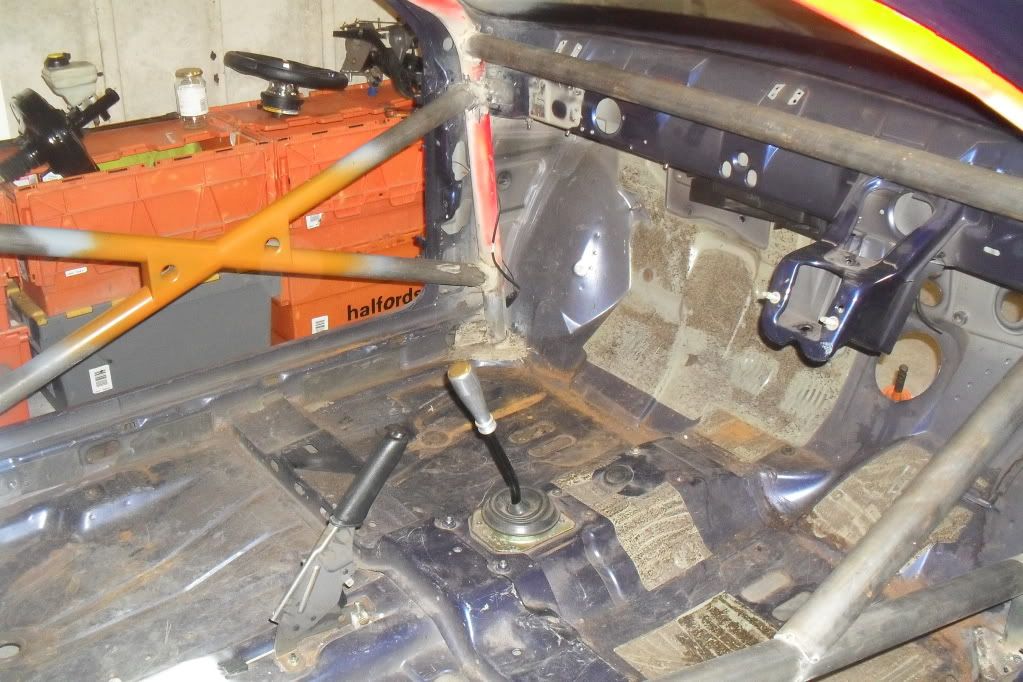
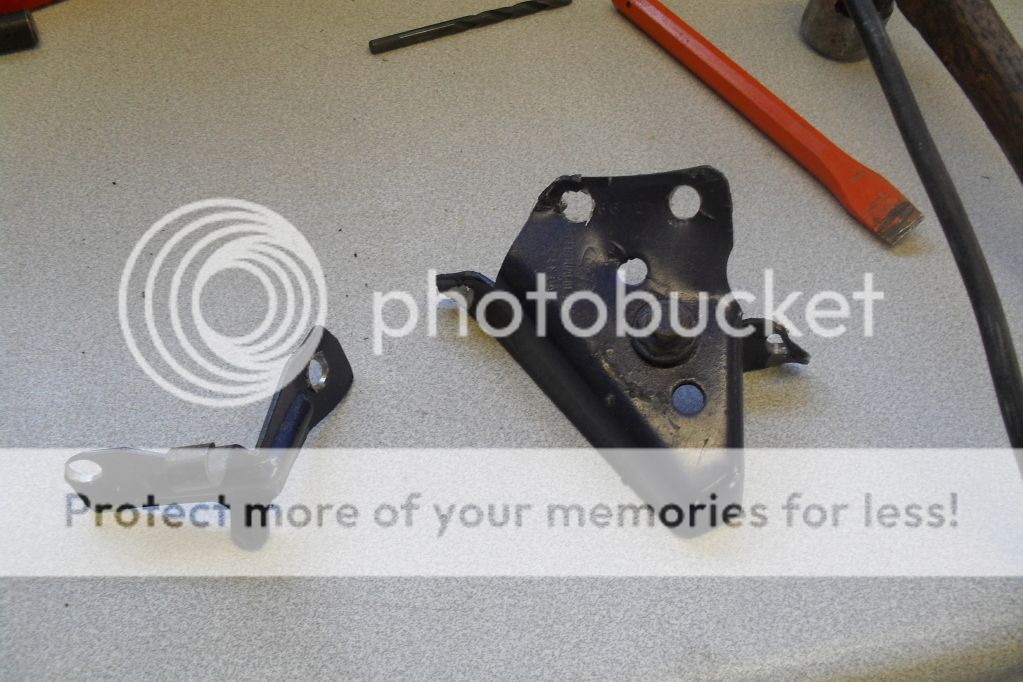
the bits removed
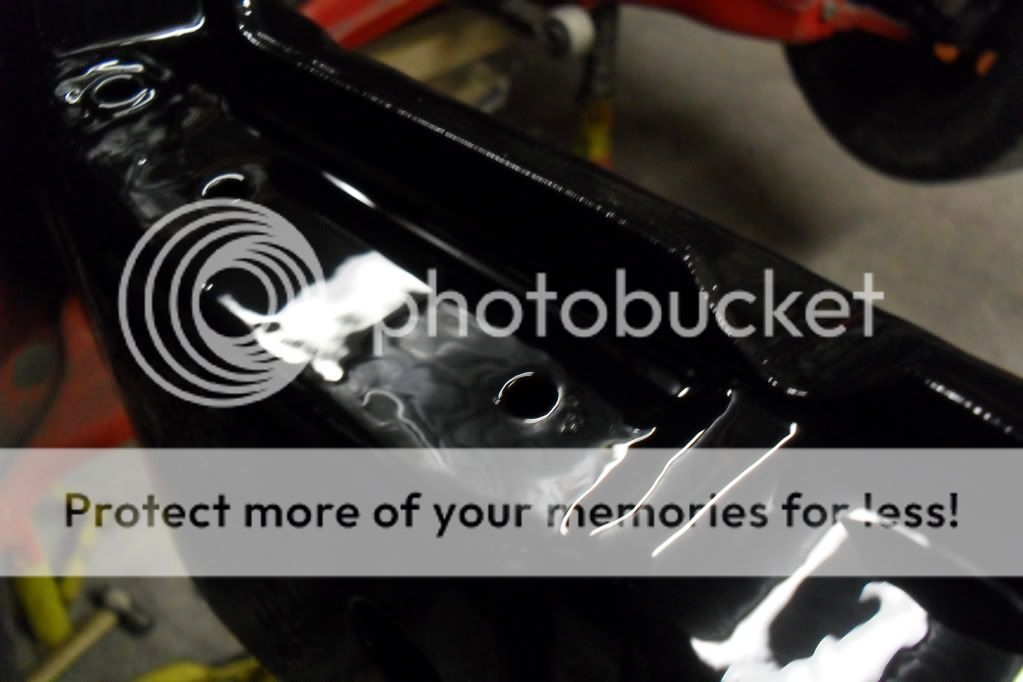
now on with the rust killing!!!
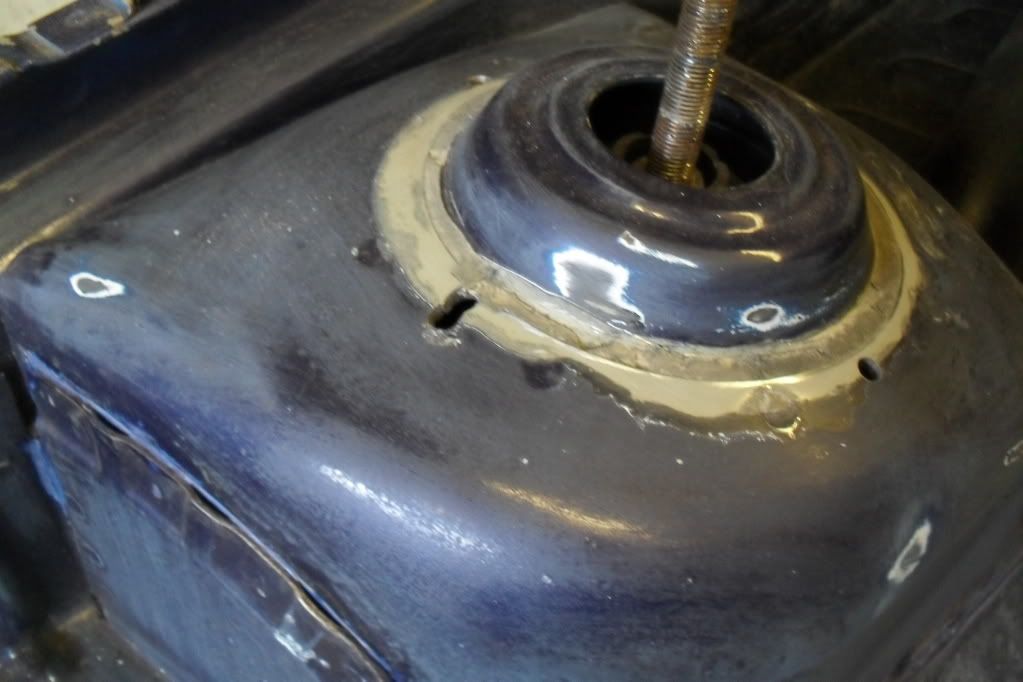

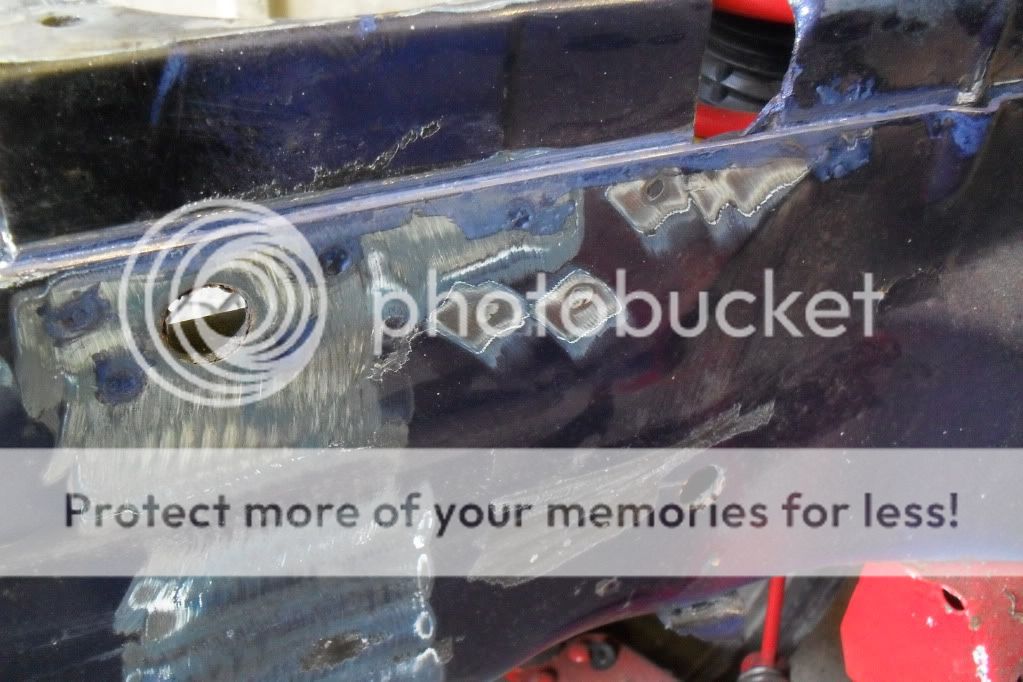

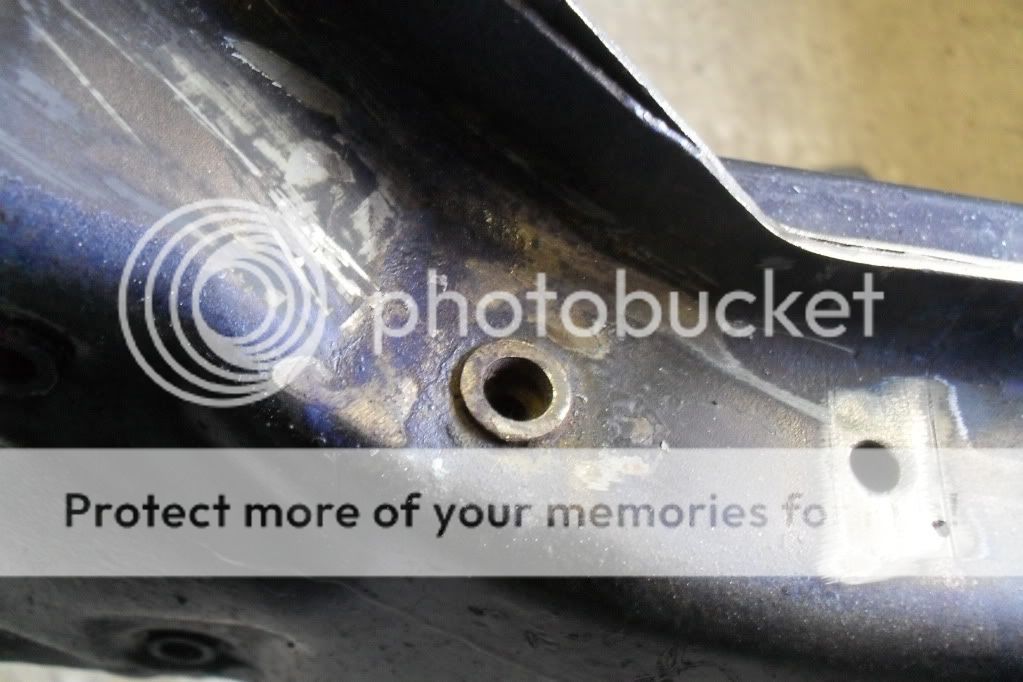

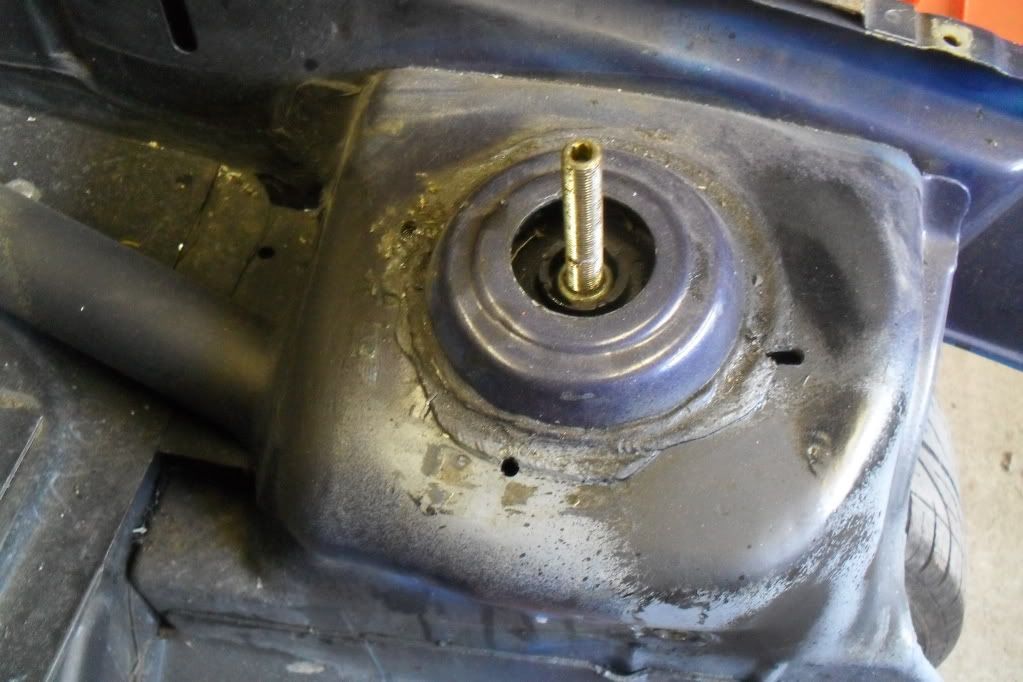


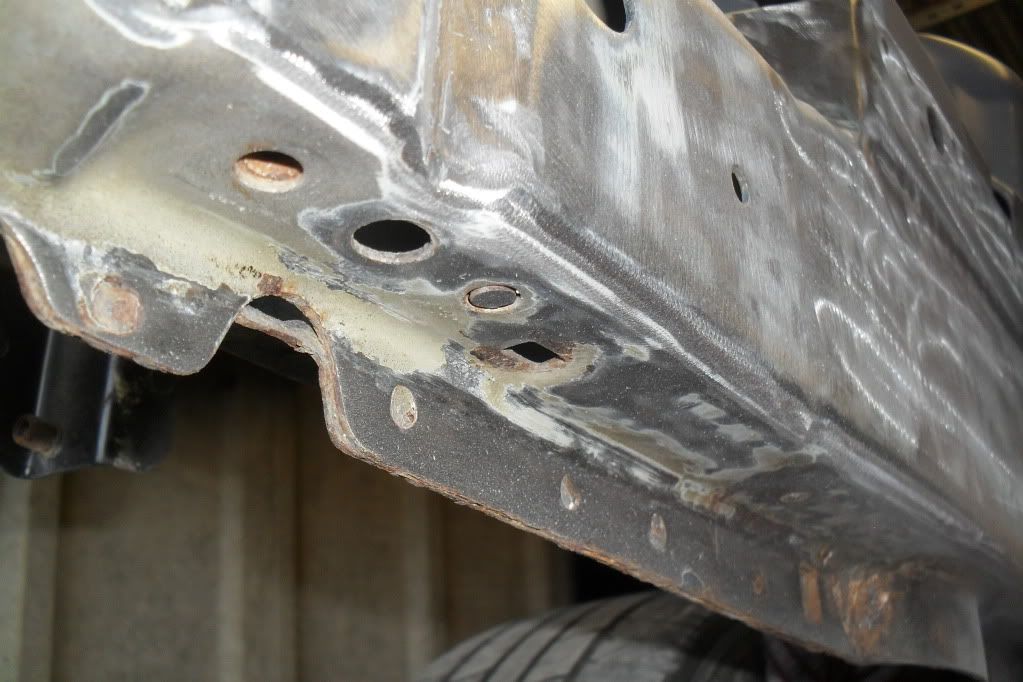
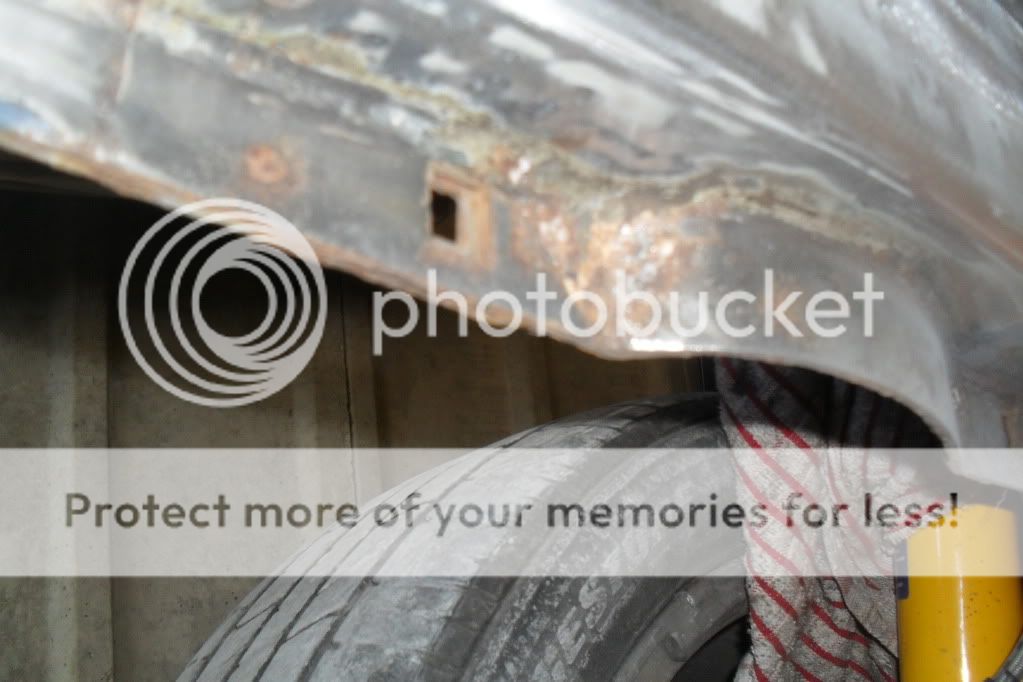
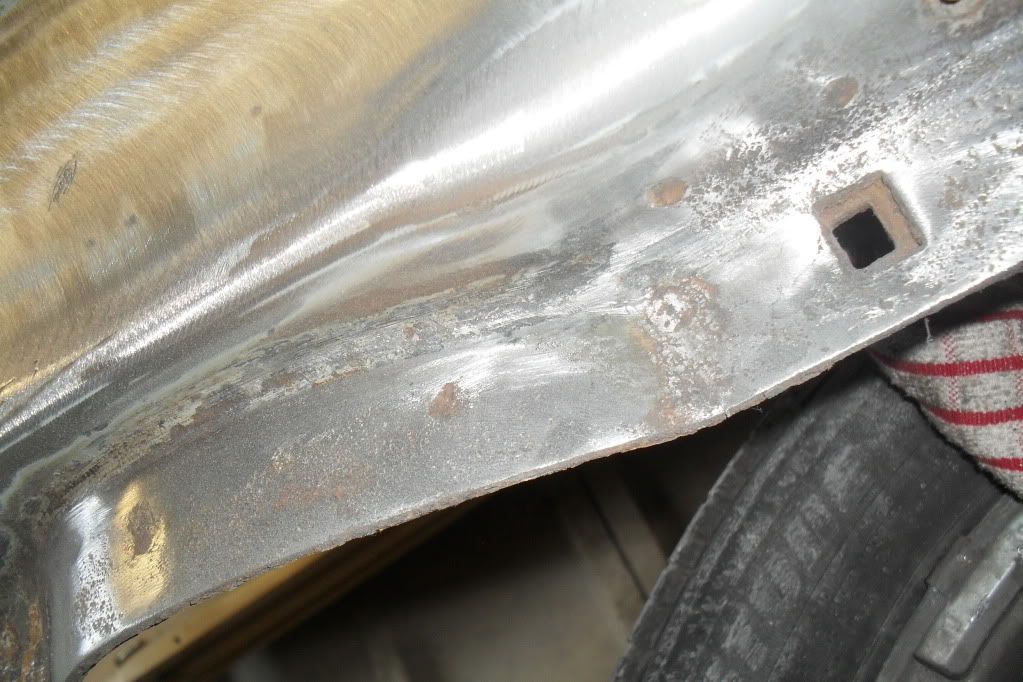

rust killer added
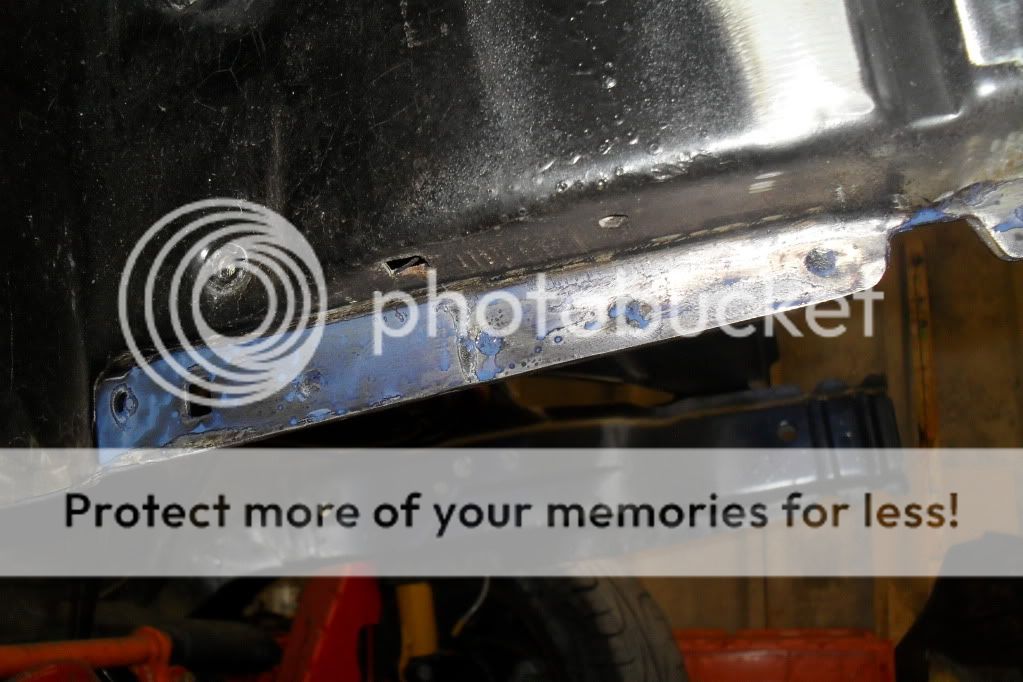
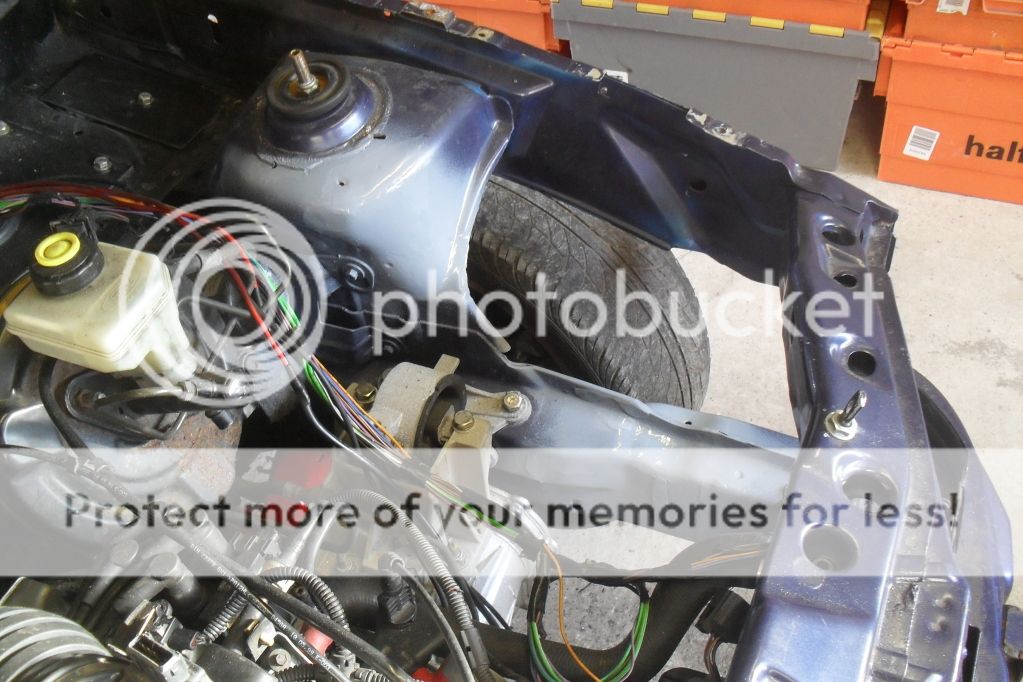
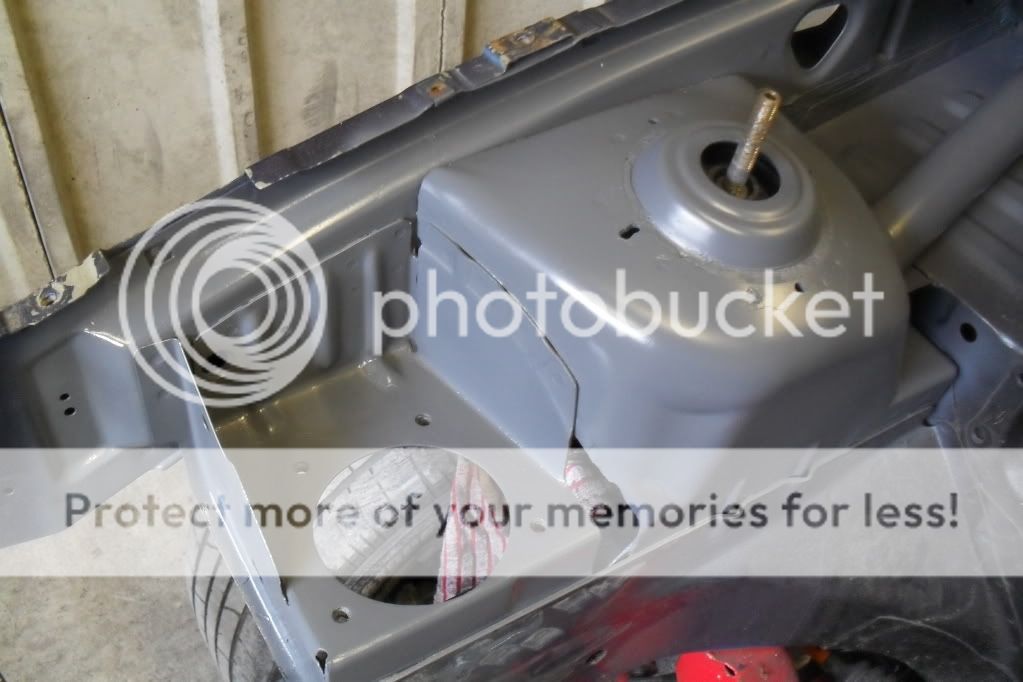
after a coat of primer
after 2 coats
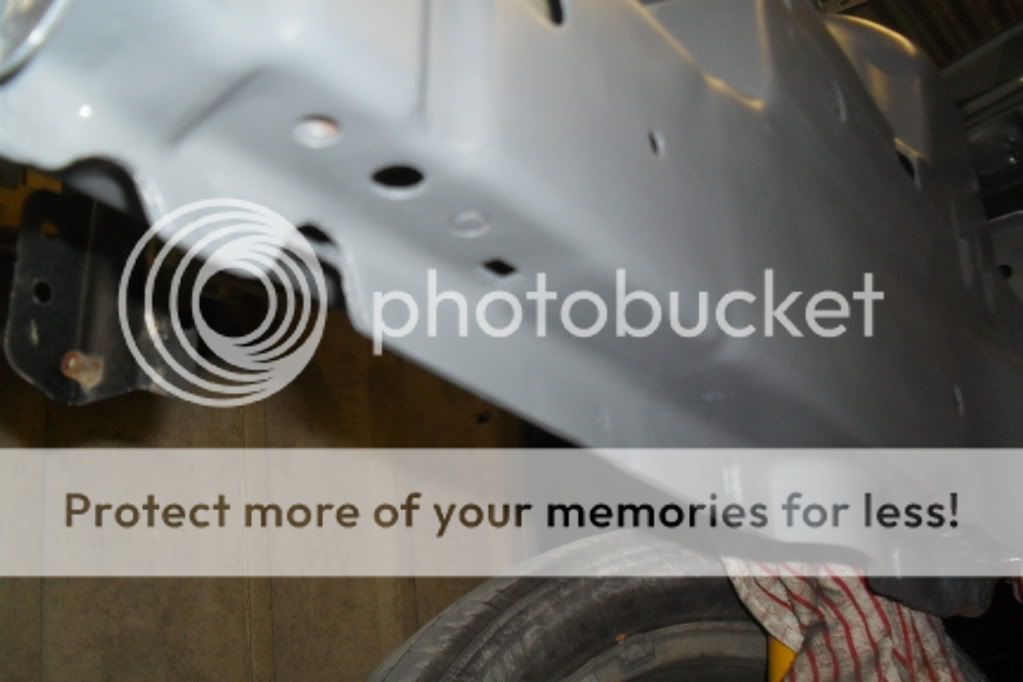
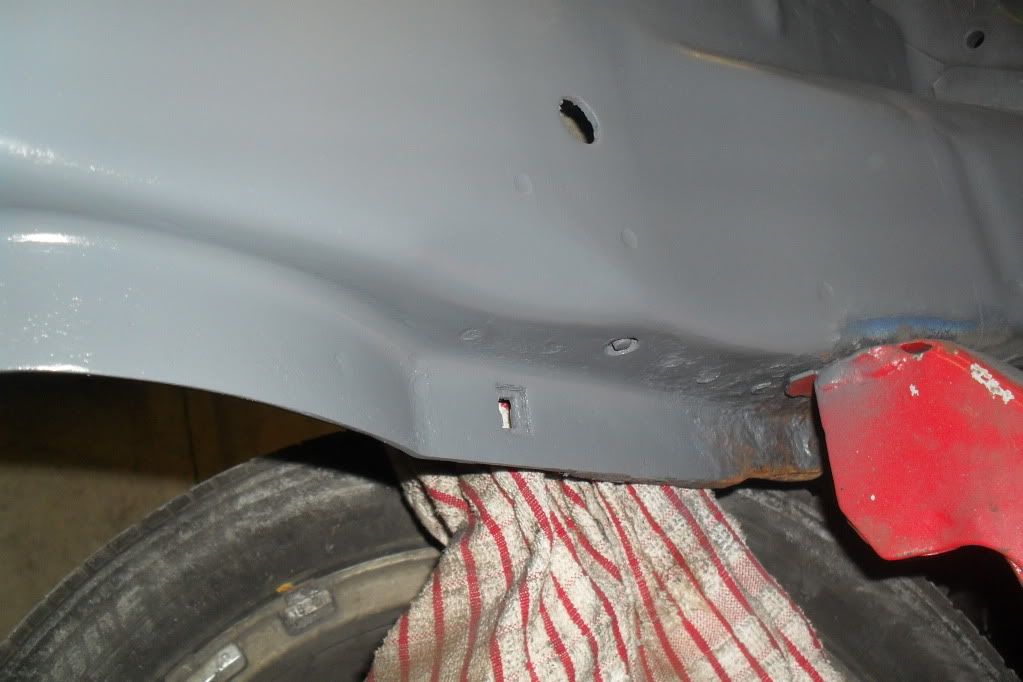
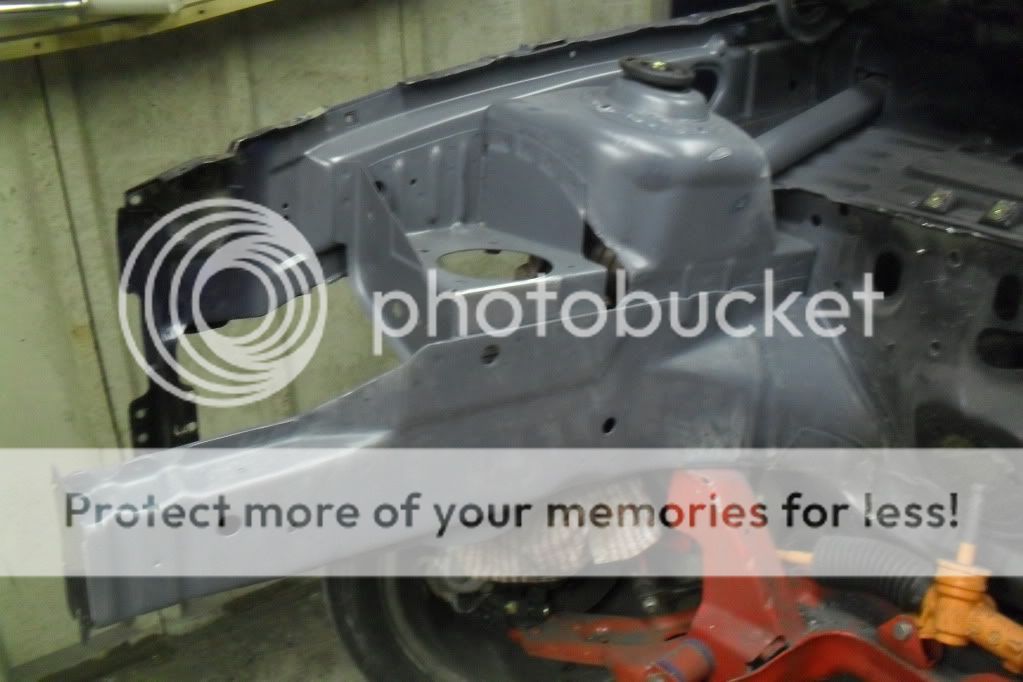
after 2 coats for black and 3 coats of clear
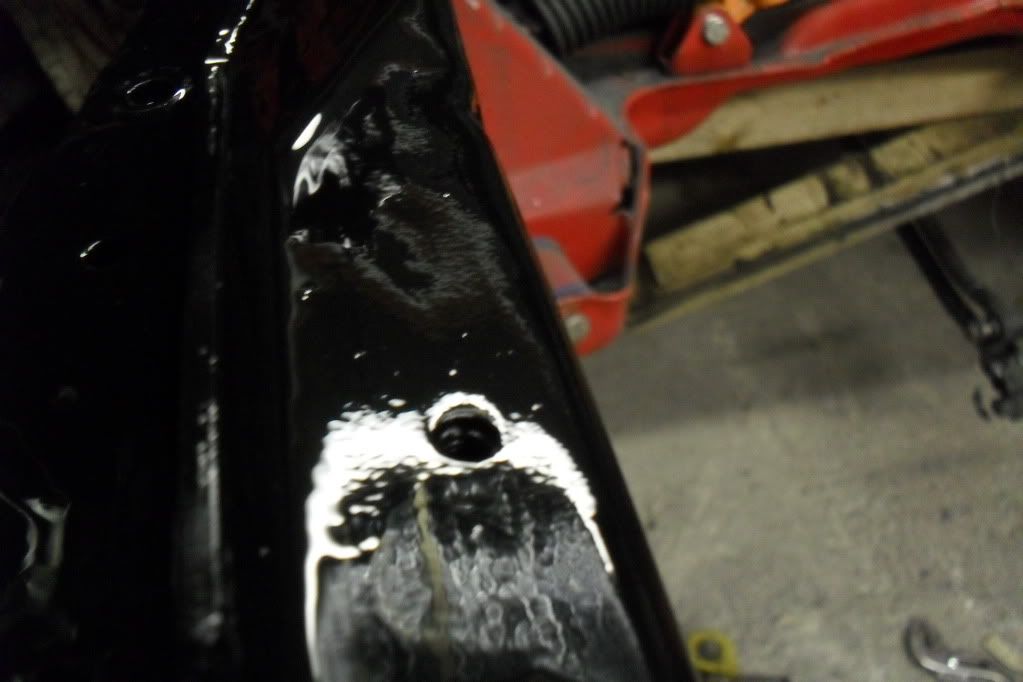
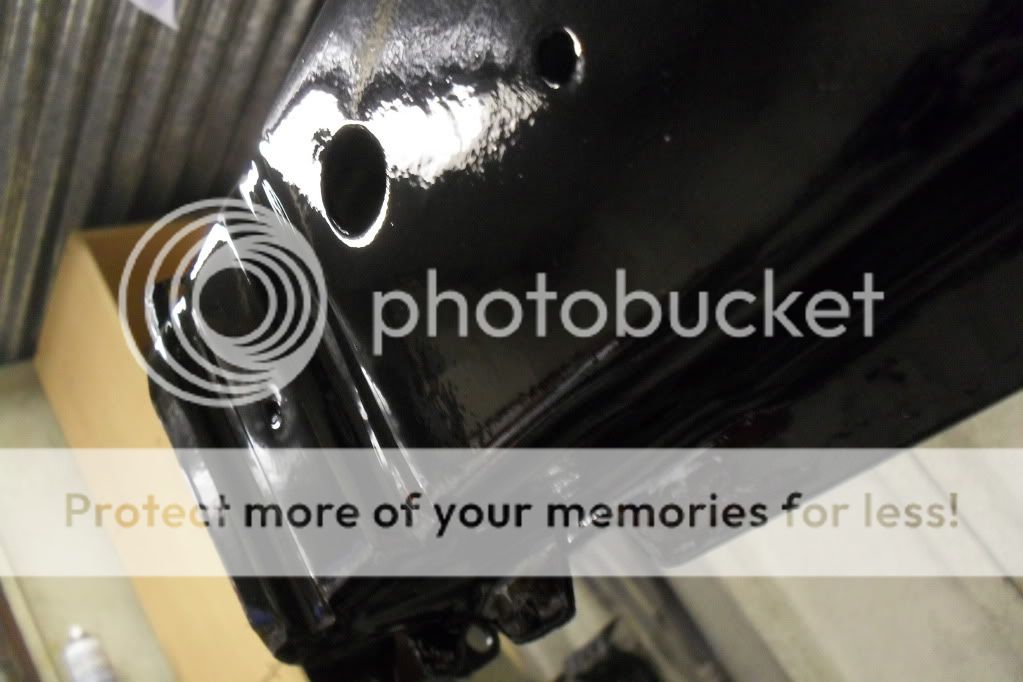
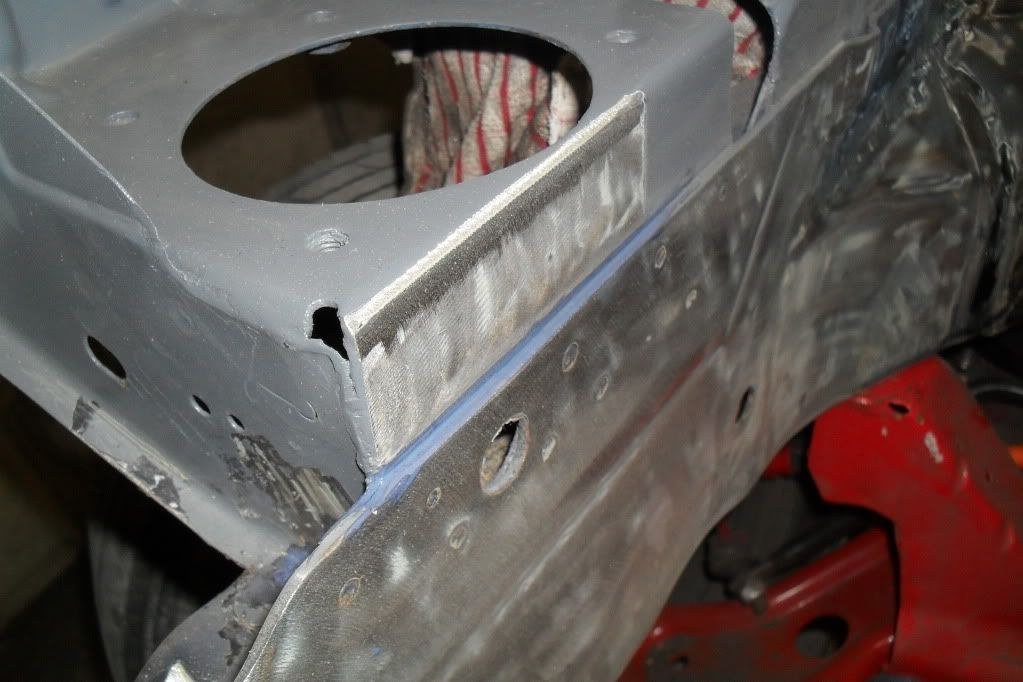
the other side
i will be starting the otherside tomorow.
before
after
ive been sorting out the common rust problem. pics of me sorting out the rust.
ive also removed the heat shield to get to see any possible rust that needs sorting.
also cleaned the inside of the car (it needed doing) looks alot cleaner now. ive also removed the steering column and the wiring loom until i need it again.
the bits removed
now on with the rust killing!!!
rust killer added
after a coat of primer
after 2 coats
after 2 coats for black and 3 coats of clear
the other side
i will be starting the otherside tomorow.