Saff Cossie - track car build cancelled! All parts for sale!
 11-02-2005, 09:48 PM
#121
20K+ Super Poster.
Thread Starter

Join Date: May 2003
Posts: 23,377
Likes: 0
Received 0 Likes
on
0 Posts
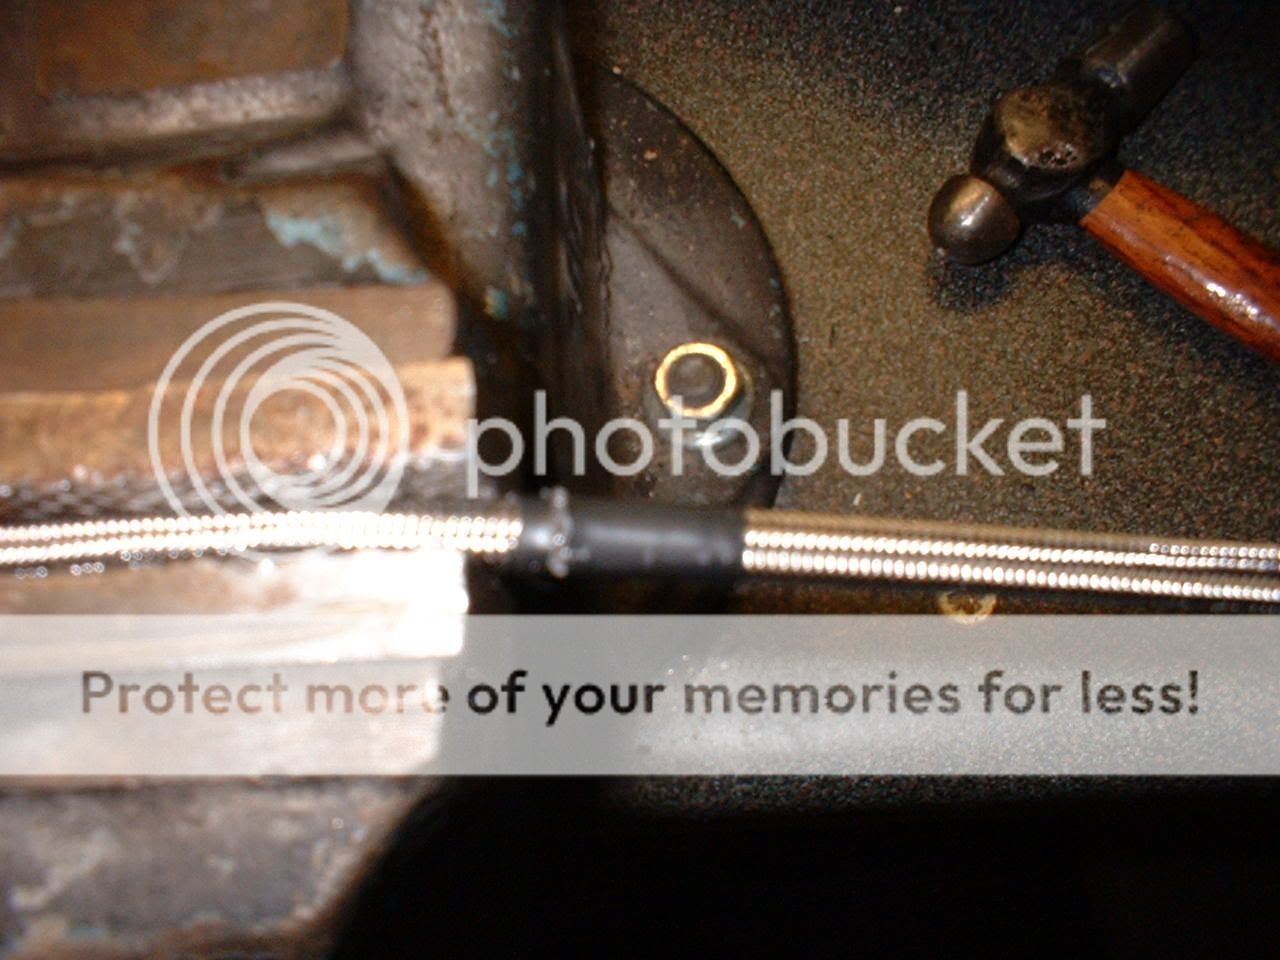
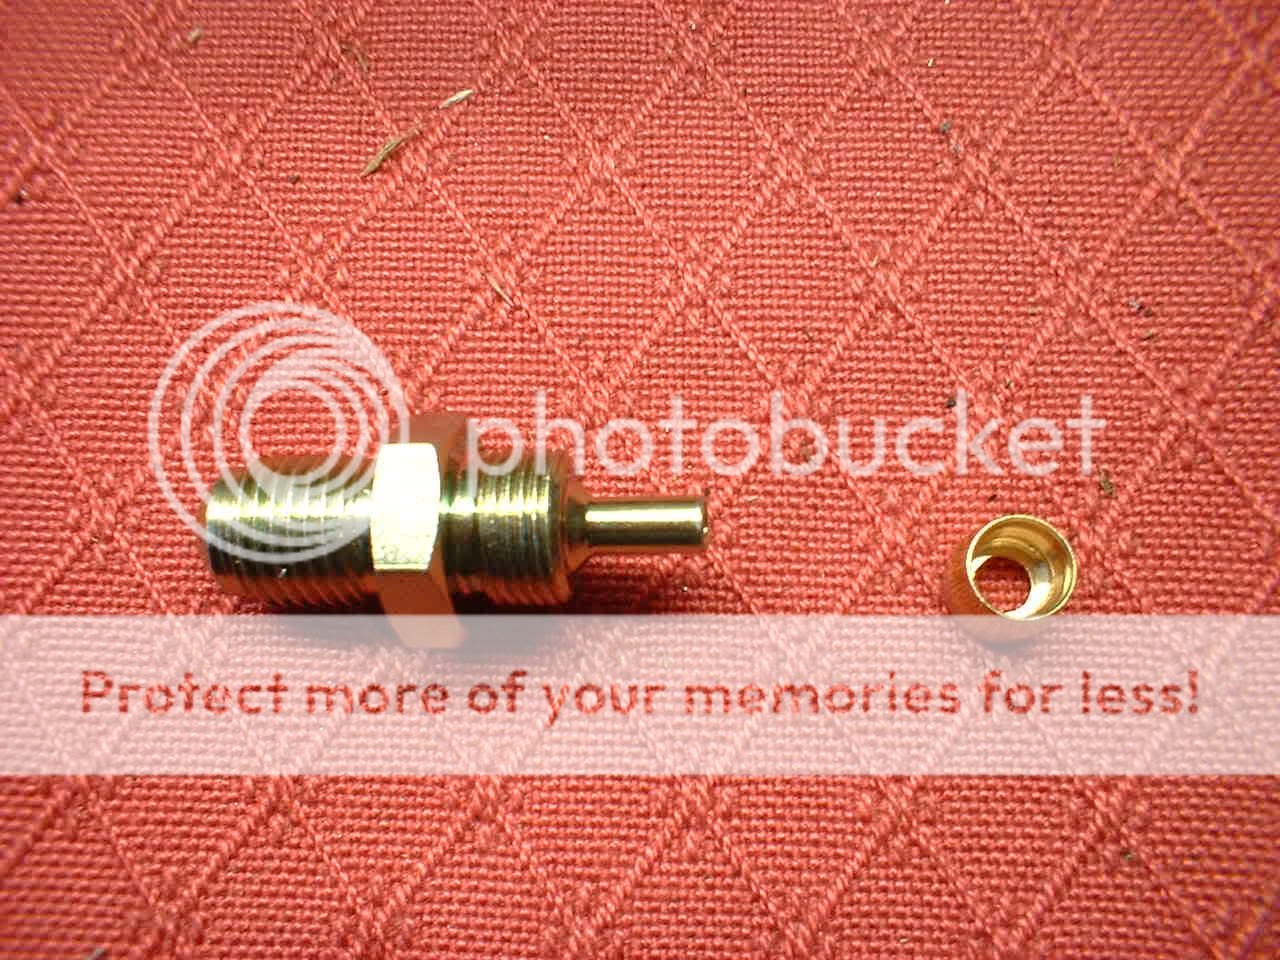
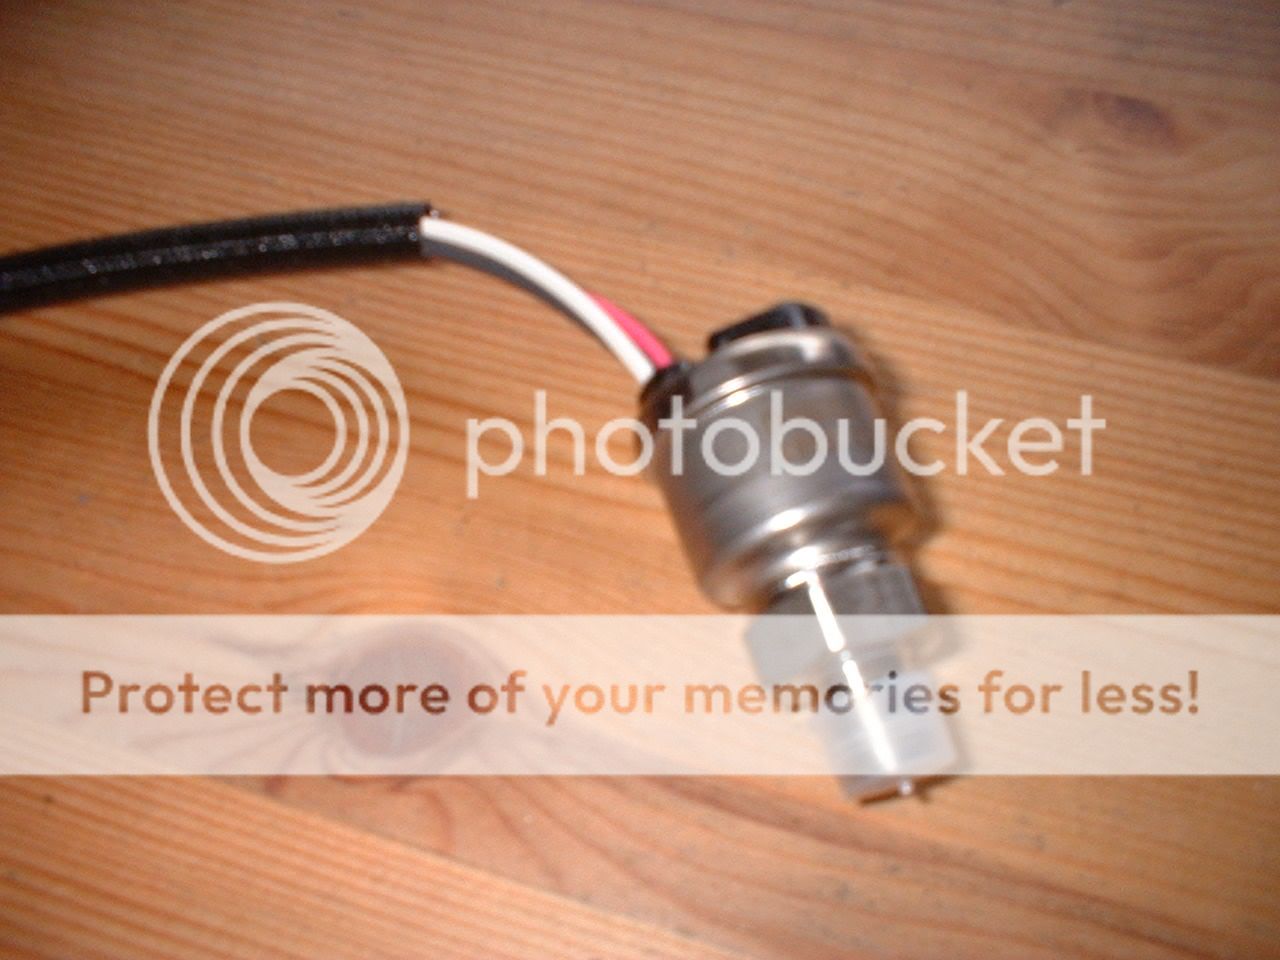
Next job was to fit the Defi oil temp sender into the new sump, so a little PTFE tape:

and nicely threaded into the pre-welded 1/8 NPT hole:

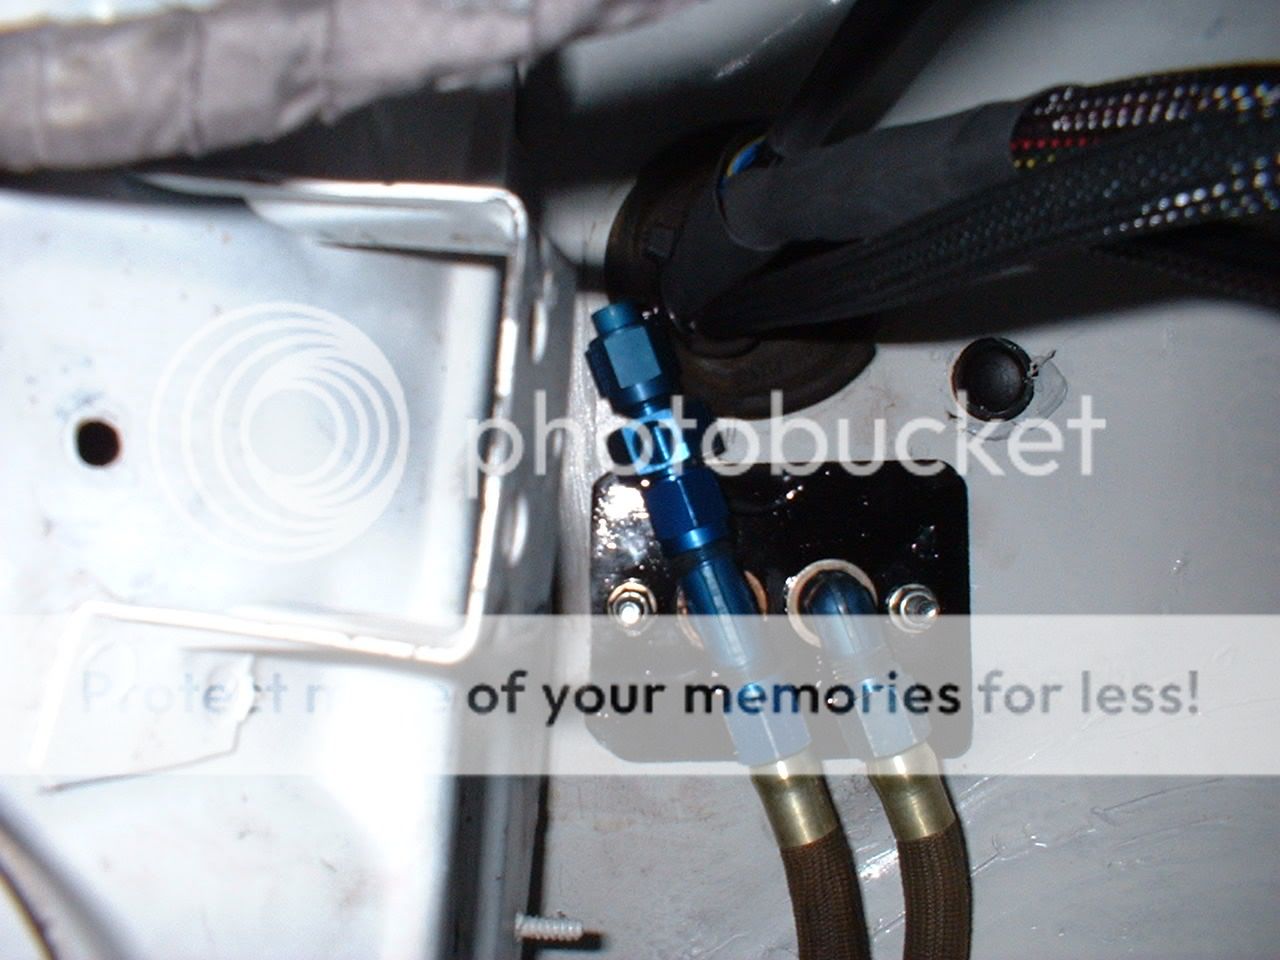
Also took the opportunity to replace the power sterring feed banjo bolt with new copper washers (fookin �10 from Ford )
)
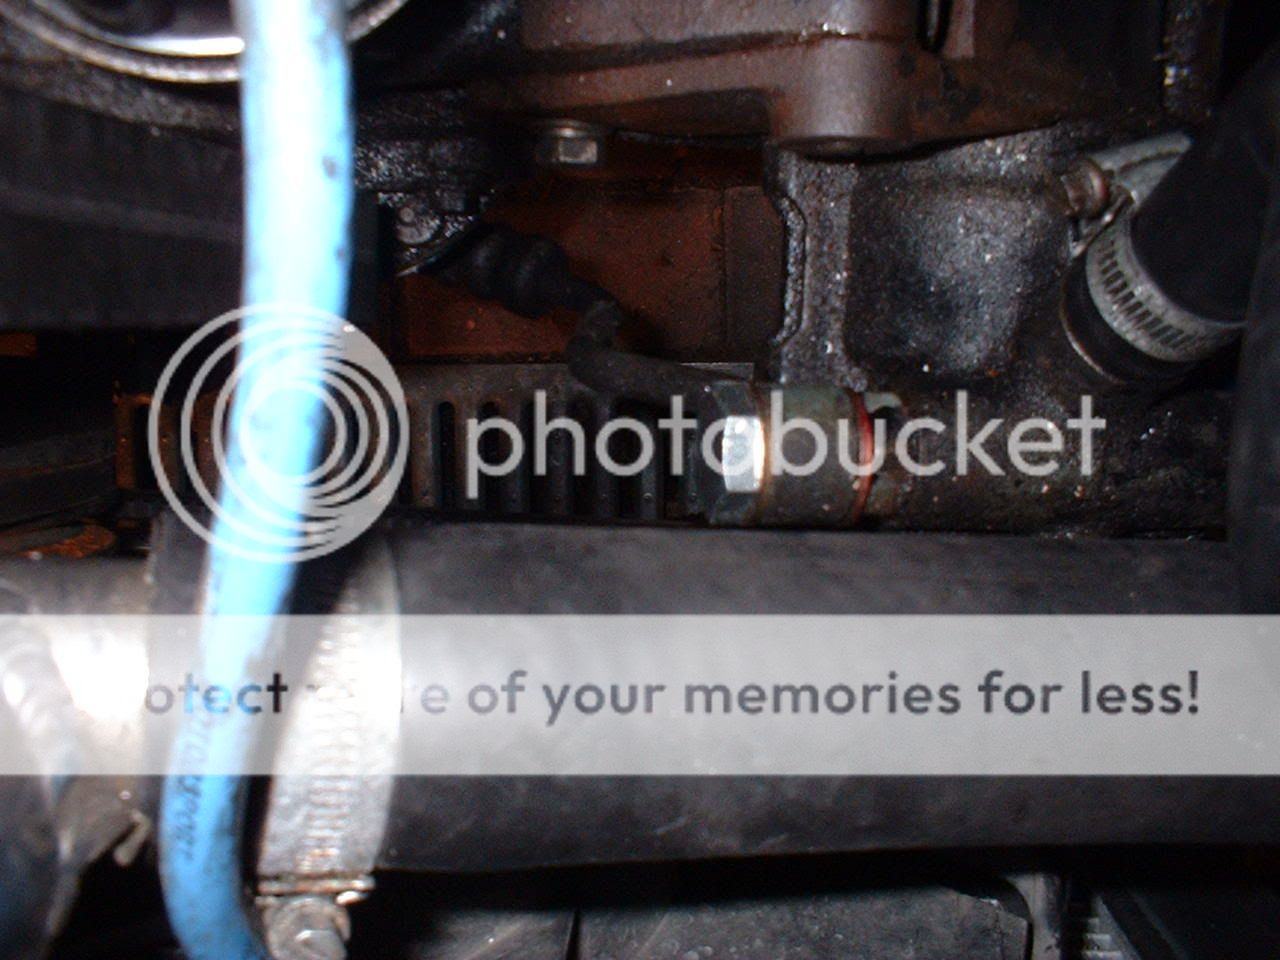
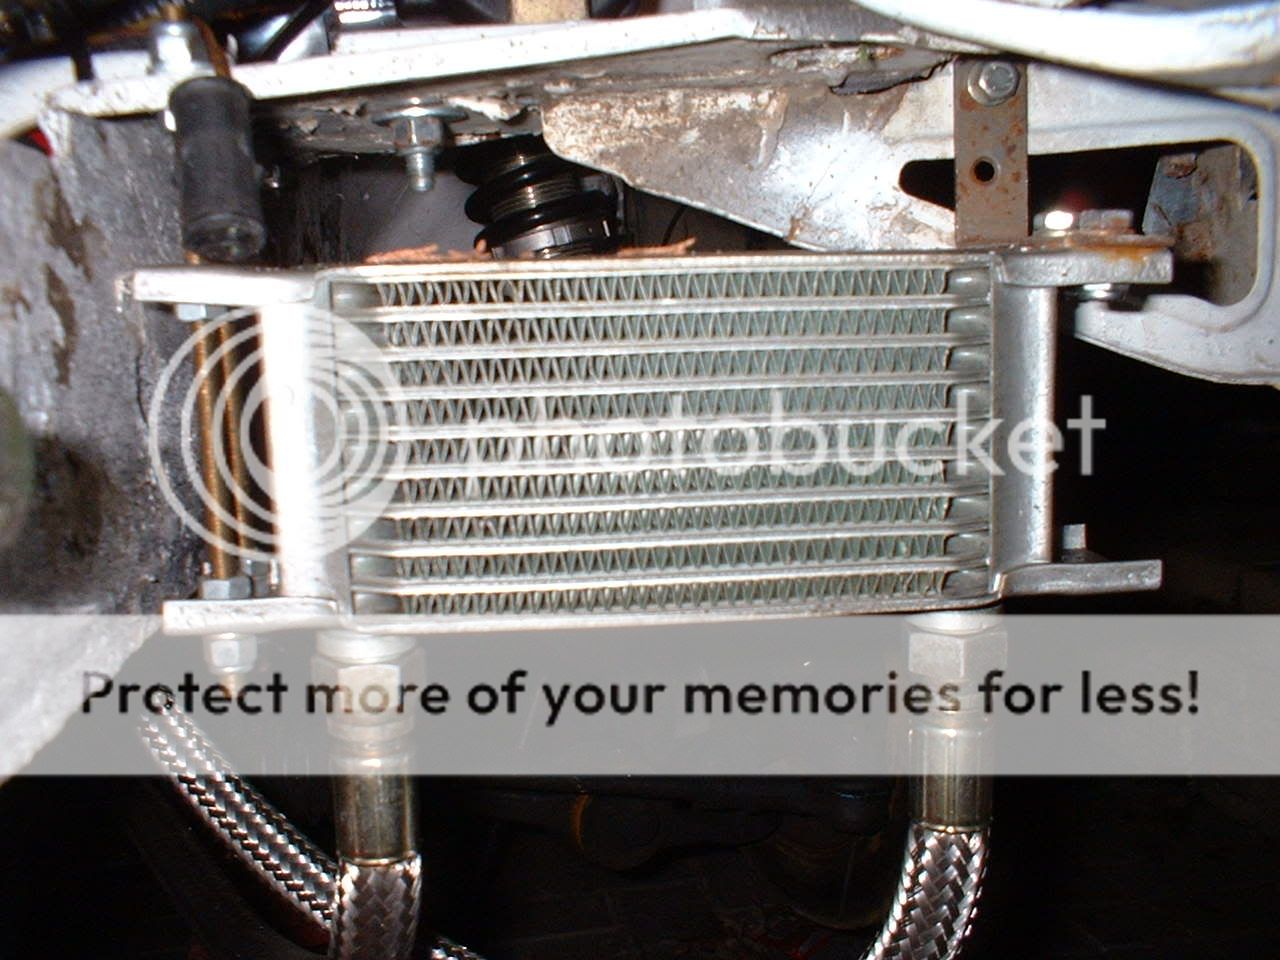
and remount the power steering cooler:
and nicely threaded into the pre-welded 1/8 NPT hole:
Also took the opportunity to replace the power sterring feed banjo bolt with new copper washers (fookin �10 from Ford
)and remount the power steering cooler:
 11-02-2005, 10:12 PM
#122
20K+ Super Poster.
Thread Starter
Join Date: May 2003
Posts: 23,377
Likes: 0
Received 0 Likes
on
0 Posts
More stuff done today:
Decided to make up all new front brake lines for the car. Had never done this before, but figured I'd give it a go.
Several hundred pounds, loads of fittings, and -3 brake line, and a little common sense - was a little easier tha I thought:
First step - cut hose to required length:
Slide threaded back piece over non-flared end:

Two other pieces are threaded connector end, and the olive:
Flare out the braided line away from the PTFE inner and push the olive all the way home:
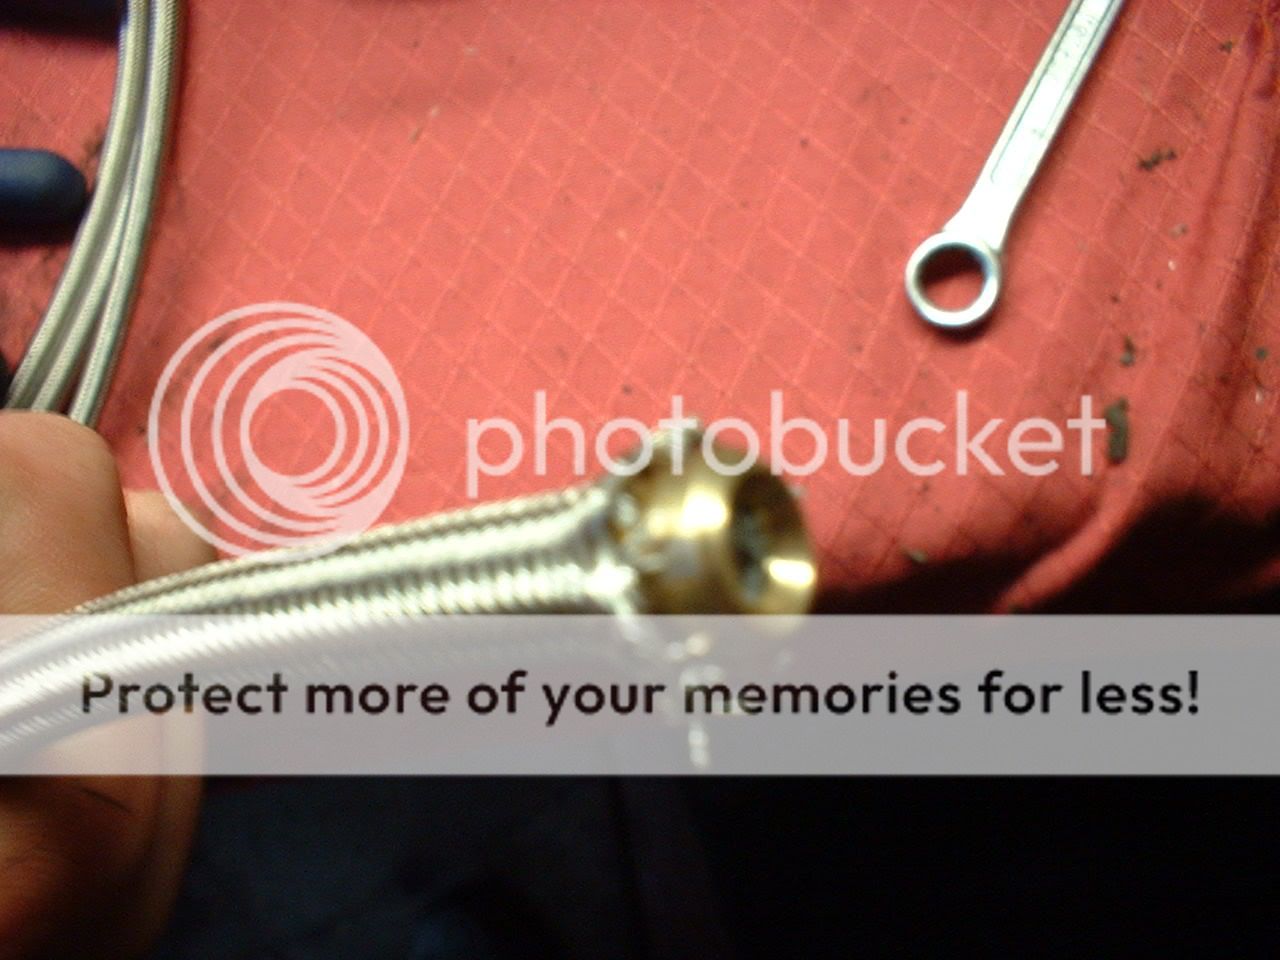
Next, grease the threads of the connector end, and screw the two threaded parts together, first pushing the whole assembly home, to end up with:
Old v new:
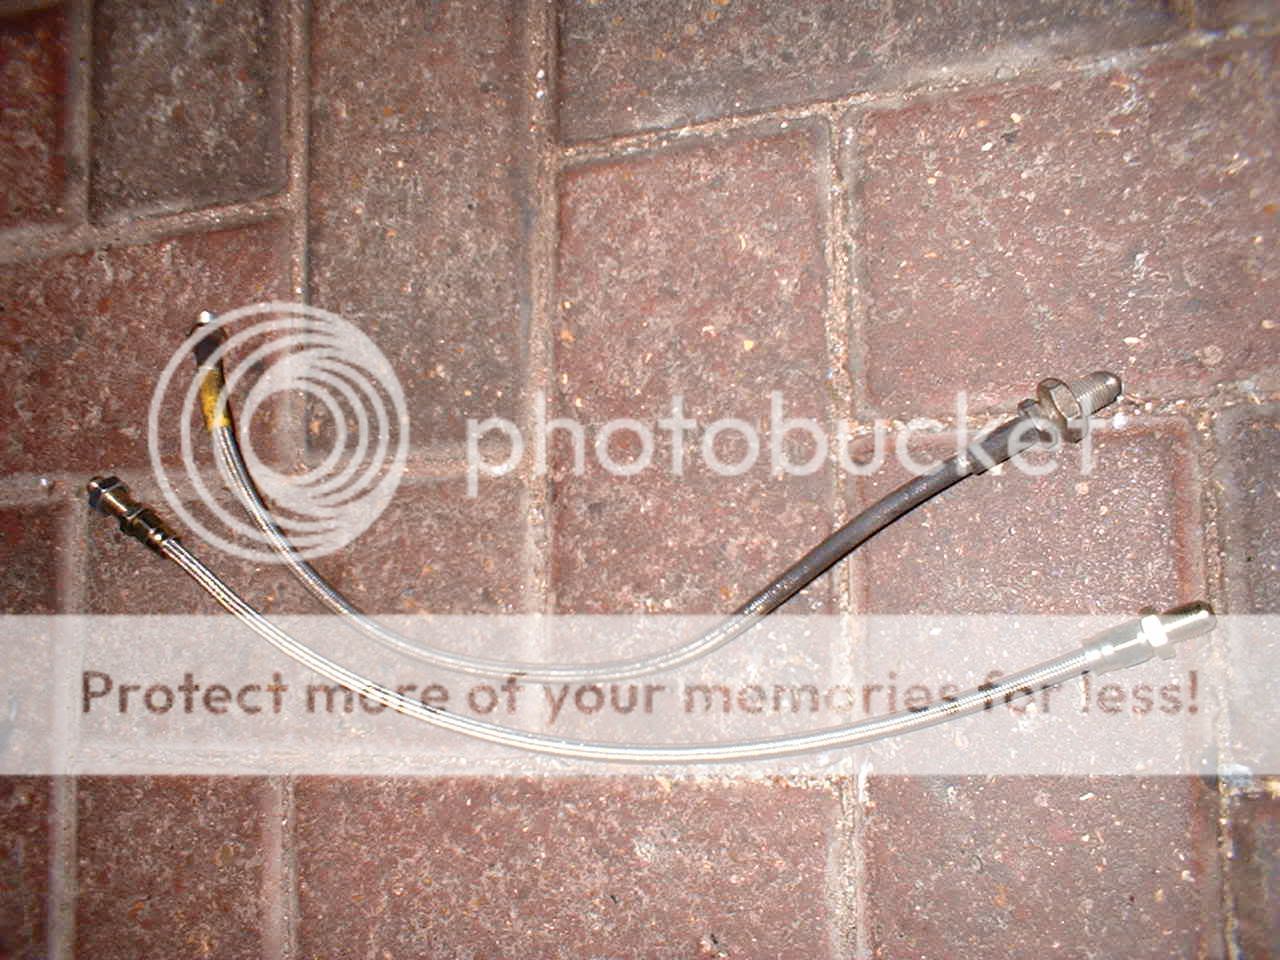
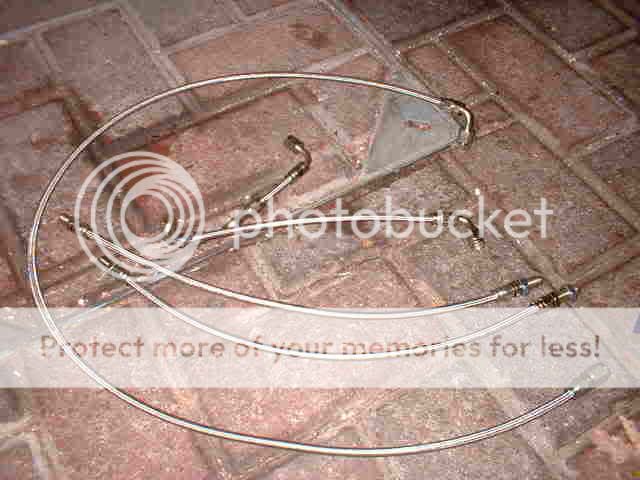
Complete front end:
Decided to make up all new front brake lines for the car. Had never done this before, but figured I'd give it a go.
Several hundred pounds, loads of fittings, and -3 brake line, and a little common sense - was a little easier tha I thought:
First step - cut hose to required length:
Slide threaded back piece over non-flared end:
Two other pieces are threaded connector end, and the olive:
Flare out the braided line away from the PTFE inner and push the olive all the way home:
Next, grease the threads of the connector end, and screw the two threaded parts together, first pushing the whole assembly home, to end up with:
Old v new:
Complete front end:
11-02-2005, 10:17 PM
#123
20K+ Super Poster.
Thread Starter
Join Date: May 2003
Posts: 23,377
Likes: 0
Received 0 Likes
on
0 Posts
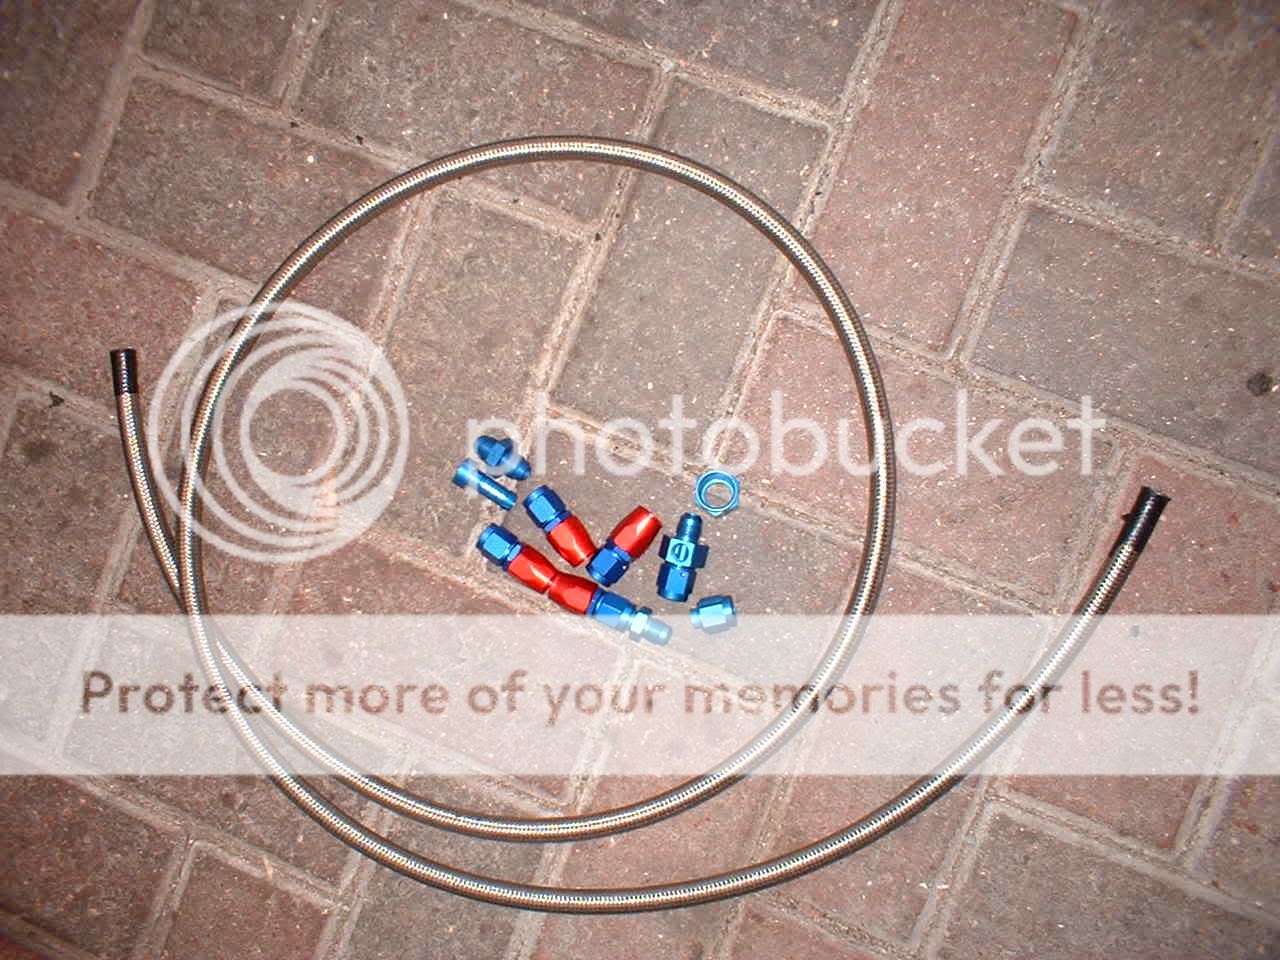
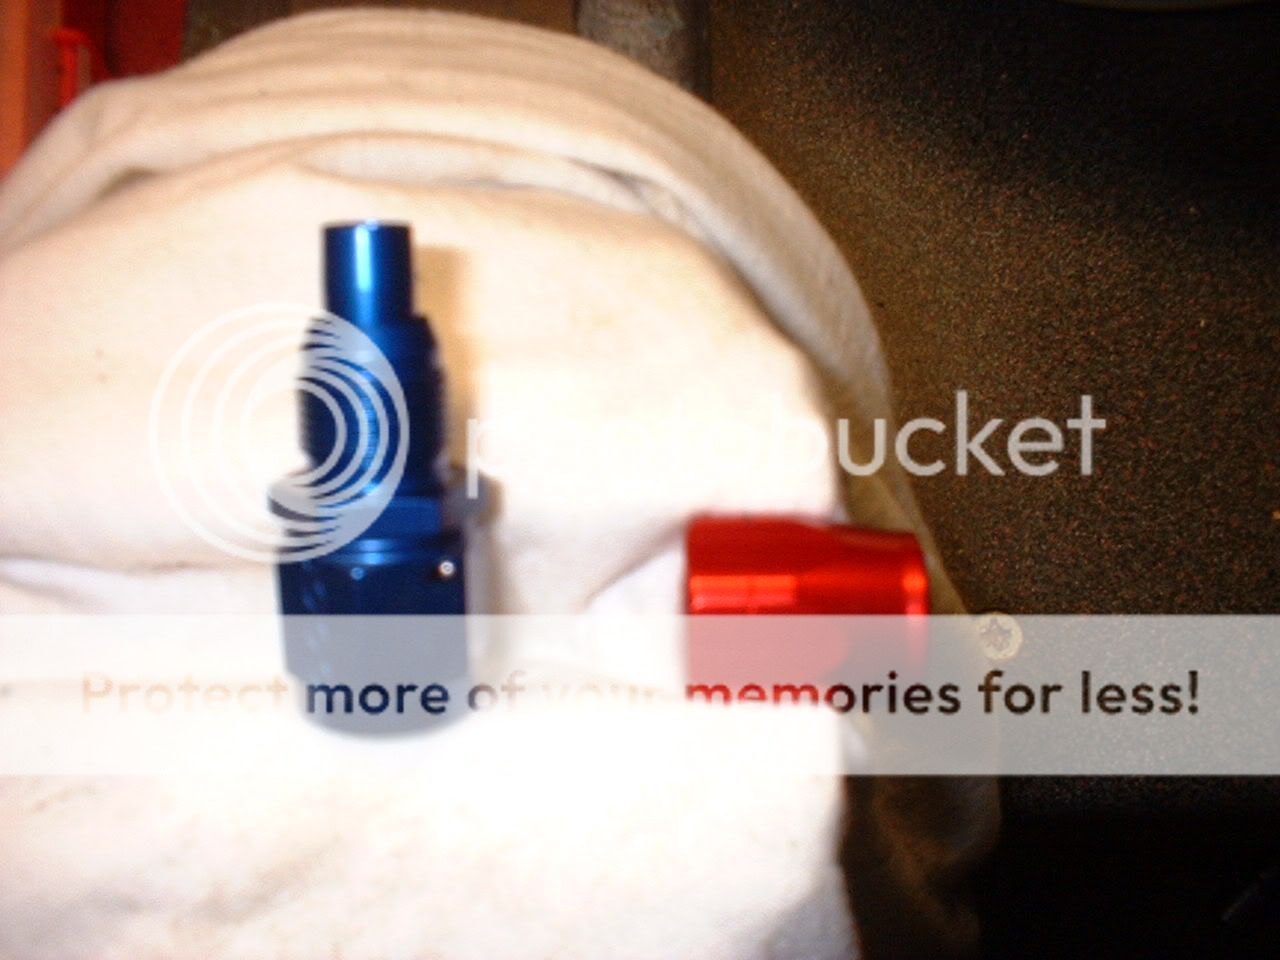
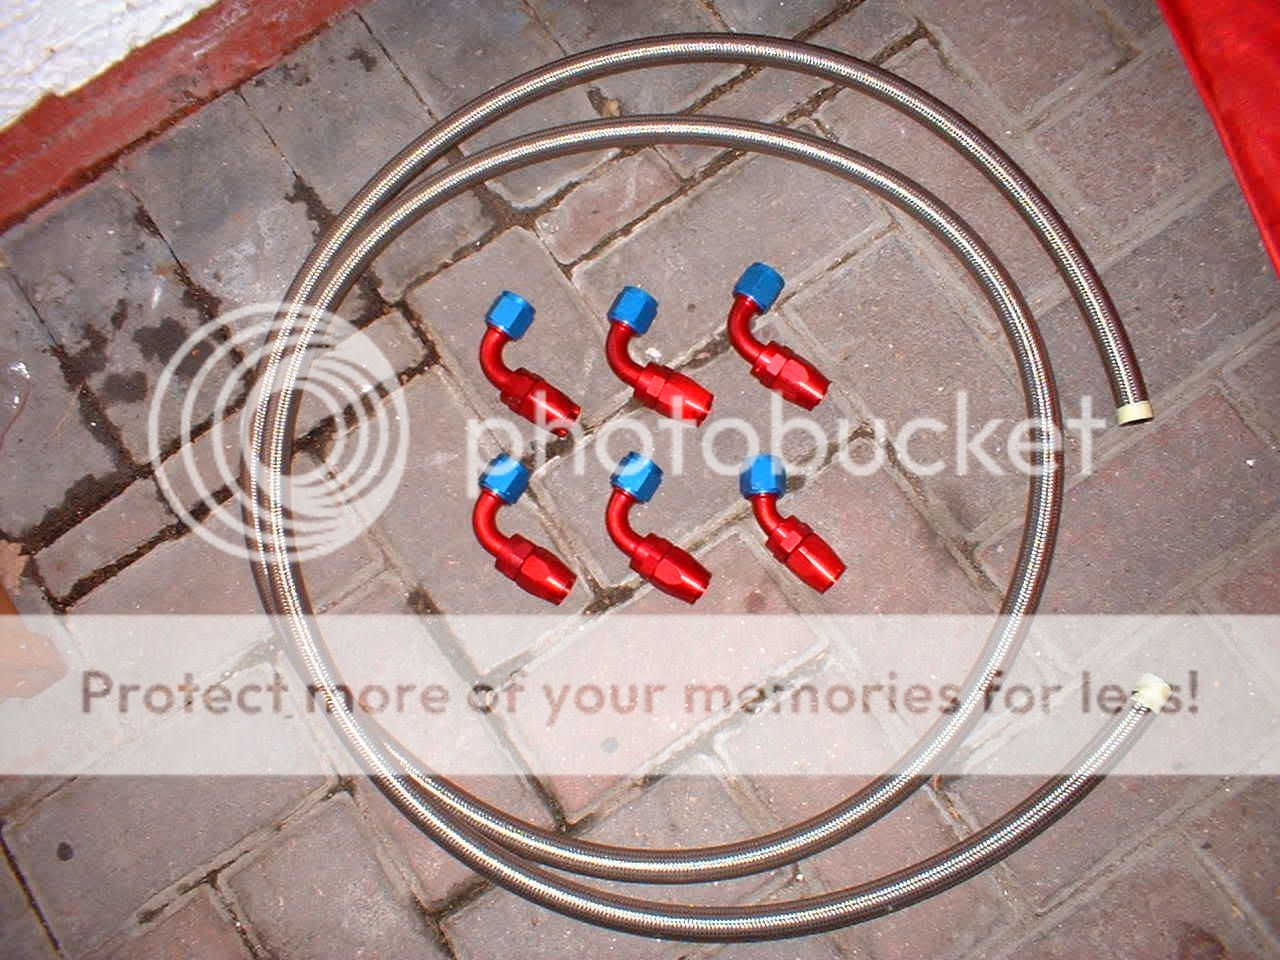
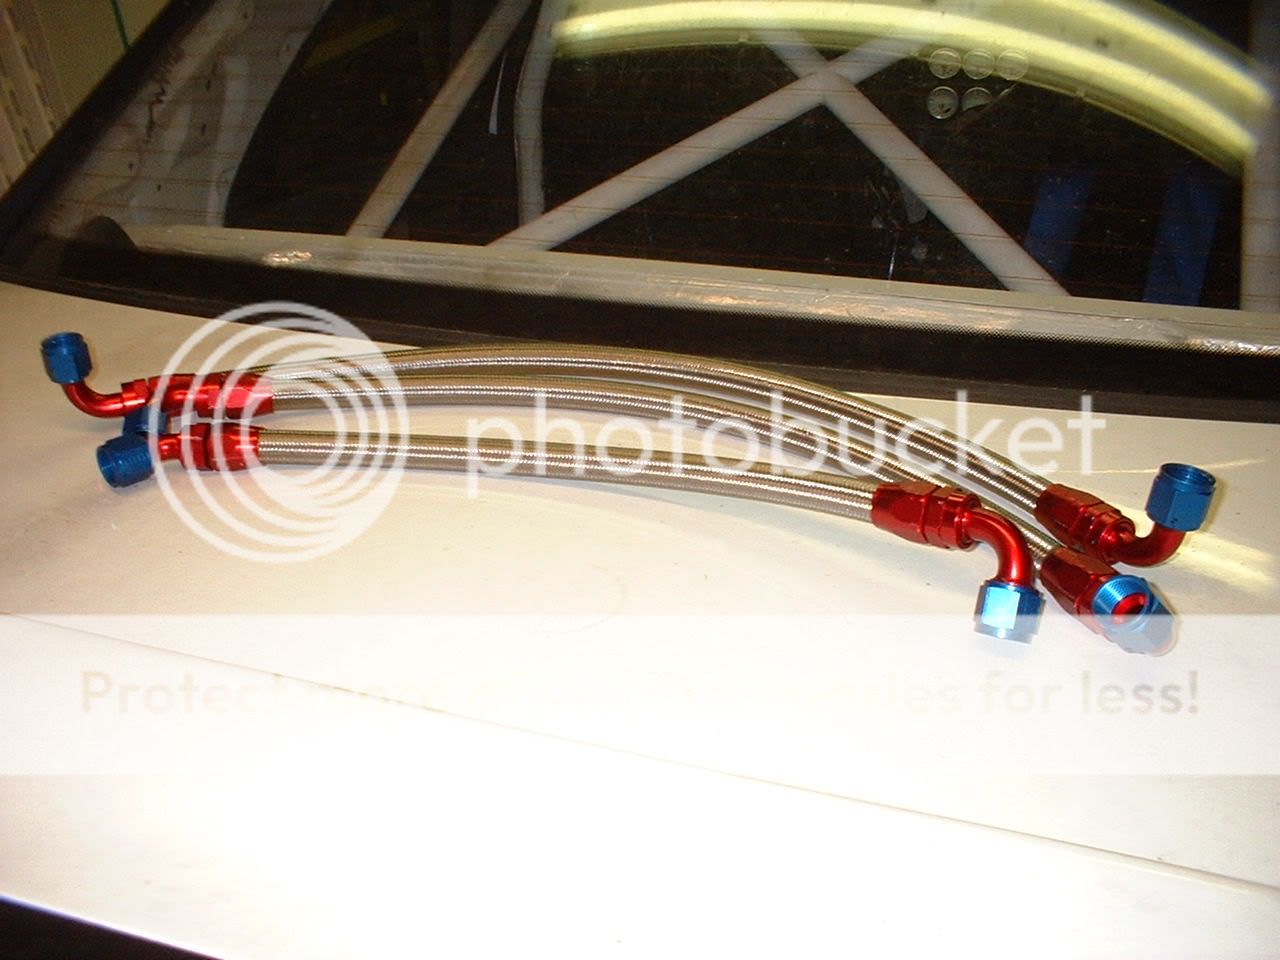
Fuel lines needed to be done next. Having not done this before, I was alittle concerned, but it was just common sense:
-6 fuel line and various fittings:
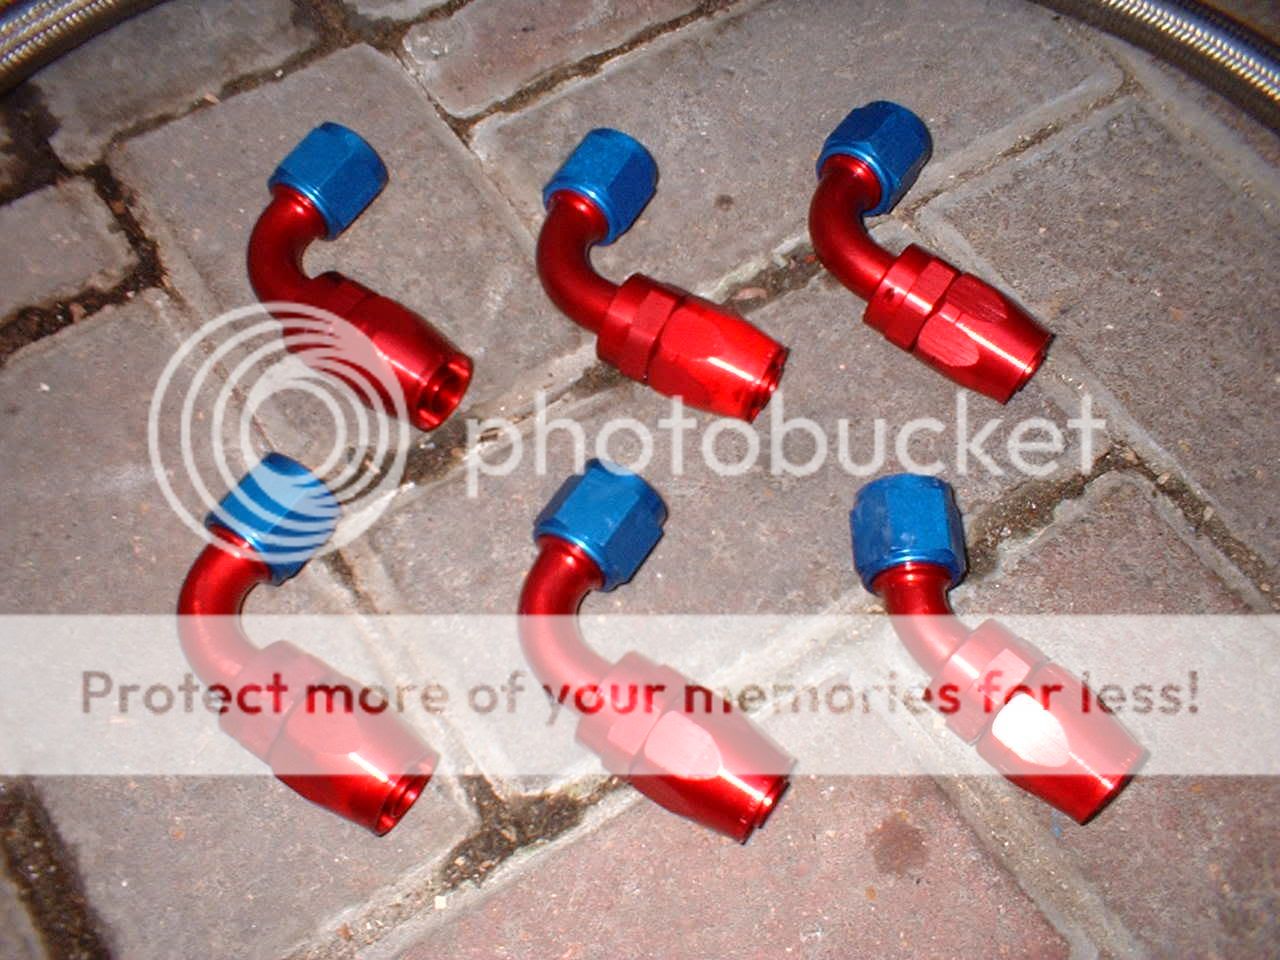
Cut the fuel line to the desired size, and then separate the two halves of the connector:
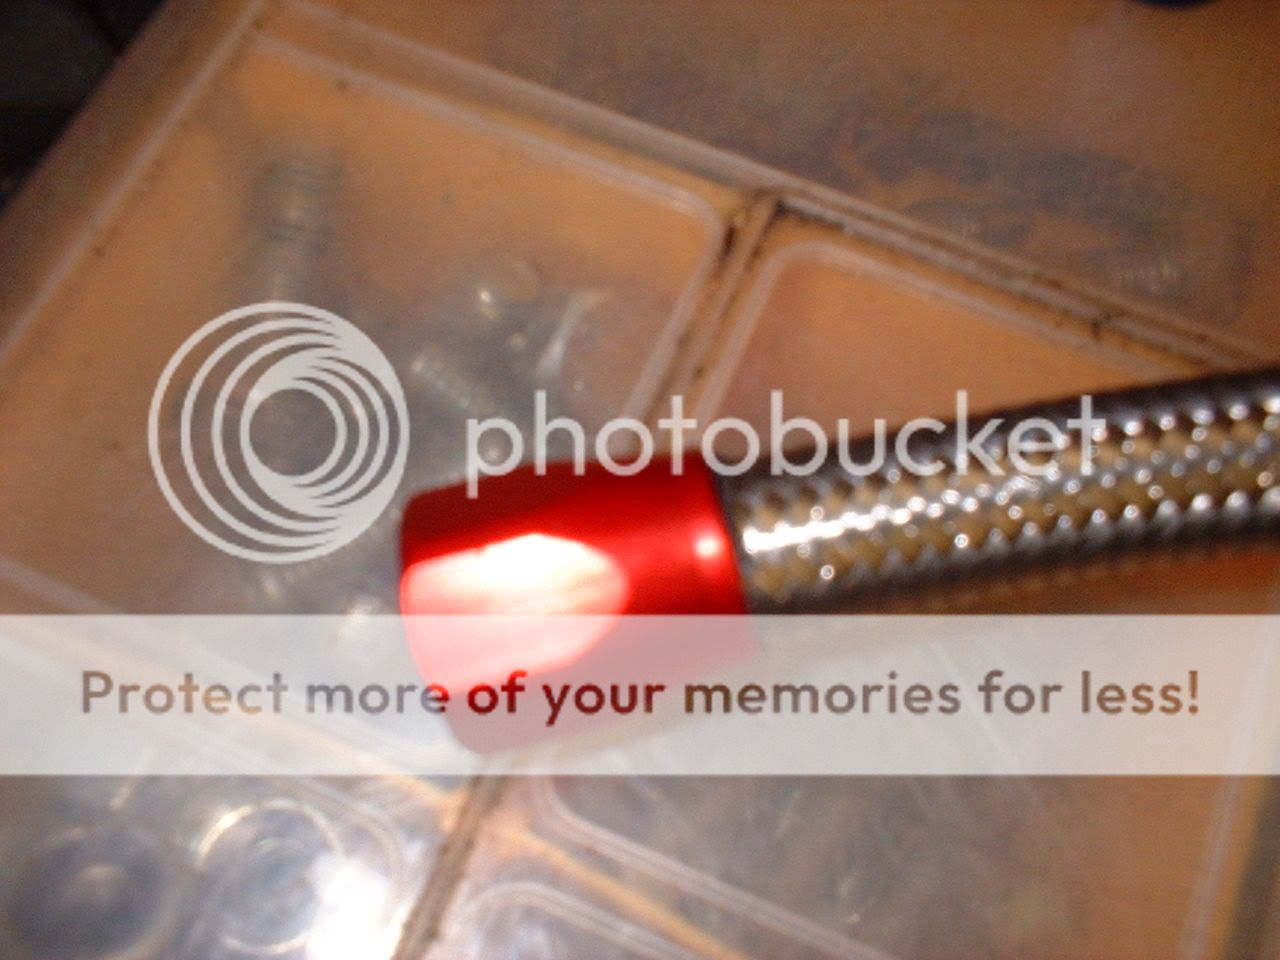
The red part then screws on to the braided line by cutting a thread with the sharp edge inside the connector. Once it is fully home, it should look like:
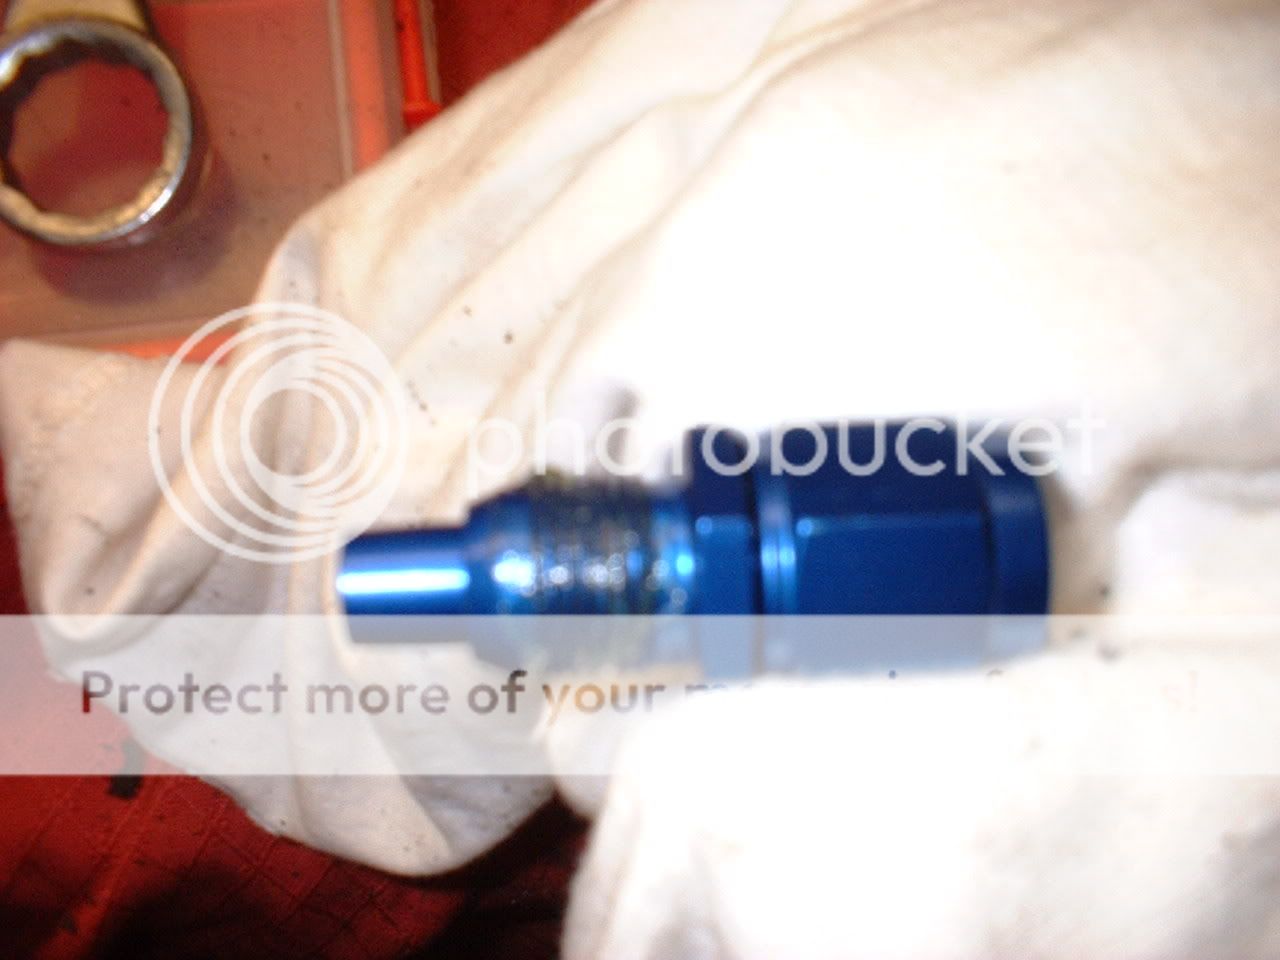
Blue part clamped in protected vice, and threads greased:
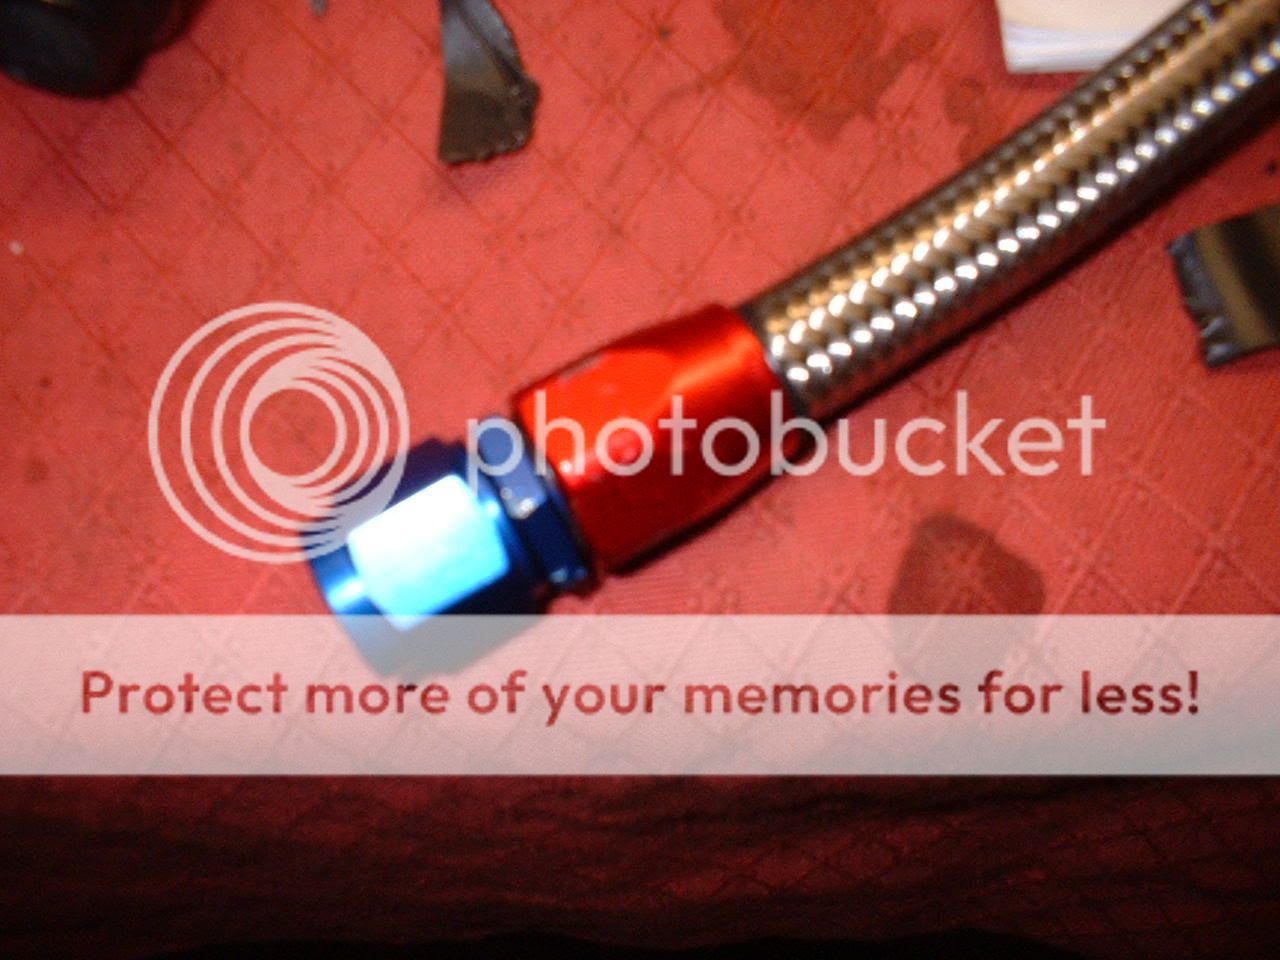
Screw together the two parts, and one fuel line complete:
More pics to come tomorrow...........
-6 fuel line and various fittings:
Cut the fuel line to the desired size, and then separate the two halves of the connector:
The red part then screws on to the braided line by cutting a thread with the sharp edge inside the connector. Once it is fully home, it should look like:
Blue part clamped in protected vice, and threads greased:
Screw together the two parts, and one fuel line complete:
More pics to come tomorrow...........

 12-02-2005, 10:48 PM
#125
20K+ Super Poster.
Thread Starter
Join Date: May 2003
Posts: 23,377
Likes: 0
Received 0 Likes
on
0 Posts
More updates:
Got all the front brake lines in, and connected to the master cylinders:
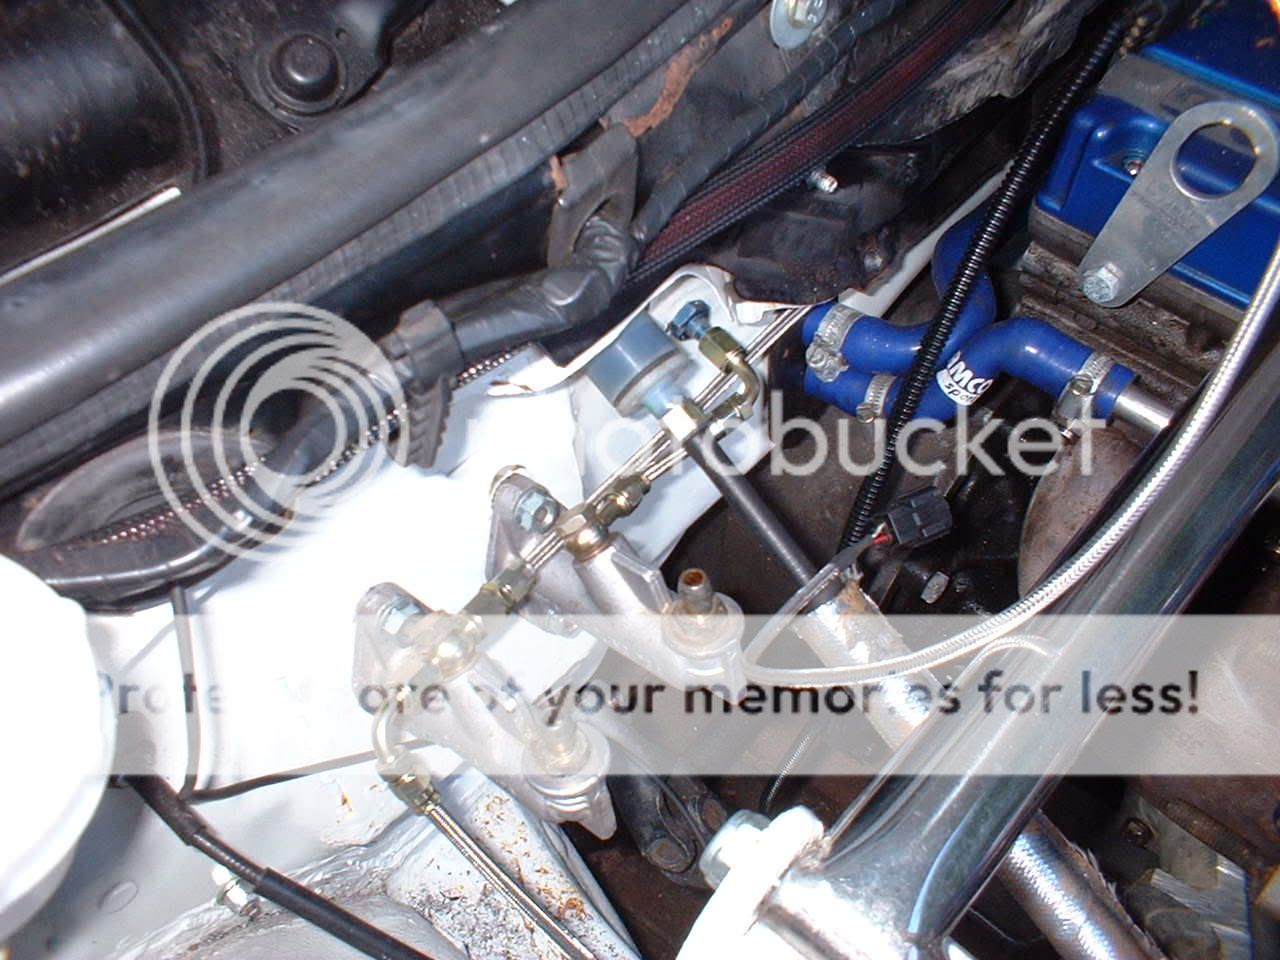
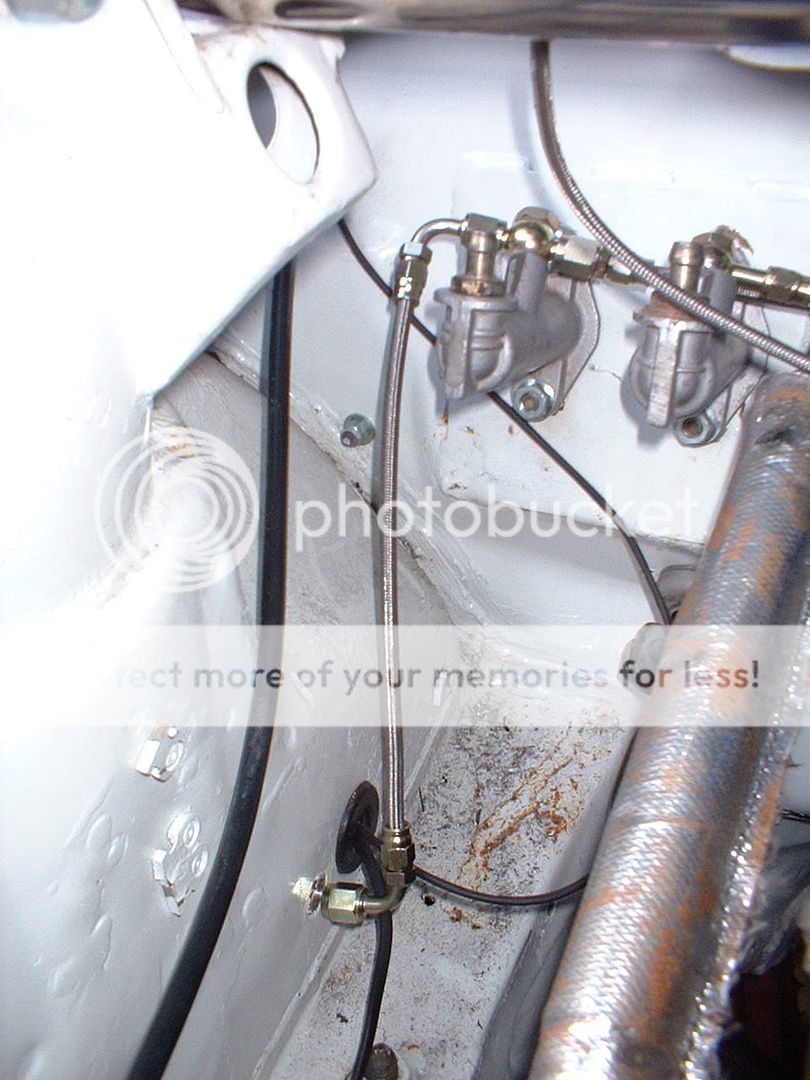
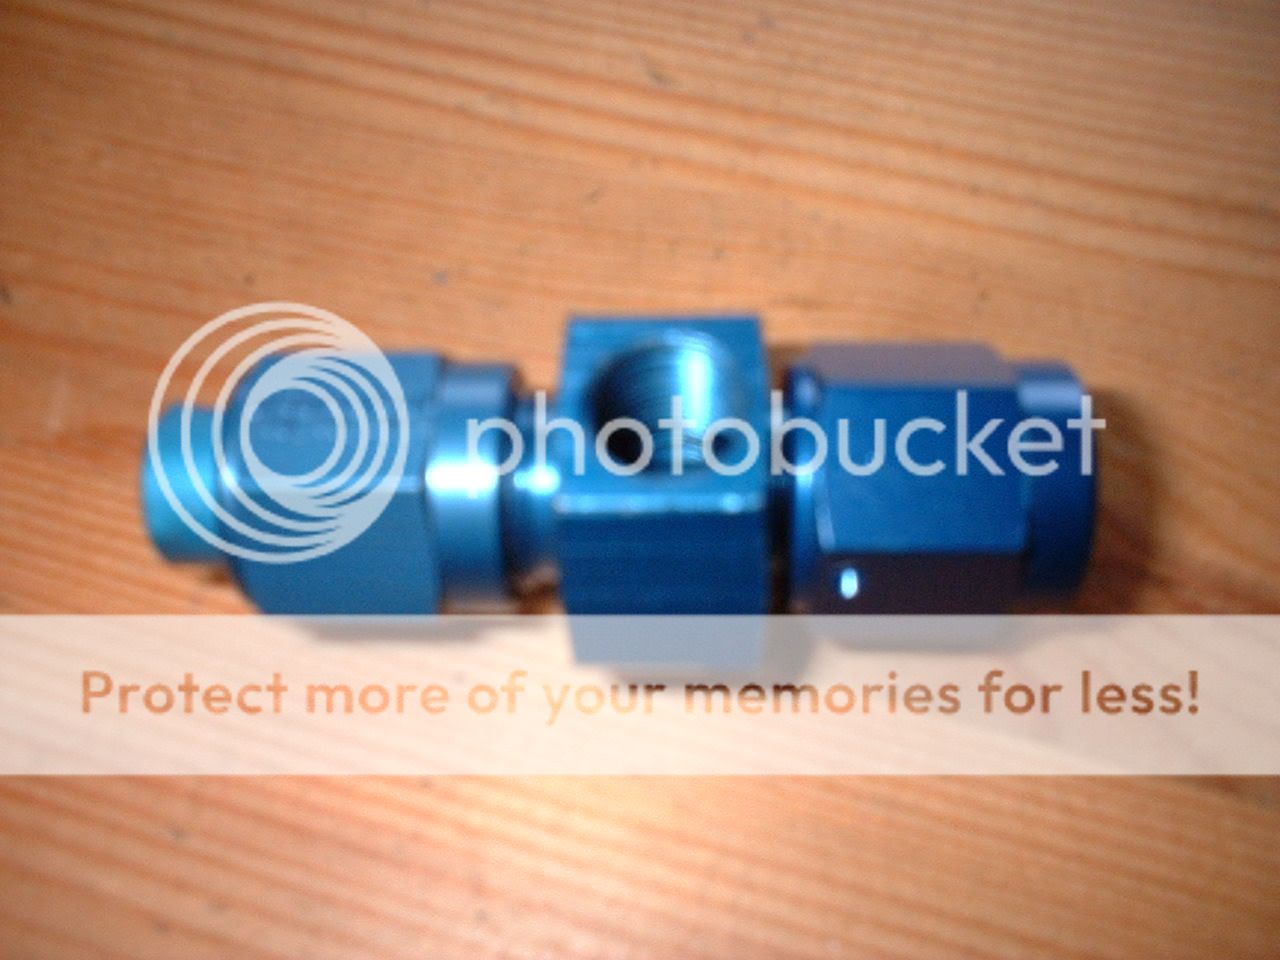
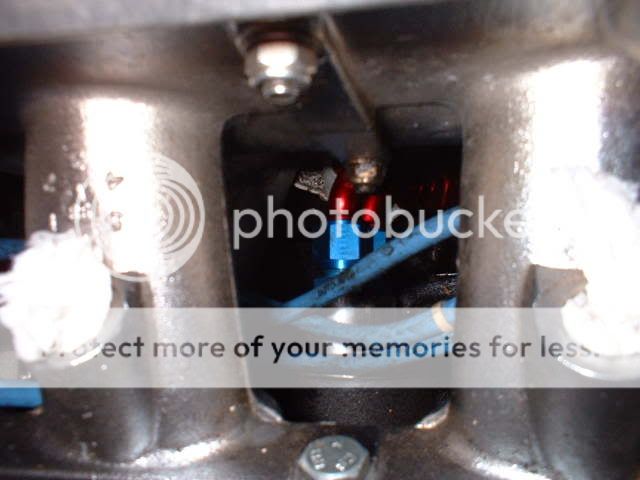
Then put the Defi fuel pressure sender in to the special 1/8NPT -6 fuel line adaptor:
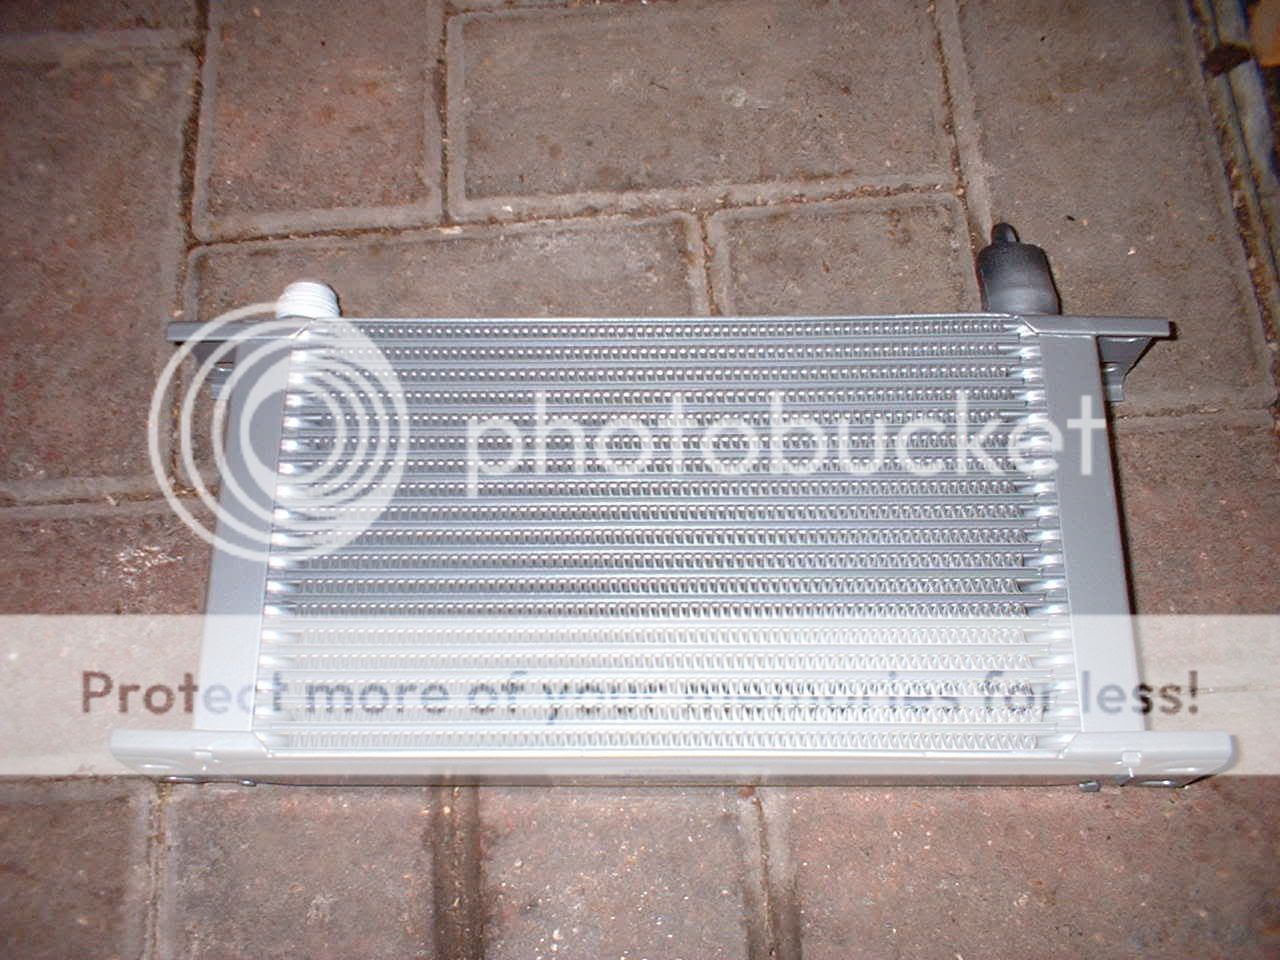
I then decided to fit the new oil cooler I'd bought, having sold the old one a little while ago:
19 row Mocal cooler with -10 fittings:

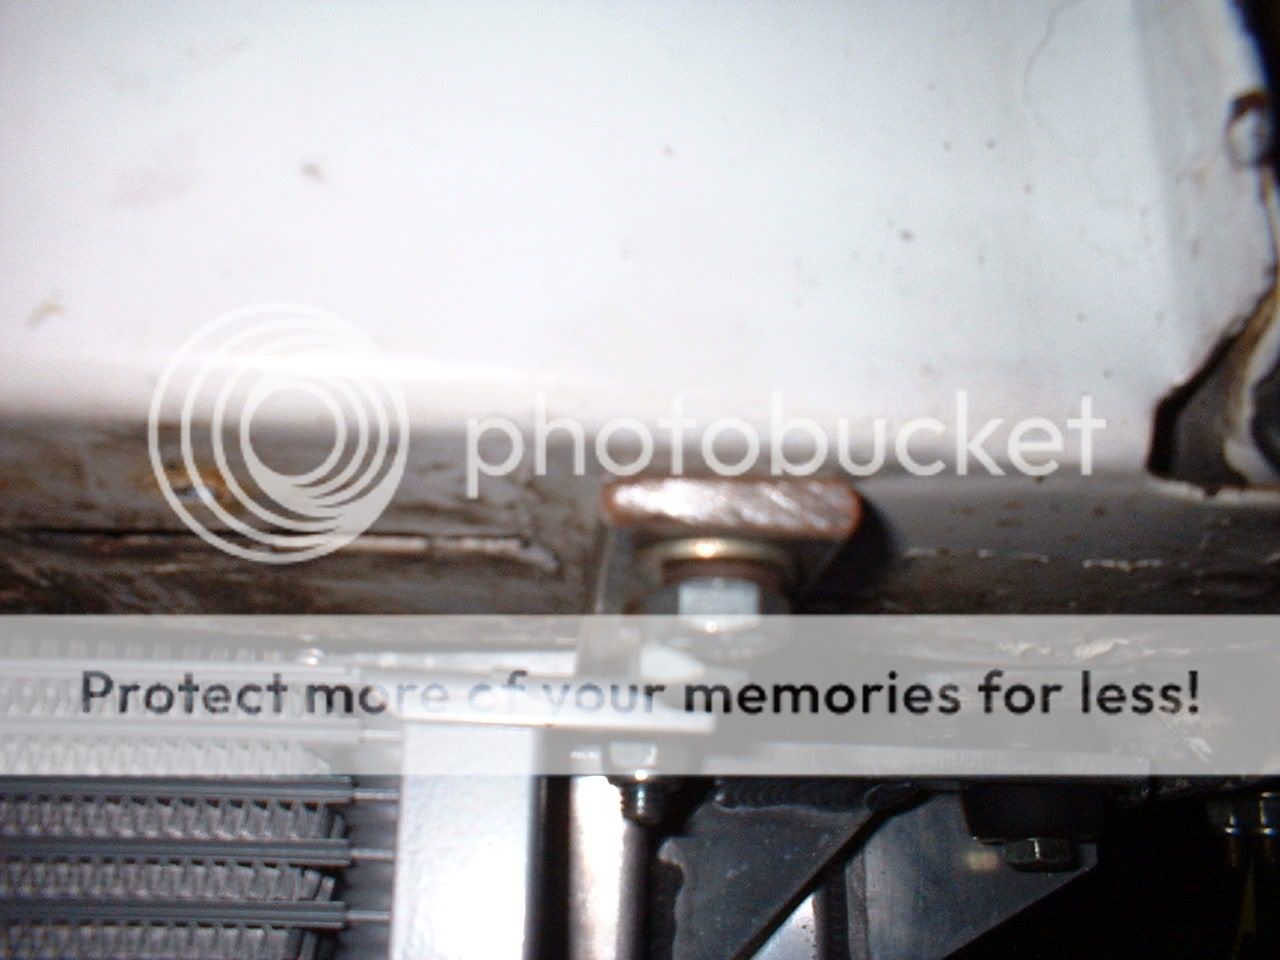
There were four pre-drilled holes for the Ford motorsport cooler, but to mount it there would have involved major surgery to the bumper, so used those holes to mount brackets, and push the cooler right back to the rad:
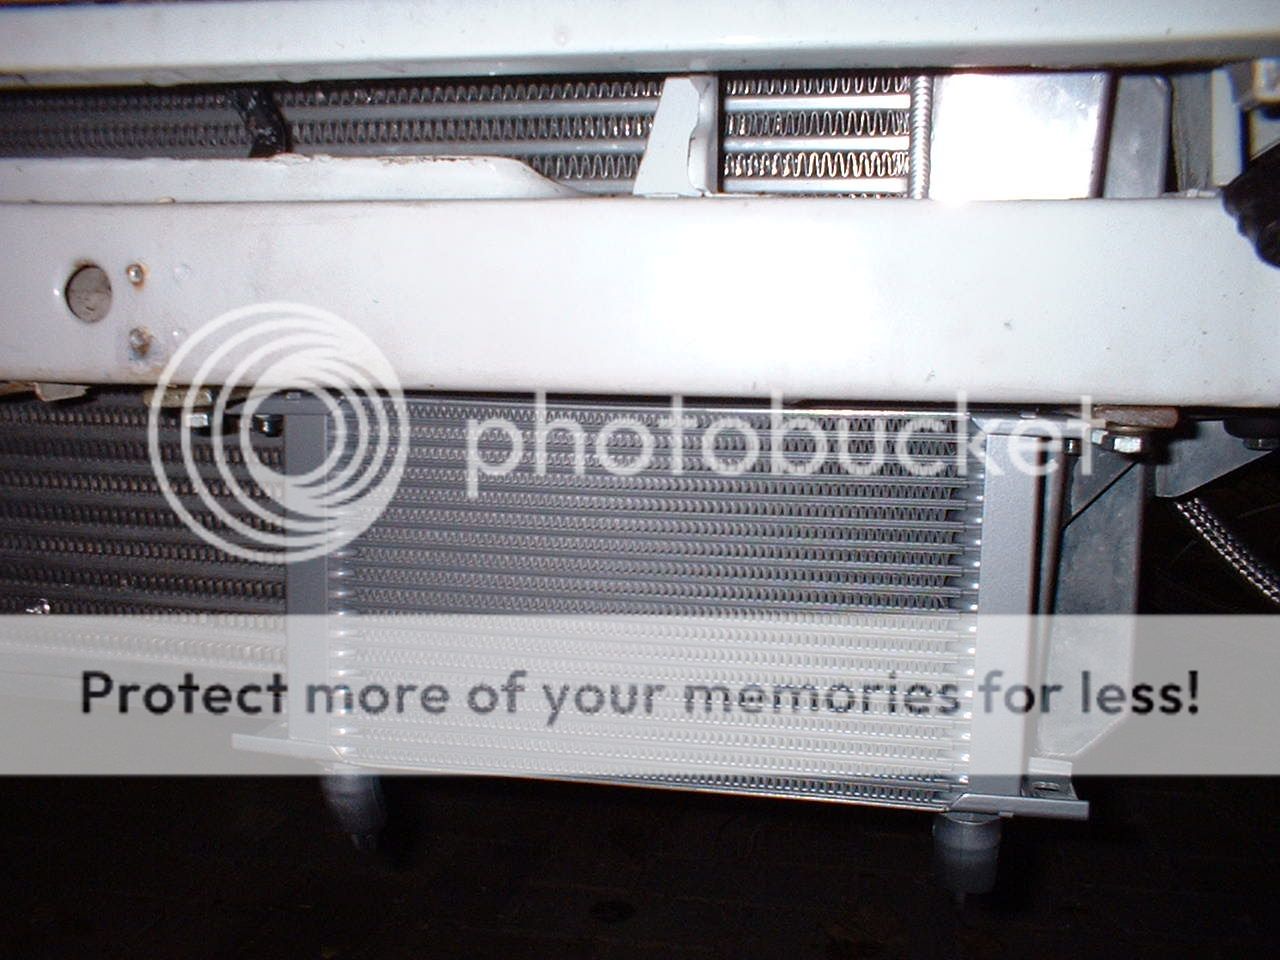
Plenty of airflow through the bumper:

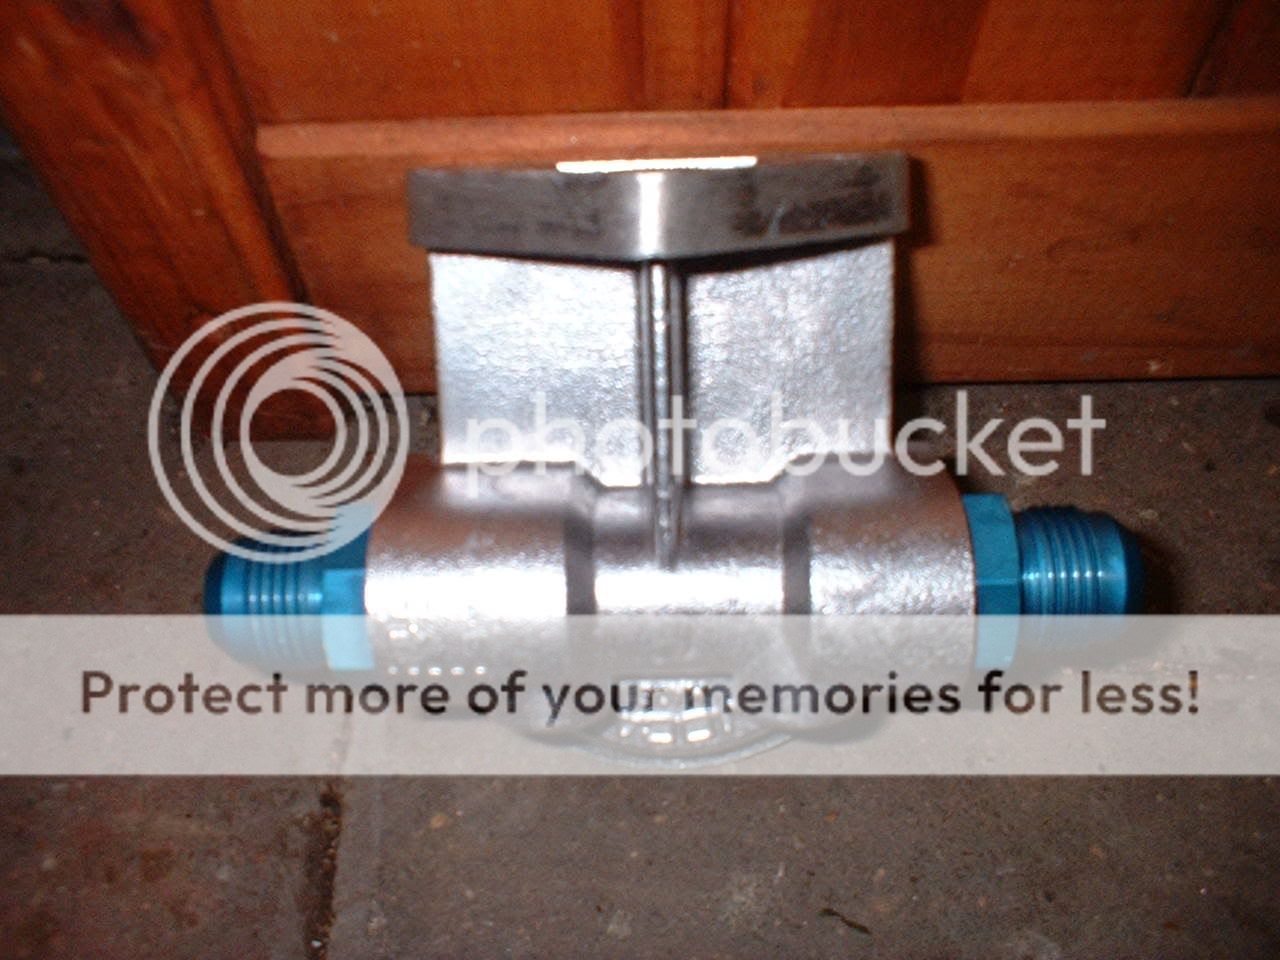
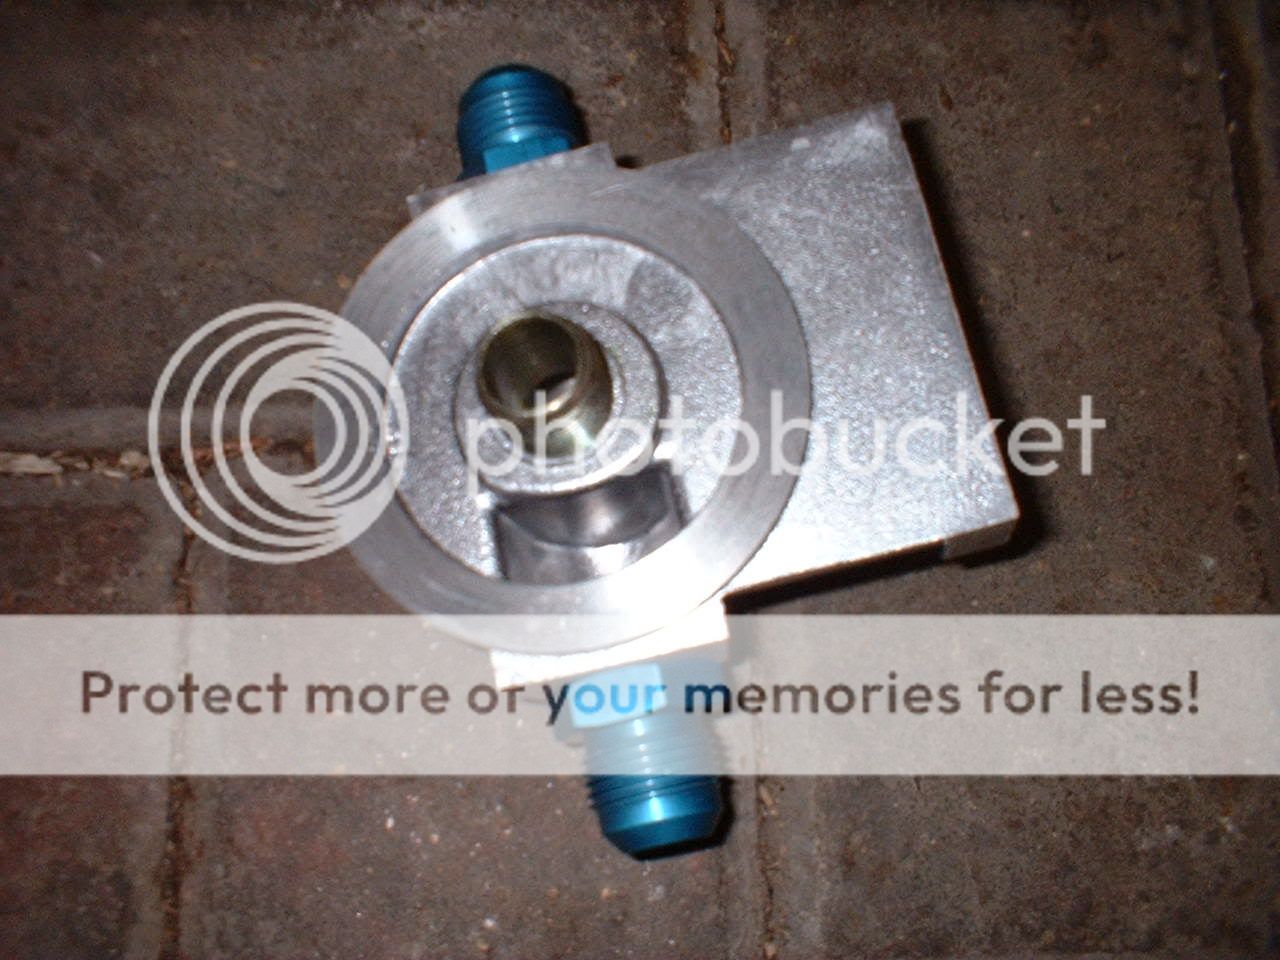
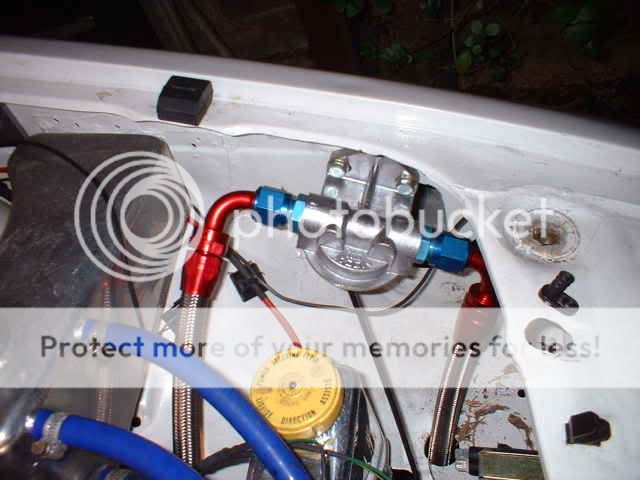
Then the remote filter head was assembled:
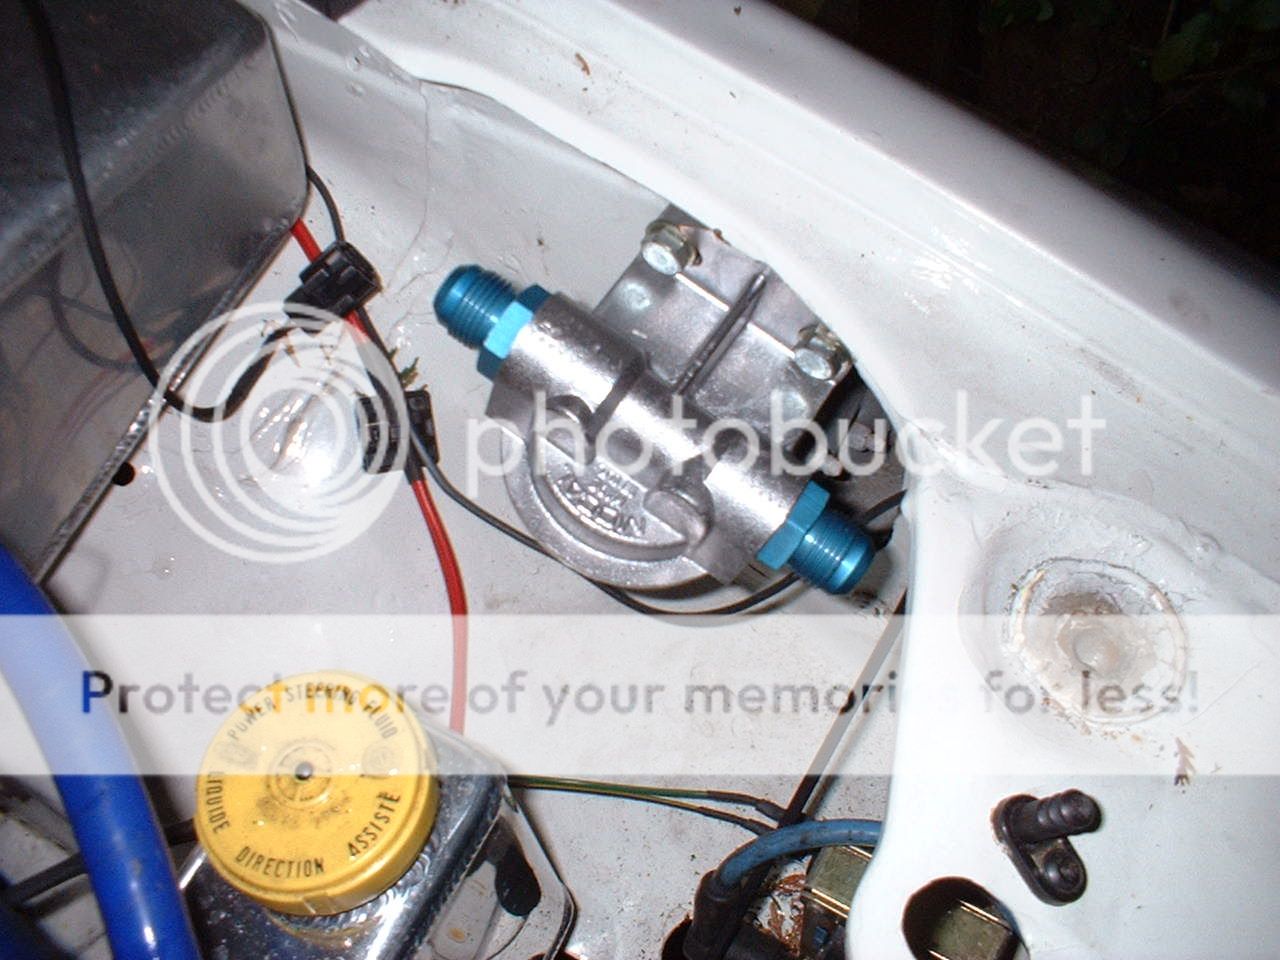
... and mounted to the wing:
Got all the front brake lines in, and connected to the master cylinders:
Then put the Defi fuel pressure sender in to the special 1/8NPT -6 fuel line adaptor:
I then decided to fit the new oil cooler I'd bought, having sold the old one a little while ago:
19 row Mocal cooler with -10 fittings:
There were four pre-drilled holes for the Ford motorsport cooler, but to mount it there would have involved major surgery to the bumper, so used those holes to mount brackets, and push the cooler right back to the rad:
Plenty of airflow through the bumper:
Then the remote filter head was assembled:
... and mounted to the wing:


 21-02-2005, 10:49 AM
#133
20K+ Super Poster.
Thread Starter
Join Date: May 2003
Posts: 23,377
Likes: 0
Received 0 Likes
on
0 Posts
Some more updates..........
Got all the -10 pipework and fittings for the oil cooler:
Assembled all the pipework to the right lengths:
...... then fitted all the pipework:

Got all the -10 pipework and fittings for the oil cooler:
Assembled all the pipework to the right lengths:
...... then fitted all the pipework:


 12-05-2005, 11:42 AM
#143

Rich,
After we caught up on MSN I decided to have a look see your restoration thread, about 30 mins later I have seen SOME amount of decent work
rock on and cant wait to see this motor giving it the BAPS down the track at national day
ace work, a real credit to your enthusiasm for motors!!!
RW
After we caught up on MSN I decided to have a look see your restoration thread, about 30 mins later I have seen SOME amount of decent work
rock on and cant wait to see this motor giving it the BAPS down the track at national day
ace work, a real credit to your enthusiasm for motors!!!
RW
26-06-2005, 10:50 PM
#144
seeing as youve done fook all to your car recently ( as your now on page 4 on the thread) ill put you back at the top for a refresh !! 
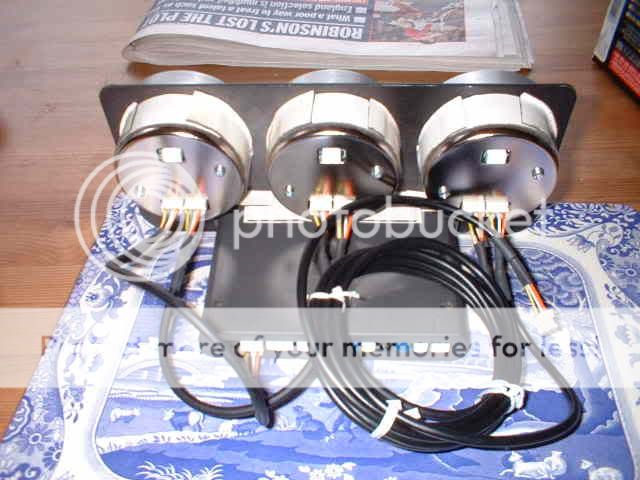
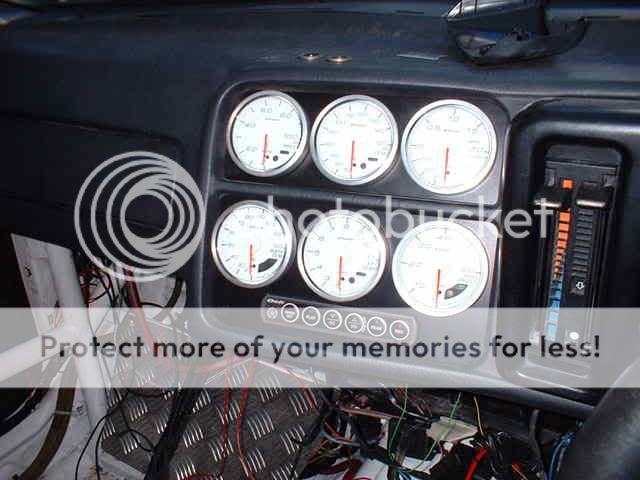
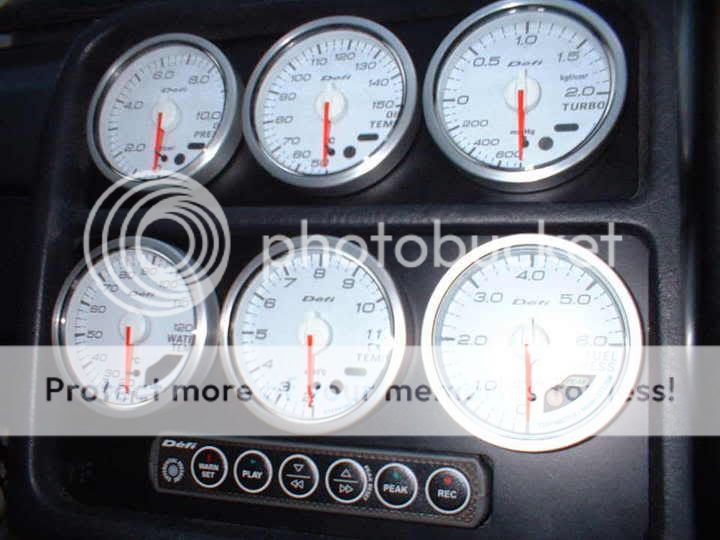
and by the way , where youve got them six guages, how did you manage to keep the mounting plates in without them falling out ?
cheers m8
and by the way , where youve got them six guages, how did you manage to keep the mounting plates in without them falling out ?
cheers m8
01-07-2005, 04:16 PM
#147
20K+ Super Poster.
Thread Starter
Join Date: May 2003
Posts: 23,377
Likes: 0
Received 0 Likes
on
0 Posts
Franco - what do you need to know?
Mark - in the pics, I've just rested em in, although they are fairly tight. What you can't see is that I've made up a little plate that screws into the dash, and has two riv nut type jobbies to allow the fitment of a couple of bolts to hold it all in.
Update should be coming this week or next, as I've got soooo much more aeroquip to fit, all the new fuel system to mount, beam to go in, breather to fit, fluids to put in, and we're away!
 15-07-2005, 10:56 PM
#150
20K+ Super Poster.
Thread Starter
Join Date: May 2003
Posts: 23,377
Likes: 0
Received 0 Likes
on
0 Posts
Update at last!!!!!!
Been doing some more work on the old girl in an attempt to get the car rerady for National Day so.....................
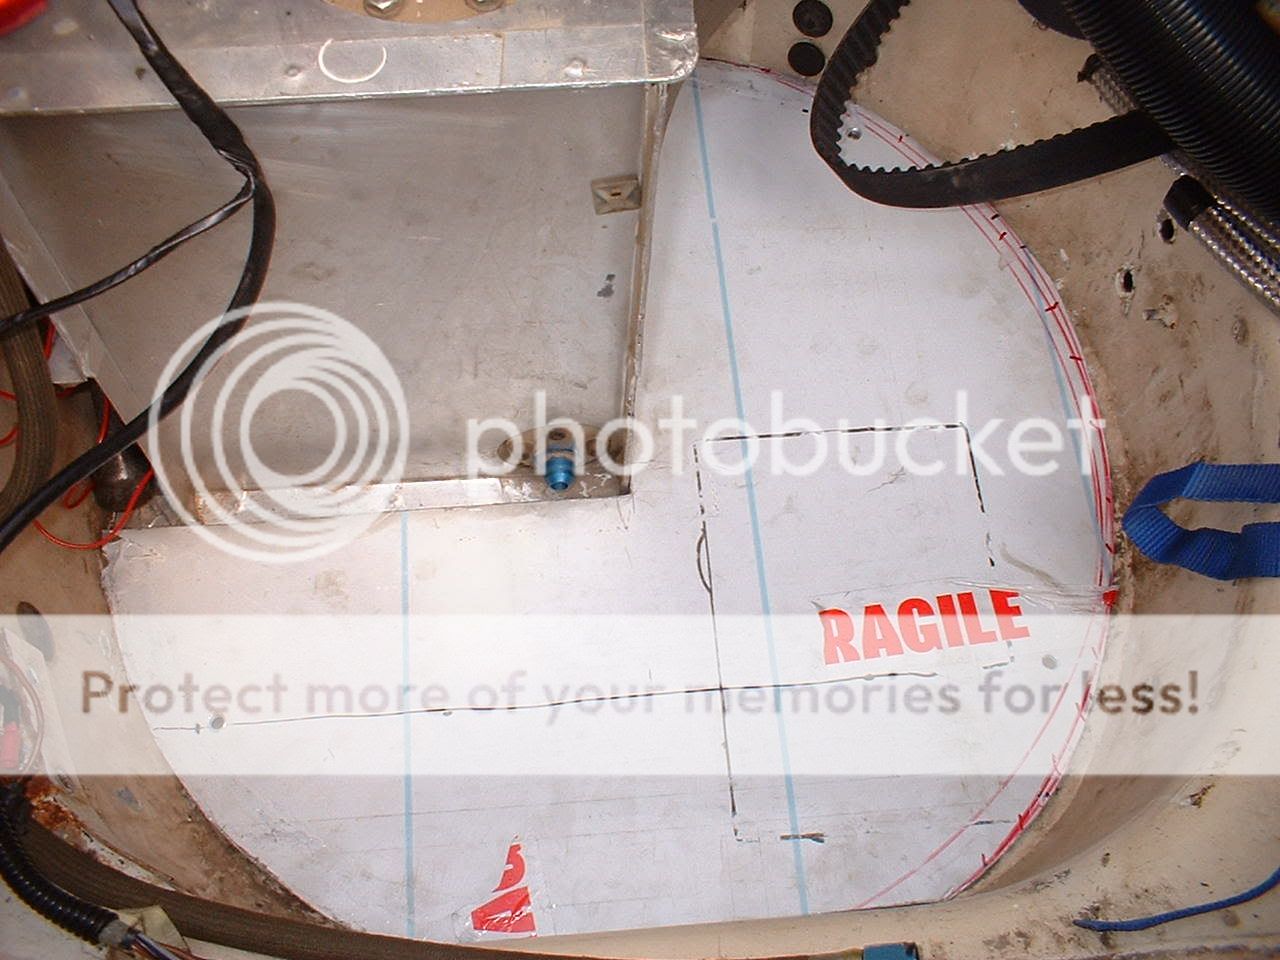
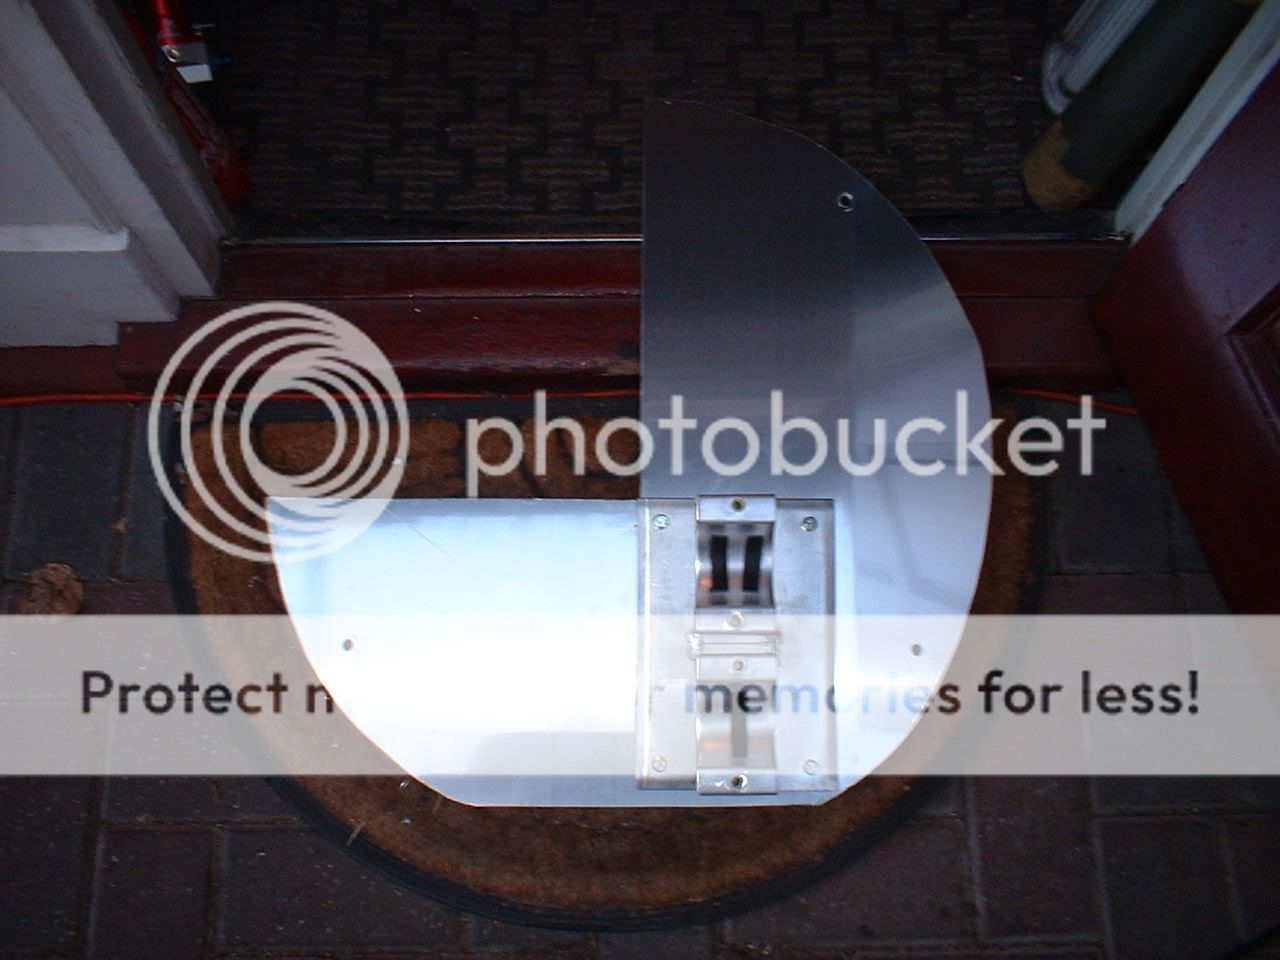
The fuel setup in the boot:
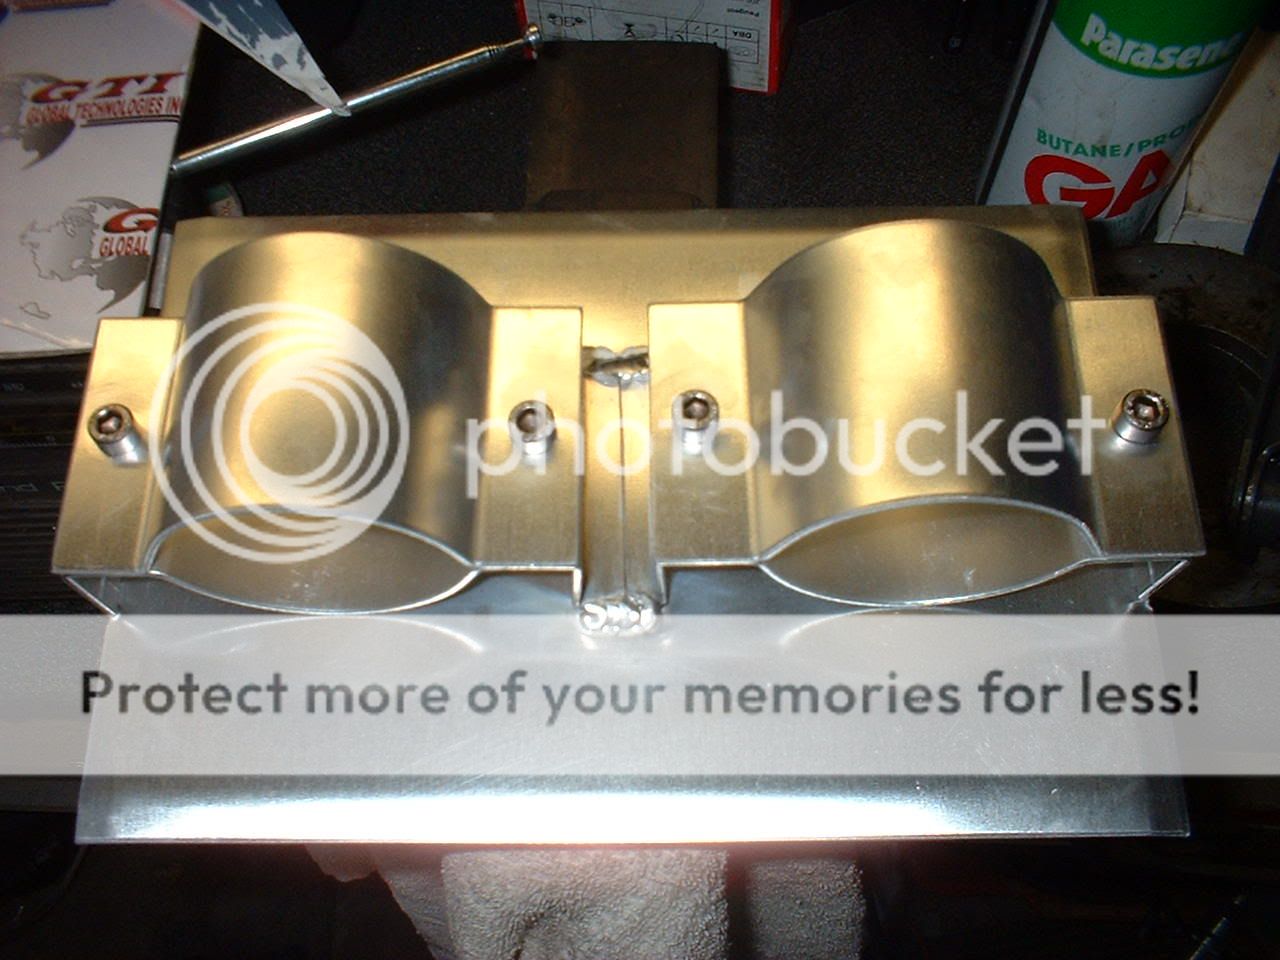
I got Lee @ Fusion Fabrication to knock me up a plate to fill the spare wheel well, and one of his pump and filter holders:
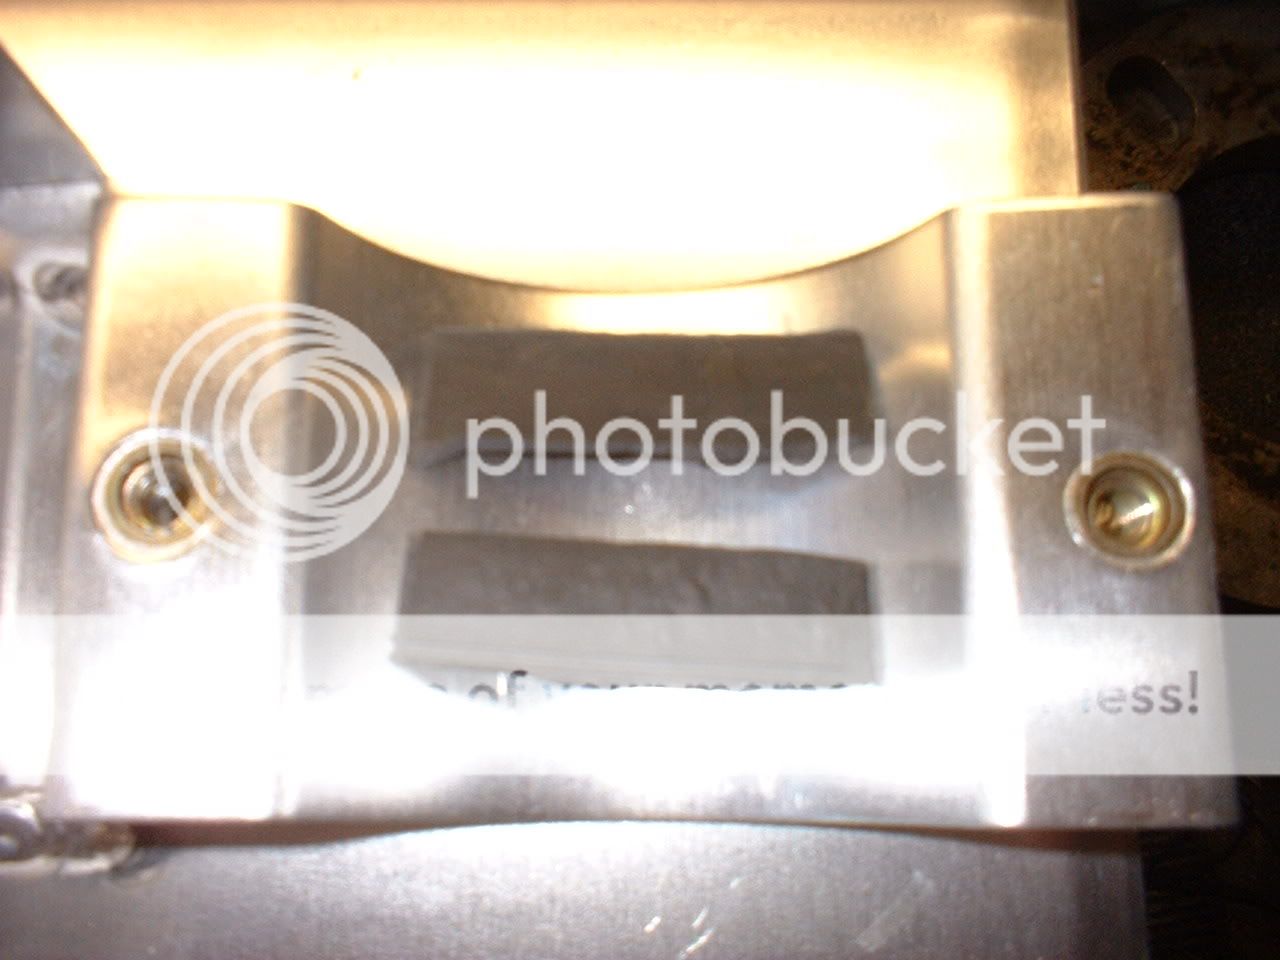
I then added some small strips of rubber to give the pump and filter a little more cushioning:
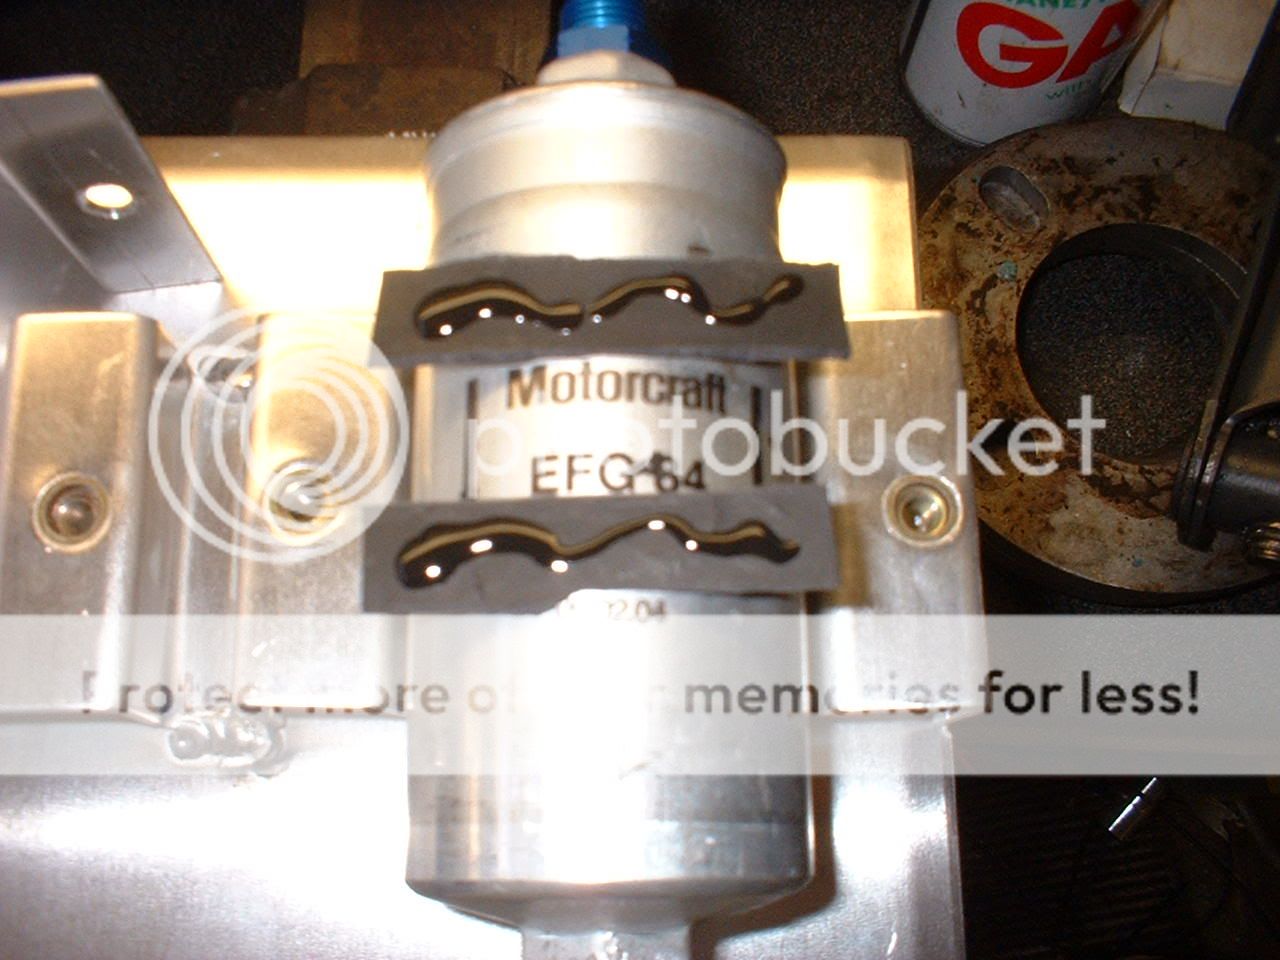
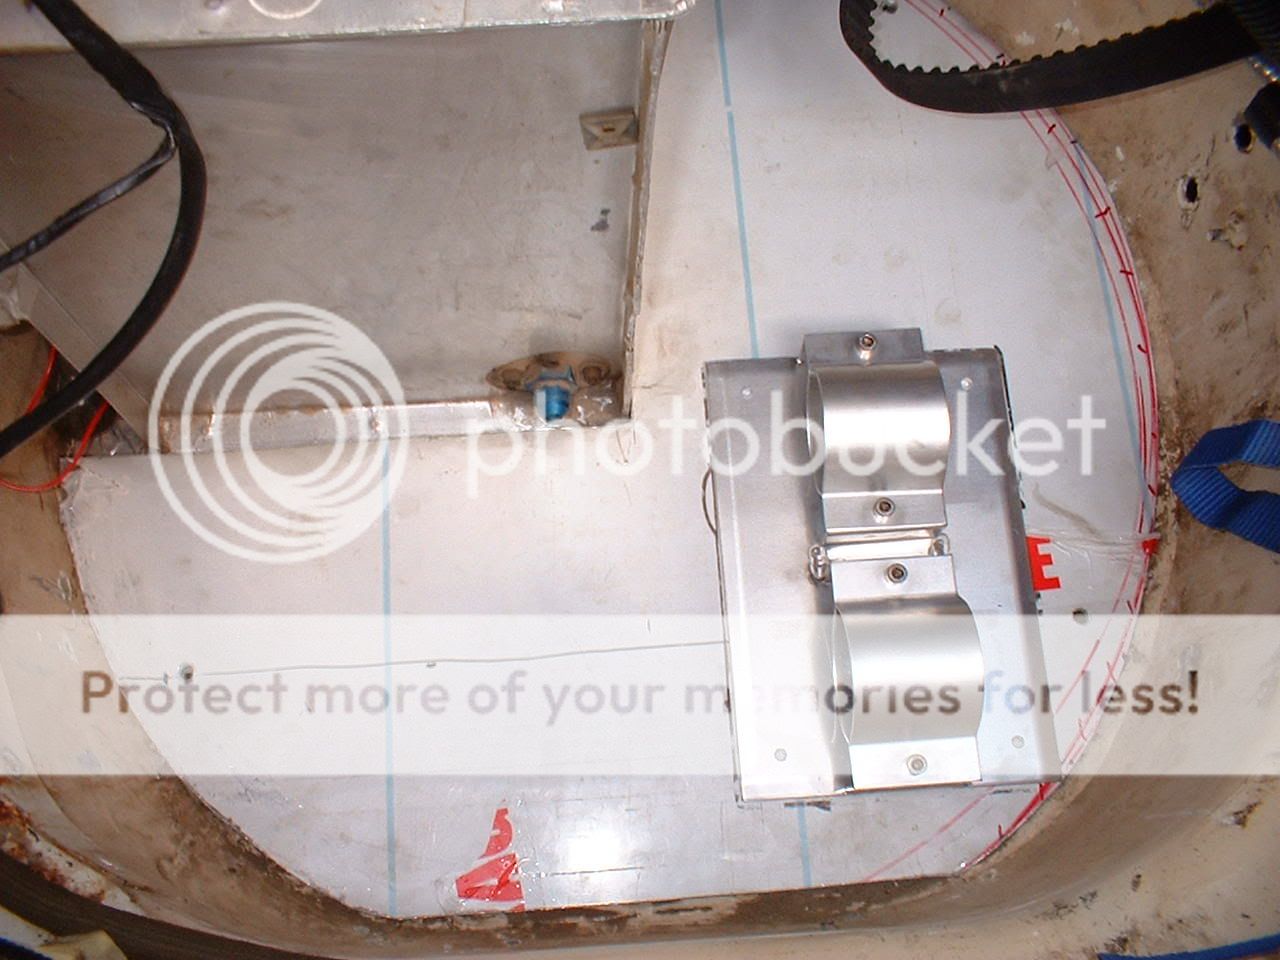
Test fitted everything:
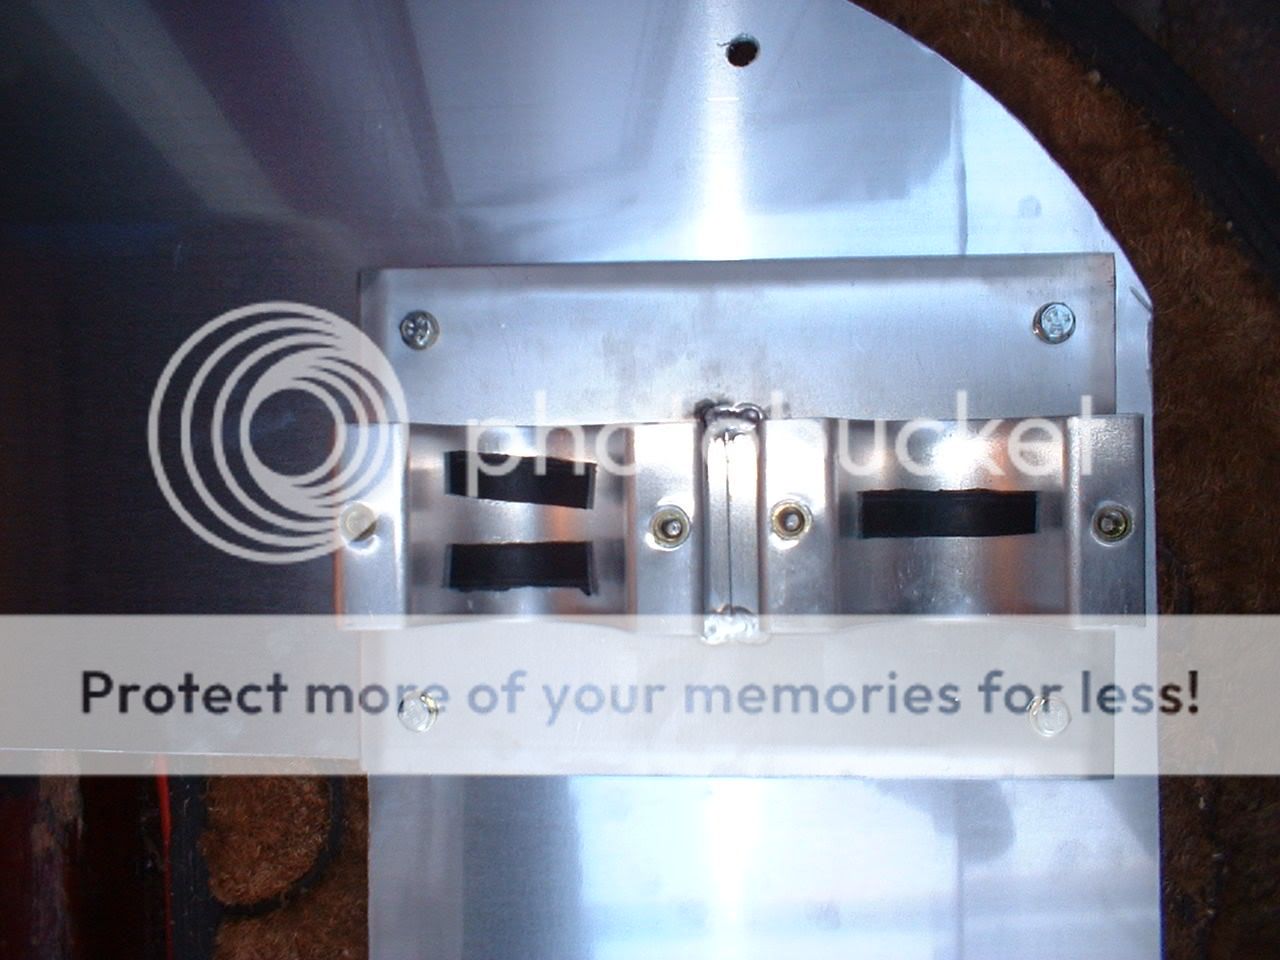
Drilled the mounting holes:
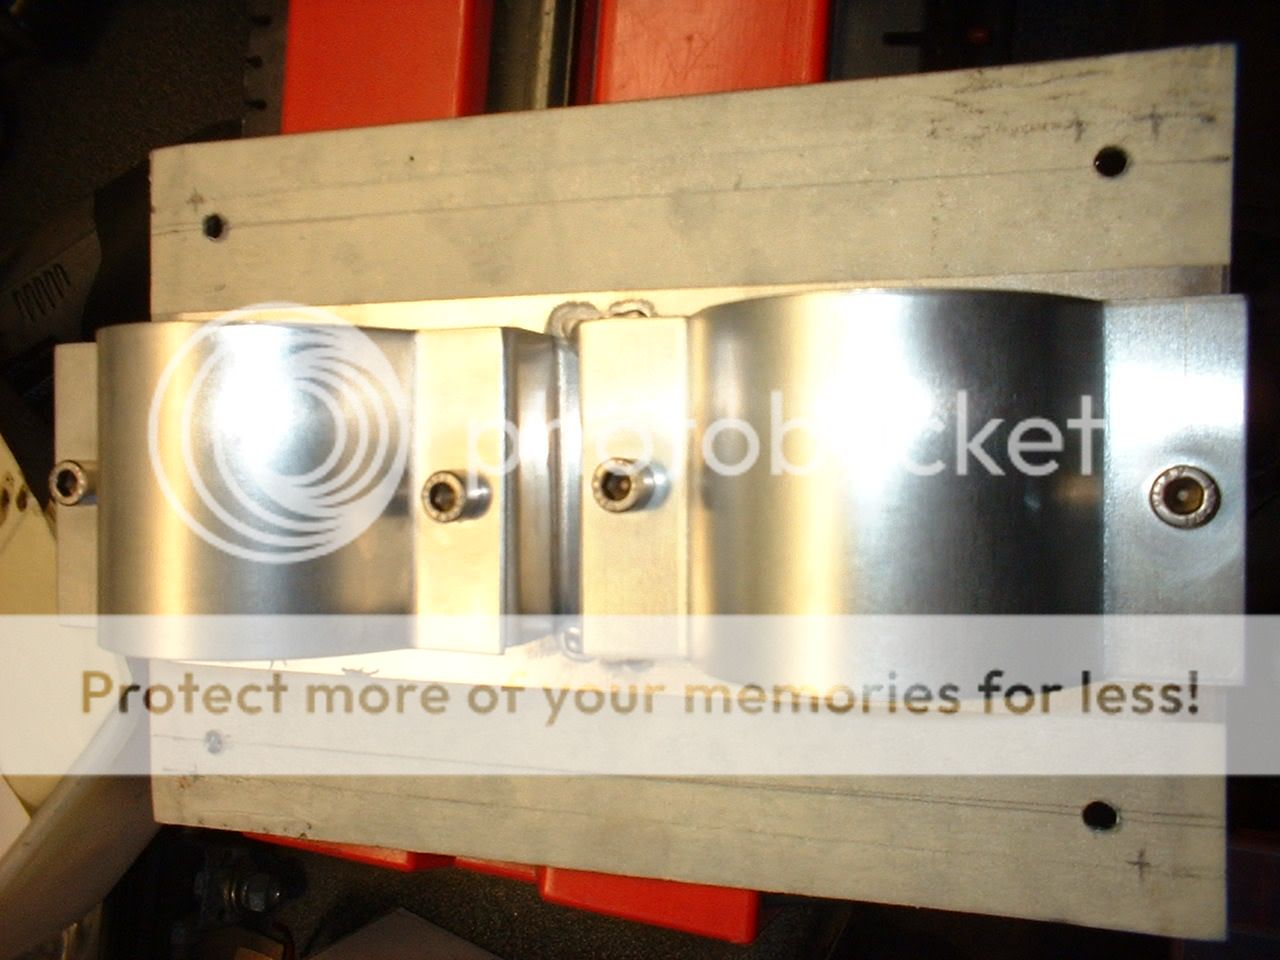
Mounted the holder to the floor plate
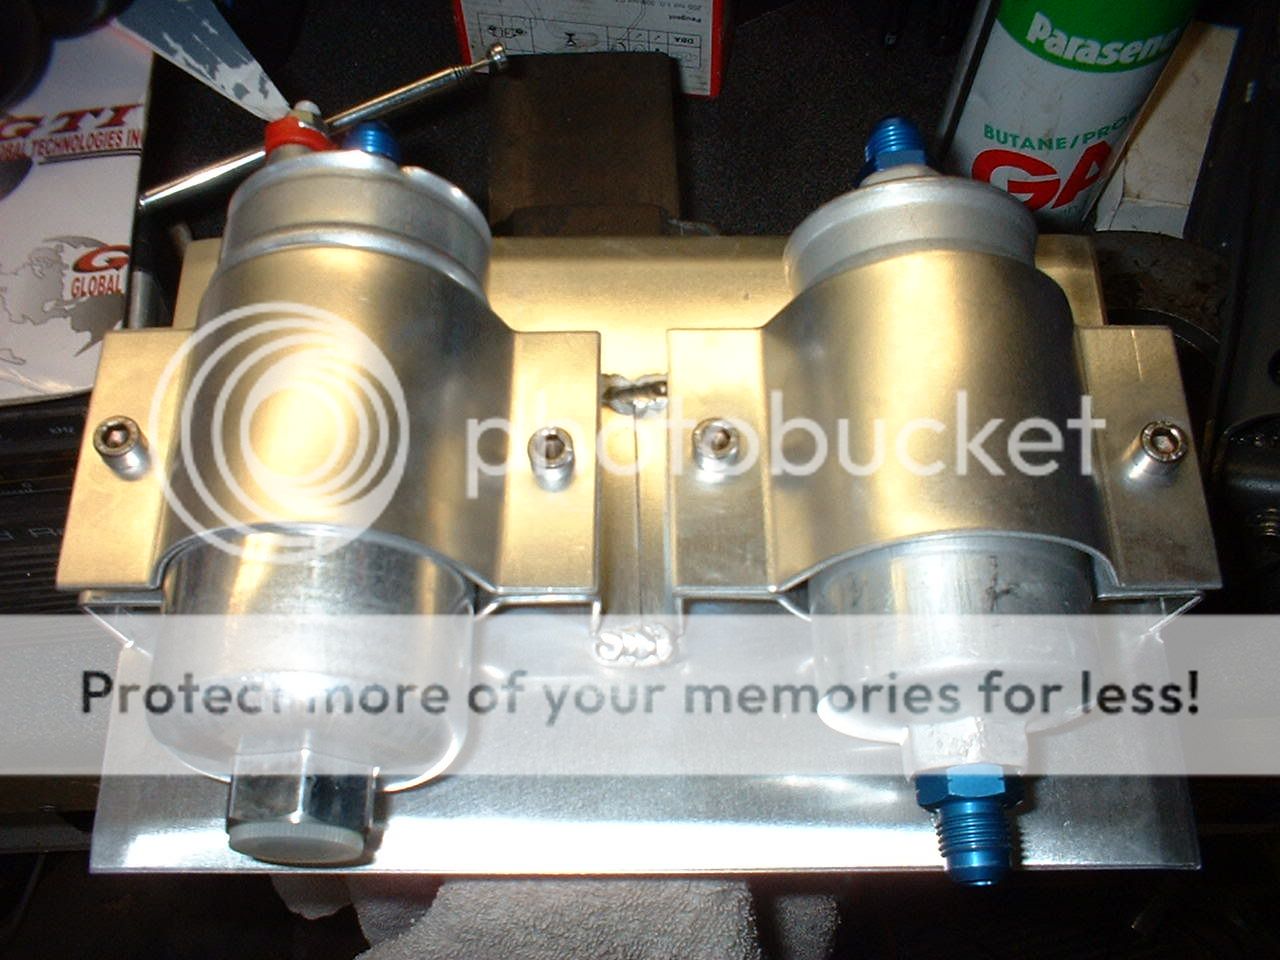
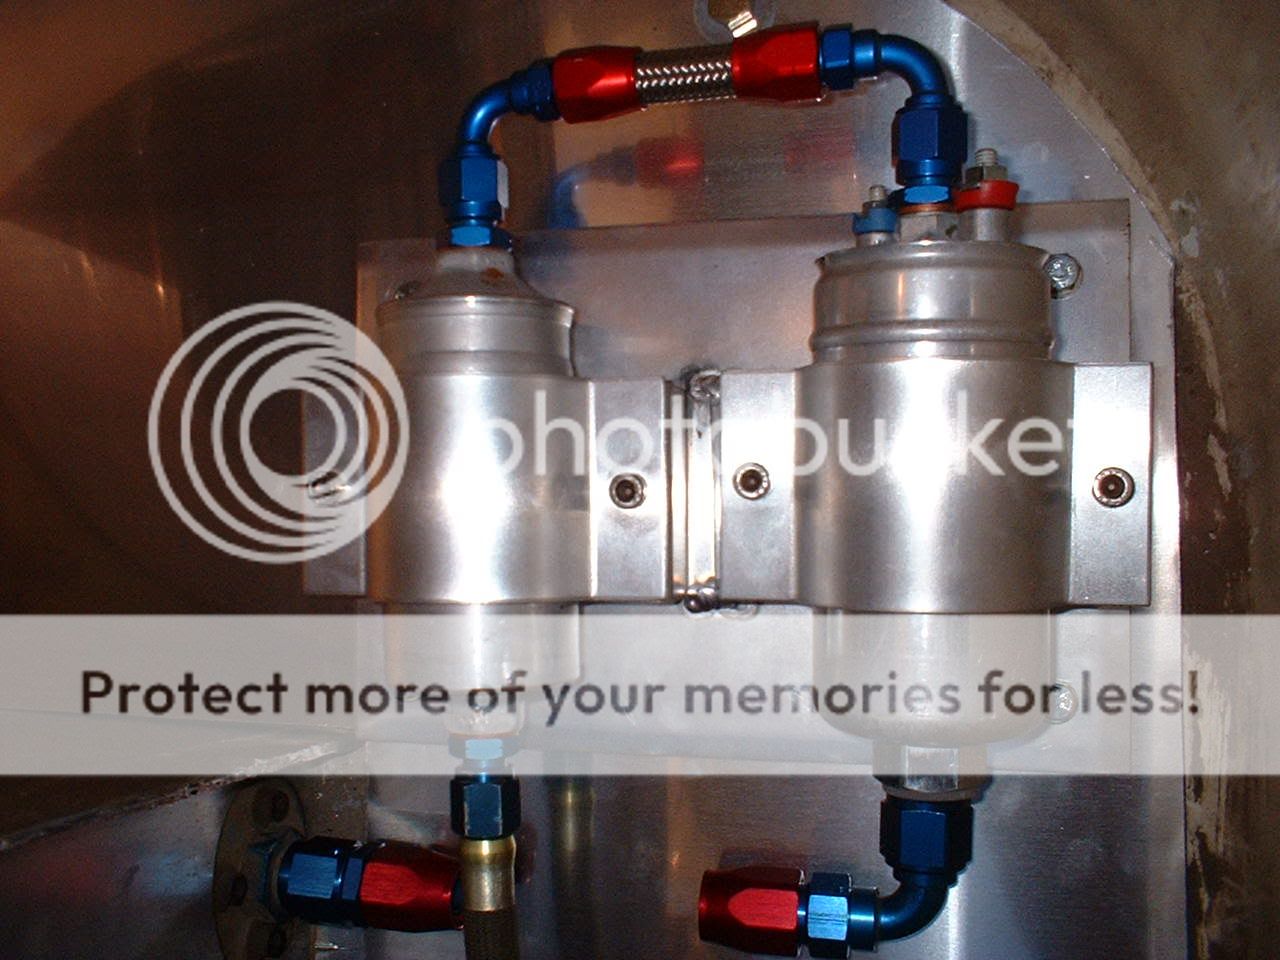
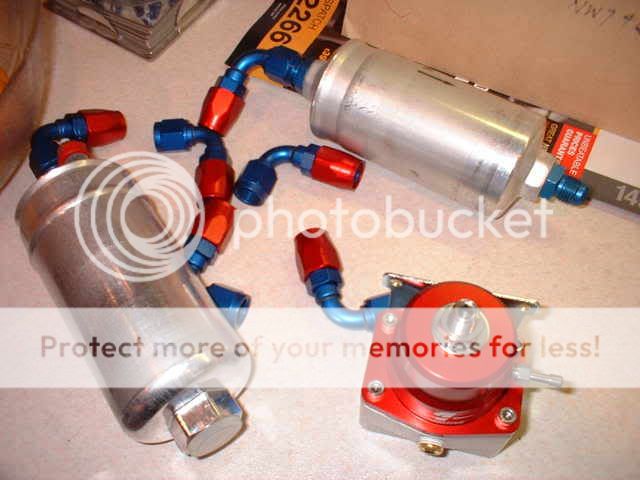
I then made up the pump to filter pipework (mmmm aeroquip!)

Then fitted it all together to come up with:

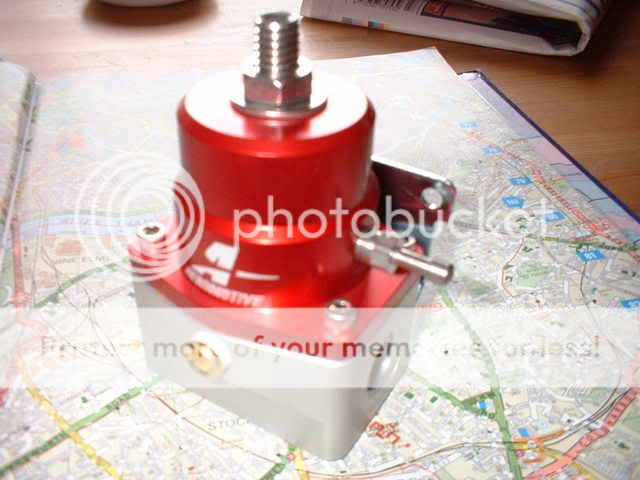
I also bought a new Aermotove fuel pressure regulator:
.......... all fitted this afternoon - pics tomorrow...........
More to come over the weekend........
Been doing some more work on the old girl in an attempt to get the car rerady for National Day so.....................
The fuel setup in the boot:
I got Lee @ Fusion Fabrication to knock me up a plate to fill the spare wheel well, and one of his pump and filter holders:
I then added some small strips of rubber to give the pump and filter a little more cushioning:
Test fitted everything:
Drilled the mounting holes:
Mounted the holder to the floor plate
I then made up the pump to filter pipework (mmmm aeroquip!)
Then fitted it all together to come up with:
I also bought a new Aermotove fuel pressure regulator:
.......... all fitted this afternoon - pics tomorrow...........
More to come over the weekend........
 18-07-2005, 01:35 PM
#157
I've found that life I needed.. It's HERE!!

Join Date: Jul 2004
Location: Cumbria/Preston
Posts: 1,294
Likes: 0
Received 0 Likes
on
0 Posts
Stunning!! There are cars that are done to work, cars that are done well, and cars that are done properly. This is definietly the latter. Superb build, bring on the finishing touches!!
24-07-2005, 09:00 PM
#159
20K+ Super Poster.
Thread Starter
Join Date: May 2003
Posts: 23,377
Likes: 0
Received 0 Likes
on
0 Posts
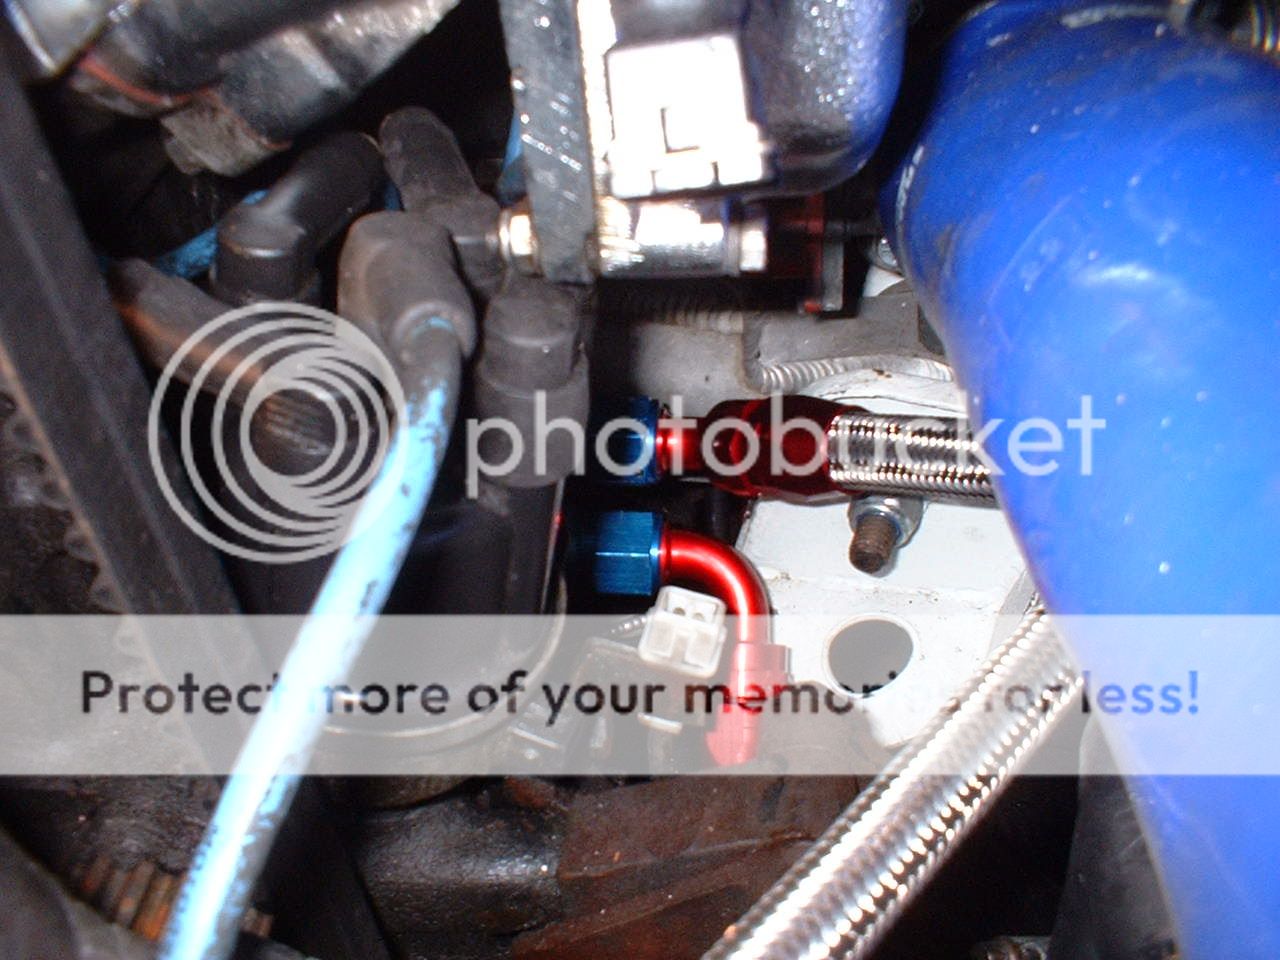
I've had to redo some of the fuel pipework, as I've gone for this Aeromotive regulator, and a rather bling new fuel rail which is on the way soon.
Anyway, Aeromotive reg installed on the inside of the suspension turret:
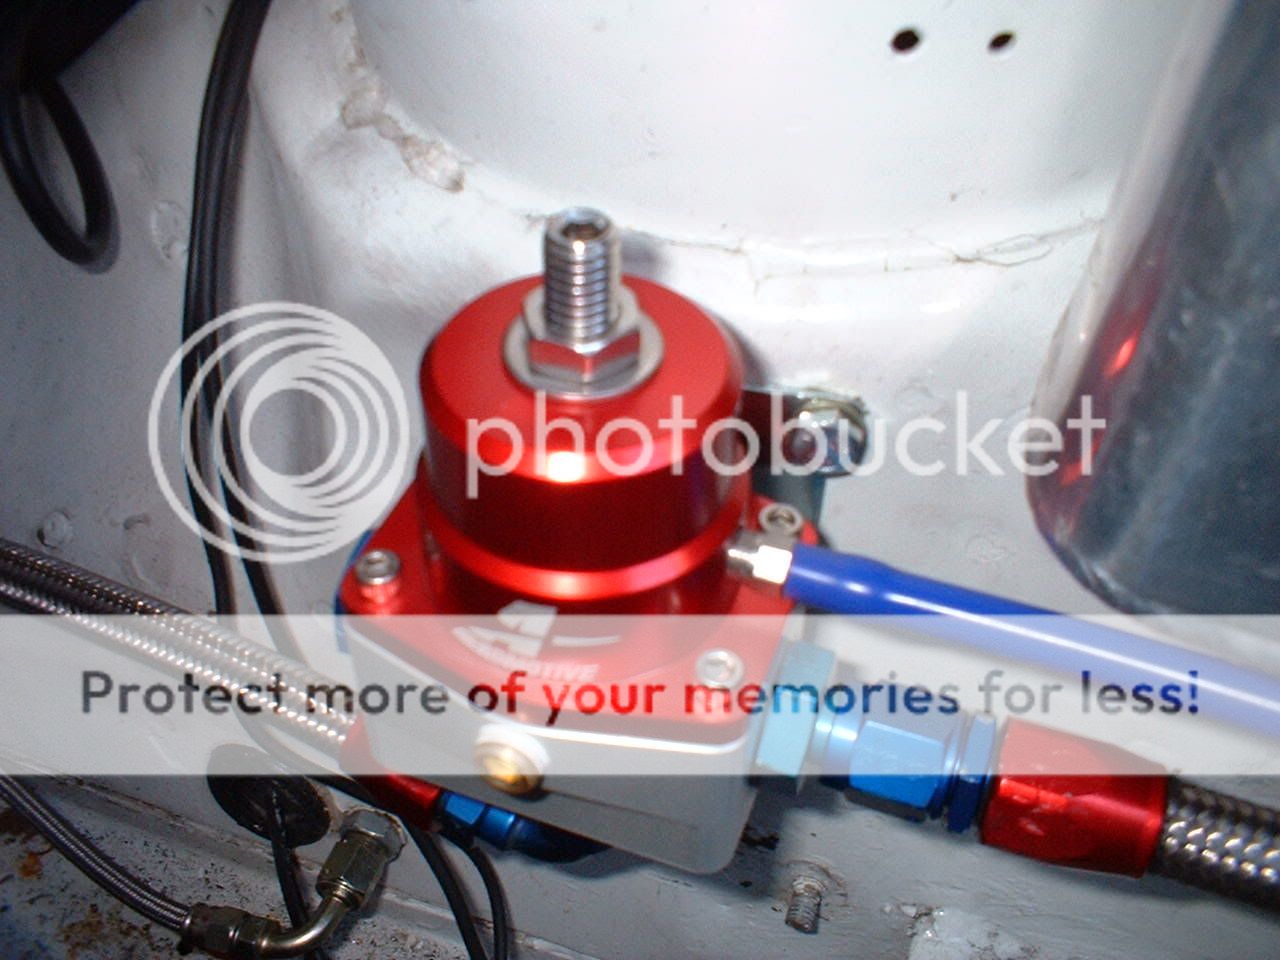
New short fuel pipe made up:
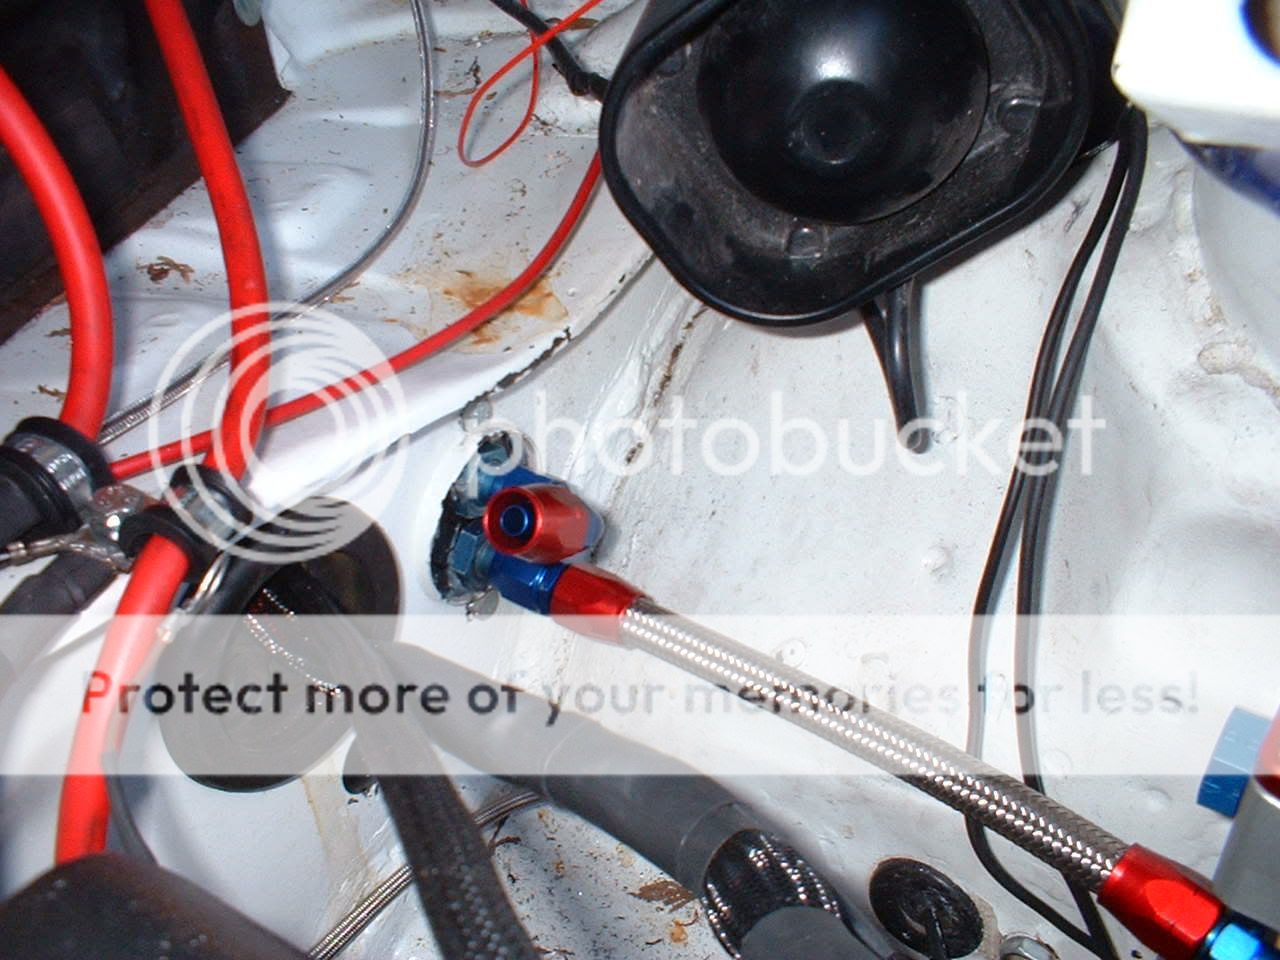
Loads more coming this week, as I aim to have it driving out the drive by the weekend!
Anyway, Aeromotive reg installed on the inside of the suspension turret:
New short fuel pipe made up:
Loads more coming this week, as I aim to have it driving out the drive by the weekend!