
Focus ST MK2 Performance Blue


Thread Starter
15000
Joined: May 2016
Posts: 39
Likes: 1
From: Birmingham
Hi there,
New to the forum but have been following a fair few threads in the projects section recently.
Thought I would set my own thread up for my car as a tidy up/small modifications project!
This is from 2013 up to the present day so it will be picture heavy.
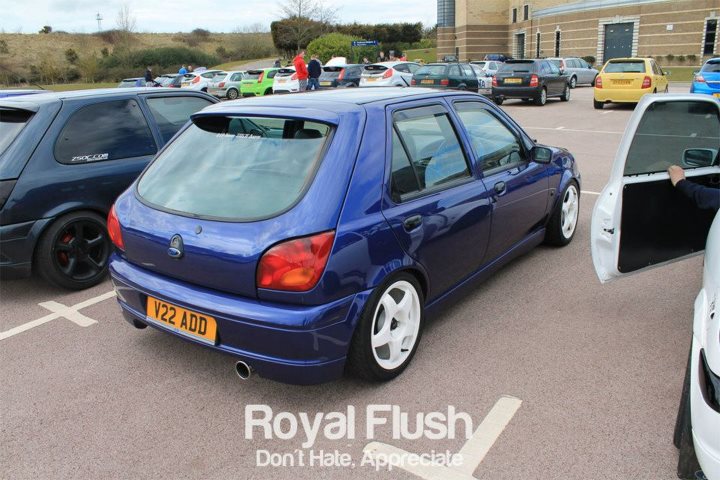
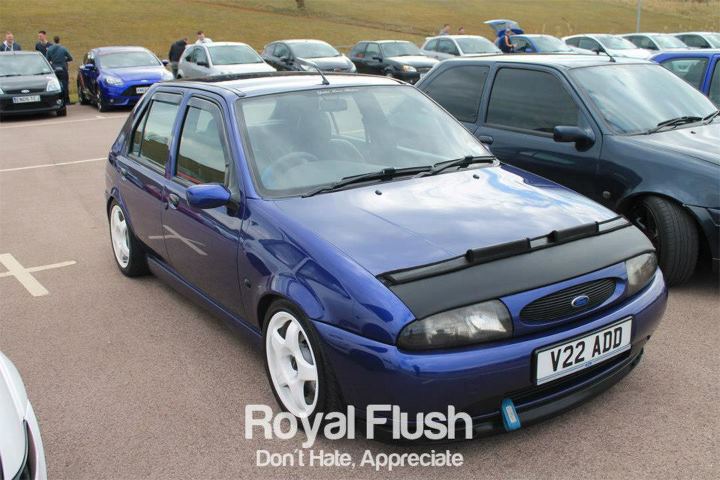
This was my first car that I spent way to much money on;
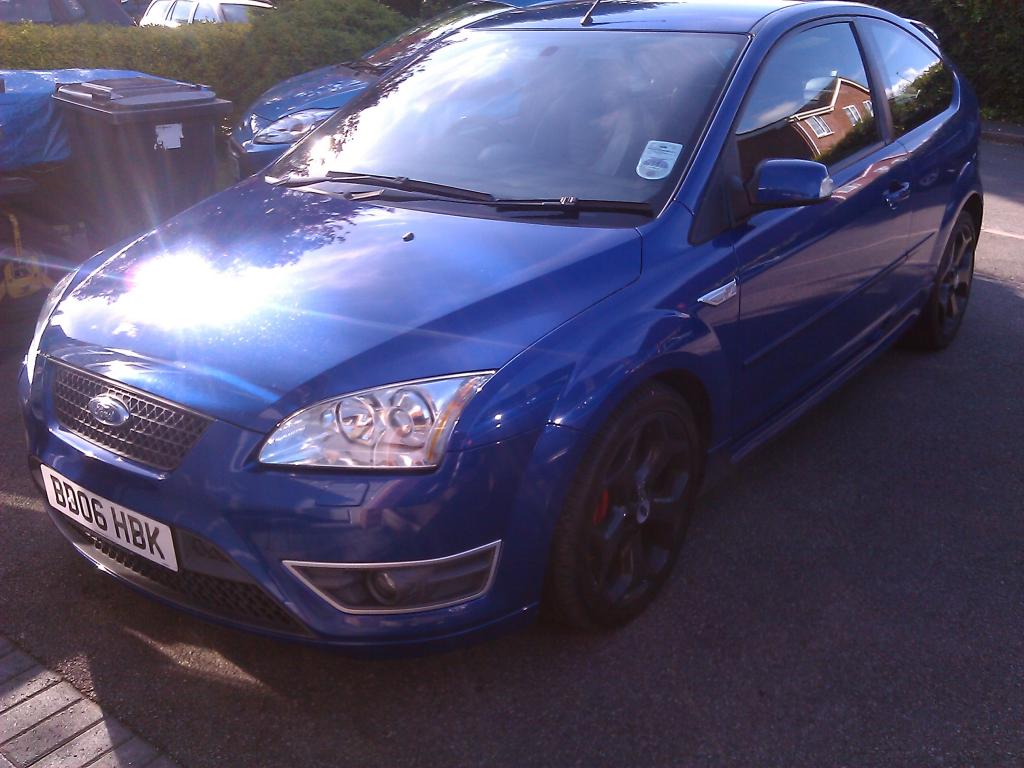
So the new car, I stuck with the blue oval. Always said I wanted a turbo car so I stuck to my guns and got one.
Spec:
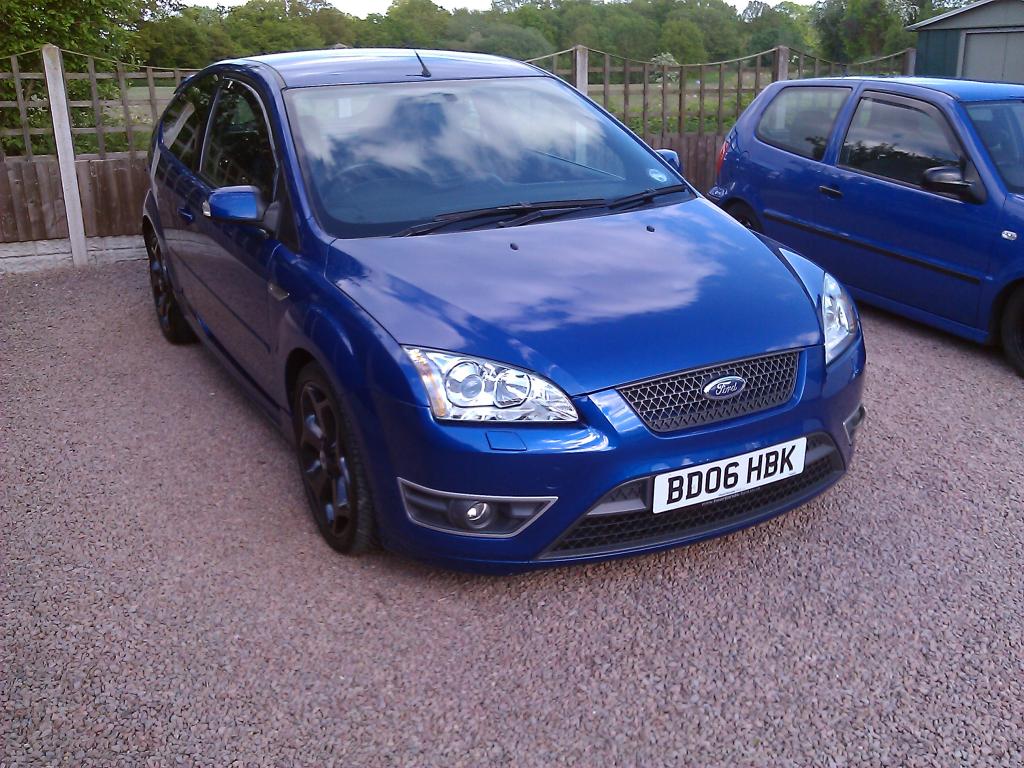
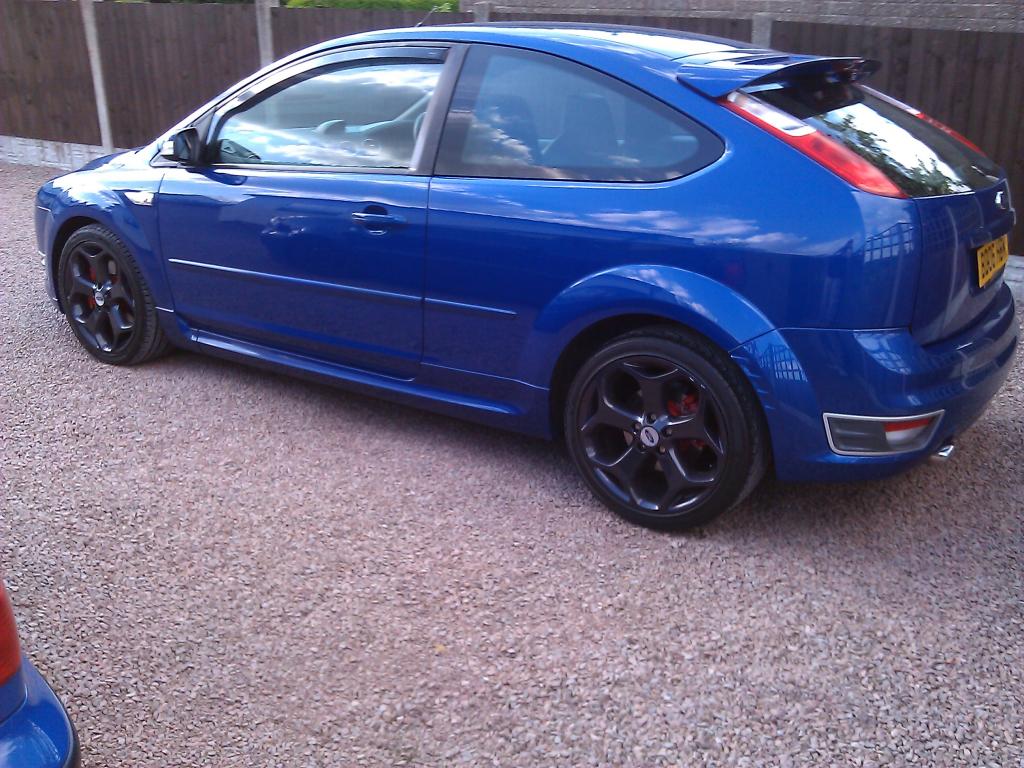
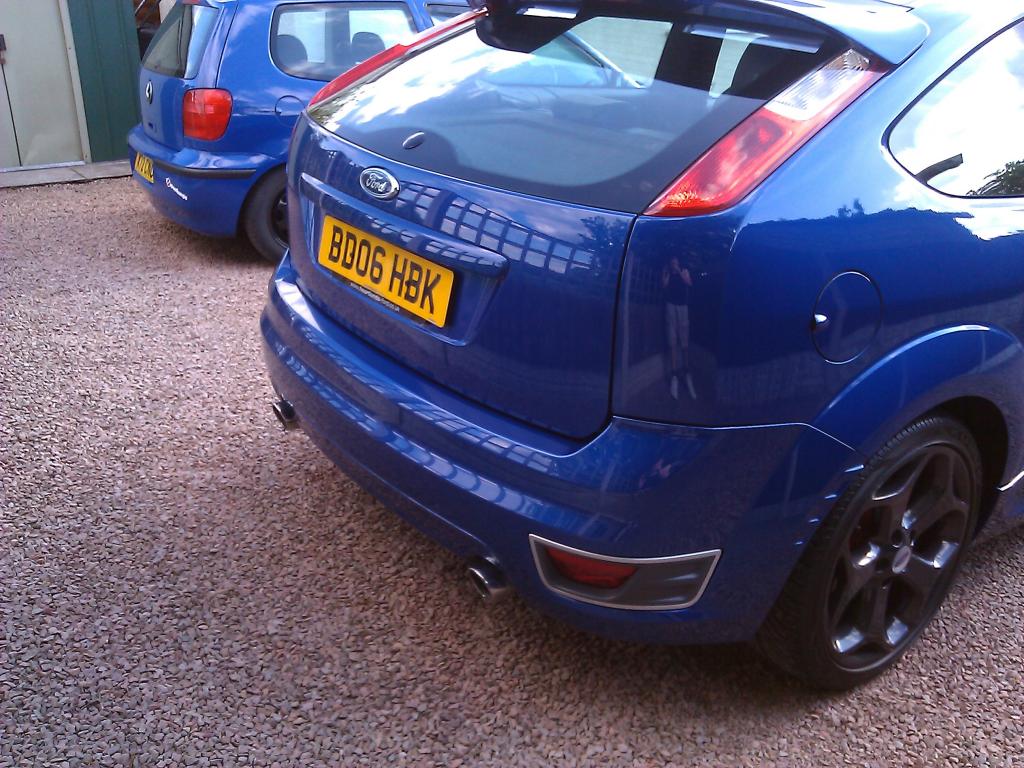
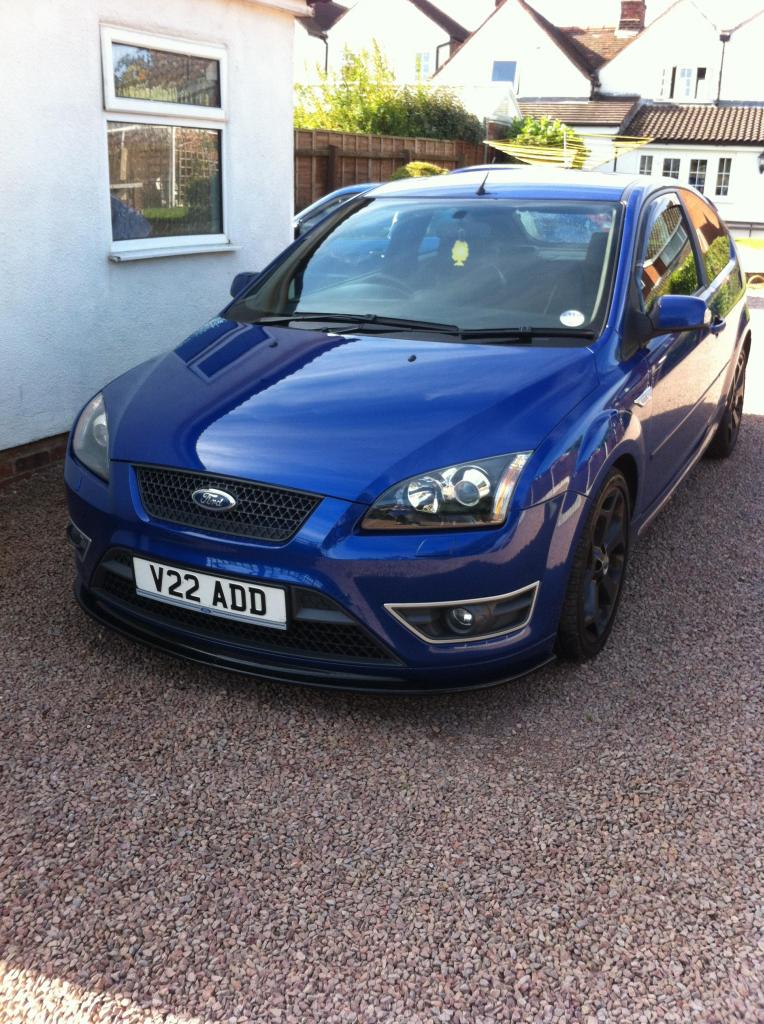
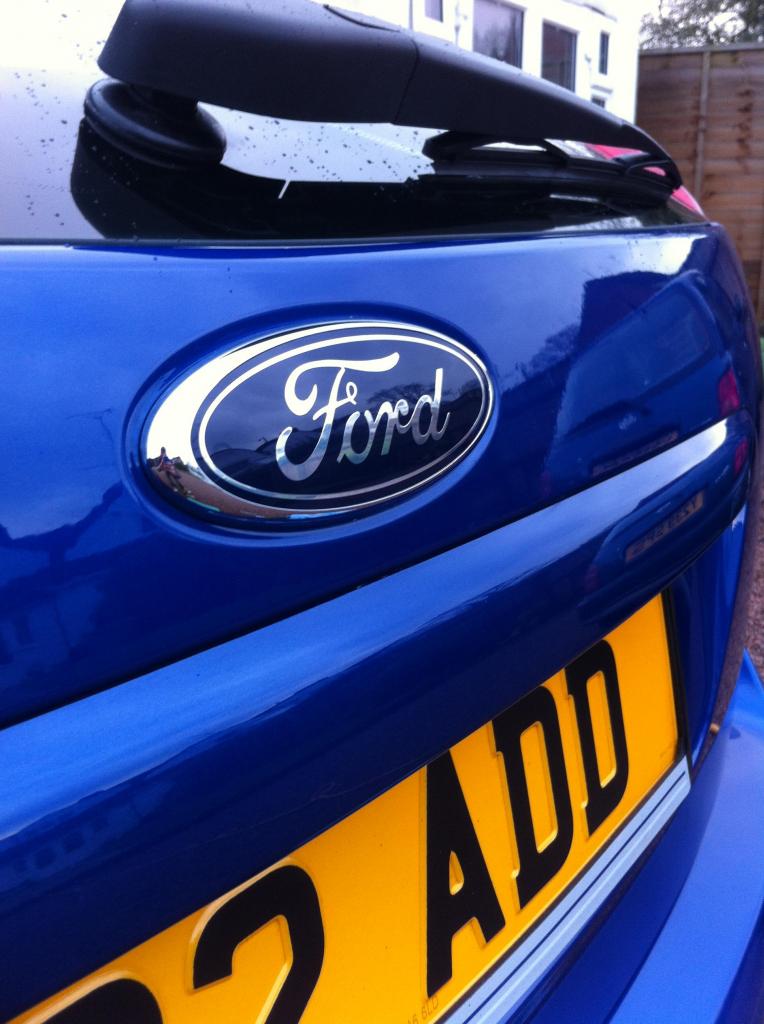
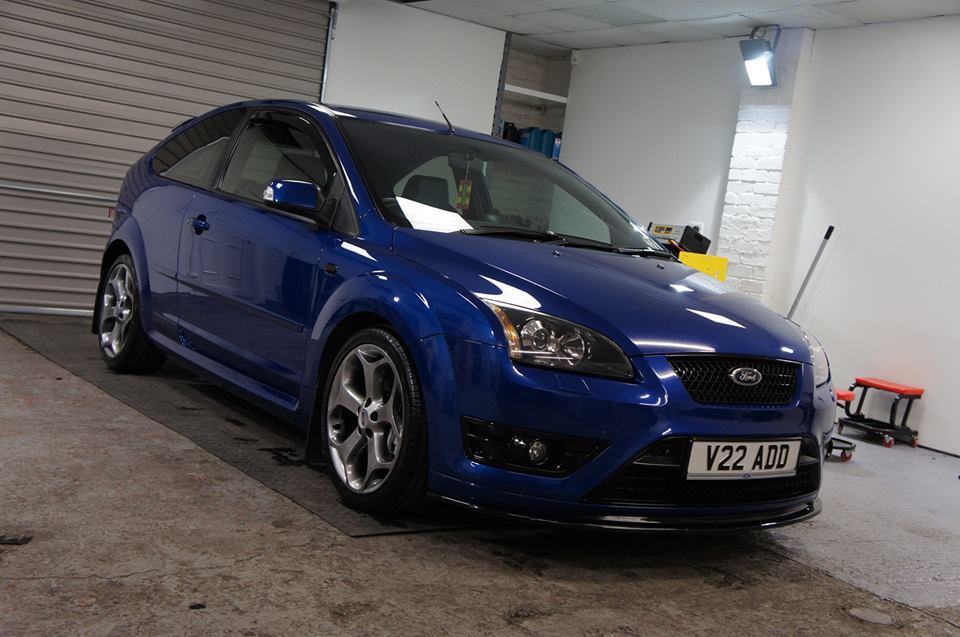
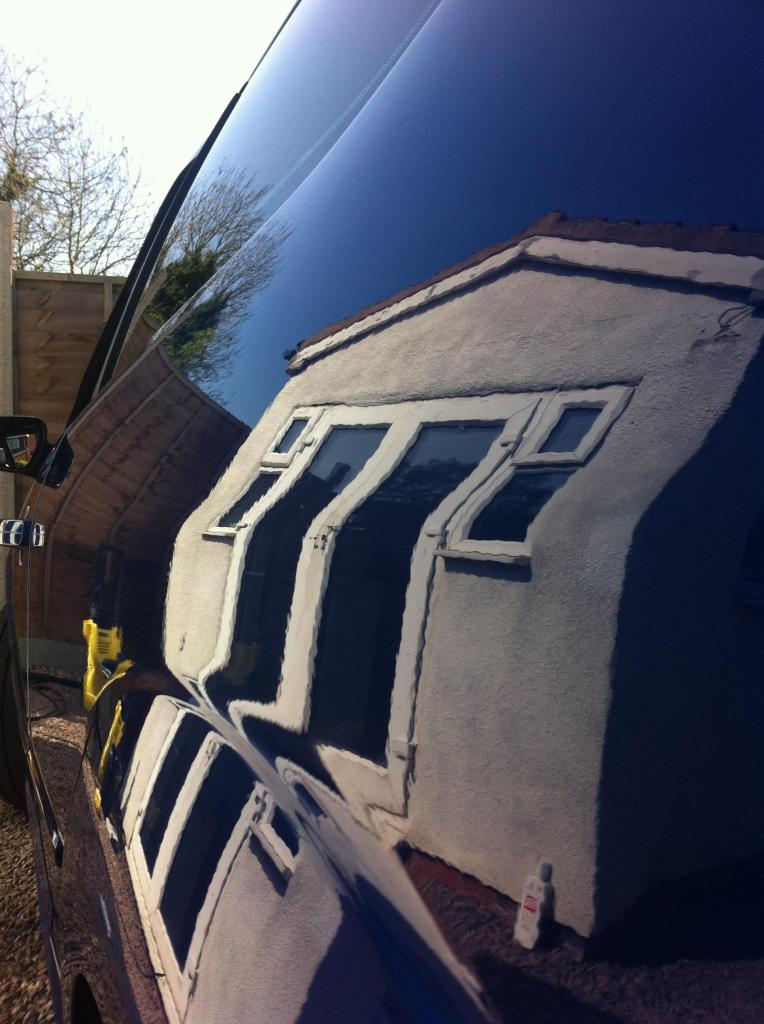
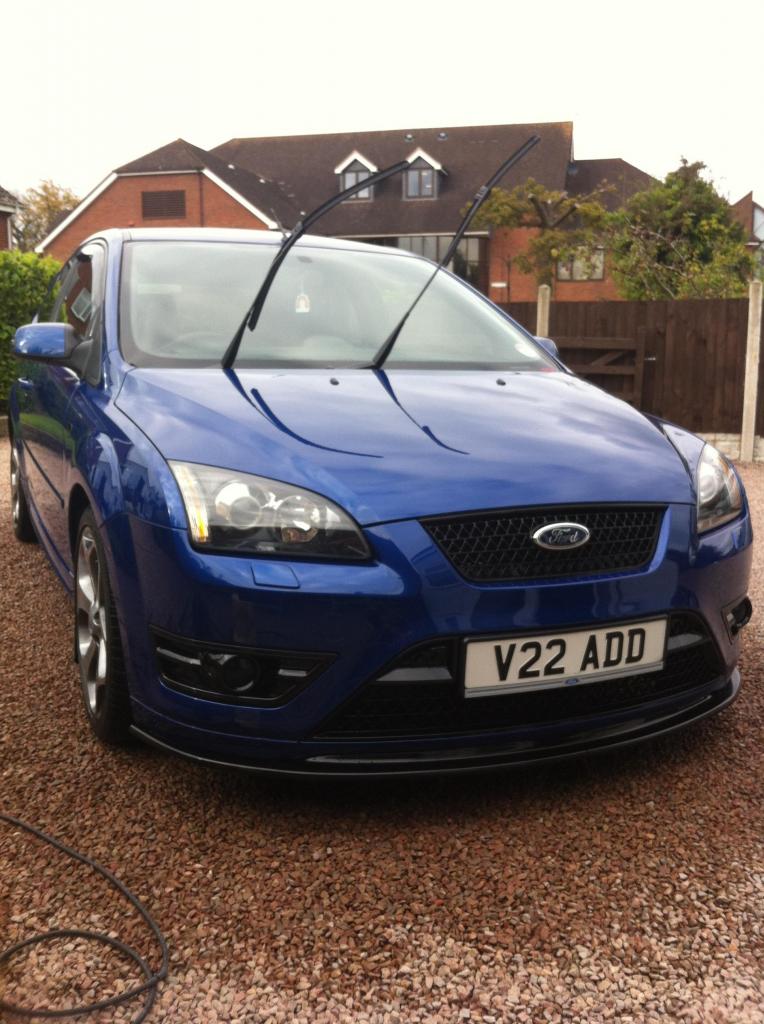
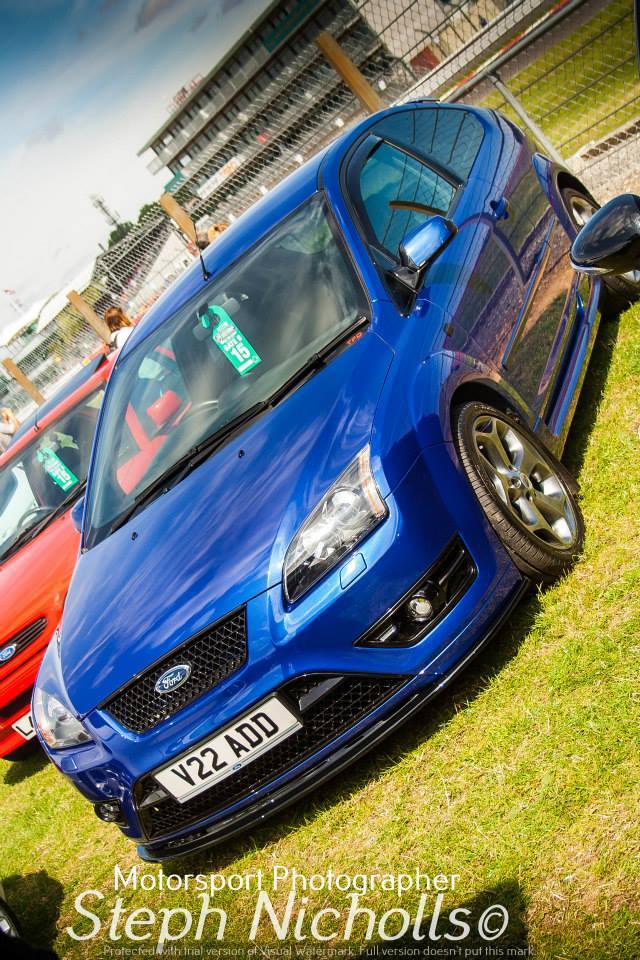
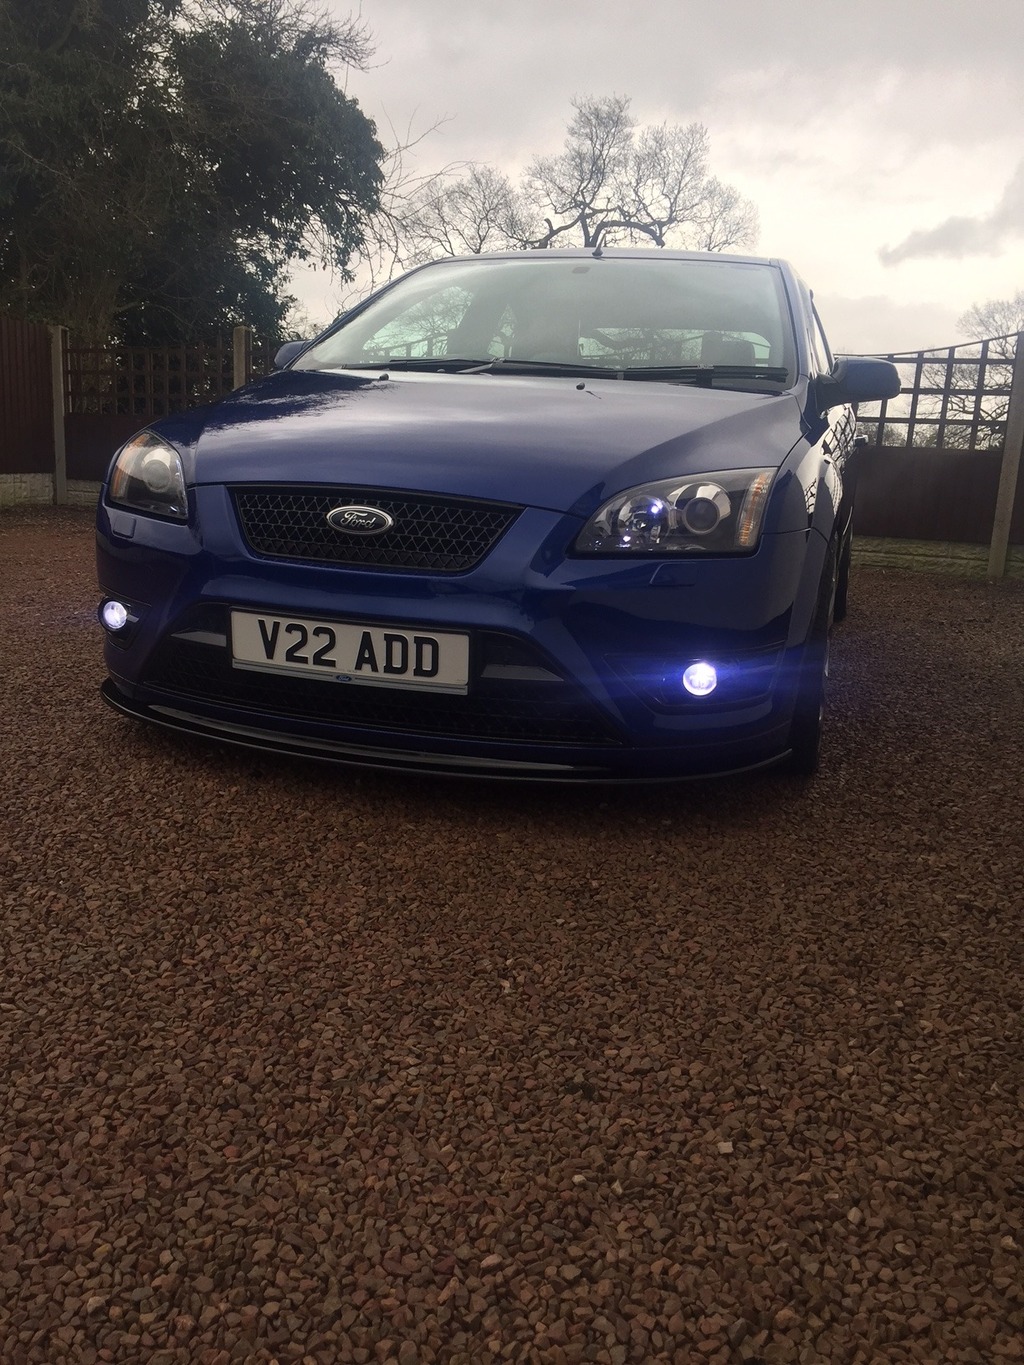
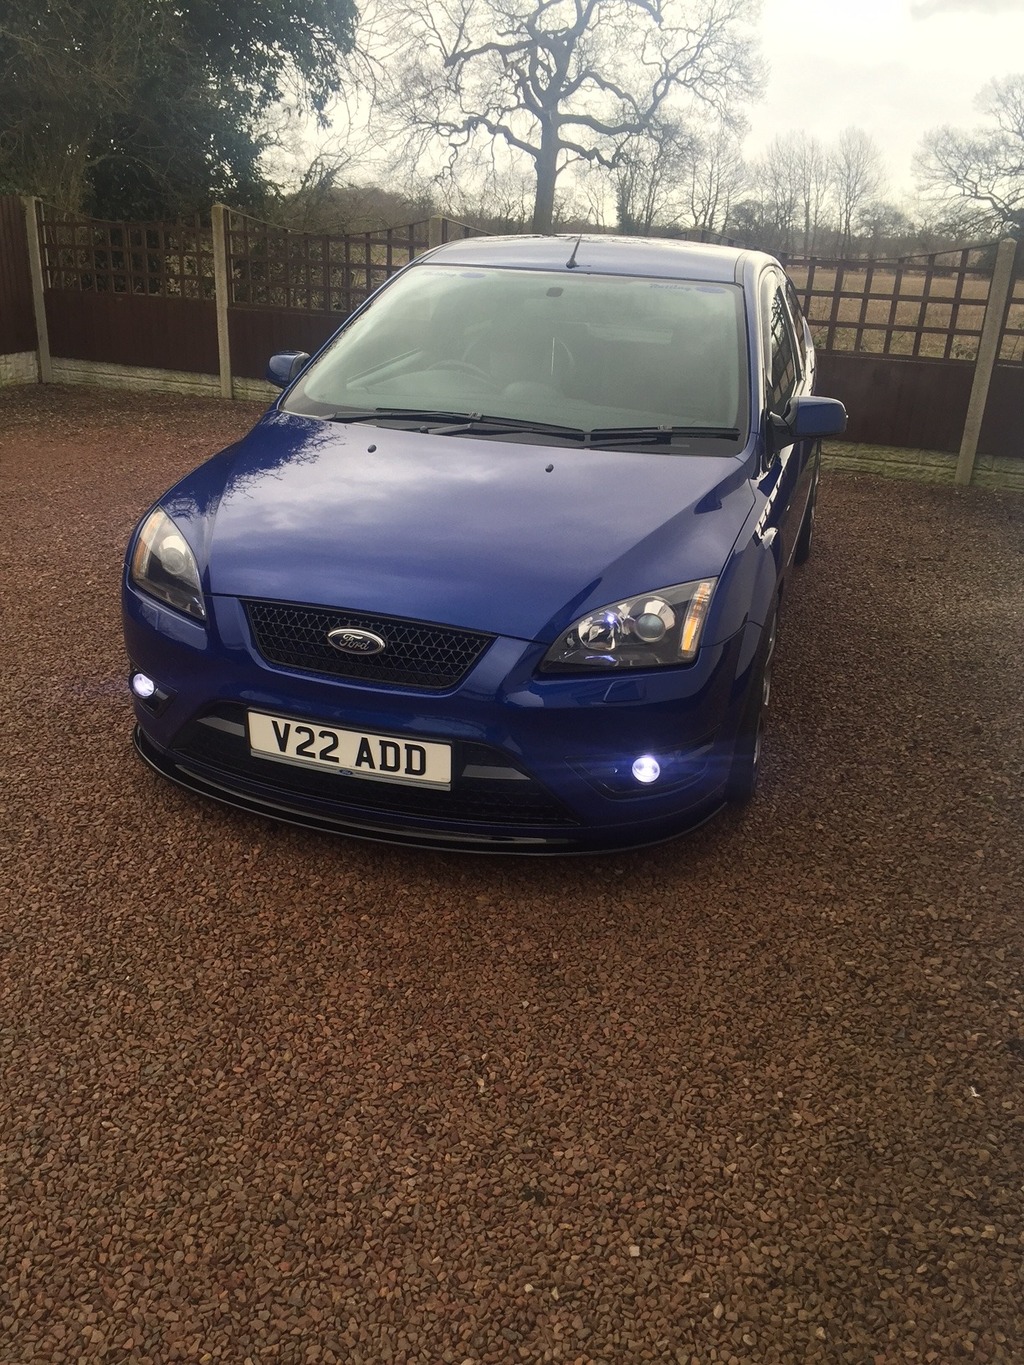
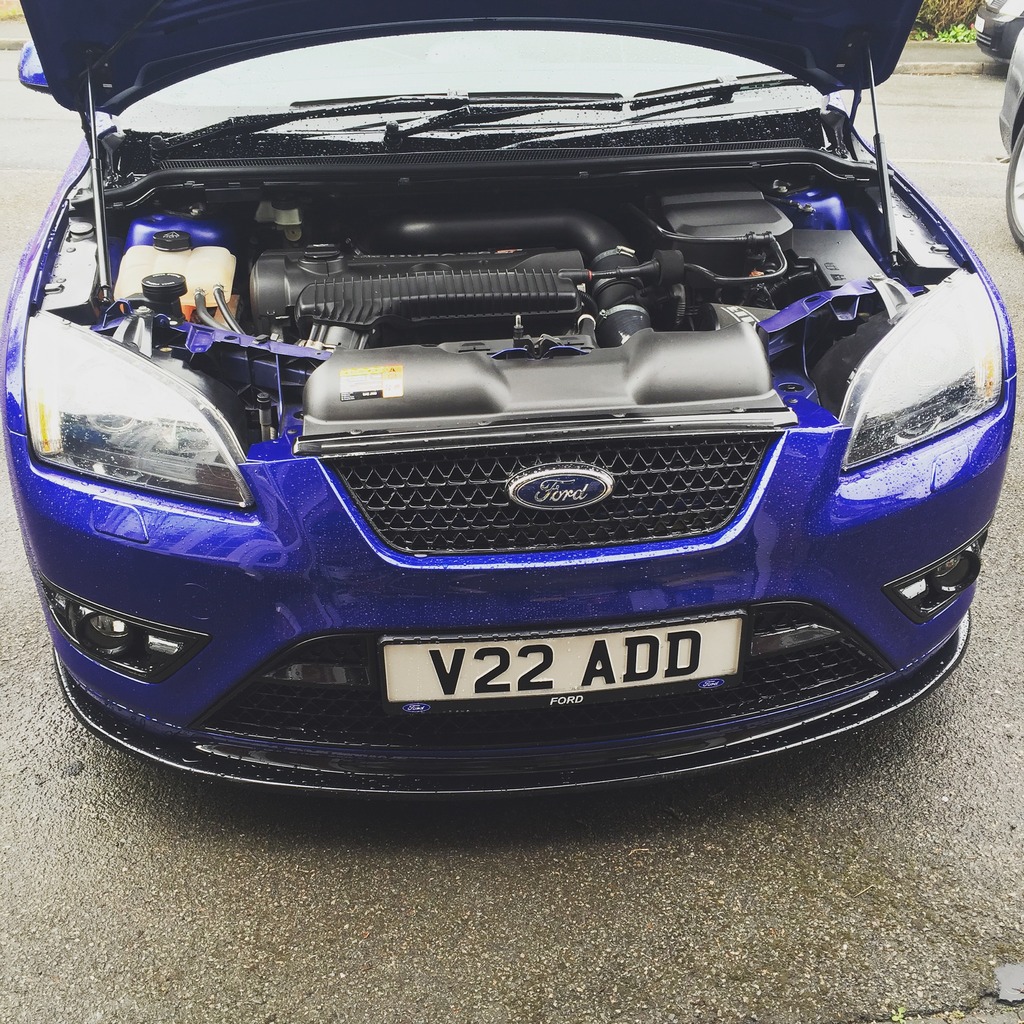
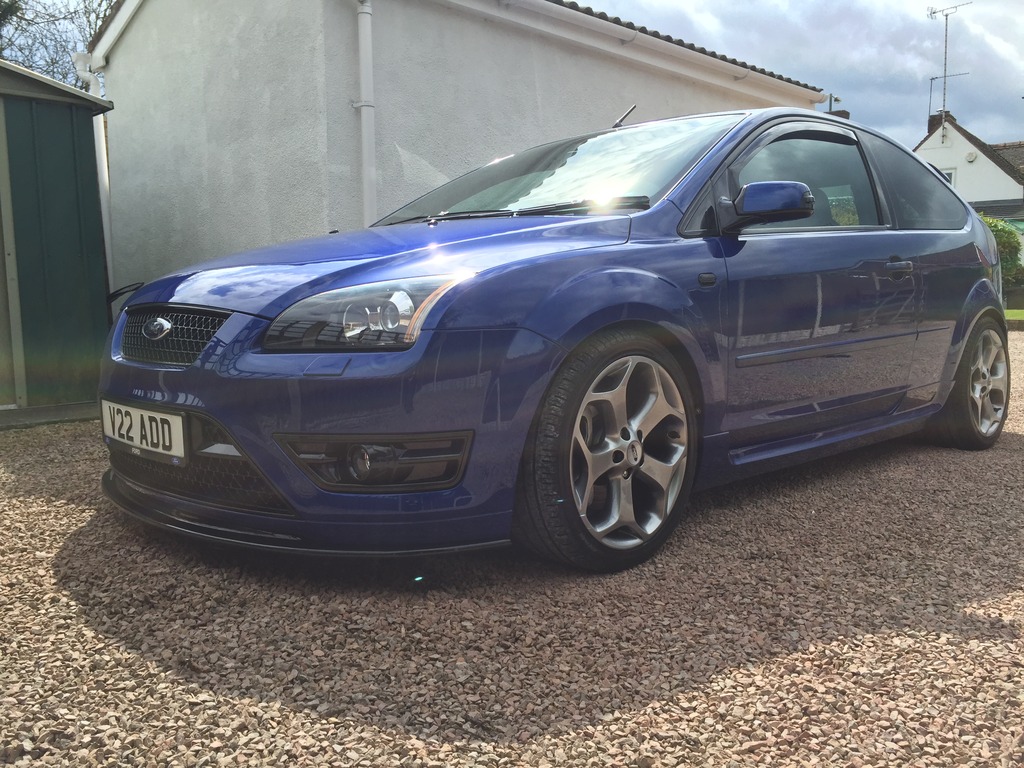
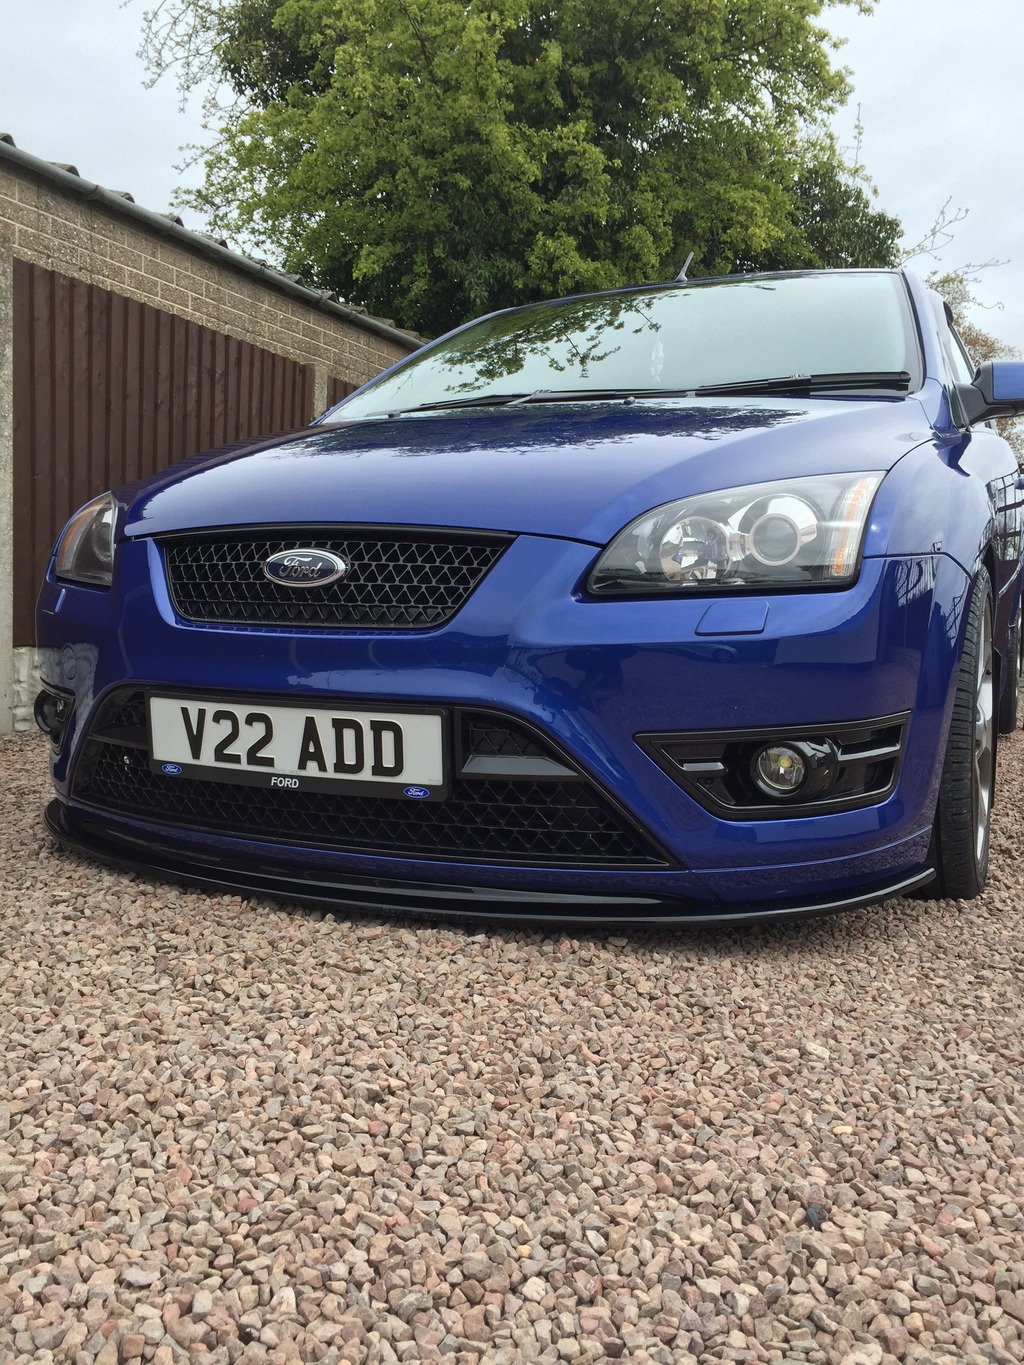
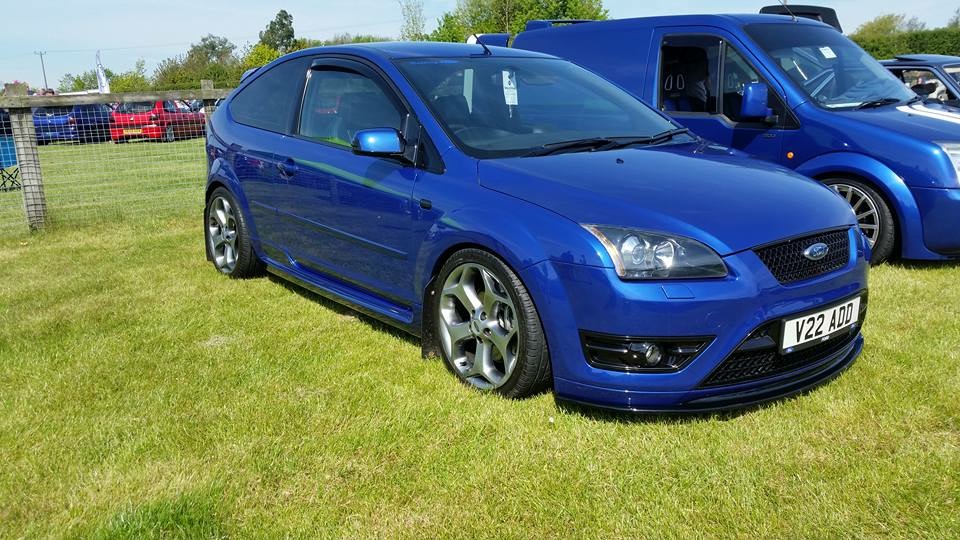
Performance Blue Focus ST
2006
32k on the clock
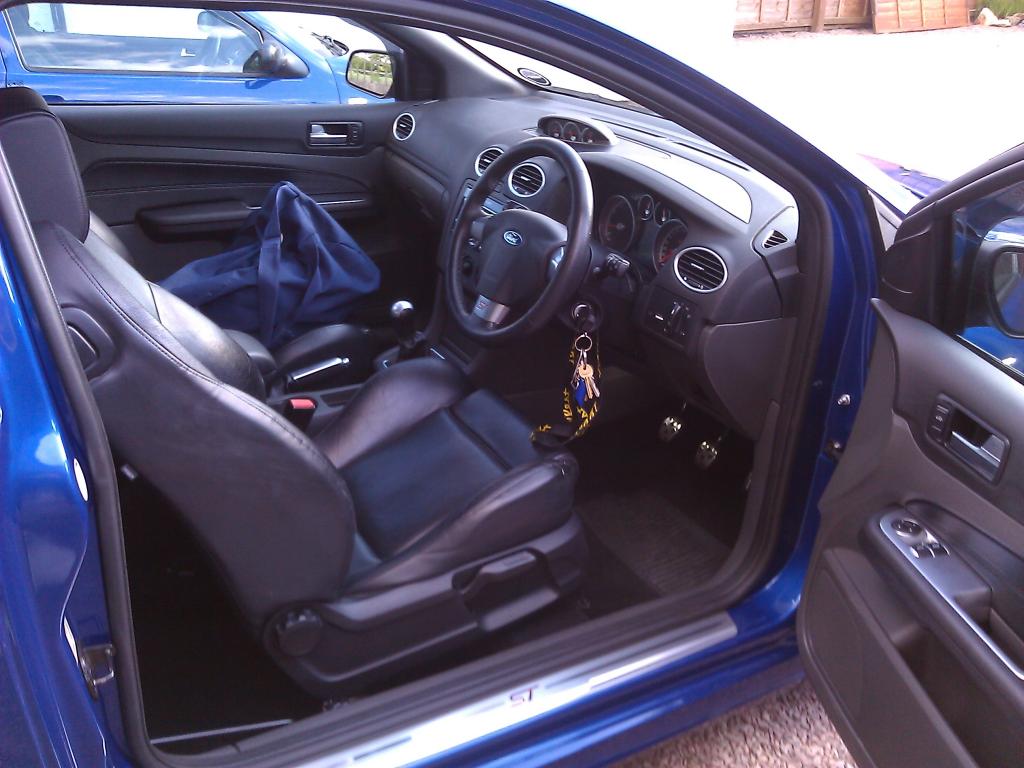
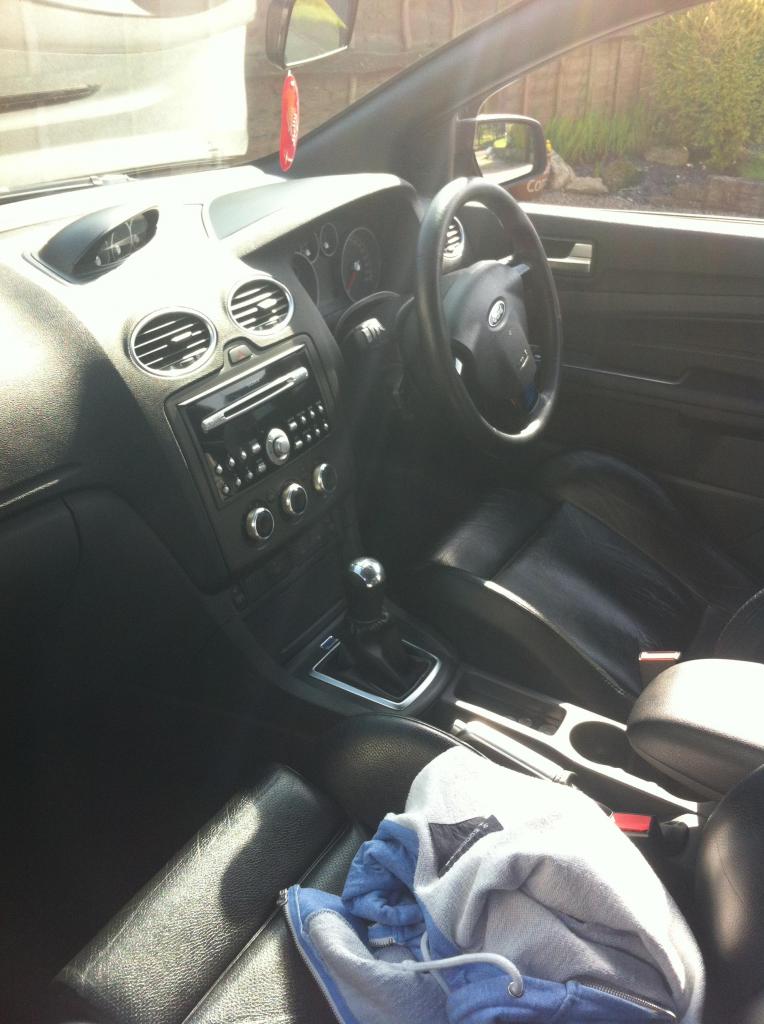
ST-3, leather seats and all the other trim etc!
Picked it up from a local ford main dealer and has a full years MOT, years warranty and 6 months tax.
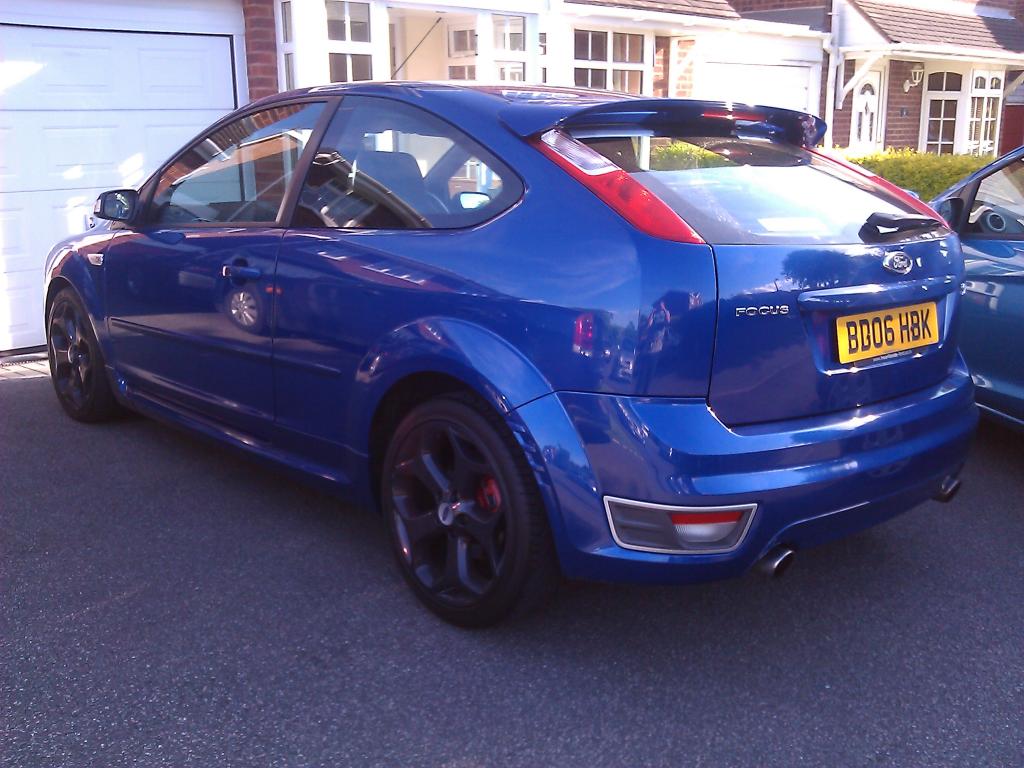
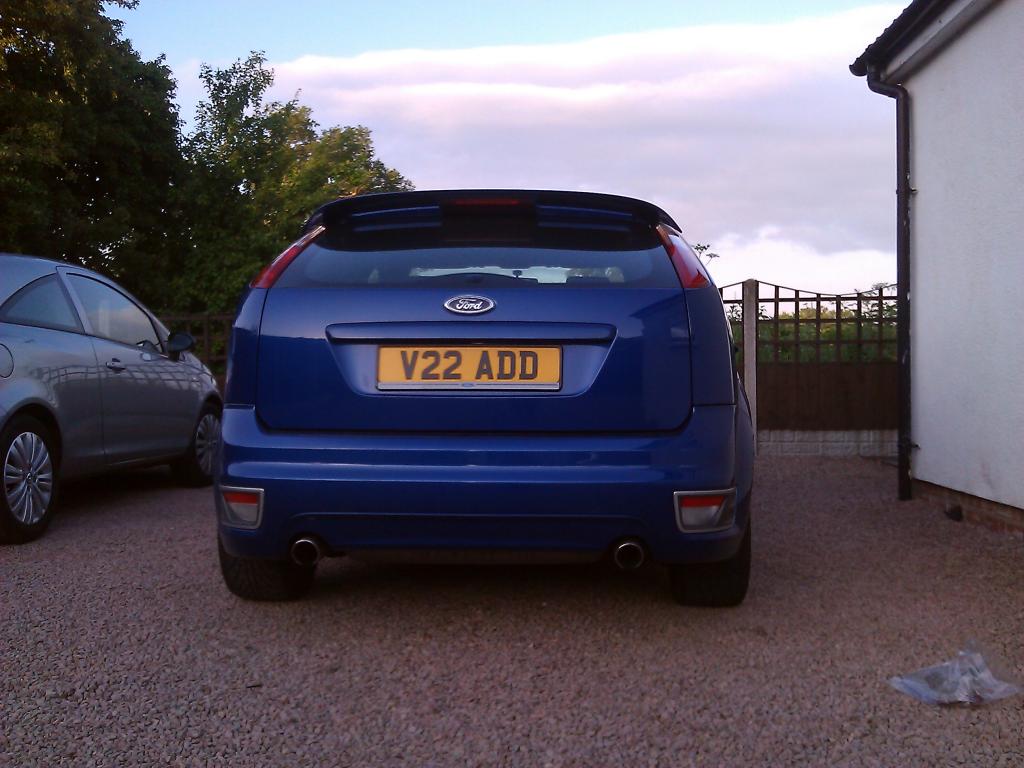
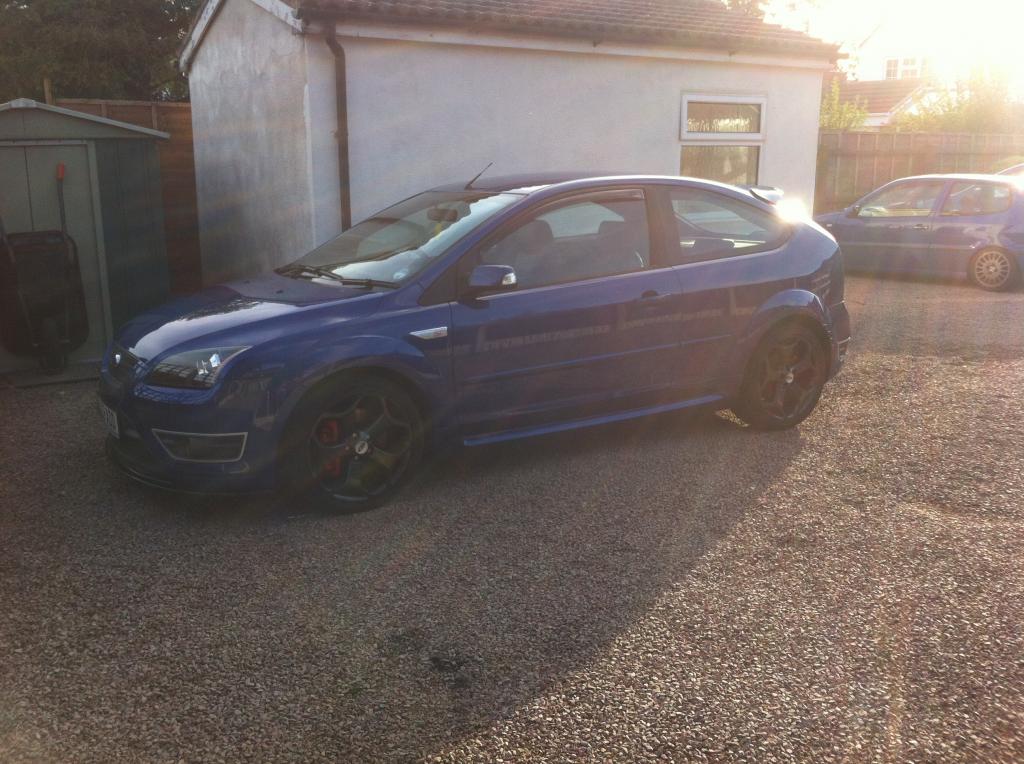
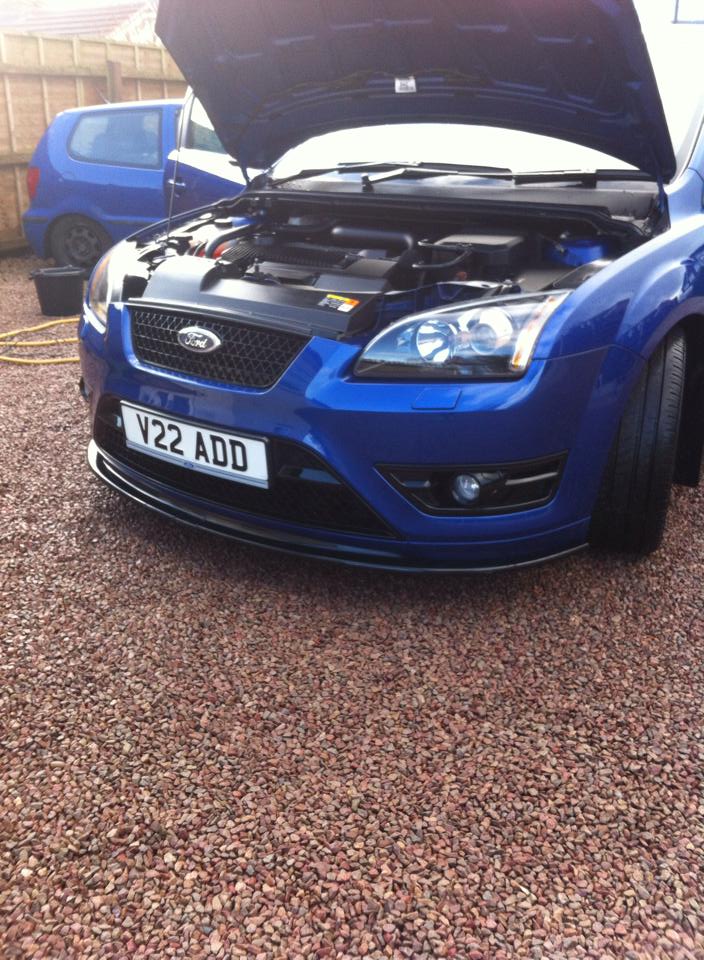
So this is how it arrived when I got it home.
New to the forum but have been following a fair few threads in the projects section recently.
Thought I would set my own thread up for my car as a tidy up/small modifications project!
This is from 2013 up to the present day so it will be picture heavy.
This was my first car that I spent way to much money on;


So the new car, I stuck with the blue oval. Always said I wanted a turbo car so I stuck to my guns and got one.
Spec:
Performance Blue Focus ST
2006
32k on the clock
ST-3, leather seats and all the other trim etc!
Picked it up from a local ford main dealer and has a full years MOT, years warranty and 6 months tax.
So this is how it arrived when I got it home.


Last edited by AJB222; May 31, 2016 at 12:28 PM.
Thread Starter
15000
Joined: May 2016
Posts: 39
Likes: 1
From: Birmingham
So the first addition was some genuine Focus mats from ford as it didnt come with any mats at all;
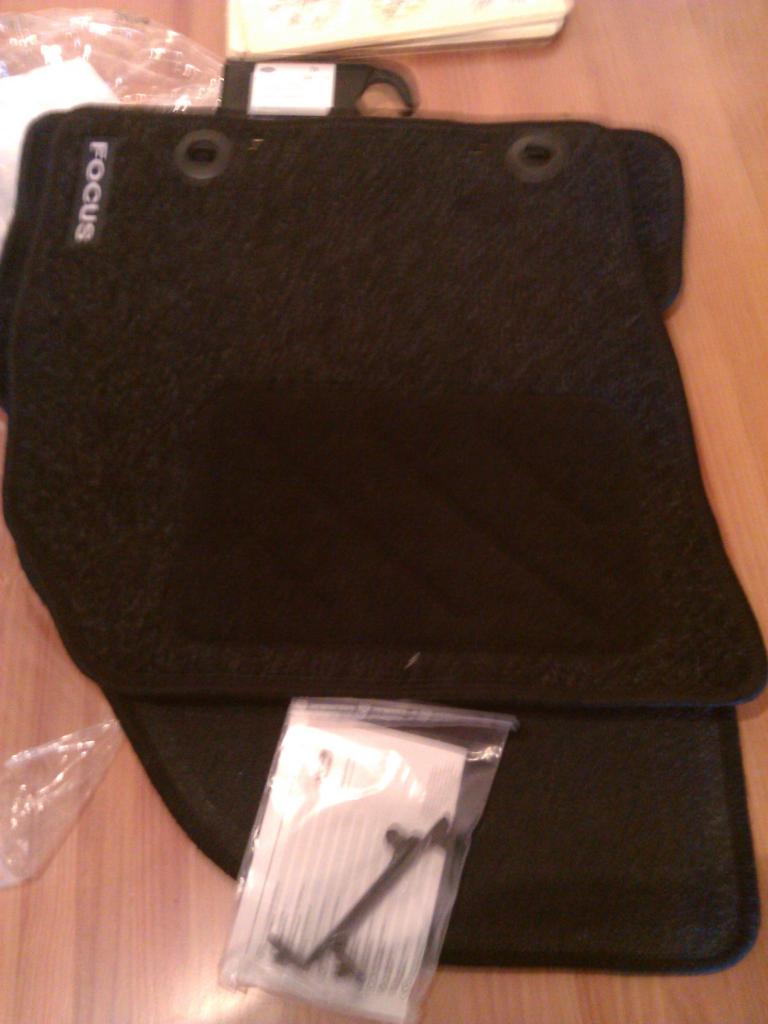
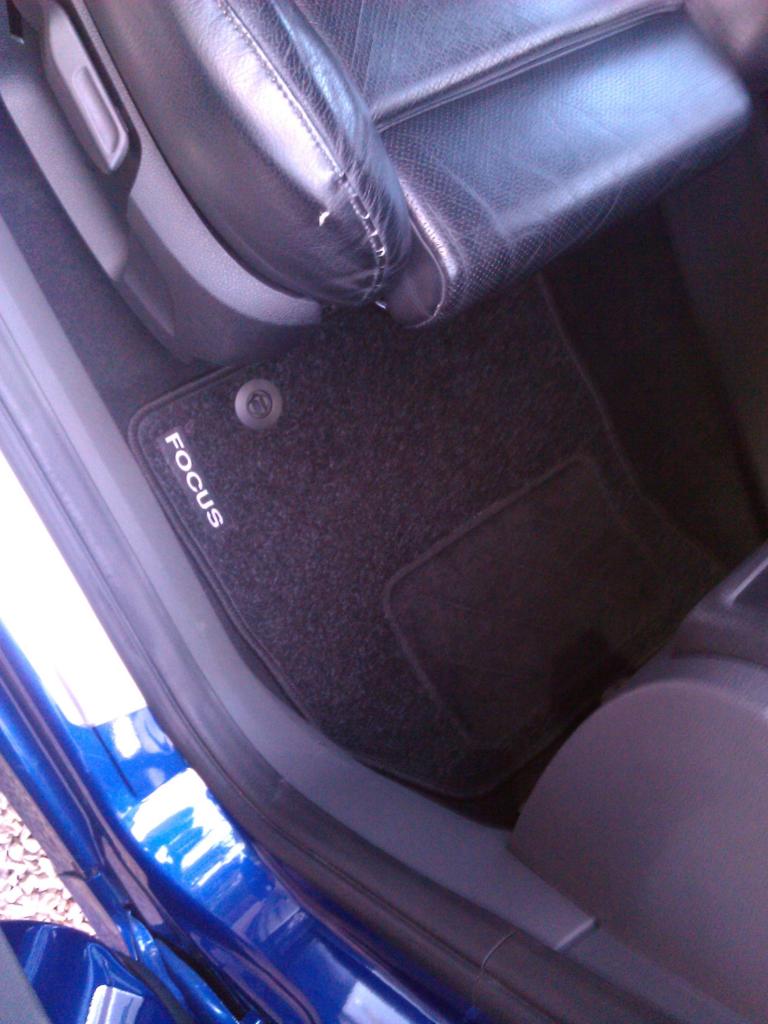
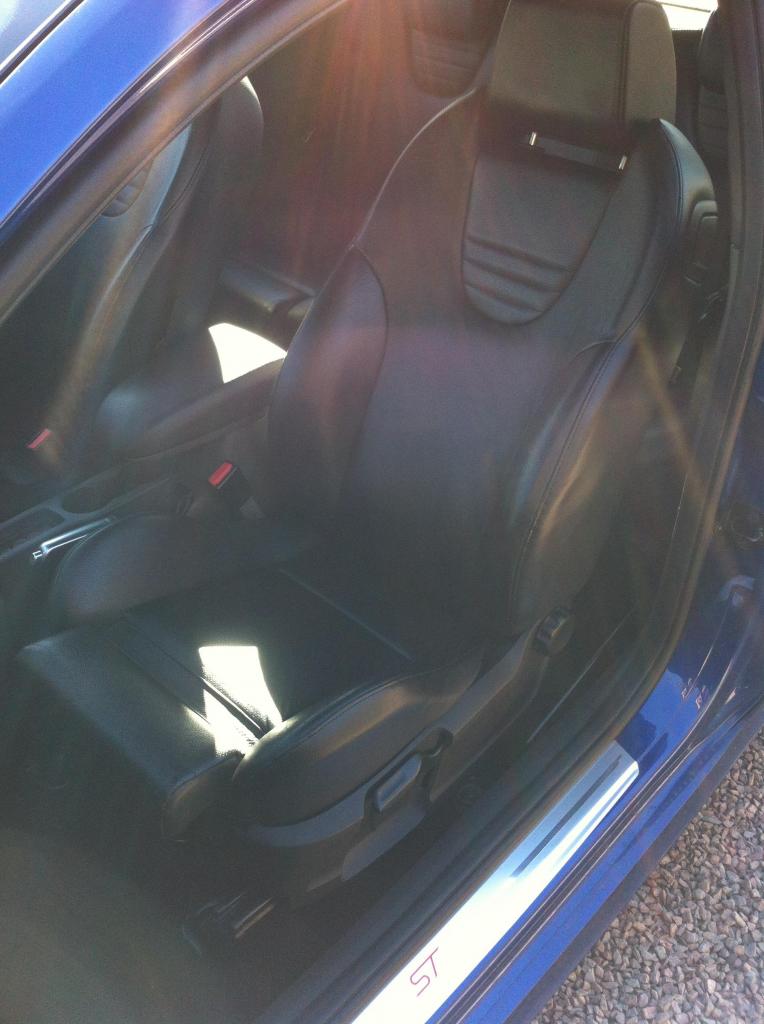
As you can see the drivers seat needs a small repair which I will get to later in the thread!
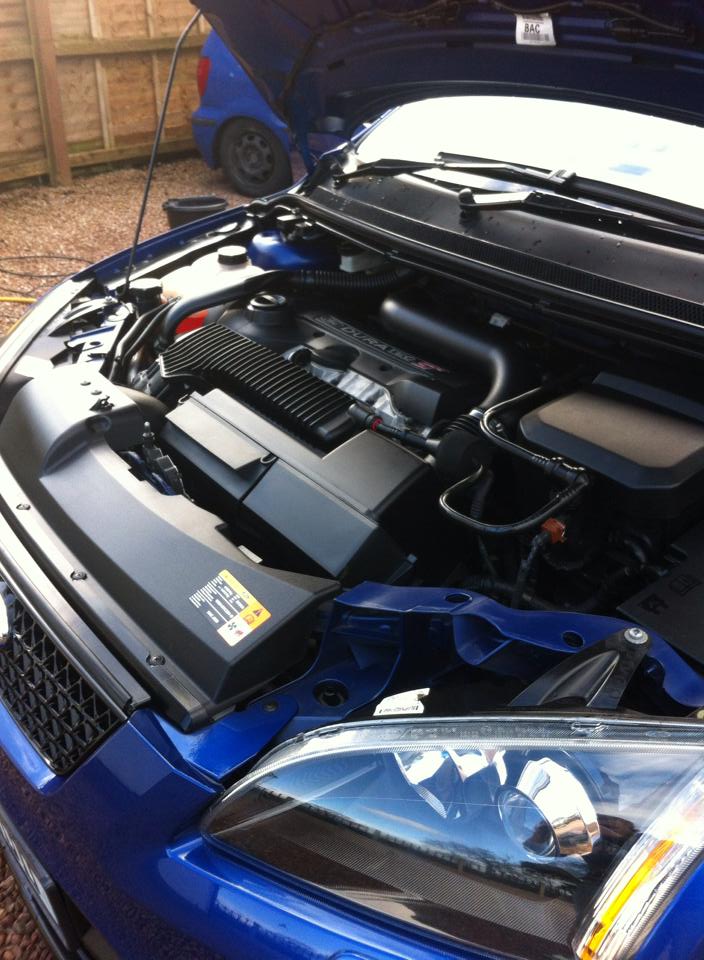
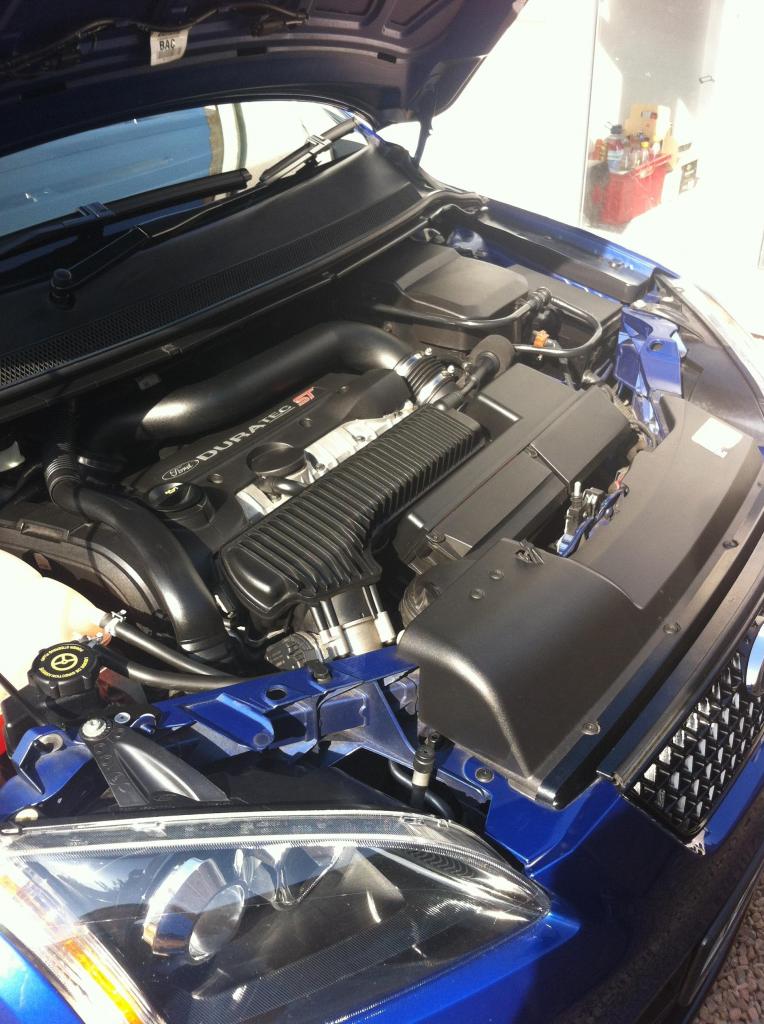
I removed the sound deadening from under the bonnet so I can hear the 5 pot more (it worked!) ( no pictures )
I undersealed the rear beam so it looks nice and tidy under there now!
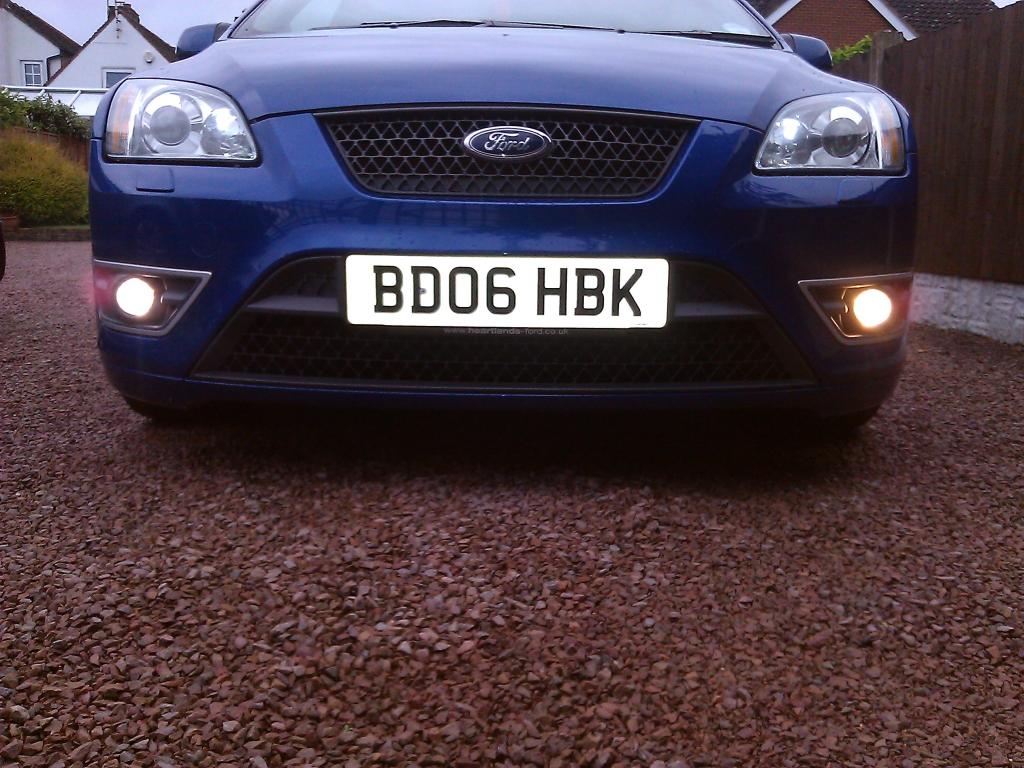
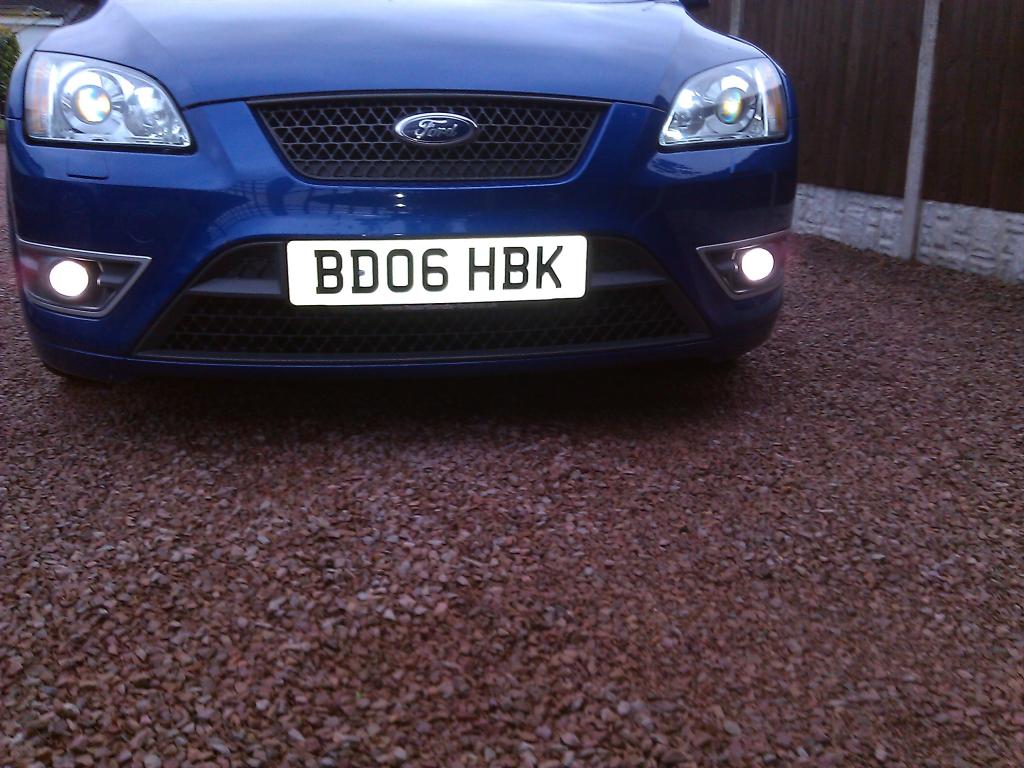
Fitted some Xenon bulbs to the fogs and full beam so they now match the Xenons fitted as standard, rather than being the boring yellow colour!
Also fitted LED's in the side lights and number plate bulbs and also the whole inside was done as well but no pictures yet!
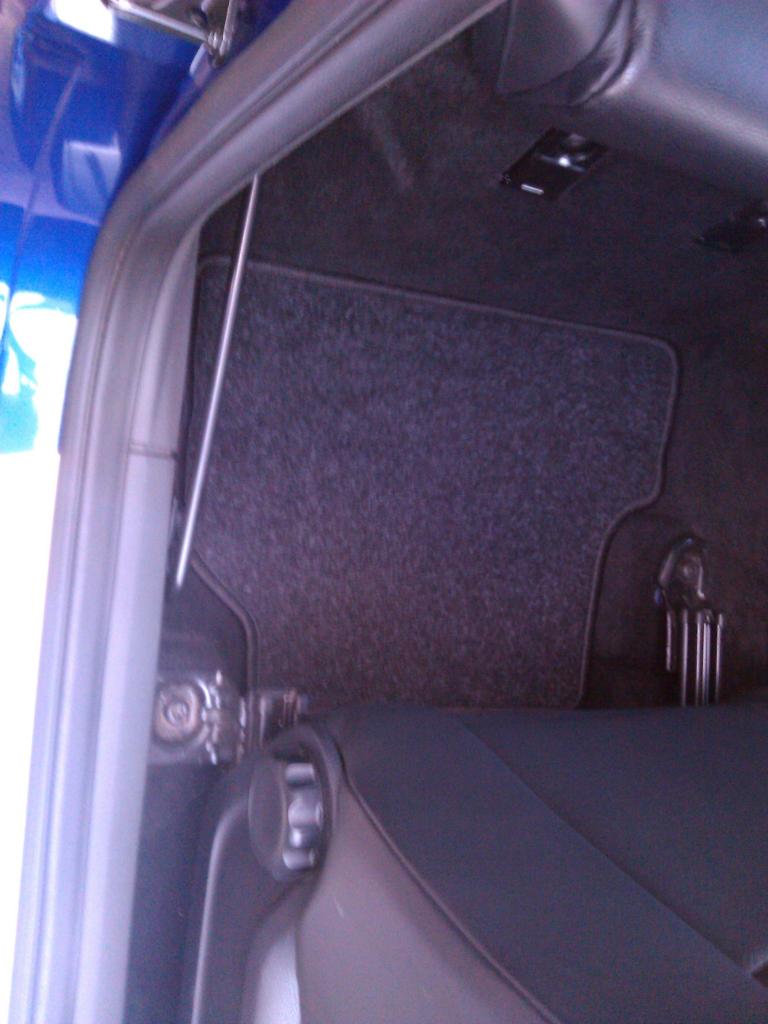
Comparing the two;
Both fitted;


As you can see the drivers seat needs a small repair which I will get to later in the thread!
I removed the sound deadening from under the bonnet so I can hear the 5 pot more (it worked!) ( no pictures )
I undersealed the rear beam so it looks nice and tidy under there now!
Fitted some Xenon bulbs to the fogs and full beam so they now match the Xenons fitted as standard, rather than being the boring yellow colour!
Also fitted LED's in the side lights and number plate bulbs and also the whole inside was done as well but no pictures yet!
Comparing the two;

Both fitted;


Thread Starter
15000
Joined: May 2016
Posts: 39
Likes: 1
From: Birmingham
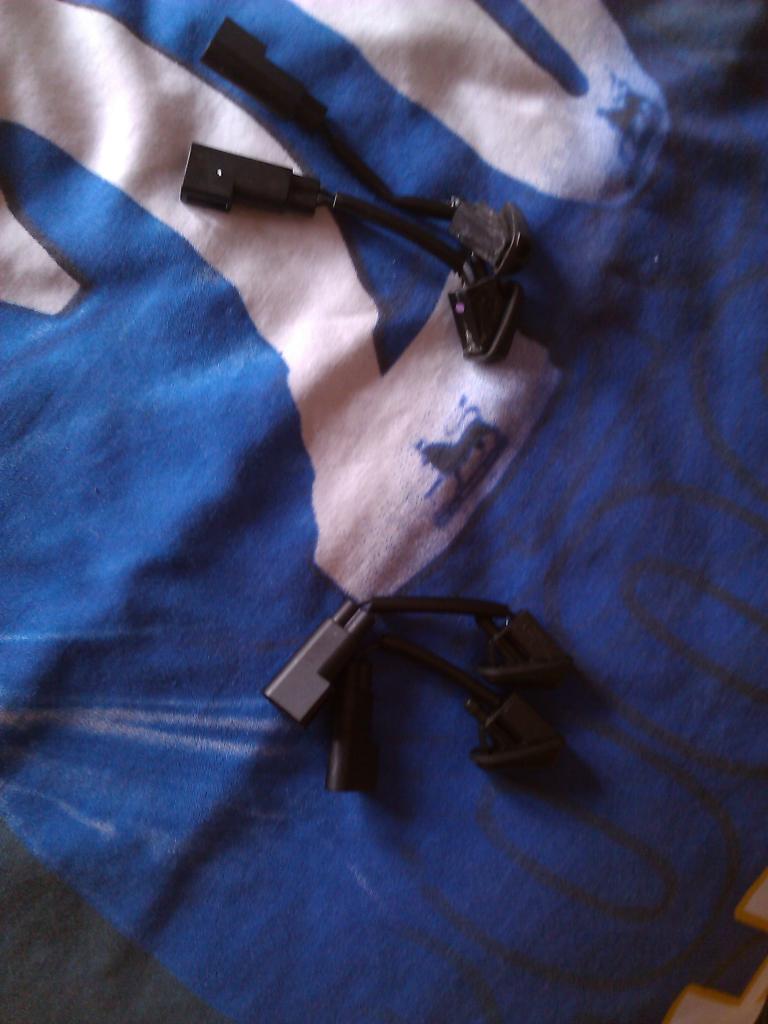
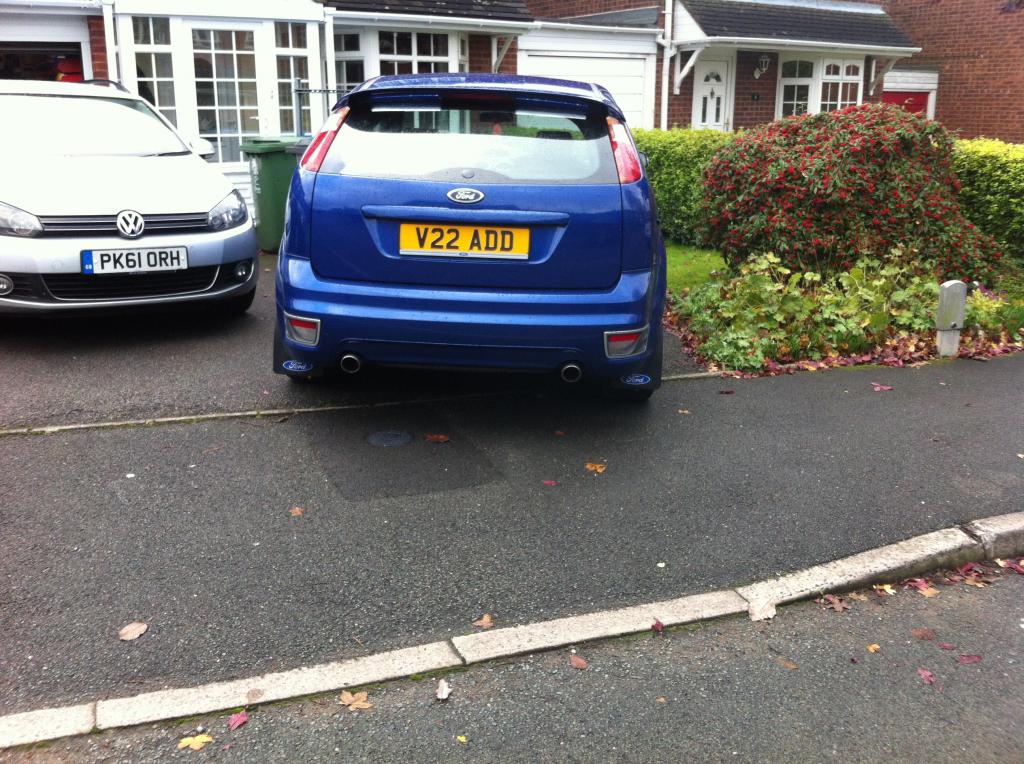
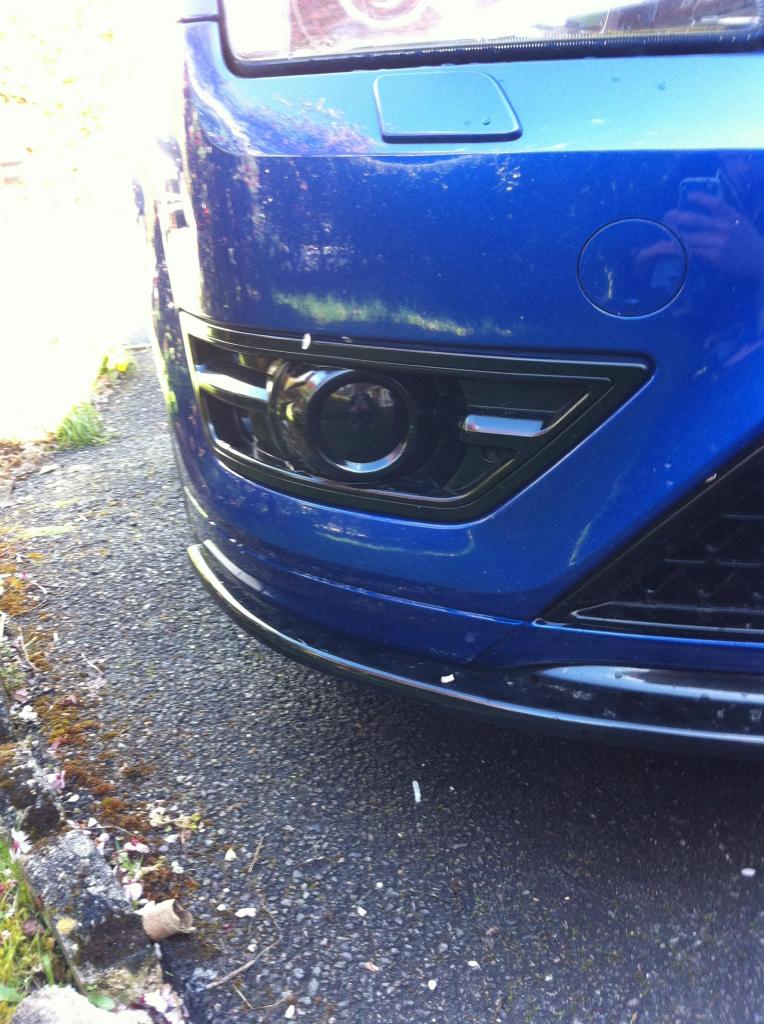
Fitted some "mist jets" and a "euro rear fog" so it is even both sides at the rear;
Ordered a gloss black front splitter and the front grills will be done gloss black as well;
Also got some genuine black headlights for it is as well, 1000x better than the clear ones!
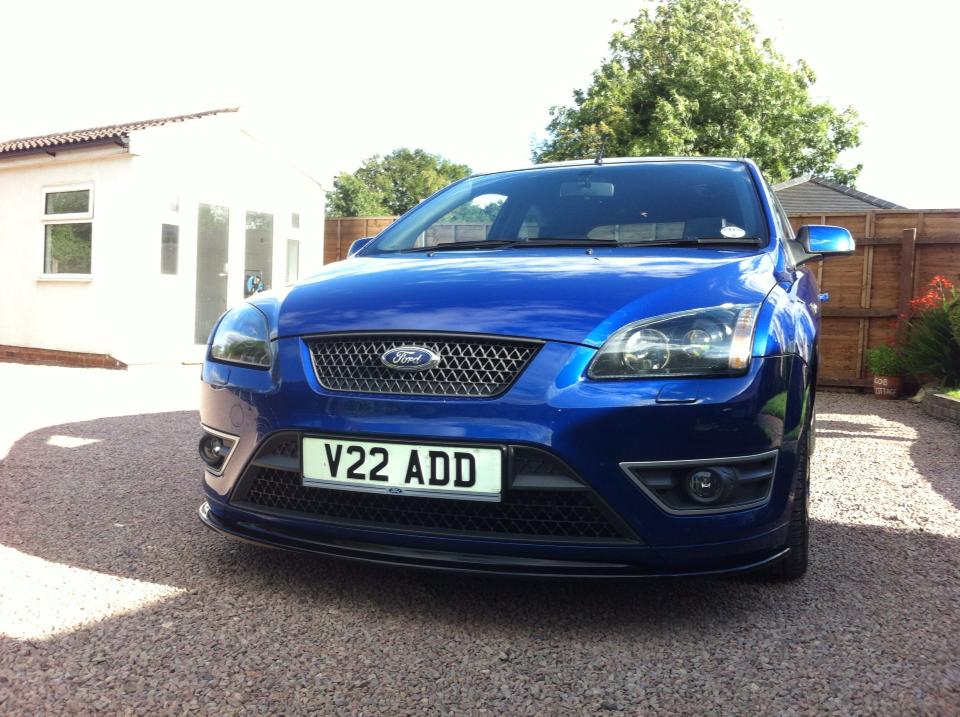


Ordered a gloss black front splitter and the front grills will be done gloss black as well;


Also got some genuine black headlights for it is as well, 1000x better than the clear ones!

Thread Starter
15000
Joined: May 2016
Posts: 39
Likes: 1
From: Birmingham
Some updates for everyone;
Had to replace the oil filter housing as it started squealing its head off!
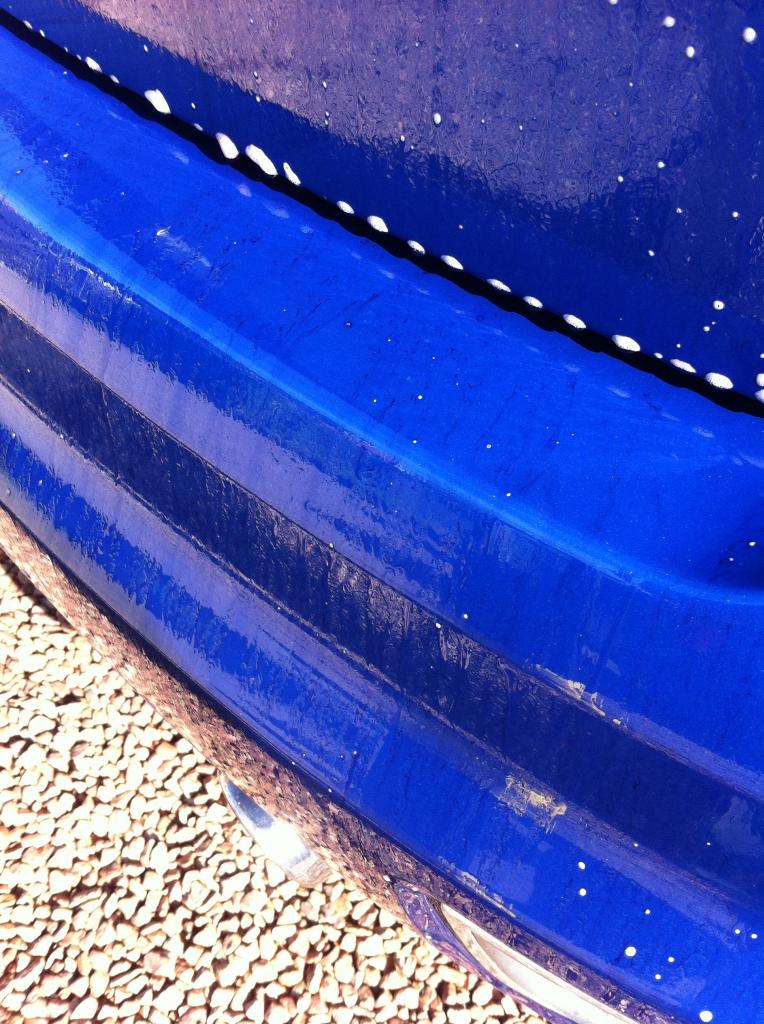
I had to buy another splitter and I managed to scuff all the last one up! The new one won't go on until after the winter now though!
New tire on the front drivers side ready for winter as well.
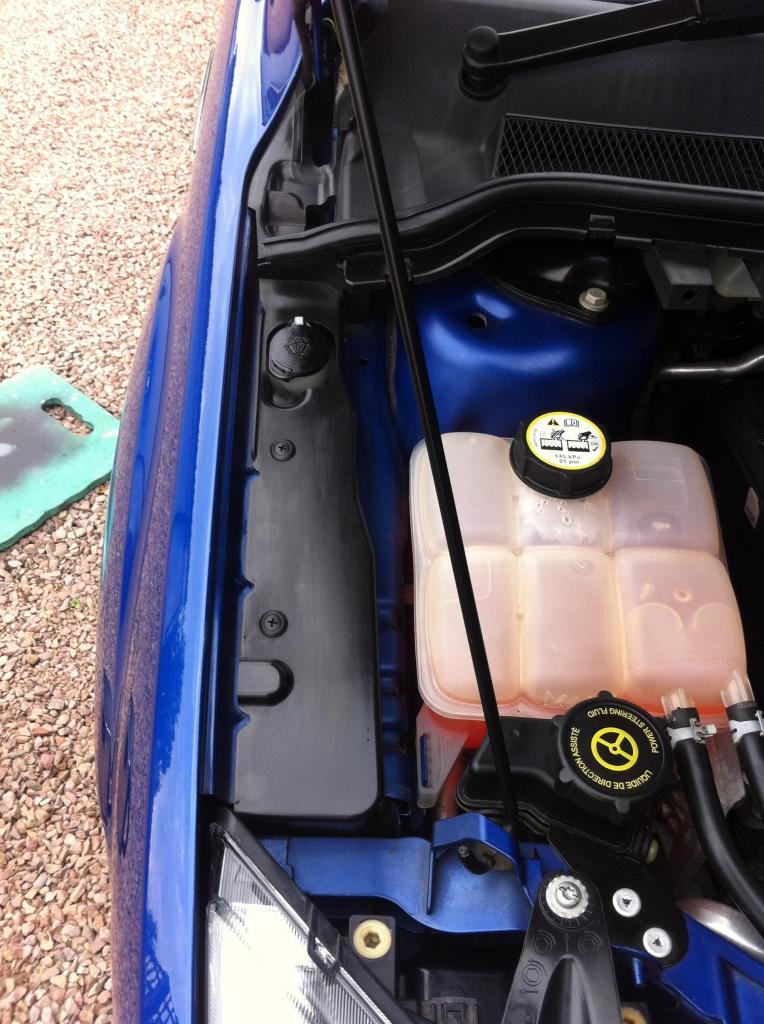
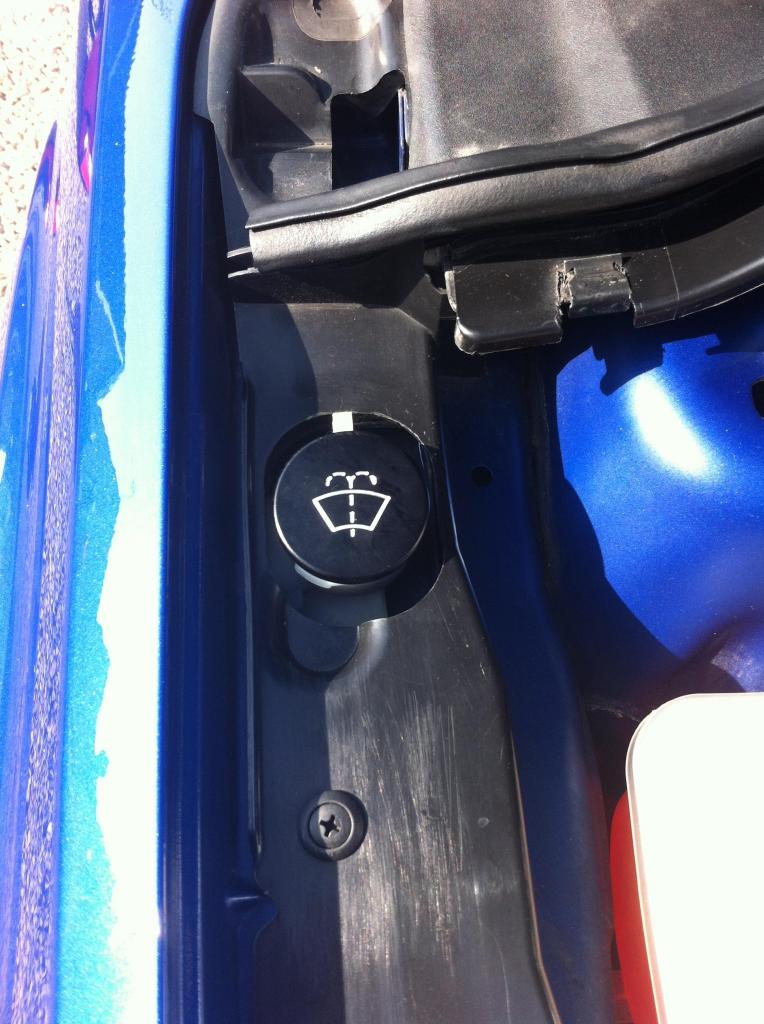
Painted the washer filler cap as it was blue before;
Fitted these black and blue inserts to the steering wheel rather than silver and red;

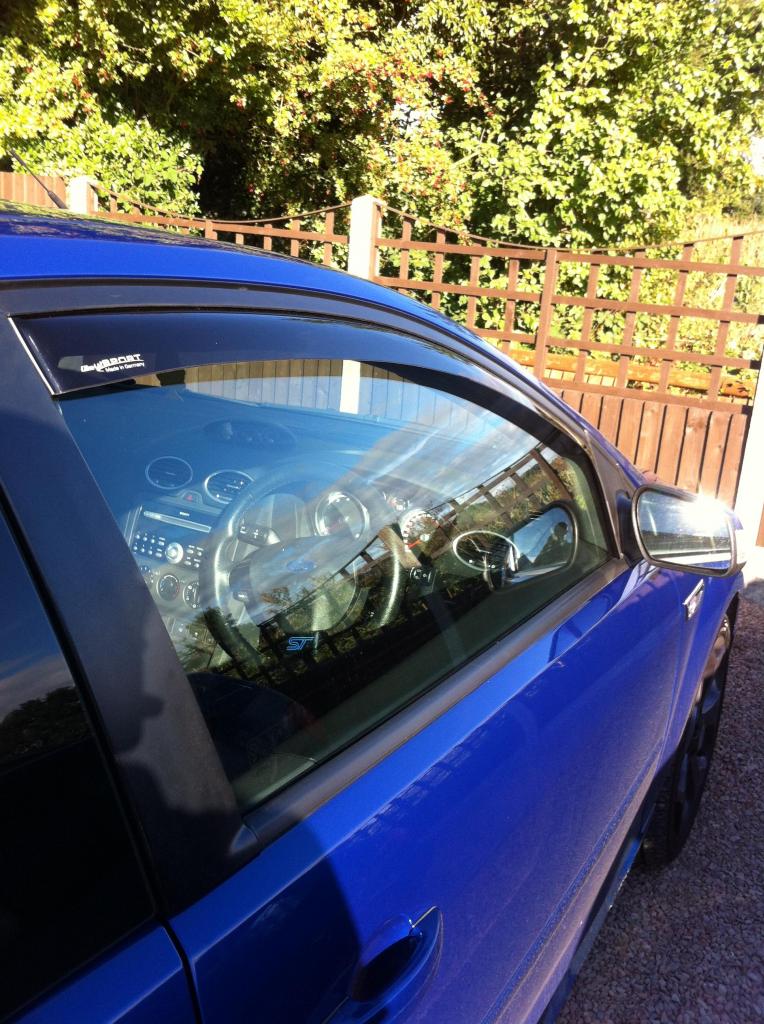
Fitting some climair wind deflectors (Loads better than the team heko ones that fell out)
Had the wear and tear repaired on the seats! Big improvement;
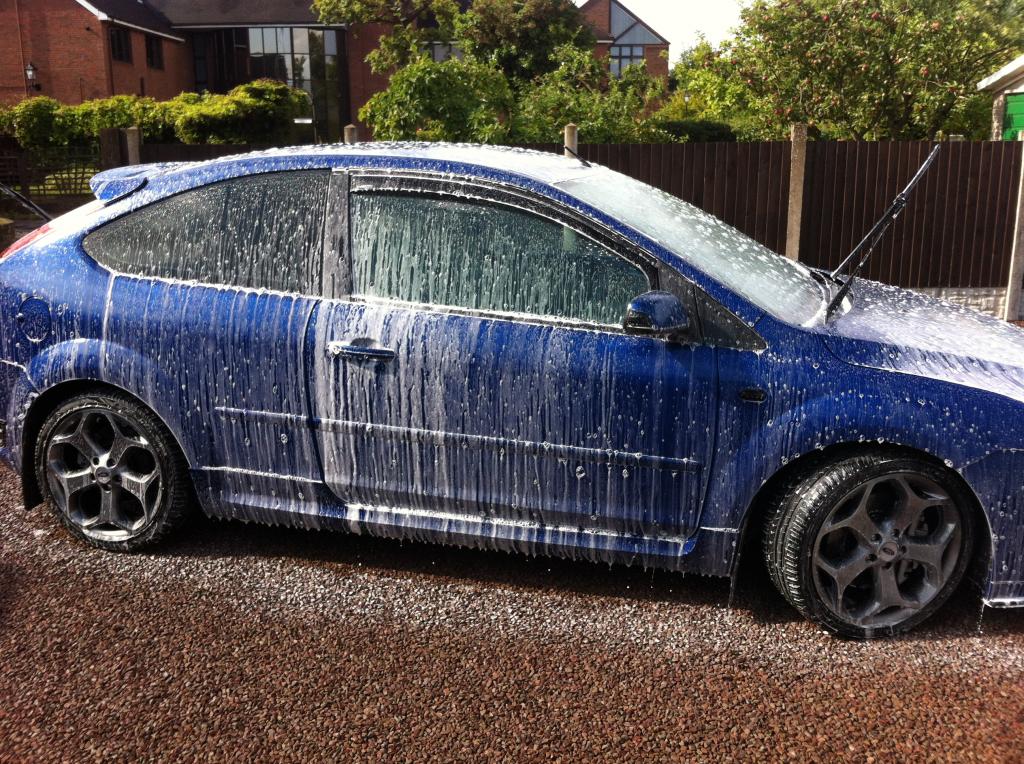
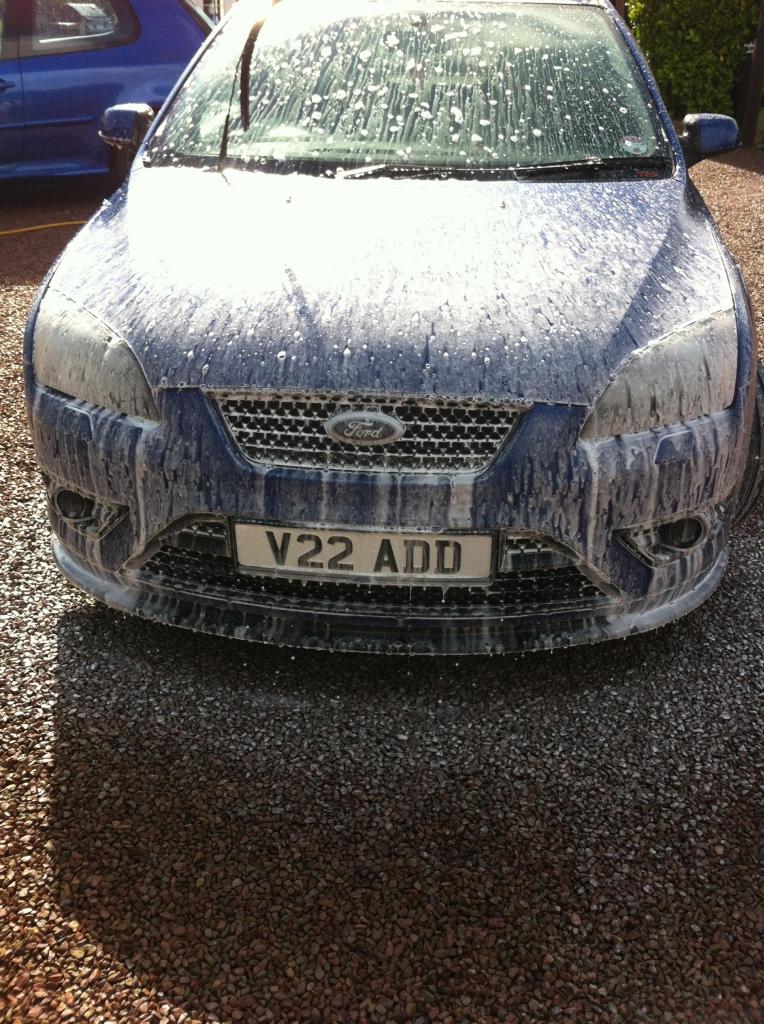
Gave it a wash and polish ready for the winter and got loads of new cleaning stuff;
I have also order some mud flaps for it to try and help with the crap roads!
Had to replace the oil filter housing as it started squealing its head off!
I had to buy another splitter and I managed to scuff all the last one up! The new one won't go on until after the winter now though!
New tire on the front drivers side ready for winter as well.
Painted the washer filler cap as it was blue before;

Fitted these black and blue inserts to the steering wheel rather than silver and red;

Fitting some climair wind deflectors (Loads better than the team heko ones that fell out)

Had the wear and tear repaired on the seats! Big improvement;

Gave it a wash and polish ready for the winter and got loads of new cleaning stuff;


I have also order some mud flaps for it to try and help with the crap roads!
Thread Starter
15000
Joined: May 2016
Posts: 39
Likes: 1
From: Birmingham
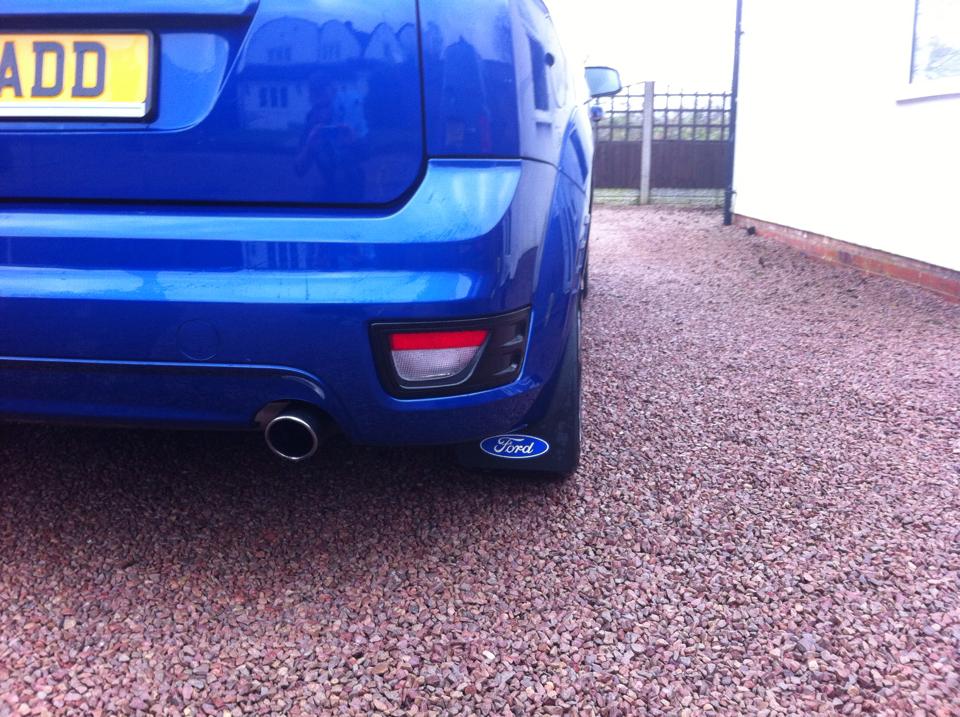
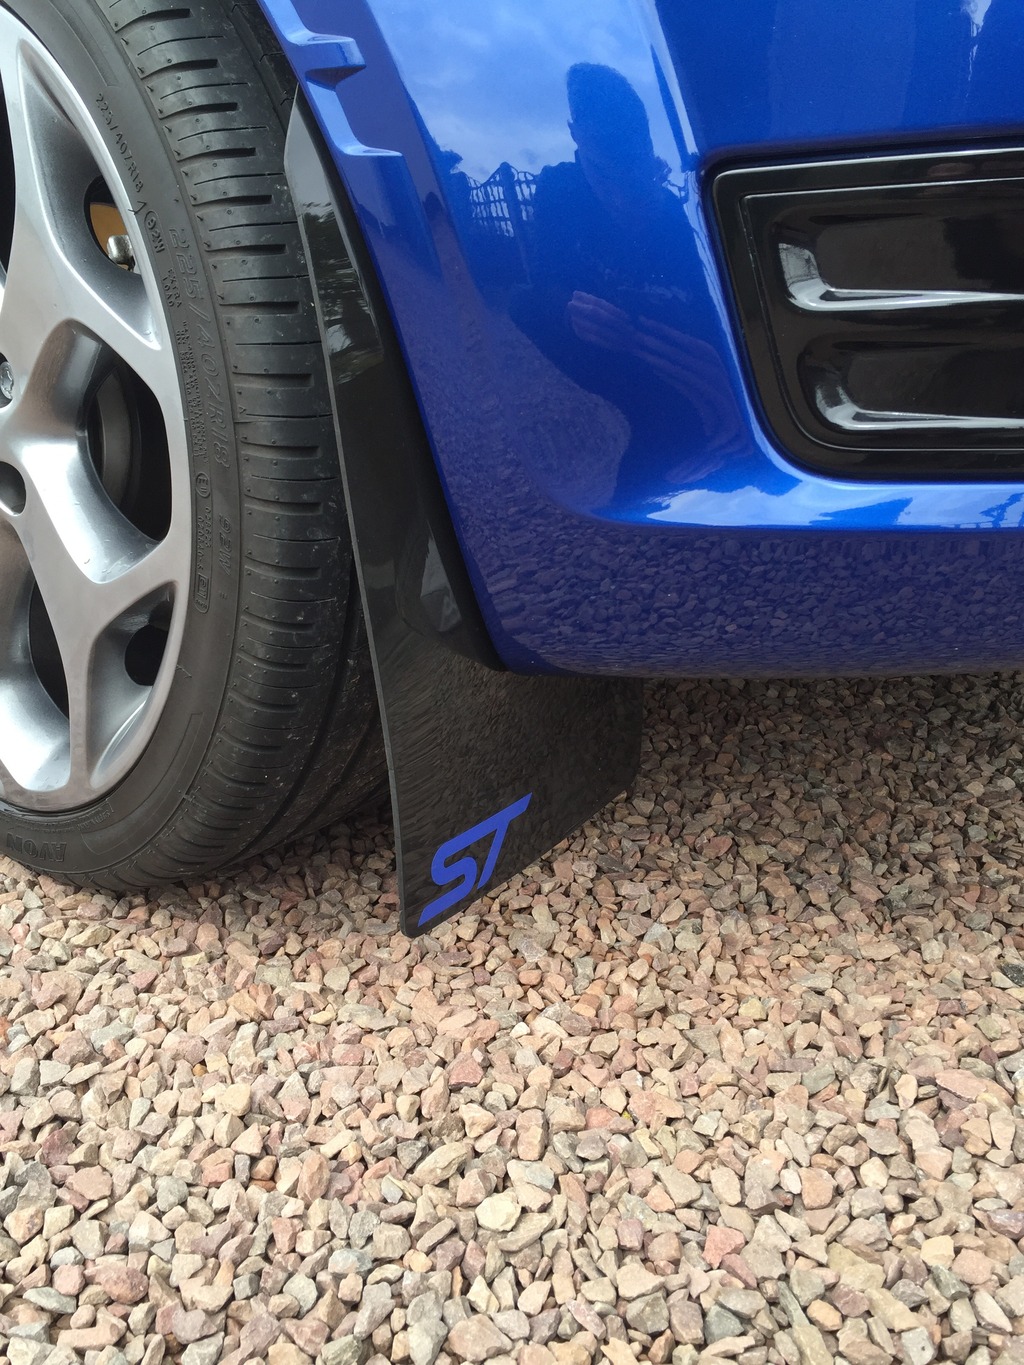
Fitted some mud flaps for the winter. Front ones need lifting up ideally as they catch the road occasionally;
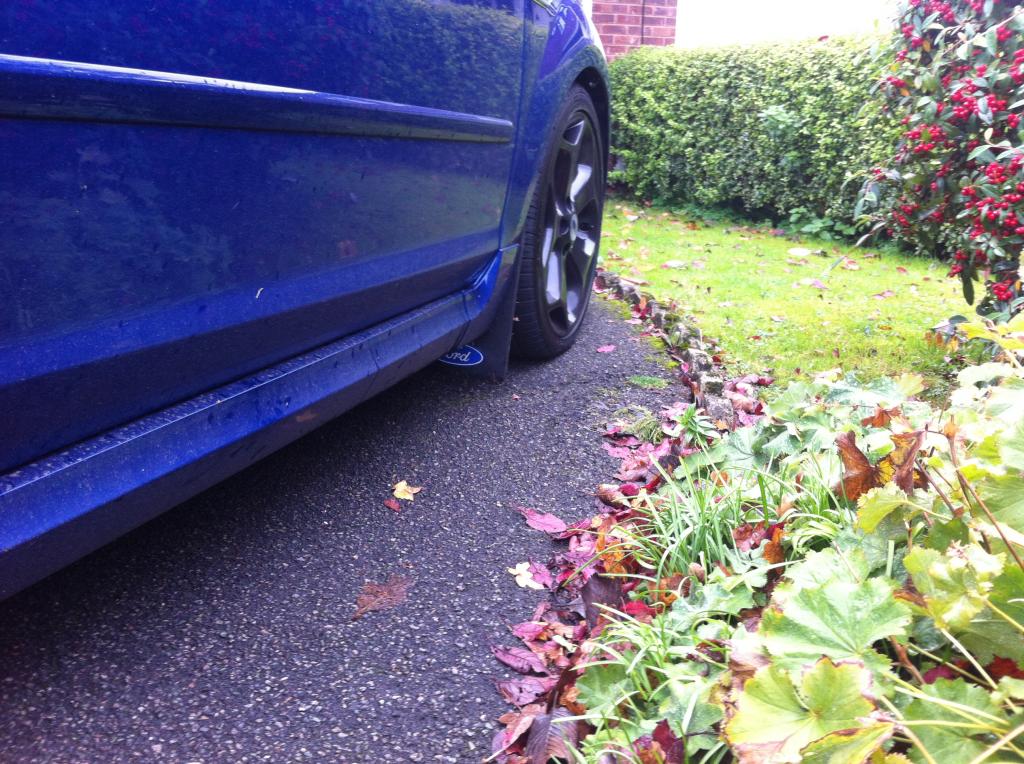
Fitted this little emblem inside, I am quite a fan, only a small touch
Found out my heated drivers seat isn't working so I have got myself a new heating element from ford, surprisingly not to over priced;
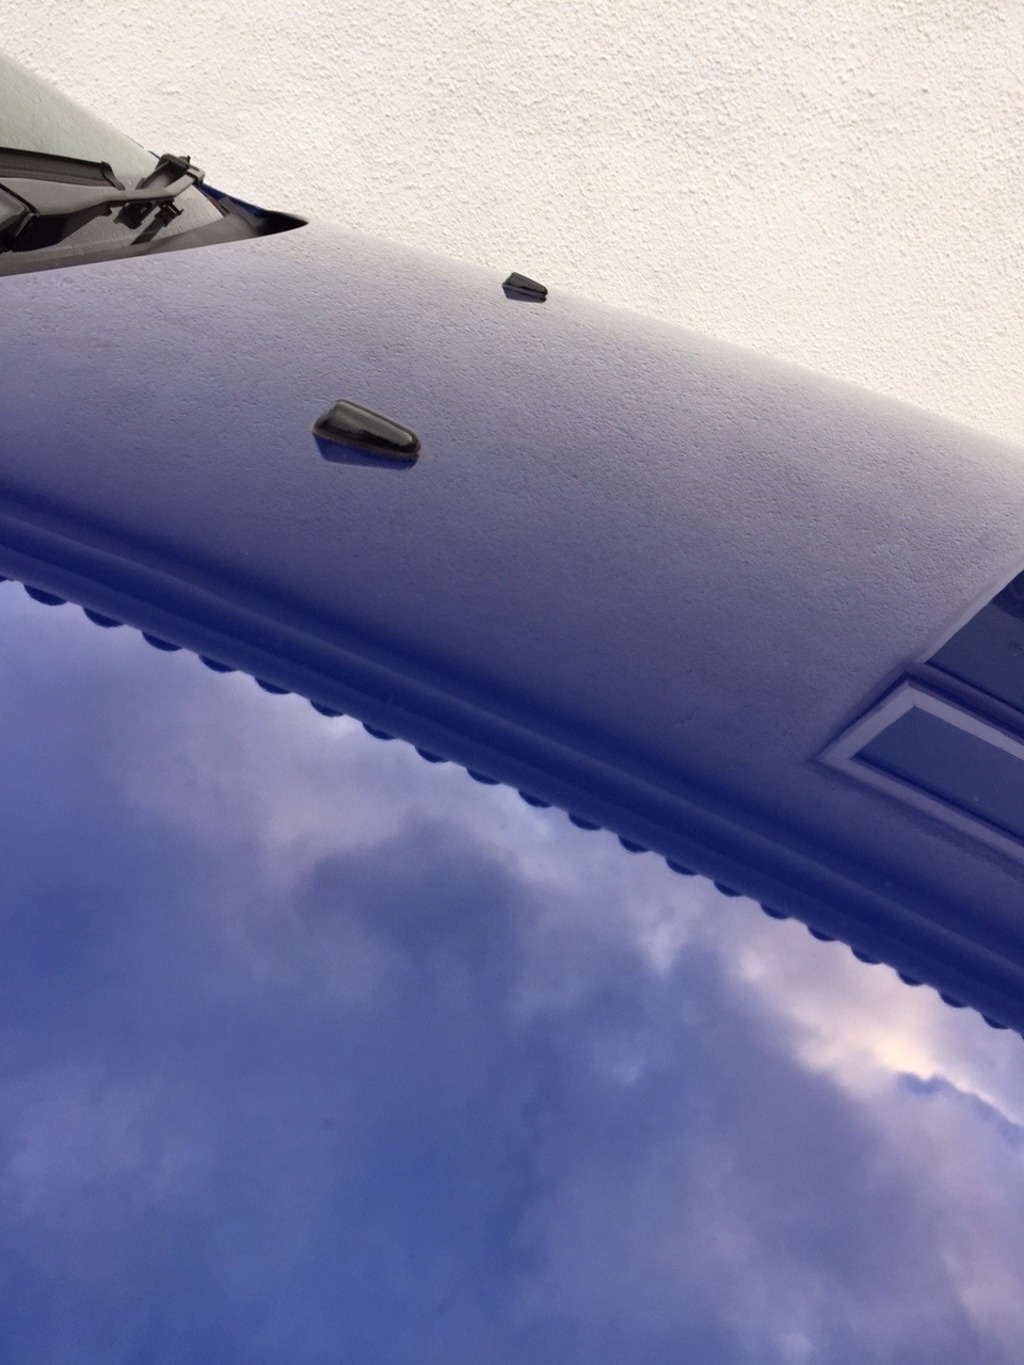
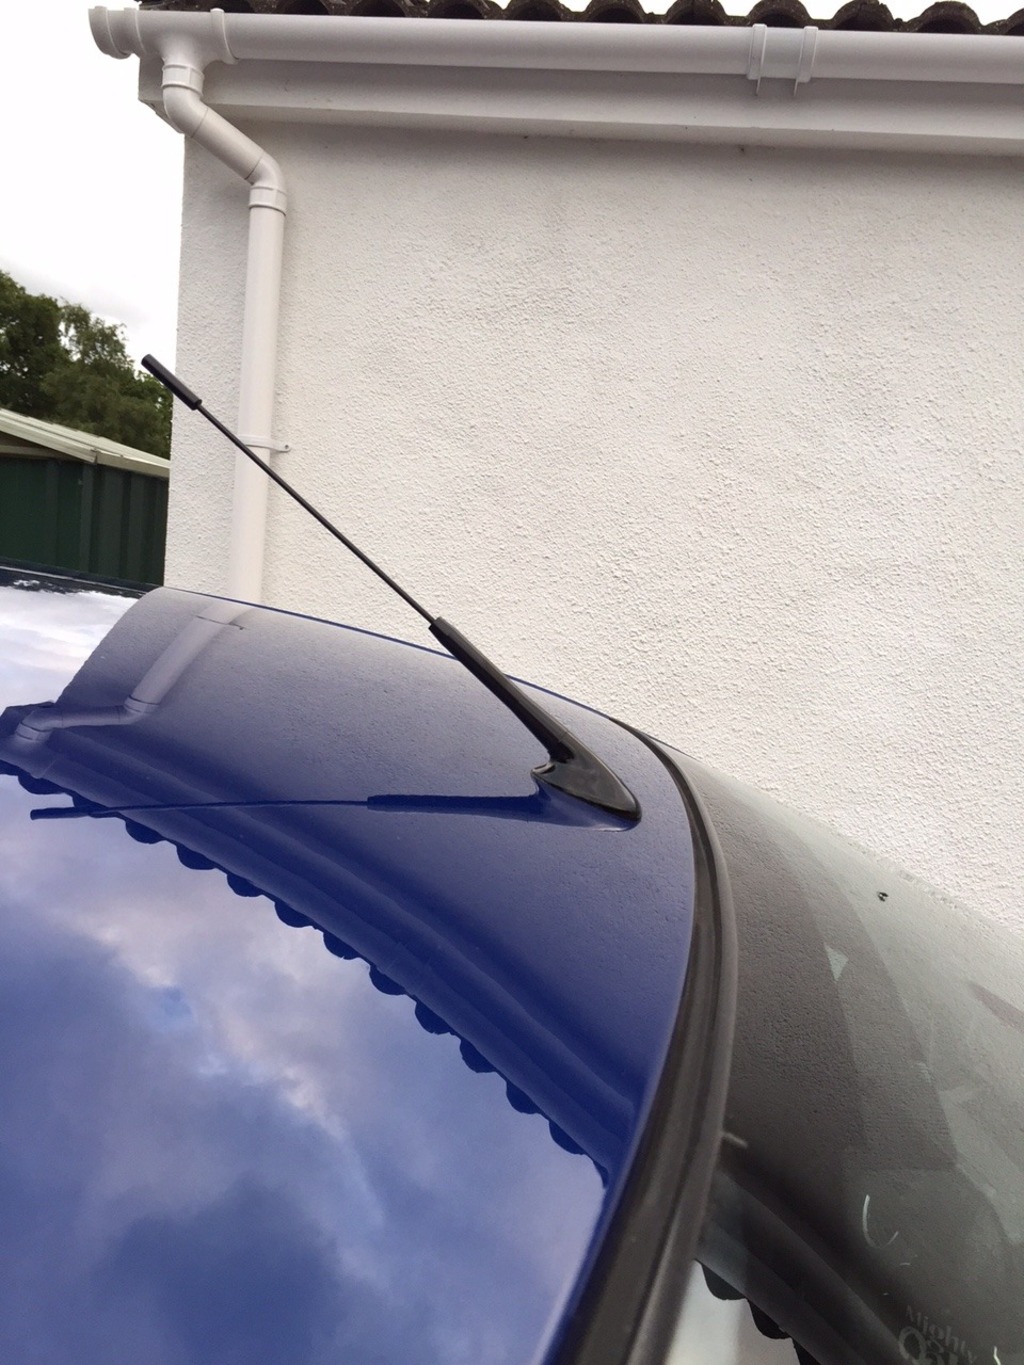
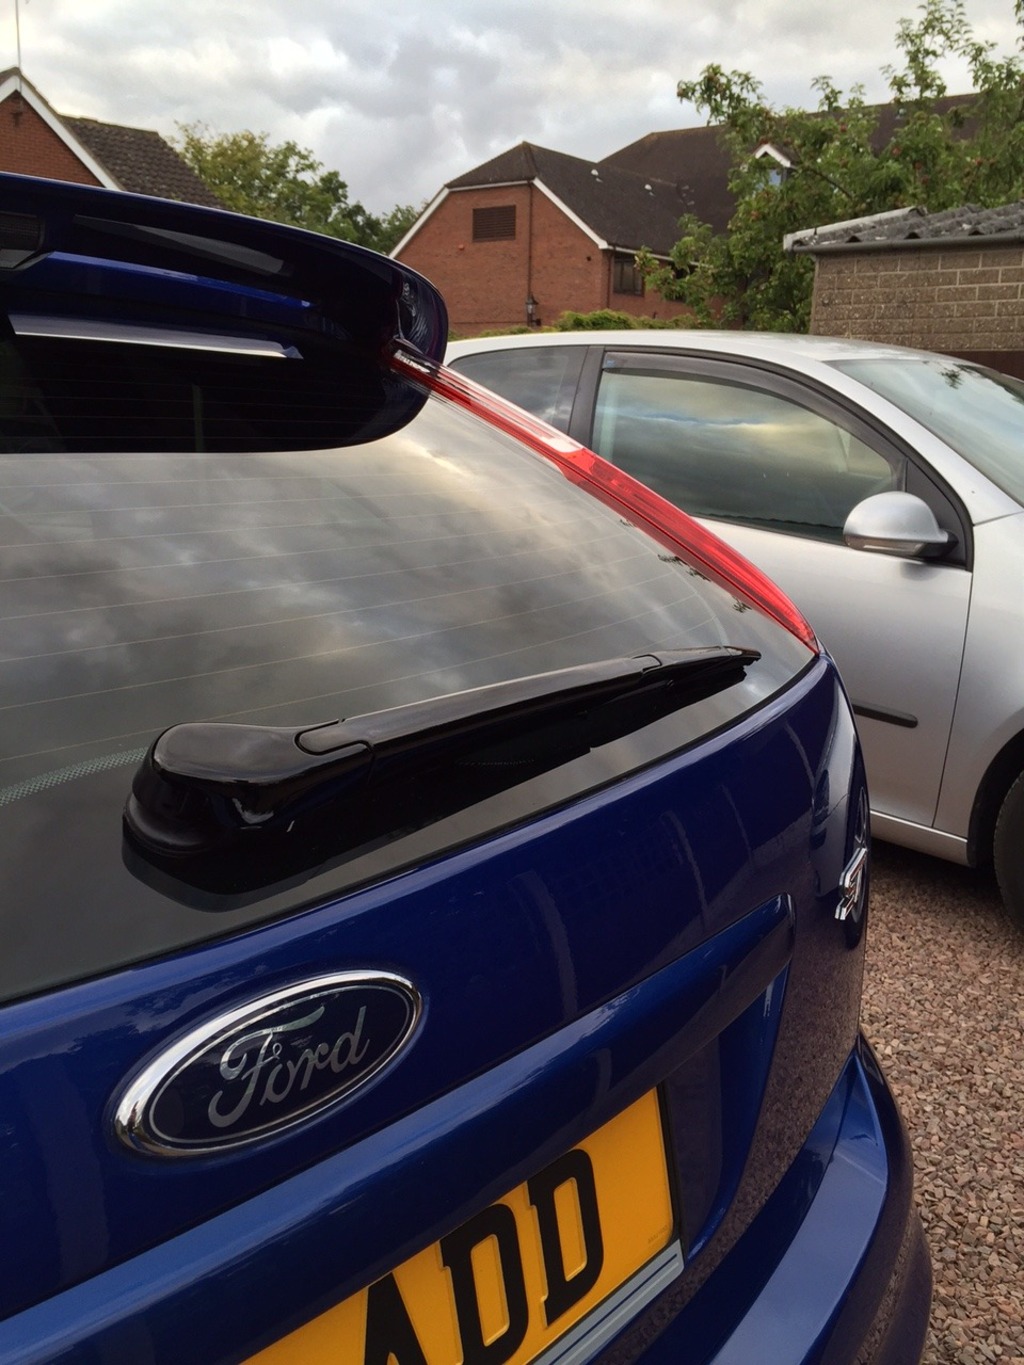
Next up I am going to refit a rear wiper and refit a ST badge on the back.


Fitted this little emblem inside, I am quite a fan, only a small touch

Found out my heated drivers seat isn't working so I have got myself a new heating element from ford, surprisingly not to over priced;

Next up I am going to refit a rear wiper and refit a ST badge on the back.


Trending Topics


Thread Starter
15000
Joined: May 2016
Posts: 39
Likes: 1
From: Birmingham
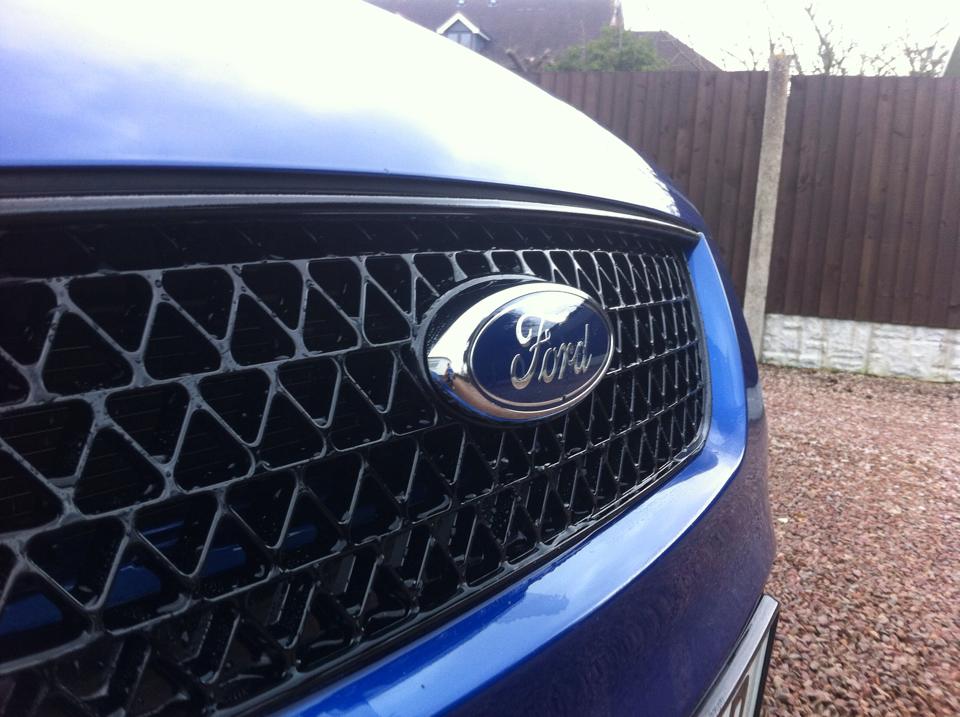
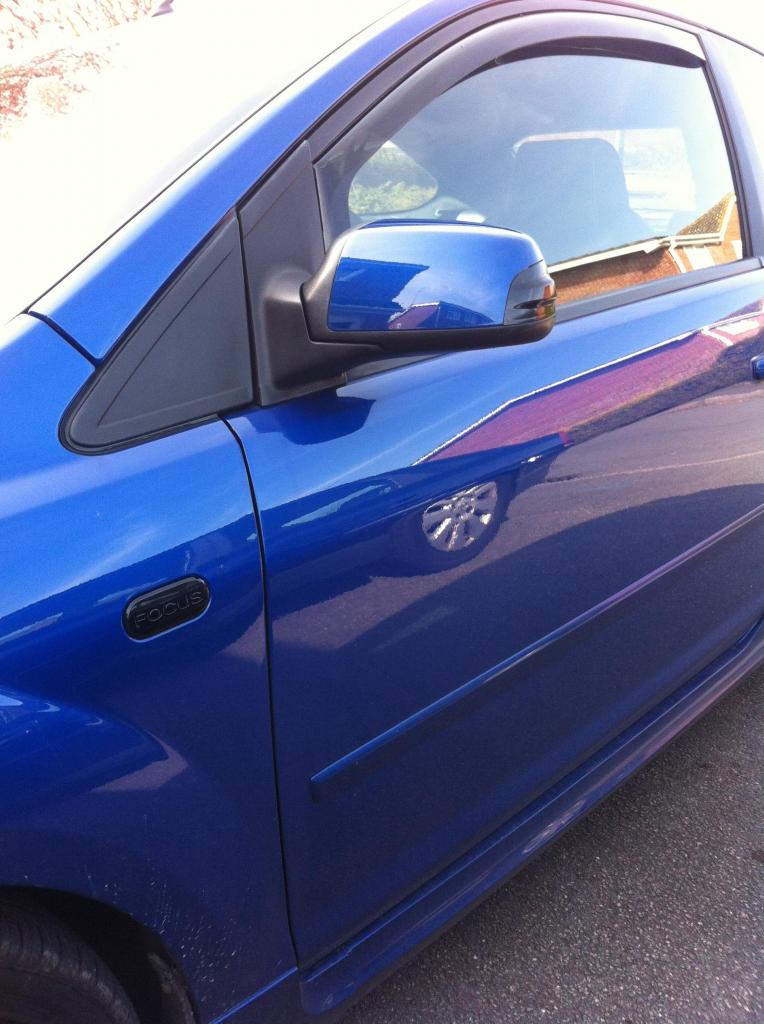
So got the gloss black grills back a few weeks after sending the off to be done!

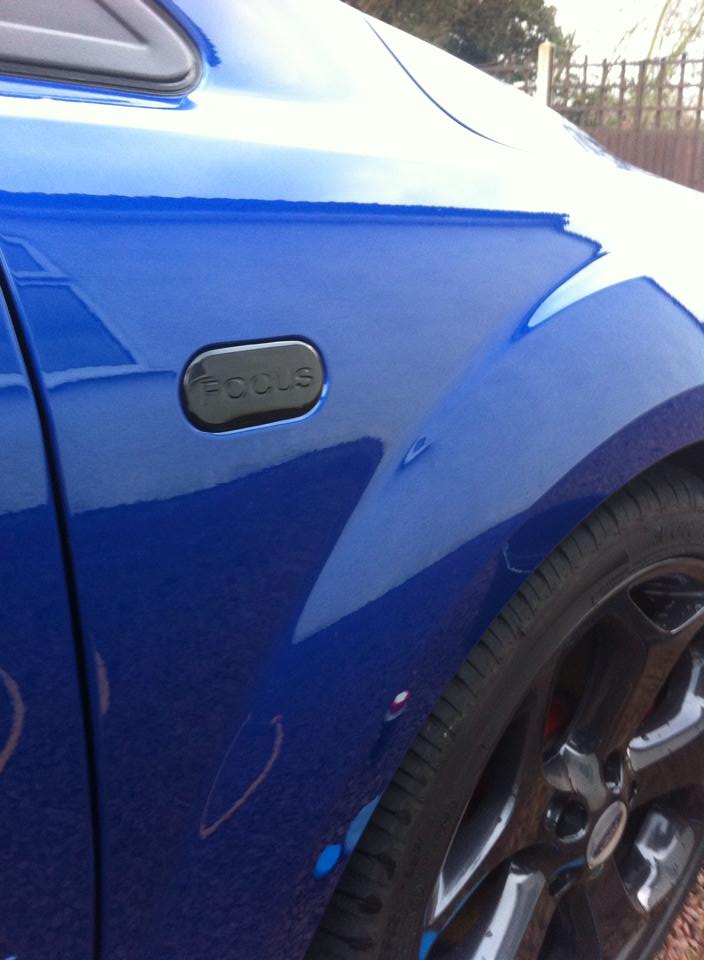
I also swapped the big ST badge on the wing for these, there a lot more subtle as the original is such an after thought from ford!
I also fitted;
New genuine wiper blades all around
New genuine front ford badge
New genuine rear ford badge
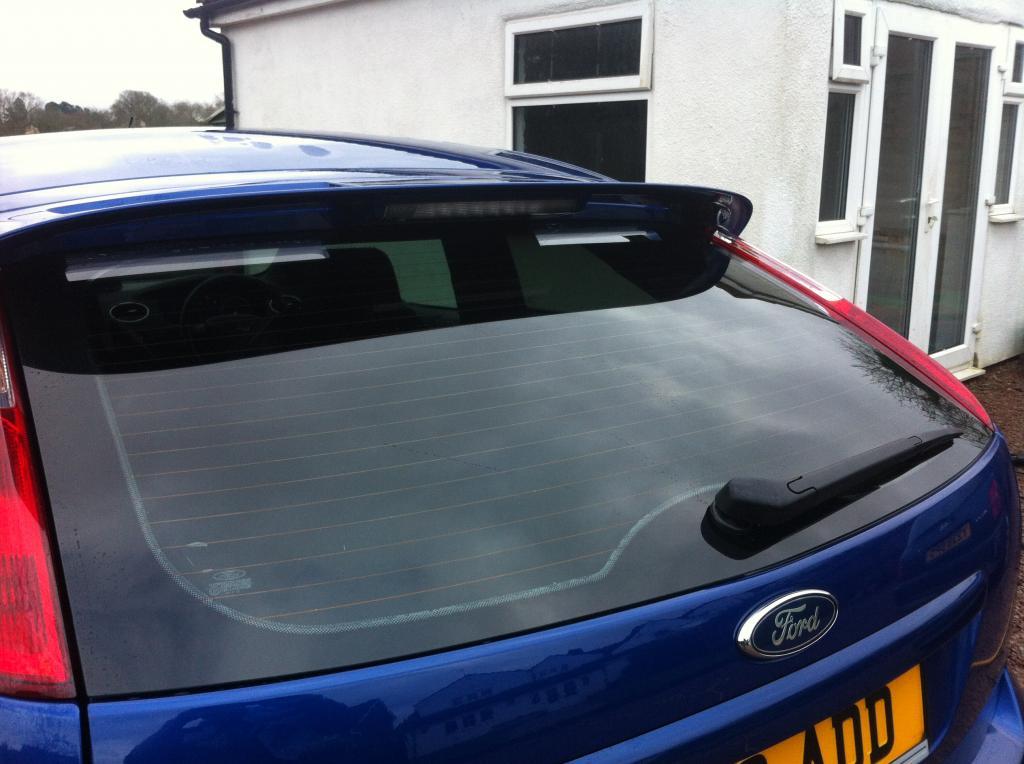
New genuine third brake light smoked
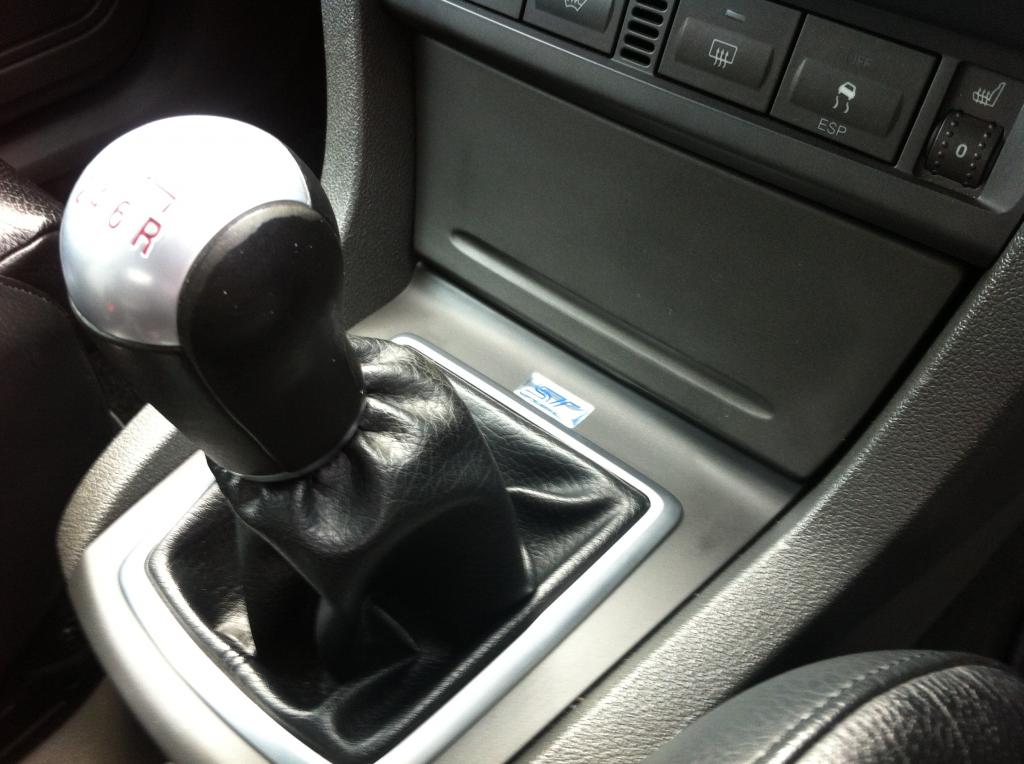
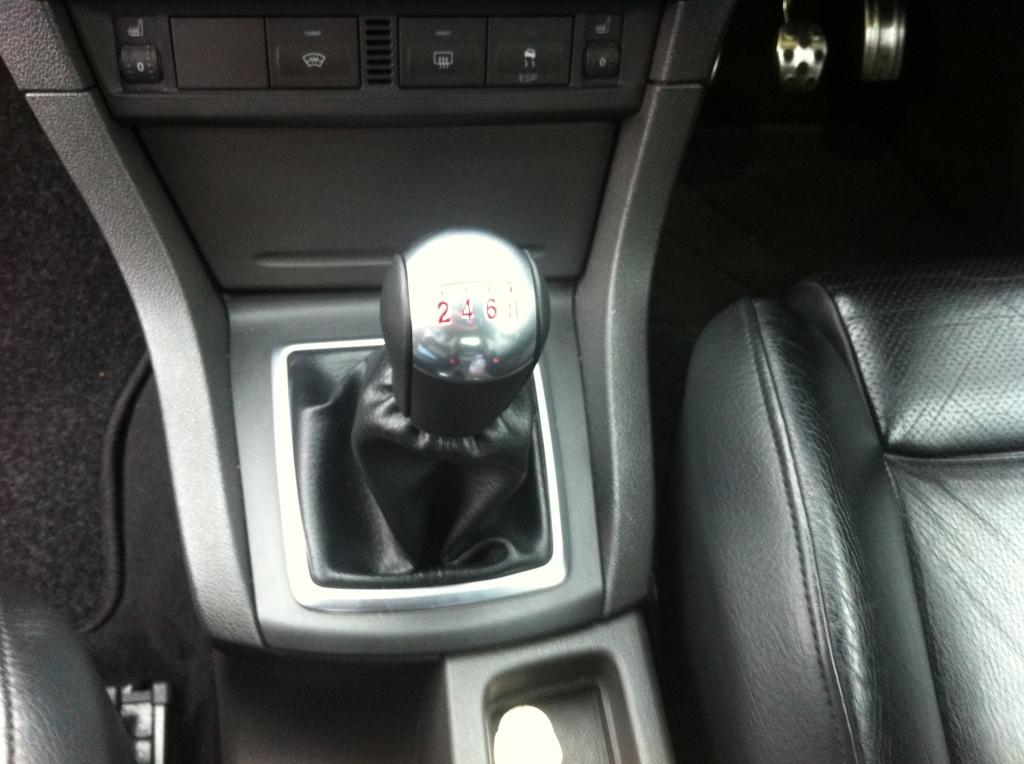
New genuine gear knob


I also swapped the big ST badge on the wing for these, there a lot more subtle as the original is such an after thought from ford!

I also fitted;
New genuine wiper blades all around
New genuine front ford badge
New genuine rear ford badge
New genuine third brake light smoked
New genuine gear knob


Thread Starter
15000
Joined: May 2016
Posts: 39
Likes: 1
From: Birmingham
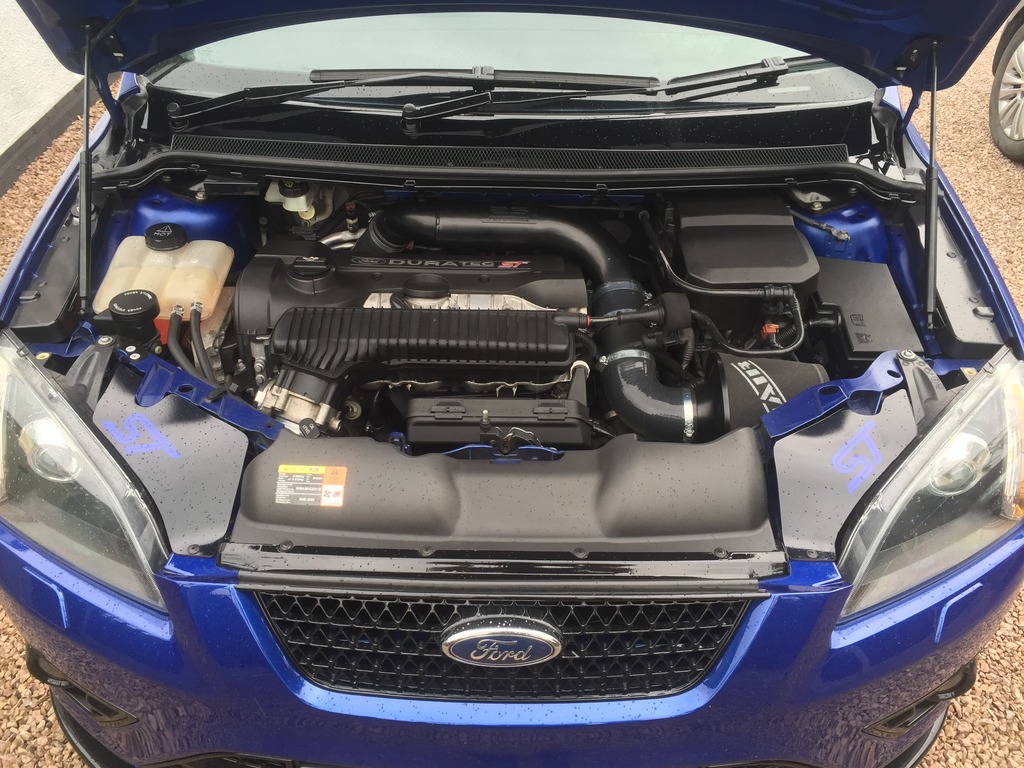
Also gave the bay a bit of a detail/clean up!;

It then got booked in with a local company to have;
- Professionally mopped
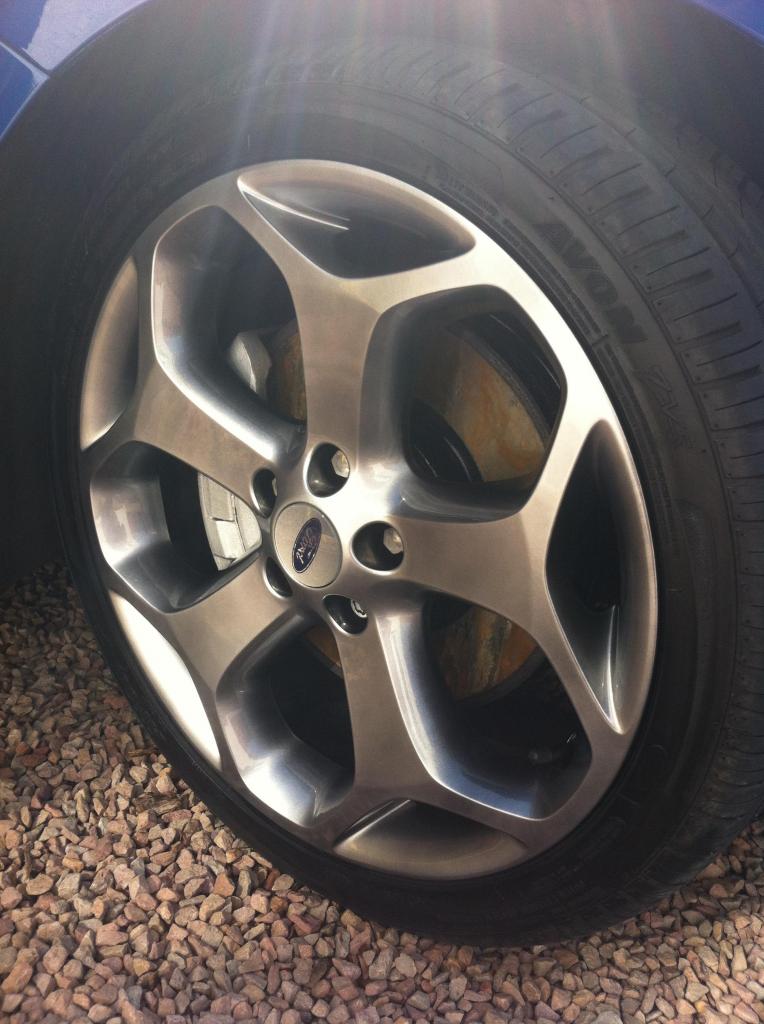
- Wheels refurbed in silver
- New wheel centre caps fitted at the same time
- Tinted side indicators
New splitter will be fitted after this as well.


It then got booked in with a local company to have;
- Professionally mopped
- Wheels refurbed in silver
- New wheel centre caps fitted at the same time
- Tinted side indicators
New splitter will be fitted after this as well.


Thread Starter
15000
Joined: May 2016
Posts: 39
Likes: 1
From: Birmingham
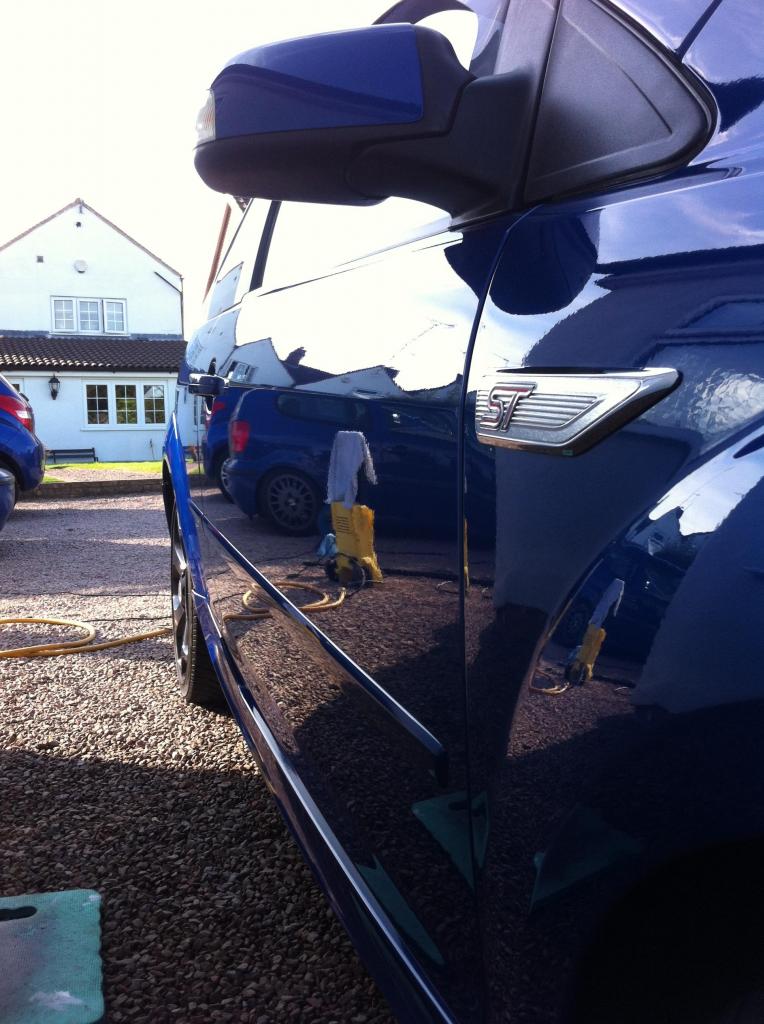
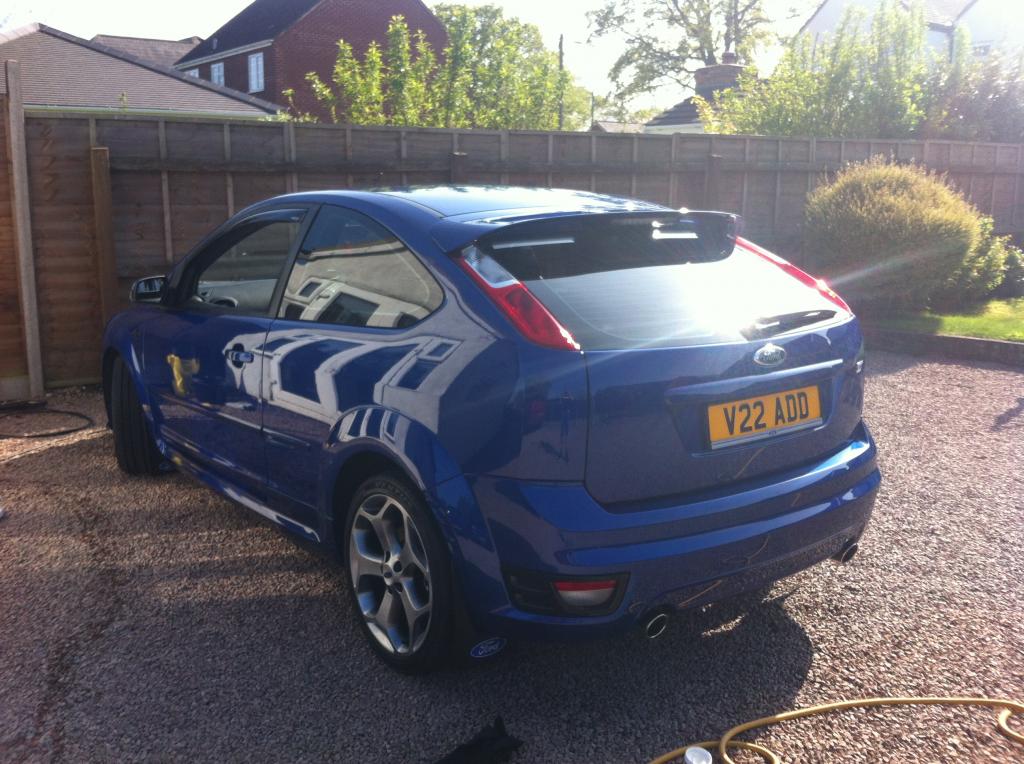
So got the car back from Midlands Car Care and what a difference!
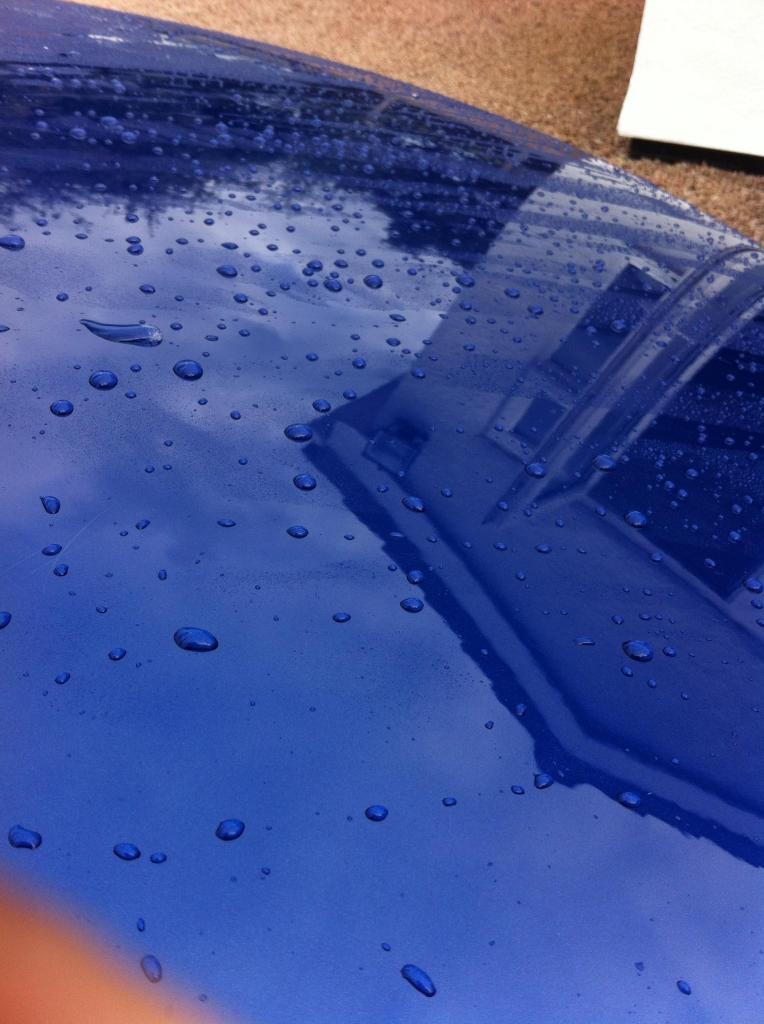
-Had the paint mopped, Glass has Gtechnic and the Paint has 2 coats of Swissvax Crystal Rock on too!
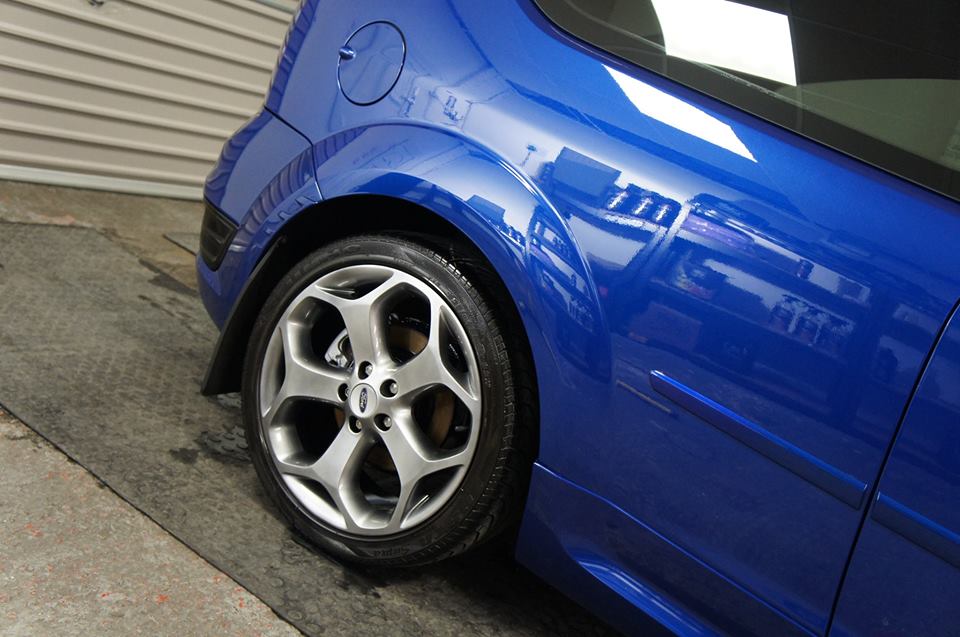
-Wheels done in smoked chrome
-Calipers from red to silver
-Few other bits and bobs too!
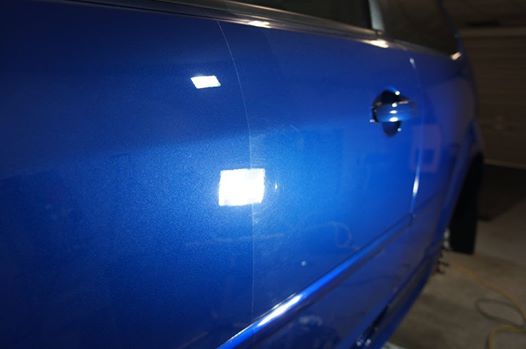
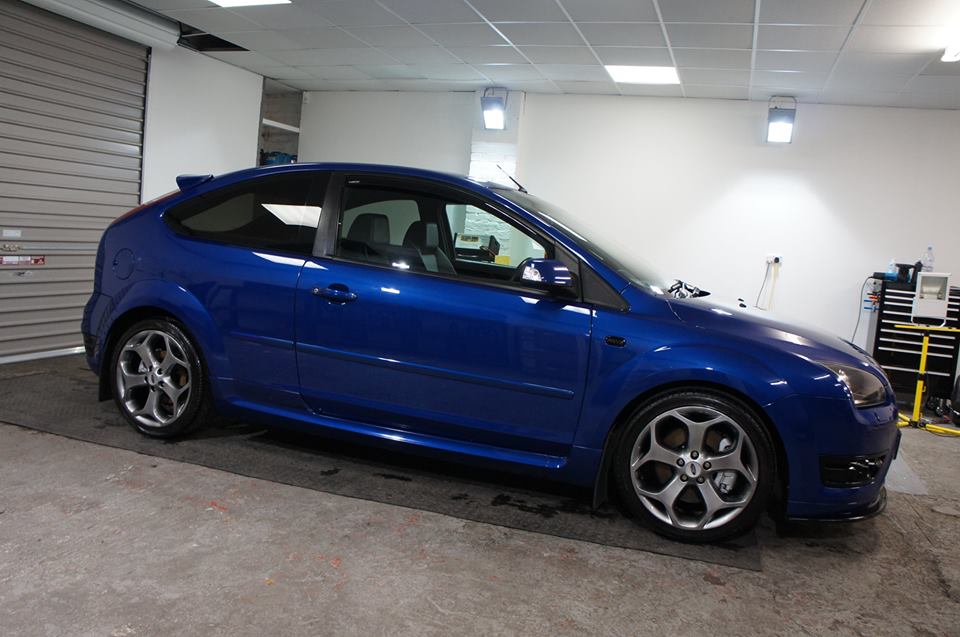
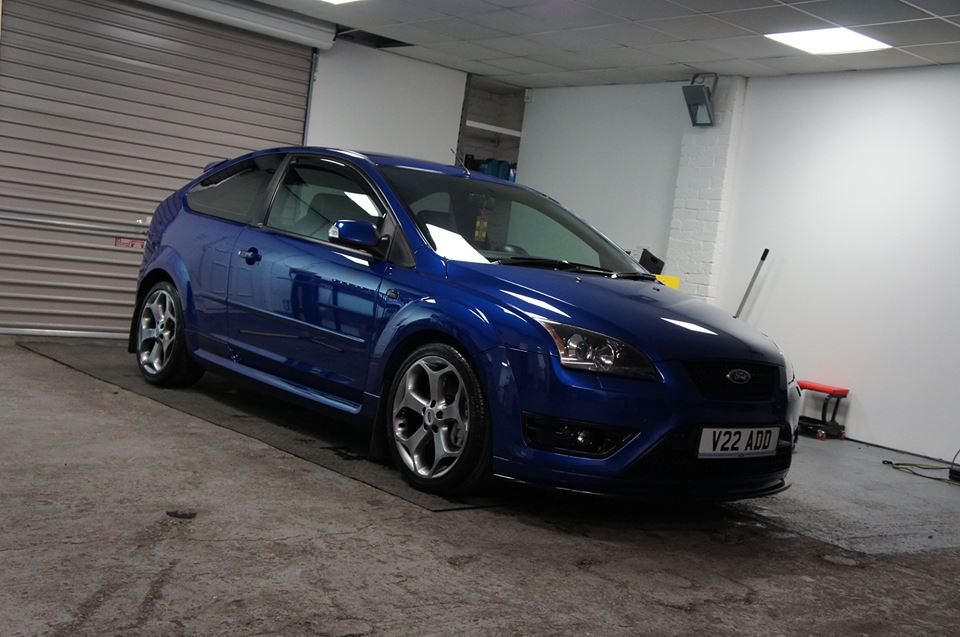
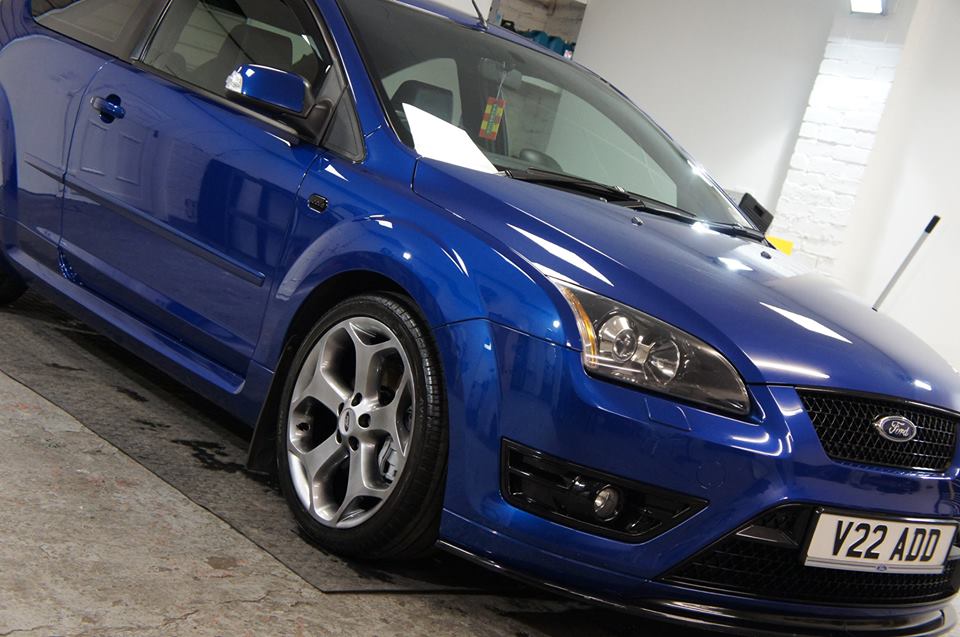
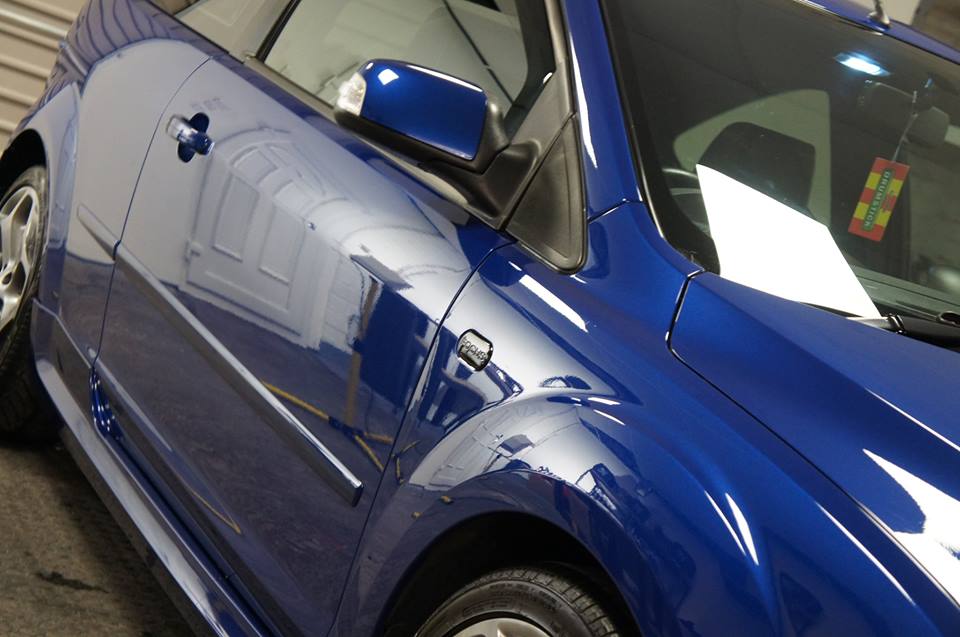
-Had the paint mopped, Glass has Gtechnic and the Paint has 2 coats of Swissvax Crystal Rock on too!
-Wheels done in smoked chrome
-Calipers from red to silver
-Few other bits and bobs too!


Thread Starter
15000
Joined: May 2016
Posts: 39
Likes: 1
From: Birmingham
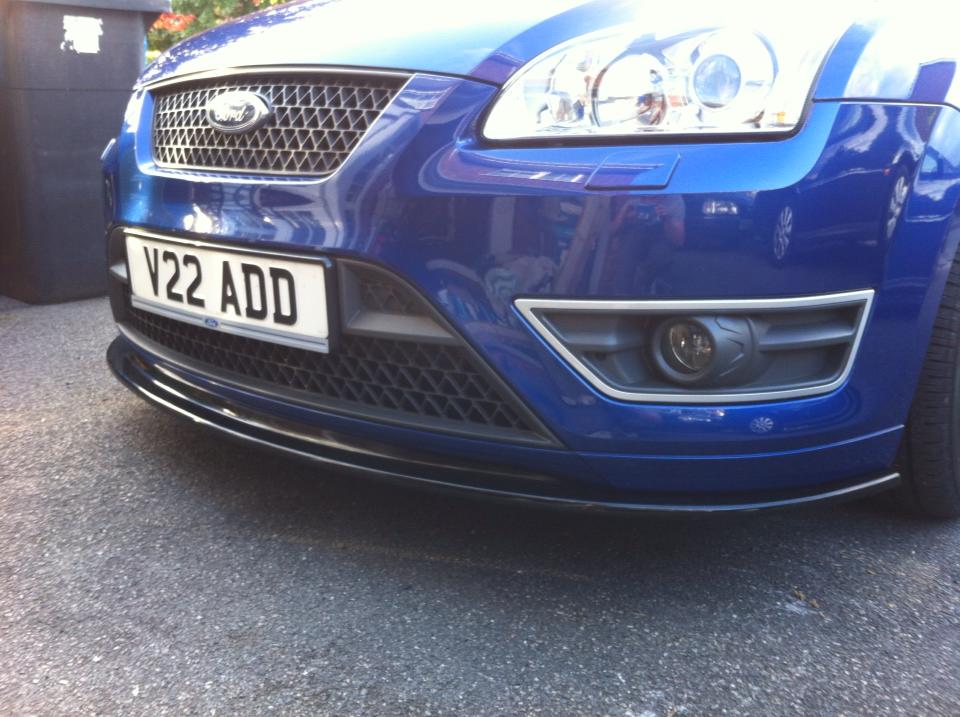
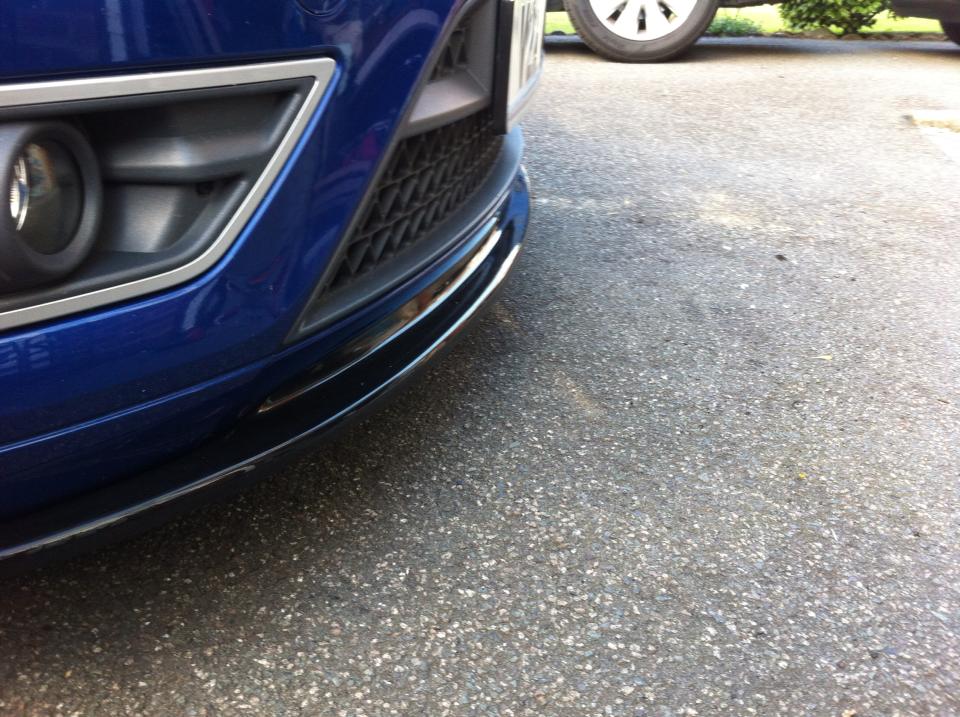
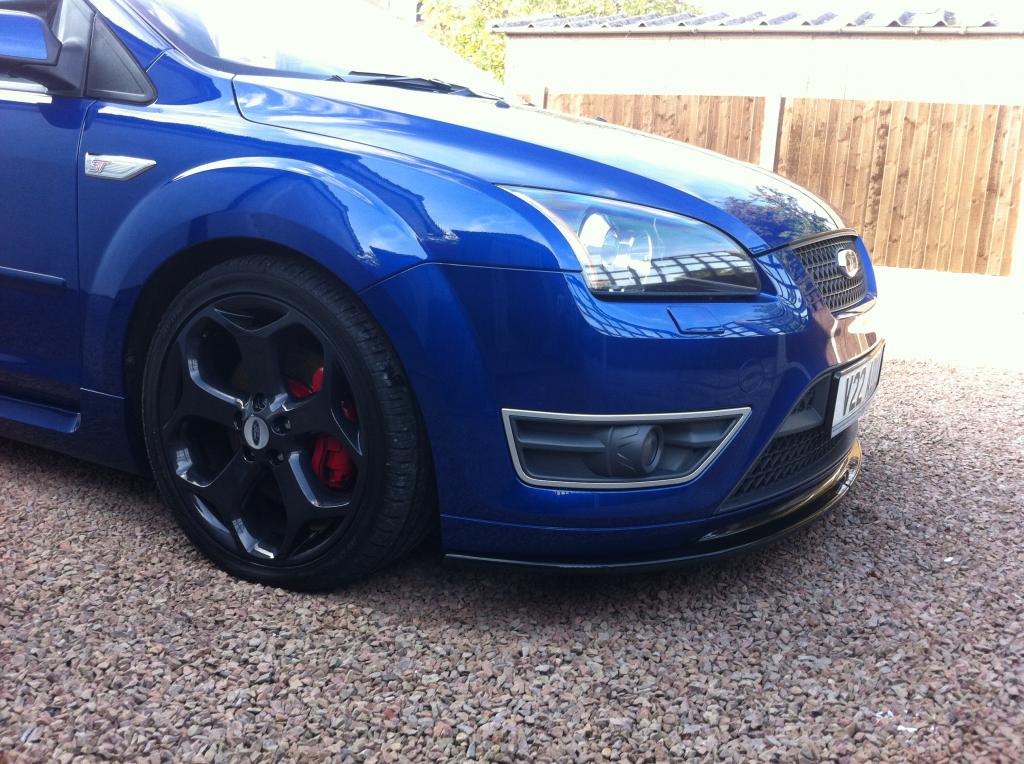
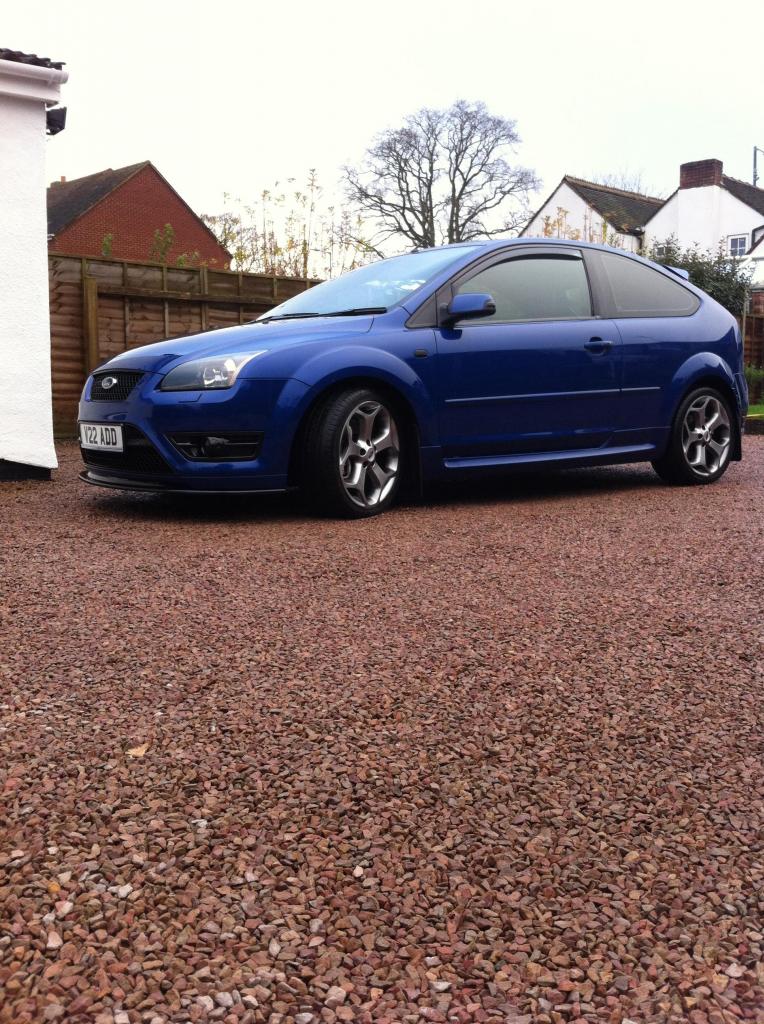
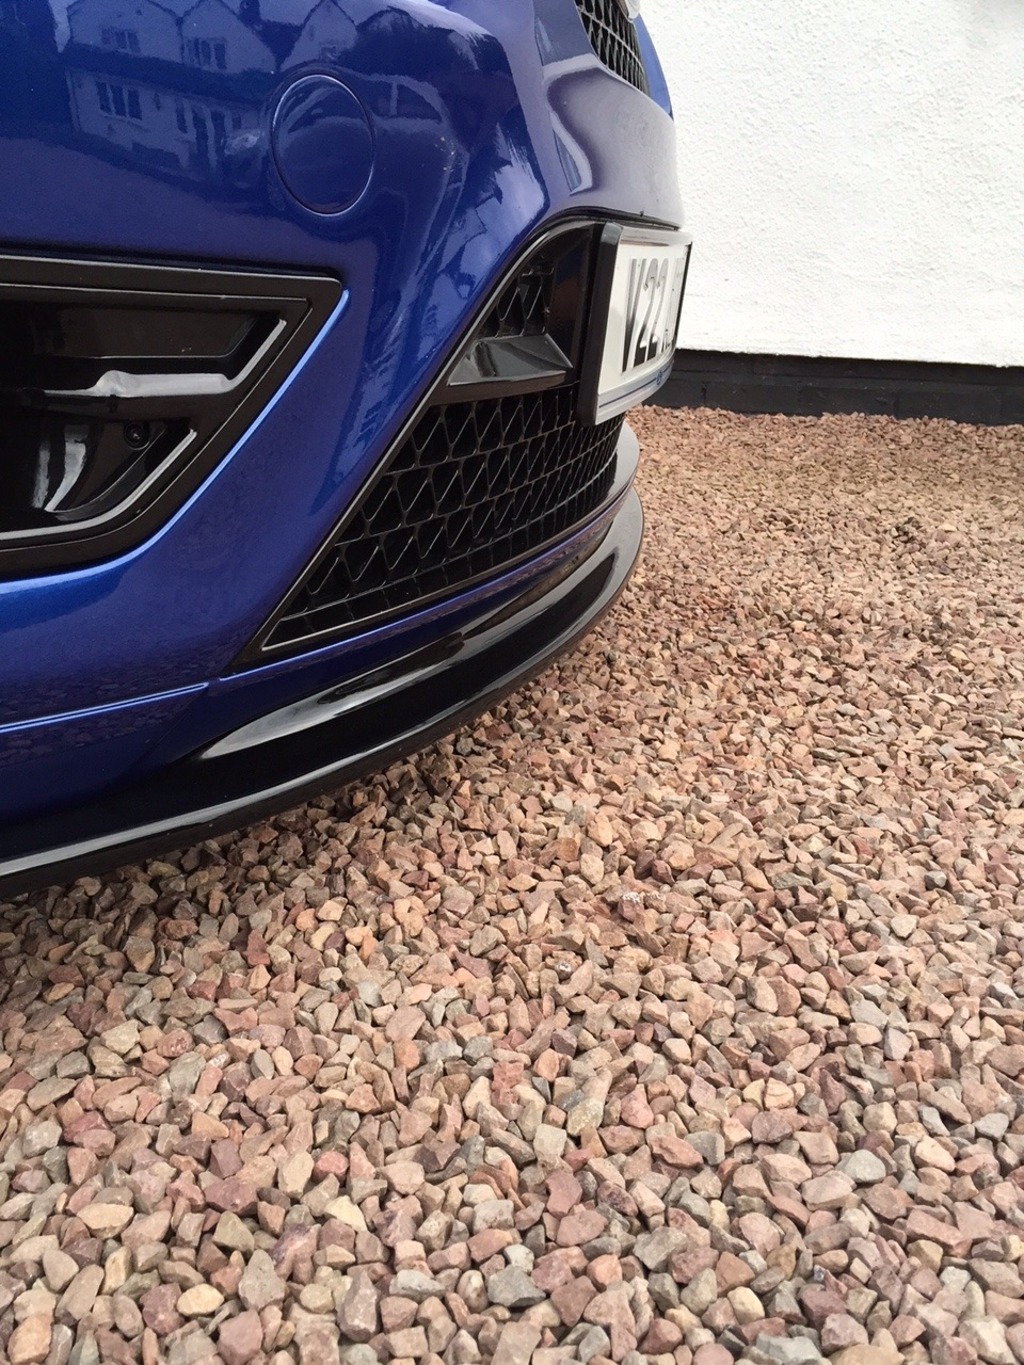
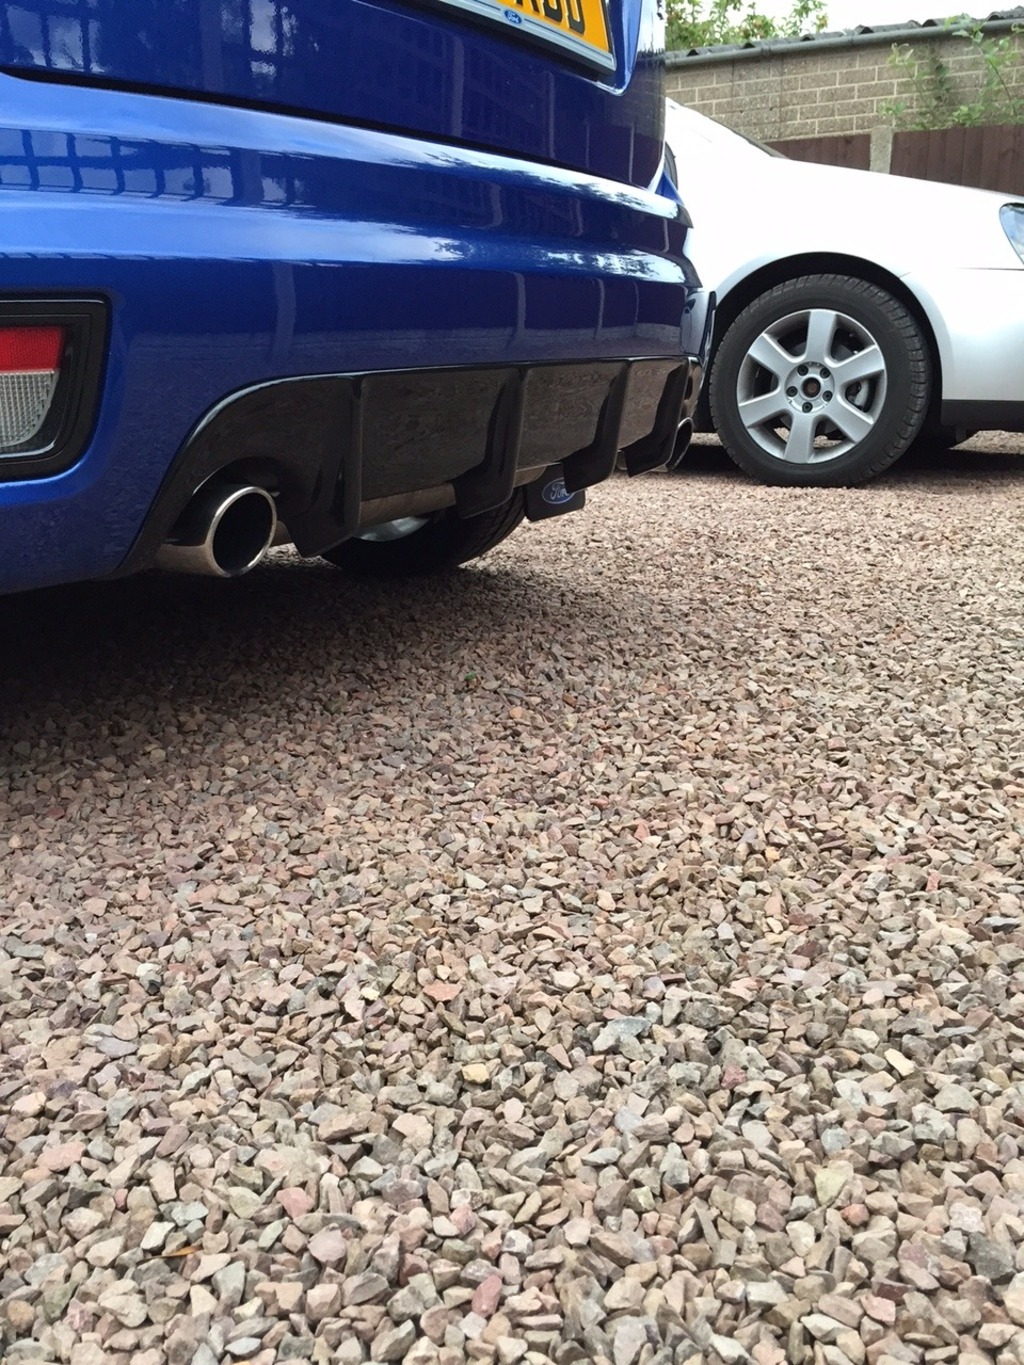
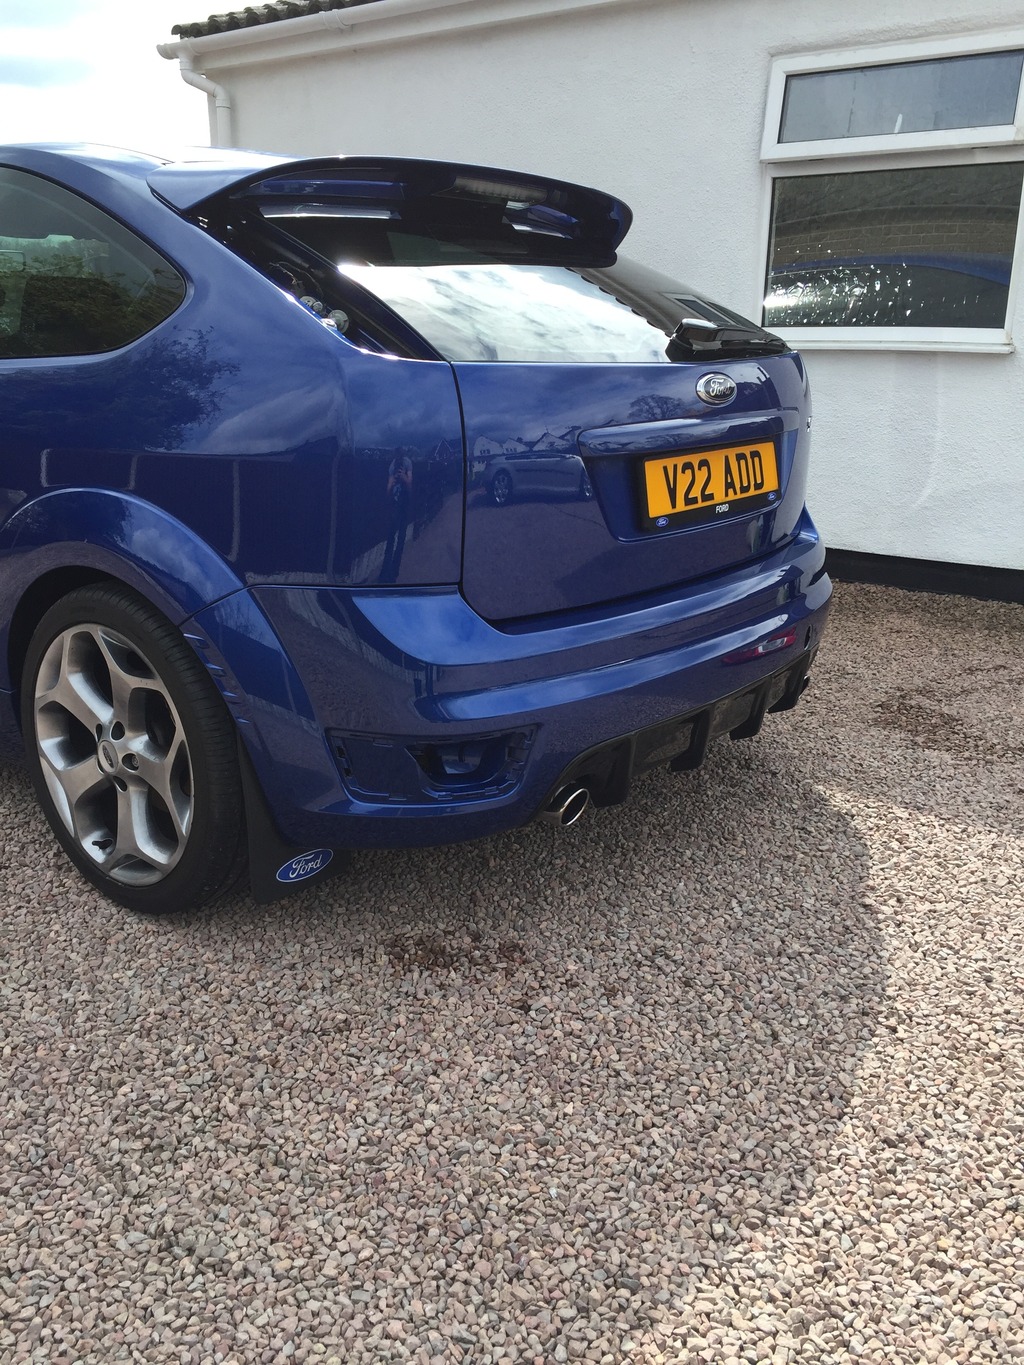
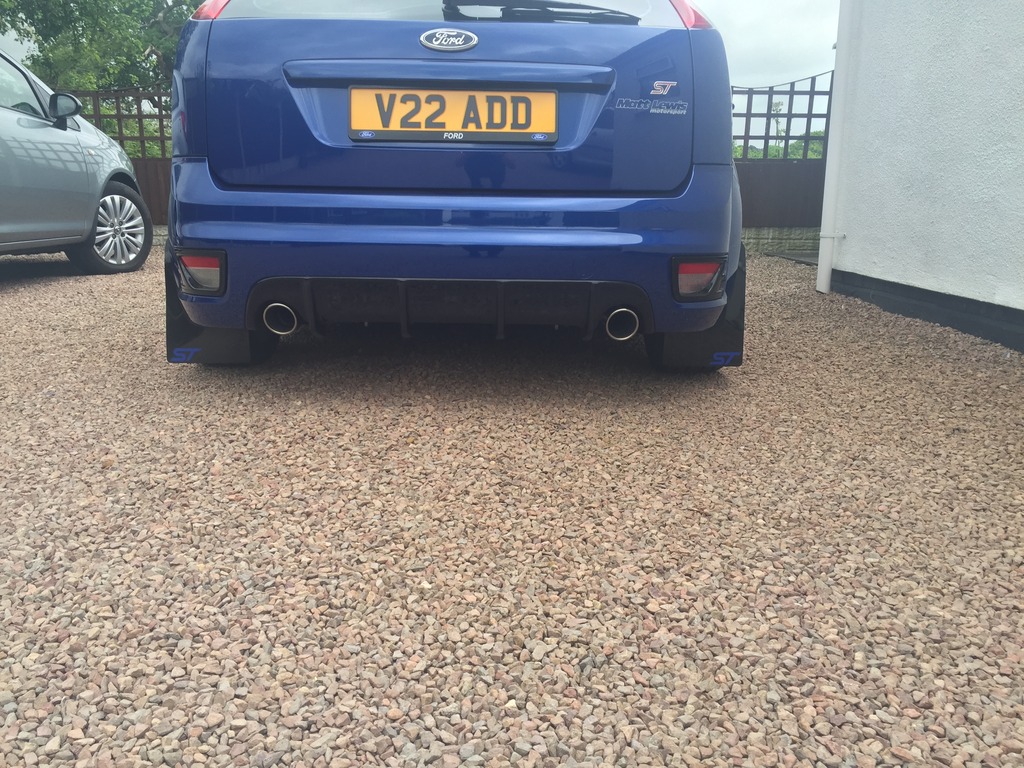
Fitted the new splitter finally, massive difference!
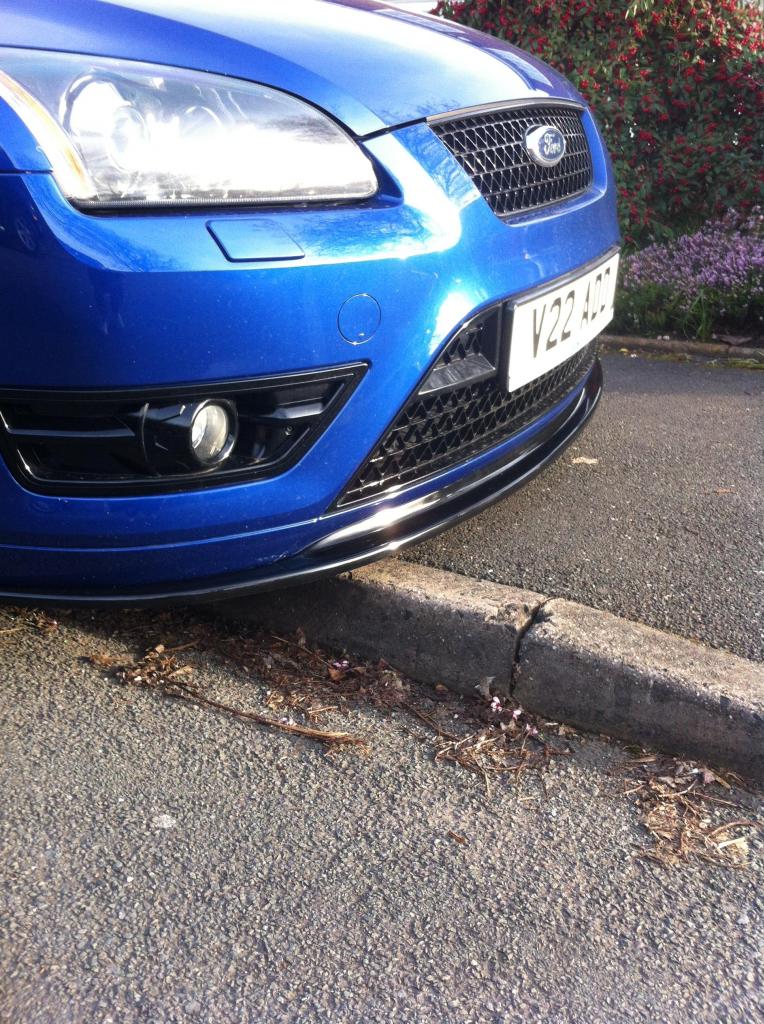
Also tinted the front fog lights, a lot "meaner" looking now from the front;
Tinted the side indicators too while I was doing the fogs, now all fits in nicely I think,
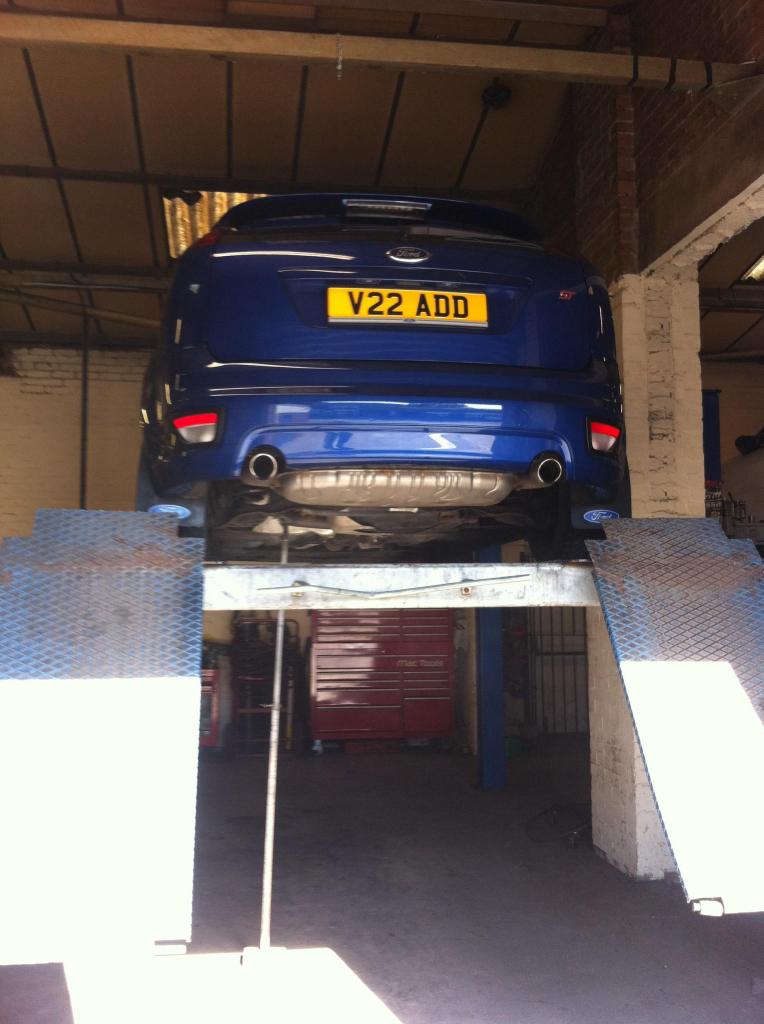
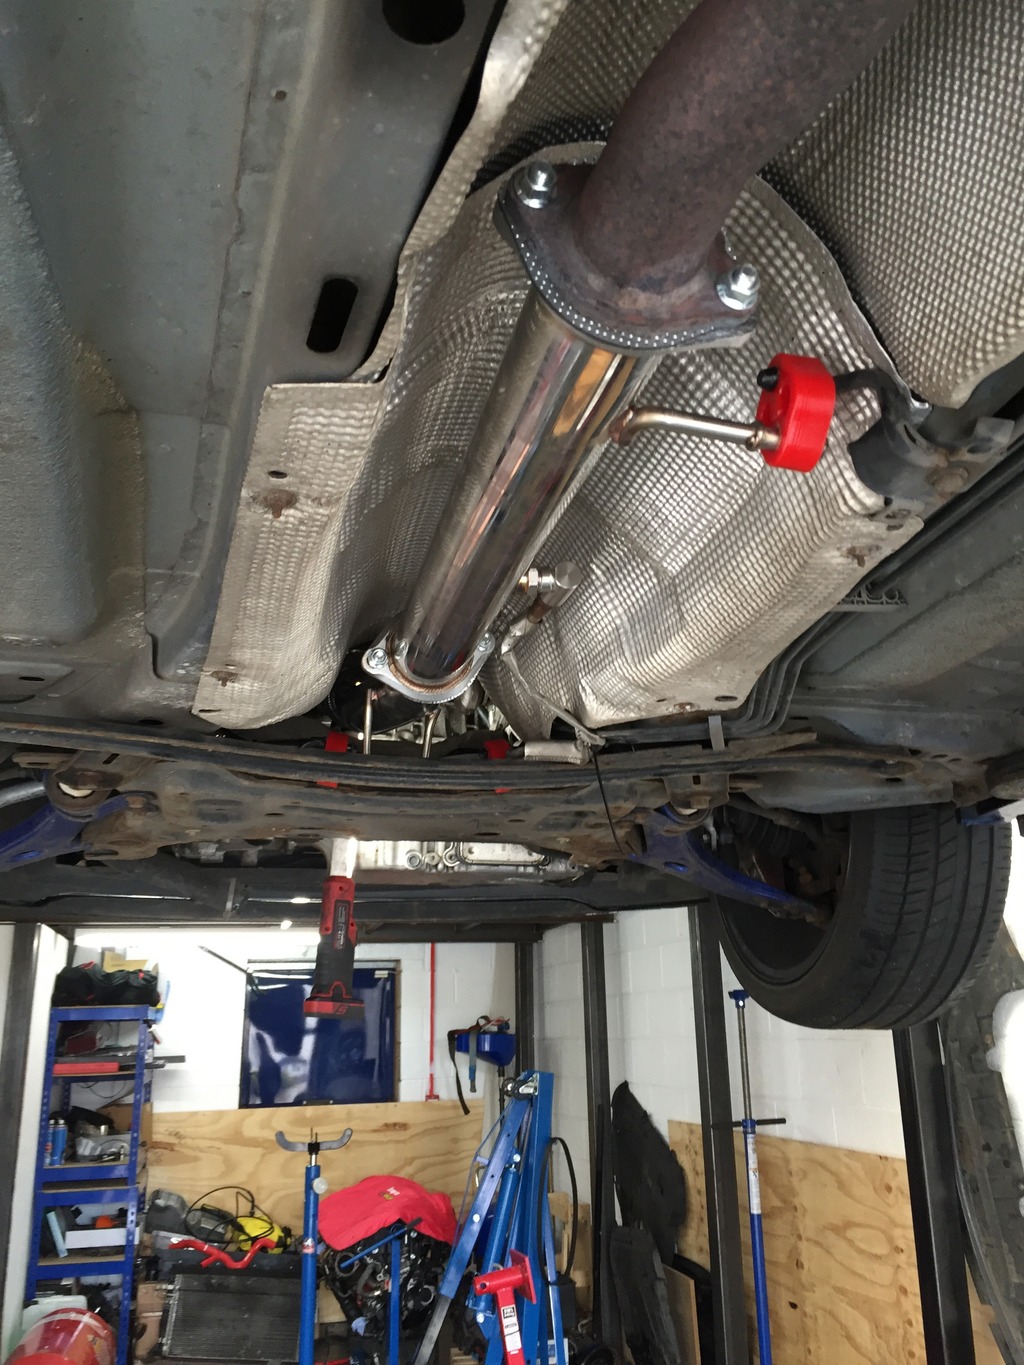
Also a cheeky little mod of having the middle exhaust silencer removed and a stainless piece welded in its place, nice bit of noise when you want it and no droning!

Also tinted the front fog lights, a lot "meaner" looking now from the front;

Tinted the side indicators too while I was doing the fogs, now all fits in nicely I think,

Also a cheeky little mod of having the middle exhaust silencer removed and a stainless piece welded in its place, nice bit of noise when you want it and no droning!

Thread Starter
15000
Joined: May 2016
Posts: 39
Likes: 1
From: Birmingham
Few more pictures of the first clean after getting it back from been detailed, my wash method is safe so I have managed to keep it swirl free!
Also a few little modifications and a service as well while I was at it!
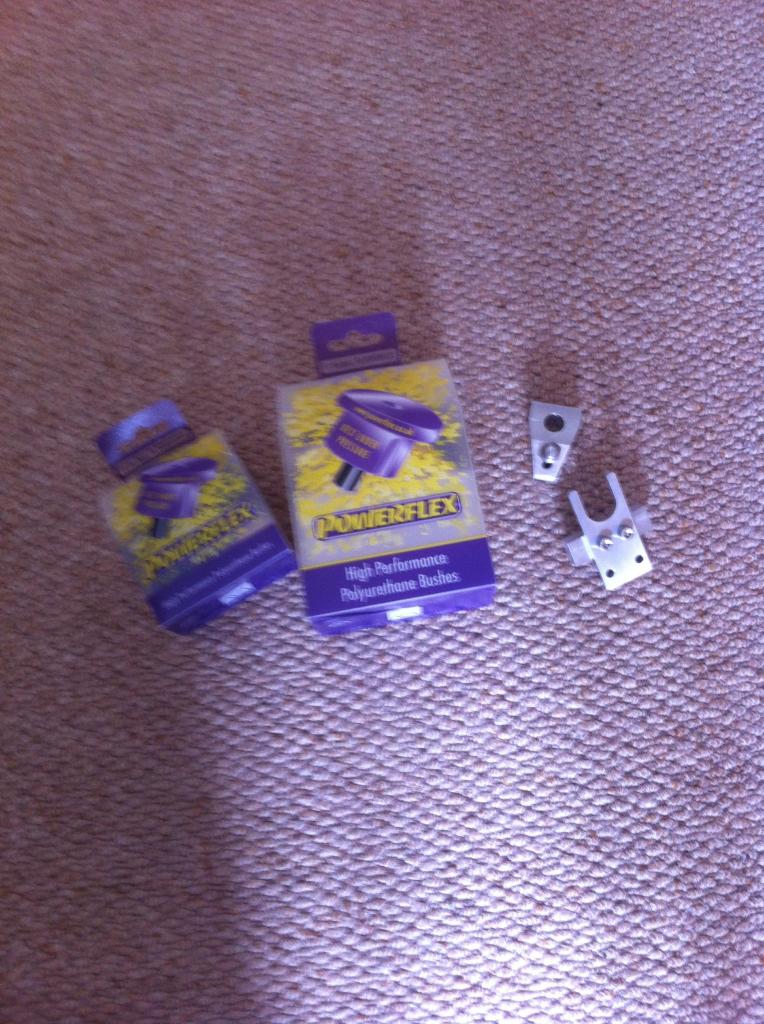
Polybushes for the torque mount a short shifter kit!
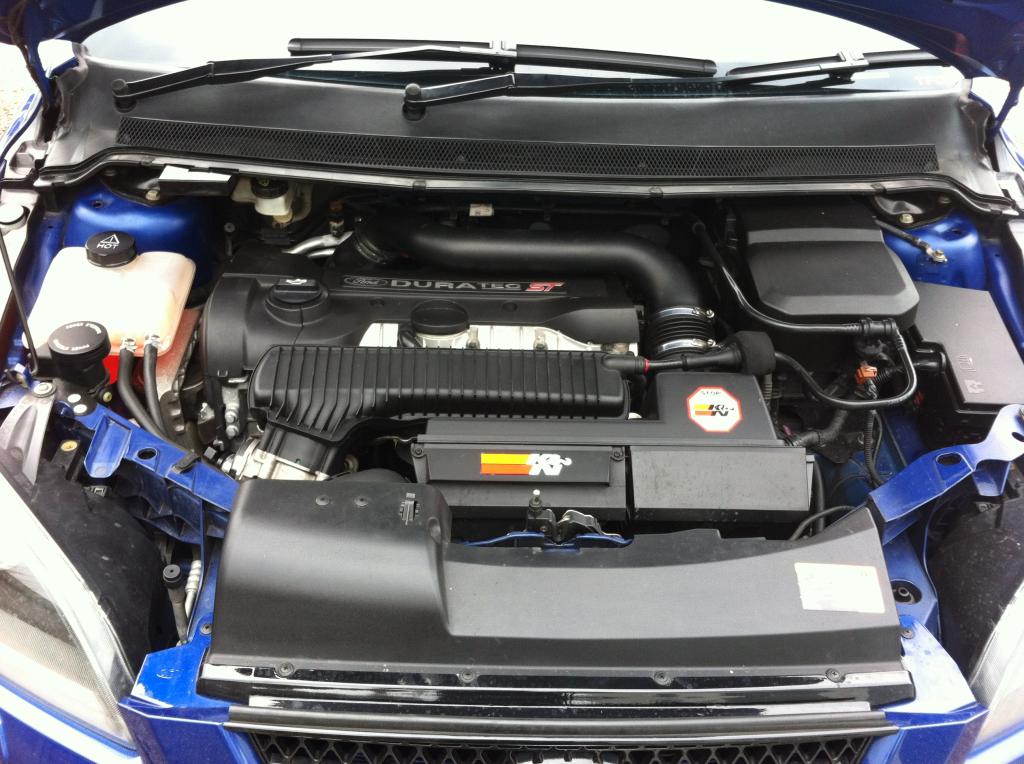
K&N panel filter;
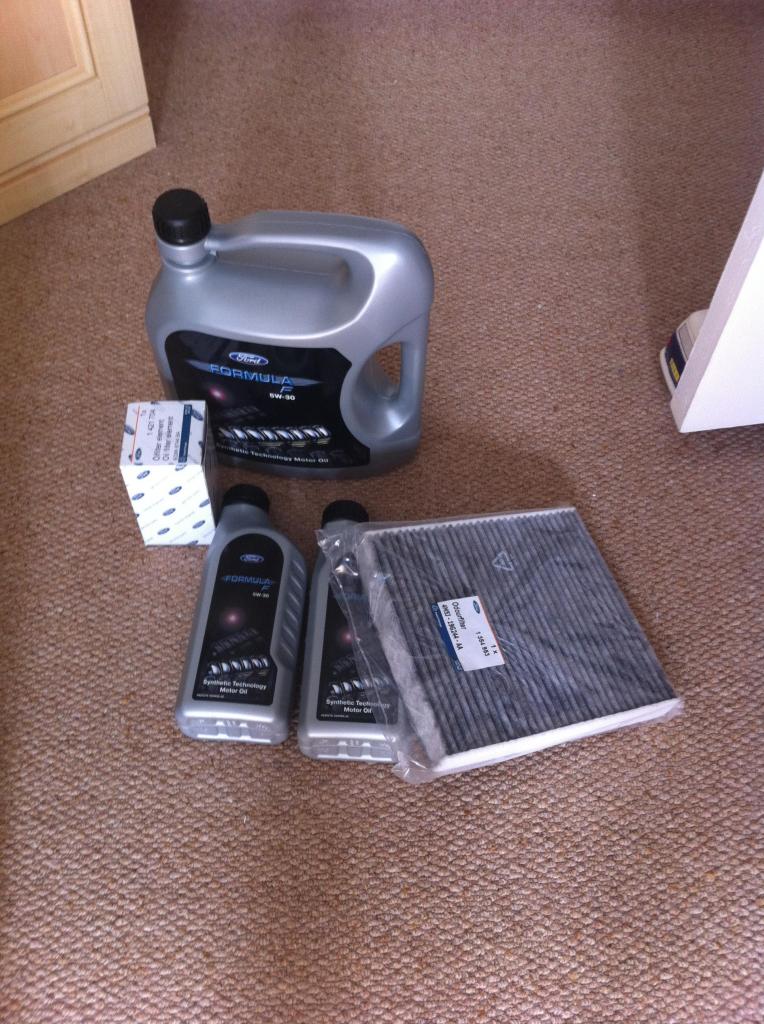
Did the oil, oil filter, spark plugs, pollen filter, air filter and put DOT 5.1 fluid in for the brakes


Also a few little modifications and a service as well while I was at it!
Polybushes for the torque mount a short shifter kit!

K&N panel filter;

Did the oil, oil filter, spark plugs, pollen filter, air filter and put DOT 5.1 fluid in for the brakes

Thread Starter
15000
Joined: May 2016
Posts: 39
Likes: 1
From: Birmingham
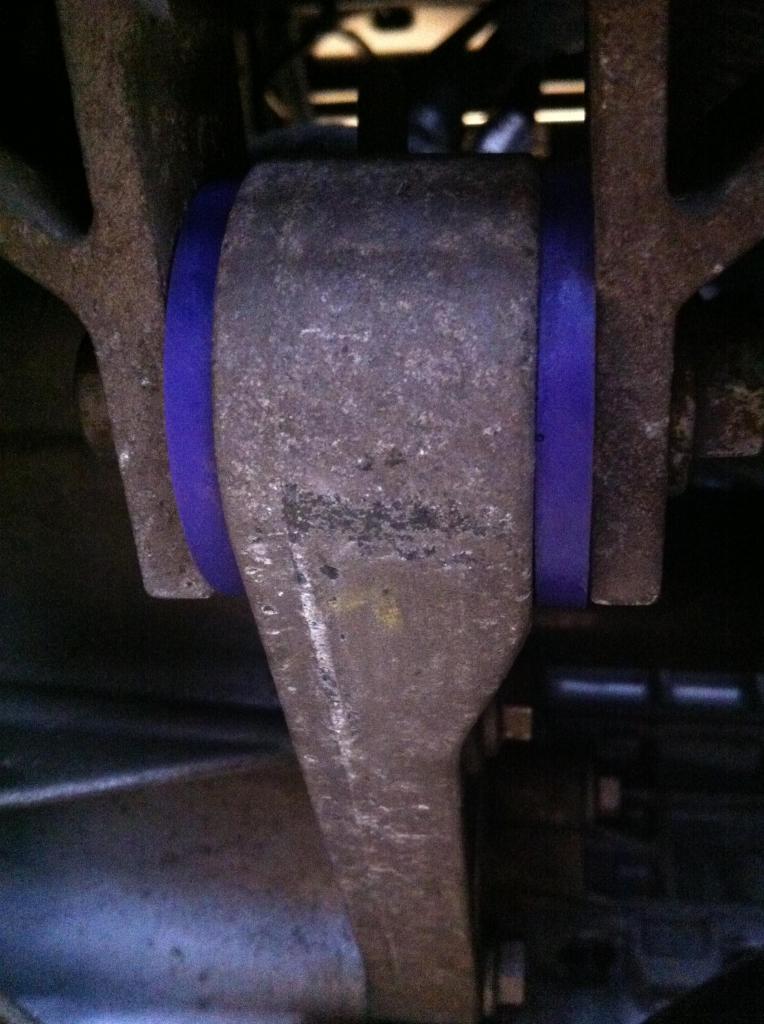
And the bushes fitted! Massive difference when combined with the short shifter.
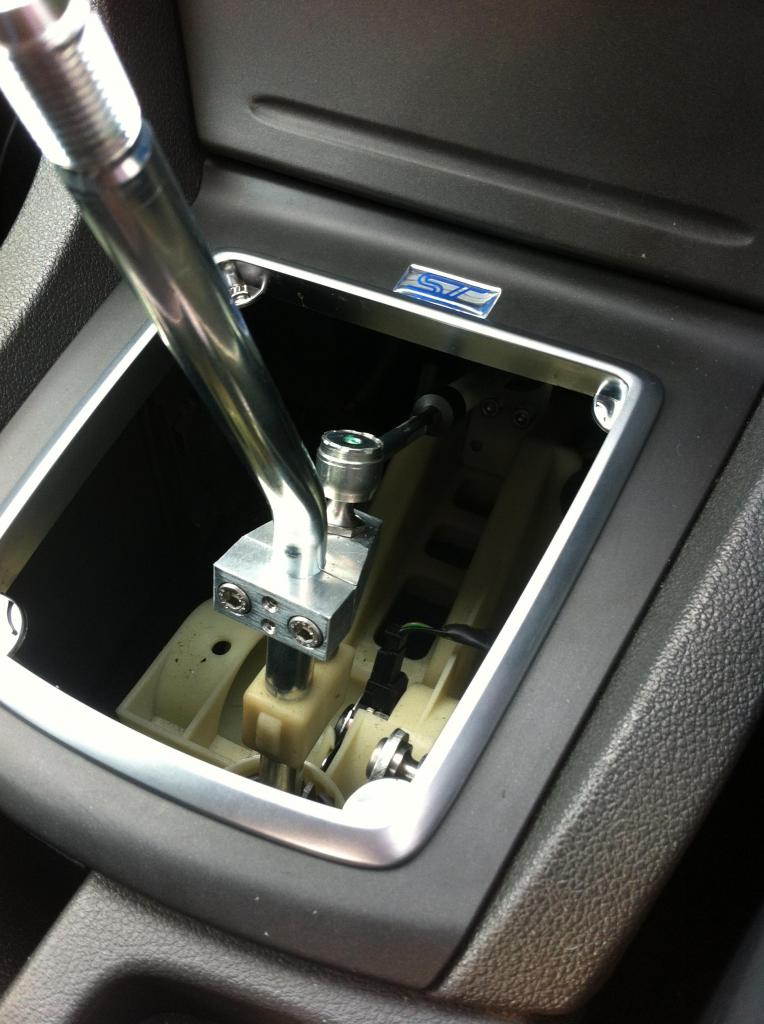
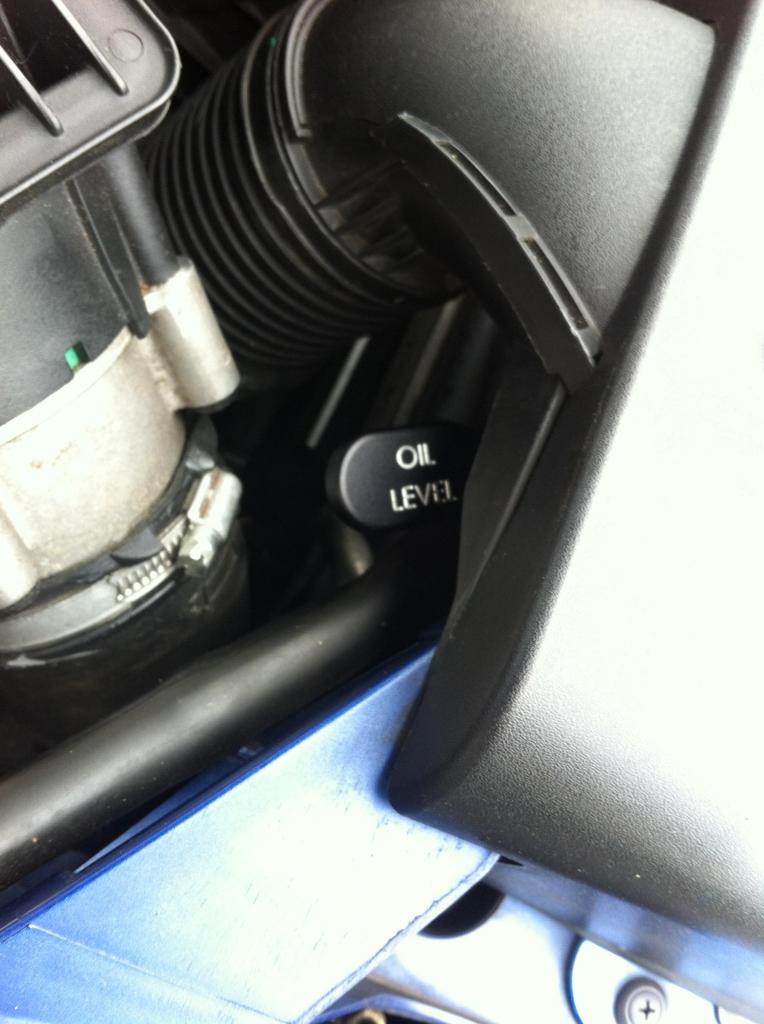
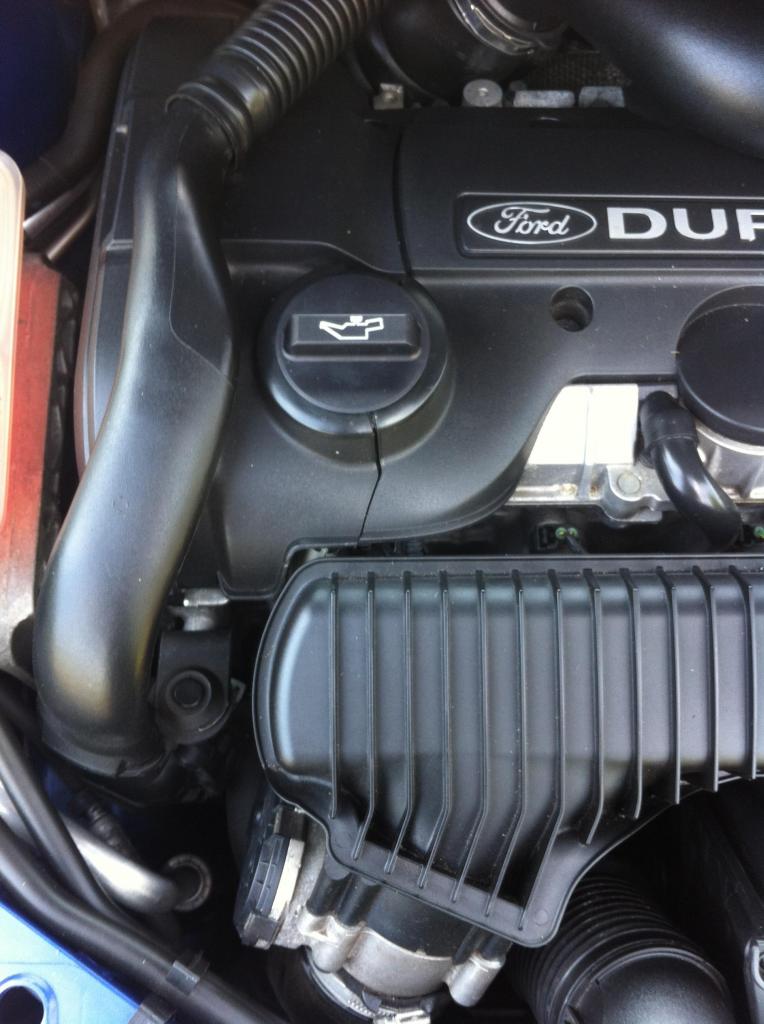
I decided to change all the caps in the engine bay to metal ones that were done by auto specialists! Great quality products although a little pricey I must add!
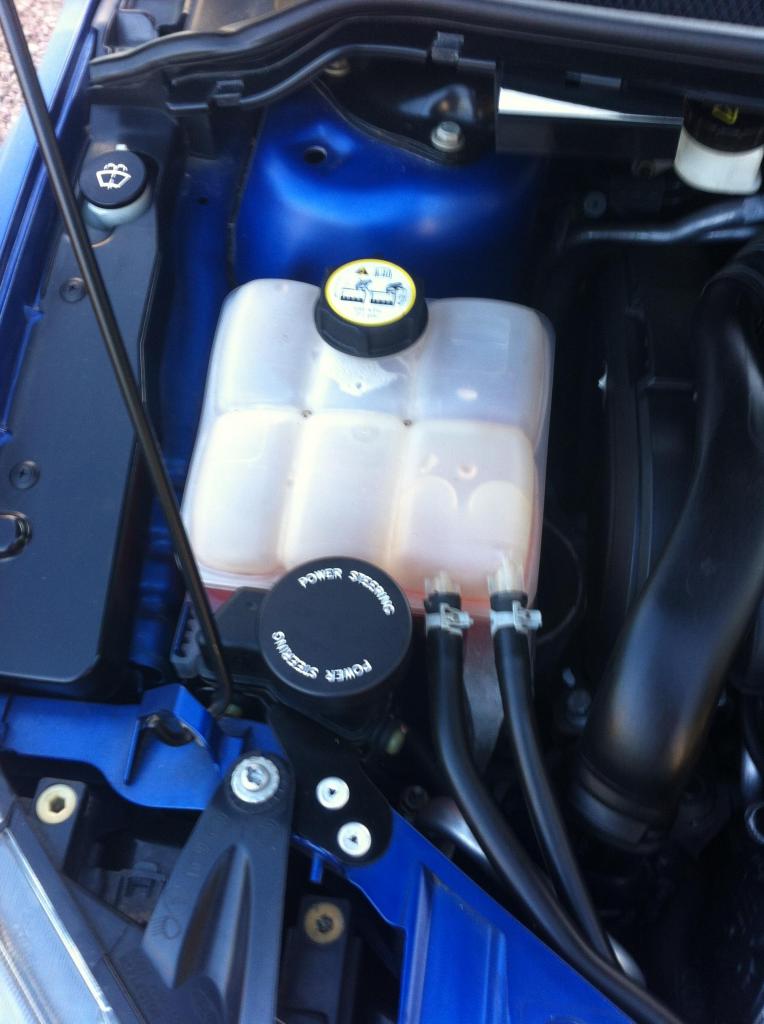
I have also done the coolant cap as well but no picture yet.
Also fitted this little metal cover, behind it are 2 random holes that no one in the ST world knows what there for!


I decided to change all the caps in the engine bay to metal ones that were done by auto specialists! Great quality products although a little pricey I must add!


I have also done the coolant cap as well but no picture yet.
Also fitted this little metal cover, behind it are 2 random holes that no one in the ST world knows what there for!

Thread Starter
15000
Joined: May 2016
Posts: 39
Likes: 1
From: Birmingham
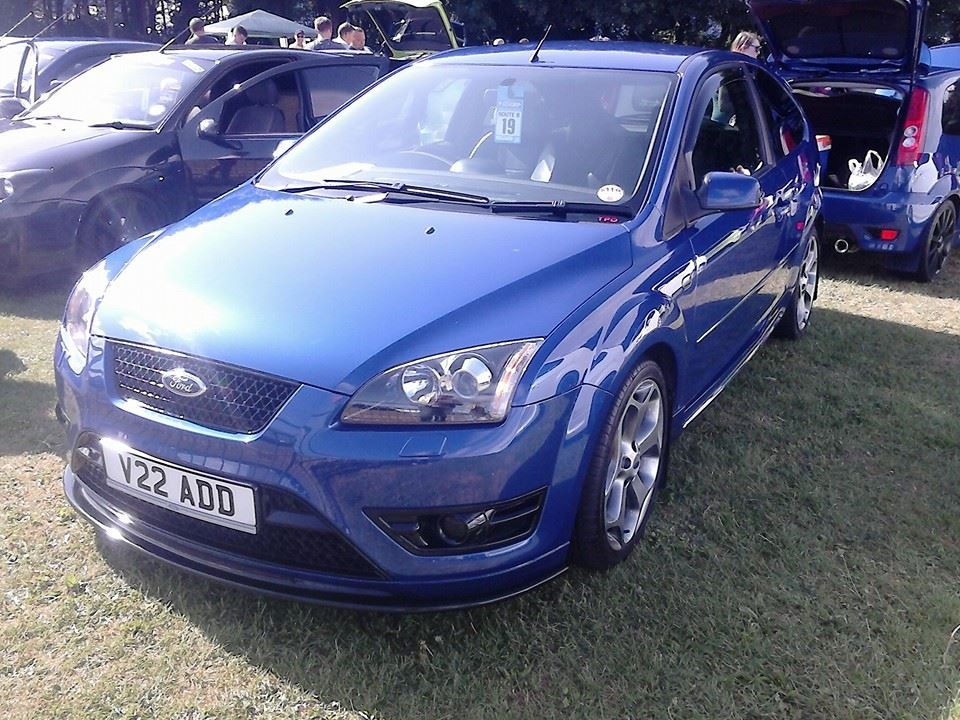
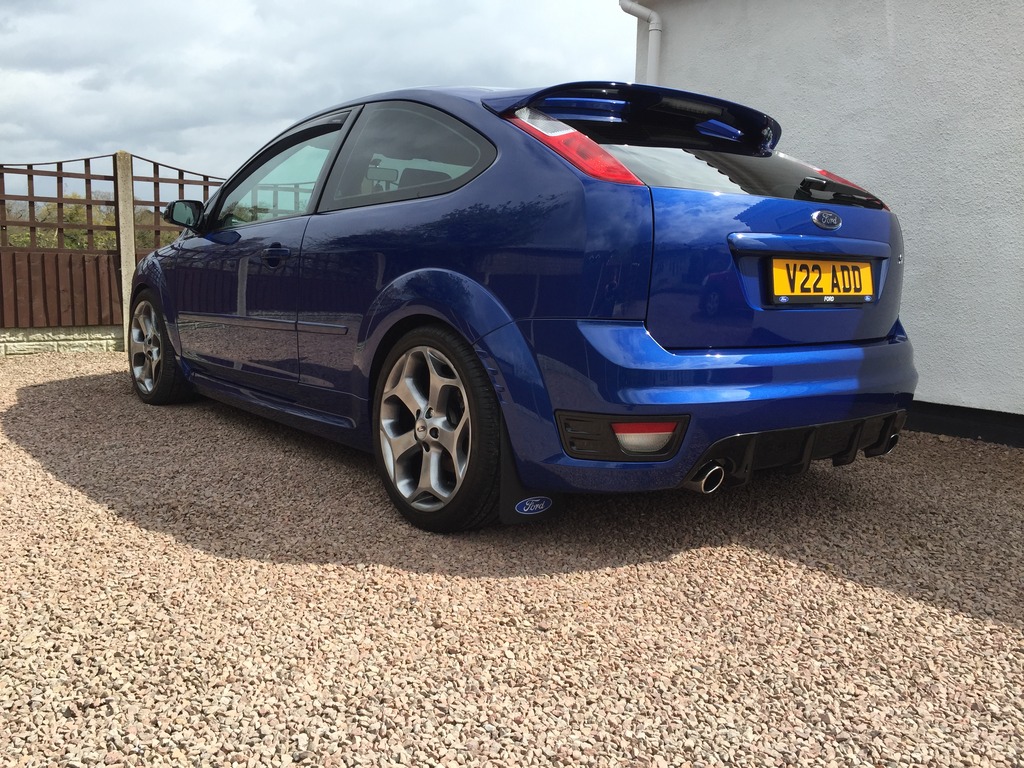
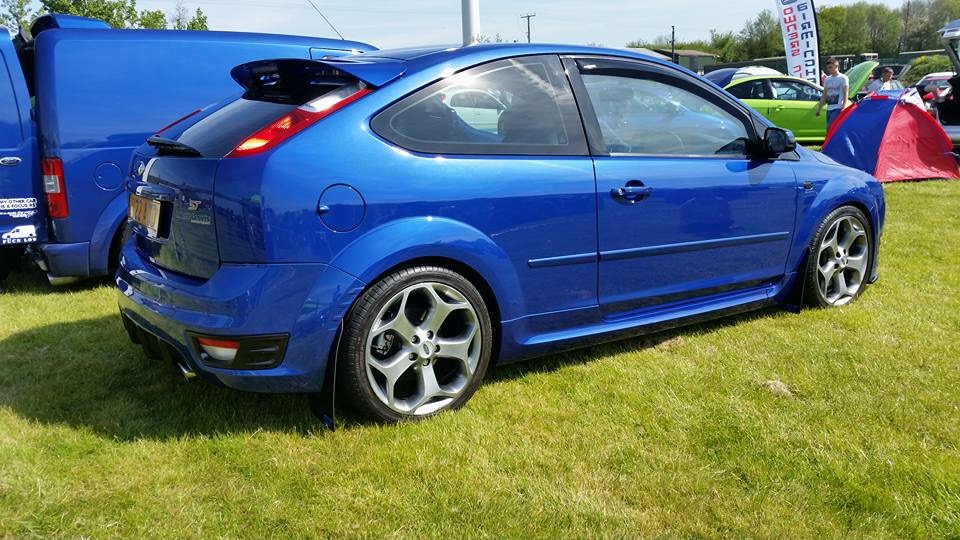
So gave it a quick wash for ford fair 2014;
And it on the show field;
The lower wishbone bushes were knackered so I fitted these uprated arms along with ball joints and had a 4 wheel alignment done, its like a new car!
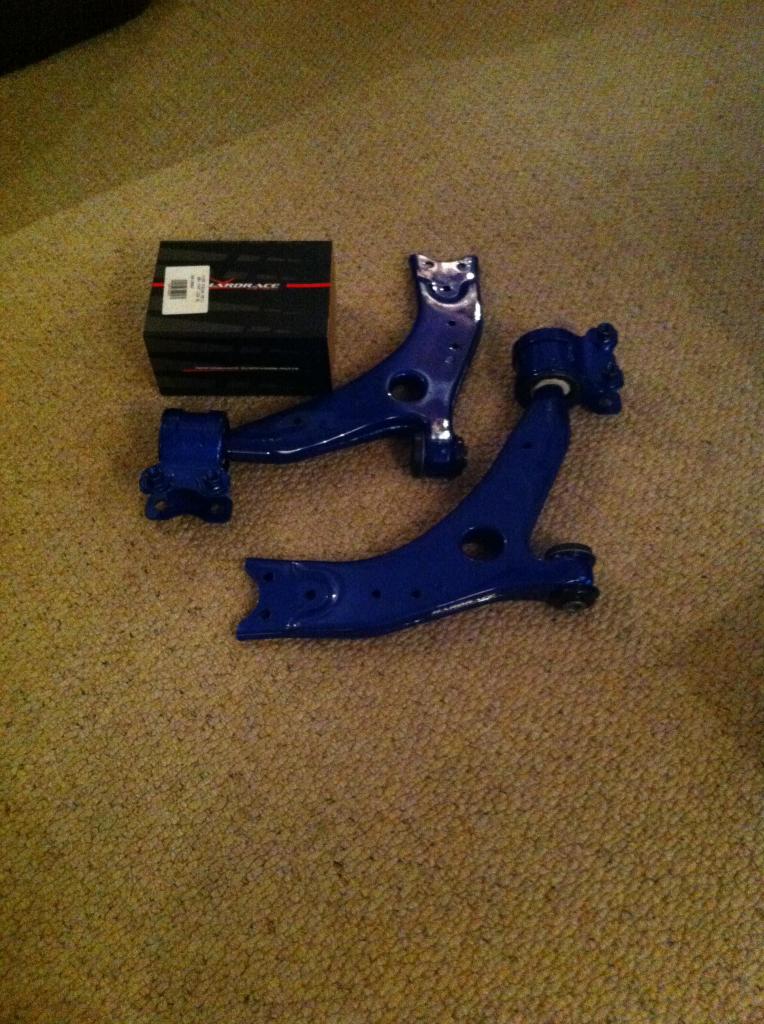
Also had 2 new rear tires while I was there, finally all 4 tires are the same (bugged me so much that they were all different)
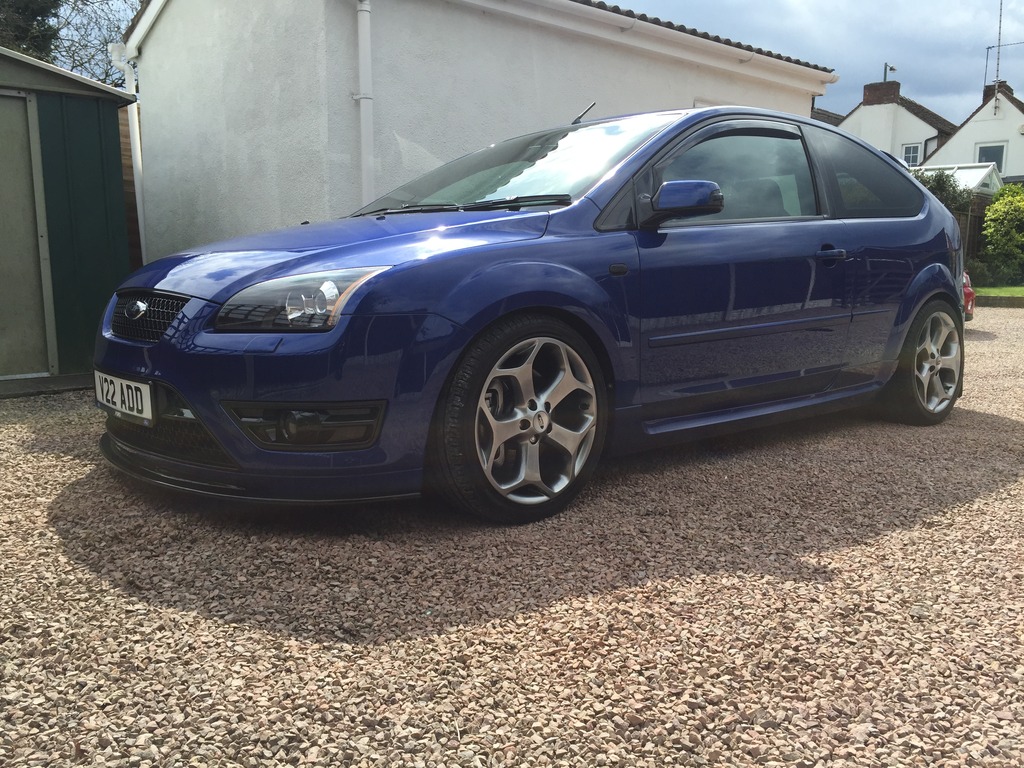
The front bumper, side skirts and both front wings got painted as well, love fresh paint. Will be going in for the bonnet and rear bumper to be done too.
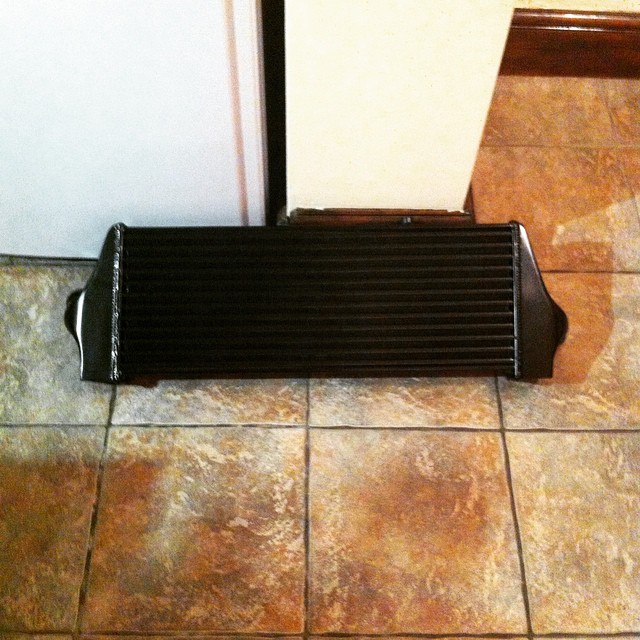
I will be getting a slightly larger inter cooler in the summer as it has a stage 1 map on at the moment (around 275bhp) so it gets a little bit of heat soak that the new cooler will sort!


And it on the show field;

The lower wishbone bushes were knackered so I fitted these uprated arms along with ball joints and had a 4 wheel alignment done, its like a new car!

Also had 2 new rear tires while I was there, finally all 4 tires are the same (bugged me so much that they were all different)
The front bumper, side skirts and both front wings got painted as well, love fresh paint. Will be going in for the bonnet and rear bumper to be done too.

I will be getting a slightly larger inter cooler in the summer as it has a stage 1 map on at the moment (around 275bhp) so it gets a little bit of heat soak that the new cooler will sort!
Thread Starter
15000
Joined: May 2016
Posts: 39
Likes: 1
From: Birmingham
Update;
Got the intercooler;
I have fitted some new front fog lights as the others were letting water in, also left them untinted and fitted some nice bright LED H11 bulbs, a lot cleaner
I curbed one of the front wheels last week so I am getting that re done over the next few days as it will annoy me no end otherwise.
Also I have ordered a new gear stick gaiter as mine has got quite a large split in it, just a genuine one from ford nothing fancy.
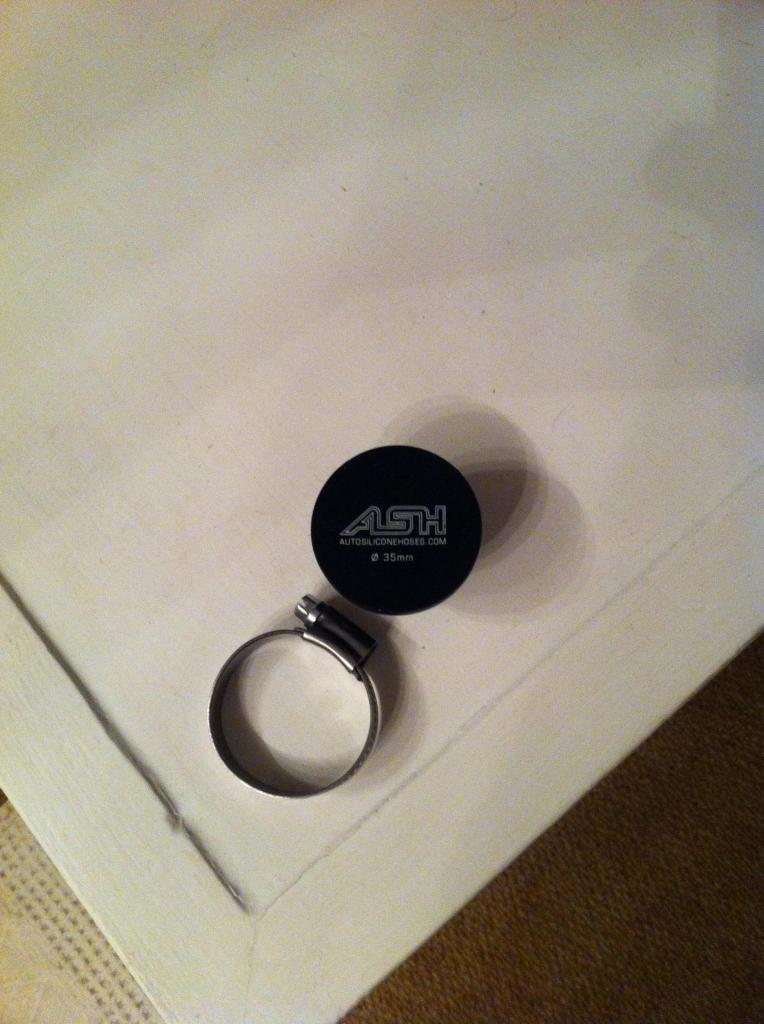
I ordered this blanking plug which removes the symposer pipe (takes the noise of the engine into the cabin apparently) The diaphragm used is very prone to splitting and causing a boost leak!
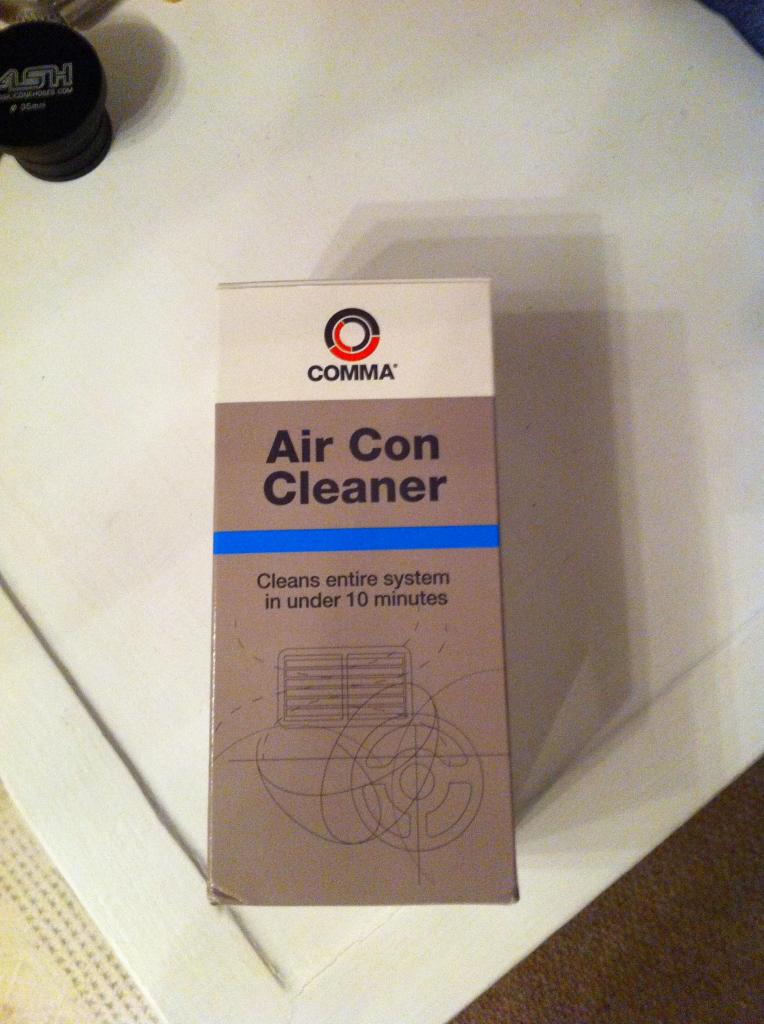
Got one of these Aircon cleaner aerosols, not sure what there like but fancied giving it a go;
So I had the wheel redone, really chuffed and they matched the colour spot on!
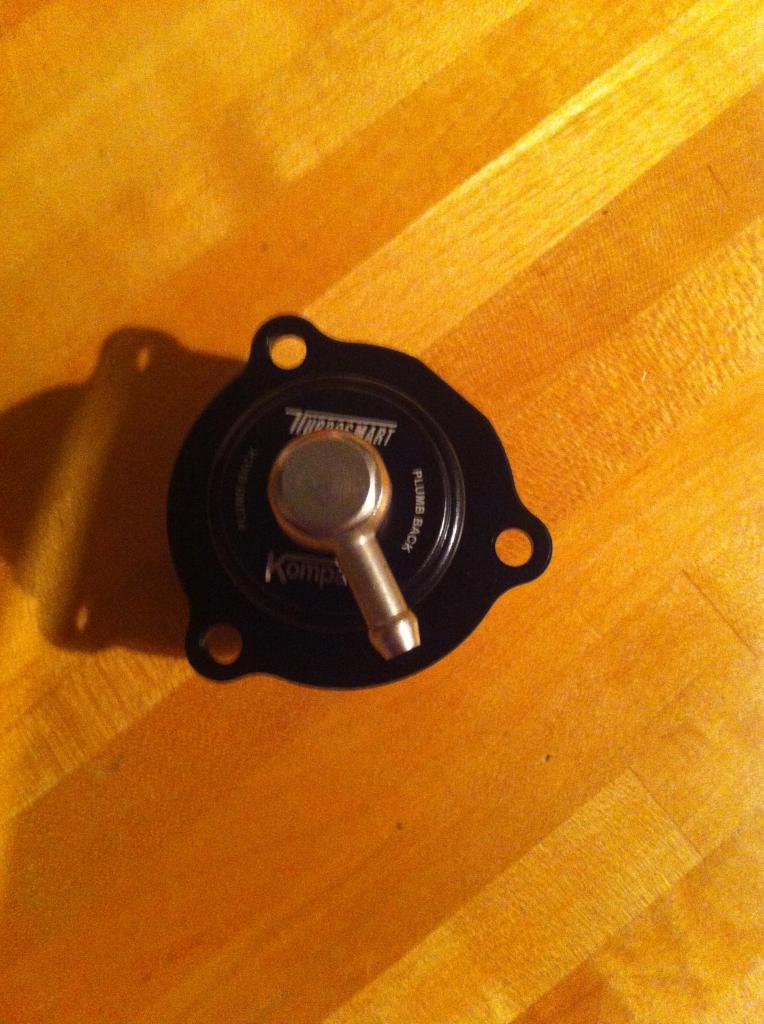
Finally fitted the uprated intercooler, makes a noticeable difference. It will soon be combined with this recirc valve;
Got the intercooler;

I have fitted some new front fog lights as the others were letting water in, also left them untinted and fitted some nice bright LED H11 bulbs, a lot cleaner
I curbed one of the front wheels last week so I am getting that re done over the next few days as it will annoy me no end otherwise.
Also I have ordered a new gear stick gaiter as mine has got quite a large split in it, just a genuine one from ford nothing fancy.
I ordered this blanking plug which removes the symposer pipe (takes the noise of the engine into the cabin apparently) The diaphragm used is very prone to splitting and causing a boost leak!

Got one of these Aircon cleaner aerosols, not sure what there like but fancied giving it a go;

So I had the wheel redone, really chuffed and they matched the colour spot on!
Finally fitted the uprated intercooler, makes a noticeable difference. It will soon be combined with this recirc valve;


Thread Starter
15000
Joined: May 2016
Posts: 39
Likes: 1
From: Birmingham
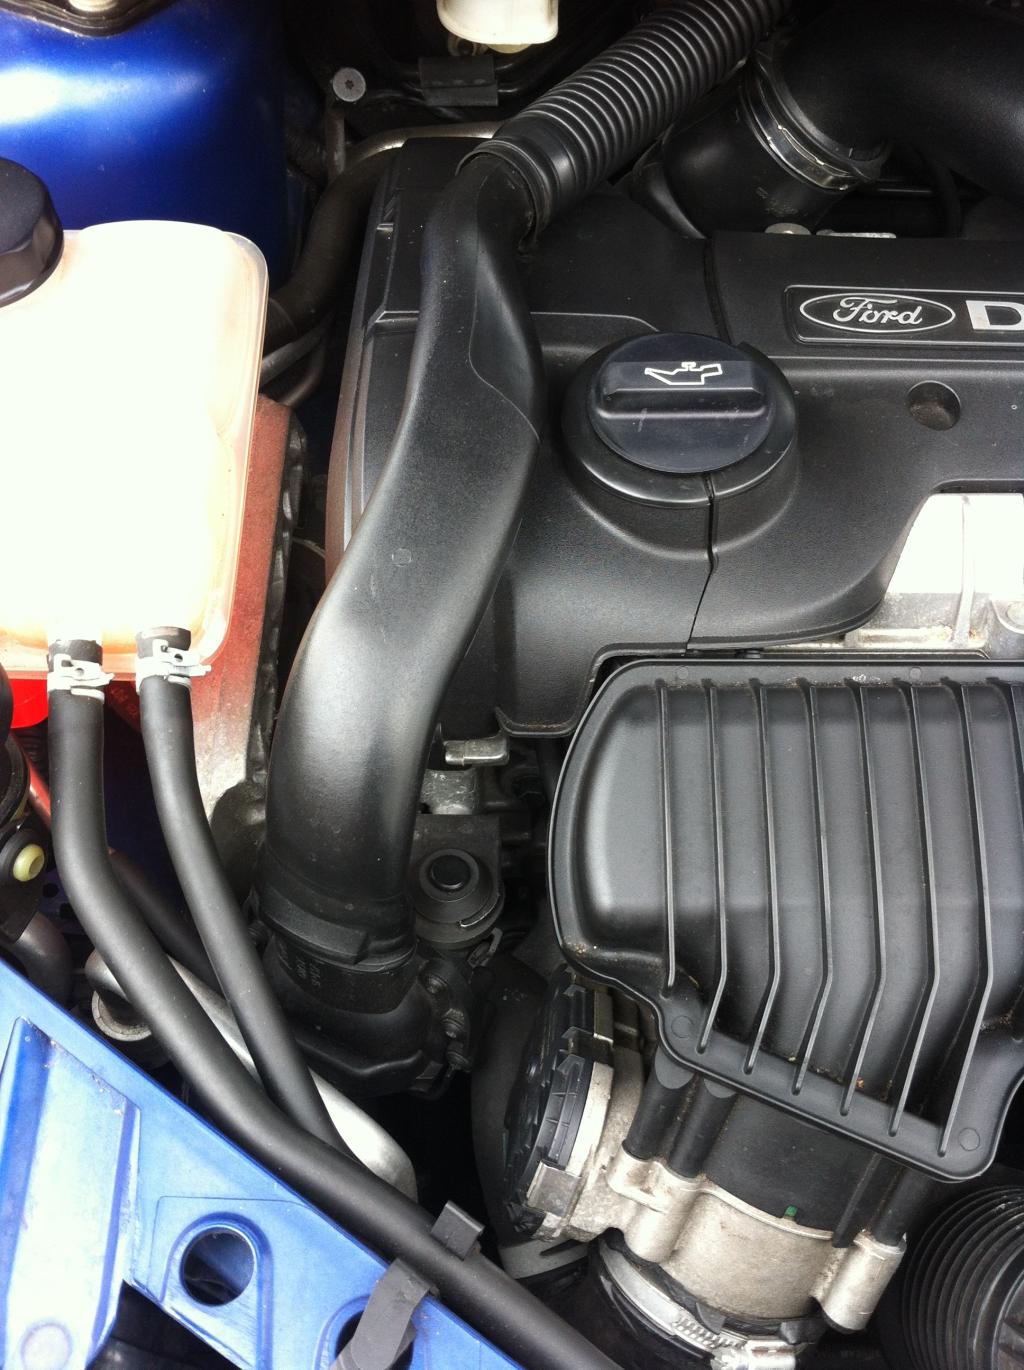
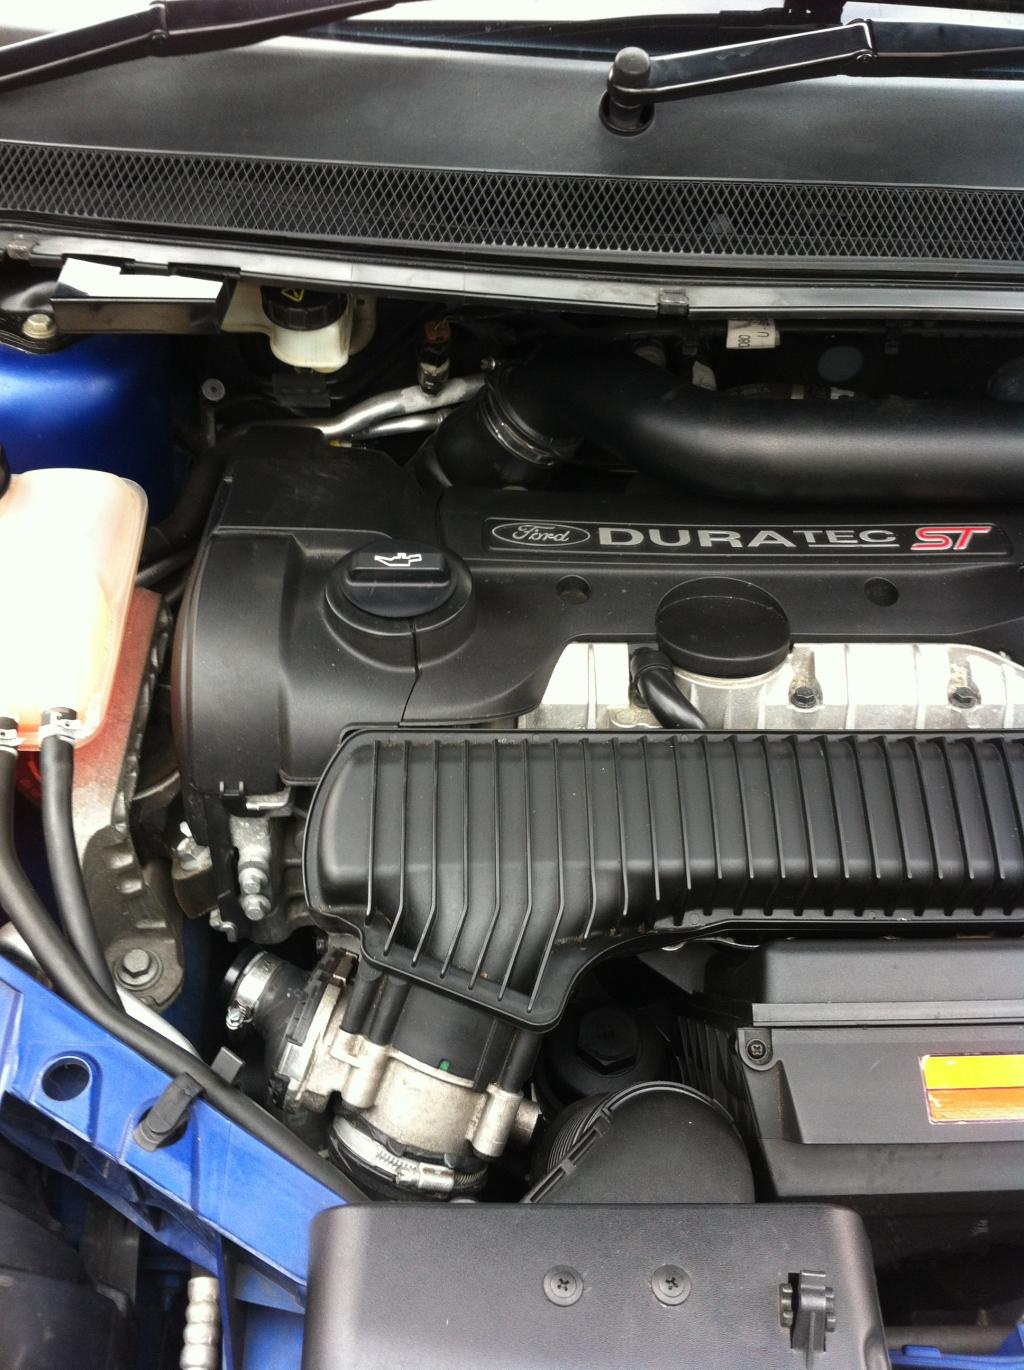
So I decided to tackle removing the symposer.
started of looking like this;
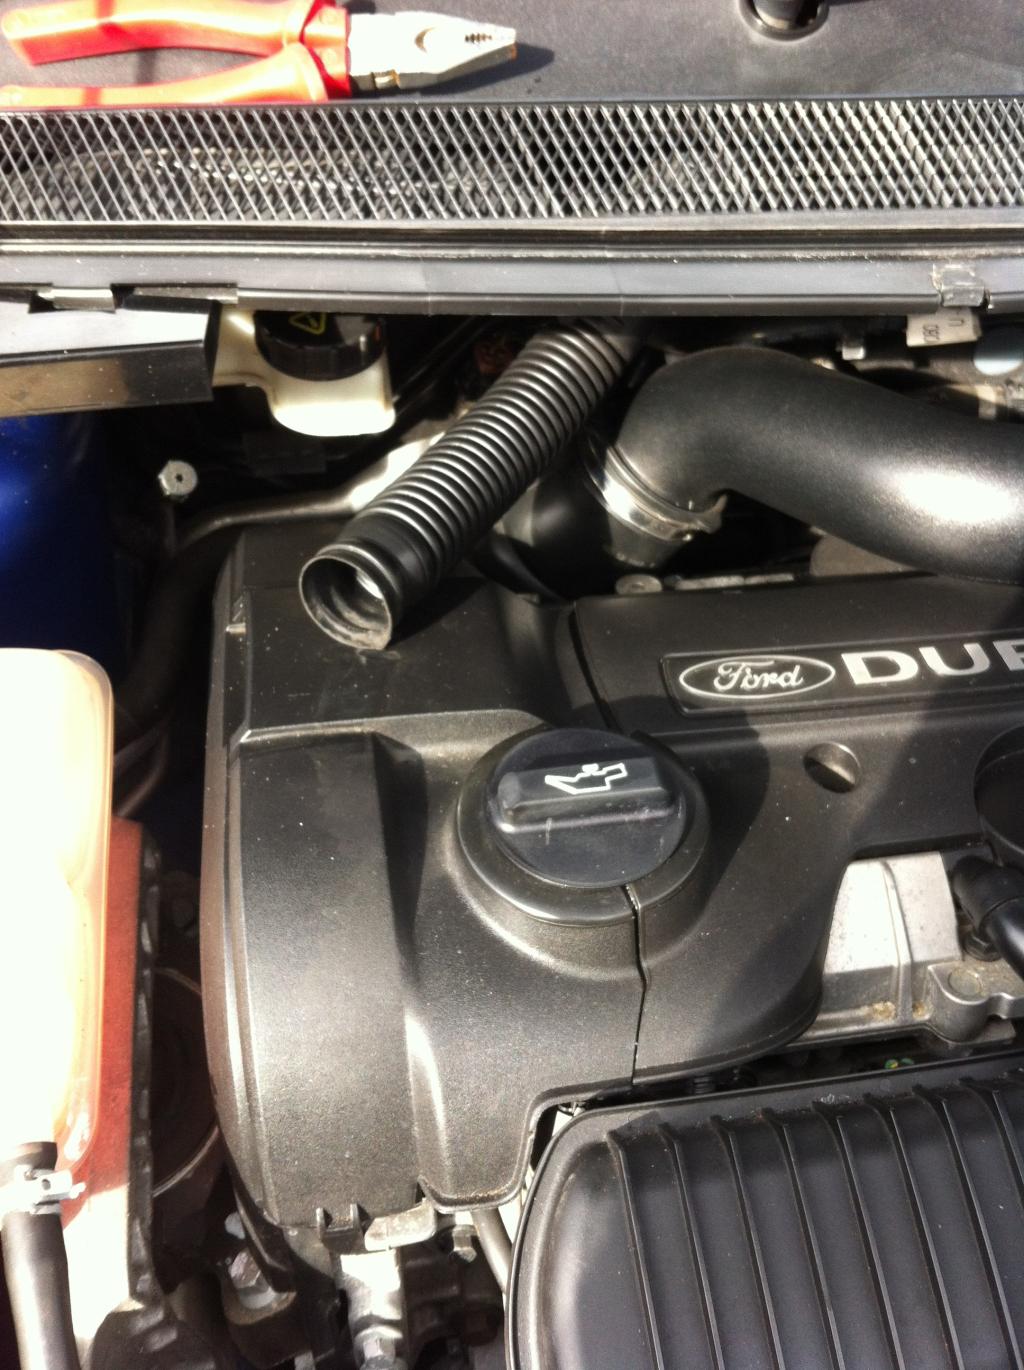
Removed some of the pipe work;
After fighting the stupid clip fitted by ford I got here and fitted my ASH blanking plug;

After this I took it for a drive to make sure it wasn't leaking, safe to say all was good!
Then attacked the other end;
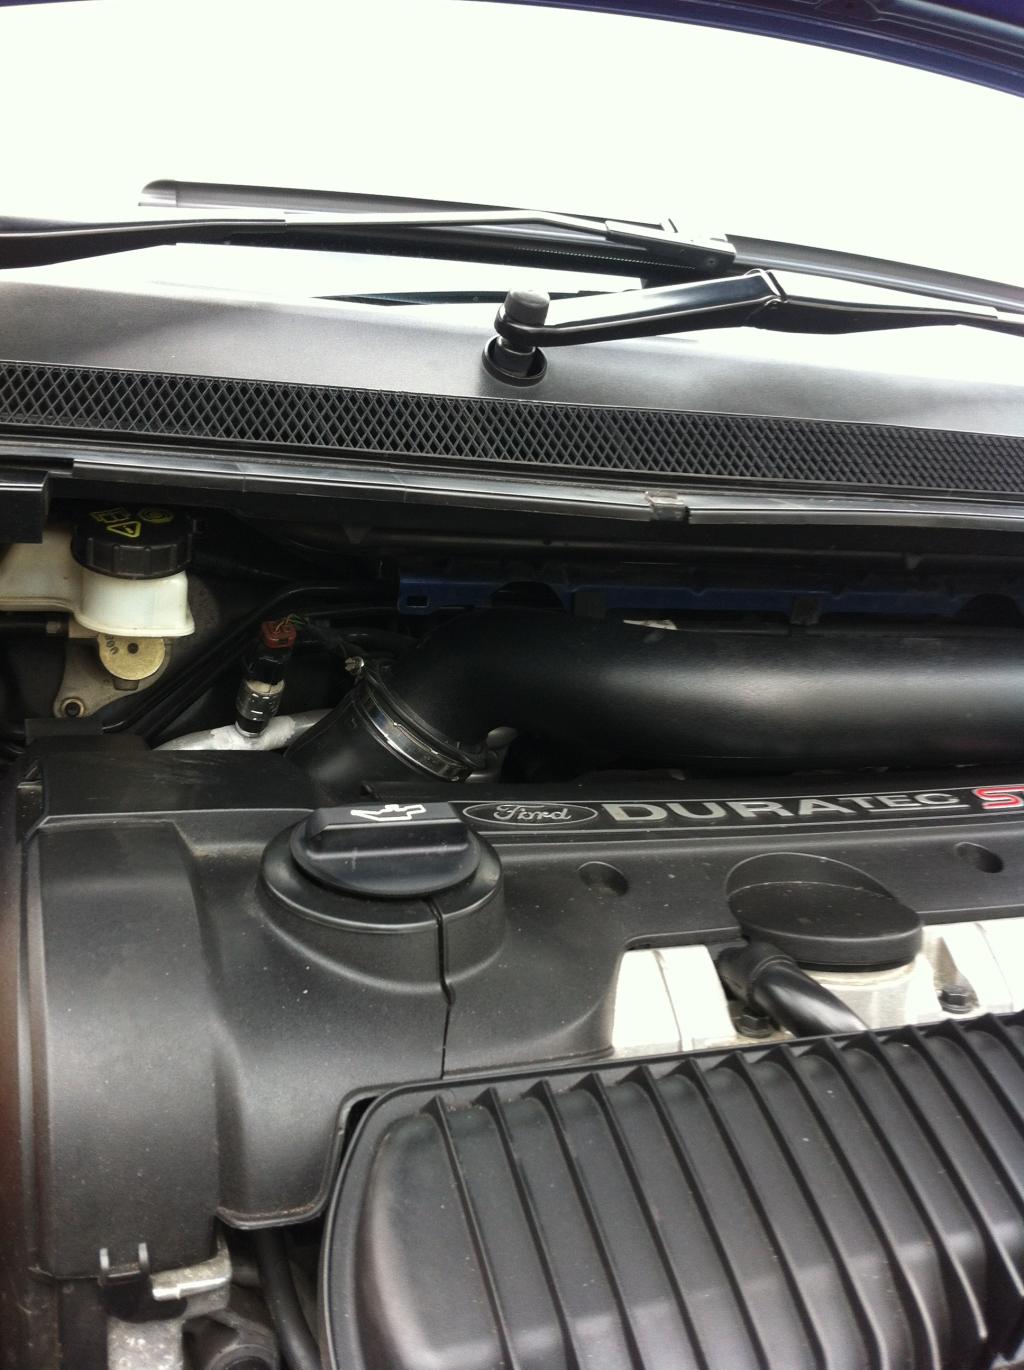
Managed to undo the screws and yank it out from under the scuttle panel after removing a few more clips and the wiper arms!
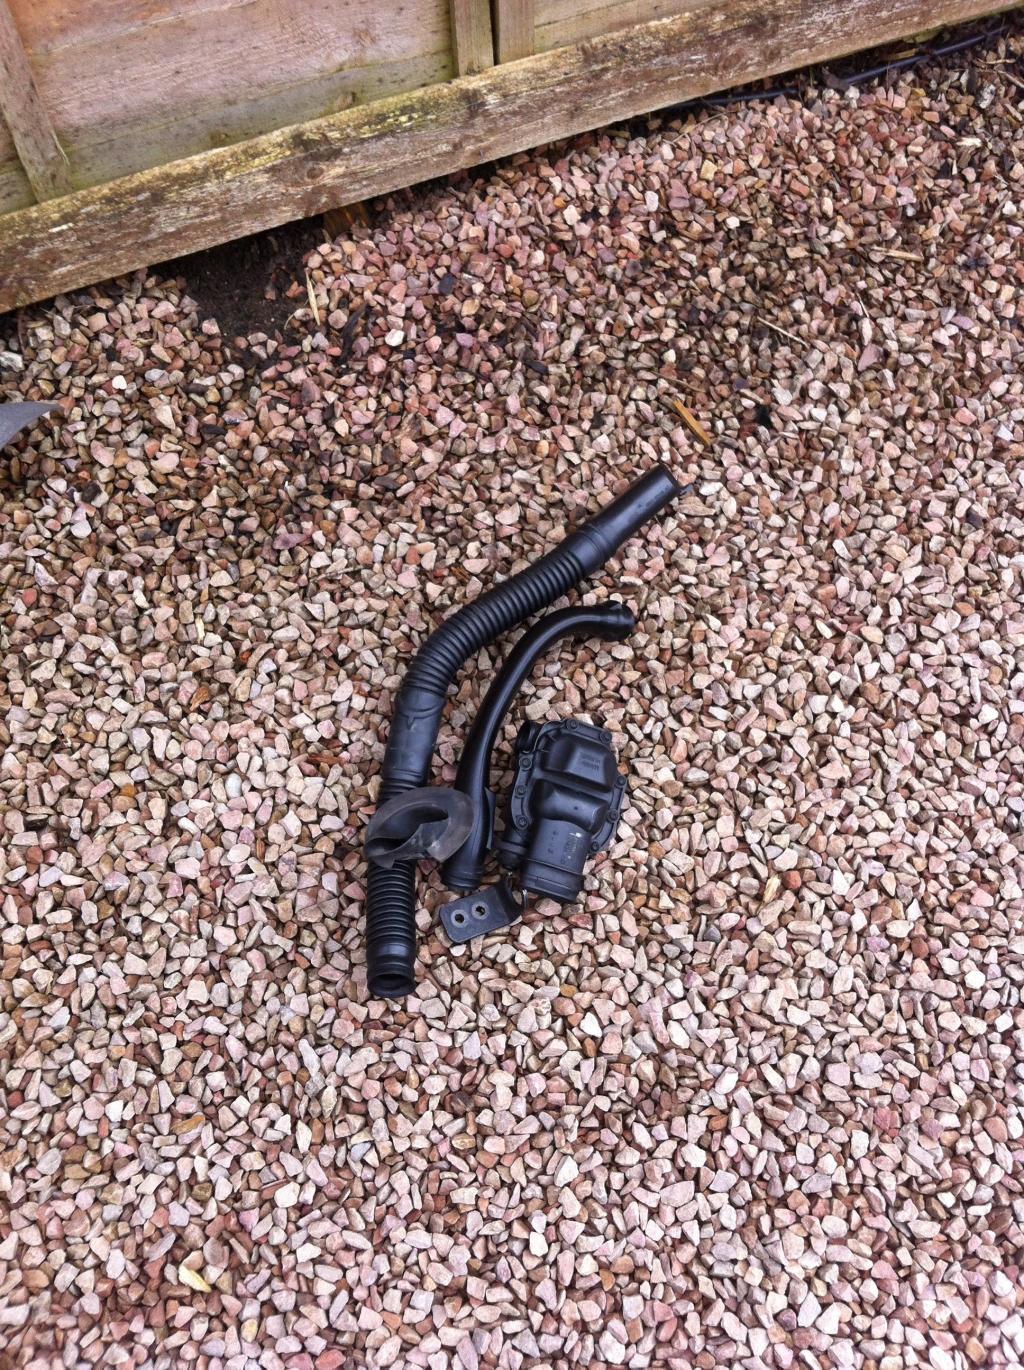
All out, what a load of crap!
Gave it a quick wipe over as well;
started of looking like this;

Removed some of the pipe work;

After fighting the stupid clip fitted by ford I got here and fitted my ASH blanking plug;

After this I took it for a drive to make sure it wasn't leaking, safe to say all was good!
Then attacked the other end;

Managed to undo the screws and yank it out from under the scuttle panel after removing a few more clips and the wiper arms!

All out, what a load of crap!

Gave it a quick wipe over as well;


Thread Starter
15000
Joined: May 2016
Posts: 39
Likes: 1
From: Birmingham
It then went to the body shop for the front bumper to be painted (again) and the bonnet.
I also got them to paint all the plastic trim around the car in gloss black, looks stunning in my opinion! They also fixed my splitter for me as well;
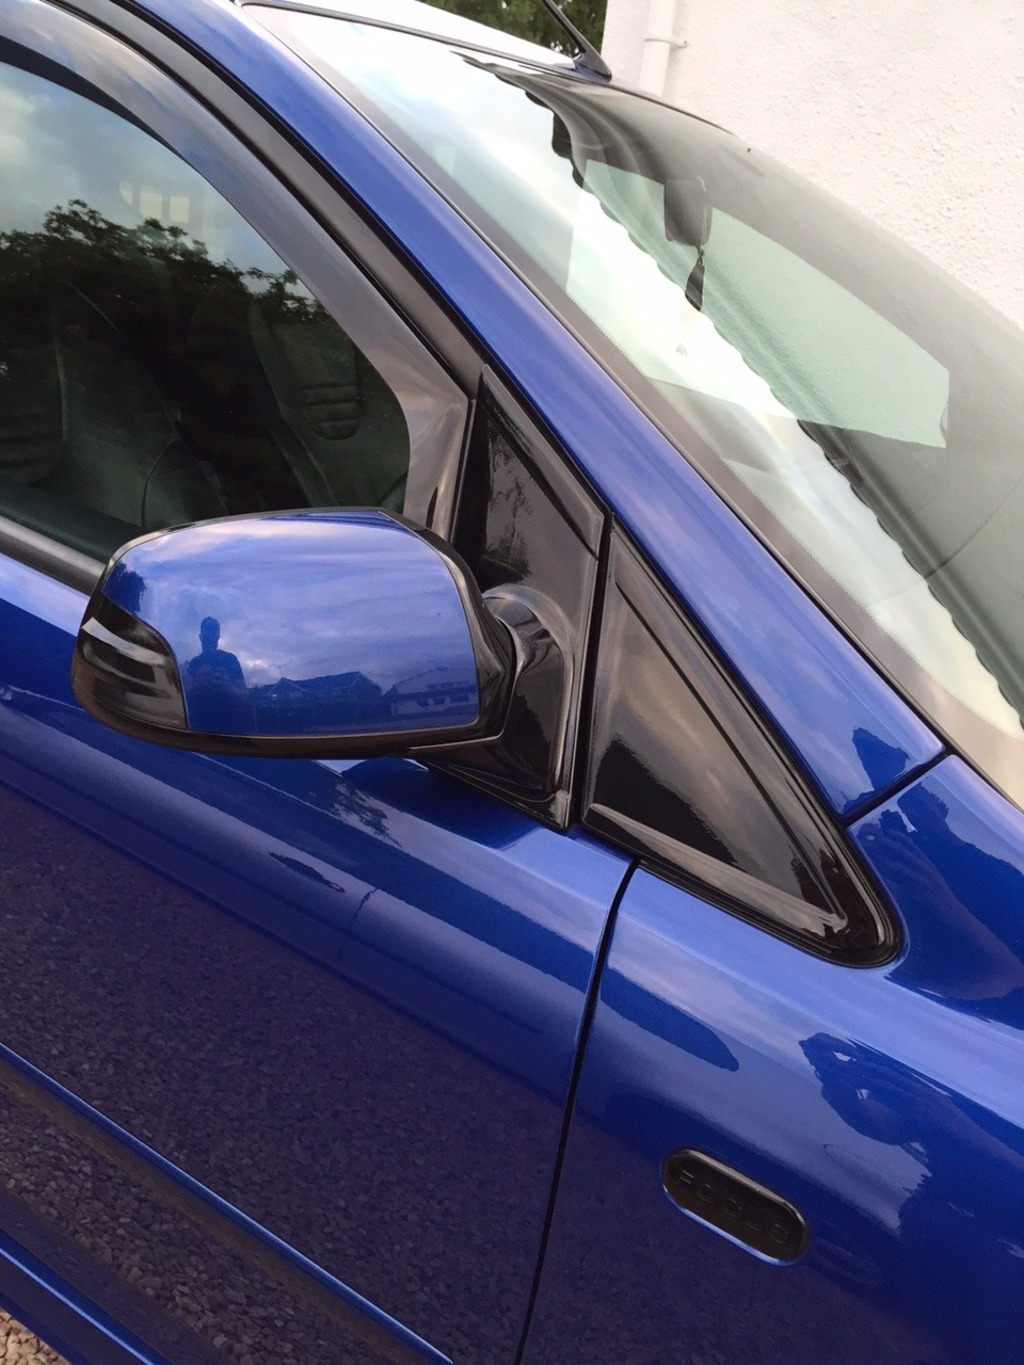
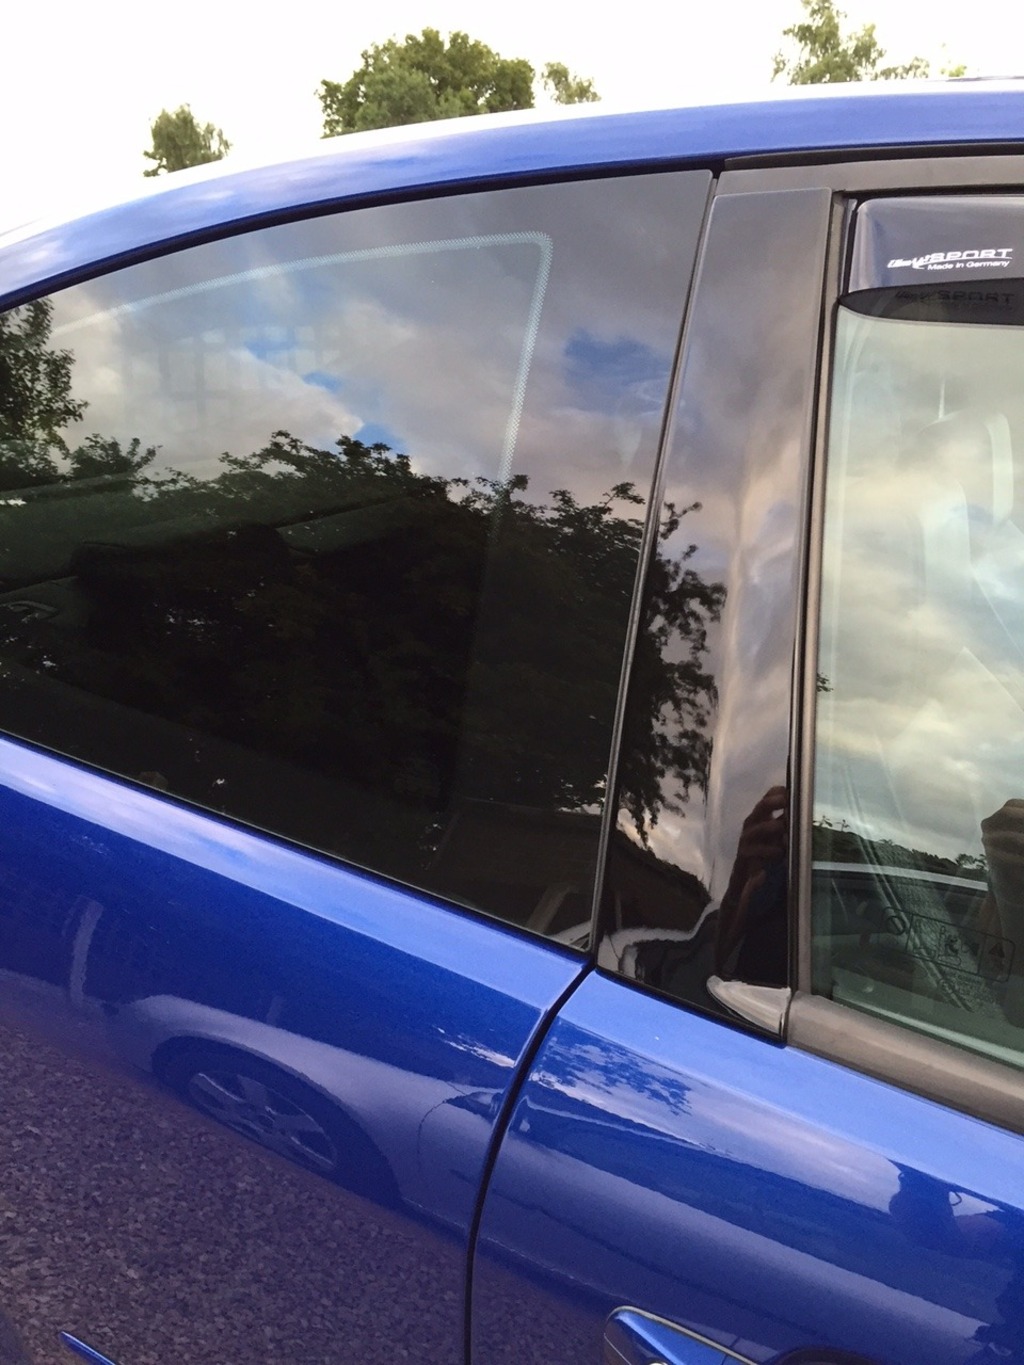
I also got them to paint all the plastic trim around the car in gloss black, looks stunning in my opinion! They also fixed my splitter for me as well;


Advanced PassionFord User


Joined: Nov 2007
Posts: 1,721
Likes: 46
From: BONNY SCOTLAND
That looks a good clean motor mate very nice subtle mods as well. I think these cars look good with minimum alterations to the outside think you have it just rite.
Last edited by stevos; May 31, 2016 at 06:47 AM.
Thread Starter
15000
Joined: May 2016
Posts: 39
Likes: 1
From: Birmingham
The rest will be engine work as you will see in some new posts later!
Thread Starter
15000
Joined: May 2016
Posts: 39
Likes: 1
From: Birmingham
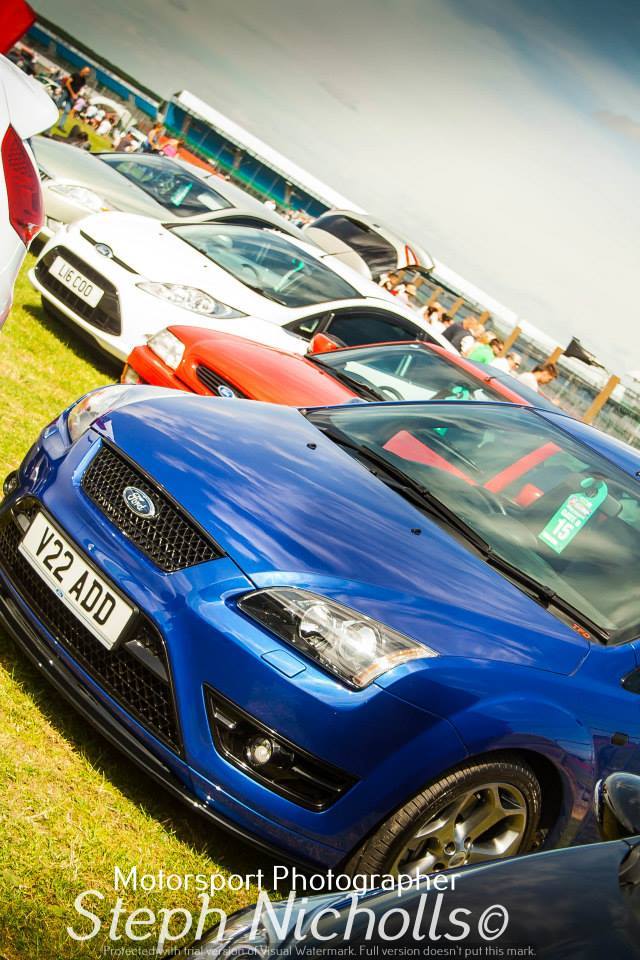
I went to ford fair 2015 yesterday, my 5th year at the show and I love it!
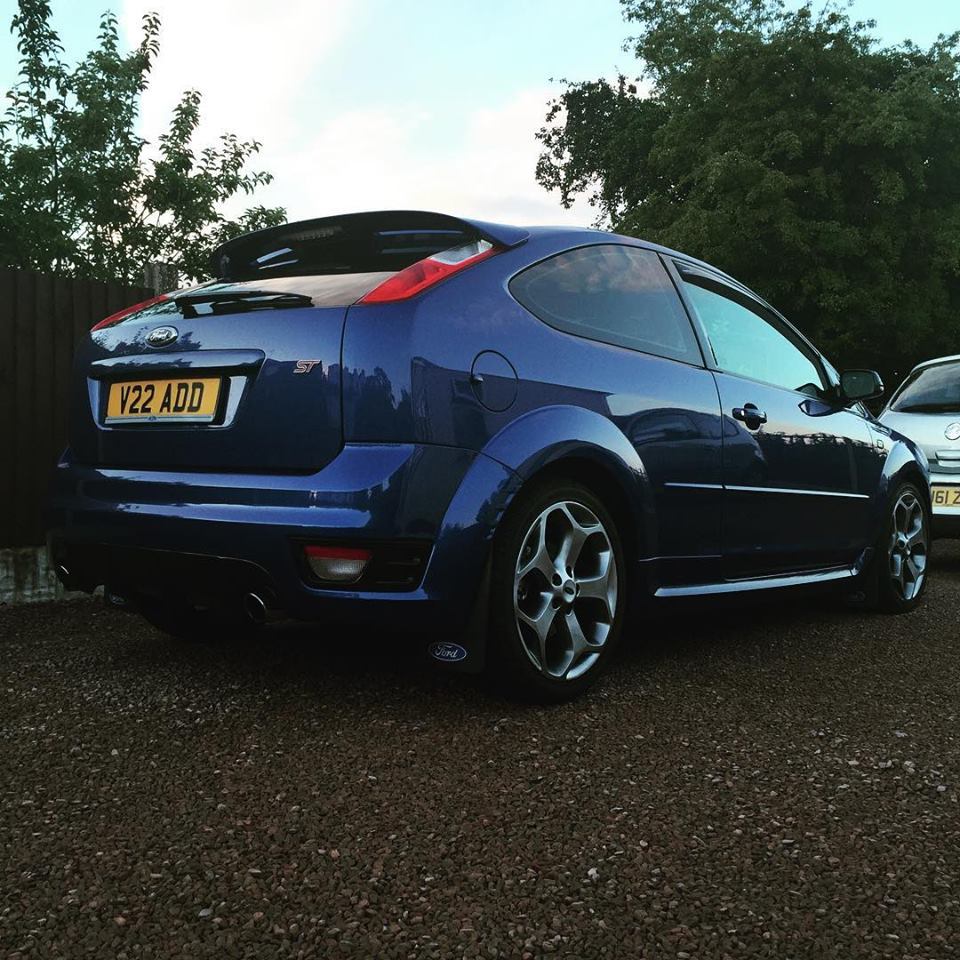
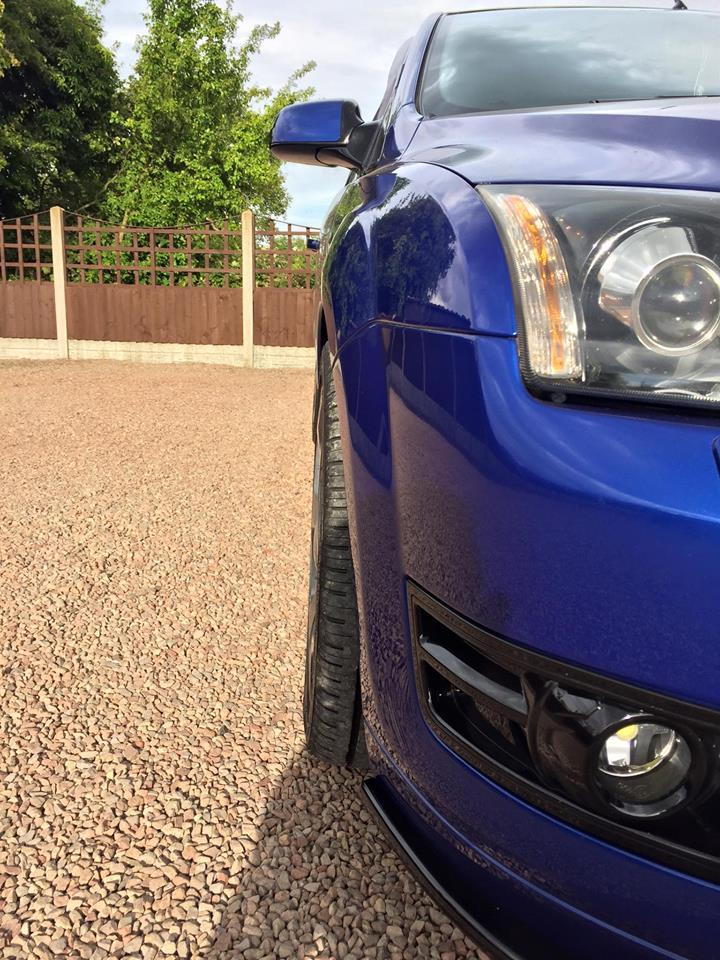
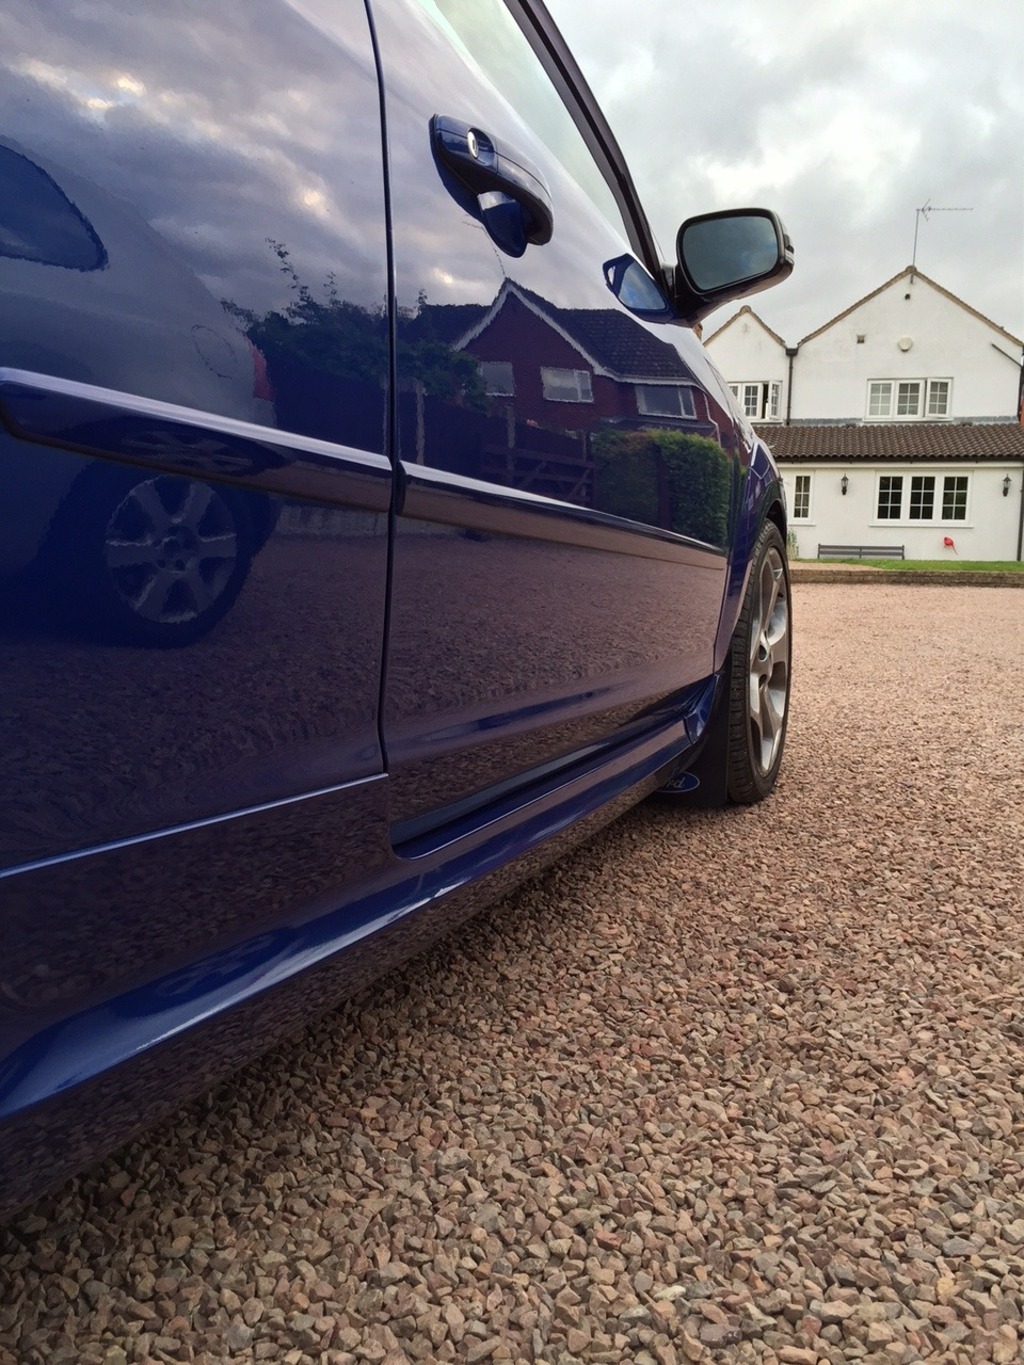
Bought some 15mm front and 20mm back Eibach spacers, the backs are being delivered to me.
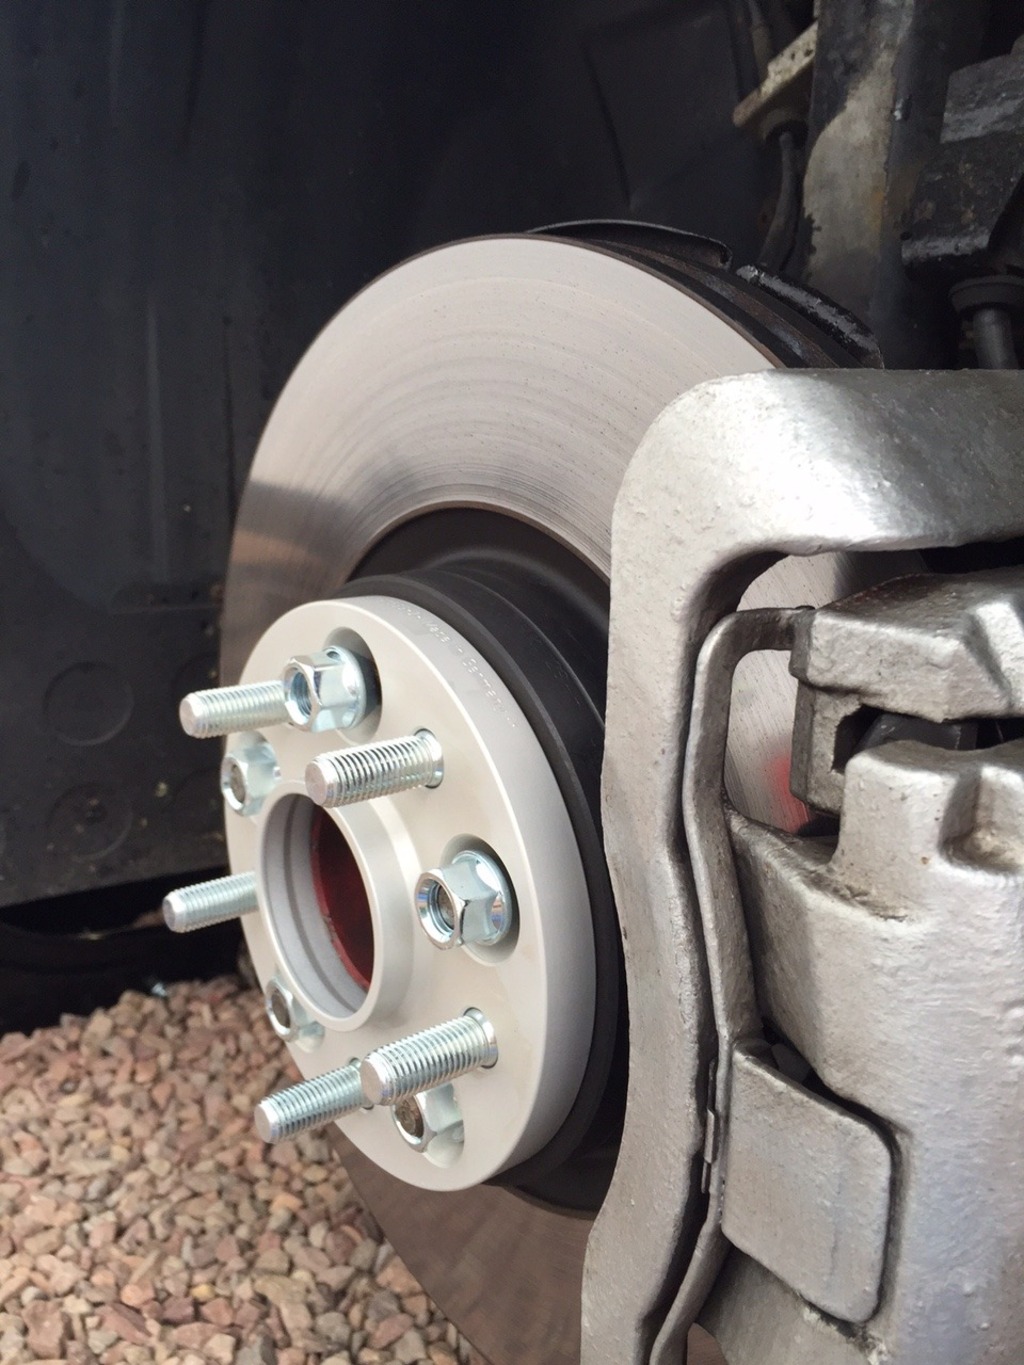
Fronts fitted;
Before;
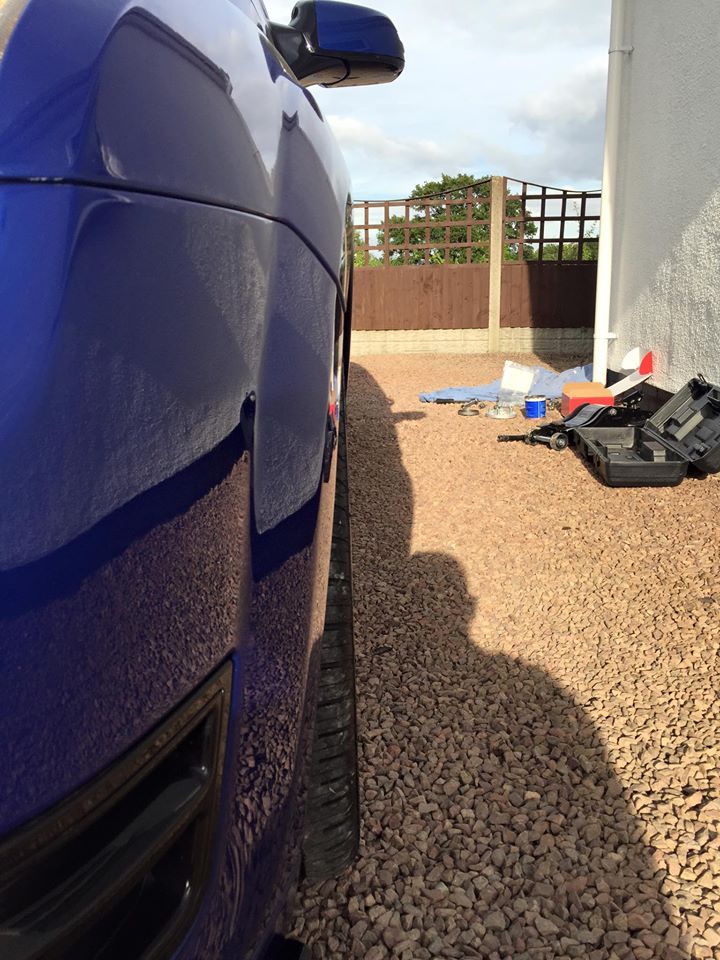
During;

After;
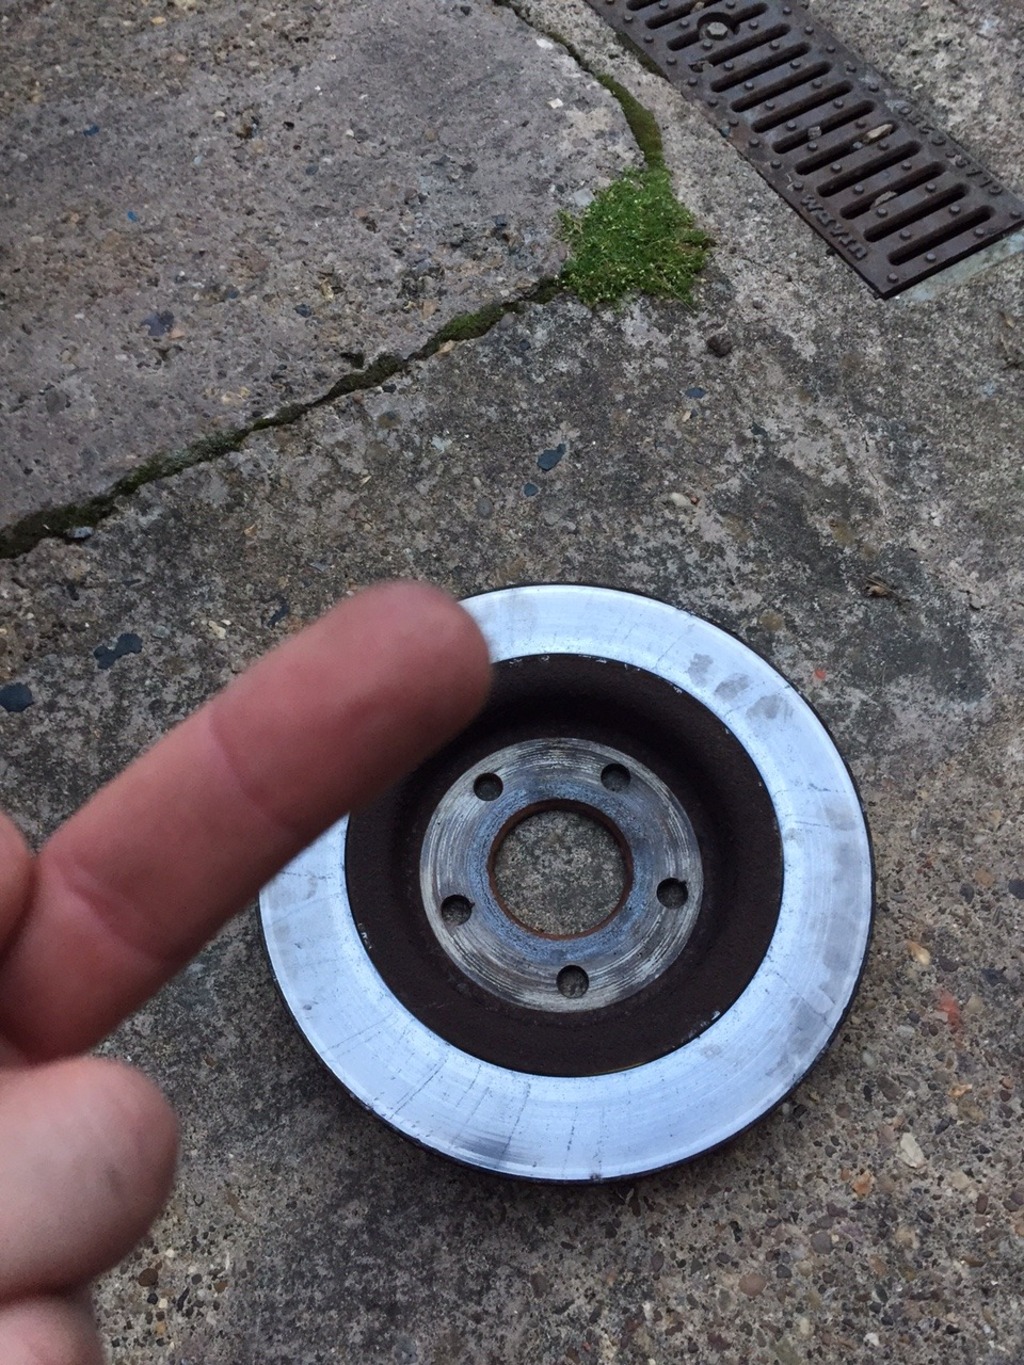
Next up to show you will be the rear spacers. Also I fitted some new rear discs and pads at the same time.
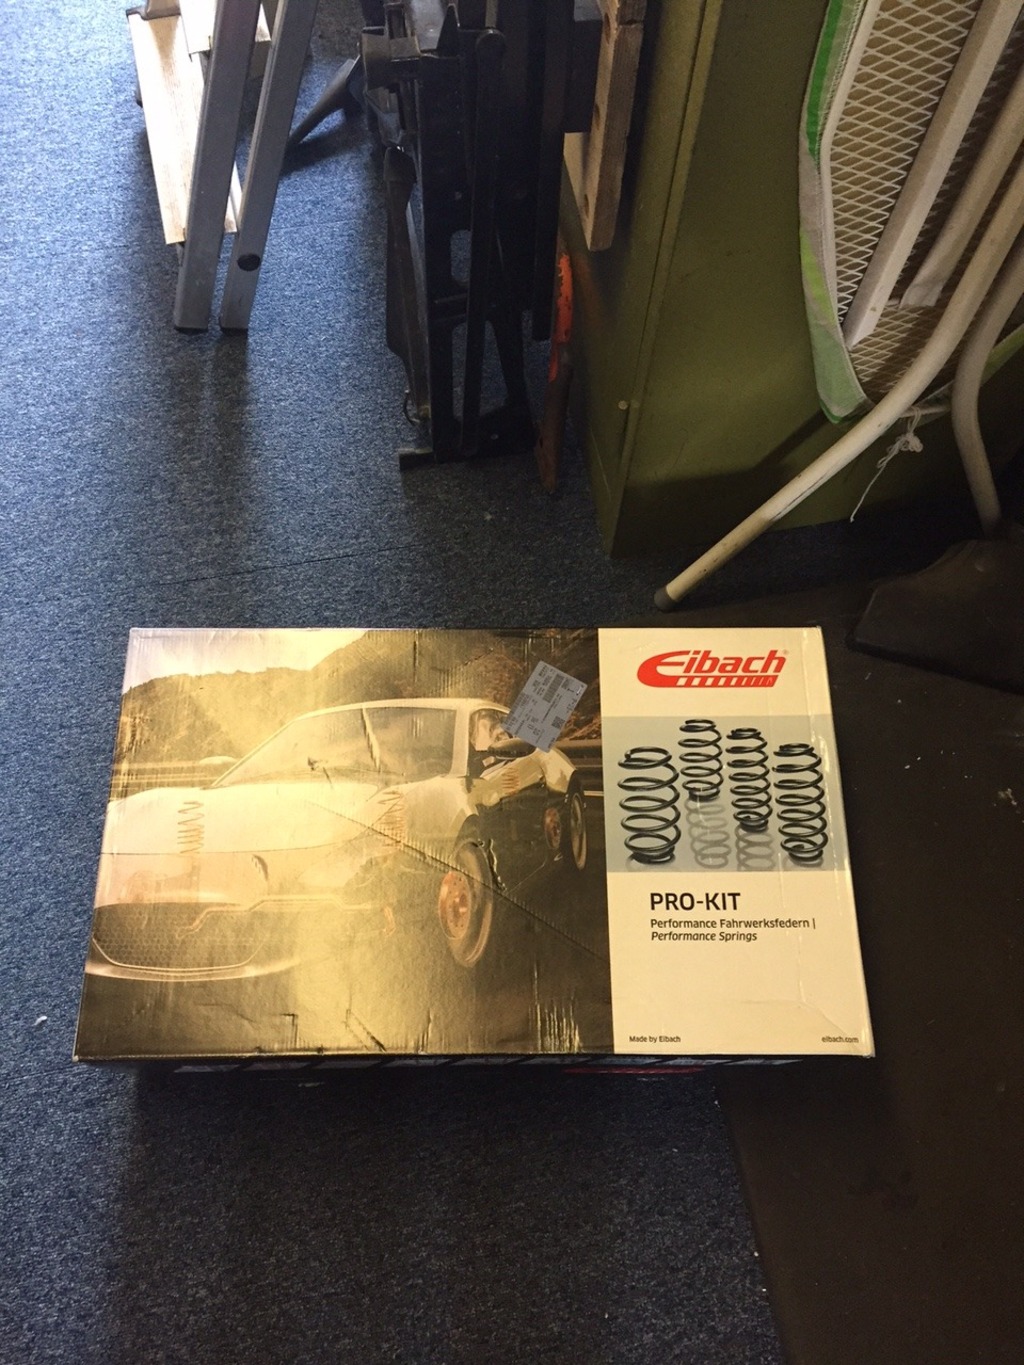
Ordered some Eibach lowering springs as well to compliment the spacers more, gives me a subtle 25mm drop.


Bought some 15mm front and 20mm back Eibach spacers, the backs are being delivered to me.
Fronts fitted;

Before;

During;


After;


Next up to show you will be the rear spacers. Also I fitted some new rear discs and pads at the same time.
Ordered some Eibach lowering springs as well to compliment the spacers more, gives me a subtle 25mm drop.
Thread Starter
15000
Joined: May 2016
Posts: 39
Likes: 1
From: Birmingham
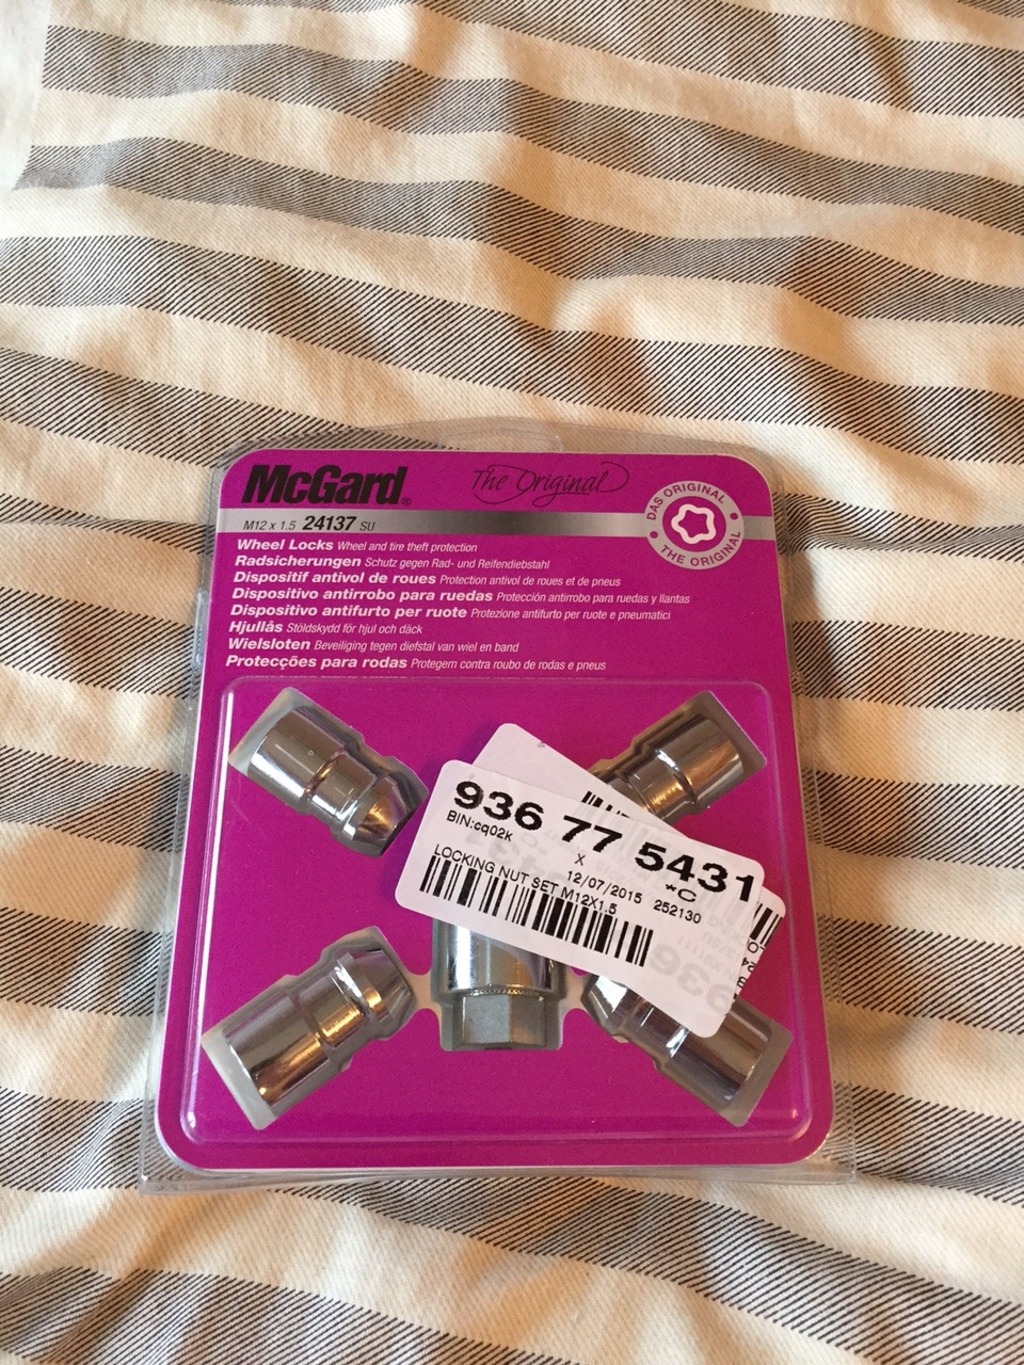
So the 20mm spacers arrived for the back wheels;
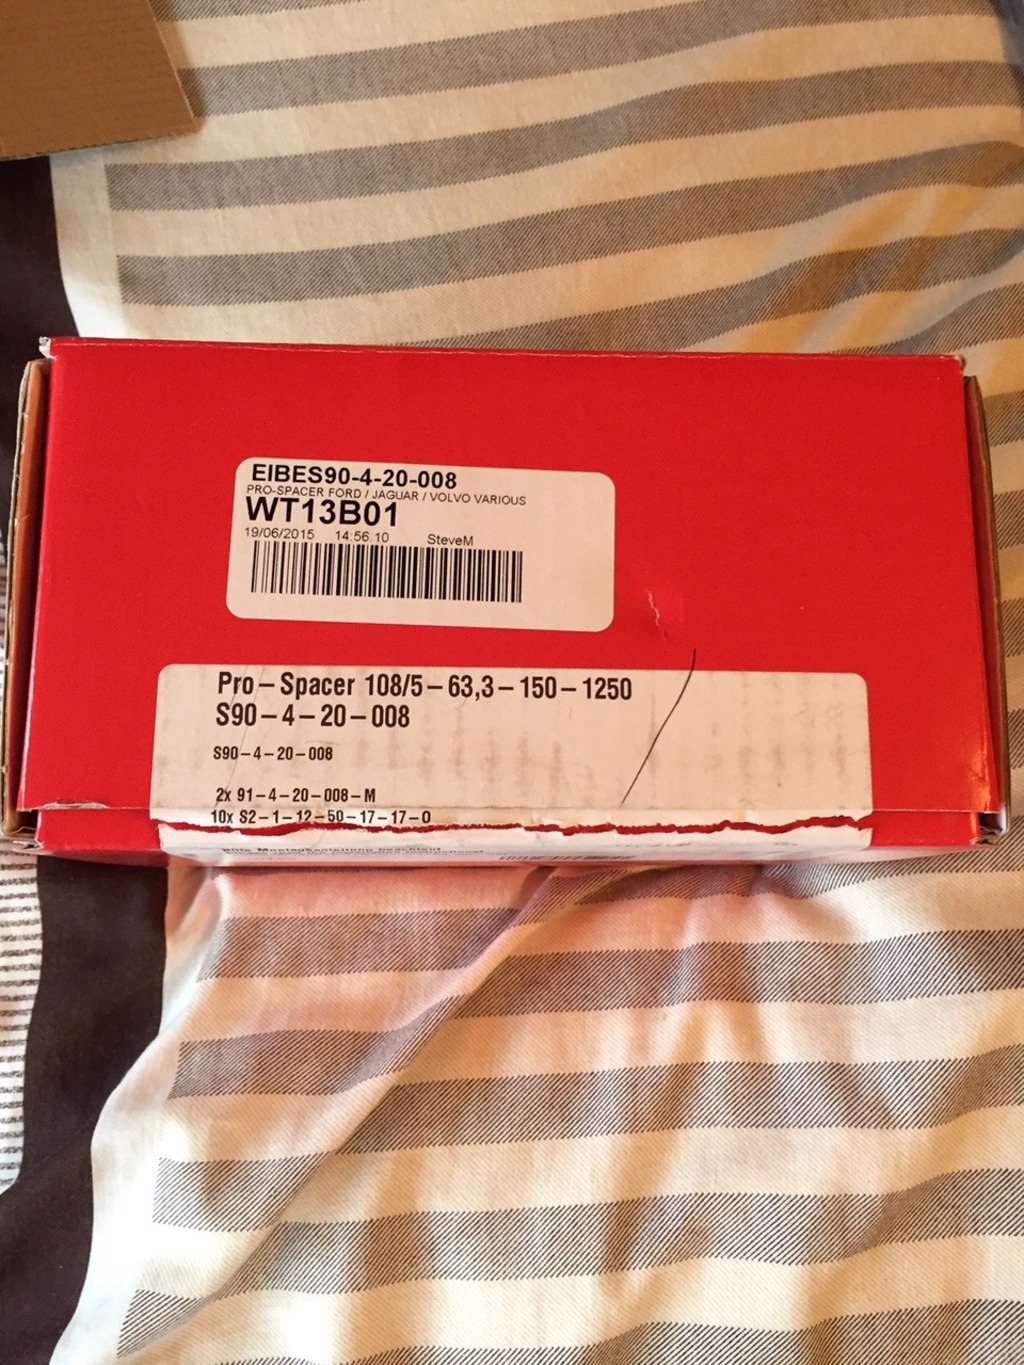
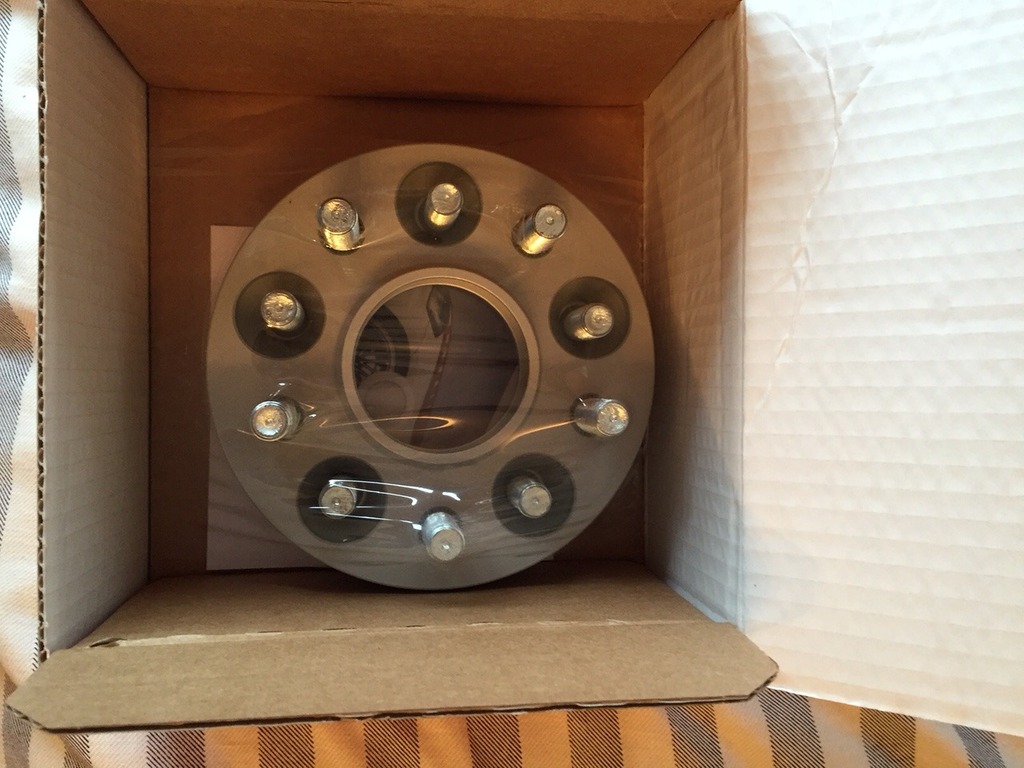
Had to buy some longer locking wheel nuts as the studs on the spacers are slightly longer;
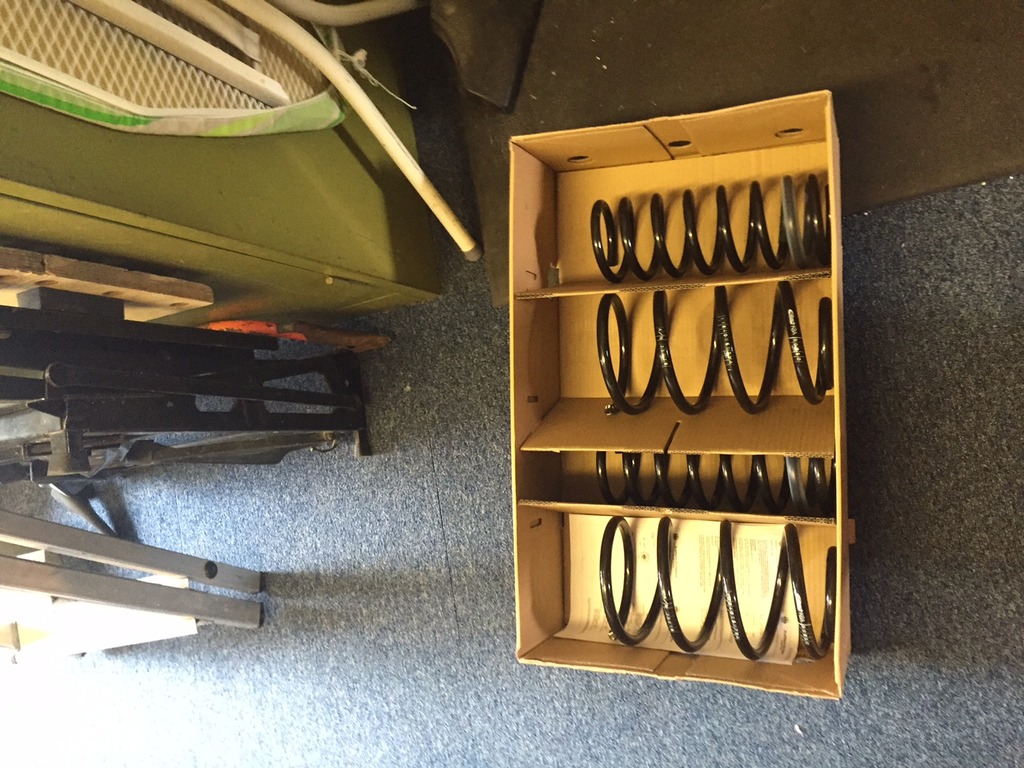
I then got some Eibach lowering springs along with new genuine front and rear suspension top mounts for a freshen up when fitting;
Got the rears fitted straight away;

Also got the rear discs and pads changed, they were a nightmare as the centres of the disc had been painted before so they were well attached to the hub;
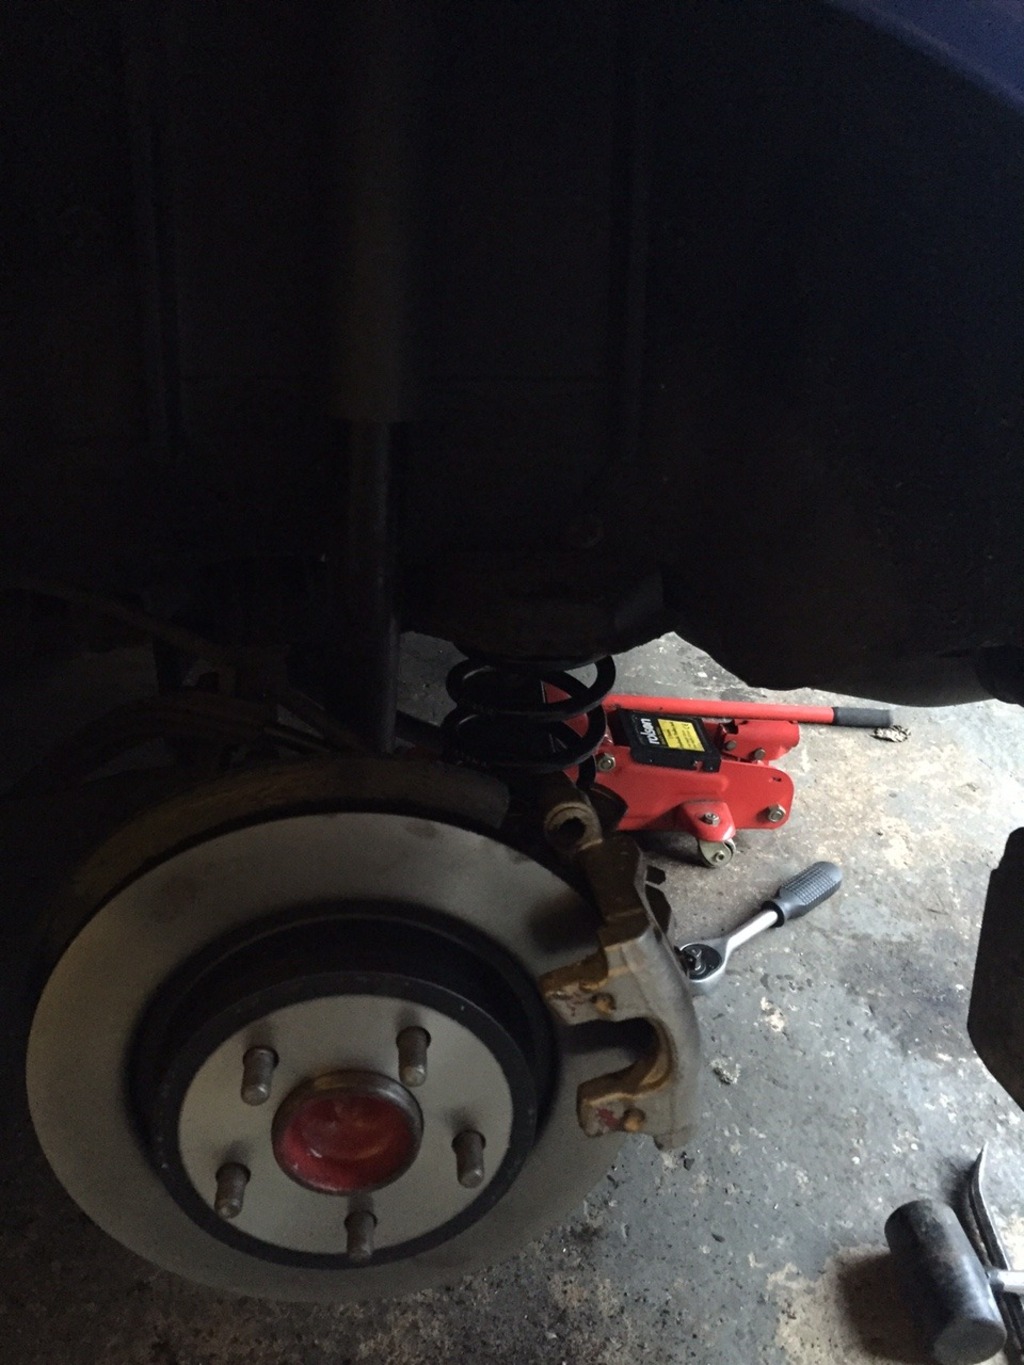
Also another picture of the springs in;
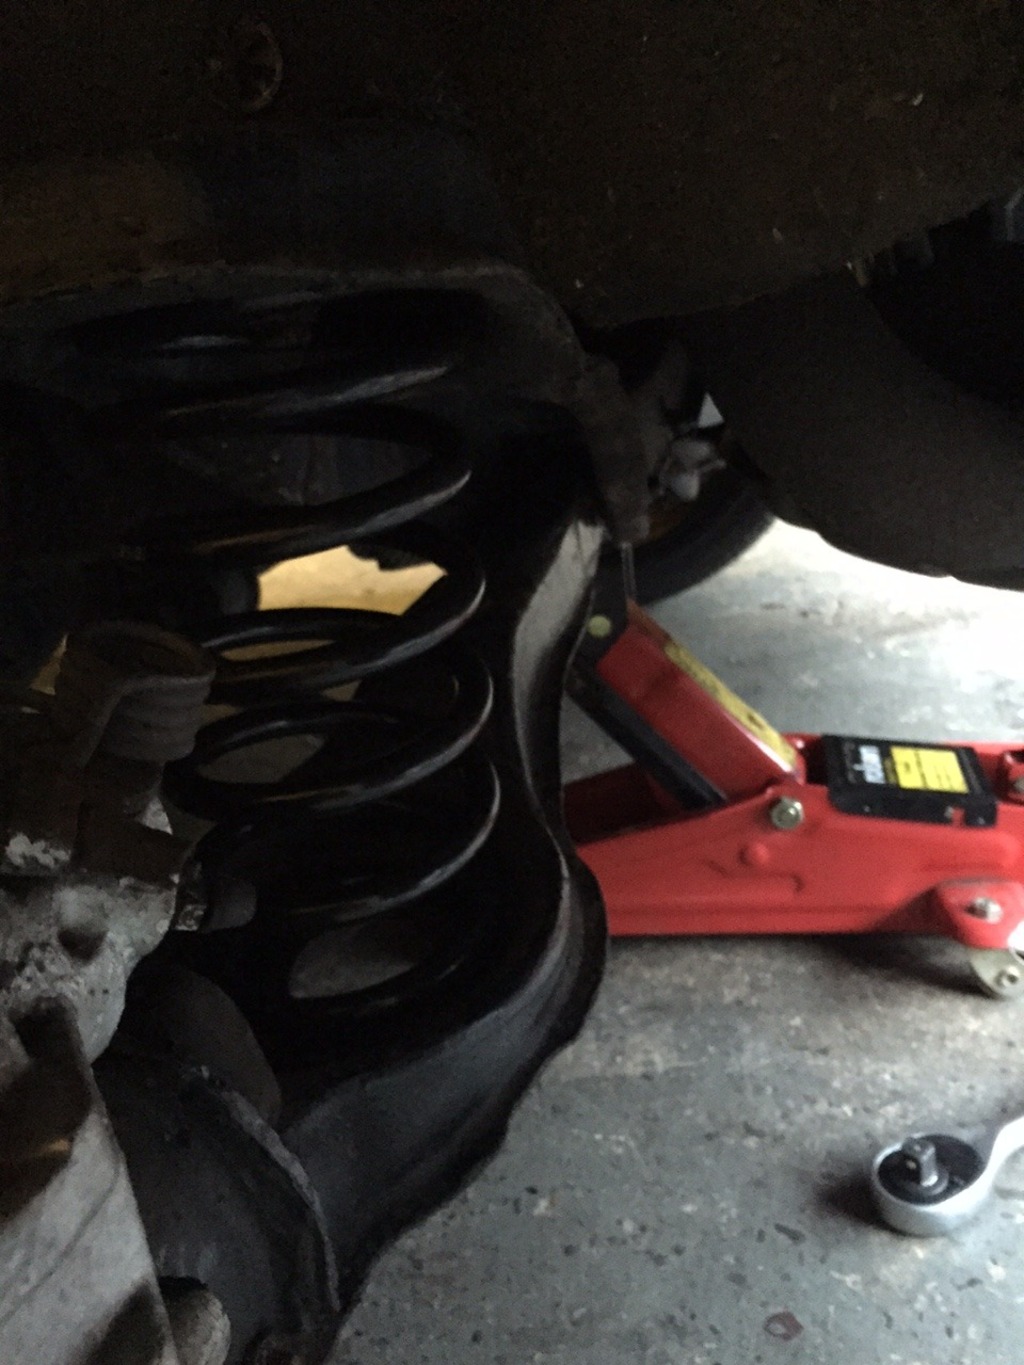
Front springs are also on along with the 20mm rear spacers. (Pictures soon).
Next up will be a set of genuine carbon fibre sill plates and getting the scuttle panel done gloss black to match the rest.
Thanks for looking!


Had to buy some longer locking wheel nuts as the studs on the spacers are slightly longer;

I then got some Eibach lowering springs along with new genuine front and rear suspension top mounts for a freshen up when fitting;


Got the rears fitted straight away;

Also got the rear discs and pads changed, they were a nightmare as the centres of the disc had been painted before so they were well attached to the hub;


Also another picture of the springs in;

Front springs are also on along with the 20mm rear spacers. (Pictures soon).
Next up will be a set of genuine carbon fibre sill plates and getting the scuttle panel done gloss black to match the rest.
Thanks for looking!


Thread Starter
15000
Joined: May 2016
Posts: 39
Likes: 1
From: Birmingham
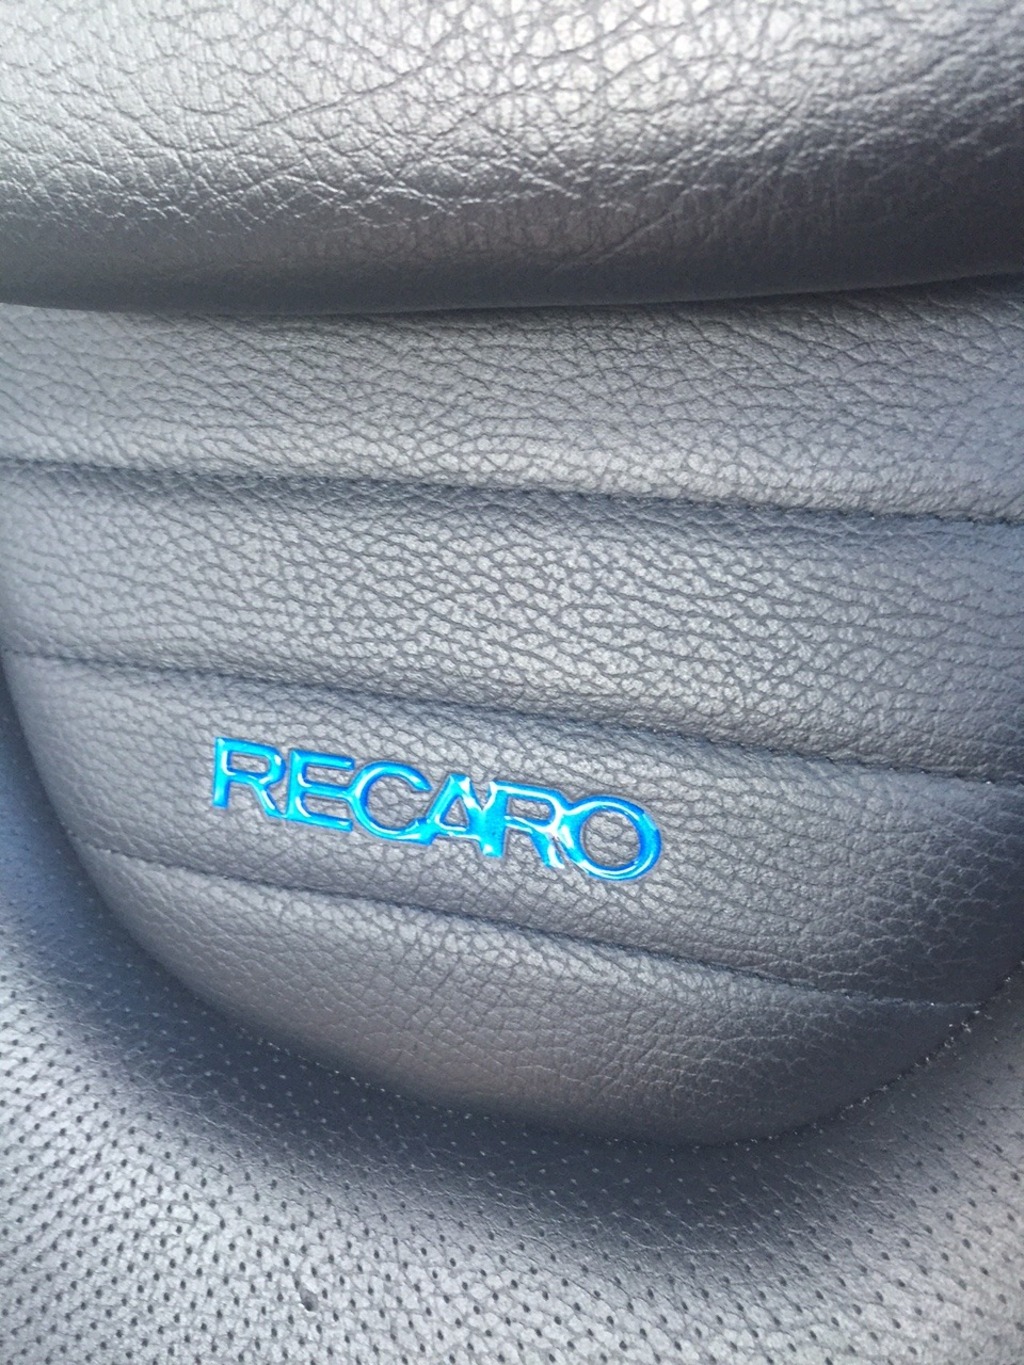
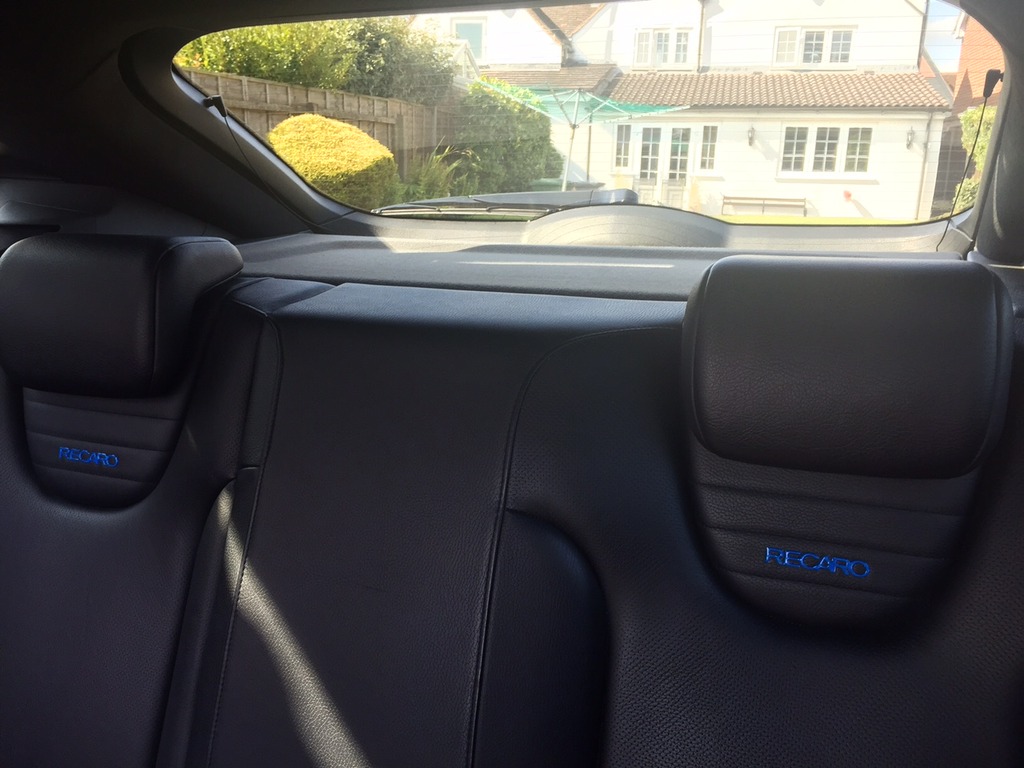
Bit of an interior update;
Got these Gel RECARO seat inlays. They make a massive difference to the interior in my opinion, breaks things up a little.


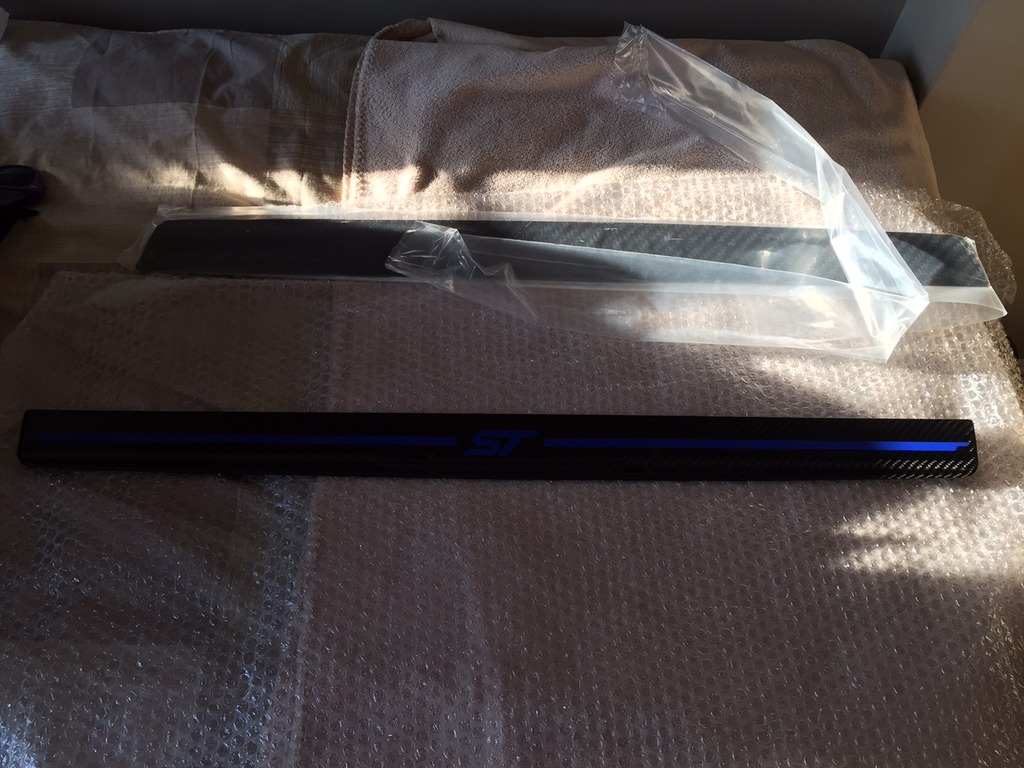
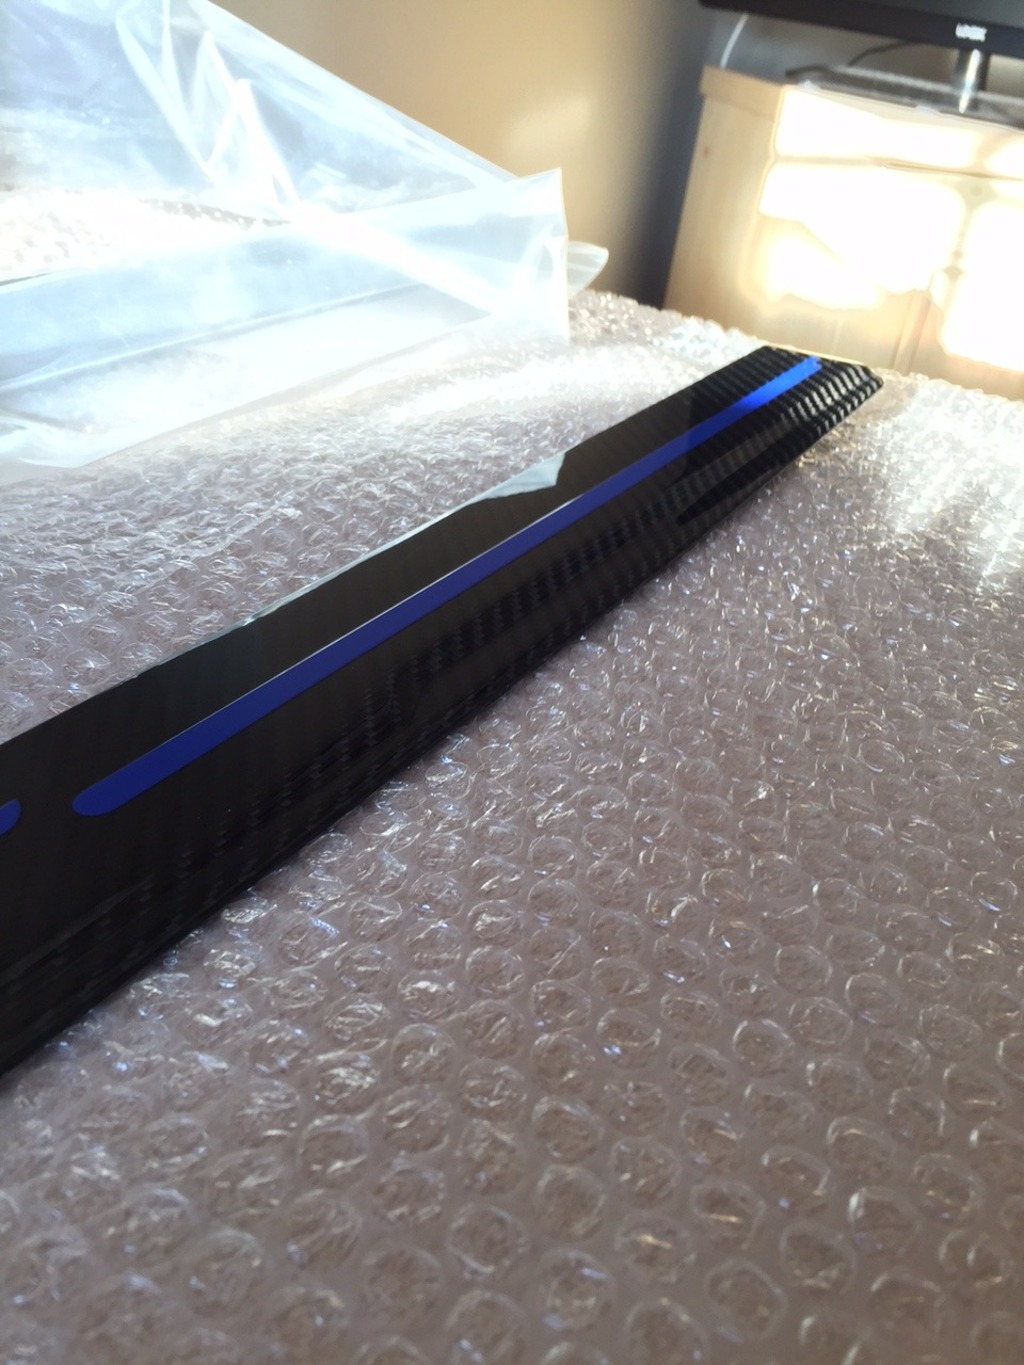
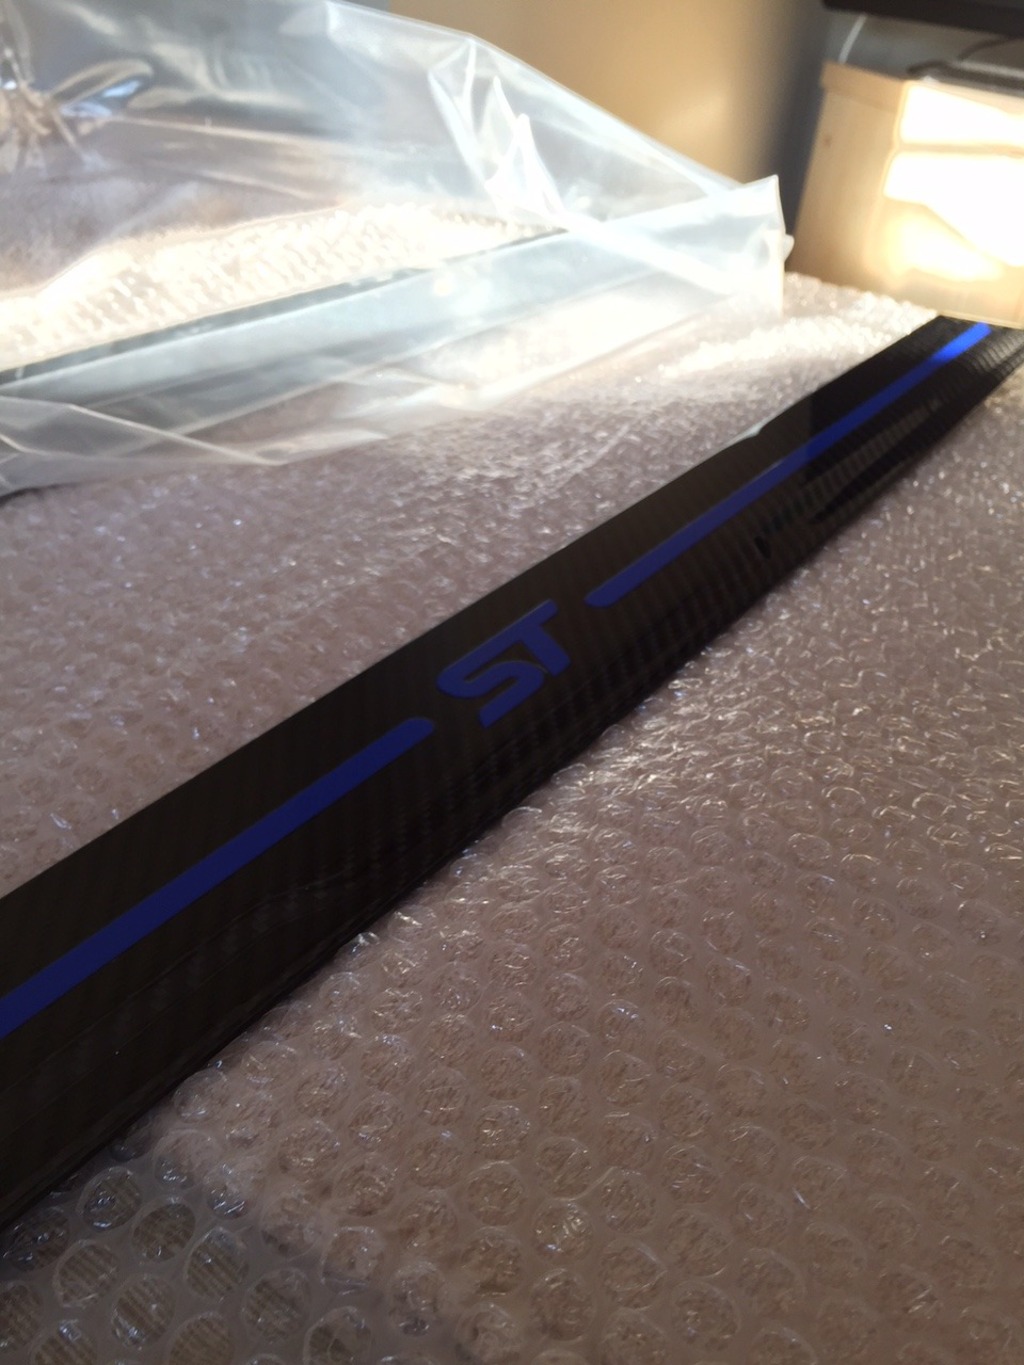
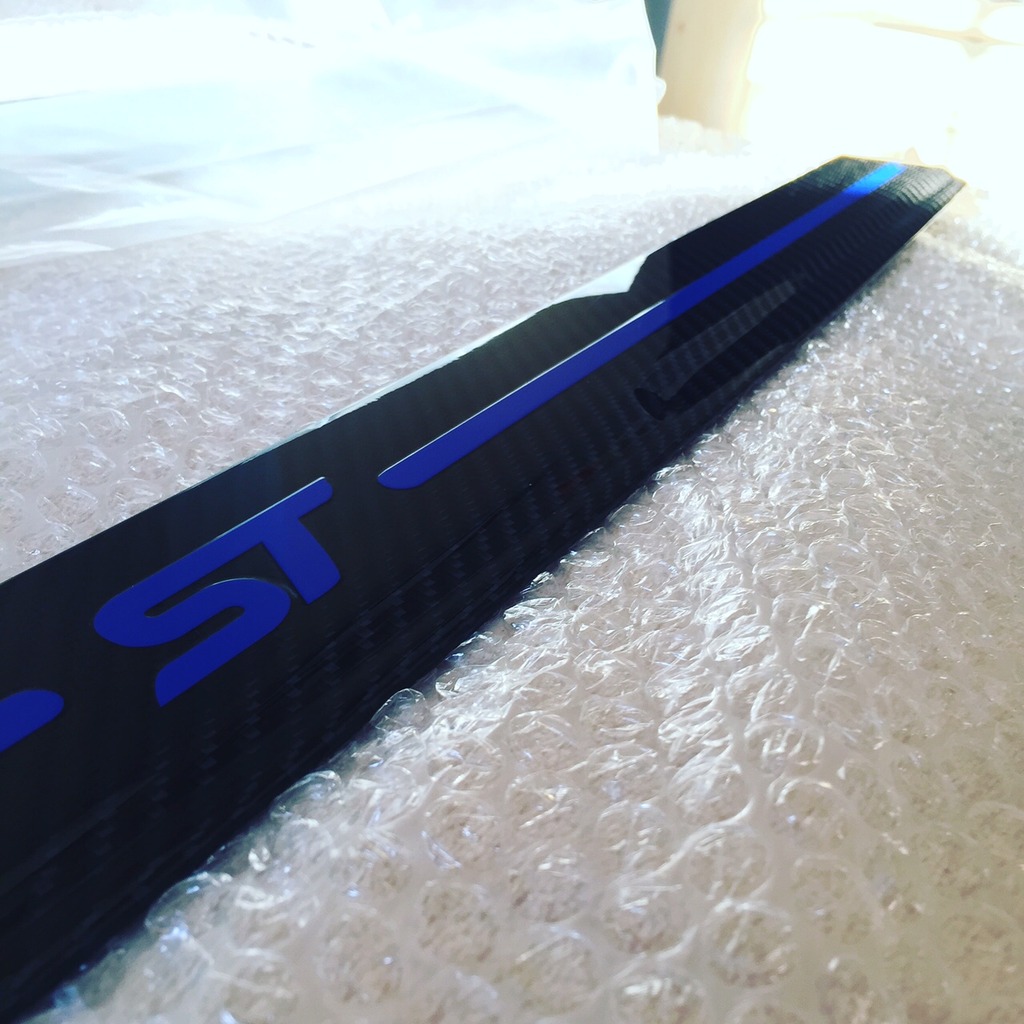
And the best update is these Carbon fibre sill plates from Streamline Carbon!
I love these and the quality is brilliant!;
Got these Gel RECARO seat inlays. They make a massive difference to the interior in my opinion, breaks things up a little.


And the best update is these Carbon fibre sill plates from Streamline Carbon!
I love these and the quality is brilliant!;


Thread Starter
15000
Joined: May 2016
Posts: 39
Likes: 1
From: Birmingham
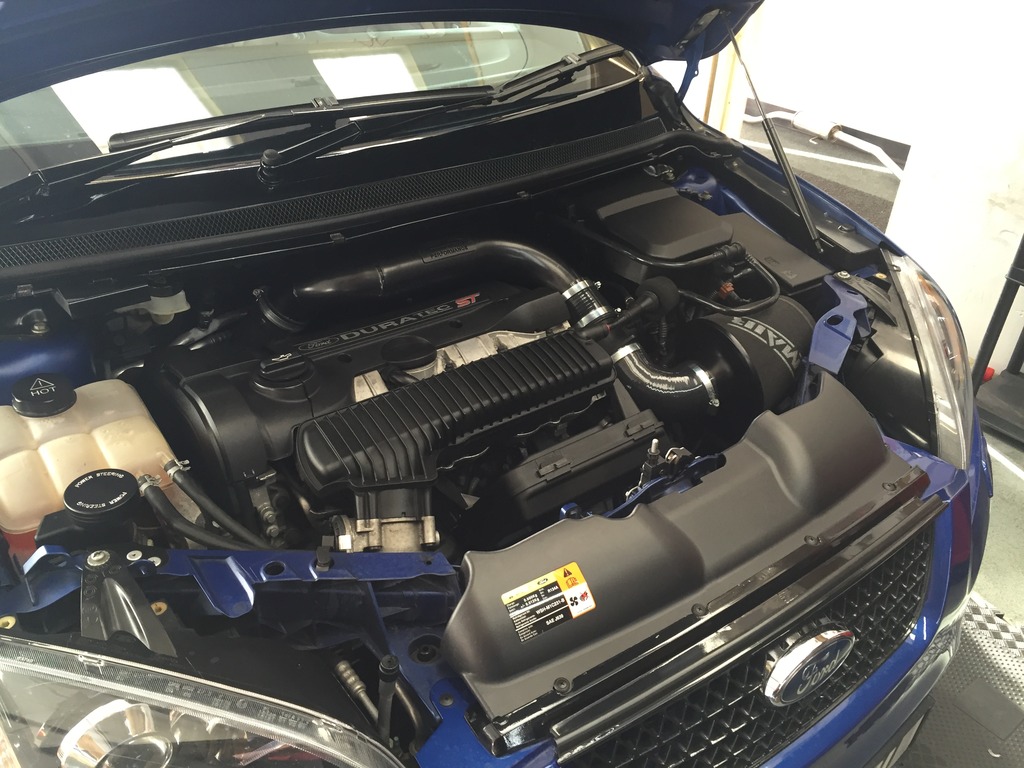
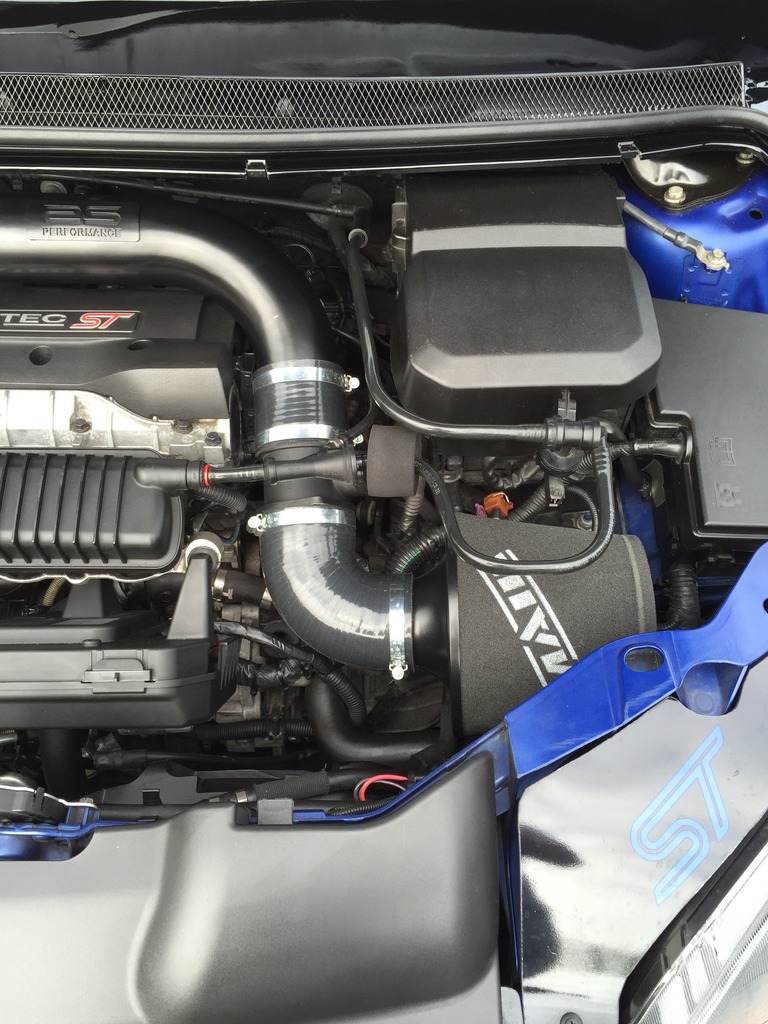
Then got myself a group A induction kit and RS ECU holder;
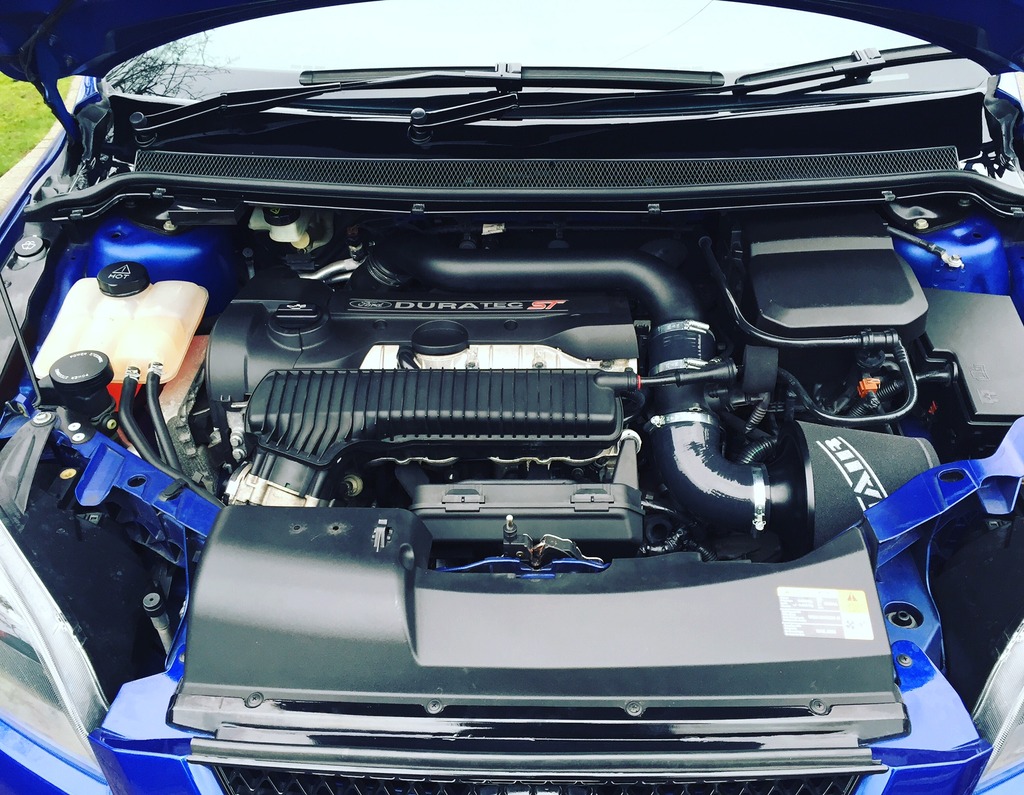
photo of the bonnet struts and I also fitted the later slam panel cover;
Car is going in for the "Block mod" and cambelt etc next Friday.
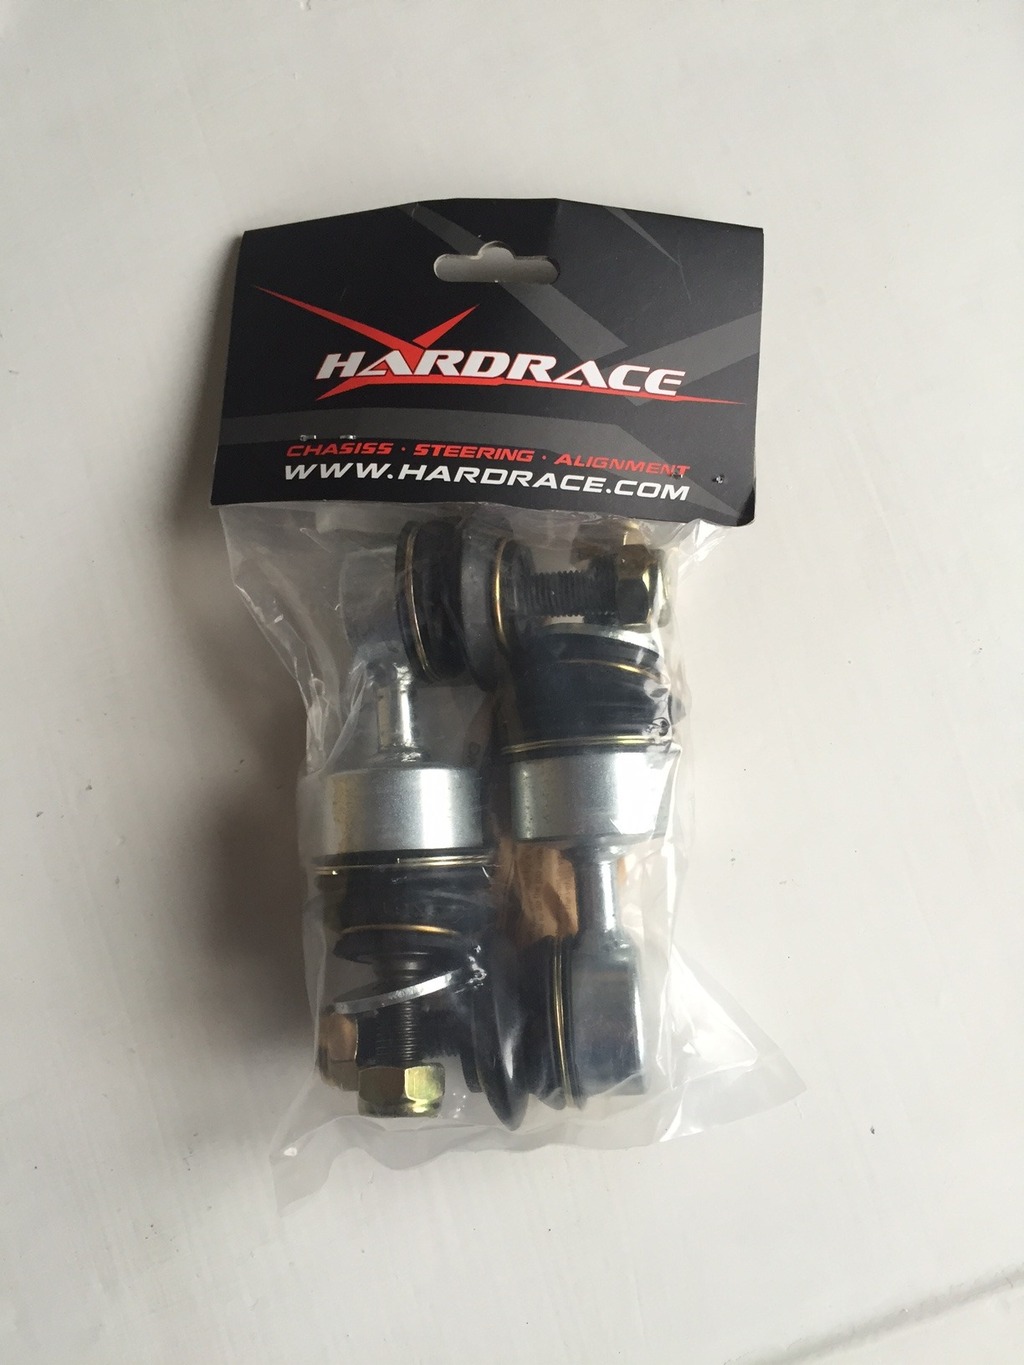
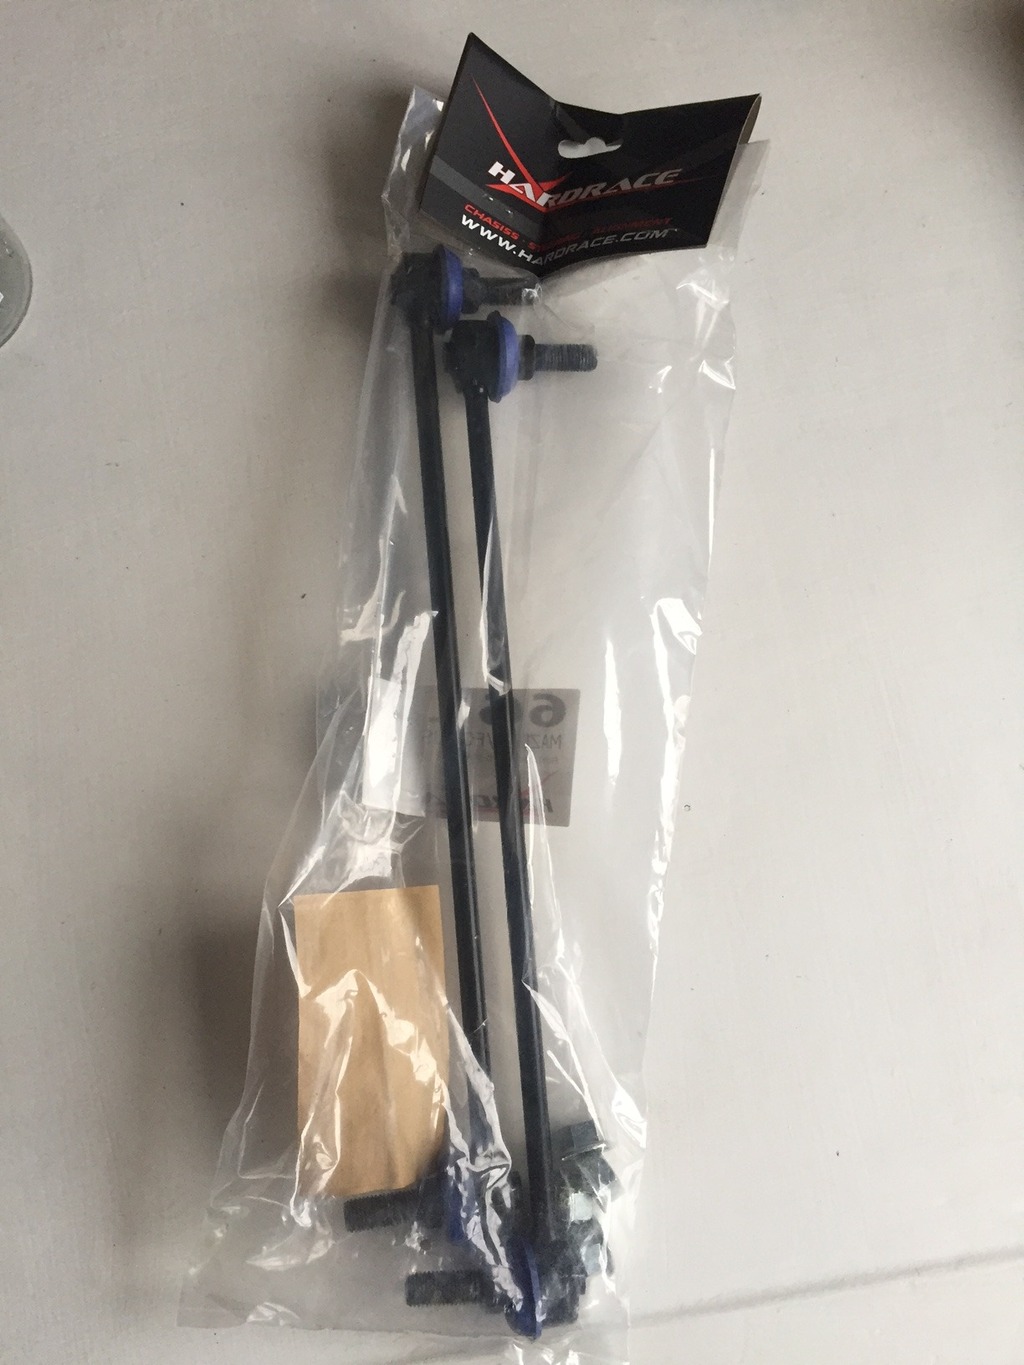
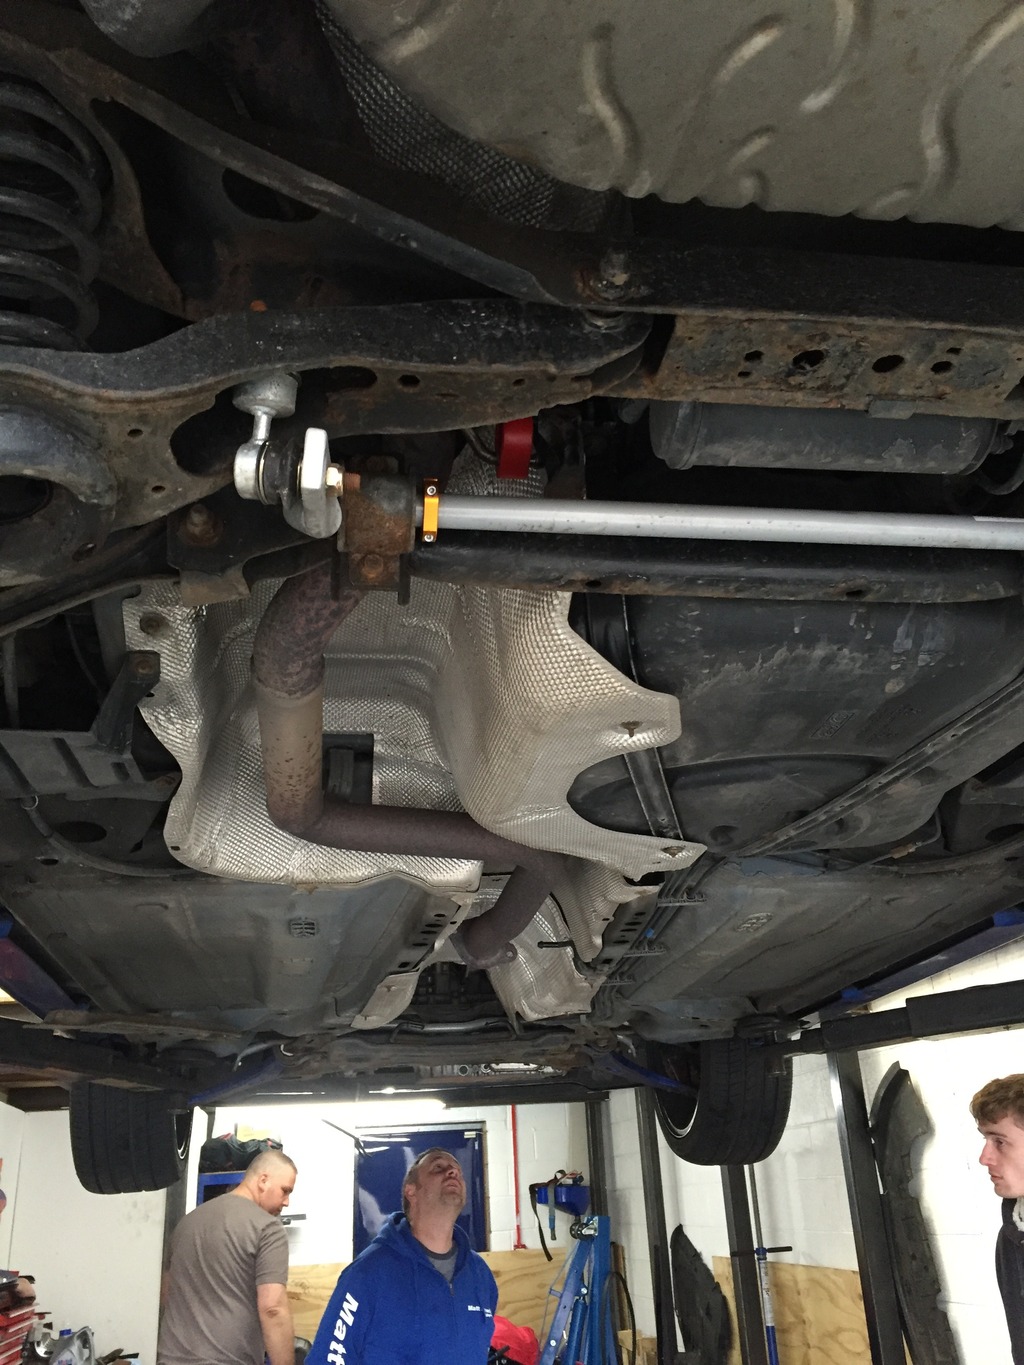
While it is there I am going to have the ARB's uprated along with these stiffer drop links;
Gave the car a well needed clean and fitted some LED's to the fog lights.

Also got these plastic covers of eBay for the door locks and hinge, look quite smart actually;
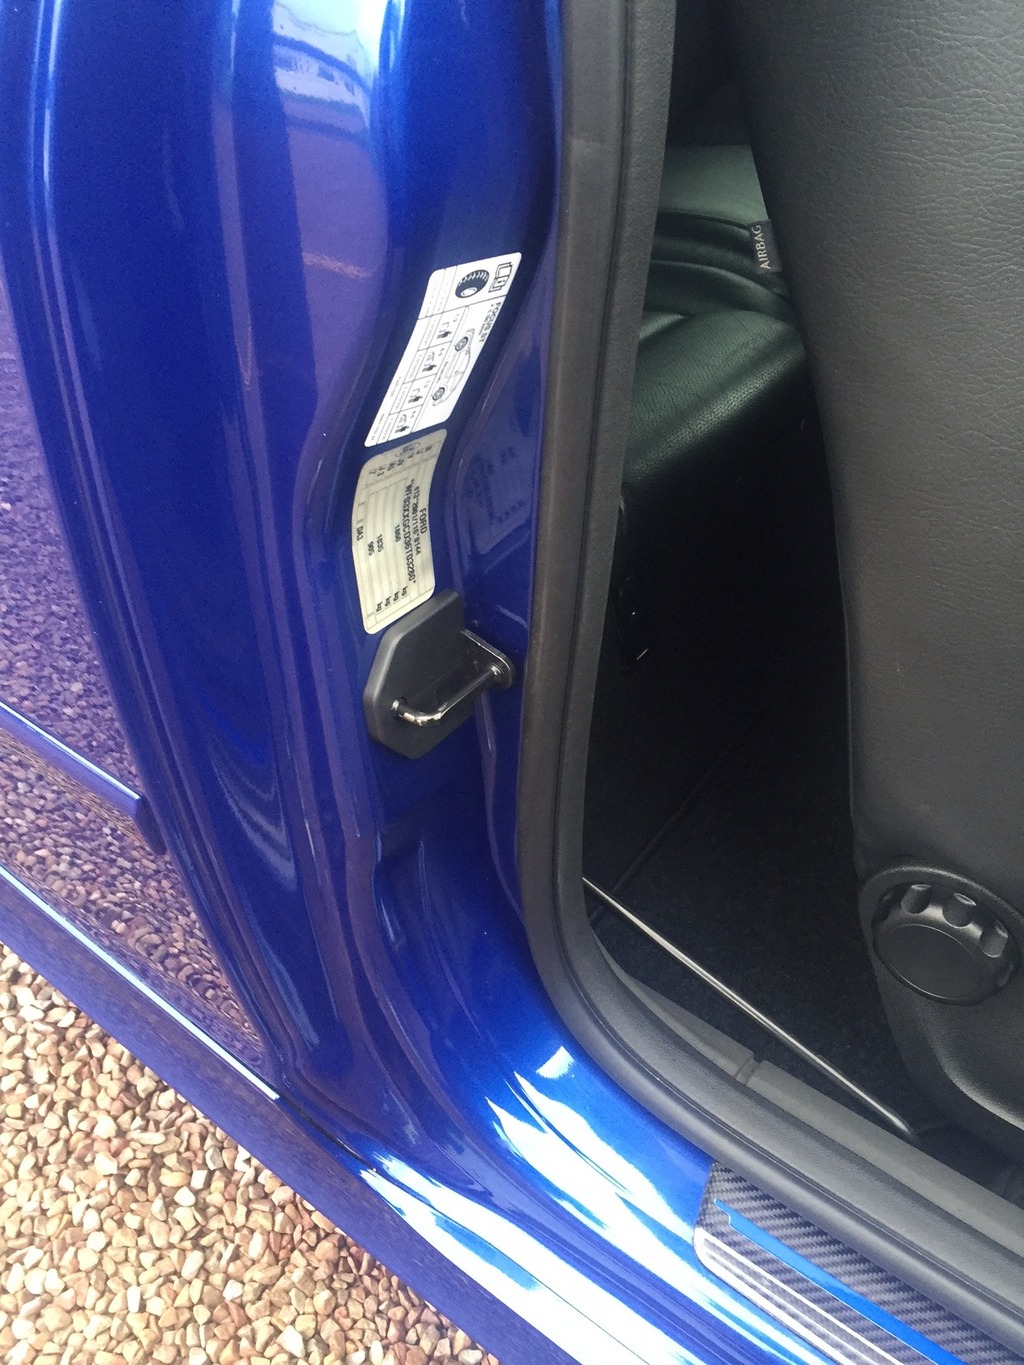
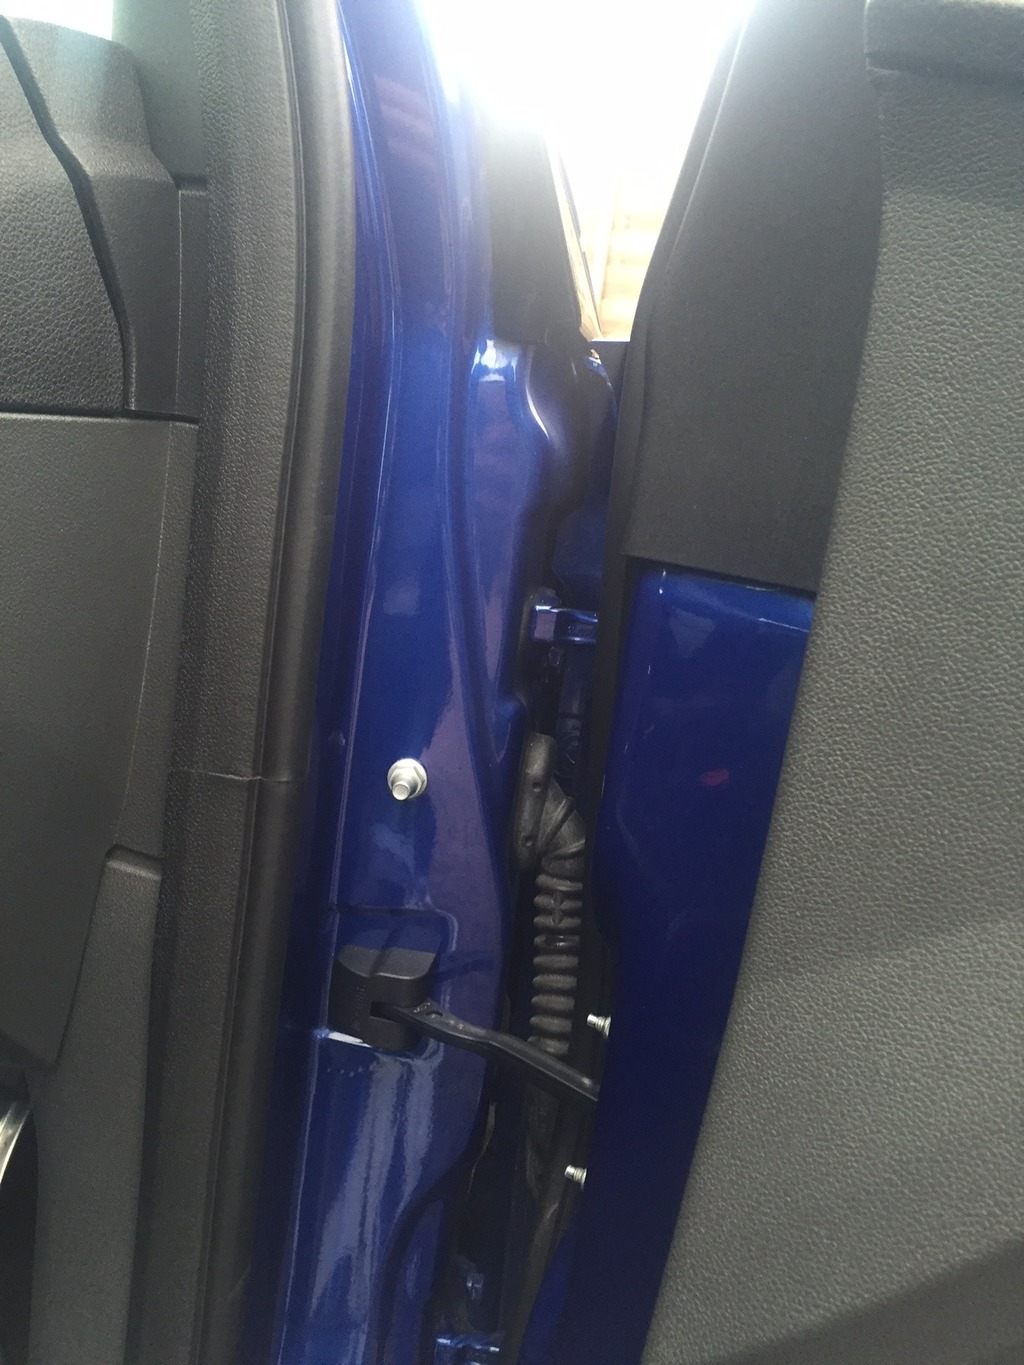

photo of the bonnet struts and I also fitted the later slam panel cover;

Car is going in for the "Block mod" and cambelt etc next Friday.
While it is there I am going to have the ARB's uprated along with these stiffer drop links;


Gave the car a well needed clean and fitted some LED's to the fog lights.


Also got these plastic covers of eBay for the door locks and hinge, look quite smart actually;


Thread Starter
15000
Joined: May 2016
Posts: 39
Likes: 1
From: Birmingham
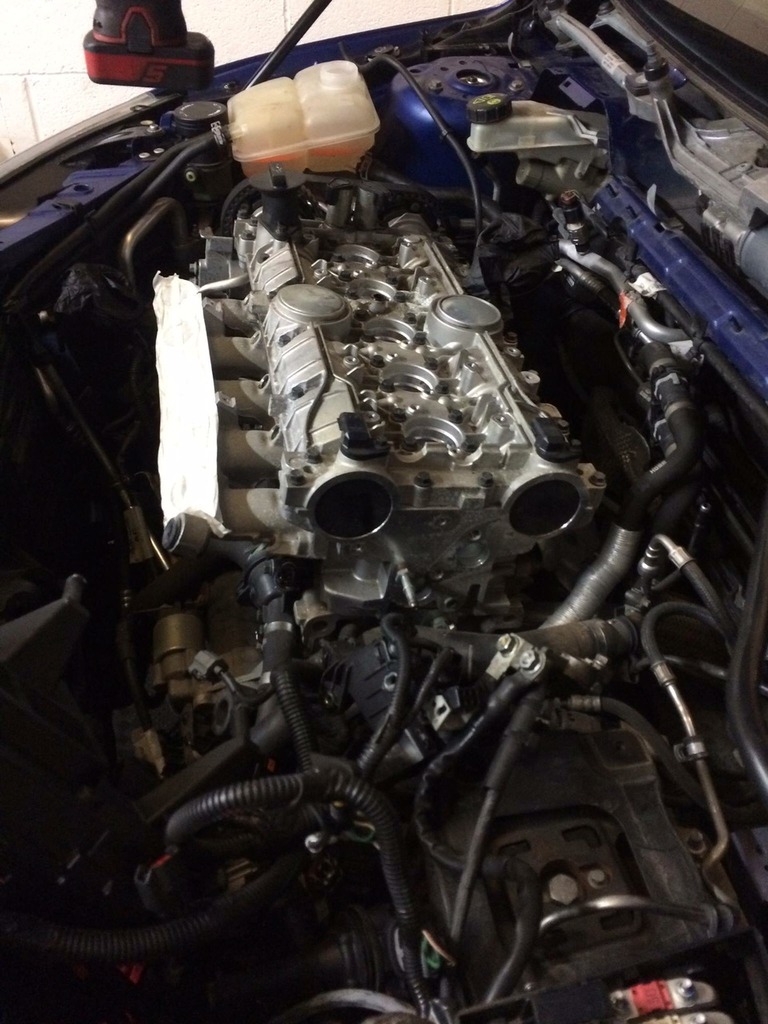
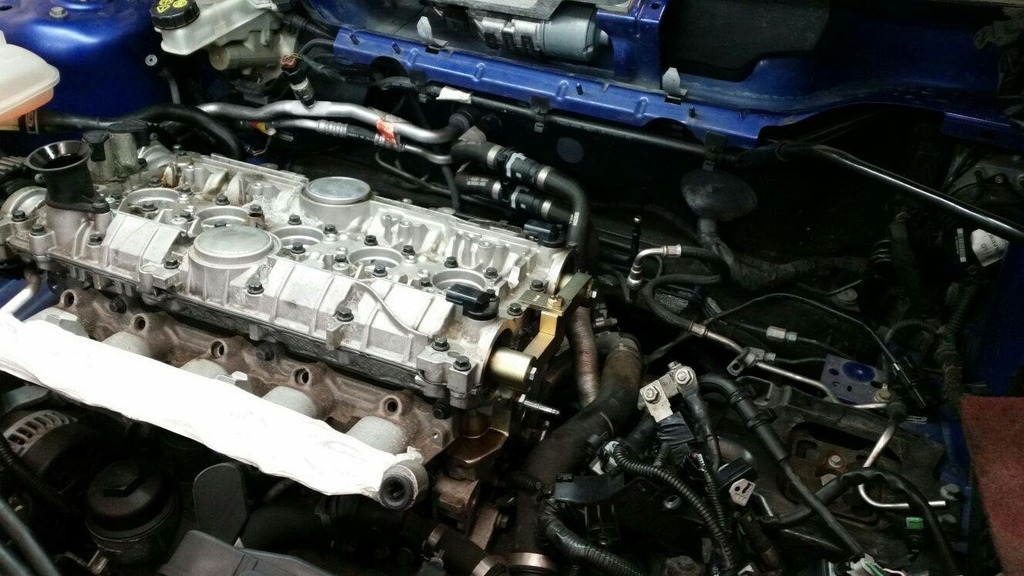
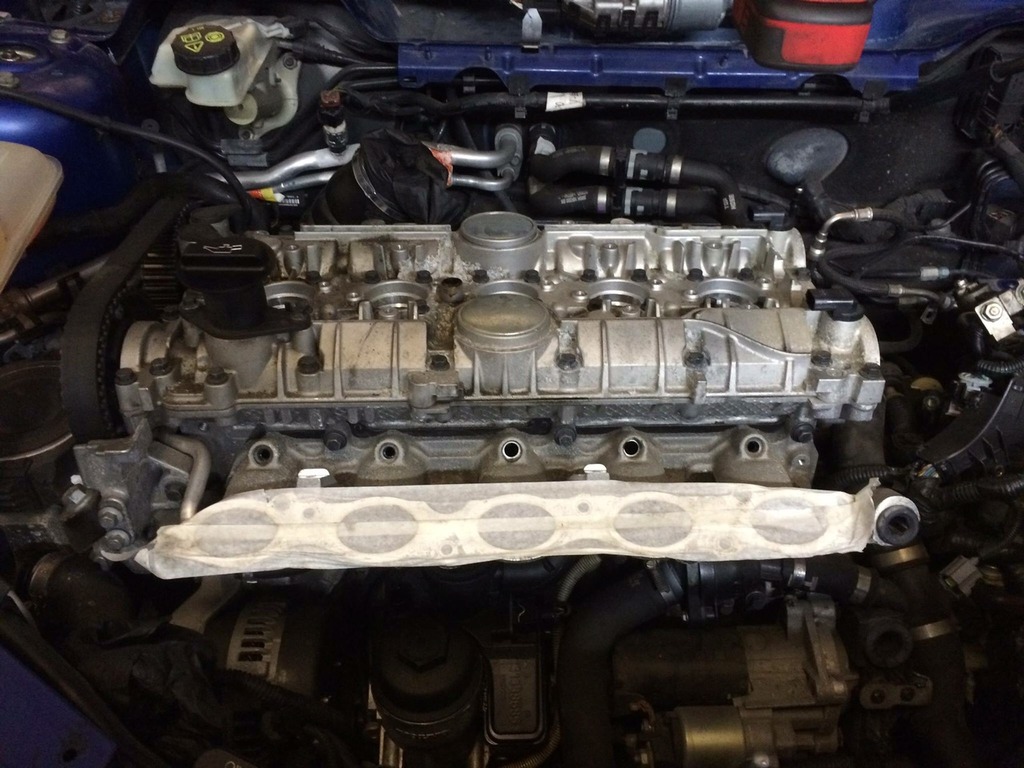
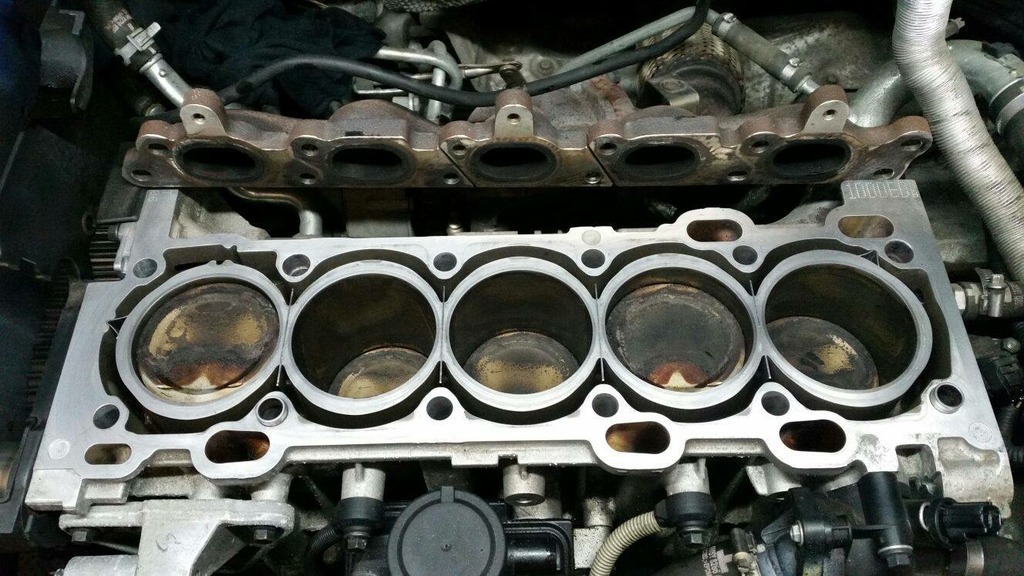
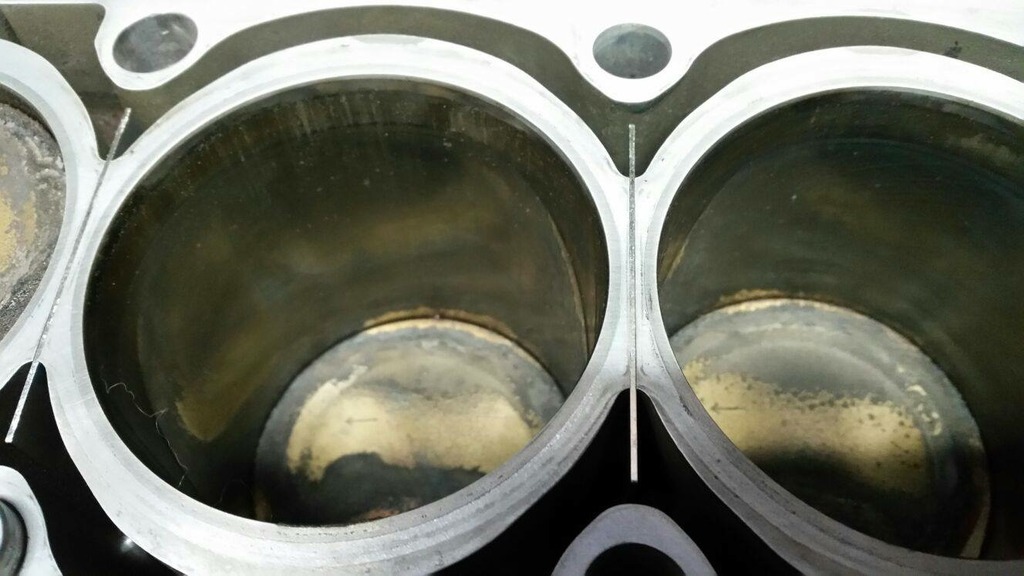
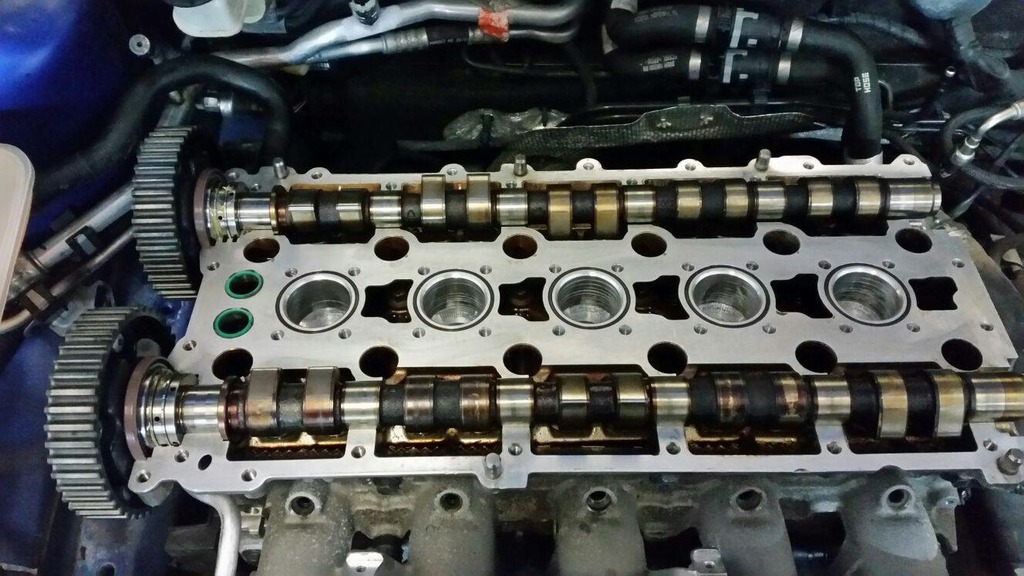
So it has been in for the block mod. This is basically adding shims between each of the cylinders to prevent them from cracking.
It also had;
Water pump
Cam belt and tensioner
Camshaft seals
Both aux belts
New head bolts
New head gasket
Inlet and Exhaust Gaskets
Fresh Antifreeze
Oil and Filter change
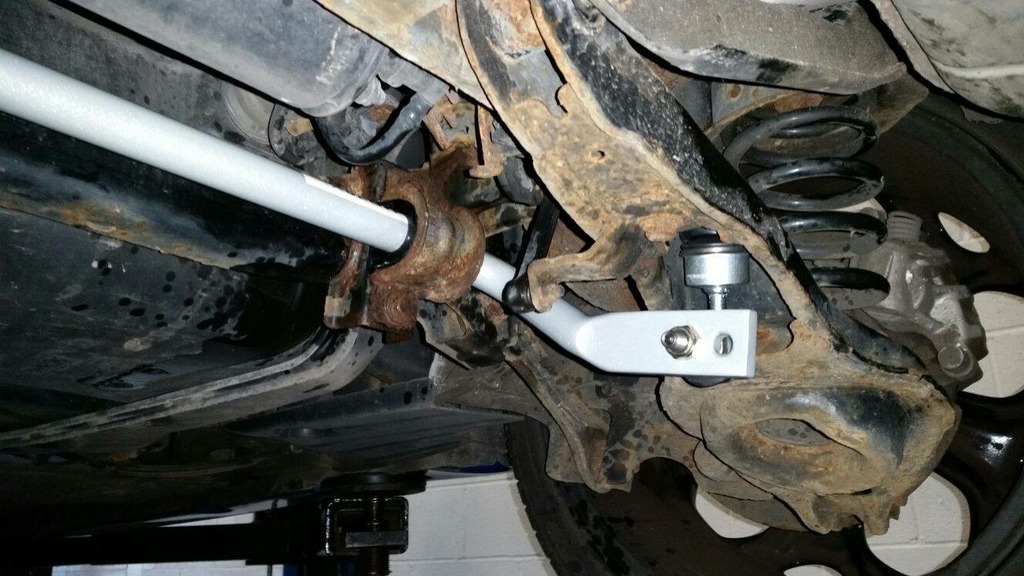
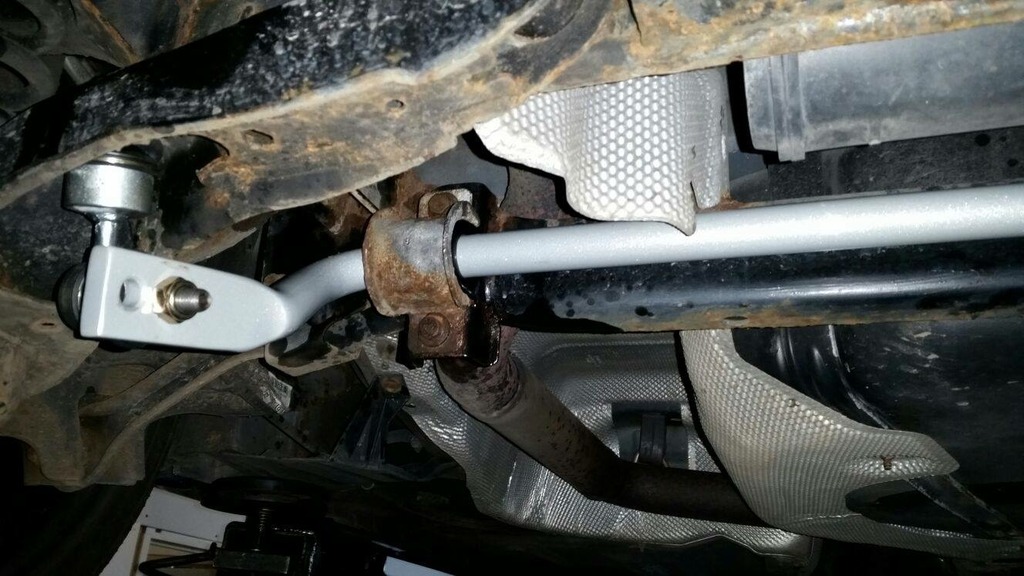
Also had a whiteline rear anti roll bar with polybushed D bushes and hardrace drop links, I am going back in for the same for the front very soon!
What a difference this makes to the handling its like a different car.
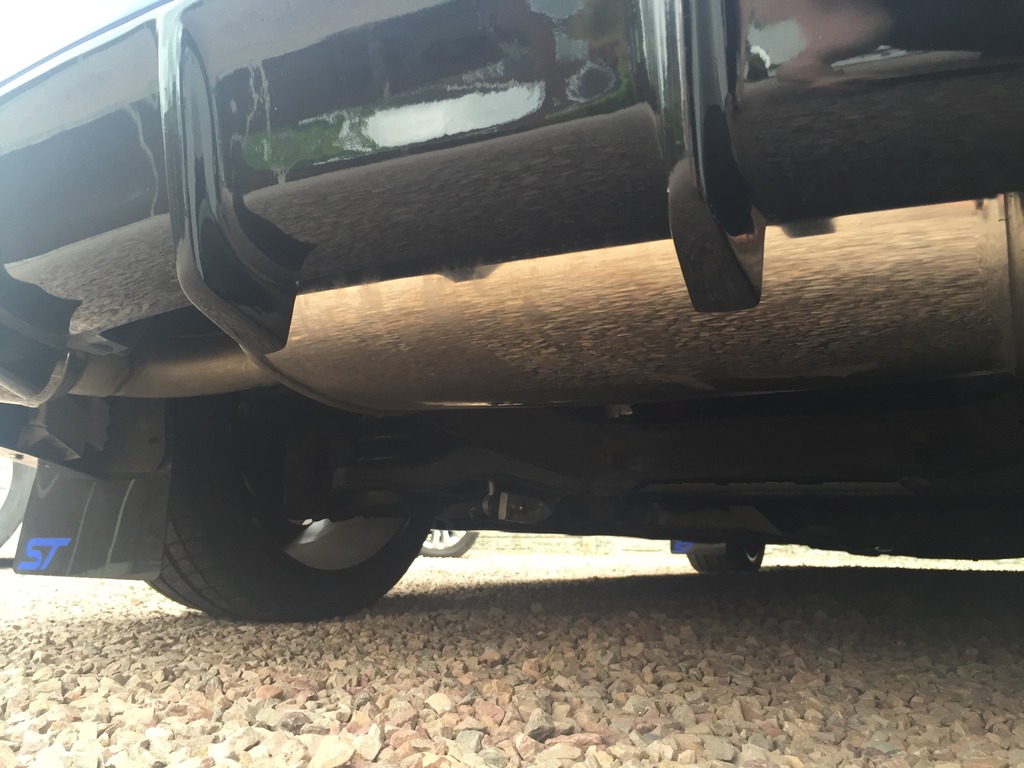
Needs an underseal again, been 2 years since i did it originally;
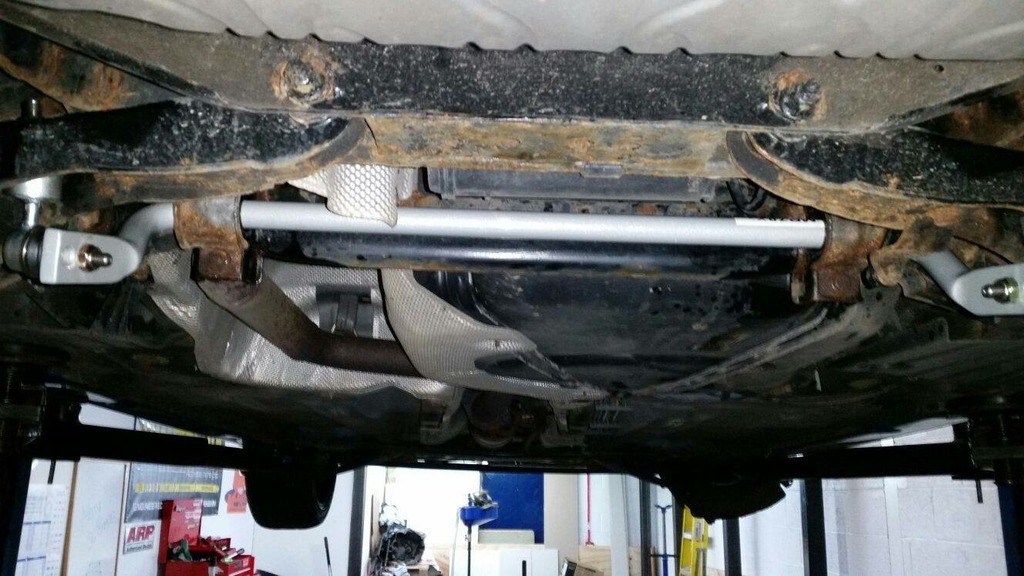
Also hoping to up grade the rest of the suspension arms and bushes soon as well
It also had;
Water pump
Cam belt and tensioner
Camshaft seals
Both aux belts
New head bolts
New head gasket
Inlet and Exhaust Gaskets
Fresh Antifreeze
Oil and Filter change


Also had a whiteline rear anti roll bar with polybushed D bushes and hardrace drop links, I am going back in for the same for the front very soon!
What a difference this makes to the handling its like a different car.
Needs an underseal again, been 2 years since i did it originally;


Also hoping to up grade the rest of the suspension arms and bushes soon as well
Thread Starter
15000
Joined: May 2016
Posts: 39
Likes: 1
From: Birmingham
Got the front whiteline anti roll bar fitted along with hard race droplinks, only got one photo;
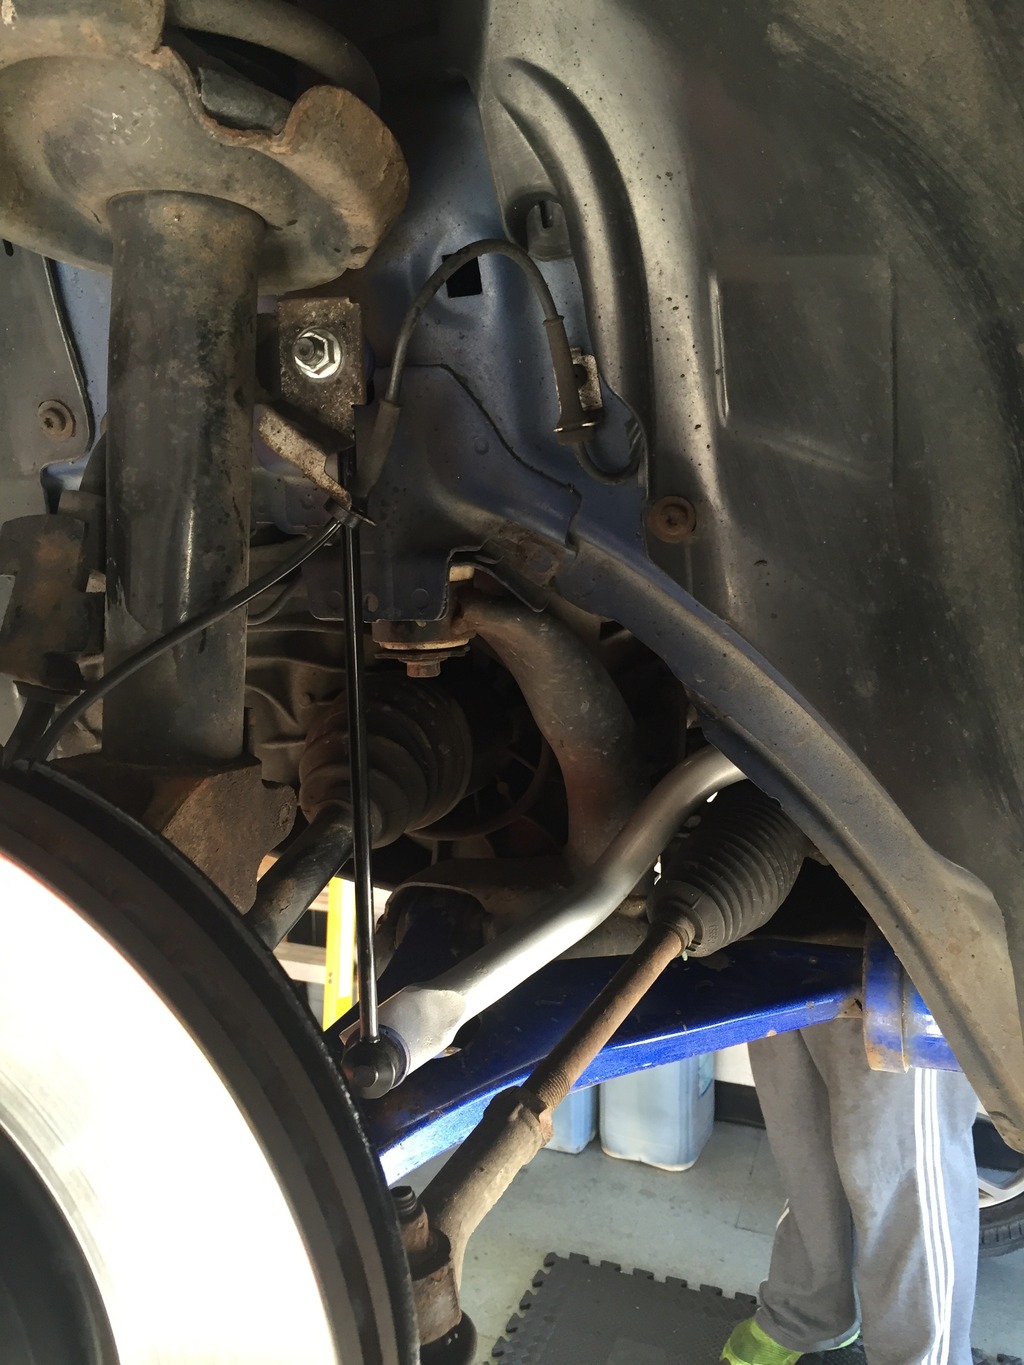
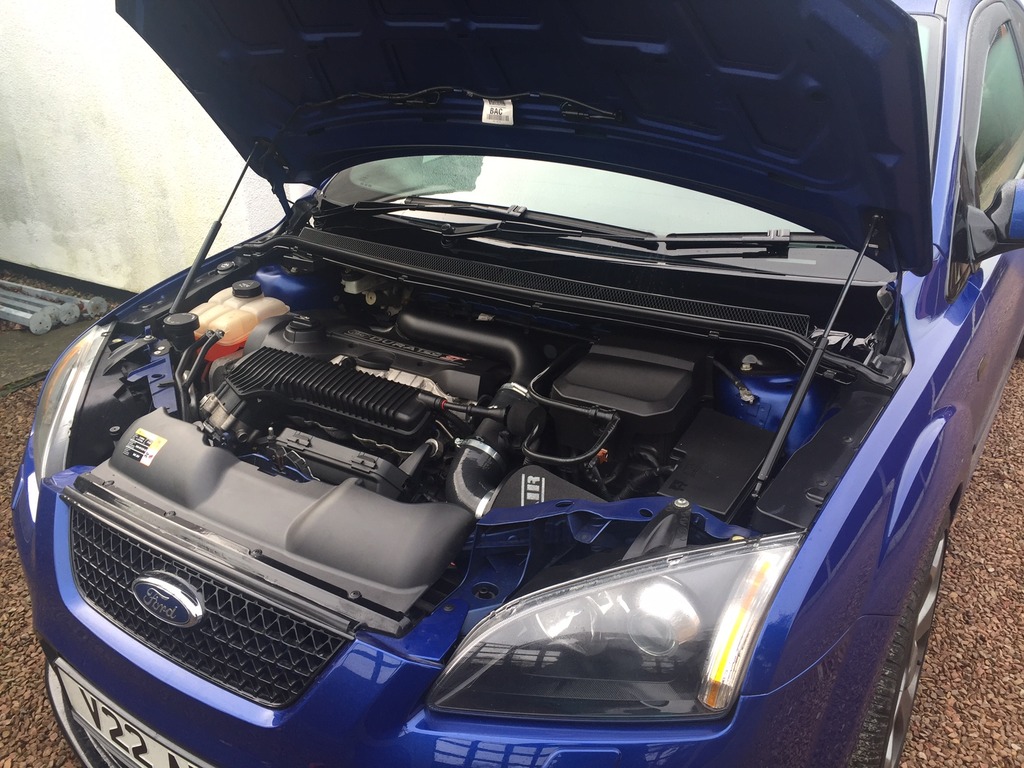
Random shot after a bit of an engine bay clean;
Got a 3" downpipe and decat to fit;

Gave it a really good clean and polish. Out came the rear lights;
and rear surrounds and fog light/reverse light;

Random shot after a bit of an engine bay clean;

Got a 3" downpipe and decat to fit;

Gave it a really good clean and polish. Out came the rear lights;

and rear surrounds and fog light/reverse light;


Thread Starter
15000
Joined: May 2016
Posts: 39
Likes: 1
From: Birmingham
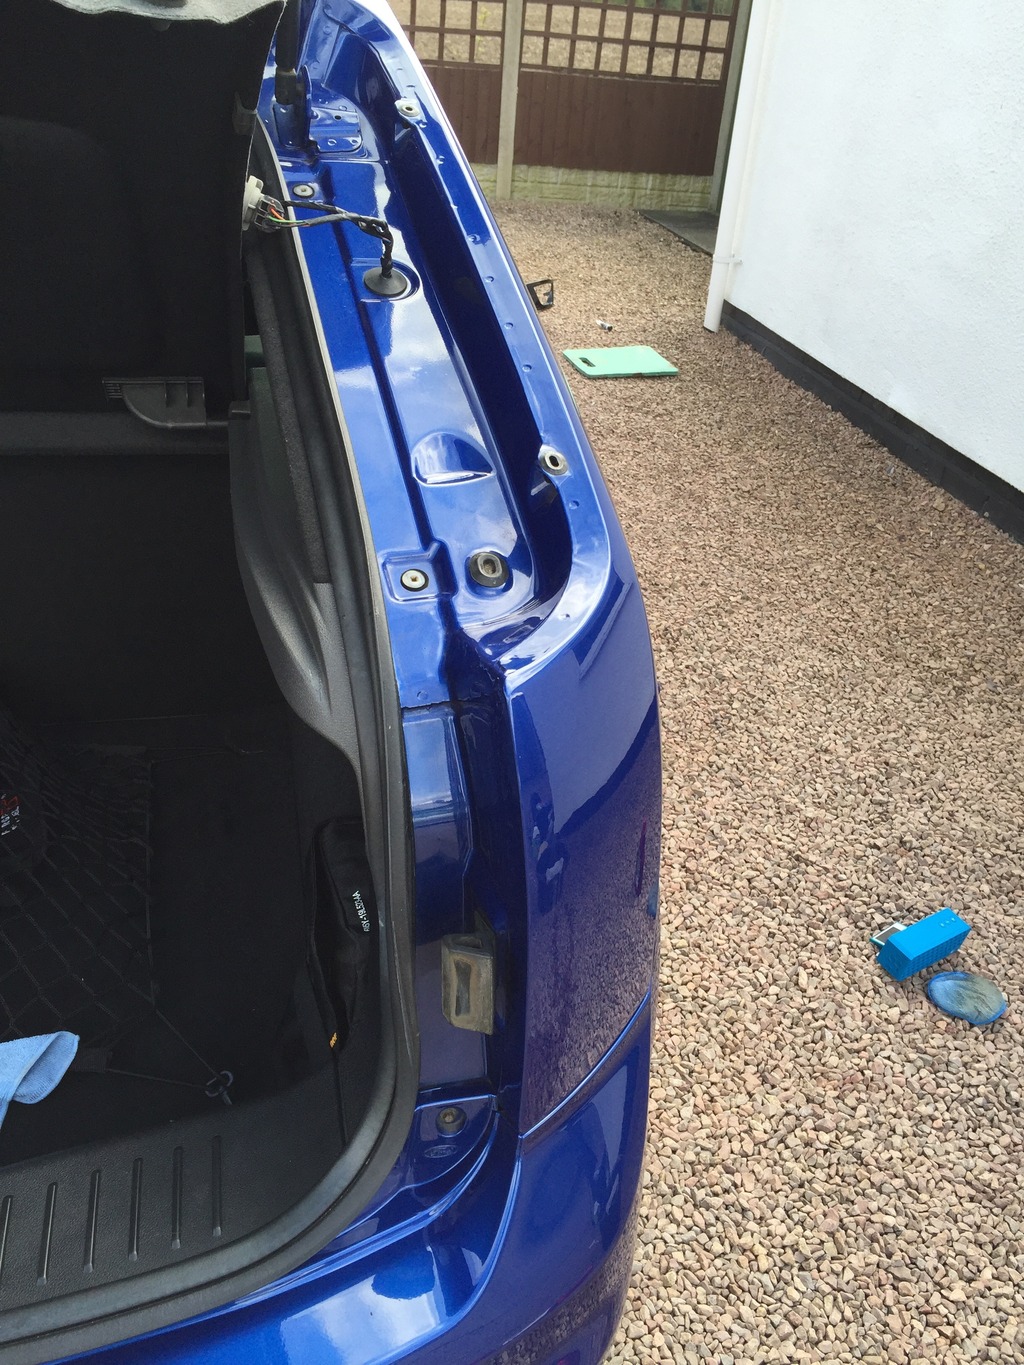
All back together;
Got this net for the boot. I plan to get a spare wheel and use this net to just hold it in the boot!
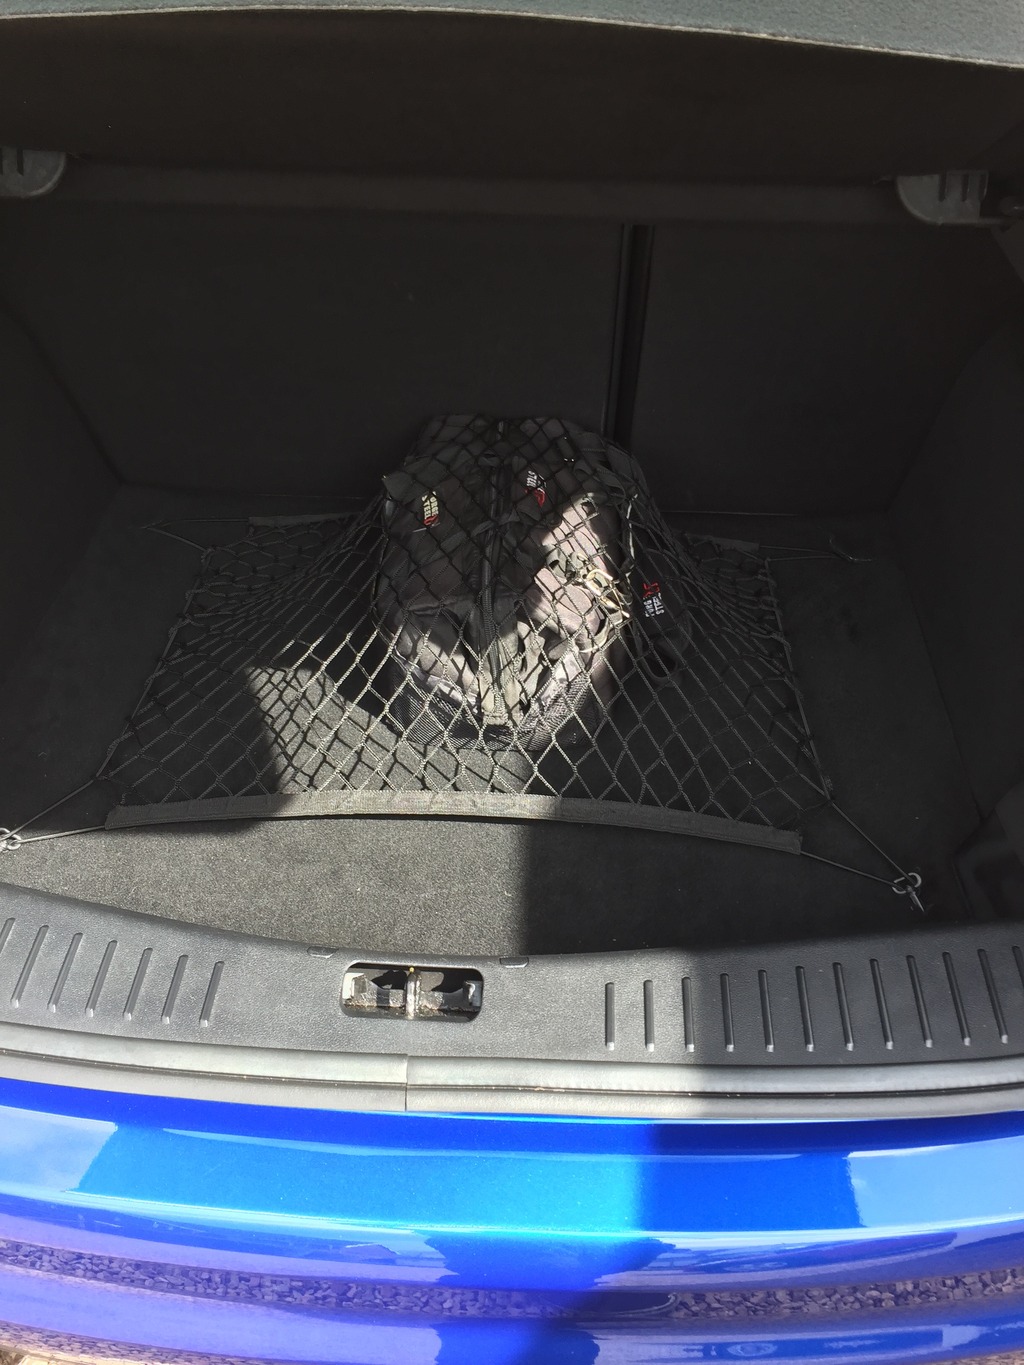
Fitted an LED reverse light;
Downpipe and decat will be fitted this weekend along with polybushed exhaust mounts.
I have also ordered all 5 big bore boost hoses which should help with the air flow and also an RS oil cooler.
Thanks for looking!


Got this net for the boot. I plan to get a spare wheel and use this net to just hold it in the boot!

Fitted an LED reverse light;

Downpipe and decat will be fitted this weekend along with polybushed exhaust mounts.
I have also ordered all 5 big bore boost hoses which should help with the air flow and also an RS oil cooler.
Thanks for looking!
Thread Starter
15000
Joined: May 2016
Posts: 39
Likes: 1
From: Birmingham
So quite an update;
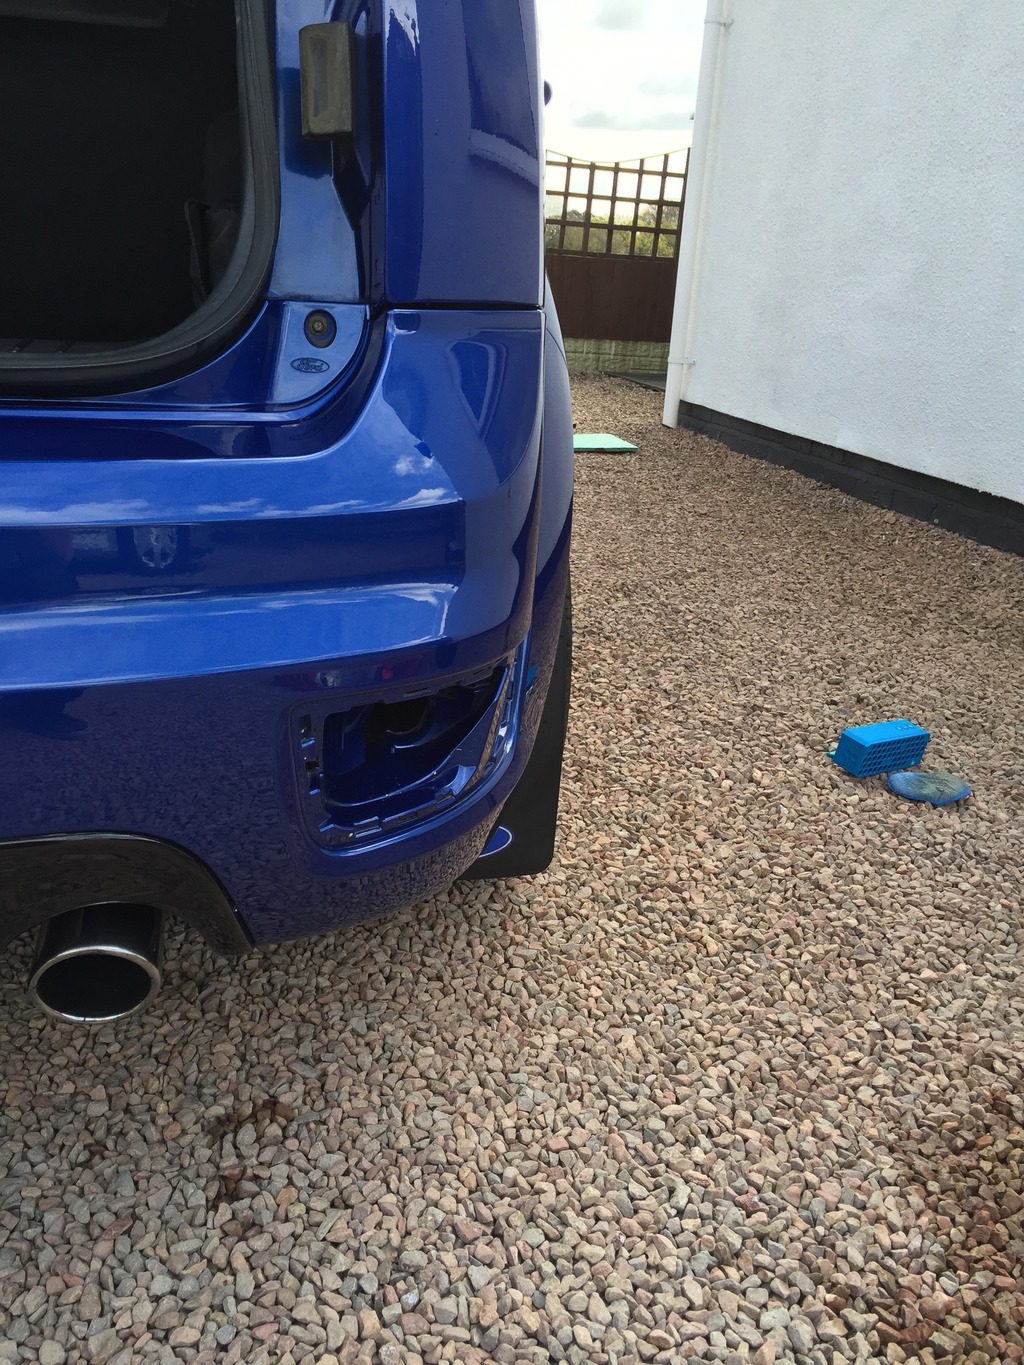
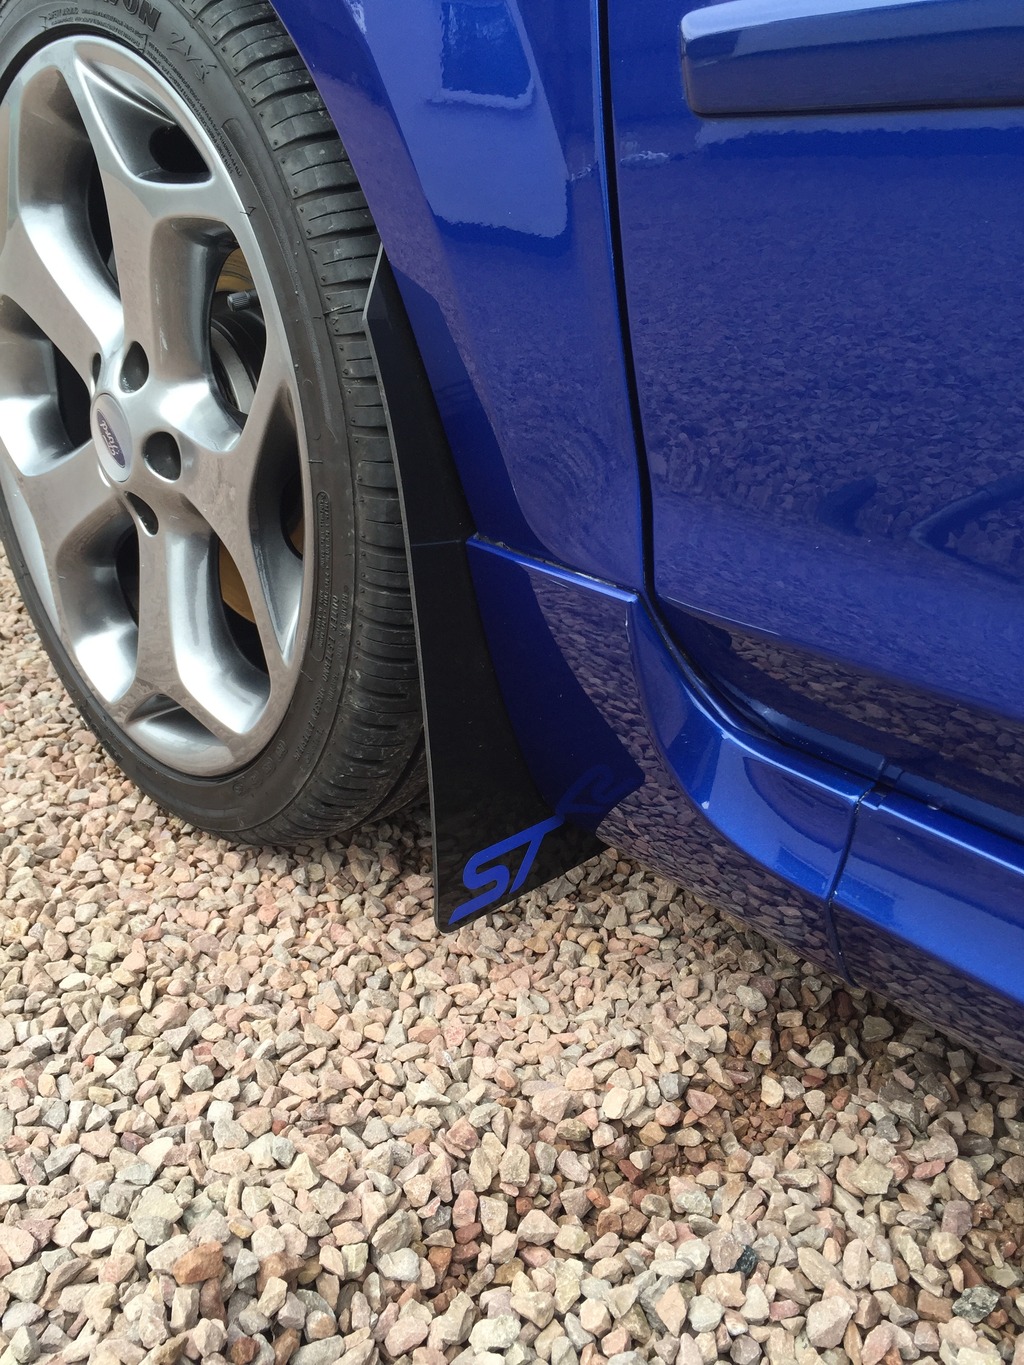
I got some new mudflaps for it, this protect a lot more of the bodywork which was the main reason for swapping;
While fitting these all the insides of the wheels and arches got a clean but i didn't get any pictures annoyingly. I also repainted the rear beam. it got quite close to the floor when jacked up;
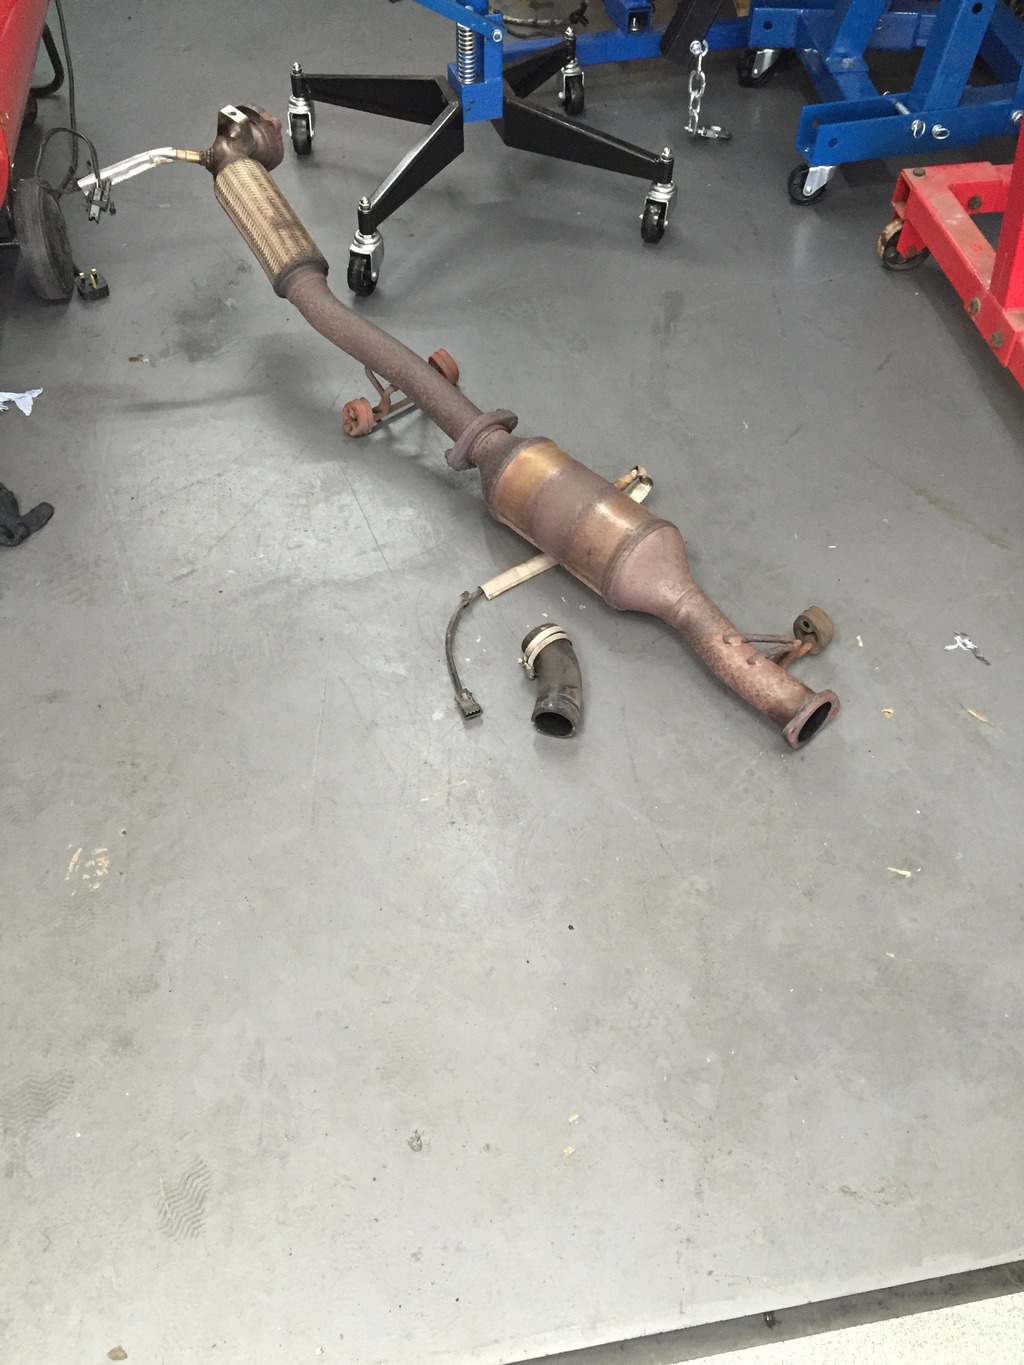
The downpipe and decat also got fitted, old parts off;
New parts on along with polybushed exhaust mounts;
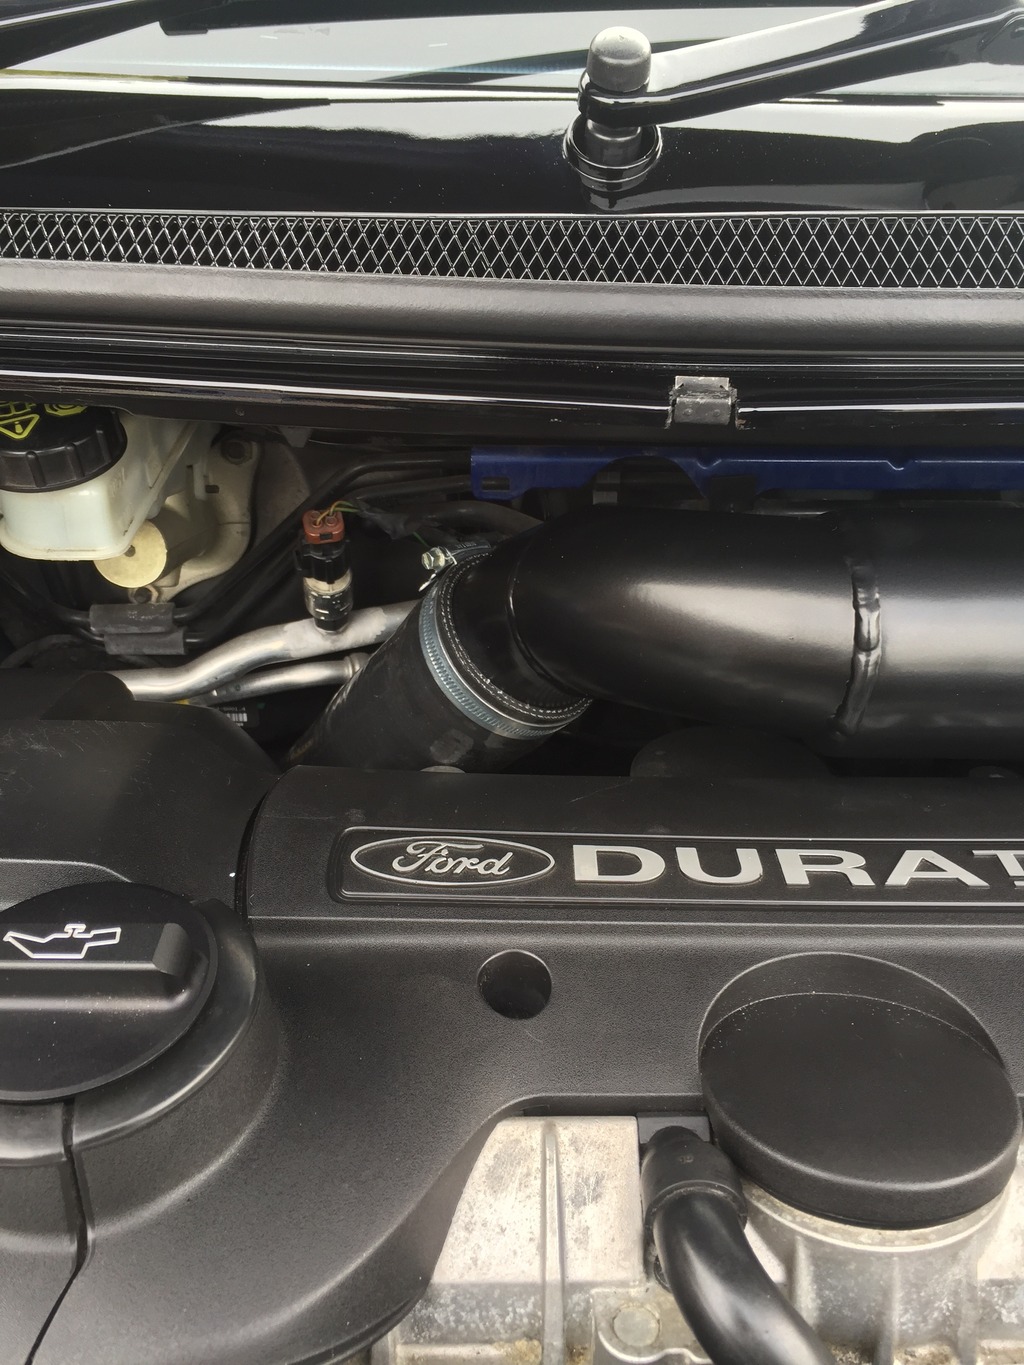
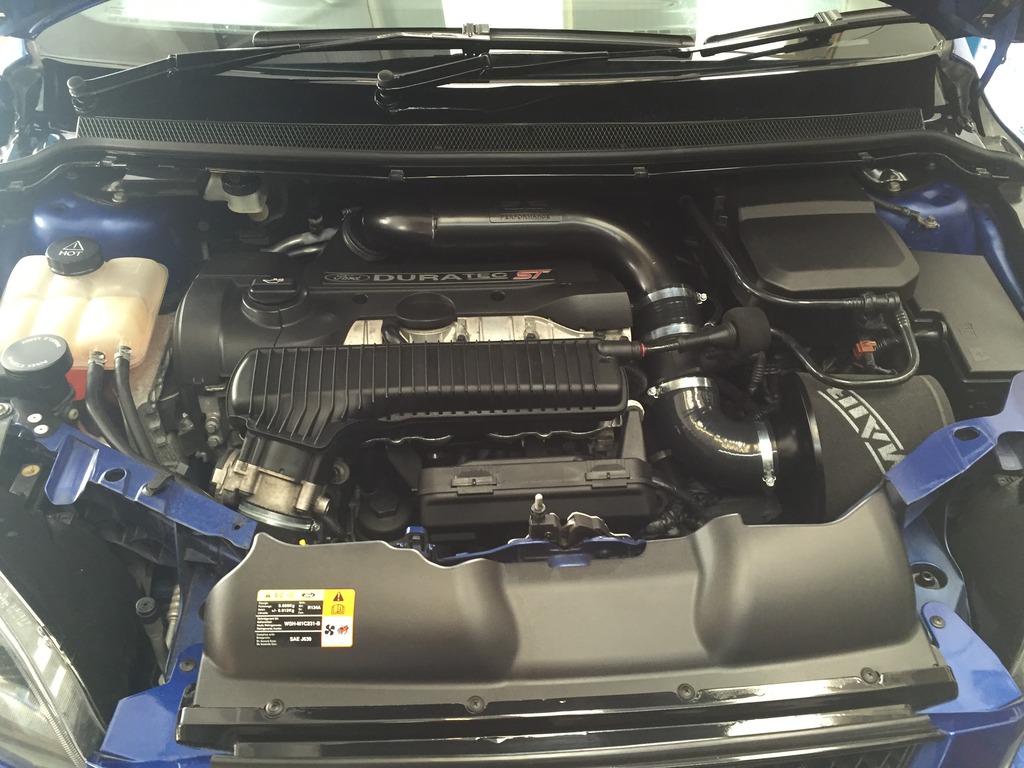
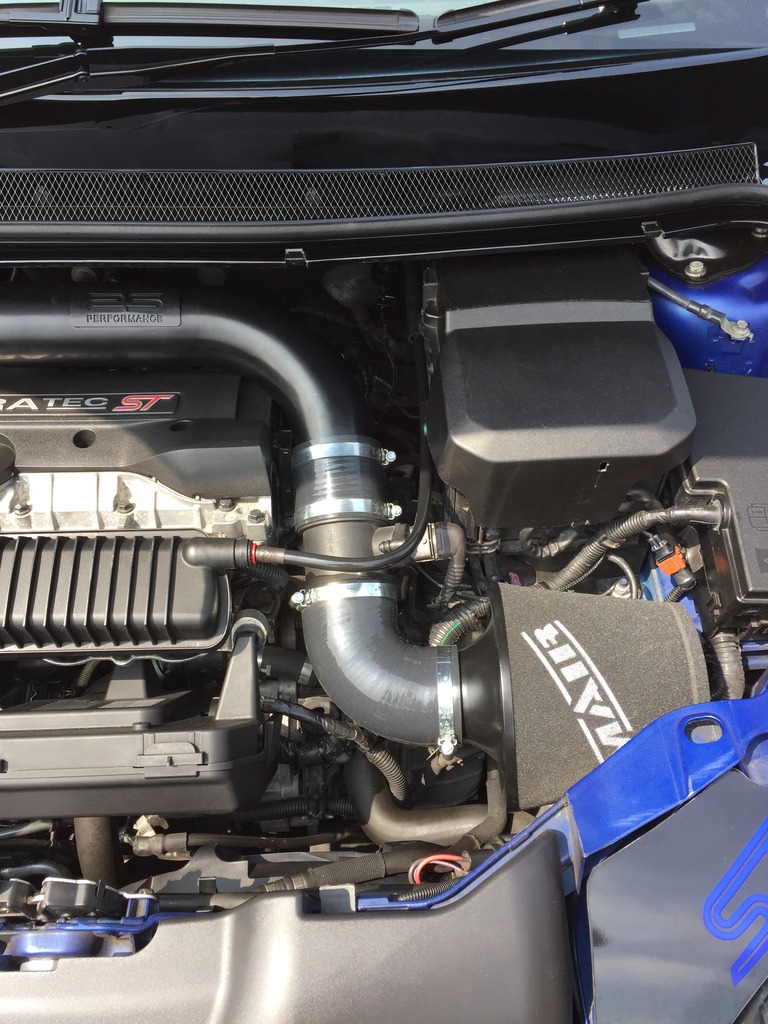
I have also fitted a full set of silicone boost hoses in black to keep things subtle in the bay (need some photos of these) Also a cheeky purchase of an AS top induction pipe on black too;
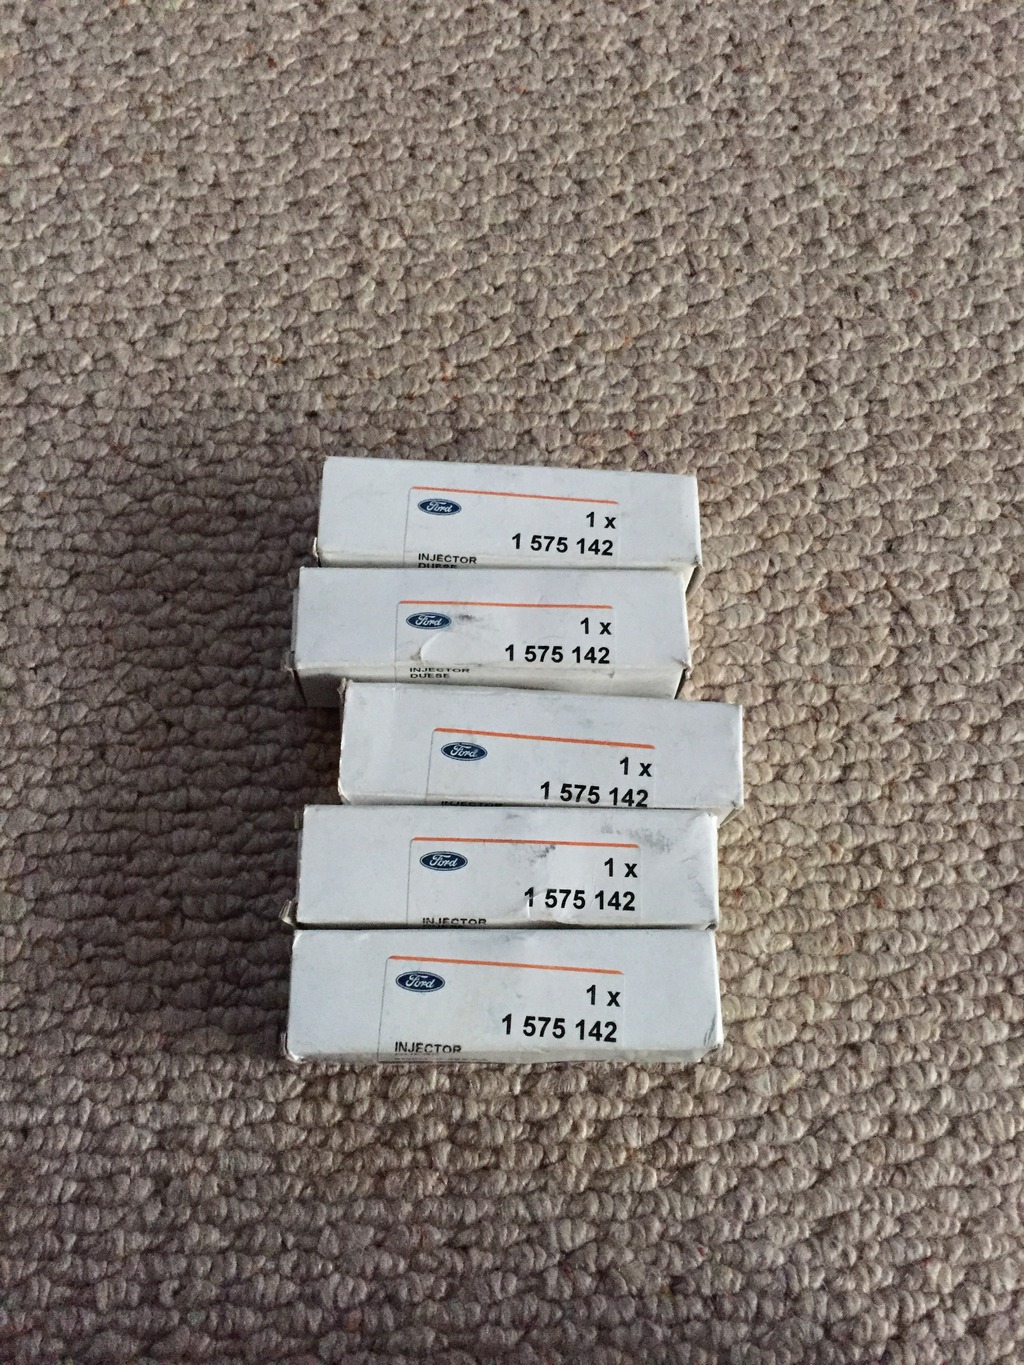
Also got some RS injectors to go with the new map;
I got some new mudflaps for it, this protect a lot more of the bodywork which was the main reason for swapping;


While fitting these all the insides of the wheels and arches got a clean but i didn't get any pictures annoyingly. I also repainted the rear beam. it got quite close to the floor when jacked up;

The downpipe and decat also got fitted, old parts off;

New parts on along with polybushed exhaust mounts;


I have also fitted a full set of silicone boost hoses in black to keep things subtle in the bay (need some photos of these) Also a cheeky purchase of an AS top induction pipe on black too;


Also got some RS injectors to go with the new map;

Thread Starter
15000
Joined: May 2016
Posts: 39
Likes: 1
From: Birmingham
Finally got the RS oil cooler fitted. I also replaced both the small pipes that attach to it as they are known for fraying once removed ;

I also fitted an SFS oil breather hose;
I attended Fiesta in the Park 2016 too;
I fitted a set of head light/slam panel covers;
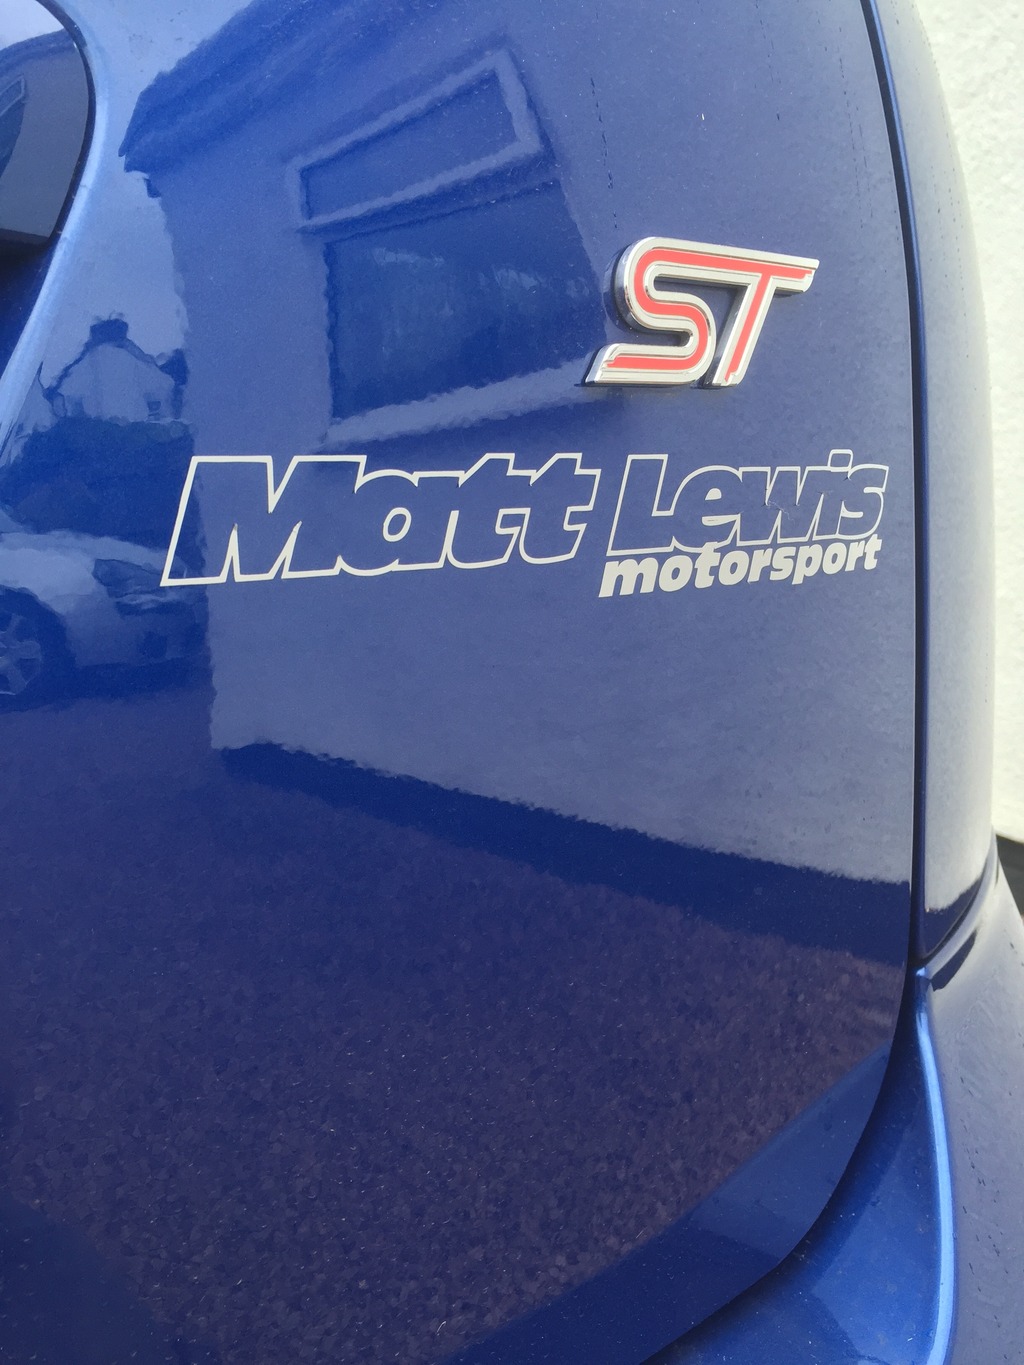
This is the only place I will let work on my car;
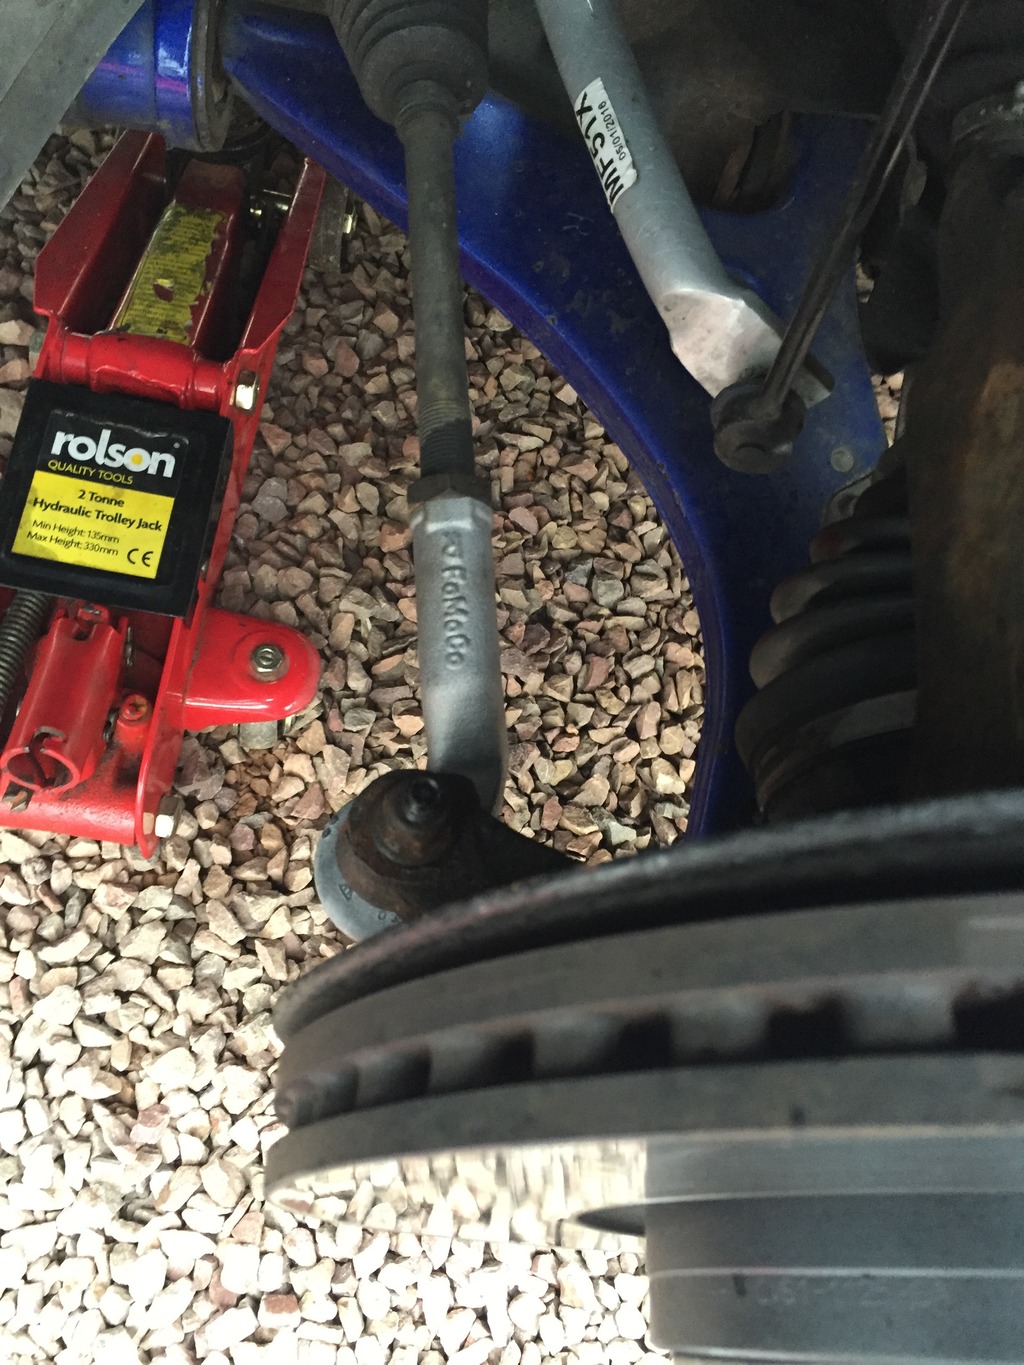
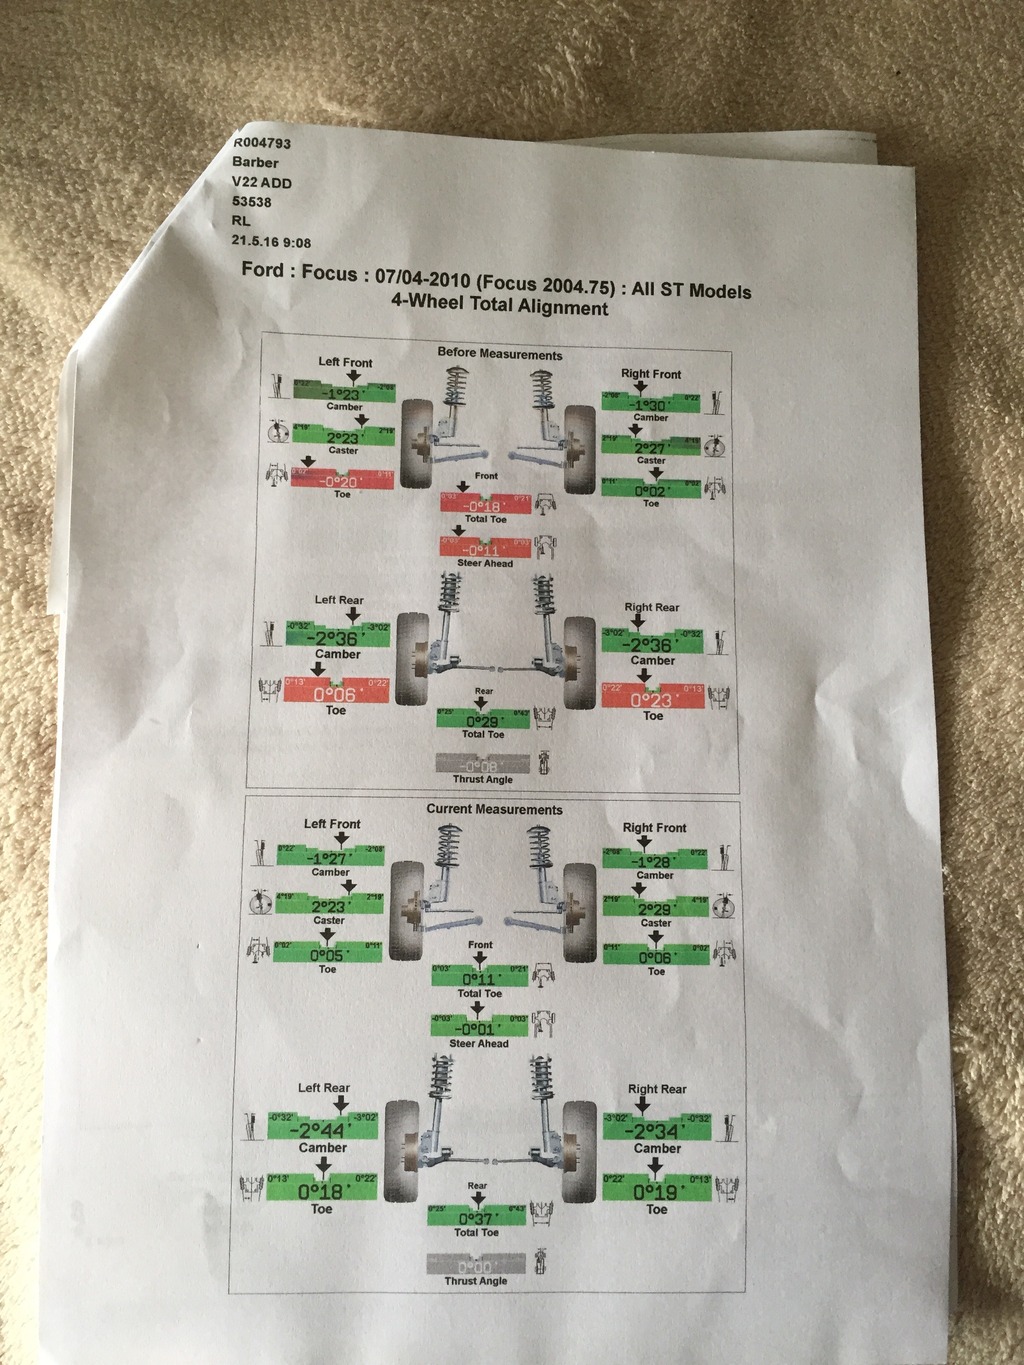
I fitted a new set of track rod ends and then had it 4 wheel aligned;

I also fitted an SFS oil breather hose;

I attended Fiesta in the Park 2016 too;


I fitted a set of head light/slam panel covers;

This is the only place I will let work on my car;

I fitted a new set of track rod ends and then had it 4 wheel aligned;


Thread Starter
15000
Joined: May 2016
Posts: 39
Likes: 1
From: Birmingham
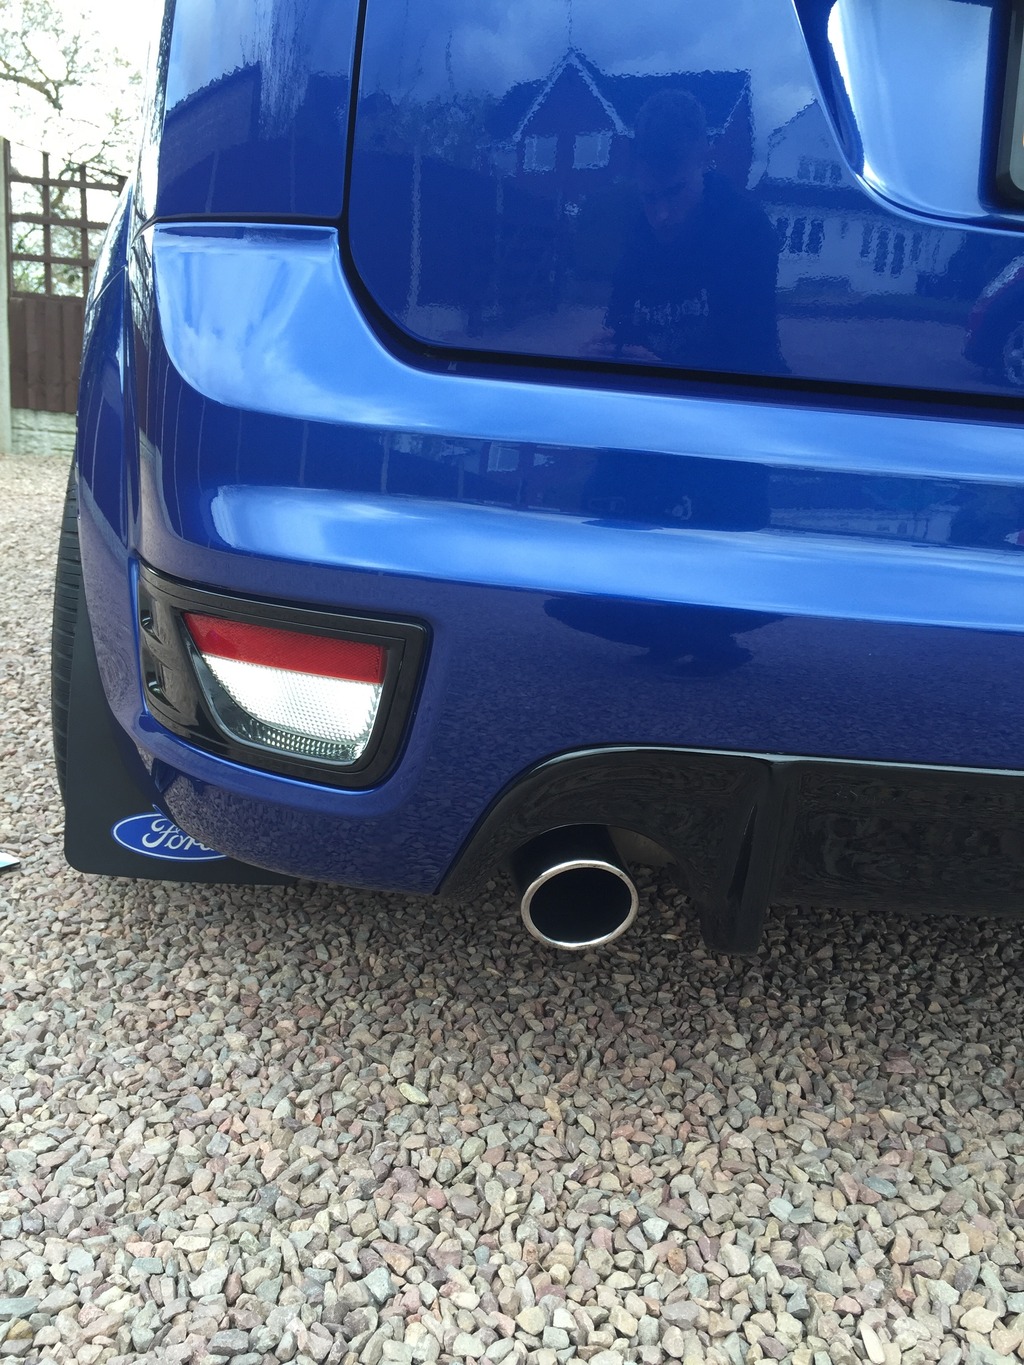
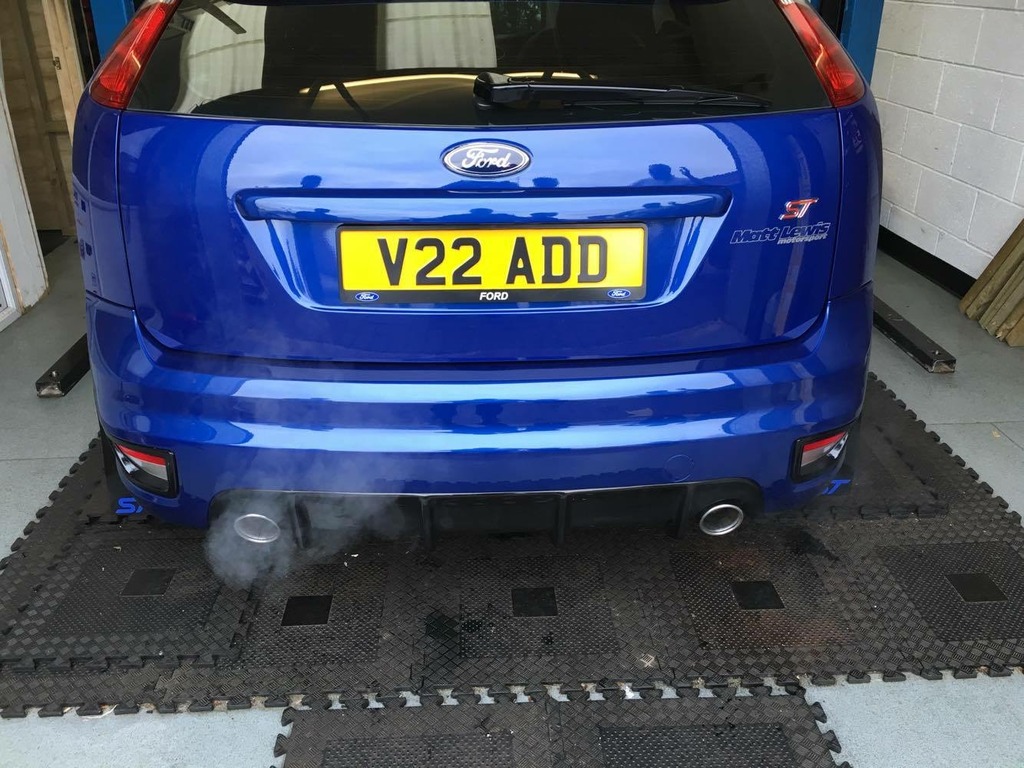
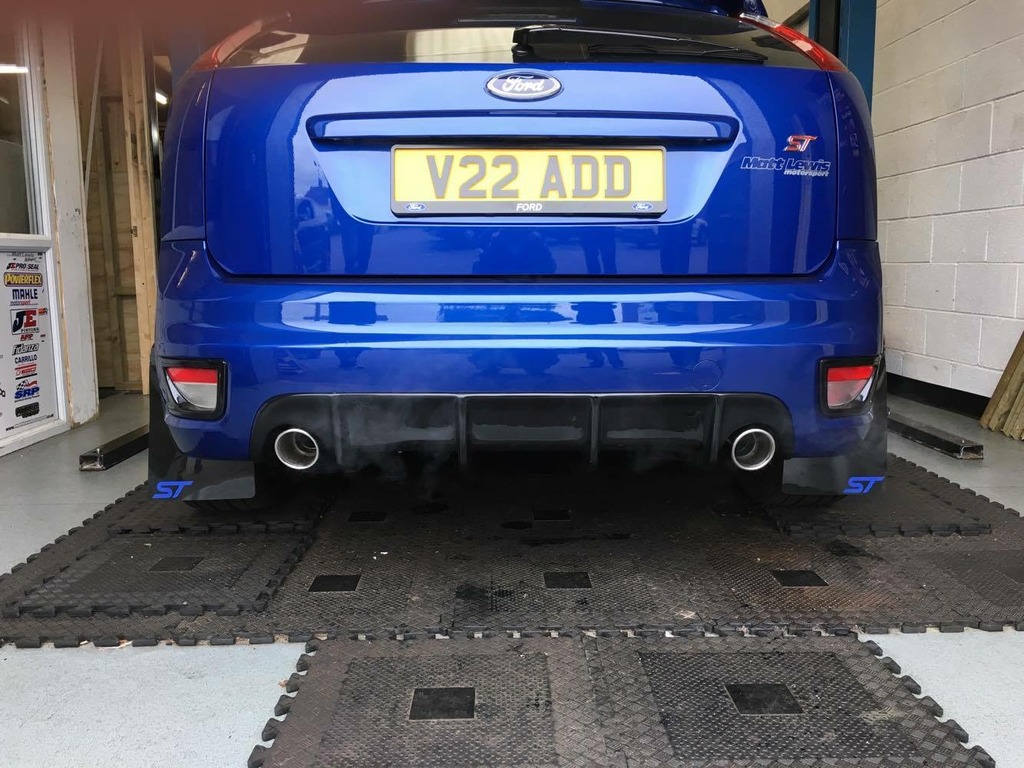
I have finally had the rest of the exhaust done. I went for a mongoose cat back with 3.5" rolled in tips to keep it as OEM looking as I can;
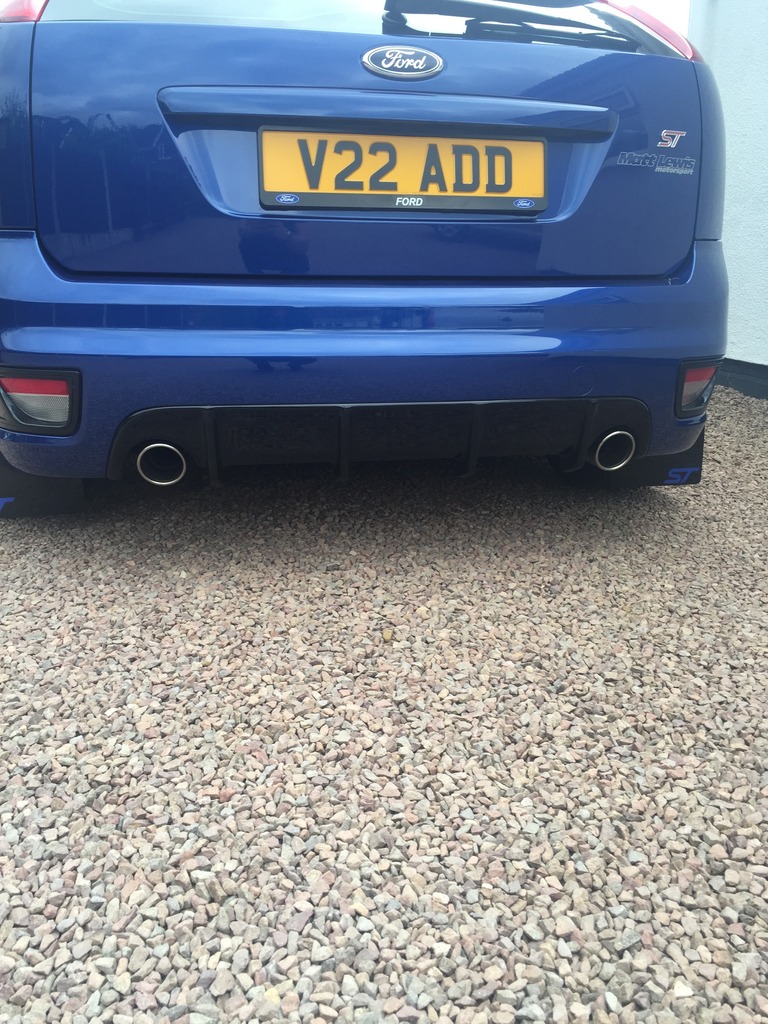
I have fitted an RS style vacuum pipe to make the bay look a lot tidier;
This is the before photo;
This is the after;

So that's the car all up to date for now.
Future plans are;
Get the RS injectors fitted
Black As Plenum
New map - Mod X I think
RS clutch kit
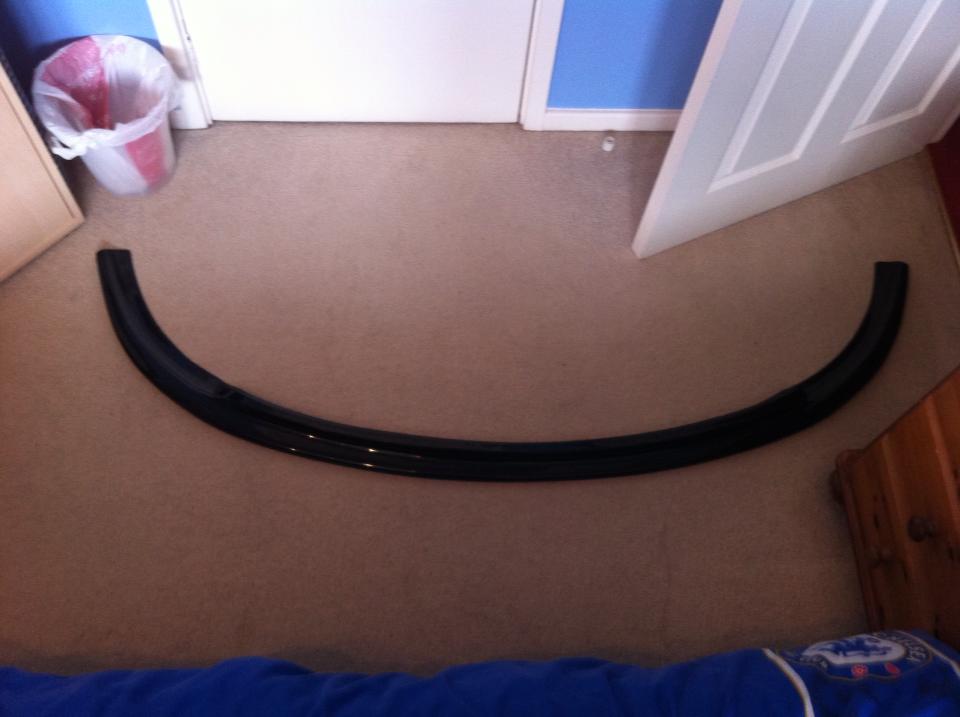
RRR Spoiler extension
Maxton side skirt extensions
Full blue coolant hose kit and fresh coolant tank
Braided brake lines with fresh DOT 5.1 fluid
Full hard race rear arms/bushes set up.
Thanks for looking.


I have fitted an RS style vacuum pipe to make the bay look a lot tidier;
This is the before photo;

This is the after;


So that's the car all up to date for now.
Future plans are;
Get the RS injectors fitted
Black As Plenum
New map - Mod X I think
RS clutch kit
RRR Spoiler extension
Maxton side skirt extensions
Full blue coolant hose kit and fresh coolant tank
Braided brake lines with fresh DOT 5.1 fluid
Full hard race rear arms/bushes set up.
Thanks for looking.
Thread Starter
15000
Joined: May 2016
Posts: 39
Likes: 1
From: Birmingham
Thread Starter
15000
Joined: May 2016
Posts: 39
Likes: 1
From: Birmingham
Thread Starter
15000
Joined: May 2016
Posts: 39
Likes: 1
From: Birmingham
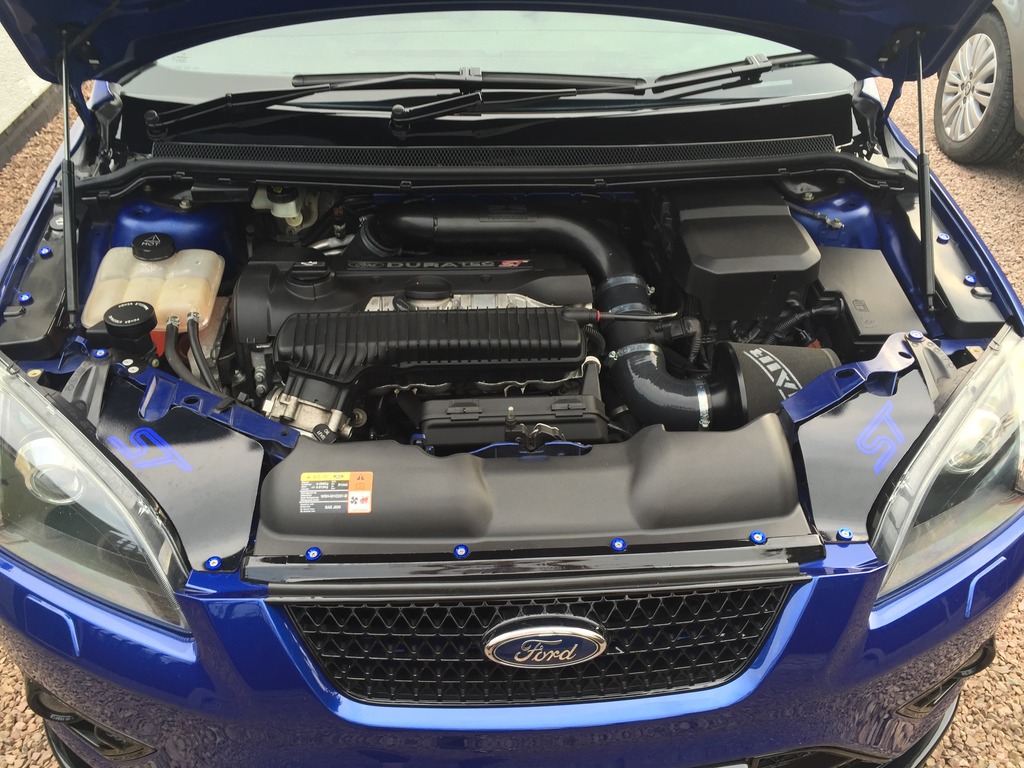
So a small update. Gave the new exhaust tips and back box a good polish up;
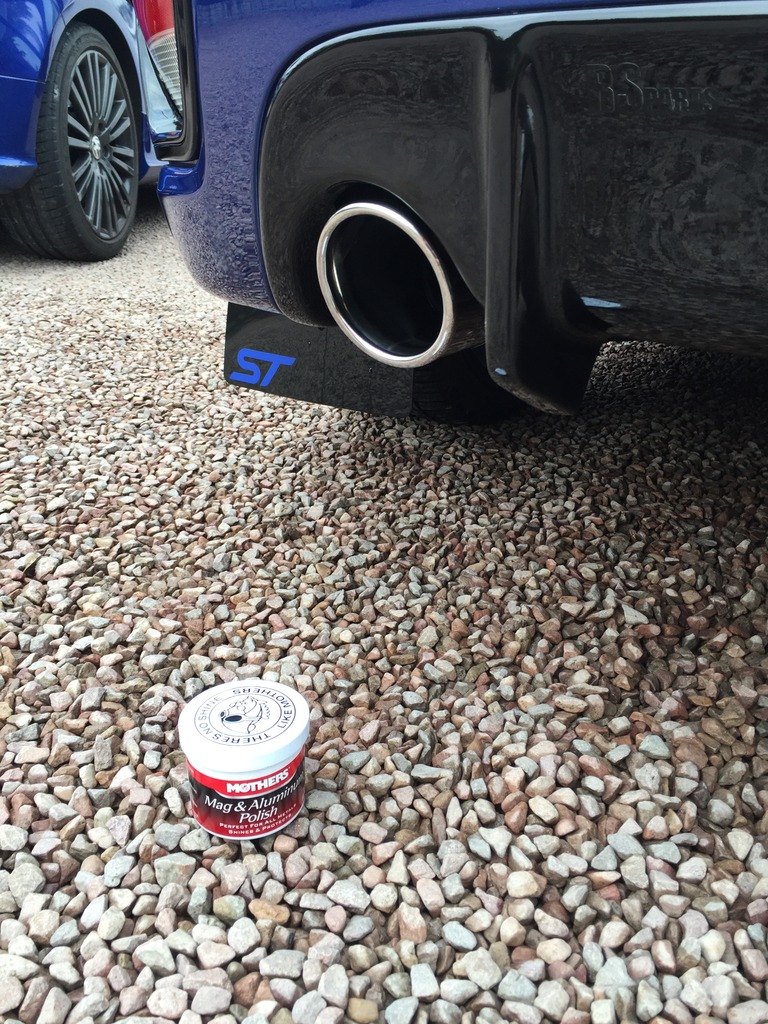
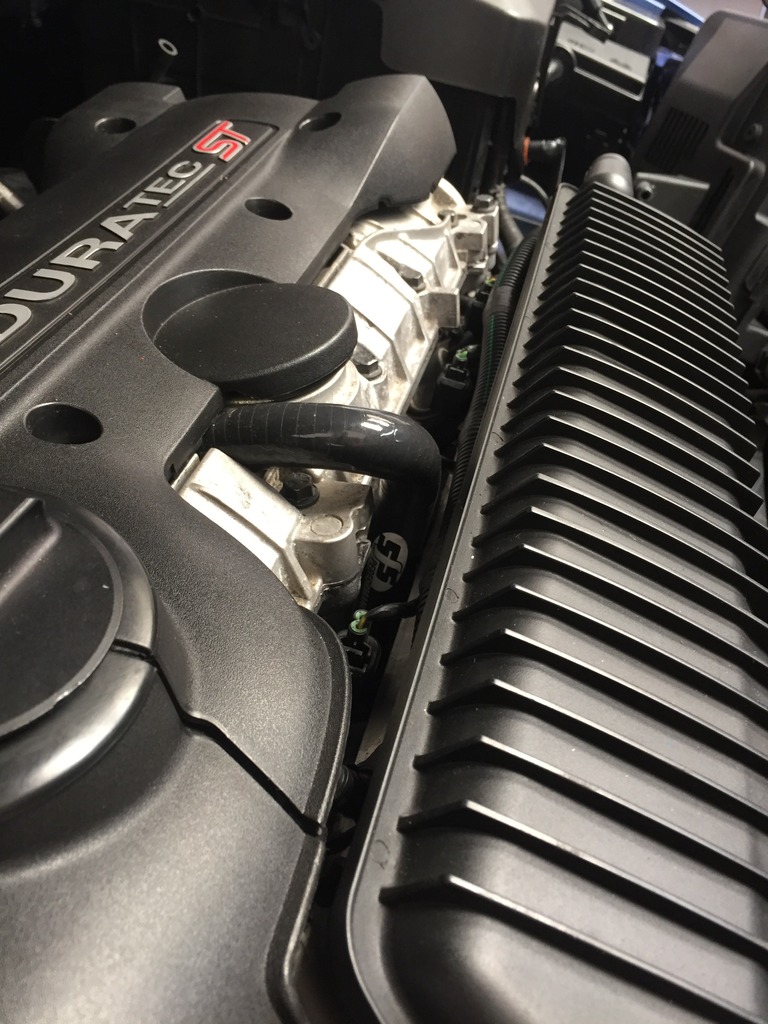
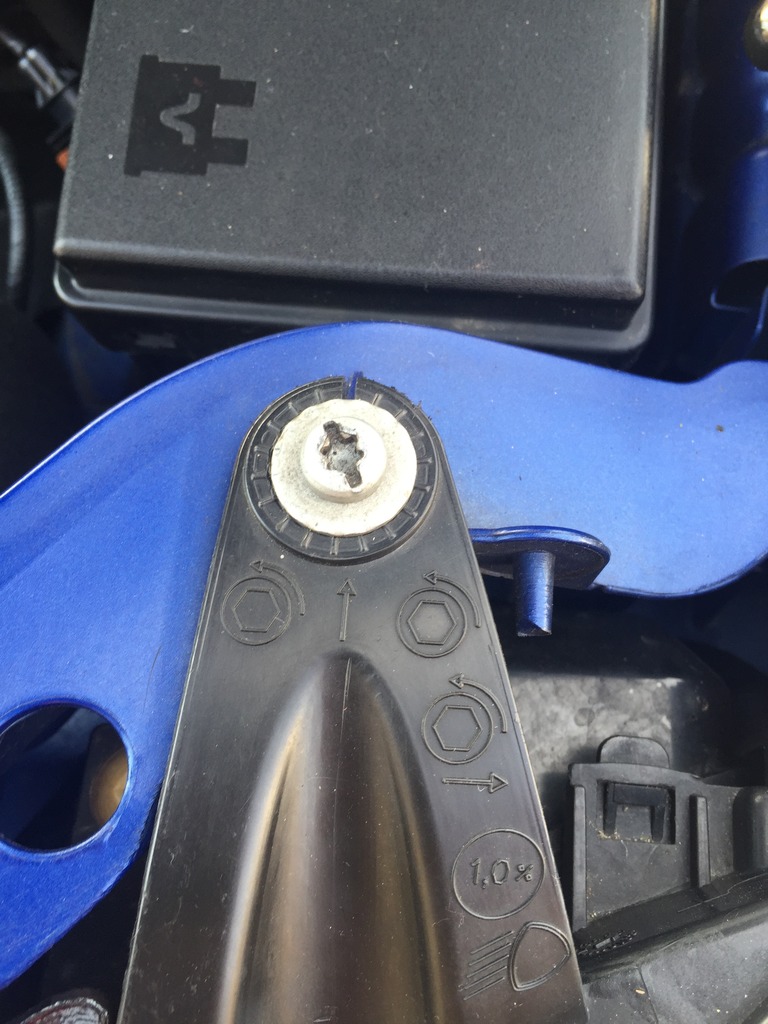
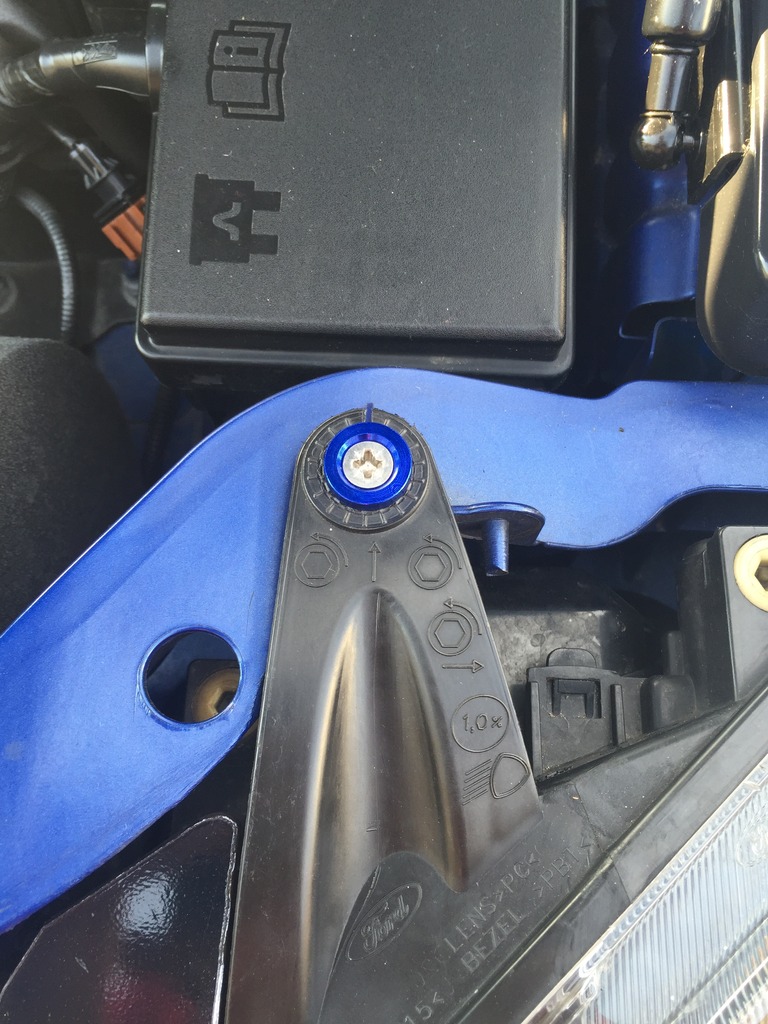
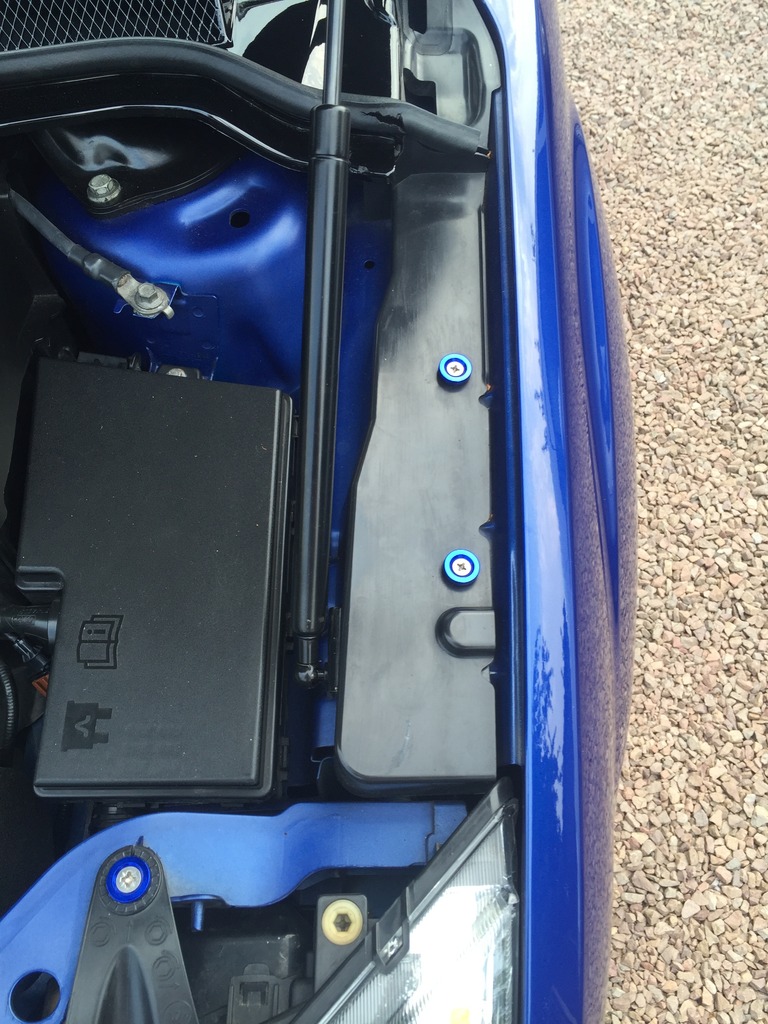
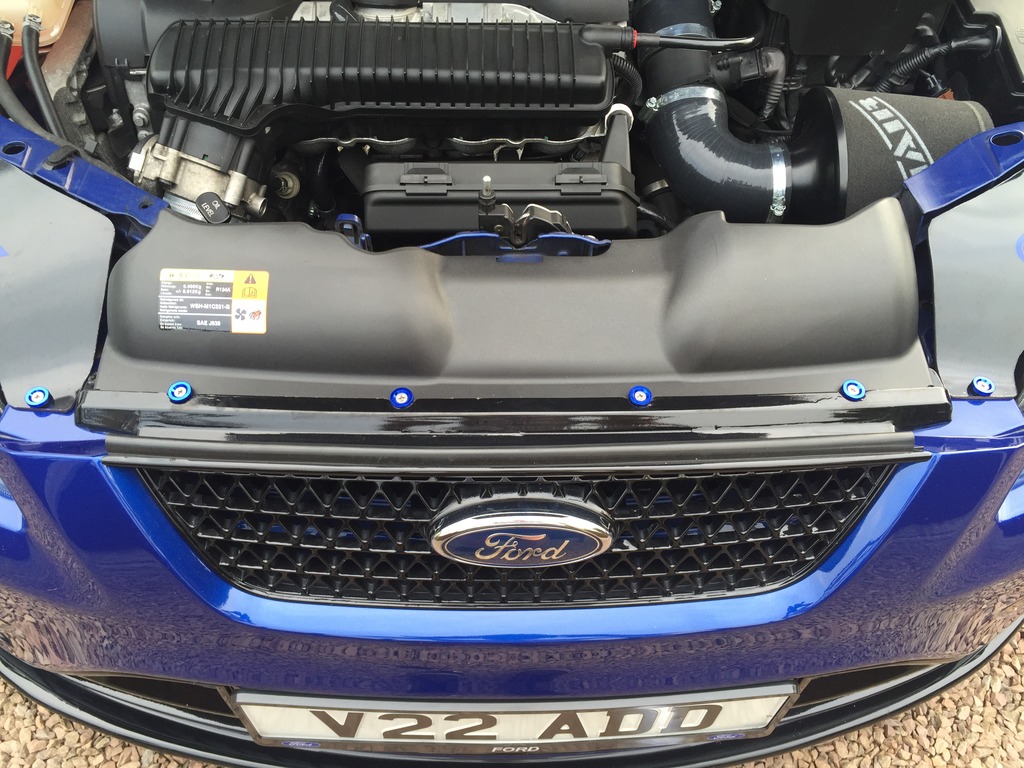
I also got these blue washers and stainless steel screws to add some colour into the engine bay.
Headlight fixing before;
After;
Wing rail cover before;
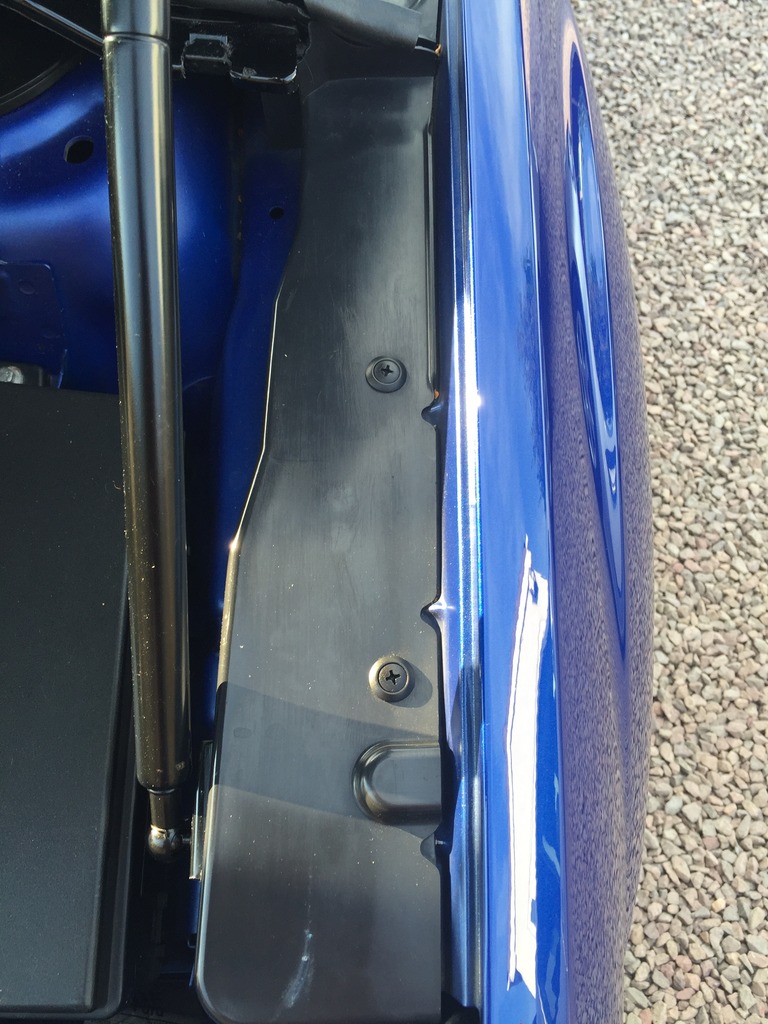
After;
Slam panel before;
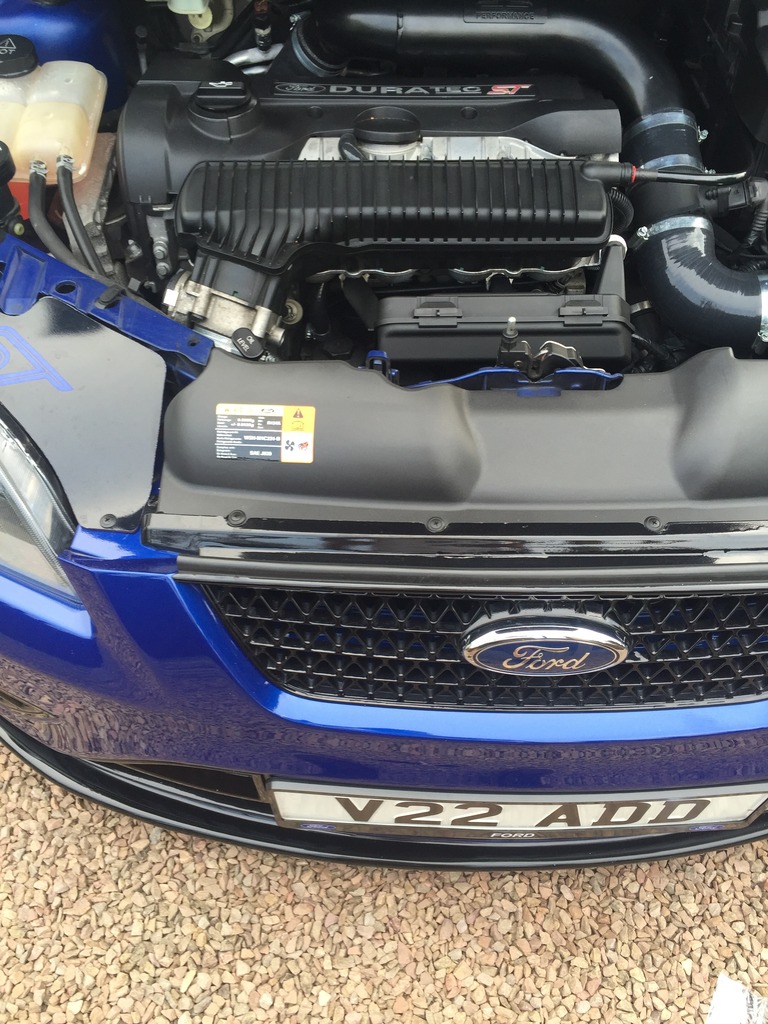
After;
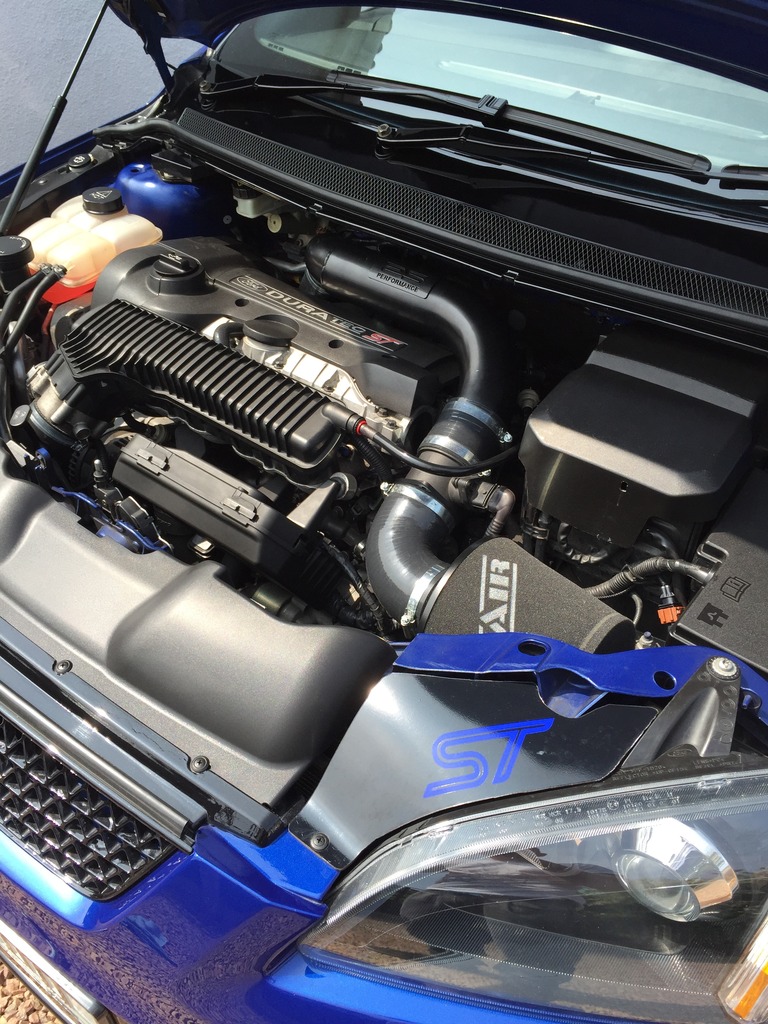
Overall engine bay shot;
So I have the following left to do.
Blue coolant hoses
New coolant tank
Braided brake lines with fresh DOT 5.1 fluid
AS Inlet plenum
RS injectors fitted and new map
Small spoiler lip
Maxton side skirt extensions
Hardrace uprated rear arms and bushes
RS clutch conversion
That will be it all done to my liking then!

I also got these blue washers and stainless steel screws to add some colour into the engine bay.
Headlight fixing before;

After;

Wing rail cover before;

After;

Slam panel before;

After;

Overall engine bay shot;

So I have the following left to do.
Blue coolant hoses
New coolant tank
Braided brake lines with fresh DOT 5.1 fluid
AS Inlet plenum
RS injectors fitted and new map
Small spoiler lip
Maxton side skirt extensions
Hardrace uprated rear arms and bushes
RS clutch conversion
That will be it all done to my liking then!