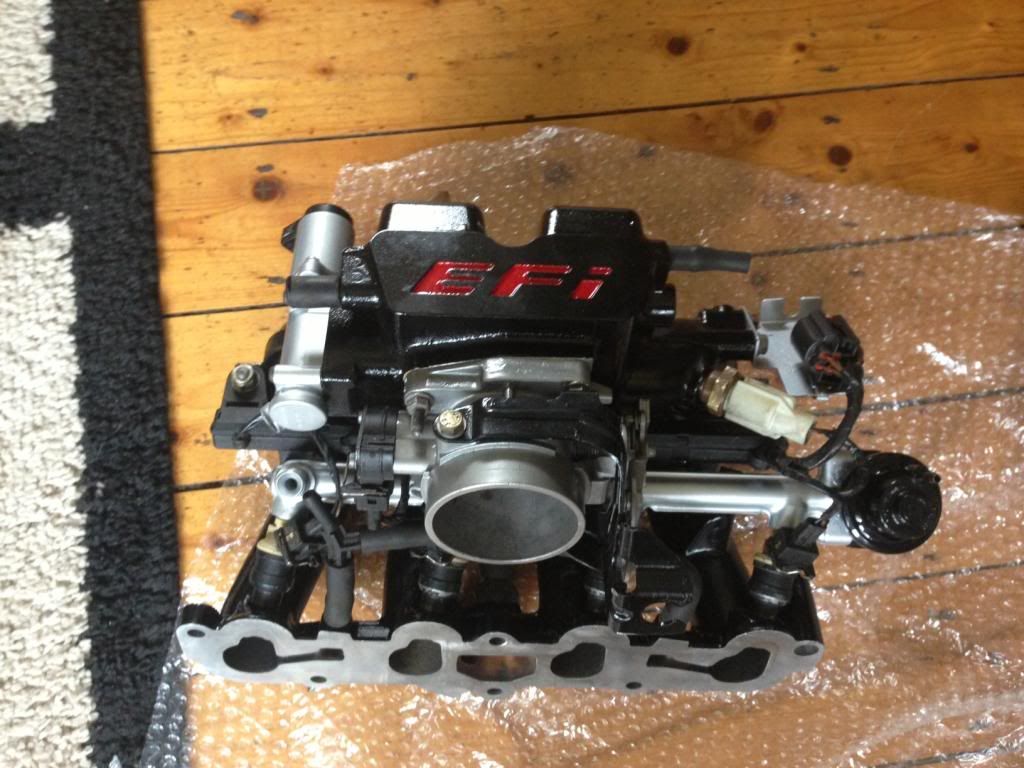
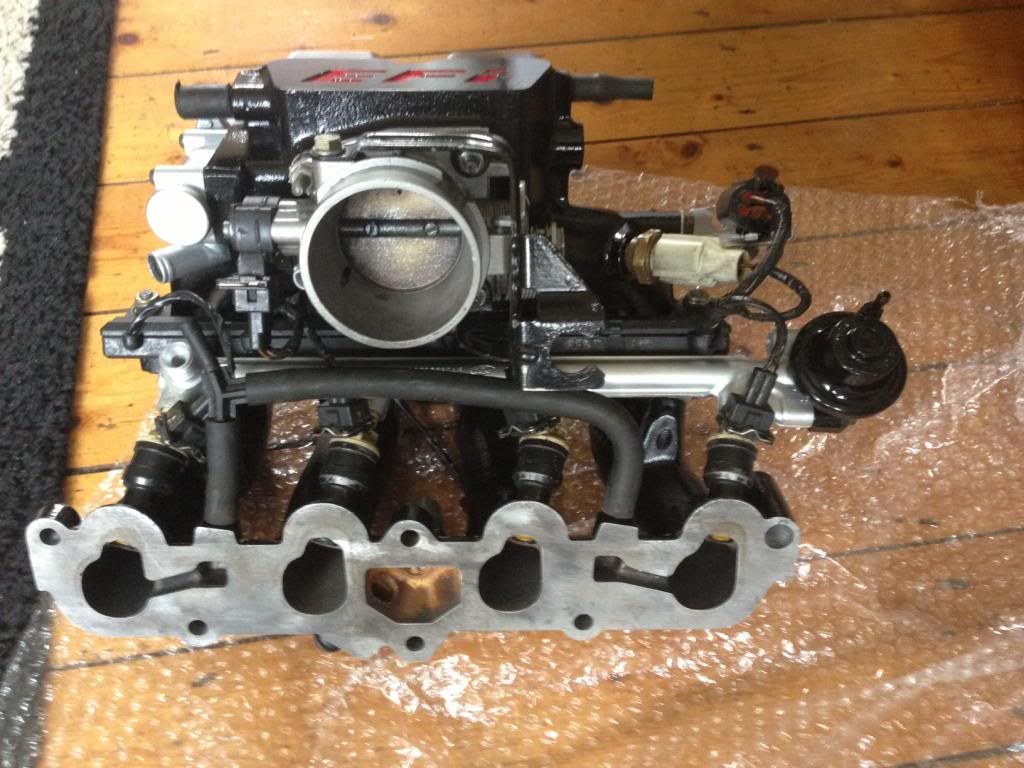
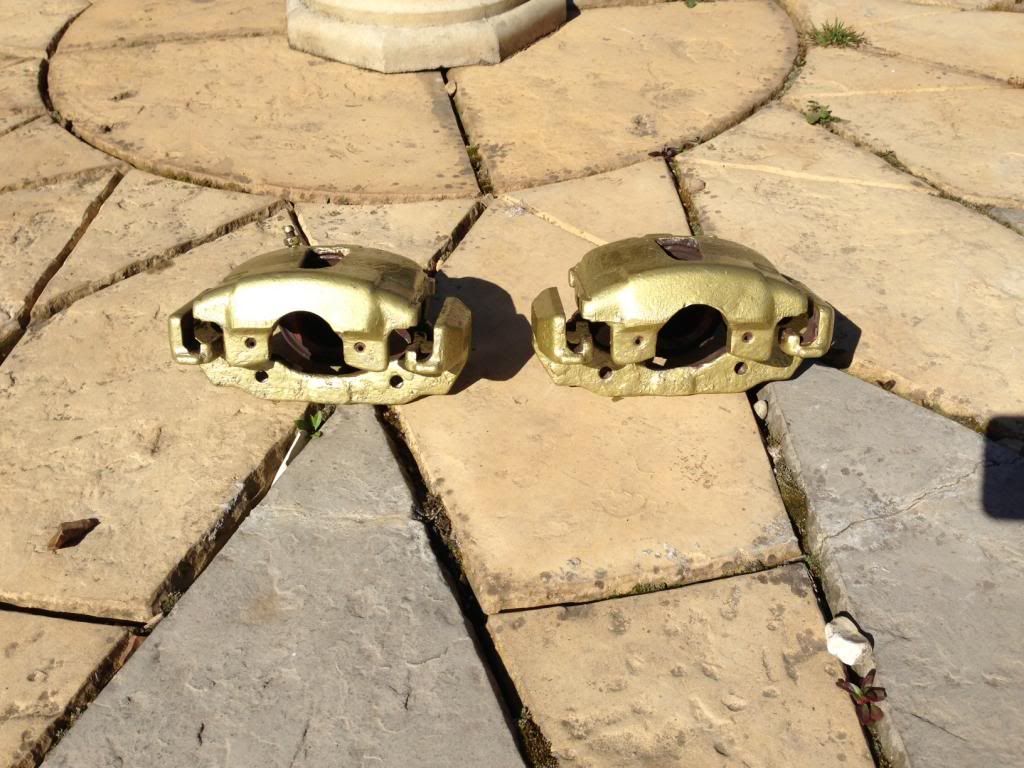
1990 Escort RS Turbo Restoration. Focus RS Conversion
#1
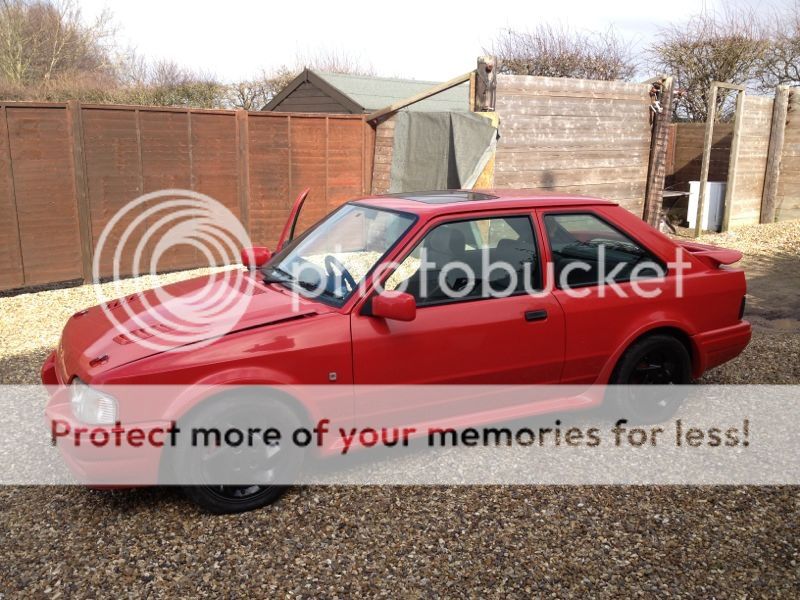
After getting rid of my grey s2 a few years back i have been looking for a replacement ever since, spent years looking for the right one to come along and i finally found one that was a good base project for me, It an H-reg s2 with EFI conversion, some of you may have seen the car for sale.
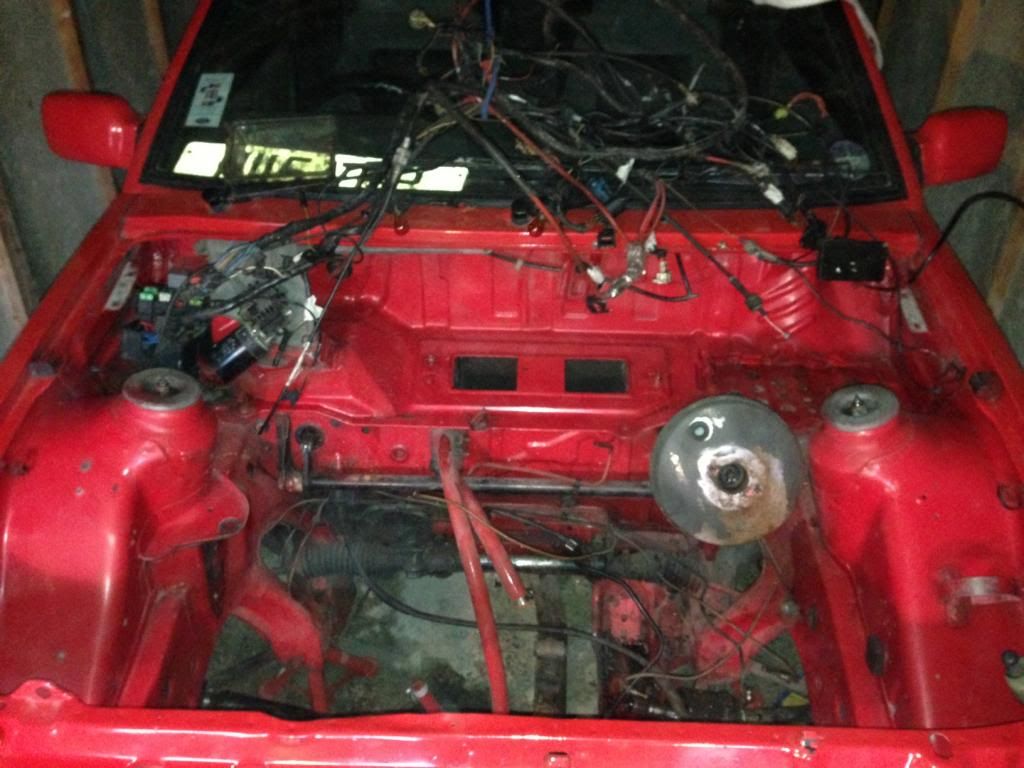
I did a 400 mile round trip to get the car and i believe it was worth it, the shell is pretty solid, just a couple of patches of repair that i shall do again but do so its not noticeable, and then just a case of tidying up whats already been started, change a few things and get it ready for summer.
Heres some pics today before i started strippin it out.....
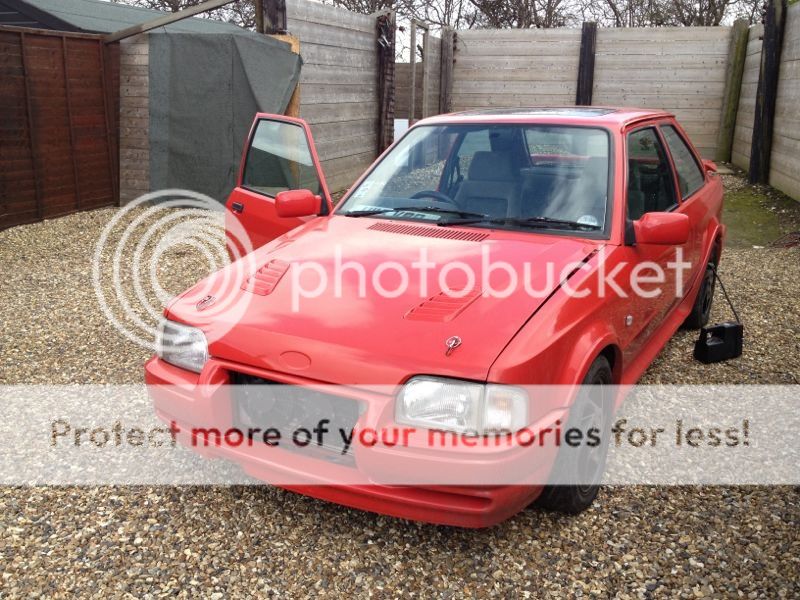
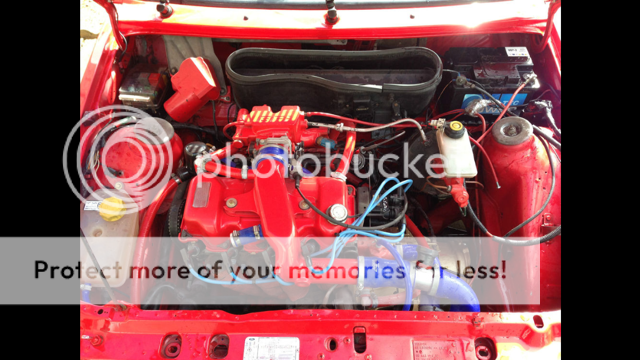
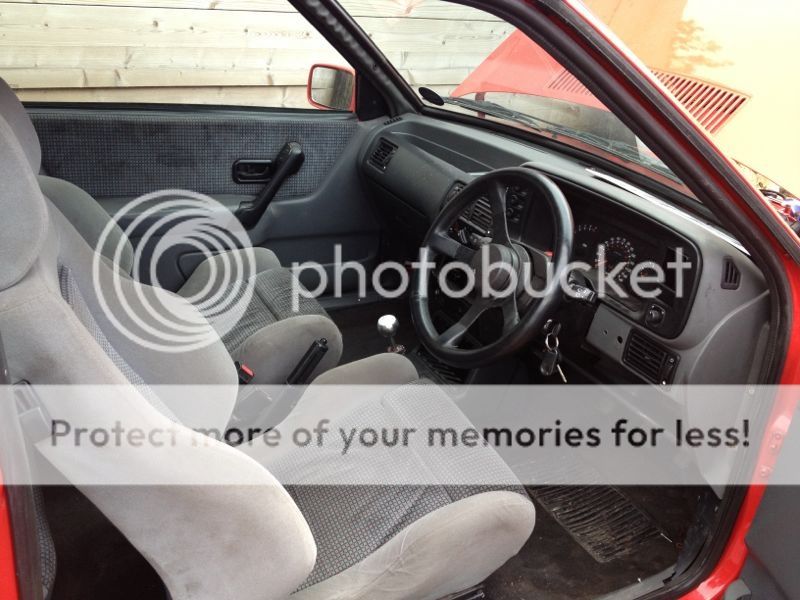


Last edited by xxTWINNYxx; 24-06-2019 at 07:37 PM.
Trending Topics
#11
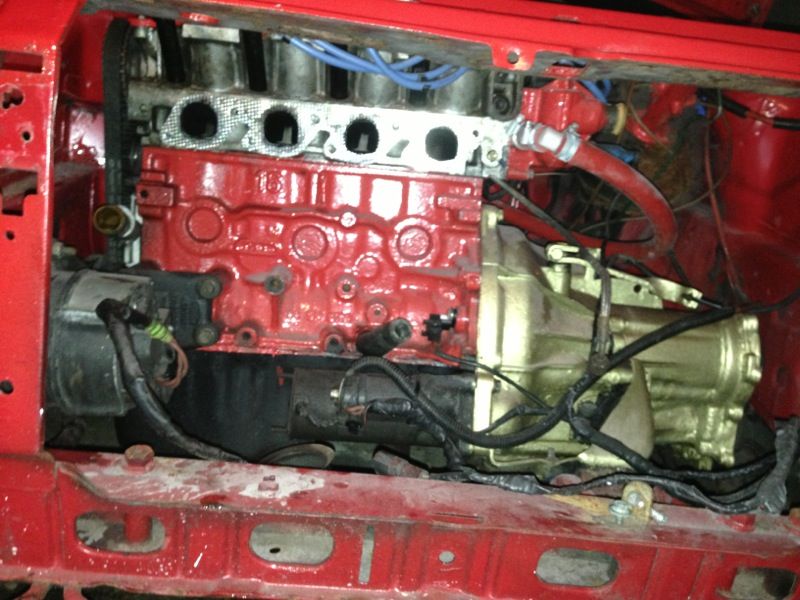
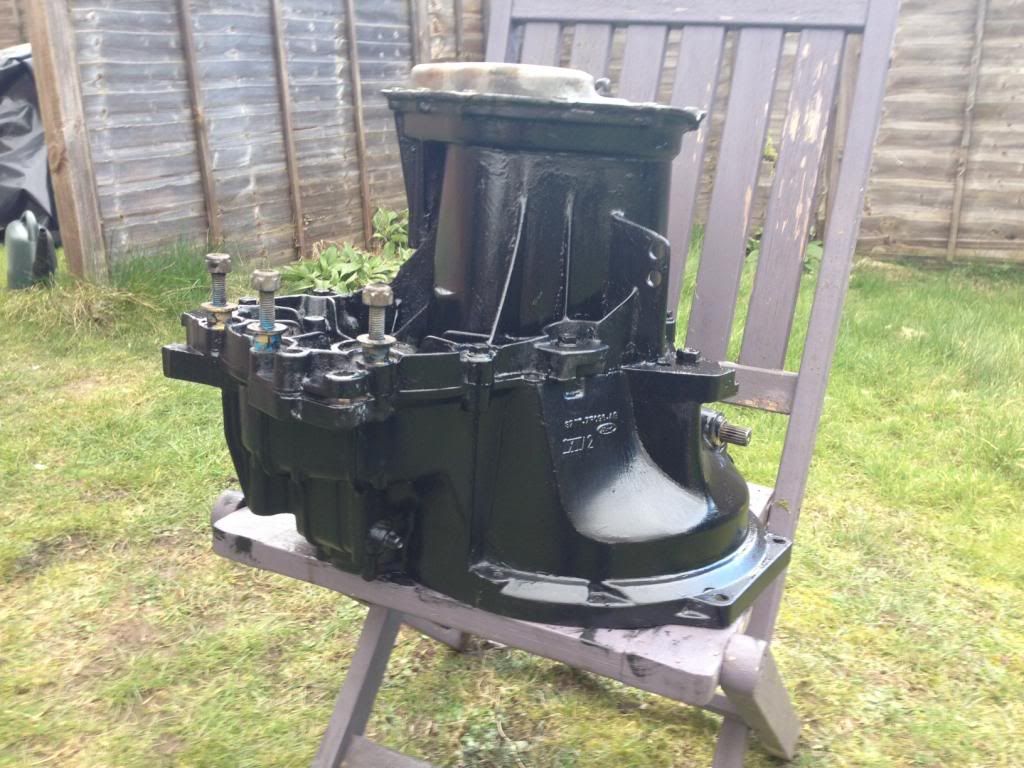
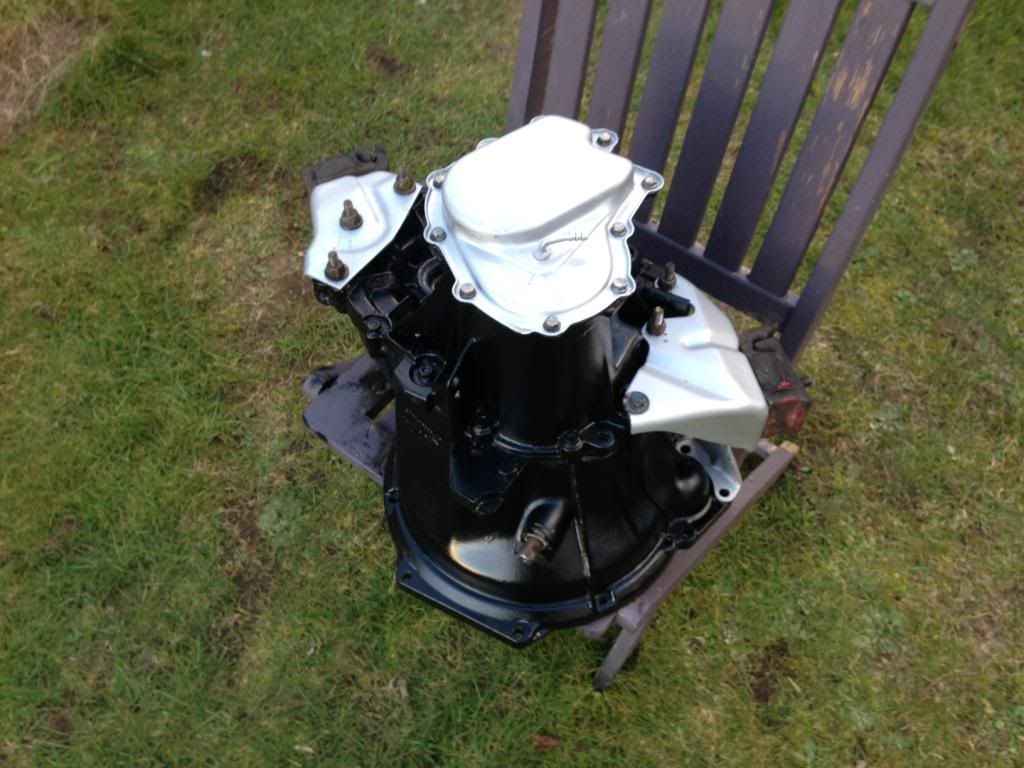
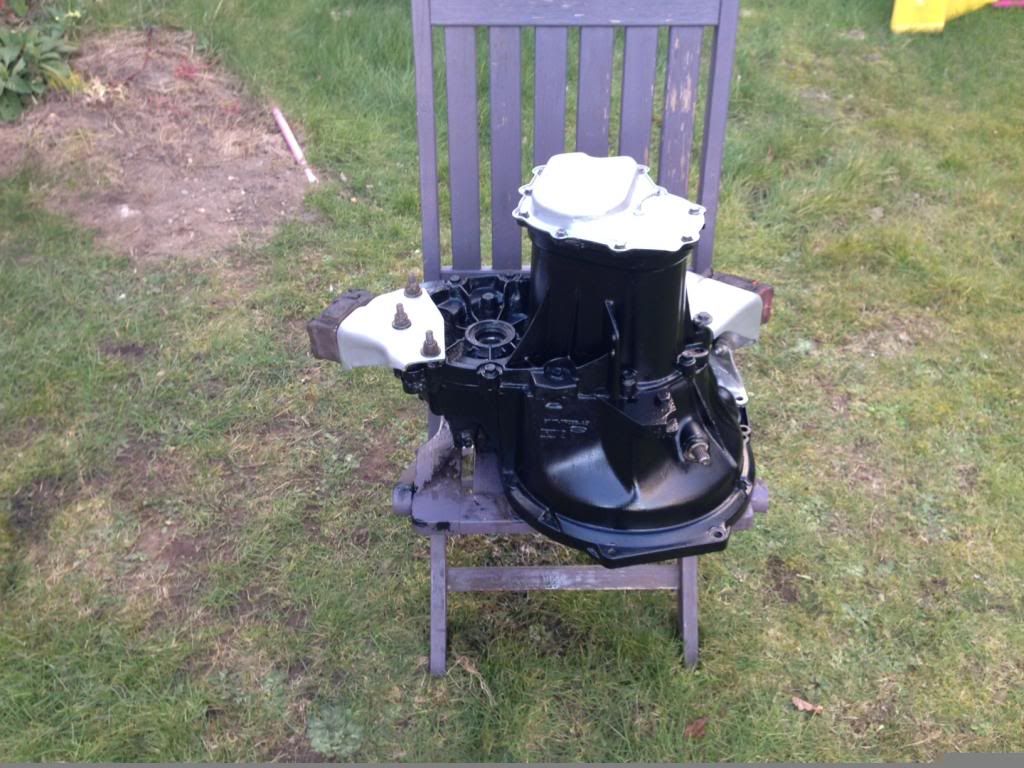
Been getting fed up looking at a gold painted gearbox so i tackled it with a wire wheel today, took bloody ages!!!
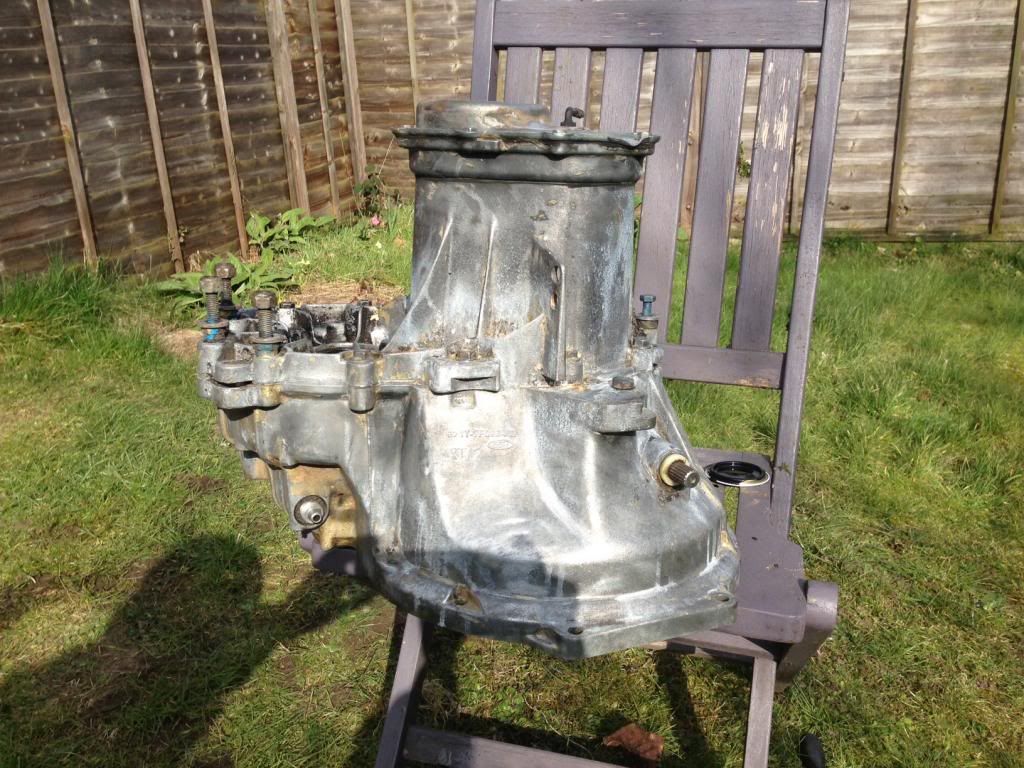

Last edited by xxTWINNYxx; 30-03-2013 at 01:13 AM.
#13
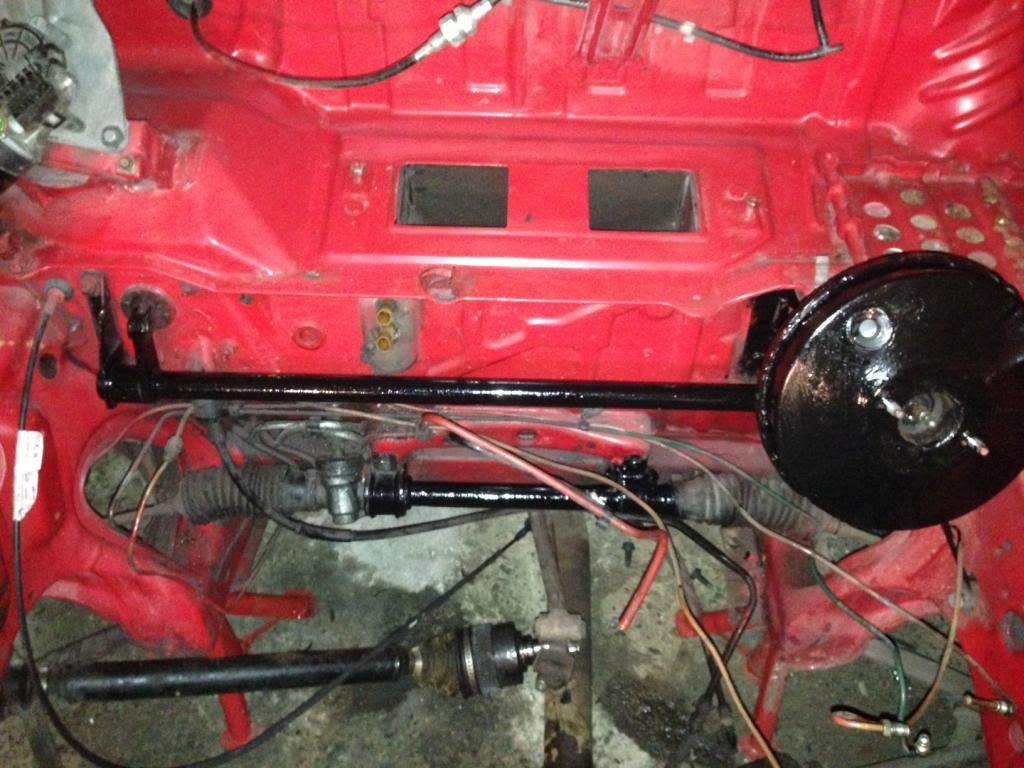
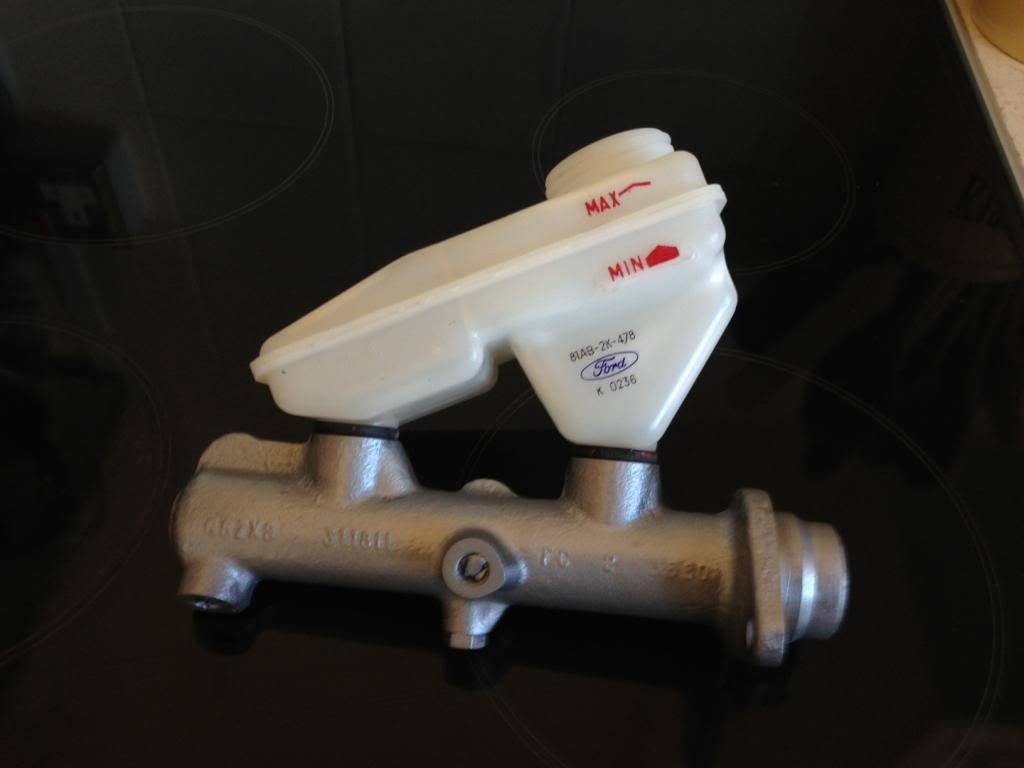
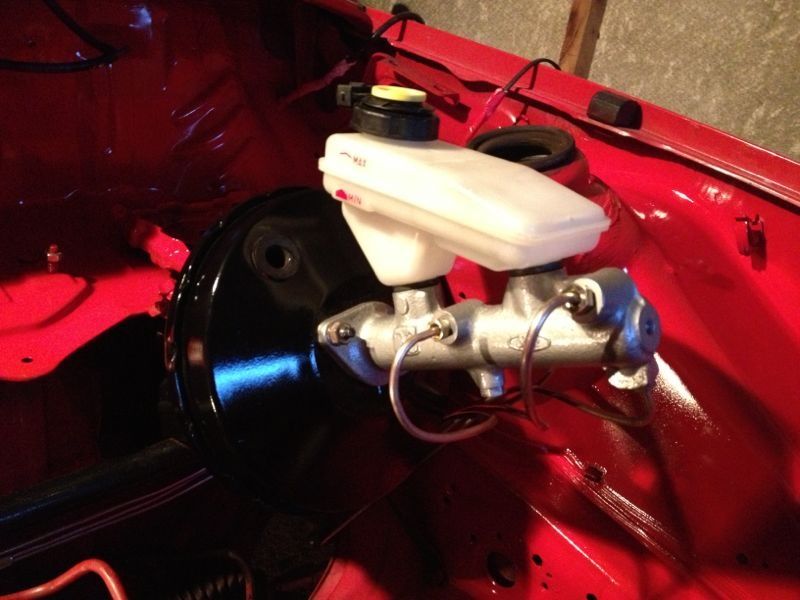
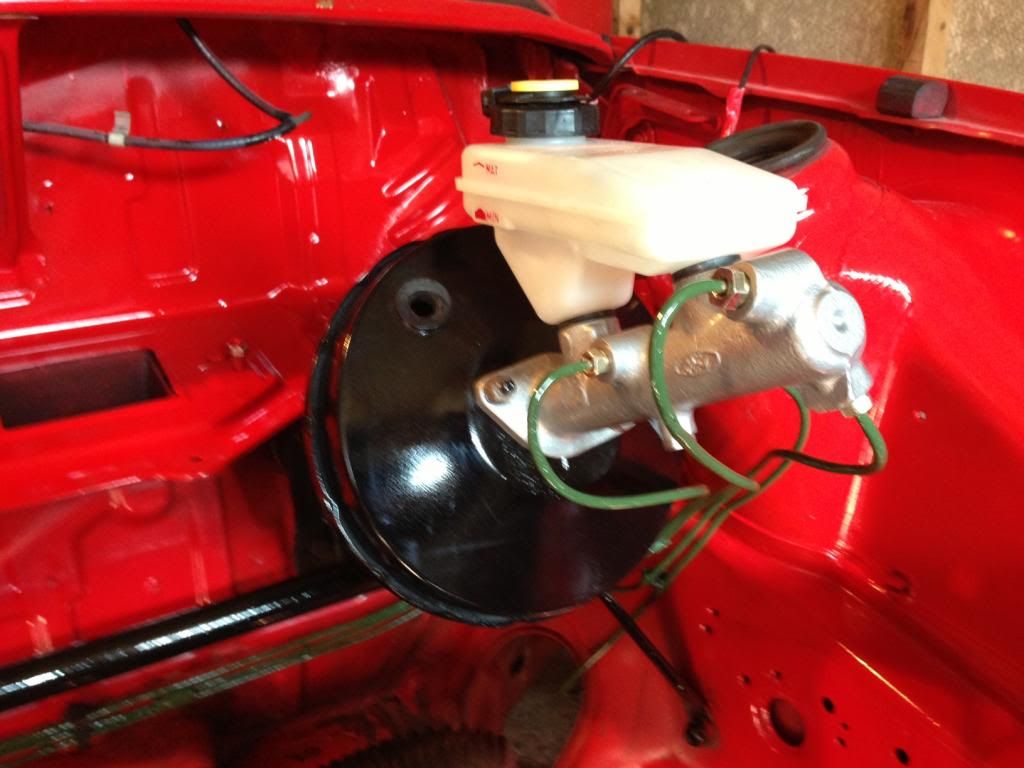
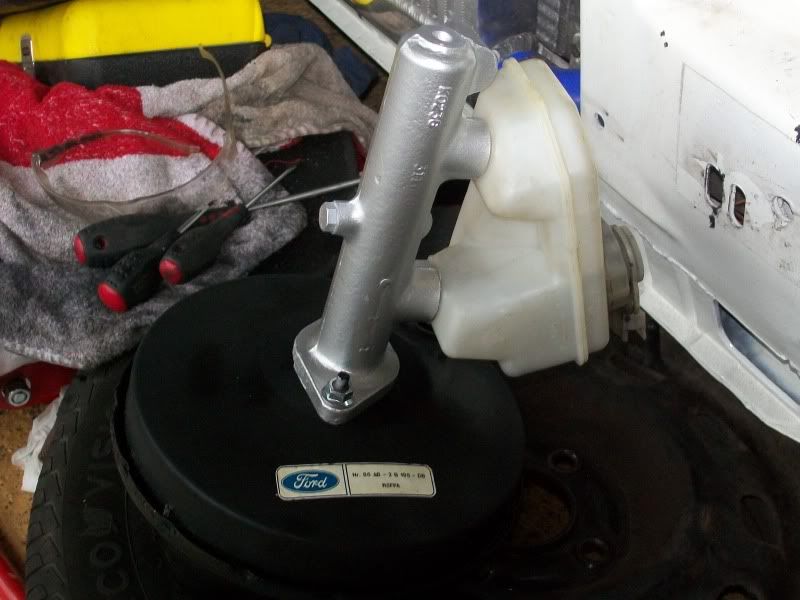
Did you just wack a bit of brush on paint on that brake servo?
If so its a bloody mess(sorry) theres only 4 nuts holding it onto the car(behind glovebox) then a split pin holding it onto the brake bar. Should take no more than 10 mins to remove it.
Sand it down and spray paint it. You can even paint the cylinder while youre at it, thats only a 2 nut job.
This only took me about 2 hours total to do:

Last edited by RSmark84; 29-03-2013 at 11:05 PM.
#16
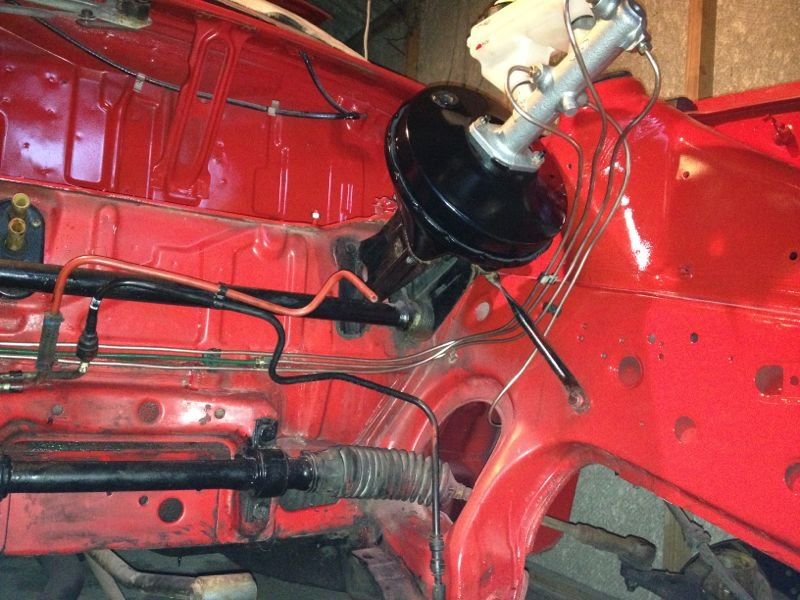
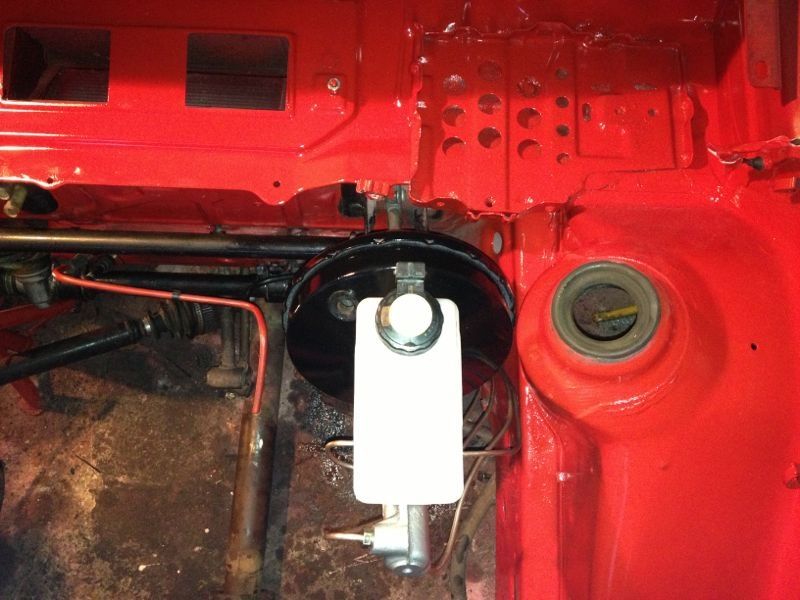
I put the paint on when i was coating the rack, but soon decided it needed painting, so its all coming out so i can paint the bay red 
would have stopped me painting the inner wing if i left it in anyway
would have stopped me painting the inner wing if i left it in anyway
#18
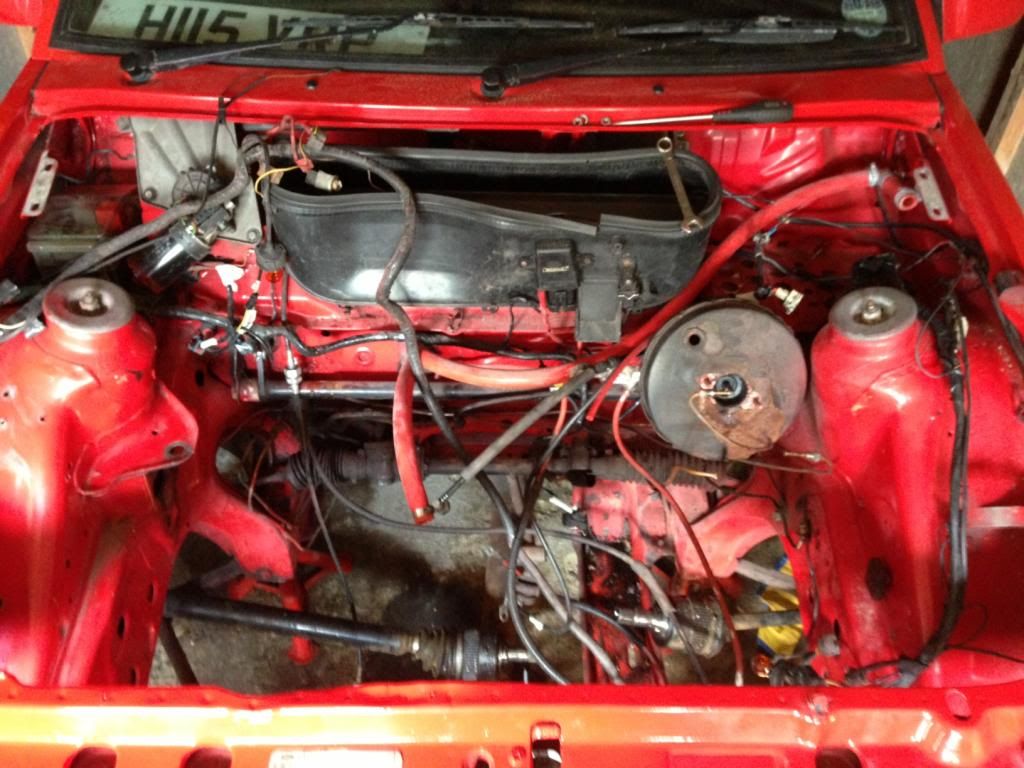
Had a good look around the car now its been stripped, found that its had, new front wings, new front panel, new scuttle panel, new fuse box tray, new battery tray, new rear arches, new floor pans. looks like most of the hard work has been done 
#19
Todays Progress.....
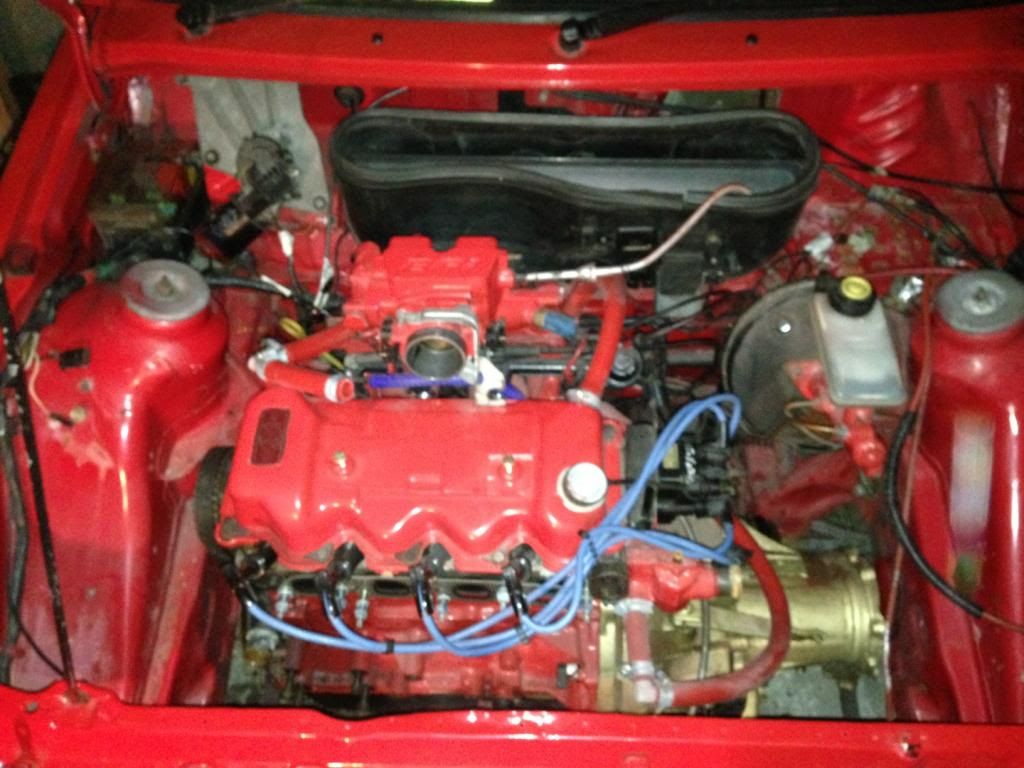
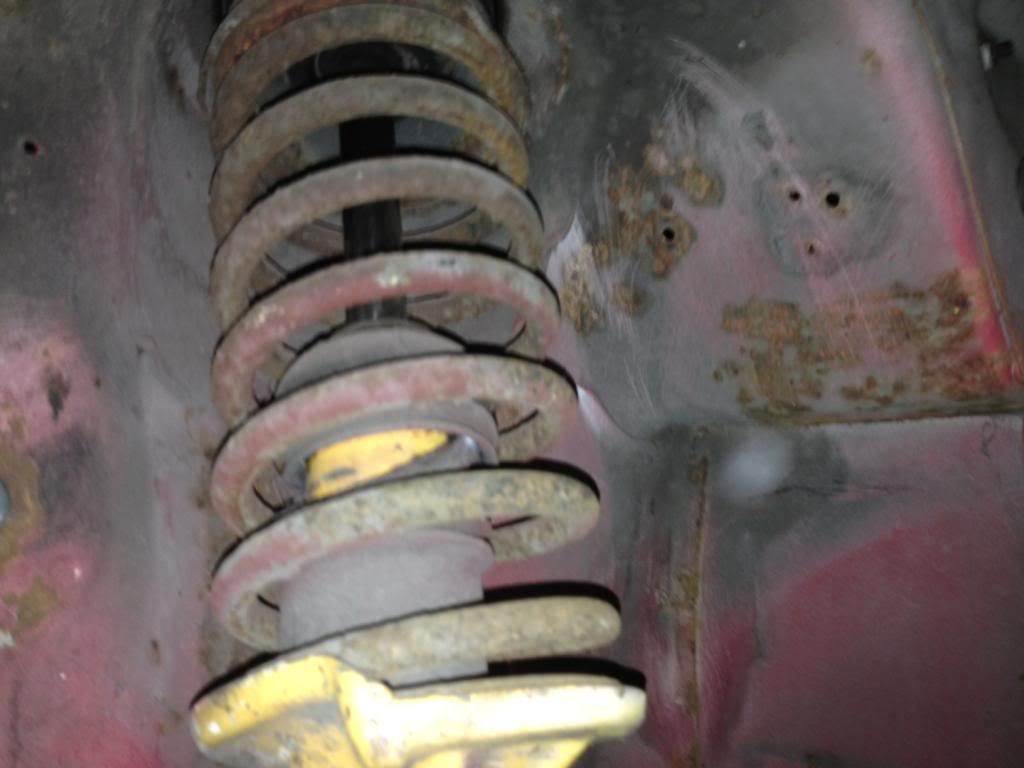
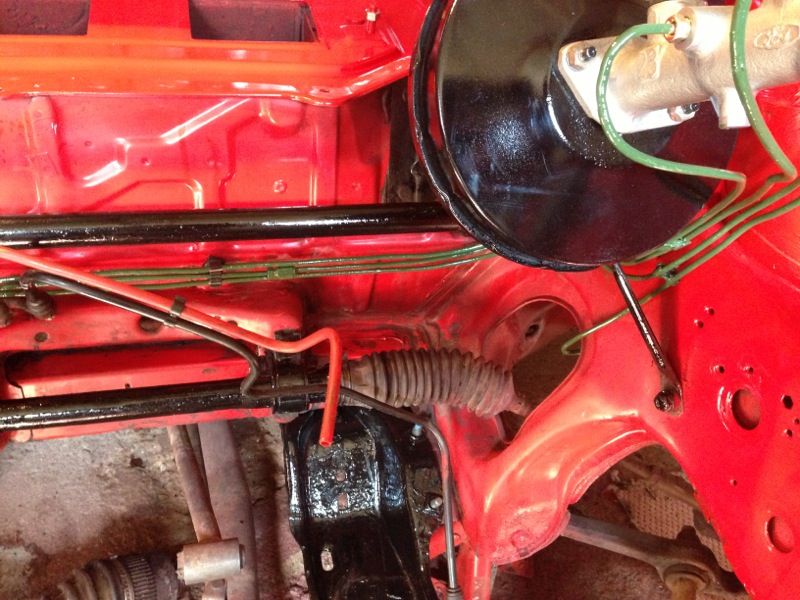
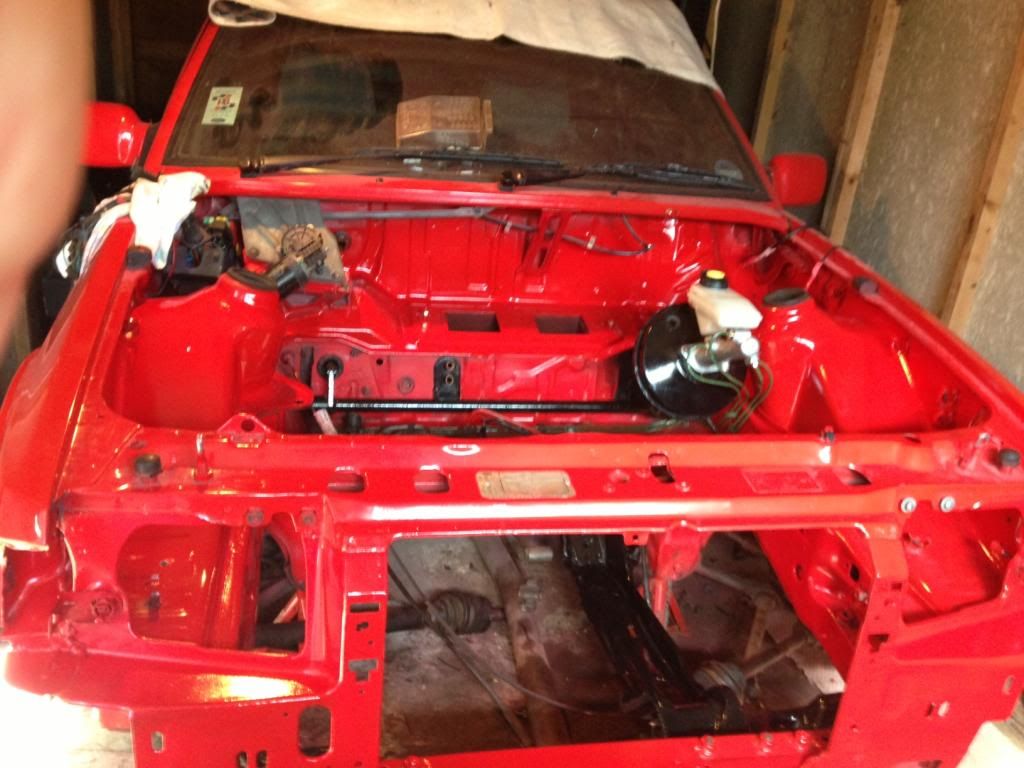
removed dashboard ready for replacement, Finished filling up the holes in inner wings that are not needed, then started to prepare the engine bay, stonechipped, primed and painting it. Turned out pretty well, And for the people that will ask, I didnt remove the wiper motor or wiring loom as the area was painted when fuse box panel was replaced.
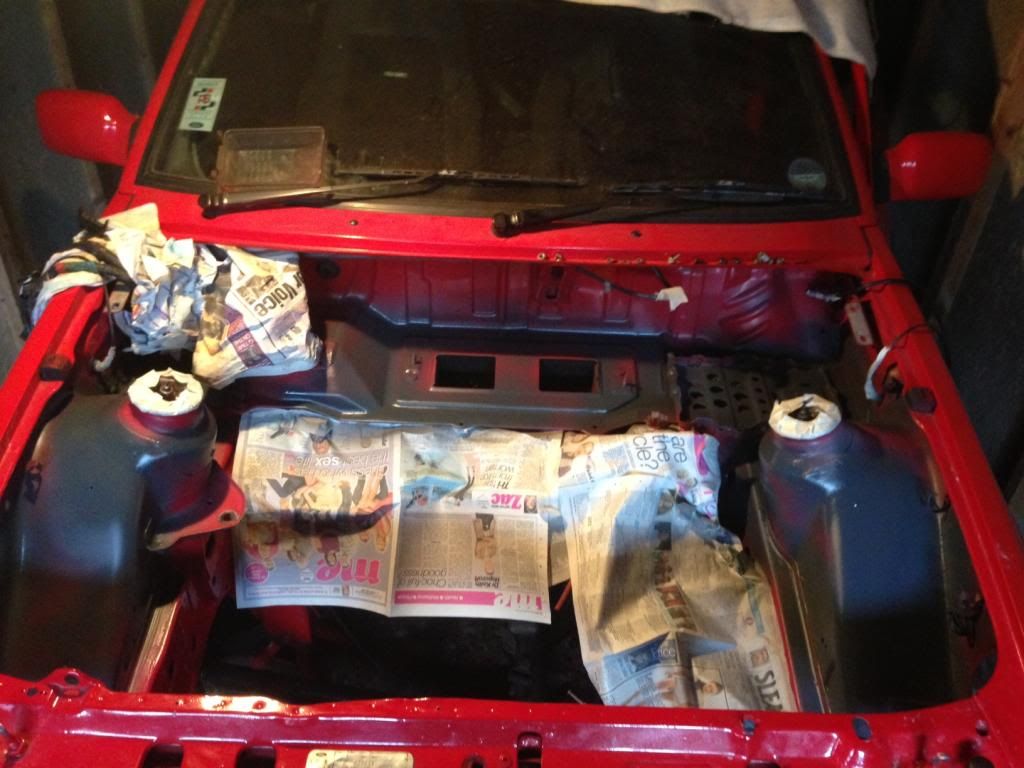
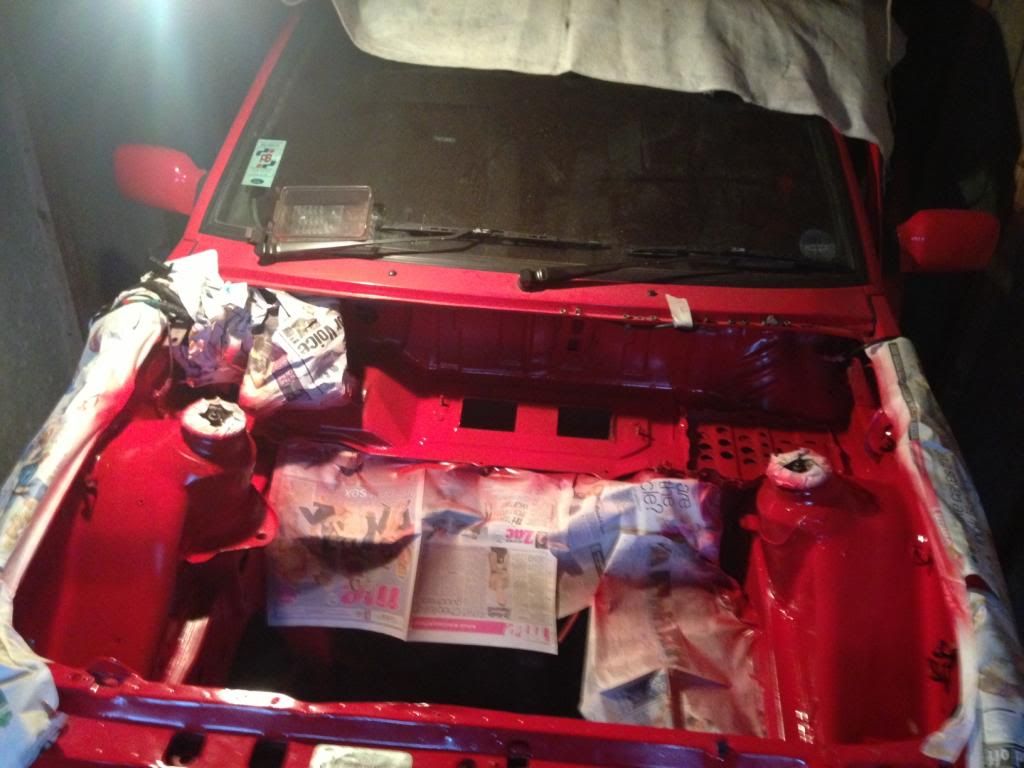
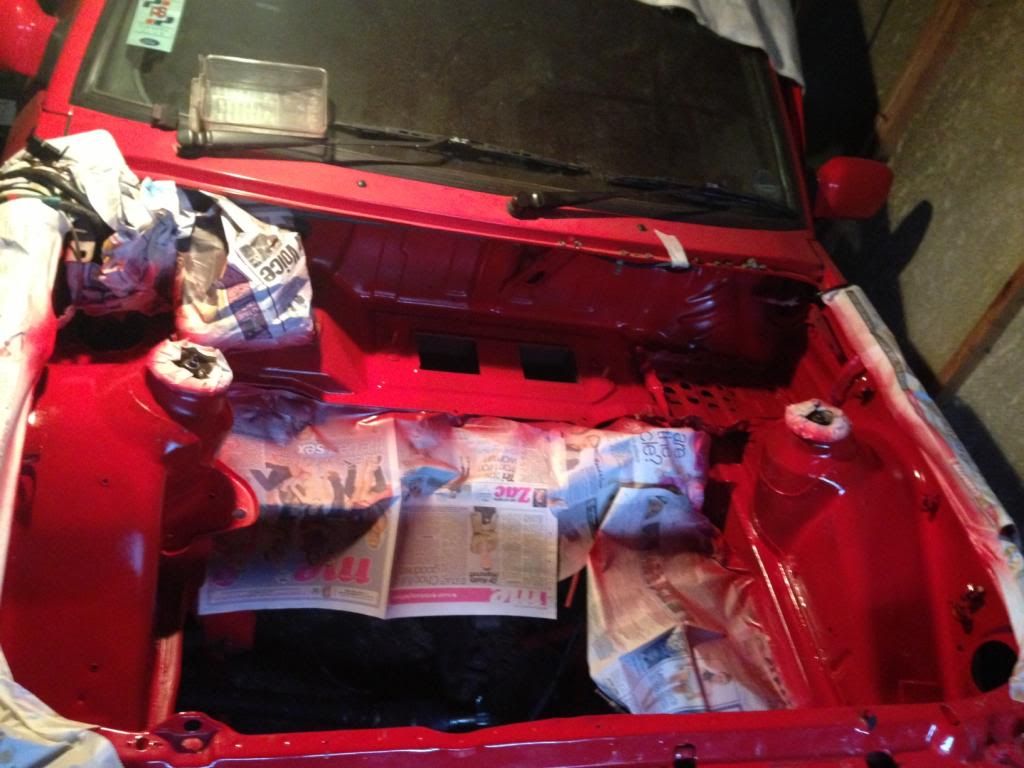
removed dashboard ready for replacement, Finished filling up the holes in inner wings that are not needed, then started to prepare the engine bay, stonechipped, primed and painting it. Turned out pretty well, And for the people that will ask, I didnt remove the wiper motor or wiring loom as the area was painted when fuse box panel was replaced.


#21
Cheers Glenn, Couldnt believe how many little holes were in the inner wings, some of them were from the fuel filter and metering head but obviously dont need them now 
#30
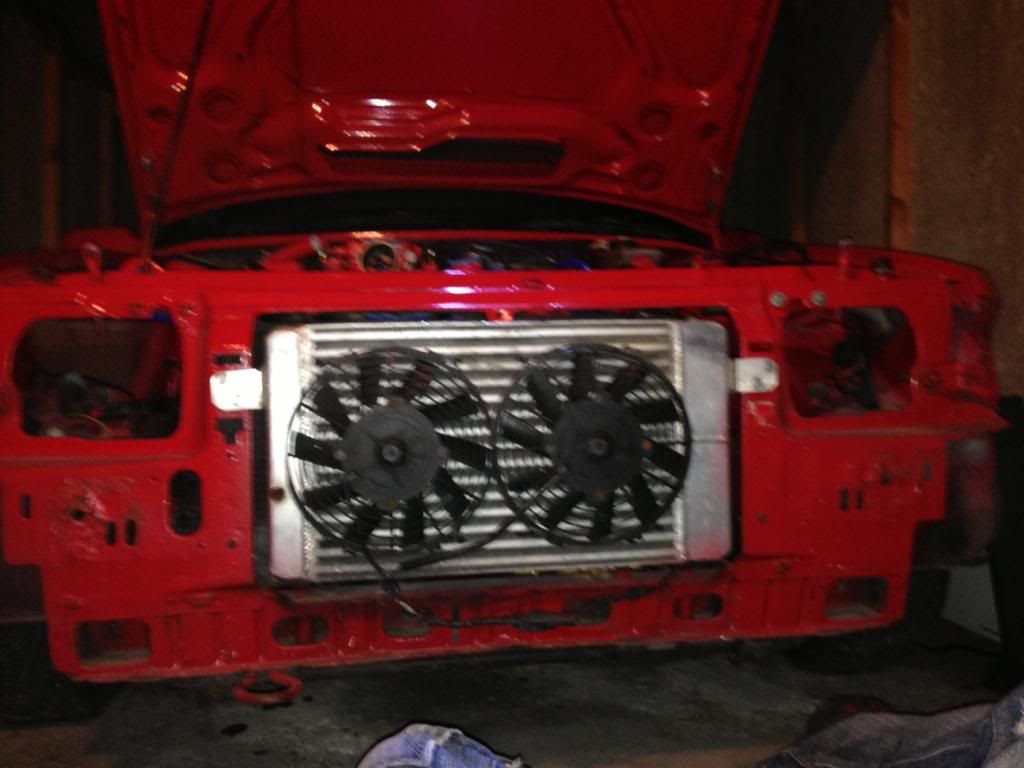
Also gave the front panel a feshen up, covered the hole into the chassis so it holds the wax oil and looks better. then gave a coat of paint. now it can start going back together 

#33
#34


