Project Fiesta ST500 Evolution



Thread Starter
Regular Contributor
Joined: Mar 2012
Posts: 241
Likes: 0
From: Doncaster

Since the last update:
I've just had two weeks solid working solely on the car. Got absolutely loads done, and it looks like I've done bugger all
Basically rounded off all the little jobs that take up all the time.
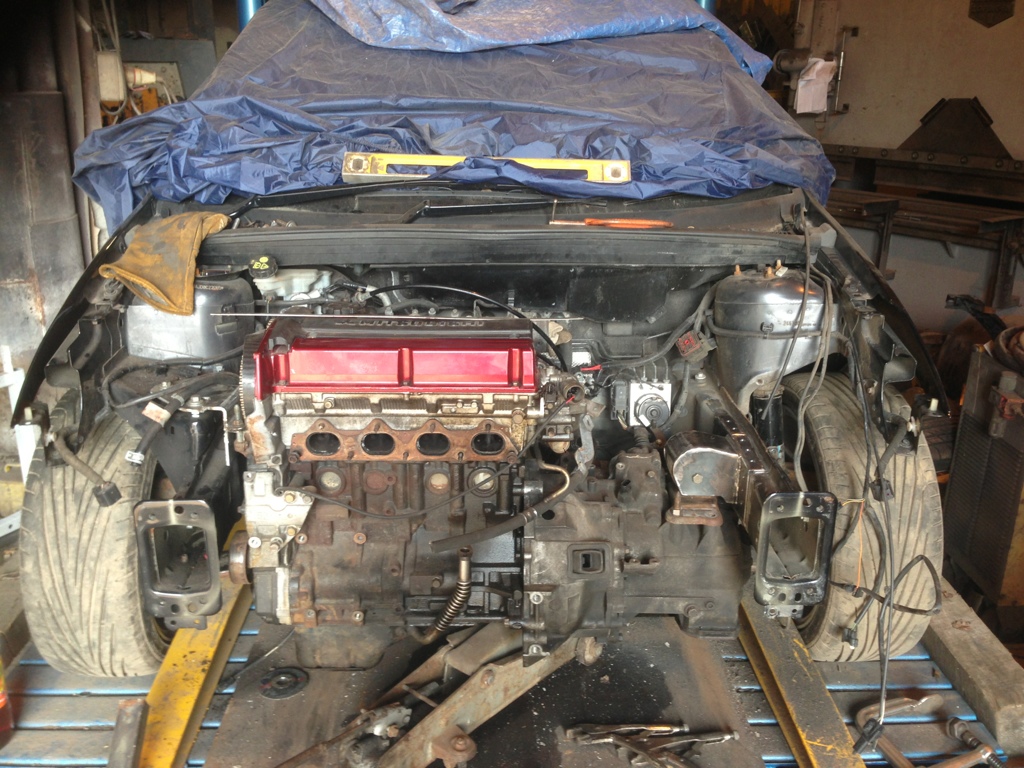
The first job I decided to do was raise the engine by an inch, as I wanted a little more clearance around the CV joints. Easier said than done unfortunately! Raising the engine meant reworking the crossmember (again). It meant raising the steering rack, which in turn meant reshaping the floor etc. It was all a bit dull, so didn't bother taking any pictures.
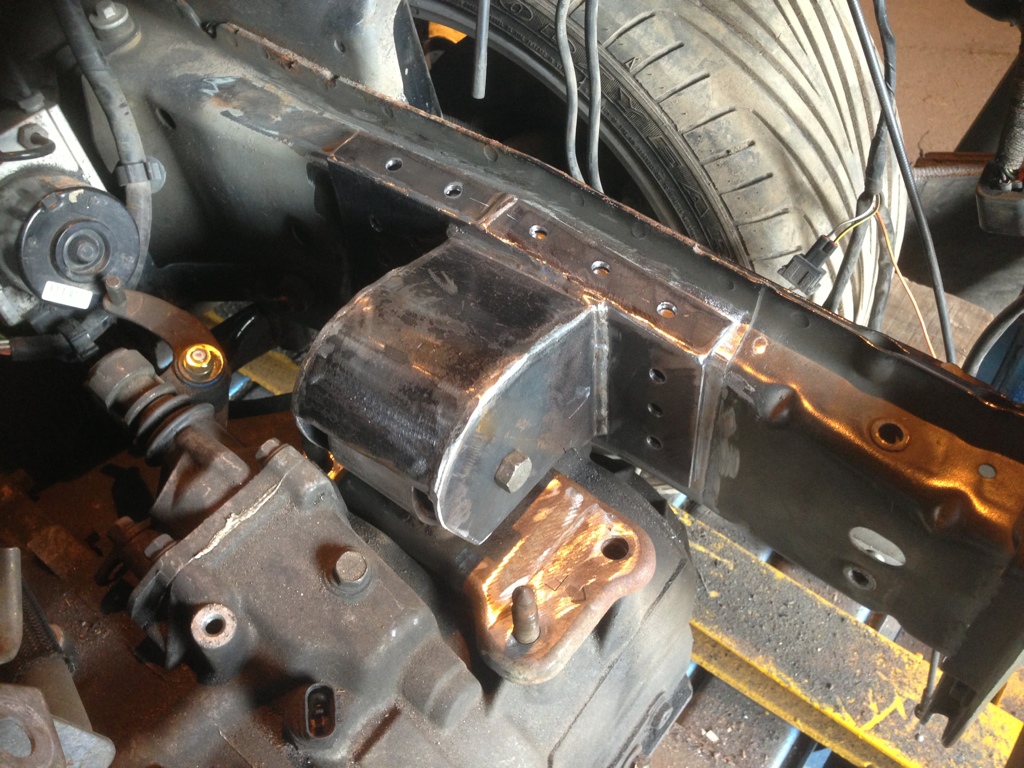
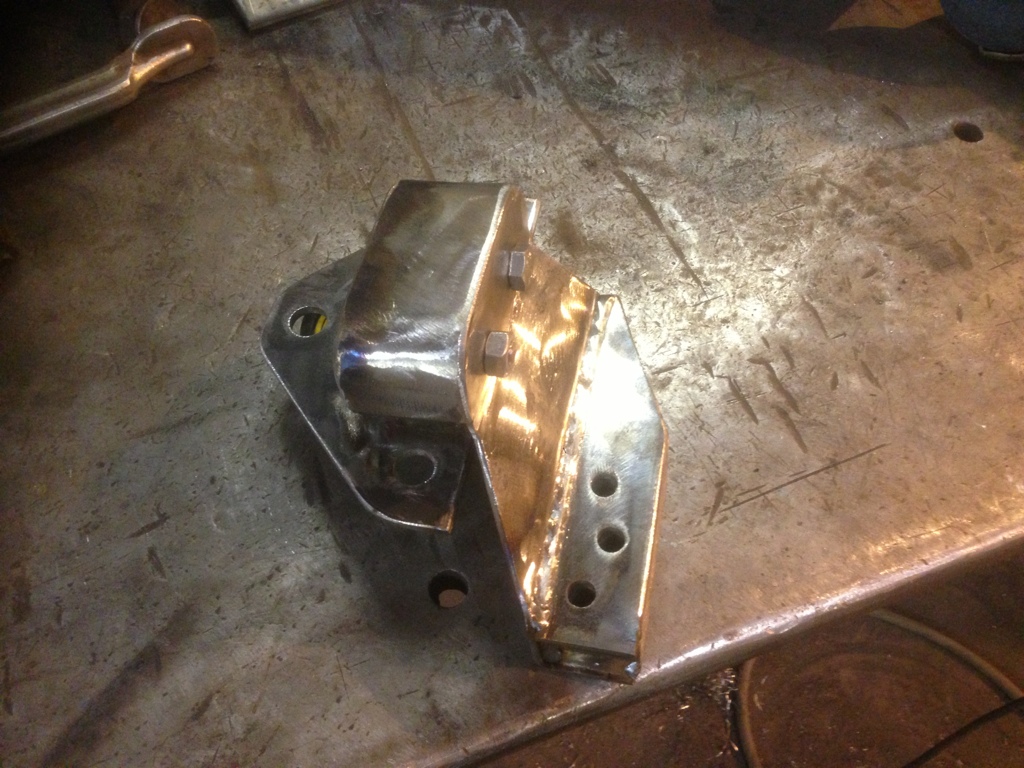
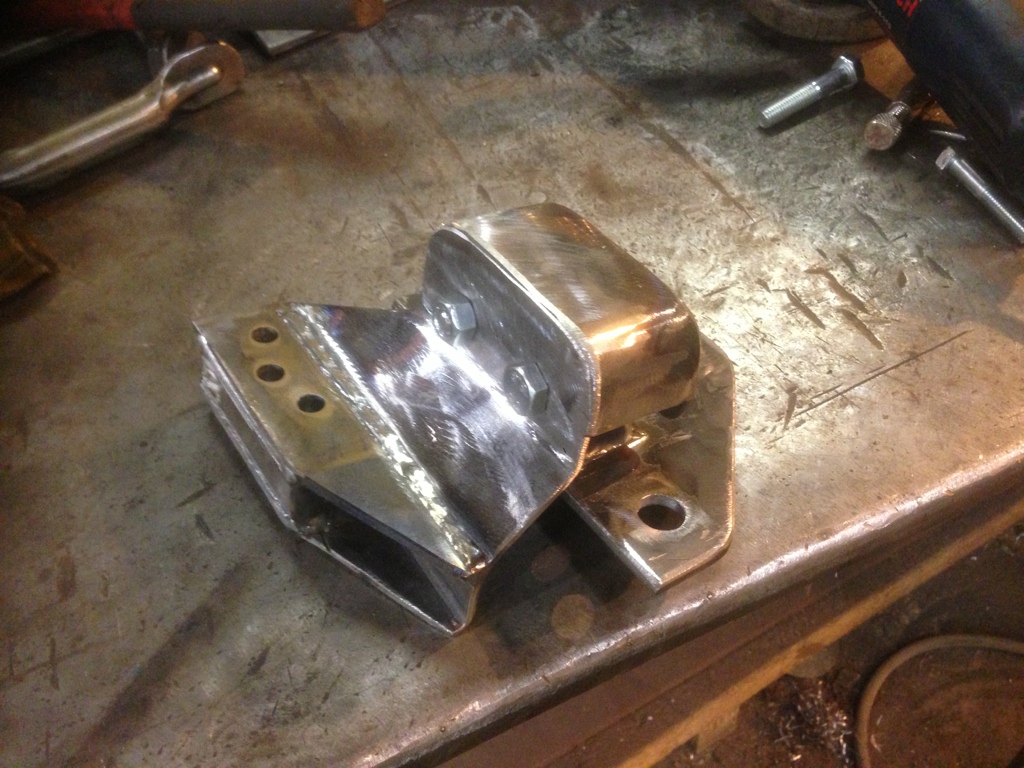
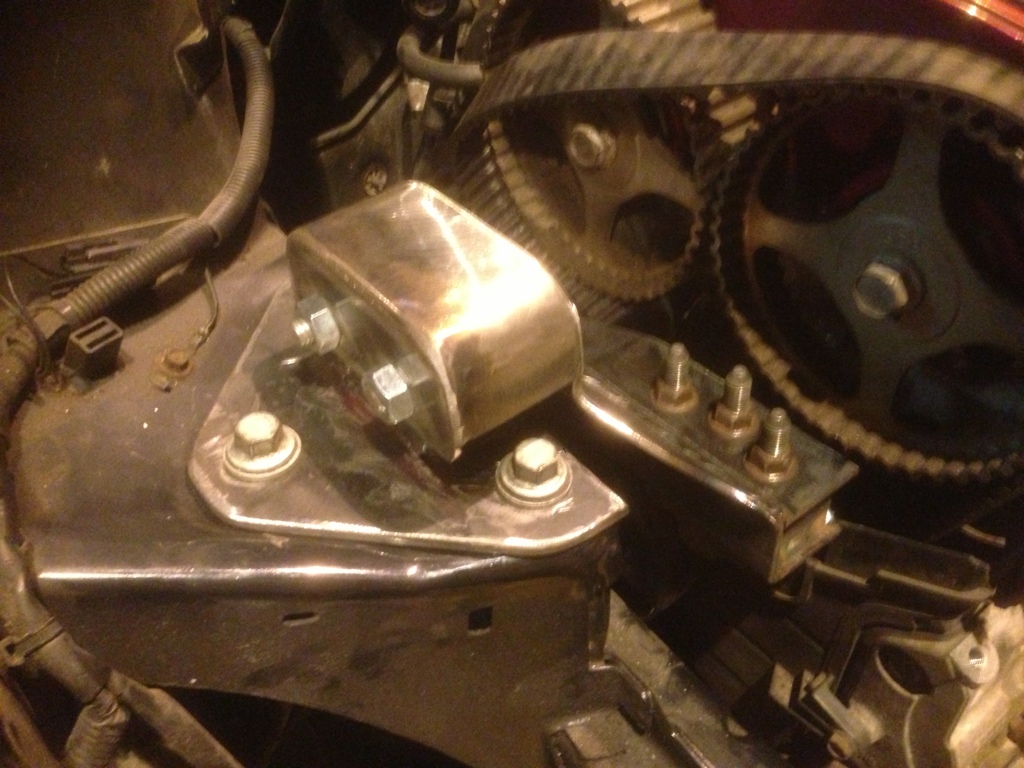
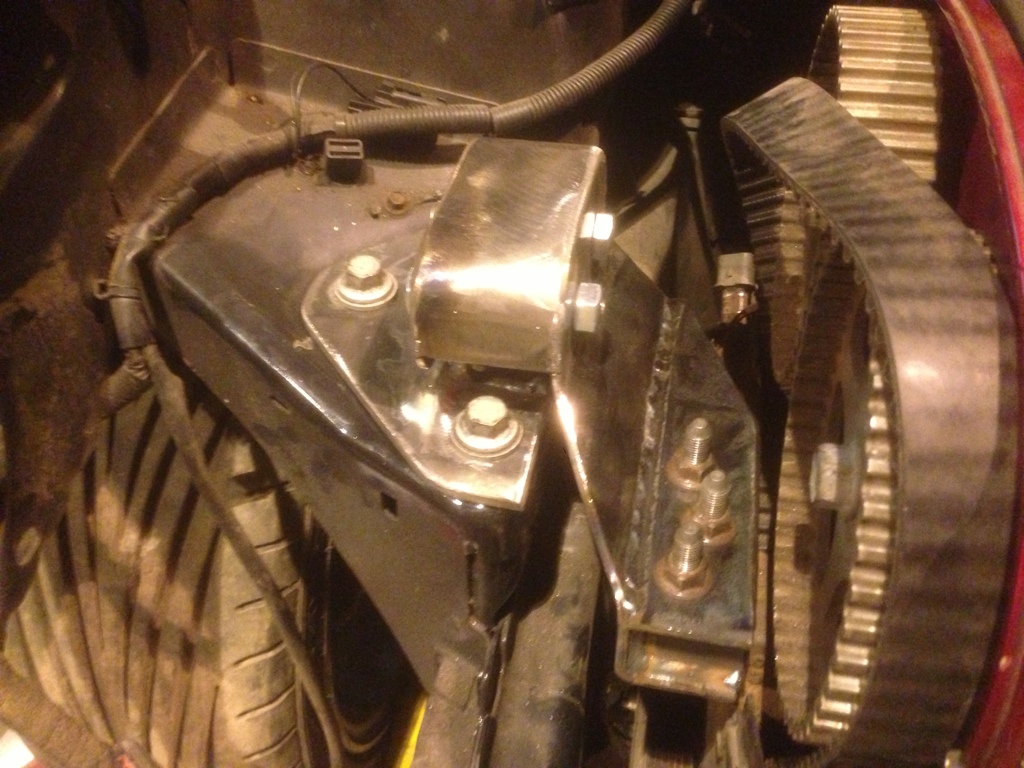
Once that was all done I decided to remake the gearbox mount. I'd originally used the stock fiesta mount and adapted it to suit, but it took up a huge amount of space in the engine bay, so I made something a little more low profile.
The old mount:
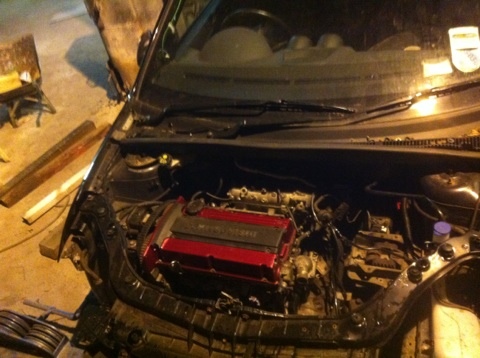
And the new:
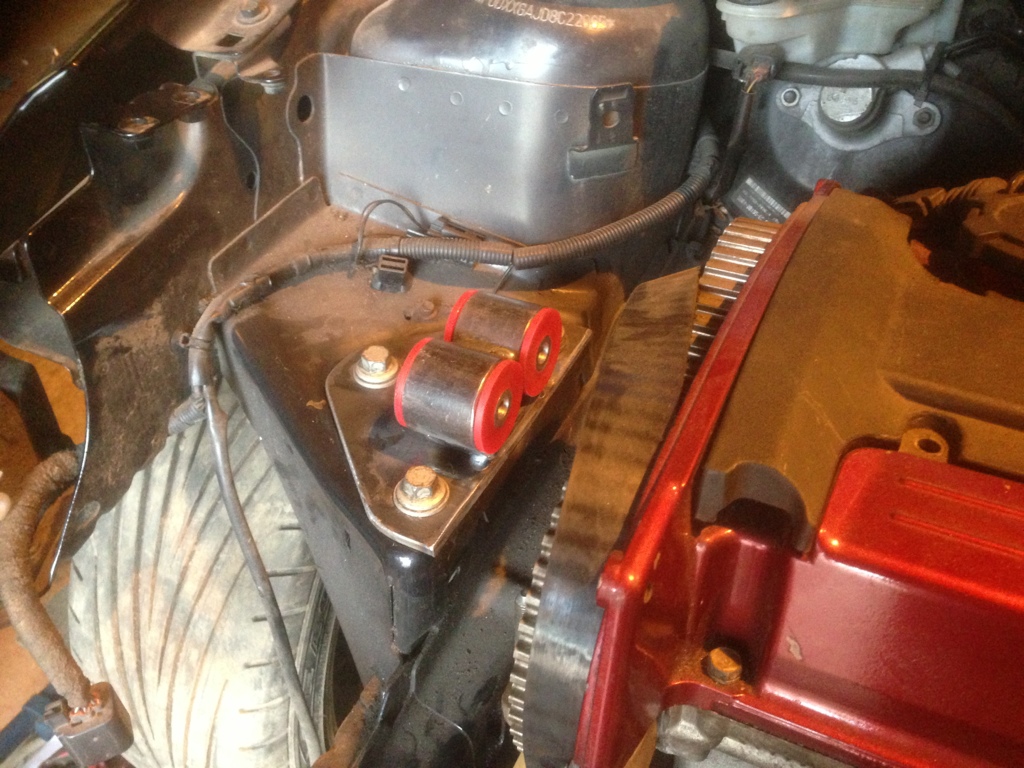
Then on to the upper engine mount.
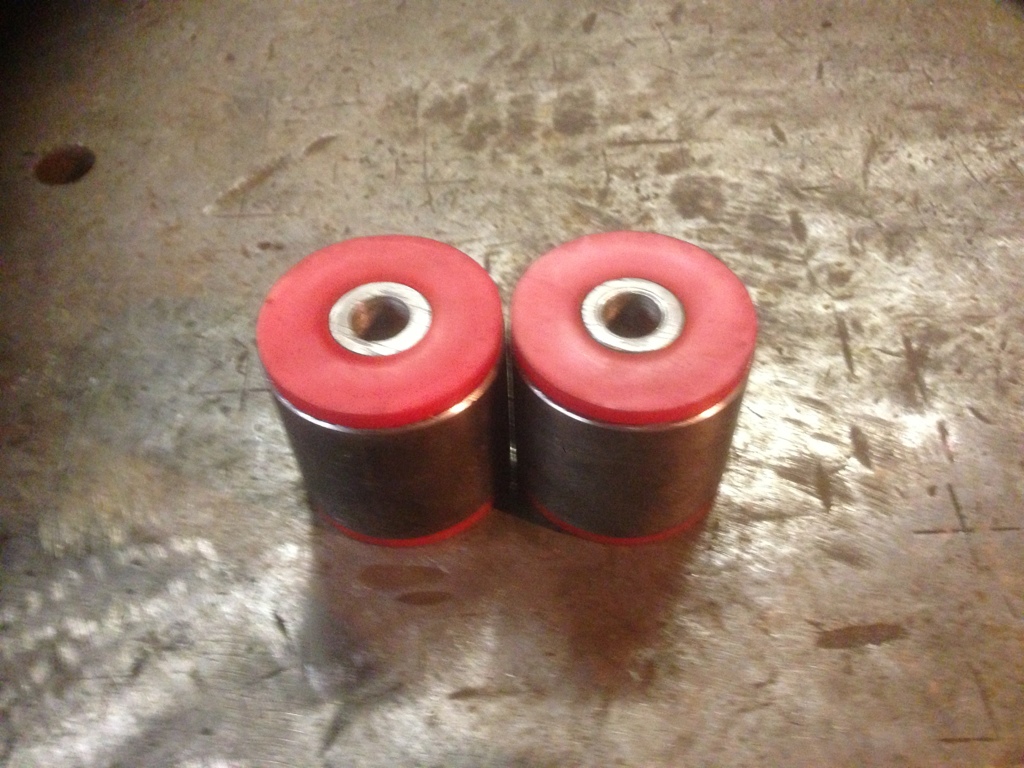
Top hat bushes, inserts and sleeves made up on the lathe:
And the (semi)completed mount - almost finished bar a couple of stiffeners, then smooth the mating surface on the milling machine.
That's all for now
I've just had two weeks solid working solely on the car. Got absolutely loads done, and it looks like I've done bugger all
Basically rounded off all the little jobs that take up all the time.
The first job I decided to do was raise the engine by an inch, as I wanted a little more clearance around the CV joints. Easier said than done unfortunately! Raising the engine meant reworking the crossmember (again). It meant raising the steering rack, which in turn meant reshaping the floor etc. It was all a bit dull, so didn't bother taking any pictures.
Once that was all done I decided to remake the gearbox mount. I'd originally used the stock fiesta mount and adapted it to suit, but it took up a huge amount of space in the engine bay, so I made something a little more low profile.
The old mount:
And the new:
Then on to the upper engine mount.
Top hat bushes, inserts and sleeves made up on the lathe:
And the (semi)completed mount - almost finished bar a couple of stiffeners, then smooth the mating surface on the milling machine.
That's all for now
Last edited by Beetlejuice; Apr 16, 2013 at 03:23 PM.

Thread Starter
Regular Contributor
Joined: Mar 2012
Posts: 241
Likes: 0
From: Doncaster
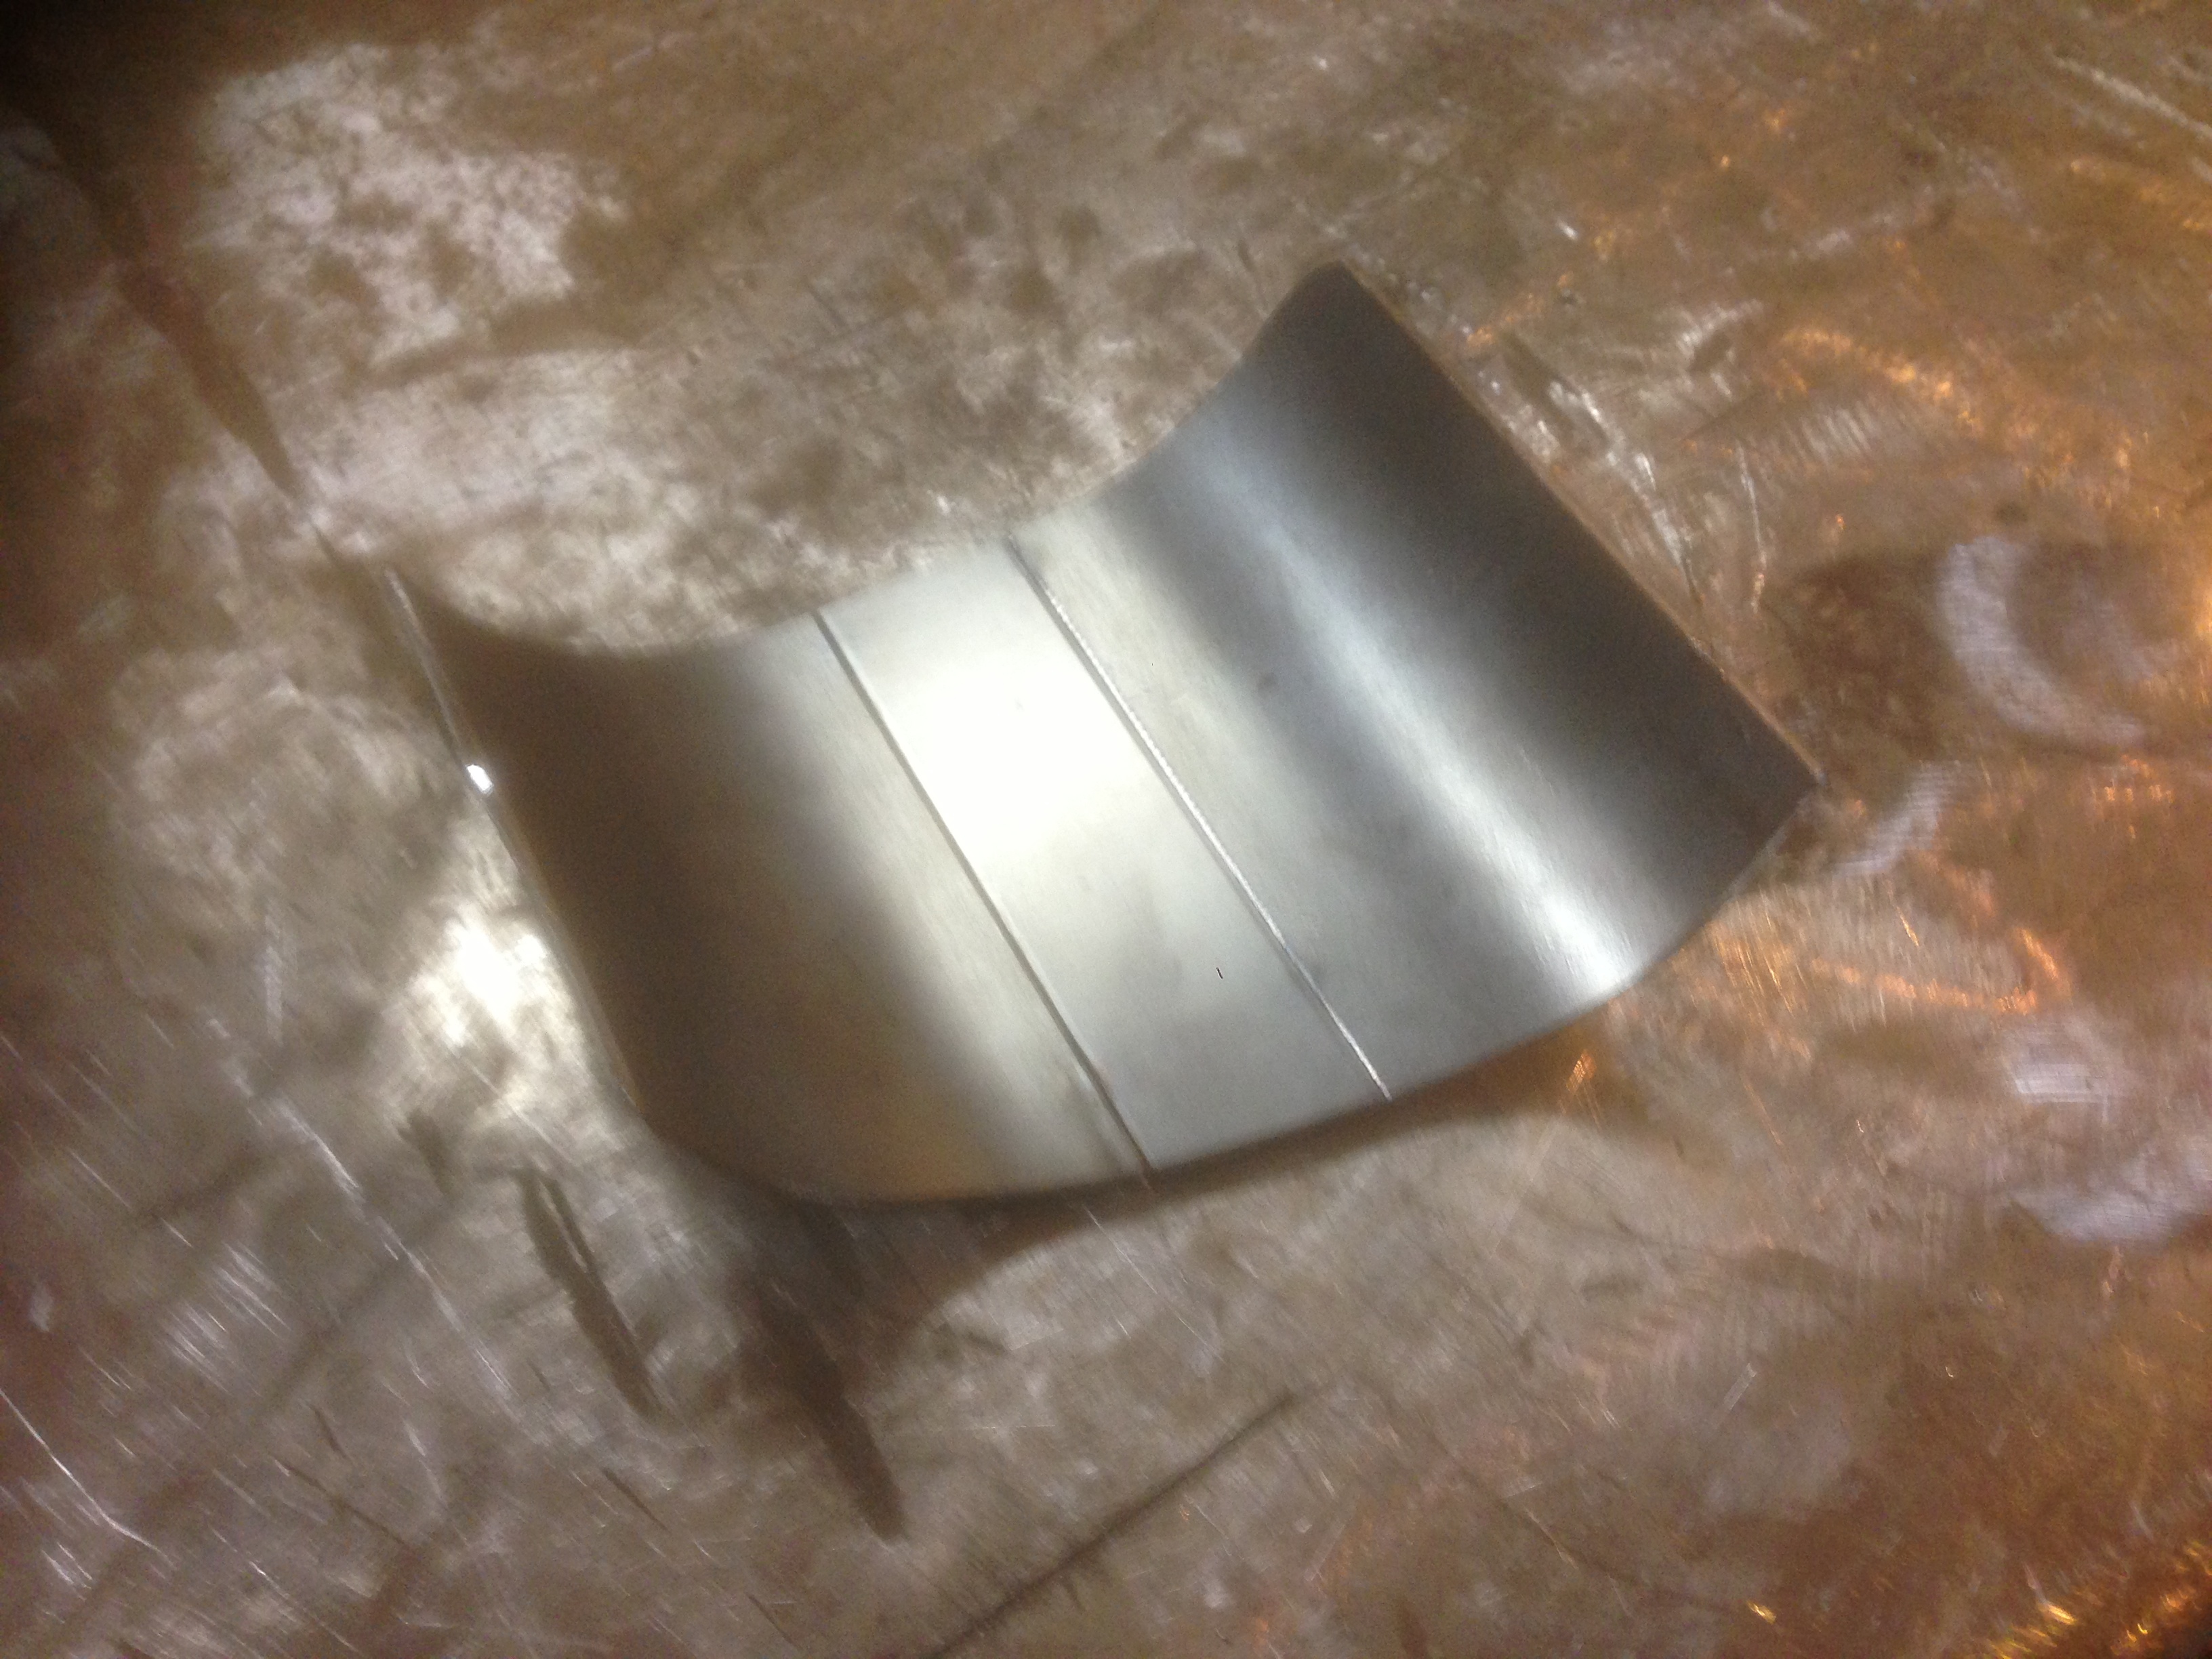
Well this was an awkward one! Best part of a day to make - definitely something I'd have CNC'd in the future, rather than fabricate from scratch.
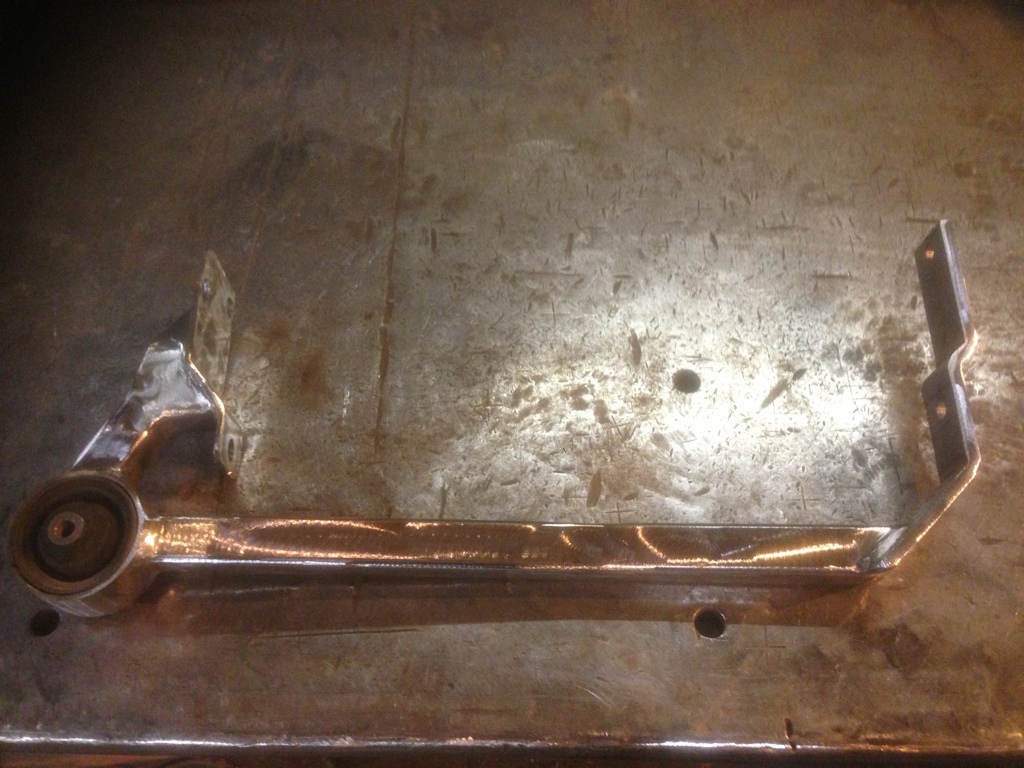
It's the rear gearbox torque link. I've now got to mount a bushing to this, then link to the crossmember. It also ties in to another mount at the front of the gearbox.
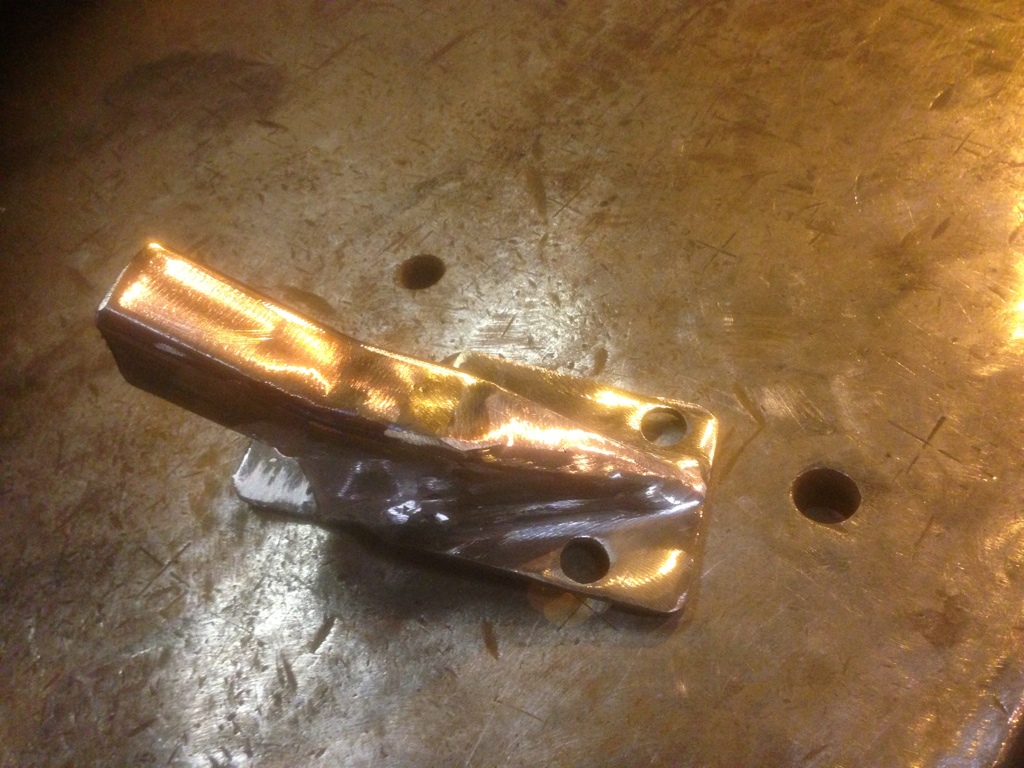

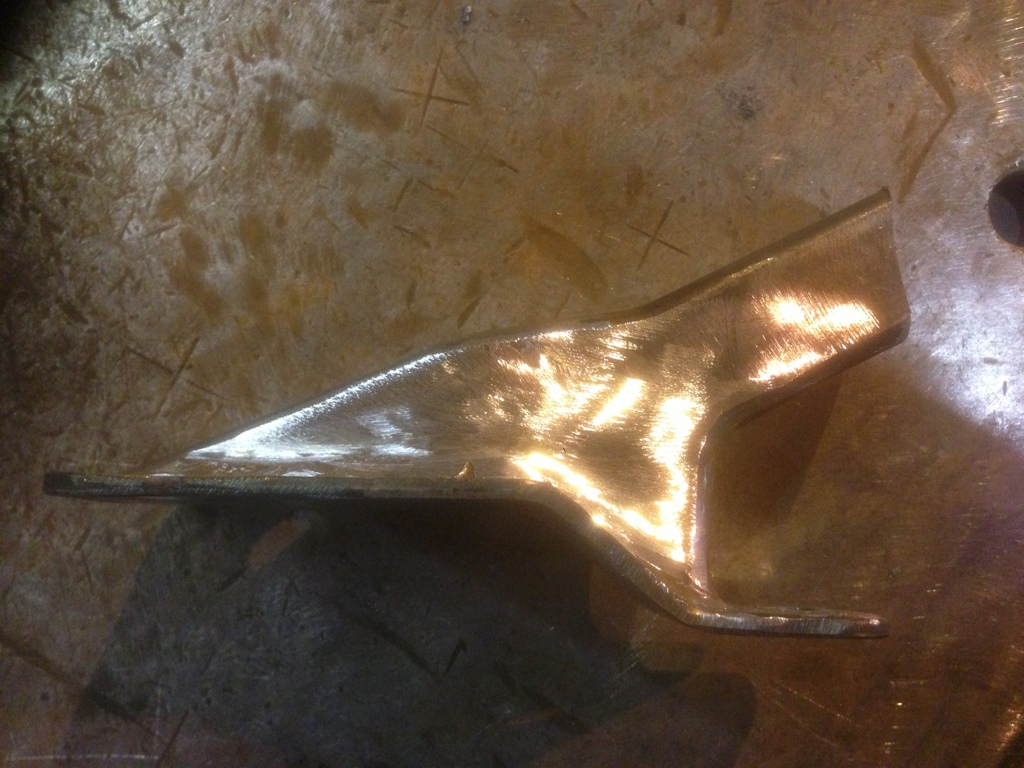
Pics are the best I could manage - the reflections don't make it easy!
It's the rear gearbox torque link. I've now got to mount a bushing to this, then link to the crossmember. It also ties in to another mount at the front of the gearbox.
Pics are the best I could manage - the reflections don't make it easy!




Thread Starter
Regular Contributor
Joined: Mar 2012
Posts: 241
Likes: 0
From: Doncaster
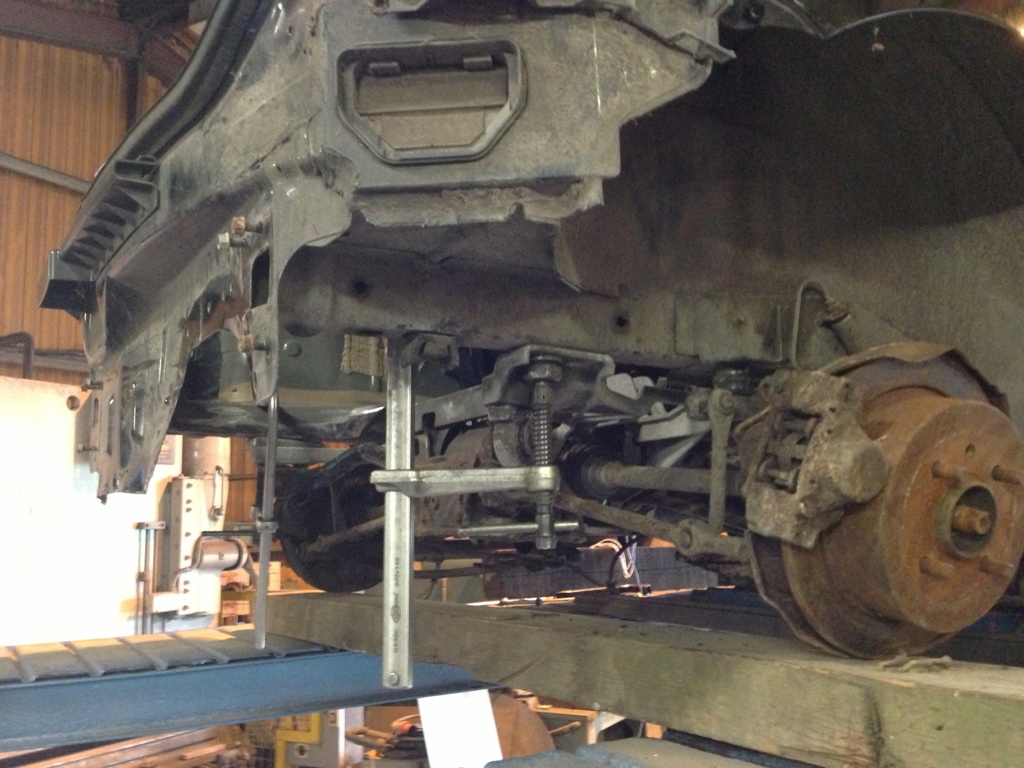
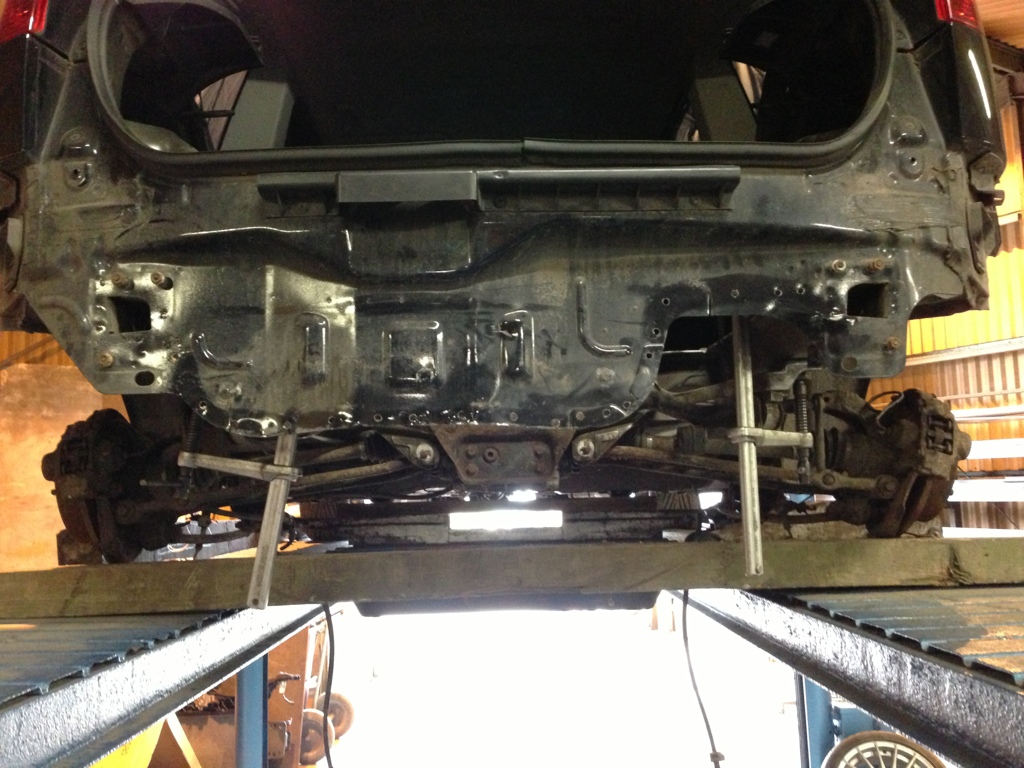
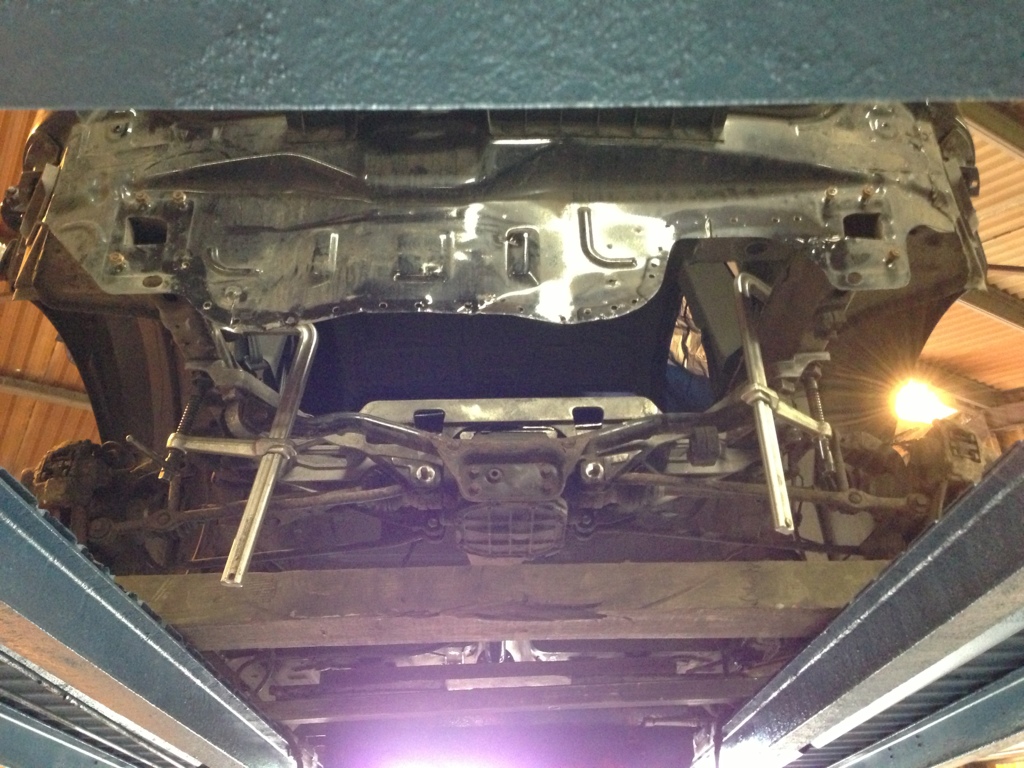
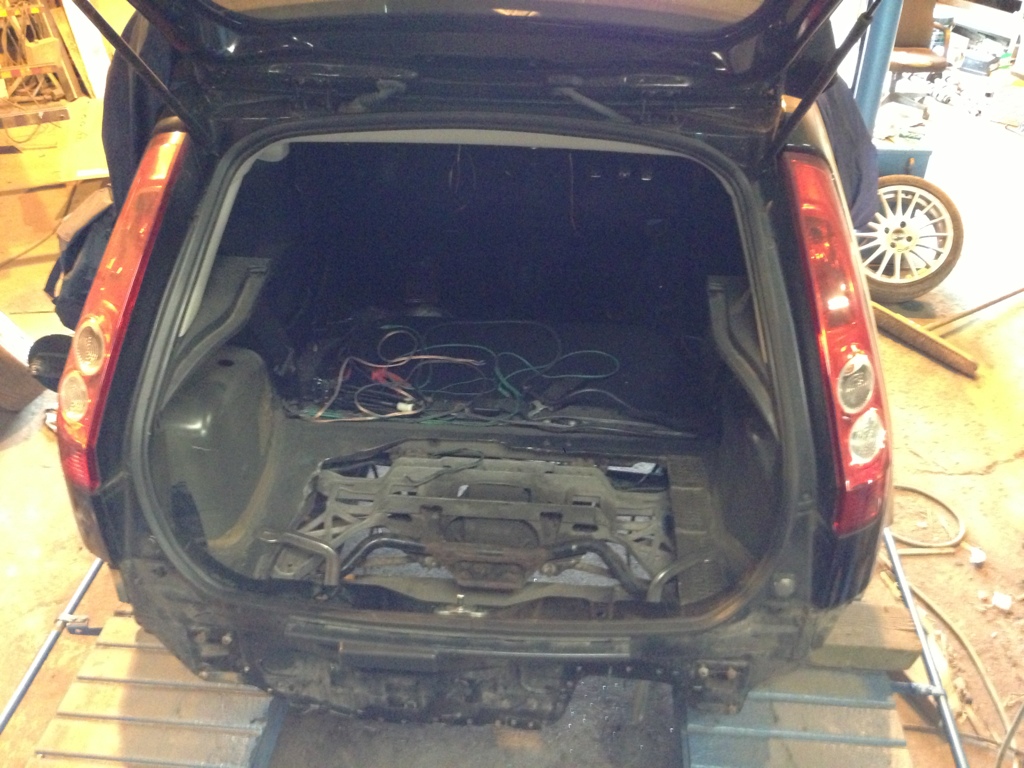
Dummy fitted the rear end. I'll be making a full tubular cradle, but this is being used to locate the mounts etc, because the car it came from shares the floor pan with the fiesta.


Thread Starter
Regular Contributor
Joined: Mar 2012
Posts: 241
Likes: 0
From: Doncaster
Cheers fellas, should have a fair bit more to report by the end of the weekend.
Thanks Will, was very informative. I'll be back in touch when I have a clearer idea of when it'll be ready to go forward.
Thanks Will, was very informative. I'll be back in touch when I have a clearer idea of when it'll be ready to go forward.
Thread Starter
Regular Contributor
Joined: Mar 2012
Posts: 241
Likes: 0
From: Doncaster
Not really had much time spare this last week. Spent tonight strengthening the rear chassis rails ready for the cradle. Doesn't look all that pretty, but it needed to be stronger. Once it's under sealed you'd never know.
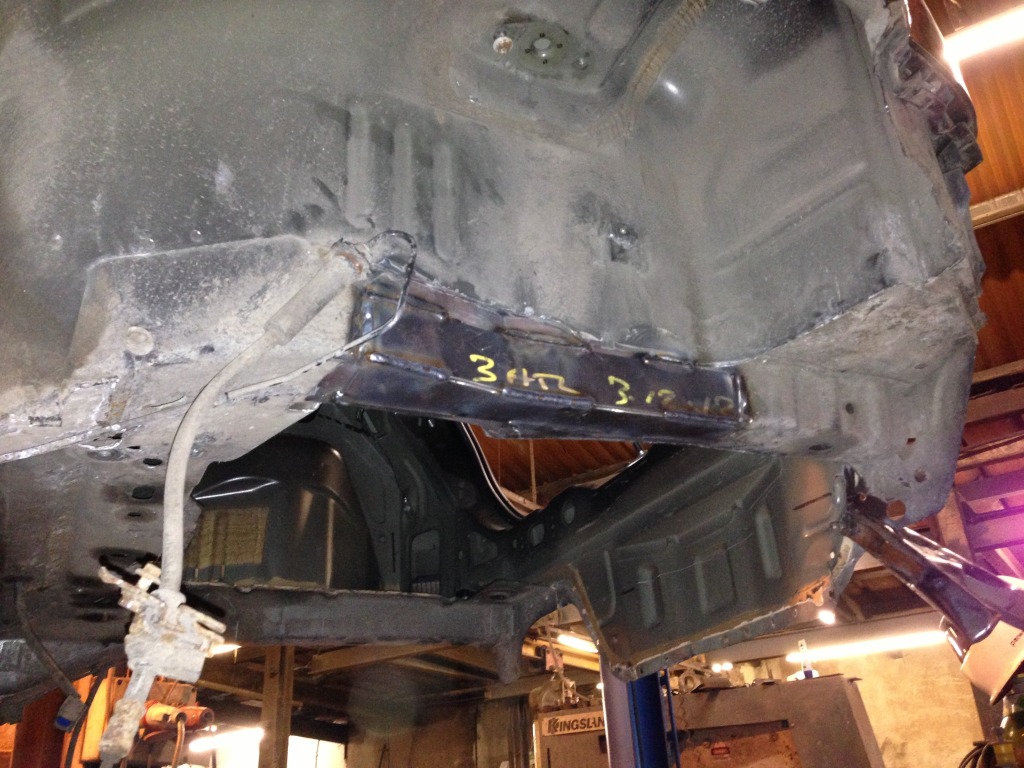
Just got to finish welding it up, then make a decent drilling jig to put the mounting fixtures in place.
Just got to finish welding it up, then make a decent drilling jig to put the mounting fixtures in place.
Thread Starter
Regular Contributor
Joined: Mar 2012
Posts: 241
Likes: 0
From: Doncaster
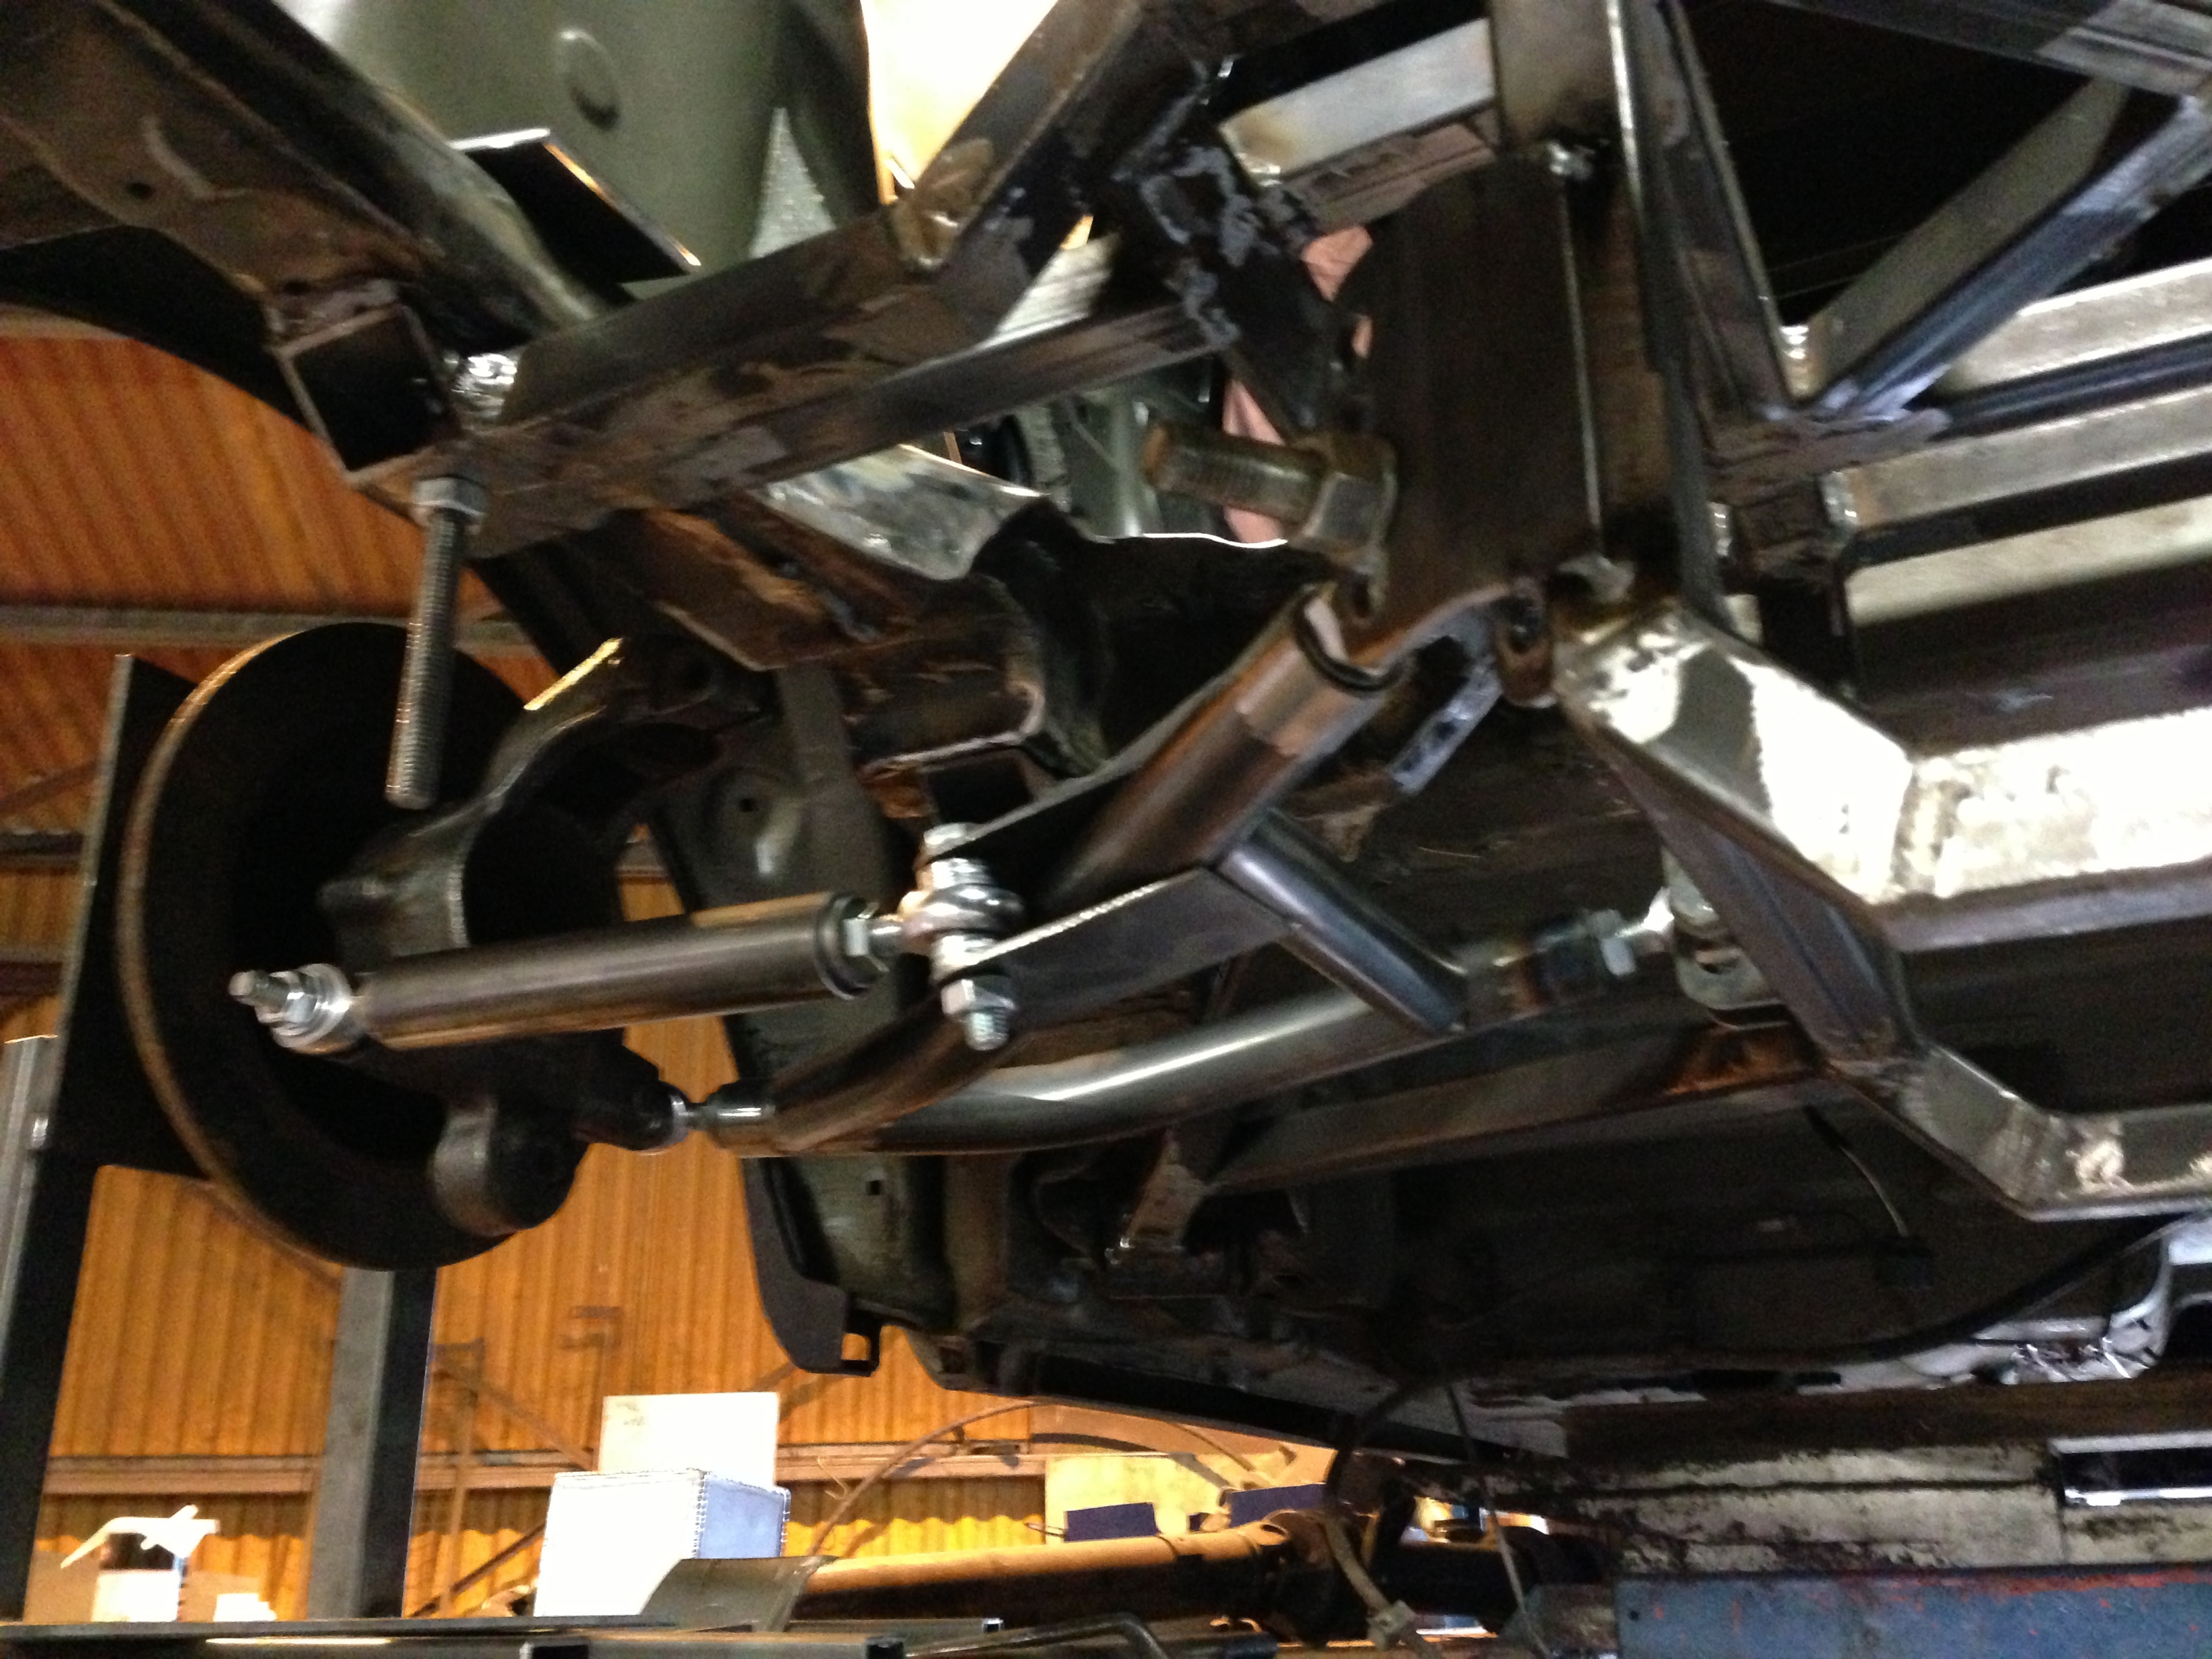
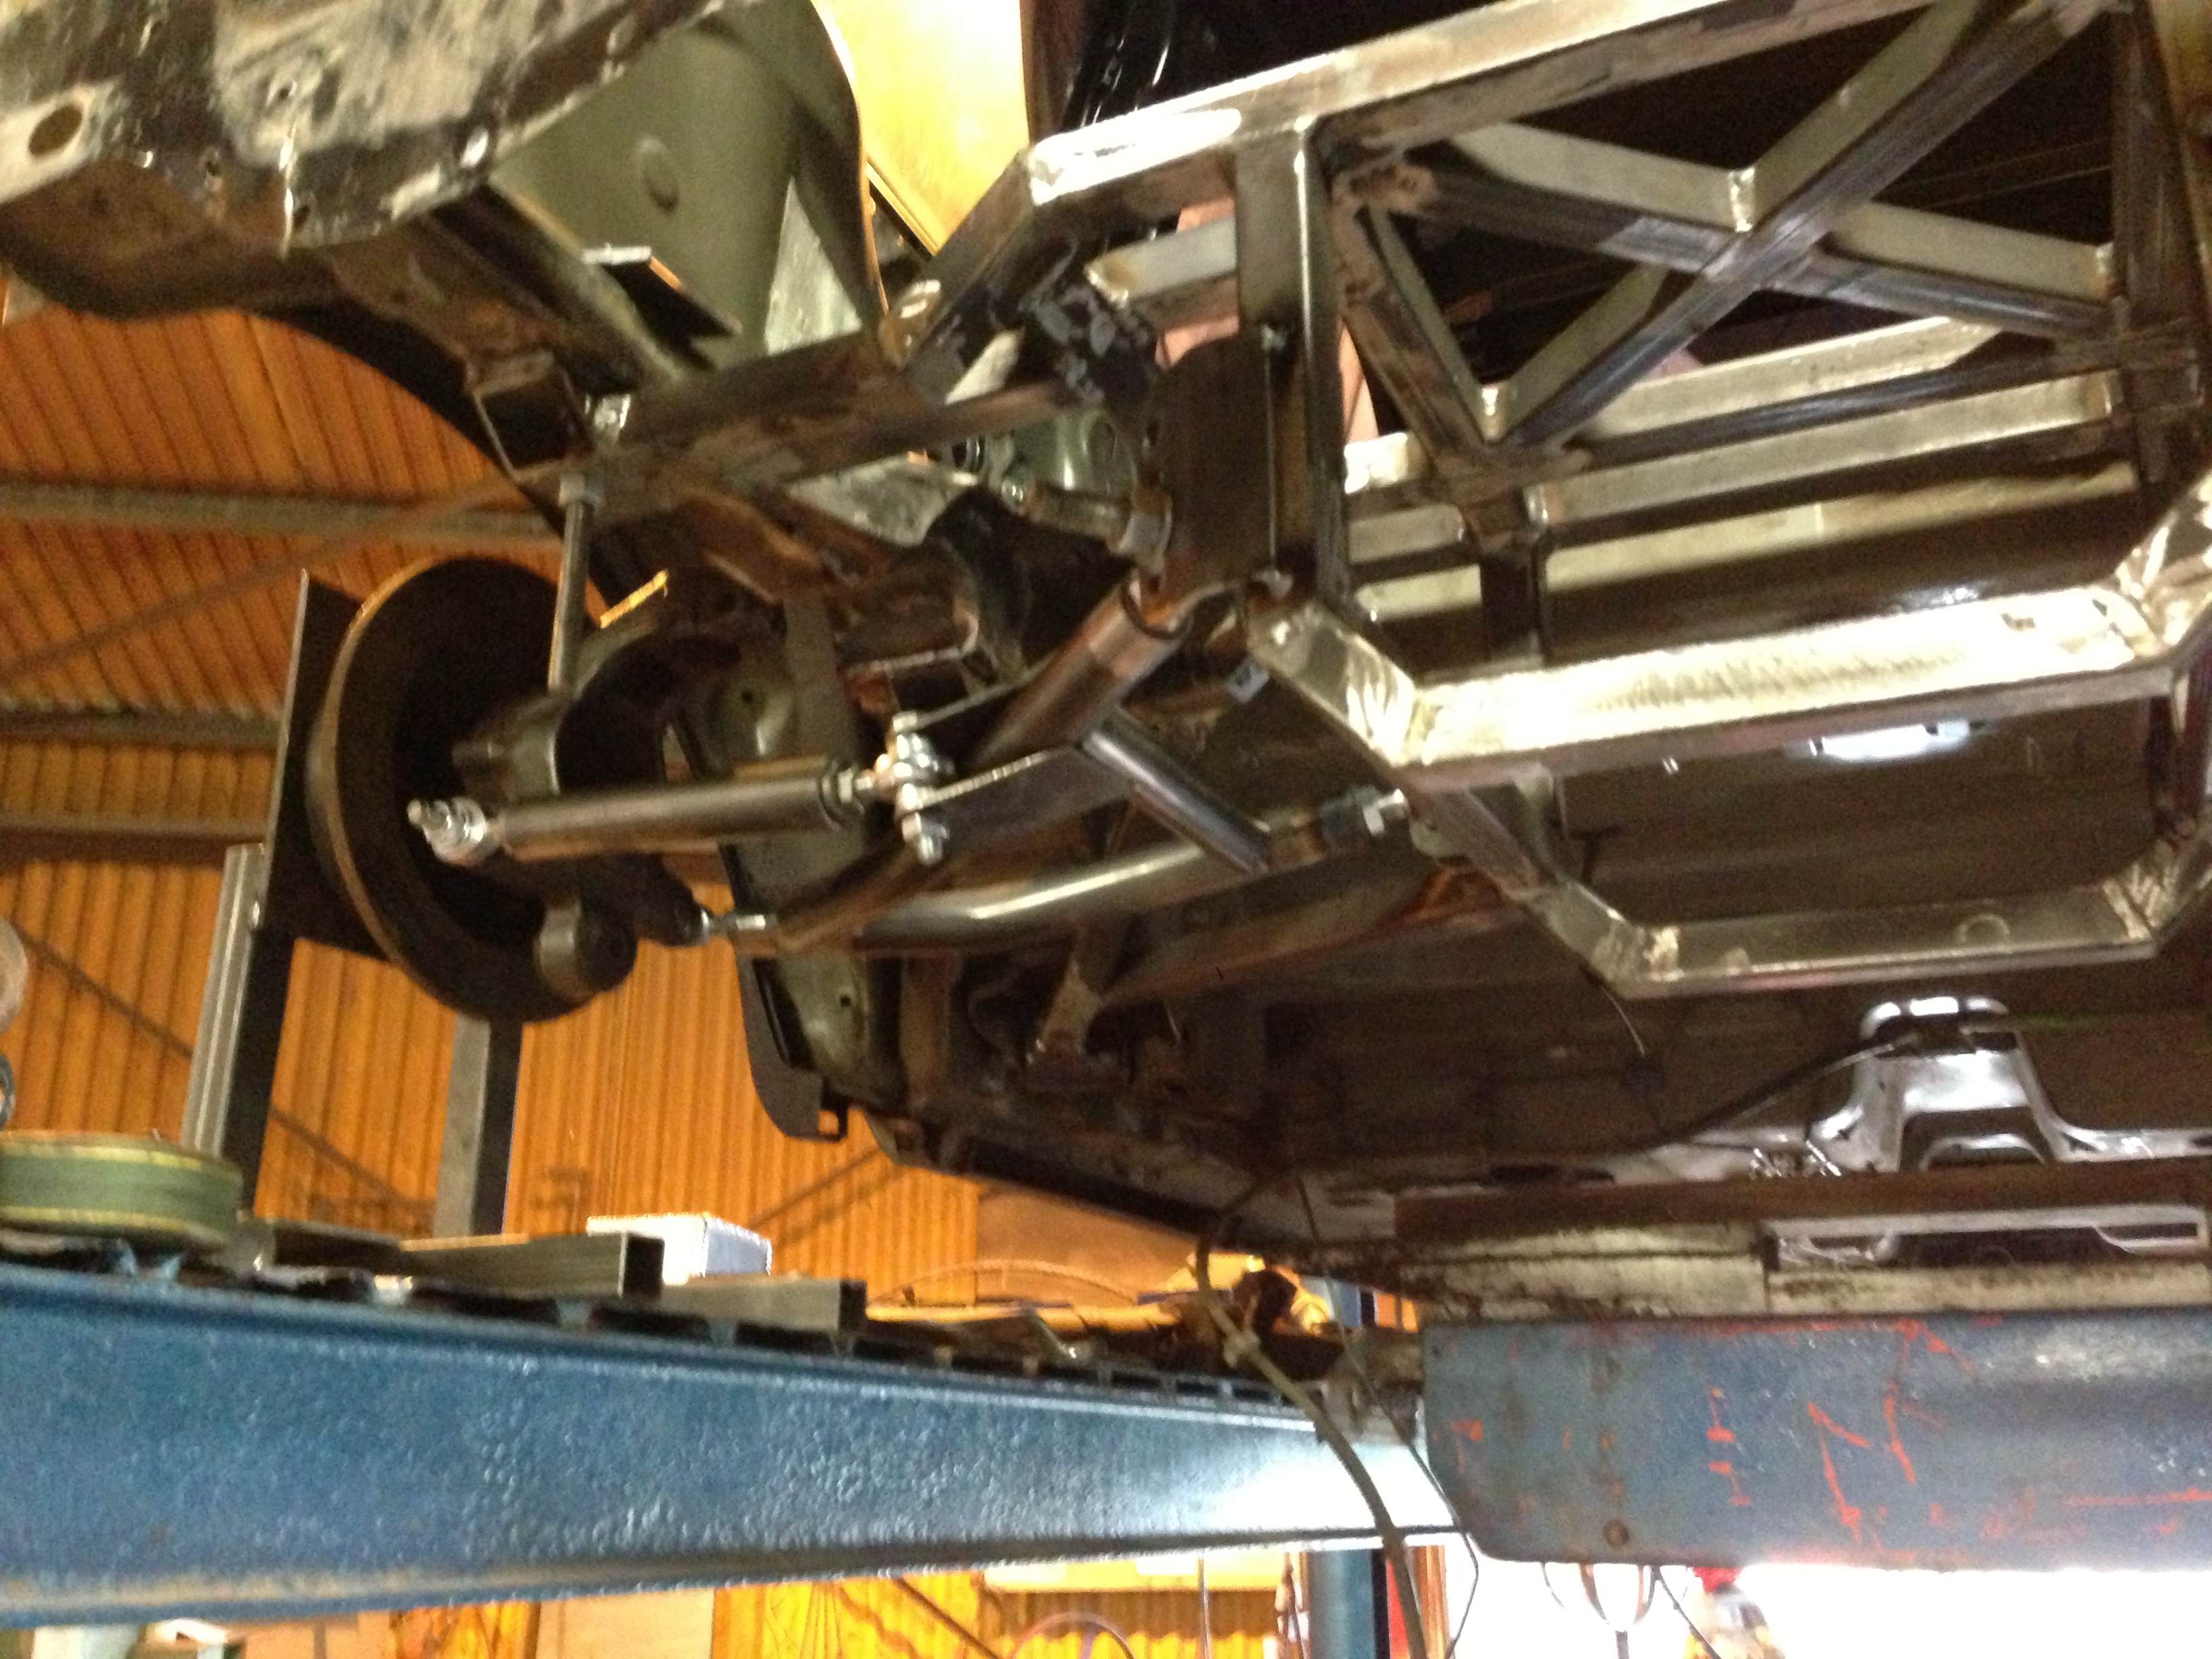
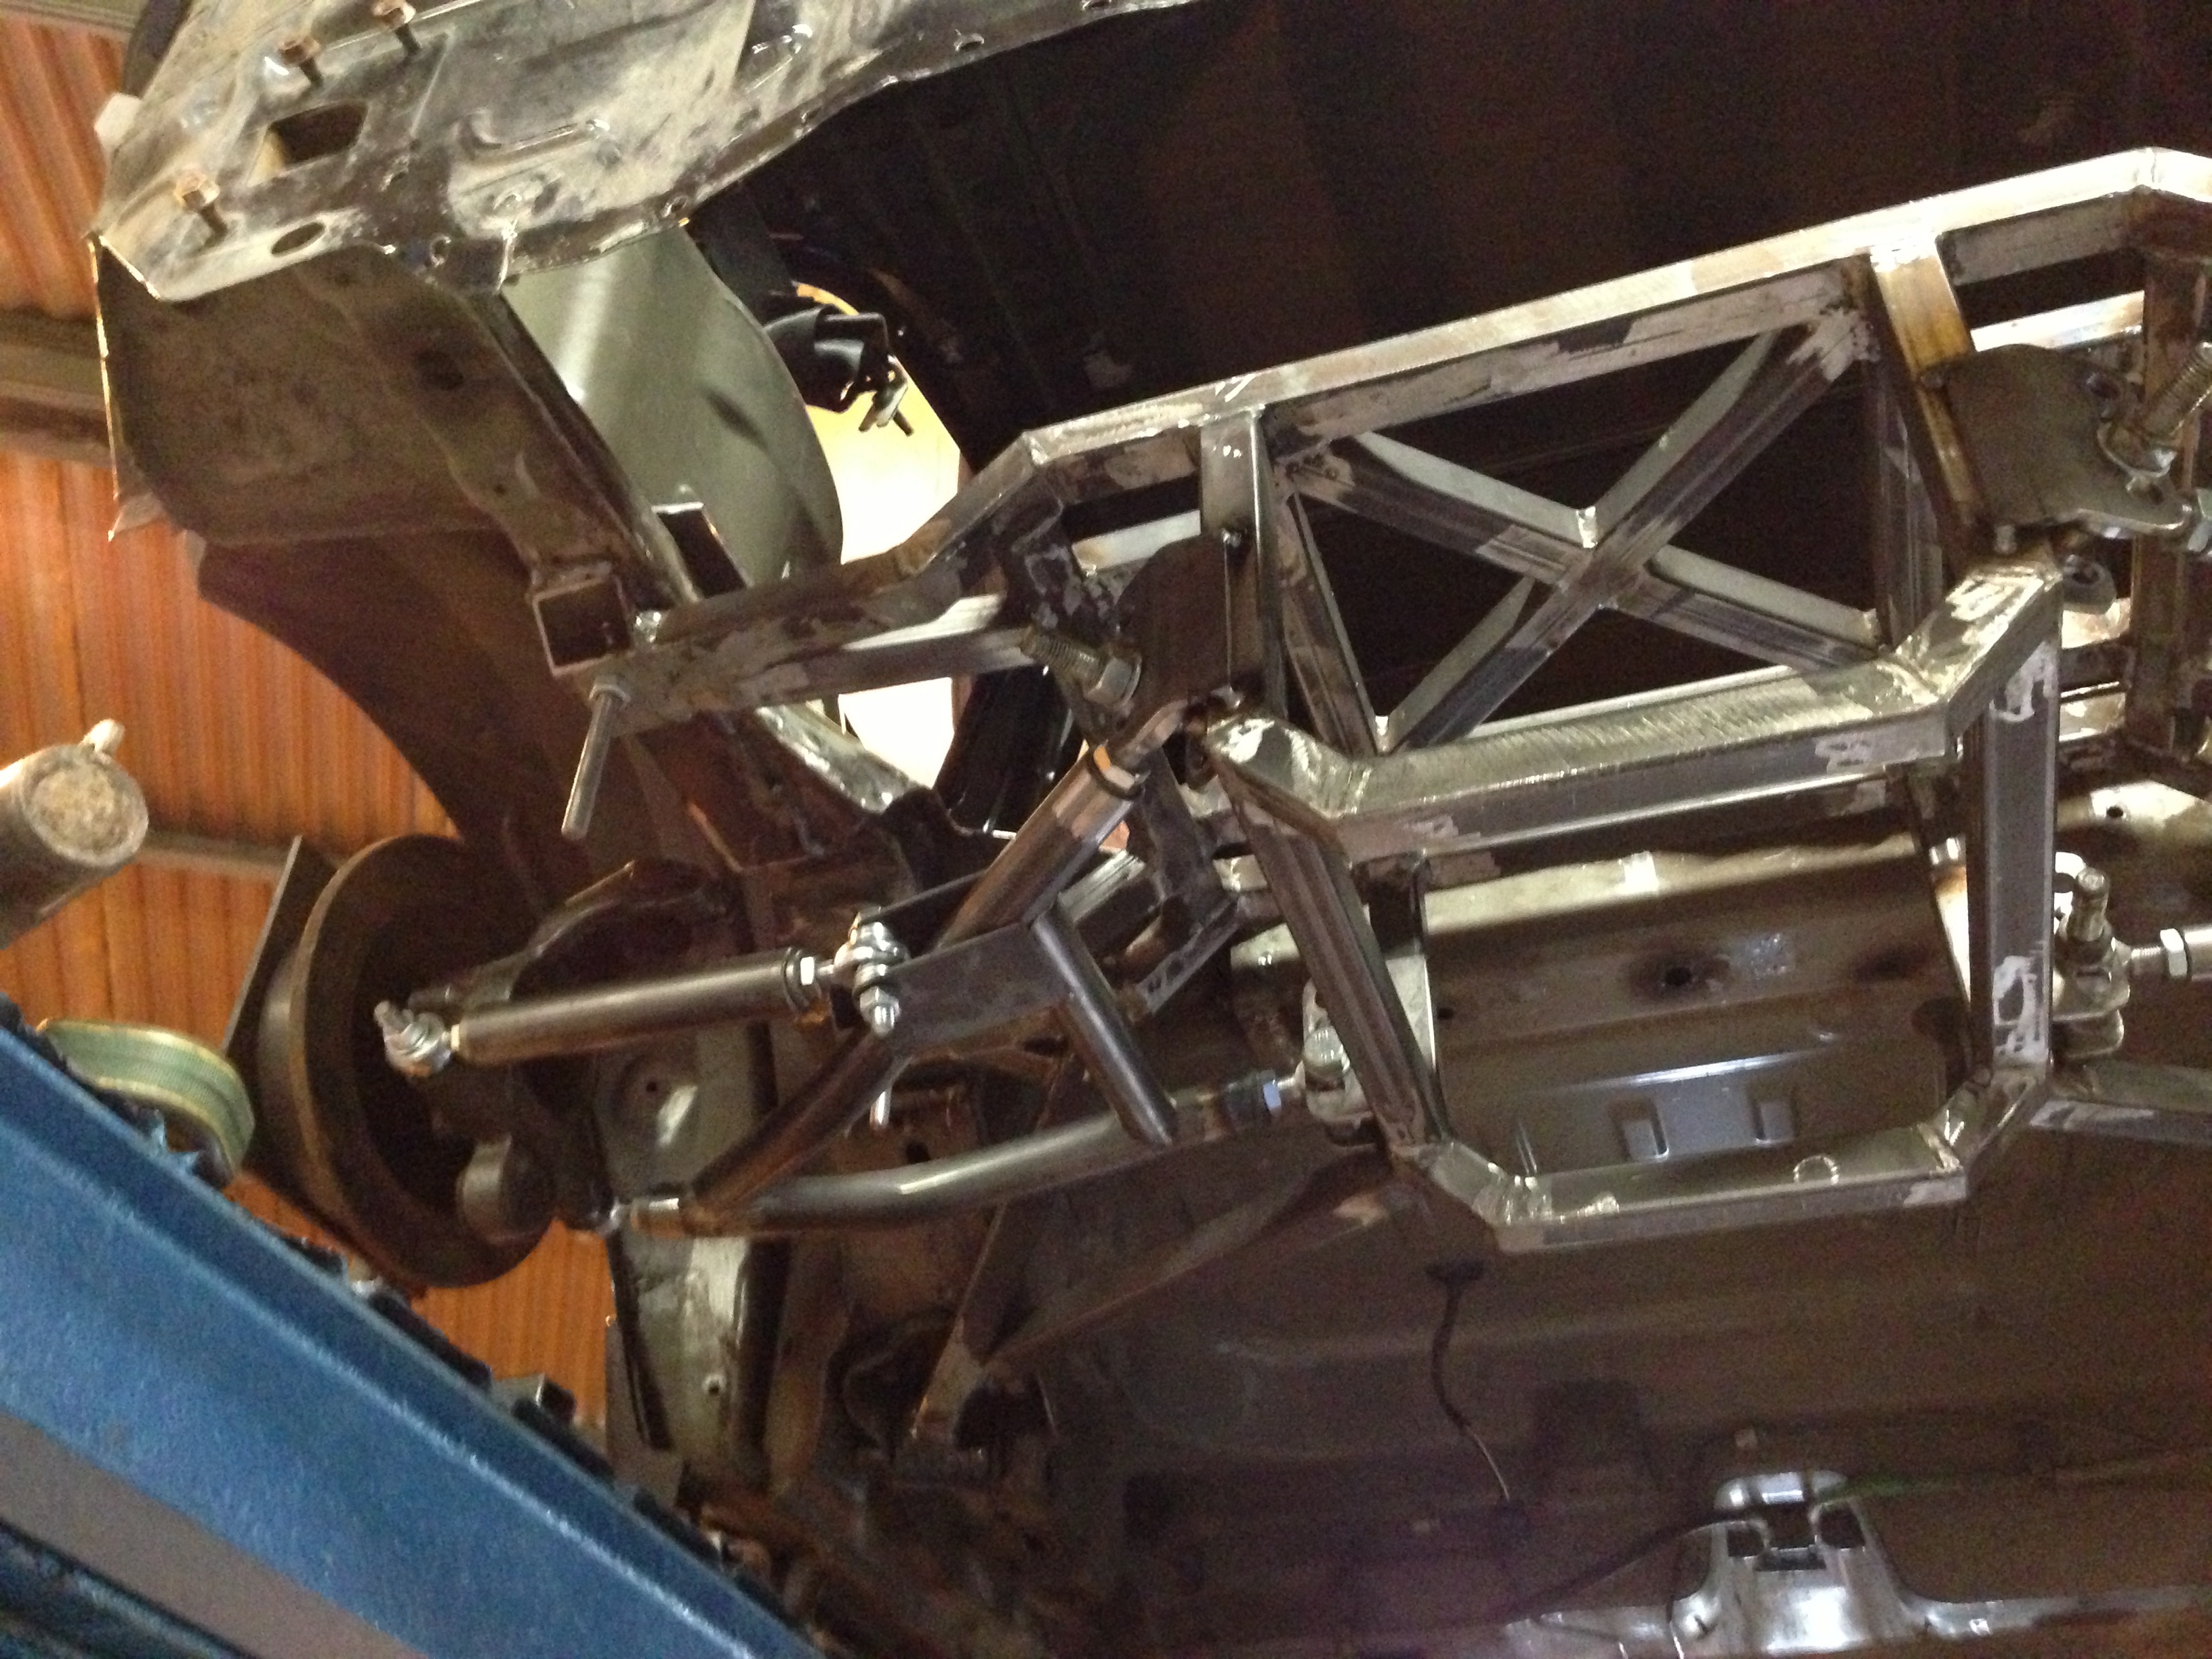
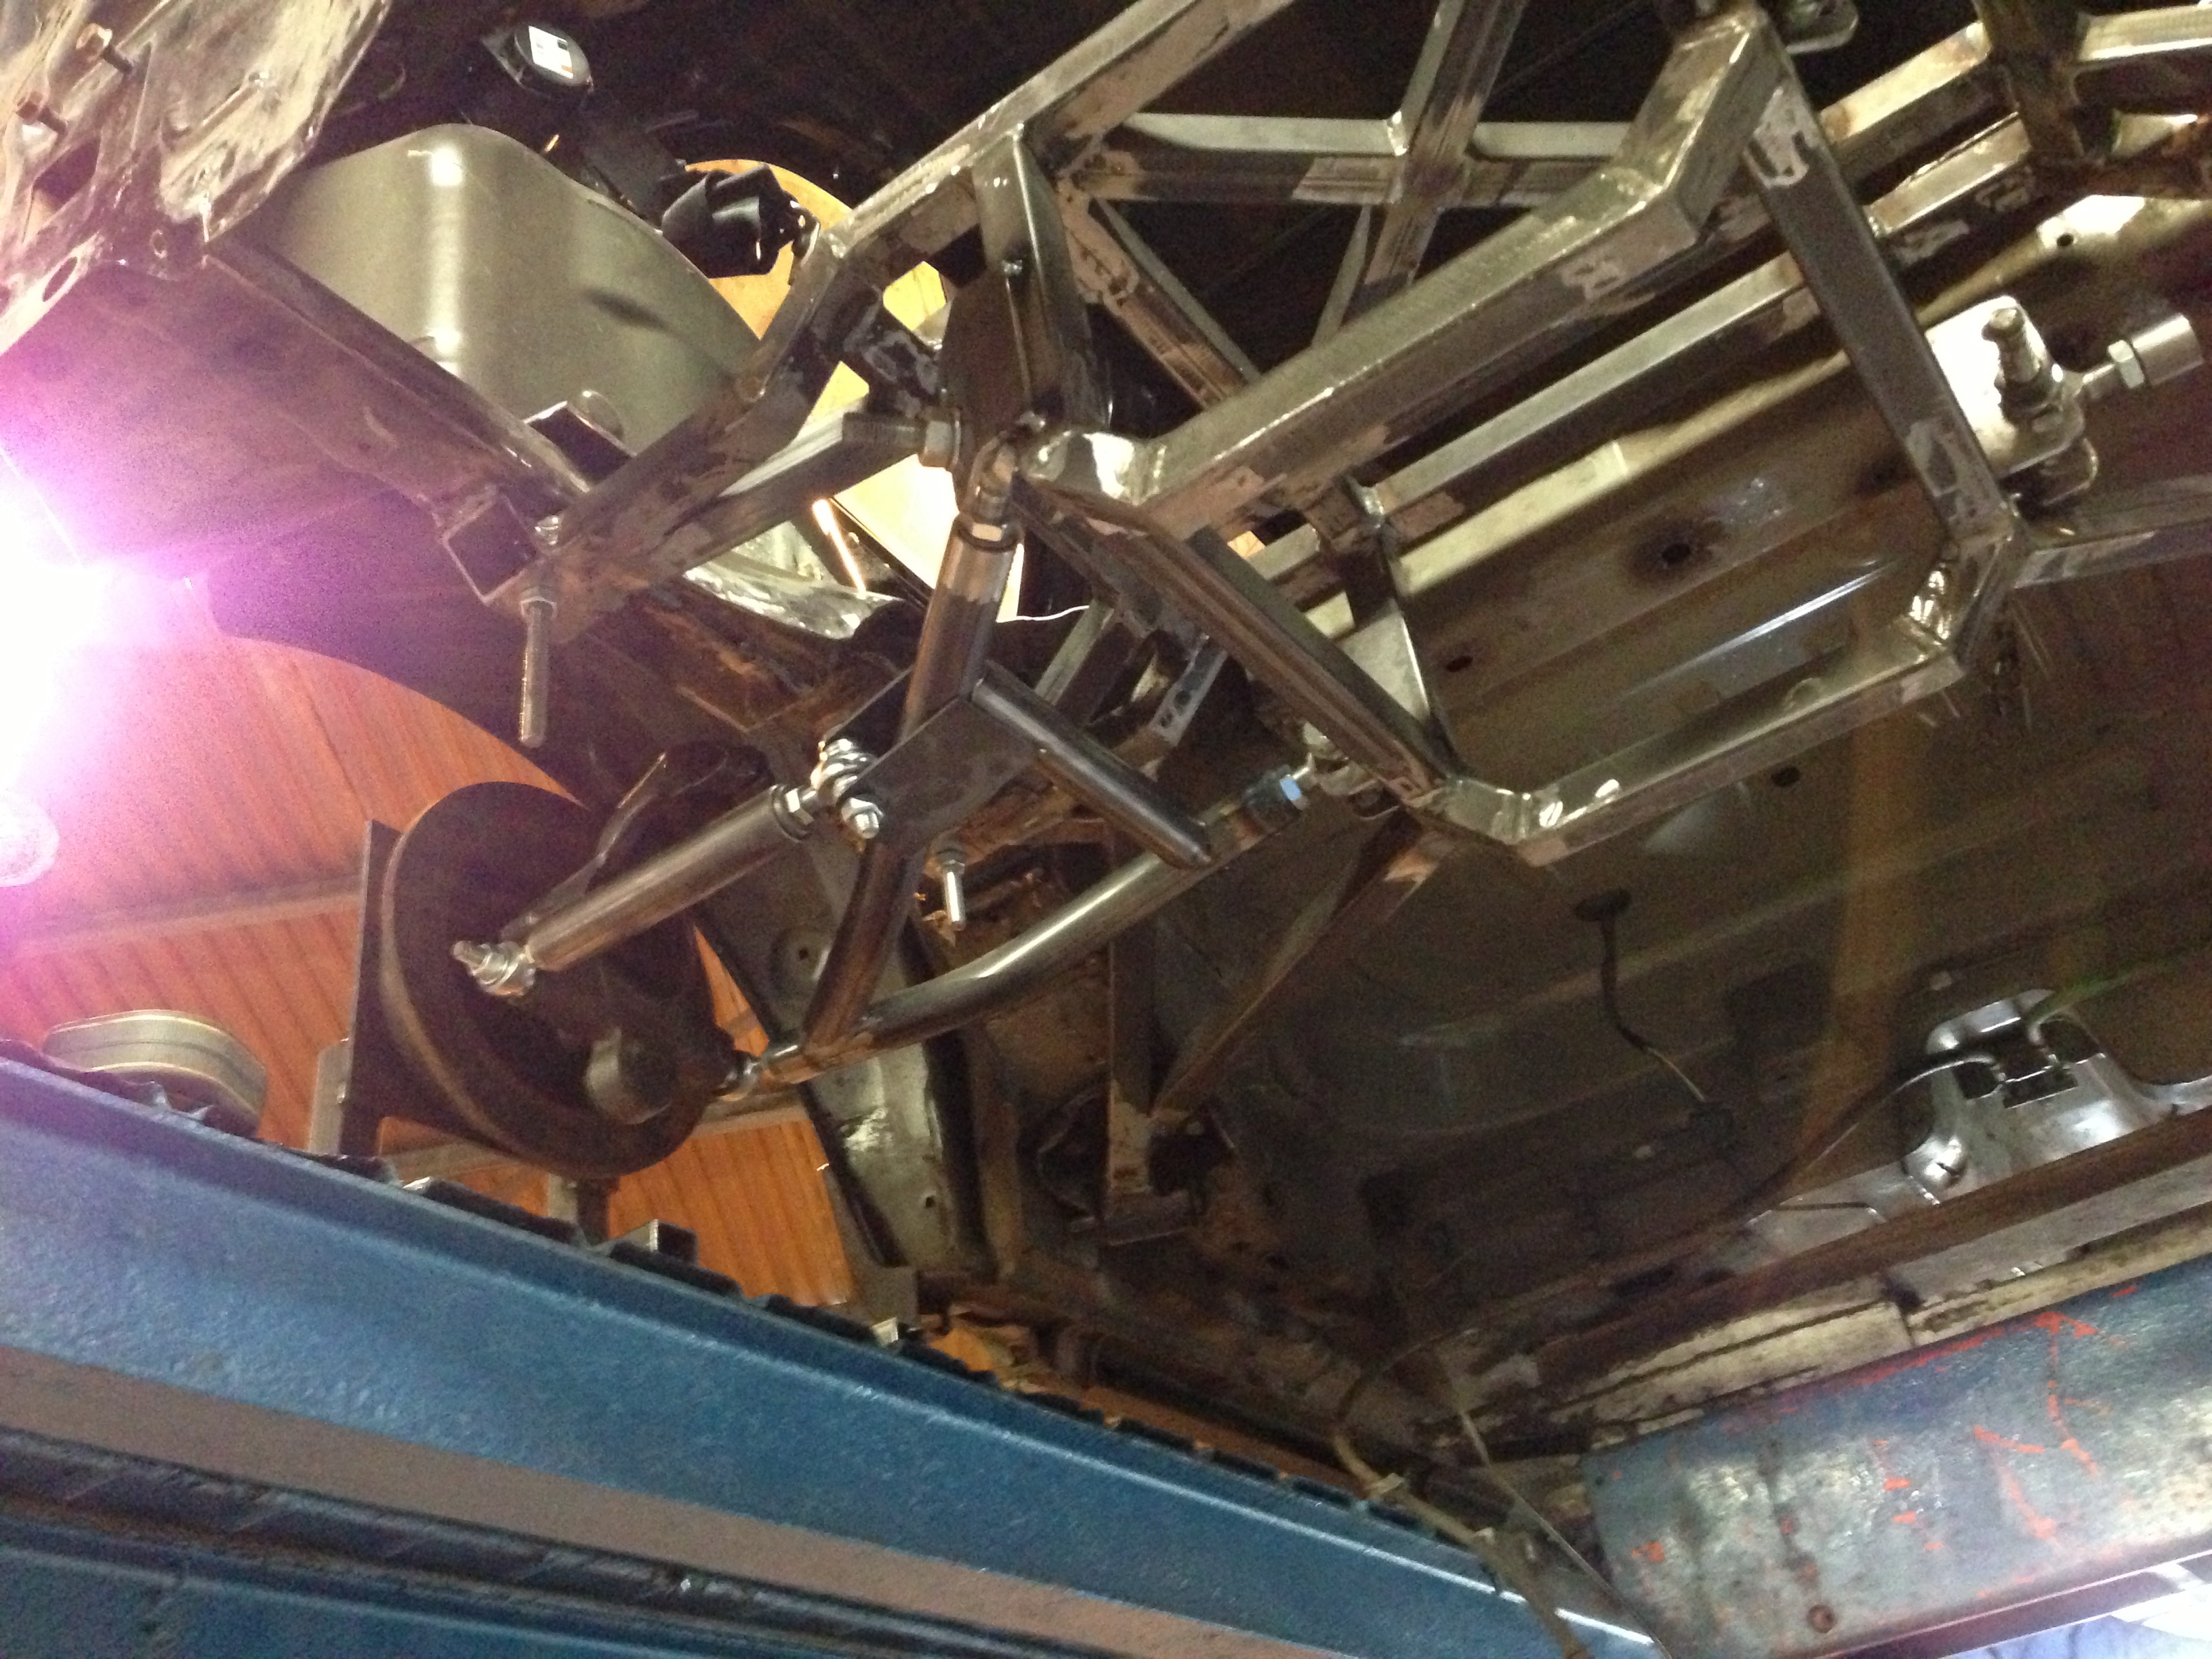
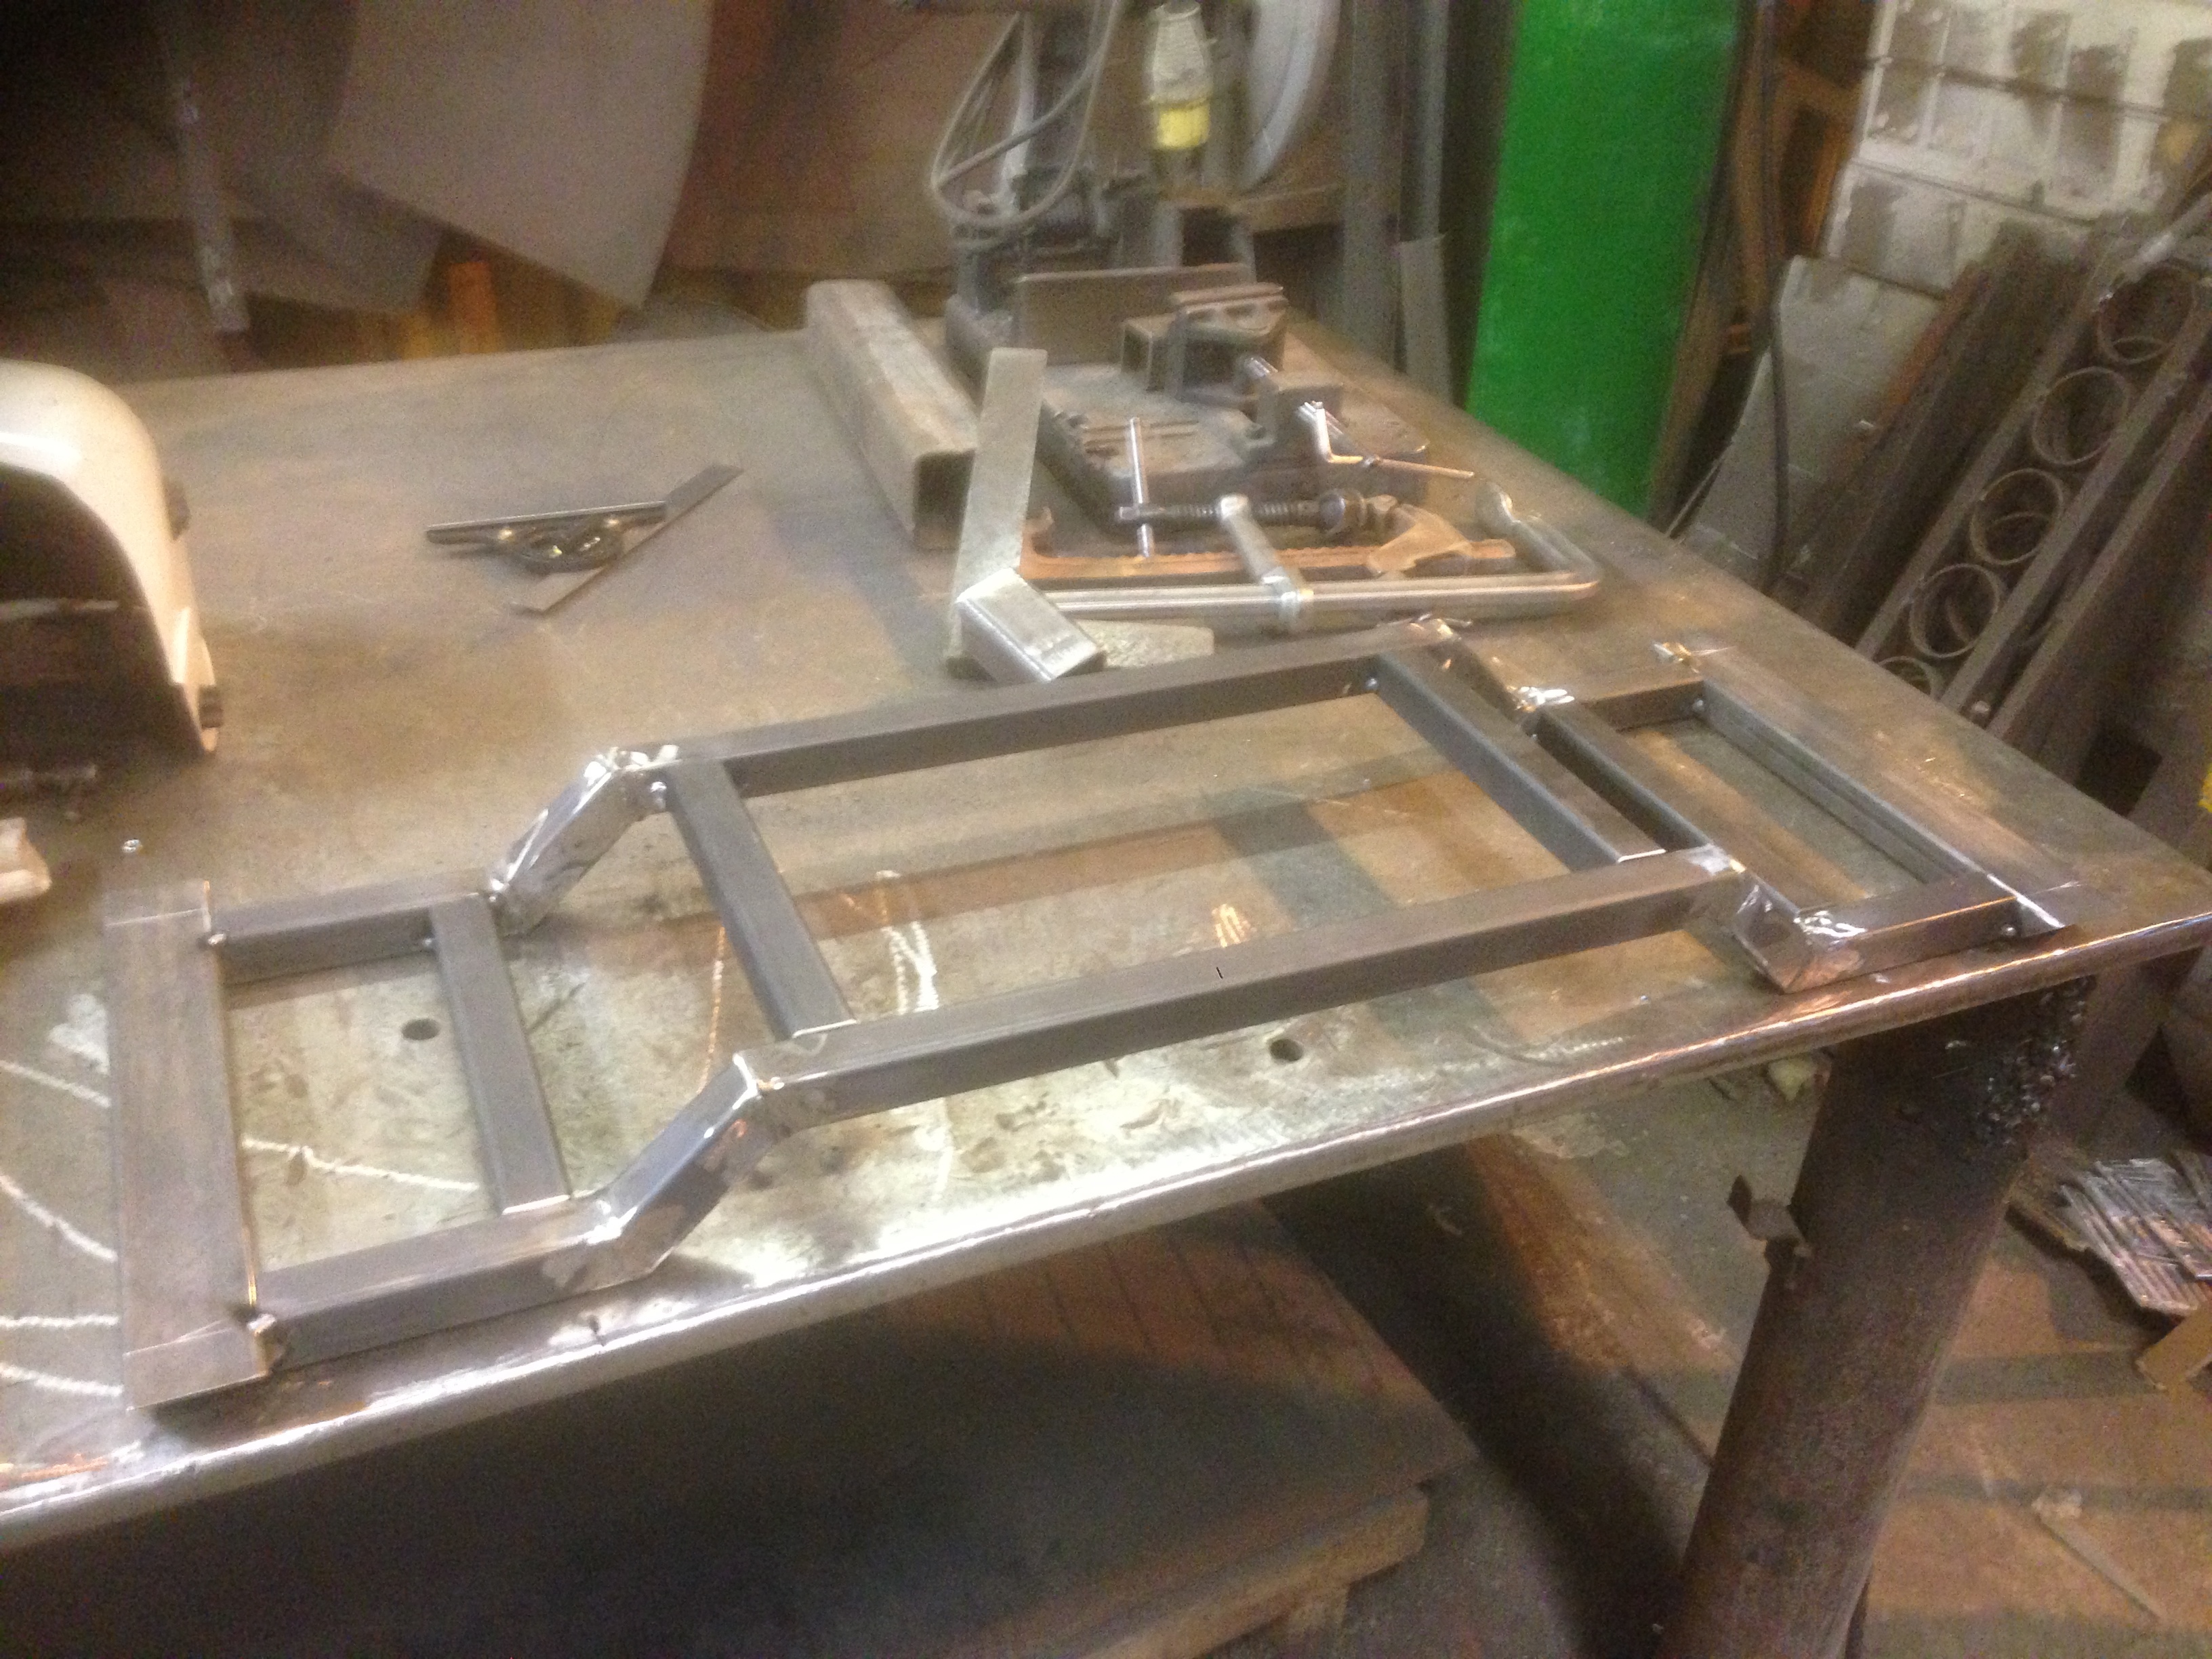
About time we had another update, since it's come along a fair bit over the last few days.
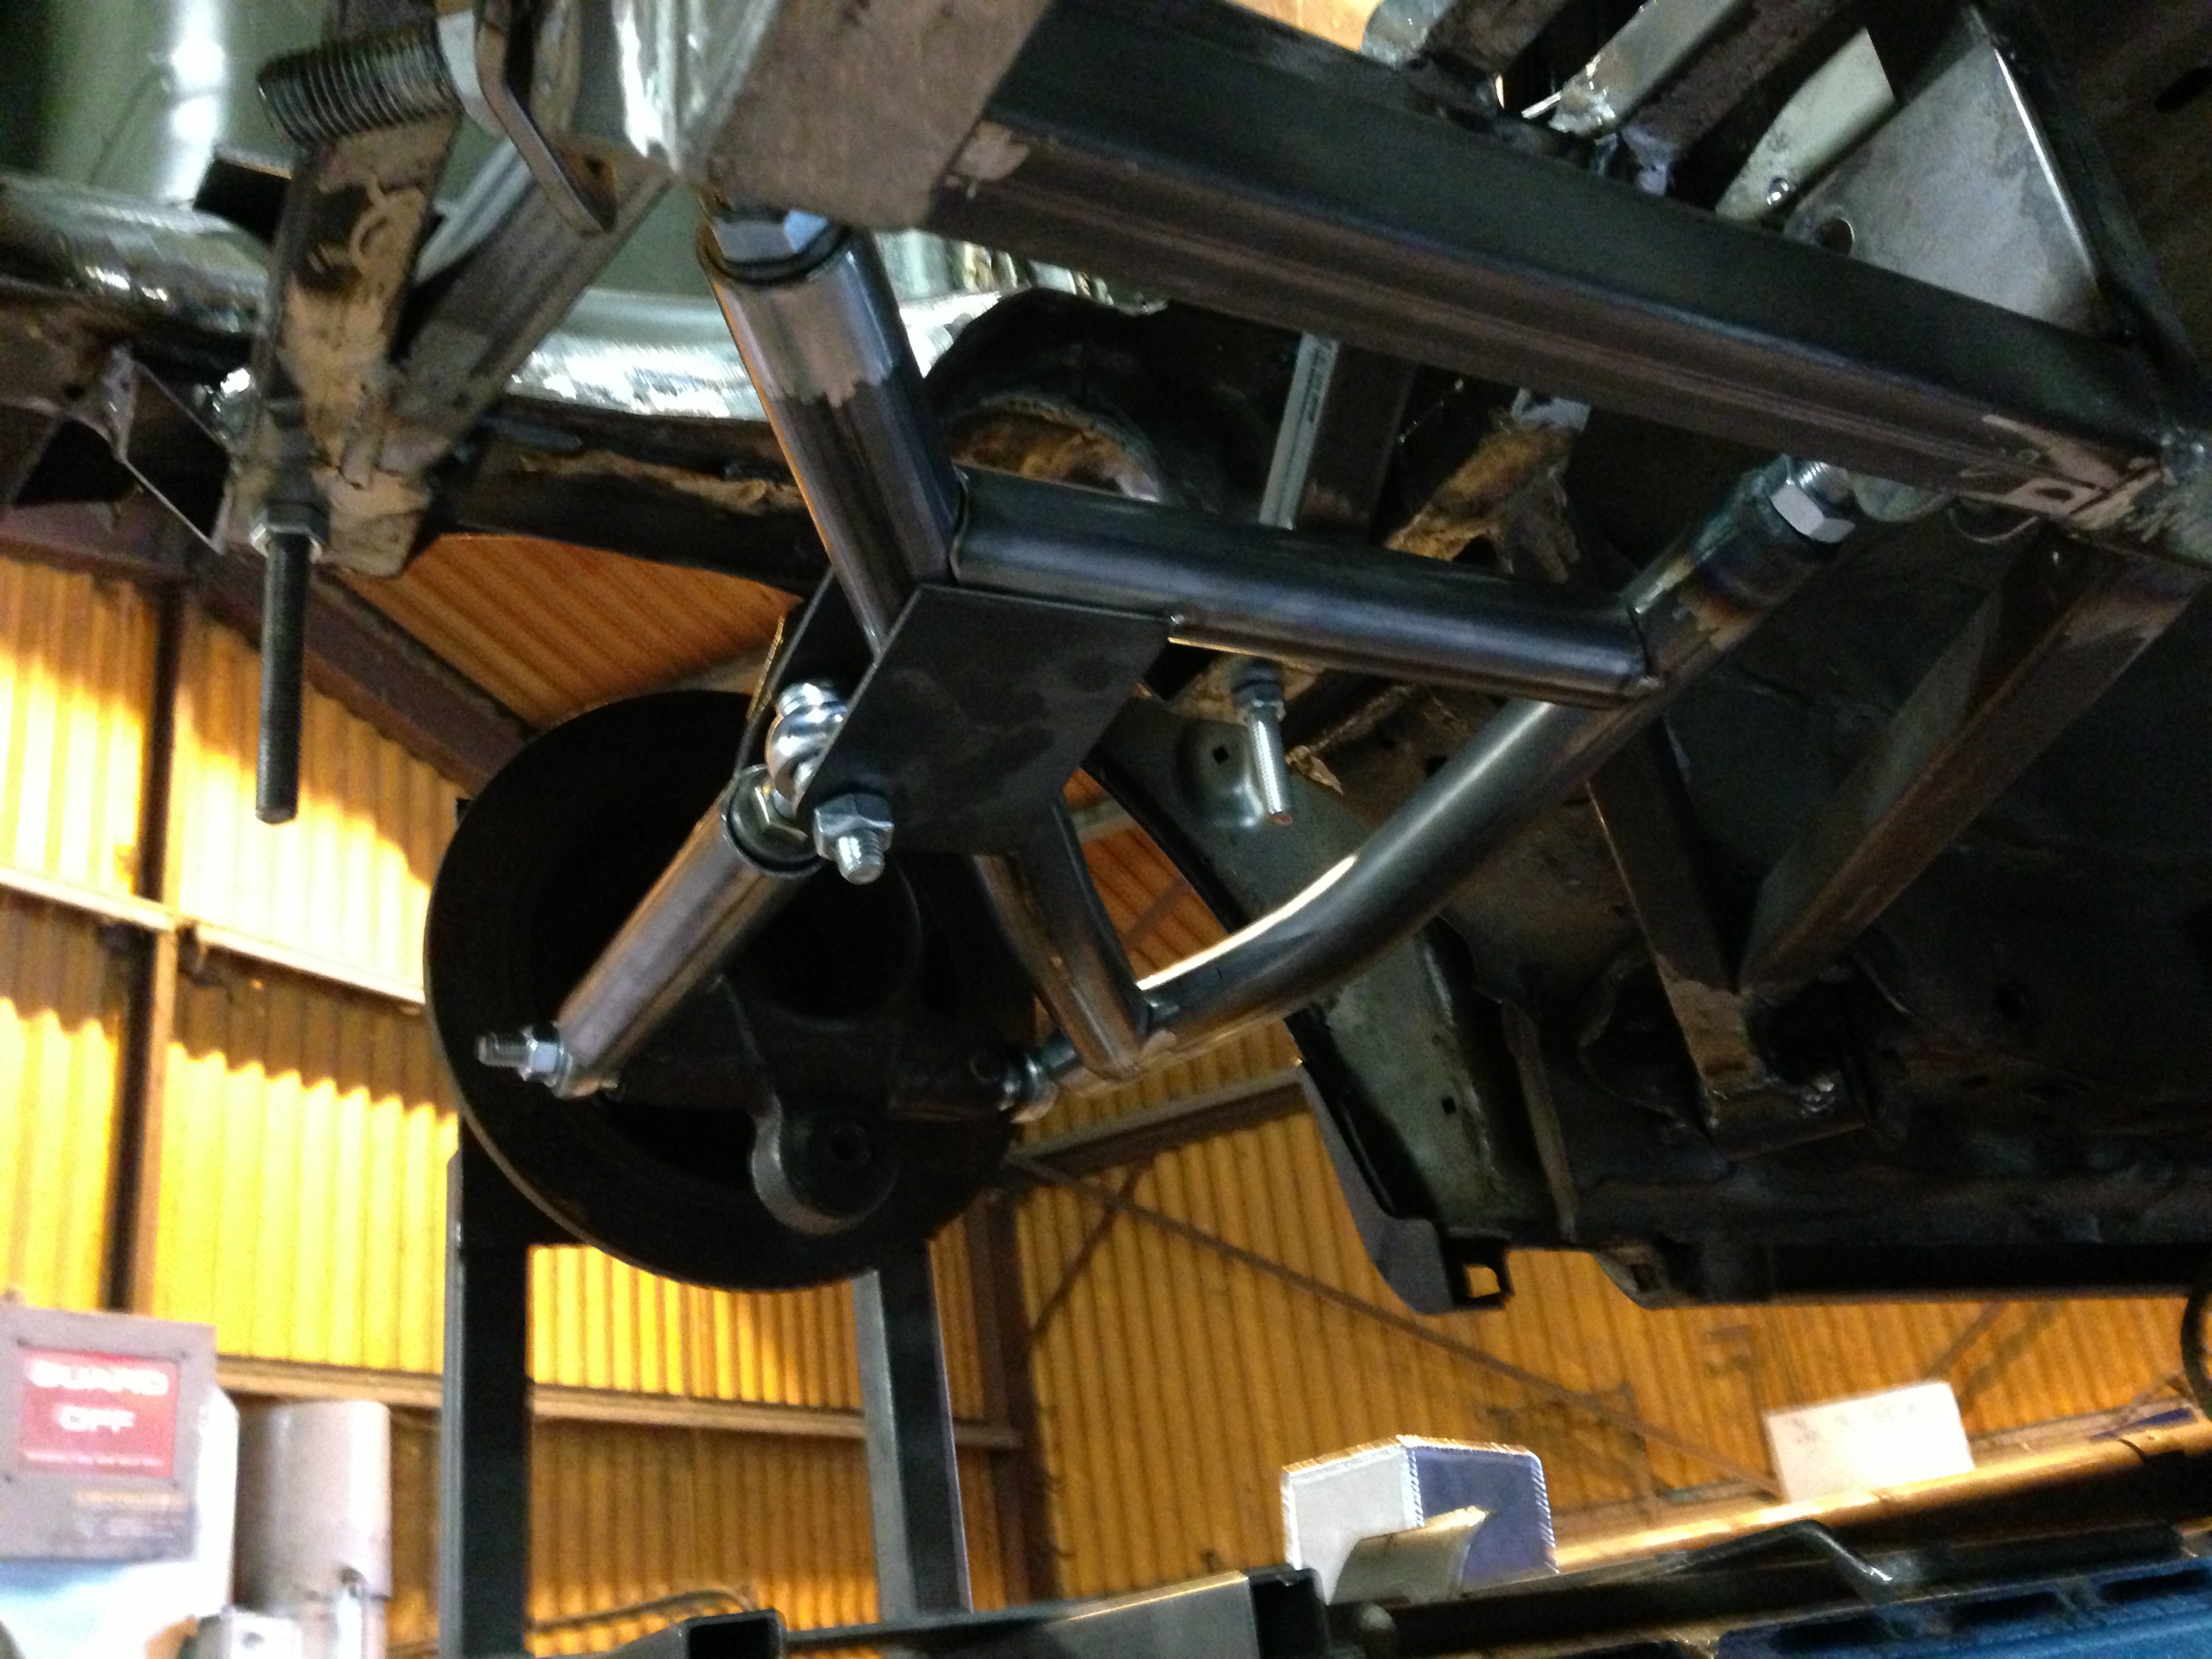
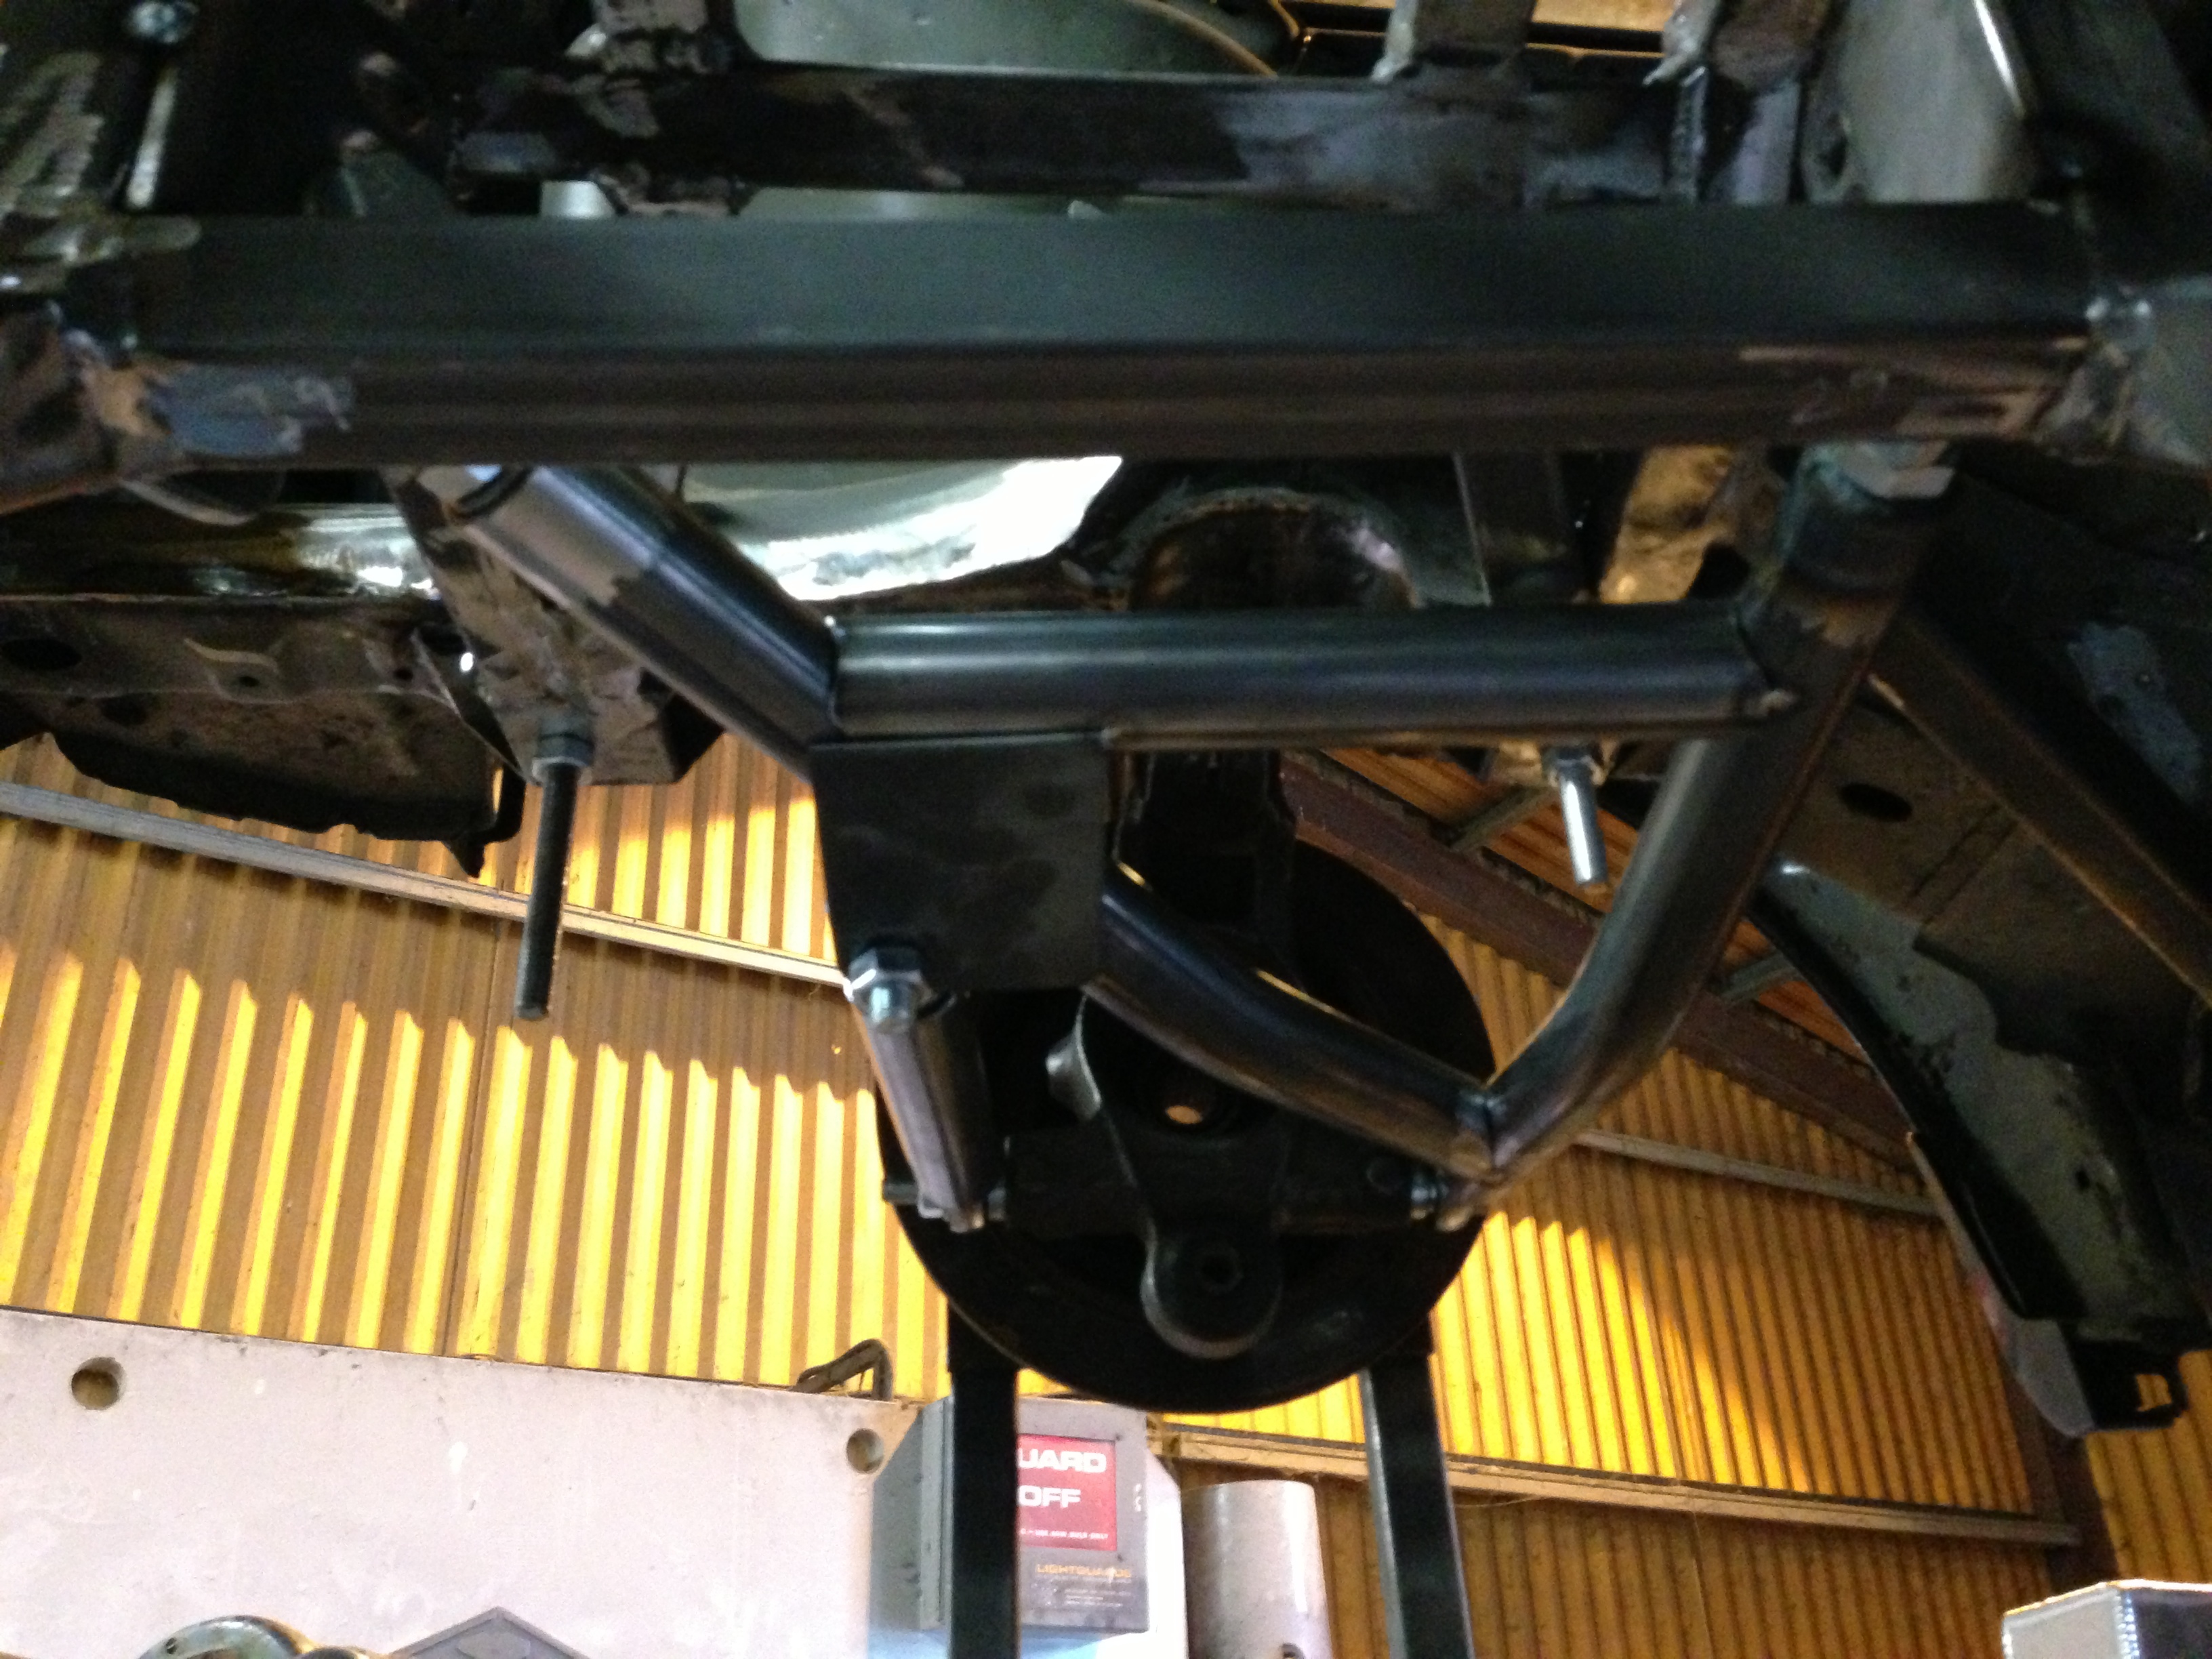
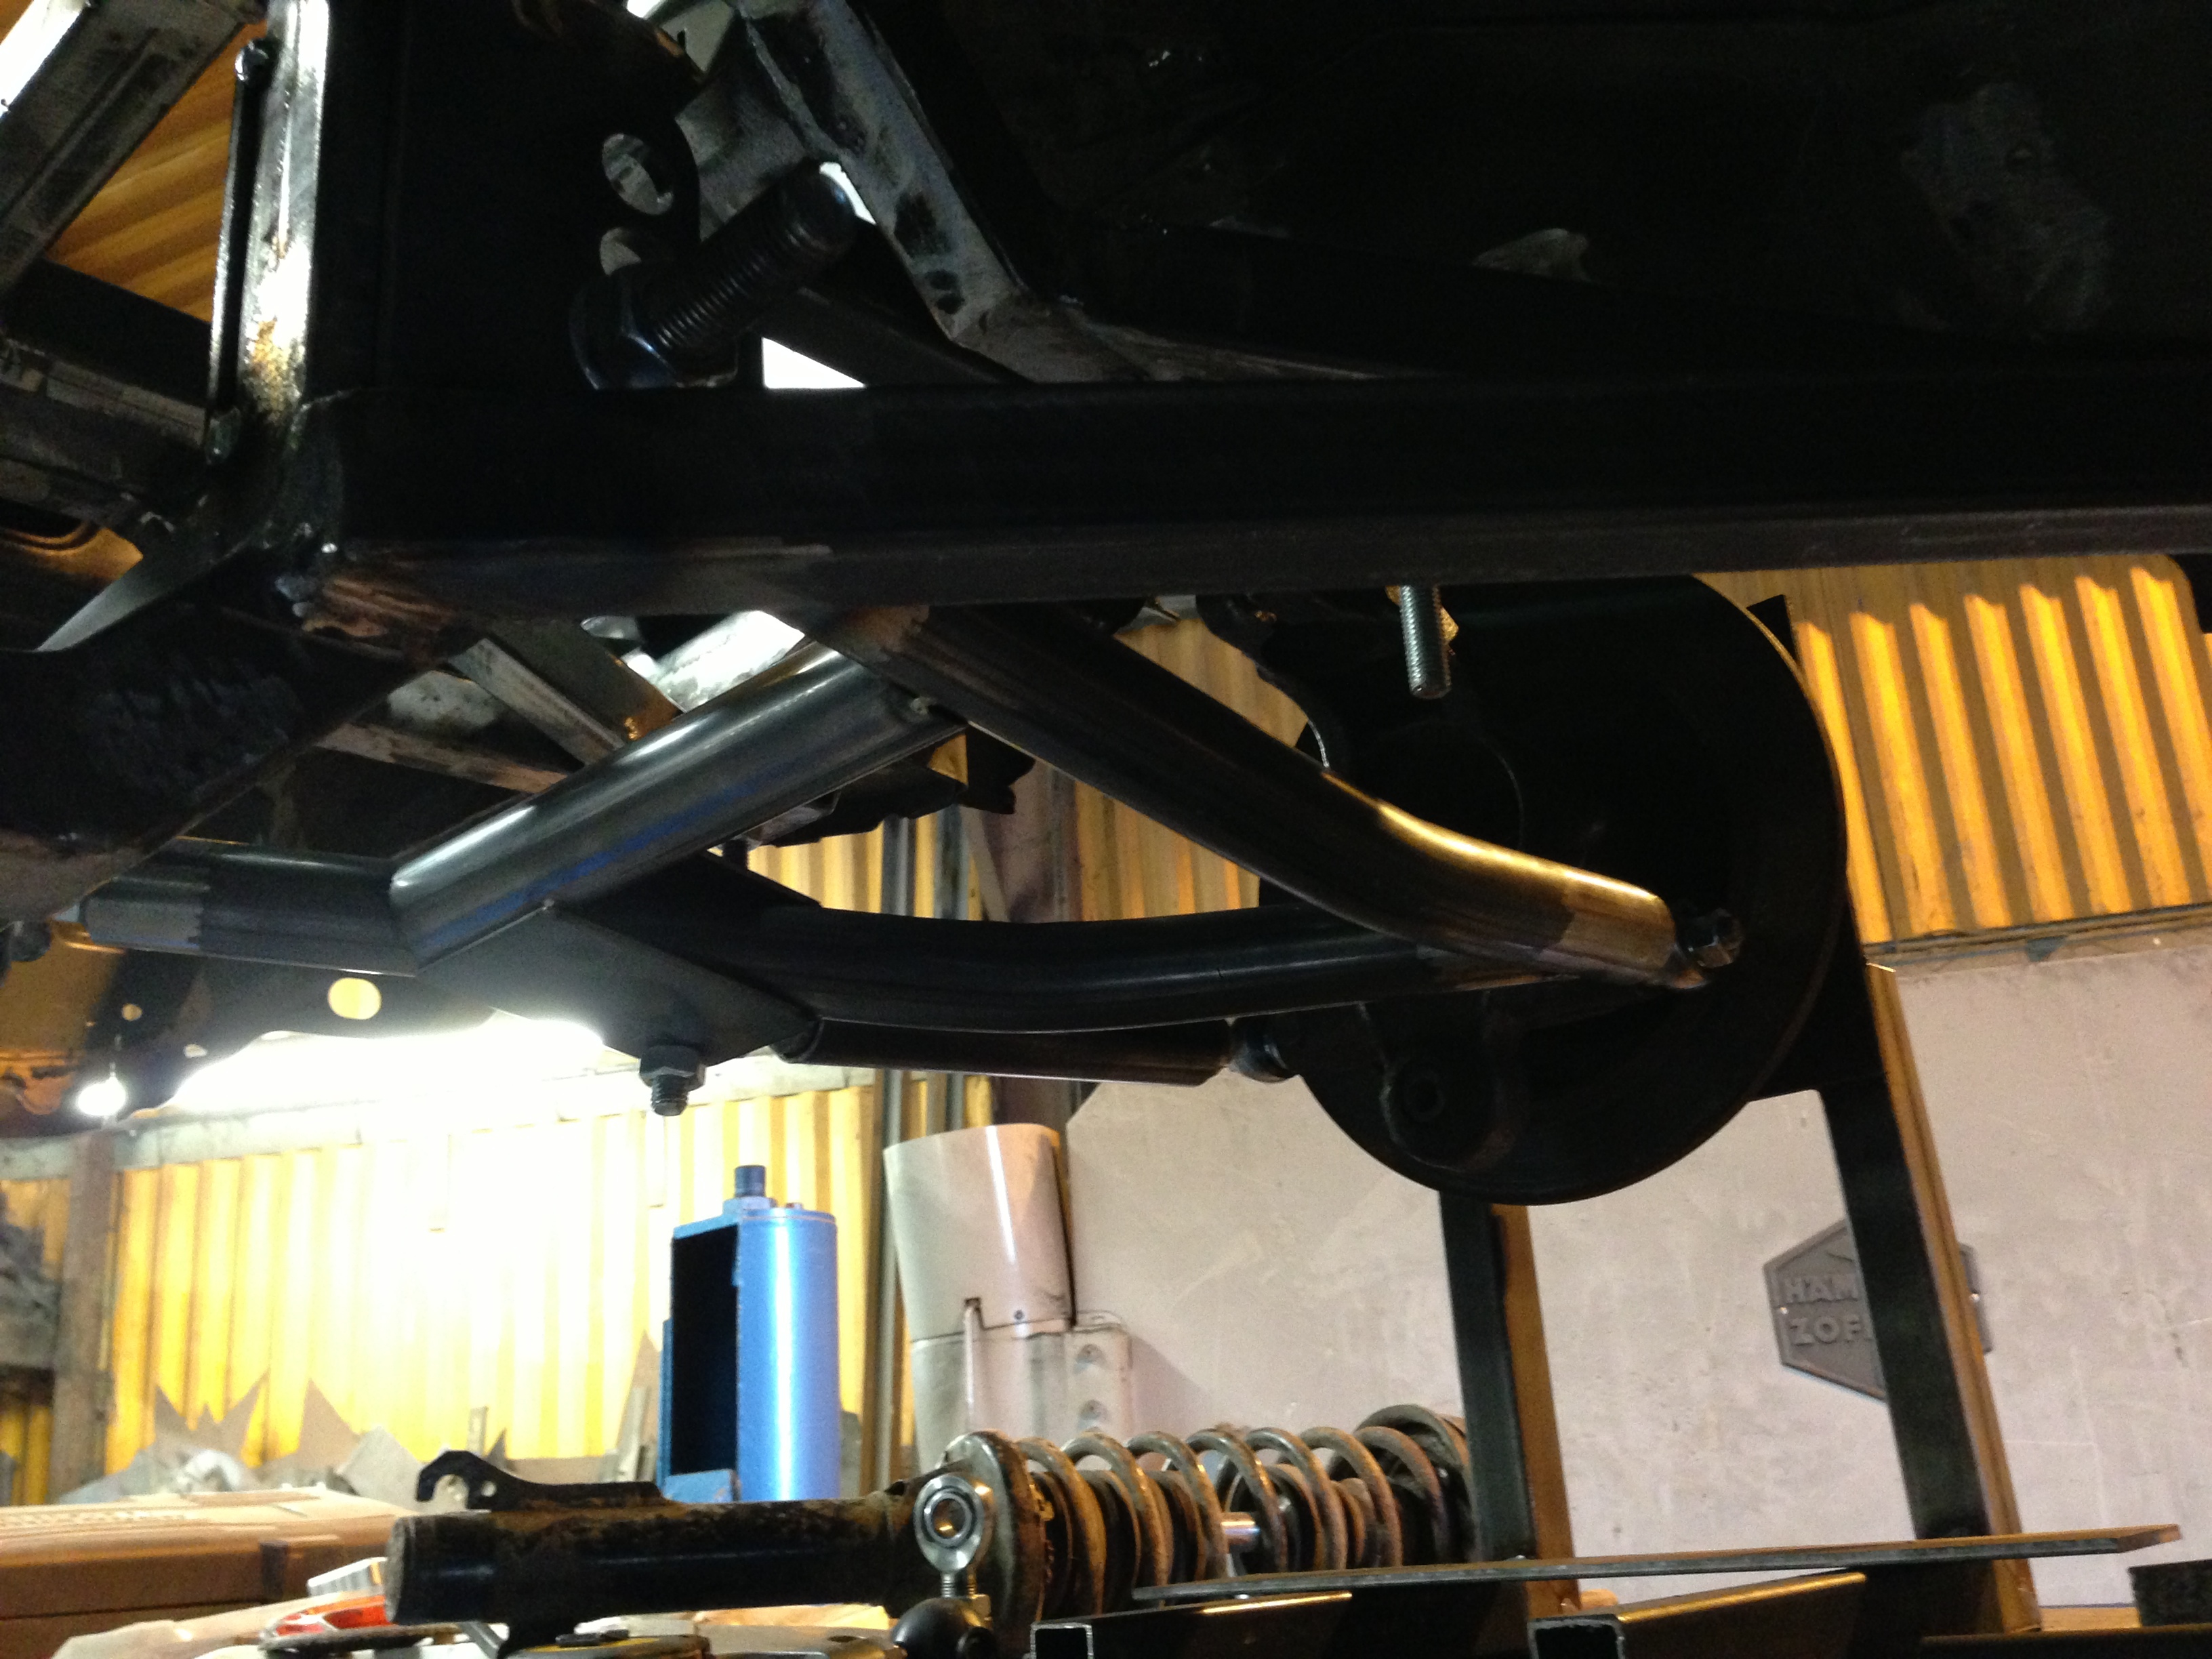
Mainly been concentrating on the rear diff cradle:
 [/URL]
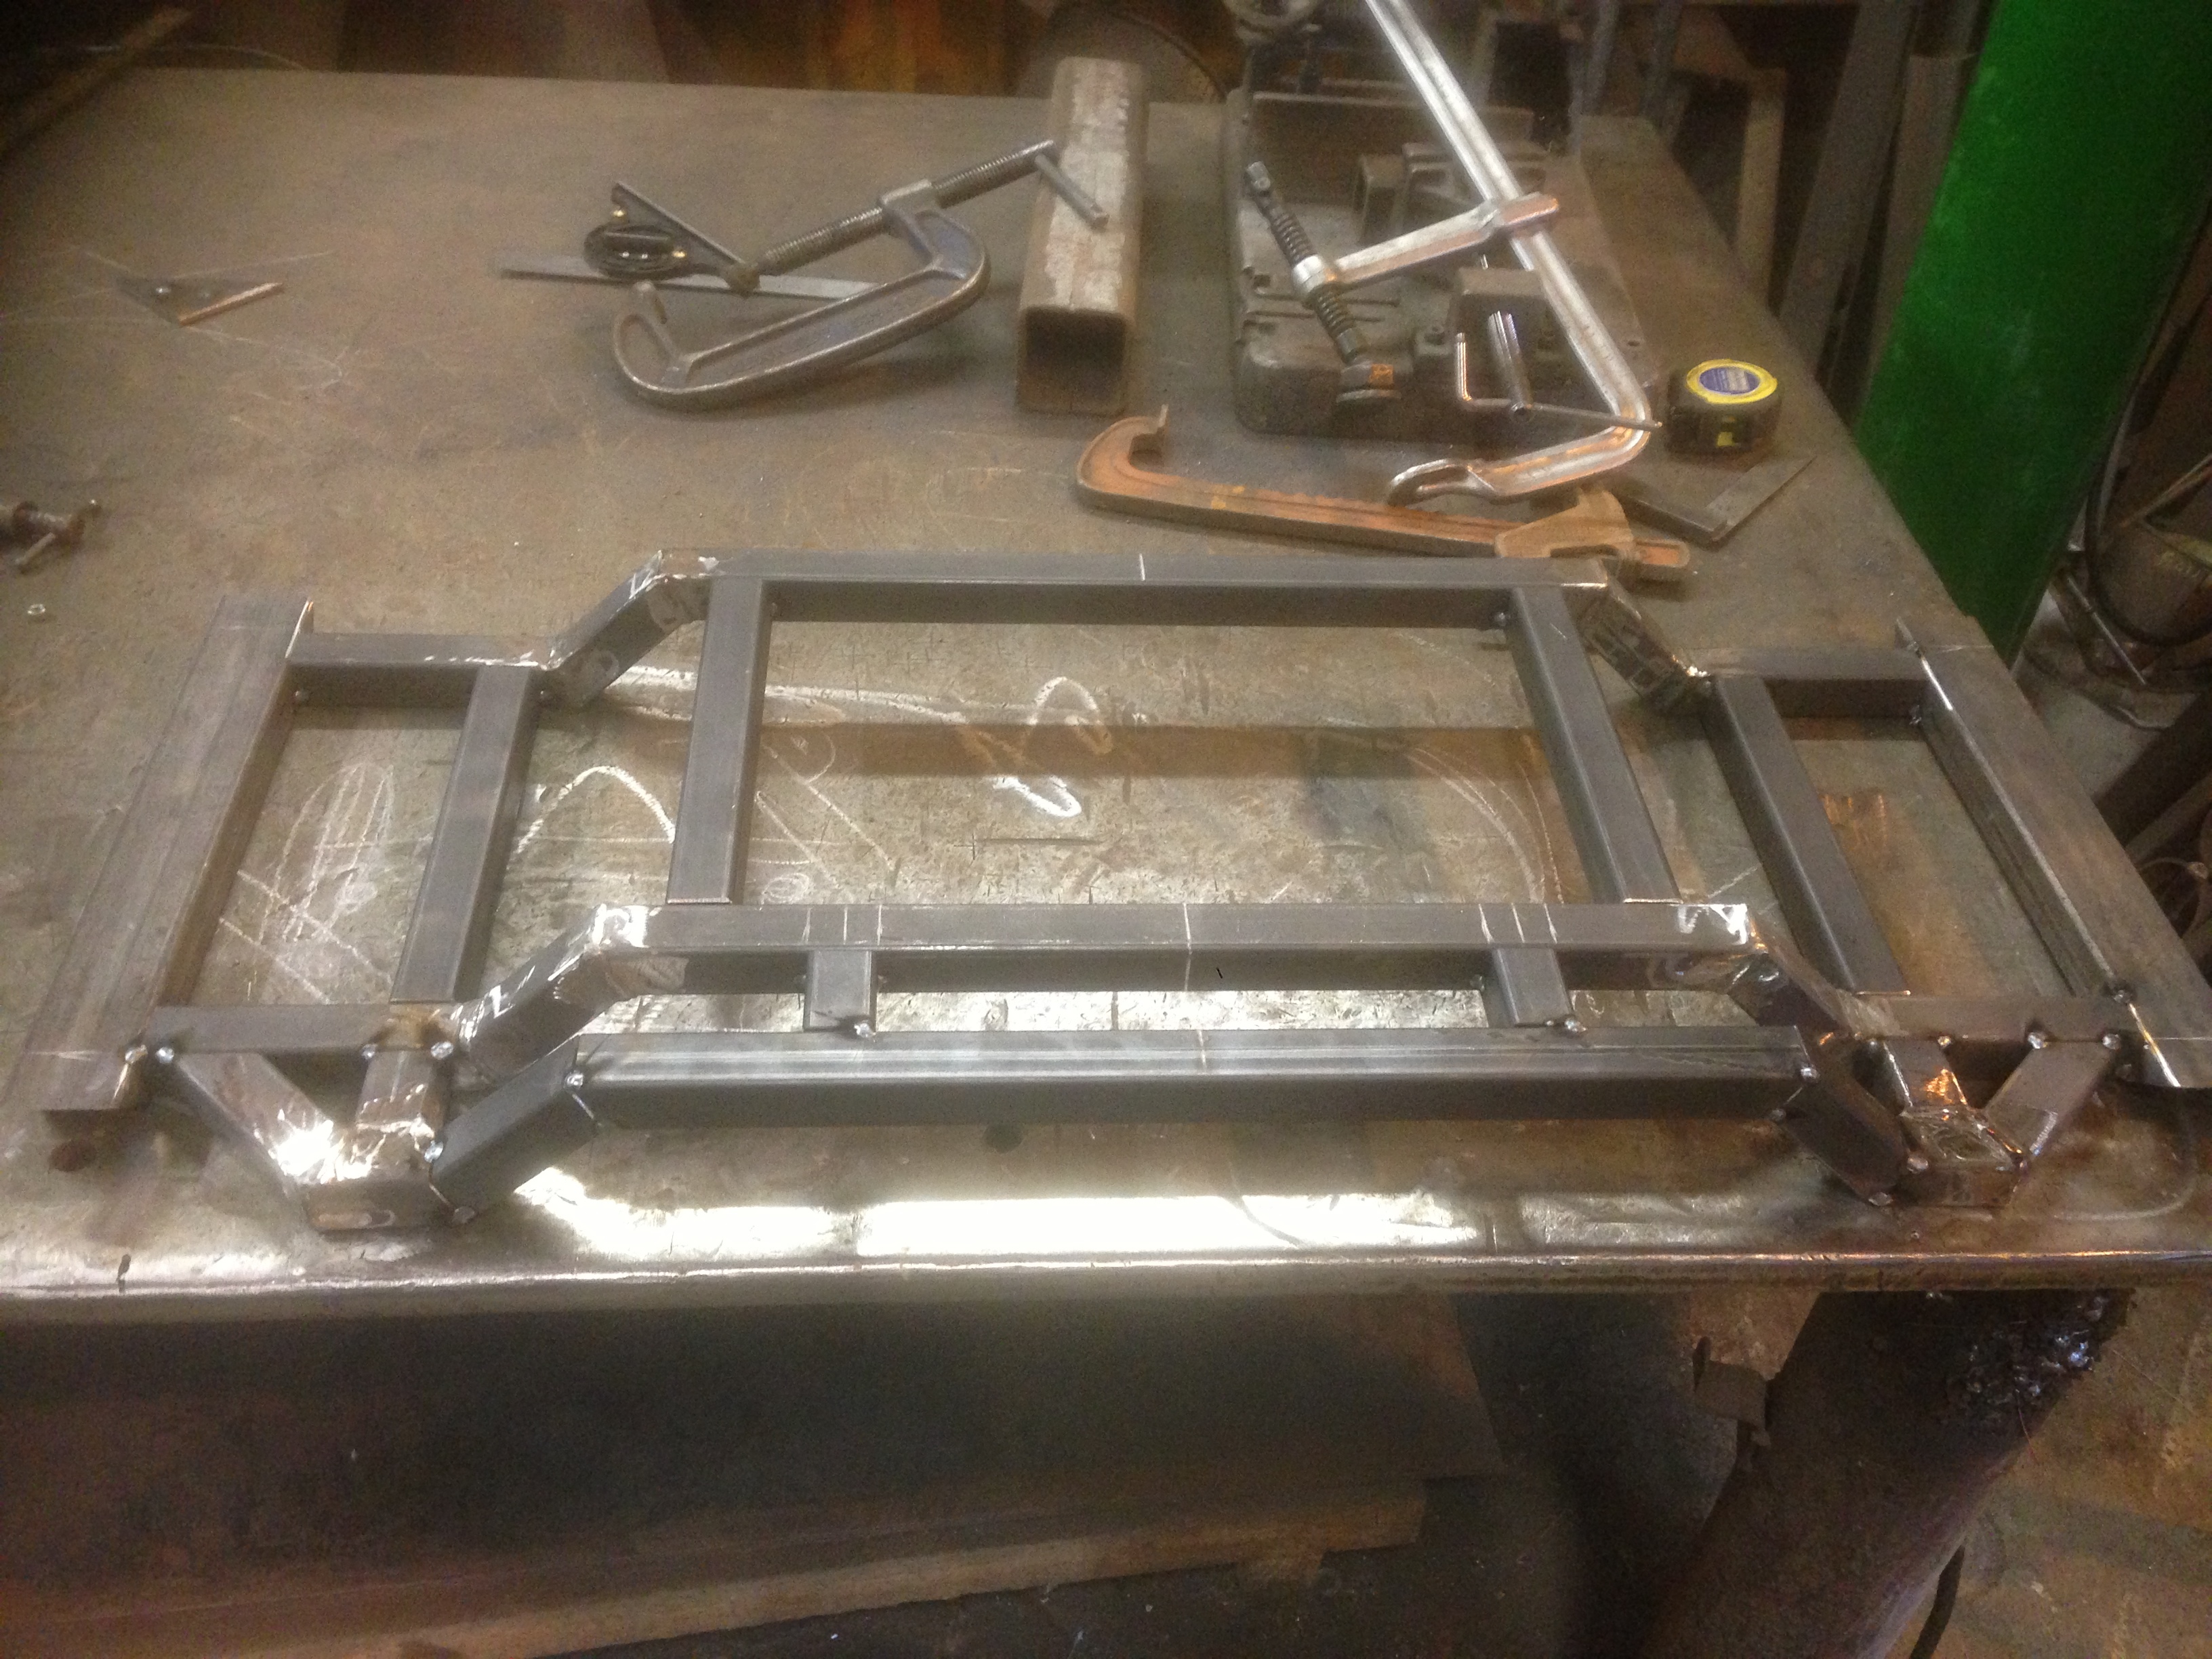
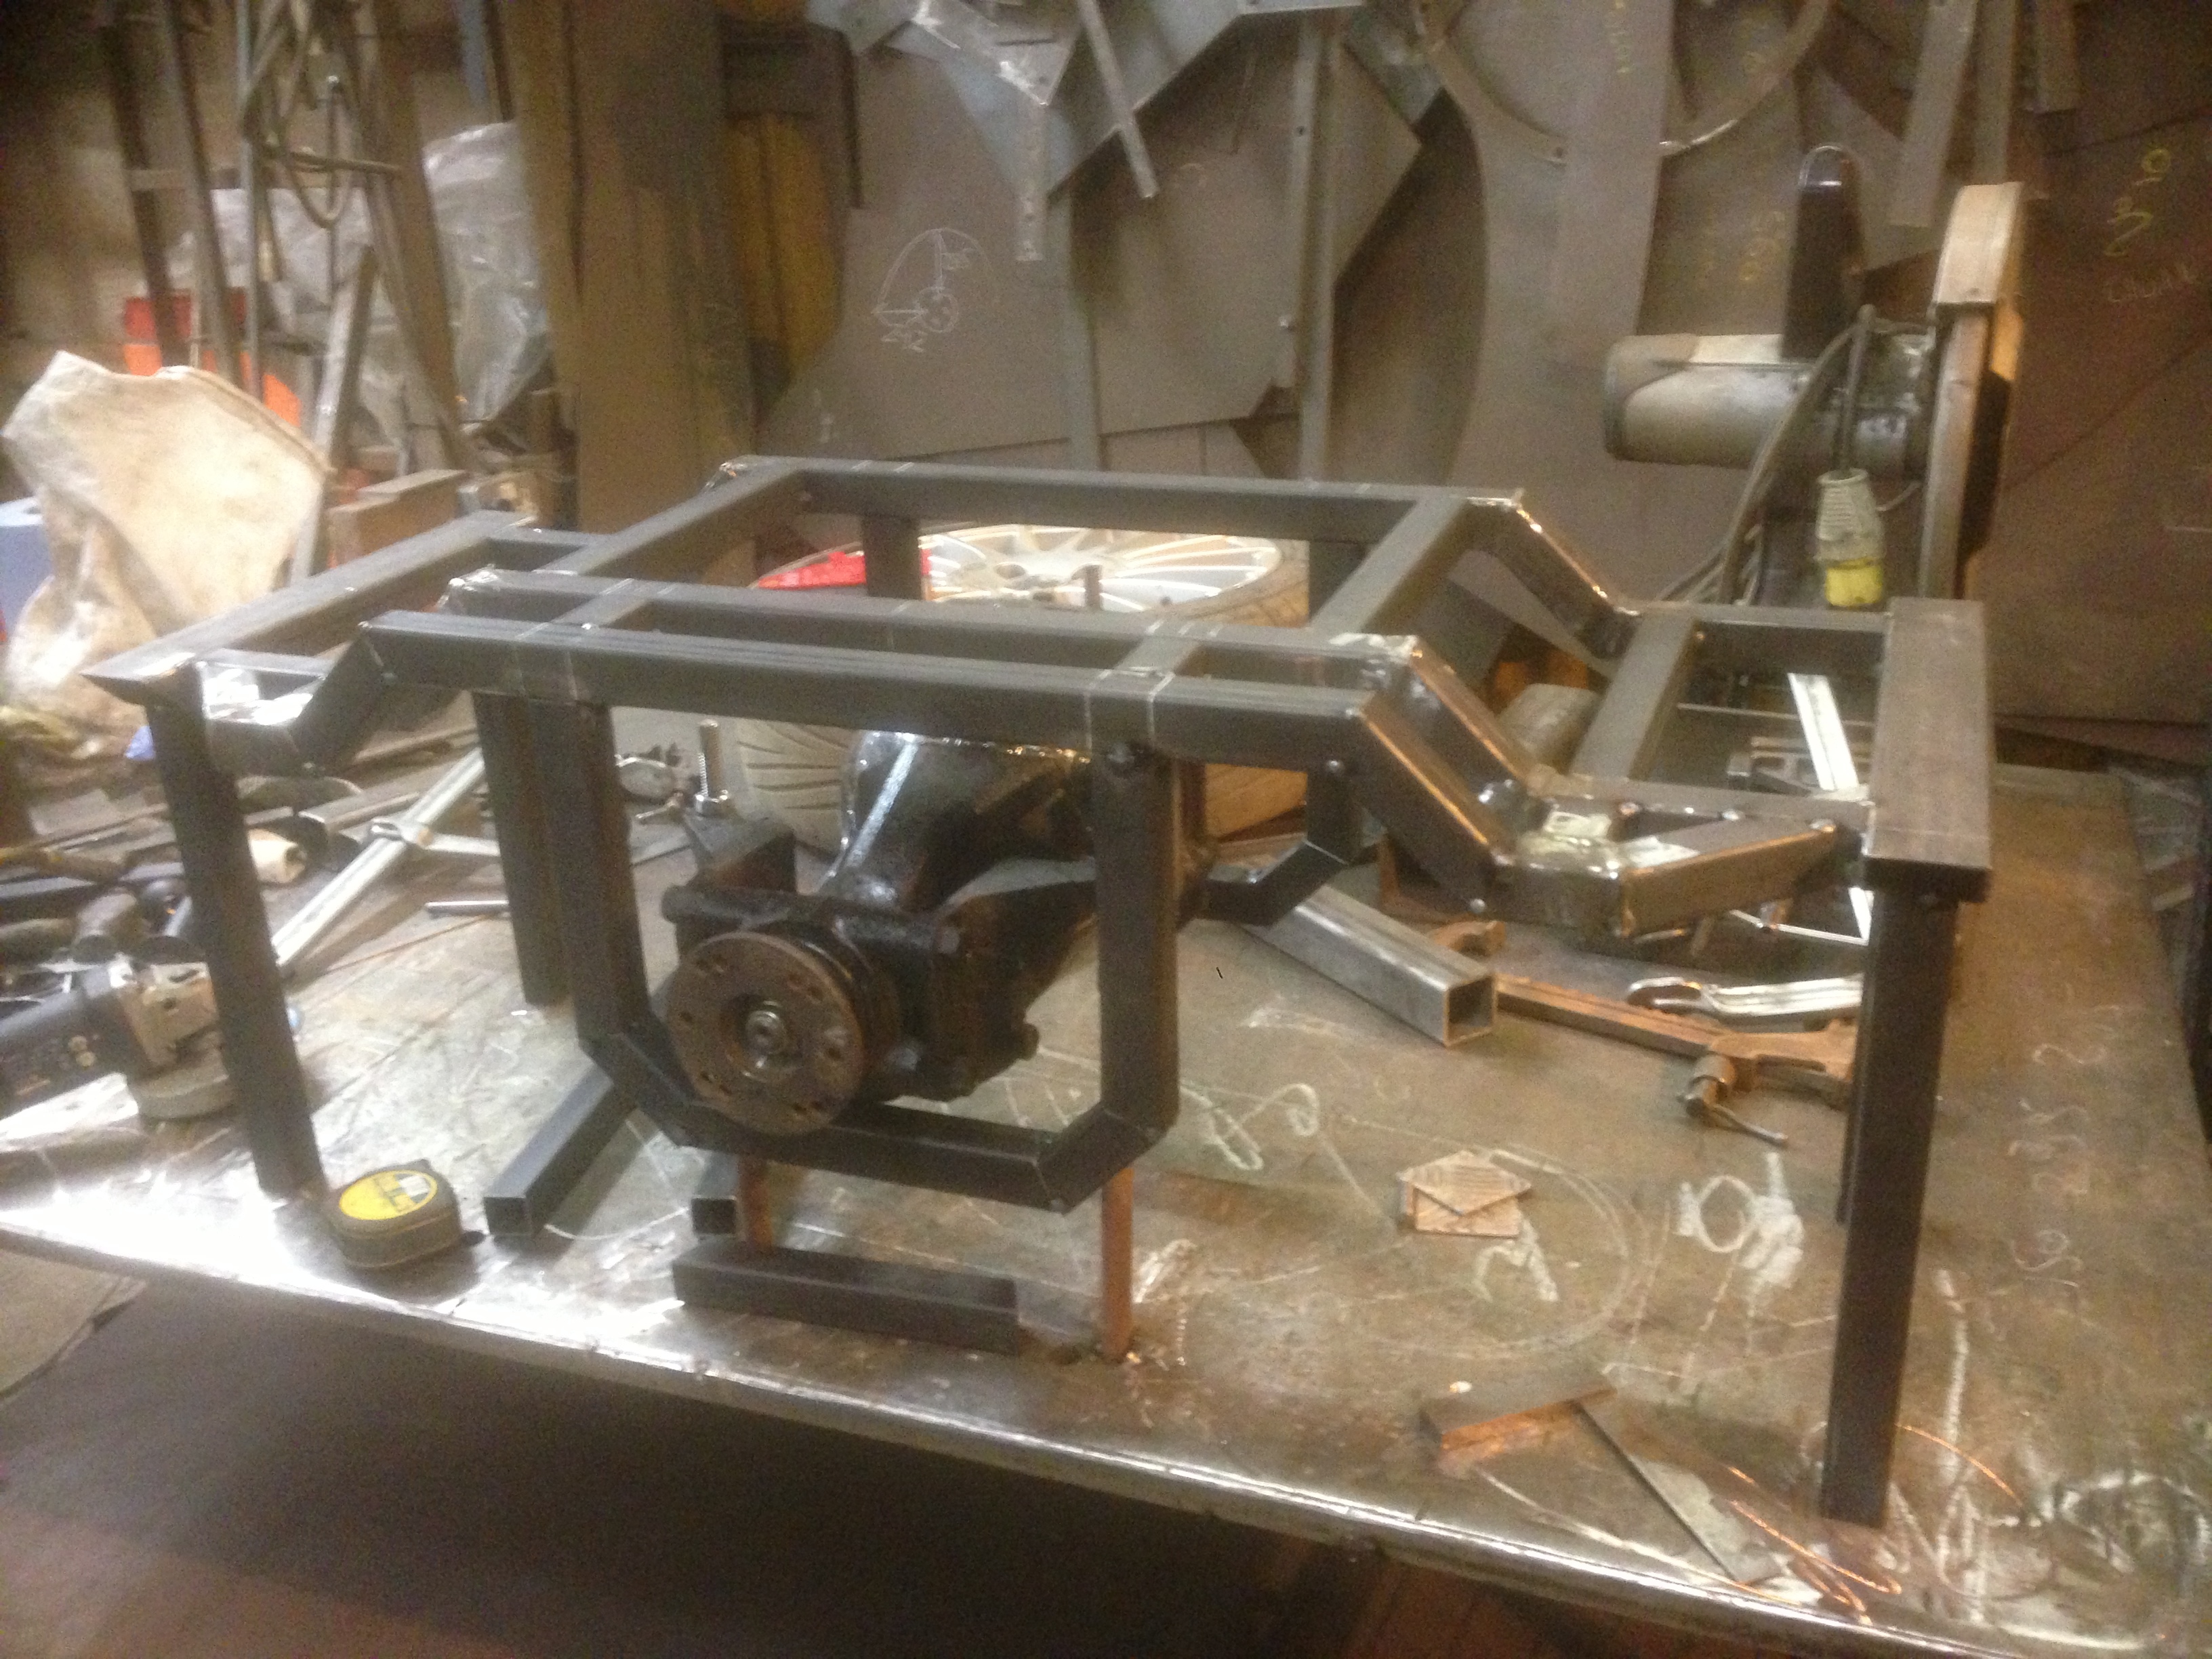
The last picture is actually set up at ride height. I'll be running the car pretty low, but have allowed for this in the mounting of the diff and positioning of the inner wishbone mounts. Should still end up with a pretty high roll center height overall.
A view from underneath now it's mounted on the car - just adding the final bits of bracing tonight, then onto the wishbones and all that..
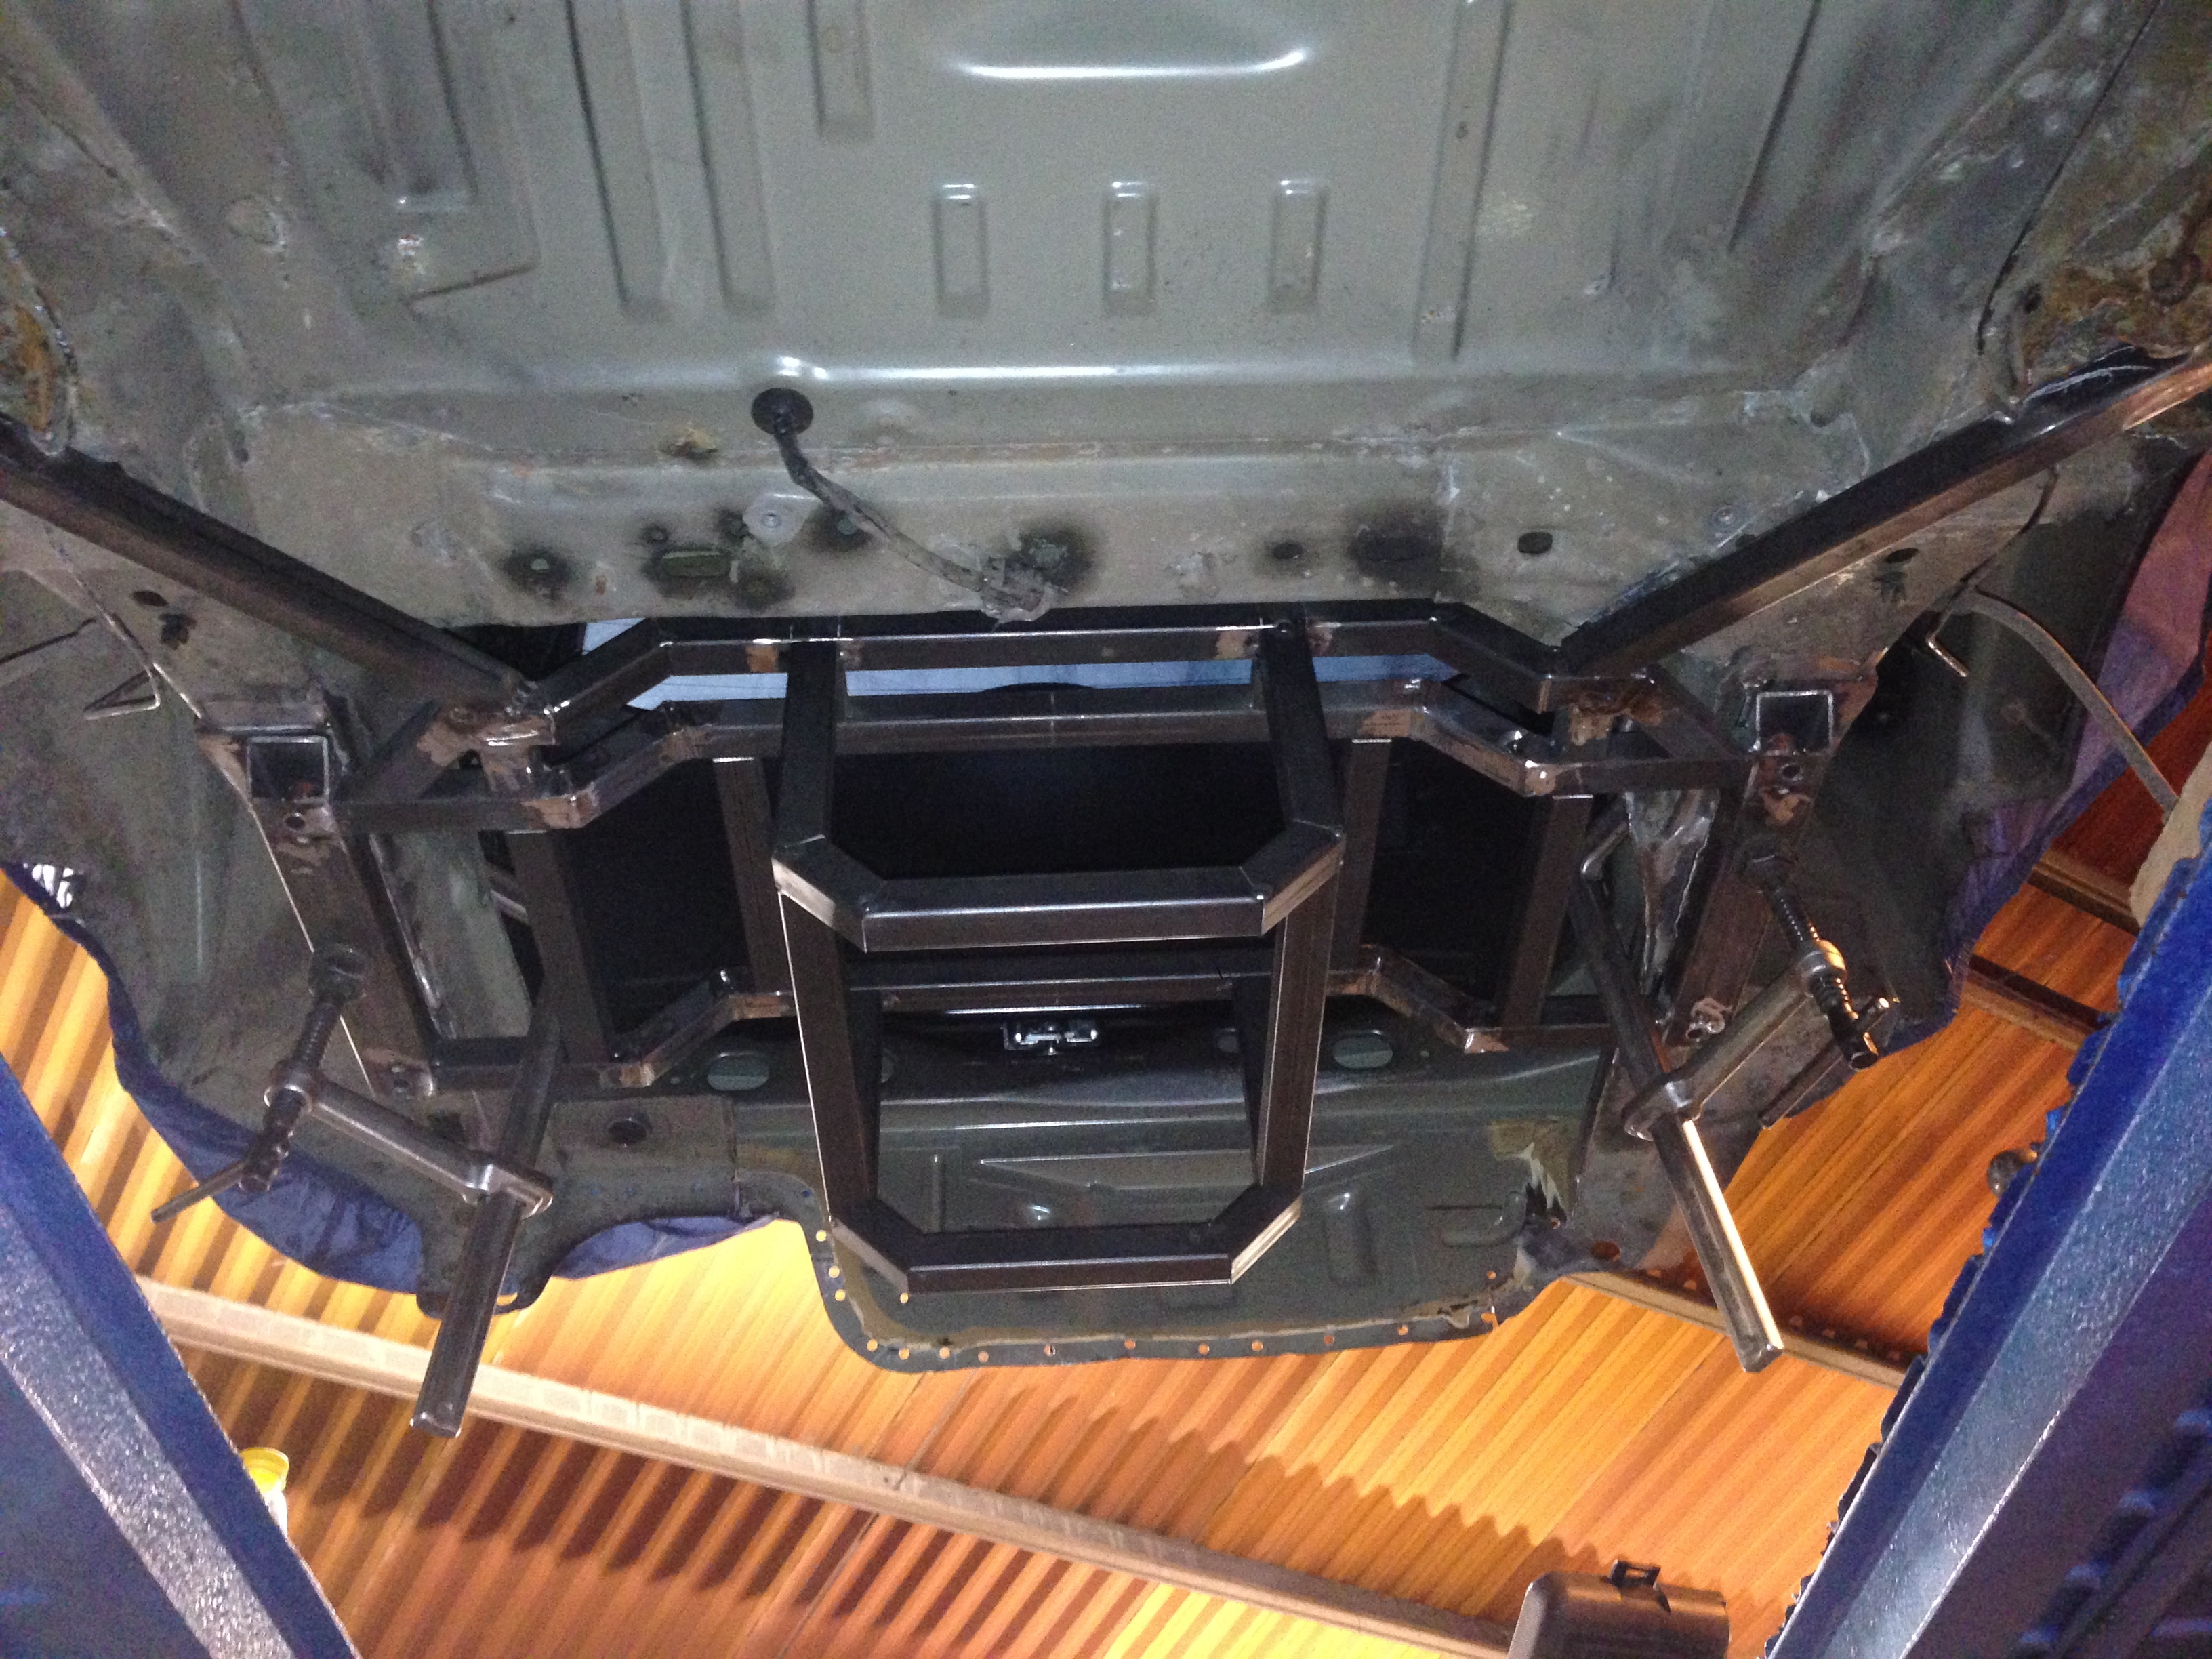
More to follow tomorrow hopefully
Mainly been concentrating on the rear diff cradle:
[/URL]The last picture is actually set up at ride height. I'll be running the car pretty low, but have allowed for this in the mounting of the diff and positioning of the inner wishbone mounts. Should still end up with a pretty high roll center height overall.
A view from underneath now it's mounted on the car - just adding the final bits of bracing tonight, then onto the wishbones and all that..
More to follow tomorrow hopefully



Thread Starter
Regular Contributor
Joined: Mar 2012
Posts: 241
Likes: 0
From: Doncaster
Some more. Four bloody hours to add two bracing bars
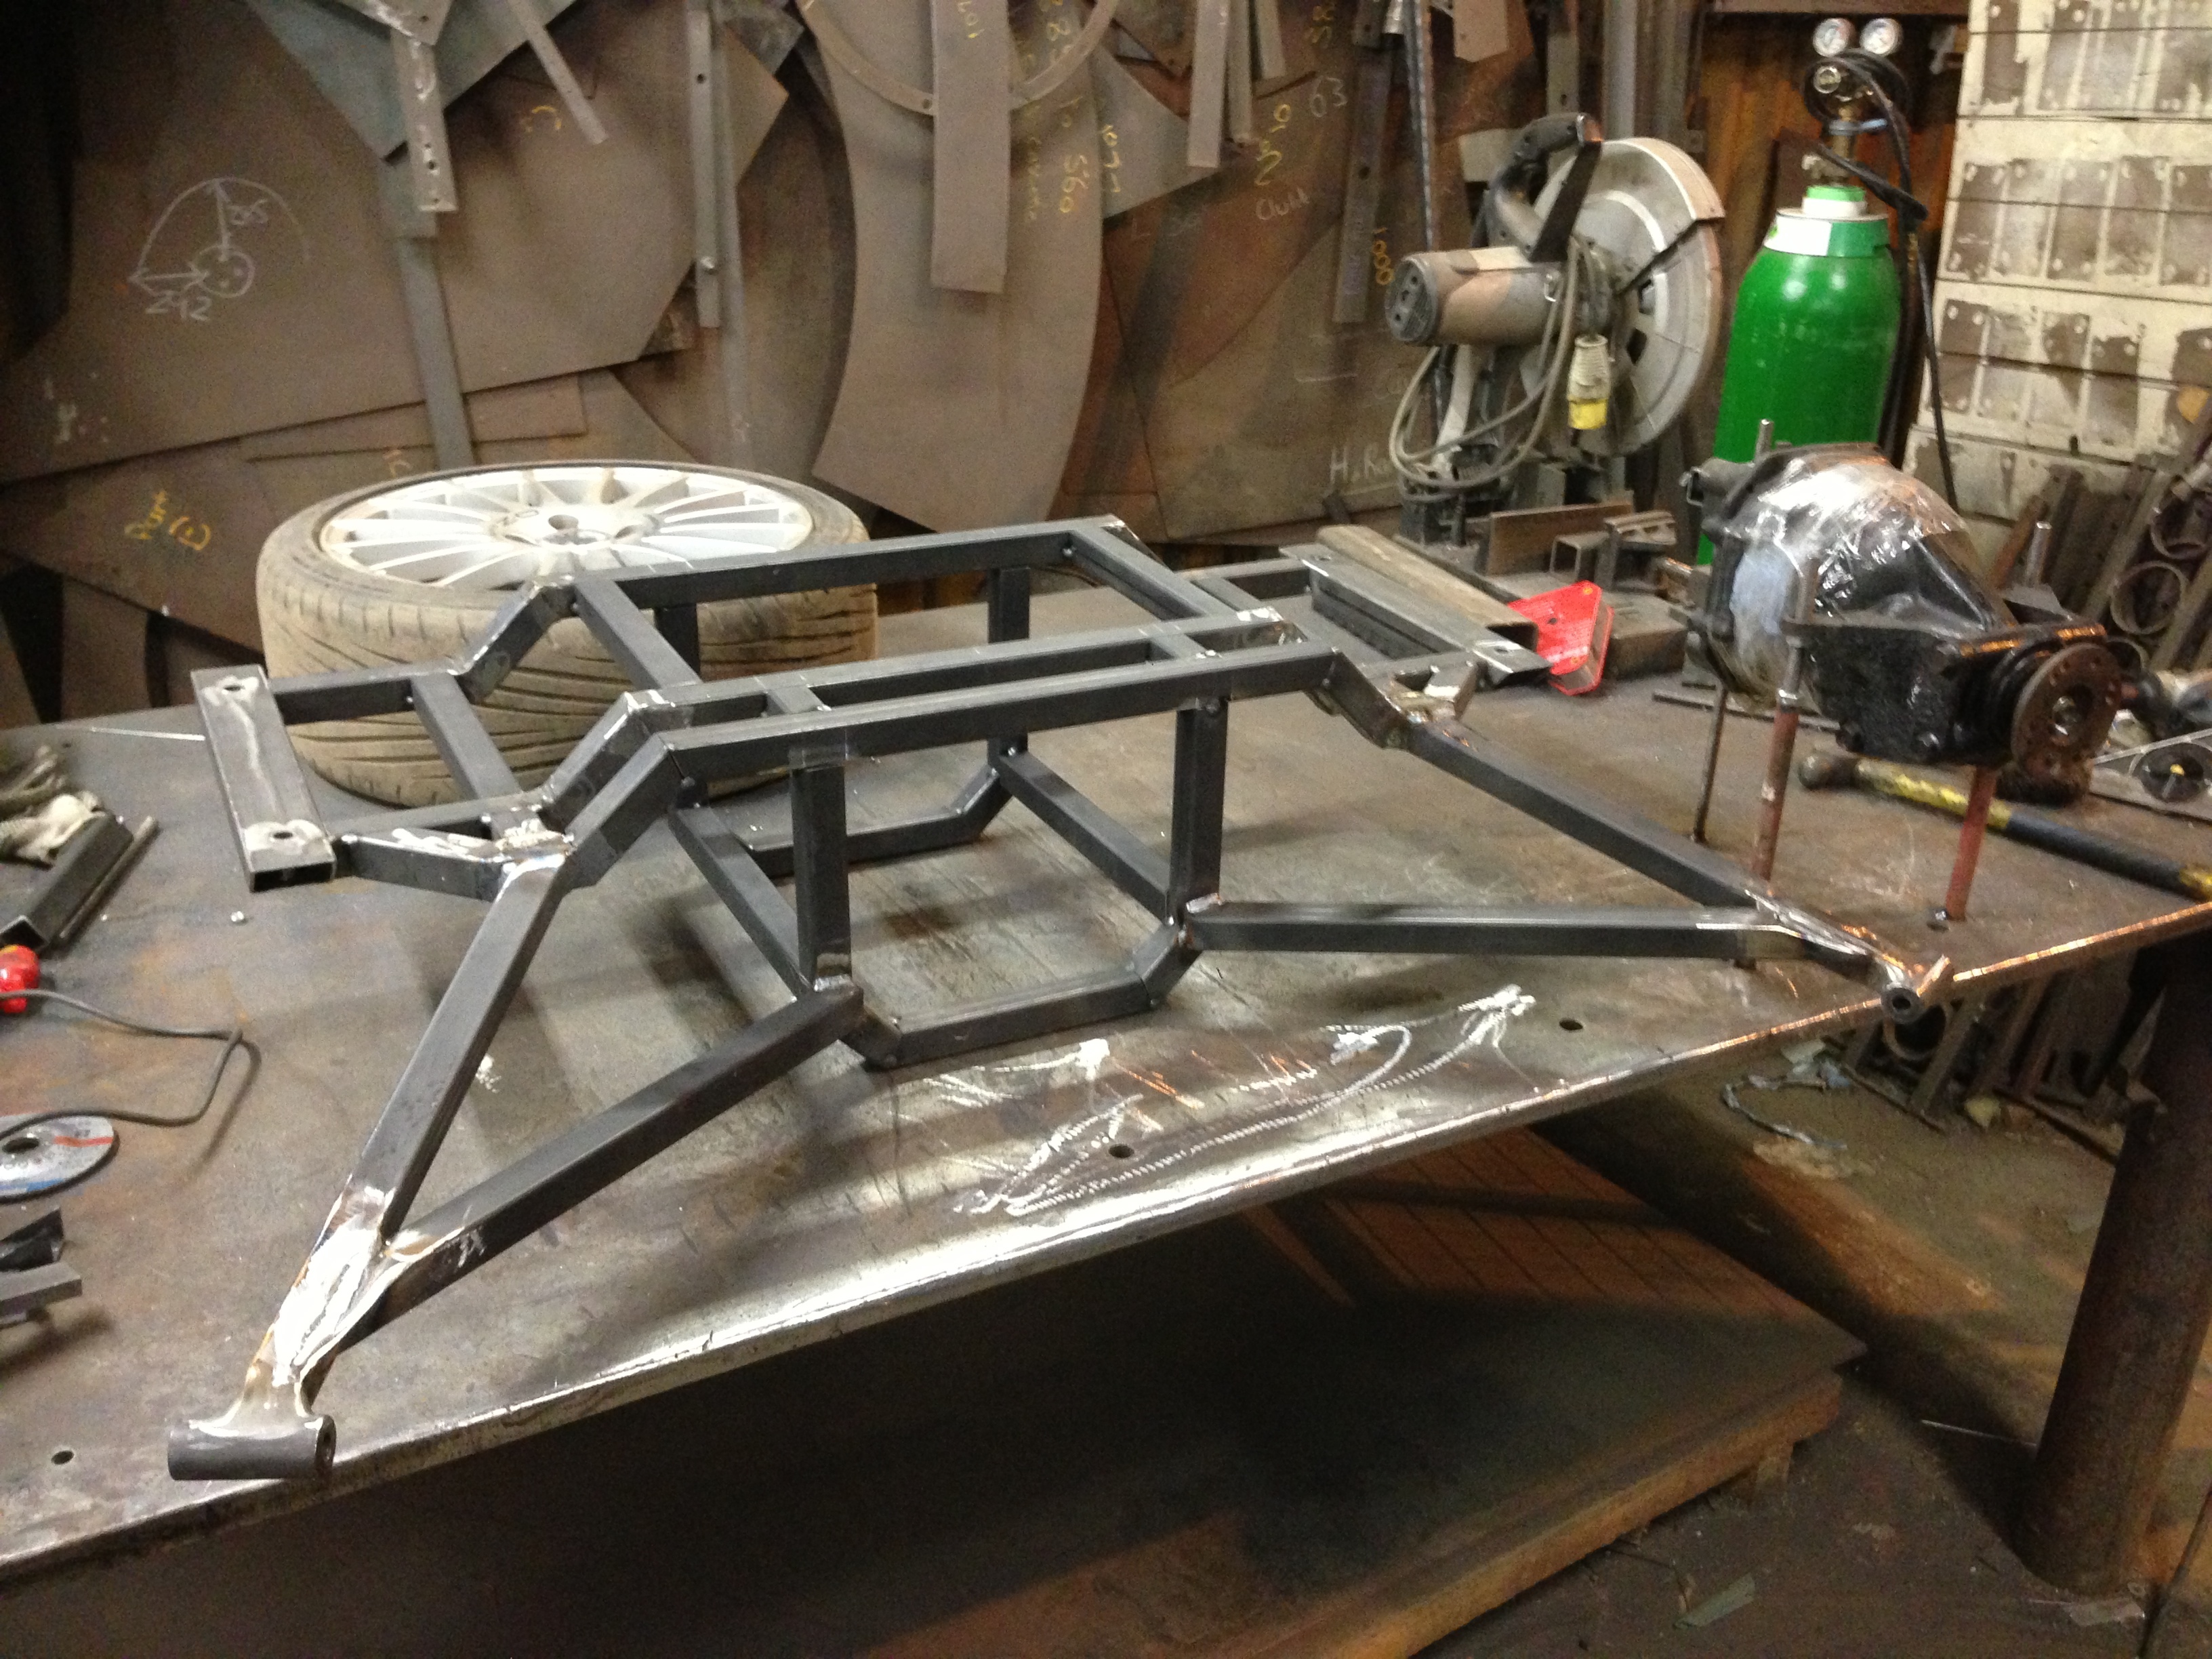
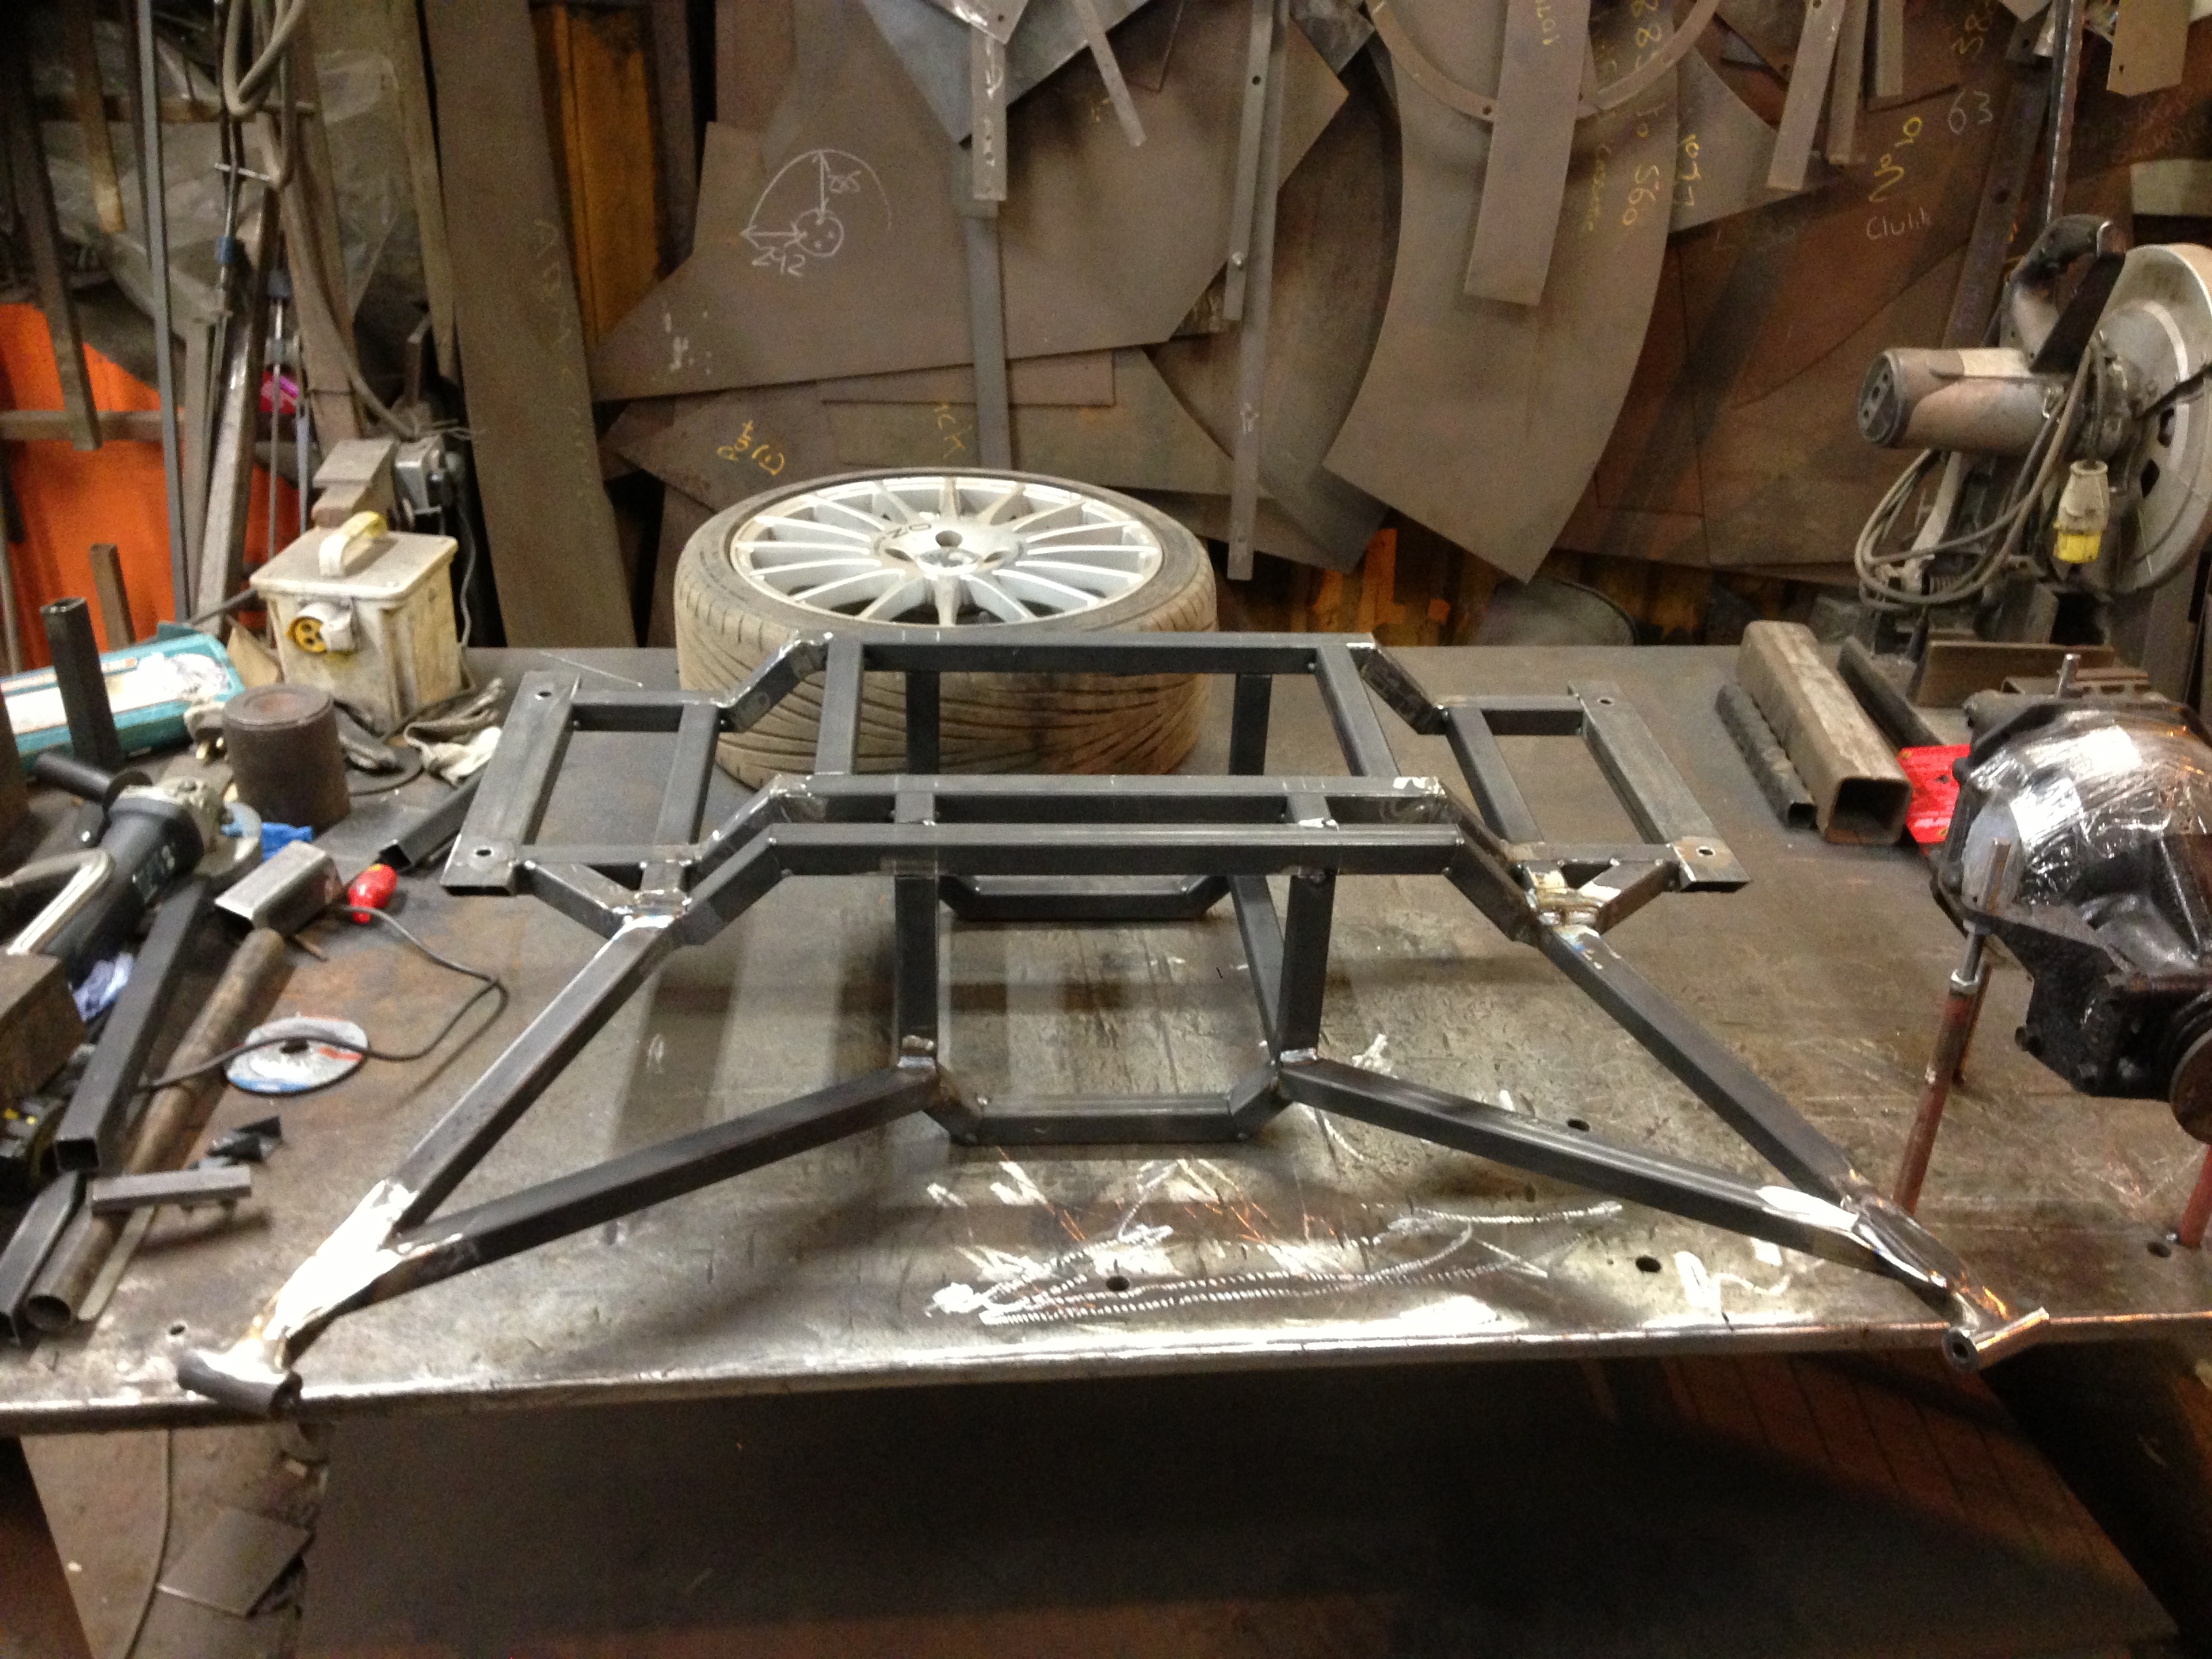
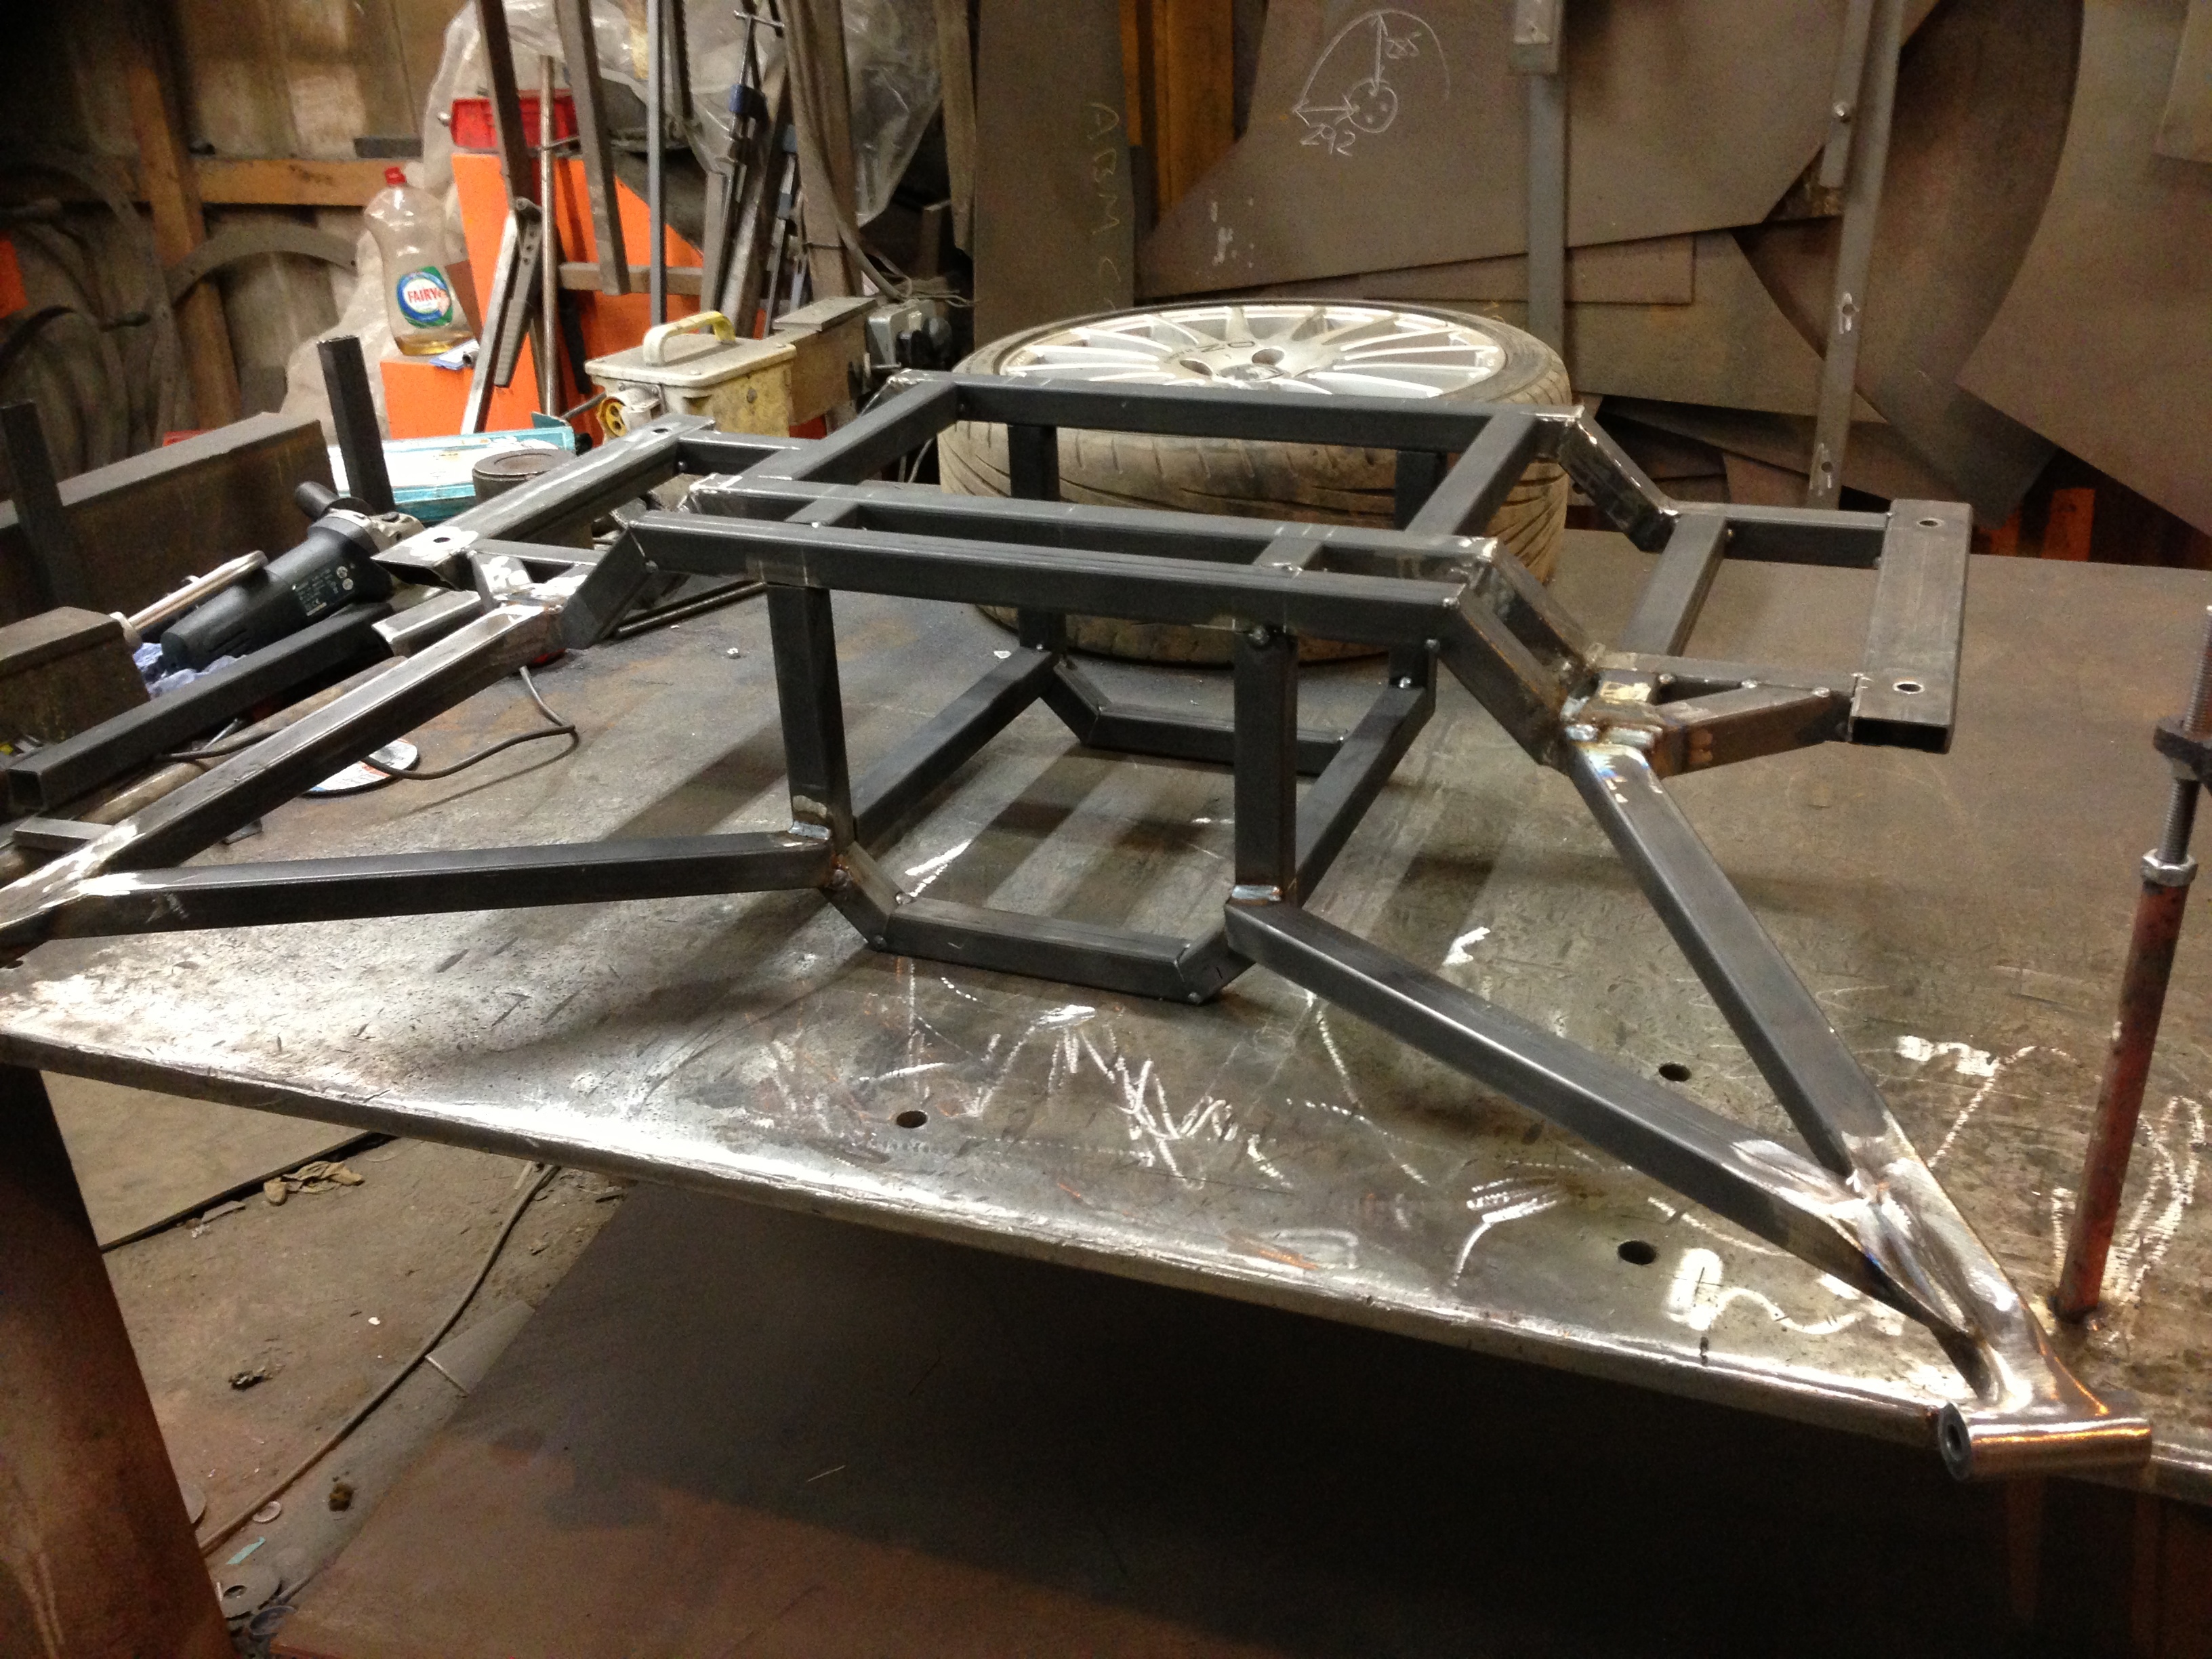
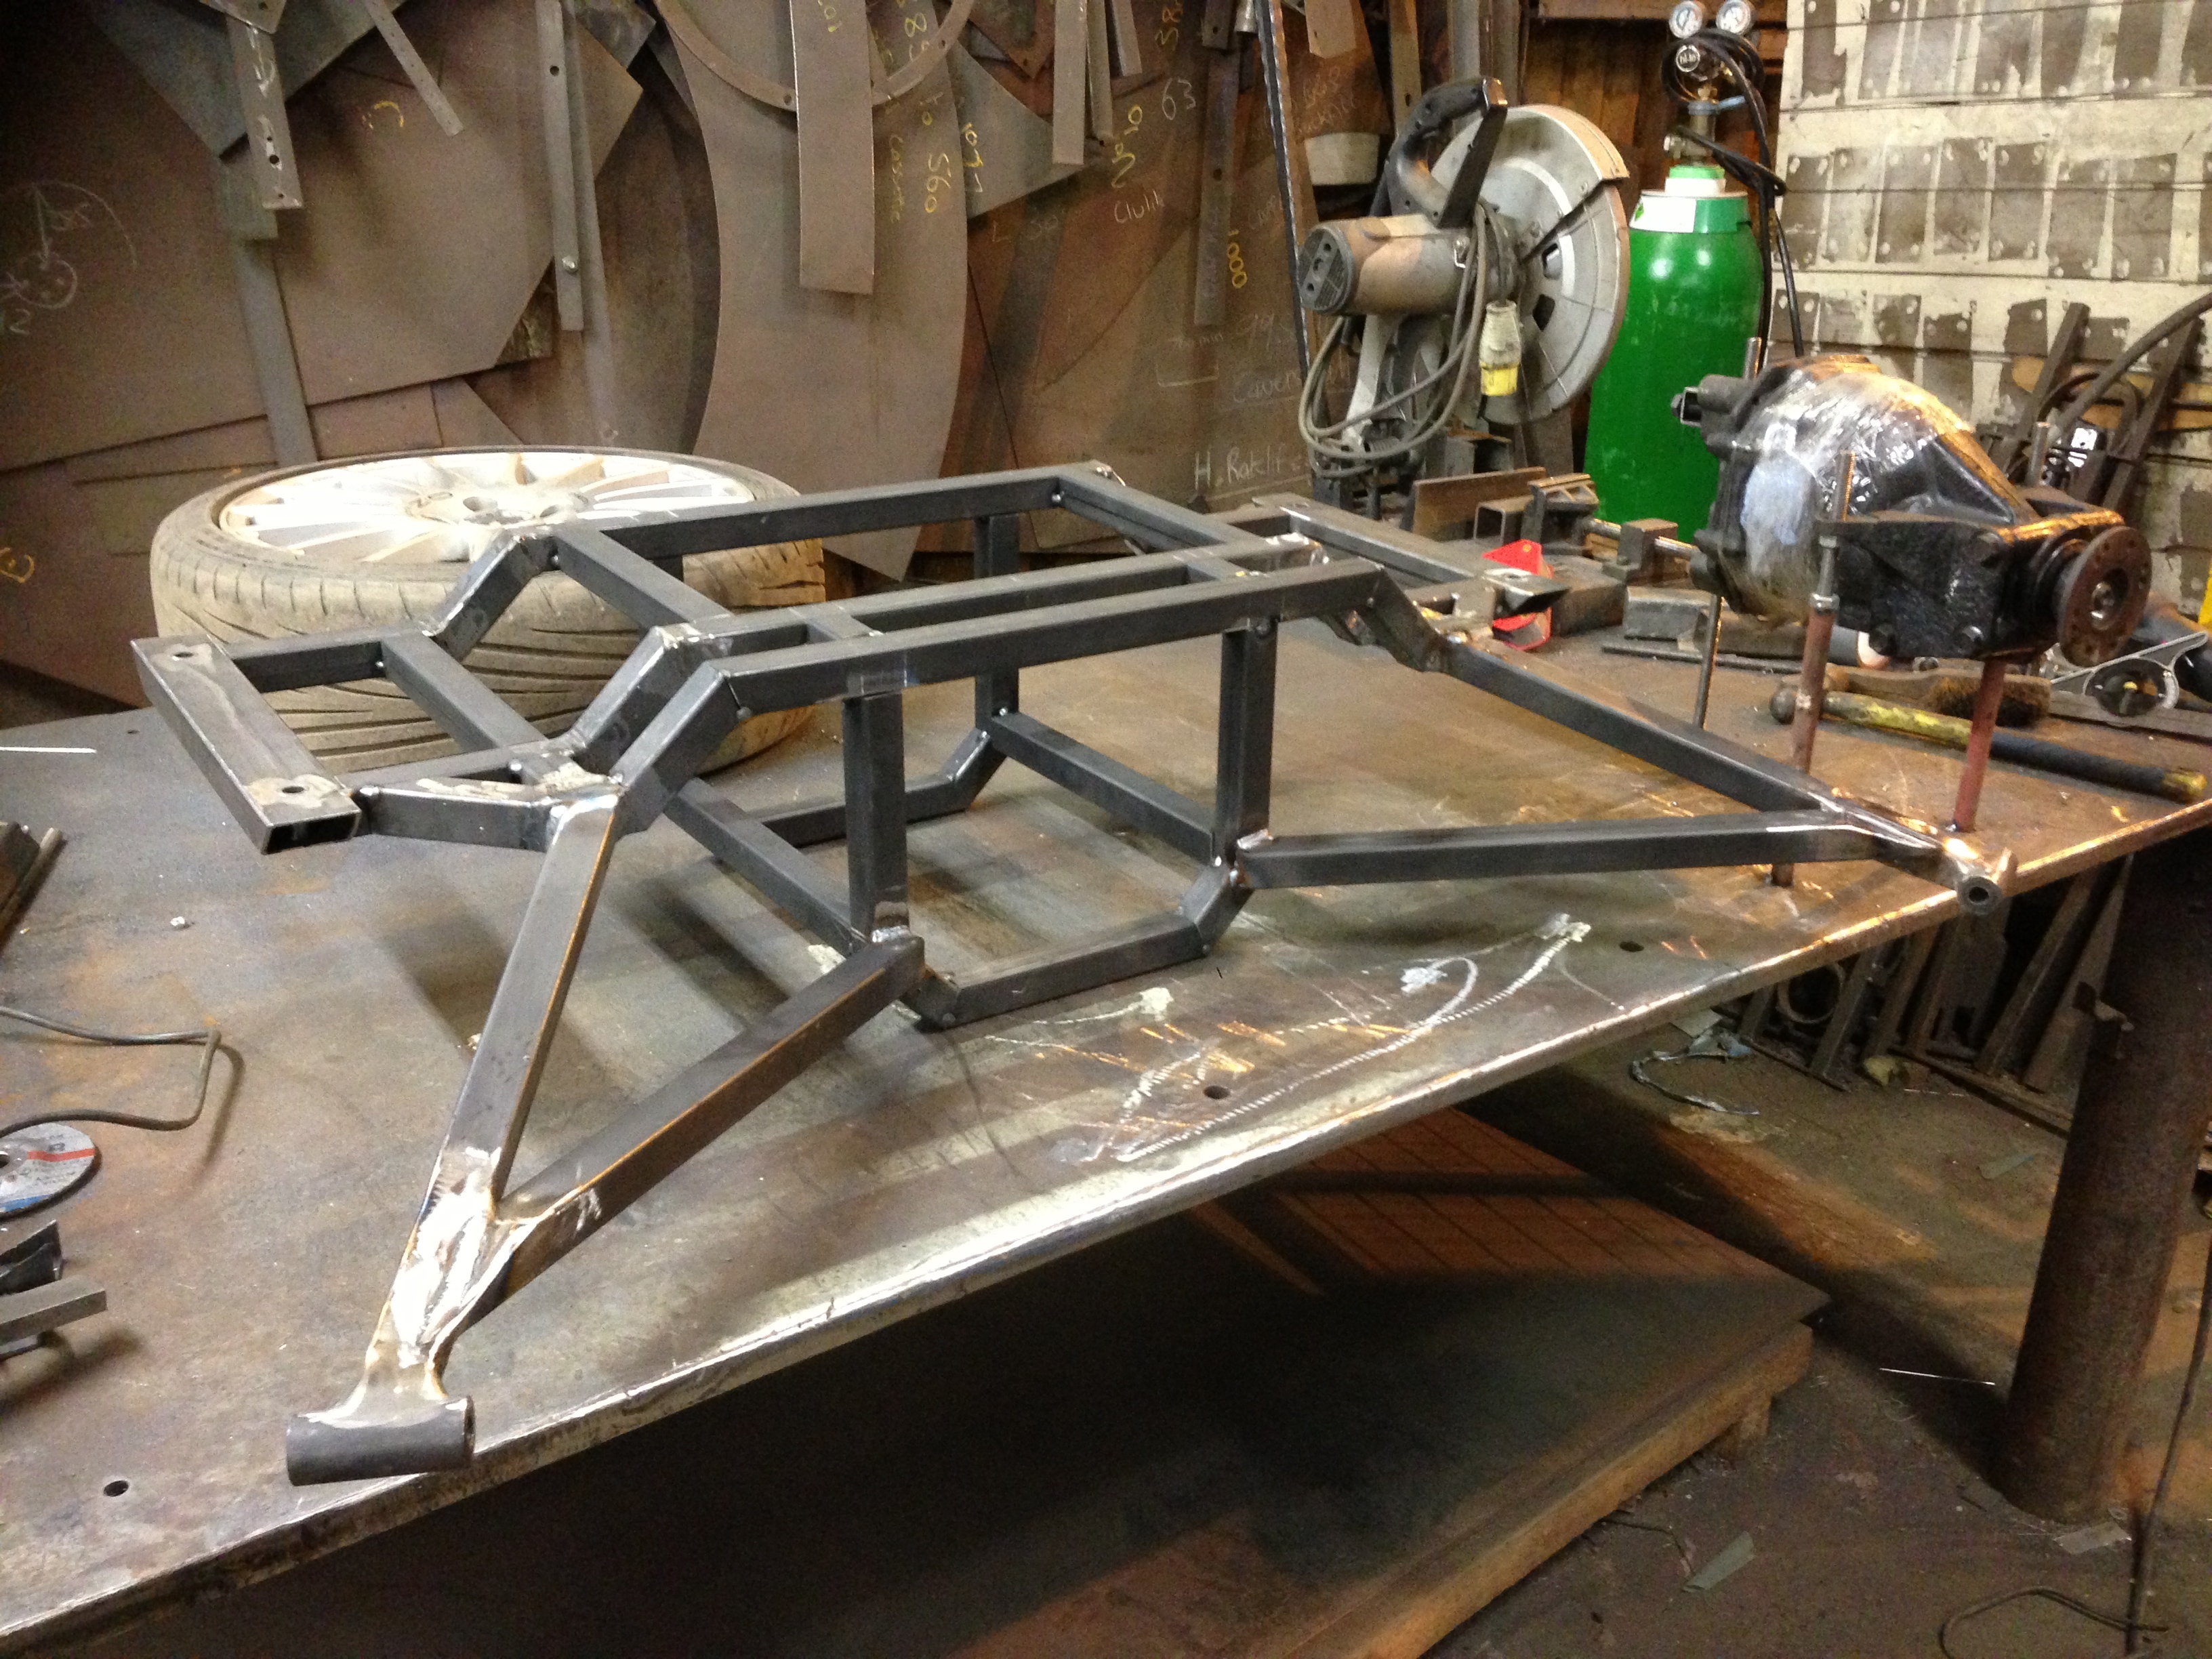
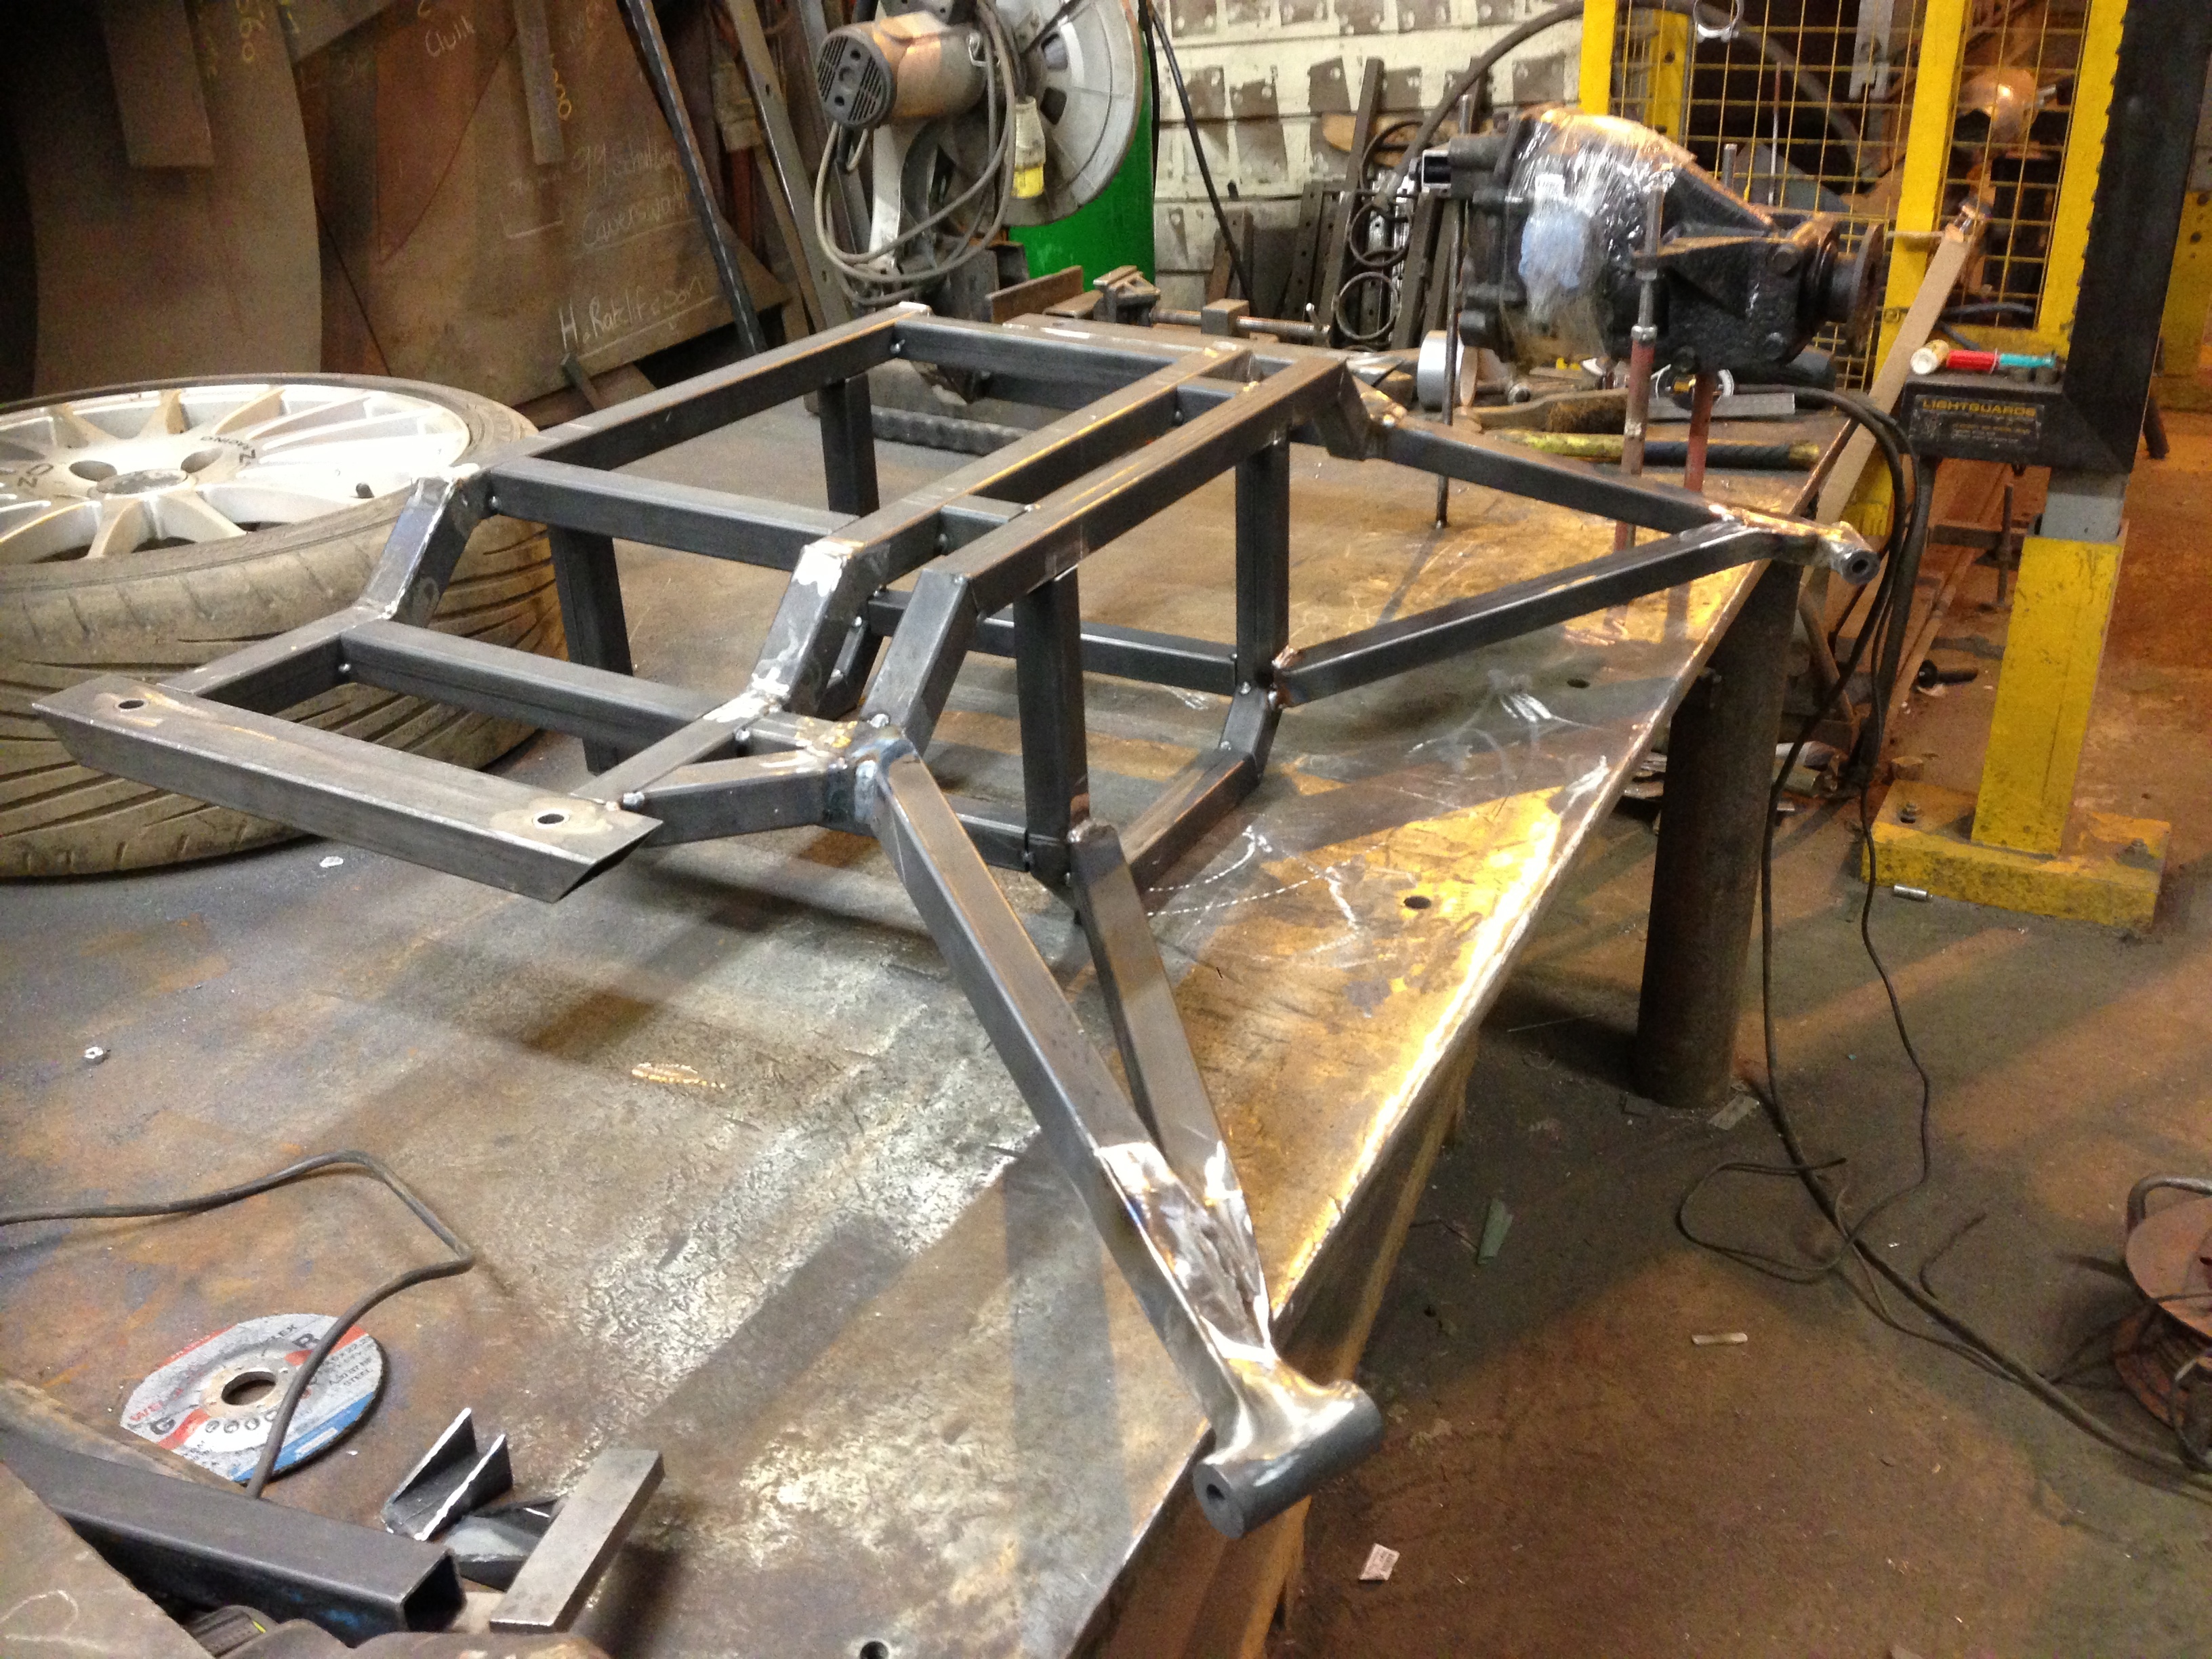
Just had it on the scales - weighs 13kg. Still a few kilos of stiffeners and mounting points to add though. Can't see it topping out over 20kg.
Just had it on the scales - weighs 13kg. Still a few kilos of stiffeners and mounting points to add though. Can't see it topping out over 20kg.
Thread Starter
Regular Contributor
Joined: Mar 2012
Posts: 241
Likes: 0
From: Doncaster
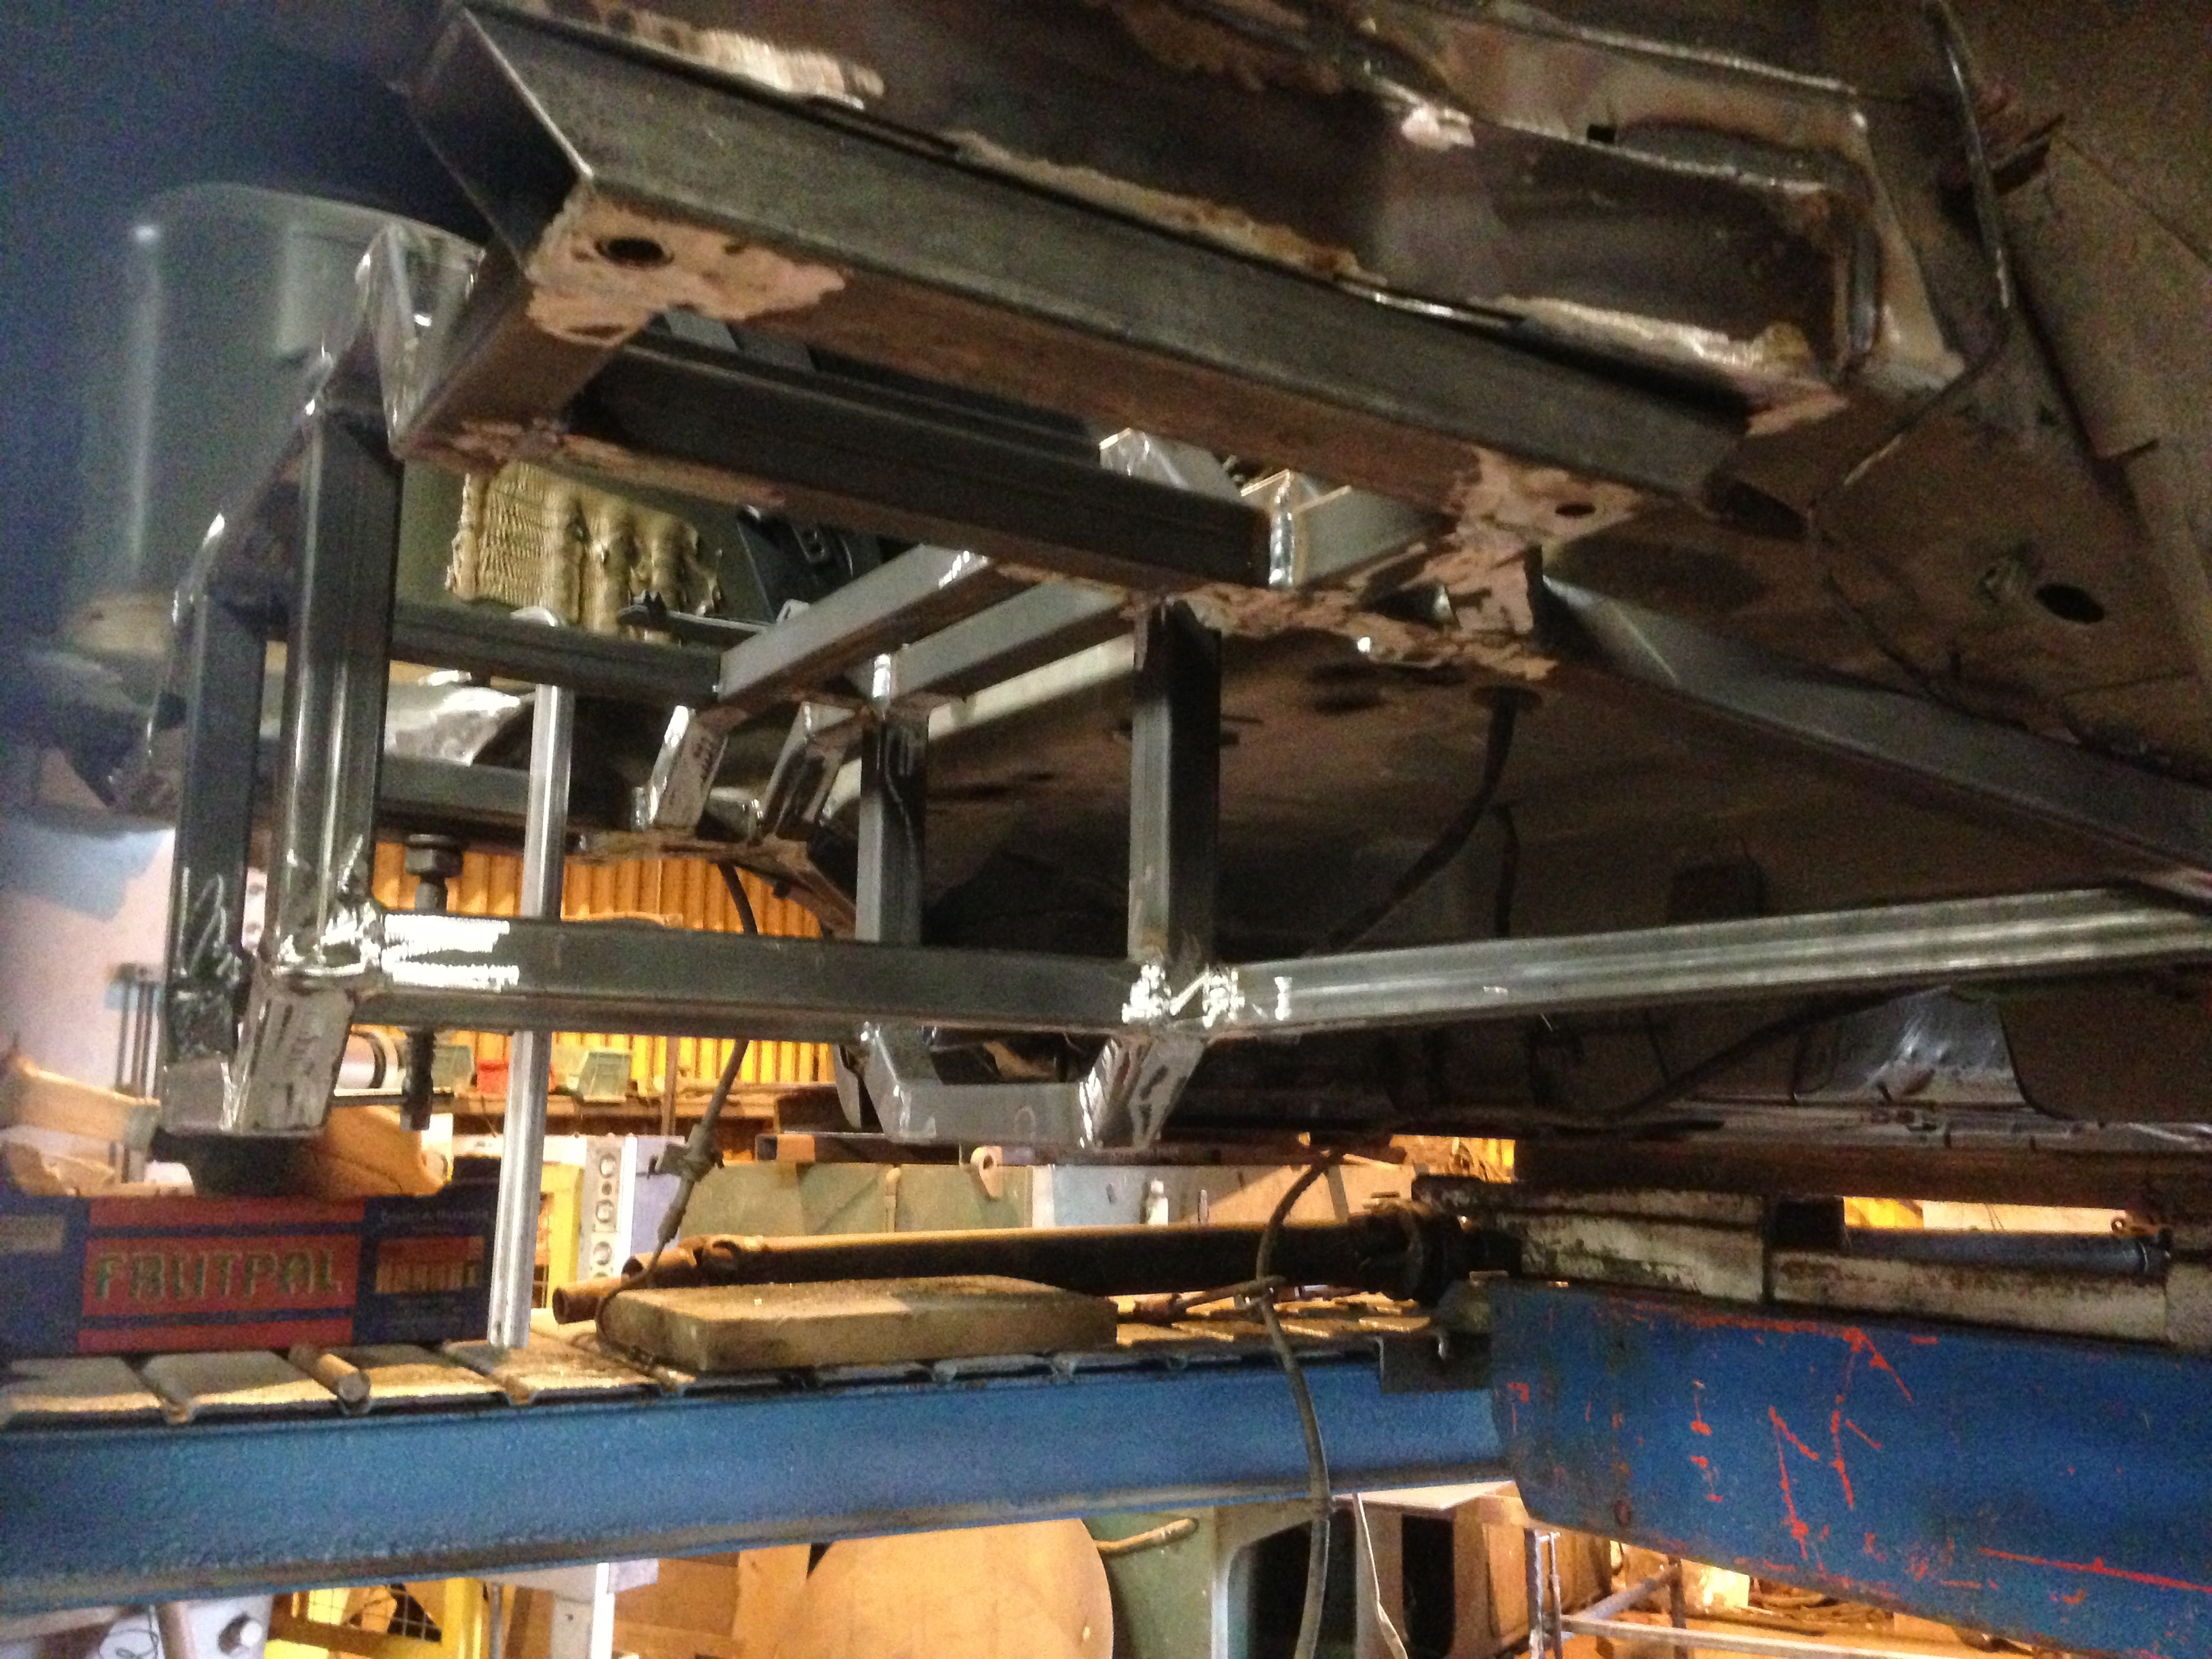
Quick pic of the underneath:
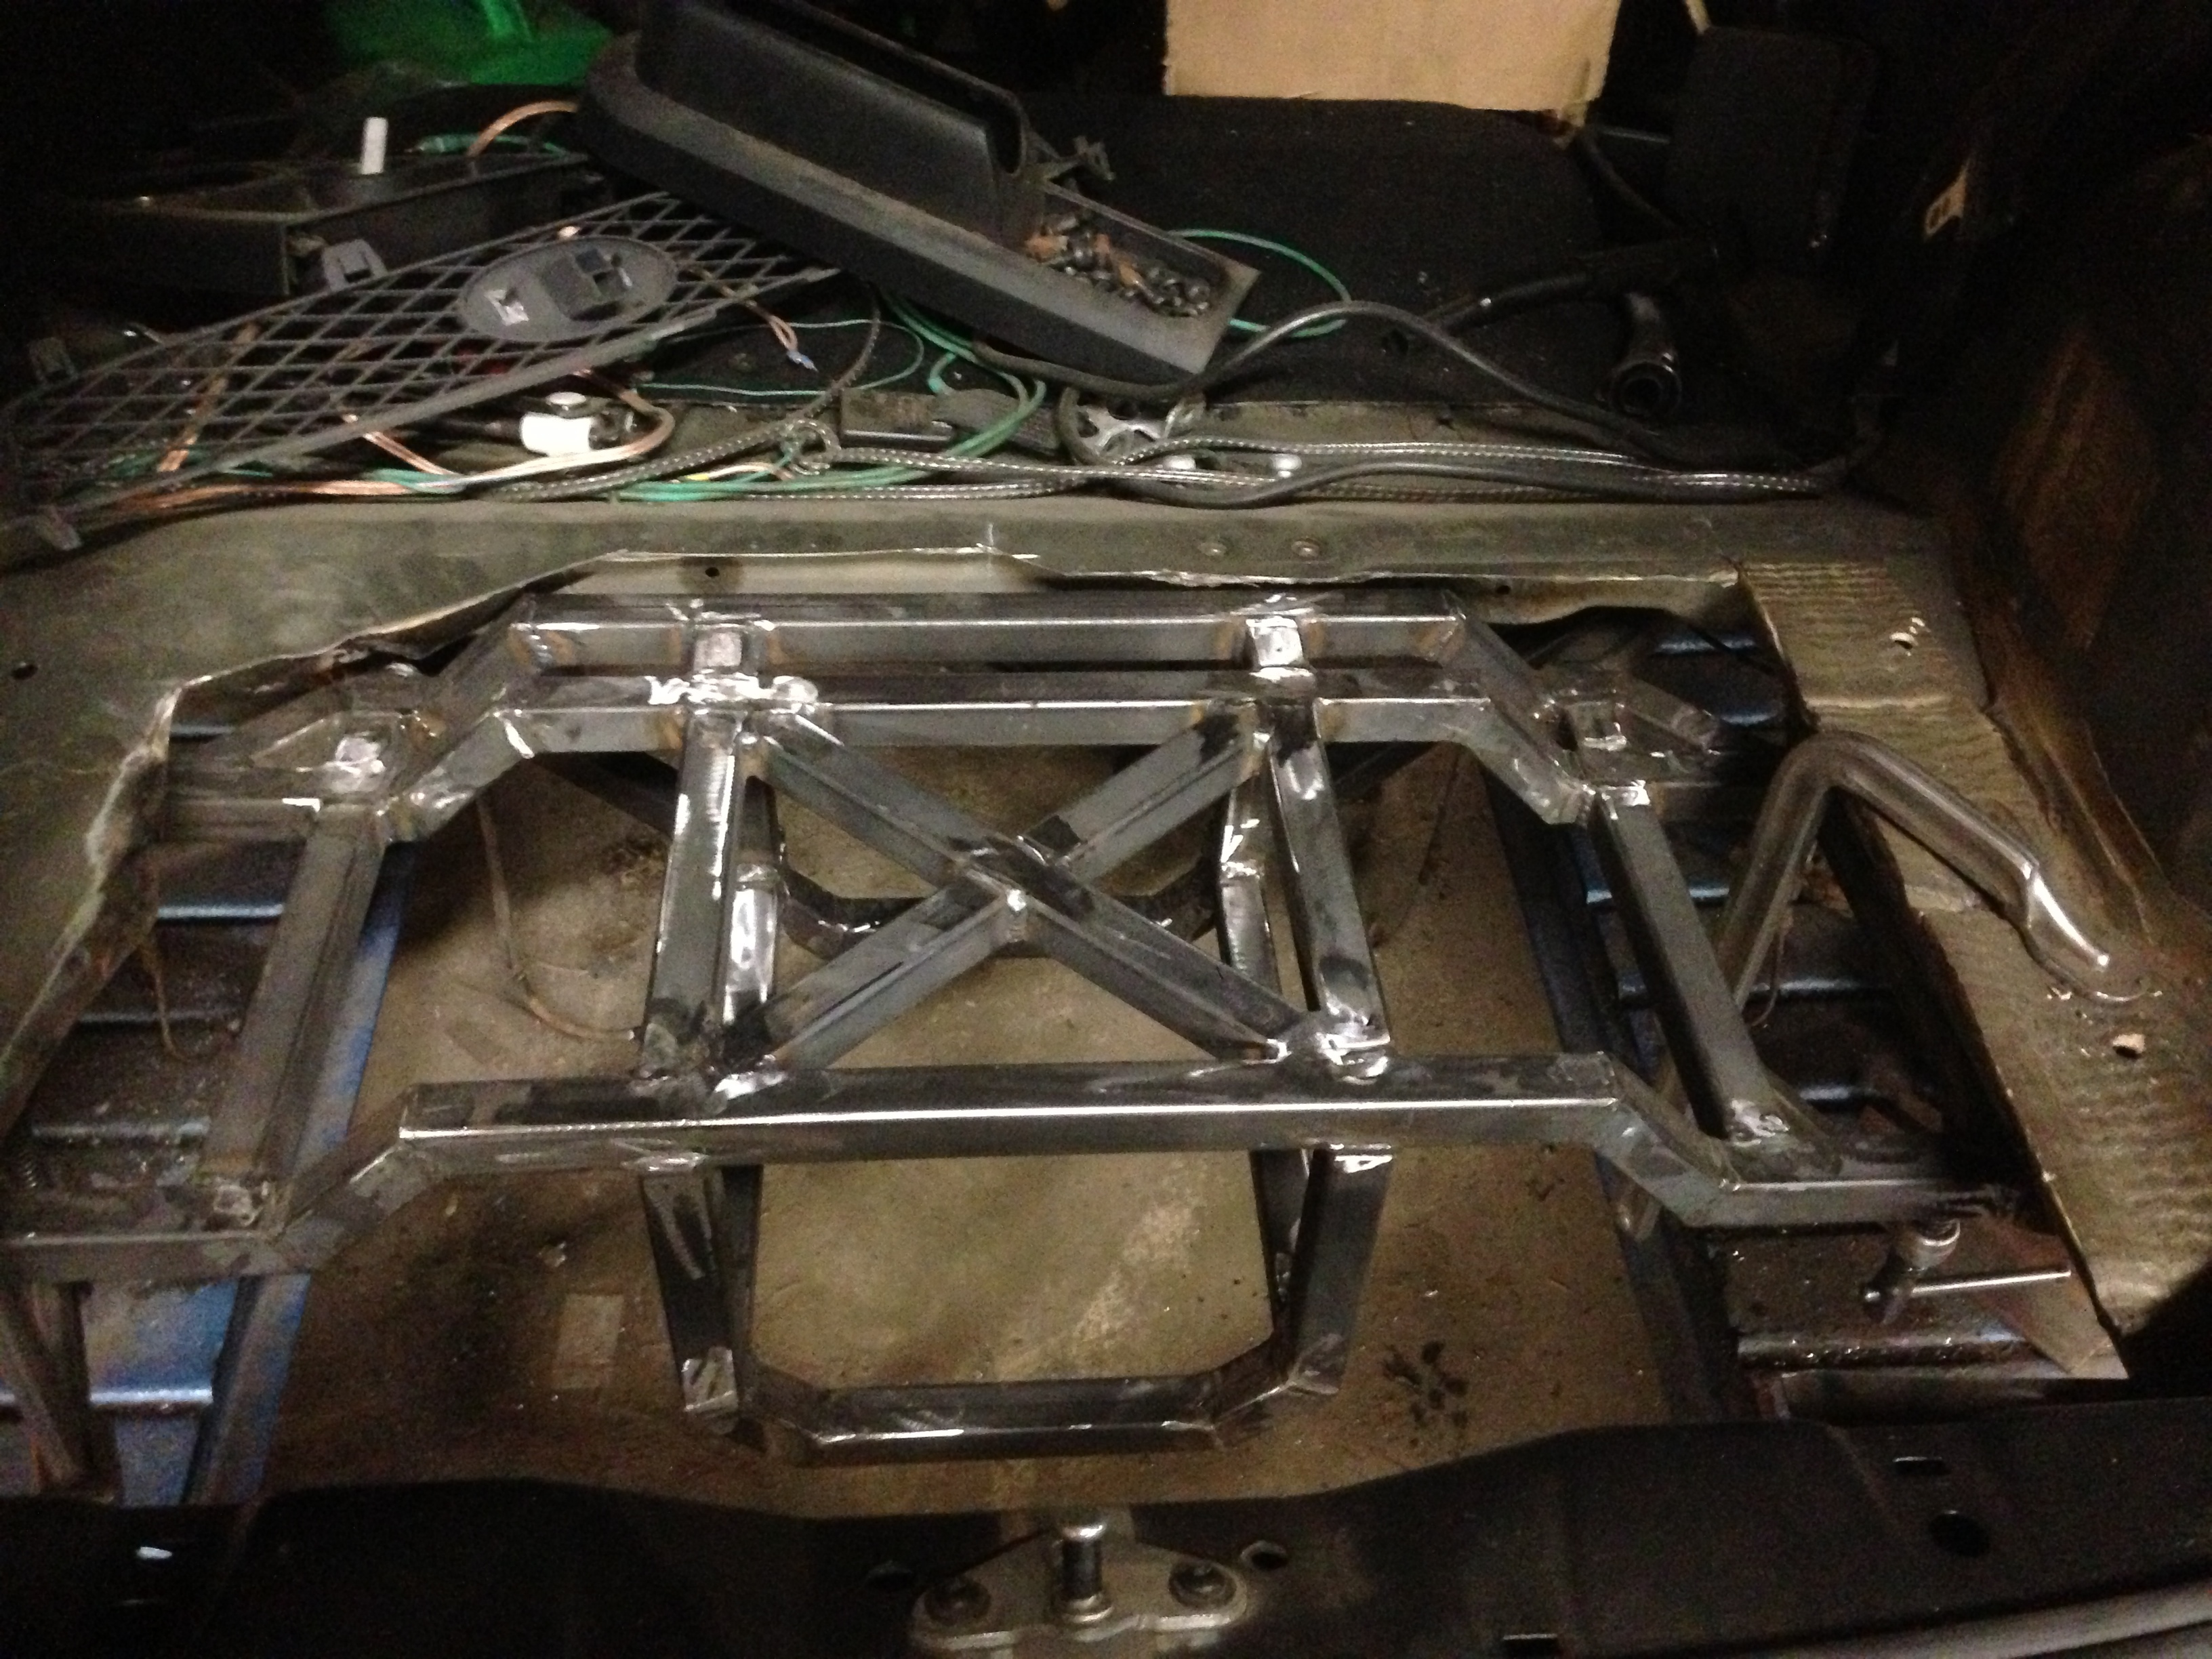
Then pulled it off again to fully weld and add the final bits of bracing:
I think the front end is going to get the same treatment now, I want to sit the car on the deck as low as possible, so will need to sort the front crossmember out - may as well start again with it
Then pulled it off again to fully weld and add the final bits of bracing:
I think the front end is going to get the same treatment now, I want to sit the car on the deck as low as possible, so will need to sort the front crossmember out - may as well start again with it

Thread Starter
Regular Contributor
Joined: Mar 2012
Posts: 241
Likes: 0
From: Doncaster

PassionFord Post Troll


Joined: Jul 2005
Posts: 2,903
Likes: 22
From: Haverhill
Would you PM me a "guesstimate" on how much this has/will cost?
Be really interested to know

Cheers, Jay.
Thread Starter
Regular Contributor
Joined: Mar 2012
Posts: 241
Likes: 0
From: Doncaster
Cheers Jamie - not long now with a bit of luck!
The list of parts to be fabricated is getting smaller and smaller. Left to do now:
- Cage
- Fuel tank
- Engine bay tanks
- Exhaust to finish
- Charge piping
- Aluminium under tray
A couple of weeks should hopefully see that lot rounded off, then it's over to a mate of mine for all the plumbing. Then need to get the wiring sorted out and get it up to RDT for tuning.
There's a glimmer of light at the end of the tunnel now
The list of parts to be fabricated is getting smaller and smaller. Left to do now:
- Cage
- Fuel tank
- Engine bay tanks
- Exhaust to finish
- Charge piping
- Aluminium under tray
A couple of weeks should hopefully see that lot rounded off, then it's over to a mate of mine for all the plumbing. Then need to get the wiring sorted out and get it up to RDT for tuning.
There's a glimmer of light at the end of the tunnel now

Thread Starter
Regular Contributor
Joined: Mar 2012
Posts: 241
Likes: 0
From: Doncaster
Thread Starter
Regular Contributor
Joined: Mar 2012
Posts: 241
Likes: 0
From: Doncaster
Well as it usually is with these things, everything was going so well - then I hit a problem
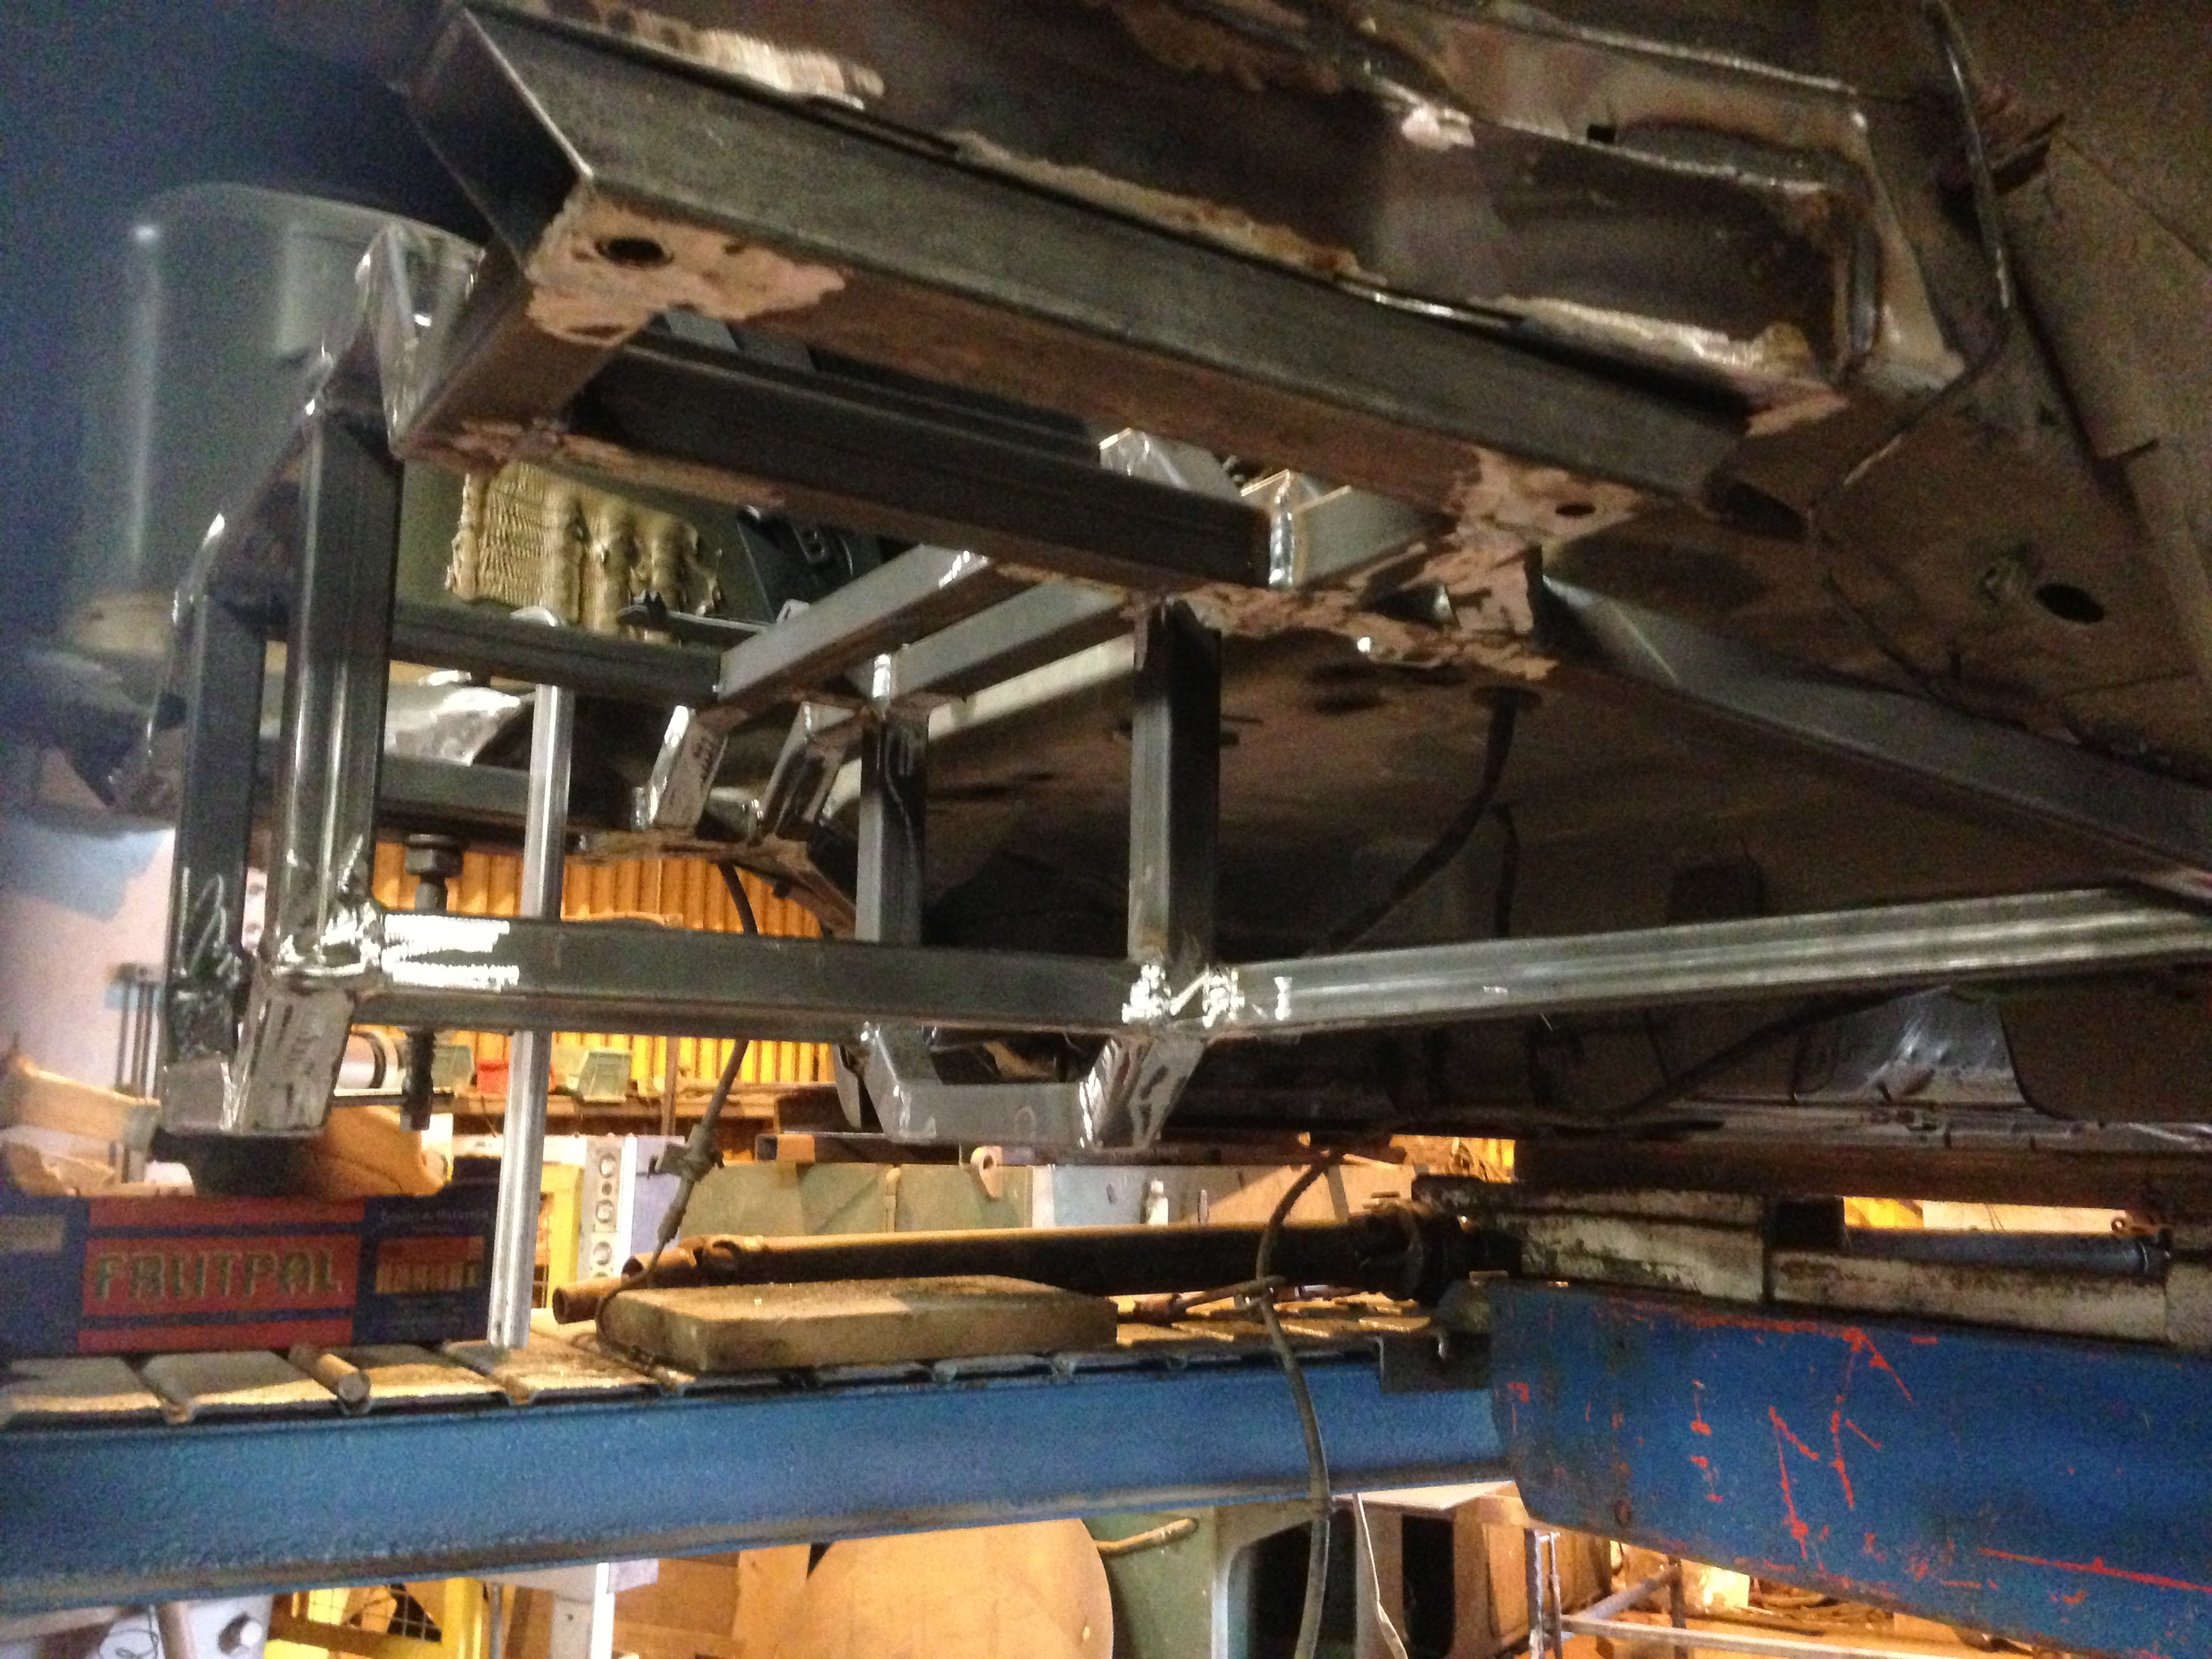
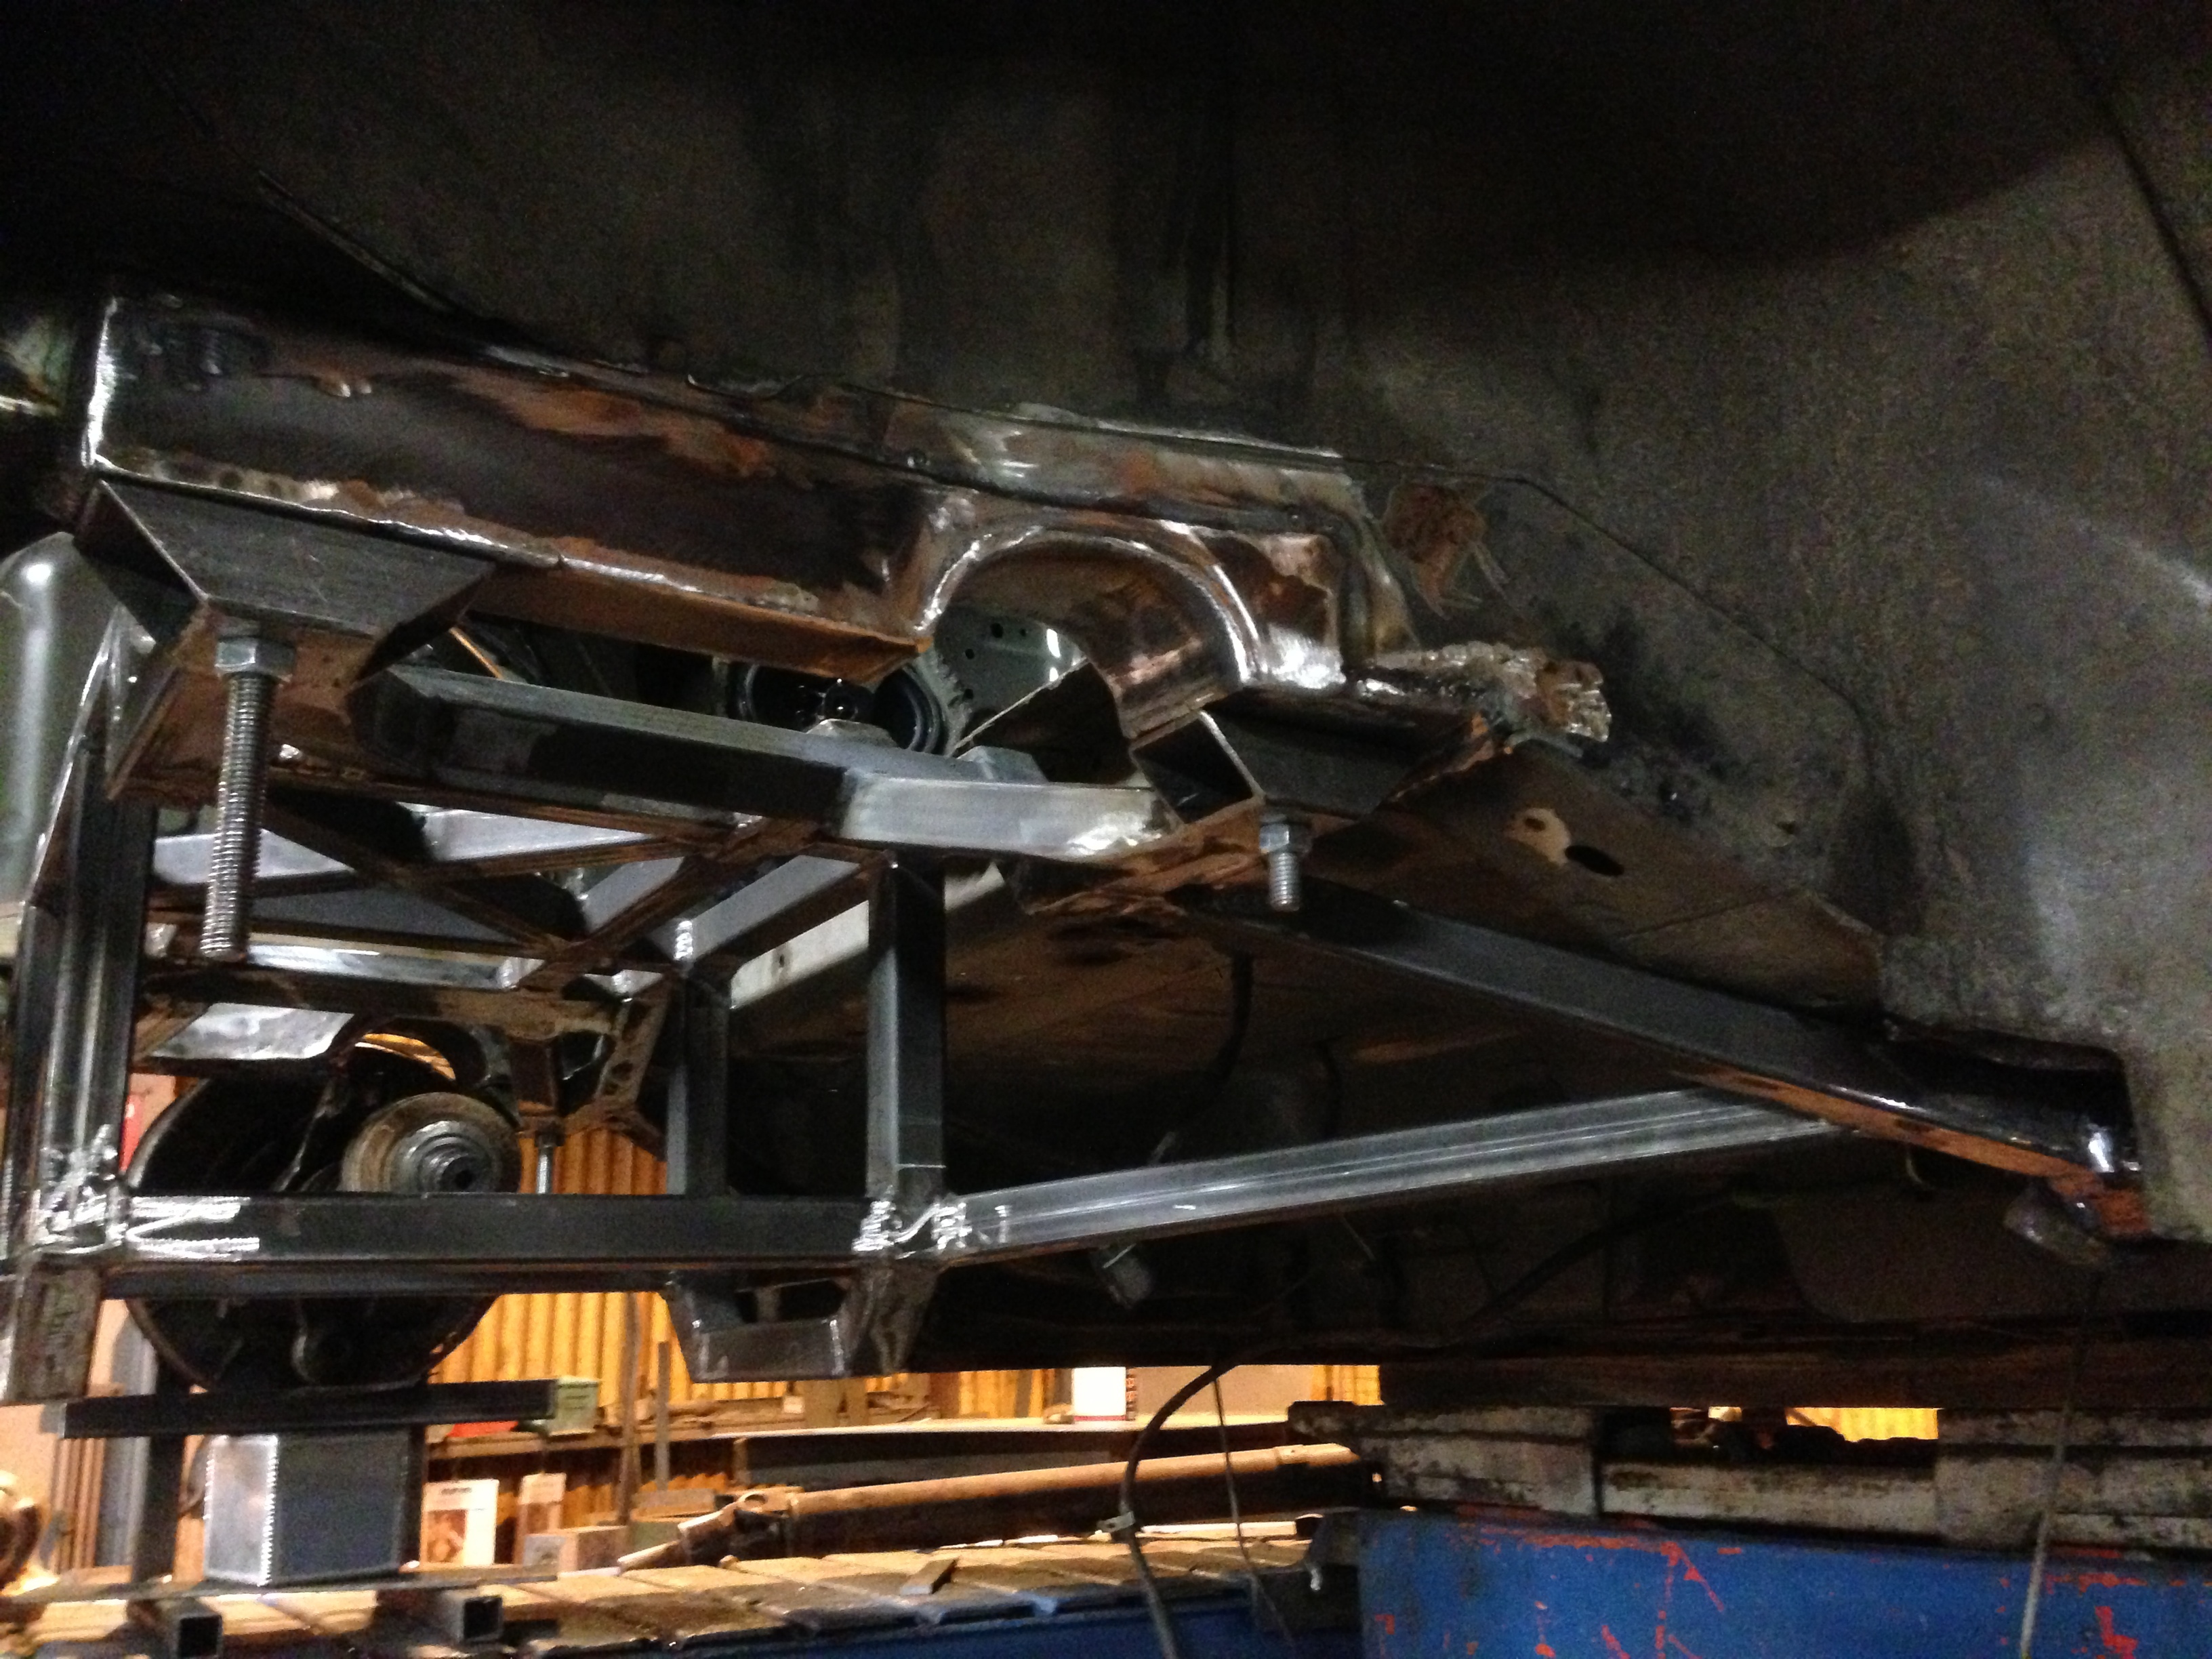
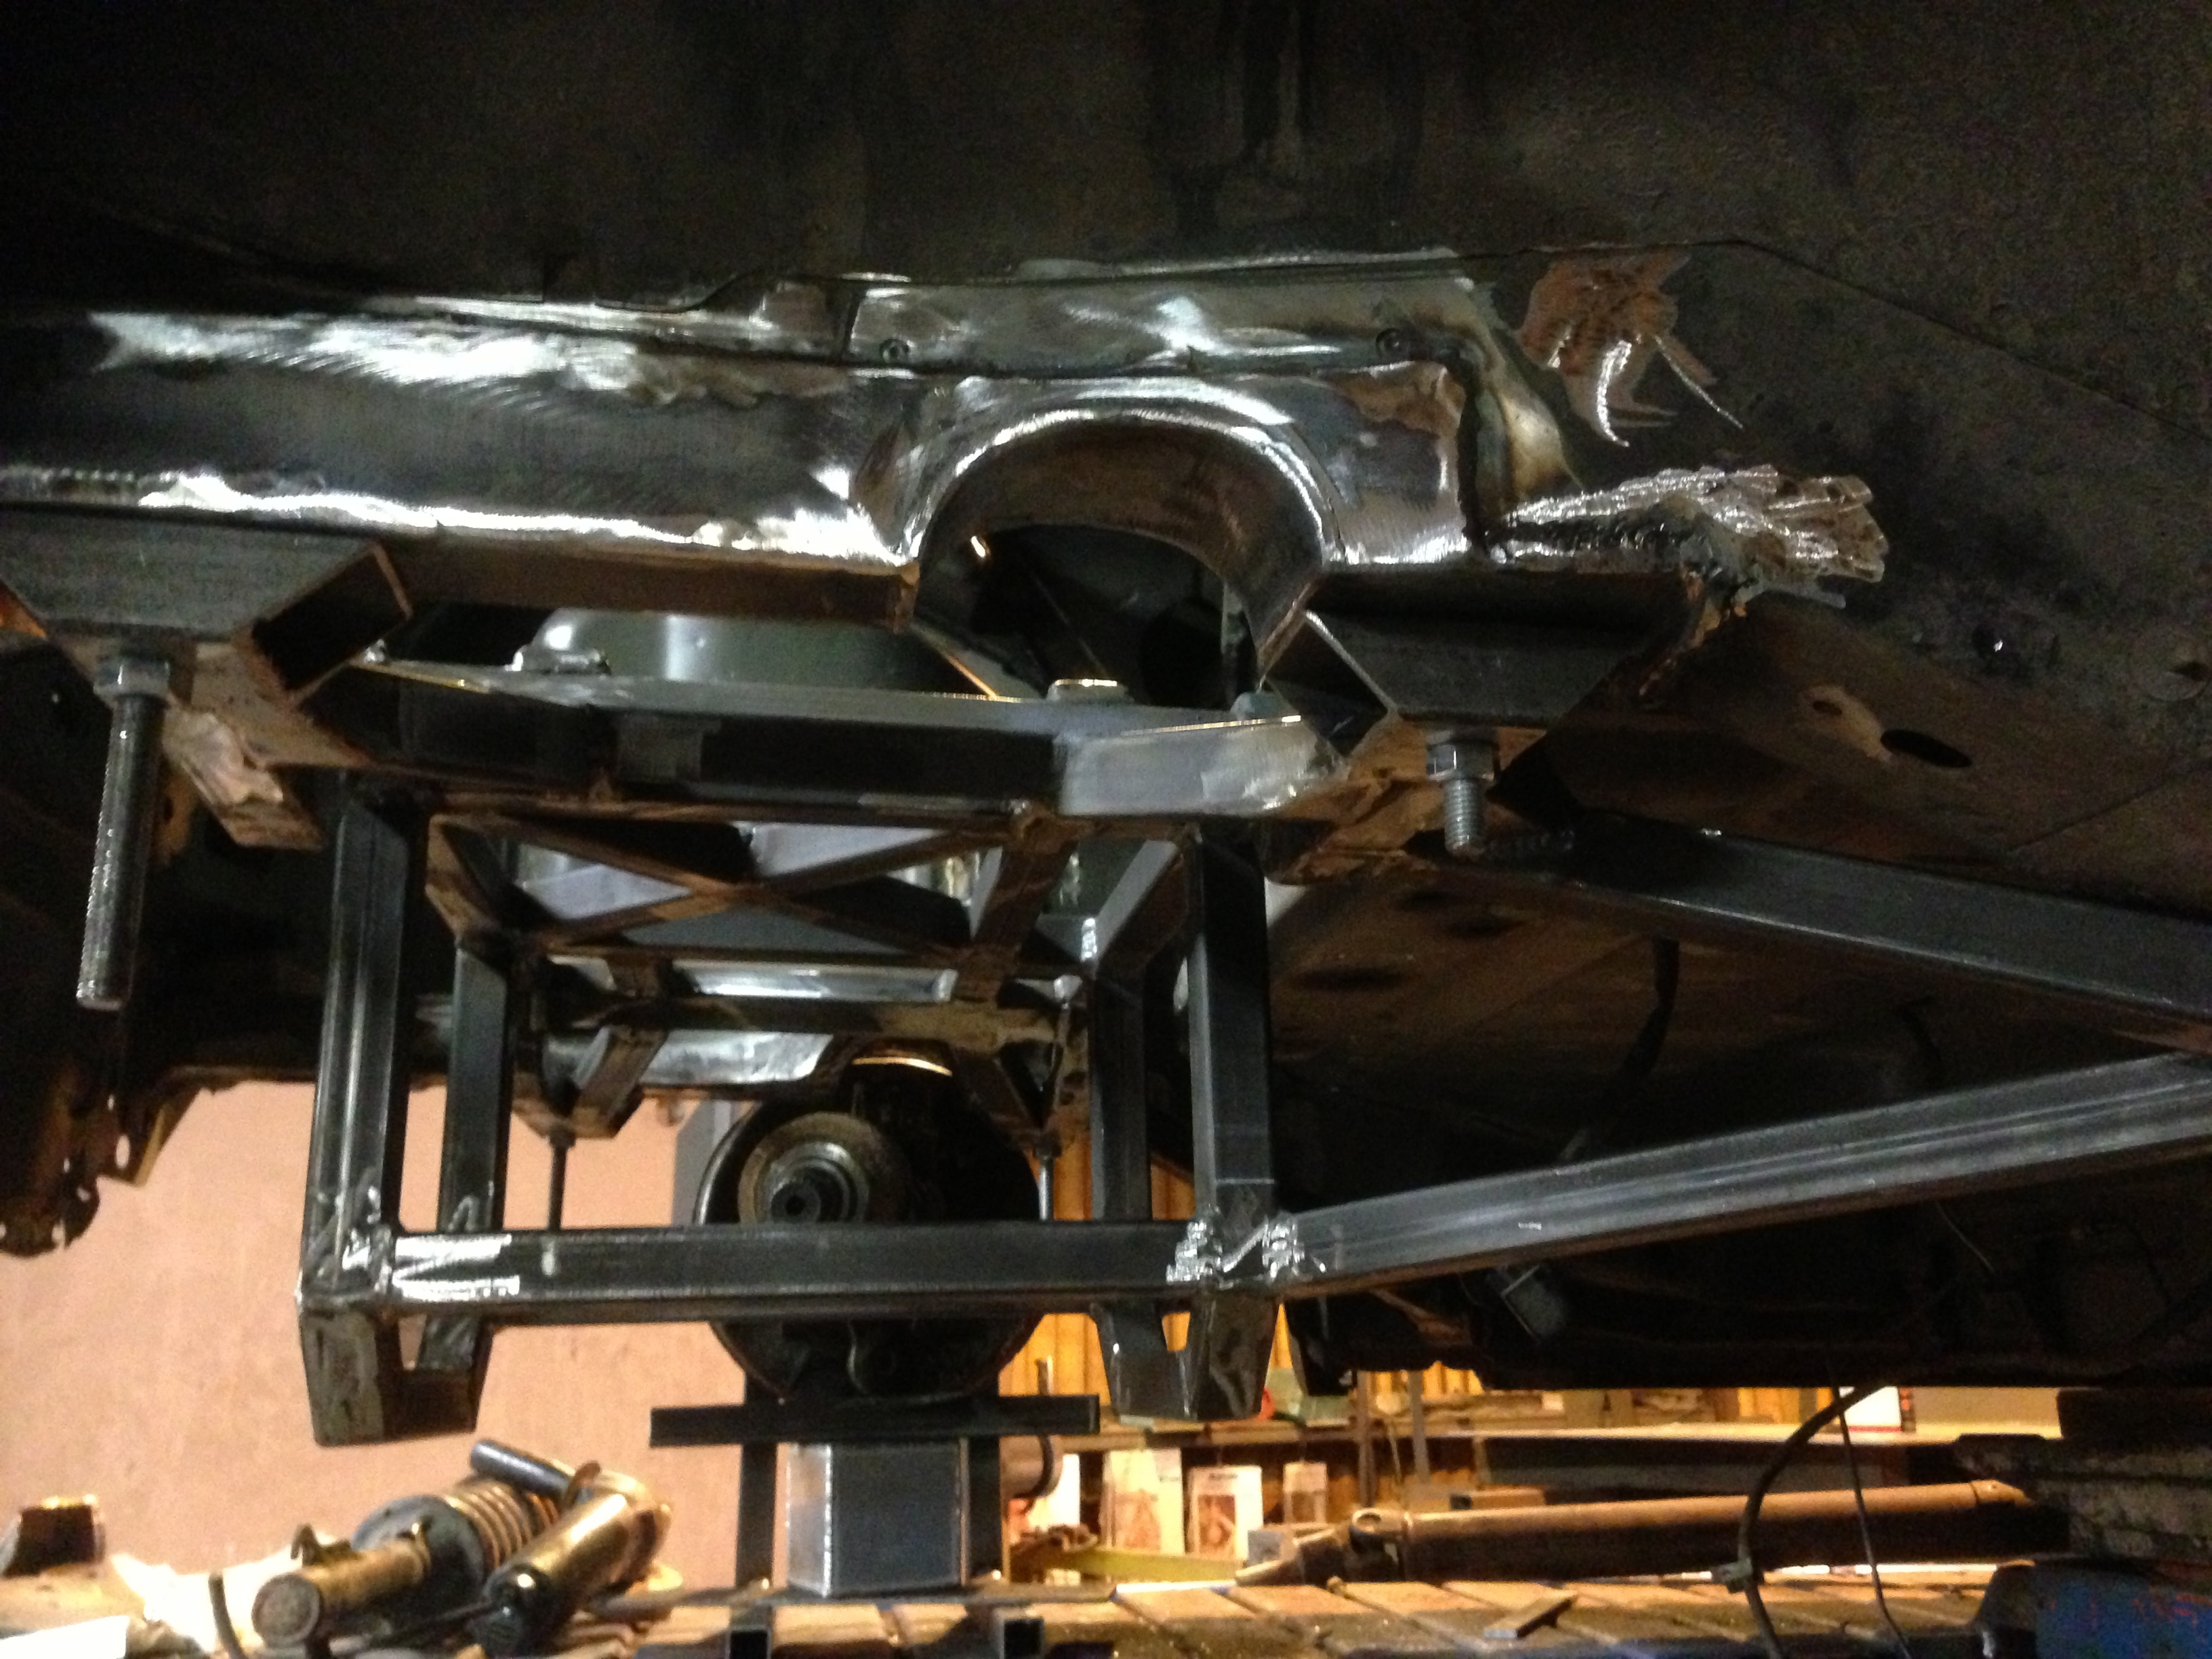
The cradle has had to come back off and be re-worked slightly. The way it mounted wouldn't allow me to run the car as low as I'd have liked (I was hoping for around 50mm ground clearance in track trim), so the mounts were chopped off and rejigged! I've also had to notch the chassis rails to give more room for the drive shafts when the body is dropped - no big deal really, as the strength will now be in the cage, rather than the monocoque.
How it mounted previously:
And here's what's changed:

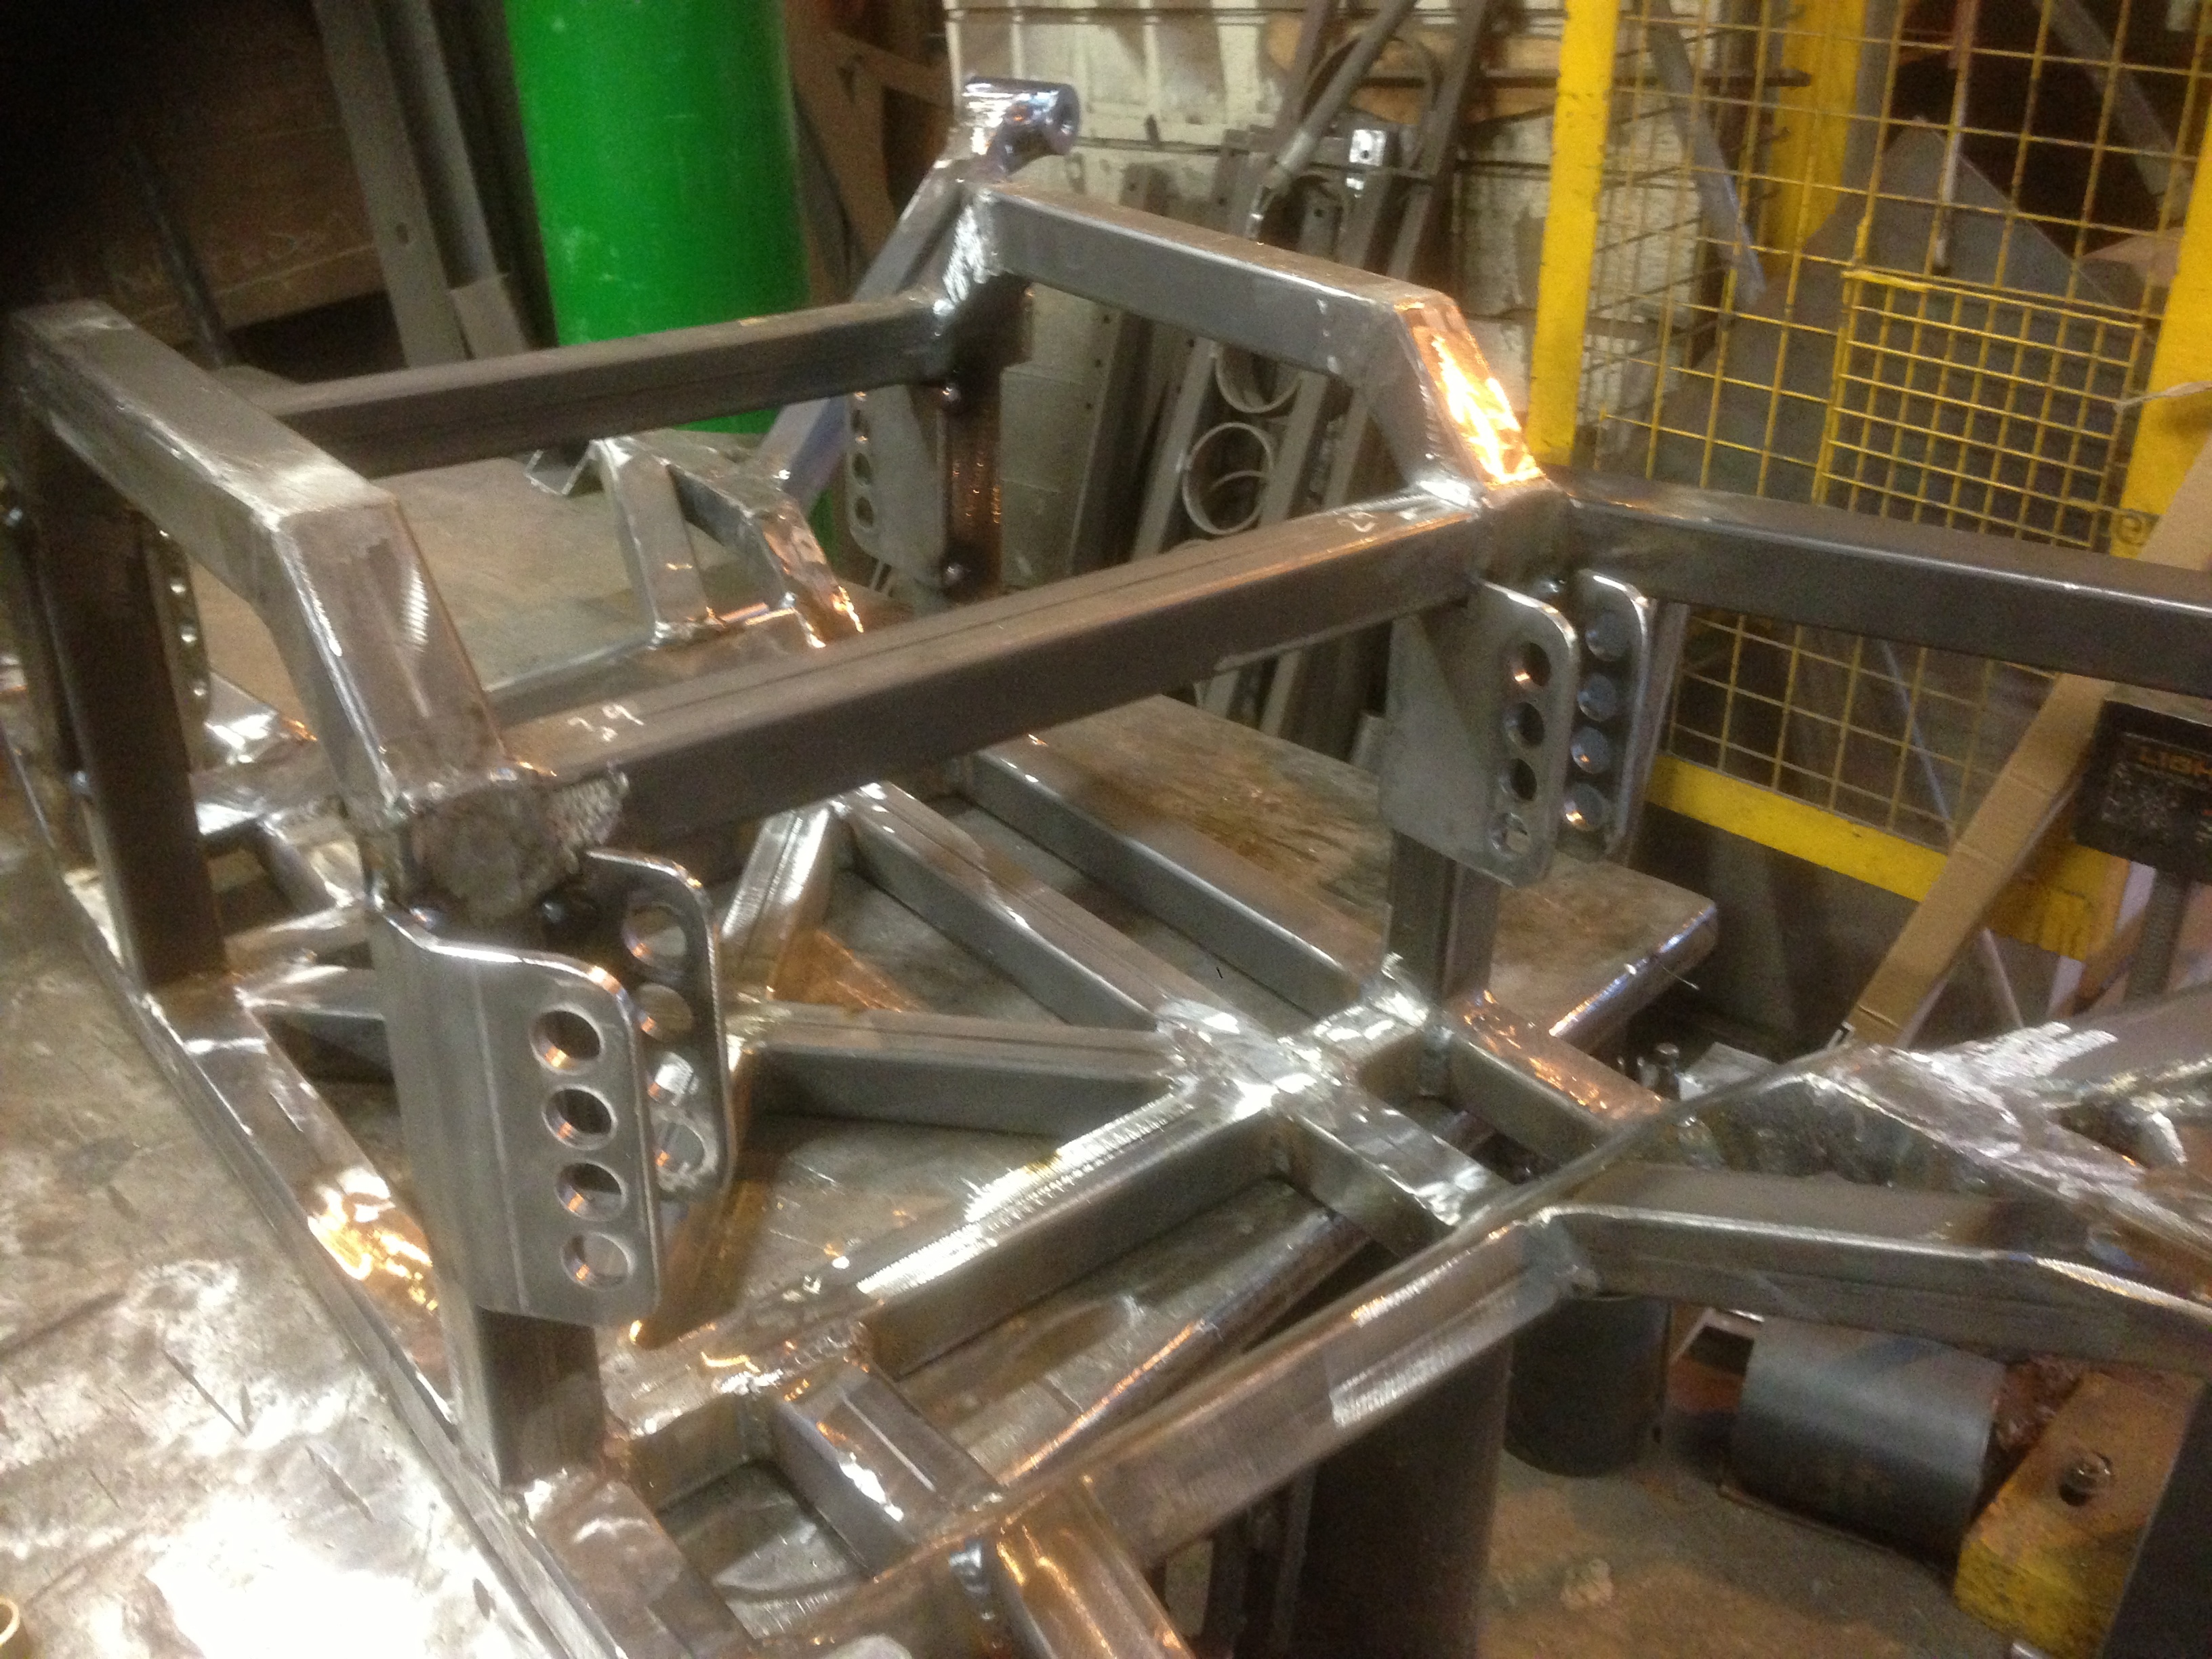
Then went on to make the wishbone mounts. I made these adjustable to suit the different ride heights:
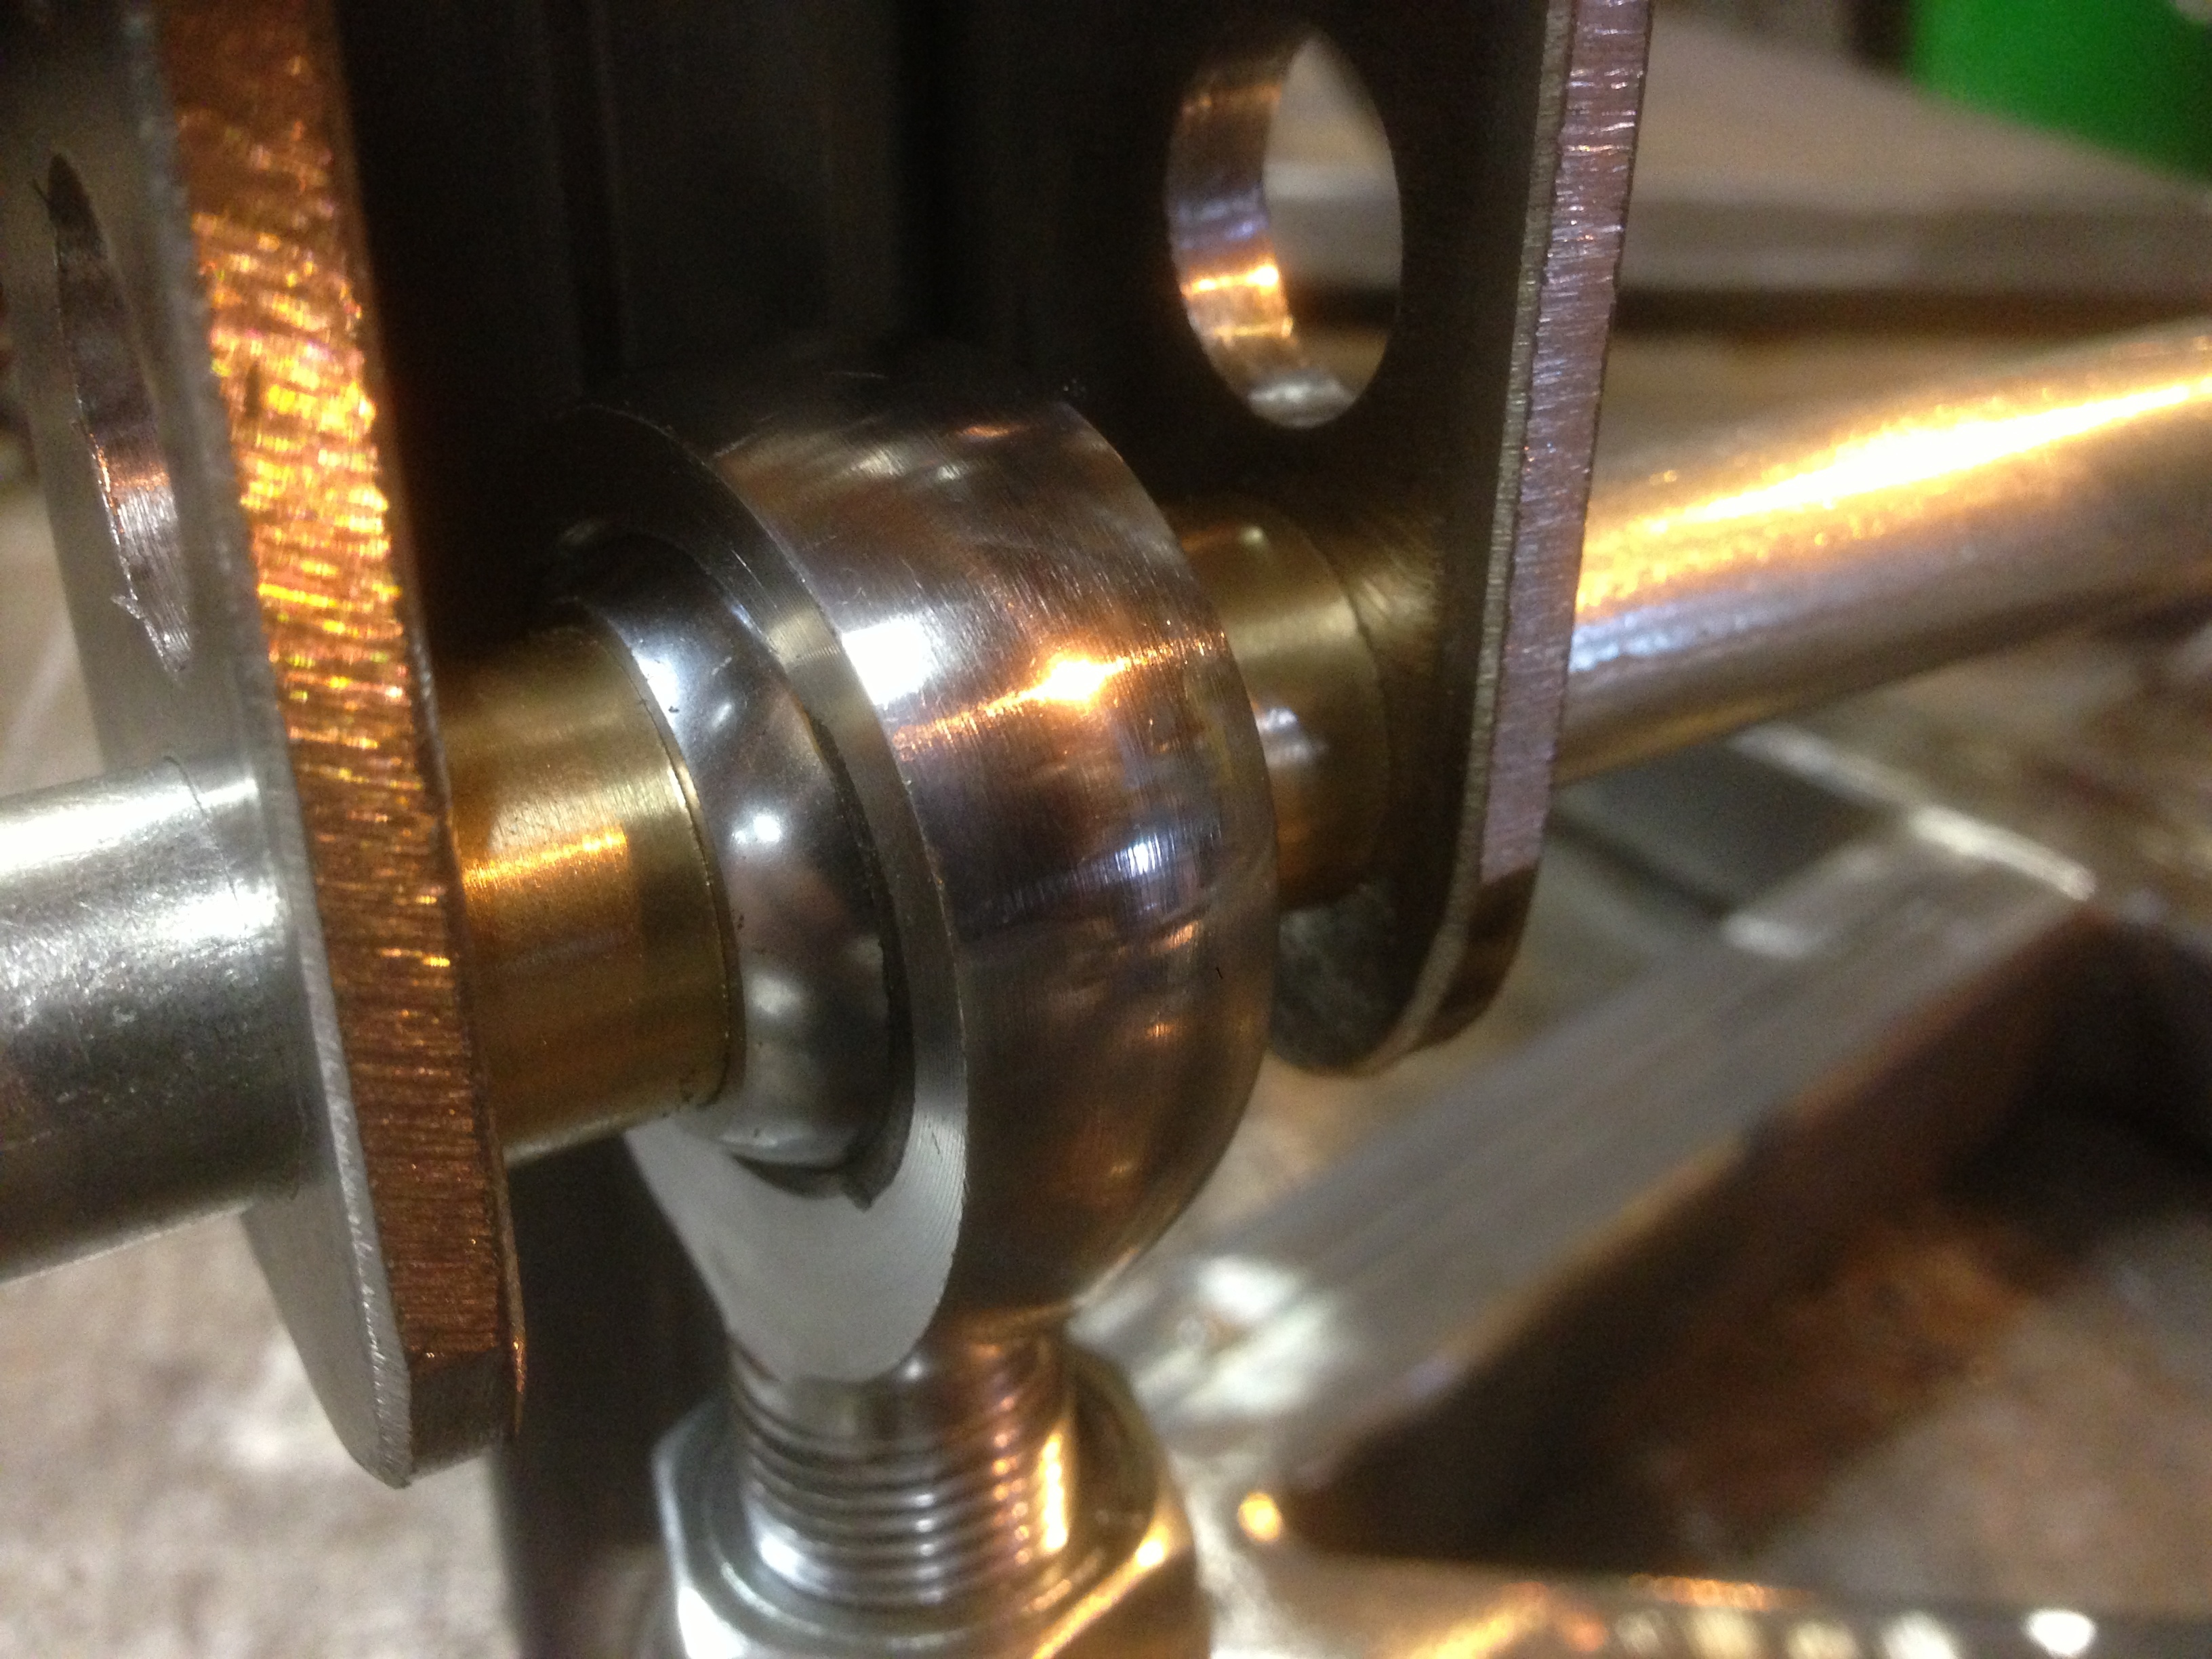
Turned up some brass spacers for the rose joints:
The cradle has had to come back off and be re-worked slightly. The way it mounted wouldn't allow me to run the car as low as I'd have liked (I was hoping for around 50mm ground clearance in track trim), so the mounts were chopped off and rejigged! I've also had to notch the chassis rails to give more room for the drive shafts when the body is dropped - no big deal really, as the strength will now be in the cage, rather than the monocoque.
How it mounted previously:
And here's what's changed:
Then went on to make the wishbone mounts. I made these adjustable to suit the different ride heights:
Turned up some brass spacers for the rose joints:
Thread Starter
Regular Contributor
Joined: Mar 2012
Posts: 241
Likes: 0
From: Doncaster
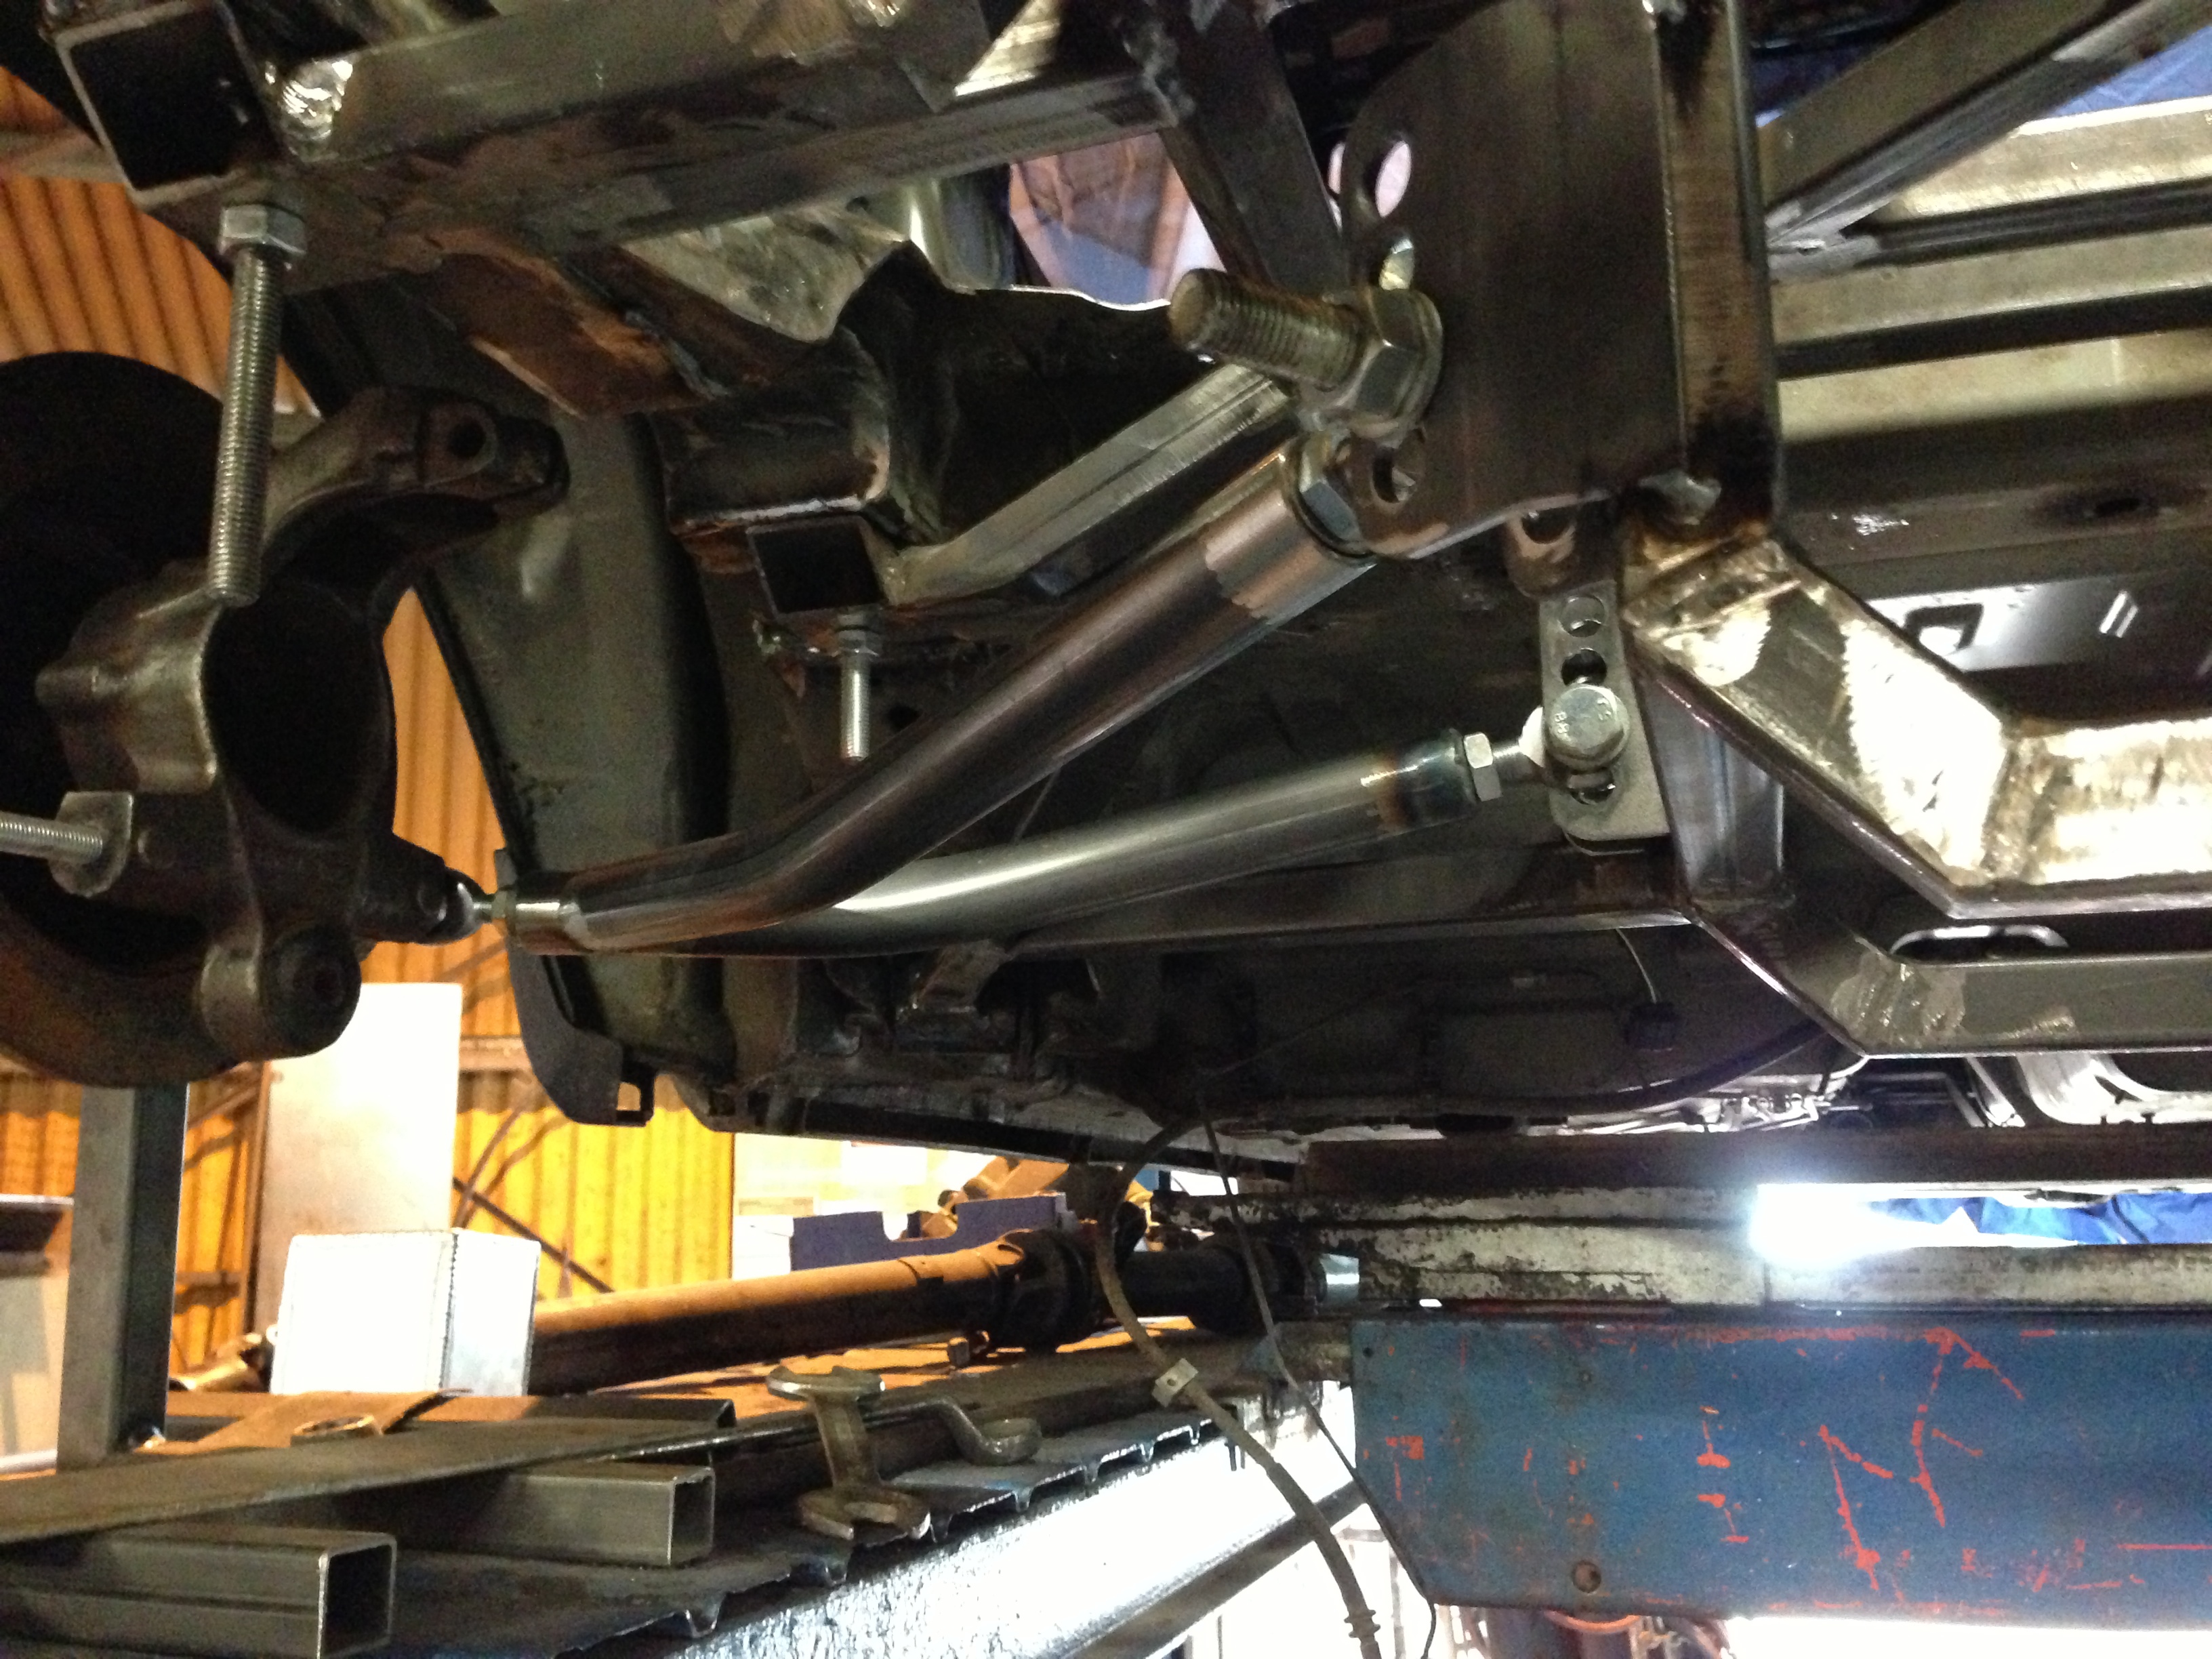
Then on to the wishbones. Got one side complete today, will try and crack the other tomorrow:
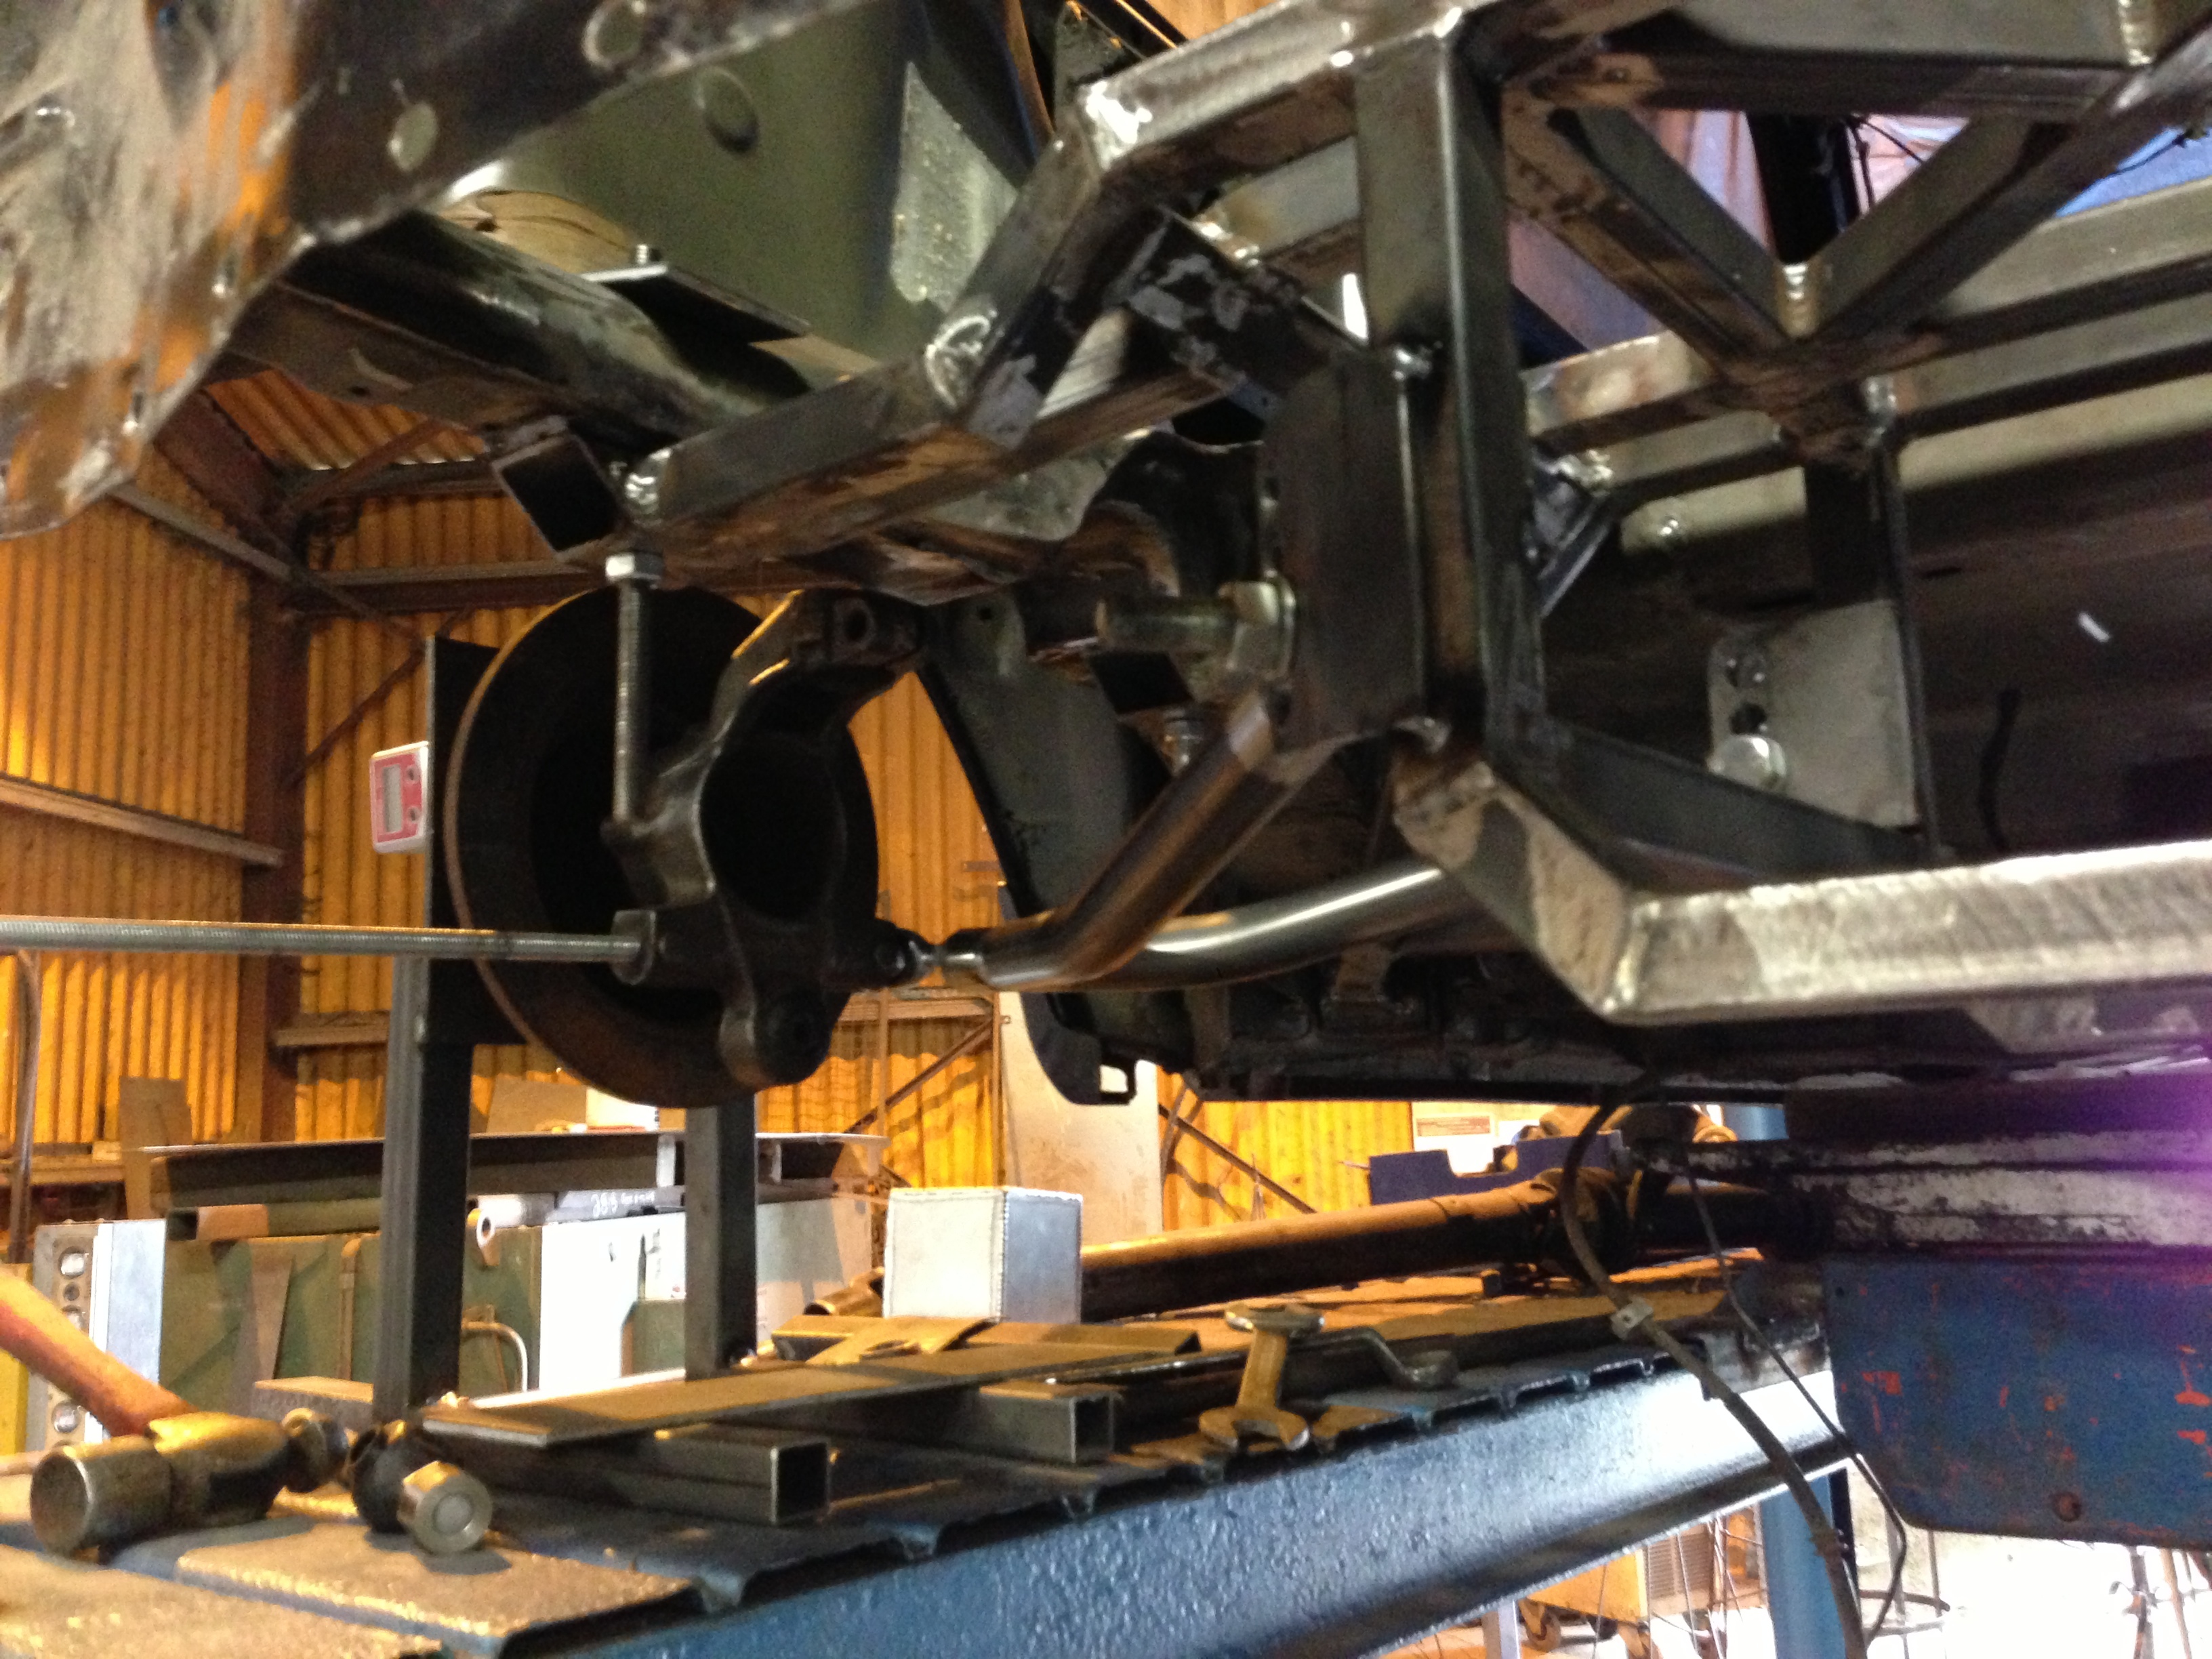
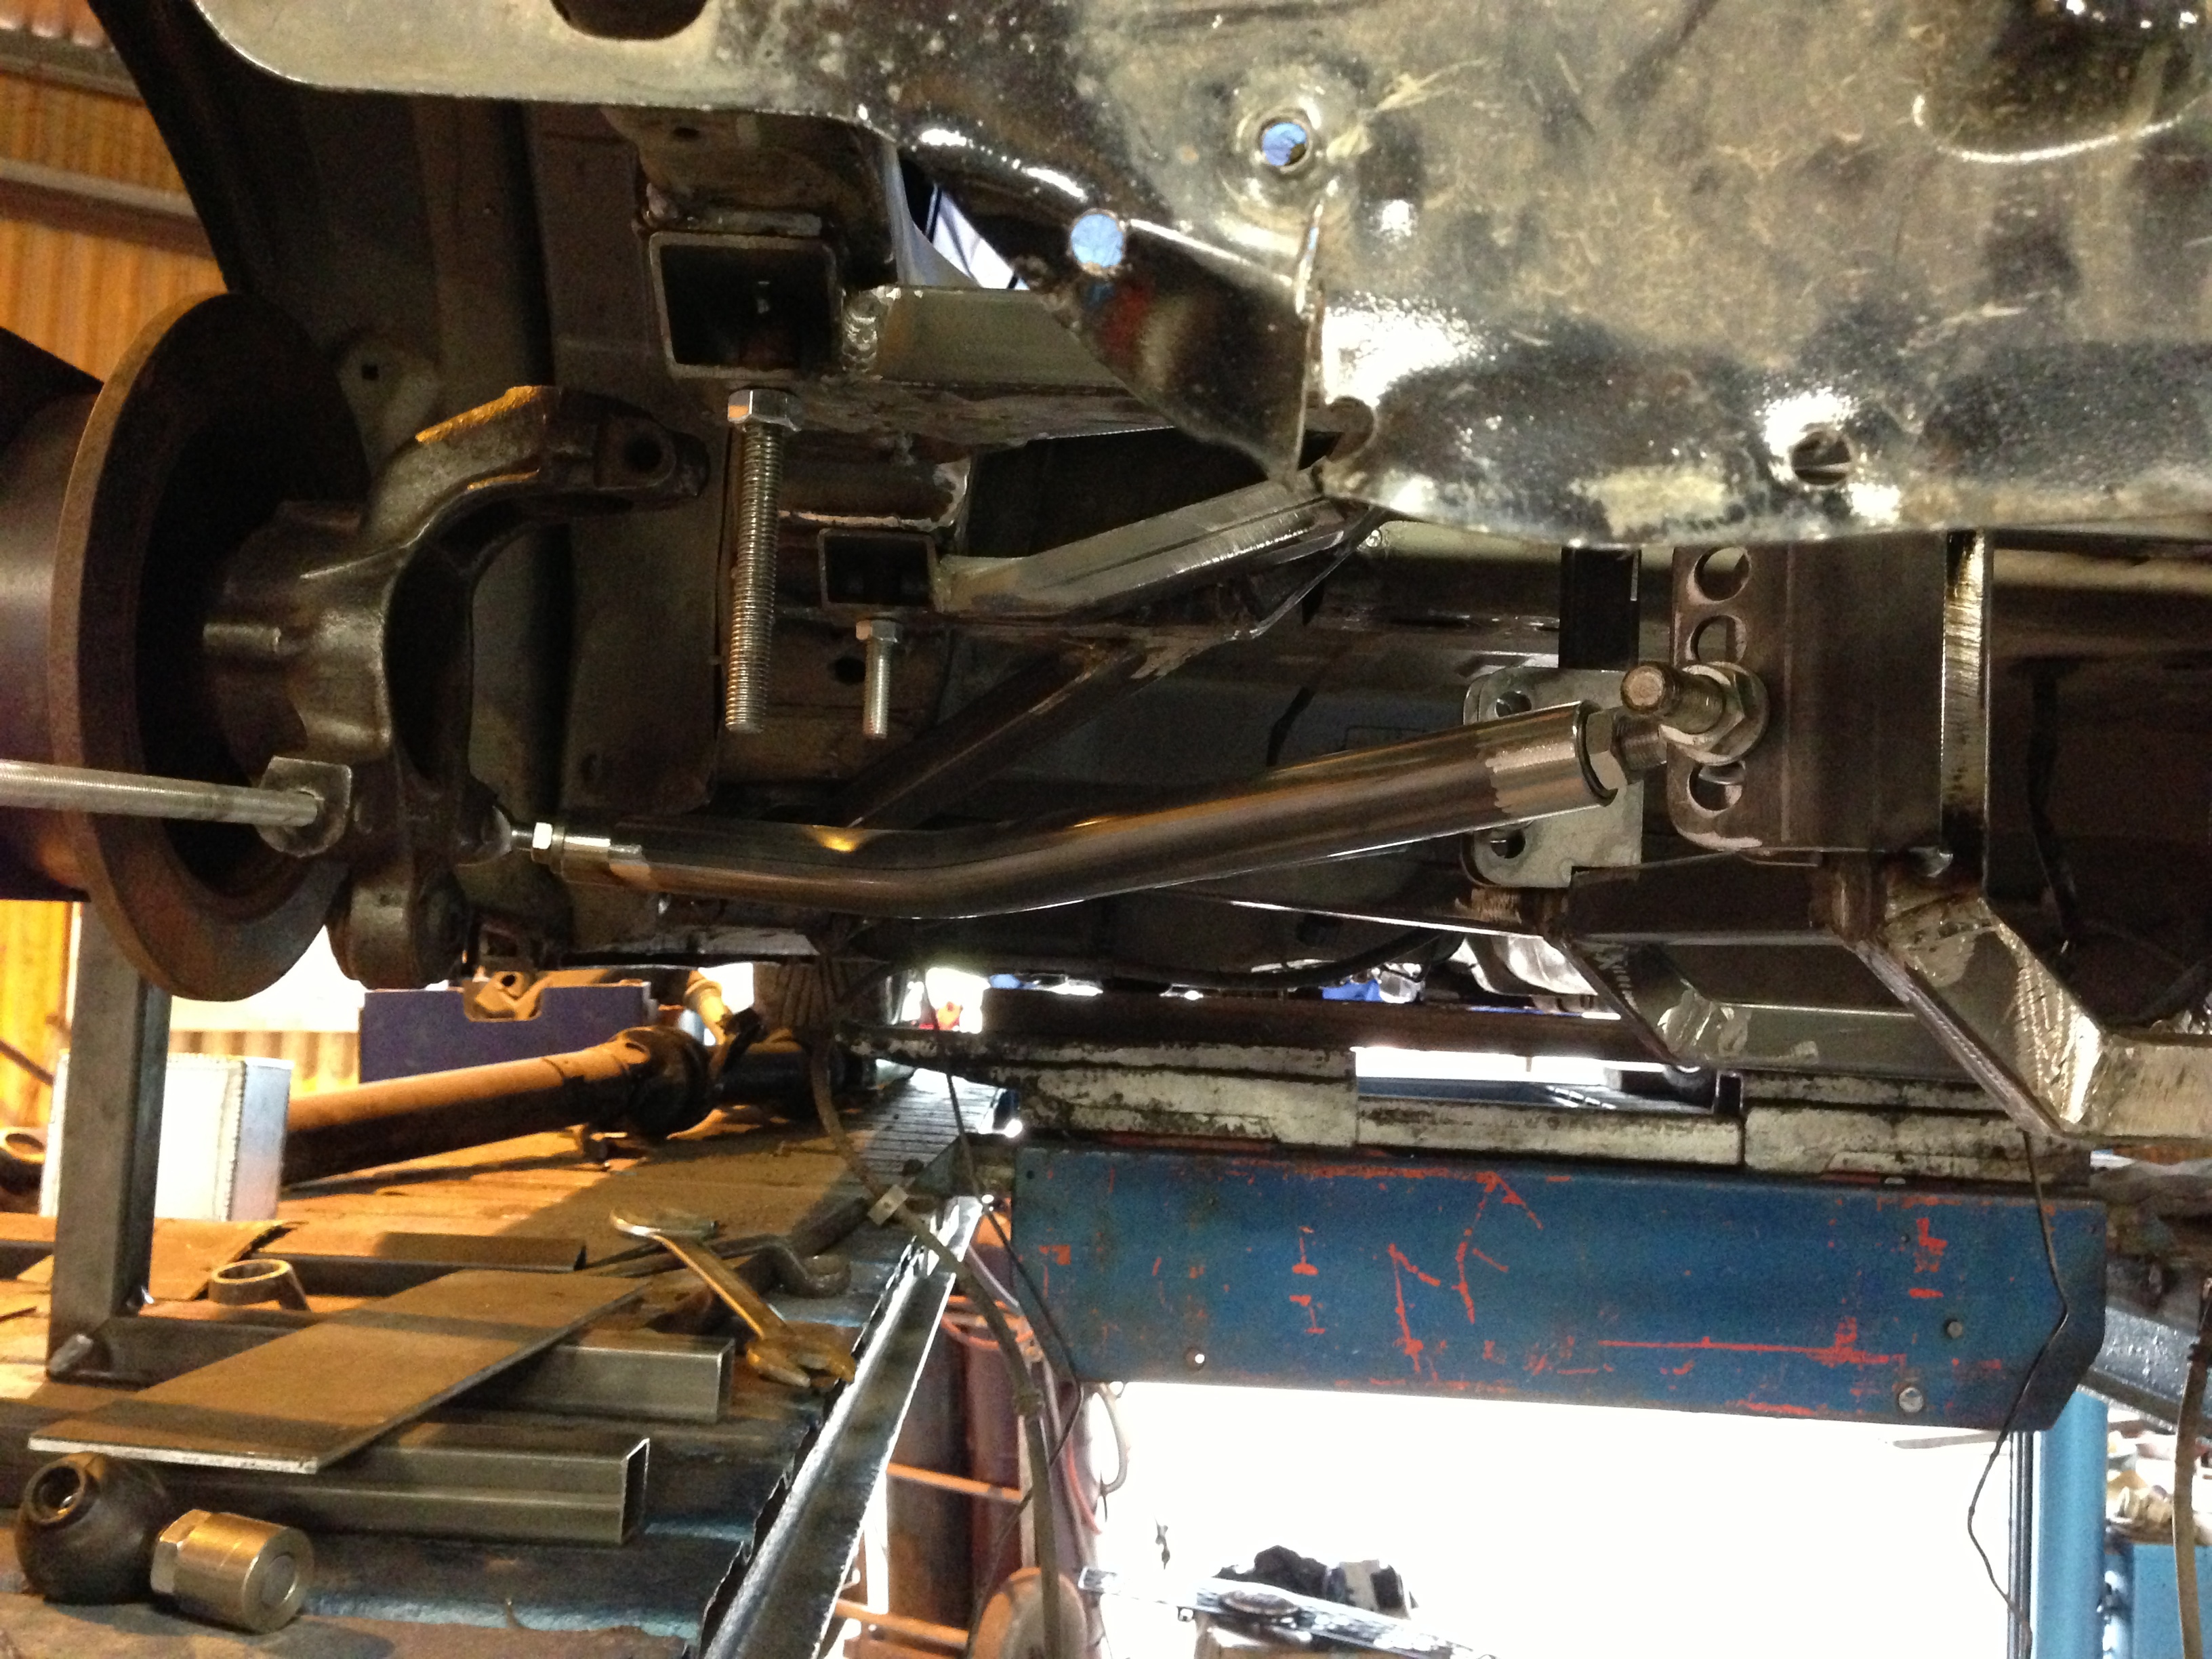
Back on the bench for the track rod mounts:
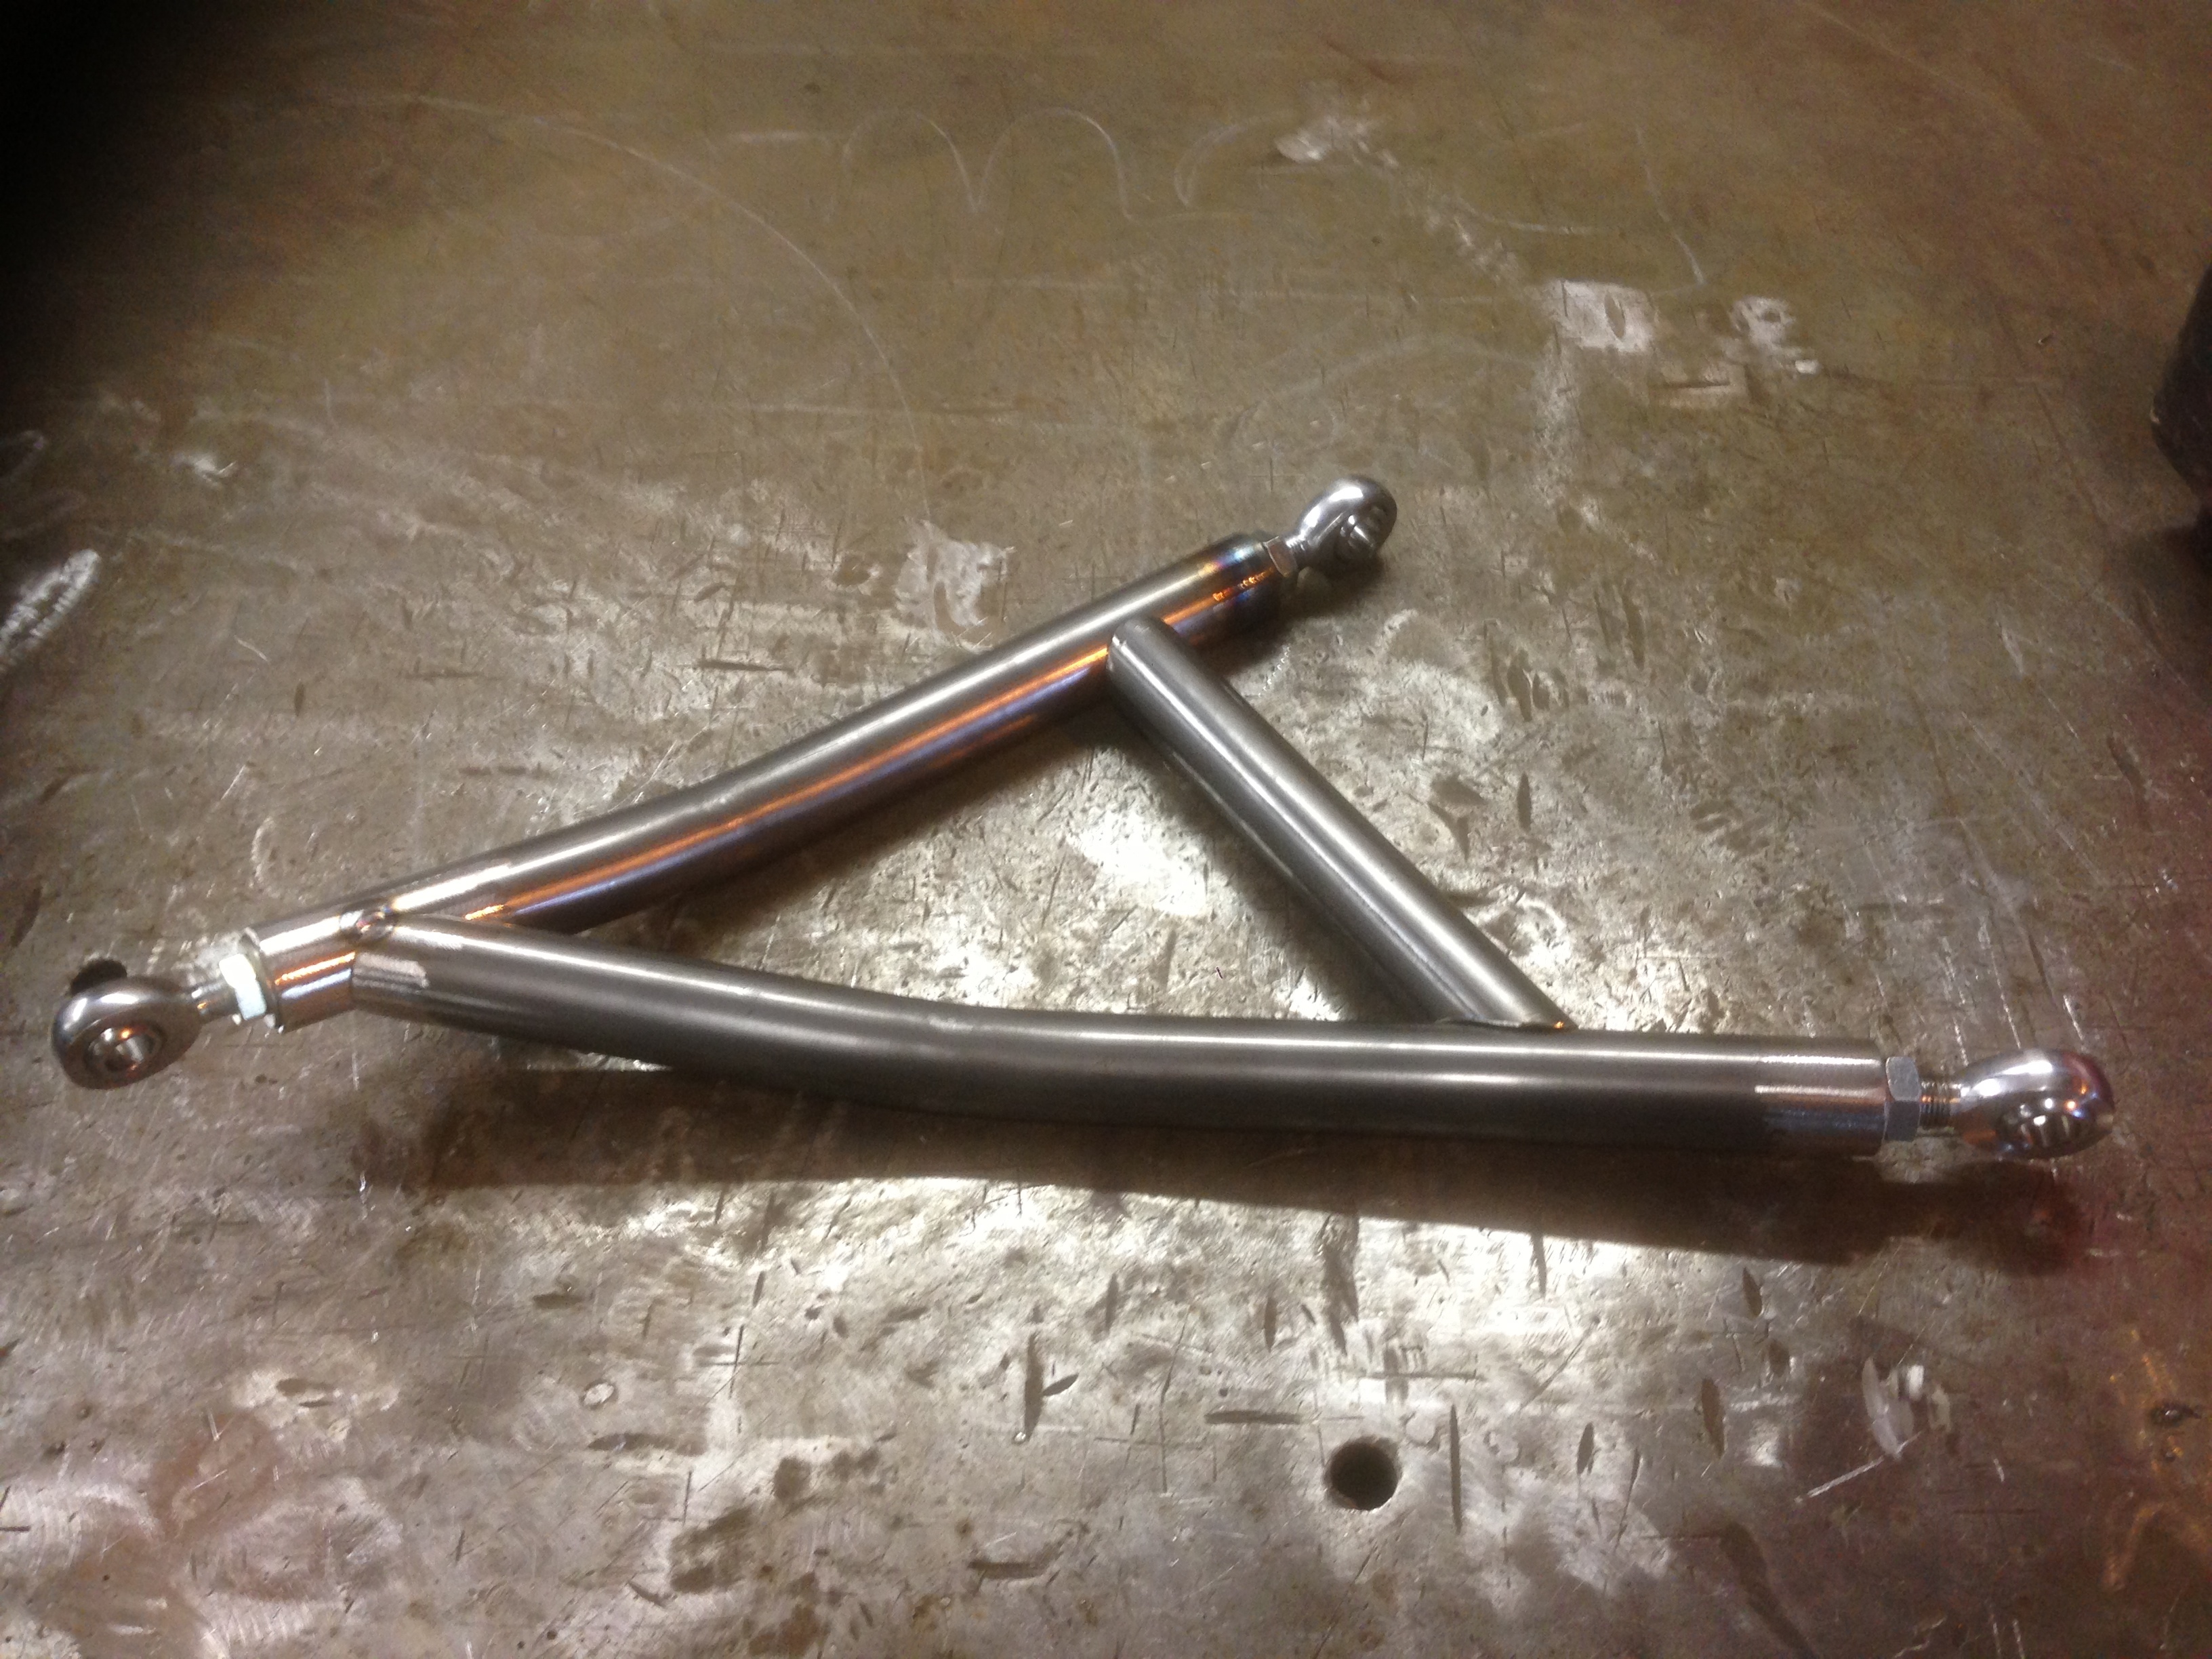
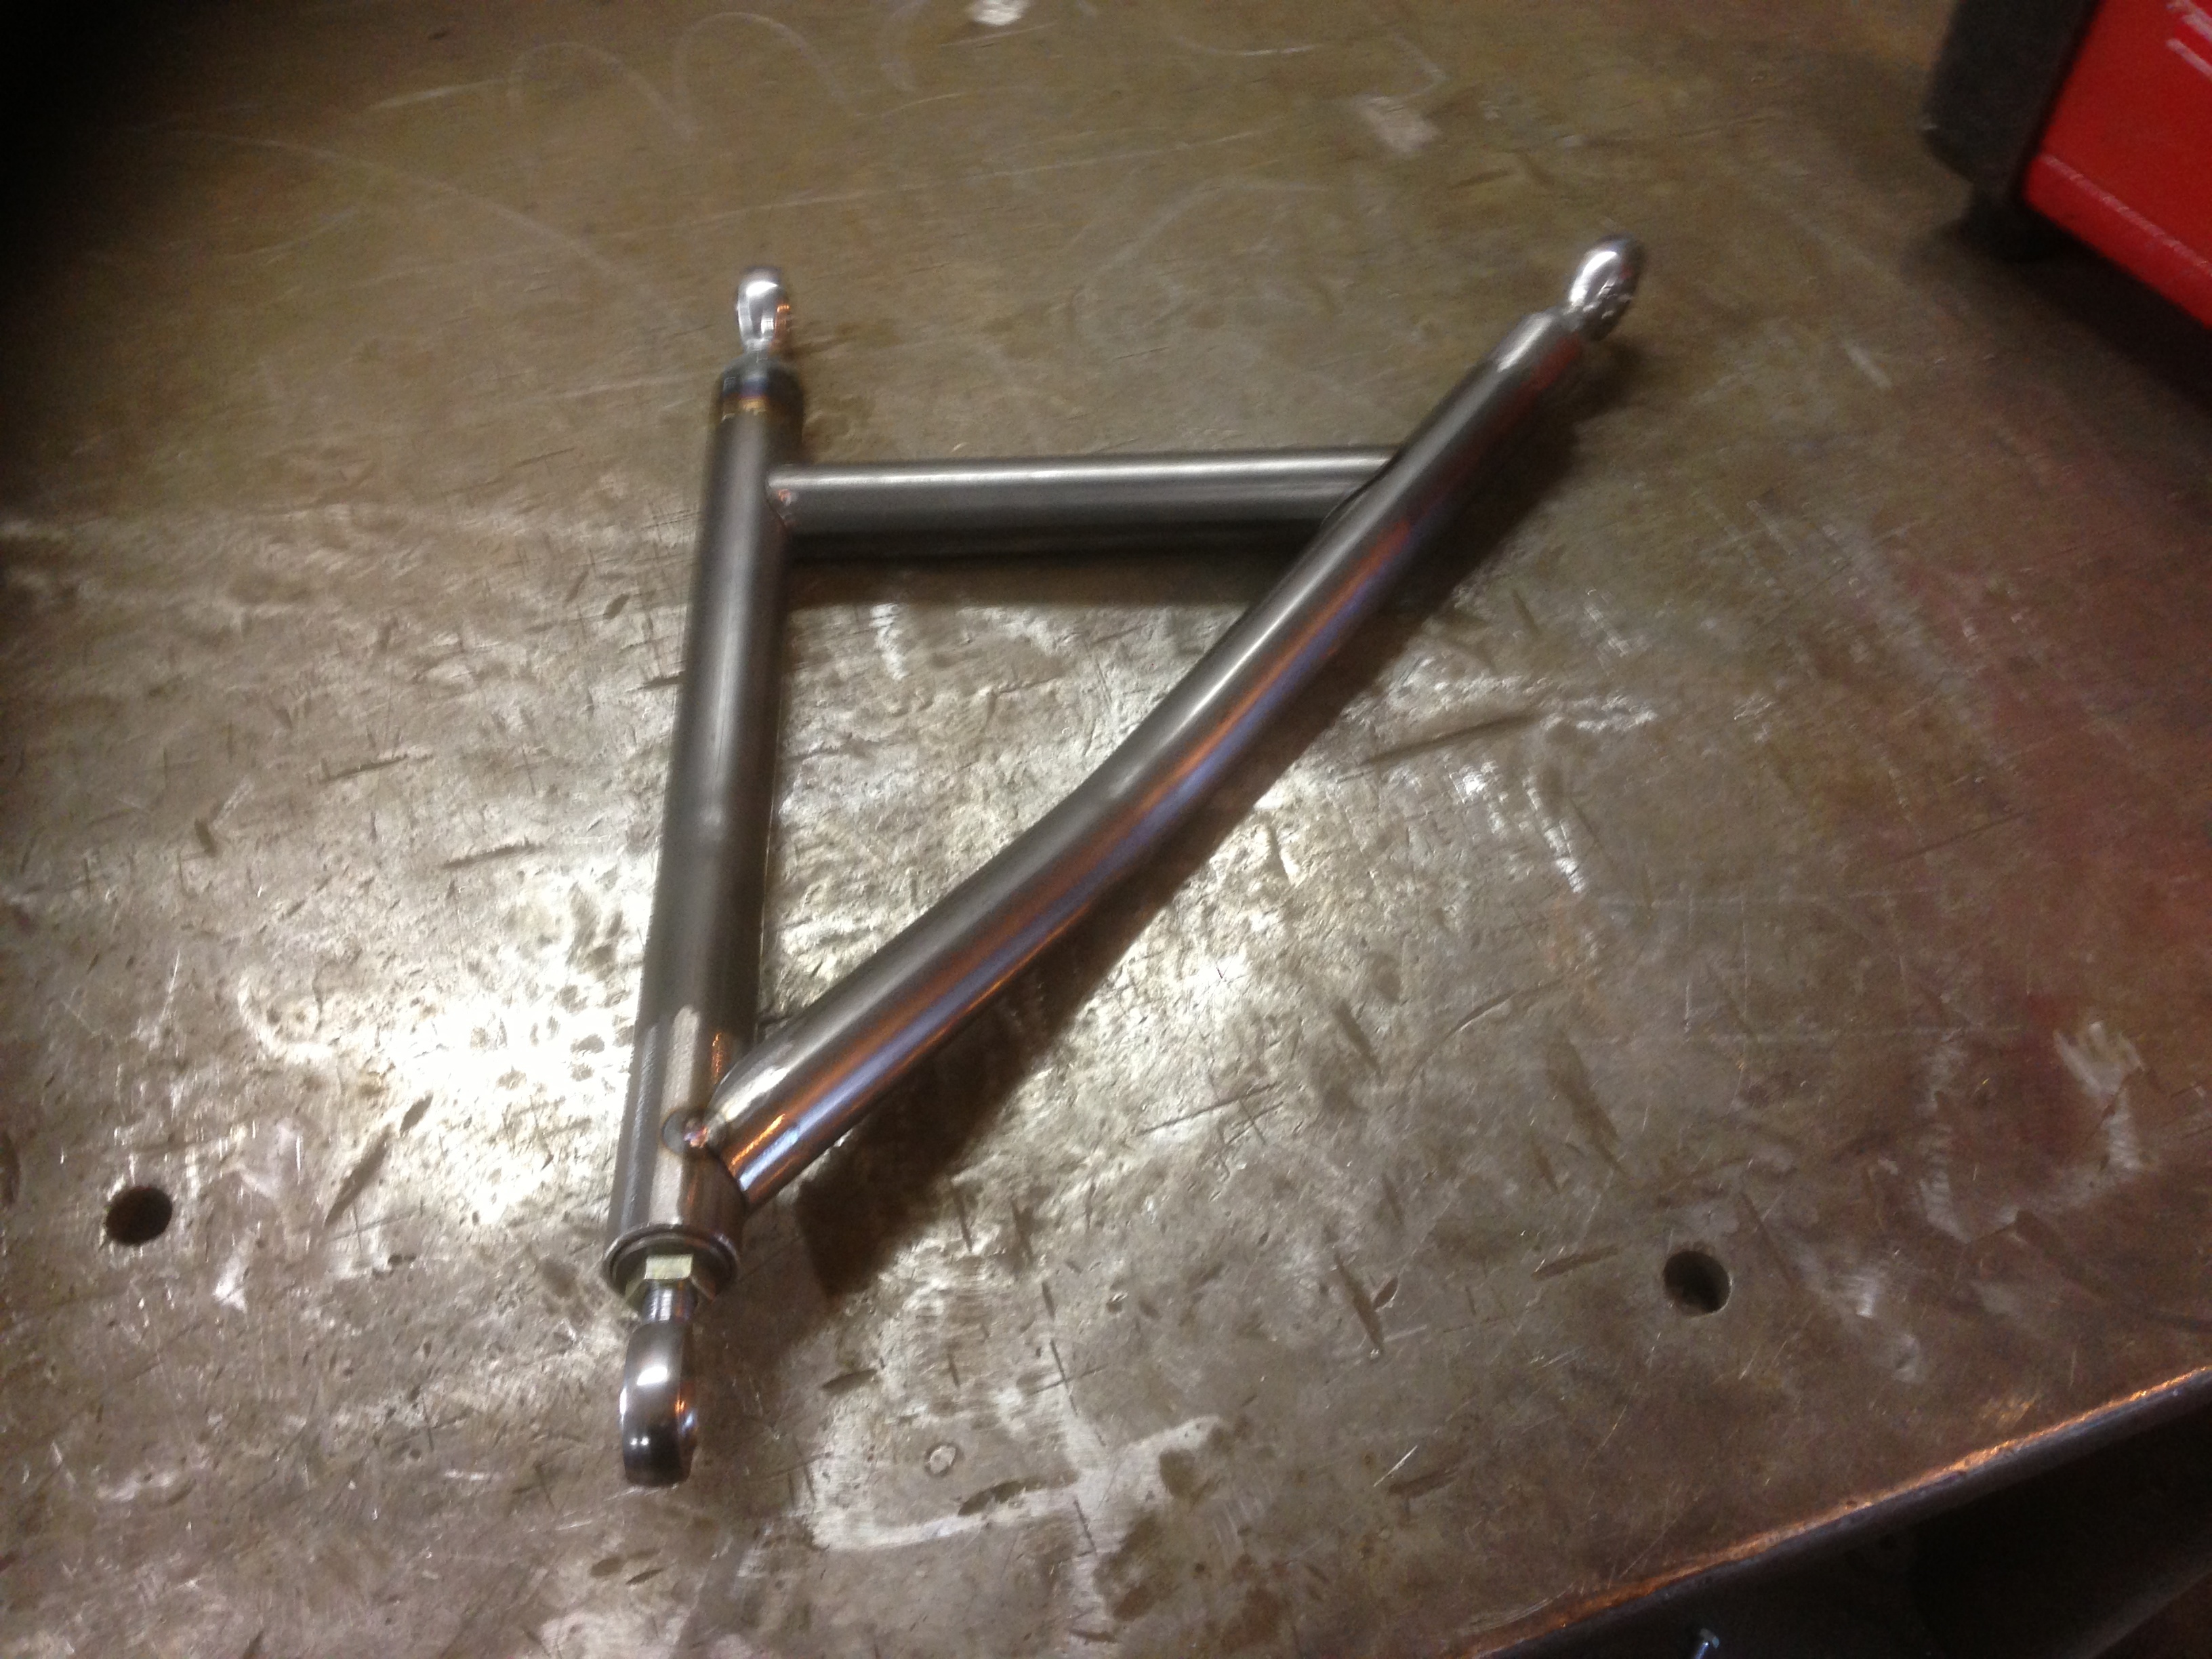
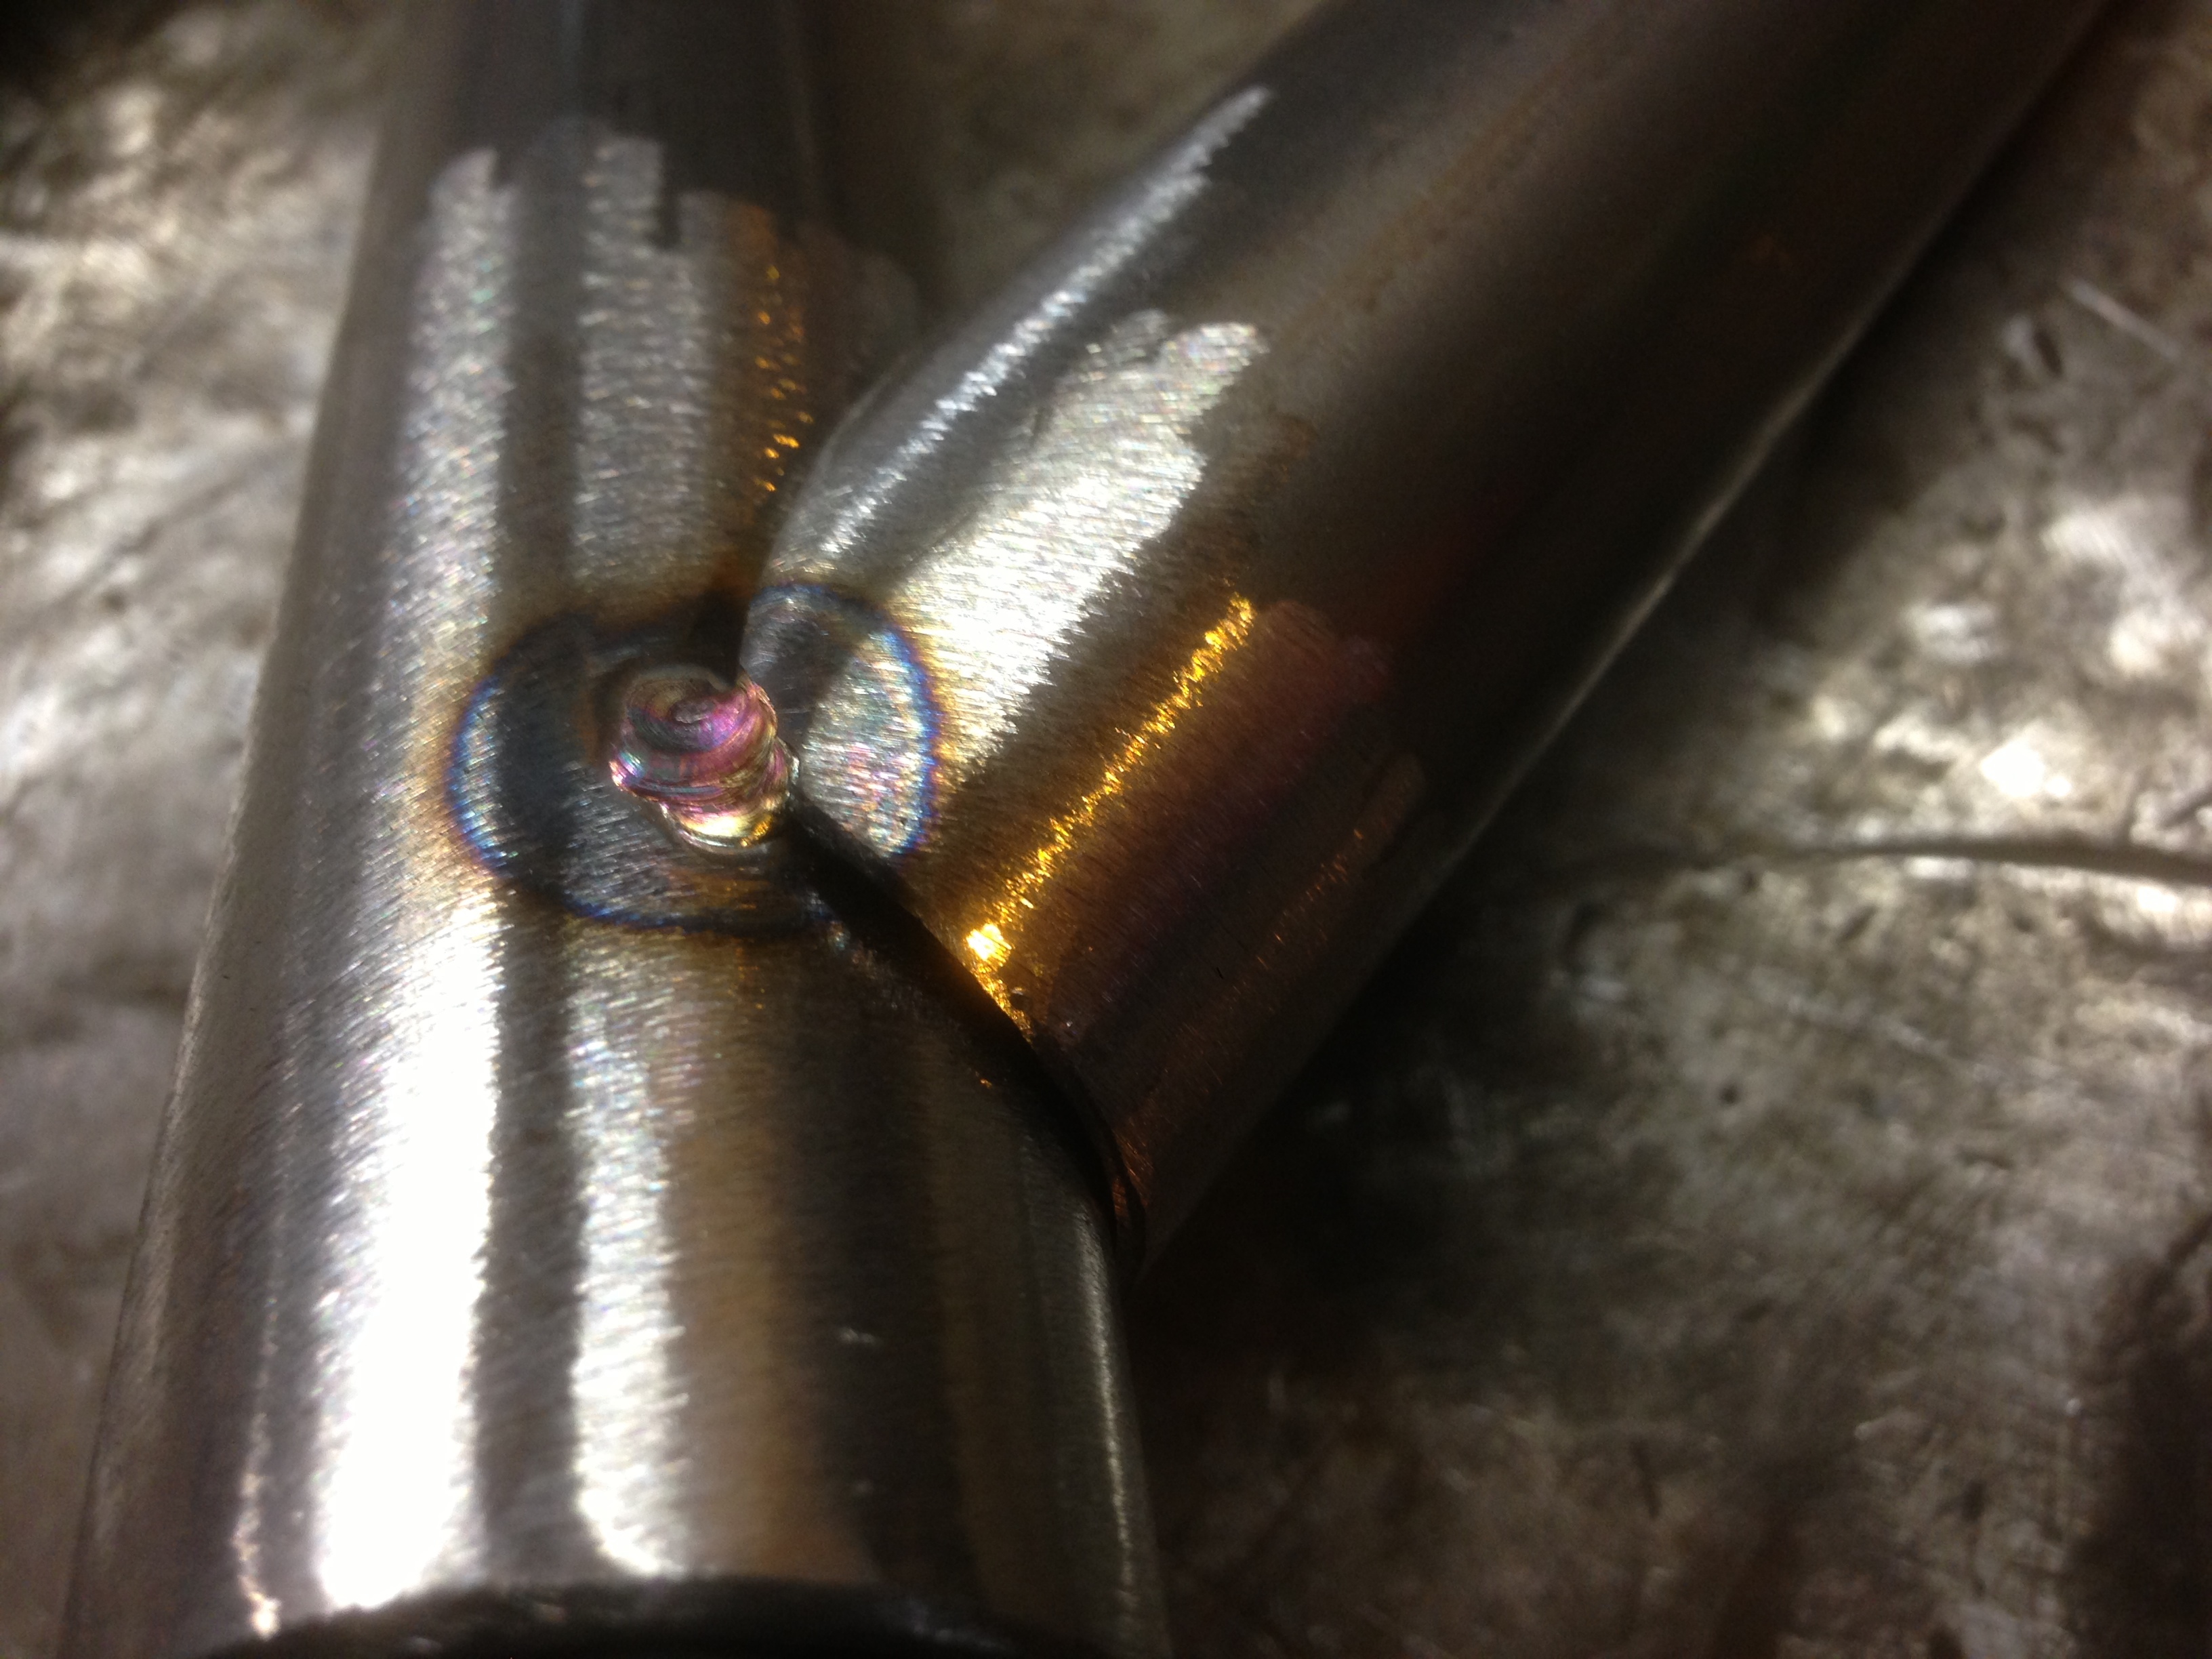
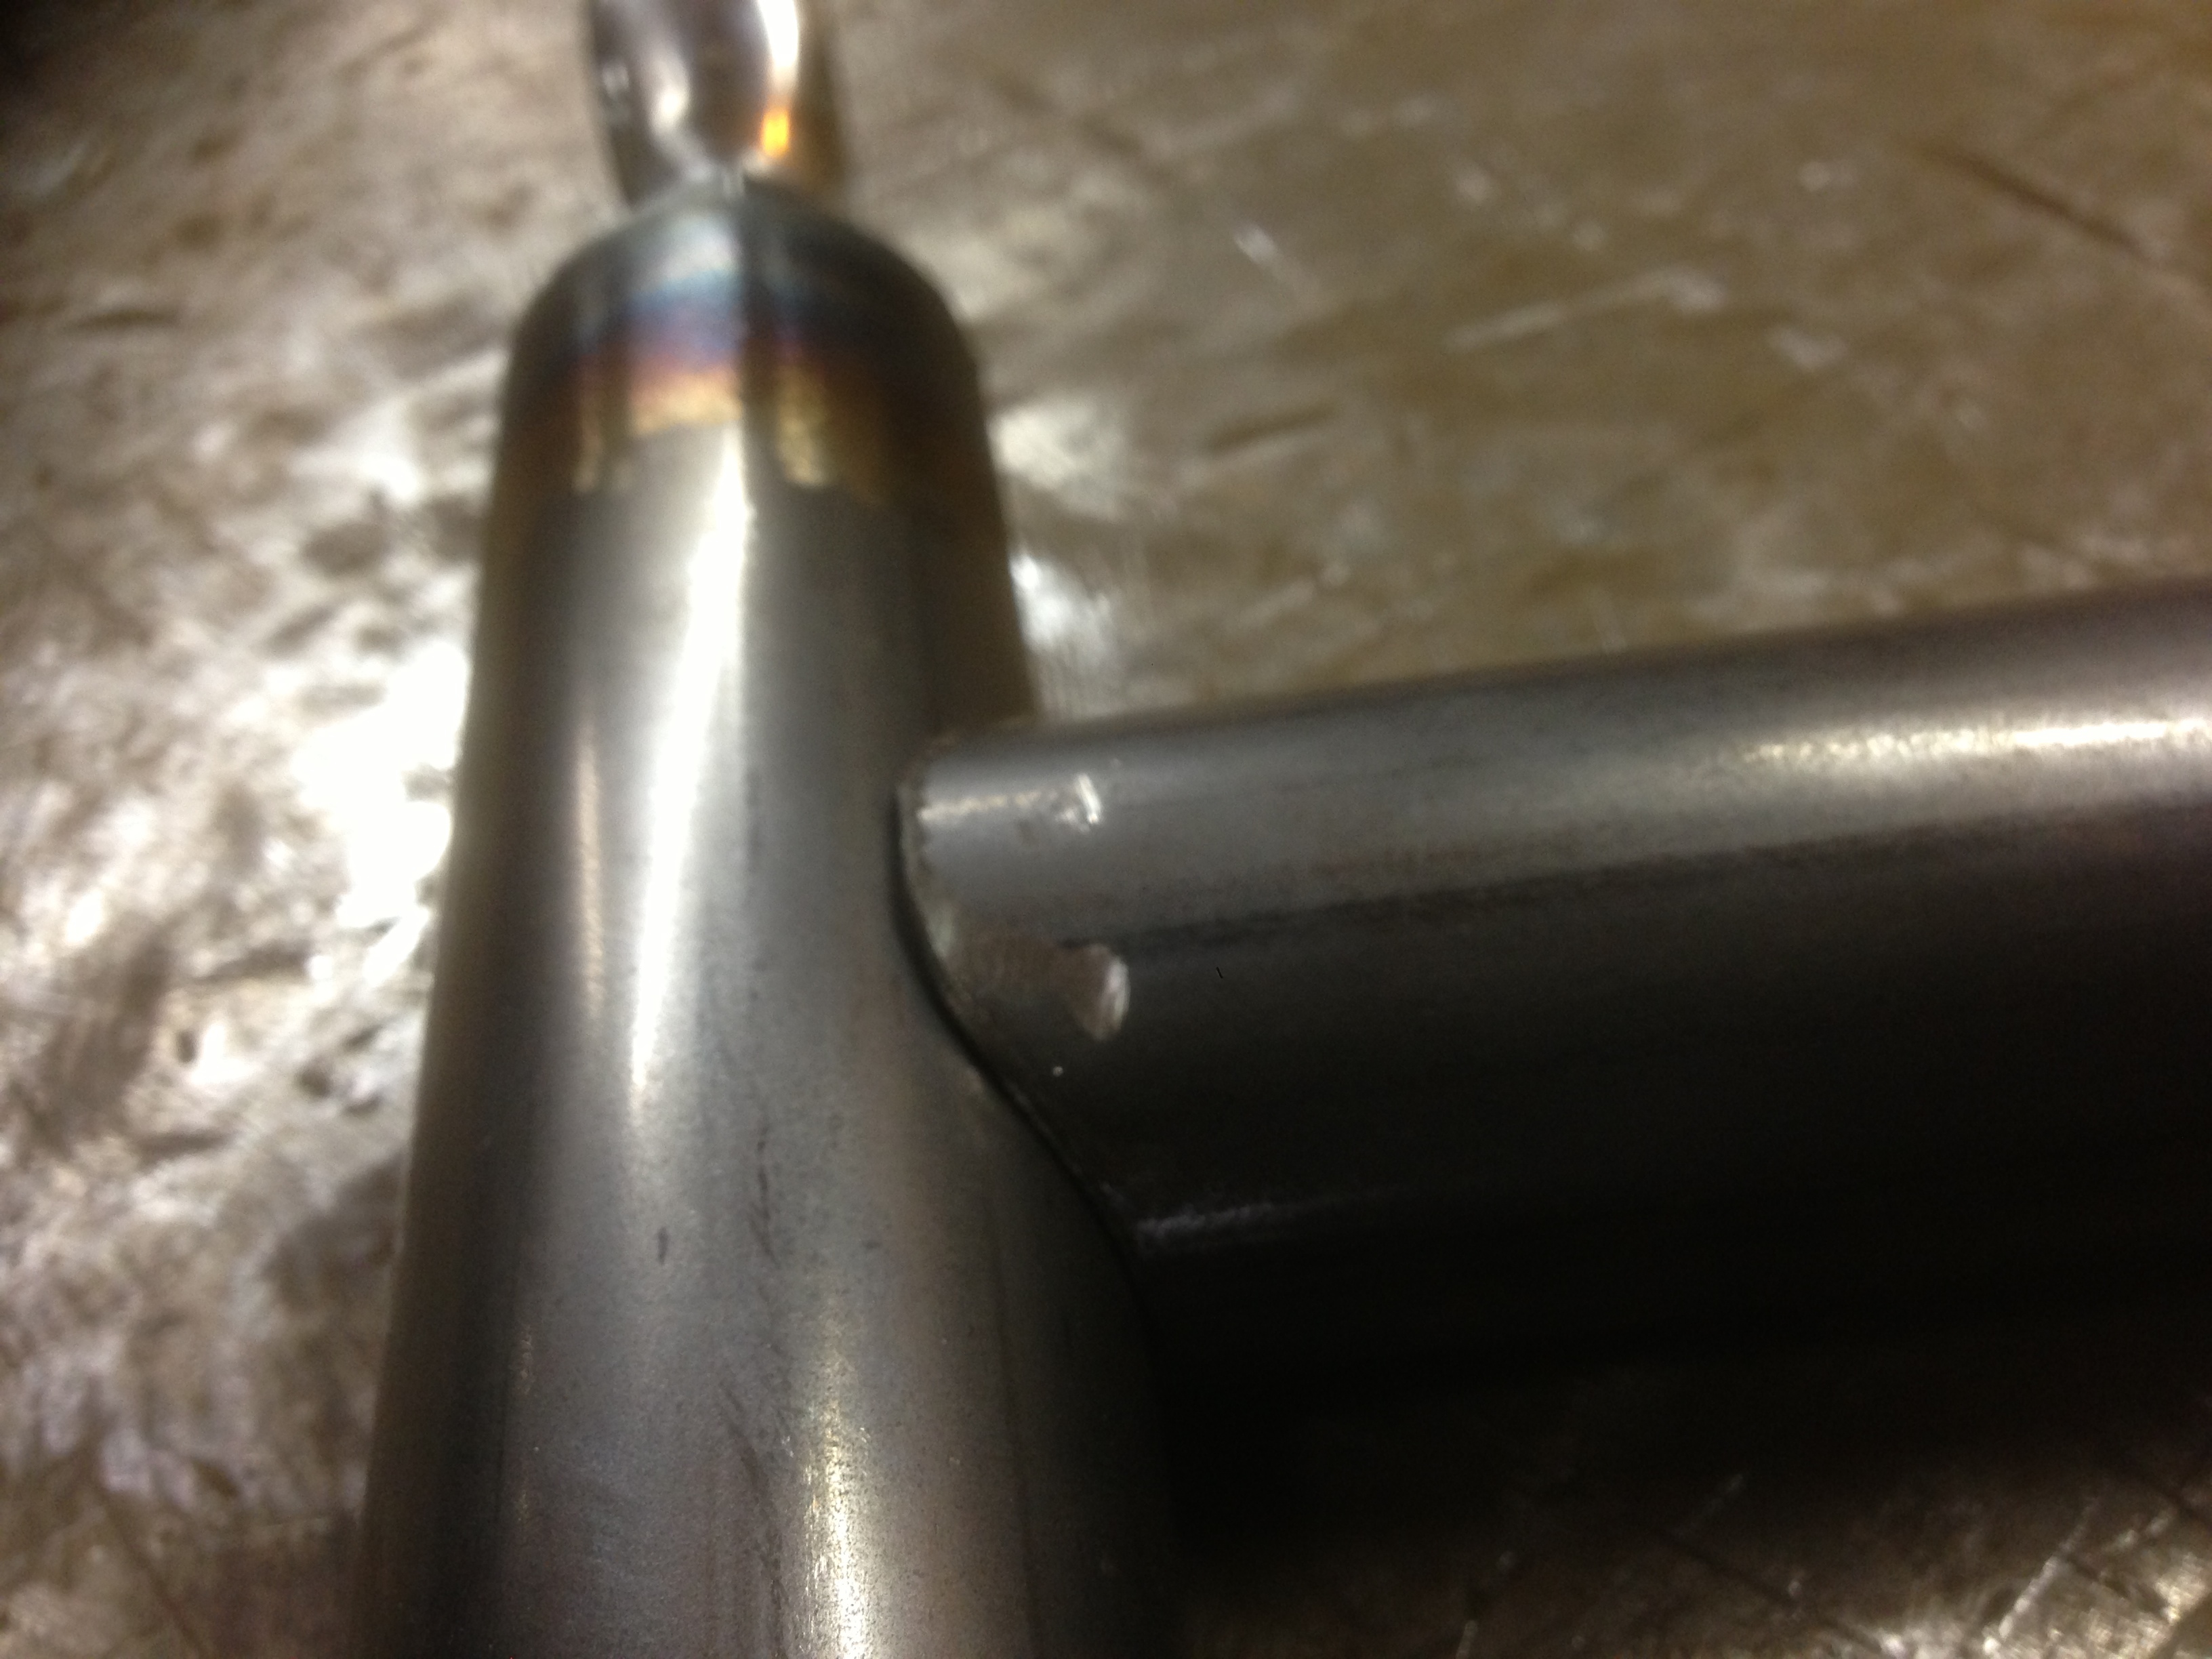
Couple of close ups of the preps. All done by hand. Have to be really tight as these will be TIG welded.
Back on the bench for the track rod mounts:
Couple of close ups of the preps. All done by hand. Have to be really tight as these will be TIG welded.