Zetec s road rally car
 28-06-2012, 04:55 PM
#1
Wahay!! I've lost my Virginity!!
Thread Starter

Join Date: Sep 2010
Location: Devon
Posts: 72
Likes: 0
Received 0 Likes
on
0 Posts
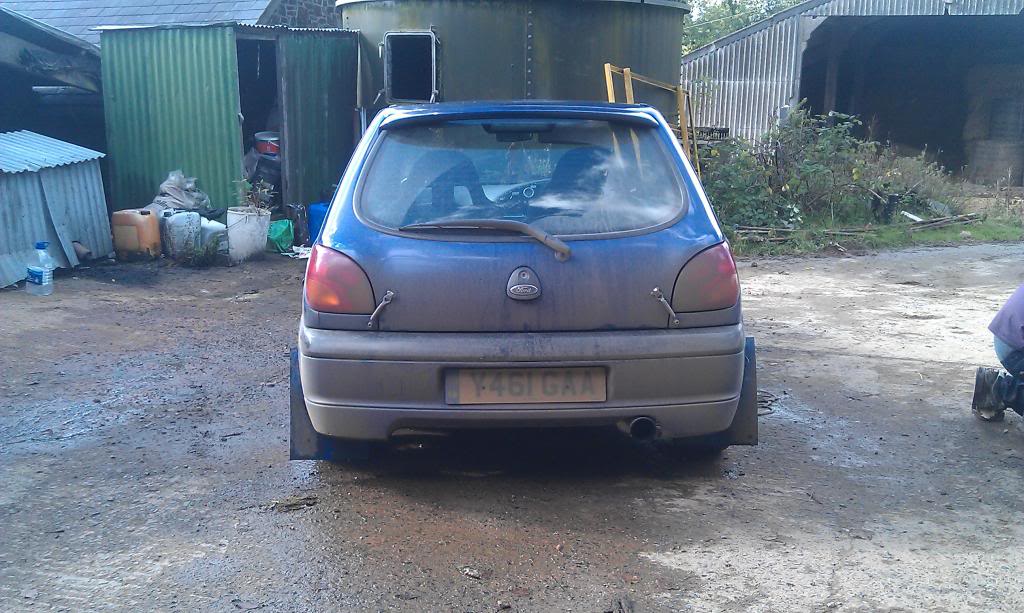
iV had my fiesta for 3 years now and decided a coupe of months ago to start doing road 12 car navigation rally's and road rally's. So iv been preping the fiesta recently for them and done my first one 2 weeks ago which was lots of fun. thought i would post some pictures up of my progress so far.
Evently i am going to use it in the BTRDA forest rally championship but thats going to take alot of prep so sticking with road rally's for now.
well first of all i sorted the car with a cold air feed in the front grill using a carb trumpet and some tubing going into the bottom of the airbox.
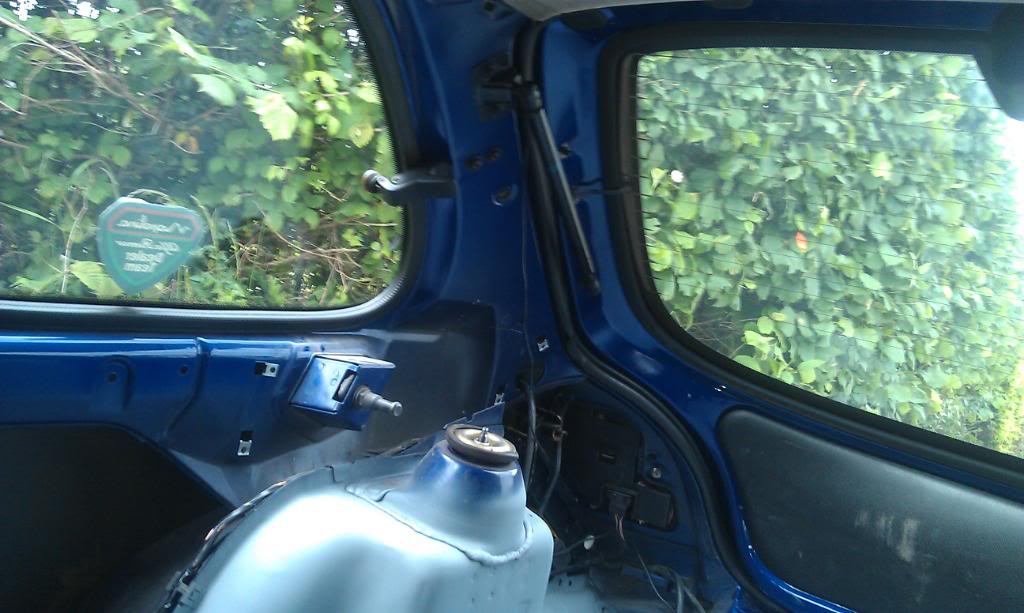
Then i striped the back seats out and got rid of all the sound proofing in the back and up the front along with the sound proofing mat between the carpet and the floor. i then primed it and now just need to paint it.
then got hold of some 2nd had cobra monacos and some 3 point road harnesses. i used mk5 escort sparco subframes to fit them into the car.
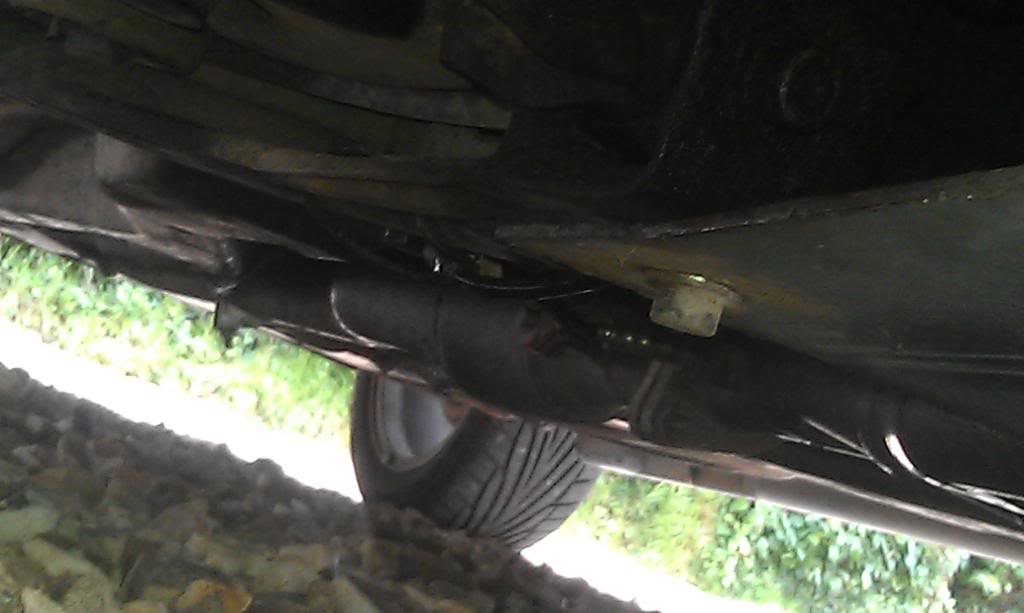
Next on the list was a sumpe guard. i got some a 4mm thick sheet of ally that used to be a sign of my mate who works at a sign shop. It wasnt stolen.lol
cut that to shape and mounted it in 6 places.

Evently i am going to use it in the BTRDA forest rally championship but thats going to take alot of prep so sticking with road rally's for now.
well first of all i sorted the car with a cold air feed in the front grill using a carb trumpet and some tubing going into the bottom of the airbox.
Then i striped the back seats out and got rid of all the sound proofing in the back and up the front along with the sound proofing mat between the carpet and the floor. i then primed it and now just need to paint it.
then got hold of some 2nd had cobra monacos and some 3 point road harnesses. i used mk5 escort sparco subframes to fit them into the car.
Next on the list was a sumpe guard. i got some a 4mm thick sheet of ally that used to be a sign of my mate who works at a sign shop. It wasnt stolen.lol
cut that to shape and mounted it in 6 places.
 28-06-2012, 05:01 PM
#2
Wahay!! I've lost my Virginity!!
Thread Starter
Join Date: Sep 2010
Location: Devon
Posts: 72
Likes: 0
Received 0 Likes
on
0 Posts
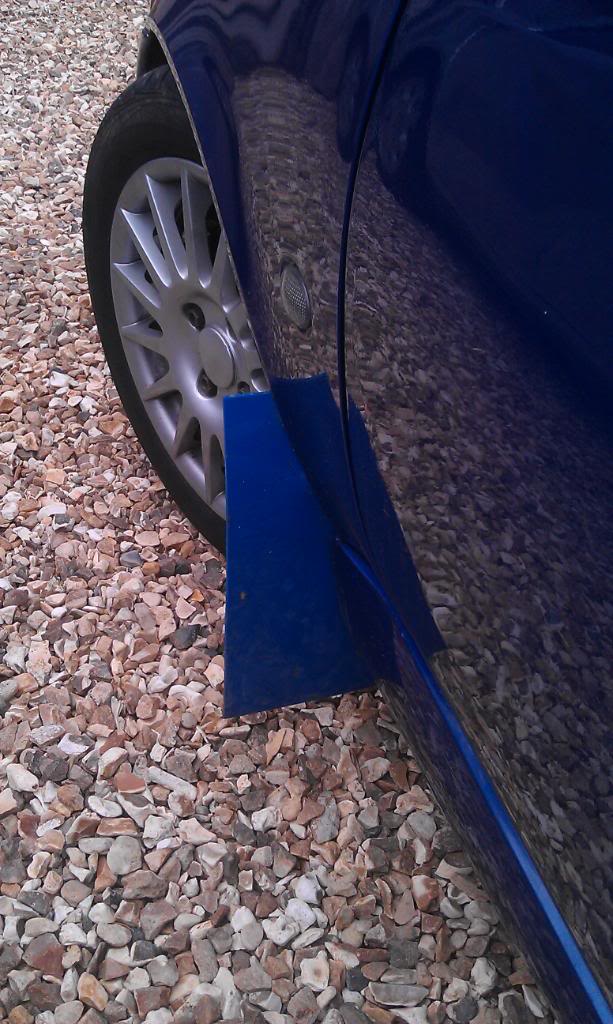
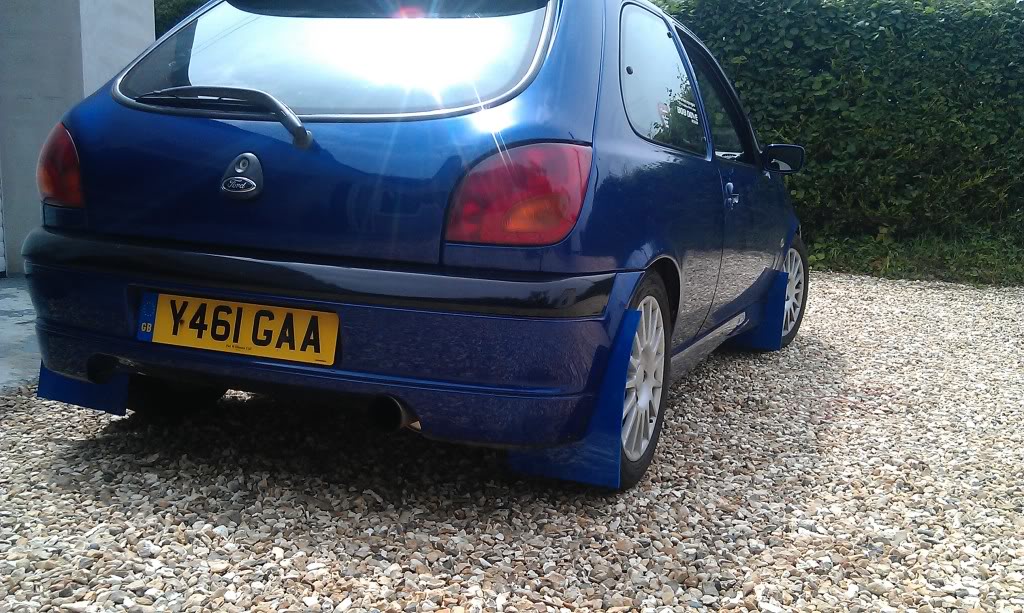
The got some 4mm MSA aproved mudflaps and wacked them straight on.
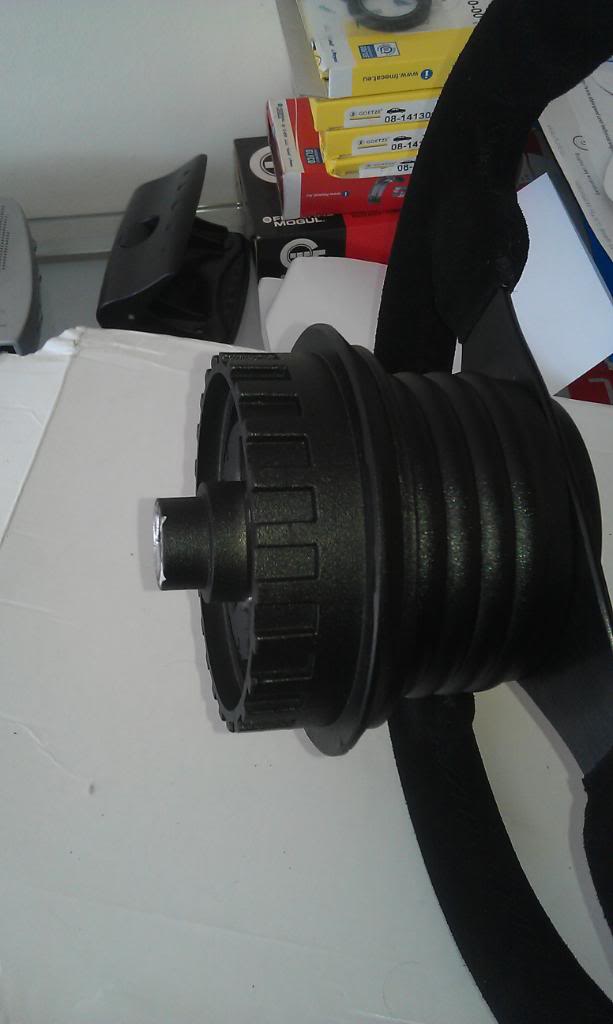
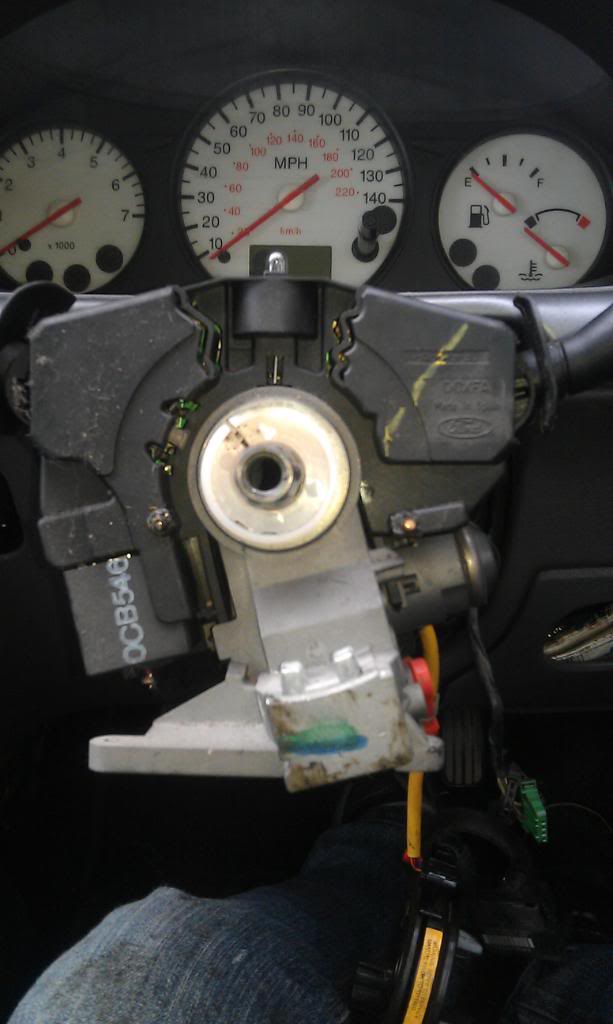
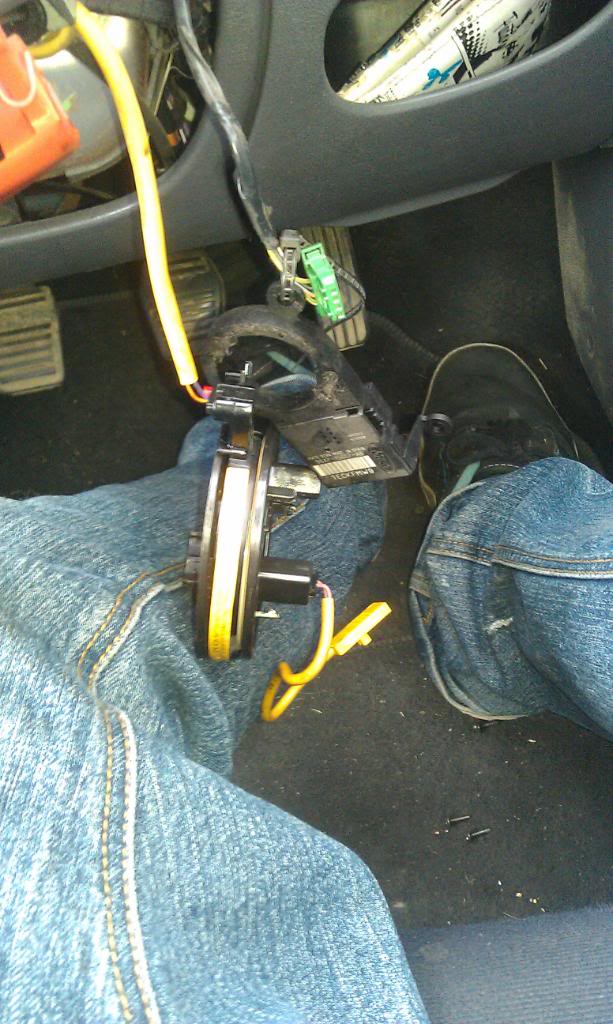
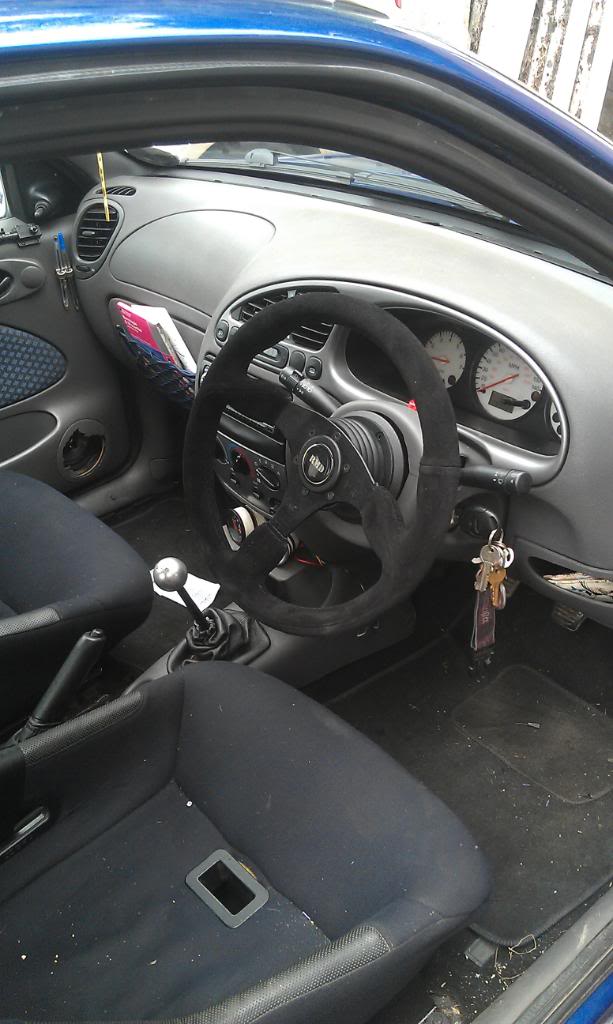
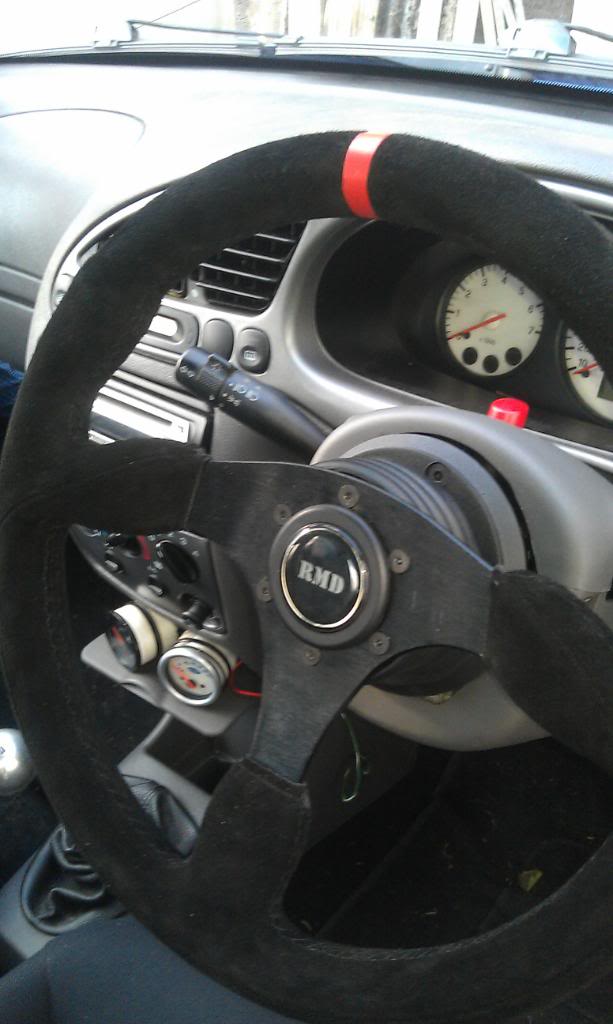
next up was a RMD steering wheel and boss
also got ride of the rear seatbelts and just anything that wasnt needed that was extra weight
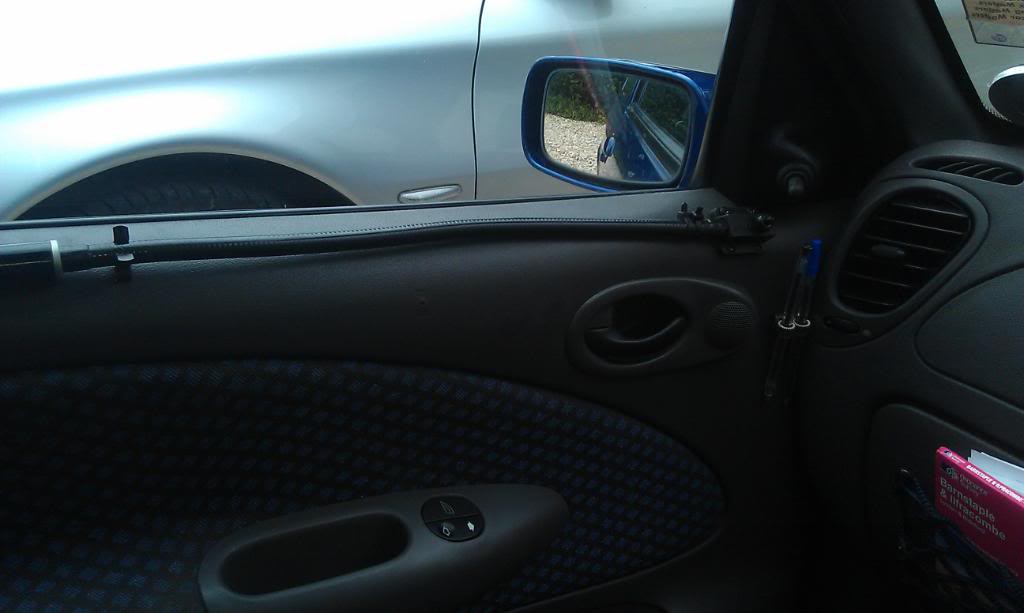
after that i fitted a navigation light and map holder for my navigater
next up was a RMD steering wheel and boss
also got ride of the rear seatbelts and just anything that wasnt needed that was extra weight
after that i fitted a navigation light and map holder for my navigater
28-06-2012, 05:05 PM
#3
Wahay!! I've lost my Virginity!!
Thread Starter
Join Date: Sep 2010
Location: Devon
Posts: 72
Likes: 0
Received 0 Likes
on
0 Posts
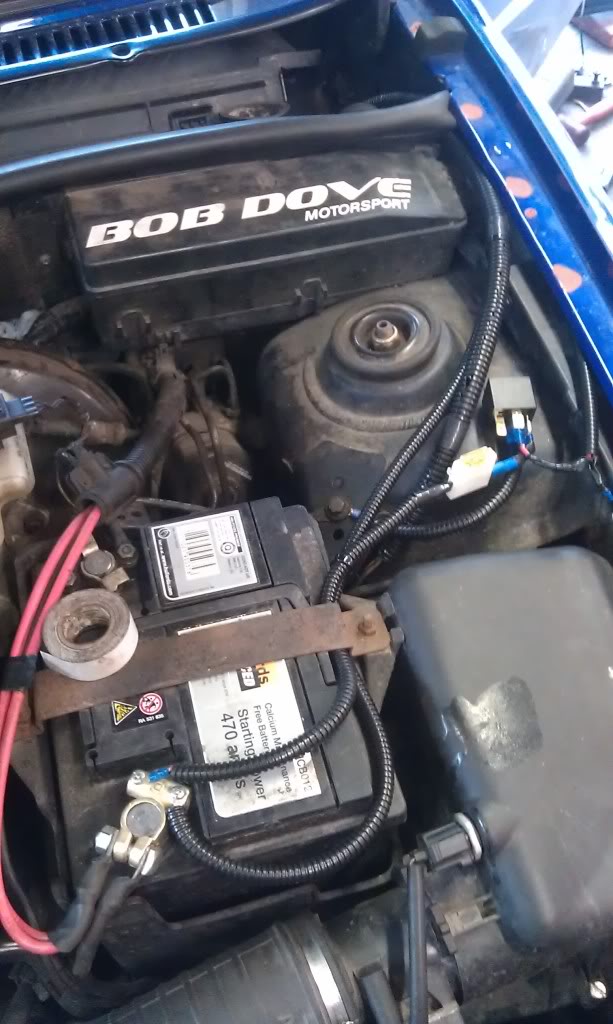
so now i am up to the point where iv got driving maps on the way to me so iv started the wiring.
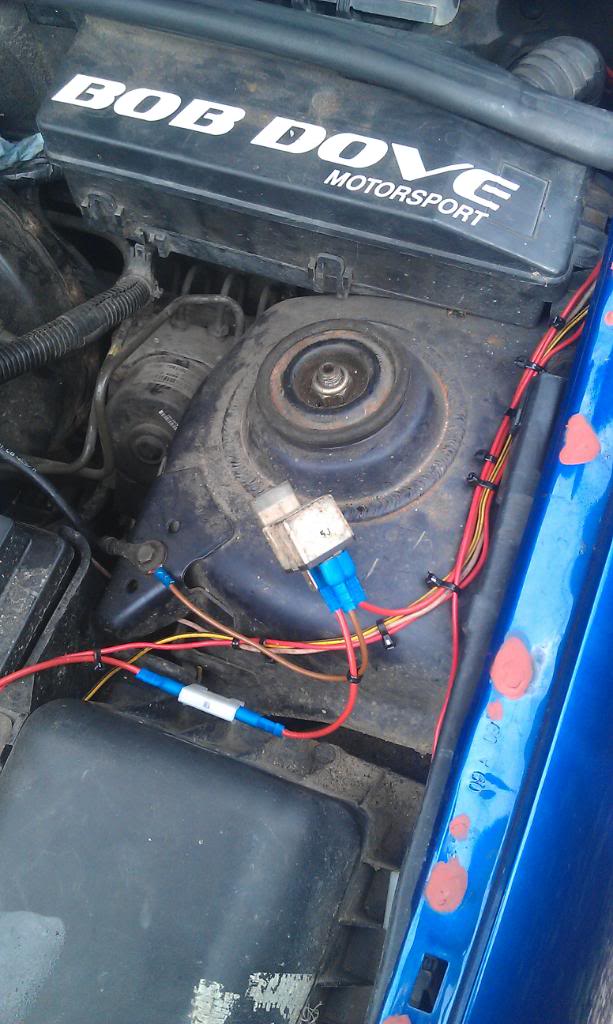
Got some plastic tubeing to protect the wiring and another relay that can be fixed down to somthing.
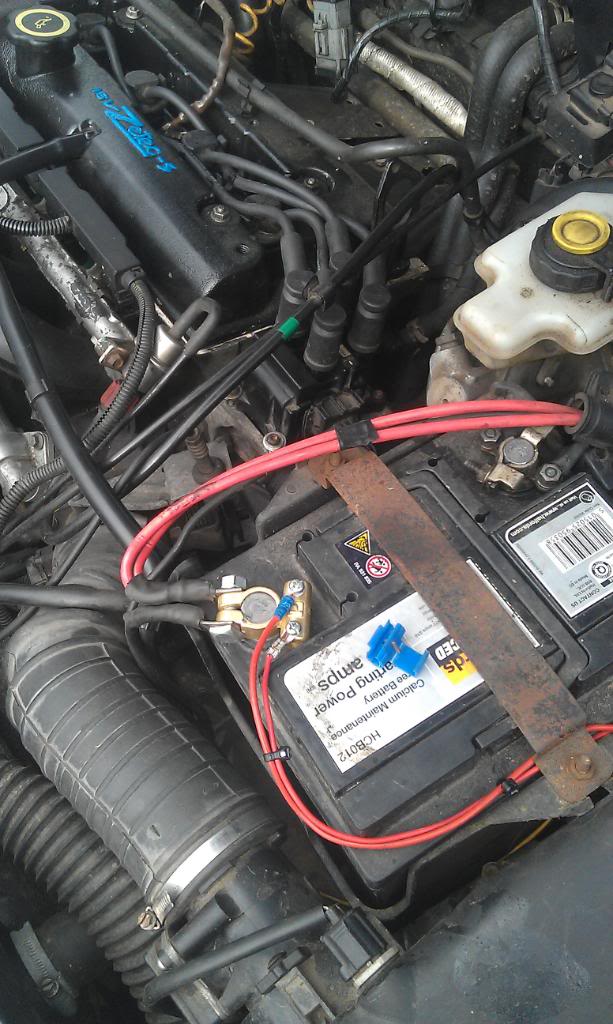
Using a 30amp relay with 2 20amp fuses and some nice thick gauge wire as i will be using 90 watt bulbs in the drving lamps
Got some plastic tubeing to protect the wiring and another relay that can be fixed down to somthing.
Using a 30amp relay with 2 20amp fuses and some nice thick gauge wire as i will be using 90 watt bulbs in the drving lamps
28-06-2012, 07:34 PM
#4
PassionFord Post Whore!!

sweet, I marshall events sometimes, and in my sig am restoring my dads old rally car he gave me. You whackin some spotlamps on it? dont forget a tank guard and a well protected exhaust!
Love the colour. Best of luck
Love the colour. Best of luck
28-06-2012, 08:25 PM
#5
10K+ Poster!!

What he said^^^^ Remember the interior and all fixings (including you parcel shelf) need to stay in the car. And make sure all the fuel lines and brake lines are protected (some people get them braided and run them through the car).
28-06-2012, 09:34 PM
#7
Wahay!! I've lost my Virginity!!
Thread Starter
Join Date: Sep 2010
Location: Devon
Posts: 72
Likes: 0
Received 0 Likes
on
0 Posts
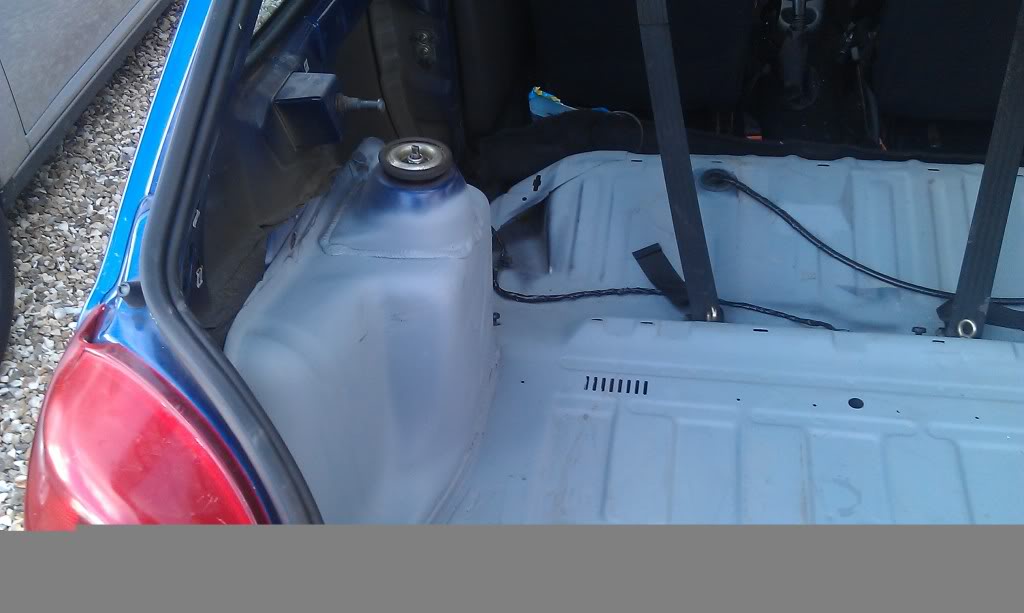
going to be doing a road rally in november but iv been told that alot of poeple just put all there interior in a pile straped down in the back somewhere if they have striped the interior all ready.
a tank gaurd is somthing i am going to try and sort out sooner rather than later.
Trending Topics
28-06-2012, 09:39 PM
#8
Wahay!! I've lost my Virginity!!
Thread Starter
Join Date: Sep 2010
Location: Devon
Posts: 72
Likes: 0
Received 0 Likes
on
0 Posts
yea got some lucas dx 150s on the way 25 posted used off ebay wernt to bad. didnt see the point in spending 200 on lights if i use them twice a month.
29-06-2012, 10:14 AM
#9
10K+ Poster!!
Did you check the diameter of the spots? Tghey aren't aloud to be more than 222mm wide (don't worry, most aren't, they did it to ban lightforce XGT spots which everyone ended up using and they were really big and powerful)
 03-07-2012, 05:48 PM
#12
10K+ Poster!!
Cool, I looked and the only things a rally car has tp have to compete on a road event are:
1. A first aid kit
2. A spill kit
3. A warning triangle
4. And the battery earth lead must be identified with yellow tape.
Thats all
1. A first aid kit
2. A spill kit
3. A warning triangle
4. And the battery earth lead must be identified with yellow tape.
Thats all
 07-07-2012, 08:39 PM
#14
Wahay!! I've lost my Virginity!!
Thread Starter
Join Date: Sep 2010
Location: Devon
Posts: 72
Likes: 0
Received 0 Likes
on
0 Posts
well today i set about putting my spot lamps on, after a little bit of thinking i decided to mount them on the top of the bumper.
first thing to do was to mark where abouts i wanted the lights on the bumper.

The i removed the bumper and cut out part of it so the light brackets could be mounted.

once i had removed what was needed i cut a 4mm piece of ally to fit into the space i just cut so the mounting point for the light bracket was stronger.

i then mounted the light like so


then mounted the bumper back on

next step was to give the lamps some support at the back so iv used a juberlie clip on each lamp for support and level adjustment.

first thing to do was to mark where abouts i wanted the lights on the bumper.
The i removed the bumper and cut out part of it so the light brackets could be mounted.
once i had removed what was needed i cut a 4mm piece of ally to fit into the space i just cut so the mounting point for the light bracket was stronger.
i then mounted the light like so
then mounted the bumper back on
next step was to give the lamps some support at the back so iv used a juberlie clip on each lamp for support and level adjustment.


 07-07-2012, 10:46 PM
#17
Wahay!! I've lost my Virginity!!
Thread Starter
Join Date: Sep 2010
Location: Devon
Posts: 72
Likes: 0
Received 0 Likes
on
0 Posts
cheers mate its on the 20th mate. looking forward to it. orded some osram nightbrakes for the lamps as well. heard there really good,. if they arnt then i'll chuck some 100 watters in them.
hows your build coming along
hows your build coming along
07-07-2012, 10:55 PM
#18
PassionFord Post Whore!!
Sounds good. If your spots are still unstable after the event, get some spotlamp braces. They're only a tenner and work incredibly well for what is effectively a metal rod. And my build is going very slowly. When it's the summer holidays I'm hoping to have about 4 weeks hard core welding so I can start bare metaling, priming, undersealing and painting. Then its rebuild time 
08-07-2012, 03:38 PM
#20
PassionFord Post Whore!!
Haha, yeah sounds familiar I'm still at school so i'm limited to days when I can work on it.  Get some pics up of the car after the event too, can't beat a dirty rally car
08-07-2012, 06:40 PM
#21
10K+ Poster!!
Its looking good!!! Looks very purposeful now!
22-07-2012, 05:34 PM
#22
Wahay!! I've lost my Virginity!!
Thread Starter
Join Date: Sep 2010
Location: Devon
Posts: 72
Likes: 0
Received 0 Likes
on
0 Posts
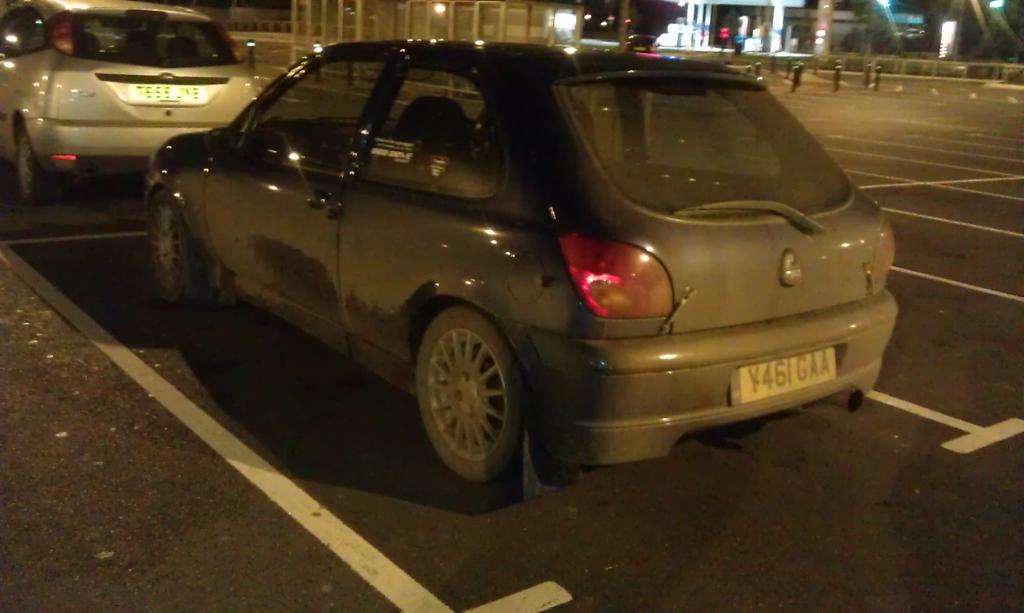
had my 2nd nav rally on friday night came 4th out of 7 cars which wernt a bad result. hit a pot hole though and damaged a tyre so got a new one on the way.
had some problems with coolant getting very hot so a radiator replacement managed to solve this issue. Also wired in a switchable fan for my car aswell which is very handy
had some problems with coolant getting very hot so a radiator replacement managed to solve this issue. Also wired in a switchable fan for my car aswell which is very handy
12-12-2012, 10:10 PM
#25
Wahay!! I've lost my Virginity!!
Thread Starter
Join Date: Sep 2010
Location: Devon
Posts: 72
Likes: 0
Received 0 Likes
on
0 Posts
haven't updated in a while. done another 3 nav rallys and and done ilfracombe road rally. didng finish ilfracombe due to the coilpack dieing.
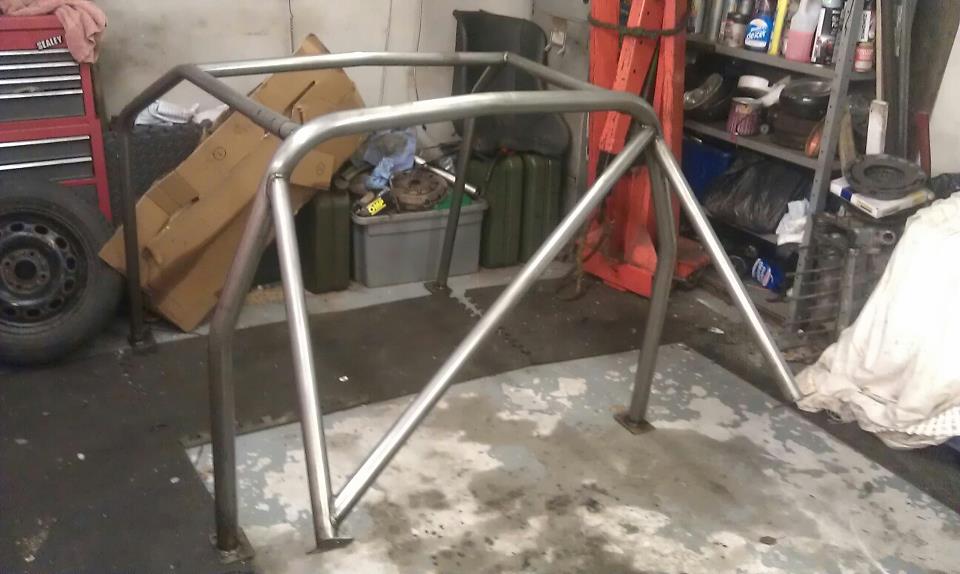
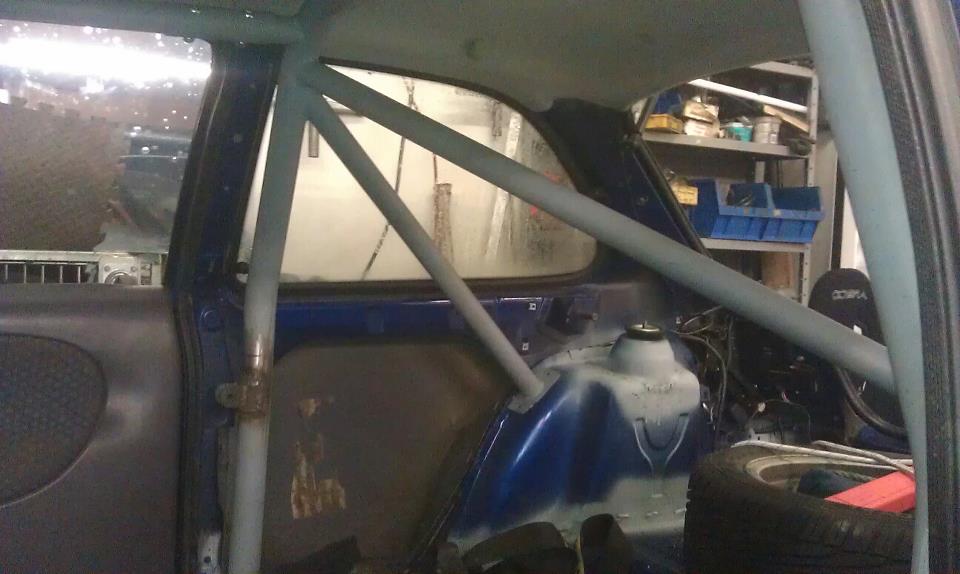
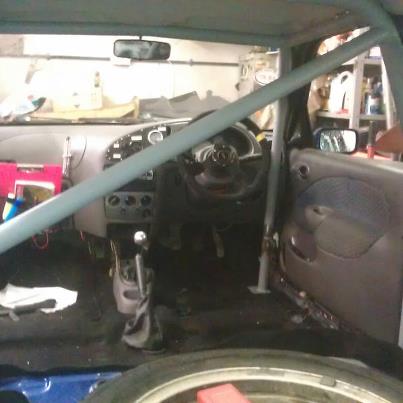
Cars ad loads more work done, seemed welded the car along with all the rust cut out and sort. got a roll cage going in next week and with some bigger spots we shall we all ready for ASWMC next year.
Cars ad loads more work done, seemed welded the car along with all the rust cut out and sort. got a roll cage going in next week and with some bigger spots we shall we all ready for ASWMC next year.
16-12-2012, 07:10 PM
#28
Wahay!! I've lost my Virginity!!
Thread Starter
Join Date: Sep 2010
Location: Devon
Posts: 72
Likes: 0
Received 0 Likes
on
0 Posts
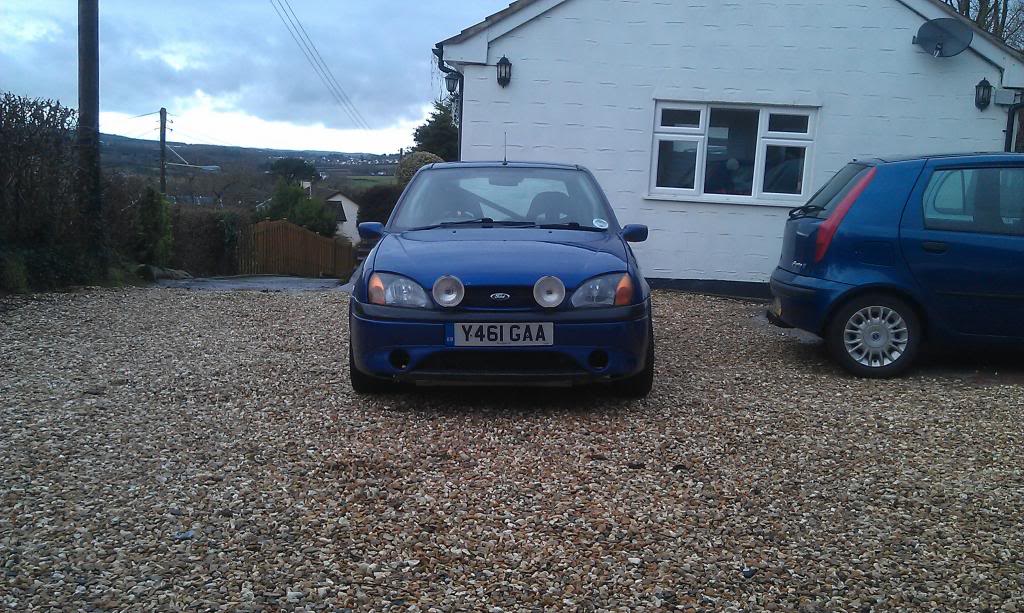
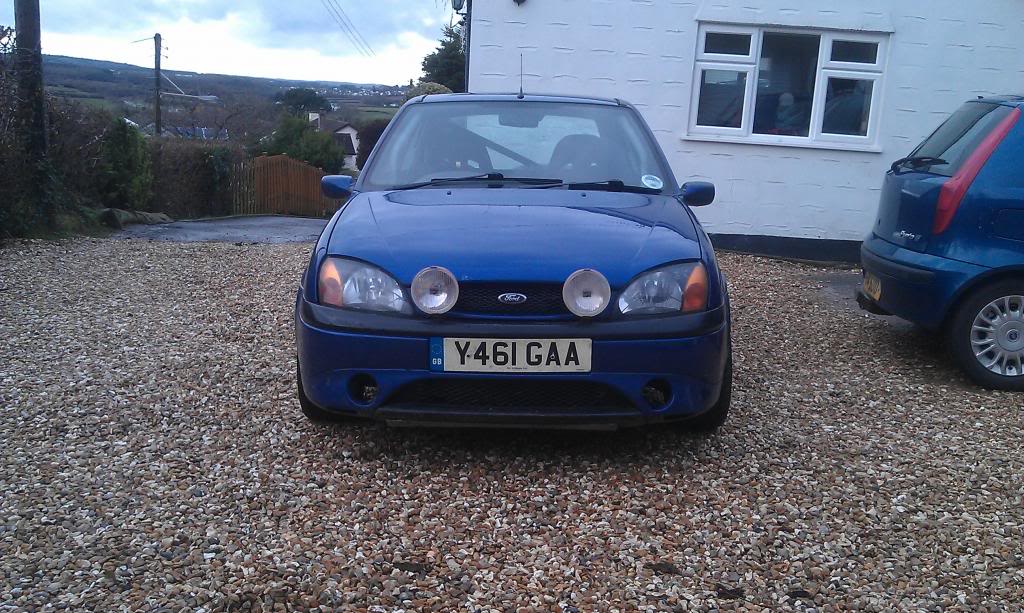
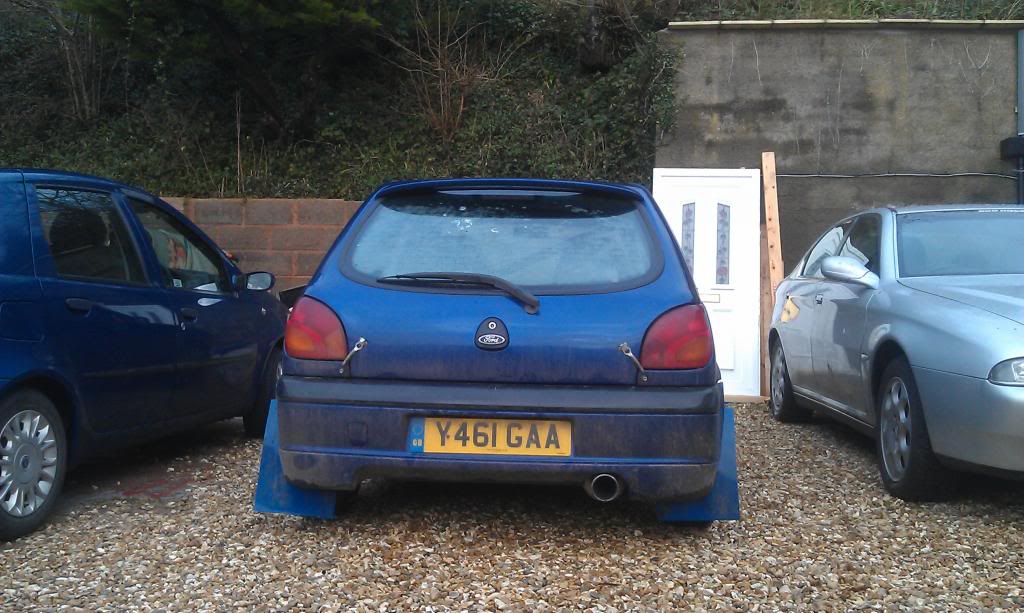
Right dug out some pictures of the work iv done on the fiesta over the last couple of months.
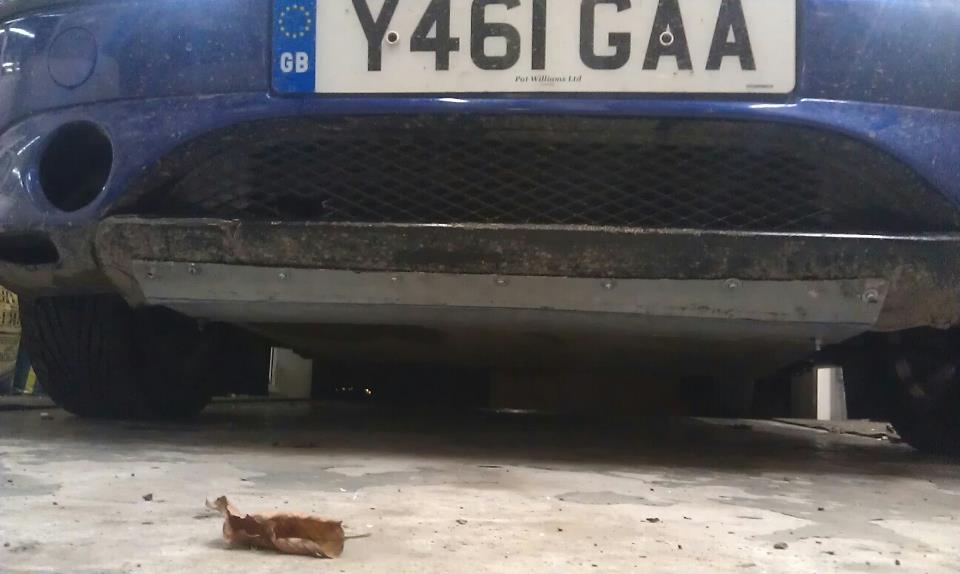
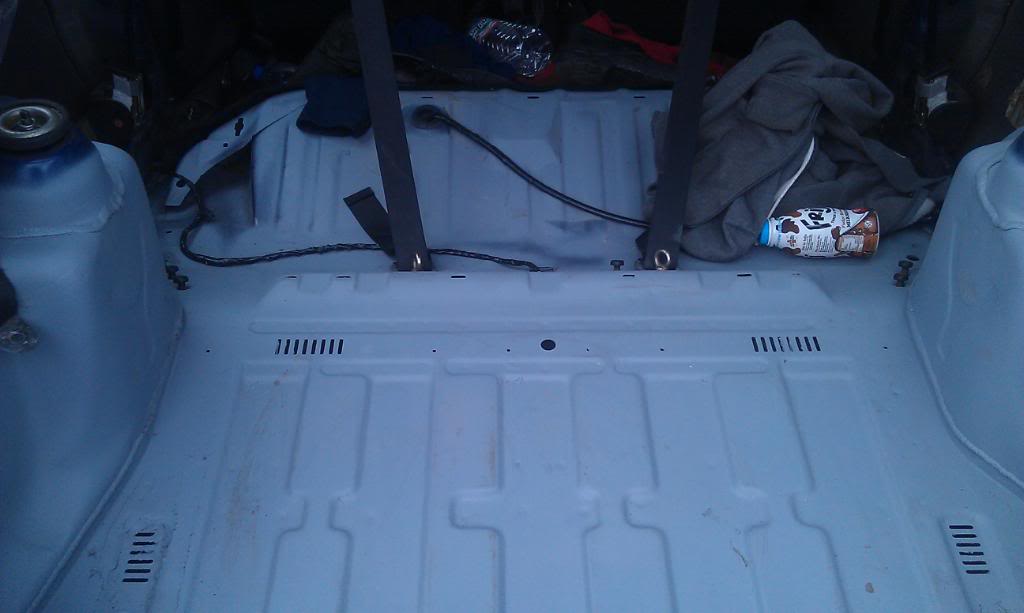
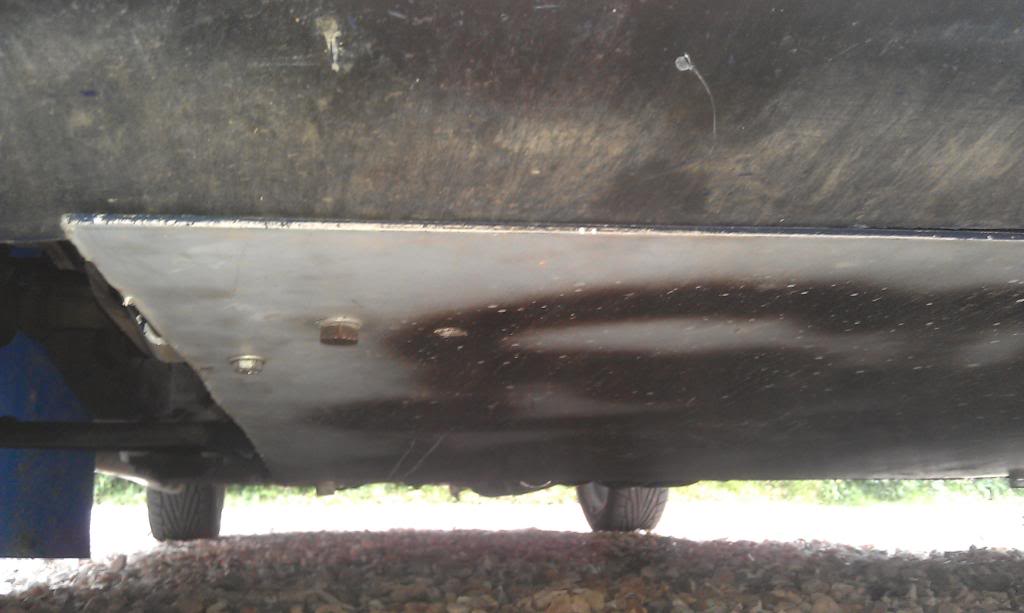
Extended my sump guard so that it screws onto the front of the bumper, basicly stop stones flicking up between the bumper and where the guard use to stop.
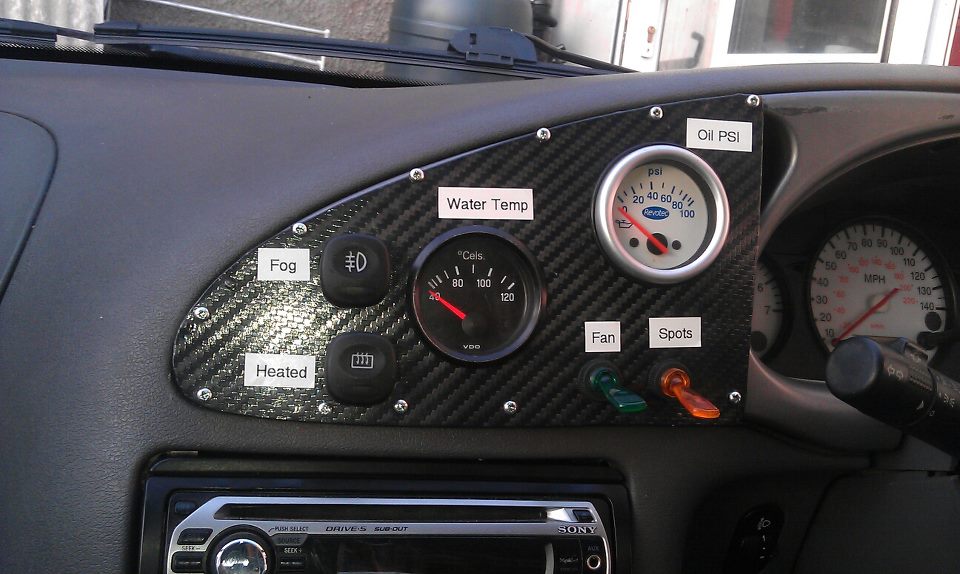
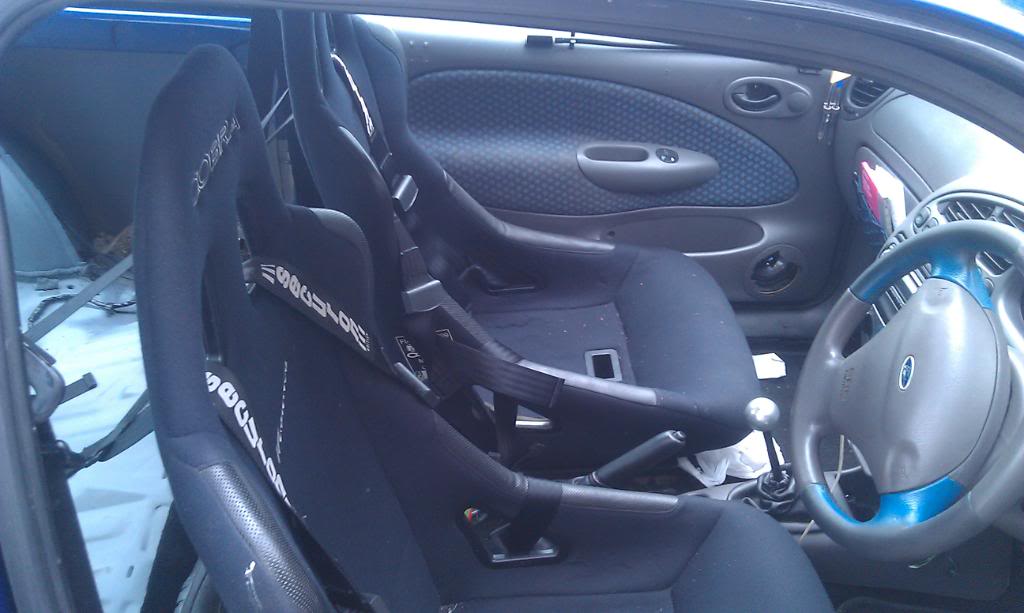
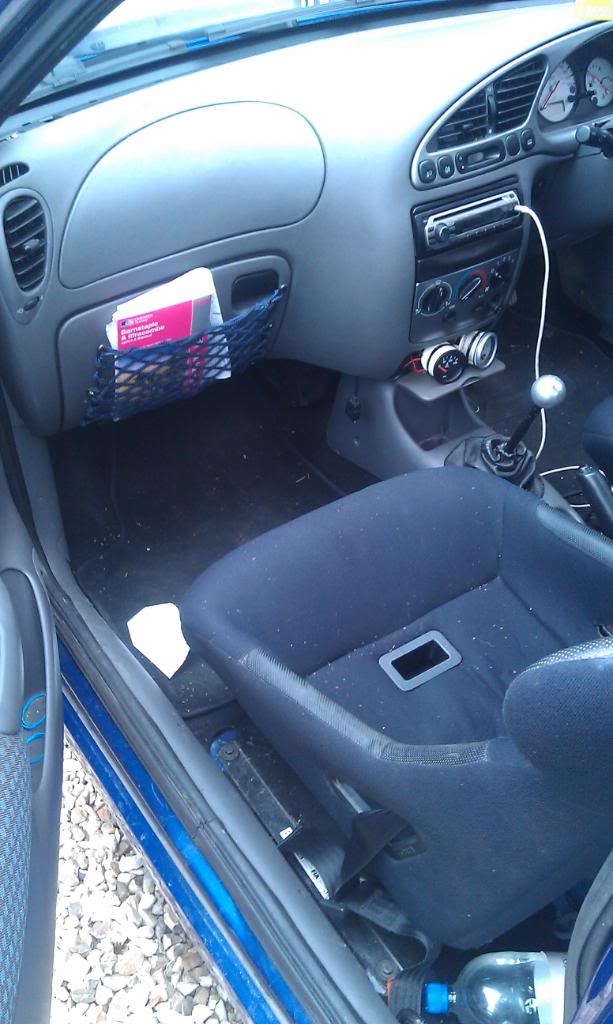
My little switch pannel nice and easy to use. just used a piece of ally and then my friend vinyl wraped it for me. not the neatest and best cut it works for me.
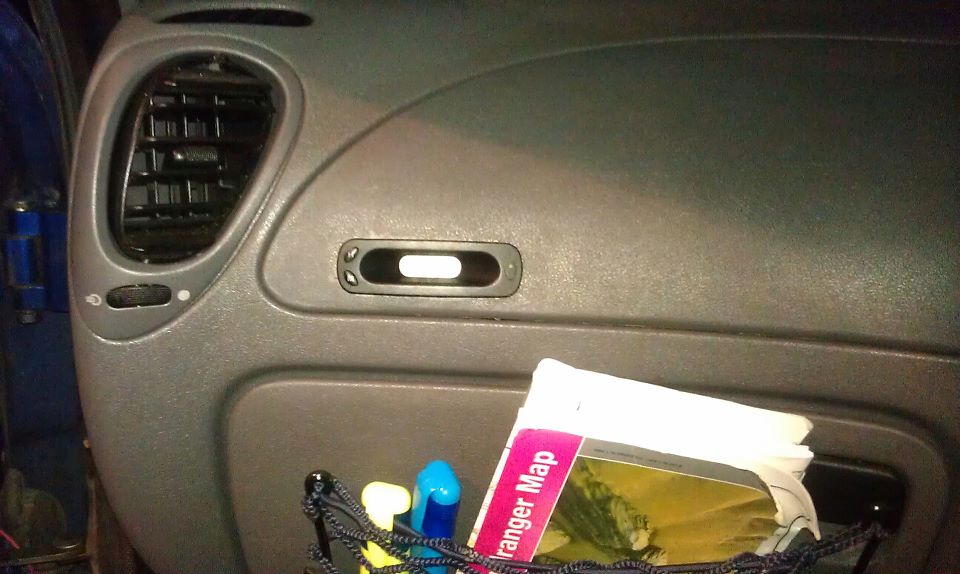
Moved the clock so its easyer for my navigator to see. although i will put in a proper rally clock soon.
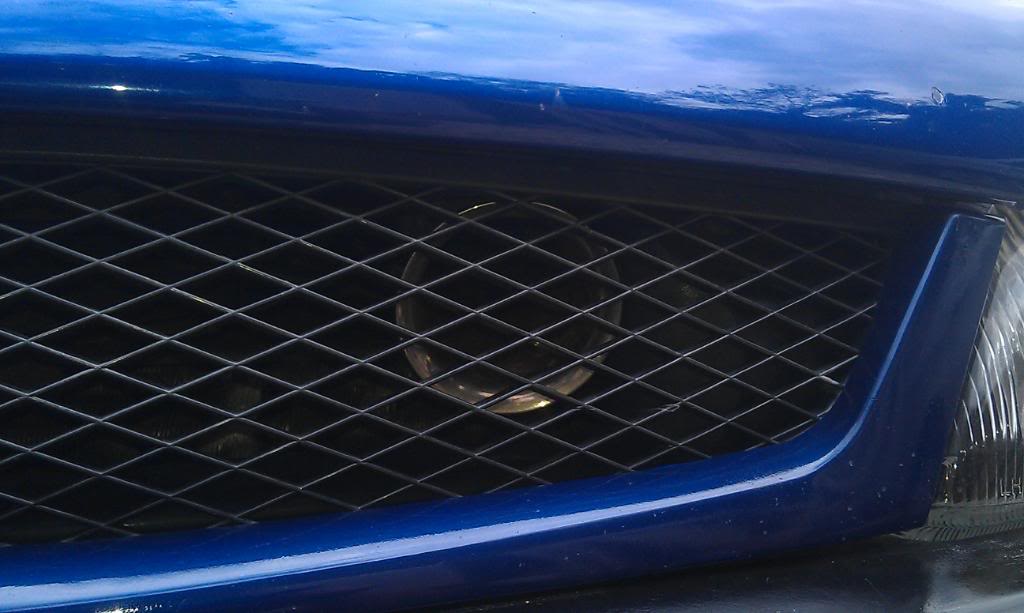
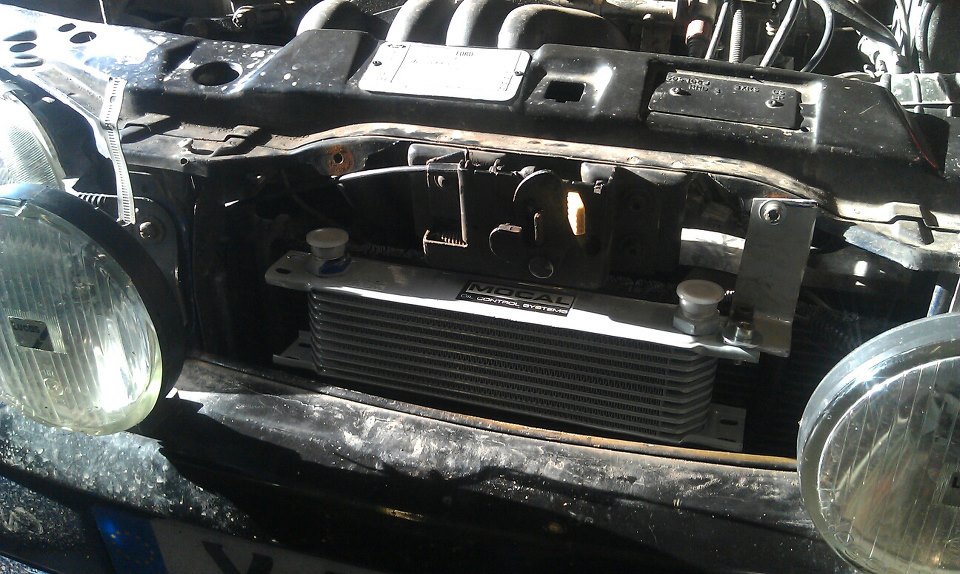
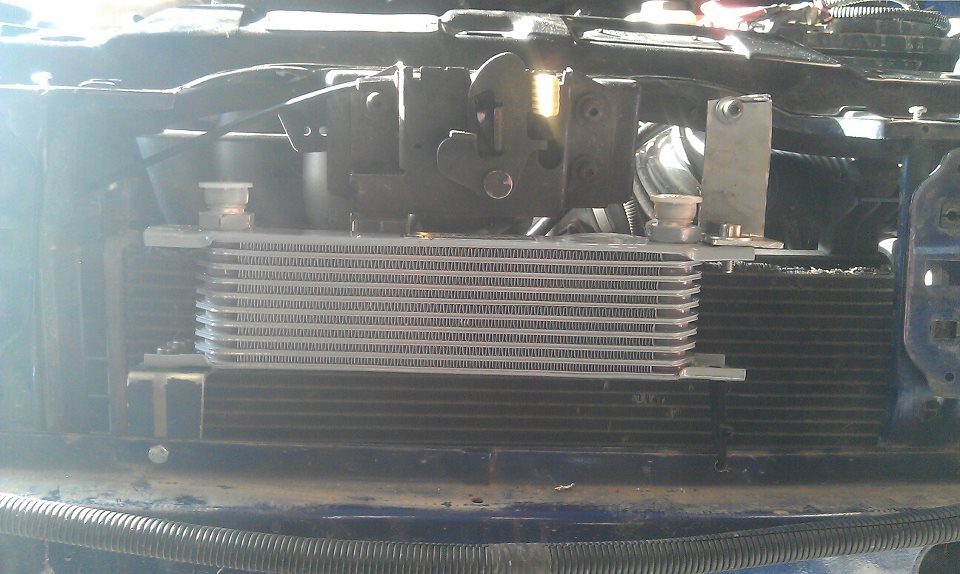
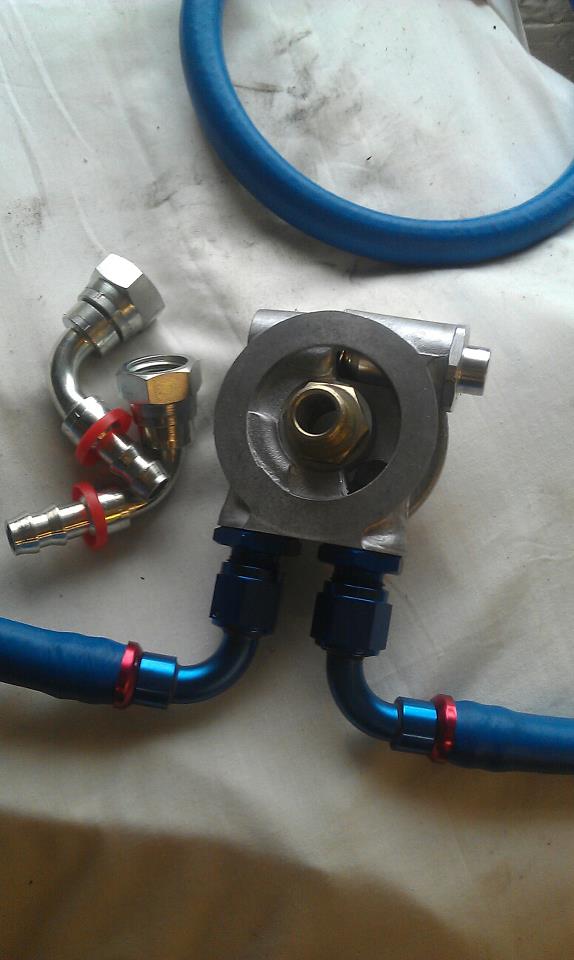
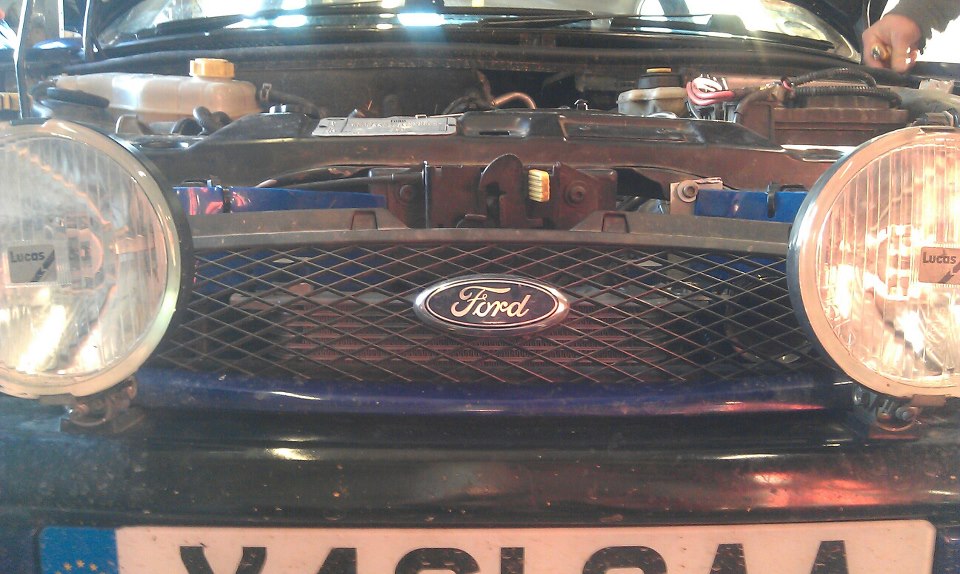
fitted my oil cooler in the top grill used to ally brackets and a cable tie for good measure.lol its done the job so far and the sandwich plate is a thermostatic one with Goodridge fittings.
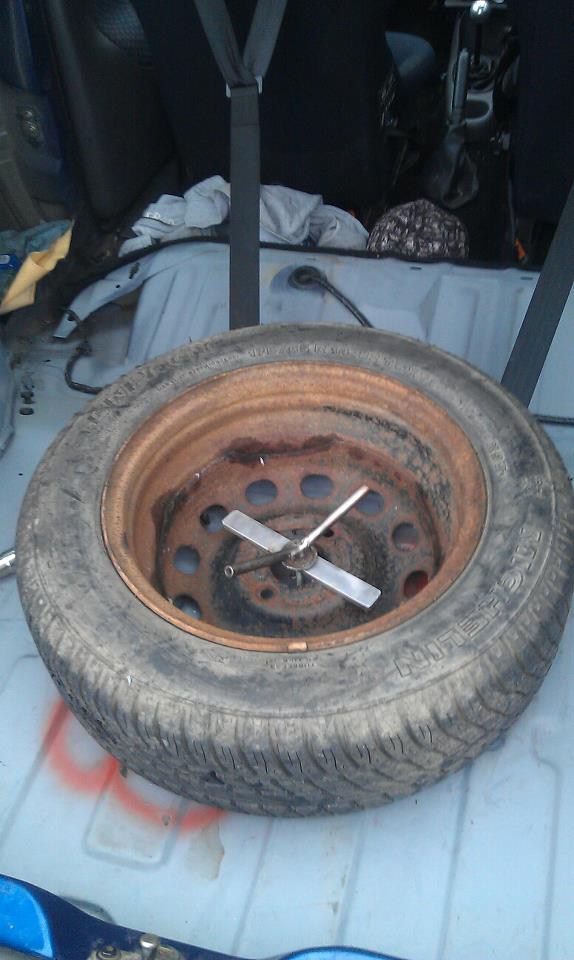
made a spare wheel hold inside the car for easy access if we get a puncture.
Extended my sump guard so that it screws onto the front of the bumper, basicly stop stones flicking up between the bumper and where the guard use to stop.
My little switch pannel nice and easy to use. just used a piece of ally and then my friend vinyl wraped it for me. not the neatest and best cut it works for me.
Moved the clock so its easyer for my navigator to see. although i will put in a proper rally clock soon.
fitted my oil cooler in the top grill used to ally brackets and a cable tie for good measure.lol its done the job so far and the sandwich plate is a thermostatic one with Goodridge fittings.
made a spare wheel hold inside the car for easy access if we get a puncture.
 16-12-2012, 08:19 PM
#30
Advanced PassionFord User
Have to love all the jobs your doing
The roll cage looks epic.
The roll cage looks epic.
16-12-2012, 08:32 PM
#32
Good update mate, keep it up some great work goin on, we'll jealous of your cage!!
P.s I feel like a dick for asking about your sump guard since I've now noticed you have it pictured in this thread lol
P.s I feel like a dick for asking about your sump guard since I've now noticed you have it pictured in this thread lol
 26-12-2012, 08:06 PM
#39
10K+ Poster!!
Coming on great!
