Fiesta rebuild, partial resto and full colour change
 10-02-2012, 09:20 PM
#1
15000
Thread Starter

Join Date: Feb 2012
Location: Weston Super Mare
Posts: 43
Likes: 0
Received 0 Likes
on
0 Posts
Jesus this car was made from butter and toilet paper i swear....
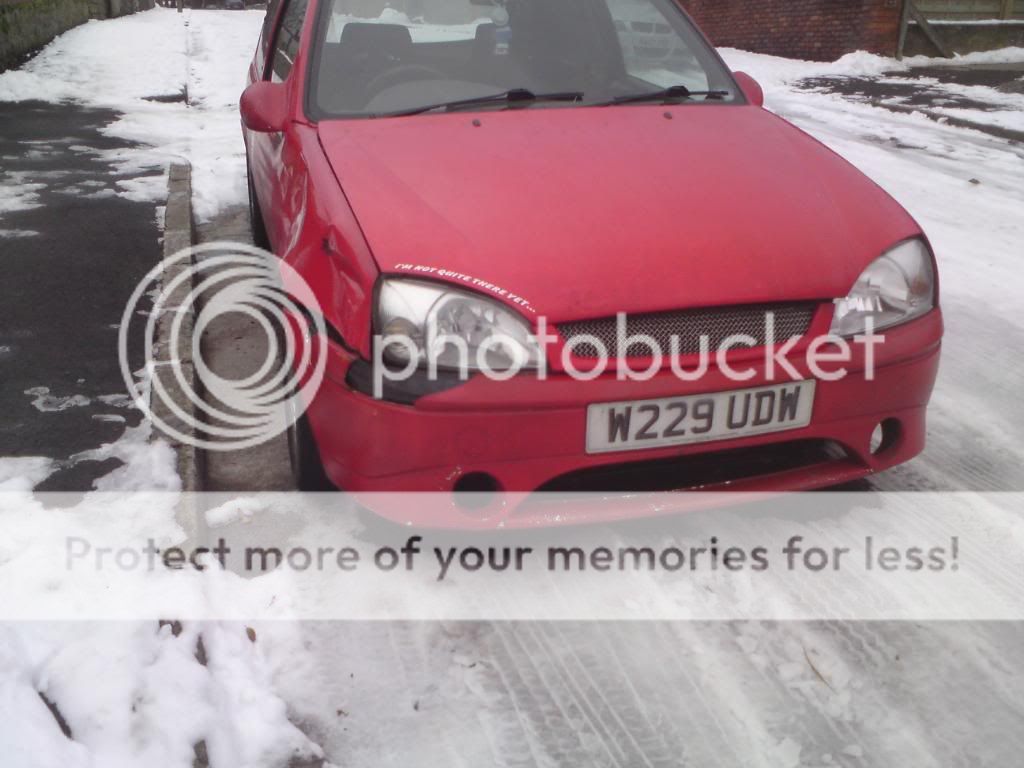
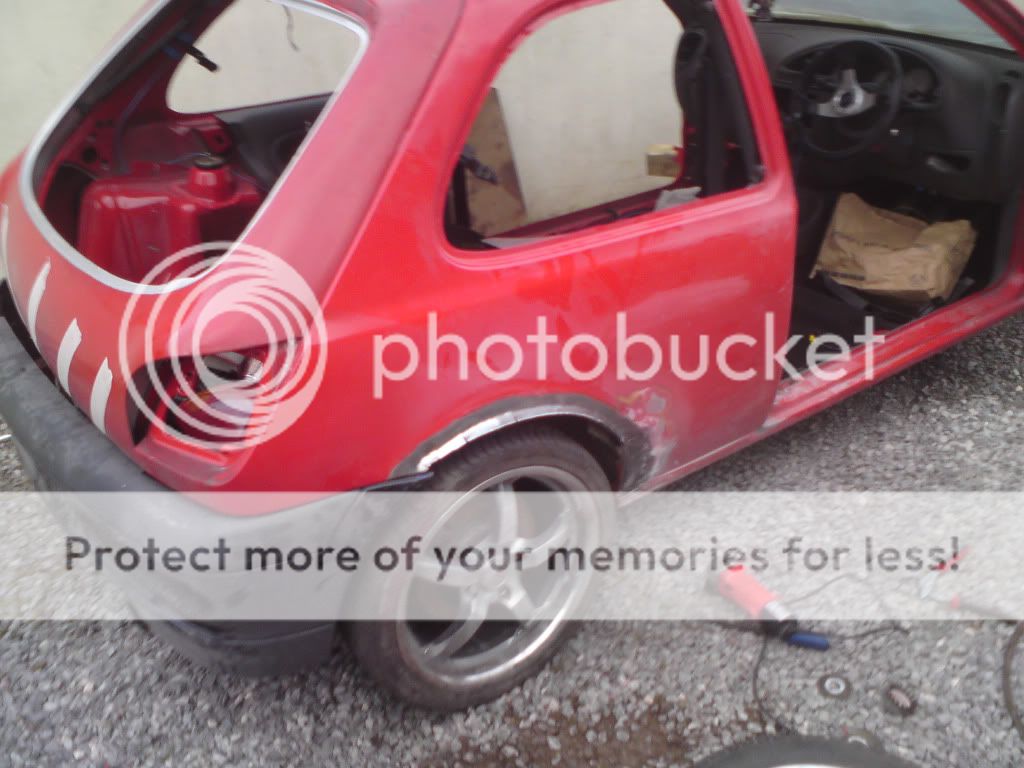
Well heres how my fiesta started off. Was a bit of a WIP anyway until I crashed it... taking me further from my progess...
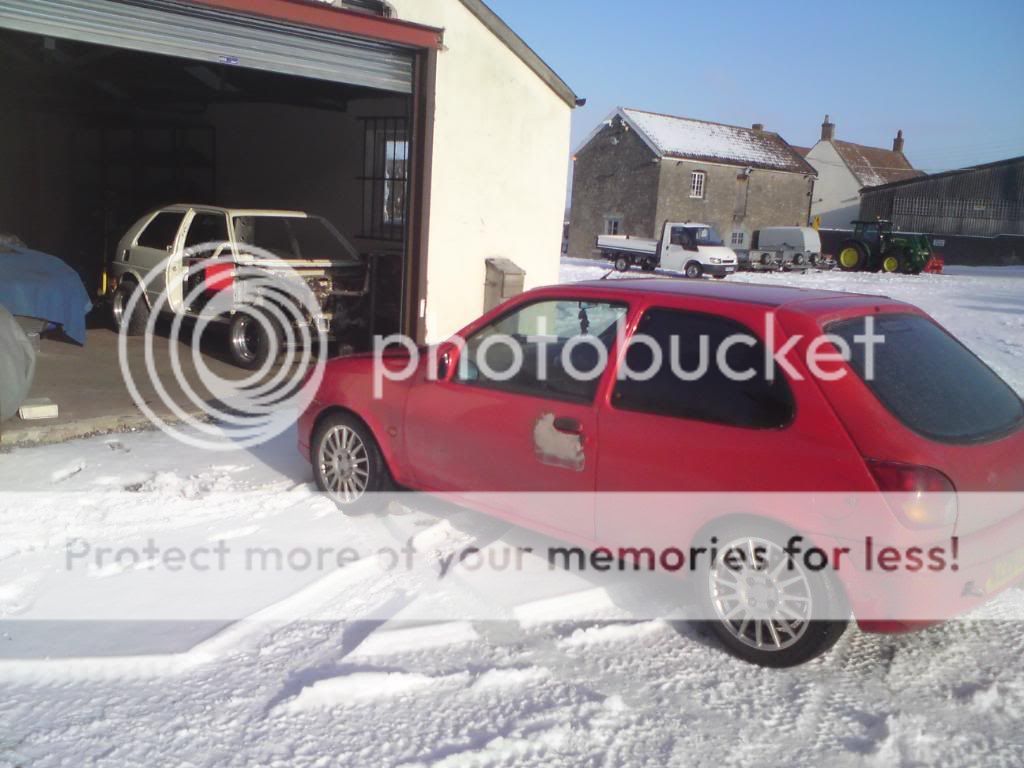
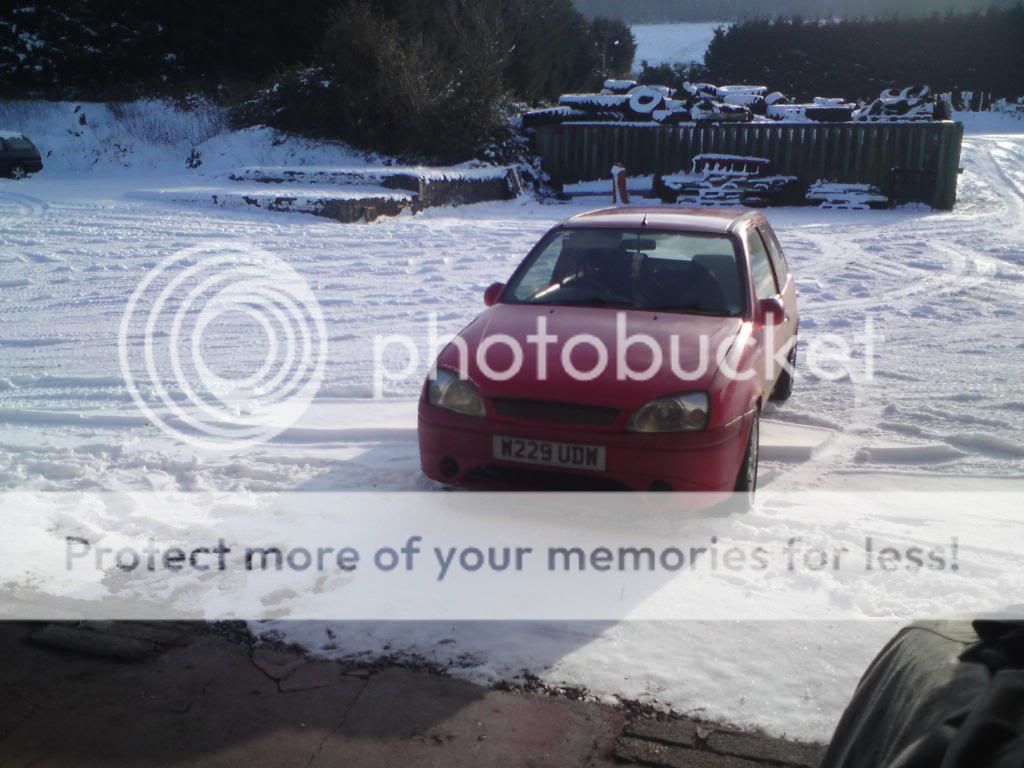
Well I pretty much kept out of trouble in all the snow of Jan 2010, until ironically it had melted into slush...
Was on my way to a friends when approaching a corner at about 15mph no joke I turned and instead went straight on, which took me through one of the good old budget fence panels you get from homebase etc. Well this was a bit funny, until it came to checking it out and finding my car wouldn�t actually come out of the gap between the missing panels.
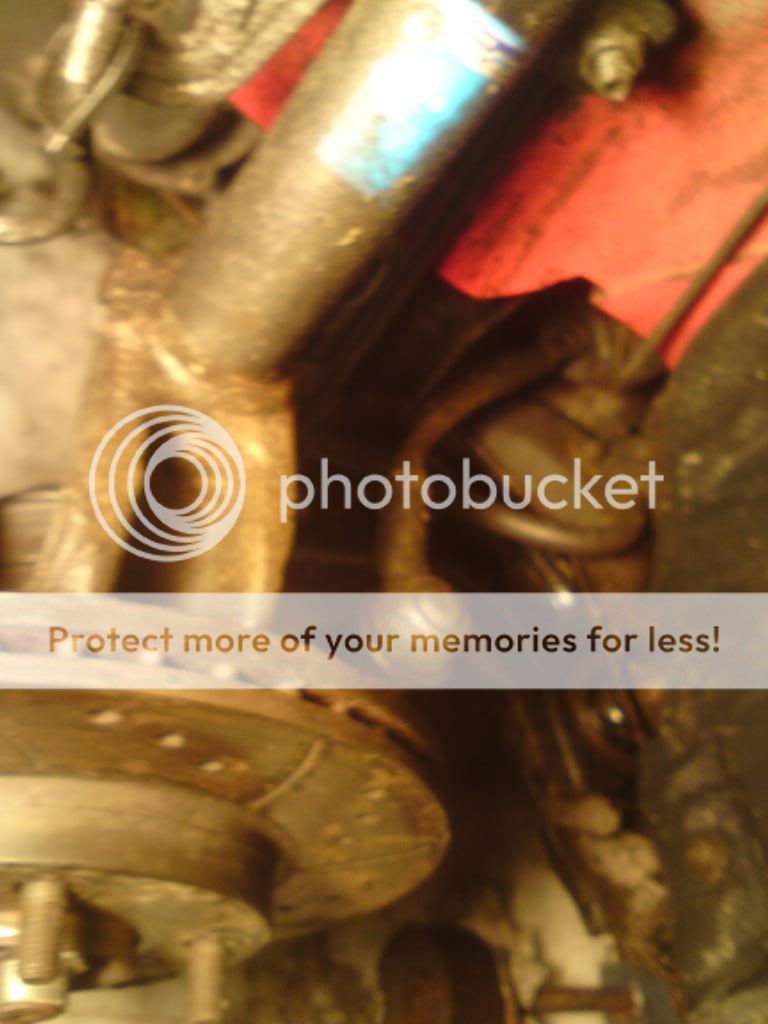
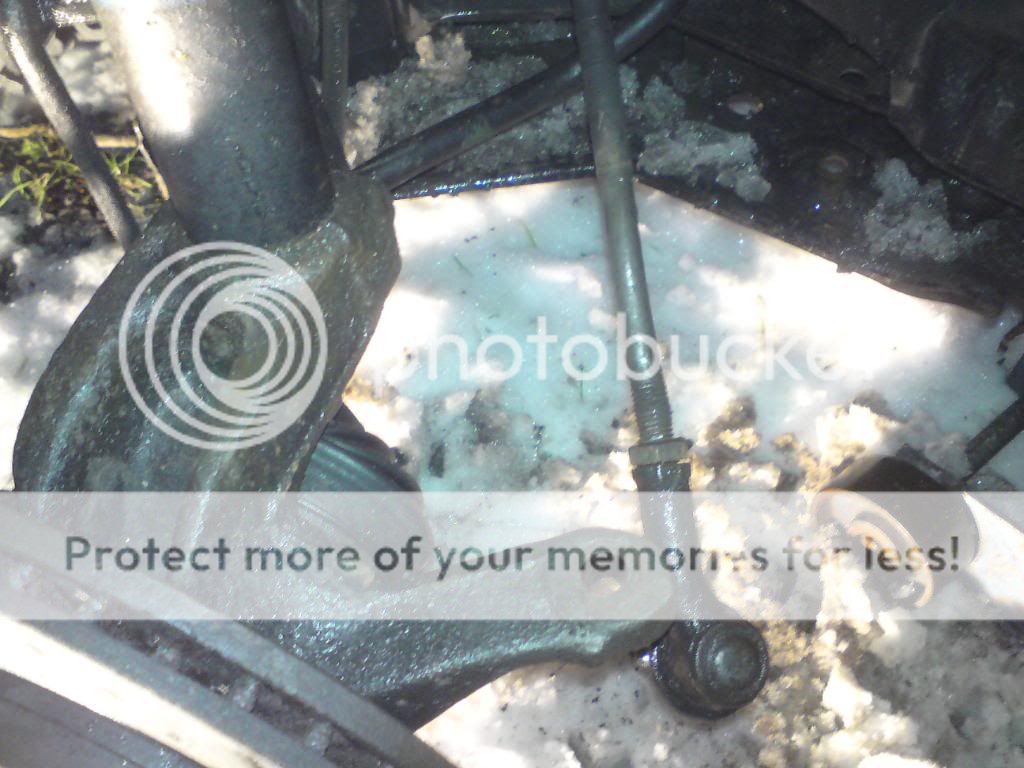
Quickly called my mate, to get a tow, and set off driving to my mates, where we noticed my car was trying to drive in both directions at the same time :-S � Yes you guessed it rack was damaged....
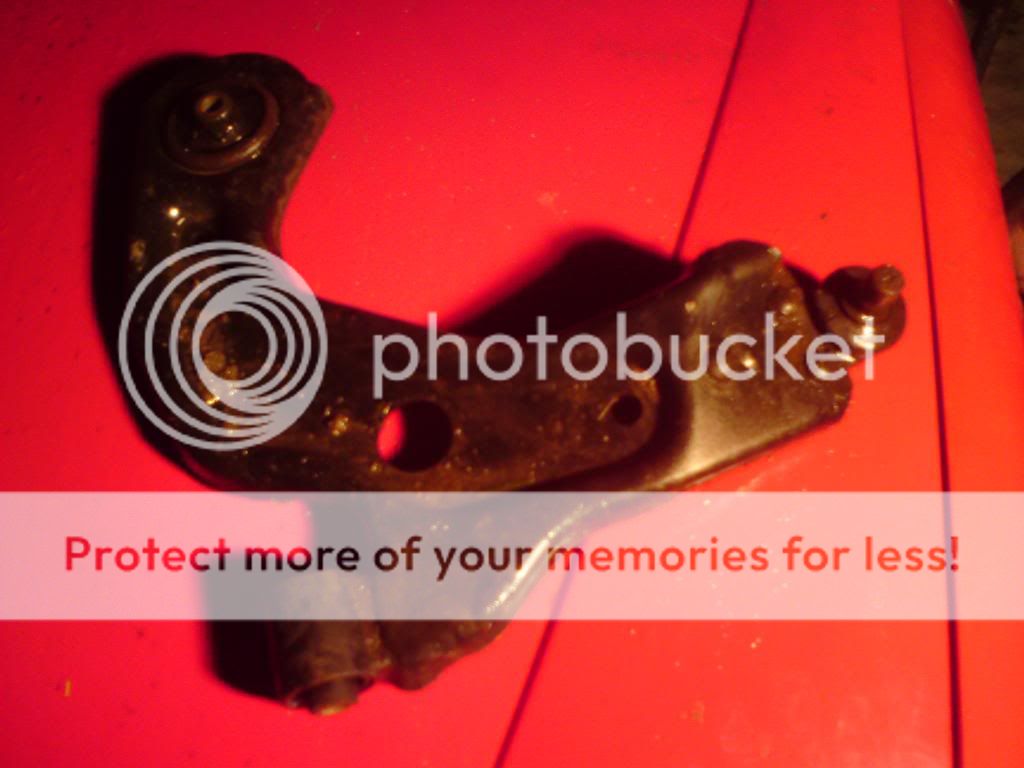
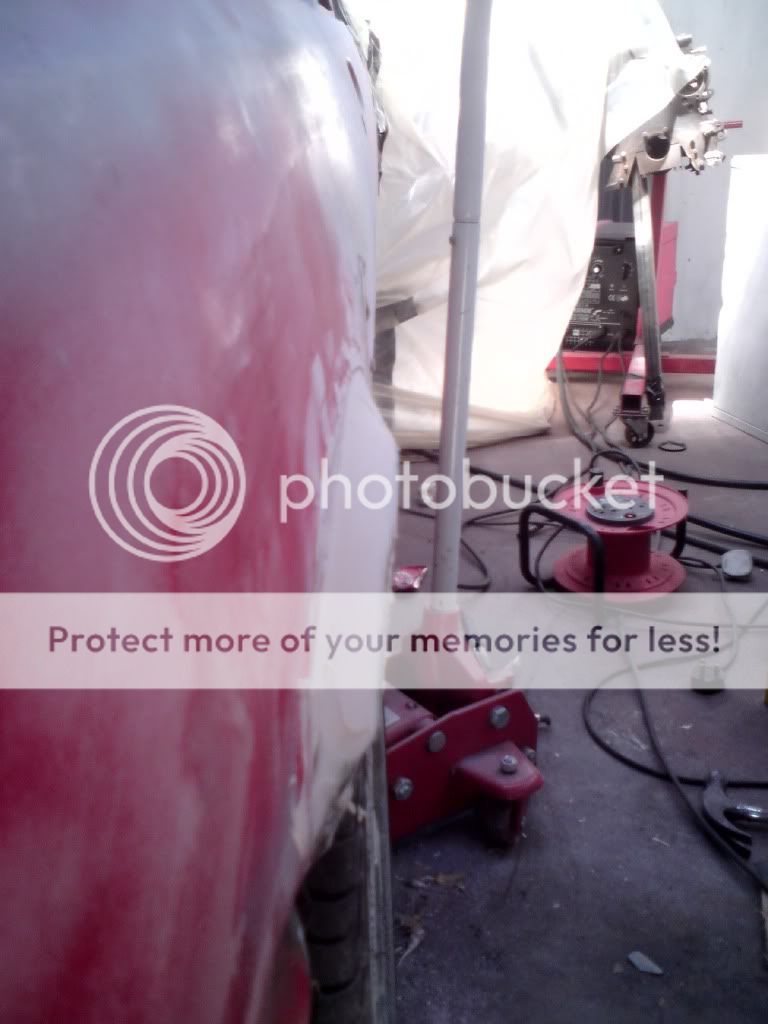
Jacked it up to check and sure enough spaghetti shaped arm and wishbone.
Along with cosmetic damage, which was also a suprise. The fence was so flimsy.


Even the sill got a bang...

So next day I got wishbone, and manage to take it home to decide what to do with it.
Decided to get new wings, bumper and rack. Easy fix really.

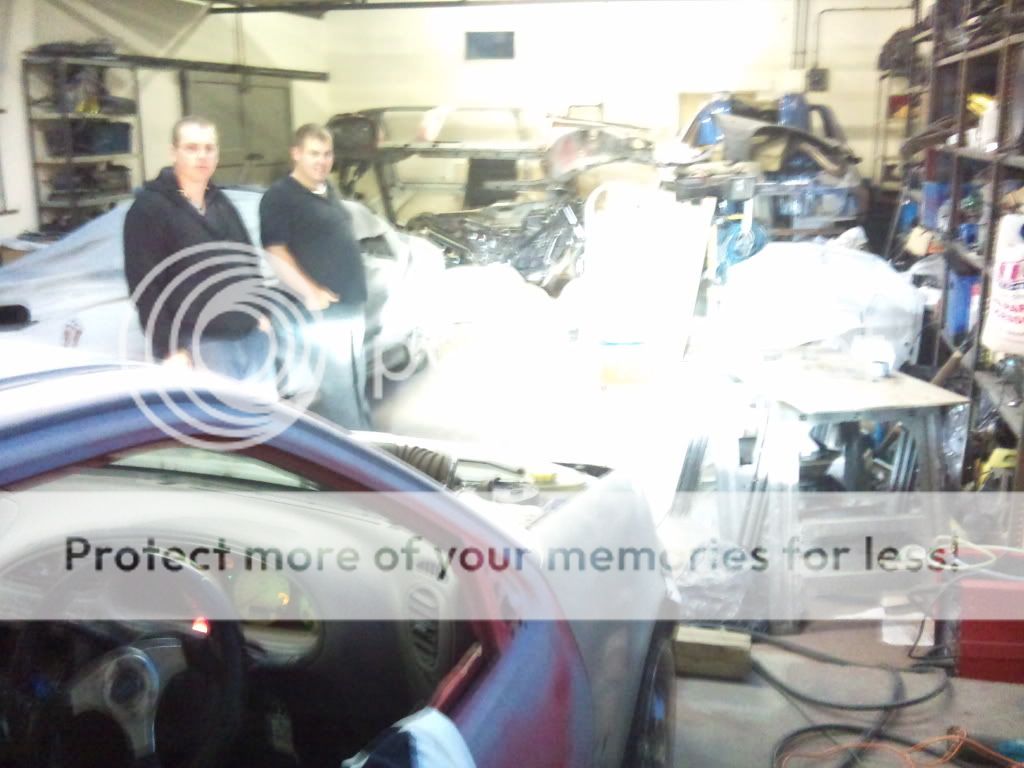
Got it down to my unit where I began disassembly
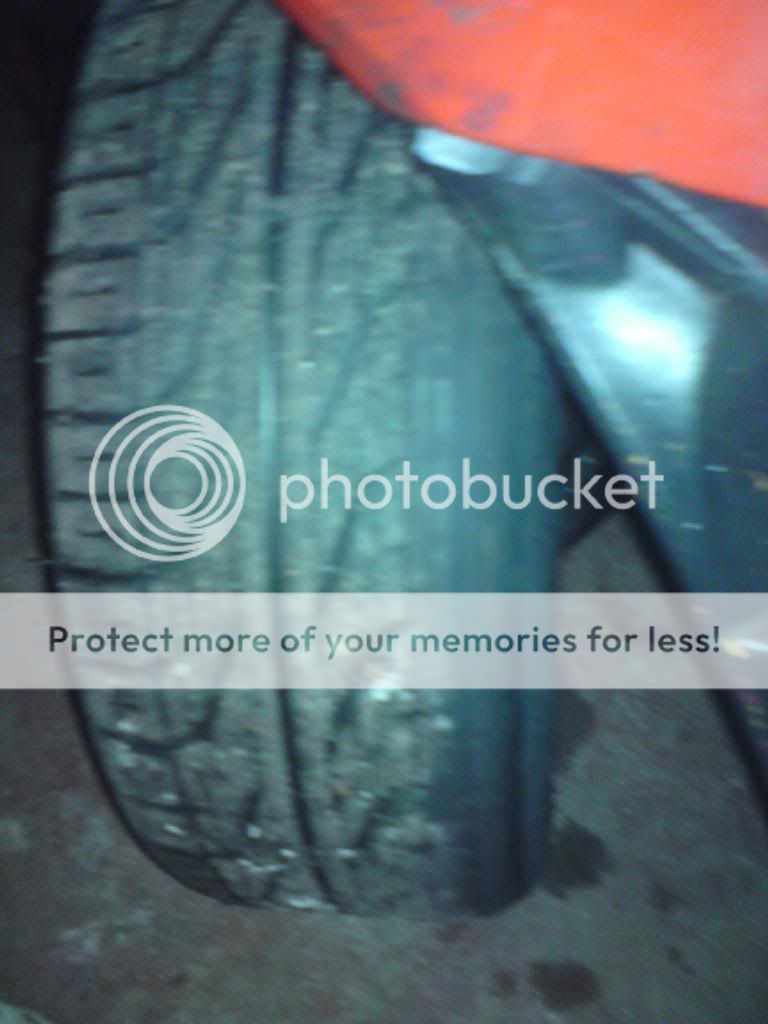
I noticed my tracking was clearly out LOL


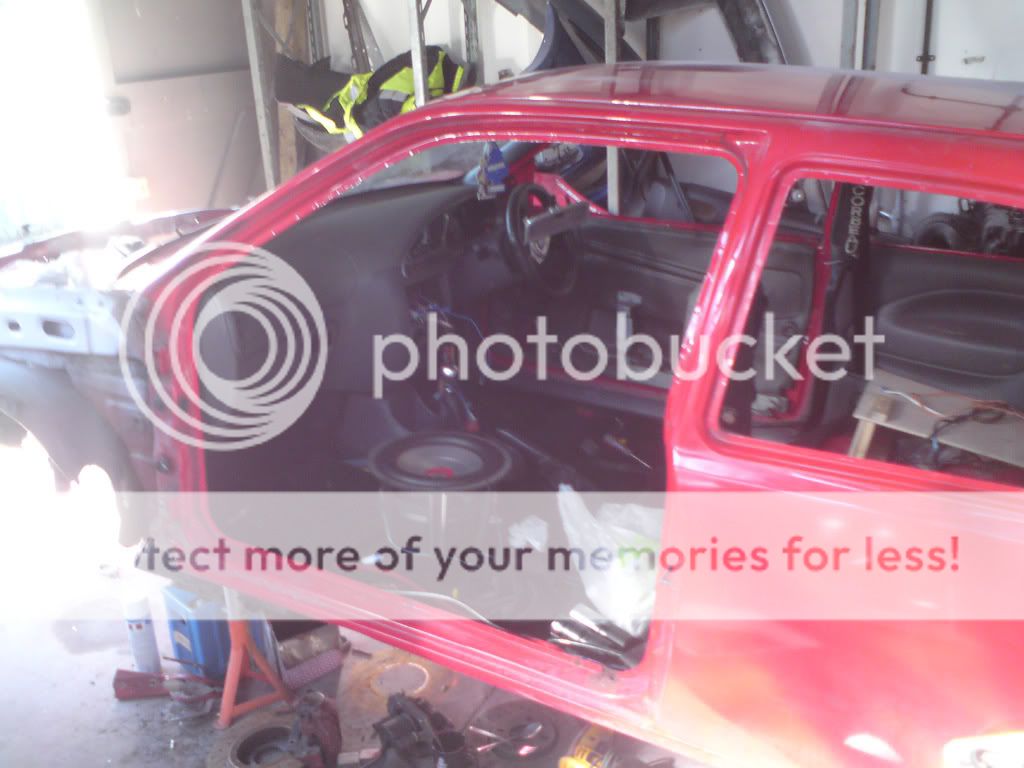
Stripped out the engine, to make removal of steering rack and subframe etc much easier for me

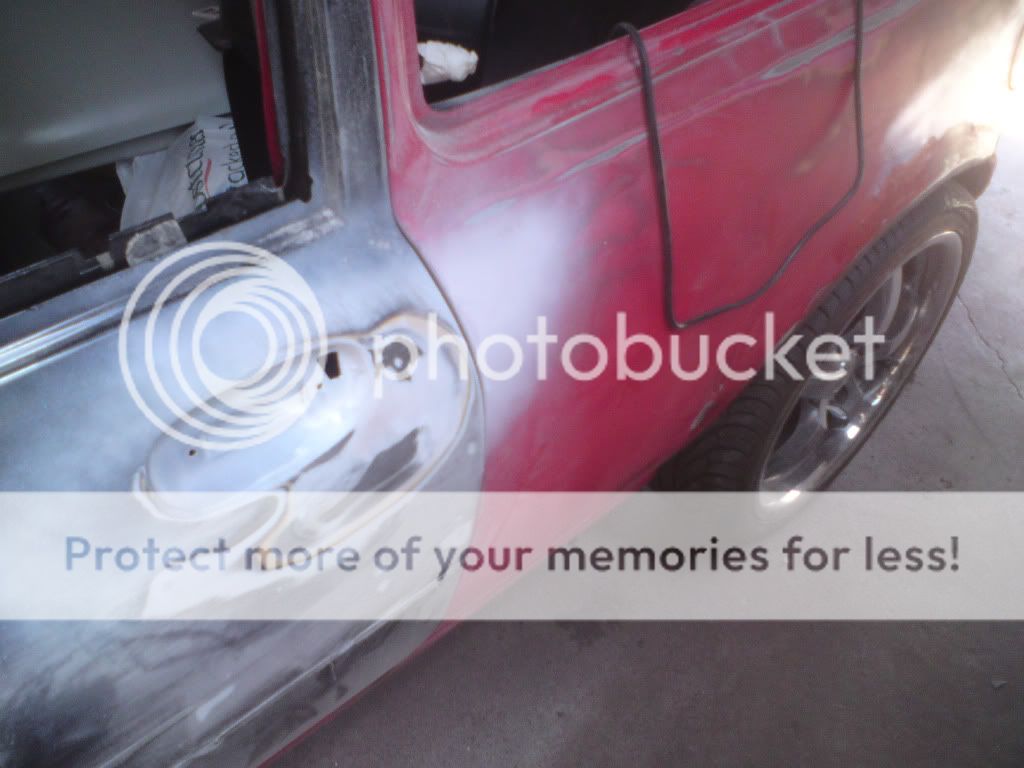
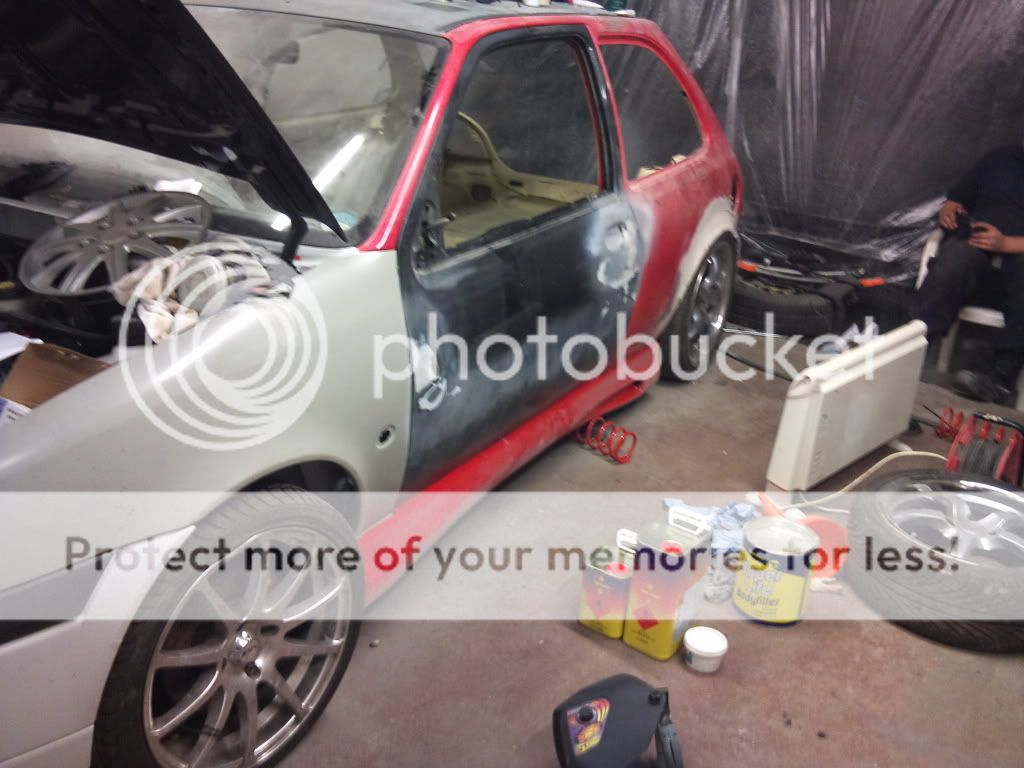
Got my door off
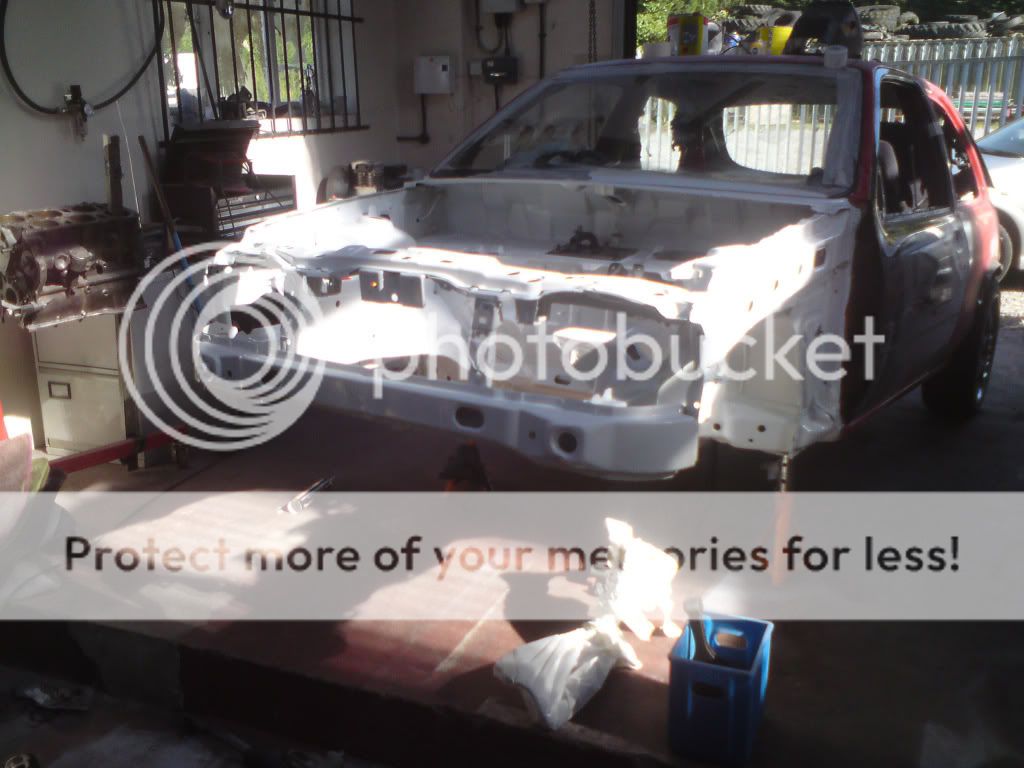
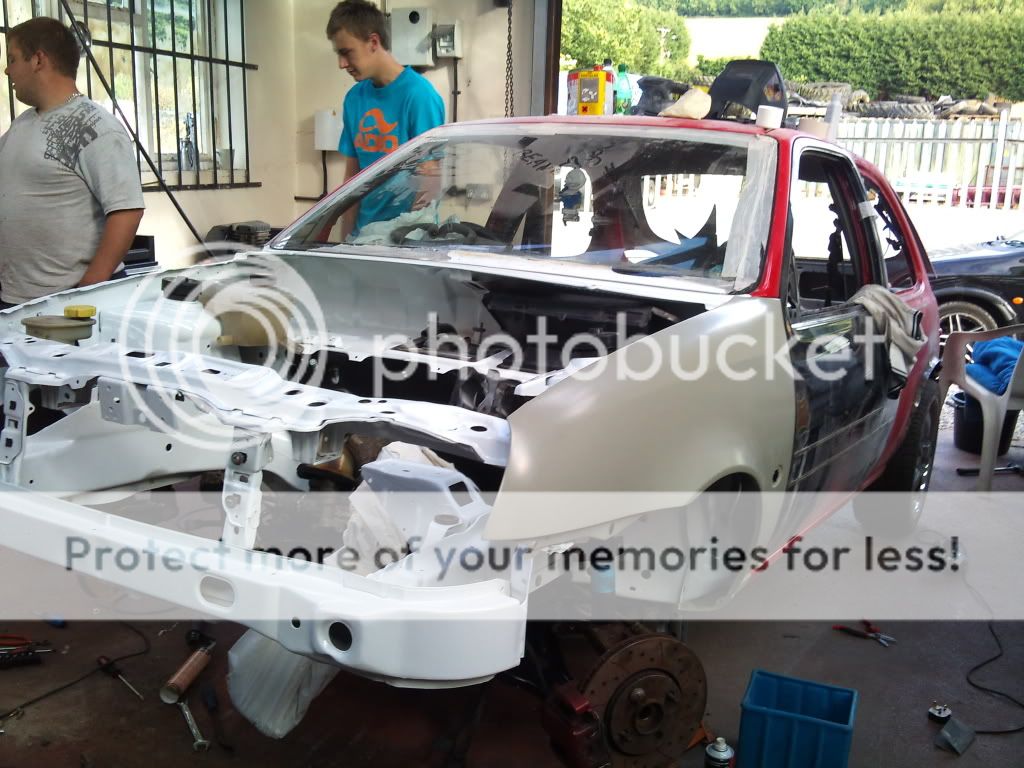
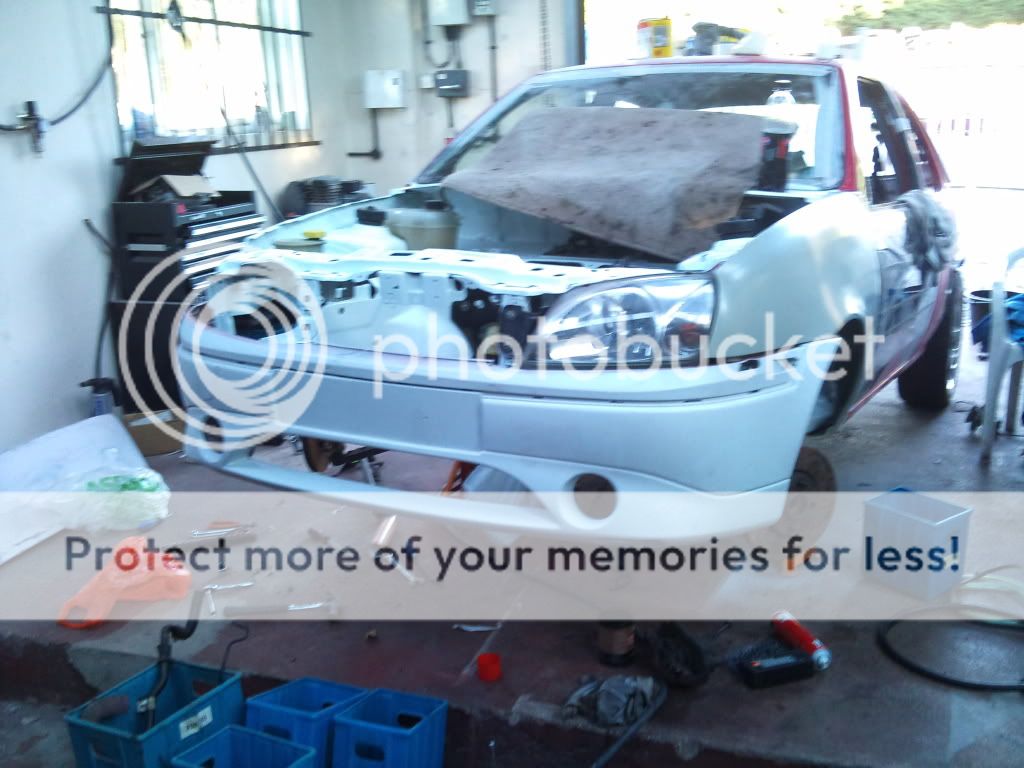
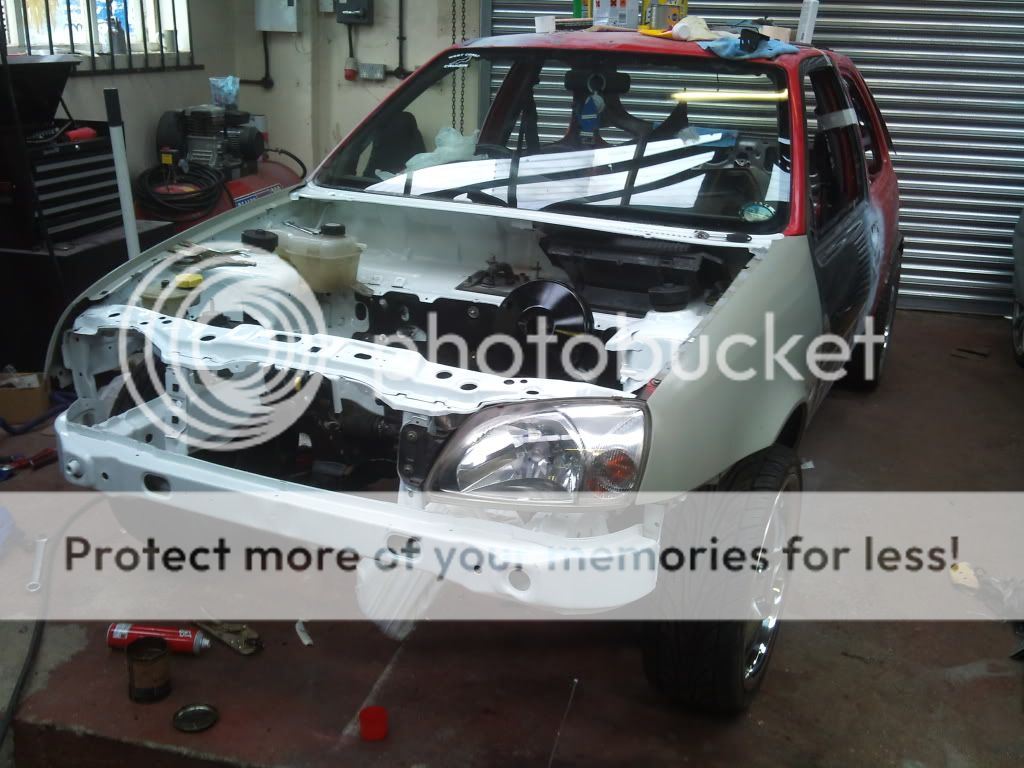
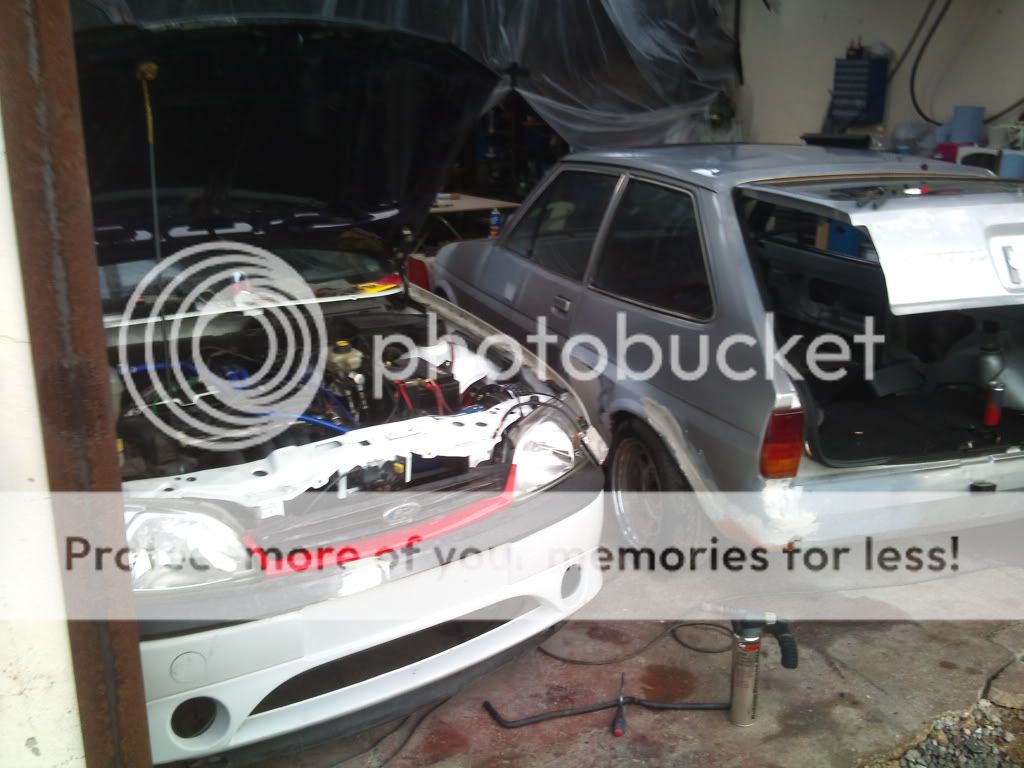
As you can see was messing with white paint, so decided im going to spray the whole thing frozen white as I now needed half my panels doing...
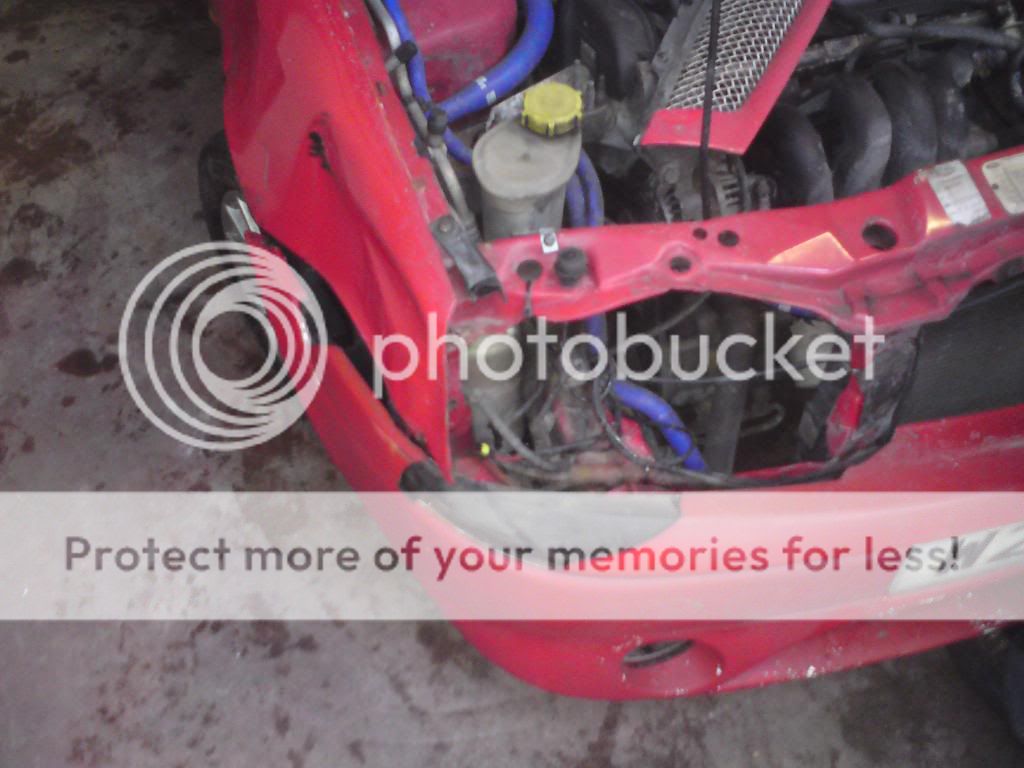
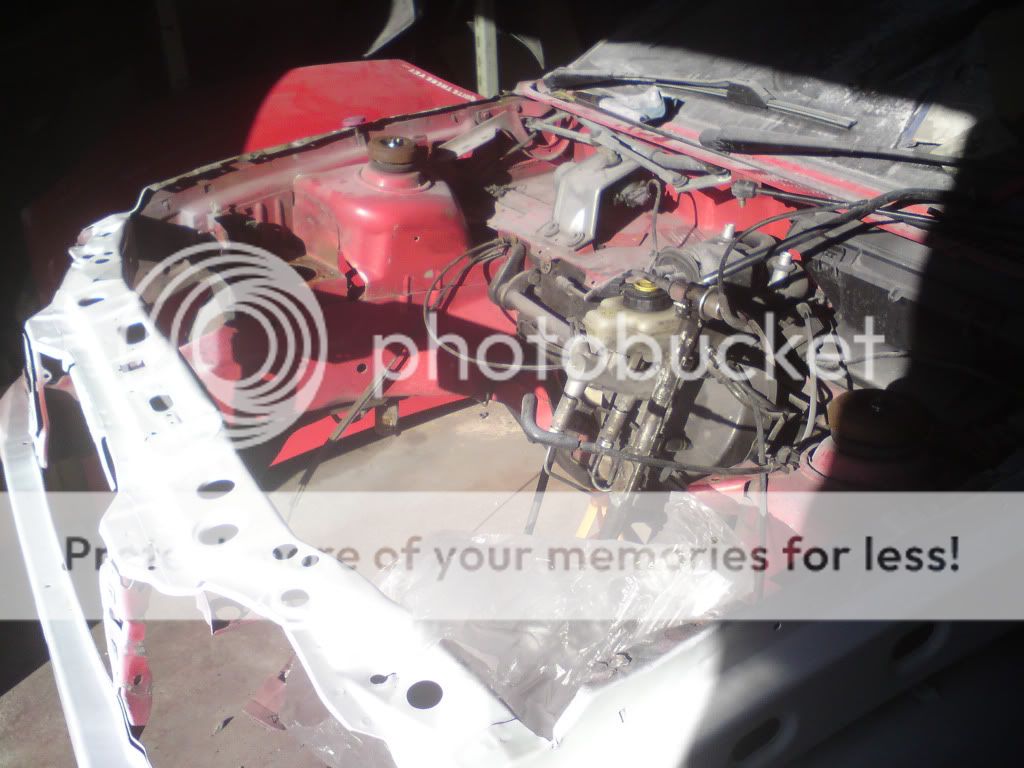
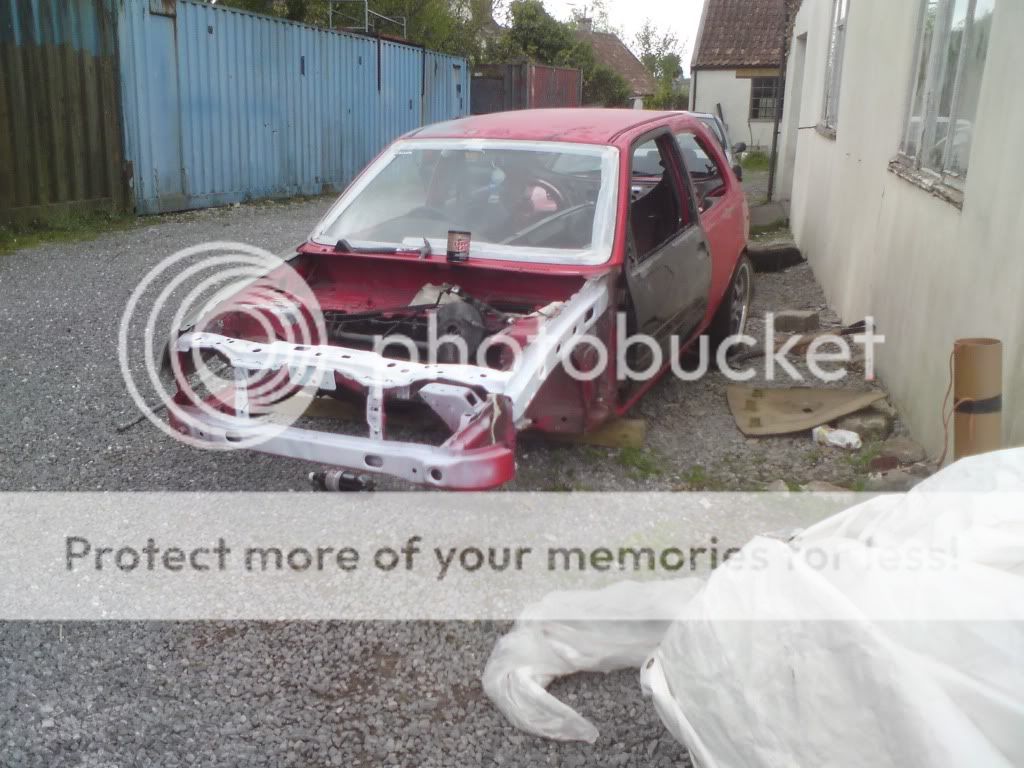
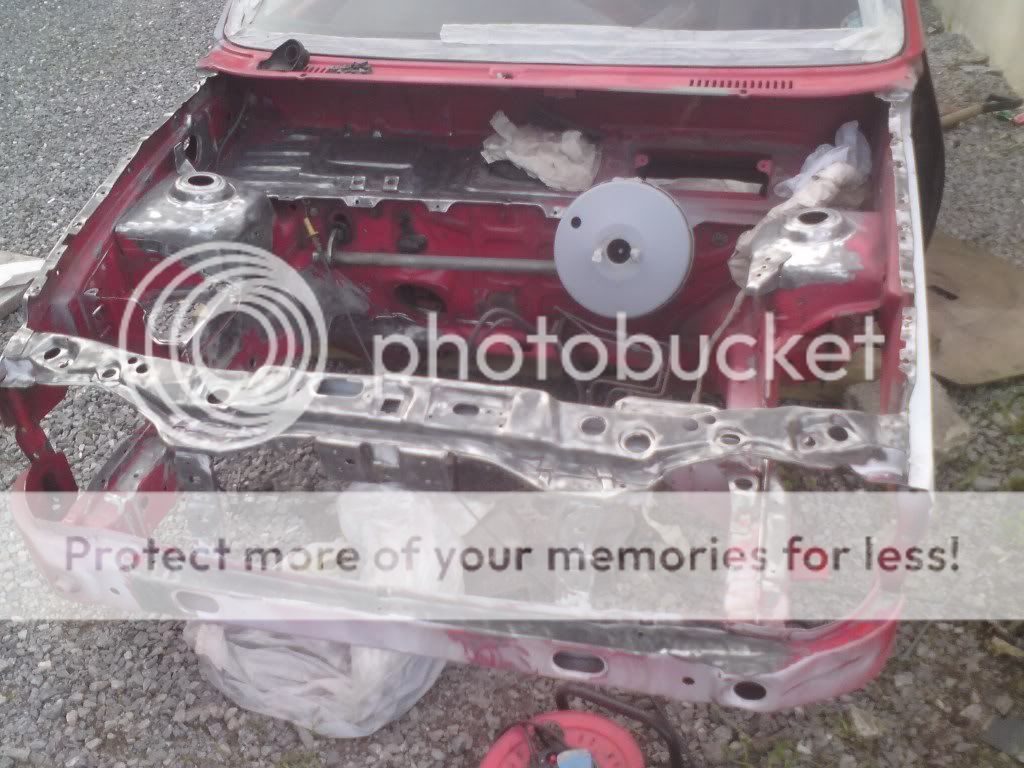
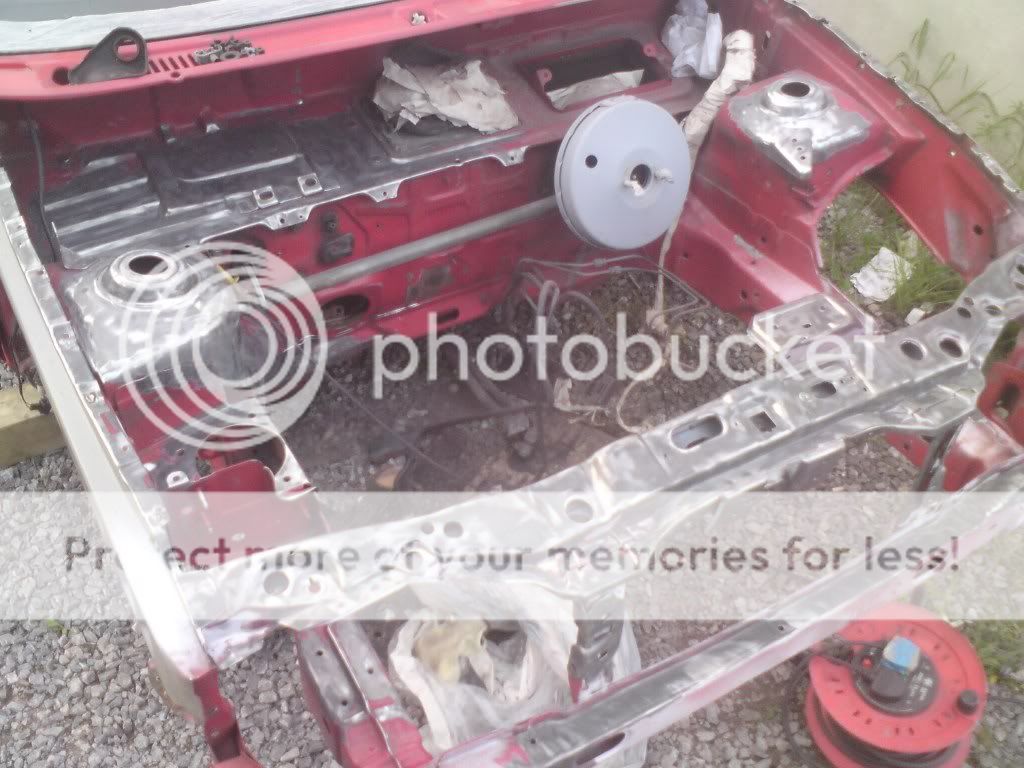
So started on prepping the engine bay first so I could refit everything in order to wheel it about
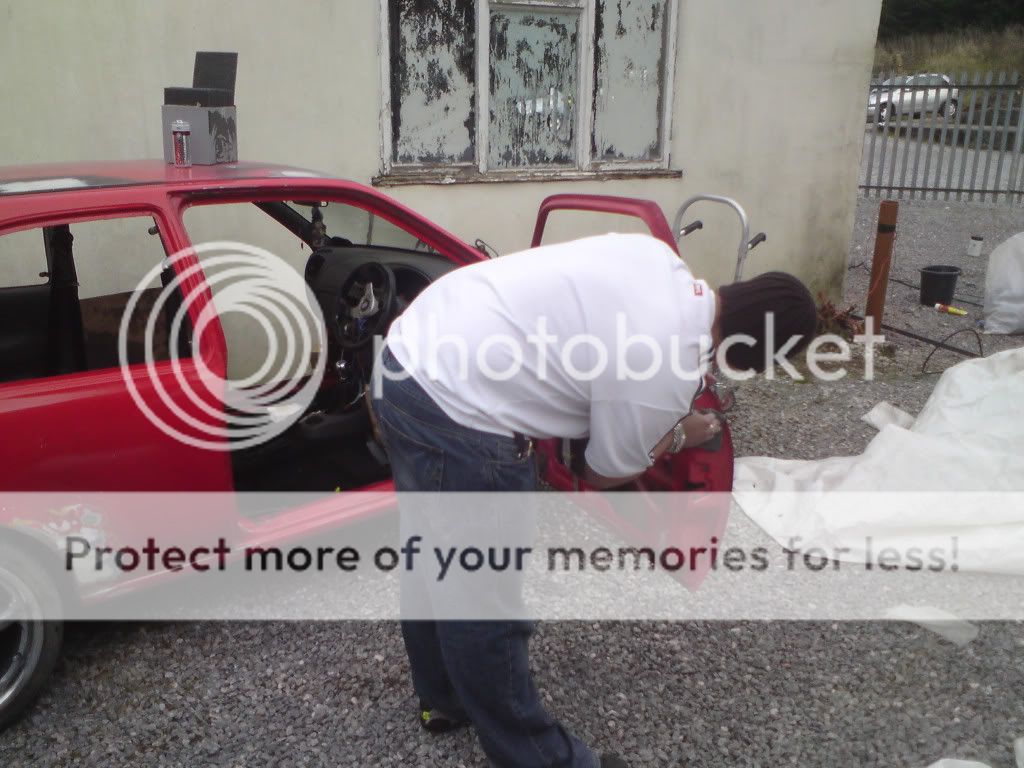
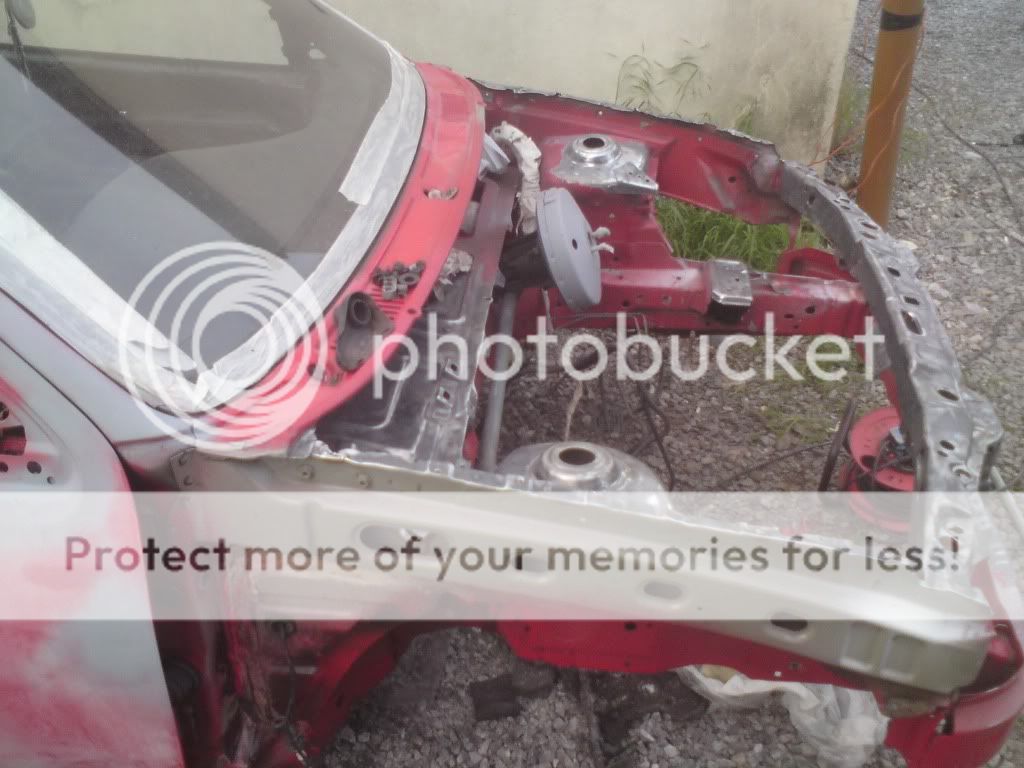
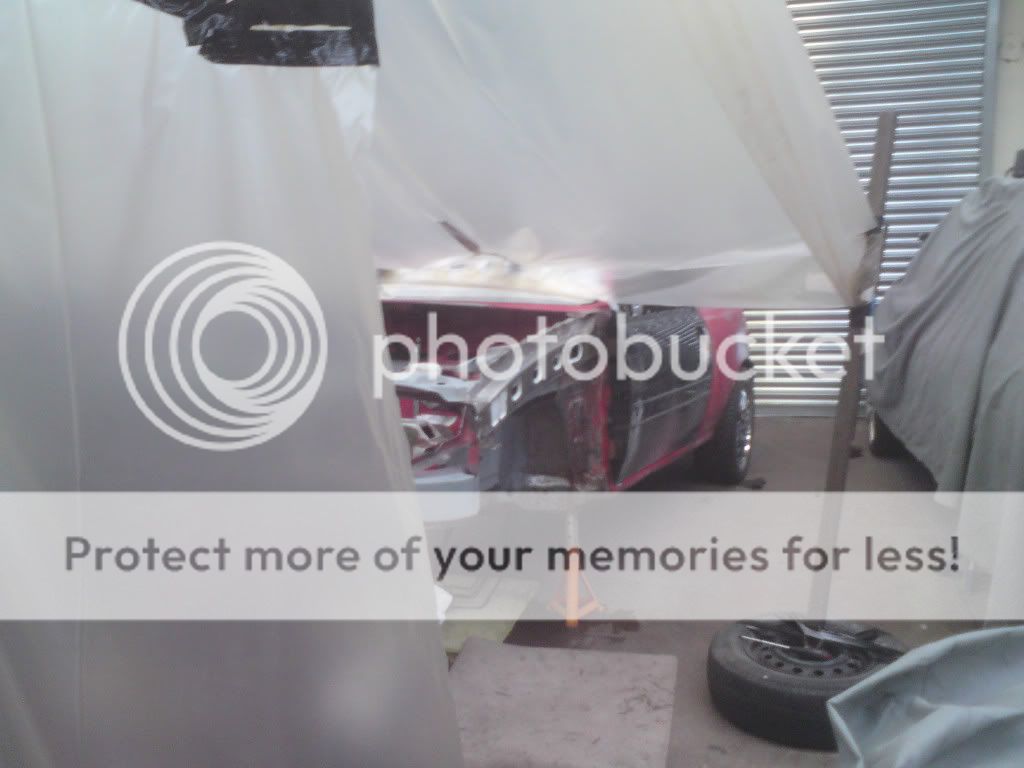
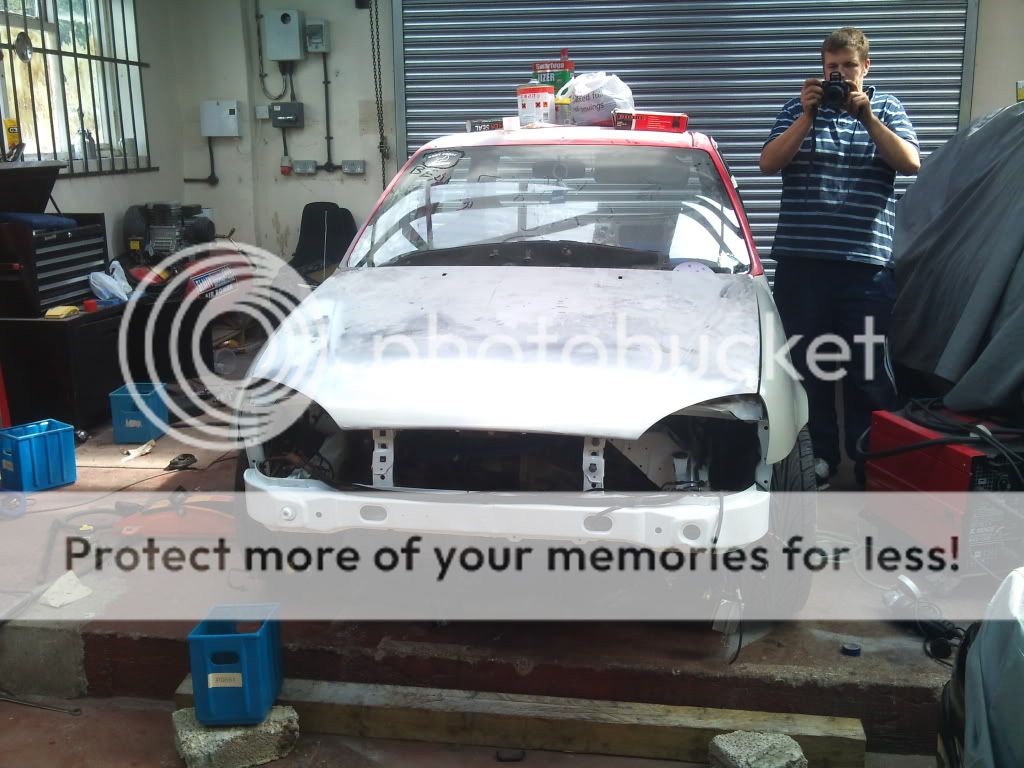
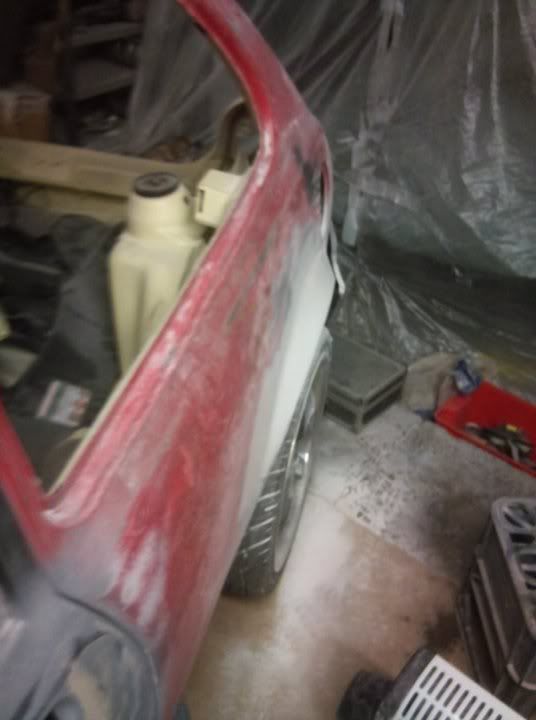
Moved the car outside as weather was ok plus unit was quite cluttered.
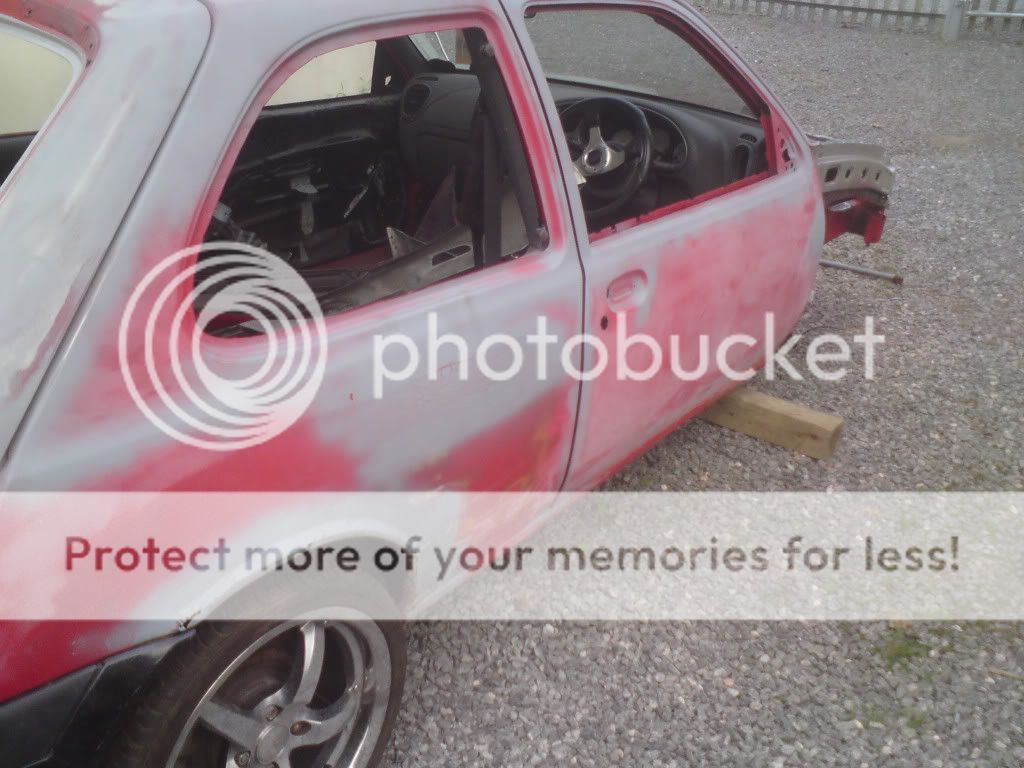
Got my mate to start sanding the car down for paint
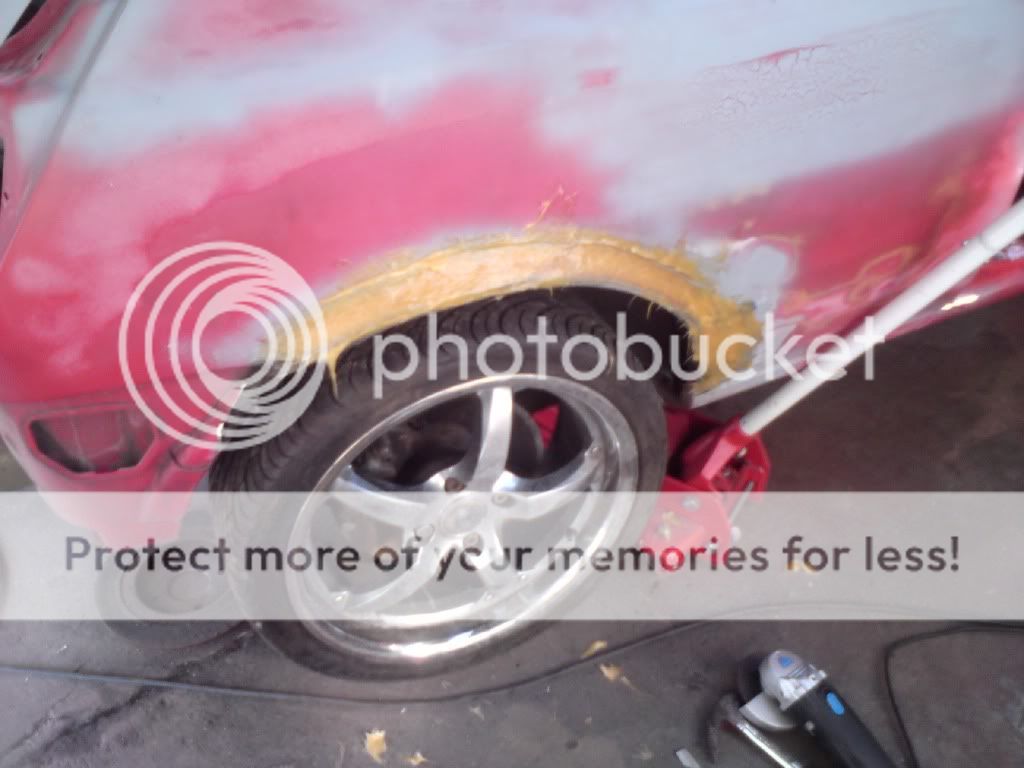
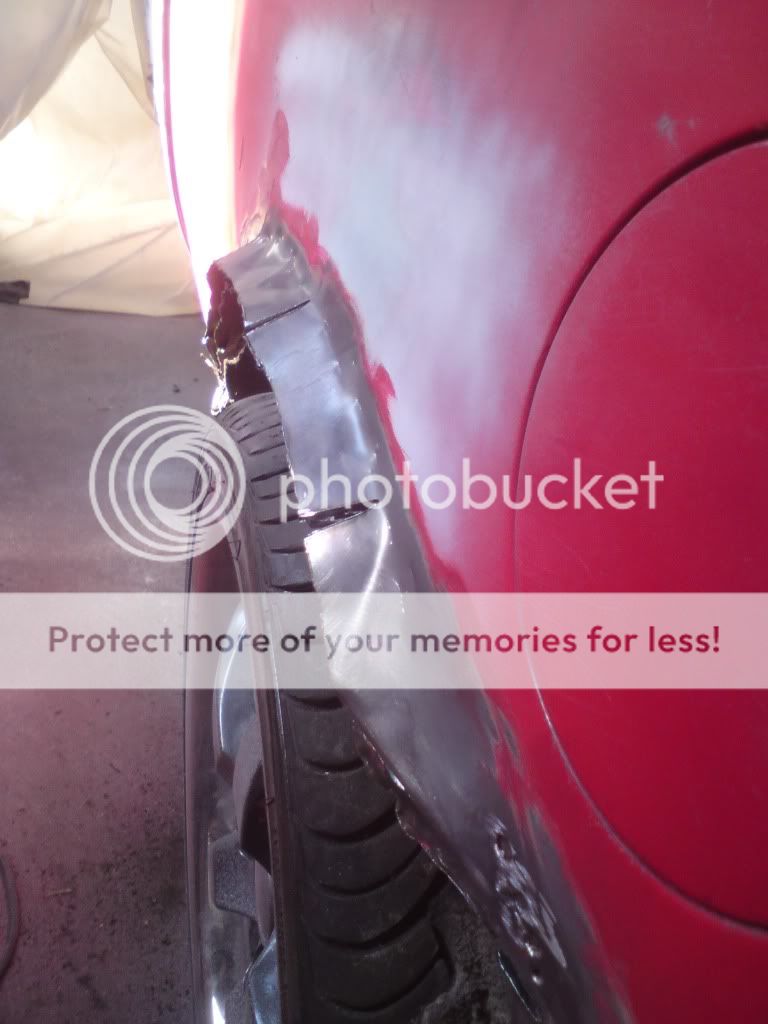
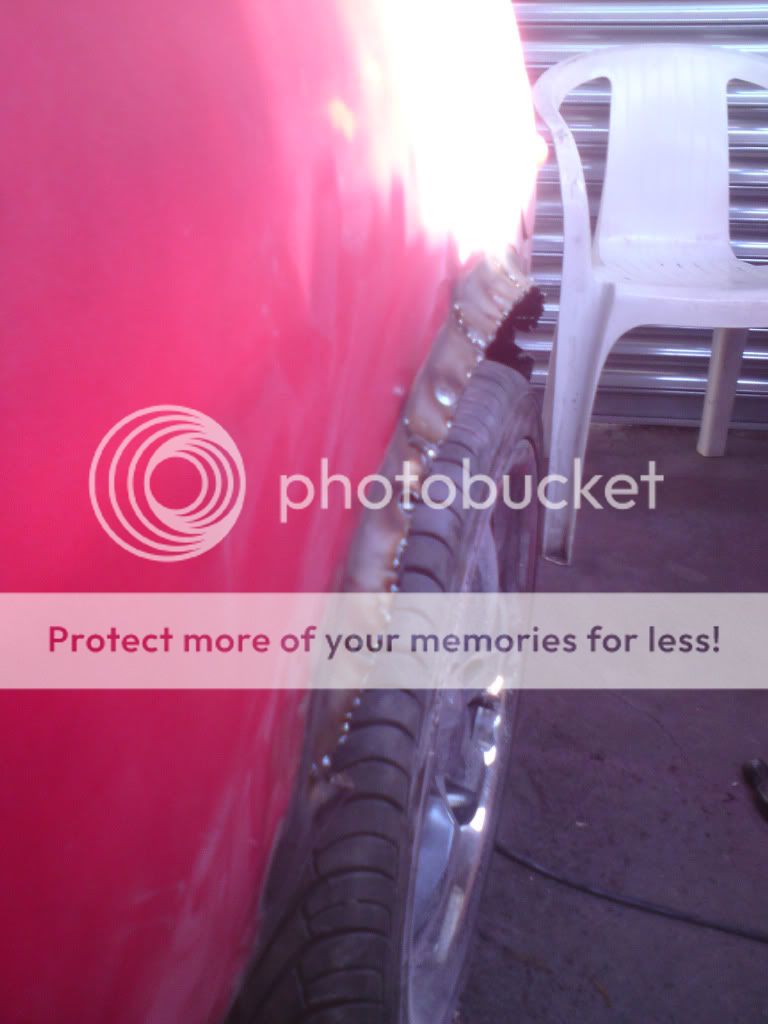
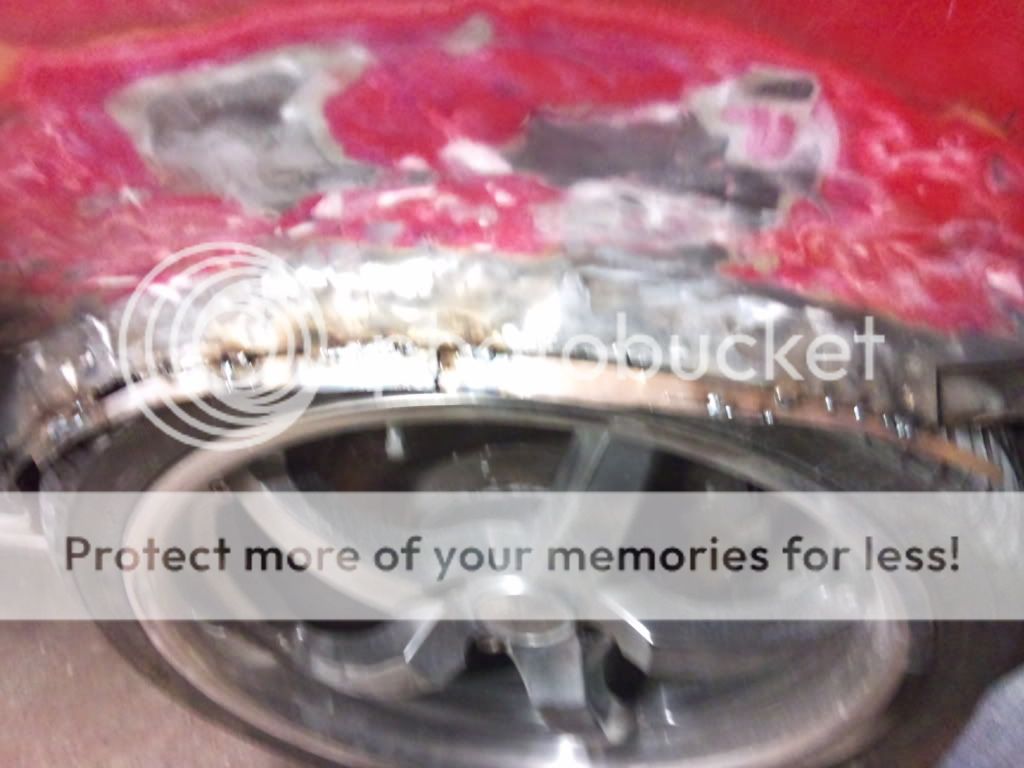
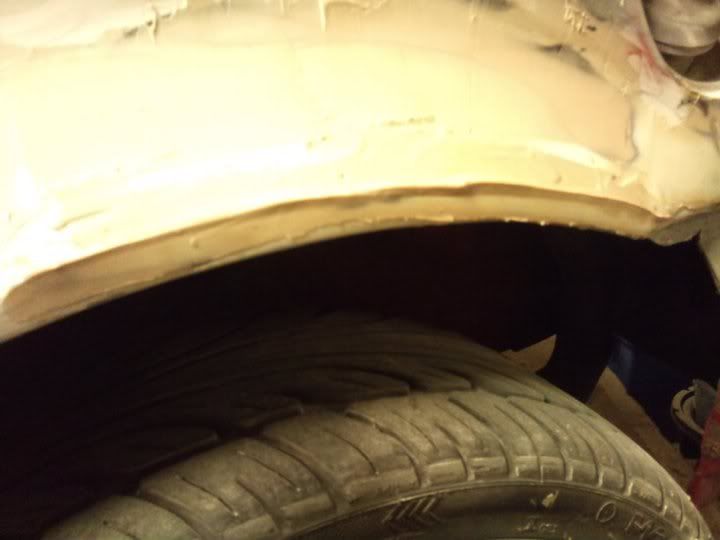
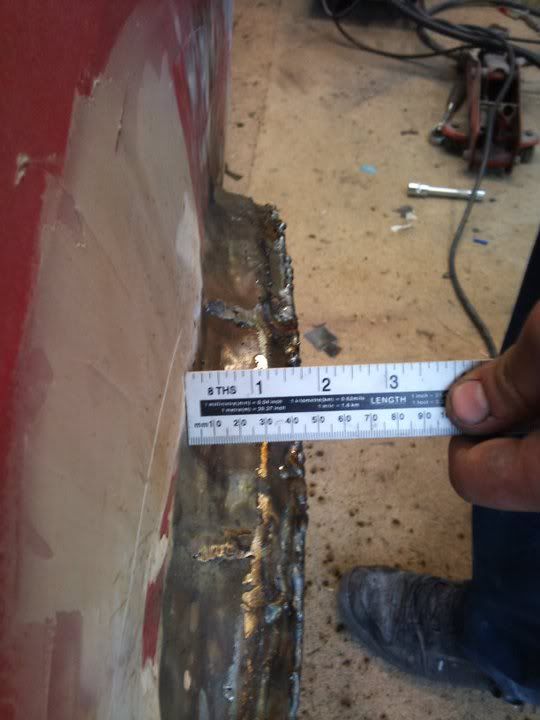
At this point I decided I would quite like to be able to put my 17�s back on but due to the rear discs from st170 they spaced the wheels out too much. So figured why not widen the arch about 20mm?
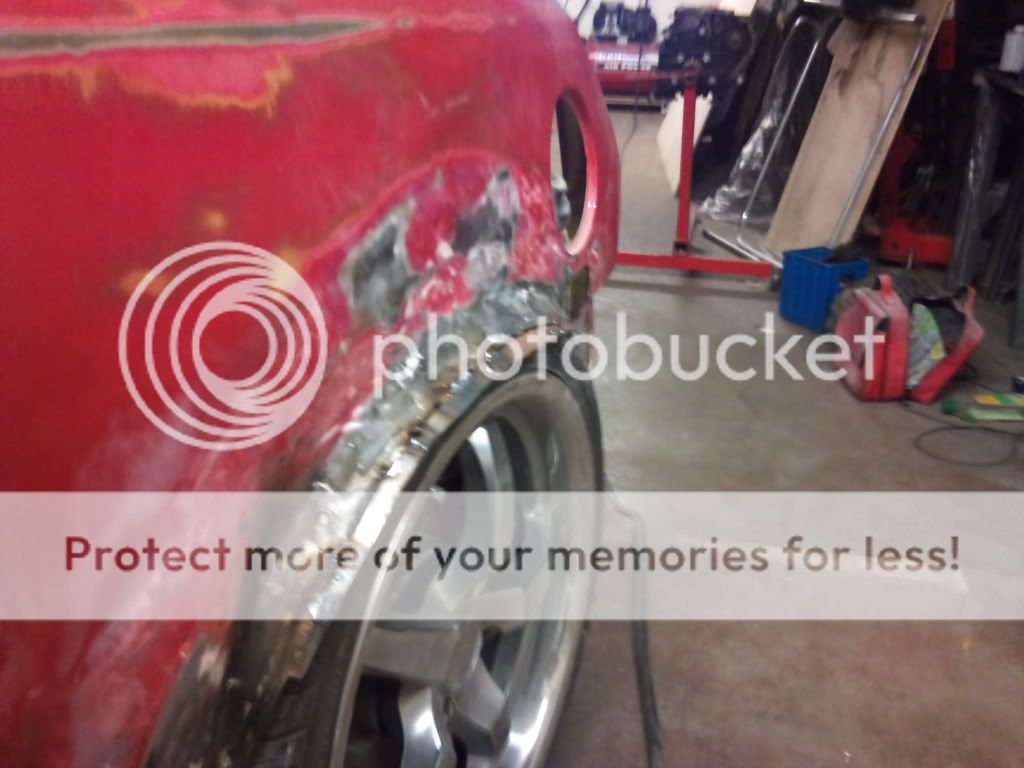
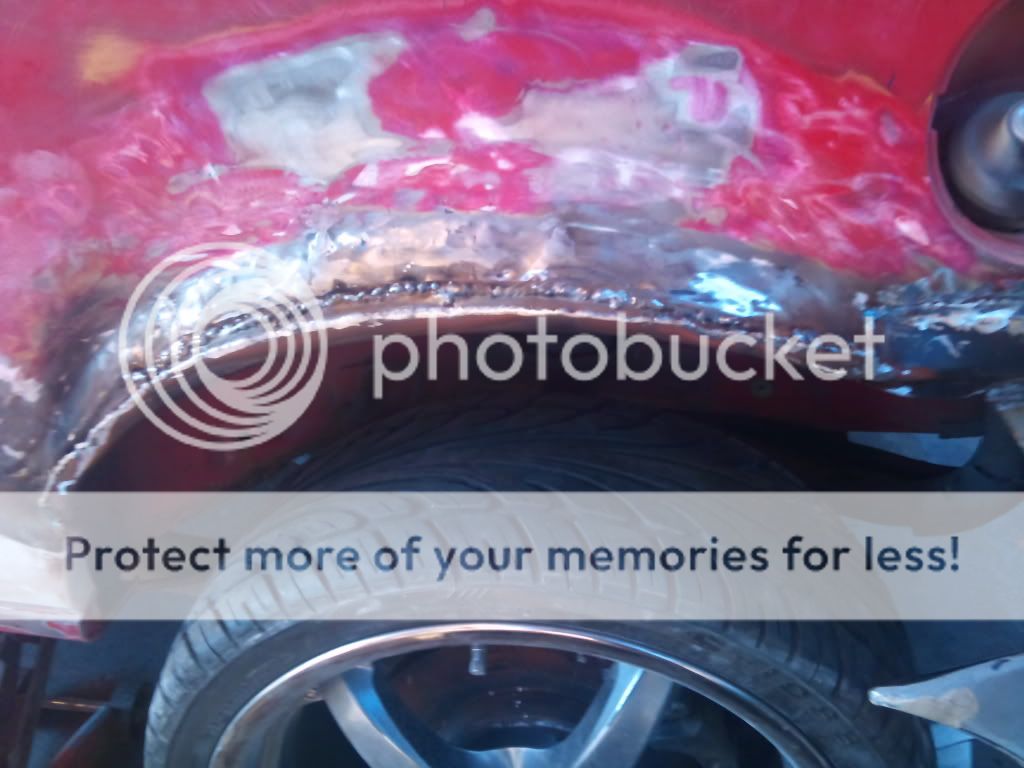
So started on that
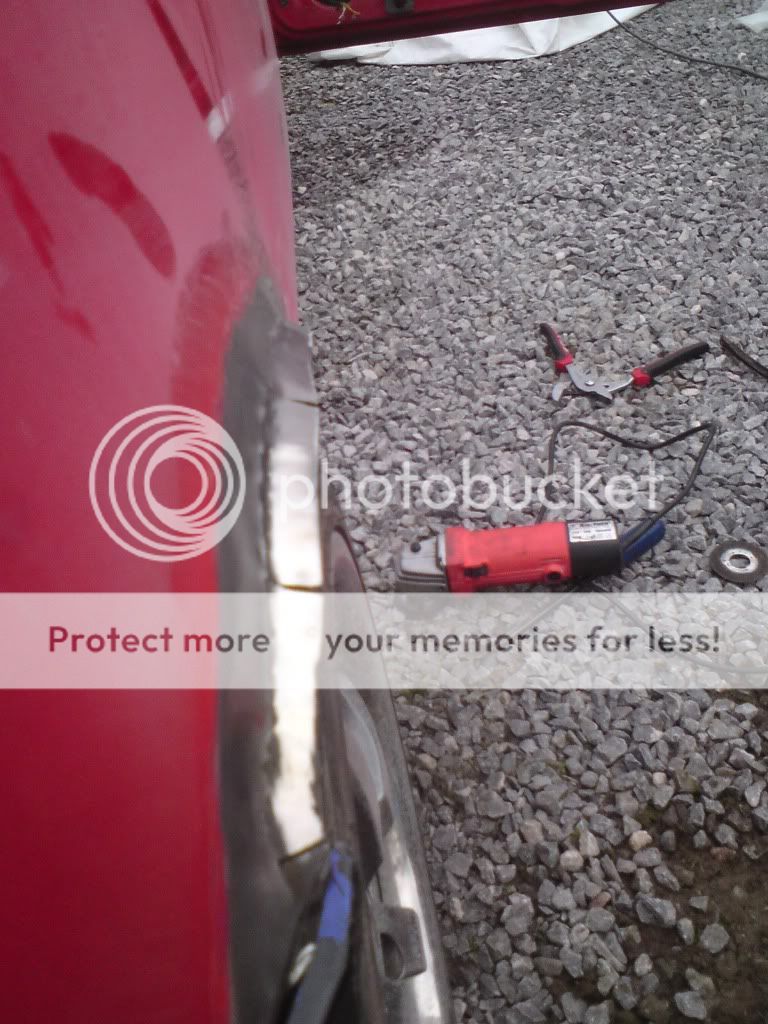
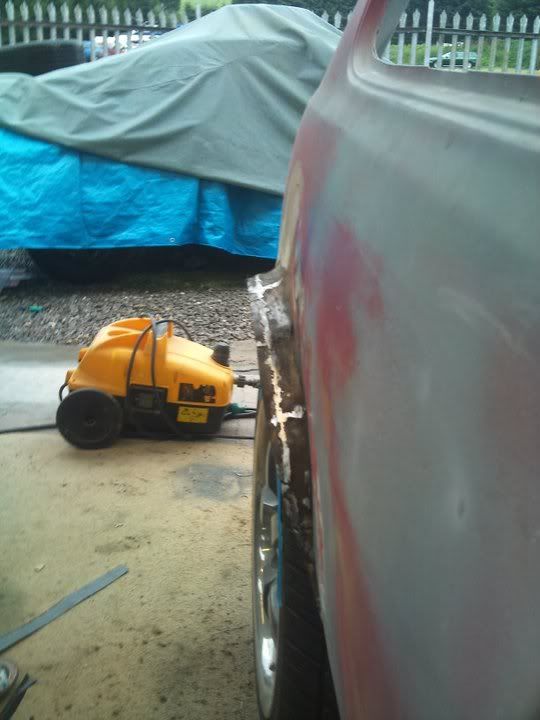
Got the lip welded back on and then a bit of primer to keep rust at bay
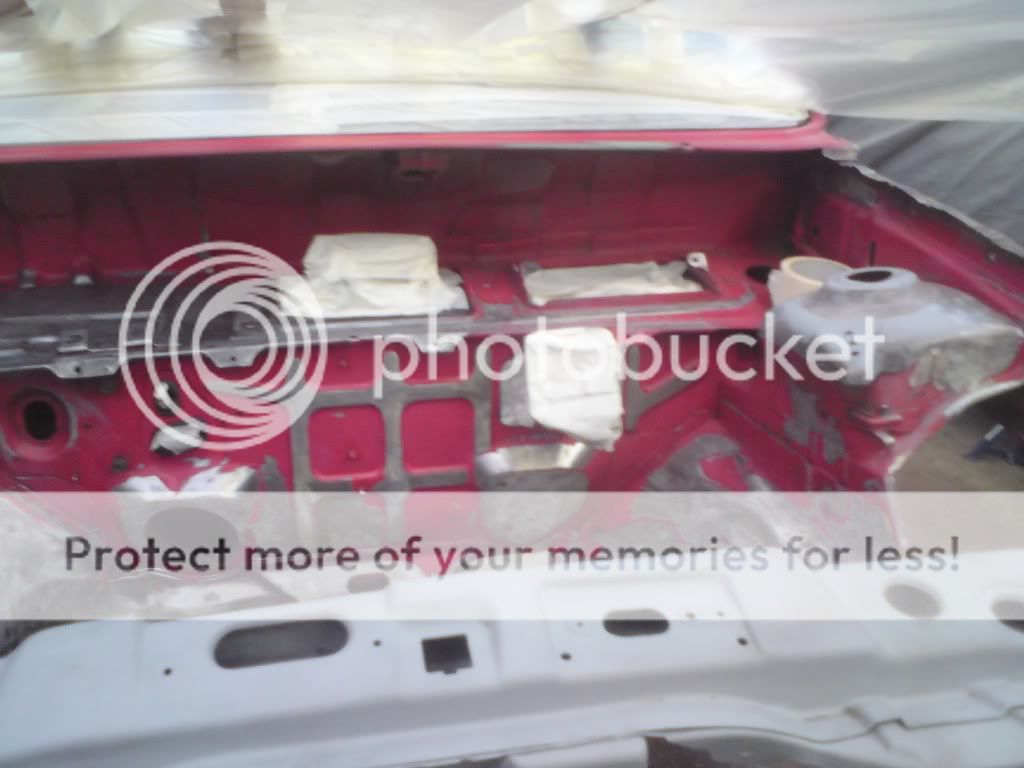
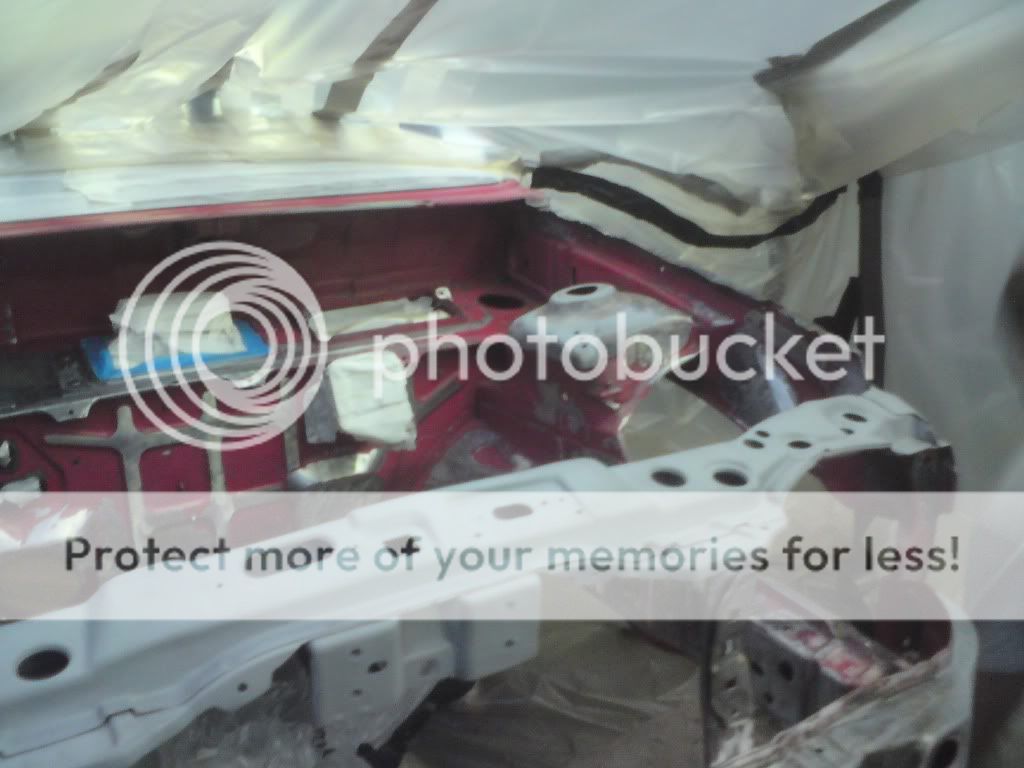
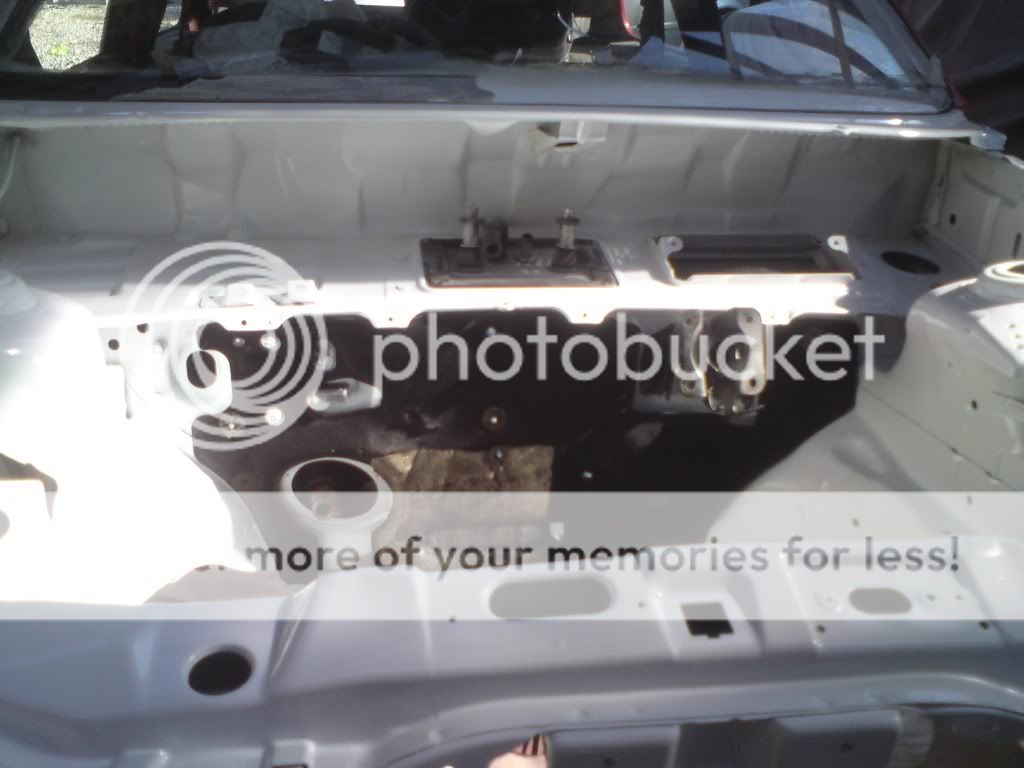
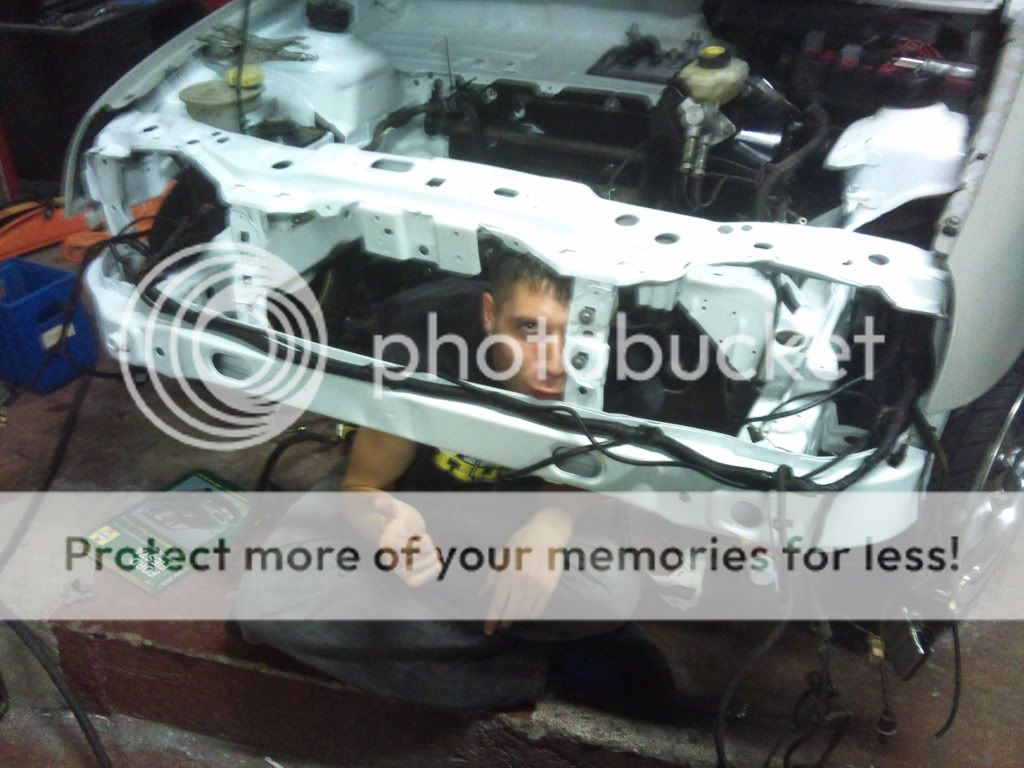
Then started to wire brush the whole engine bay to bare metal to make sure it was rust free and smooth for paint. Also stops the red appearing through the white.
That being done we moved it inside for final bay prep and masking etc.
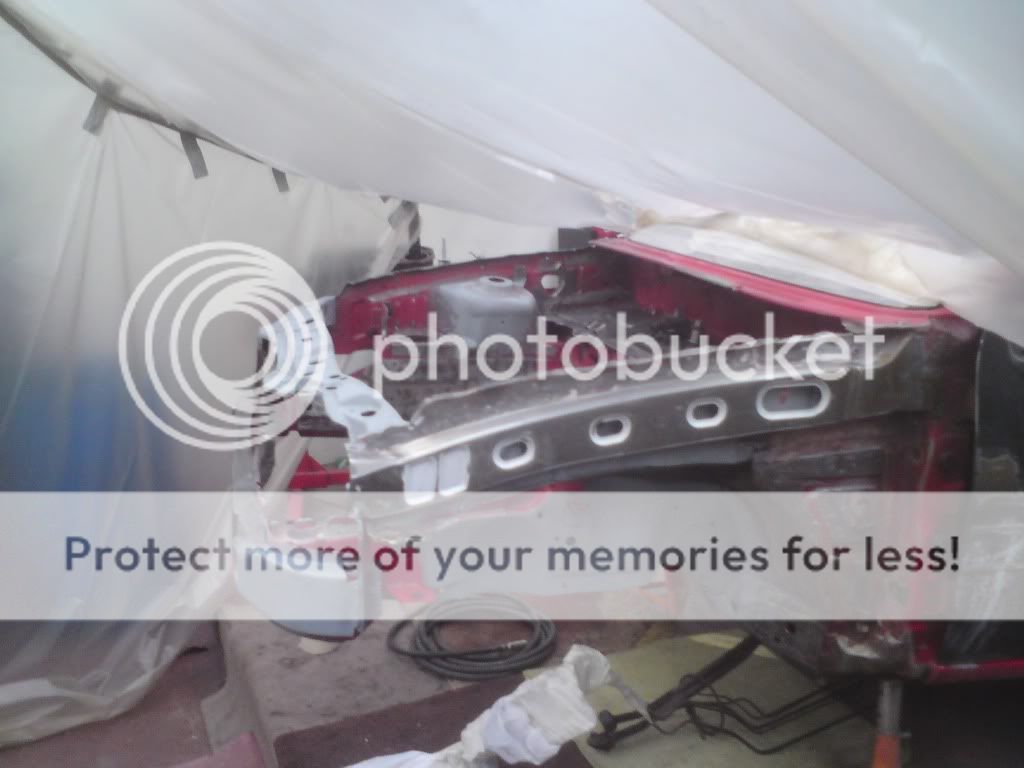
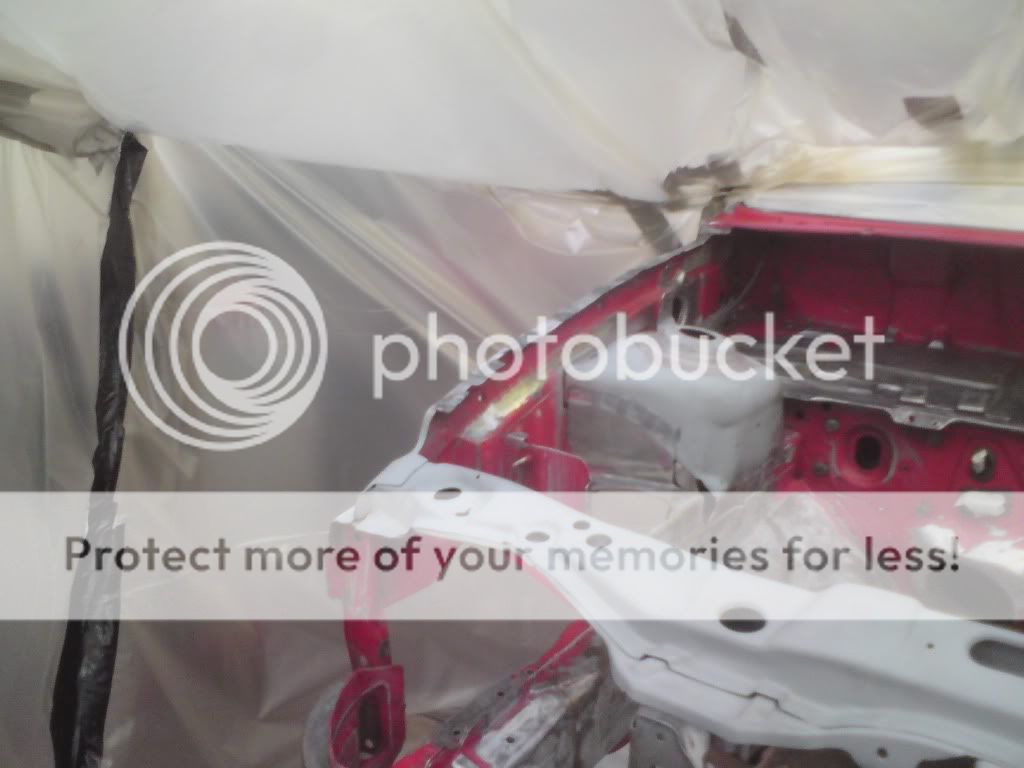
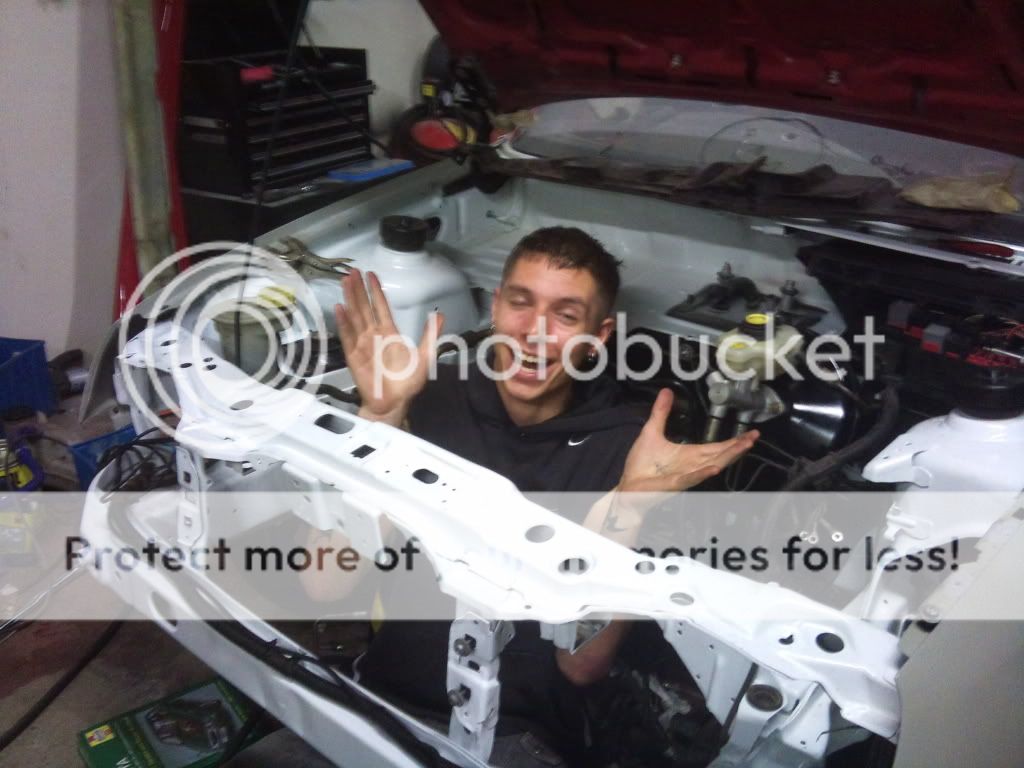
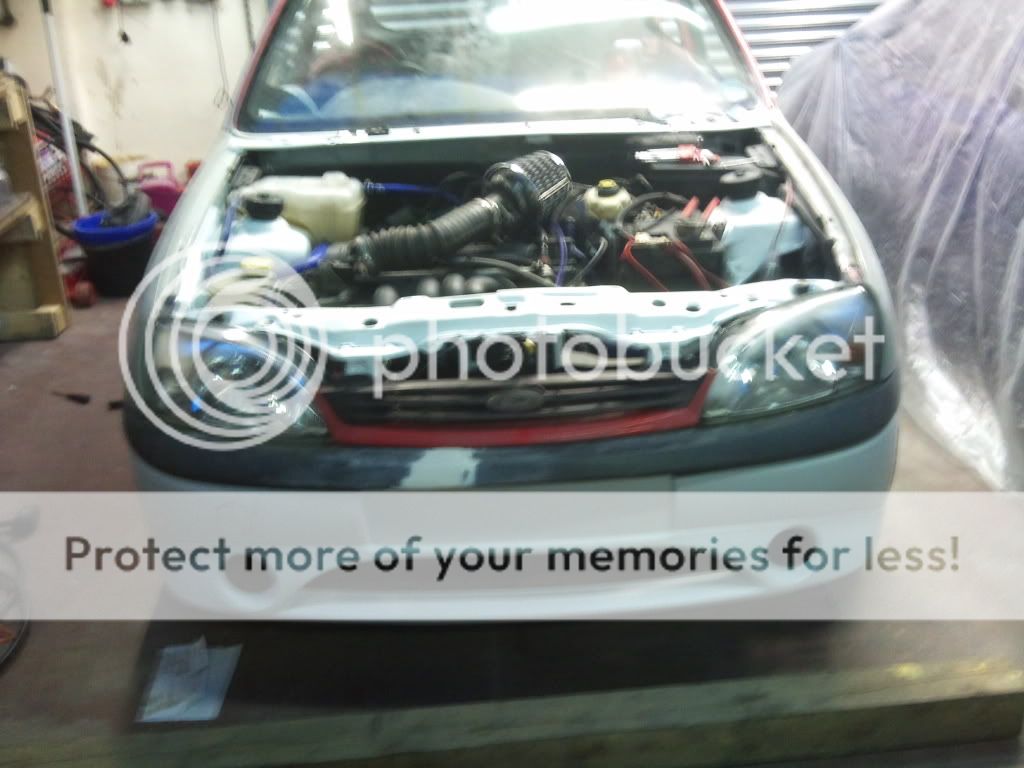
Then on with primer
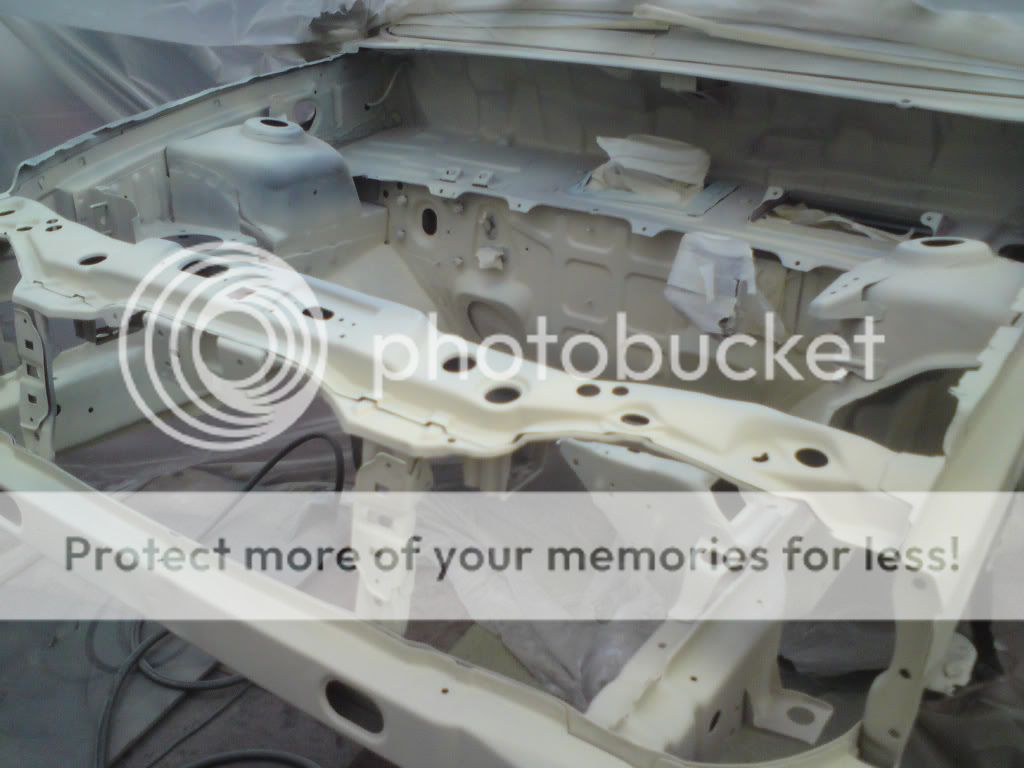
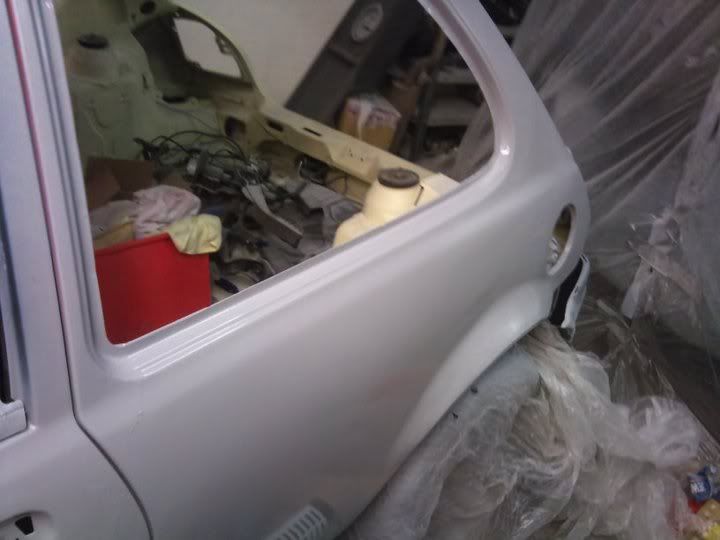
Then the white
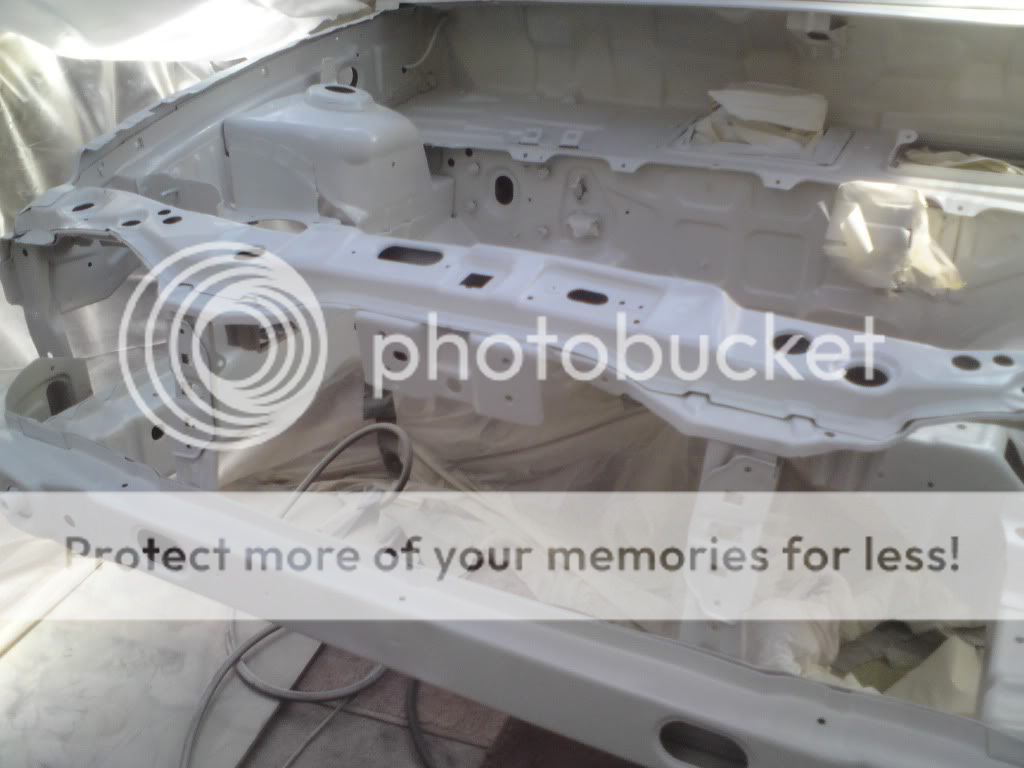
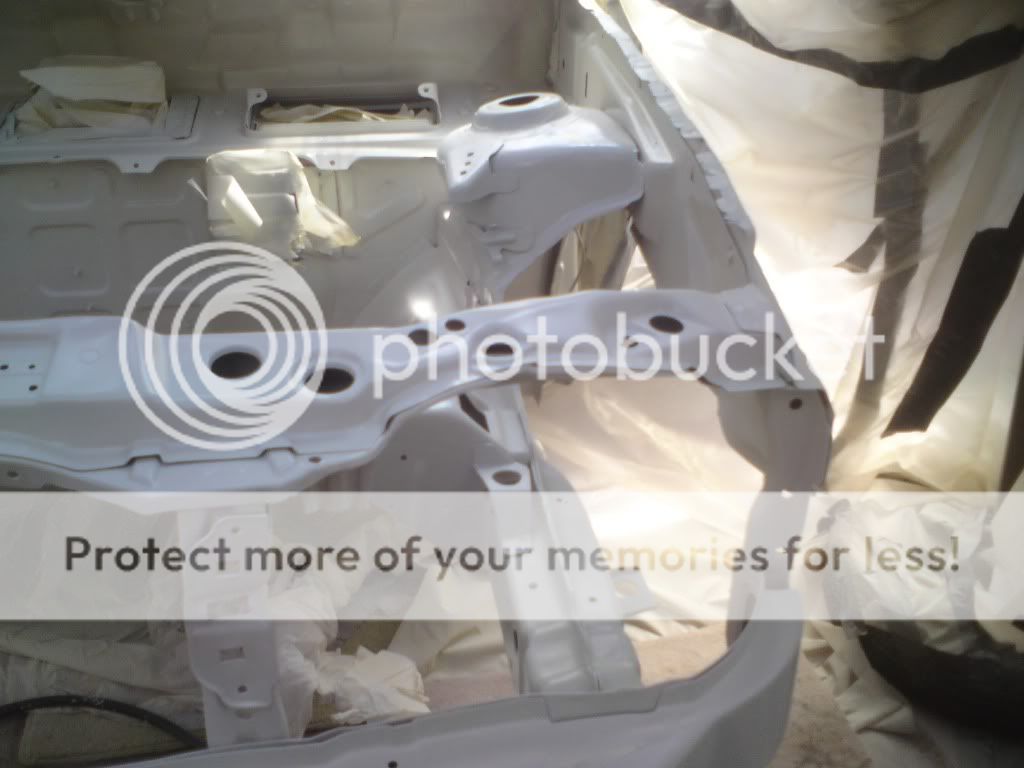
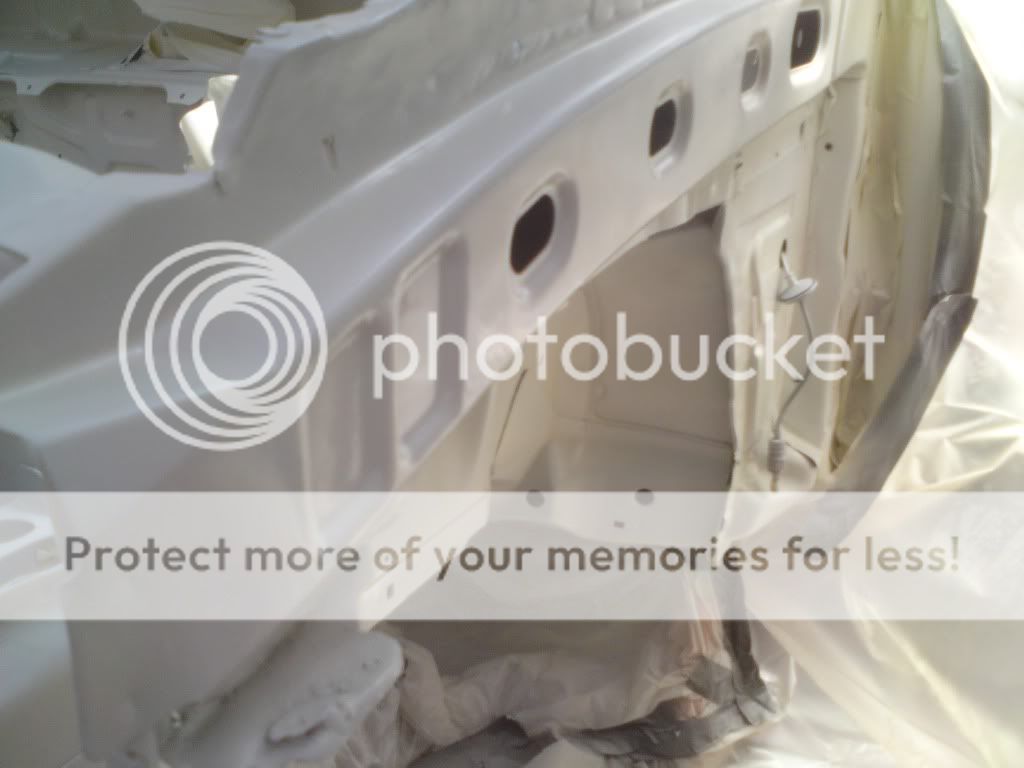

Unmasked
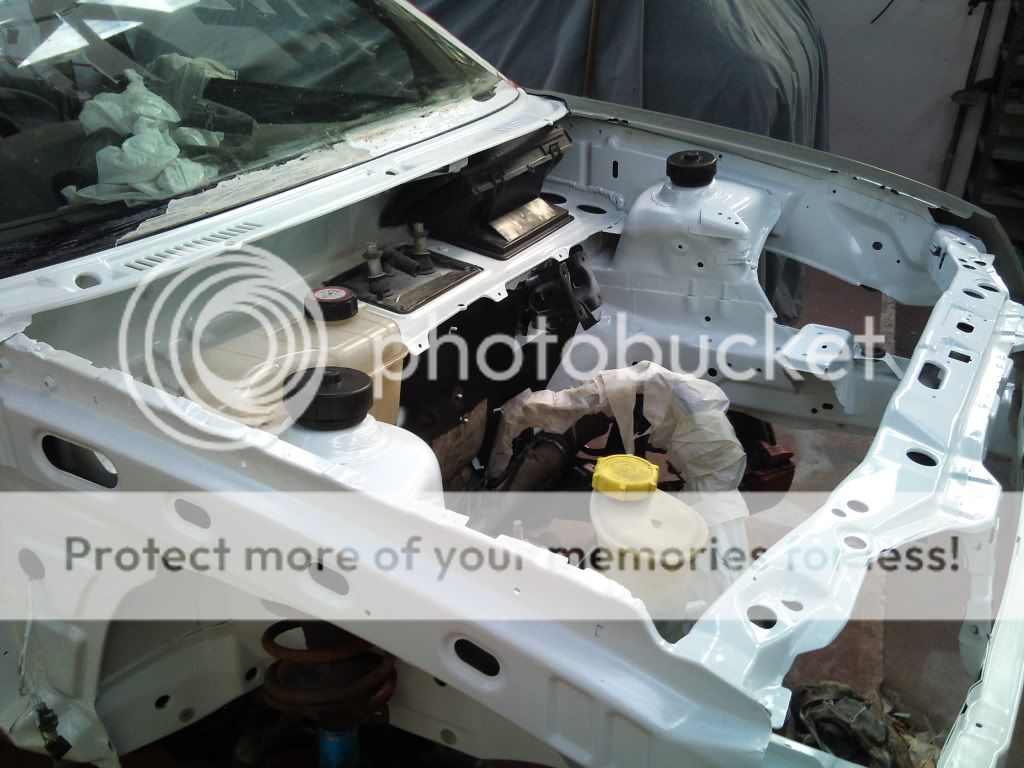
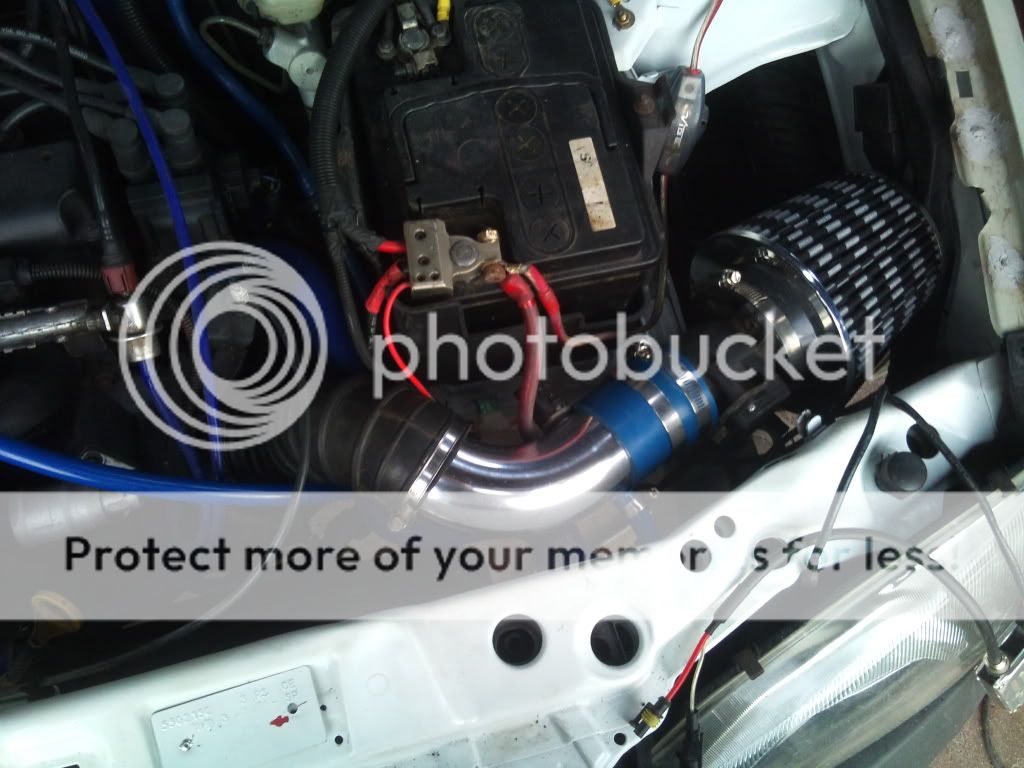
Starting to reassemble the bay
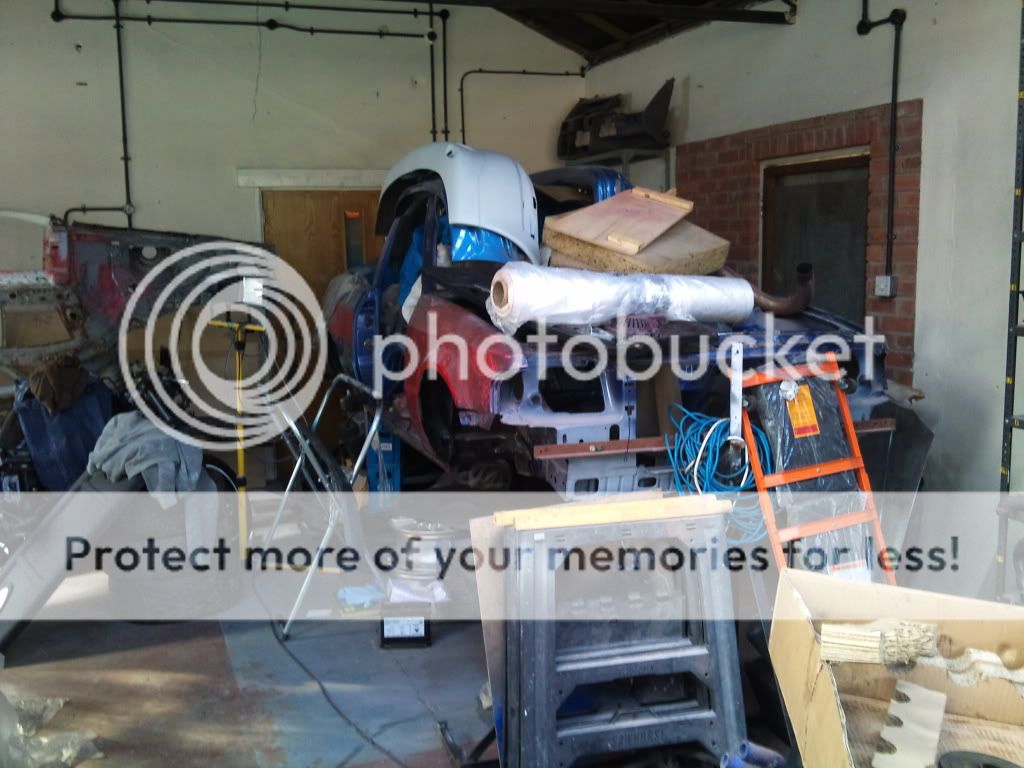
Everything in unit seems to be a shelf for other peoples stuff...
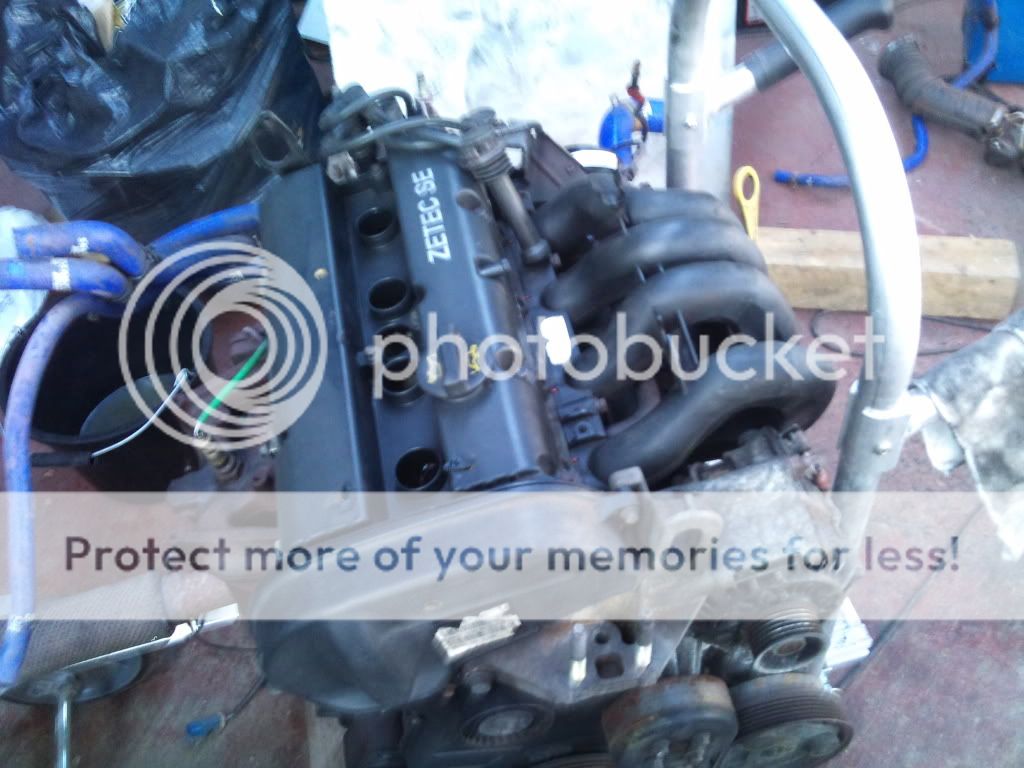
Engine:
Escort LoL
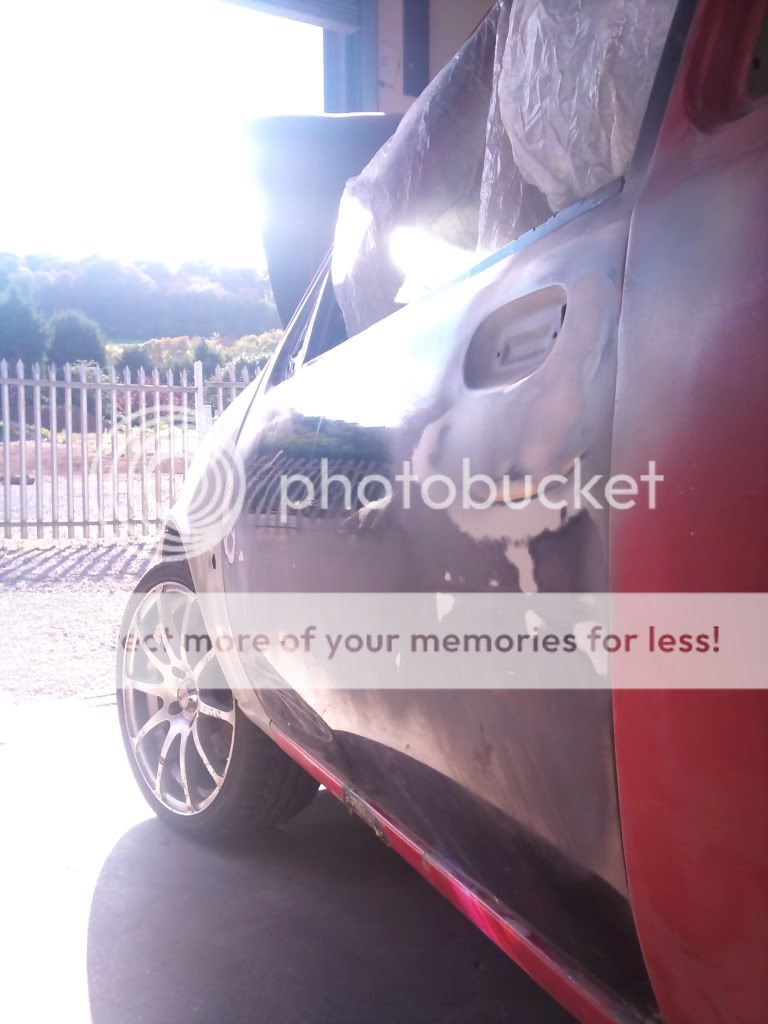
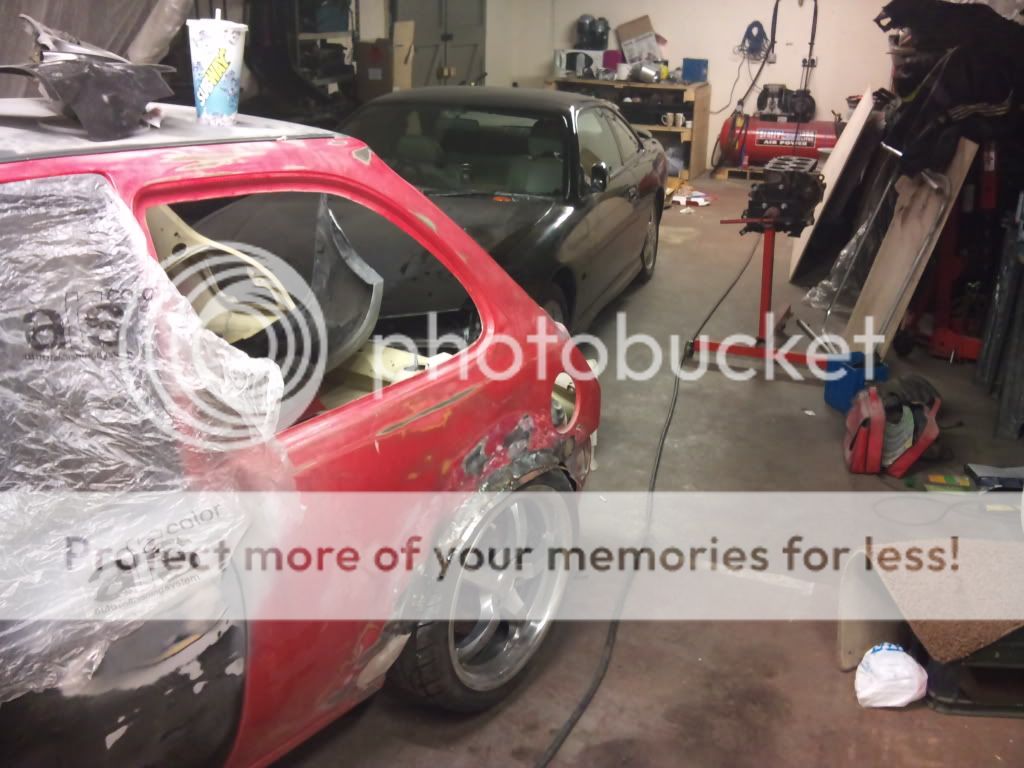
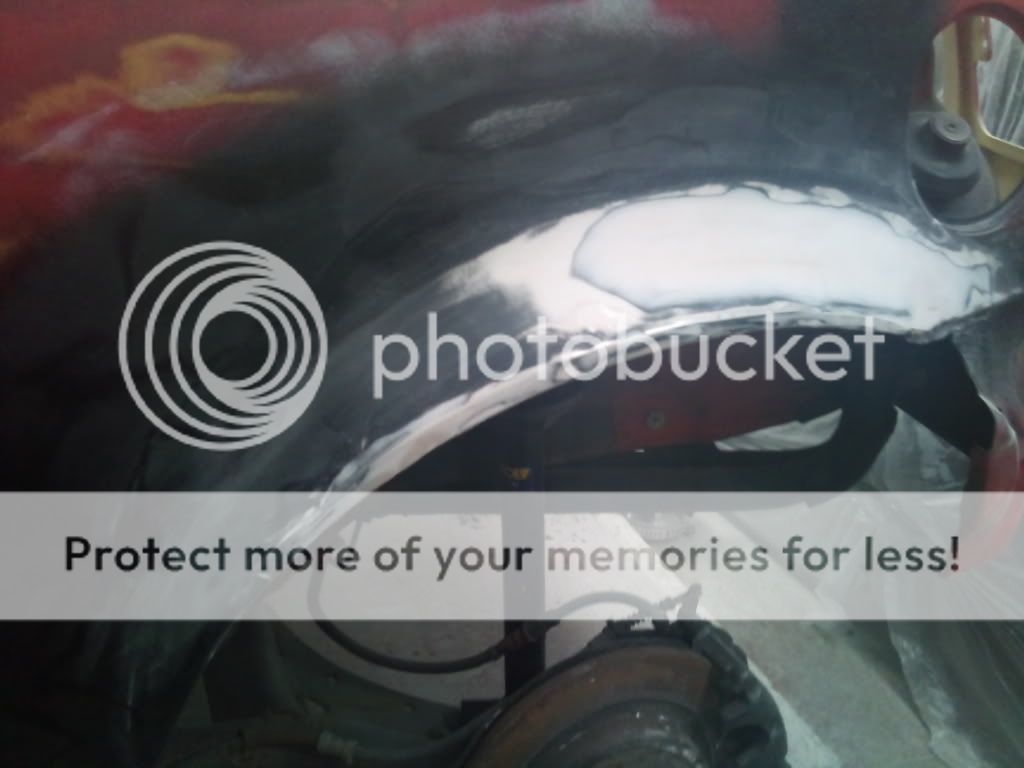
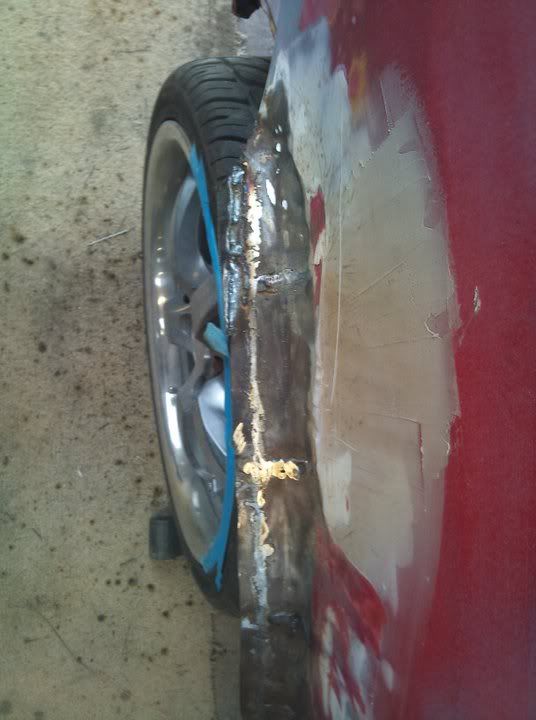
So with the bits ready for the engine, I skipped to the arch again and slapped some filler on.
Looked ok, but not wide enough as other side needs to be double
Started on other side
Also didn�t seem to be wide enough
Oh well.
Anyway, managed to get a bumper off eBay for �70 bargain for a ZS bumper right?
WRONG
This one was worse than the one I got rid of.
Was very irritated indeed. It had been crashed before and seemed to of split on the back, and then repaired and left without any mounting bolts!!! Very annoying!!!!
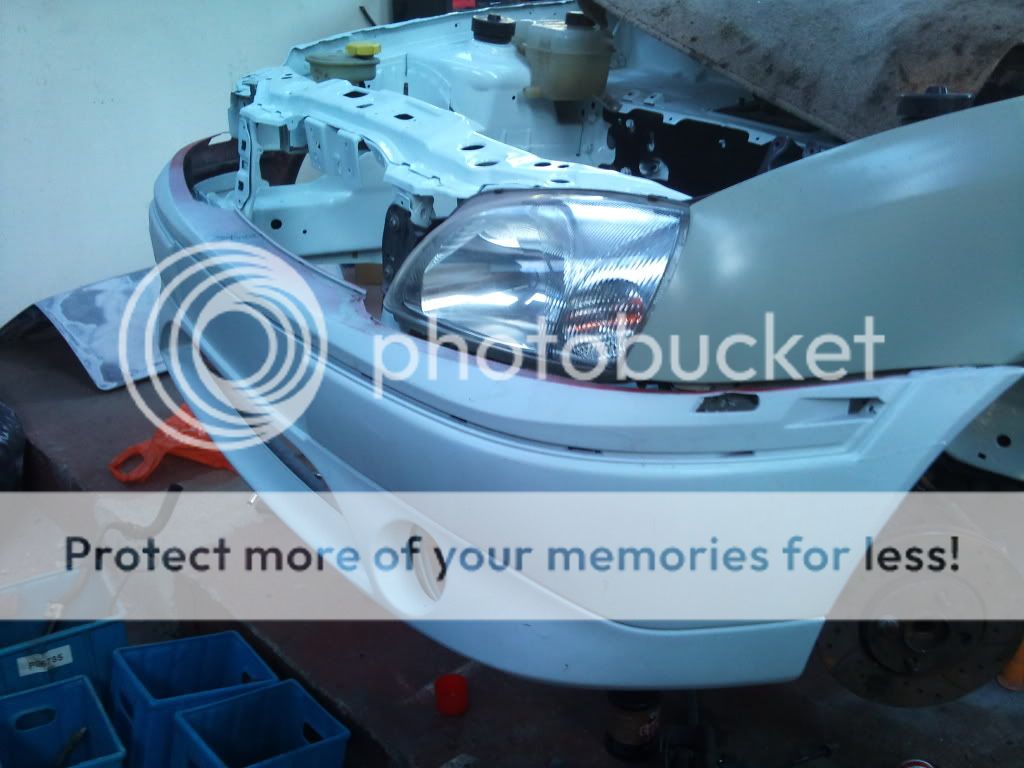
But trial fit with my only usable headlamp
And the wing put on
So welded it on
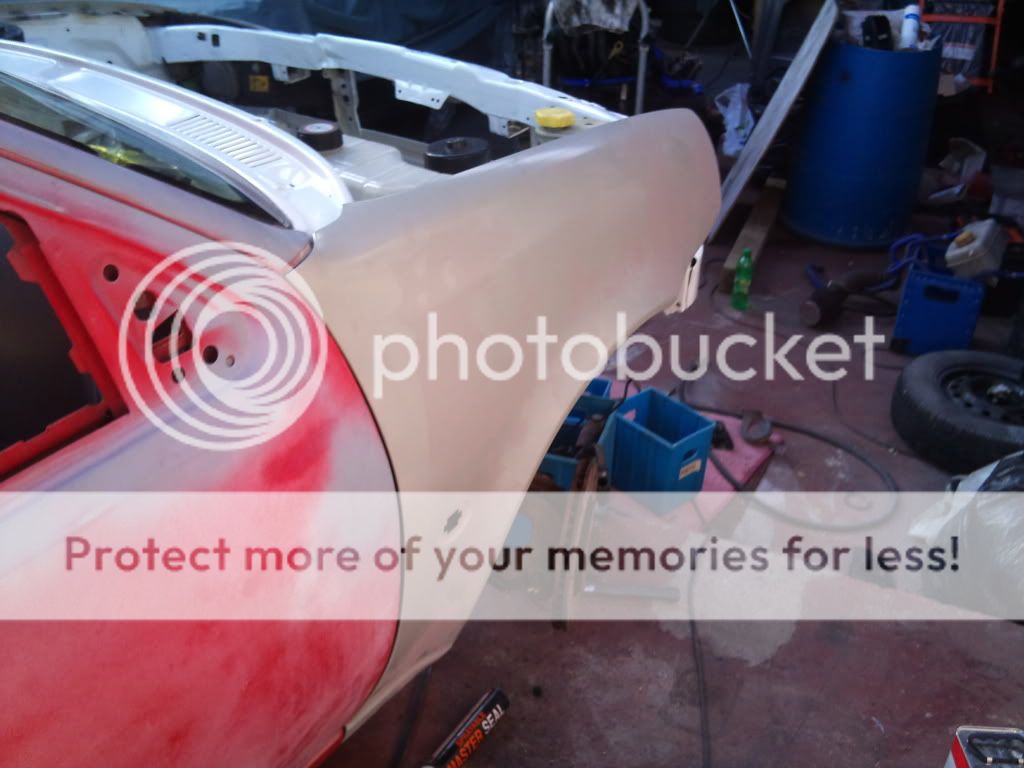
Got a new door too as you can see. Multicolour you like?
Placed other wing on
Then was engine time
My mate Beanifer being a spanner...
We were putting the rack and power steering pipes on.

Bonnet on to keep out the dust
Next was the struts and hubs to go back on.
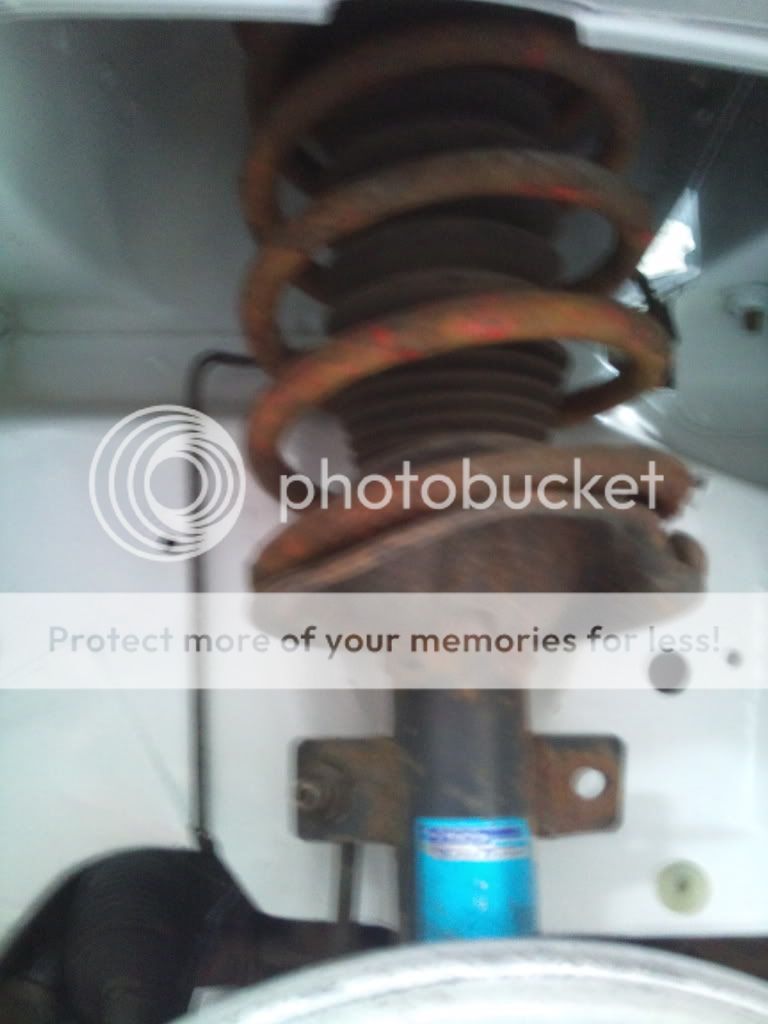
Needless to say they were rubbish so new springs bought which is when I found the rear struts were knackered
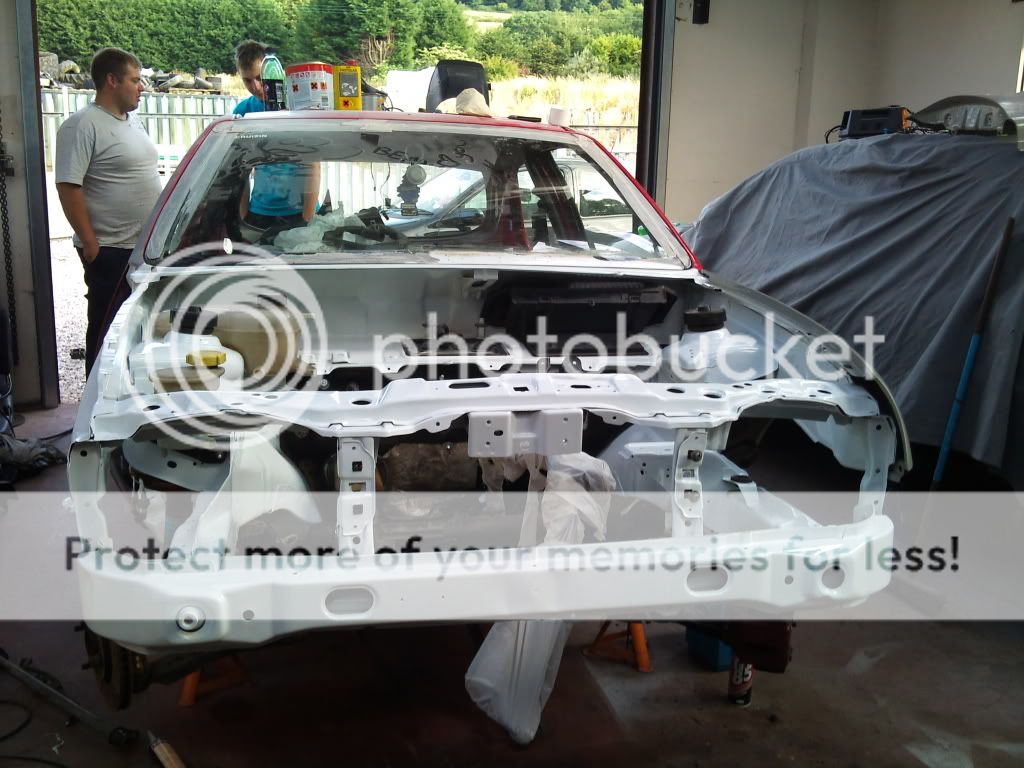
Starting to take shape...
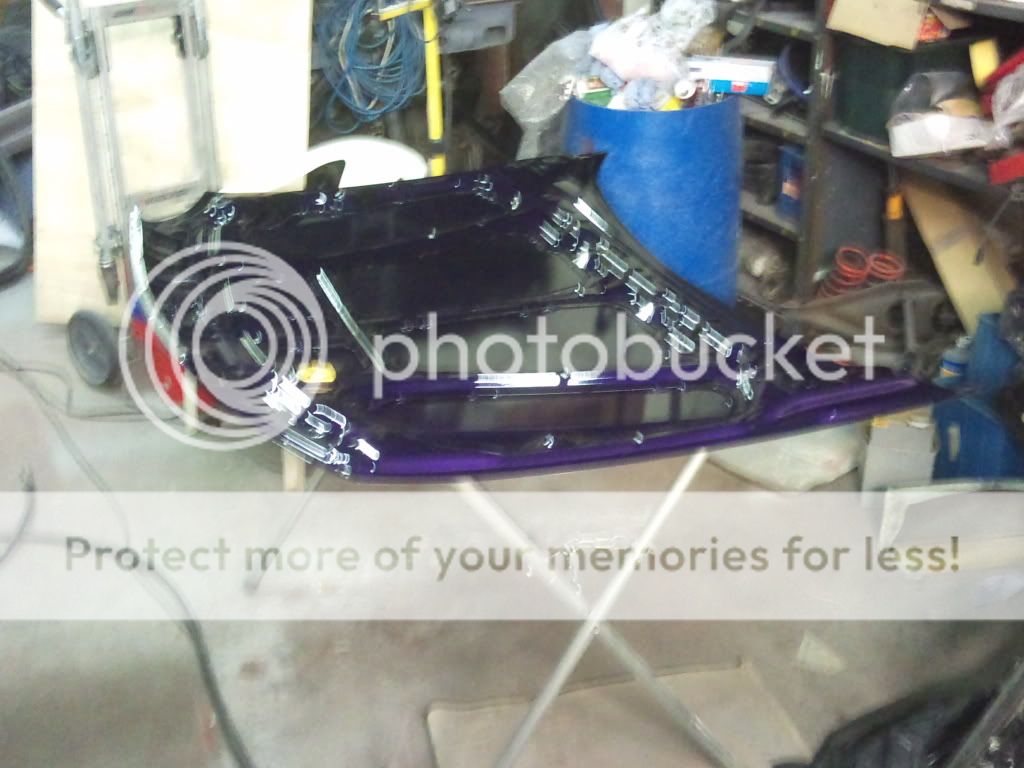
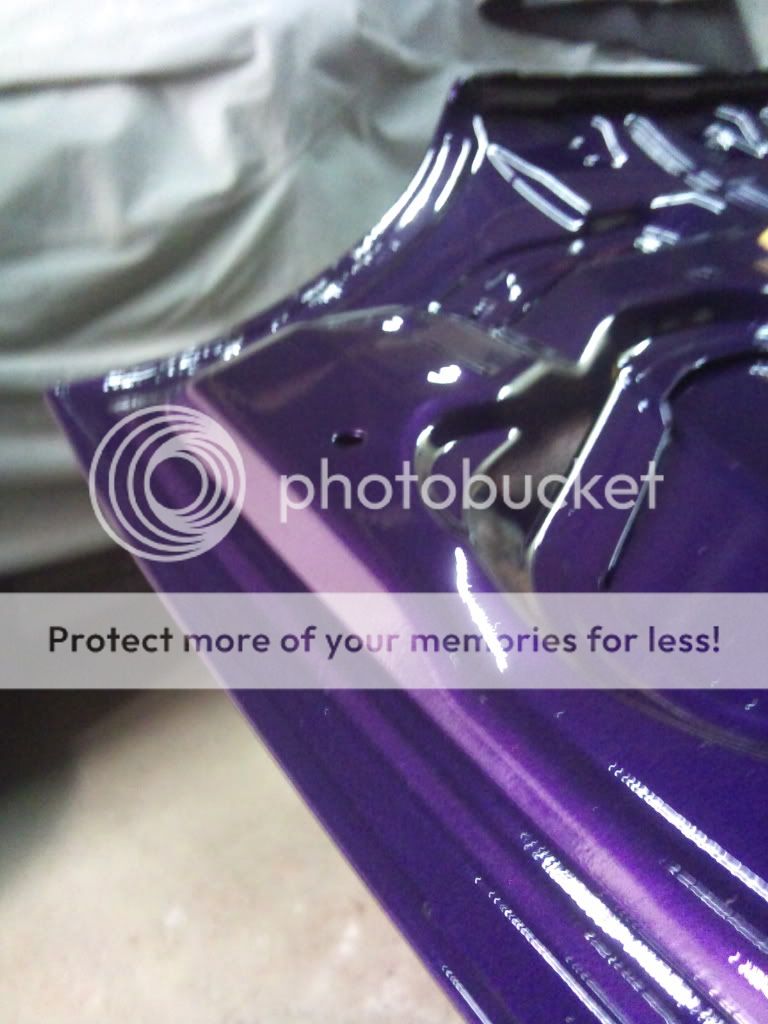
Sprayed the underside of my bonnet a funky pearl, with the panther black on topside
Making sure everything was lining up ok
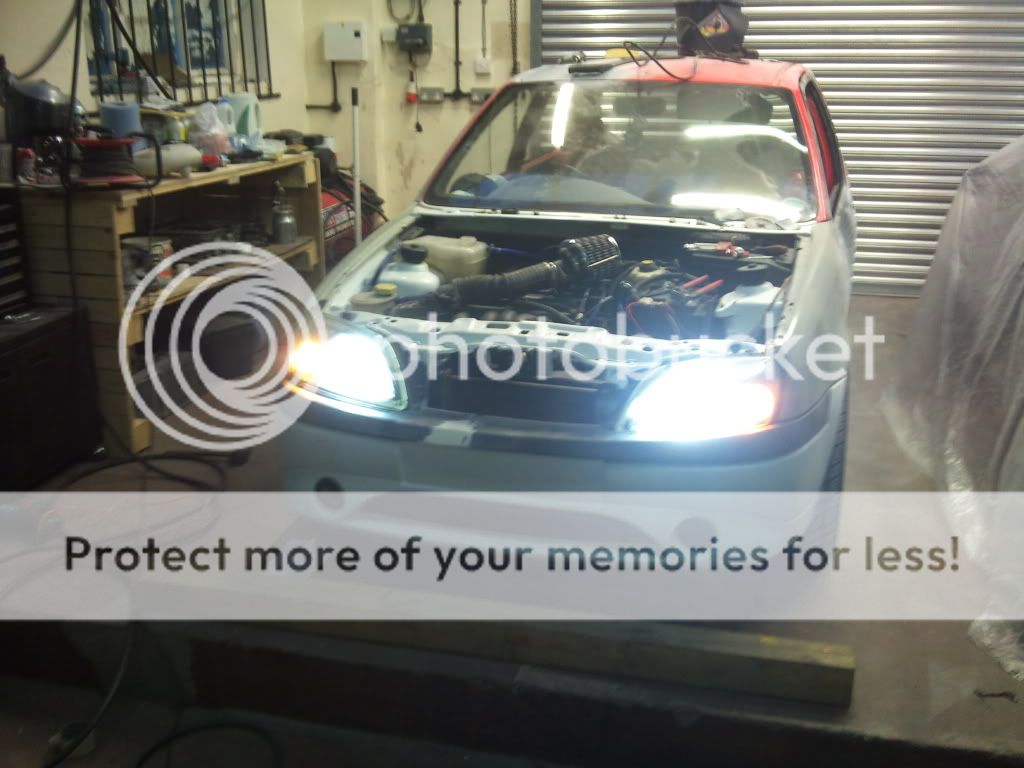
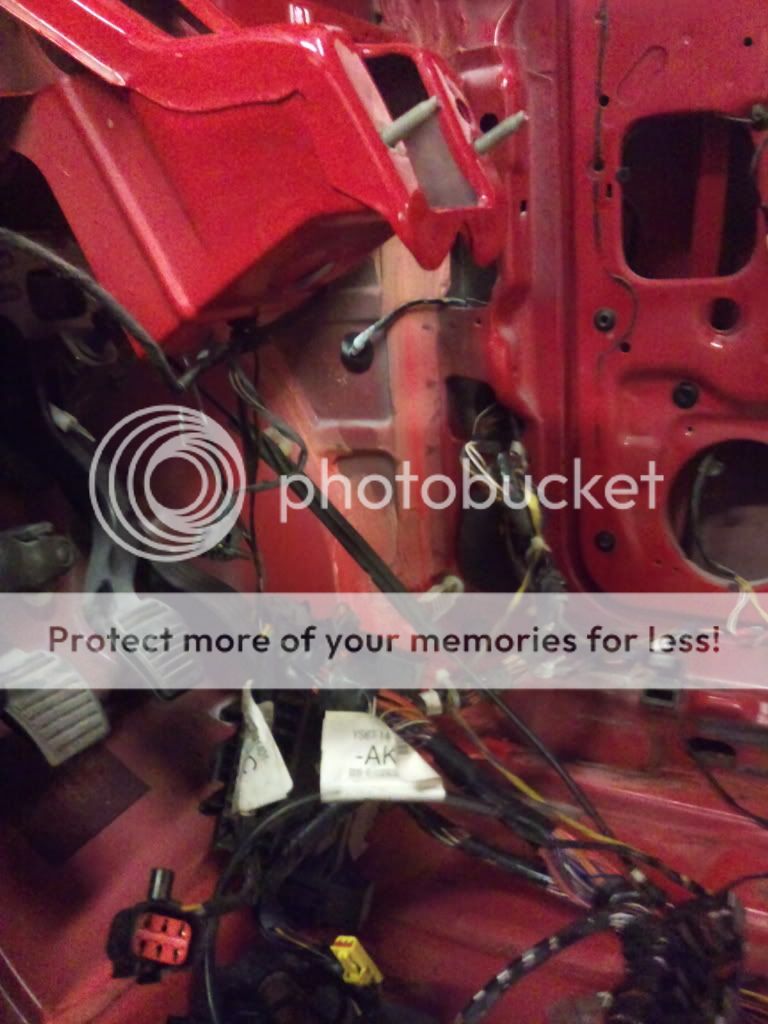
Loom ok � HIDs I managed to run the control unit over so checked they worked after a little repair to the casing � my mate got a nice zap off that lol
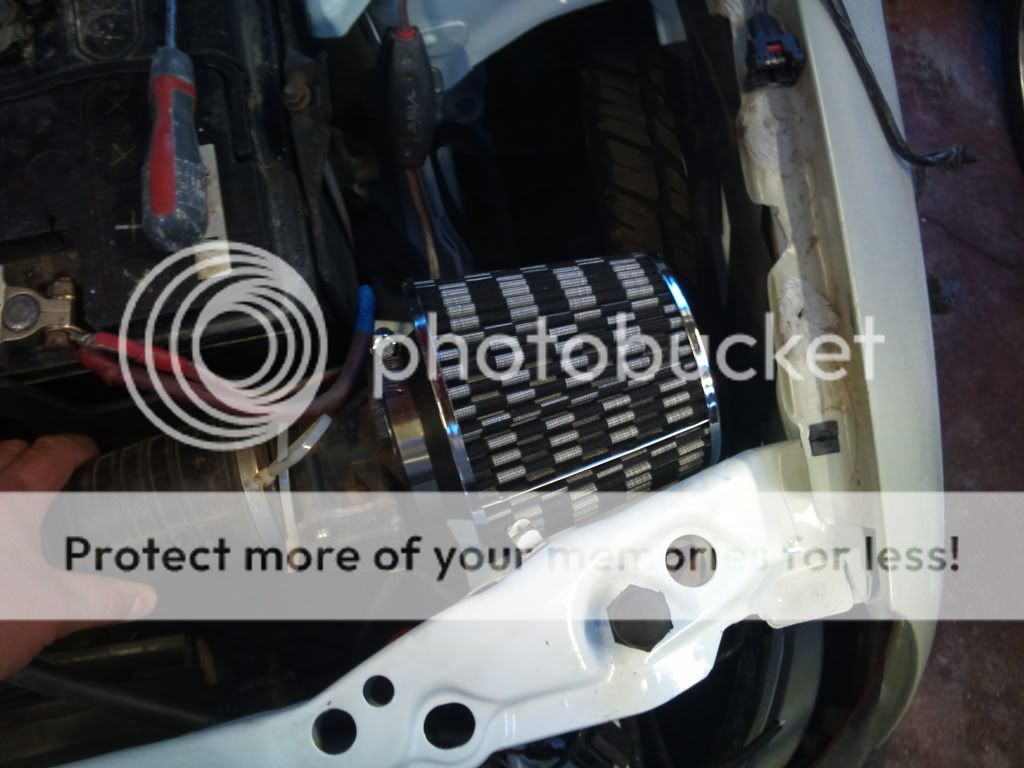
Next my new air filter which I thought was funky!!
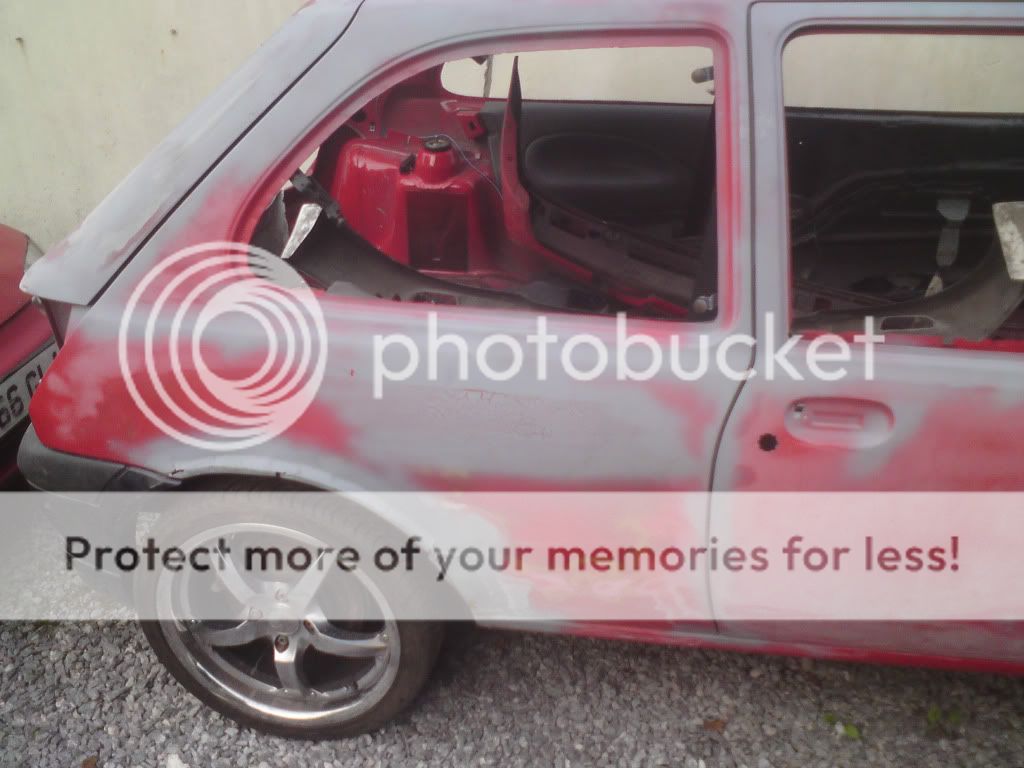
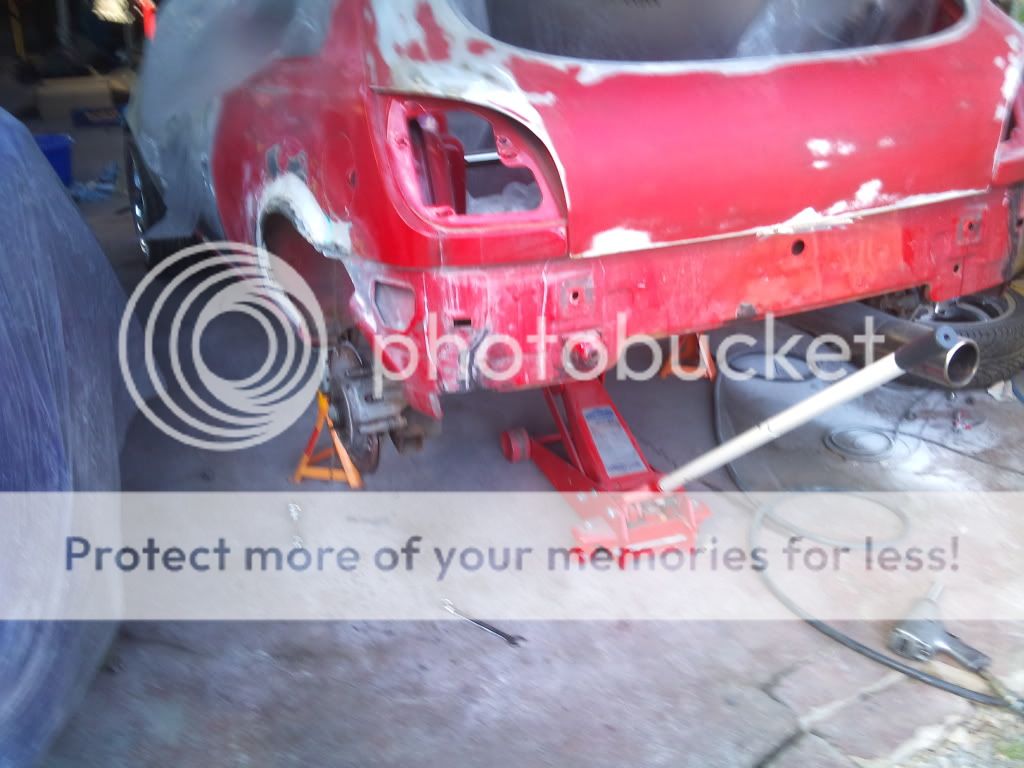
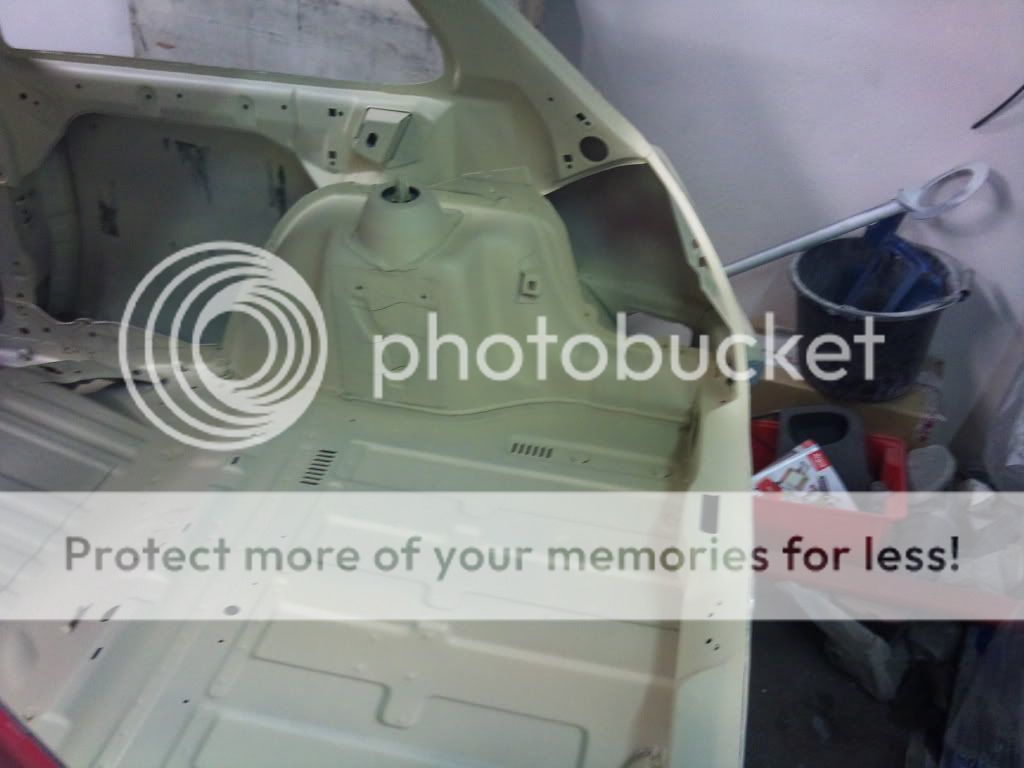
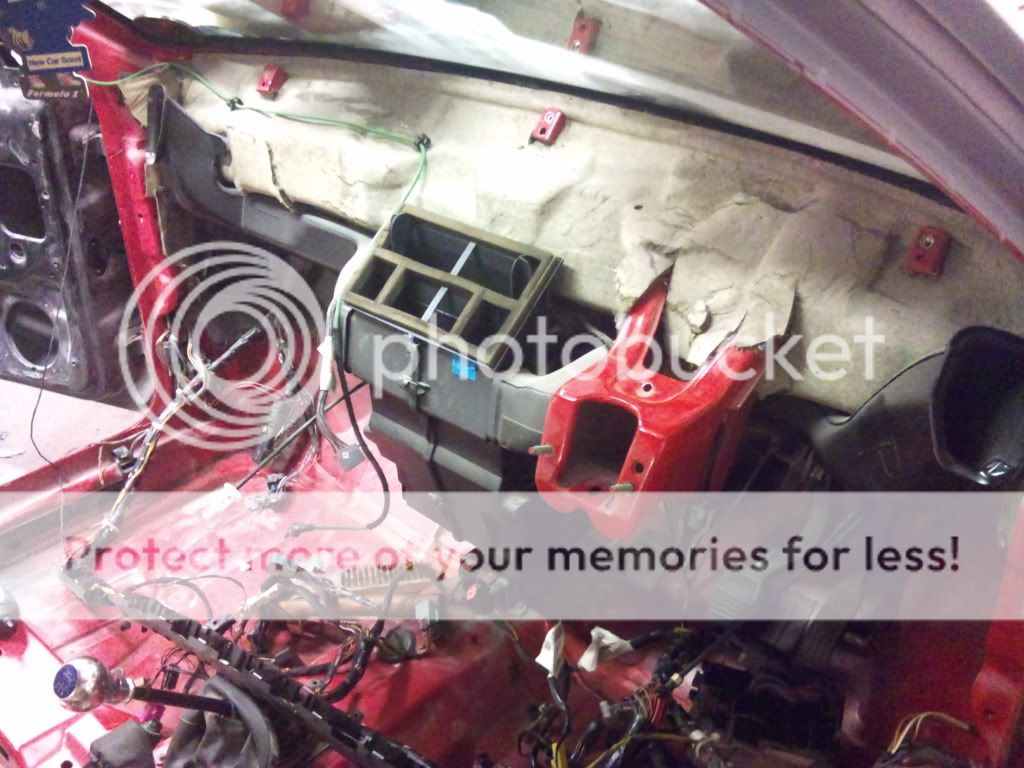
Sprayed the rear of the car after taking ages to remove all the sound deadening

Dash still needed removal so I didn�t paint it all and left in primer
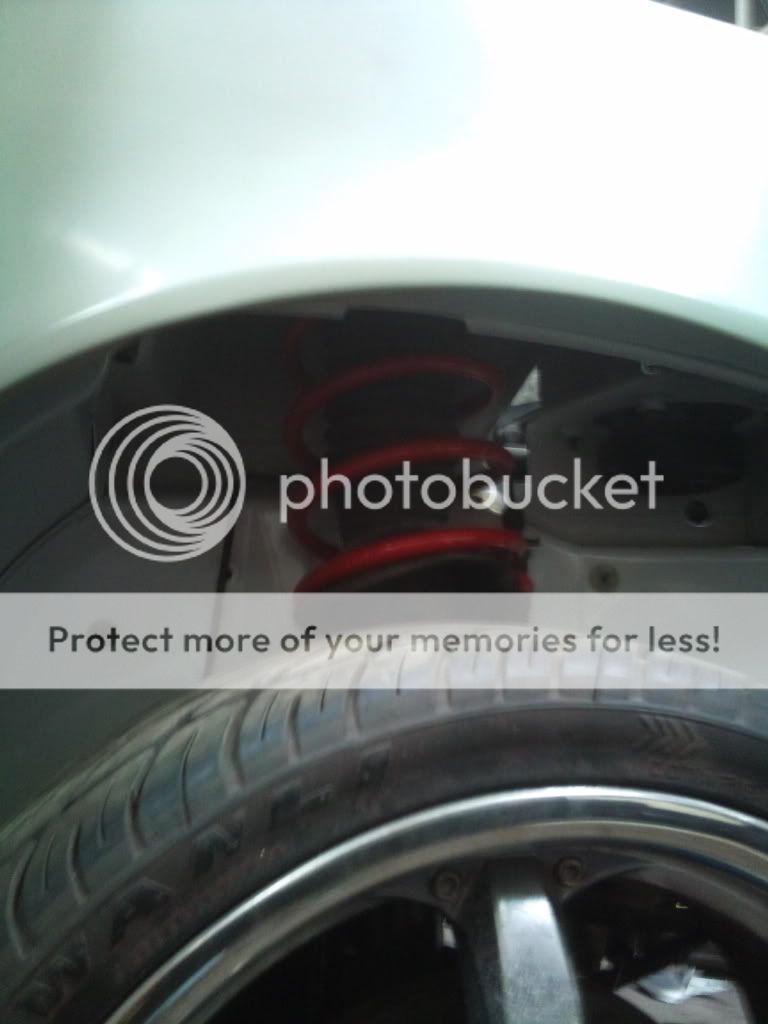
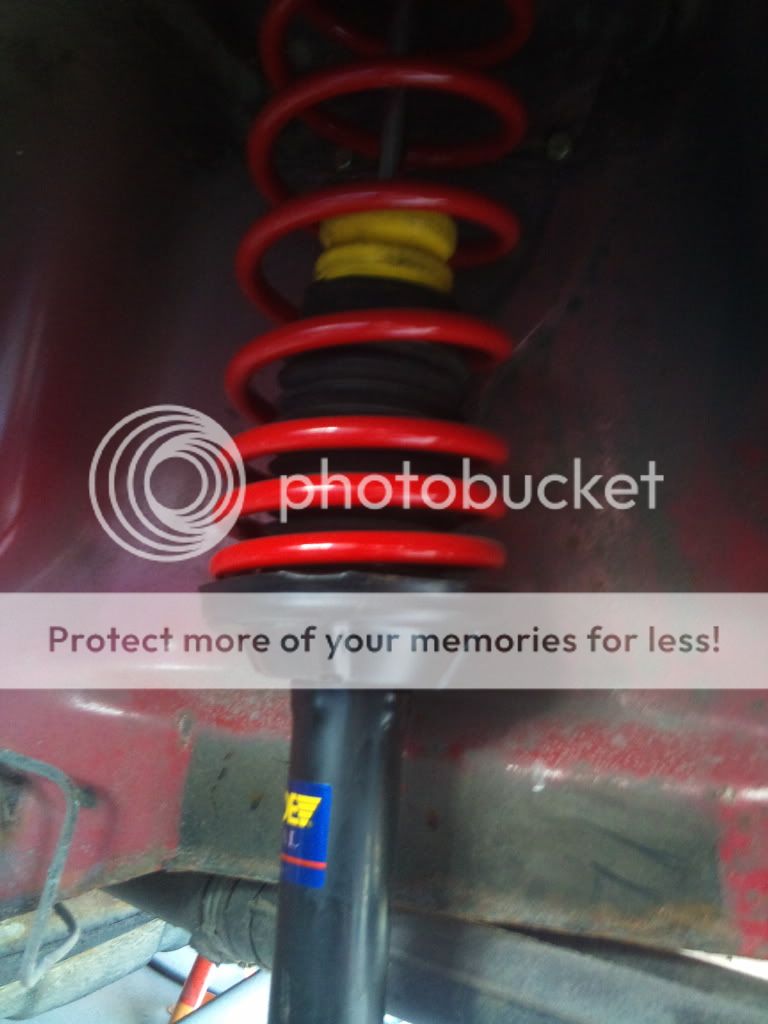
Something didn�t seem right with the new rear springs as it was sitting so high even though they were meant to be 50mm drop
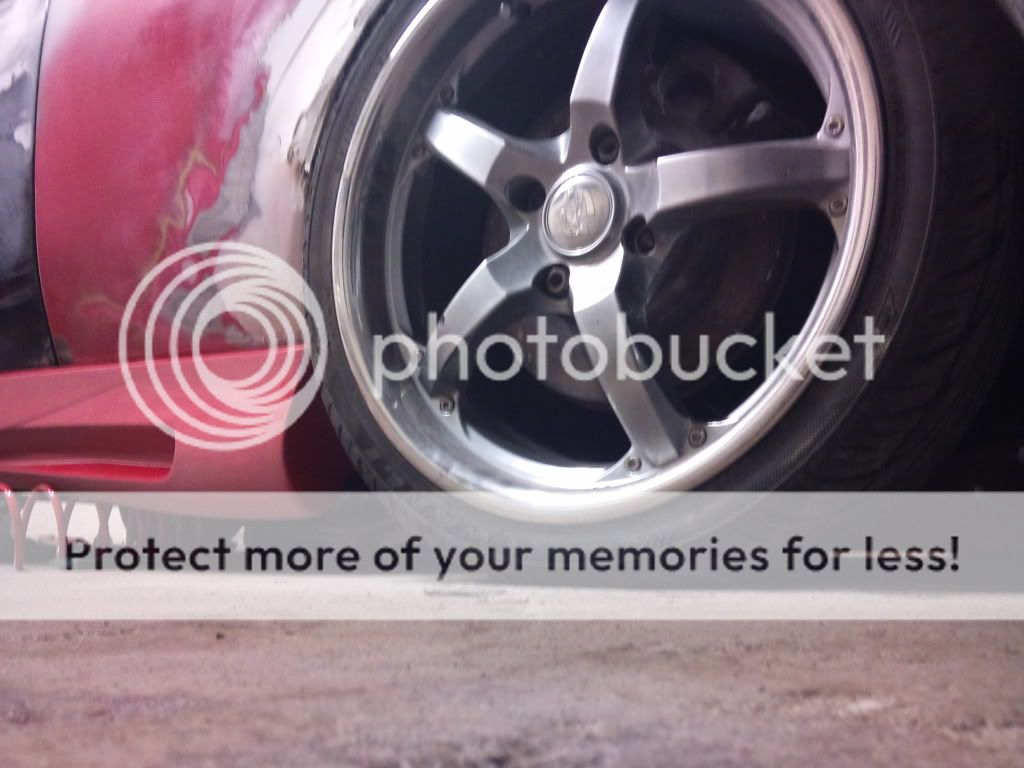
So whilst I was trying to make sure the arch would go over the tyre without scrubbing I removed them and sat it on the bump stops. But the tyre touched... looked good though with a sideskirt trial attached
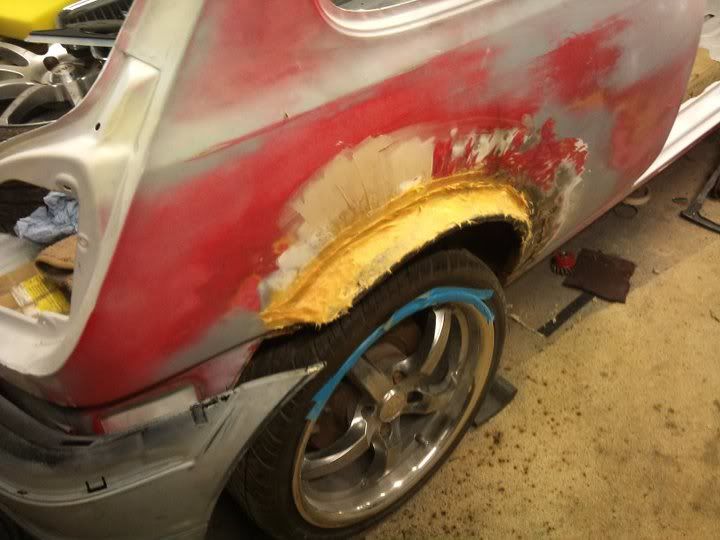
So with that like that I realised the arch was still wrong :x
Added lots more to the arch before again going over with filler
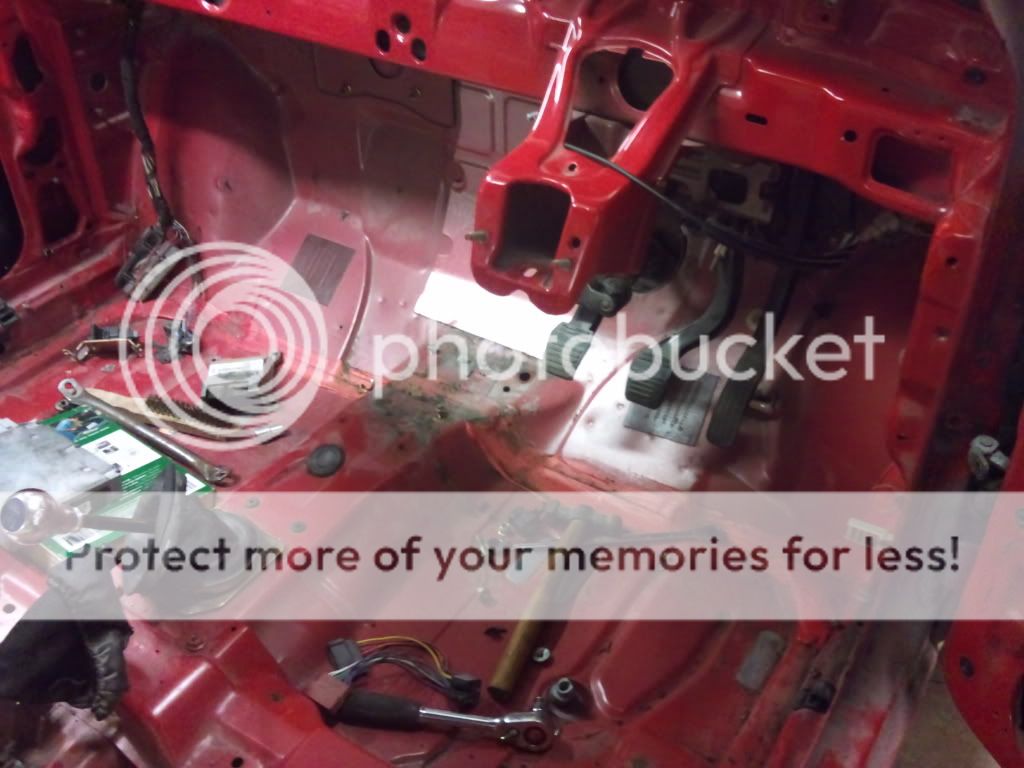
Out with the Dash then. That was fun
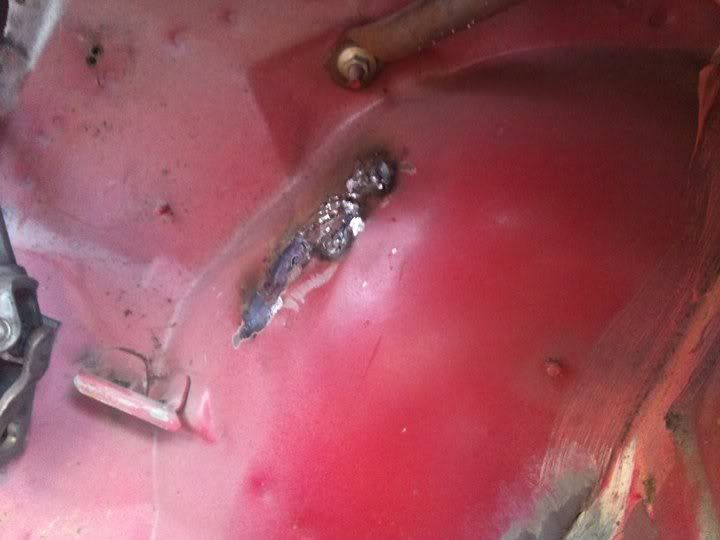
Started to remove the seam sealer which was on the sill join, this was quite badly corroded underneath
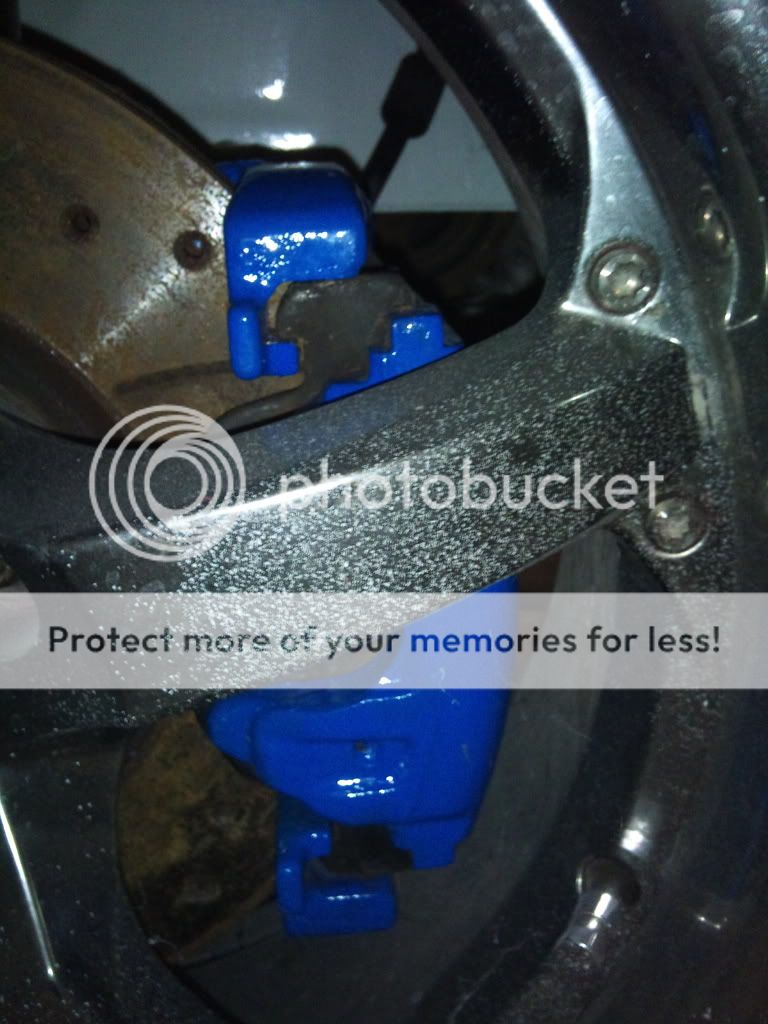
Upgraded discs and callipers to Escort Cosworth 275mm Ones, And painted the callipers blue.
Then started to fix the bumper on the back. Plastic welded two new plastic plates where there were meant to be bolts. Then put new bolts in, and only way to stop them spinning when trying to do the nuts up was to weld a flat plat to the top and then screw it through the plastic.
Well heres how my fiesta started off. Was a bit of a WIP anyway until I crashed it... taking me further from my progess...
Well I pretty much kept out of trouble in all the snow of Jan 2010, until ironically it had melted into slush...
Was on my way to a friends when approaching a corner at about 15mph no joke I turned and instead went straight on, which took me through one of the good old budget fence panels you get from homebase etc. Well this was a bit funny, until it came to checking it out and finding my car wouldn�t actually come out of the gap between the missing panels.
Quickly called my mate, to get a tow, and set off driving to my mates, where we noticed my car was trying to drive in both directions at the same time :-S � Yes you guessed it rack was damaged....
Jacked it up to check and sure enough spaghetti shaped arm and wishbone.
Along with cosmetic damage, which was also a suprise. The fence was so flimsy.
Even the sill got a bang...
So next day I got wishbone, and manage to take it home to decide what to do with it.
Decided to get new wings, bumper and rack. Easy fix really.
Got it down to my unit where I began disassembly
I noticed my tracking was clearly out LOL
Stripped out the engine, to make removal of steering rack and subframe etc much easier for me
Got my door off
As you can see was messing with white paint, so decided im going to spray the whole thing frozen white as I now needed half my panels doing...
So started on prepping the engine bay first so I could refit everything in order to wheel it about
Moved the car outside as weather was ok plus unit was quite cluttered.
Got my mate to start sanding the car down for paint
At this point I decided I would quite like to be able to put my 17�s back on but due to the rear discs from st170 they spaced the wheels out too much. So figured why not widen the arch about 20mm?
So started on that
Got the lip welded back on and then a bit of primer to keep rust at bay
Then started to wire brush the whole engine bay to bare metal to make sure it was rust free and smooth for paint. Also stops the red appearing through the white.
That being done we moved it inside for final bay prep and masking etc.
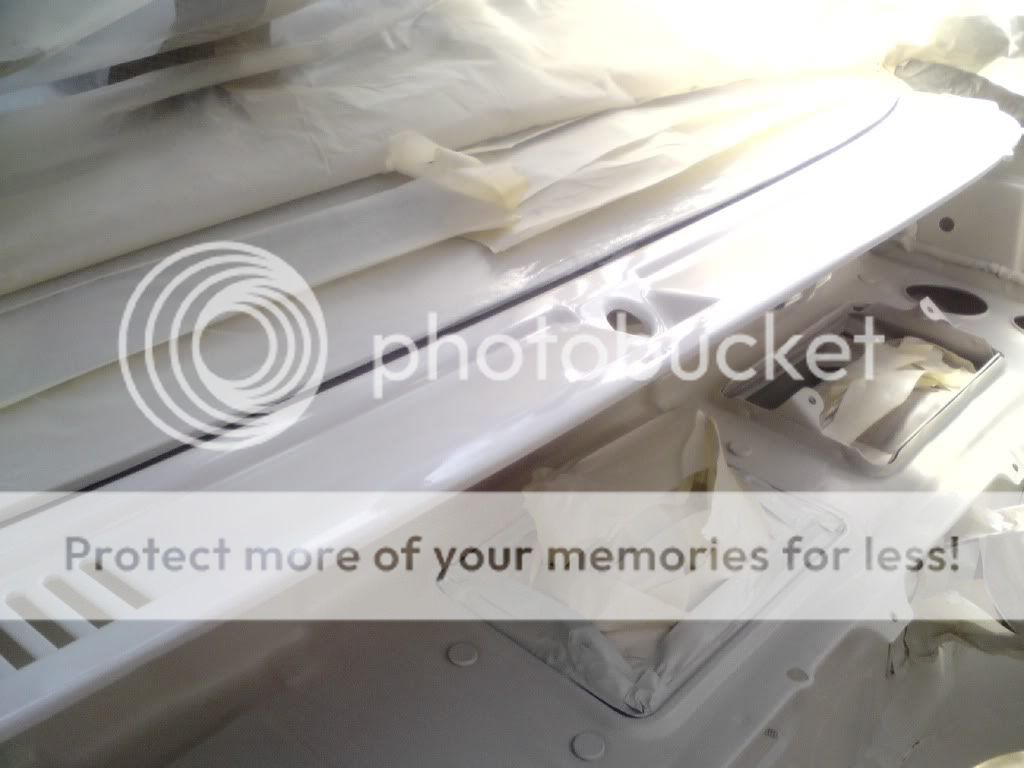
Then on with primer
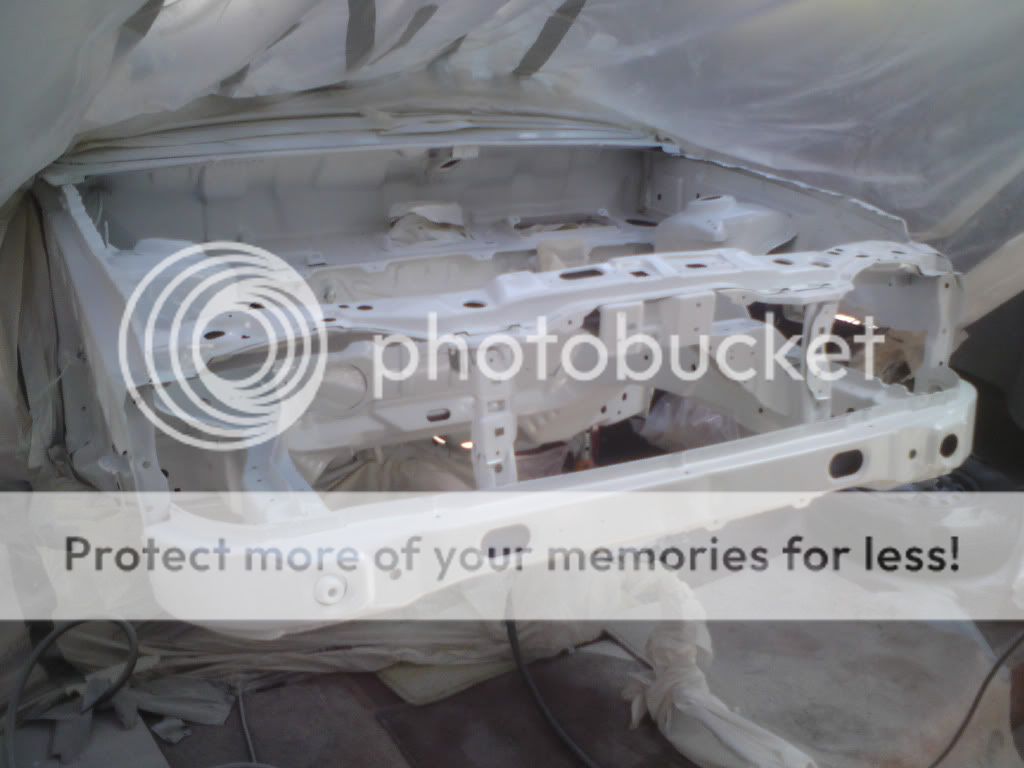
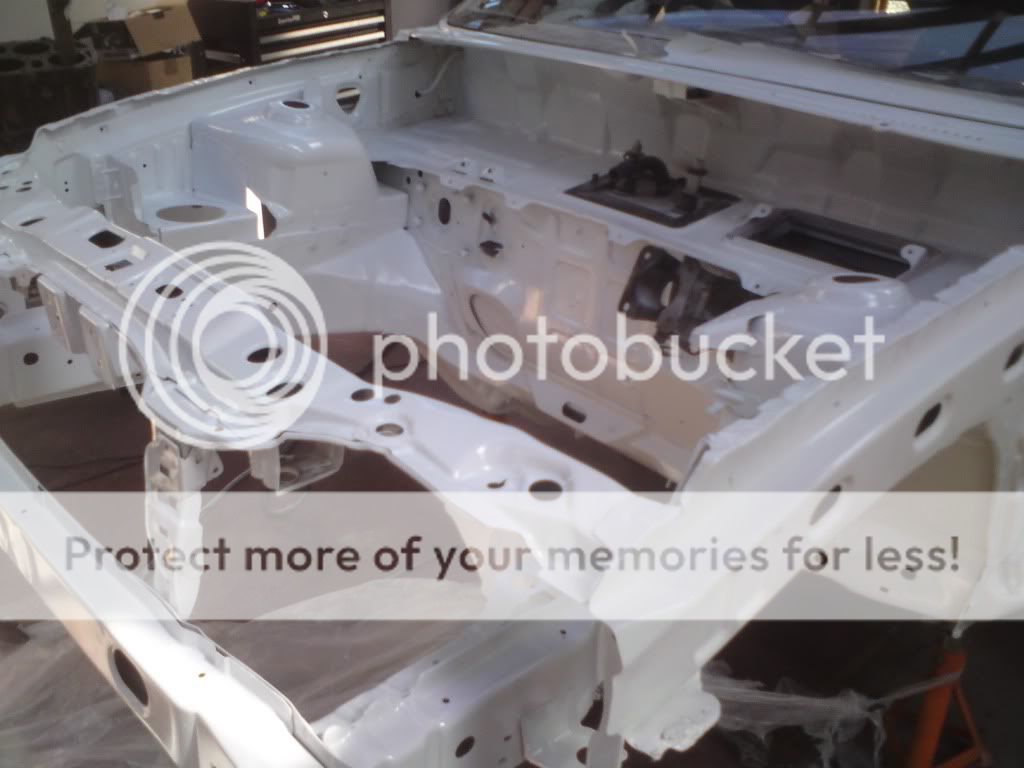
Then the white
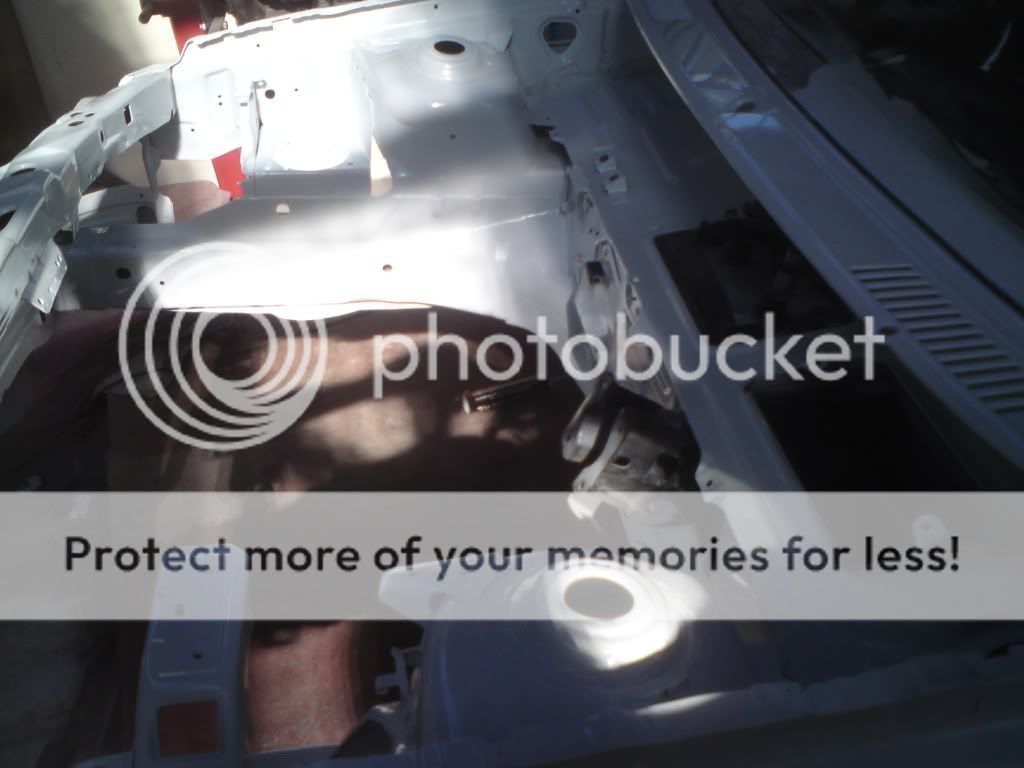
Unmasked
Starting to reassemble the bay
Everything in unit seems to be a shelf for other peoples stuff...
Engine:
Escort LoL
So with the bits ready for the engine, I skipped to the arch again and slapped some filler on.
Looked ok, but not wide enough as other side needs to be double
Started on other side
Also didn�t seem to be wide enough
Oh well.
Anyway, managed to get a bumper off eBay for �70 bargain for a ZS bumper right?
WRONG
This one was worse than the one I got rid of.
Was very irritated indeed. It had been crashed before and seemed to of split on the back, and then repaired and left without any mounting bolts!!!
But trial fit with my only usable headlamp
And the wing put on
So welded it on
Got a new door too as you can see. Multicolour you like?
Placed other wing on
Then was engine time
My mate Beanifer being a spanner...
We were putting the rack and power steering pipes on.
Bonnet on to keep out the dust
Next was the struts and hubs to go back on.
Needless to say they were rubbish so new springs bought which is when I found the rear struts were knackered
Starting to take shape...
Sprayed the underside of my bonnet a funky pearl, with the panther black on topside
Making sure everything was lining up ok
Loom ok � HIDs I managed to run the control unit over so checked they worked after a little repair to the casing � my mate got a nice zap off that lol
Next my new air filter which I thought was funky!!
Sprayed the rear of the car after taking ages to remove all the sound deadening
Dash still needed removal so I didn�t paint it all and left in primer
Something didn�t seem right with the new rear springs as it was sitting so high even though they were meant to be 50mm drop
So whilst I was trying to make sure the arch would go over the tyre without scrubbing I removed them and sat it on the bump stops. But the tyre touched... looked good though with a sideskirt trial attached
So with that like that I realised the arch was still wrong :x
Added lots more to the arch before again going over with filler
Out with the Dash then. That was fun
Started to remove the seam sealer which was on the sill join, this was quite badly corroded underneath
Upgraded discs and callipers to Escort Cosworth 275mm Ones, And painted the callipers blue.
Then started to fix the bumper on the back. Plastic welded two new plastic plates where there were meant to be bolts. Then put new bolts in, and only way to stop them spinning when trying to do the nuts up was to weld a flat plat to the top and then screw it through the plastic.
 10-02-2012, 09:33 PM
#2
15000
Thread Starter
Join Date: Feb 2012
Location: Weston Super Mare
Posts: 43
Likes: 0
Received 0 Likes
on
0 Posts
Final arch prep
Arch in primer
Then moved onto other side
added metal extension
checked it , not too bad
whacked on some fibrefill to help shape
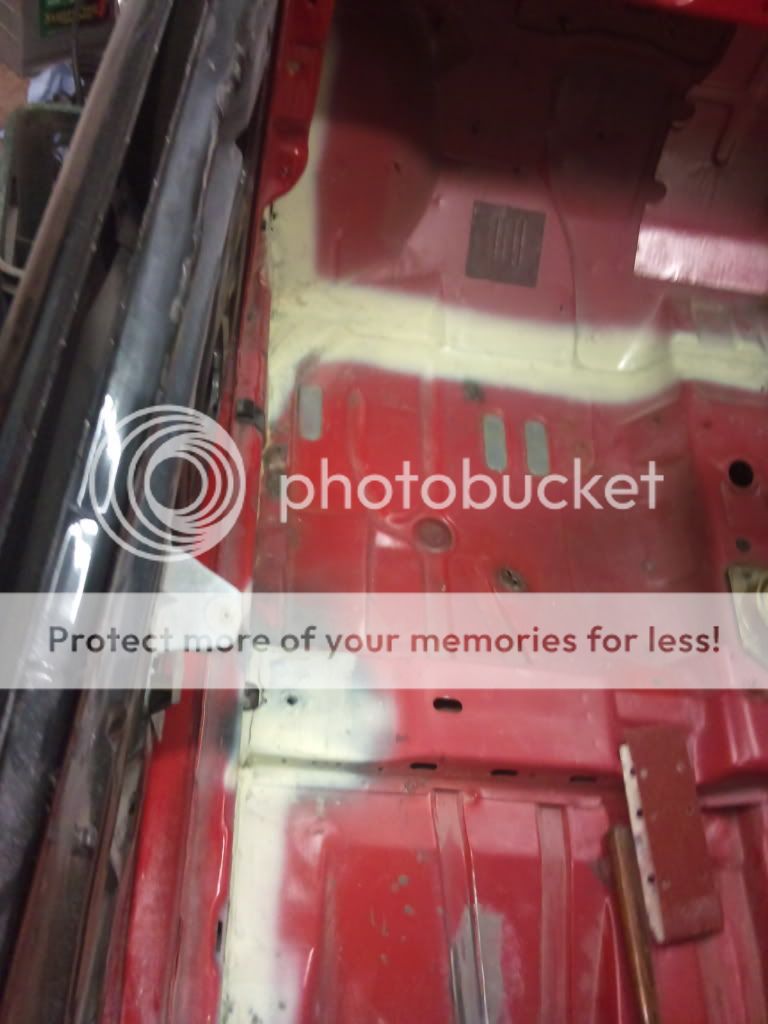
then moved onto the inside, where i had to weld so many holes!
ridiculous!!!
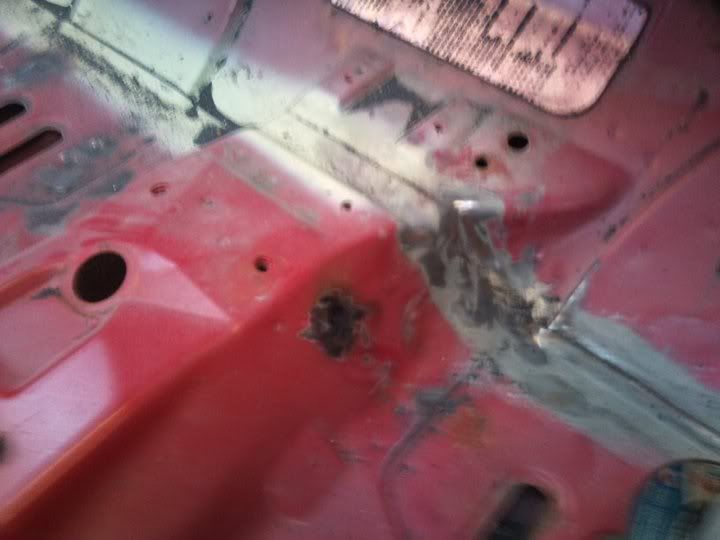
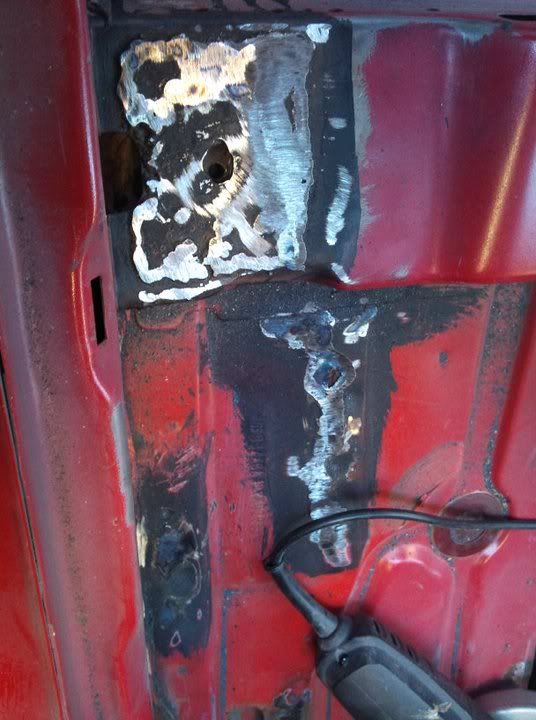
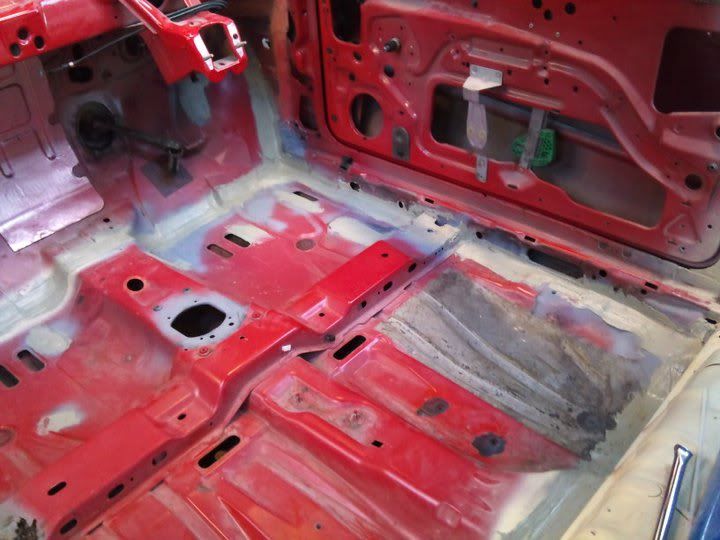
Seam sealed it all after
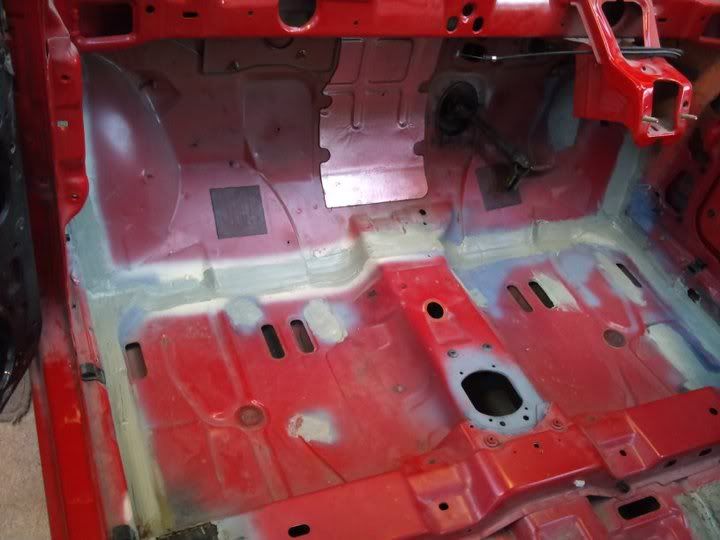
removed sound deadening
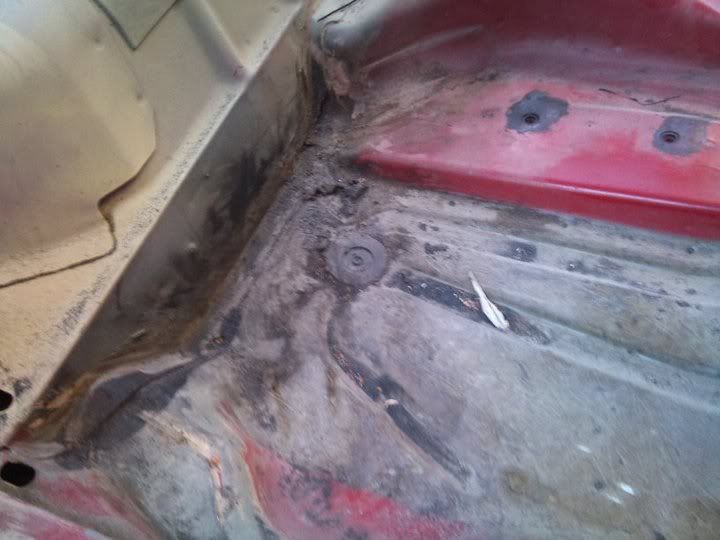
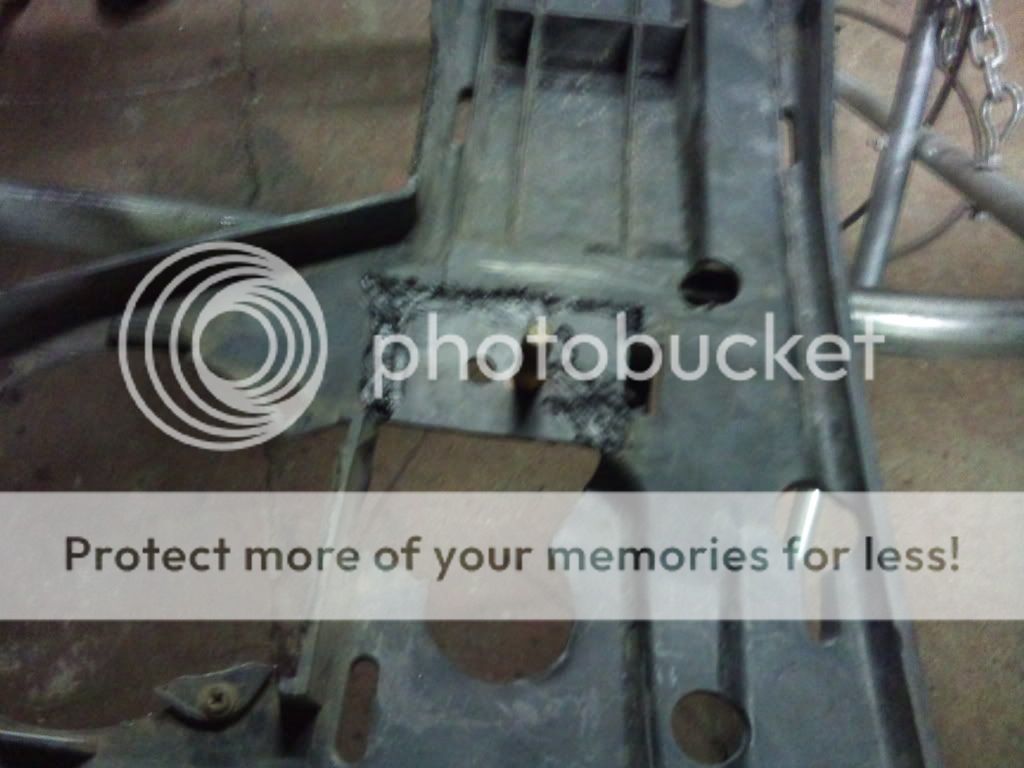
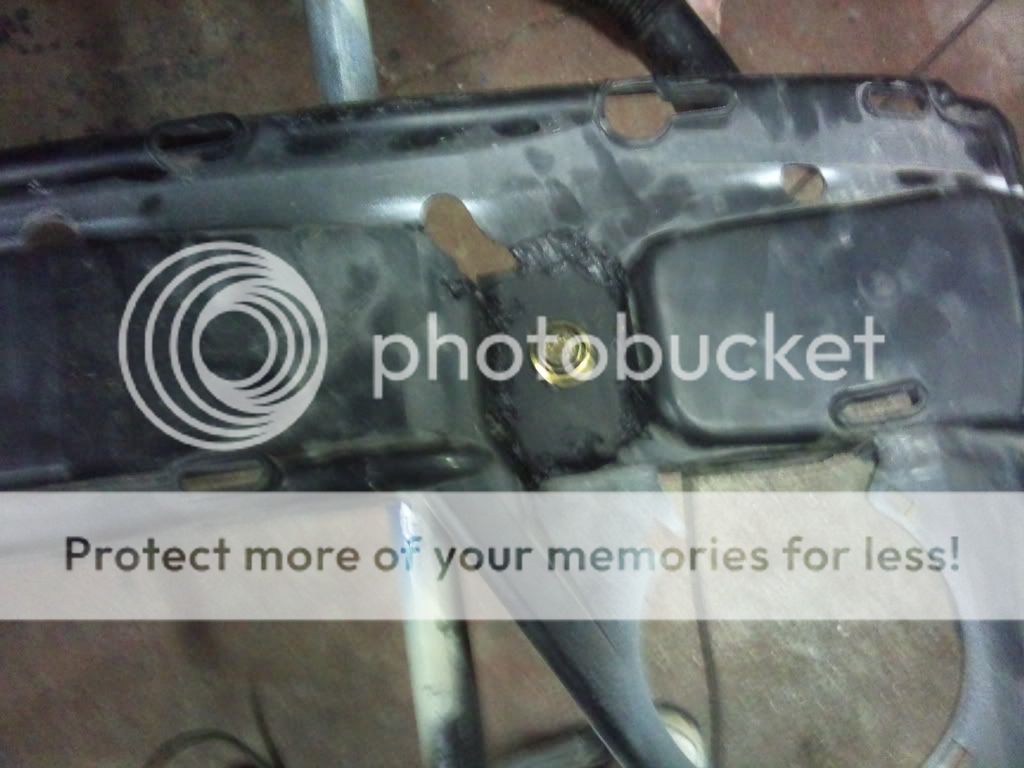
and welded plate over seat mount as seat bolts kept pulling up from floor and leaning towards centre of car.
Arch in primer
Then moved onto other side
added metal extension
checked it , not too bad
whacked on some fibrefill to help shape
then moved onto the inside, where i had to weld so many holes!
ridiculous!!!
Seam sealed it all after
removed sound deadening
and welded plate over seat mount as seat bolts kept pulling up from floor and leaning towards centre of car.
10-02-2012, 09:35 PM
#3
15000
Thread Starter
Join Date: Feb 2012
Location: Weston Super Mare
Posts: 43
Likes: 0
Received 0 Likes
on
0 Posts
I will get more pics soon, as have painted and polybushed the rear beam, stonechipped and painted the rear inner arches, and rear valance panel and reprimed topside of my bonnet after smoothing it again due to imperfections

Thread
Thread Starter
Forum
Replies
Last Post
JoeyBoyden
Restorations, Rebuilds & Projects.
26
04-01-2024 02:36 PM
Focosmitch
Ford RS Cosworth Parts for Sale
36
09-10-2015 07:38 PM
rog
Cars for Sale
25
04-09-2015 12:10 PM