
Project Tango - Fiesta ITB'd Track Car, Caged and Carbon'd
 20-08-2013, 09:51 PM
#161
Regular Contributor
Thread Starter

Done some more work, still not finished:
Front subframe is now back on:

Gear linkage was siliconed up and refitted:
All the gears are selecting, and change feels nice and stiff, no slop at all.
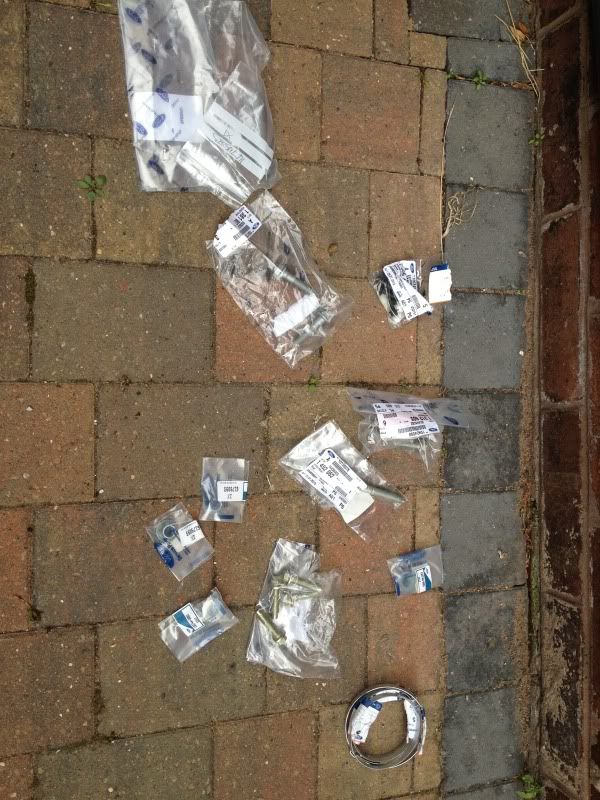
Loads if new parts arrived:

Now got driveshafts back in, suspension all fitted up, need to get the gearbox bolts all fitted, and then on to the brakes.
Still huge amount to do, but it's getting there.
Deadline is my wedding next year, May 2014.
Biggest challenges now are the brakes, as I've no idea how to fit the pedalbox, and getting her running.
Front subframe is now back on:
Gear linkage was siliconed up and refitted:
All the gears are selecting, and change feels nice and stiff, no slop at all.
Loads if new parts arrived:
Now got driveshafts back in, suspension all fitted up, need to get the gearbox bolts all fitted, and then on to the brakes.
Still huge amount to do, but it's getting there.
Deadline is my wedding next year, May 2014.
Biggest challenges now are the brakes, as I've no idea how to fit the pedalbox, and getting her running.

 21-08-2013, 08:34 PM
#163
Regular Contributor
Thread Starter
Have you got yours fitted yet Mark?
I'm thinking of getting is professionally done, as I don't want to skimp on brakes. That and my safety would be in my hands!
I'm thinking of getting is professionally done, as I don't want to skimp on brakes. That and my safety would be in my hands!
21-08-2013, 11:13 PM
#164
15000

Join Date: Jul 2010
Location: southend-on-sea
Posts: 43
Likes: 0
Received 0 Likes
on
0 Posts
25-10-2015, 04:50 PM
#166
Regular Contributor
Thread Starter
It's been a while since I've updated this.
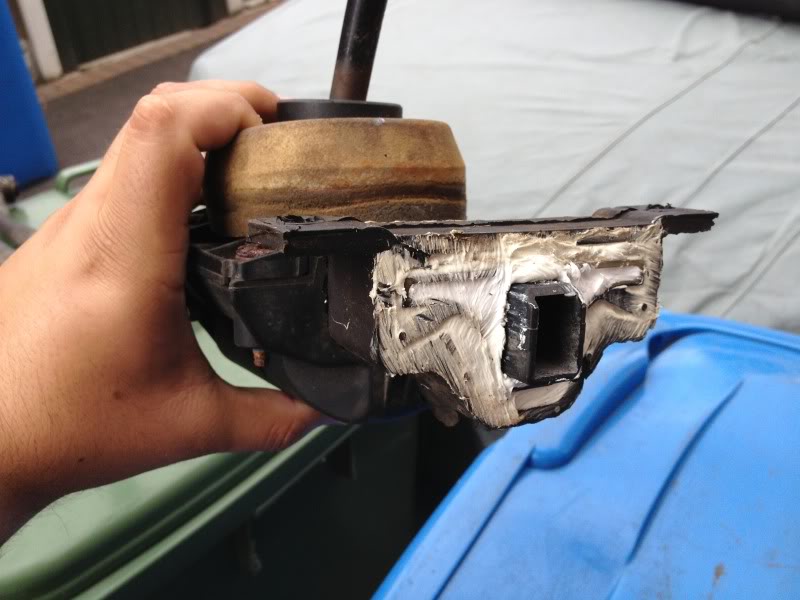
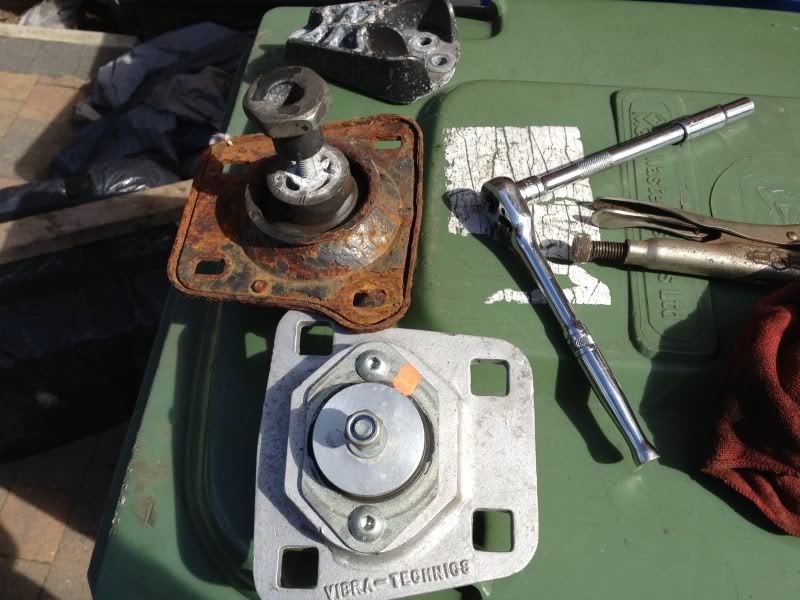
I've fitted a new Vibratechnics engine mount, I've also fitted the torque link and have a gearbox mount waiting to be fitted:
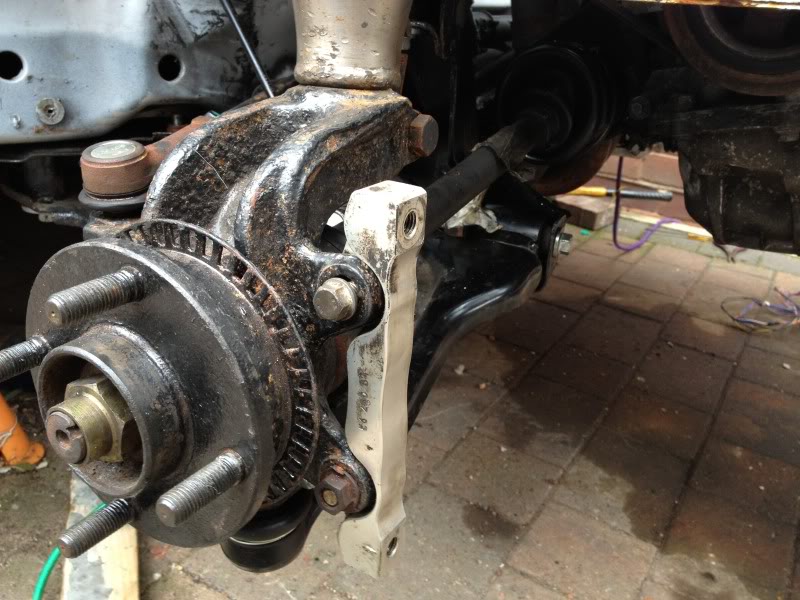
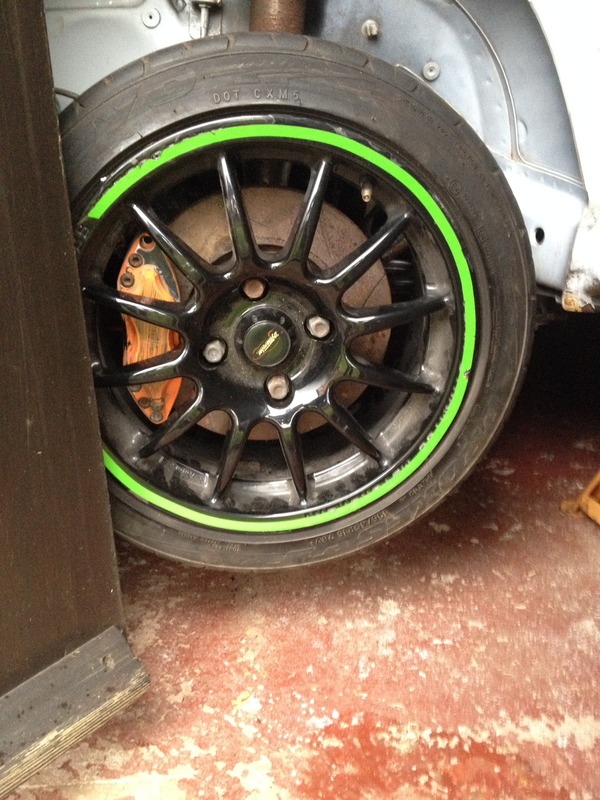
Then brakes were fitted, which are Hi Spec 4 pots, kept with 285mm discs so I could keep with 15" wheels.
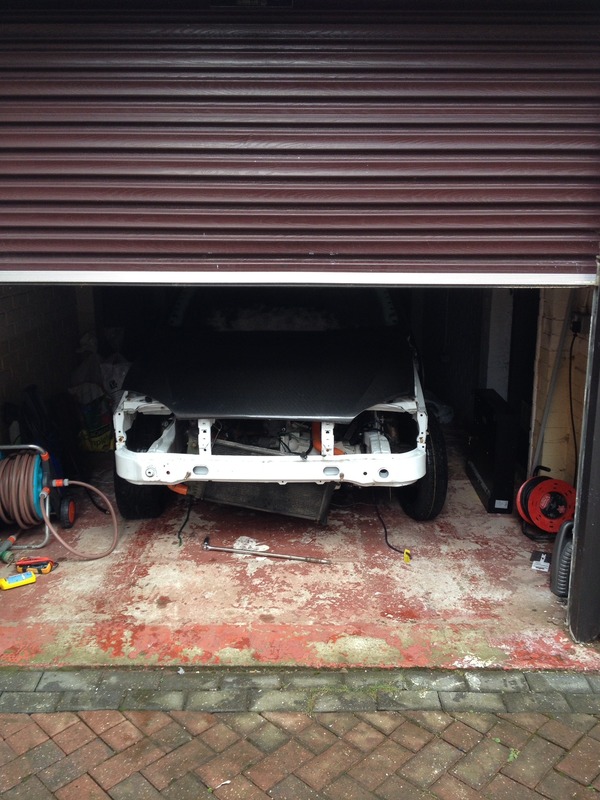
I then finally got the car moved to my new house, only been in it a year:
And tucked away:
I've fitted a new Vibratechnics engine mount, I've also fitted the torque link and have a gearbox mount waiting to be fitted:
Then brakes were fitted, which are Hi Spec 4 pots, kept with 285mm discs so I could keep with 15" wheels.
I then finally got the car moved to my new house, only been in it a year:
And tucked away:
25-10-2015, 05:00 PM
#167
Regular Contributor
Thread Starter
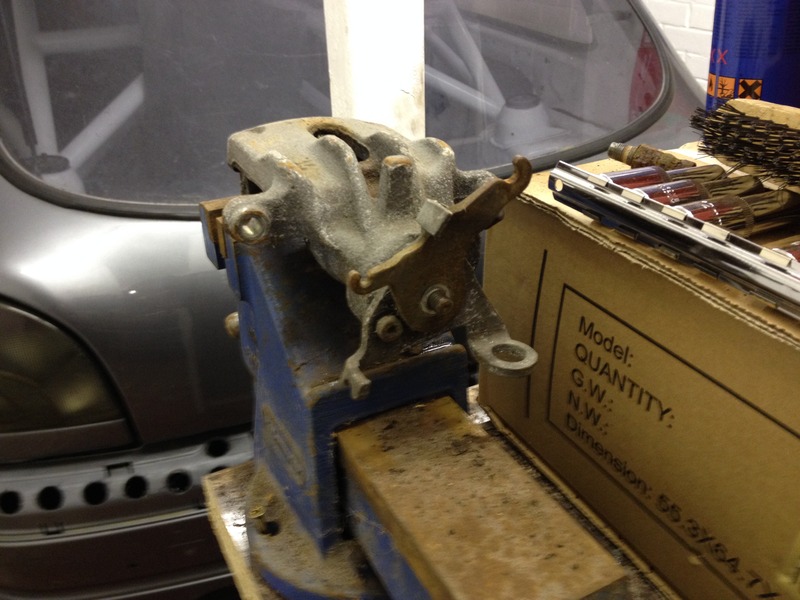
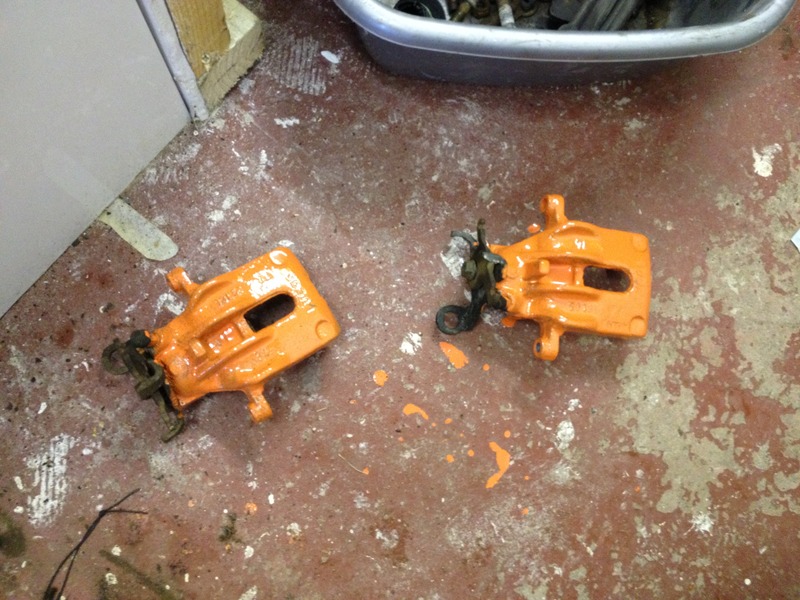
Rear brakes were then cleaned up and painted:
Seats were then mounted onto the welded seat bars:
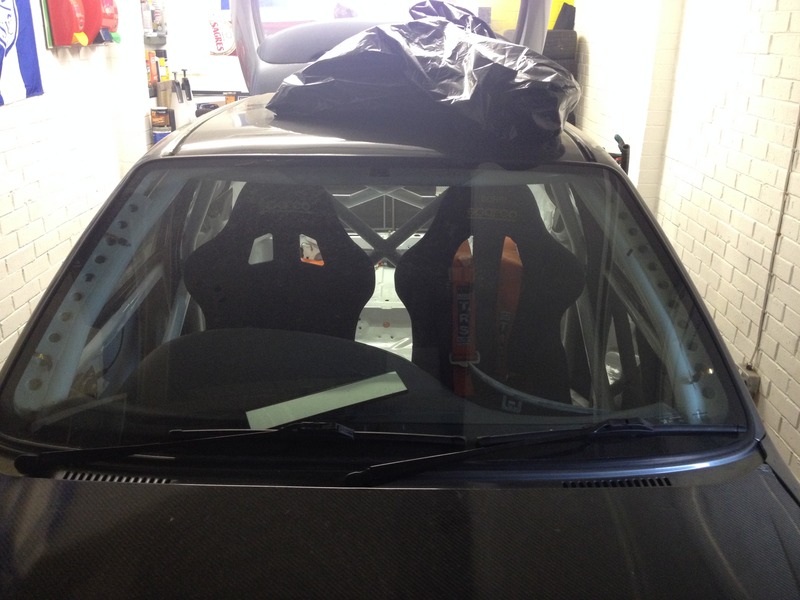
As you can see the harnesses have also been fitted, if anyone has a link for how to correctly wrap the harnesses it would be appreciated.
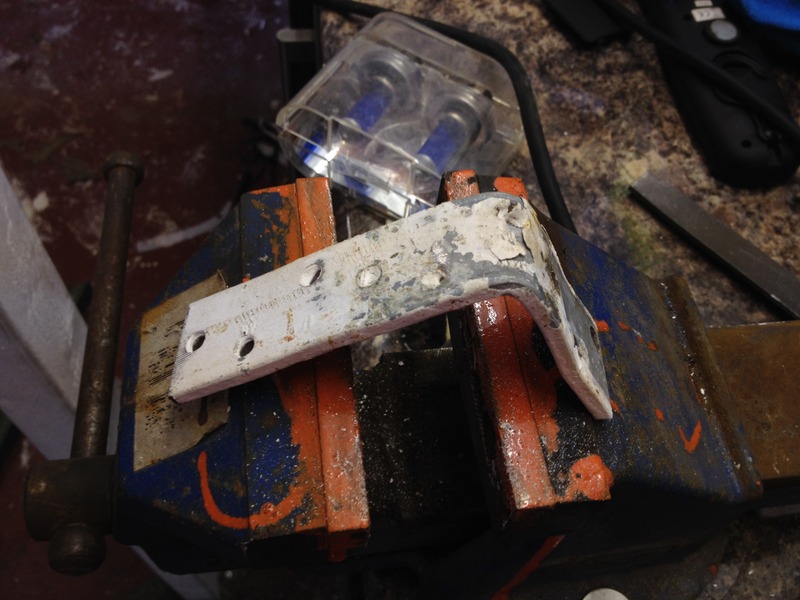
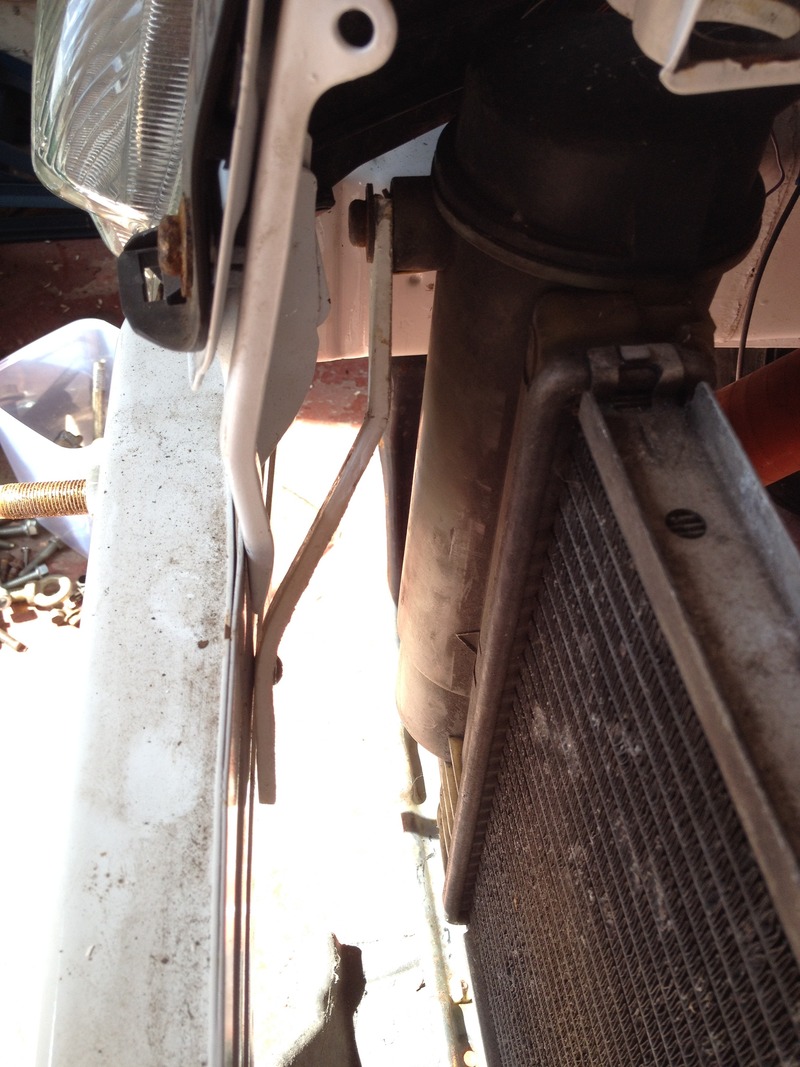
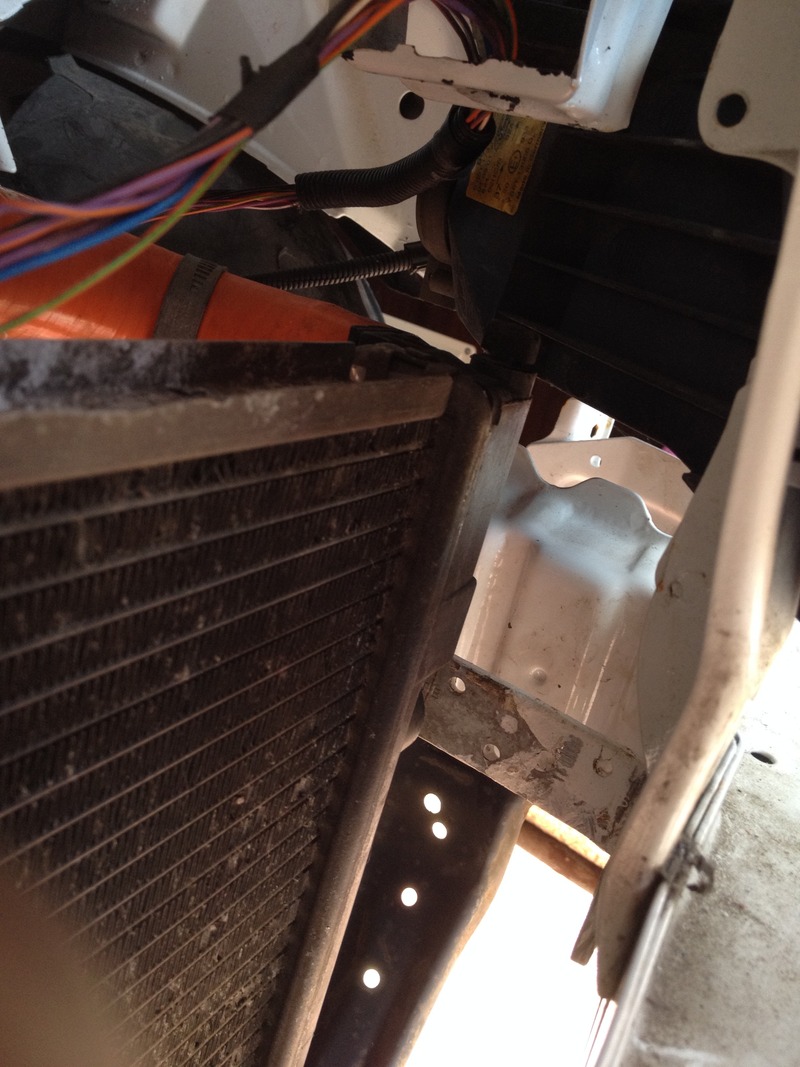
Brackets were then made to mount the radiator, it's a Saxonrad with the integrated header tank:
Seats were then mounted onto the welded seat bars:
As you can see the harnesses have also been fitted, if anyone has a link for how to correctly wrap the harnesses it would be appreciated.
Brackets were then made to mount the radiator, it's a Saxonrad with the integrated header tank:
25-10-2015, 05:10 PM
#168
Regular Contributor
Thread Starter
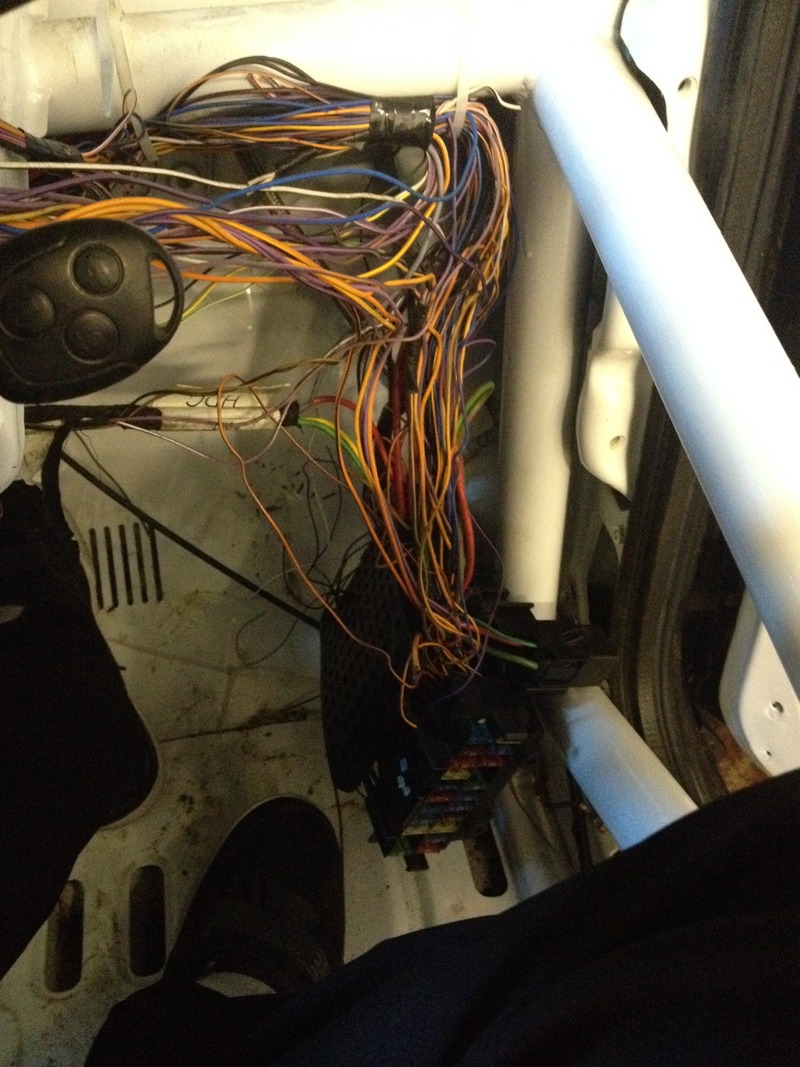
The wiring had been it in on a temporary basis, and really needed looking at, as this is how it was before:
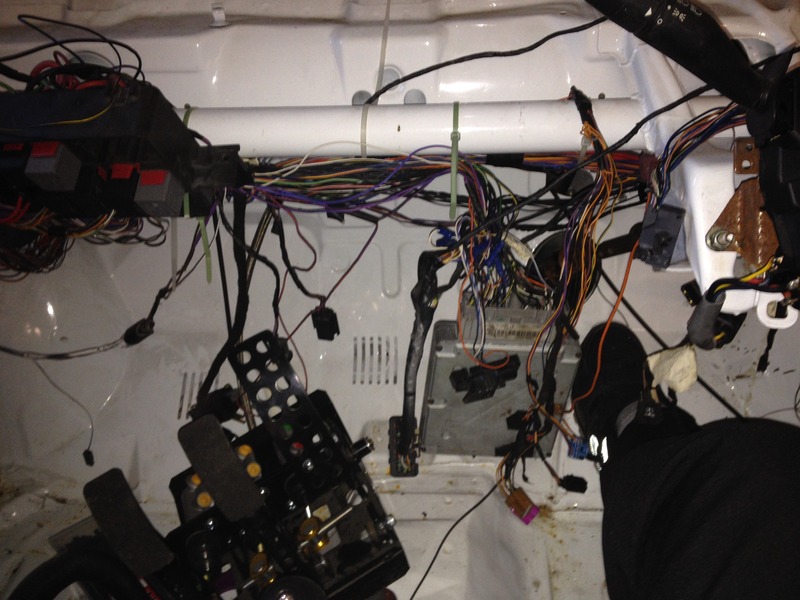
After some thought, and some plastic conduit, it then looked like this:
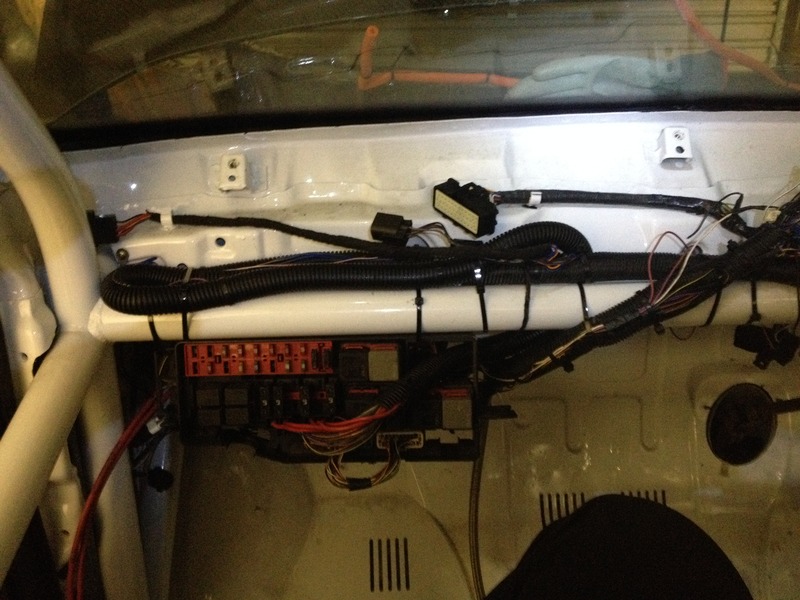
As the engine fuse box had been moved inside, I would've liked to shortened the loom, however it would have been a lot of work, the loom has b the n lightened and could be done at a later date.
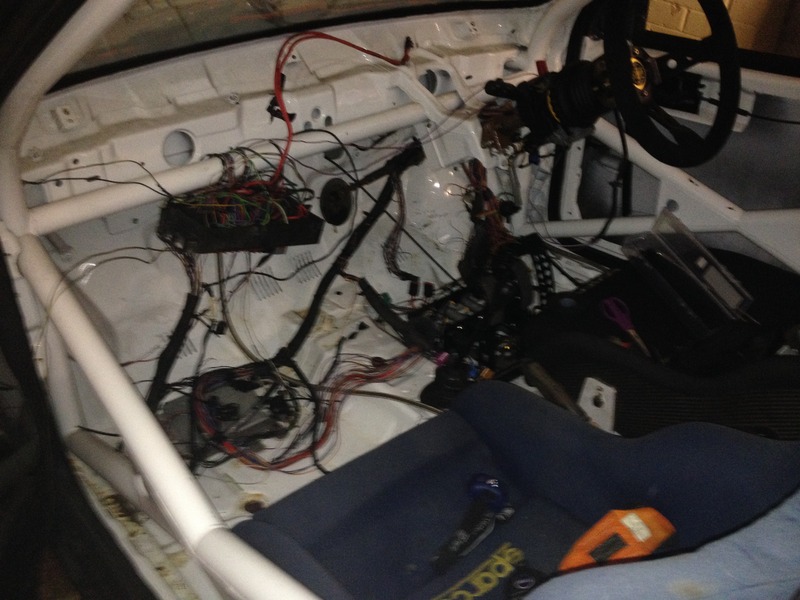
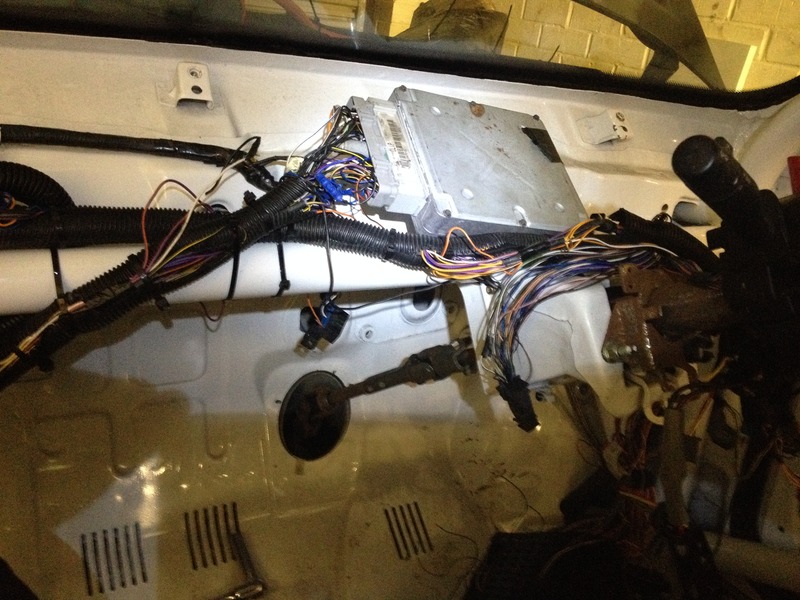
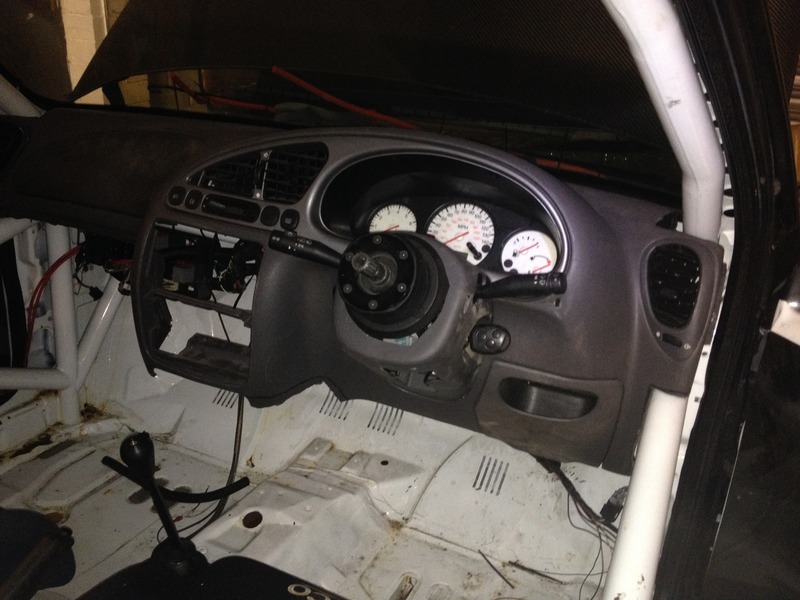
The lightened dash was then refitted:
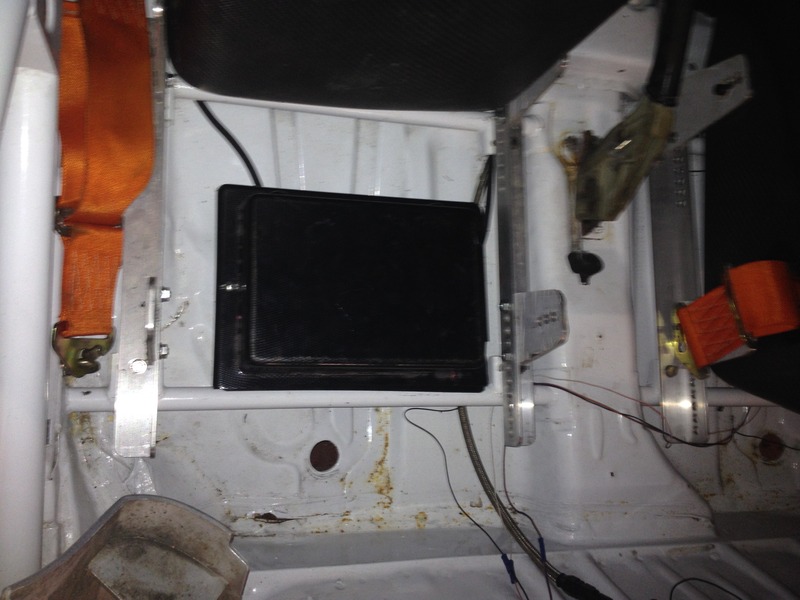
Battery was mounted under the passenger seat, it's inside the plastic box:
Kill switch also mounted on the dash:
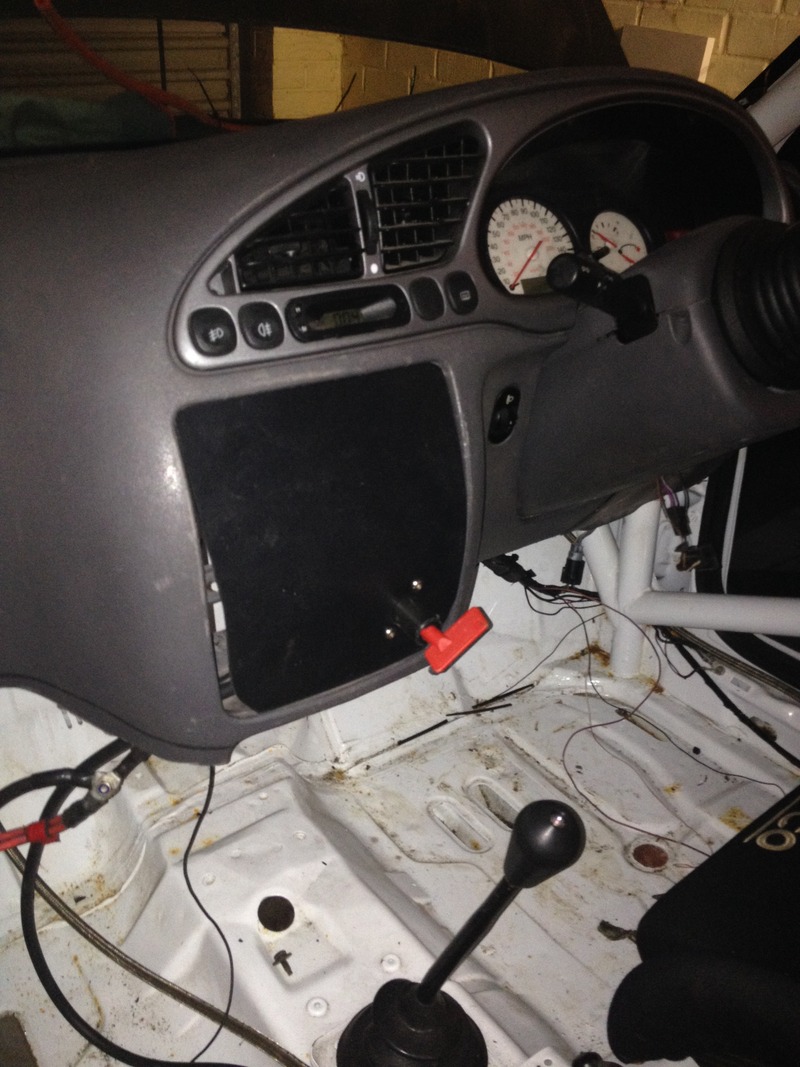
Most of the other loose wiring has been tidied away.
After some thought, and some plastic conduit, it then looked like this:
As the engine fuse box had been moved inside, I would've liked to shortened the loom, however it would have been a lot of work, the loom has b the n lightened and could be done at a later date.
The lightened dash was then refitted:
Battery was mounted under the passenger seat, it's inside the plastic box:
Kill switch also mounted on the dash:
Most of the other loose wiring has been tidied away.
31-10-2015, 09:05 PM
#170
Too many posts.. I need a life!!
Done some more work, still not finished:
Front subframe is now back on:
Gear linkage was siliconed up and refitted:

All the gears are selecting, and change feels nice and stiff, no slop at all.
Loads if new parts arrived:
Now got driveshafts back in, suspension all fitted up, need to get the gearbox bolts all fitted, and then on to the brakes.
Still huge amount to do, but it's getting there.
Deadline is my wedding next year, May 2014.
Biggest challenges now are the brakes, as I've no idea how to fit the pedalbox, and getting her running.
Front subframe is now back on:
Gear linkage was siliconed up and refitted:
All the gears are selecting, and change feels nice and stiff, no slop at all.
Loads if new parts arrived:
Now got driveshafts back in, suspension all fitted up, need to get the gearbox bolts all fitted, and then on to the brakes.
Still huge amount to do, but it's getting there.
Deadline is my wedding next year, May 2014.
Biggest challenges now are the brakes, as I've no idea how to fit the pedalbox, and getting her running.
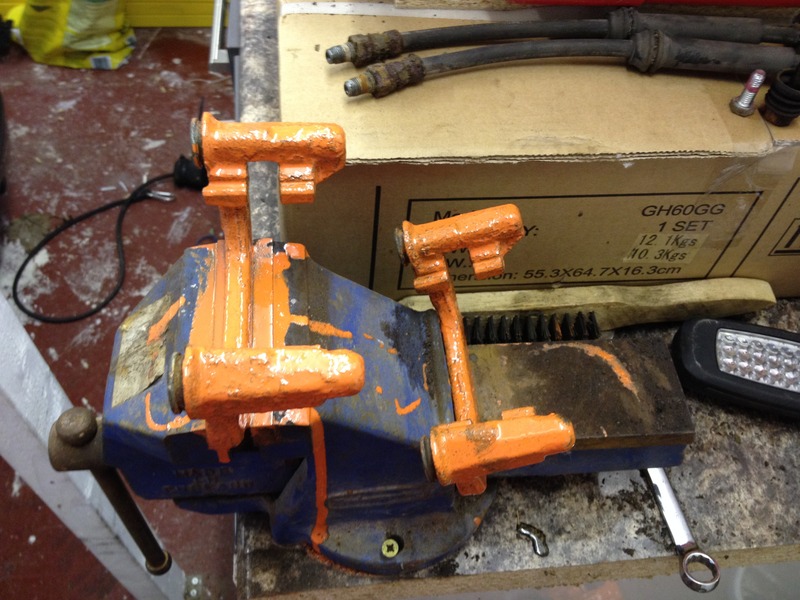
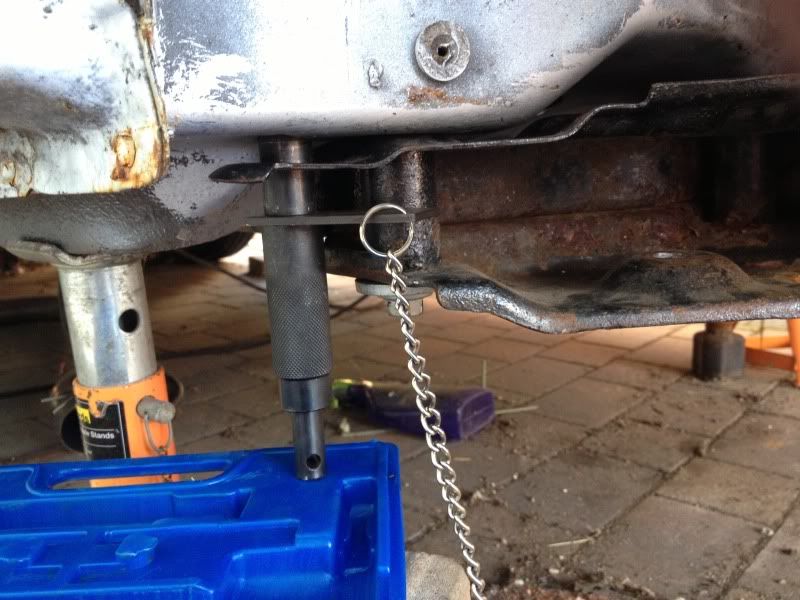
Are they the proper alignment pins? Ive been after a set for a while. where did you get them from?
Thanks, Matt
31-10-2015, 11:55 PM
#171
Regular Contributor
Thread Starter
Yes, they are Laser ones. Pretty sure I got them from eBay for around �30.
Wiring looks much better Glen, unfortunately Im hopeless with electrics, so been a steep learning curve.
Wiring looks much better Glen, unfortunately Im hopeless with electrics, so been a steep learning curve.
01-11-2015, 07:00 PM
#172
Regular Contributor
Thread Starter
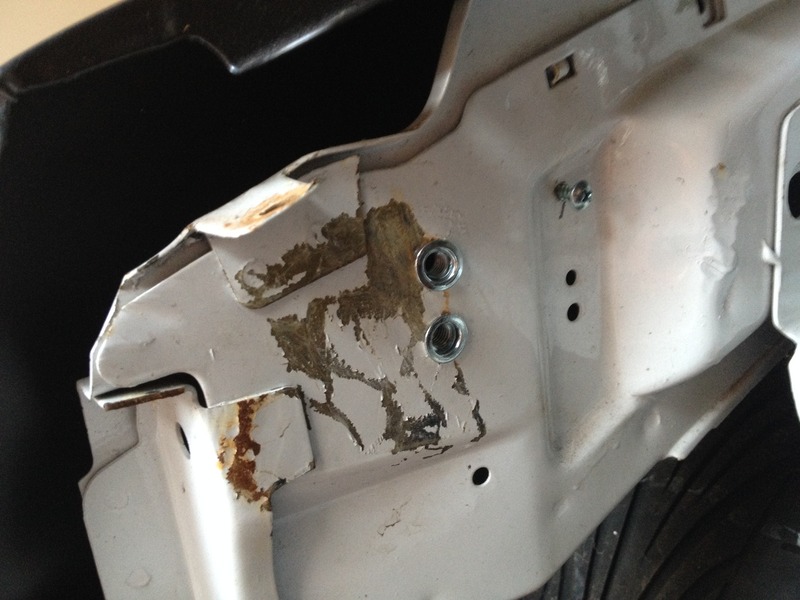
When I had the cage fitted, the fabricator made the front end removable, however I needed to sort some rivnut so to ensure it was securely fixed:
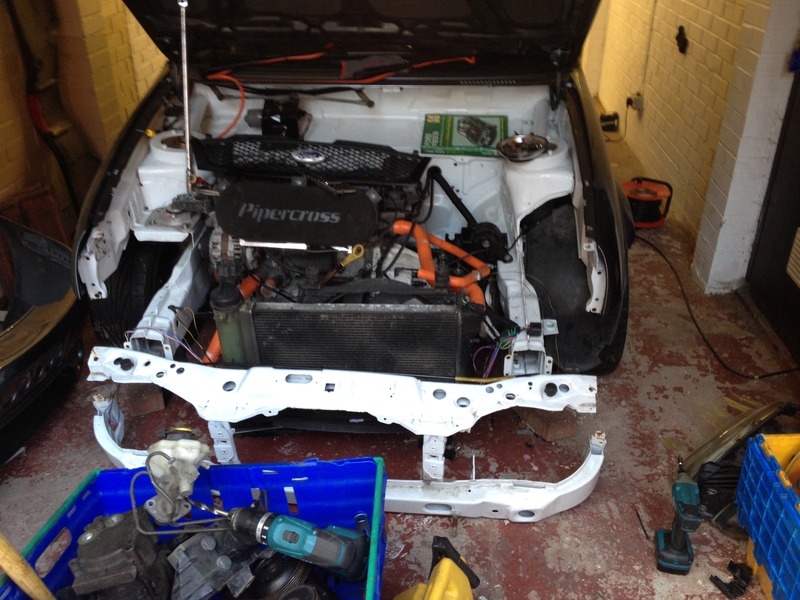
As you can see it will make for easier access to the engine.

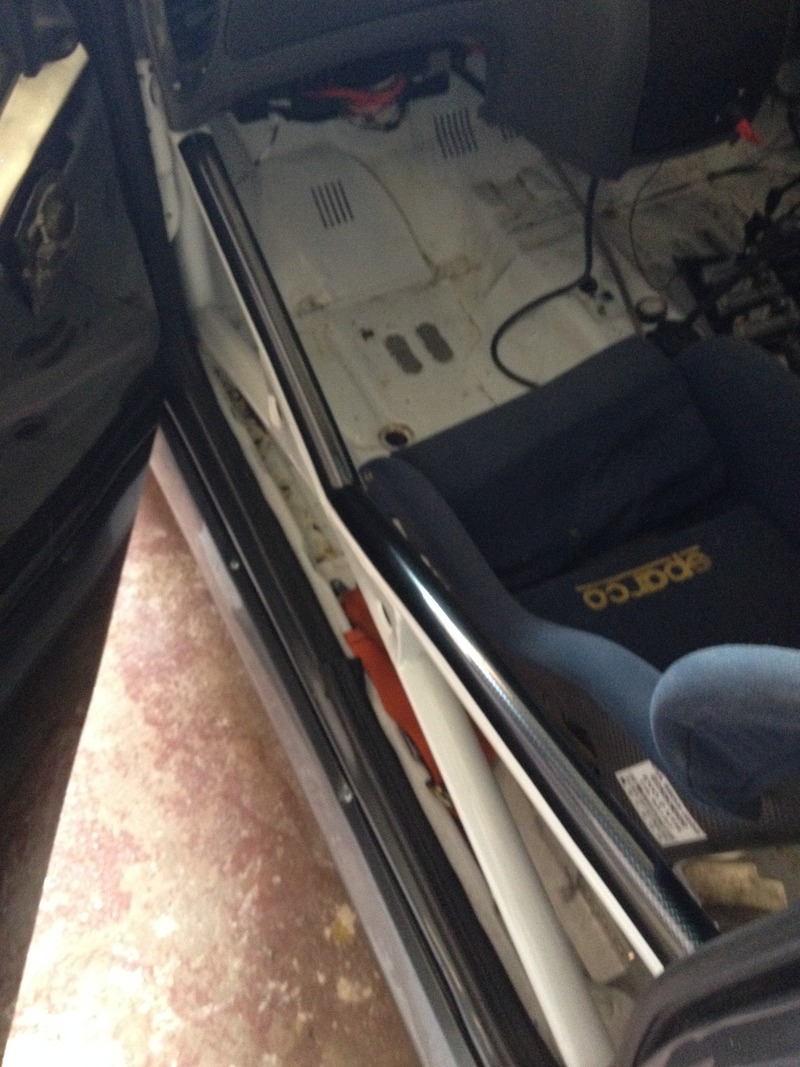
To protect th cage I used some vinyl wrap on th door bars, compared to the real stuff, it's not half bad:
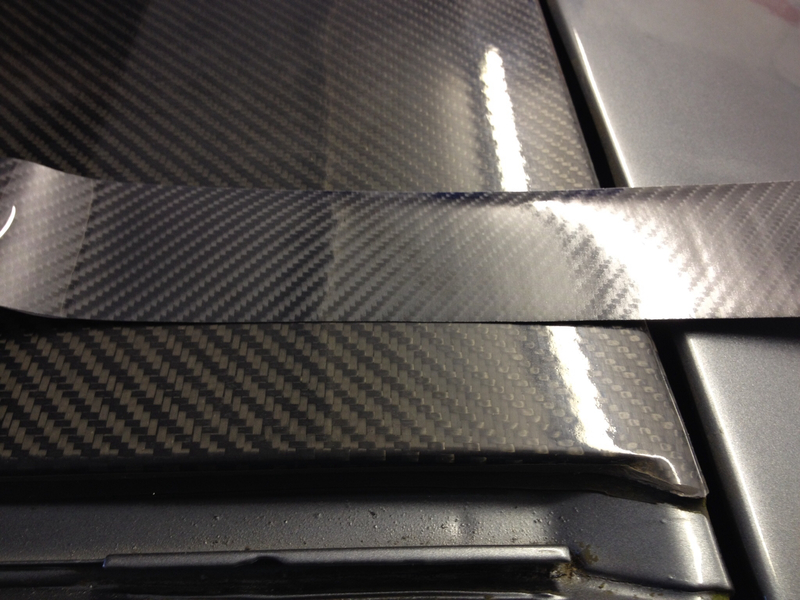
And fitted:
As you can see it will make for easier access to the engine.
To protect th cage I used some vinyl wrap on th door bars, compared to the real stuff, it's not half bad:
And fitted:
01-11-2015, 07:03 PM
#173
Regular Contributor
Thread Starter
And fitted the tripple R Composites front splitter, which finishes the front end off nicely:
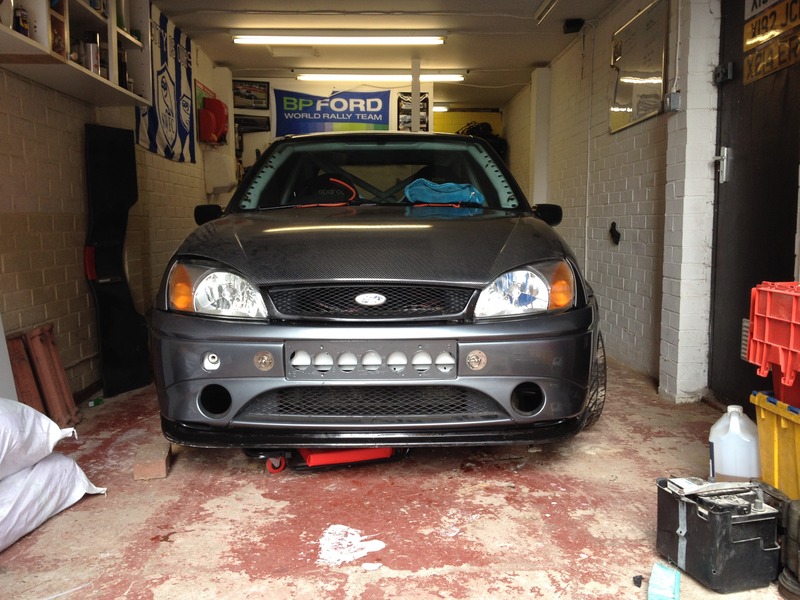
And you can see how much the front bumper has been pulled to suit the RS Turbo arches:
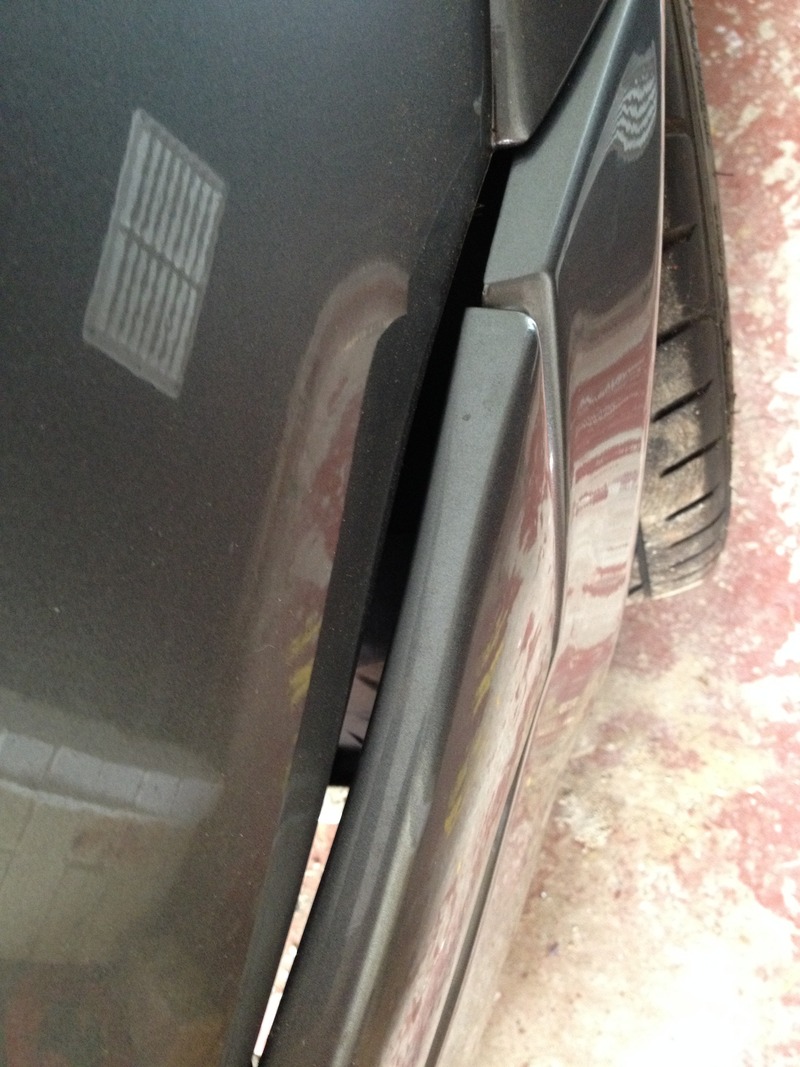
And you can see how much the front bumper has been pulled to suit the RS Turbo arches:

Thread
Thread Starter
Forum
Replies
Last Post
JoeyBoyden
Restorations, Rebuilds & Projects.
26
04-01-2024 02:36 PM
track.focus'd
Restorations, Rebuilds & Projects.
26
12-08-2015 05:53 PM