BEEFY'S s1 cos- tues 1-5-2012 Project now for sale , breaking -


 19-01-2010, 07:48 PM
#965
well tonights update look a little like this ,
before i get on to what i done today , this lovely lil box arrived last week with my name on it ,
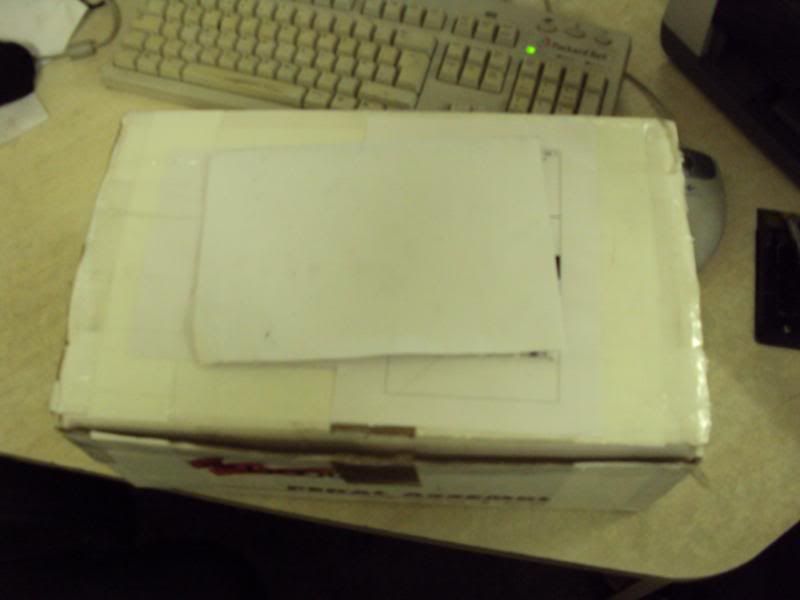
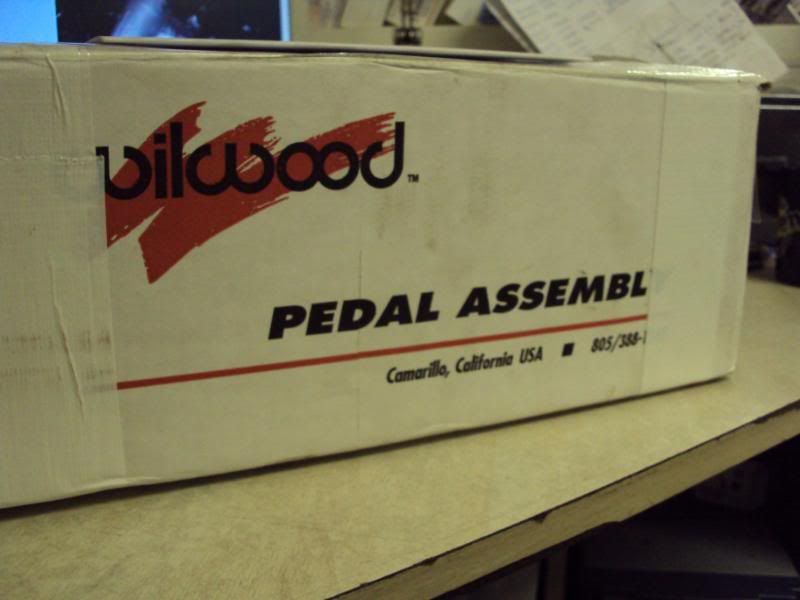
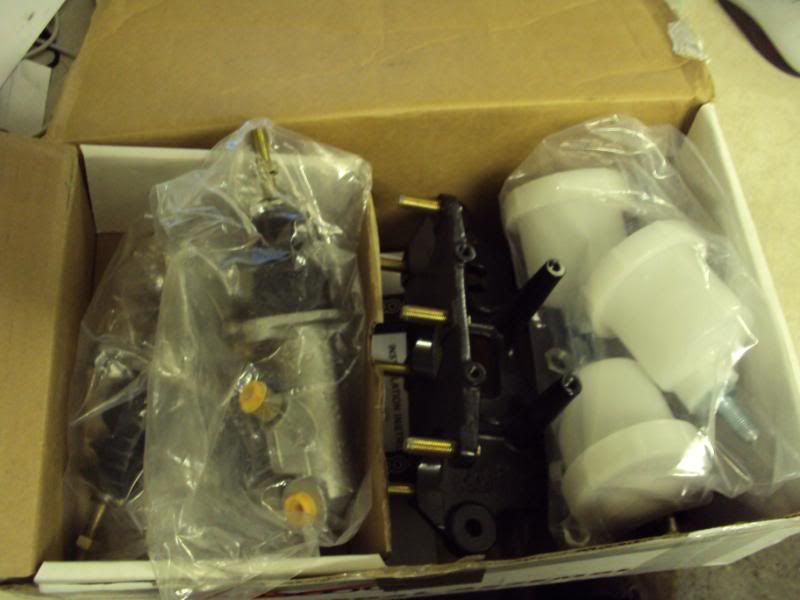
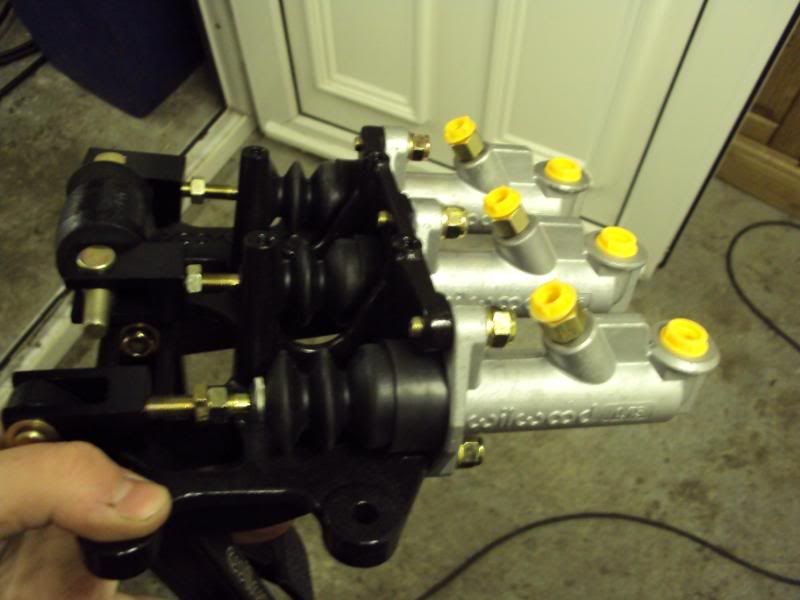
ohh yesss , my new bias reverse mount pedal box
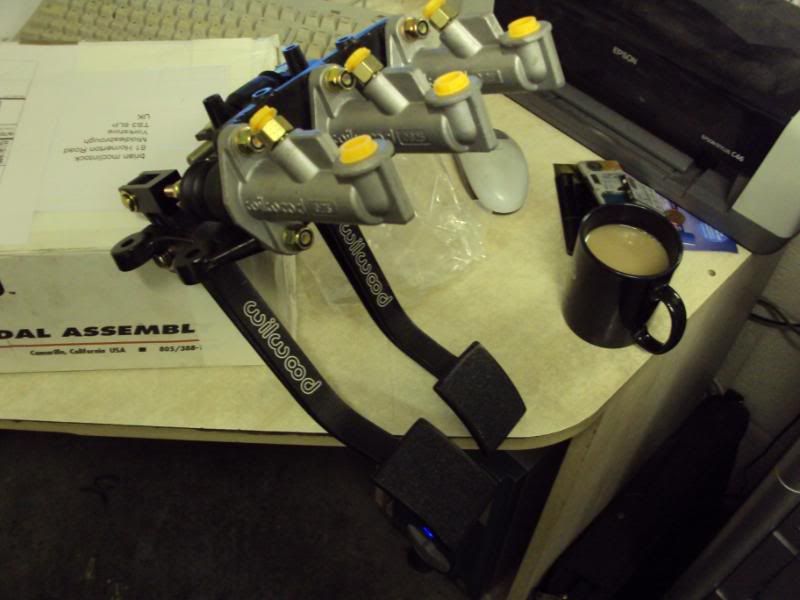
big big thankyou to steve aka nmm fast on here for the cracking deal , and ronnie amis for sending it up,
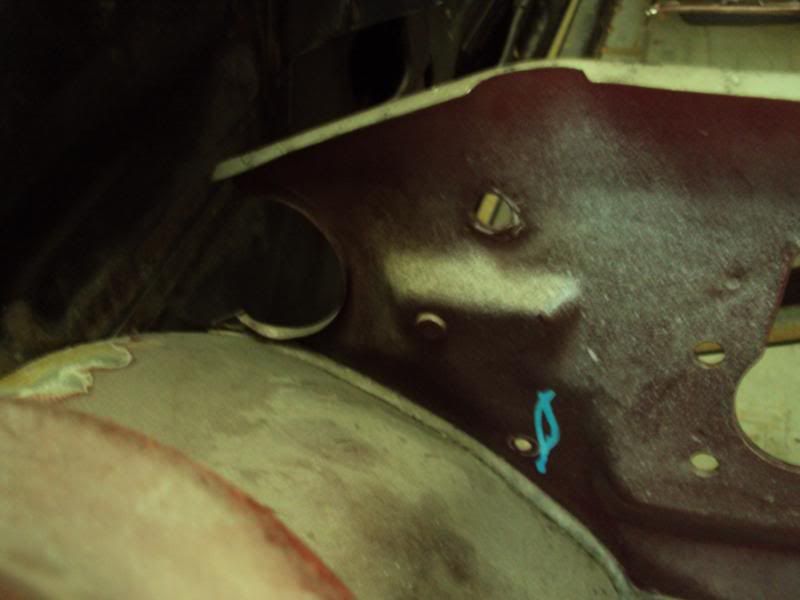
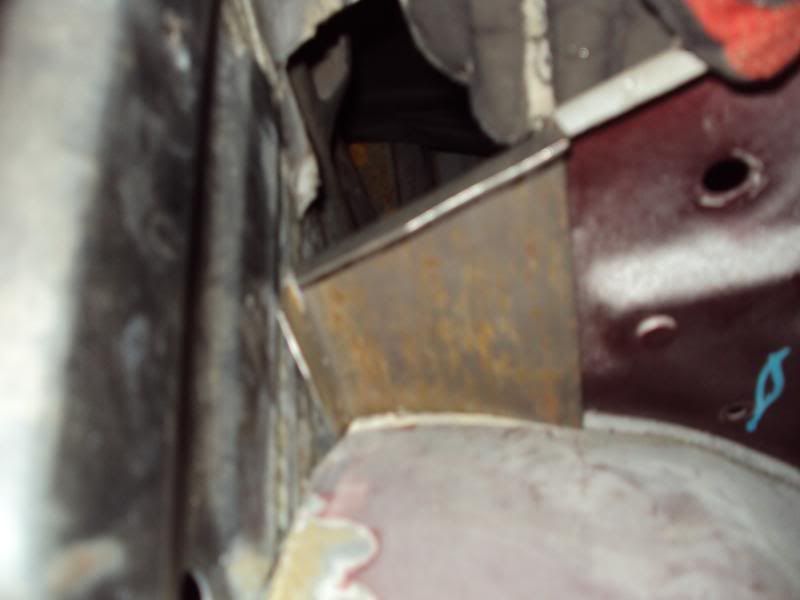
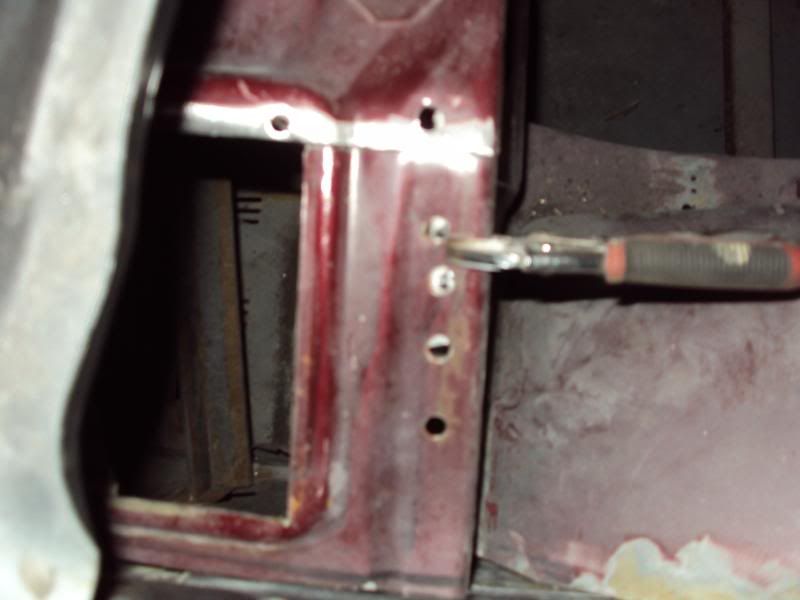
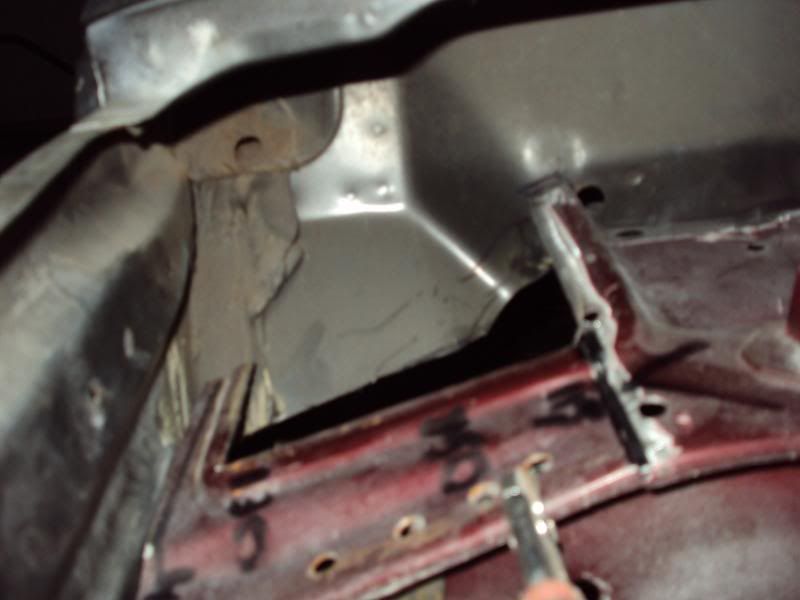
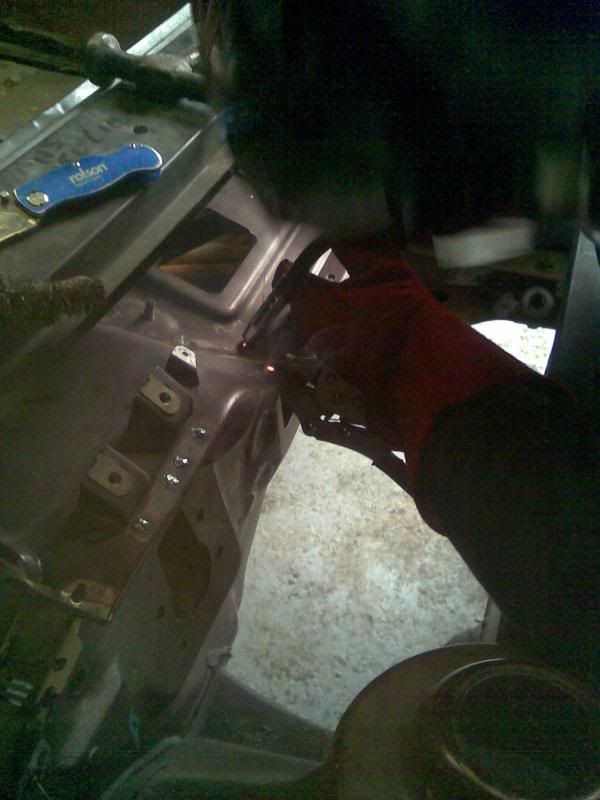
so with that roughly put together i got bk to the bulkhead , now the major top section is fitting , it was time to tackle the left side , not only was the top section cut off but the area where the wiring harness comes thru was roughly cut when fitting the floorpan ,
and seeing as the pedal box sits away under the bulkhead , there was no need for the key hole
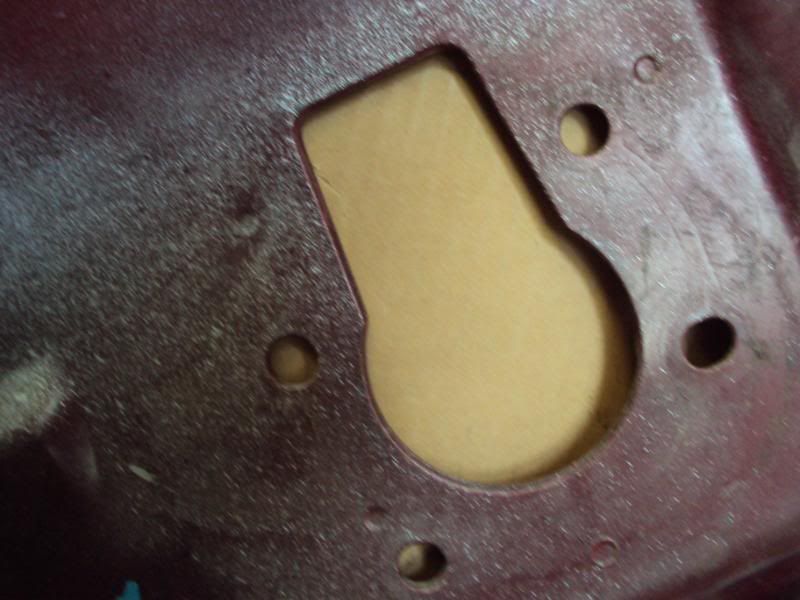
template
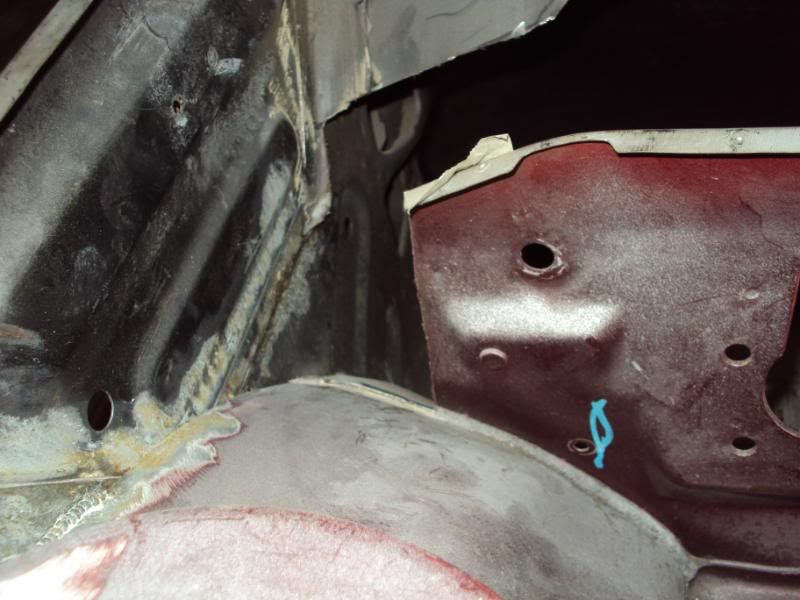
then cut and trimmed to a perfect fit ,

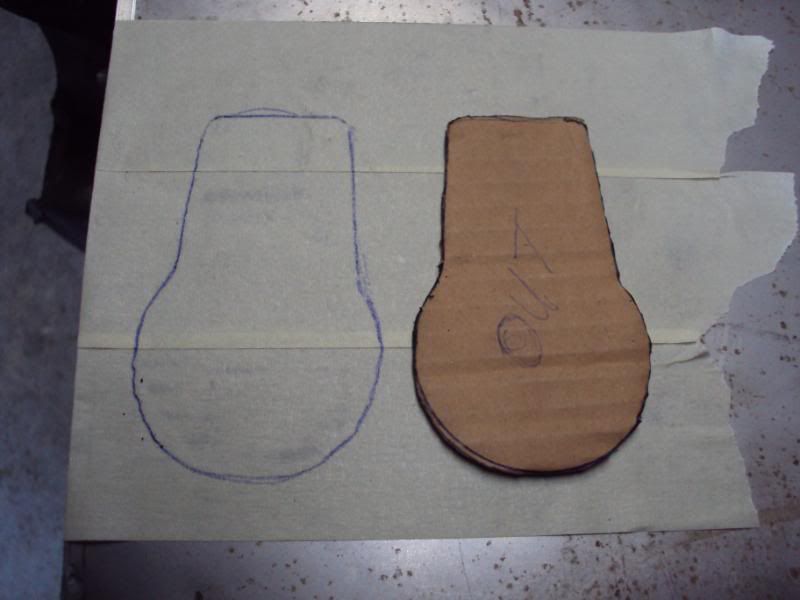
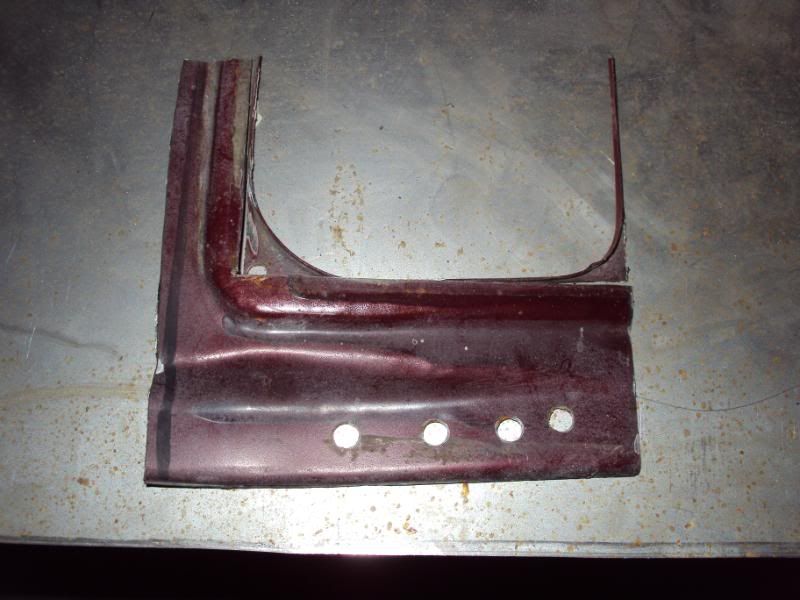
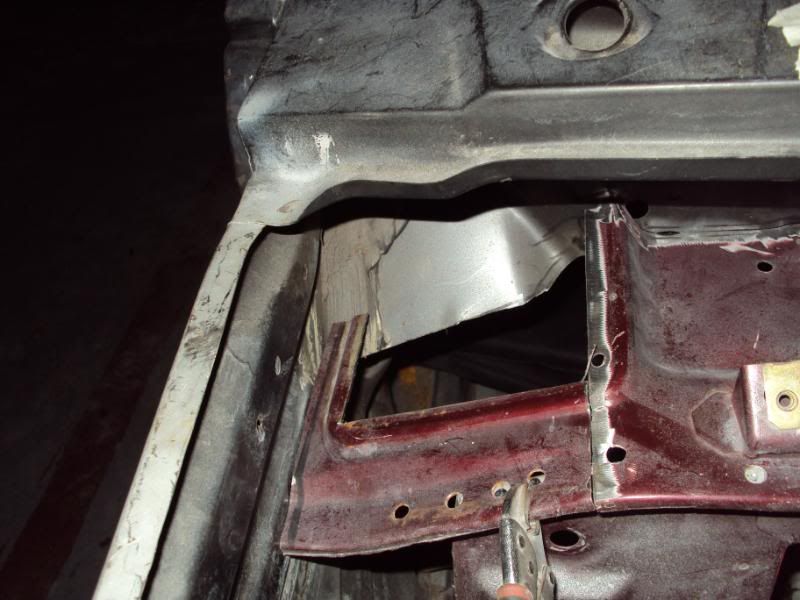
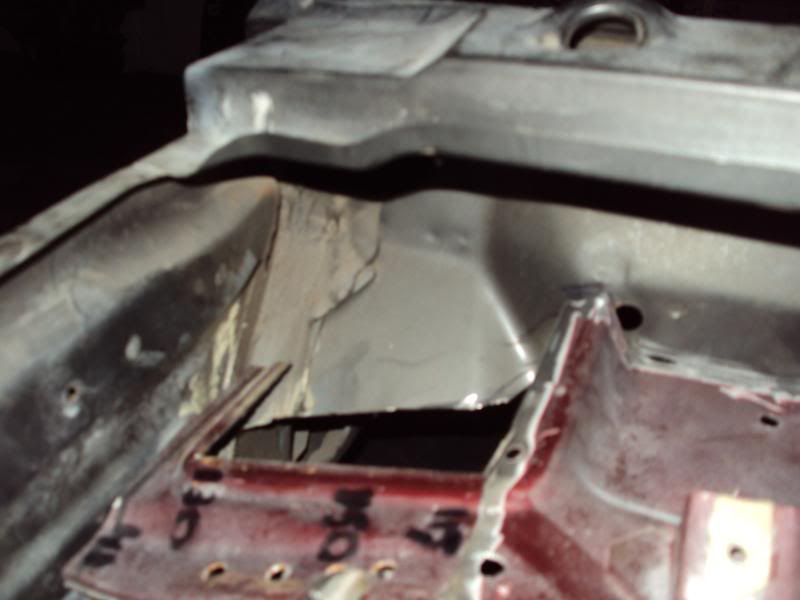
once that was sorted , i set about this
so it was marked and chopped
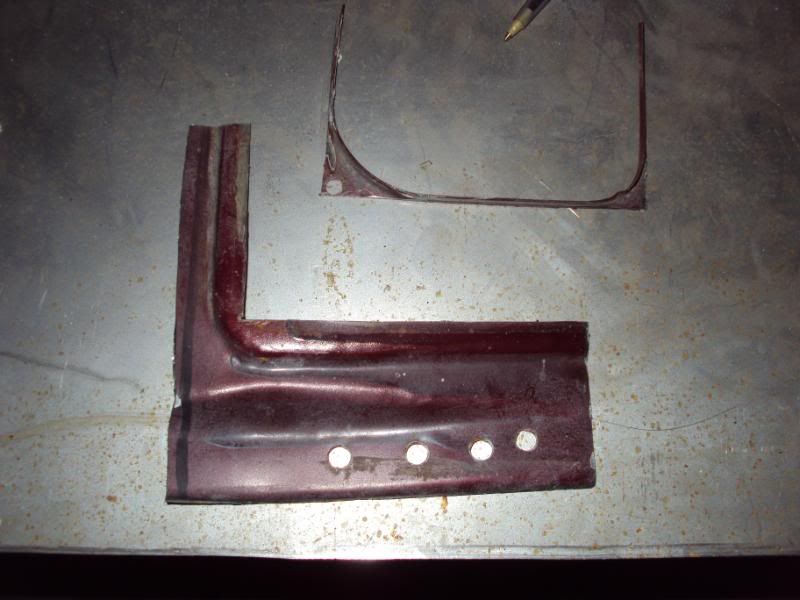
a template then made using the cut peice and some measuring
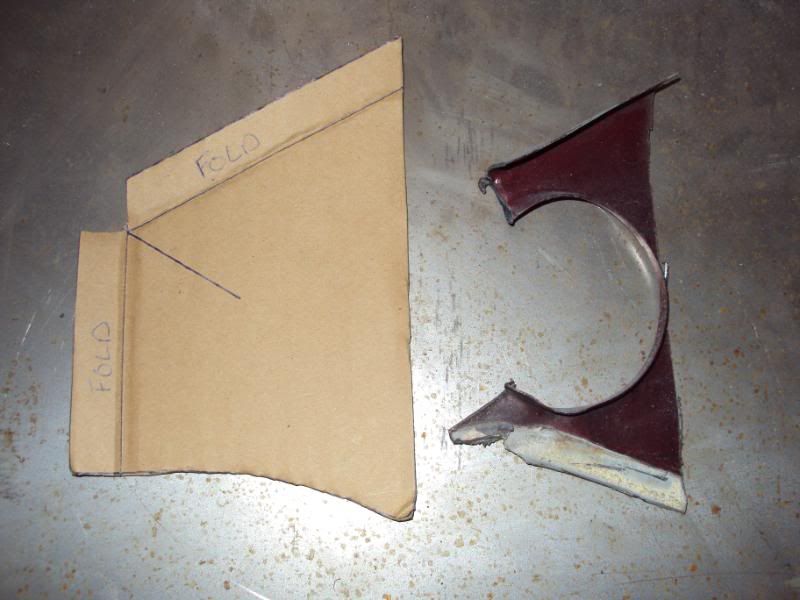
test fit

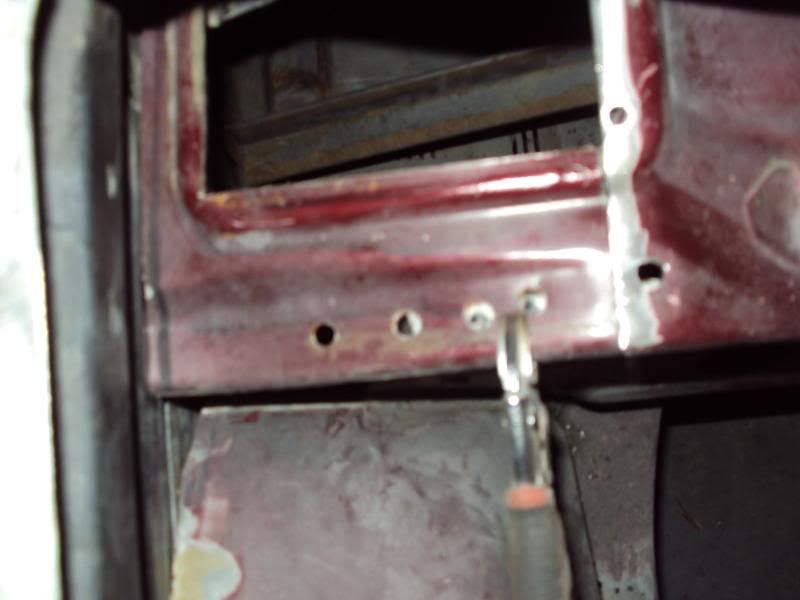
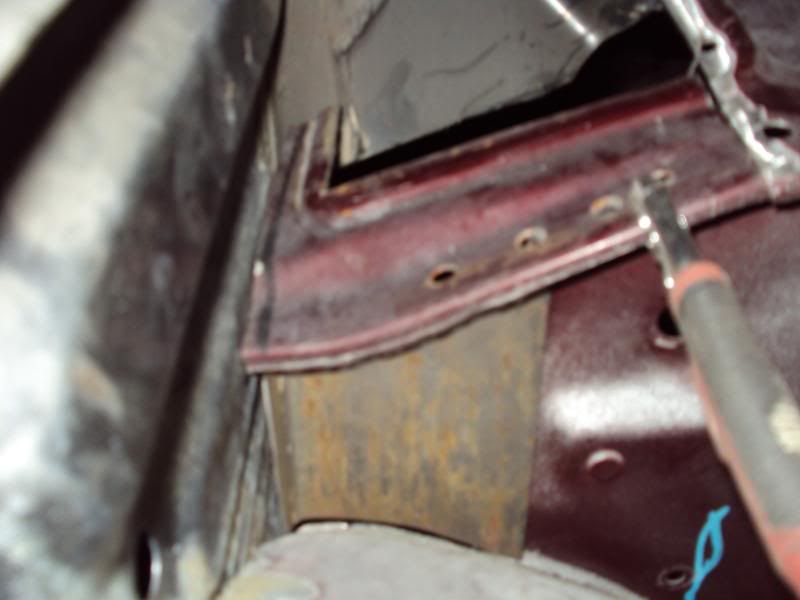
then transfered to metal , note the folds for spotwelding
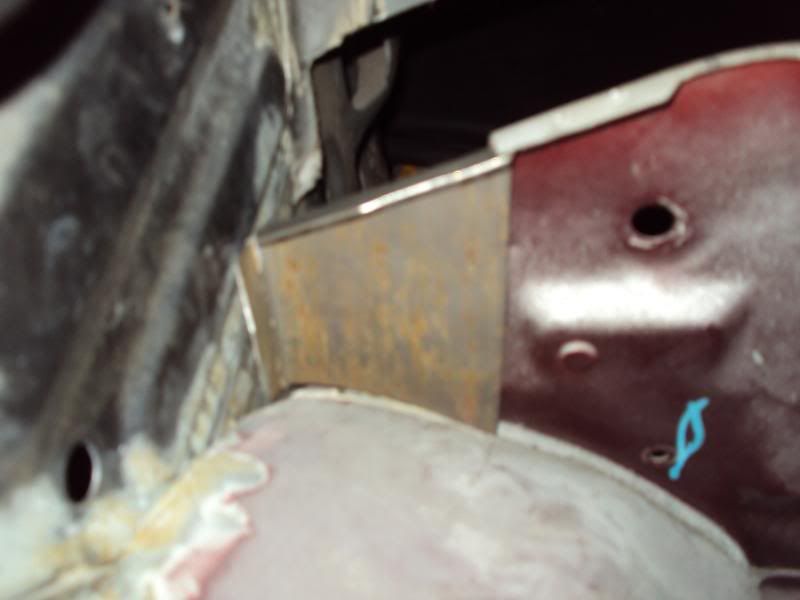
it needs final trimming wich will come with welding it ,but she aint to bad lol
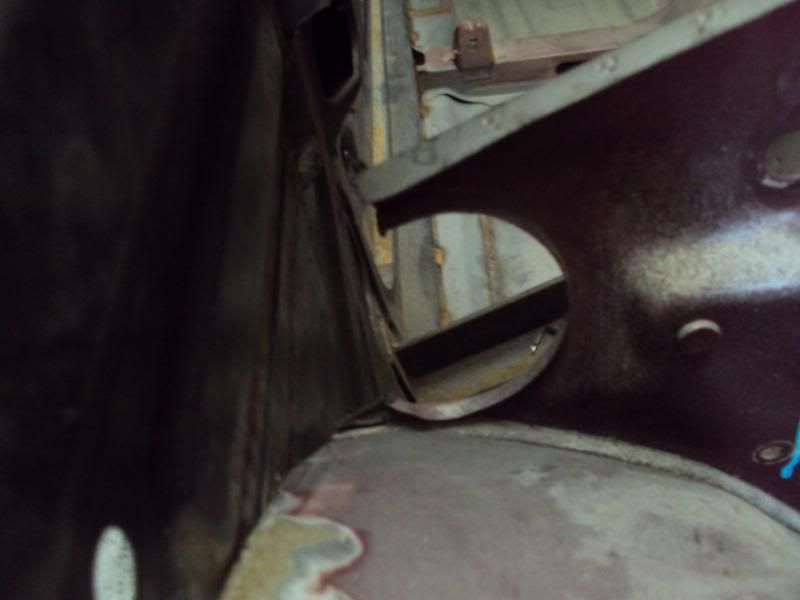
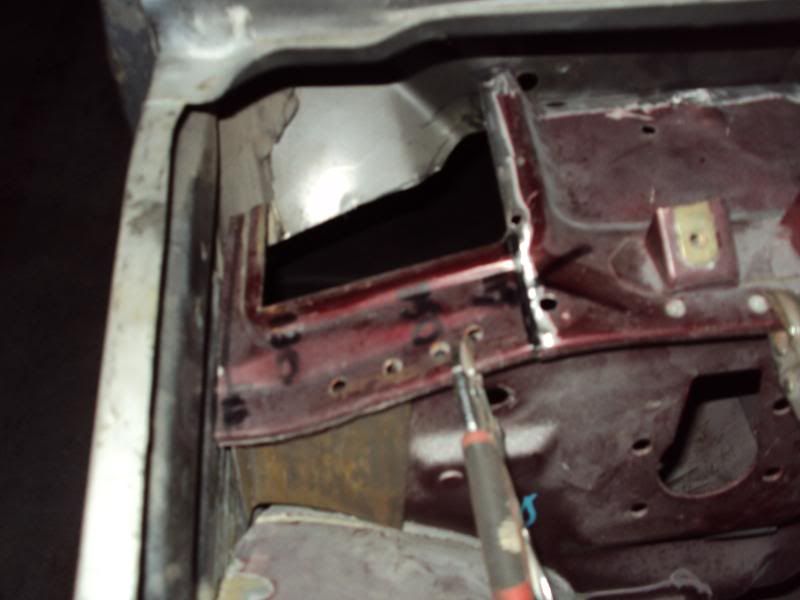
i then moved onto the top secton of this bulkhead area
this was cut off last week to make it eaiser to fit up the big section , with the car not running a cossie harness the fusebox apature is redundant ,
so off with that
i could of just plated this up and clagged a bit of sealer in , but that wouldnt be me lol ,
retaining the oe peice of the top panel means once its trimmed welded in and then the hole plated , you shouldnt know it was any other way ,
lining bk on oe spotwelds
with the lower fill plate in
black line denotes join
and then just this hole to template
reason ive done it this way was to keep the pressed profile of the panel , it flows better and looks
" say it together now !!!"
factory
tomorrow should see me getting everything prepped to tack in place , hopefully karl can find a hr or two to weld it all up this week
thanks for reading
beef
before i get on to what i done today , this lovely lil box arrived last week with my name on it ,
ohh yesss , my new bias reverse mount pedal box
big big thankyou to steve aka nmm fast on here for the cracking deal , and ronnie amis for sending it up,
so with that roughly put together i got bk to the bulkhead , now the major top section is fitting , it was time to tackle the left side , not only was the top section cut off but the area where the wiring harness comes thru was roughly cut when fitting the floorpan ,
and seeing as the pedal box sits away under the bulkhead , there was no need for the key hole
template
then cut and trimmed to a perfect fit ,
once that was sorted , i set about this
so it was marked and chopped
a template then made using the cut peice and some measuring
test fit
then transfered to metal , note the folds for spotwelding
it needs final trimming wich will come with welding it ,but she aint to bad lol
i then moved onto the top secton of this bulkhead area
this was cut off last week to make it eaiser to fit up the big section , with the car not running a cossie harness the fusebox apature is redundant ,
so off with that
i could of just plated this up and clagged a bit of sealer in , but that wouldnt be me lol ,
retaining the oe peice of the top panel means once its trimmed welded in and then the hole plated , you shouldnt know it was any other way ,
lining bk on oe spotwelds
with the lower fill plate in
black line denotes join
and then just this hole to template
reason ive done it this way was to keep the pressed profile of the panel , it flows better and looks
" say it together now !!!"
factory
tomorrow should see me getting everything prepped to tack in place , hopefully karl can find a hr or two to weld it all up this week
thanks for reading
beef
19-01-2010, 08:02 PM
#968
lol dont think im that good ,
but i was well chuffed that when i just got on with it and using what ive been shown /taught by karl , that i can fab things with good results worthy of making it on the car ,but most of all done by me ,
and yeah im fuckng well pleased with that
but i was well chuffed that when i just got on with it and using what ive been shown /taught by karl , that i can fab things with good results worthy of making it on the car ,but most of all done by me ,
and yeah im fuckng well pleased with that


 21-01-2010, 03:57 AM
#975
Too many projects........

Join Date: Feb 2006
Location: STOKESLEY
Posts: 93
Likes: 0
Received 0 Likes
on
0 Posts
Looking good now, attention to detail is what makes a project stand out from the rest.
Before you know it you'll be doing alot more work yourself as you can only learn by doing yourself and learning by mistakes.
Before you know it you'll be doing alot more work yourself as you can only learn by doing yourself and learning by mistakes.
21-01-2010, 07:44 AM
#976
Regular Contributor
Prob a silly question but, why do you put maskin tape on the platebefore drawin round the template and not just drawing straight onto the plate?
Is it incase you mess up an can just pull it off an start again without havin loads of lines all over the place which can end up confusin ya or some other reason? CheeRS
Is it incase you mess up an can just pull it off an start again without havin loads of lines all over the place which can end up confusin ya or some other reason? CheeRS
 21-01-2010, 06:42 PM
#979
Prob a silly question but, why do you put maskin tape on the platebefore drawin round the template and not just drawing straight onto the plate?
Is it incase you mess up an can just pull it off an start again without havin loads of lines all over the place which can end up confusin ya or some other reason? CheeRS
Is it incase you mess up an can just pull it off an start again without havin loads of lines all over the place which can end up confusin ya or some other reason? CheeRS
as liam said really , was the way karl taught me to do it ,
when u scribe the line its faint ,
leastt this way the line stays clearer , also a straight edge to the tape helps when you want to trip sumthing , just use it as a guide
21-01-2010, 07:04 PM
#980
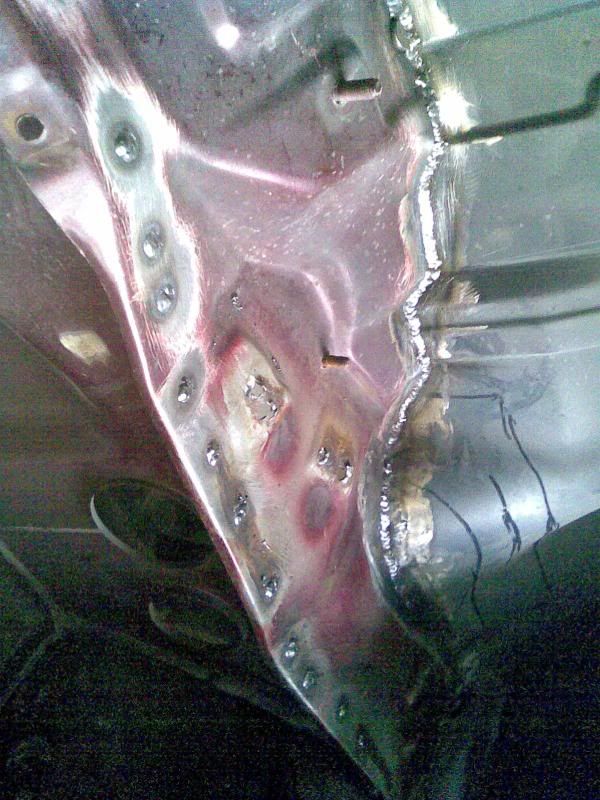
ok folks the bulkhead is offically in !!!
big thanks to karl for picthing in today , so we got to it and decided to get it buttoned up ,
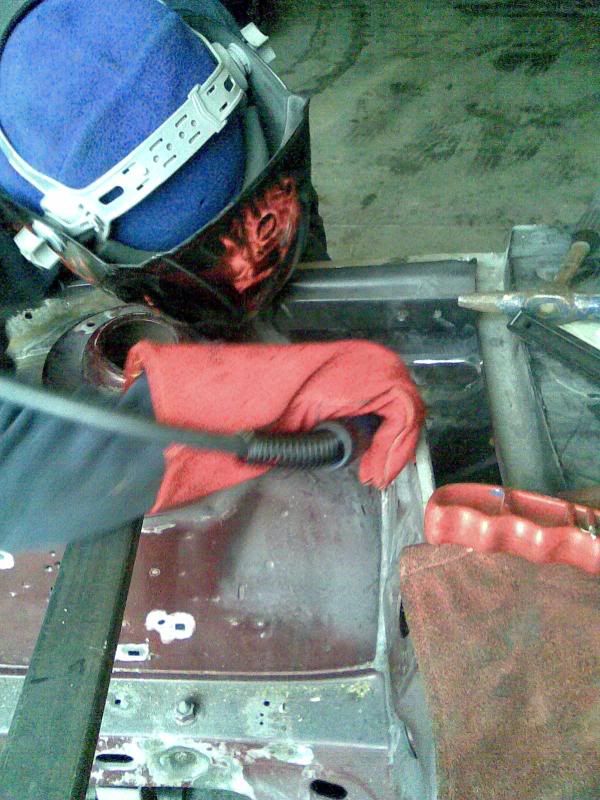
first karl dollyied flat the swage marks in the mk3 half
then i prepped the whole area for welding
so then karl set about welding the inner wing to the inner arch from the turret downover , makes sense to do it now while theres access ,
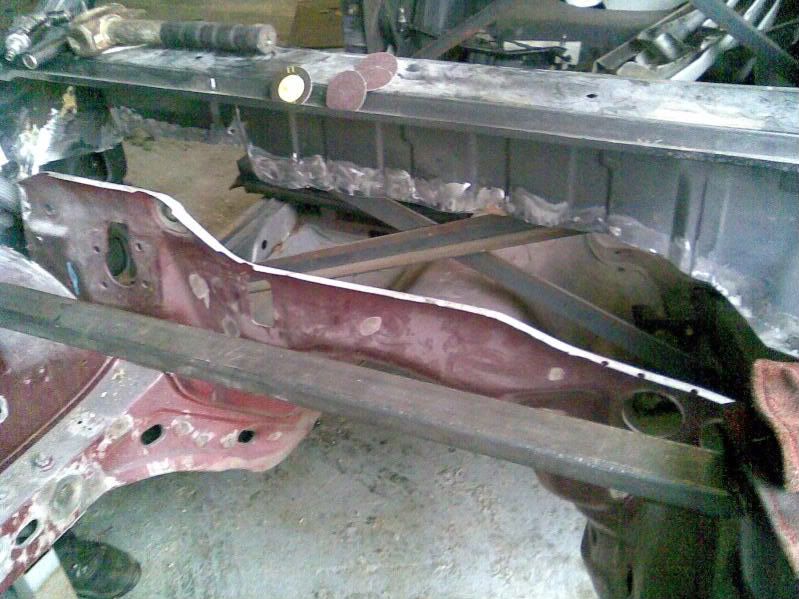
then once both sides were done it was time to re allign the bulkhead panel

was puddle welded bk in the oe spotweld holes wich will be smoothed so ud never know it was off
and all tacked in front and back
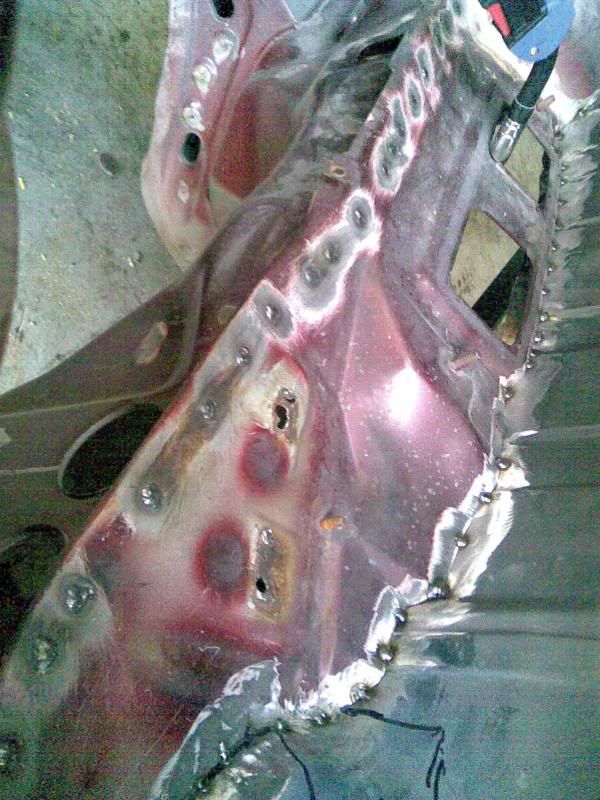
then fully welded in ,
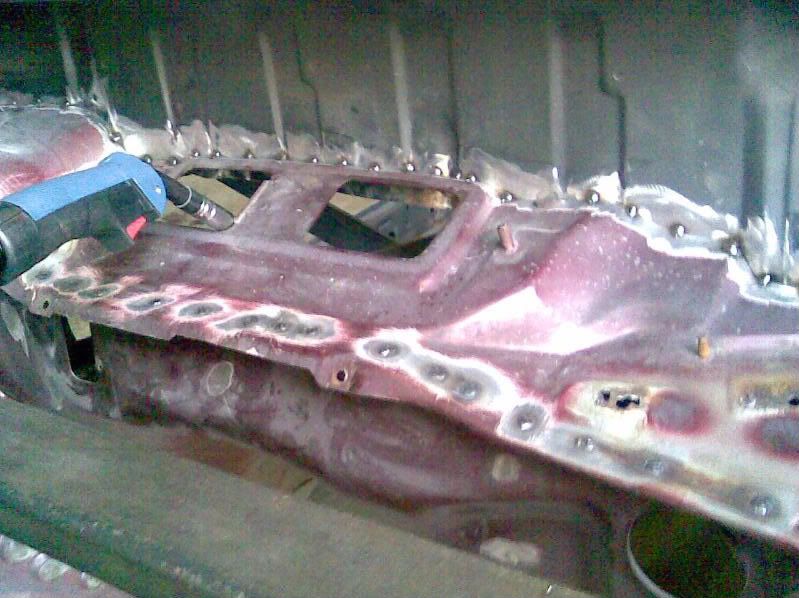
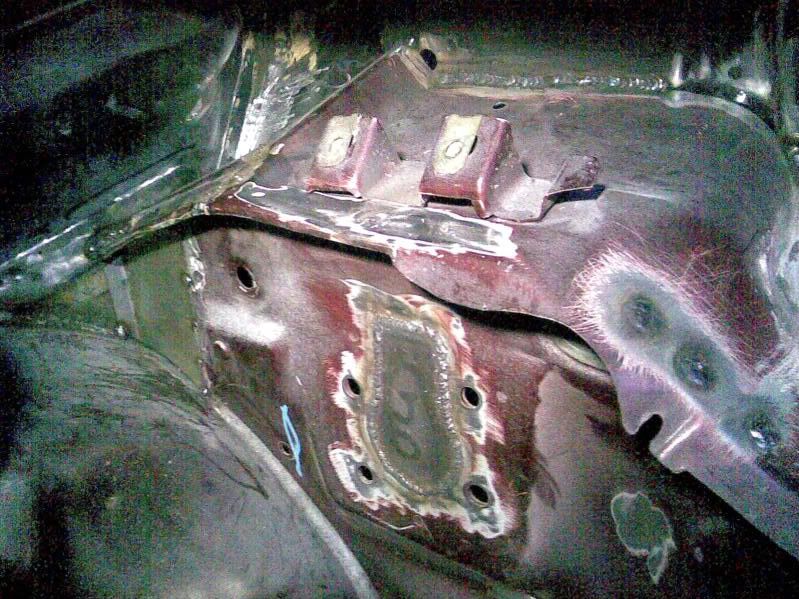
battery tray area
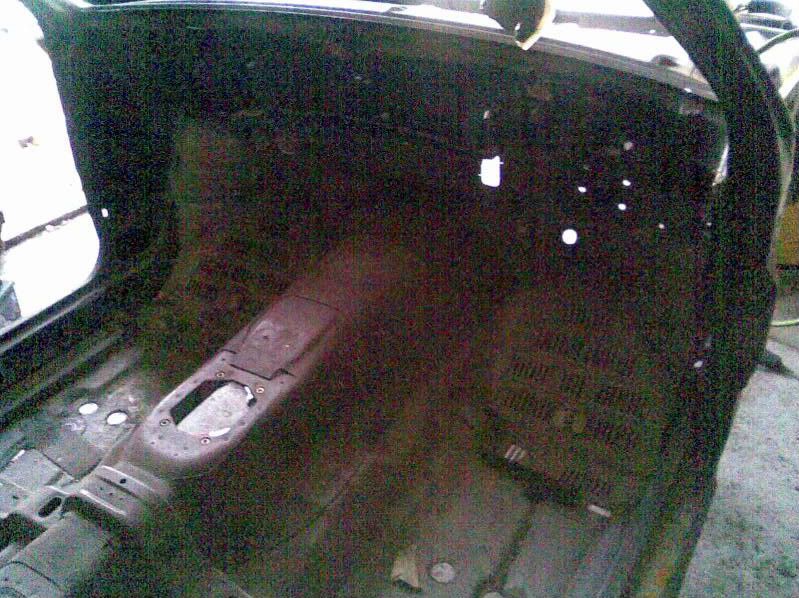
and with this now in , the front x brace inside the car could be removed
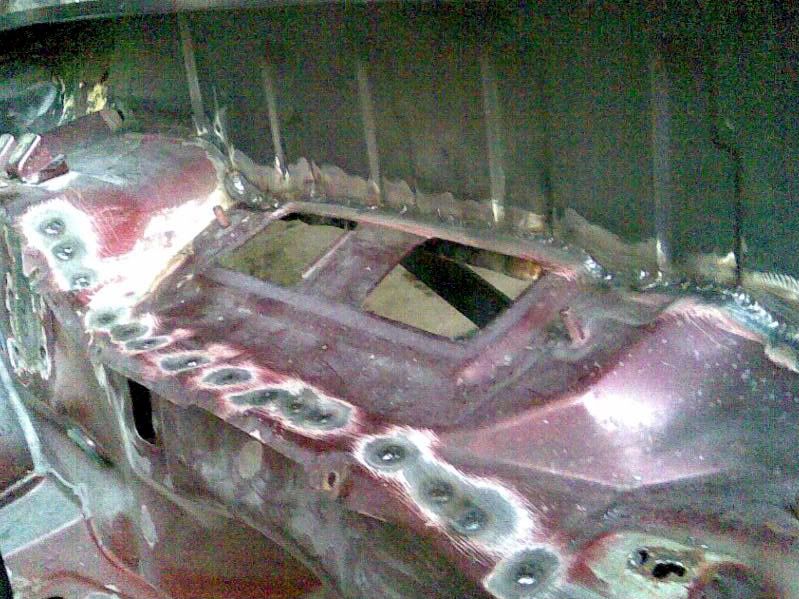
last order of the day was to re fit the left side of the top section of bulkhead this will still need a plate fitting but we thought we would rap the top up ,
also note the key hole has been filled , and the black line on the inner wing denotes the bottom of the mk 3 bonnet hinge ,
who said we aint forward thinking eh ??
tomorrow will see more work on the bay , prob just cleaning and knocking bk the spotwelds ect ready to get some primer in ,
ohh and the missus ordering front panel and wings end of the month dont you wish you had a bird like that lol
beef
big thanks to karl for picthing in today , so we got to it and decided to get it buttoned up ,
first karl dollyied flat the swage marks in the mk3 half
then i prepped the whole area for welding
so then karl set about welding the inner wing to the inner arch from the turret downover , makes sense to do it now while theres access ,
then once both sides were done it was time to re allign the bulkhead panel
was puddle welded bk in the oe spotweld holes wich will be smoothed so ud never know it was off
and all tacked in front and back
then fully welded in ,
battery tray area
and with this now in , the front x brace inside the car could be removed
last order of the day was to re fit the left side of the top section of bulkhead this will still need a plate fitting but we thought we would rap the top up ,
also note the key hole has been filled , and the black line on the inner wing denotes the bottom of the mk 3 bonnet hinge ,
who said we aint forward thinking eh ??
tomorrow will see more work on the bay , prob just cleaning and knocking bk the spotwelds ect ready to get some primer in ,
ohh and the missus ordering front panel and wings end of the month
dont you wish you had a bird like that lol beef
21-01-2010, 07:23 PM
#982
apologies for the poor pic quality , they were off me fone as i forgot me camera ,
also a big thanks to natehall on here whos sending me over some seatbases and a stock sierra wiper assembly , as the modded one i have was not made to mount standard sierra bracket ,
beef
also a big thanks to natehall on here whos sending me over some seatbases and a stock sierra wiper assembly , as the modded one i have was not made to mount standard sierra bracket ,
beef
 22-01-2010, 03:26 PM
#985
Lucifer II - 666


 23-01-2010, 04:23 PM
#993
looking real good beef i like it a lot ,what is the pedal ratio on your bias box big man looks real good ,gonna change mine end of this year for a obp pedal box as the comp brake one i have is shit the pedal ratio is only 3.5 to1 & the obp is 6.5to1
23-01-2010, 04:44 PM
#994
well its over in marske atm patto , drop karl a ring and weel give u directions
what is it with you and central lol, but yeah if work starts when it should ,and we keep plugging away ,im hoping to have it rolling and in primer and on the fast ford stand @ central
honestly no idea andy , i know its a well built bit of kit , and its got a .625 master cylinder for the fronts and a .700 for the rears iirc ,
its something im going to have to seek a little advice on mate as not to clued up on the ratios ect , also think it will depend on what caliper setup i end with , looking at the hi spec 6 pot kit on the front and 4 pot kit with built in hand brake on the rear ,
but that may drop to 4 pots , as most folk ive spoke to say 6 pots are over kill ,
but with 450 brake , id rather have more then less lol ,
beef
23-01-2010, 04:53 PM
#996
lol its a great show and puts you in a good mood for the year
realistically id like it there but im not prepared to rush or scrimp on the quality of the build for a show ,
whole car should be doen for central 2011 though lol
beef
realistically id like it there but im not prepared to rush or scrimp on the quality of the build for a show ,
whole car should be doen for central 2011 though lol
beef