EDAN Escort S2 Turbo.Update,03/04/11 reverse charge carrier fitted


 07-02-2006, 07:18 AM
#1725

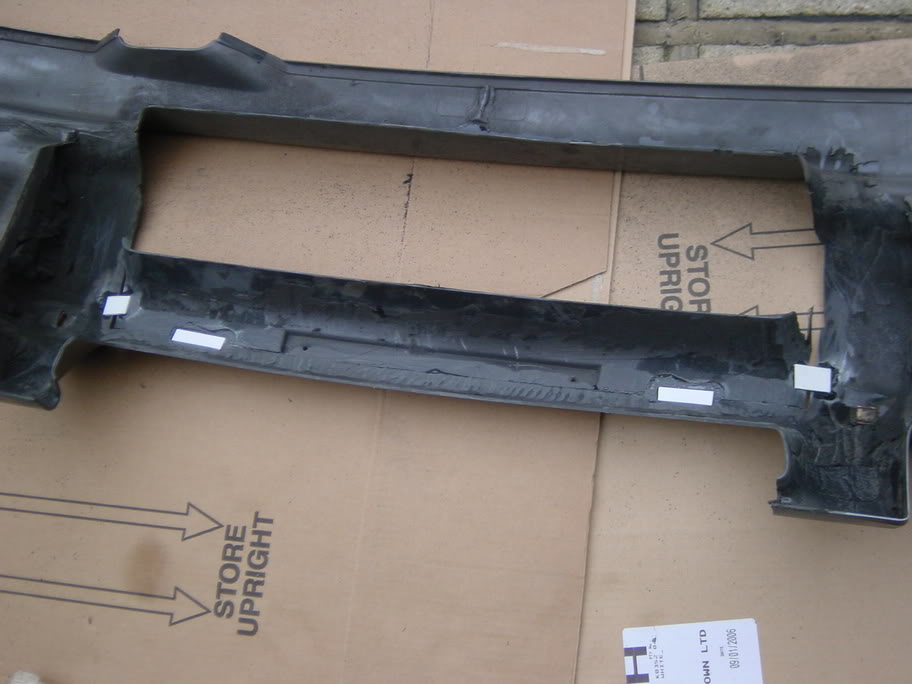
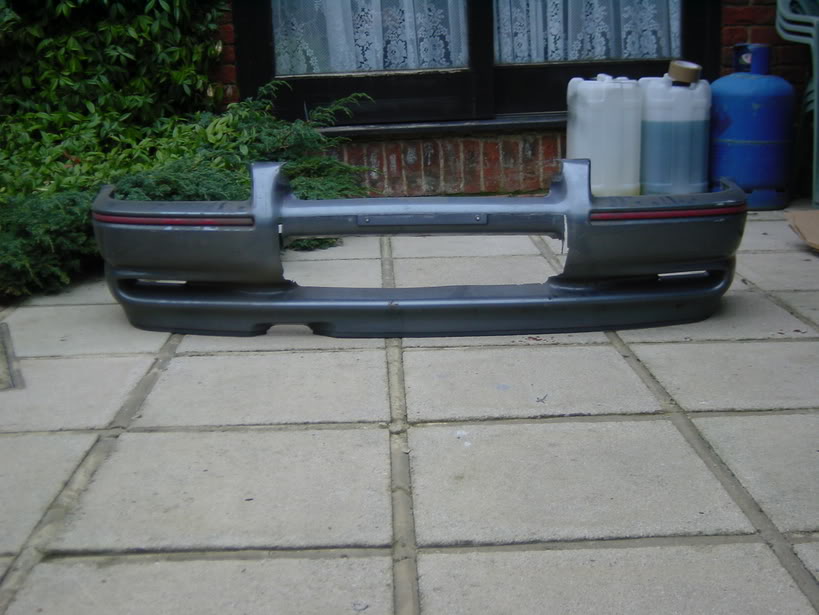
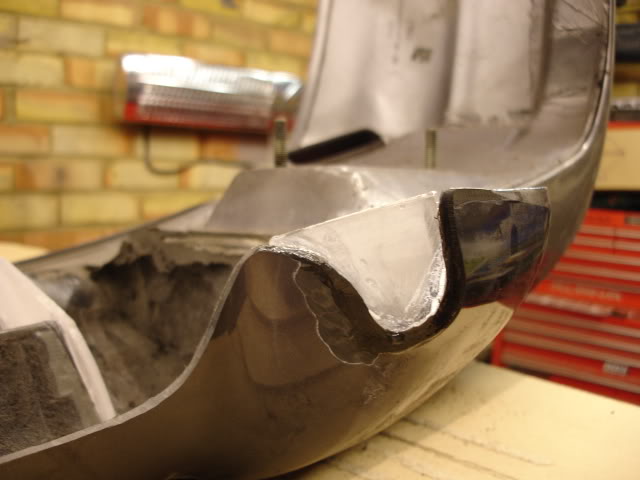
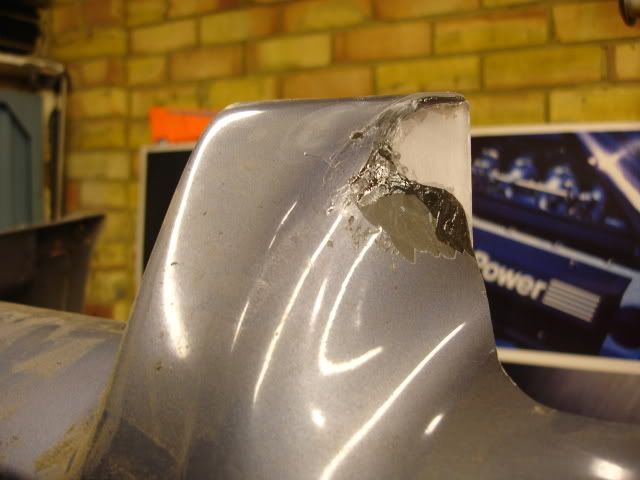
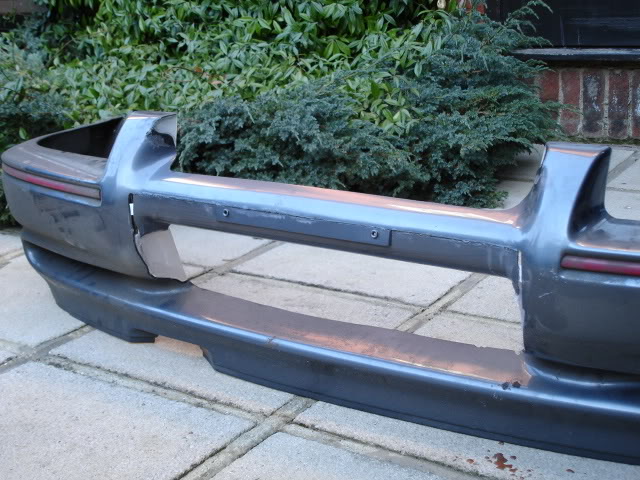
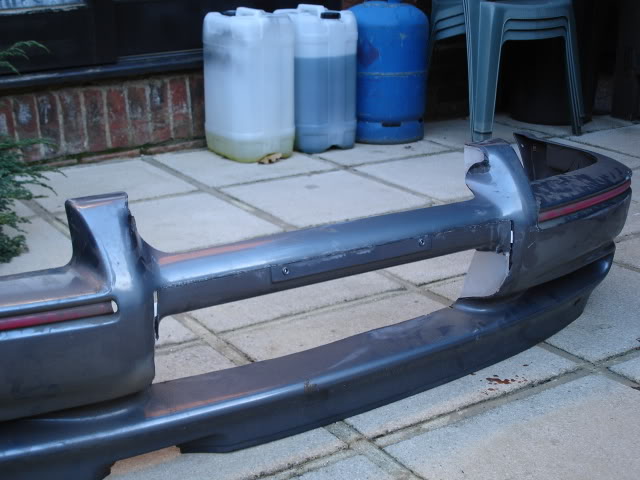
Update time,removed the lower section of the number plate bar ,this was then rebonded back up to meet the top.
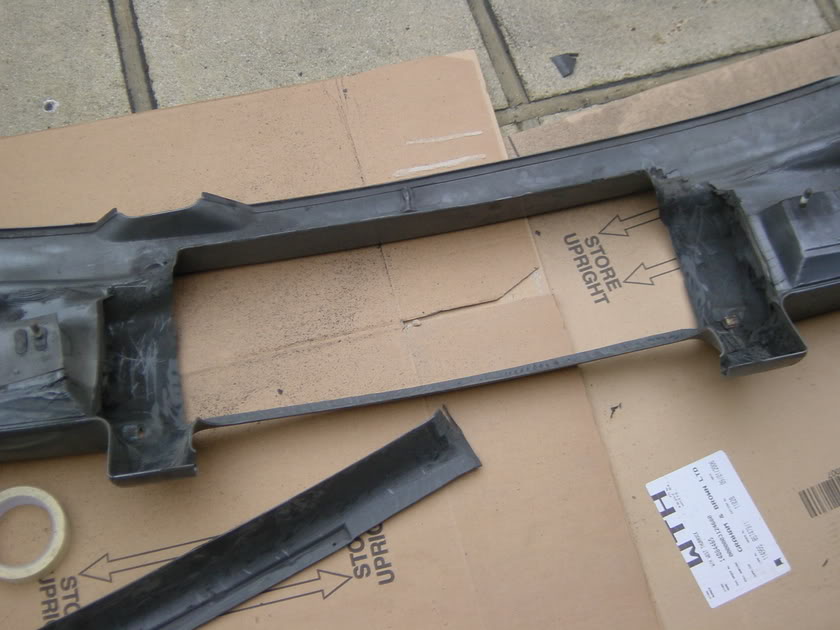
This will have fiberglass matting on the back side of the joints to give it strenght.
The white bits are plastic just to help the joints stick before the fiberglass is added.
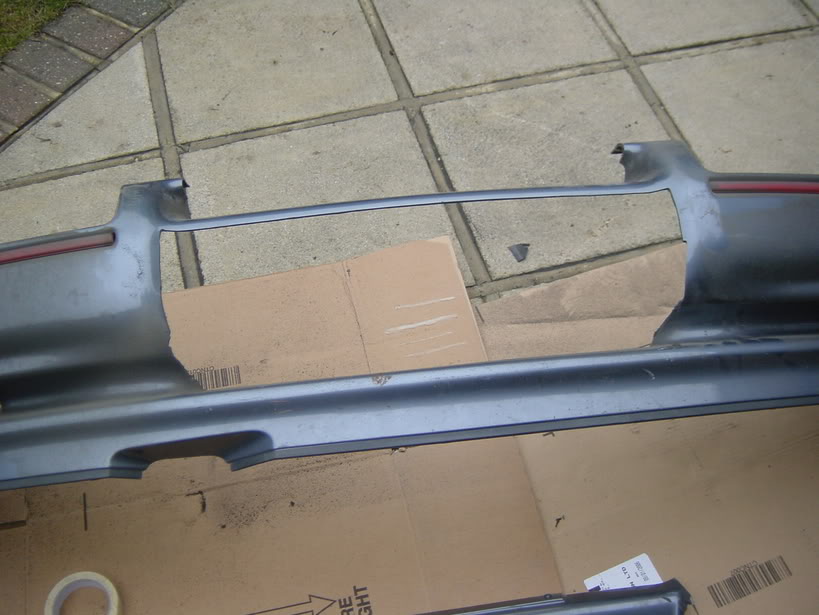
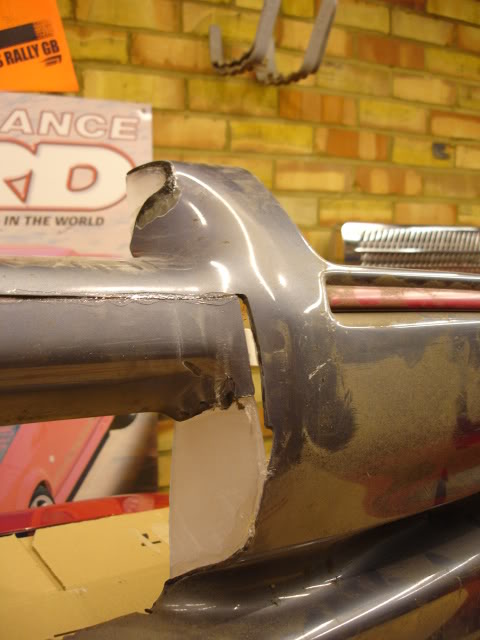
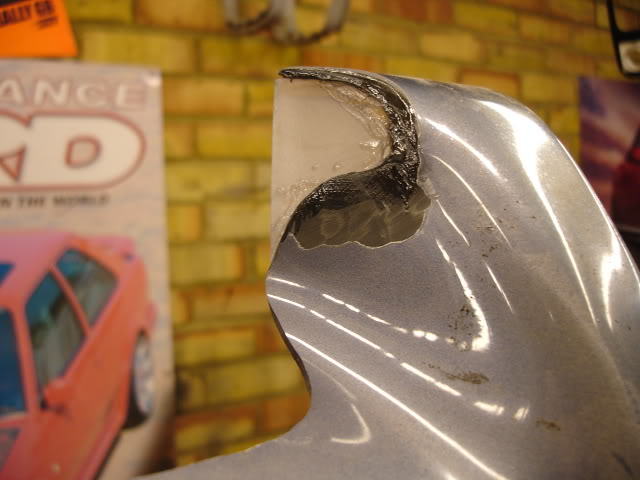
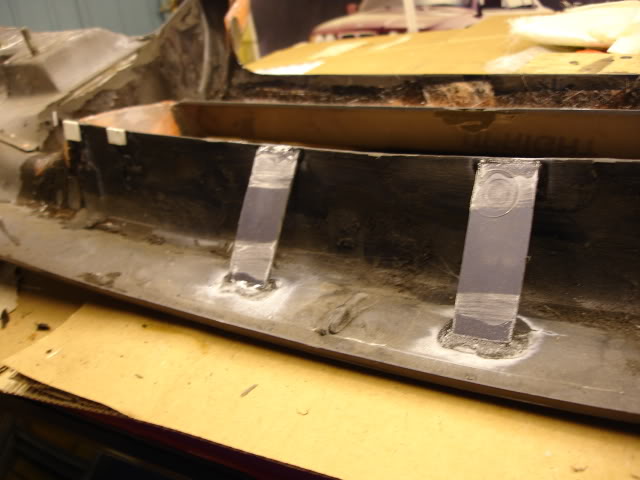
Starting to take shape,under the bar at each side where it starts to go down ,a filler piece will be made up for both sides to run to the bottom.
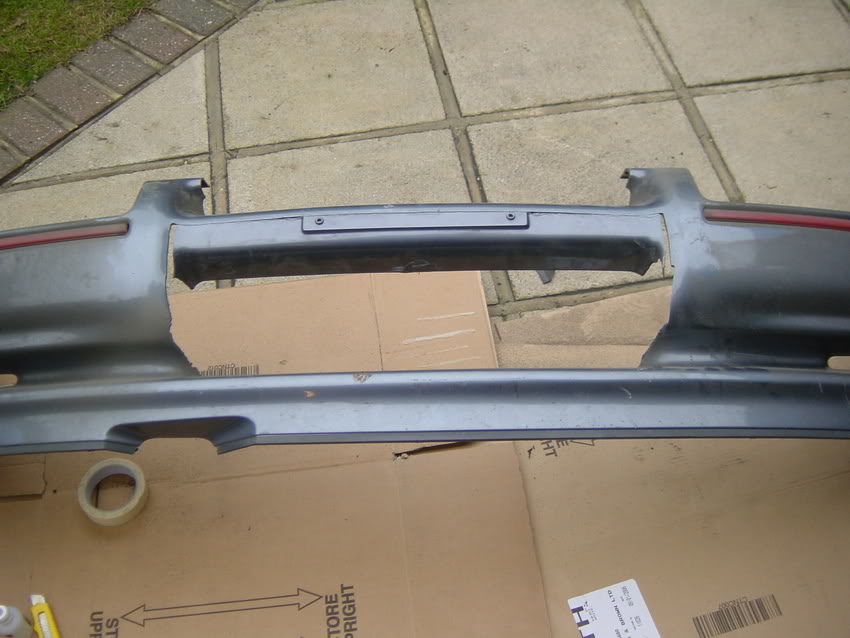
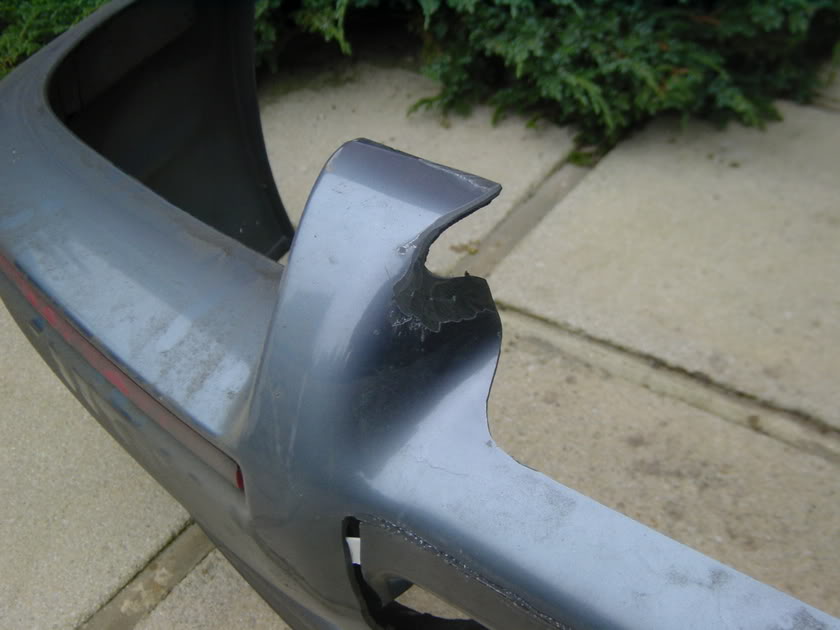
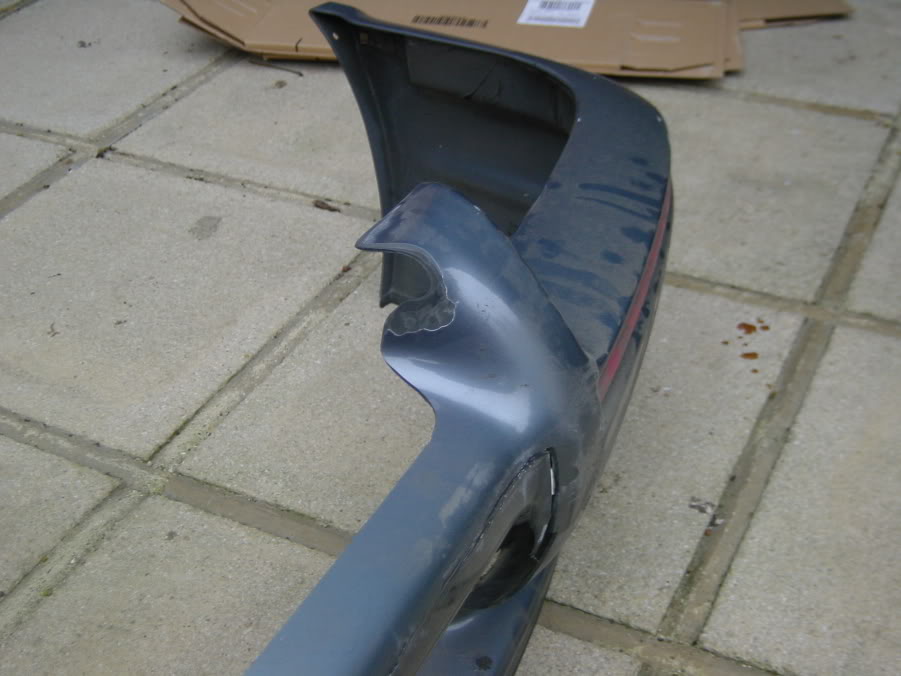
On the uprights ,a filler piece has to be made and smoothed in.
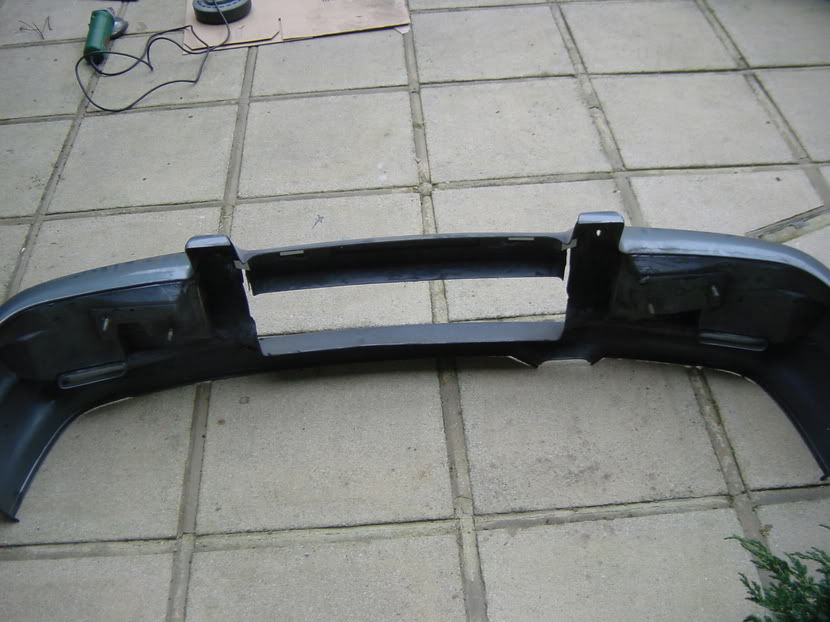
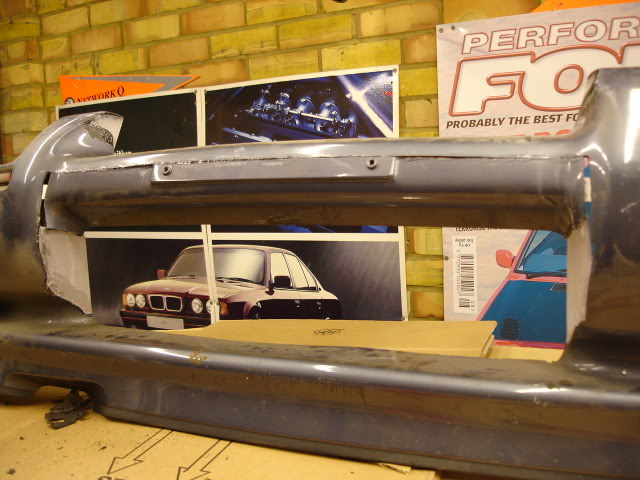
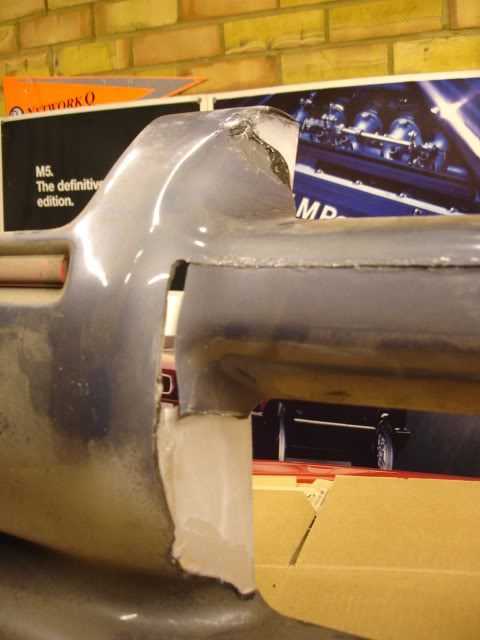
This is how it stands at the moment ,really pleased with it so far
This will have fiberglass matting on the back side of the joints to give it strenght.
The white bits are plastic just to help the joints stick before the fiberglass is added.
Starting to take shape,under the bar at each side where it starts to go down ,a filler piece will be made up for both sides to run to the bottom.
On the uprights ,a filler piece has to be made and smoothed in.
This is how it stands at the moment ,really pleased with it so far

 07-02-2006, 10:18 AM
#1728
PassionFord Post Troll
Looking good as always Dave Its the same as how i did my old S2 bumper a couple of years ago, but you have cut more away  Will you be smoothing over/away the number plate patch?
Its the same as how i did my old S2 bumper a couple of years ago, but you have cut more away Will you be smoothing over/away the number plate patch?

 07-02-2006, 04:43 PM
#1735
Originally Posted by M.A.D.RST
Looking good as always Dave Its the same as how i did my old S2 bumper a couple of years ago, but you have cut more away Will you be smoothing over/away the number plate patch?
Its the same as how i did my old S2 bumper a couple of years ago, but you have cut more away Will you be smoothing over/away the number plate patch?

 09-02-2006, 04:38 PM
#1742
Ok time for another update(with lots of piccys)been doing 10 mins here and there on the bumper when i get a chance.
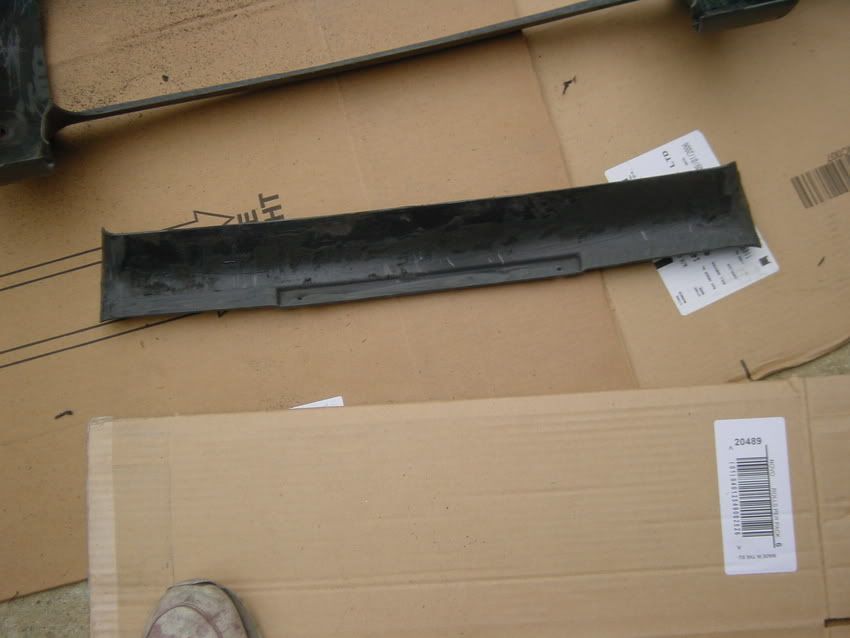
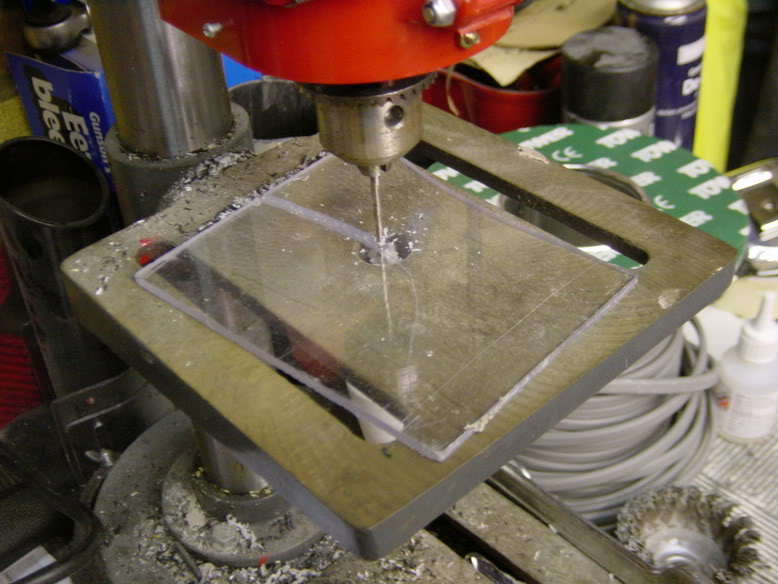
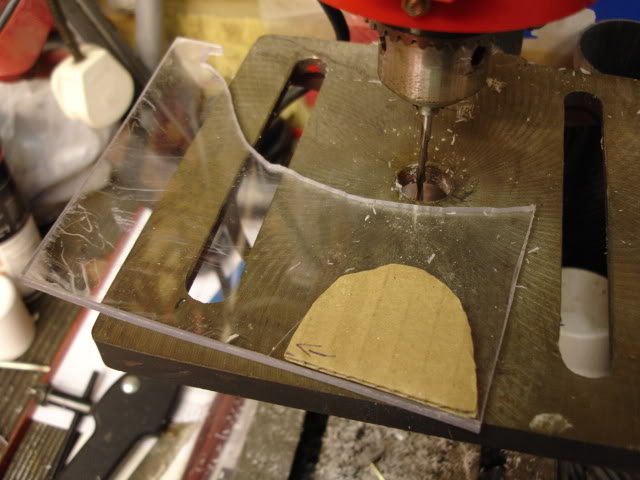
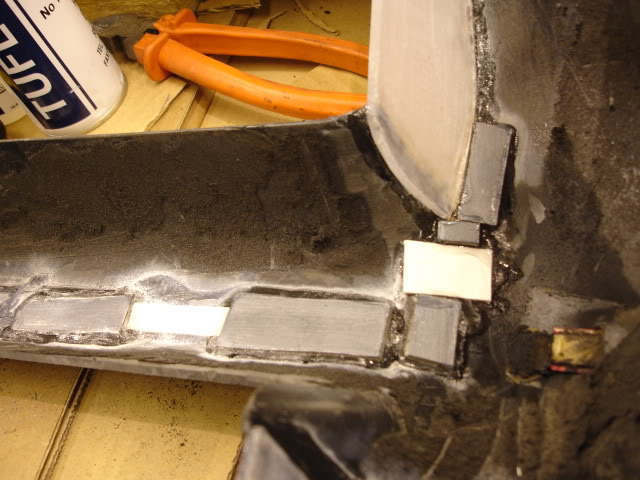
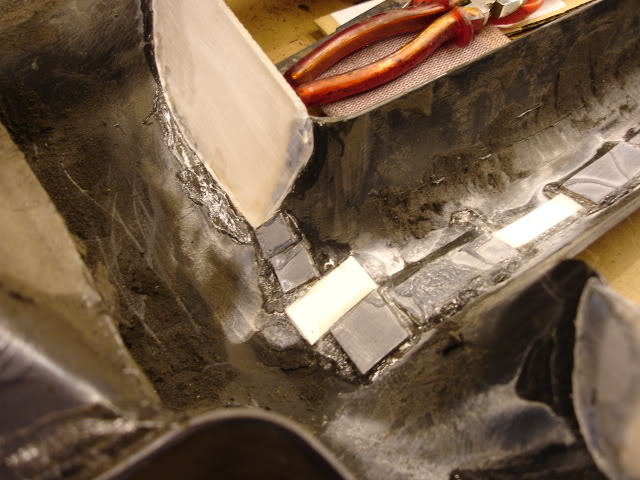
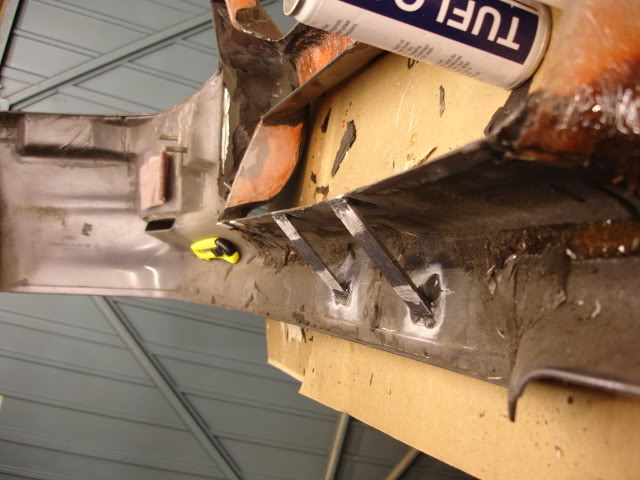
Started to make the lower filler pieces ,making a template to shape.
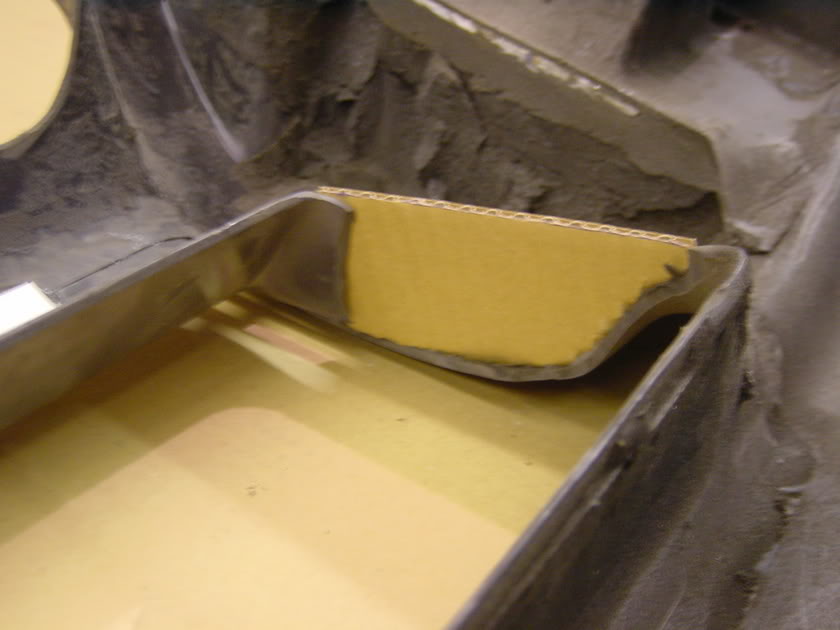
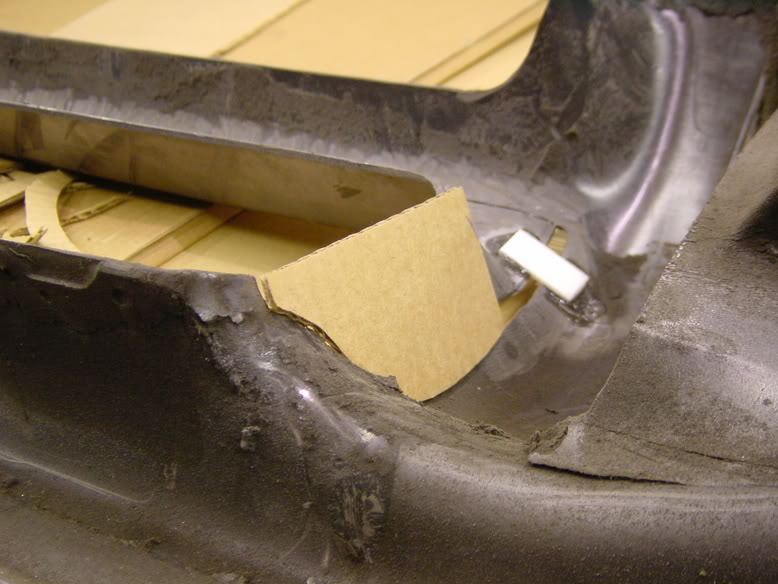
Will then use this 4mm thick rigid plastic cut to shape.
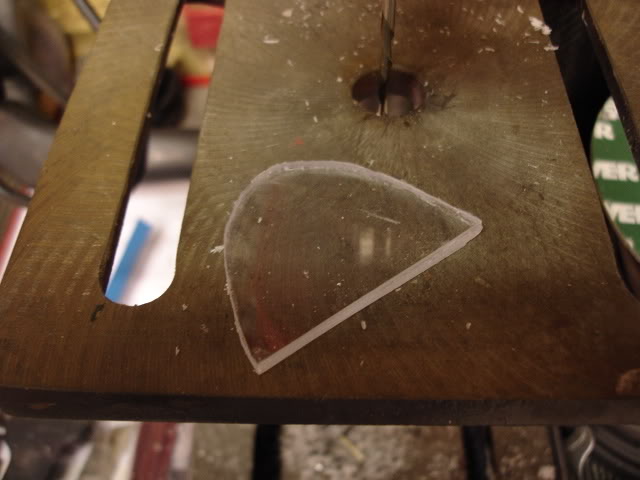
Shape then marked out on the plastic and cut out.
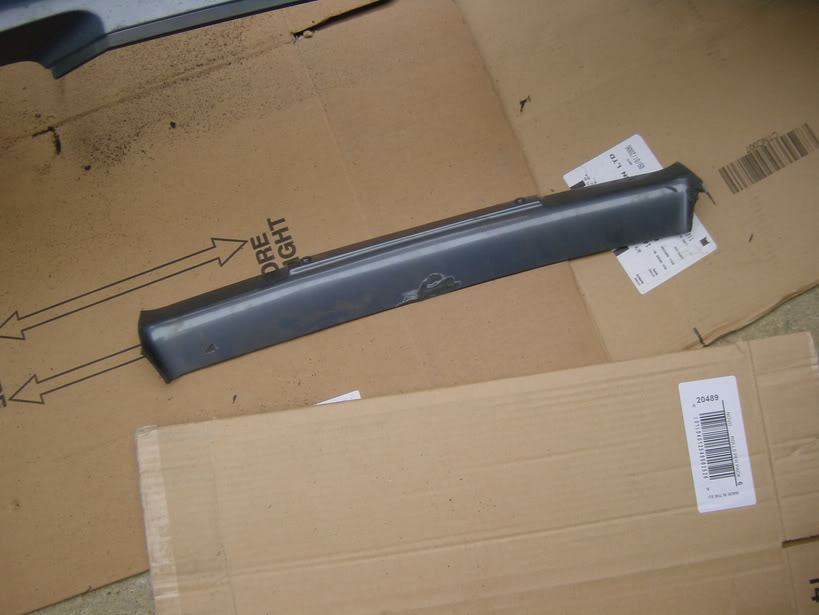
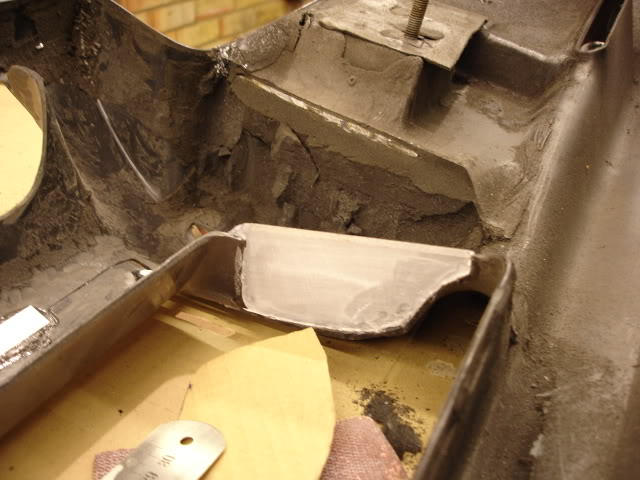
This is then bonded into position and the same process used for the other side.
Then the top sections are marked out in the same way .
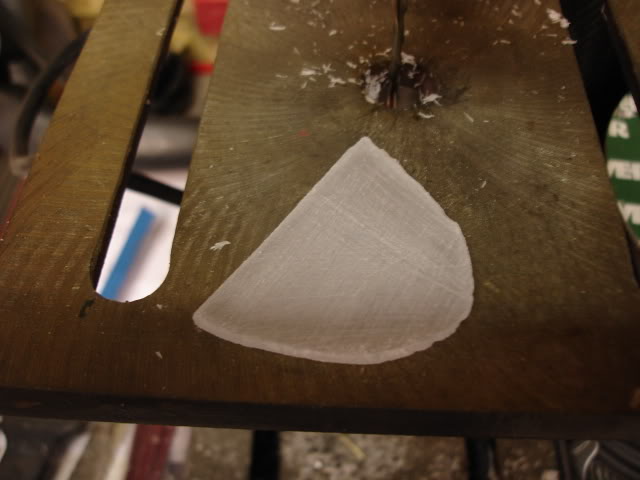
Plastic is now keyed up both sides with some 180grit paper(lower pieces are done aswell)
These are bonded into position,also keying the area on the bumper where they sit.
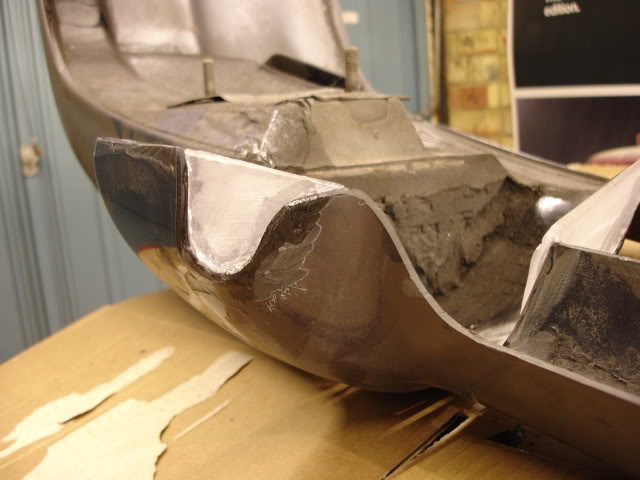

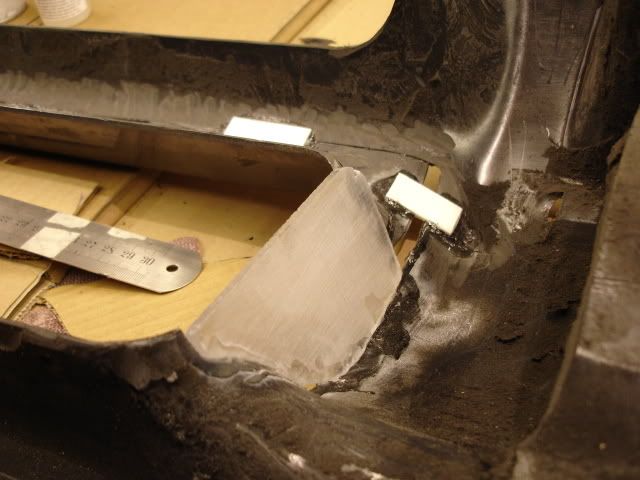
Also along the joints on the inside i decided to bond some more reinforcers on before the fiberglass matting goes down .
These also bridge the gaps where the bumper was cut.
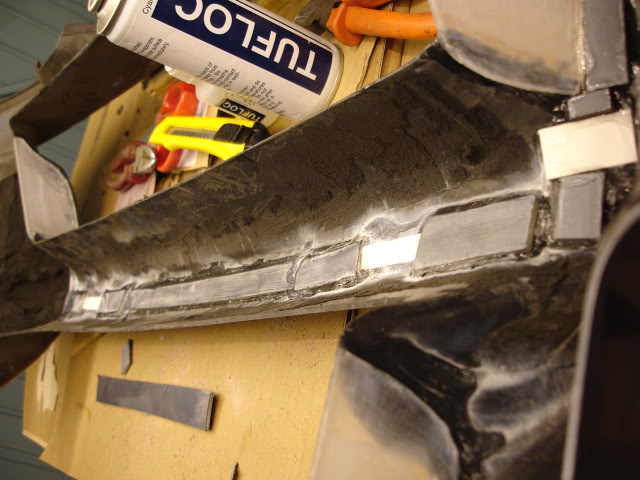
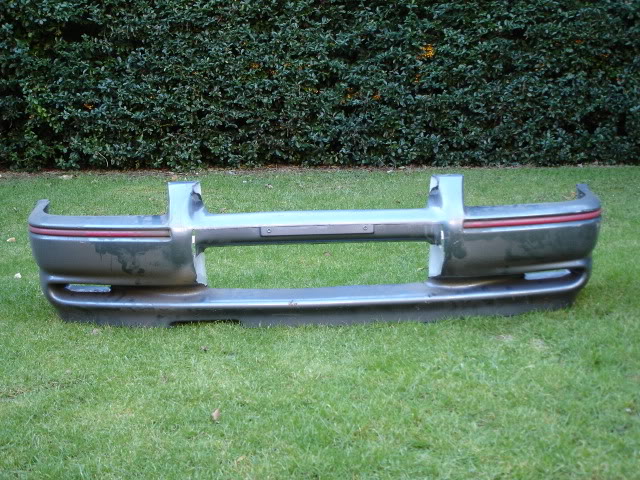
Just a few pics of it outside as it stands ,next stage fiberglass
Started to make the lower filler pieces ,making a template to shape.
Will then use this 4mm thick rigid plastic cut to shape.
Shape then marked out on the plastic and cut out.
This is then bonded into position and the same process used for the other side.
Then the top sections are marked out in the same way .
Plastic is now keyed up both sides with some 180grit paper(lower pieces are done aswell)
These are bonded into position,also keying the area on the bumper where they sit.
Also along the joints on the inside i decided to bond some more reinforcers on before the fiberglass matting goes down .
These also bridge the gaps where the bumper was cut.
Just a few pics of it outside as it stands ,next stage fiberglass
09-02-2006, 05:07 PM
#1744
good work , what glue you use to stick that plastic as it looks like it melts it  im making sime skide skirts atm ( shorting them ) and have just fiberglassed them together , but i have cut one to short so need to get another bit of plastic back in there so would like to use a strong glue
thanks
thanks


 12-02-2006, 11:19 PM
#1759
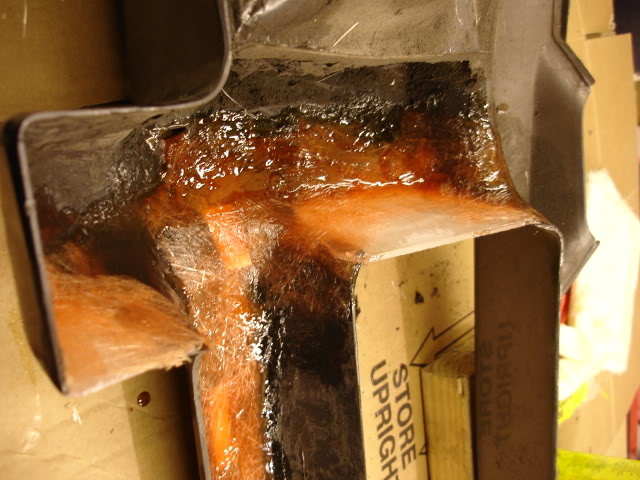
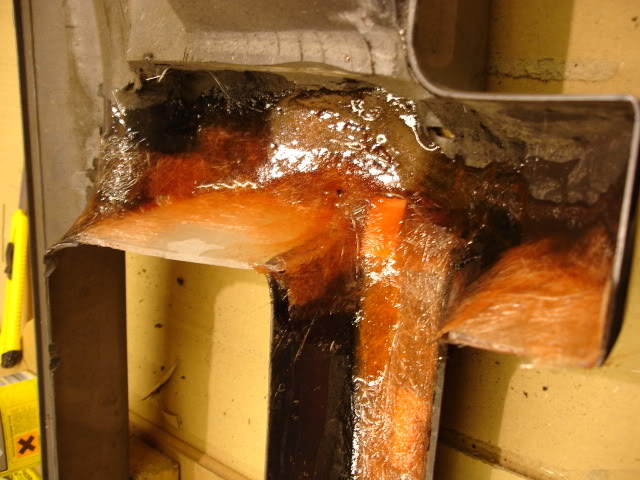
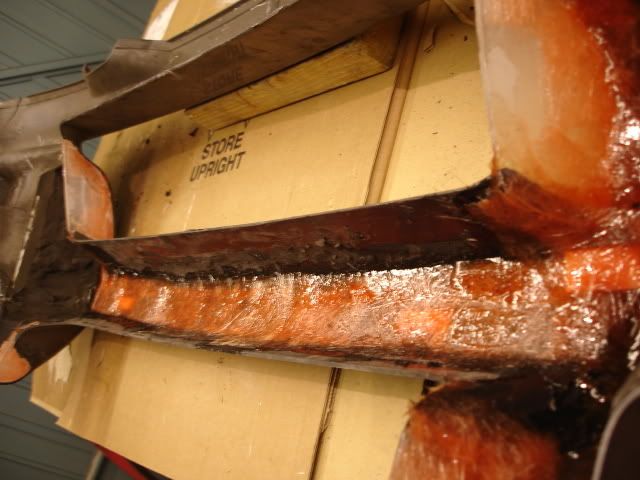
Ok time for another update on the bumper . 
Got the fiberglass matting applied and this has really given it strenght now .
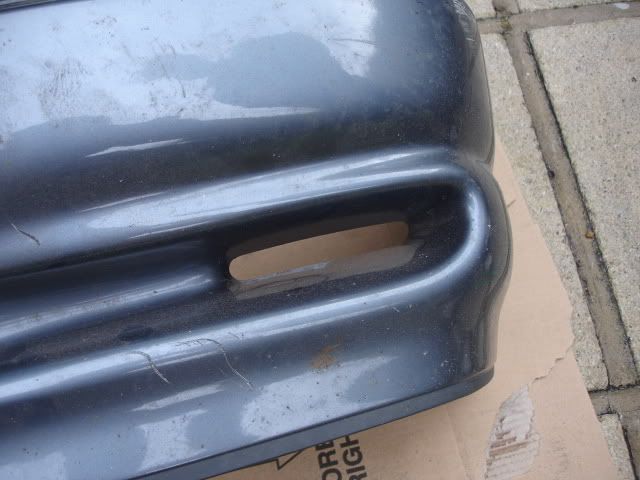
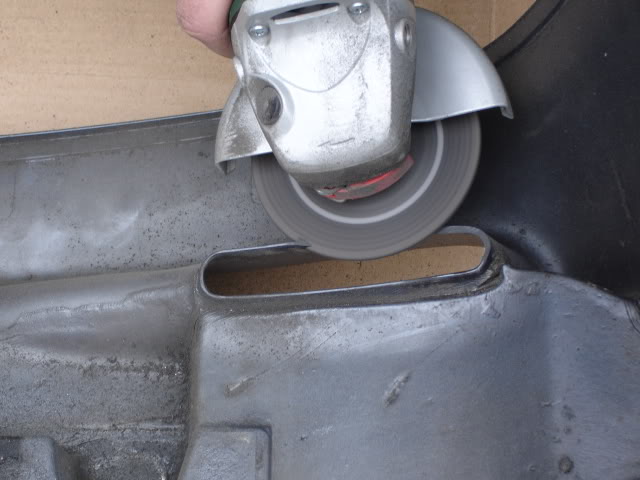
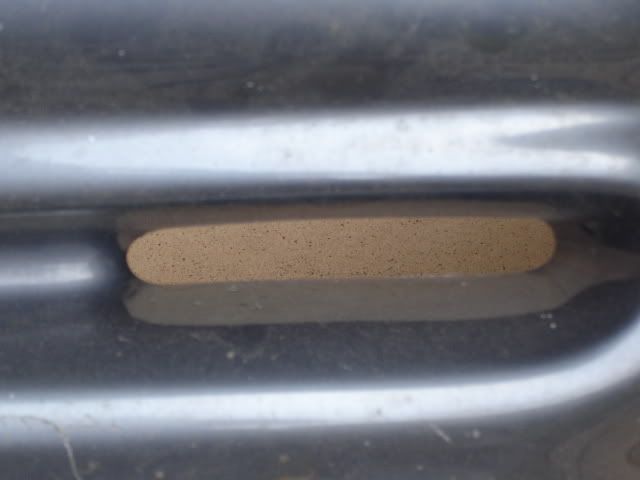
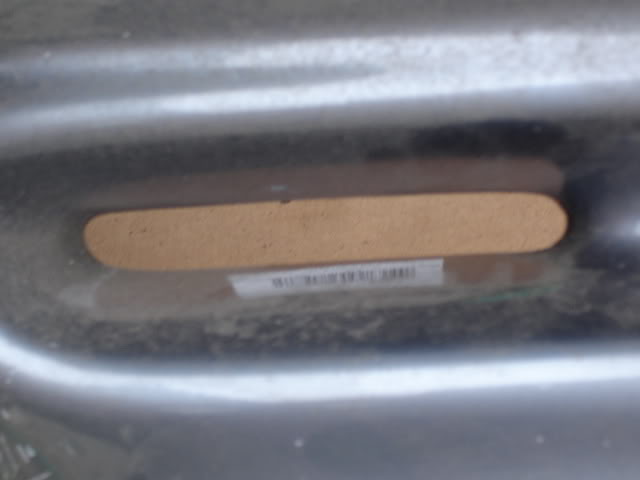
Also thought i would enlarge these holes slightly.
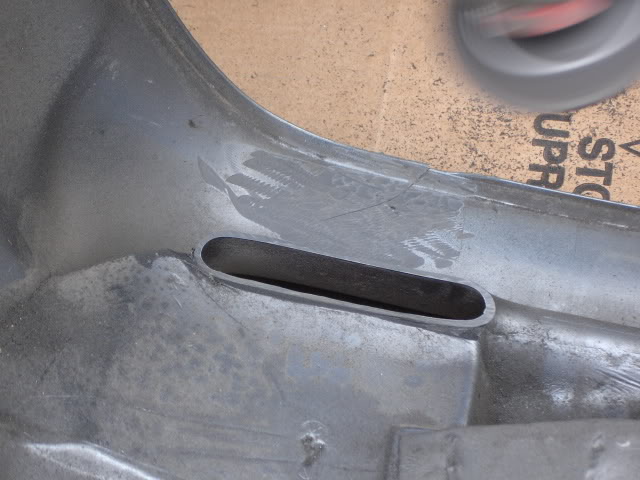
A repair was needed here.
All bonded just needs fiberglassing now

Ground down the joint on the front ,still needs feathering with a d.a. then i will apply the filler.Also wanted to brace the lower section ,as it was out of line and also a bit flexible.

Nice and strong now
Got the fiberglass matting applied and this has really given it strenght now .
Also thought i would enlarge these holes slightly.
A repair was needed here.
All bonded just needs fiberglassing now
Ground down the joint on the front ,still needs feathering with a d.a. then i will apply the filler.Also wanted to brace the lower section ,as it was out of line and also a bit flexible.
Nice and strong now