EDAN Escort S2 Turbo.Update,03/04/11 reverse charge carrier fitted
 30-08-2005, 10:01 PM
#1201

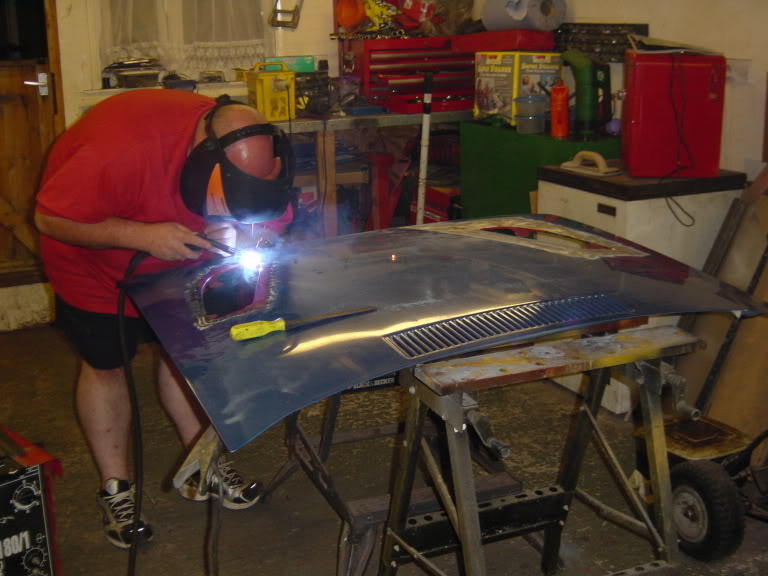
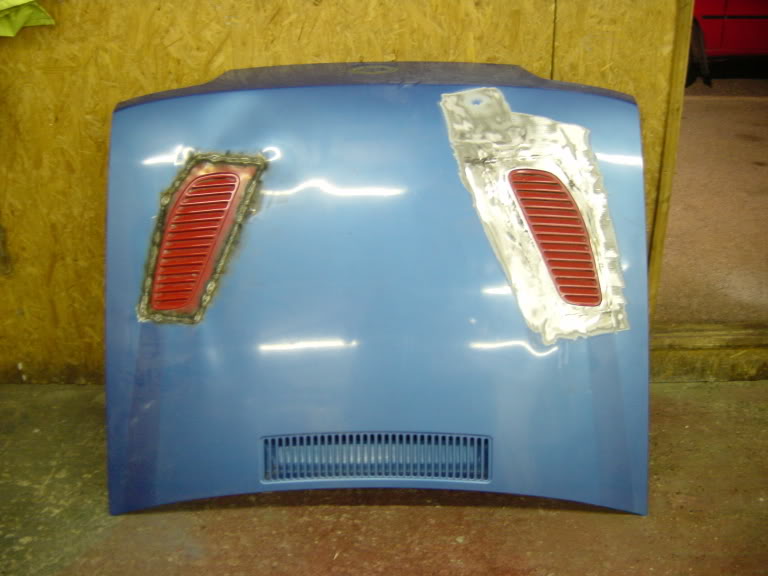
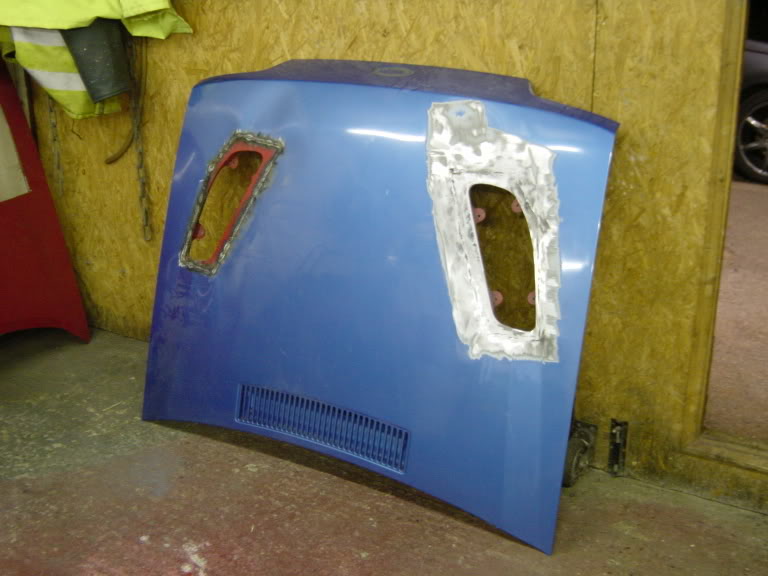
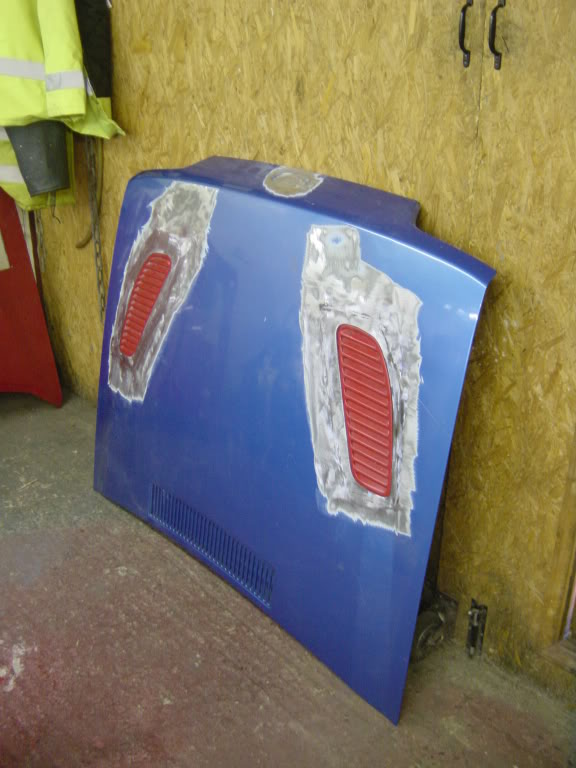
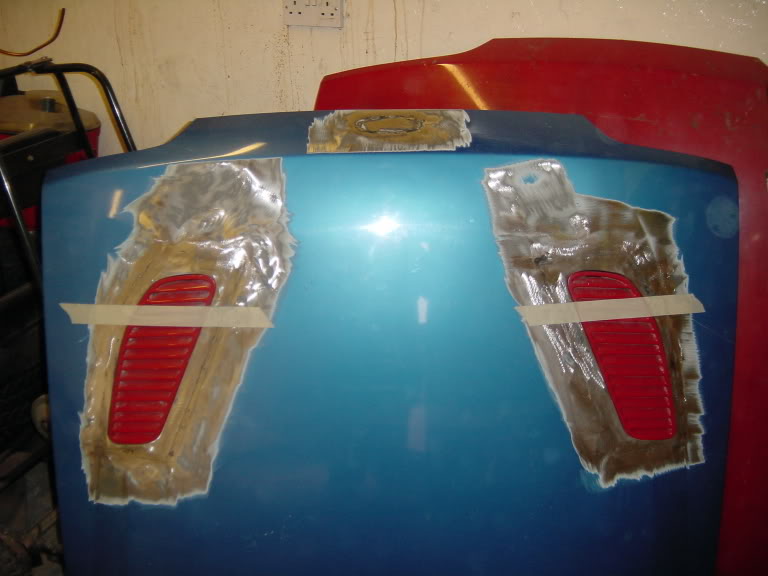
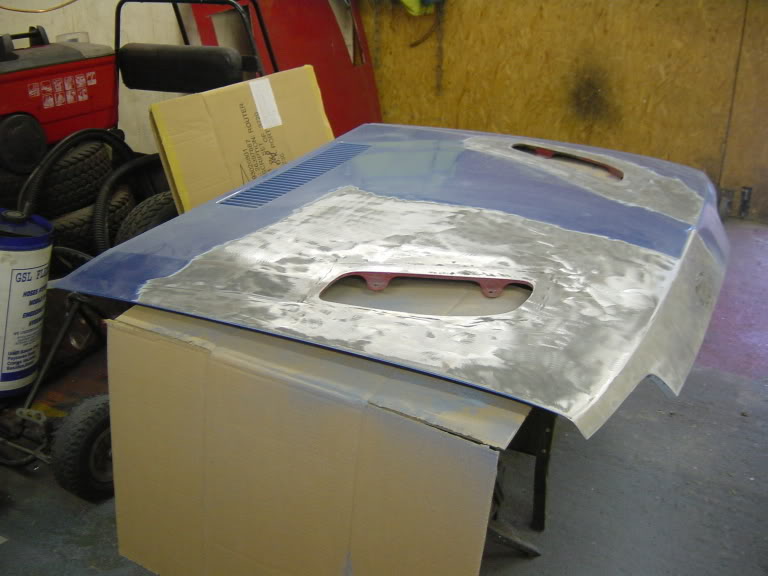
As promised here is an update of the work getting the other vent in.
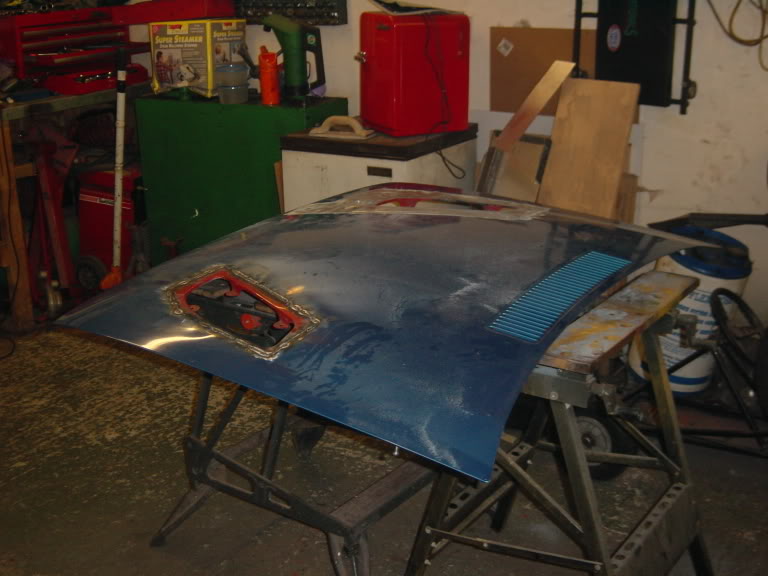
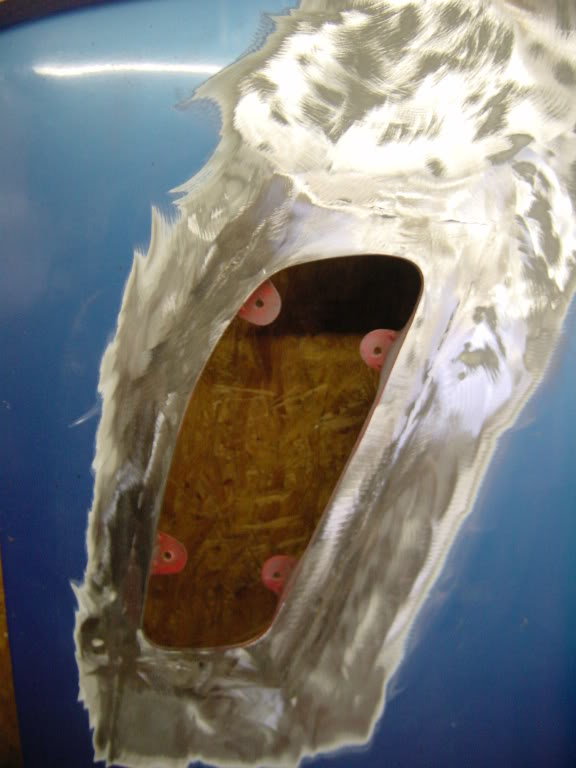
Starting to mark out and measure the place for the vent to go.
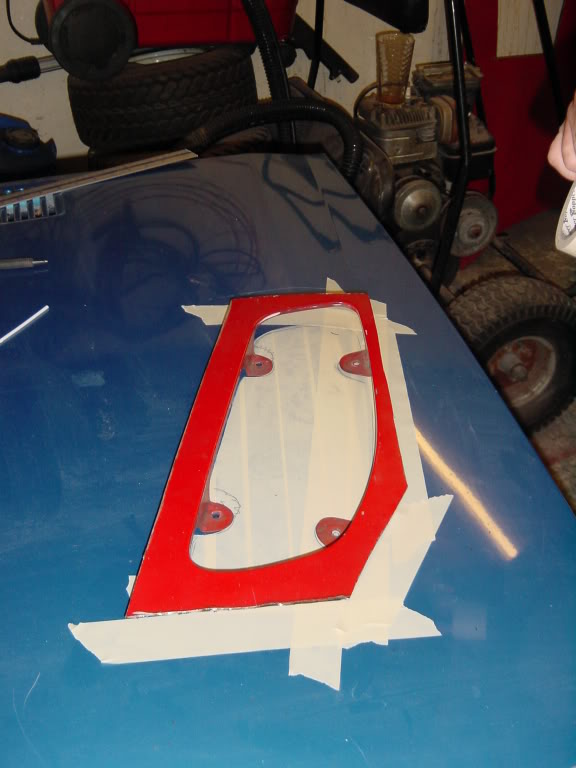
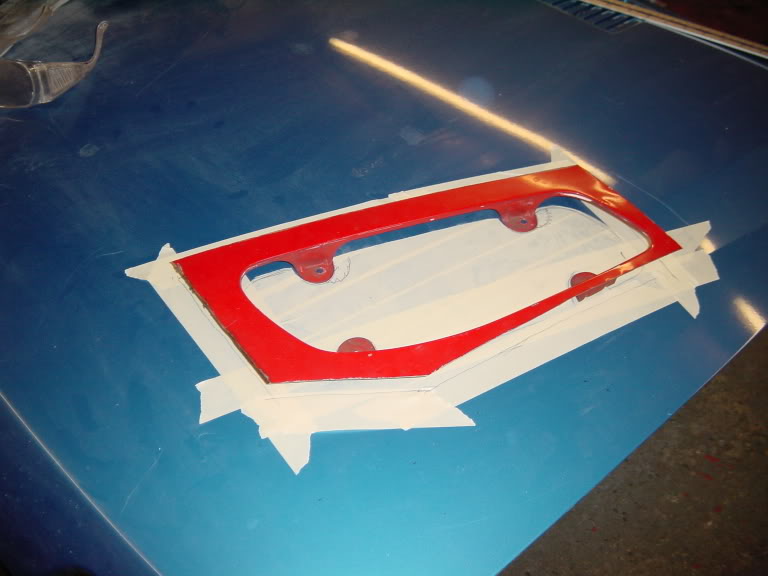
Lots of checking and rechecking here.
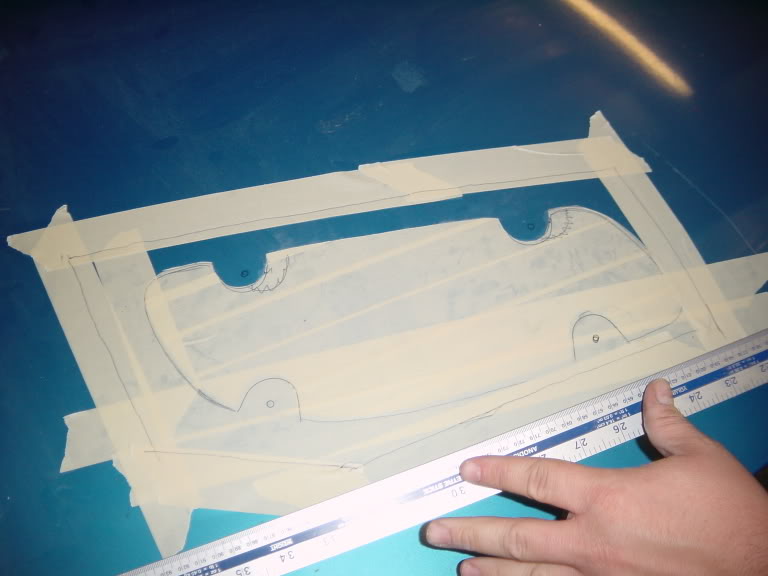
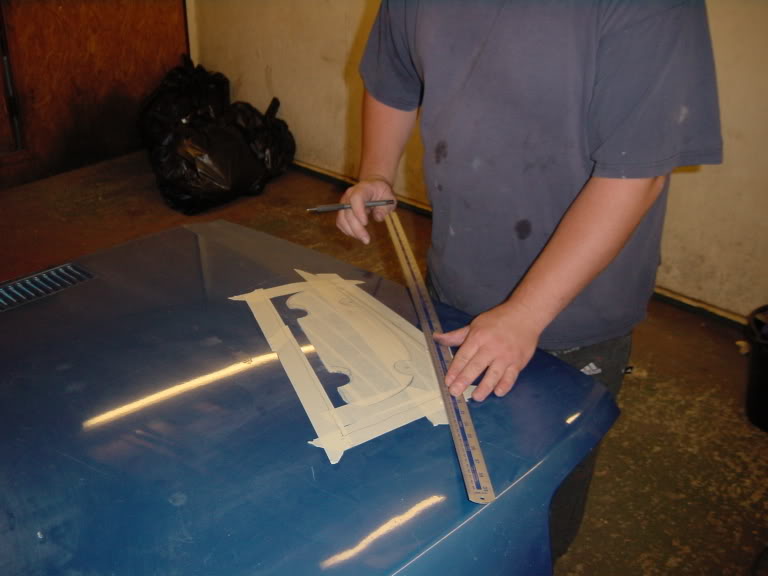
Once i was happy with the position
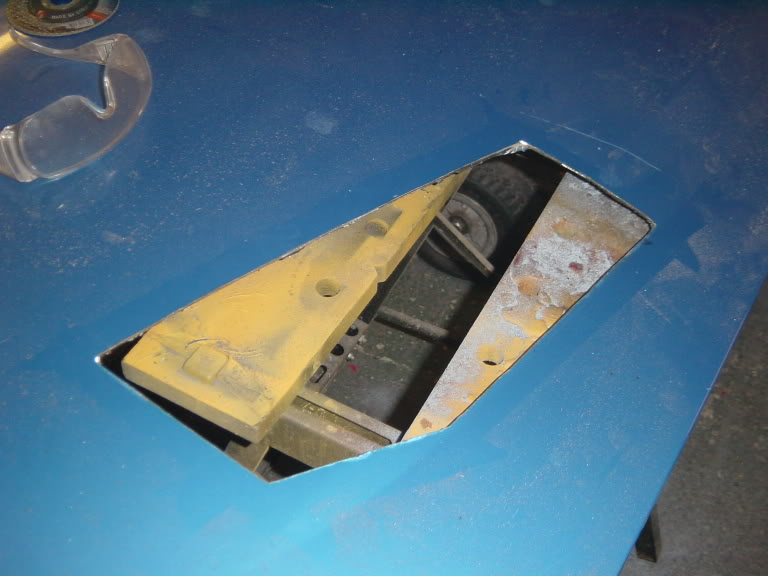
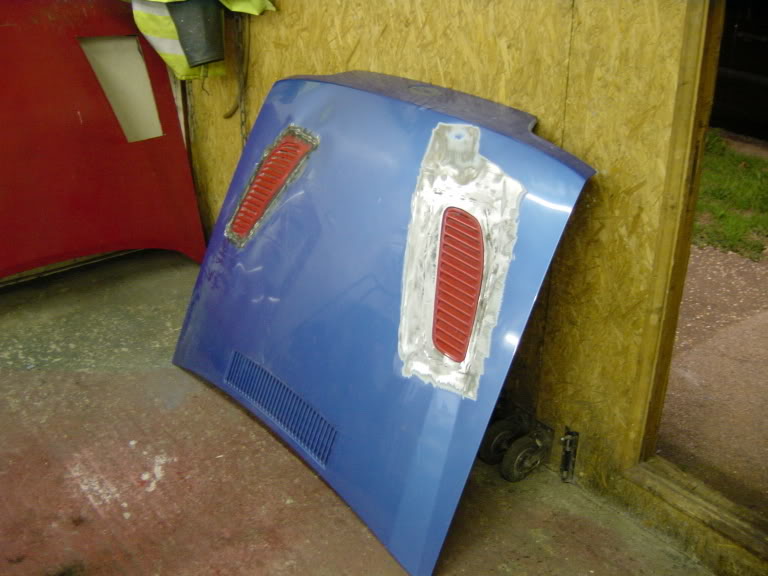
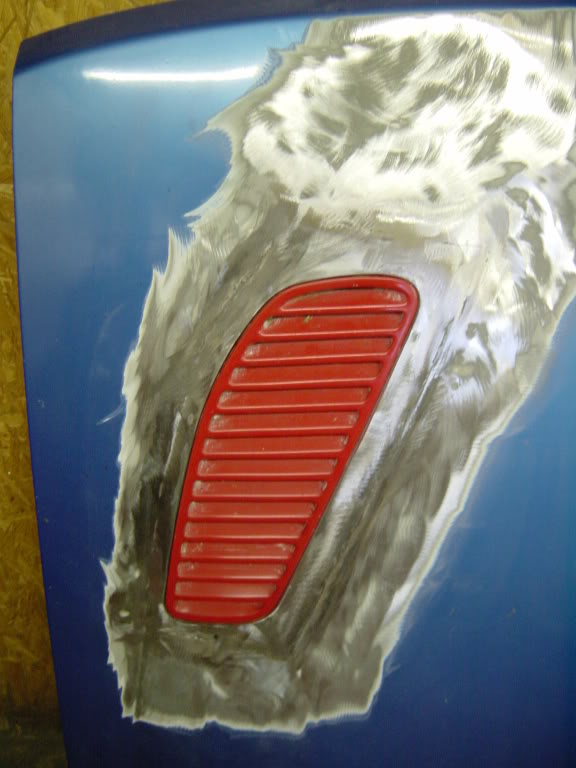
Test fit

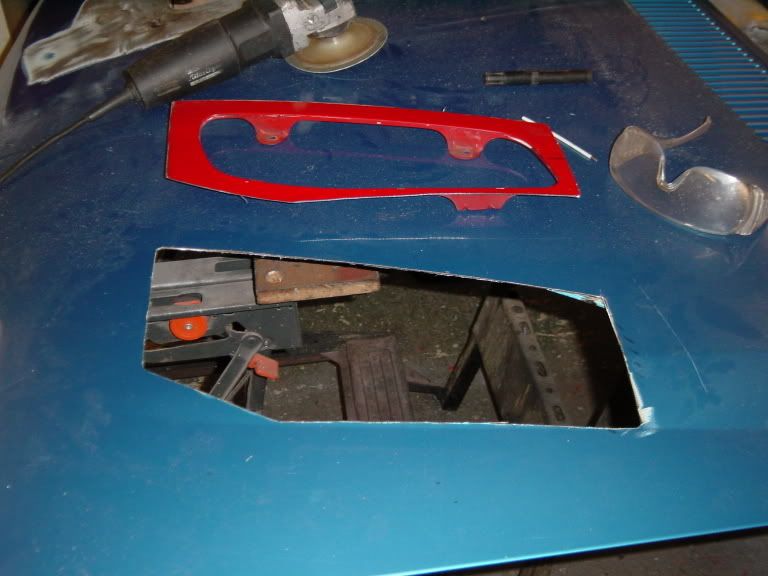
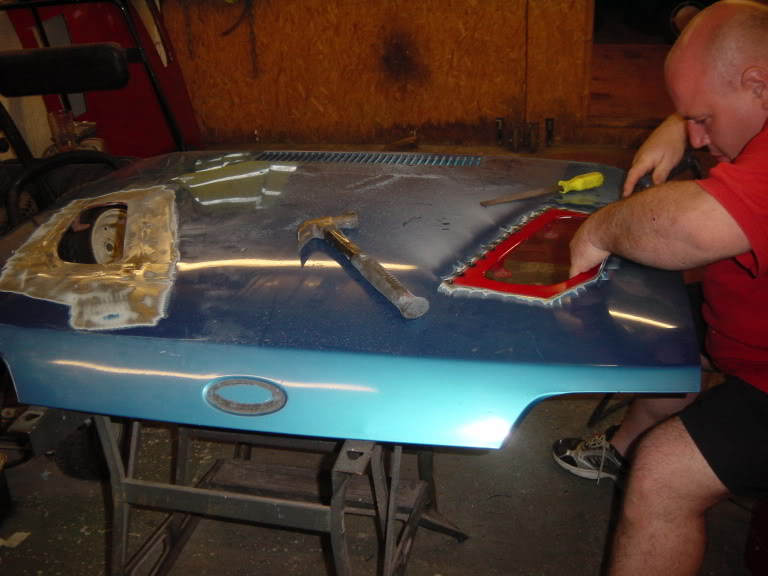
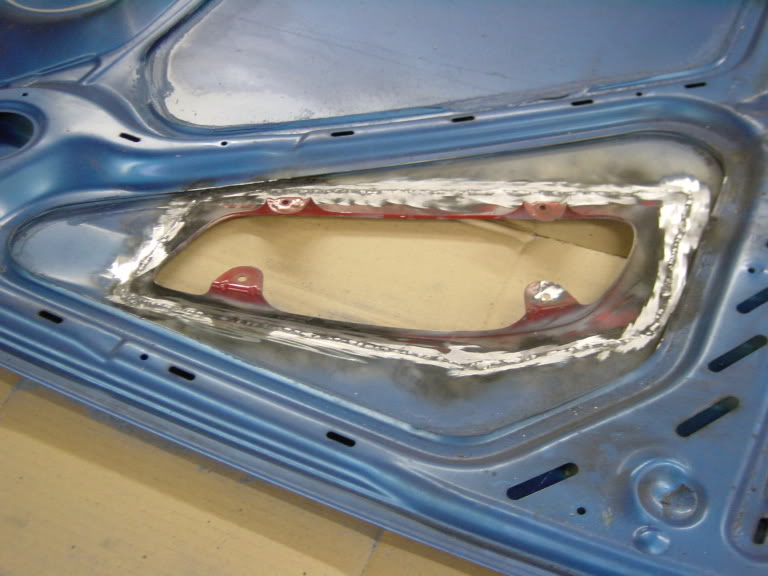
Mate dave on the welder.
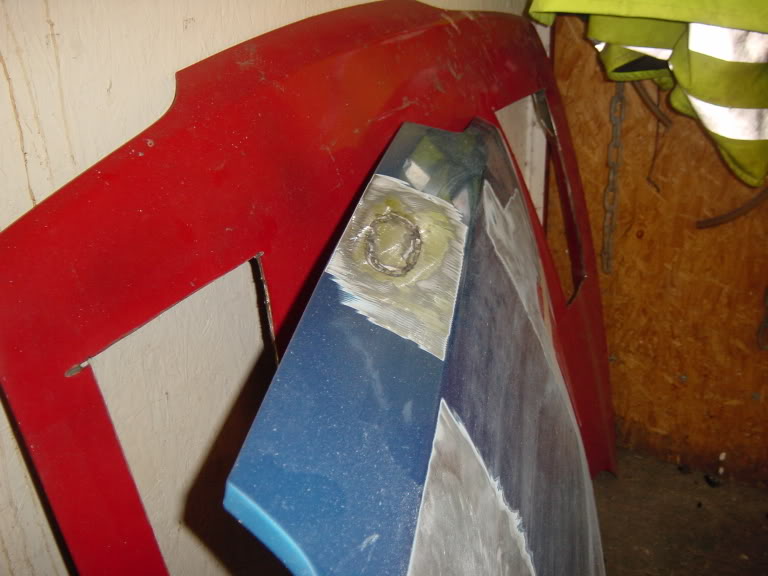
While Dave was welding i was making a blank for the badge recess
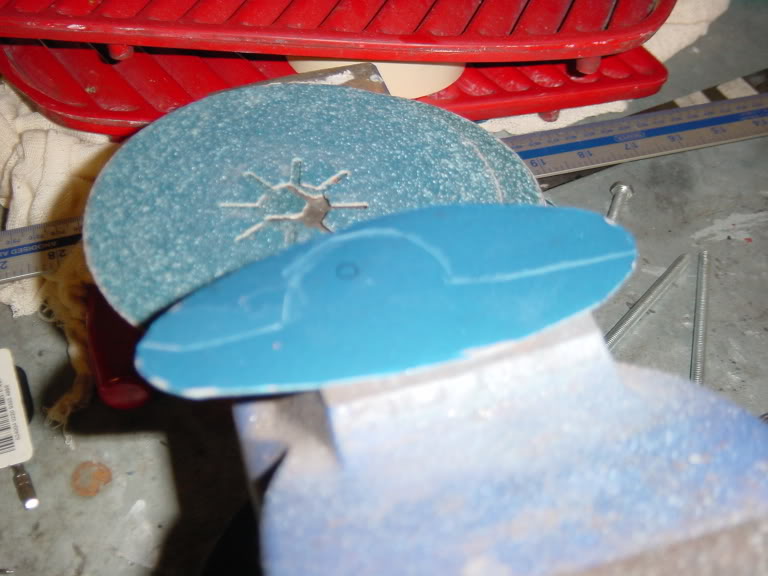
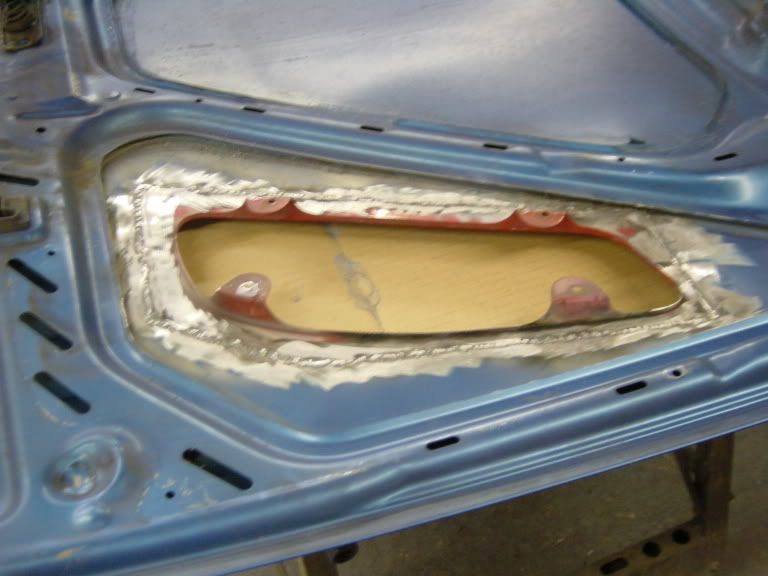
Well pleased with how it looks ,some heat distortion in the metal (was expected) to deal with ,not a problem though
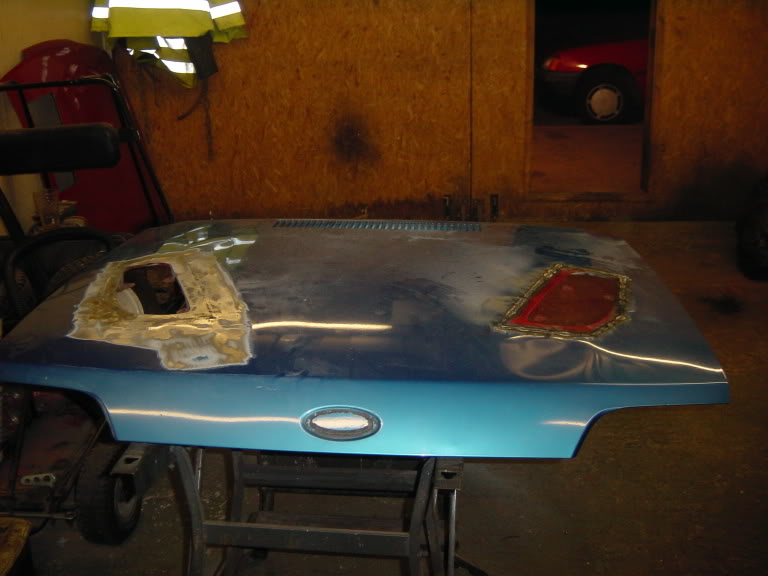
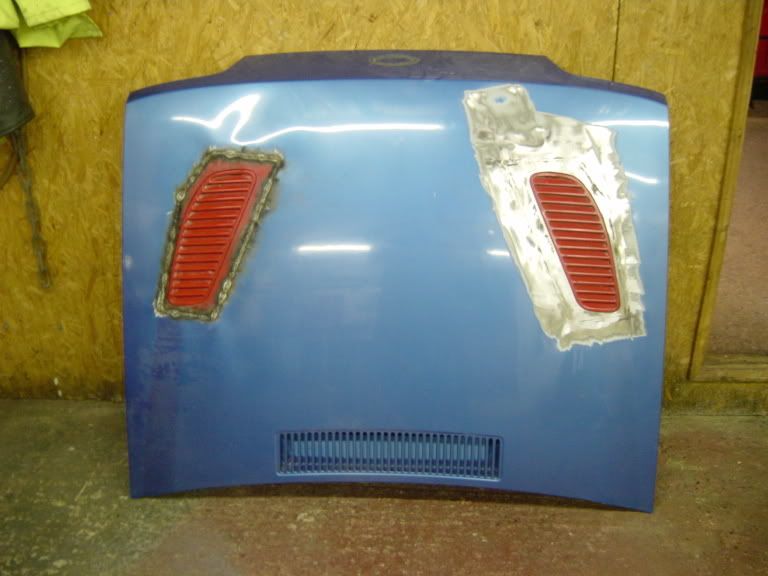
Time the welding was complete was a bit late to grind the welds so i will do this in the next few days ,also to do is the badge recess still and lots of filler work
Starting to mark out and measure the place for the vent to go.
Lots of checking and rechecking here.
Once i was happy with the position
Test fit
Mate dave on the welder.
While Dave was welding i was making a blank for the badge recess
Well pleased with how it looks ,some heat distortion in the metal (was expected) to deal with ,not a problem though
Time the welding was complete was a bit late to grind the welds so i will do this in the next few days ,also to do is the badge recess still and lots of filler work


 30-08-2005, 11:06 PM
#1208
10K+ Poster!!

Originally Posted by Twins
Originally Posted by puss
looks tops dave  and by the looks of it so was your measuring
and by the looks of it so was your measuring 
 diy too


 11-09-2005, 05:41 PM
#1232
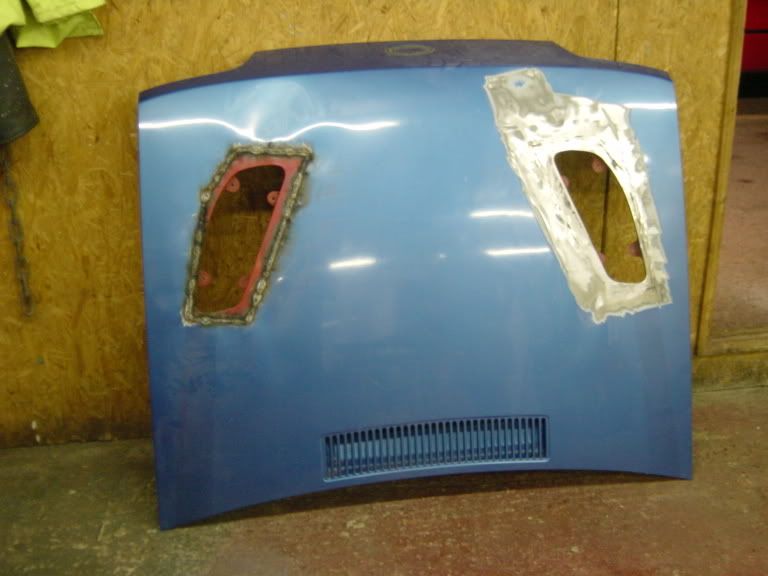
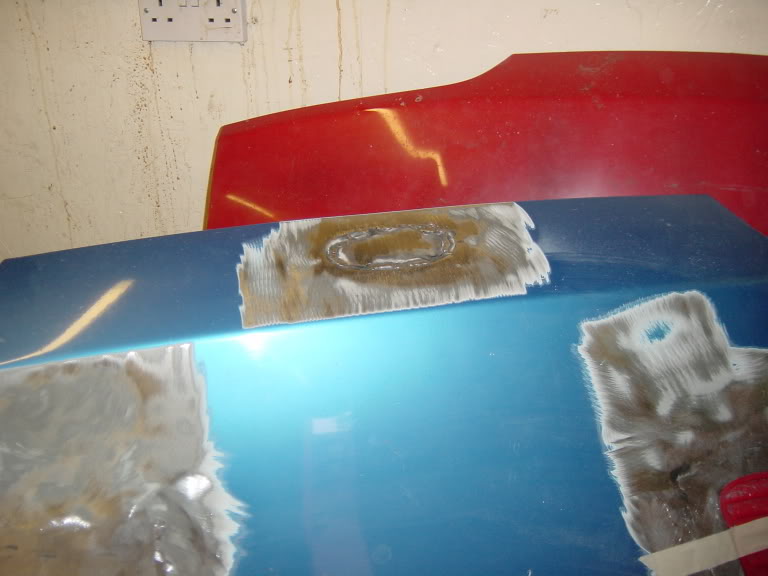
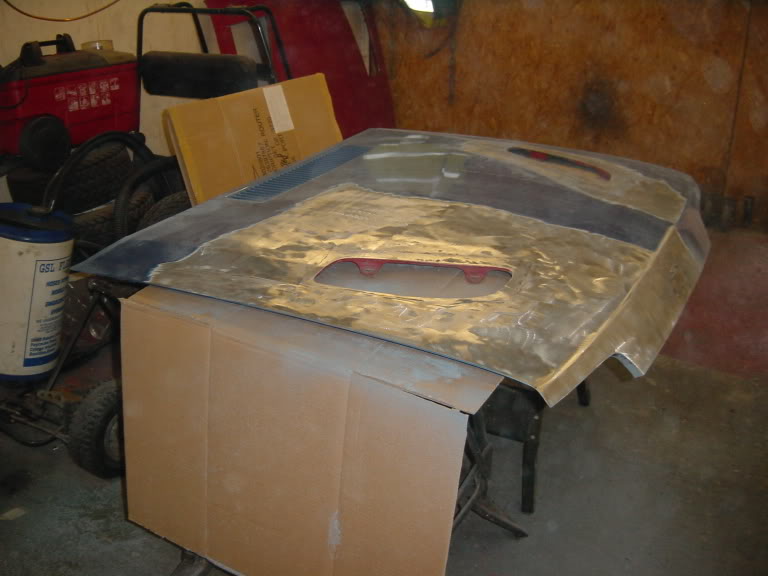
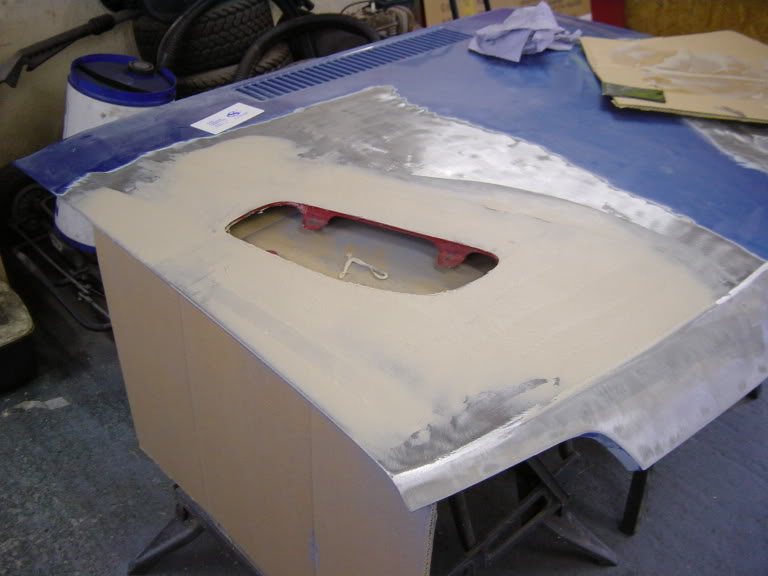
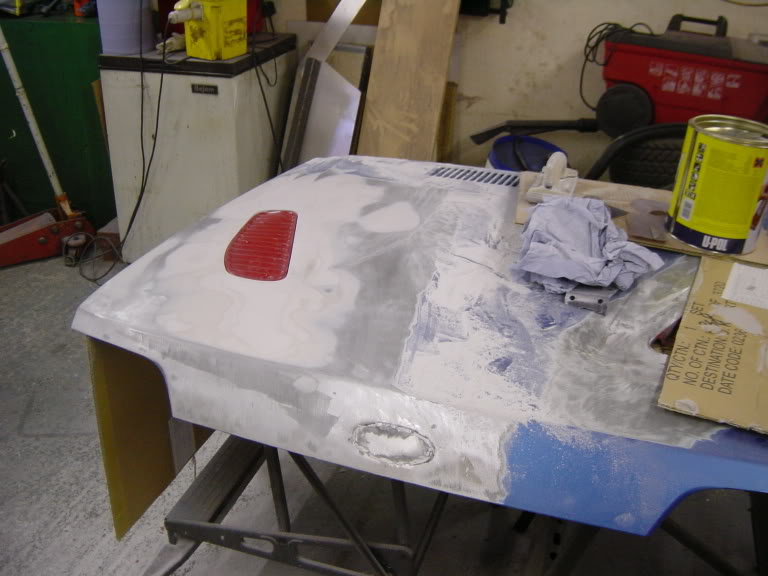
Started on the filler work today spend a good five hours on it earlier,getting there with it one side 80% complete ,here is some piccys of what was done.
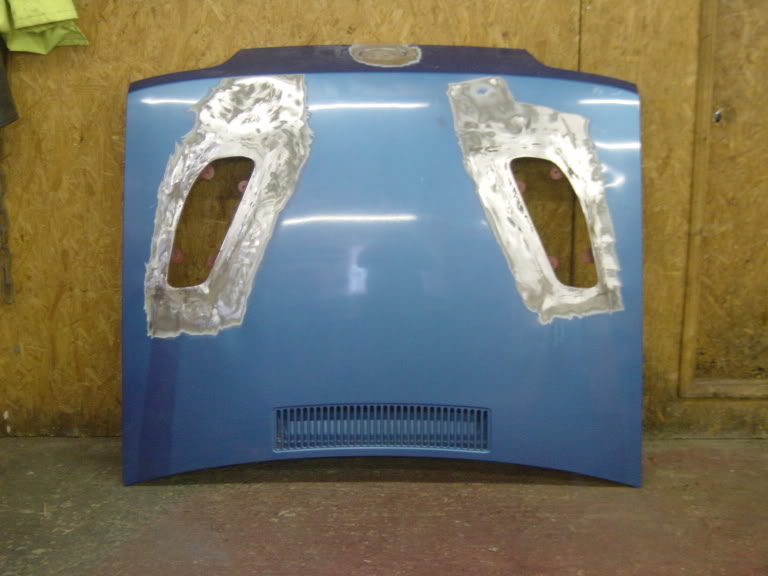
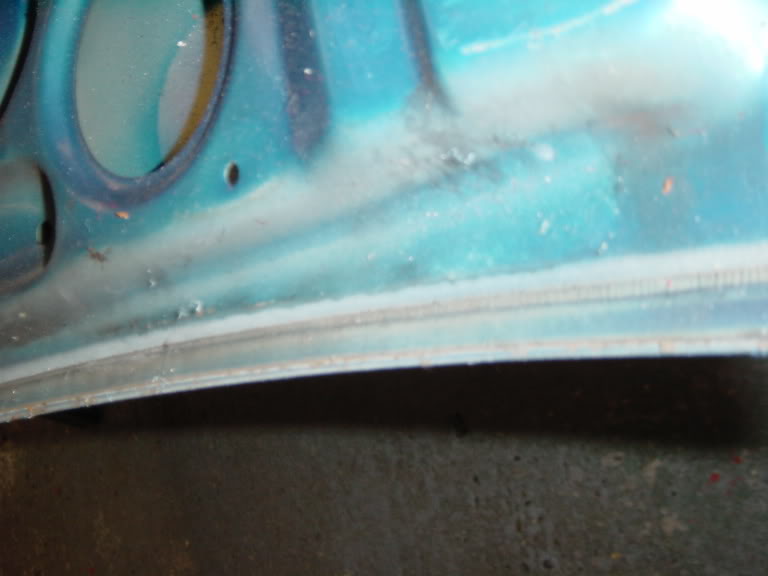
First job was to bare metal the bonnet around the vent ,and also tap down any high spots
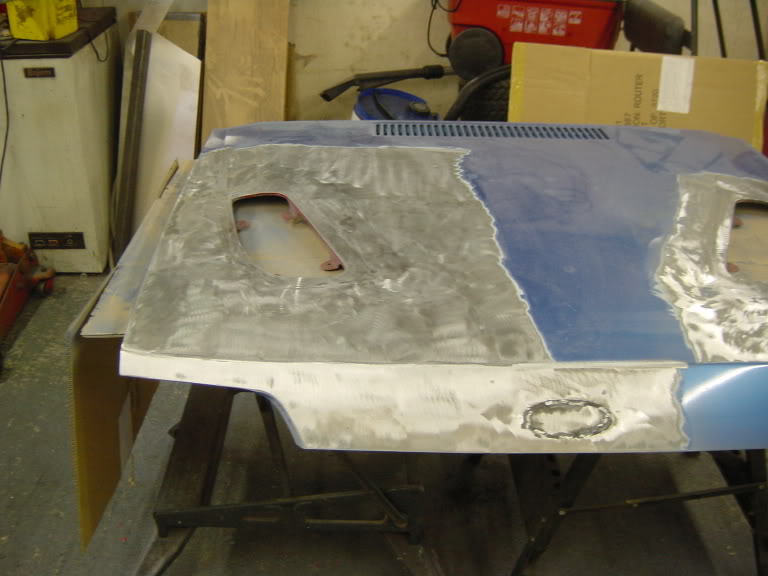
Just going to work on one side at a time, get that right then move on .
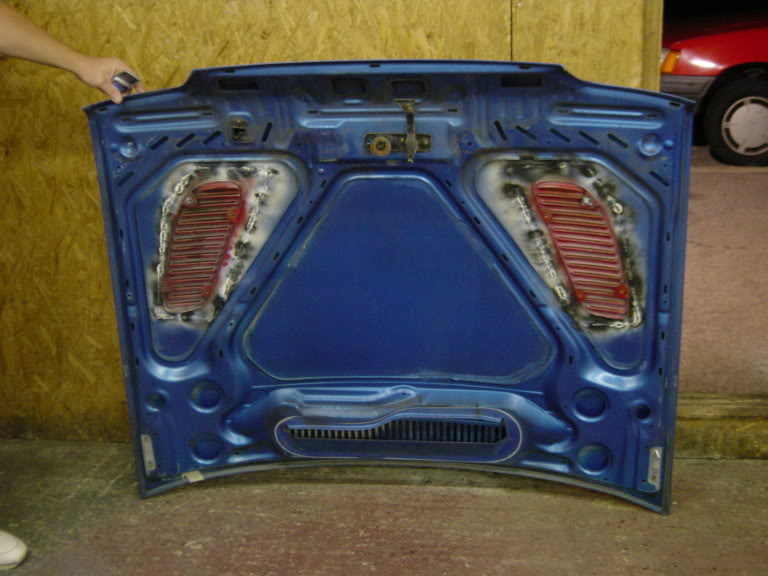
Took the tops off the welds underneath ,these will all be covered up with silver heat proof stuck to the bonnet .
A quick shot of the bonnet showing the under side near the scuttle ,minty mint
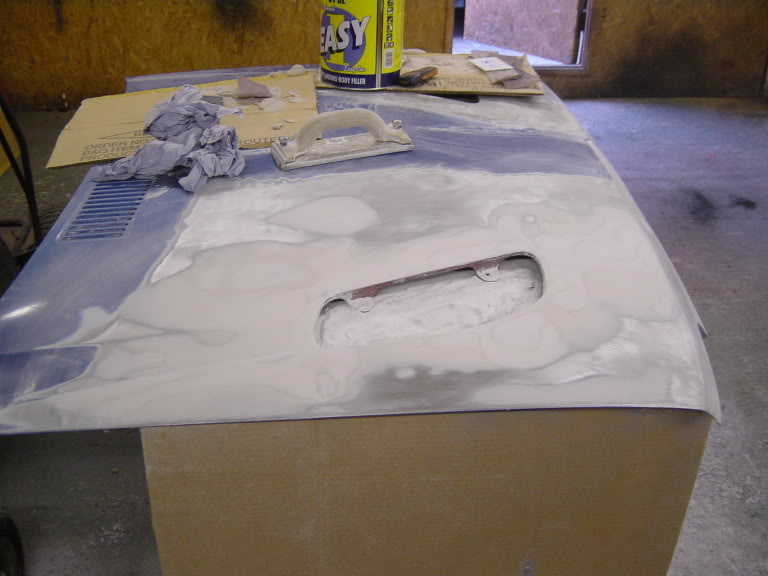
The first skim is a mix of filler and fibreglass to bridge any small holes that may be in the join.
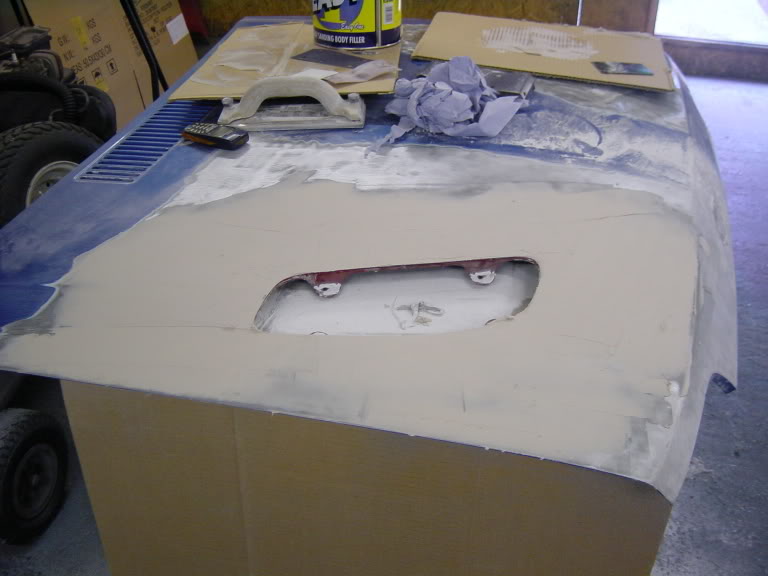
2nd skim on.
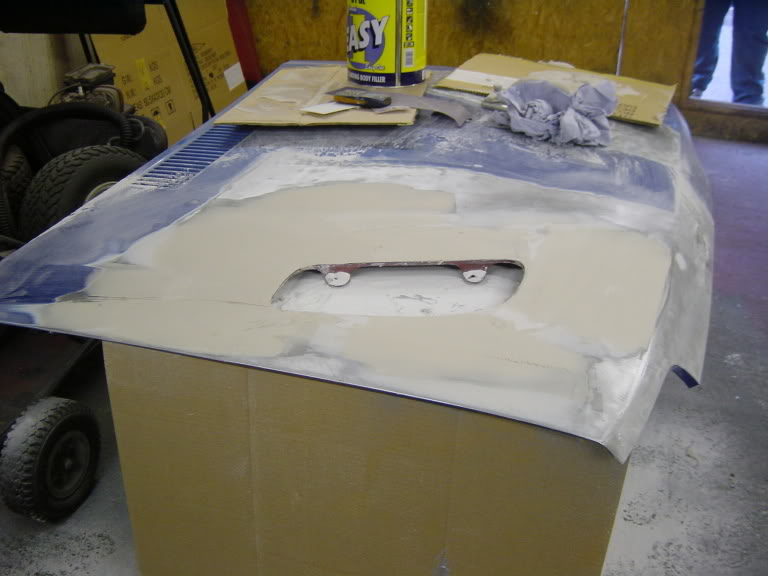
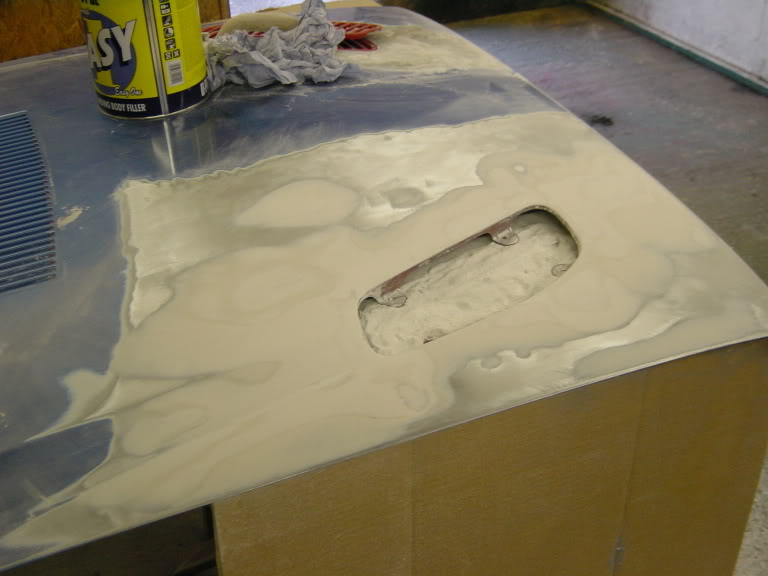
3rd skim.
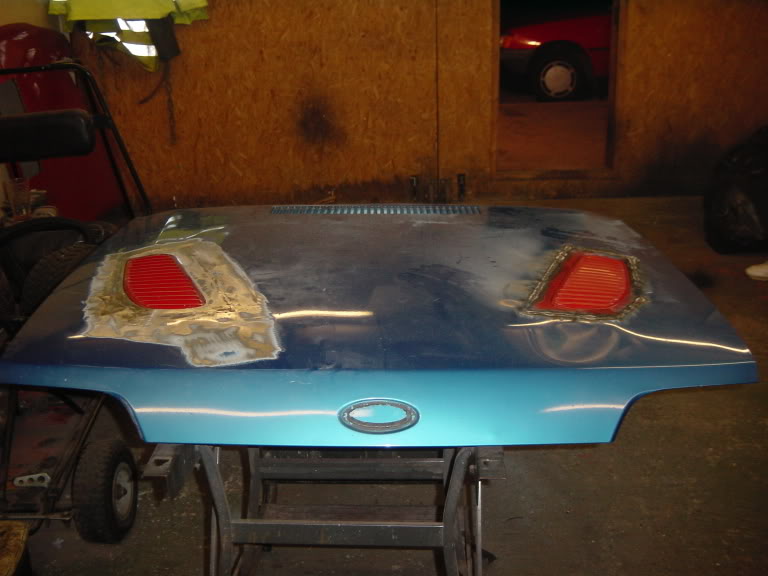
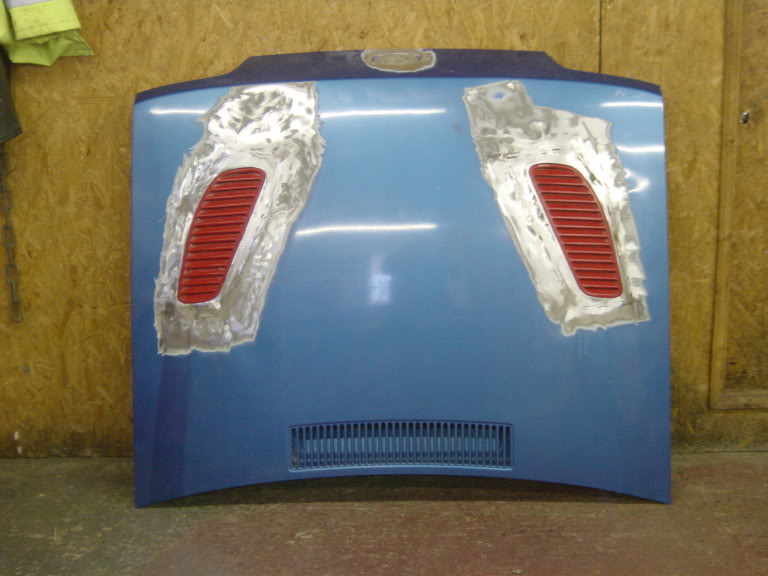
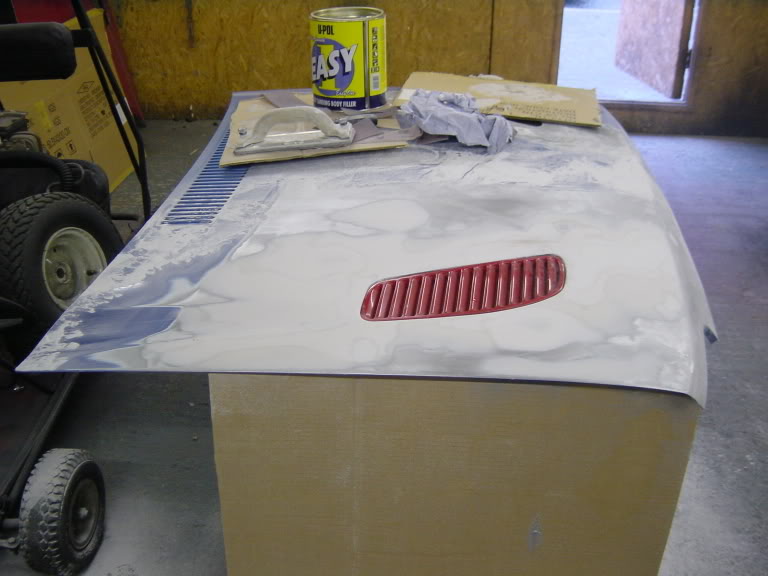
Quick test with the vent in
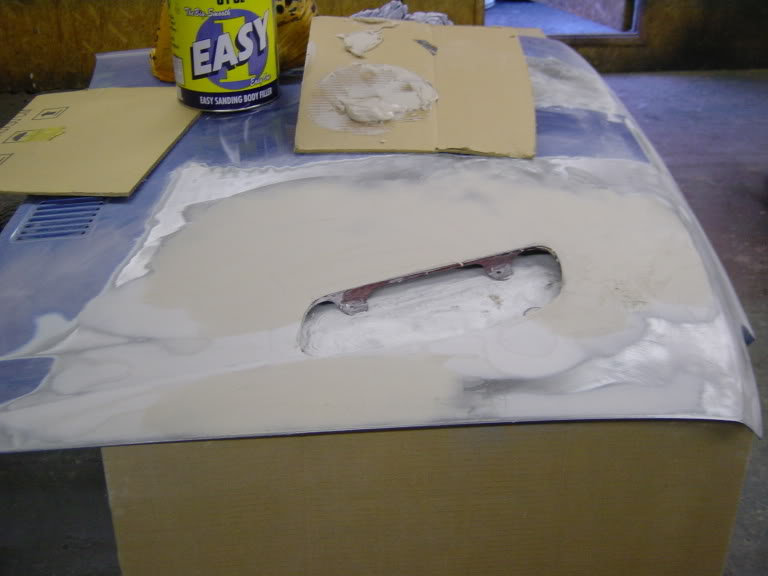
On each skim a guide coat of matt black was applied so i knew where to fill on the next skim ,where the black was left would be the low spots.
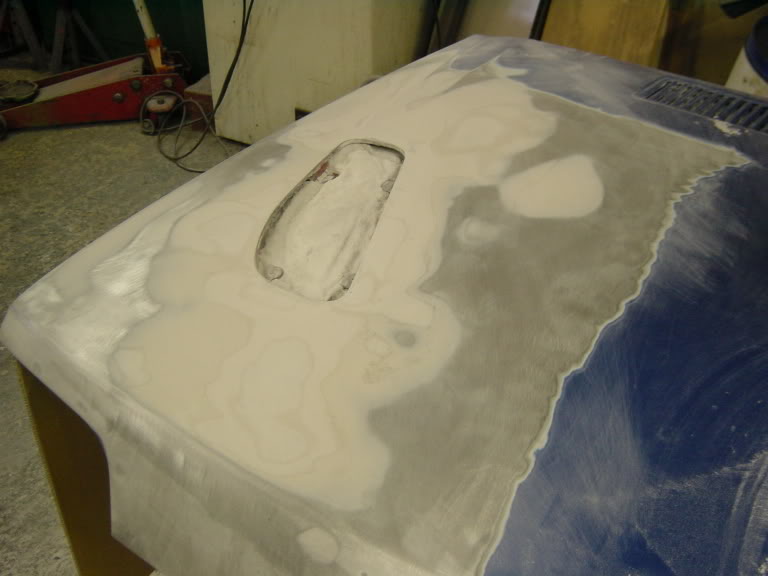
How the bonnet looks at the moment,next skim in ready to rub down in the week.
First job was to bare metal the bonnet around the vent ,and also tap down any high spots
Just going to work on one side at a time, get that right then move on .
Took the tops off the welds underneath ,these will all be covered up with silver heat proof stuck to the bonnet .
A quick shot of the bonnet showing the under side near the scuttle ,minty mint
The first skim is a mix of filler and fibreglass to bridge any small holes that may be in the join.
2nd skim on.
3rd skim.
Quick test with the vent in
On each skim a guide coat of matt black was applied so i knew where to fill on the next skim ,where the black was left would be the low spots.
How the bonnet looks at the moment,next skim in ready to rub down in the week.
