DIY ICE install
 31-07-2009, 10:25 AM
#1
PassionFord Regular
Thread Starter

Join Date: Jun 2003
Location: WaterFORD Ireland
Posts: 400
Likes: 0
Received 0 Likes
on
0 Posts
Just going through some old photos and and came across these
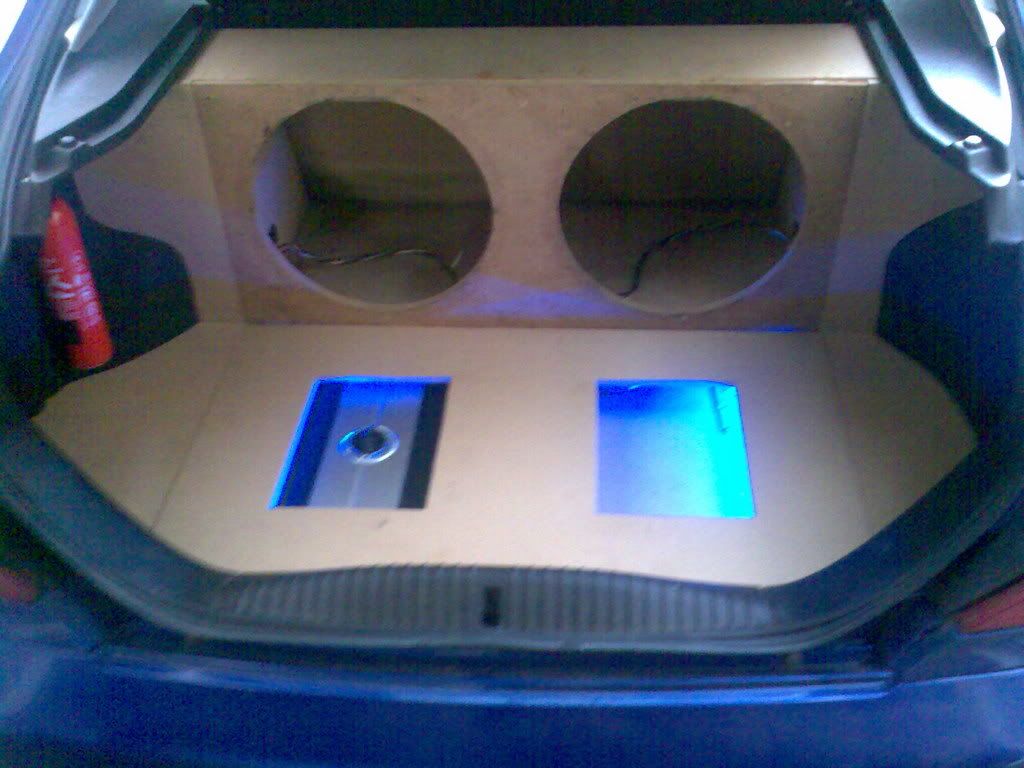
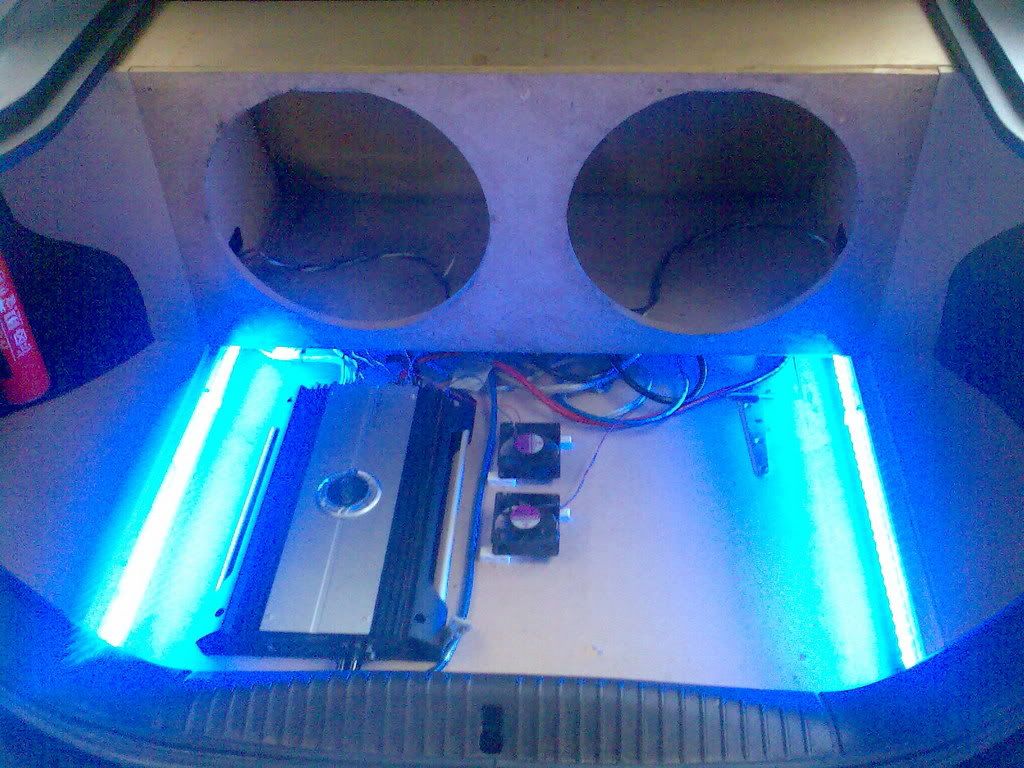
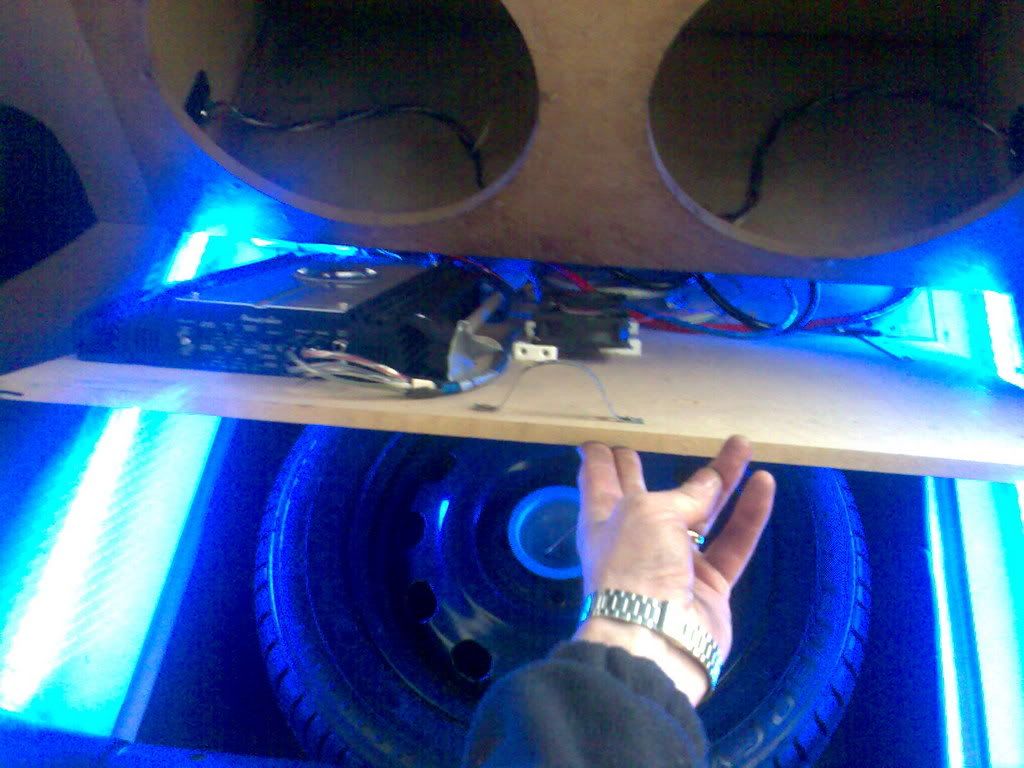
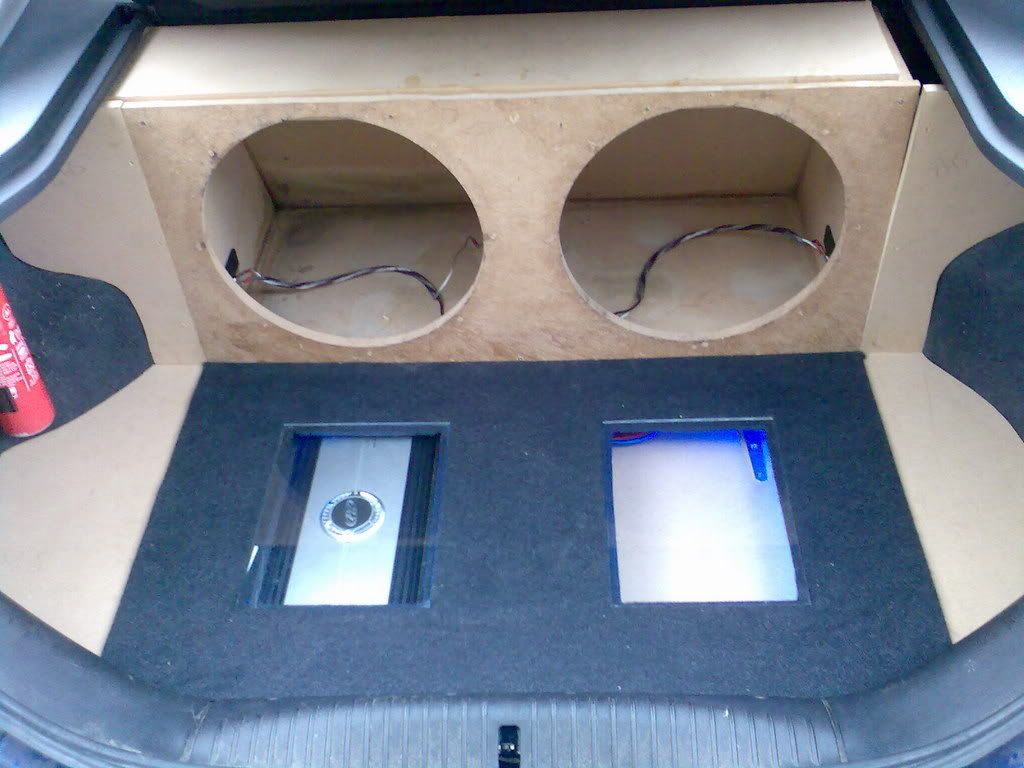
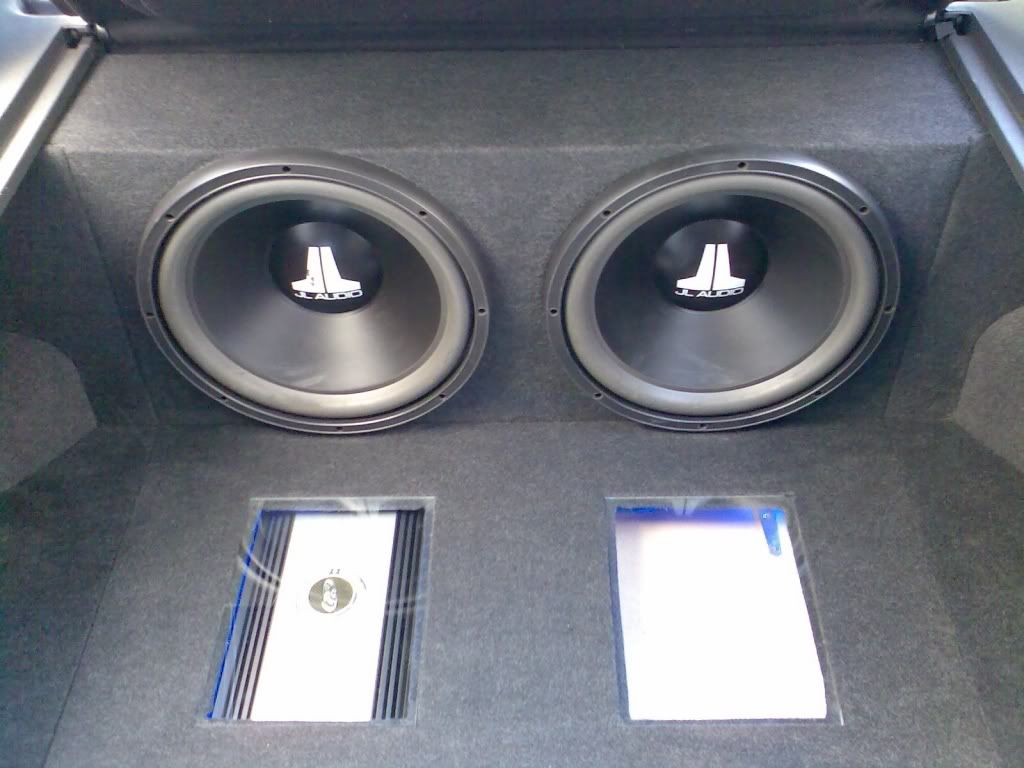
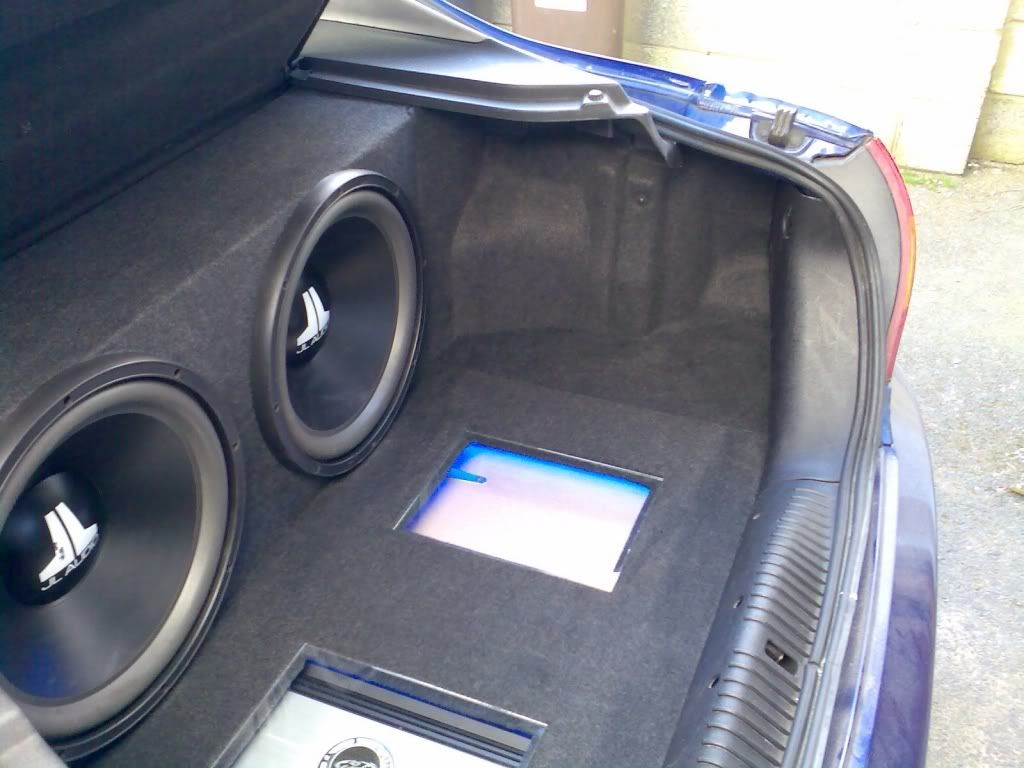
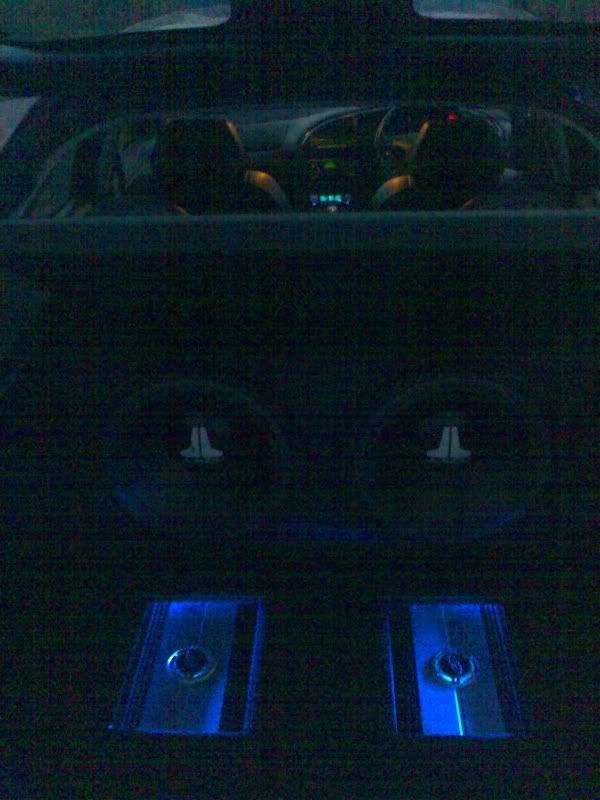
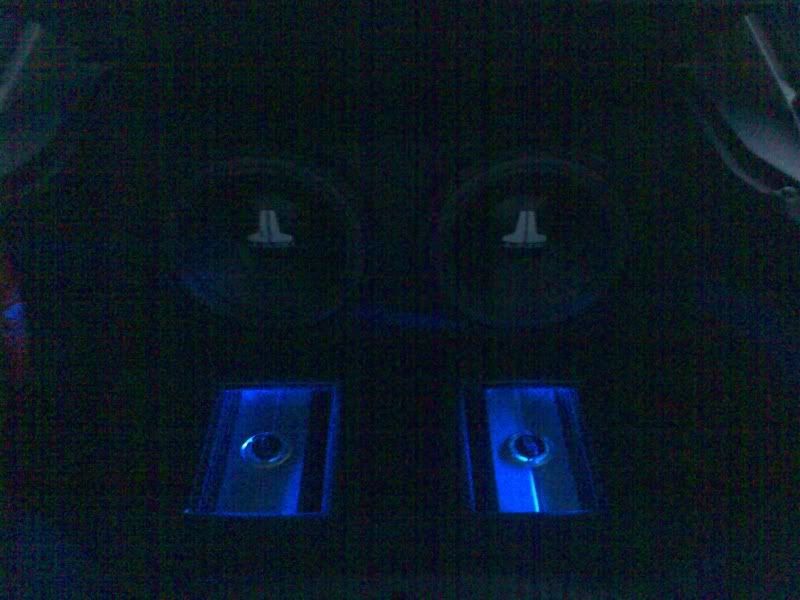
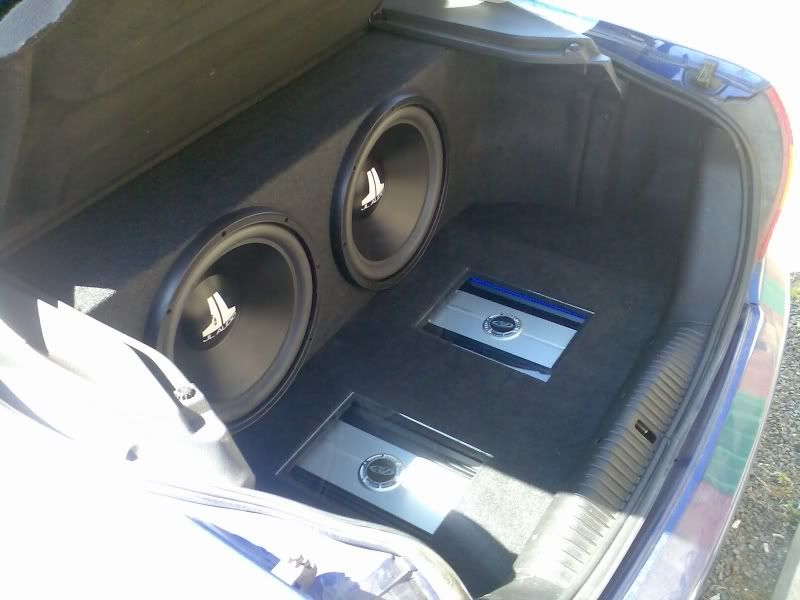
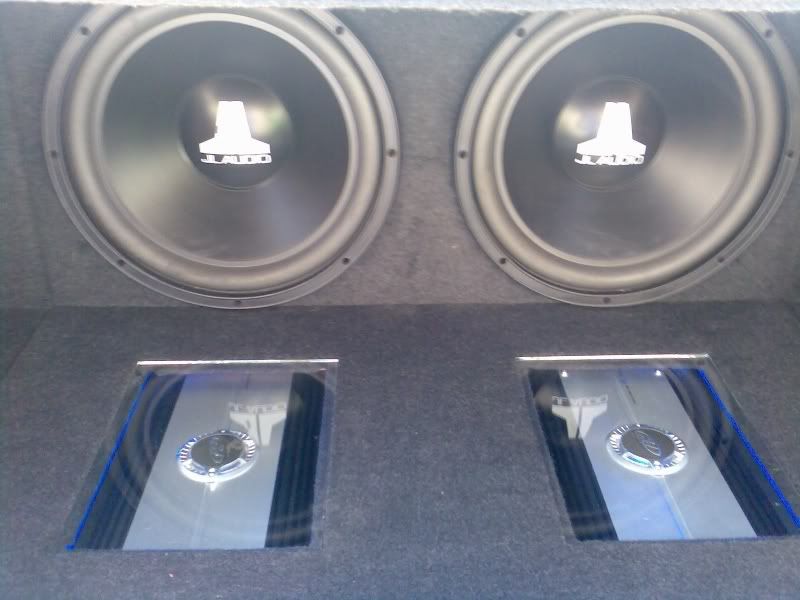
I started out by using dynamat all over the floor and then cut a out piece of MDF using the boot carpet as template. This went down ontop of a thin sheet of polystyrene and cut and hinged to allow access to spare wheel. Then 2 2.5 X 1.5 wooden laths run on top from the back seat to the rear panel, this lets the all the cables in under the subbox, acts as support for the subbox and provides the platform for the false floor. I used a router to cut out the inset for the glass and lots of marking and measuring for the side panels for a perfect fit. The back edges of these side panels are bevelled / sloped to allow then fit right into the wheel wells. I wired the neons off the original boot light so they only some on when boot is open. Interior I have 4 Pioneer mids and focal componements/tweaters, Pioneer head unit. Hope you like.


I started out by using dynamat all over the floor and then cut a out piece of MDF using the boot carpet as template. This went down ontop of a thin sheet of polystyrene and cut and hinged to allow access to spare wheel. Then 2 2.5 X 1.5 wooden laths run on top from the back seat to the rear panel, this lets the all the cables in under the subbox, acts as support for the subbox and provides the platform for the false floor. I used a router to cut out the inset for the glass and lots of marking and measuring for the side panels for a perfect fit. The back edges of these side panels are bevelled / sloped to allow then fit right into the wheel wells. I wired the neons off the original boot light so they only some on when boot is open. Interior I have 4 Pioneer mids and focal componements/tweaters, Pioneer head unit. Hope you like.


Trending Topics


 11-08-2009, 04:24 PM
#16
PassionFord Regular
Thread Starter
Join Date: Jun 2003
Location: WaterFORD Ireland
Posts: 400
Likes: 0
Received 0 Likes
on
0 Posts

Thread
Thread Starter
Forum
Replies
Last Post
nicodinho
Ford Non RS / XR / ST parts for sale.
6
07-10-2015 12:56 PM
rog
General Car Related Discussion.
5
04-09-2015 07:24 AM