General Car Related Discussion. To discuss anything that is related to cars and automotive technology that doesnt naturally fit into another forum catagory.

Doing up my RST the hard way

Thread Tools
 
Search this Thread
 
Old Mar 18, 2019 | 08:46 PM
  #1  
Steviedavysammy's Avatar
Steviedavysammy
Thread Starter
Part of the Furniture
 
Joined: Mar 2019
Posts: 185
Likes: 13
From: Northern Ireland
Default Doing up my RST the hard way


Looked like a tidy car
Bought me an Escort rs turbo this time last year , looked like a real tidy car , planned to give it a quick respray in time for the summer... NOW BALLS DEEP IN A TOTAL RESTORATION. Starting to lose the will , thought I might share some of the journey with The Ford community for a bit of an offload . First time on trying to learn how to upload pics?
Regards Steve

Last edited by Steviedavysammy; Mar 18, 2019 at 09:02 PM.
Reply
Old Mar 18, 2019 | 09:15 PM
  #2  
Steviedavysammy's Avatar
Steviedavysammy
Thread Starter
Part of the Furniture
 
Joined: Mar 2019
Posts: 185
Likes: 13
From: Northern Ireland
Default


Planning to paint the car so I Removed bumpers and body kit , starting to see there’s a hidden world beneath. Body kit had been bonded on and the front bumper covered some crappy body Shultz job on front panel , decided there and then to strip her out completely and see what was what
so sent her to a friend to have the engine out. This was February last year
Reply
Old Mar 18, 2019 | 09:18 PM
  #3  
RSMK4TURBO's Avatar
RSMK4TURBO
Advanced PassionFord User
15 Year Member
Liked
Loved
Community Favorite
 
Joined: Nov 2007
Posts: 1,988
Likes: 100
From: Uk
Default

I'm currently restoring a mercury grey one,also needs loads doing but stick with it as it will be worth it when done.Looks nice.
Reply
Old Mar 18, 2019 | 09:20 PM
  #4  
Steviedavysammy's Avatar
Steviedavysammy
Thread Starter
Part of the Furniture
 
Joined: Mar 2019
Posts: 185
Likes: 13
From: Northern Ireland
Default


Stripping begins


Reply
Old Mar 18, 2019 | 09:21 PM
  #5  
smiley's Avatar
smiley
PassionFord Post Troll
 
Joined: Jun 2010
Posts: 3,028
Likes: 327
From: england
Default

Best way to do it mate bare shell it nut and bolt it the satisfaction of knowing its totally mint and you did it at the end is worth it
Reply
Old Mar 18, 2019 | 09:28 PM
  #6  
Steviedavysammy's Avatar
Steviedavysammy
Thread Starter
Part of the Furniture
 
Joined: Mar 2019
Posts: 185
Likes: 13
From: Northern Ireland
Default


Reply
Old Mar 18, 2019 | 09:29 PM
  #7  
Steviedavysammy's Avatar
Steviedavysammy
Thread Starter
Part of the Furniture
 
Joined: Mar 2019
Posts: 185
Likes: 13
From: Northern Ireland
Default

Sent her off to be blasted in and under
Reply
Old Mar 18, 2019 | 09:35 PM
  #8  
Steviedavysammy's Avatar
Steviedavysammy
Thread Starter
Part of the Furniture
 
Joined: Mar 2019
Posts: 185
Likes: 13
From: Northern Ireland
Default

Originally Posted by Steviedavysammy


Hit a wet coat of acid based anti corrosion etch primer over all the blasted metal before setting the car in the work shop . Pretty much forgot about the shell then for a while concentrated on all the other removed bits

Reply
Old Mar 18, 2019 | 09:40 PM
  #9  
smiley's Avatar
smiley
PassionFord Post Troll
 
Joined: Jun 2010
Posts: 3,028
Likes: 327
From: england
Default

Top job
Reply
Old Mar 18, 2019 | 09:46 PM
  #10  
Steviedavysammy's Avatar
Steviedavysammy
Thread Starter
Part of the Furniture
 
Joined: Mar 2019
Posts: 185
Likes: 13
From: Northern Ireland
Default

These pics are about a year ago .. it’s coming on a fair bit now but fk I’m tired 😂
Reply
Old Mar 18, 2019 | 09:57 PM
  #11  
Steviedavysammy's Avatar
Steviedavysammy
Thread Starter
Part of the Furniture
 
Joined: Mar 2019
Posts: 185
Likes: 13
From: Northern Ireland
Default


Had all the suspension parts blasted and then sent them and every other possible part to be dipped and coated

Really pleased with the master cylinder


I got the coatings guys to treat the suspension the same as the bolts then rubbed the coating off and primed them in acid and then black high build primer


Reply
Old Mar 18, 2019 | 10:00 PM
  #12  
james kiely's Avatar
james kiely
10K+ Poster!!
15 Year Member
Liked
Loved
Community Favorite
iTrader: (5)
 
Joined: Feb 2008
Posts: 12,906
Likes: 430
From: god knows
Default

shell looks very good mate, they can be quite disheartening when you start to strip them .always loads of little silly jobs to do
Reply
Old Mar 18, 2019 | 10:00 PM
  #13  
Steviedavysammy's Avatar
Steviedavysammy
Thread Starter
Part of the Furniture
 
Joined: Mar 2019
Posts: 185
Likes: 13
From: Northern Ireland
Default


Reply
Old Mar 18, 2019 | 10:02 PM
  #14  
Steviedavysammy's Avatar
Steviedavysammy
Thread Starter
Part of the Furniture
 
Joined: Mar 2019
Posts: 185
Likes: 13
From: Northern Ireland
Default

the silly jobs eat your time as well mate
Reply
Old Mar 18, 2019 | 10:11 PM
  #15  
Steviedavysammy's Avatar
Steviedavysammy
Thread Starter
Part of the Furniture
 
Joined: Mar 2019
Posts: 185
Likes: 13
From: Northern Ireland
Default


Drums to bare metal

Then acid prime

Then high build black primer And fk me no image recorded after I painted them but they are semi Matt two pk black


Front brakes are refurbished as well
Reply
Old Mar 18, 2019 | 10:14 PM
  #16  
james kiely's Avatar
james kiely
10K+ Poster!!
15 Year Member
Liked
Loved
Community Favorite
iTrader: (5)
 
Joined: Feb 2008
Posts: 12,906
Likes: 430
From: god knows
Default

it will be a stunner when your finished with her
Reply
Old Mar 18, 2019 | 10:27 PM
  #17  
xr2john's Avatar
xr2john
Passionford Addict
 
Joined: Dec 2008
Posts: 2,274
Likes: 89
From: Dundee now but from aberdeen
Default

Look forward to seeing this progress,doing a cracking job so far m8 ��
Reply
Old Mar 18, 2019 | 10:30 PM
  #18  
Steviedavysammy's Avatar
Steviedavysammy
Thread Starter
Part of the Furniture
 
Joined: Mar 2019
Posts: 185
Likes: 13
From: Northern Ireland
Default

Serious metal work needed on the shell , but after a fair amount of chasing parts and repair panels we have busted our way through a fair bit now
Reply
Old Mar 18, 2019 | 10:36 PM
  #19  
Steviedavysammy's Avatar
Steviedavysammy
Thread Starter
Part of the Furniture
 
Joined: Mar 2019
Posts: 185
Likes: 13
From: Northern Ireland
Default


Bare metal refurbs all round


There’s those drums in paint


Steering rack stripped and cleaned new arms and ends but was in good order


Wiper motor and mech it’s really nice
Reply
Old Mar 18, 2019 | 10:45 PM
  #20  
Steviedavysammy's Avatar
Steviedavysammy
Thread Starter
Part of the Furniture
 
Joined: Mar 2019
Posts: 185
Likes: 13
From: Northern Ireland
Default

Once all the suspension and running gear was finished wrapped up and stored I stripped all the plastics to bare fixed any imperfections and primed them up
Reply
Old Mar 18, 2019 | 10:57 PM
  #21  
Steviedavysammy's Avatar
Steviedavysammy
Thread Starter
Part of the Furniture
 
Joined: Mar 2019
Posts: 185
Likes: 13
From: Northern Ireland
Default


Just literally sanded the paint and undercoat off with a Festo and p180 disc , laborious but does a good job


The door you see in this image was scrapped , it was the original drivers door but it was rotting in the upper from the mirror corner across to the middle of the door .We cut out the section and welded in a metal strengthener that we made welded the repair piece in and repaired the door but after I primed it we just were not happy wit it it was swelly looking slightly bowed , so I set about looking for new doors

Reply
Old Mar 18, 2019 | 11:16 PM
  #22  
Steviedavysammy's Avatar
Steviedavysammy
Thread Starter
Part of the Furniture
 
Joined: Mar 2019
Posts: 185
Likes: 13
From: Northern Ireland
Default


We set small sections of new metal in to patch the tailgate.


Each panel was primed and cured for around about 8 weeks the blocked and reprimed a second time to ensure perfection


Plastics all in primer I turned to the panels , we scrapped both the original doors, although the drivers wasn’t the worst , it still was always going to go tits up again a few years down the line so we had the bonnet and the tailgate to get on with . Tailgate had minor rust at the point where the spoiler bolts on , easy peasy, and the bonnet was rust free but had a couple of dents to repair . I stripped both panels to bare metal and did the repairs and anti corrosion and high build primed both panels.
Reply
Old Mar 18, 2019 | 11:32 PM
  #23  
Steviedavysammy's Avatar
Steviedavysammy
Thread Starter
Part of the Furniture
 
Joined: Mar 2019
Posts: 185
Likes: 13
From: Northern Ireland
Default


One new one second hand


Each panel was cured and blocked down and re primed just to be sure it’s perfect


I know a guy in Antrim has a fair eBay shop selling only genuine Nos ford parts , almost anything you need he seems to have it , goes by the seller name Clomoco, I gave him a shout and bought two doors, one brand new old stock drivers door and one second hand passenger door. The second hand door was better than the new door! It was completely rust free , stone mint! The new door was in that black factory primer and it was failing in spots here and there but little buns to fix , both panels were completely stripped to metal anti corrosion primed and high build primed,
Reply
Old Mar 18, 2019 | 11:34 PM
  #24  
Steviedavysammy's Avatar
Steviedavysammy
Thread Starter
Part of the Furniture
 
Joined: Mar 2019
Posts: 185
Likes: 13
From: Northern Ireland
Default

I’ll post some pics of the shell restoration next
Reply
Old Mar 19, 2019 | 06:33 AM
  #25  
boost monster's Avatar
boost monster
I've found that life I needed.. It's HERE!!
15 Year Member
Liked
Loved
Community Favorite
 
Joined: Apr 2007
Posts: 1,198
Likes: 148
From: fife
Default

Your doing a thorough job here. It’s amazing how good it looked before the strip down, looking forward to the updates.
Reply
Old Mar 19, 2019 | 07:49 AM
  #26  
Lee read's Avatar
Lee read
Rs turbo
 
Joined: Dec 2018
Posts: 306
Likes: 23
From: Kidderminster
Default

Very nice work. Looking at this I cant wait to start mine.
Reply
Old Mar 19, 2019 | 08:00 AM
  #27  
Rsmat's Avatar
Rsmat
Professional Waffler
20 Year Member
Liked
Loved
Community Favorite
iTrader: (2)
 
Joined: May 2004
Posts: 27,262
Likes: 585
From: either at work or on way :)
Default

Top work mate .
Reply
Old Mar 19, 2019 | 11:15 AM
  #28  
R4N SS's Avatar
R4N SS
Professional Waffler
iTrader: (6)
 
Joined: Jun 2003
Posts: 27,161
Likes: 147
From: ?
Default

awesome work mate
Reply
Old Mar 19, 2019 | 05:38 PM
  #29  
xr2john's Avatar
xr2john
Passionford Addict
 
Joined: Dec 2008
Posts: 2,274
Likes: 89
From: Dundee now but from aberdeen
Default

Get the pics of the shell up m8
Reply
Old Mar 19, 2019 | 07:09 PM
  #30  
Steviedavysammy's Avatar
Steviedavysammy
Thread Starter
Part of the Furniture
 
Joined: Mar 2019
Posts: 185
Likes: 13
From: Northern Ireland
Default

Closed my workshop for st Patrick’s day on Monday, I spent a solid seven hours cleaning metal and doing filler repairs , had lost the will to live but after starting this thread and seeing a bit of enthusiasm from you lads I’m feeling a bit like Rocky and I’m up for another round, most all this work is either holiday or Wednesday nights , I’ve agreed with the wife on a one night a week, lol She knows I’d spend every waking second working at it if she let me 😂😂
Reply
Old Mar 19, 2019 | 07:29 PM
  #31  
Steviedavysammy's Avatar
Steviedavysammy
Thread Starter
Part of the Furniture
 
Joined: Mar 2019
Posts: 185
Likes: 13
From: Northern Ireland
Default


Added these images again, just to highlight what it looked like , I mean it needs floors ,sills ,inner and outer arches , 2 Chassis legs , rear inner 1/4s front panel and cross member . SERIOUSLY


Reply
Old Mar 19, 2019 | 07:34 PM
  #32  
Steviedavysammy's Avatar
Steviedavysammy
Thread Starter
Part of the Furniture
 
Joined: Mar 2019
Posts: 185
Likes: 13
From: Northern Ireland
Default

Some bollox had covered all the trouble with crappy patches , isopon and under Shultz, it was just MOTd paint job was average but ok , Engine went well it is fast. sounded ok , so I bought it . I’m not sure you can get much better for 5k but I’ve definitely spent more than that again since and the car isn’t painted lol
Reply
Old Mar 19, 2019 | 07:40 PM
  #33  
Steviedavysammy's Avatar
Steviedavysammy
Thread Starter
Part of the Furniture
 
Joined: Mar 2019
Posts: 185
Likes: 13
From: Northern Ireland
Default

Must say the interior is magnificent , one real big plus, but I’m still going to repaint the backs of the rear seats , I did them on my fiesta , it takes years of the car , you know when you open the boot and the backs of the seats are tired and marky, lift them out quick sand mask off the material and paint 2k satin 25 / 30% gloss , makes them just class
Reply
Old Mar 19, 2019 | 07:41 PM
  #34  
Steviedavysammy's Avatar
Steviedavysammy
Thread Starter
Part of the Furniture
 
Joined: Mar 2019
Posts: 185
Likes: 13
From: Northern Ireland
Default

I will image and upload that whole process
Reply
Old Mar 19, 2019 | 07:51 PM
  #35  
Steviedavysammy's Avatar
Steviedavysammy
Thread Starter
Part of the Furniture
 
Joined: Mar 2019
Posts: 185
Likes: 13
From: Northern Ireland
Default


The screen and some deft sealer work hid this problem


We just had a night where we cut the shit out, front panel and wigs are great so I decided to keep them in , I bought a new front pane and x member, but we only fitted from the headlights down . I’ll show a pic of that job later

Inner and outer arches cut off

Sills cut off


Inner silk out


We cut about an inch off the floor and got a folded length of steel right angle the full length to make a new floor outer edge, recommended for spot welding outer sill back on
Reply
Old Mar 19, 2019 | 08:01 PM
  #36  
Steviedavysammy's Avatar
Steviedavysammy
Thread Starter
Part of the Furniture
 
Joined: Mar 2019
Posts: 185
Likes: 13
From: Northern Ireland
Default


This is the inner sill being tried in , the new floor edge is fitted , see how the new inner sill sits on it , when the outer sill goes on the two lips are clamped and spot welded, like factory. It’s the only way to do sills, any metal shop will fold two lengths for a few quid


Managed to fit the floor edge and not annoy the chassis number


Reply
Old Mar 19, 2019 | 08:04 PM
  #37  
Steviedavysammy's Avatar
Steviedavysammy
Thread Starter
Part of the Furniture
 
Joined: Mar 2019
Posts: 185
Likes: 13
From: Northern Ireland
Default

We tried everything in and out several times until we were sure it was all sized and cut perfectly, nothing was welded until every piece was ready to be welded then put it all in like a jigsaw
Reply
Old Mar 19, 2019 | 08:05 PM
  #38  
Steviedavysammy's Avatar
Steviedavysammy
Thread Starter
Part of the Furniture
 
Joined: Mar 2019
Posts: 185
Likes: 13
From: Northern Ireland
Default

I’ll check back in later tonight with a few more pics got some things to do right now
Reply
Old Mar 19, 2019 | 08:51 PM
  #39  
Steviedavysammy's Avatar
Steviedavysammy
Thread Starter
Part of the Furniture
 
Joined: Mar 2019
Posts: 185
Likes: 13
From: Northern Ireland
Default


Started bare metal inspection,

Piece by piece, panel by panel I’m working my way through the entire car

We hand made this section of the inner guard

Under the left front arch

Once bare and checked always etched in anti corrosion primer straight away

Reply
Old Mar 19, 2019 | 08:58 PM
  #40  
Steviedavysammy's Avatar
Steviedavysammy
Thread Starter
Part of the Furniture
 
Joined: Mar 2019
Posts: 185
Likes: 13
From: Northern Ireland
Default

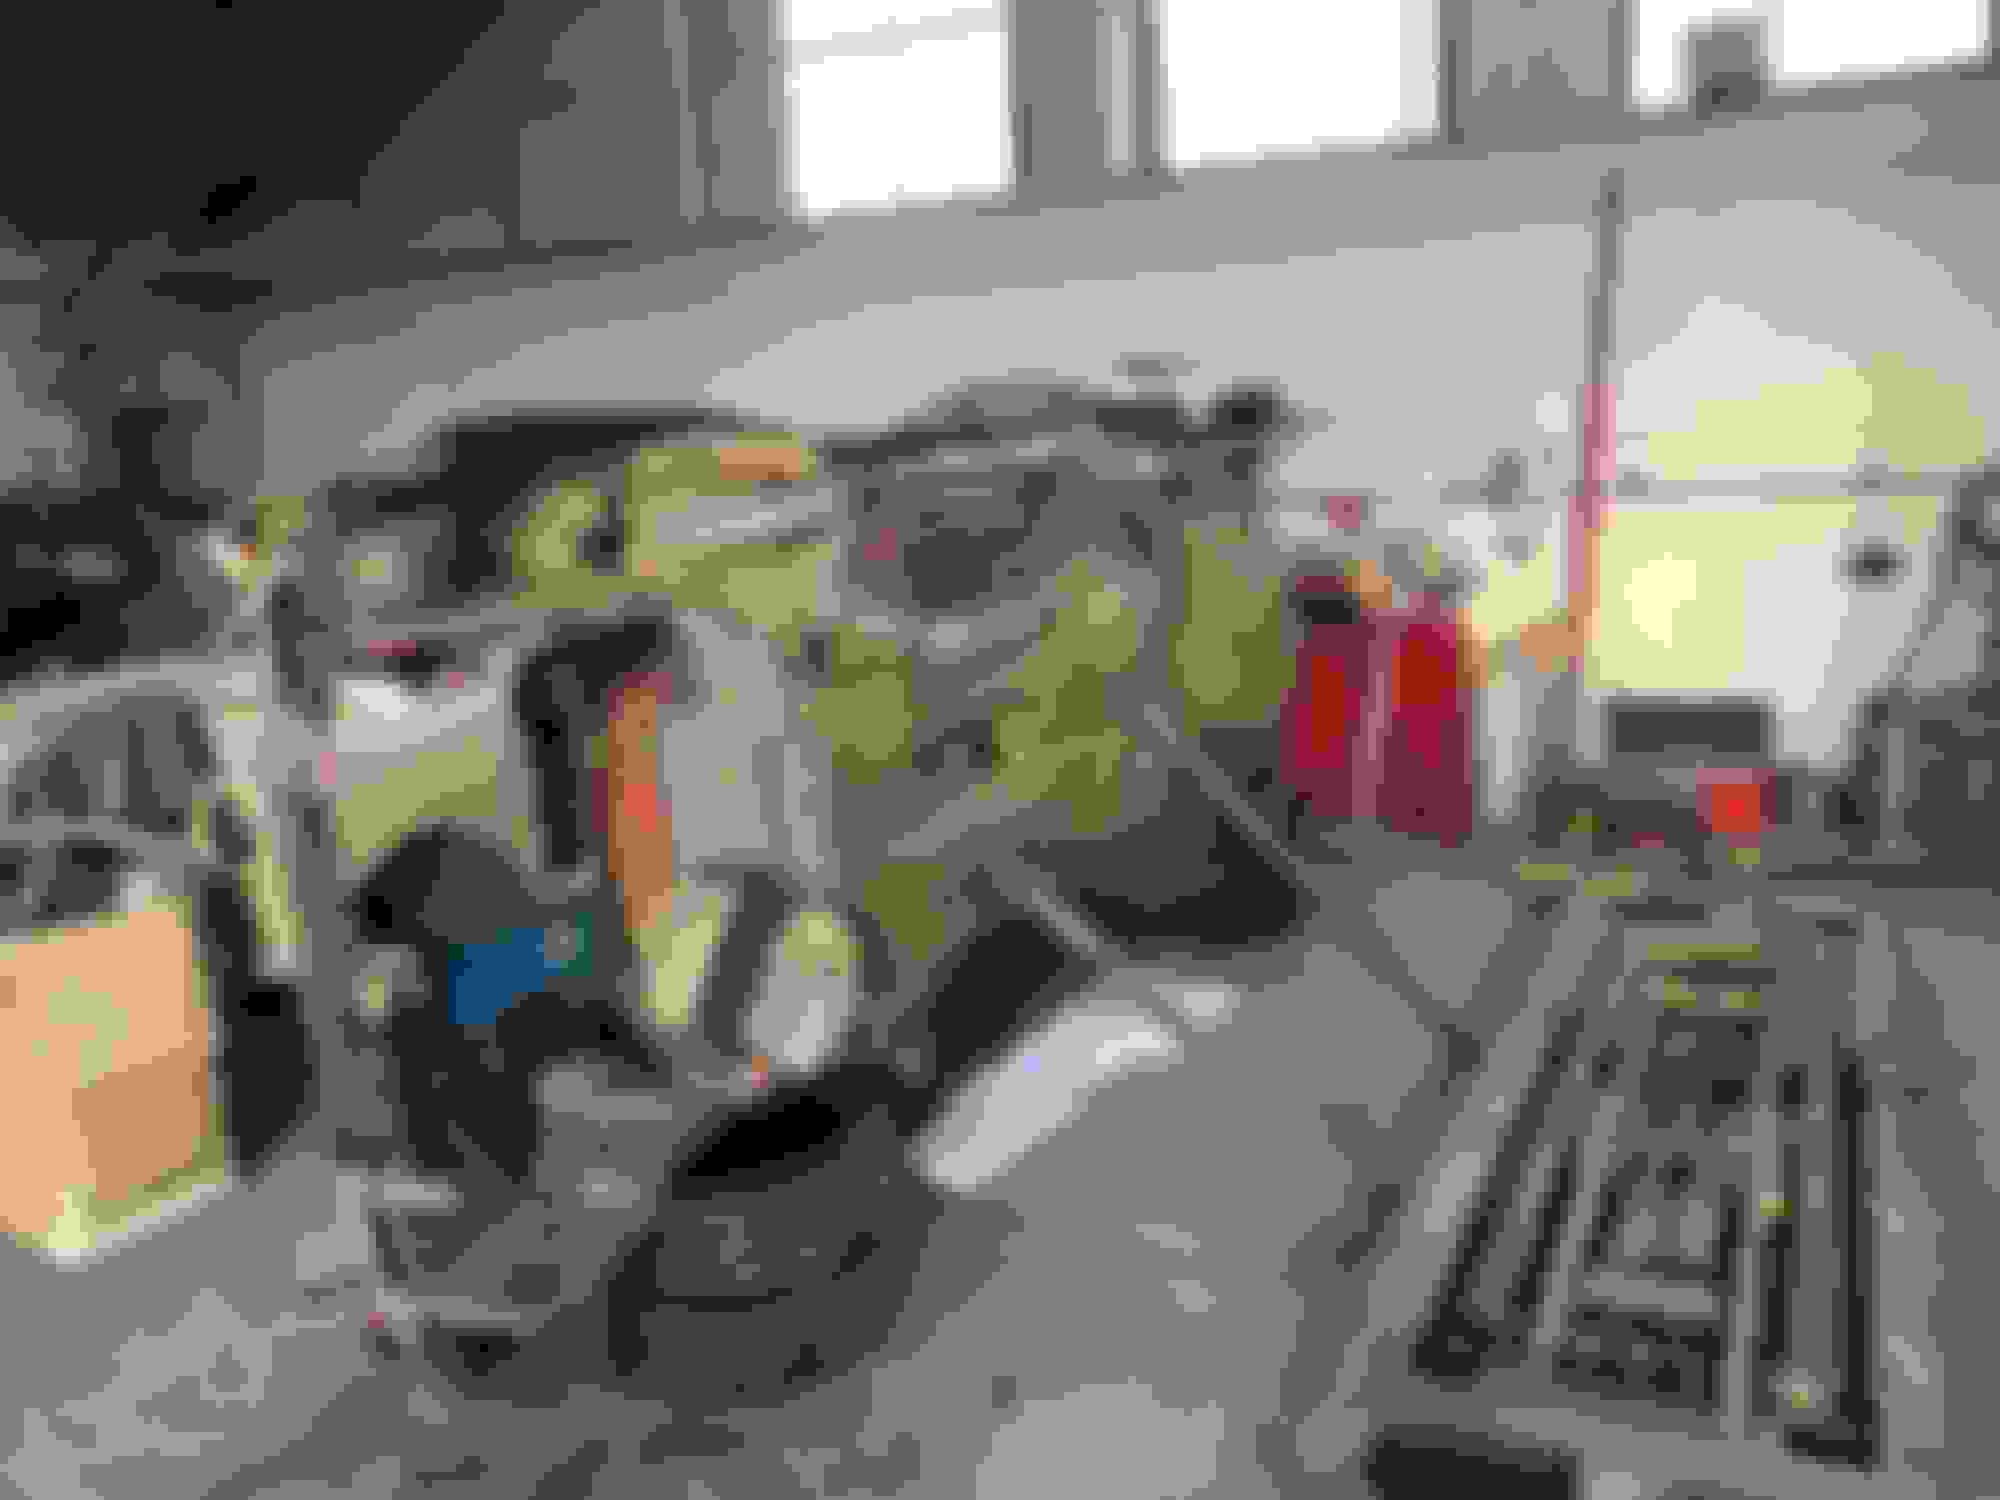
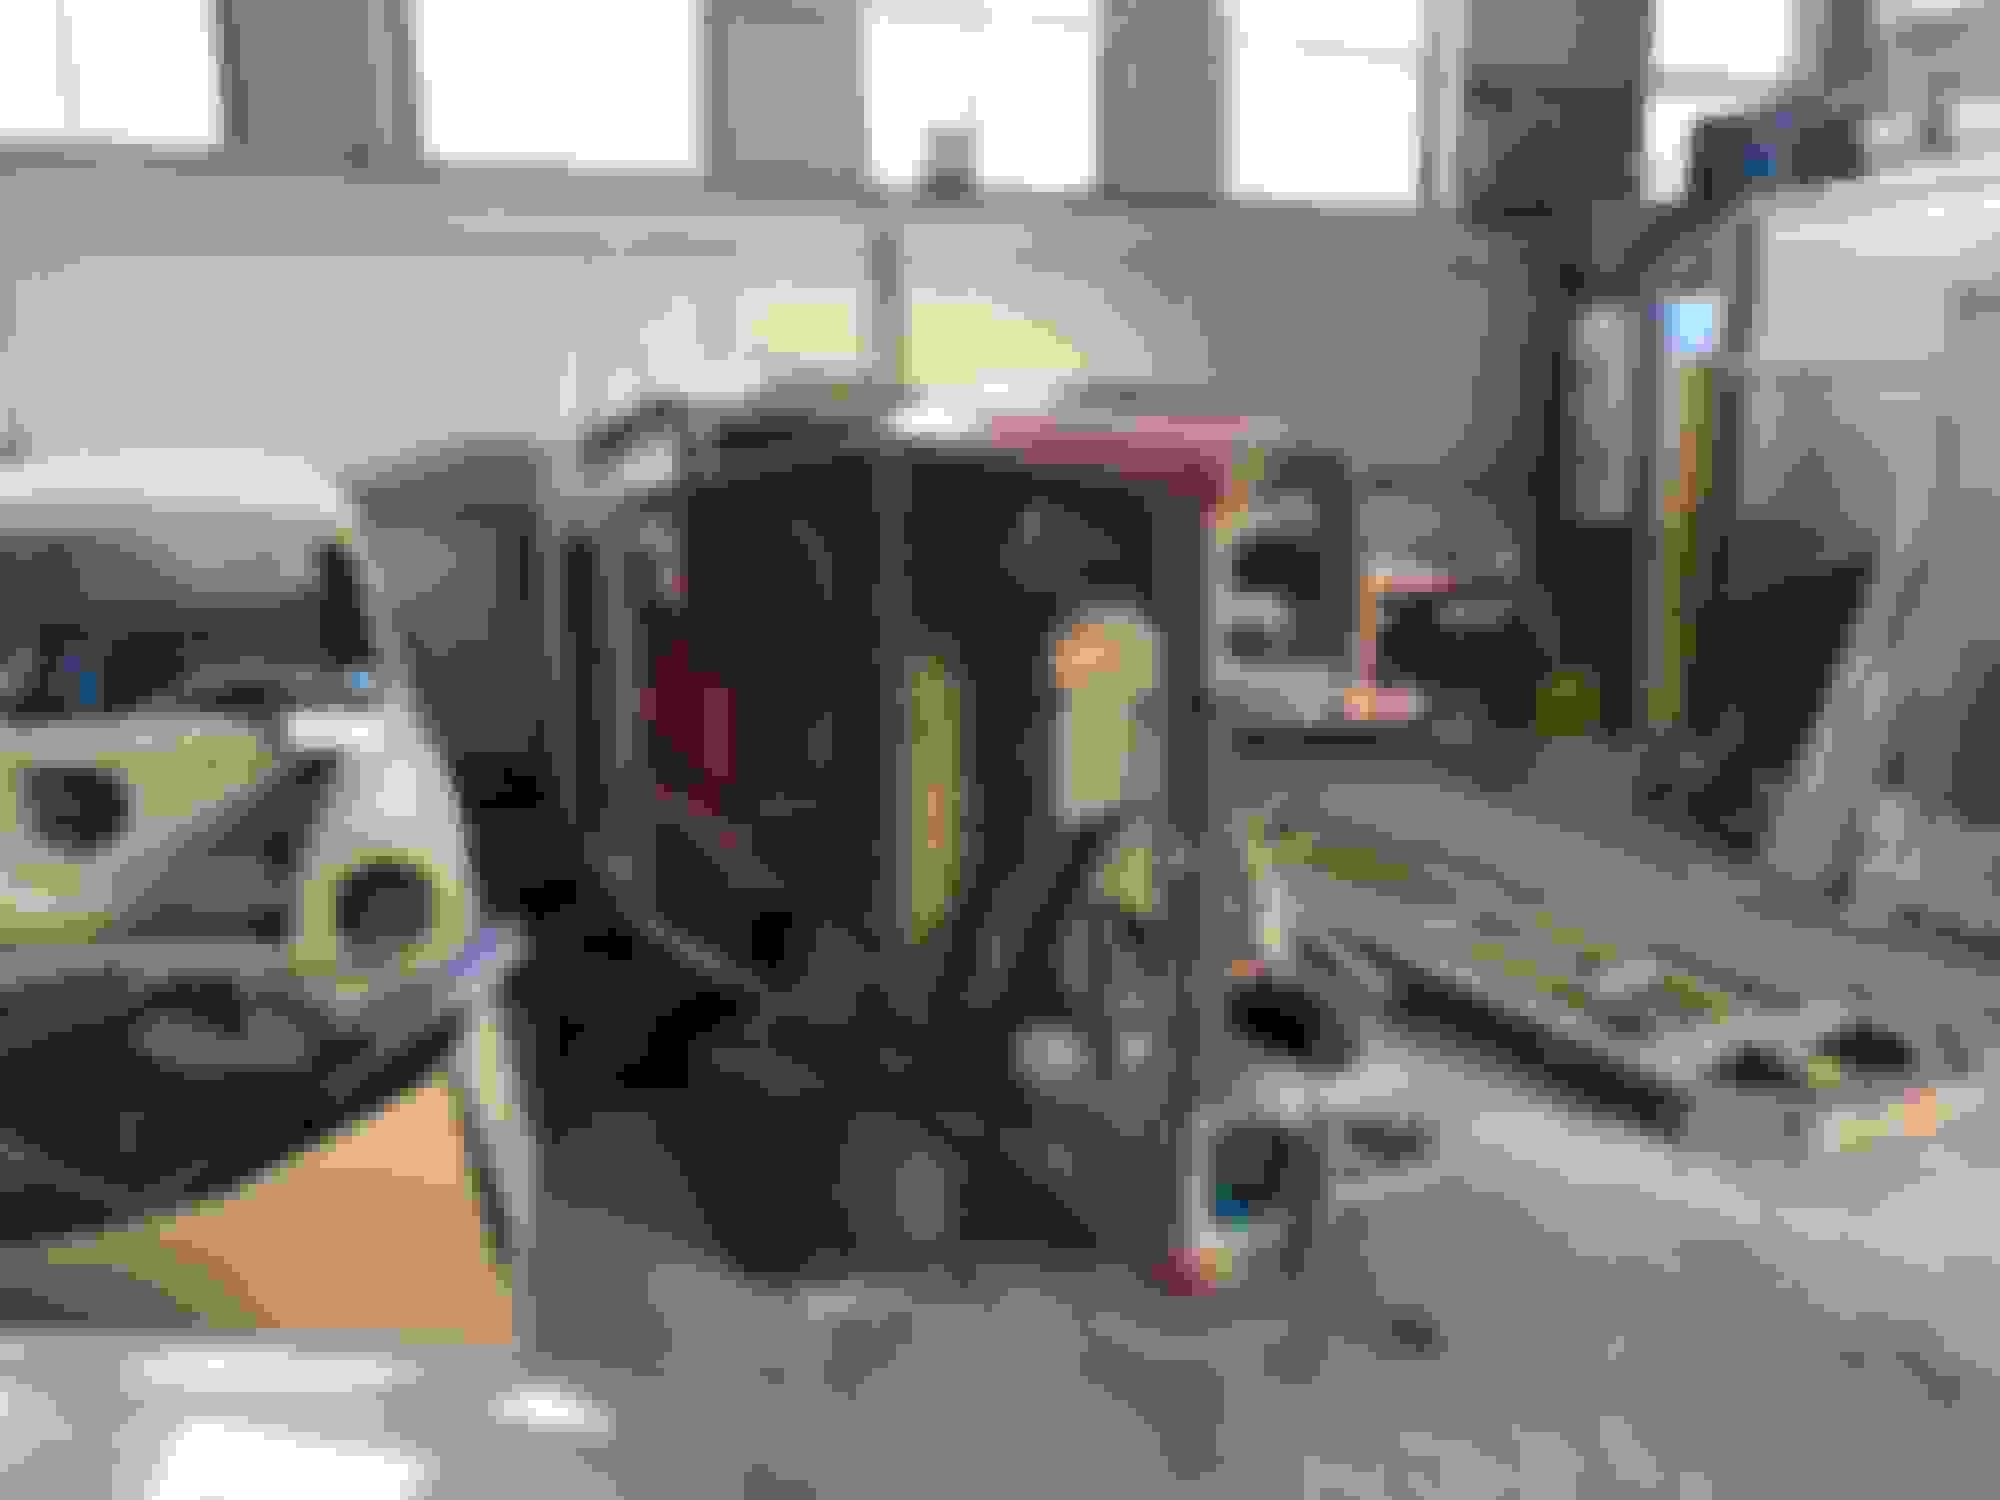
Talked about putting her on a spit , but decided against it, we felt she was always being weakened then re welded then cut and weakened again and worried about her flexing on a spit, might be wrong but that was my decision, so we lifted her up and turned her on her side and set her on tyres

The tyres are in under the inner guards front and rear , she is fully off the ground on the tyres it was a bit scary at first but she never budged once and we flipped her from side to side at will , took 6 guys to lift her each time


Reply


All times are GMT. The time now is 06:46 AM.