When you click on links to various merchants on this site and make a purchase, this can result in this site earning a commission. Affiliate programs and affiliations include, but are not limited to, the eBay Partner Network.
General Car Related Discussion.To discuss anything that is related to cars and automotive technology that doesnt naturally fit into another forum catagory.
This job is so time consuming but satisfying too when you see the spotless section and then lash acid primer on and you know that�s it . Future proof While my mate Nev is fitting rear chassis legs I bare metaled the entire floor lol And I swear in not even a nerd
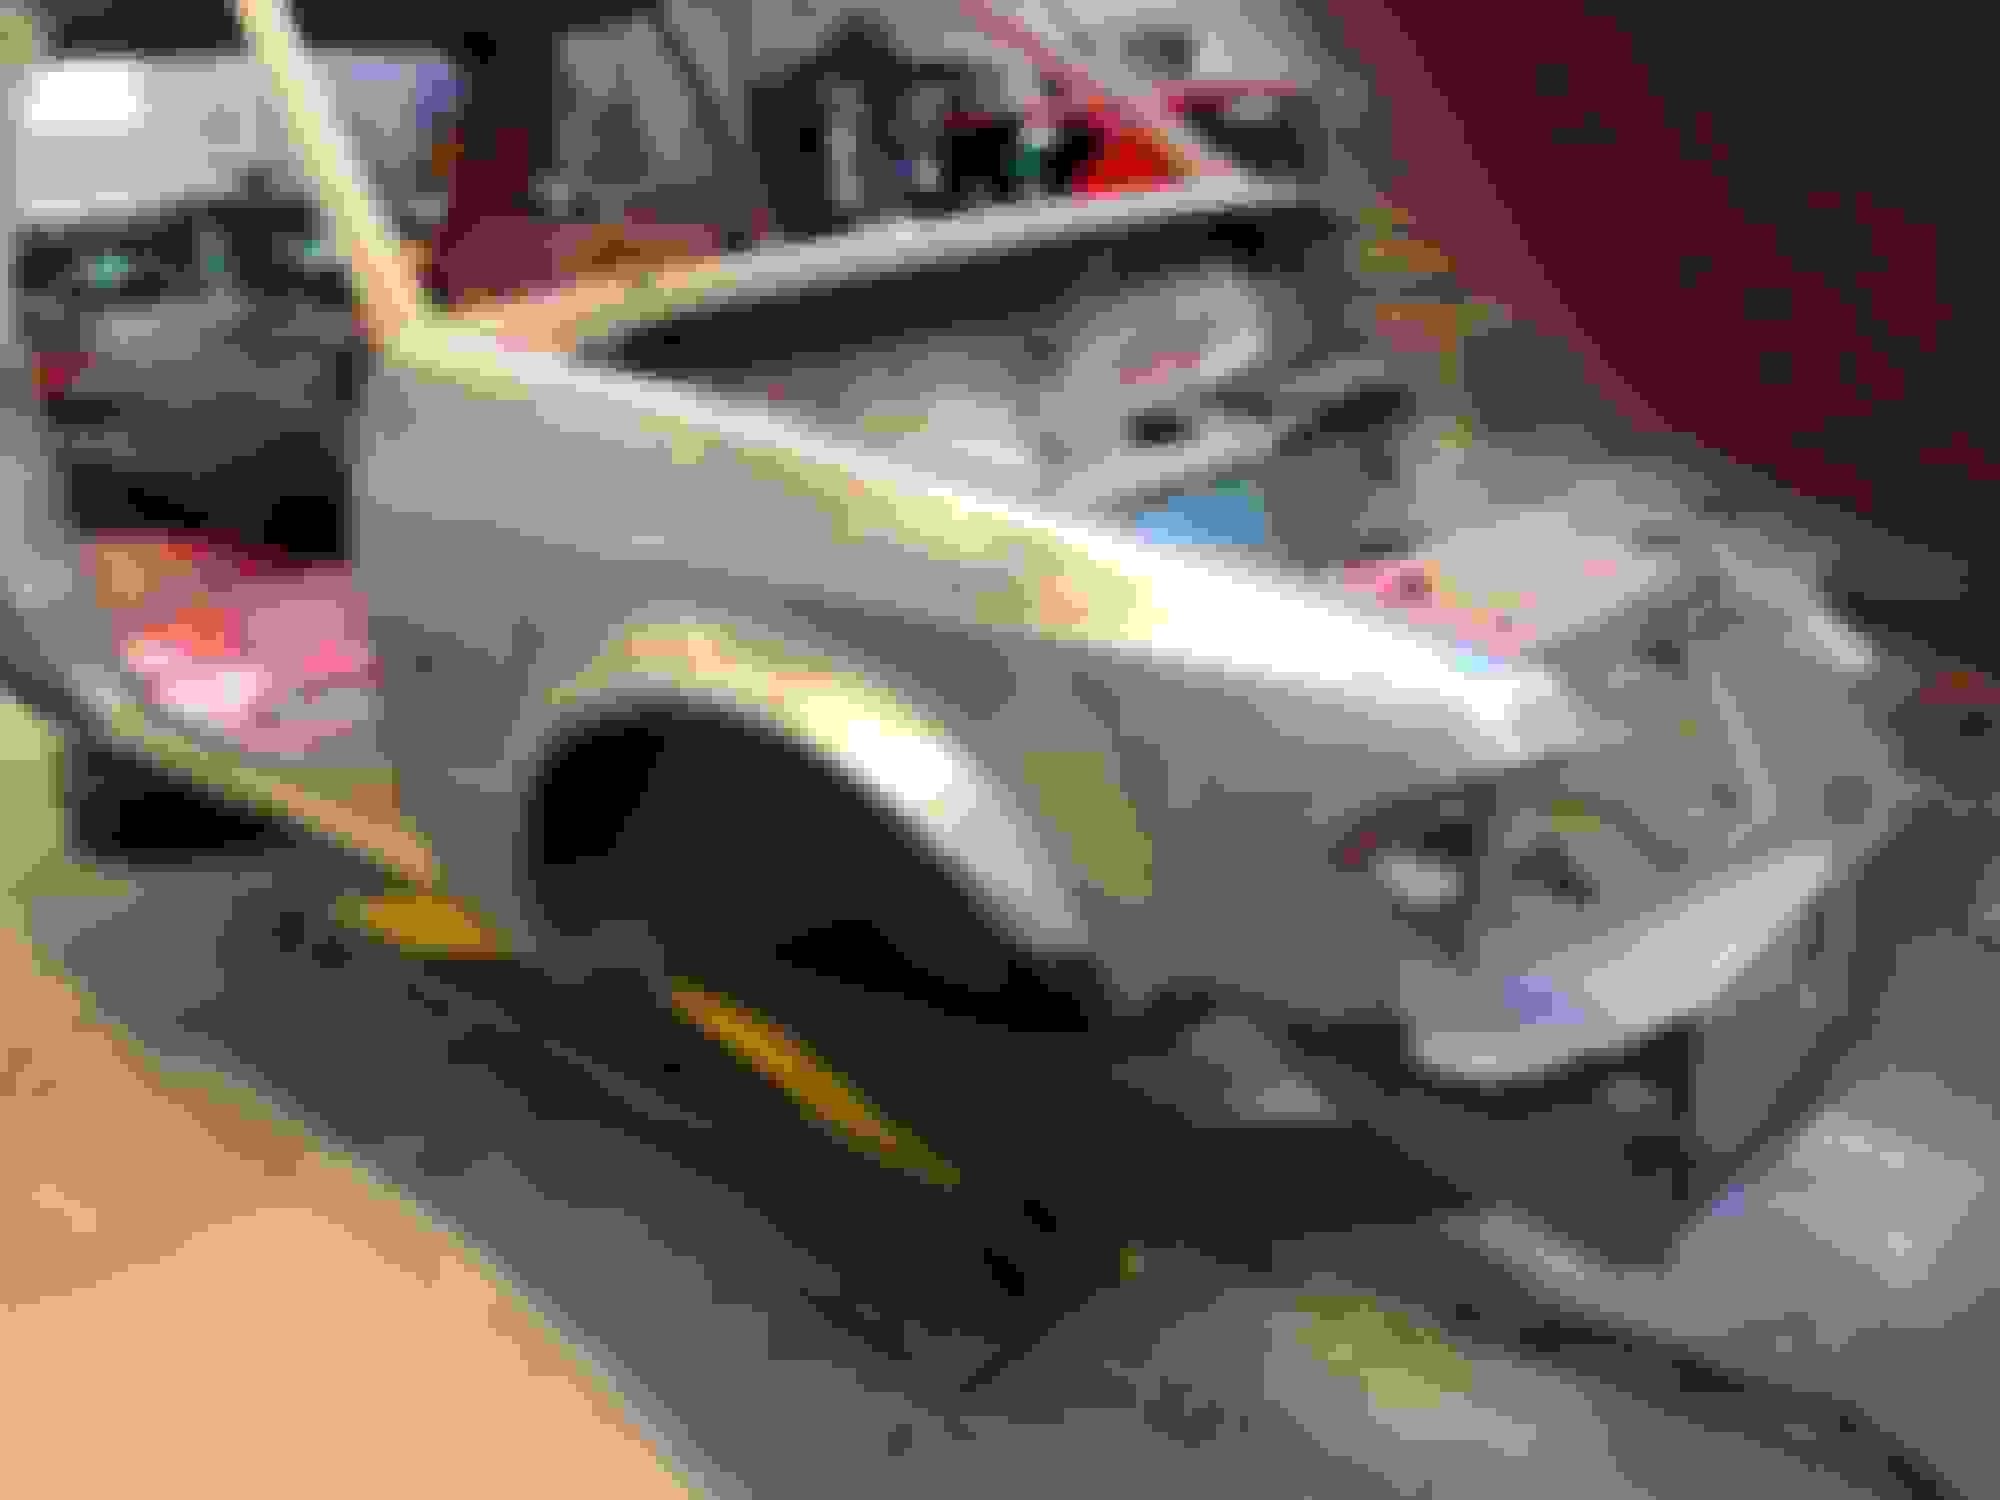
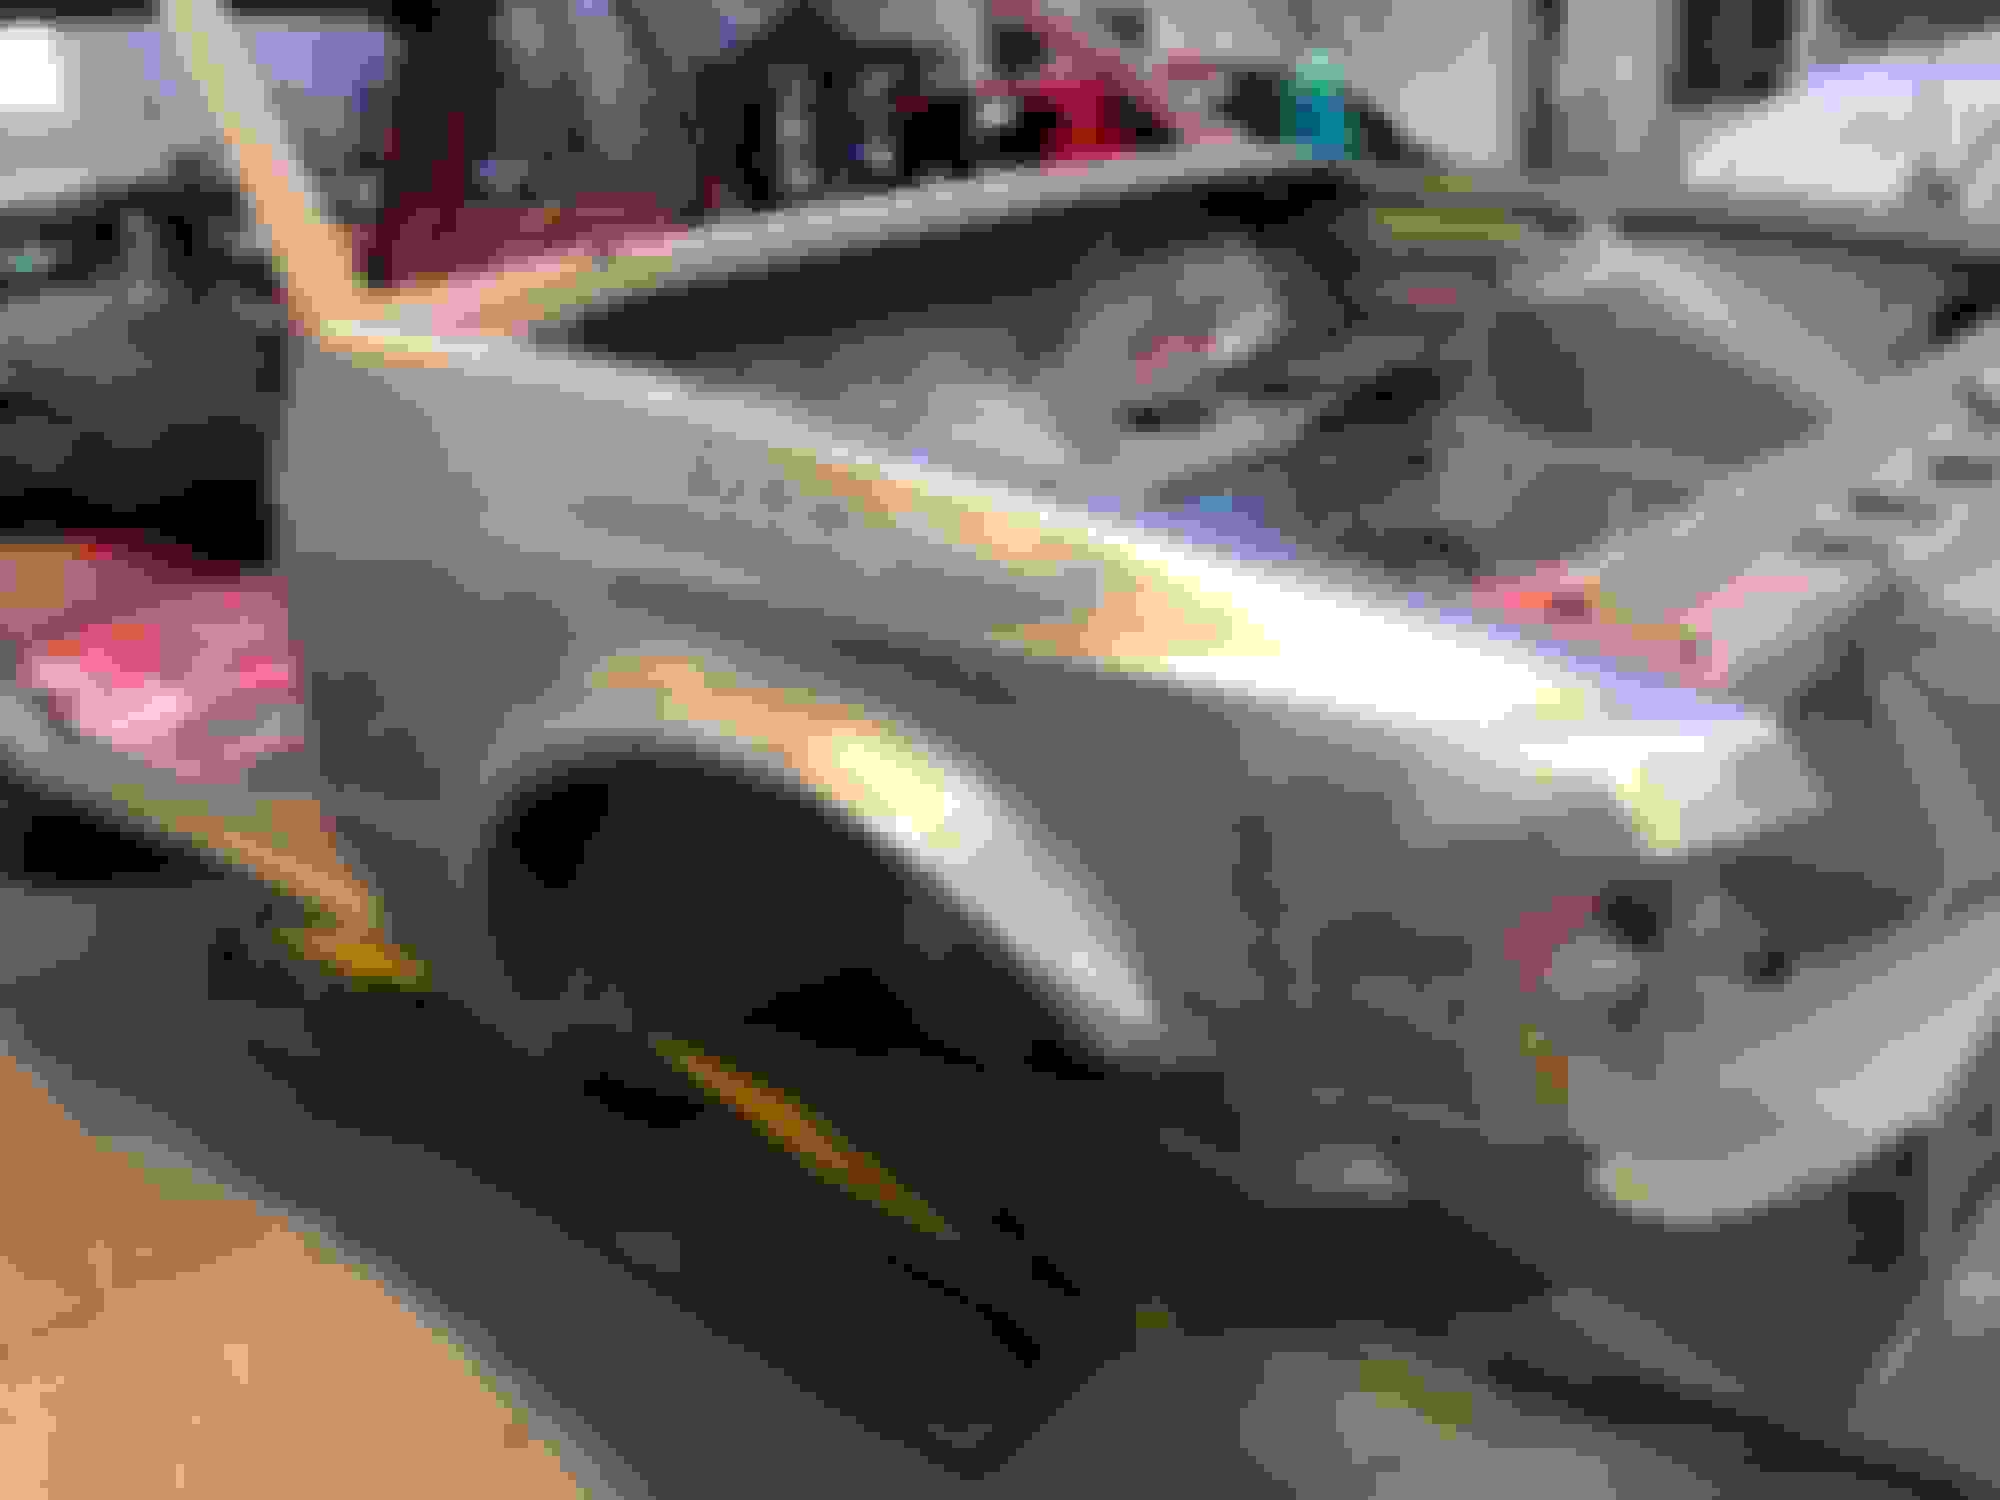
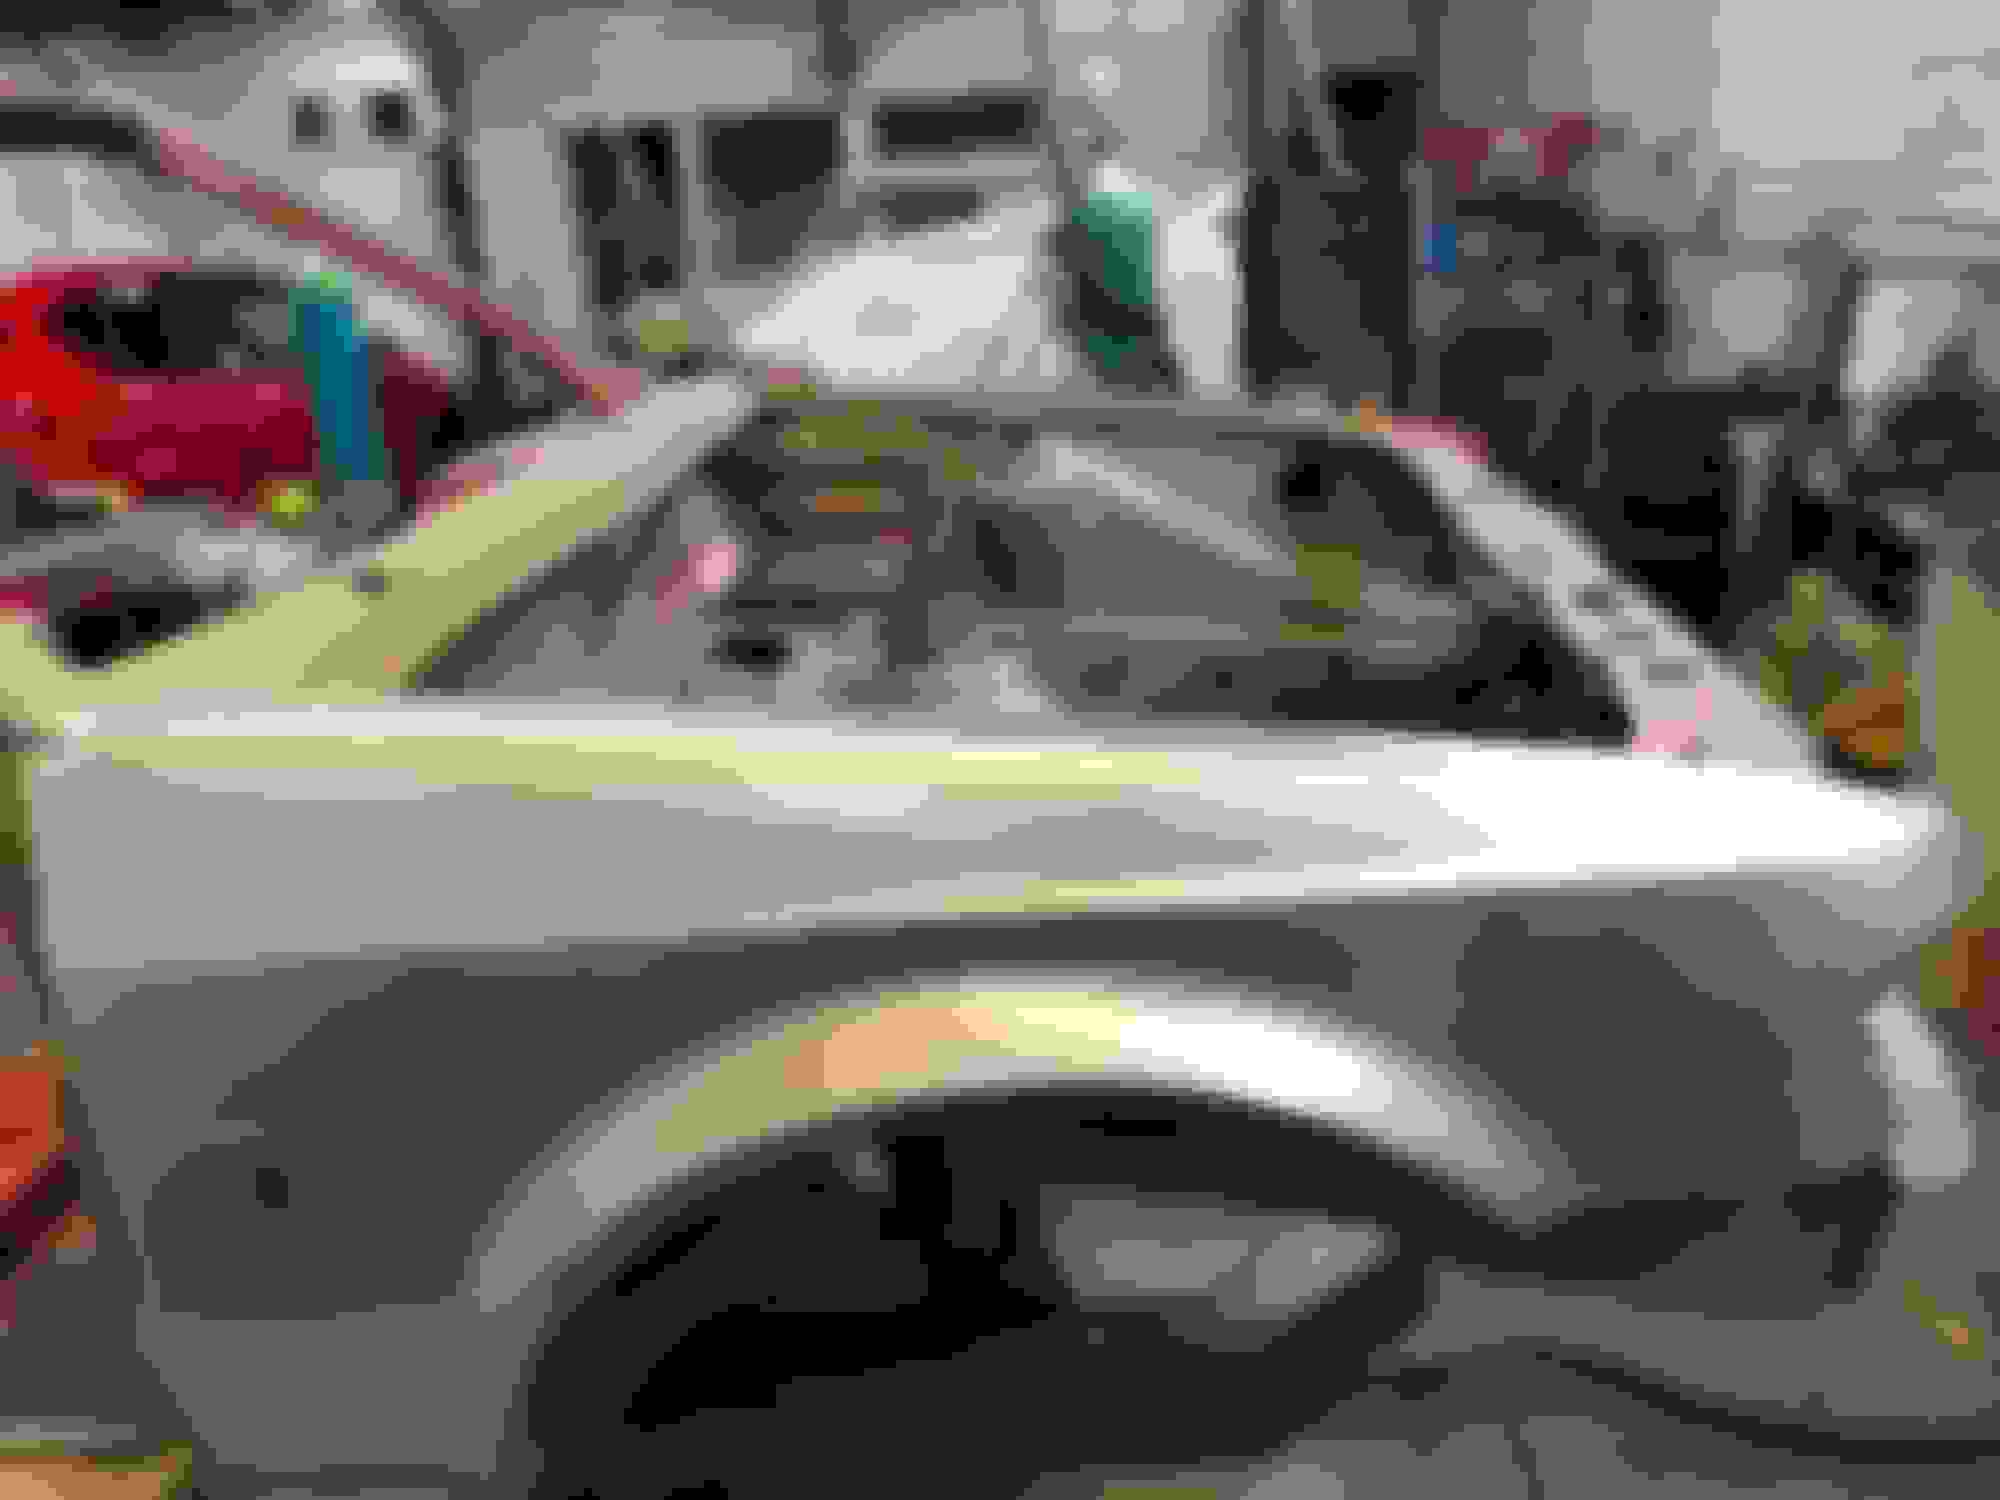
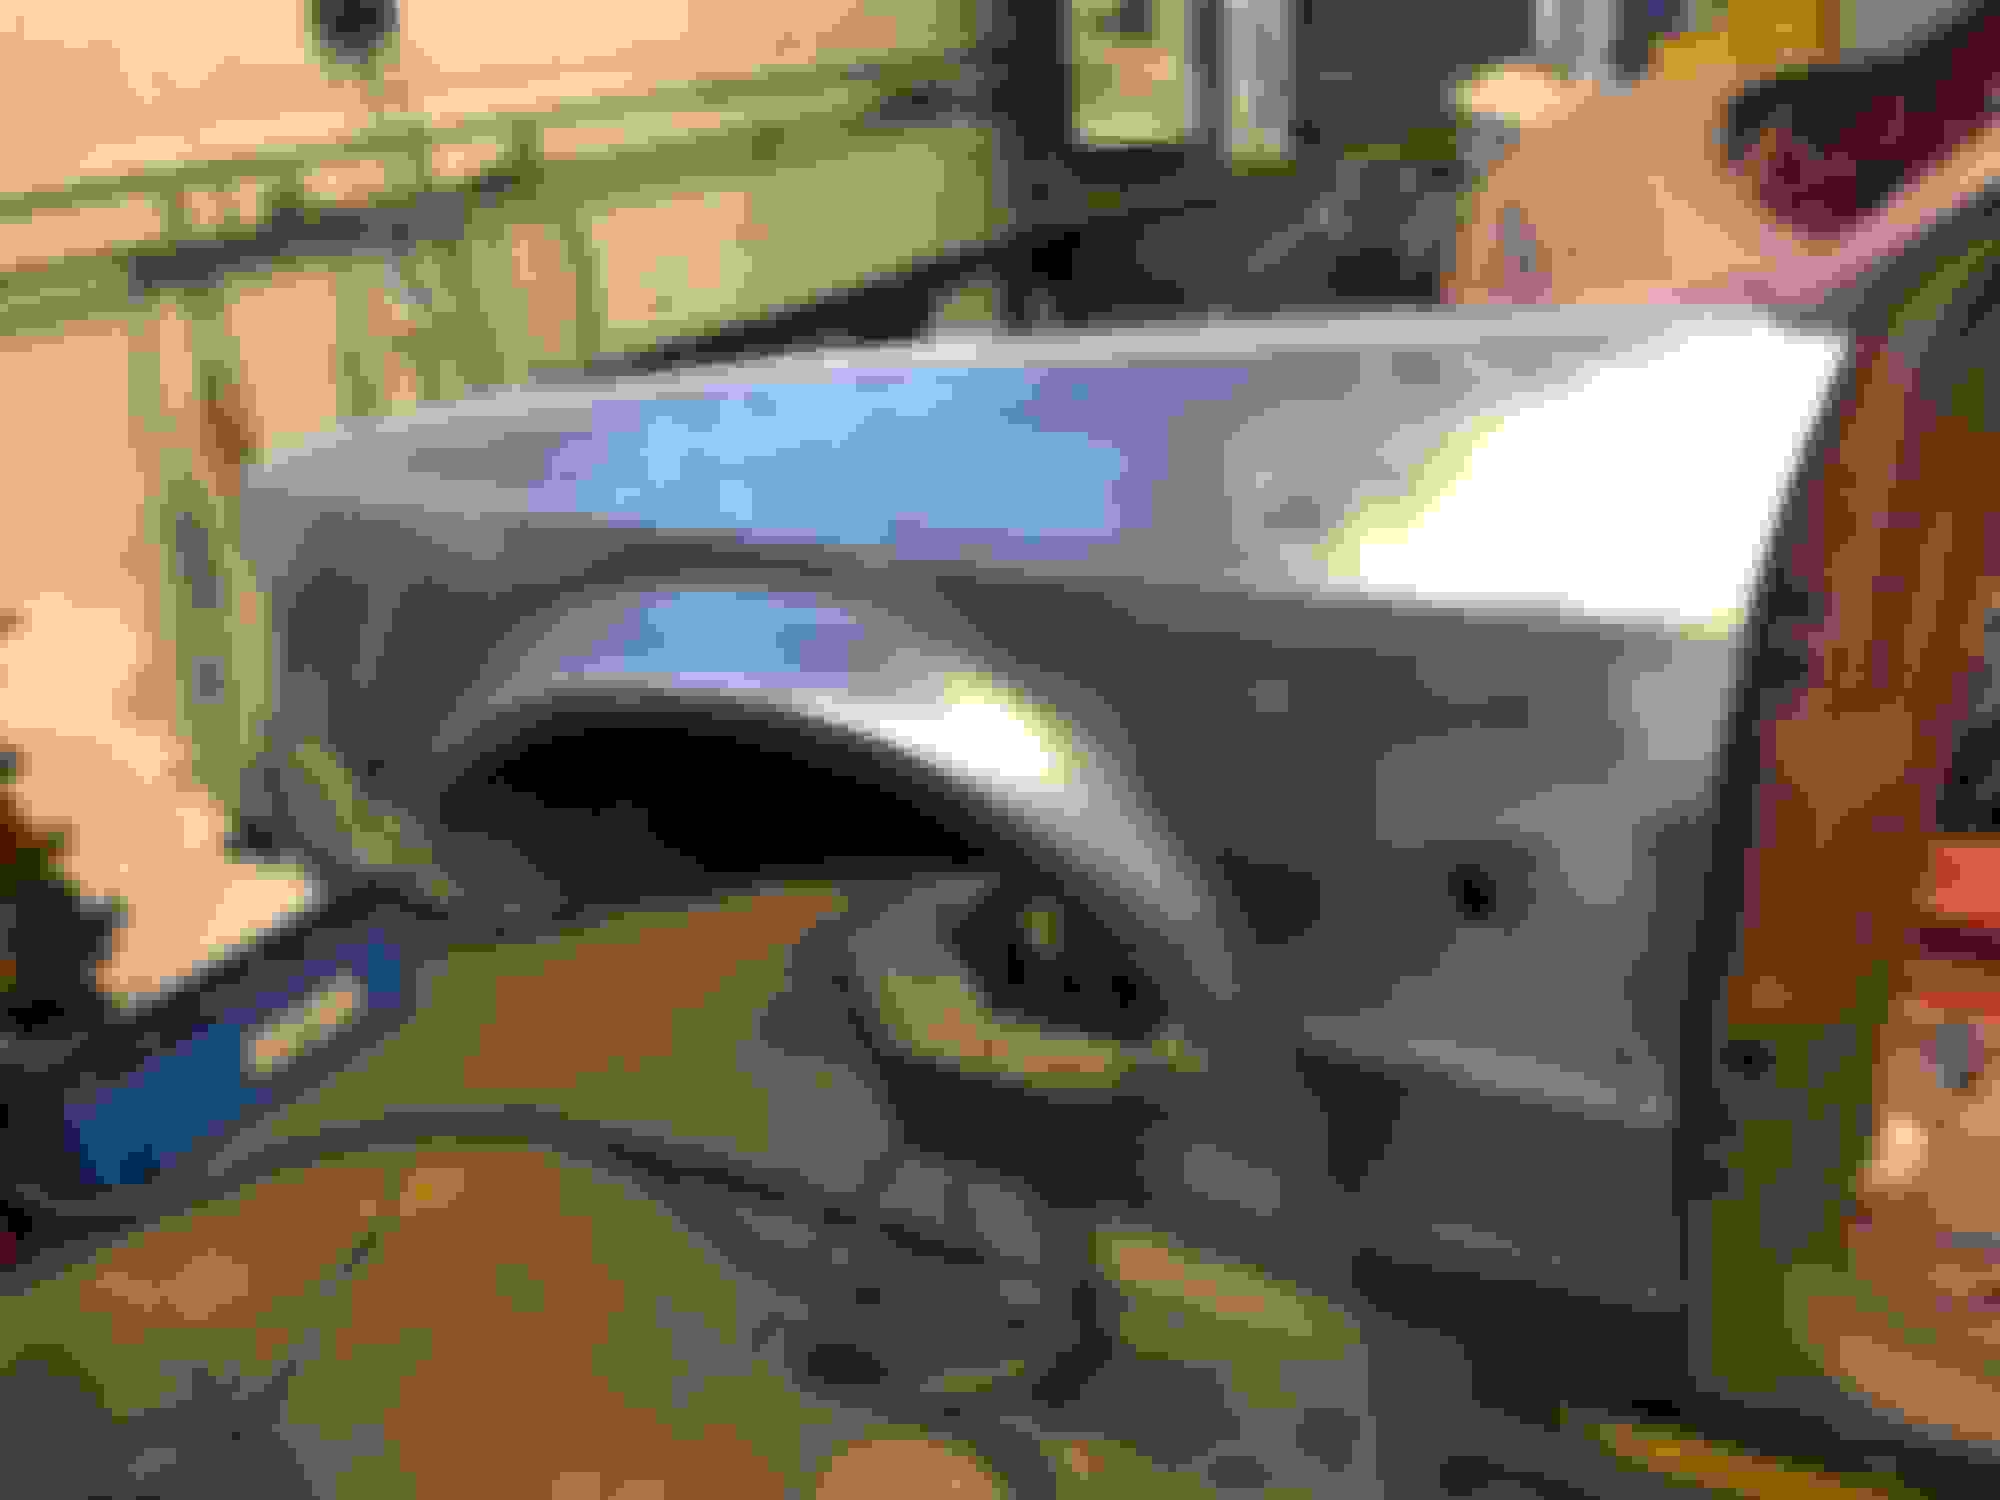
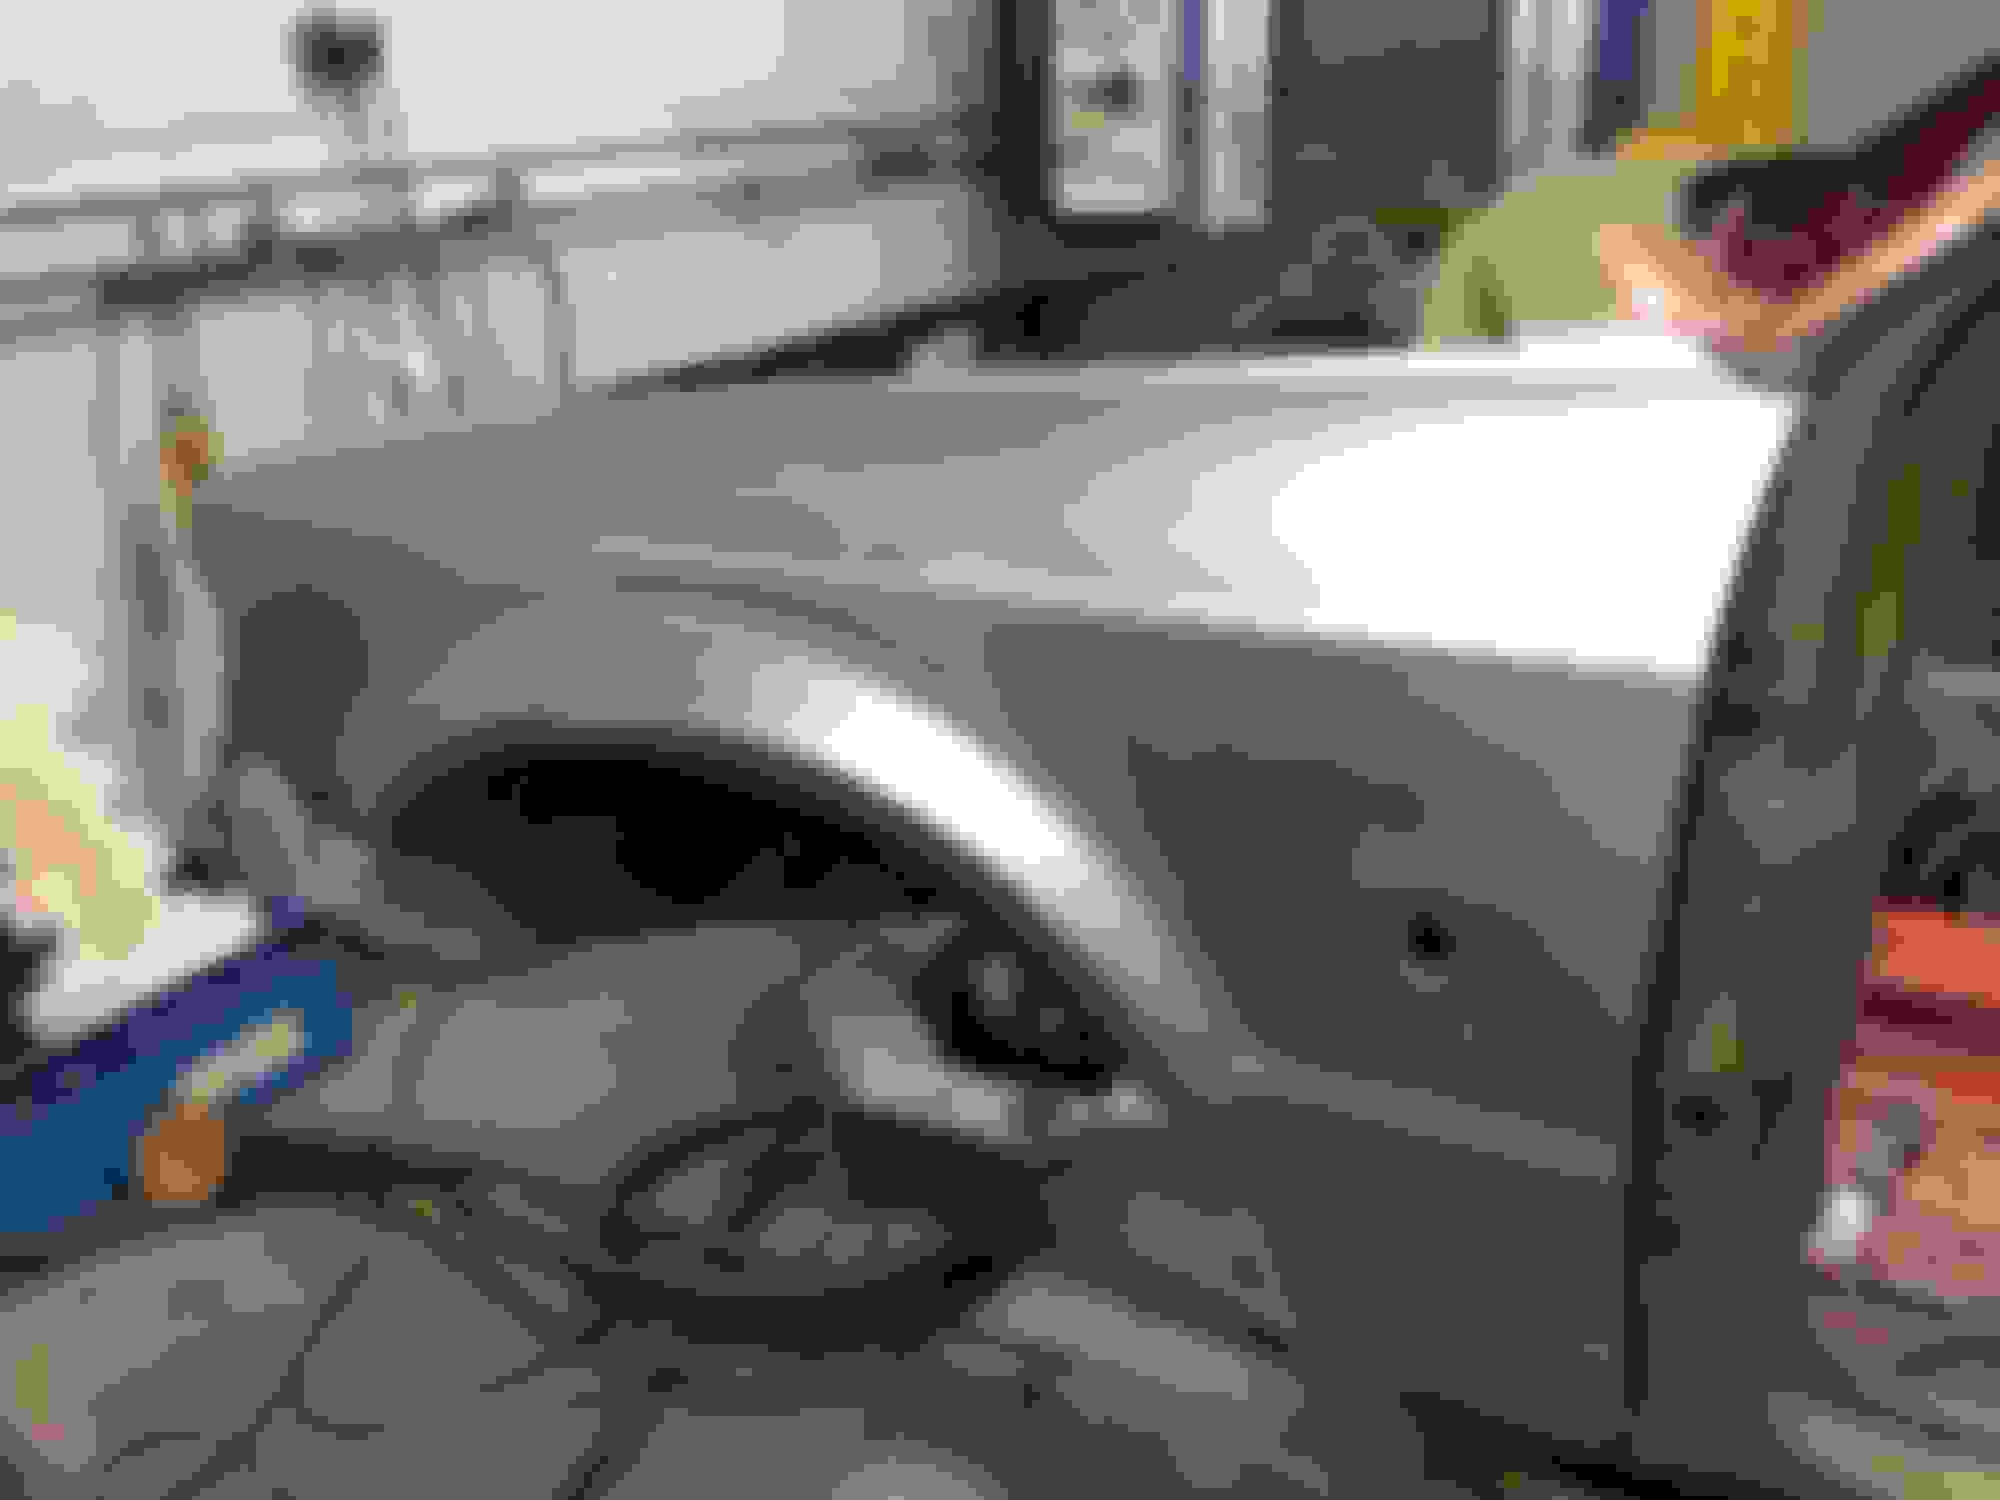
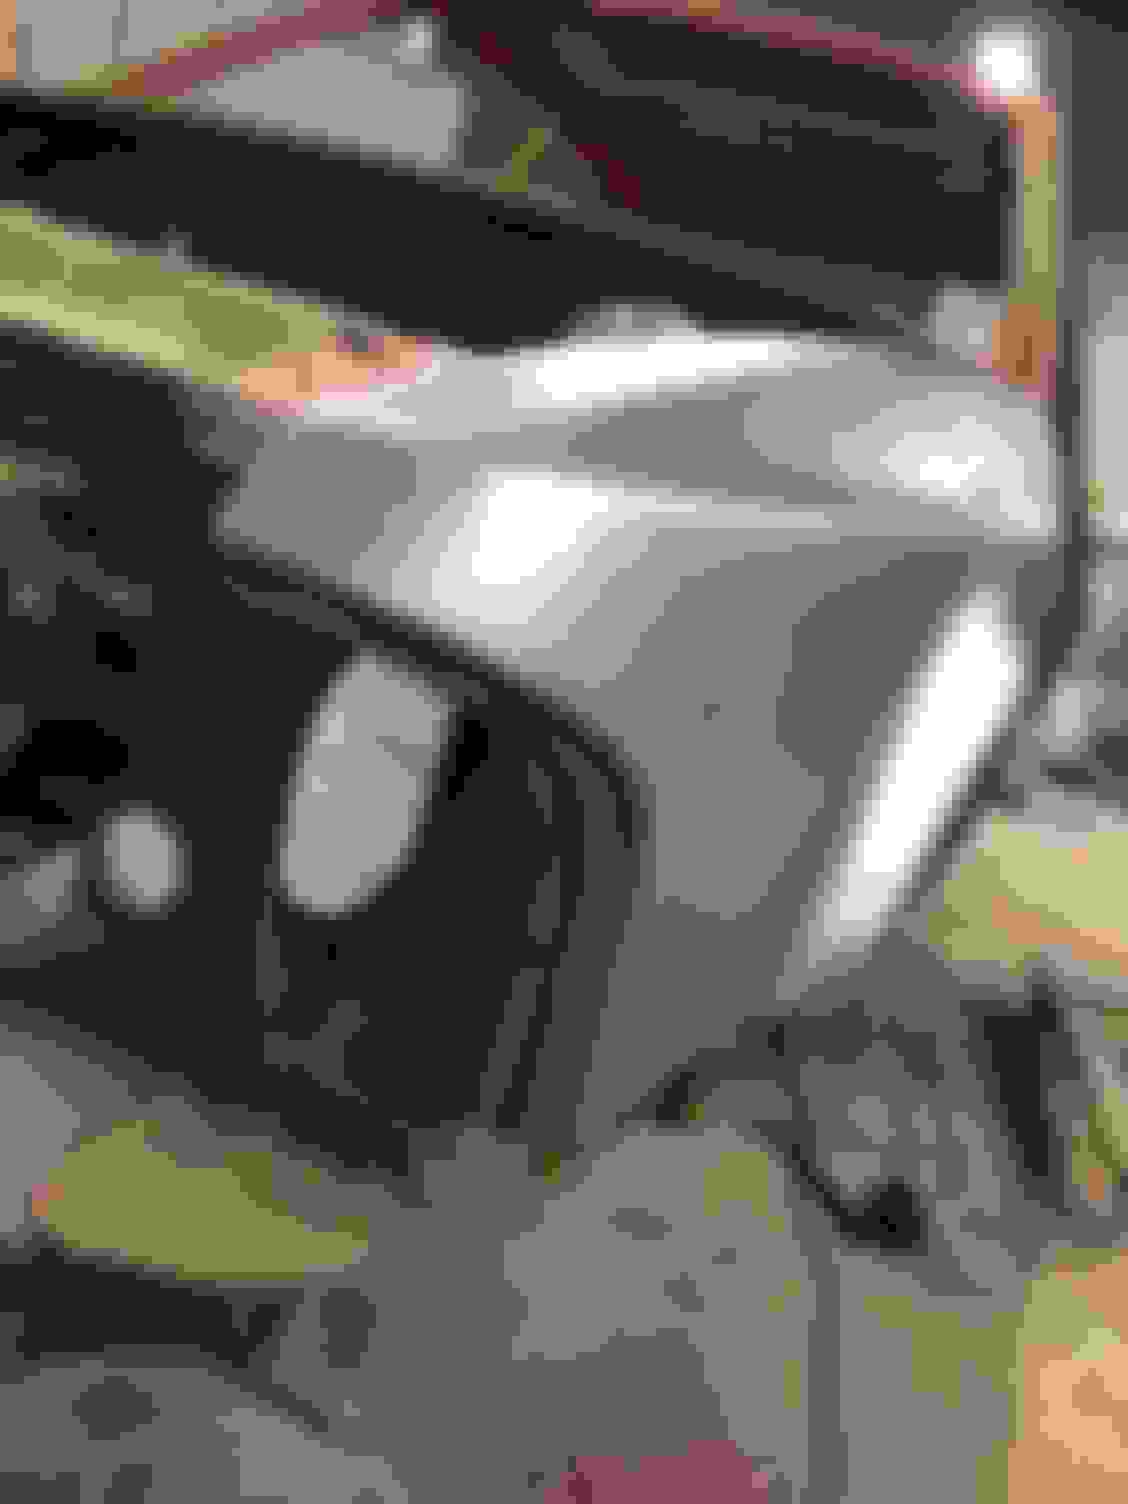
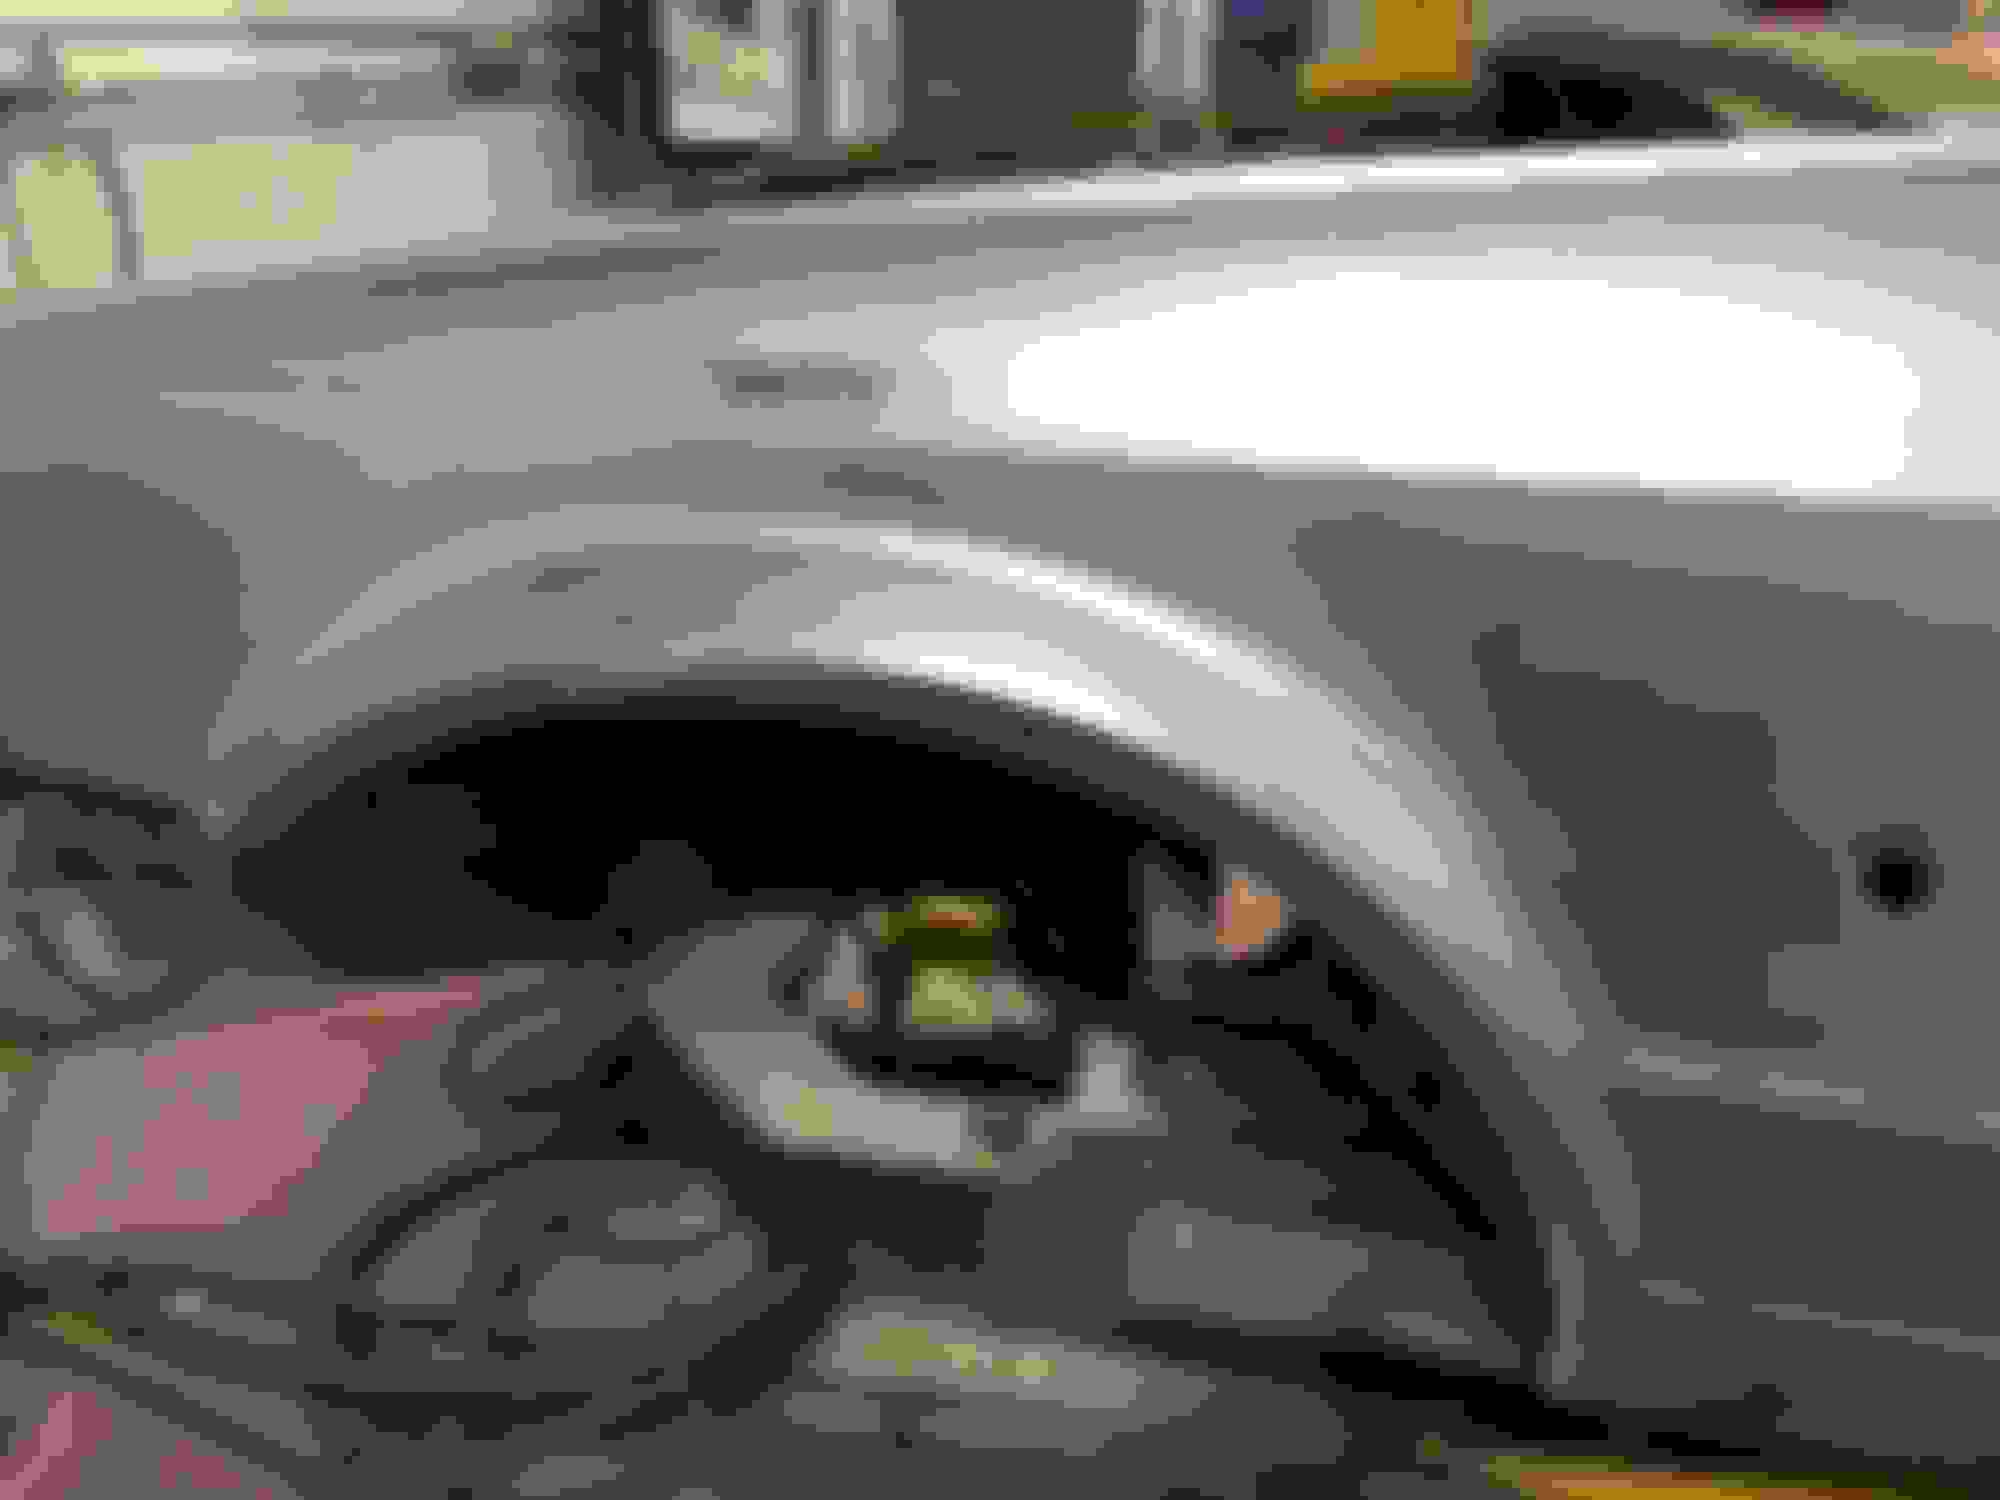
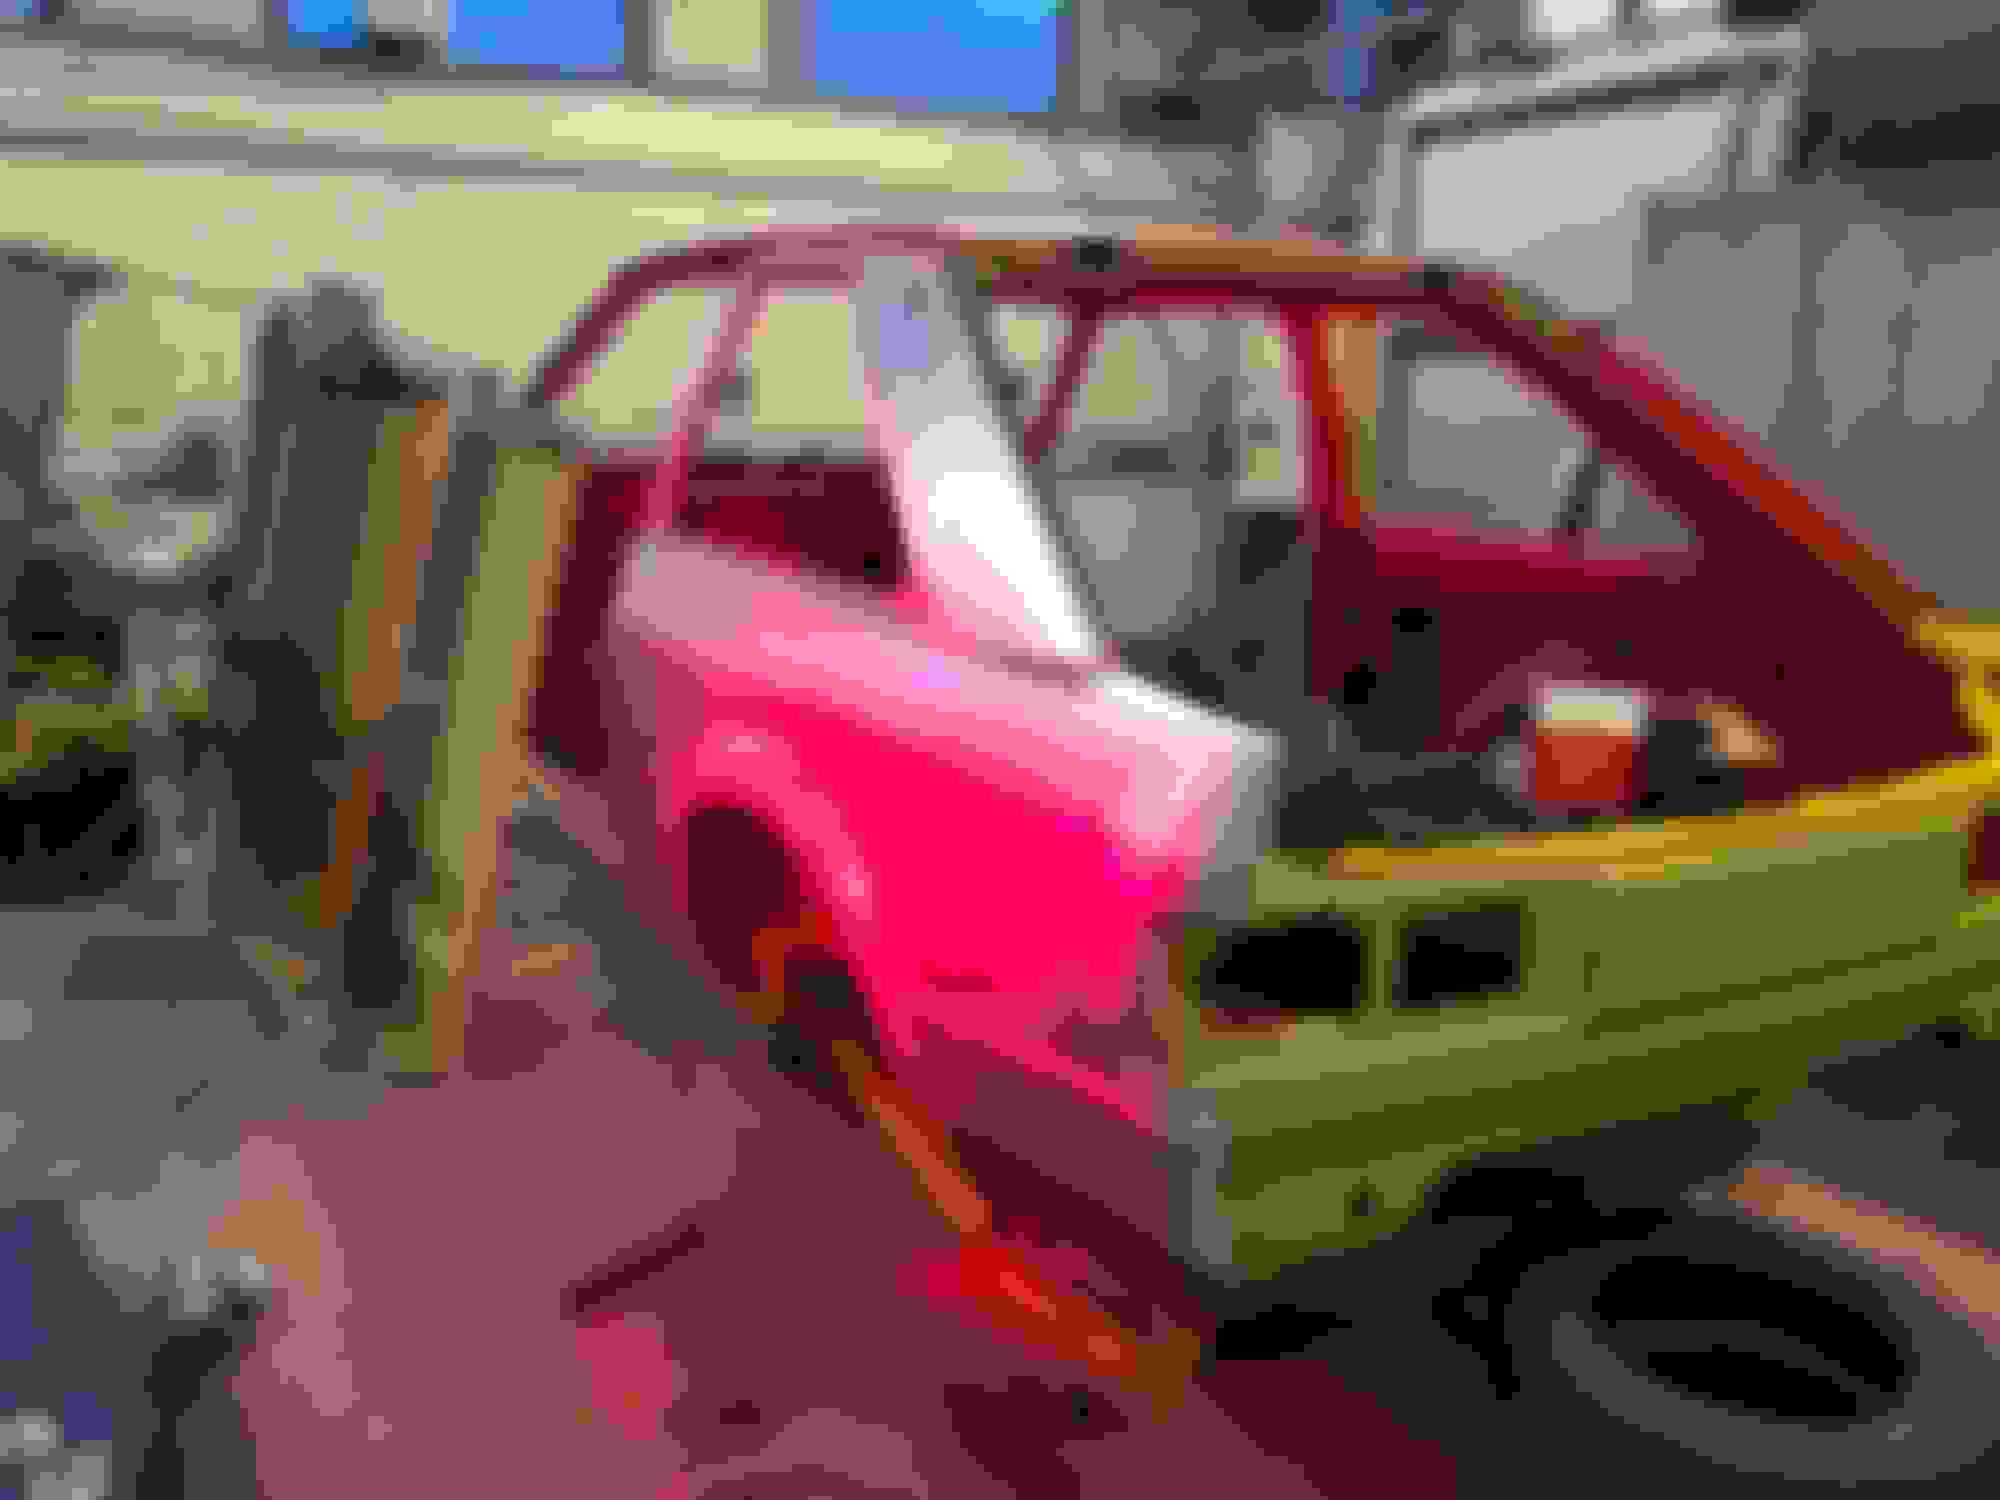
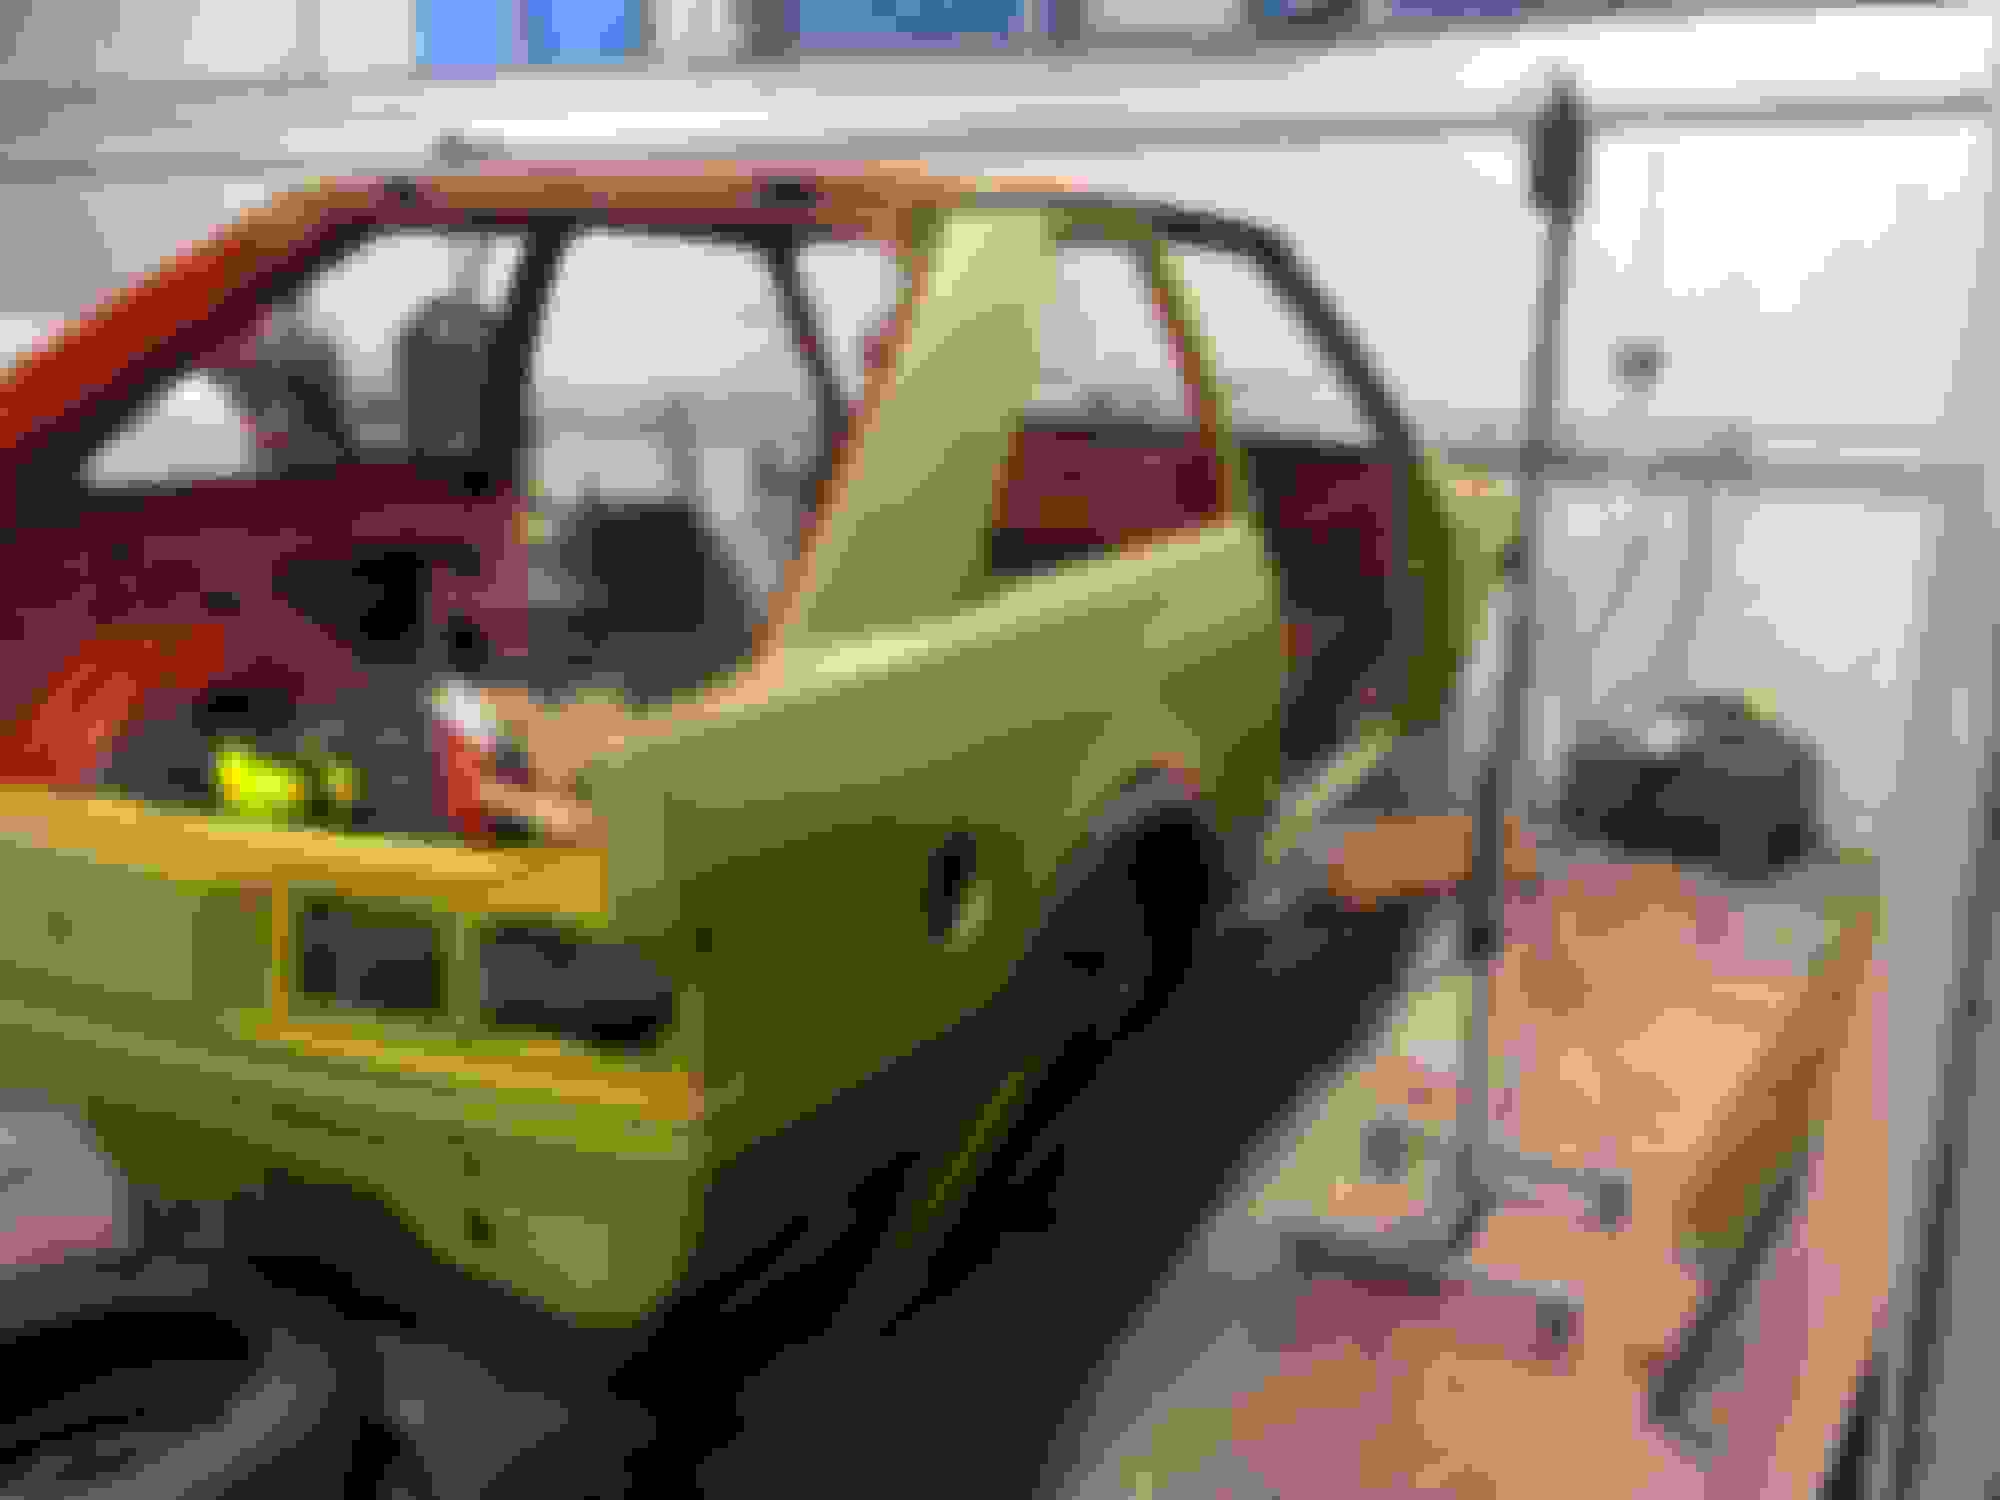
Wanted to keep the front panel with original sealer as as wings and front panel have never been touched or even painted but had to change the x member Bought a front panel and spliced it for the bits we needed repaired the front chassis leg ends fitted the x member then set in the front panel sections, Joined the section perfectly along the turn under the headlight then spot welded it all around the x member the way it was originally Made a nice job and didn�t upset the wing joins which still are factory
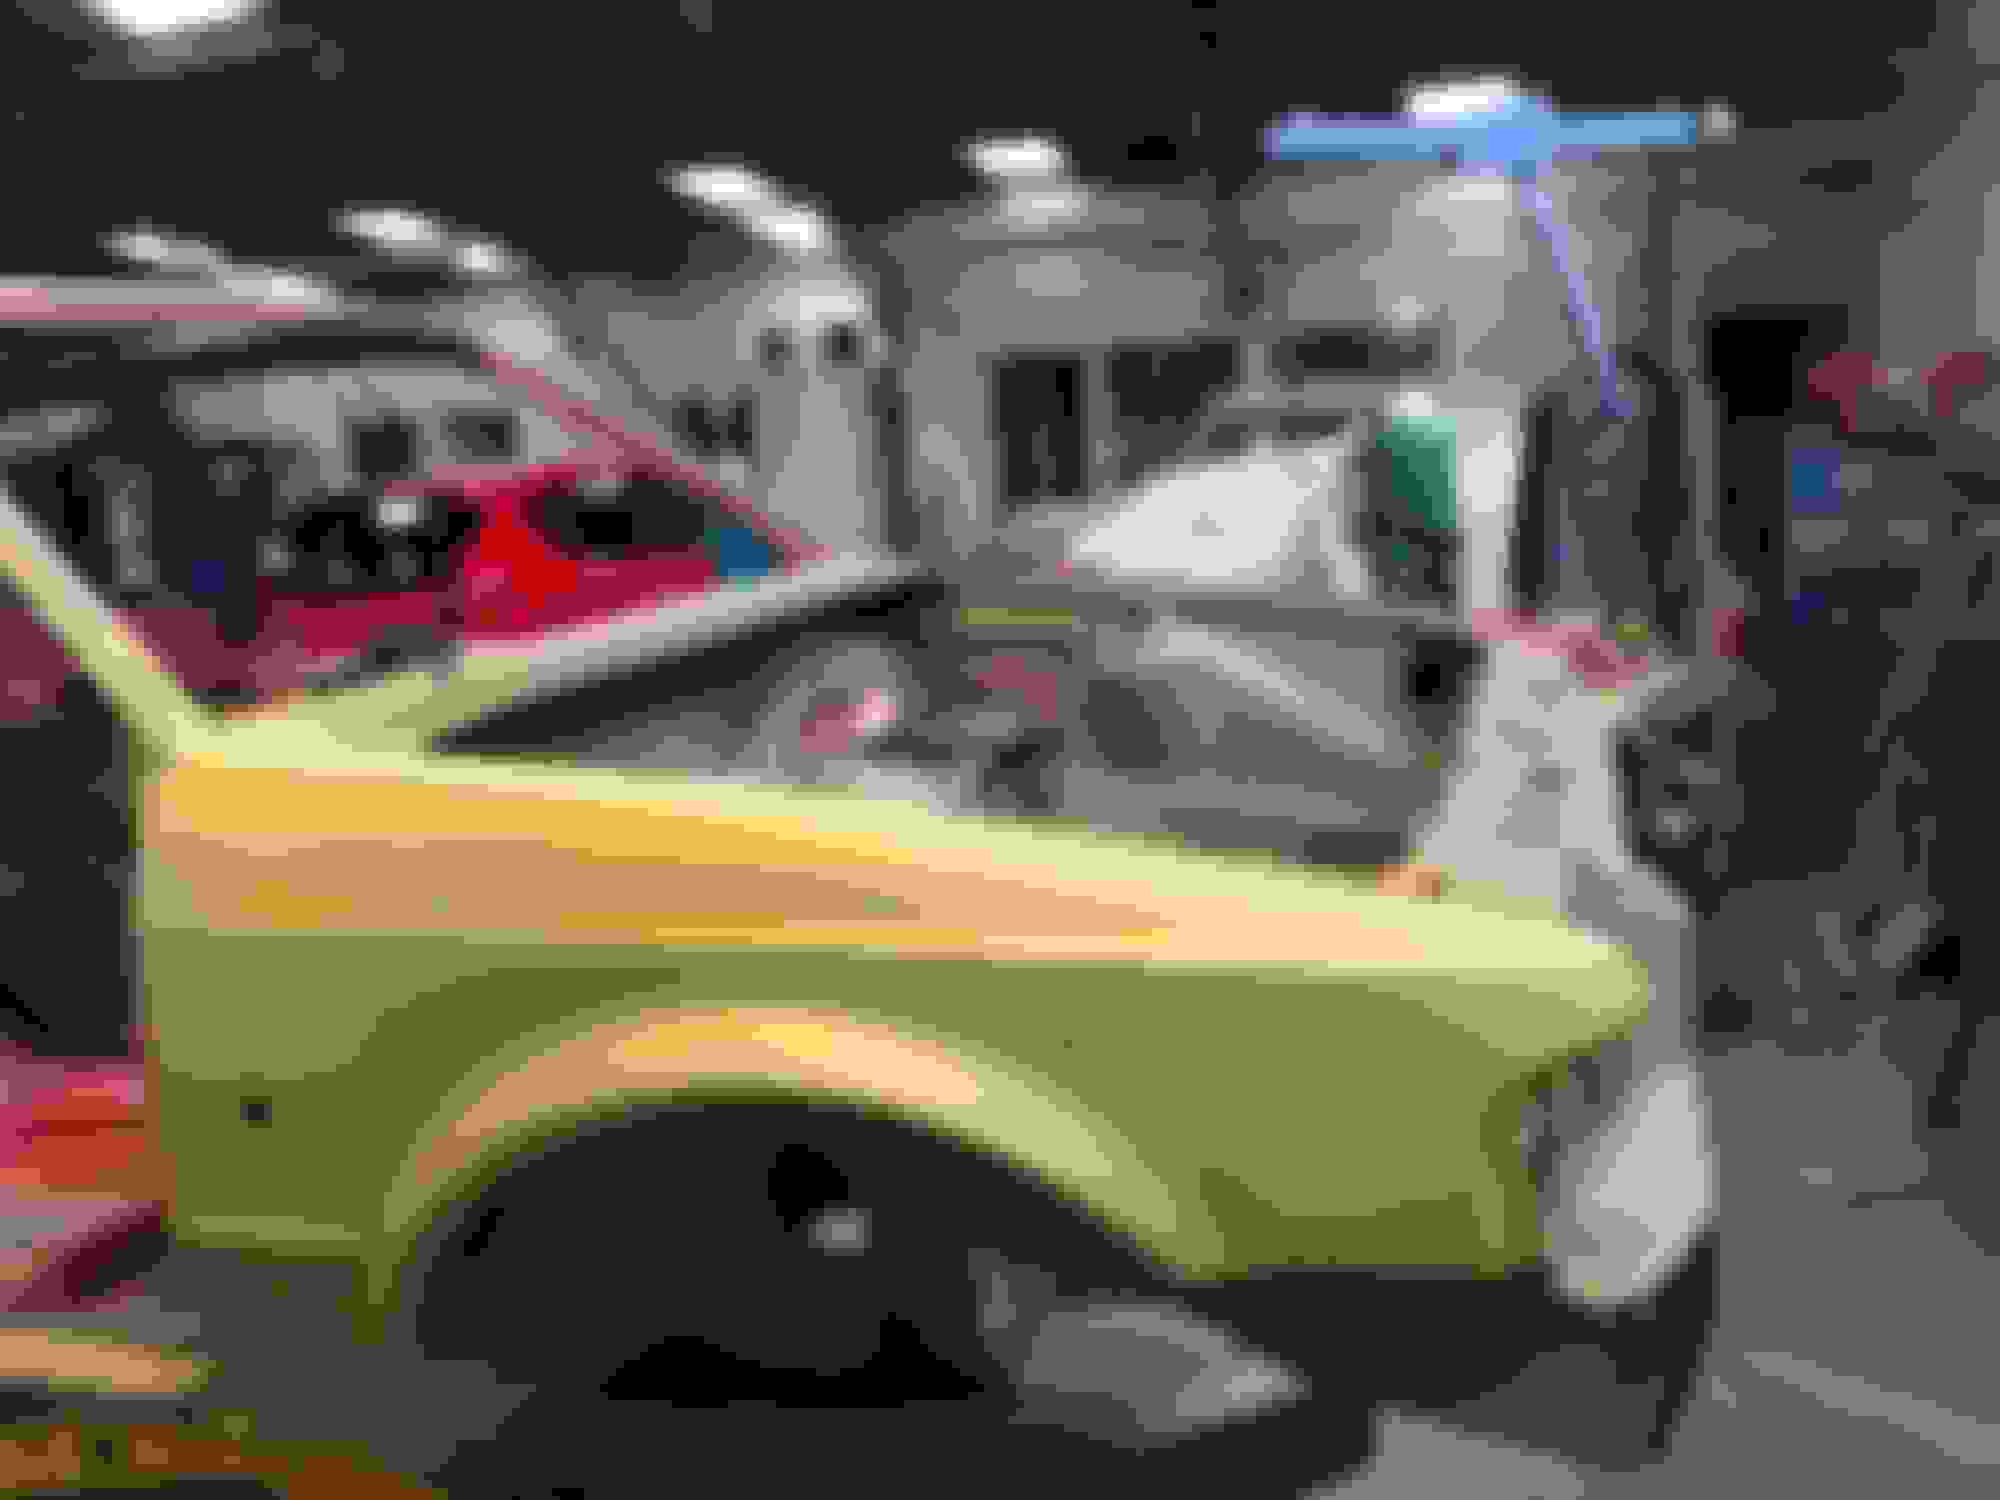
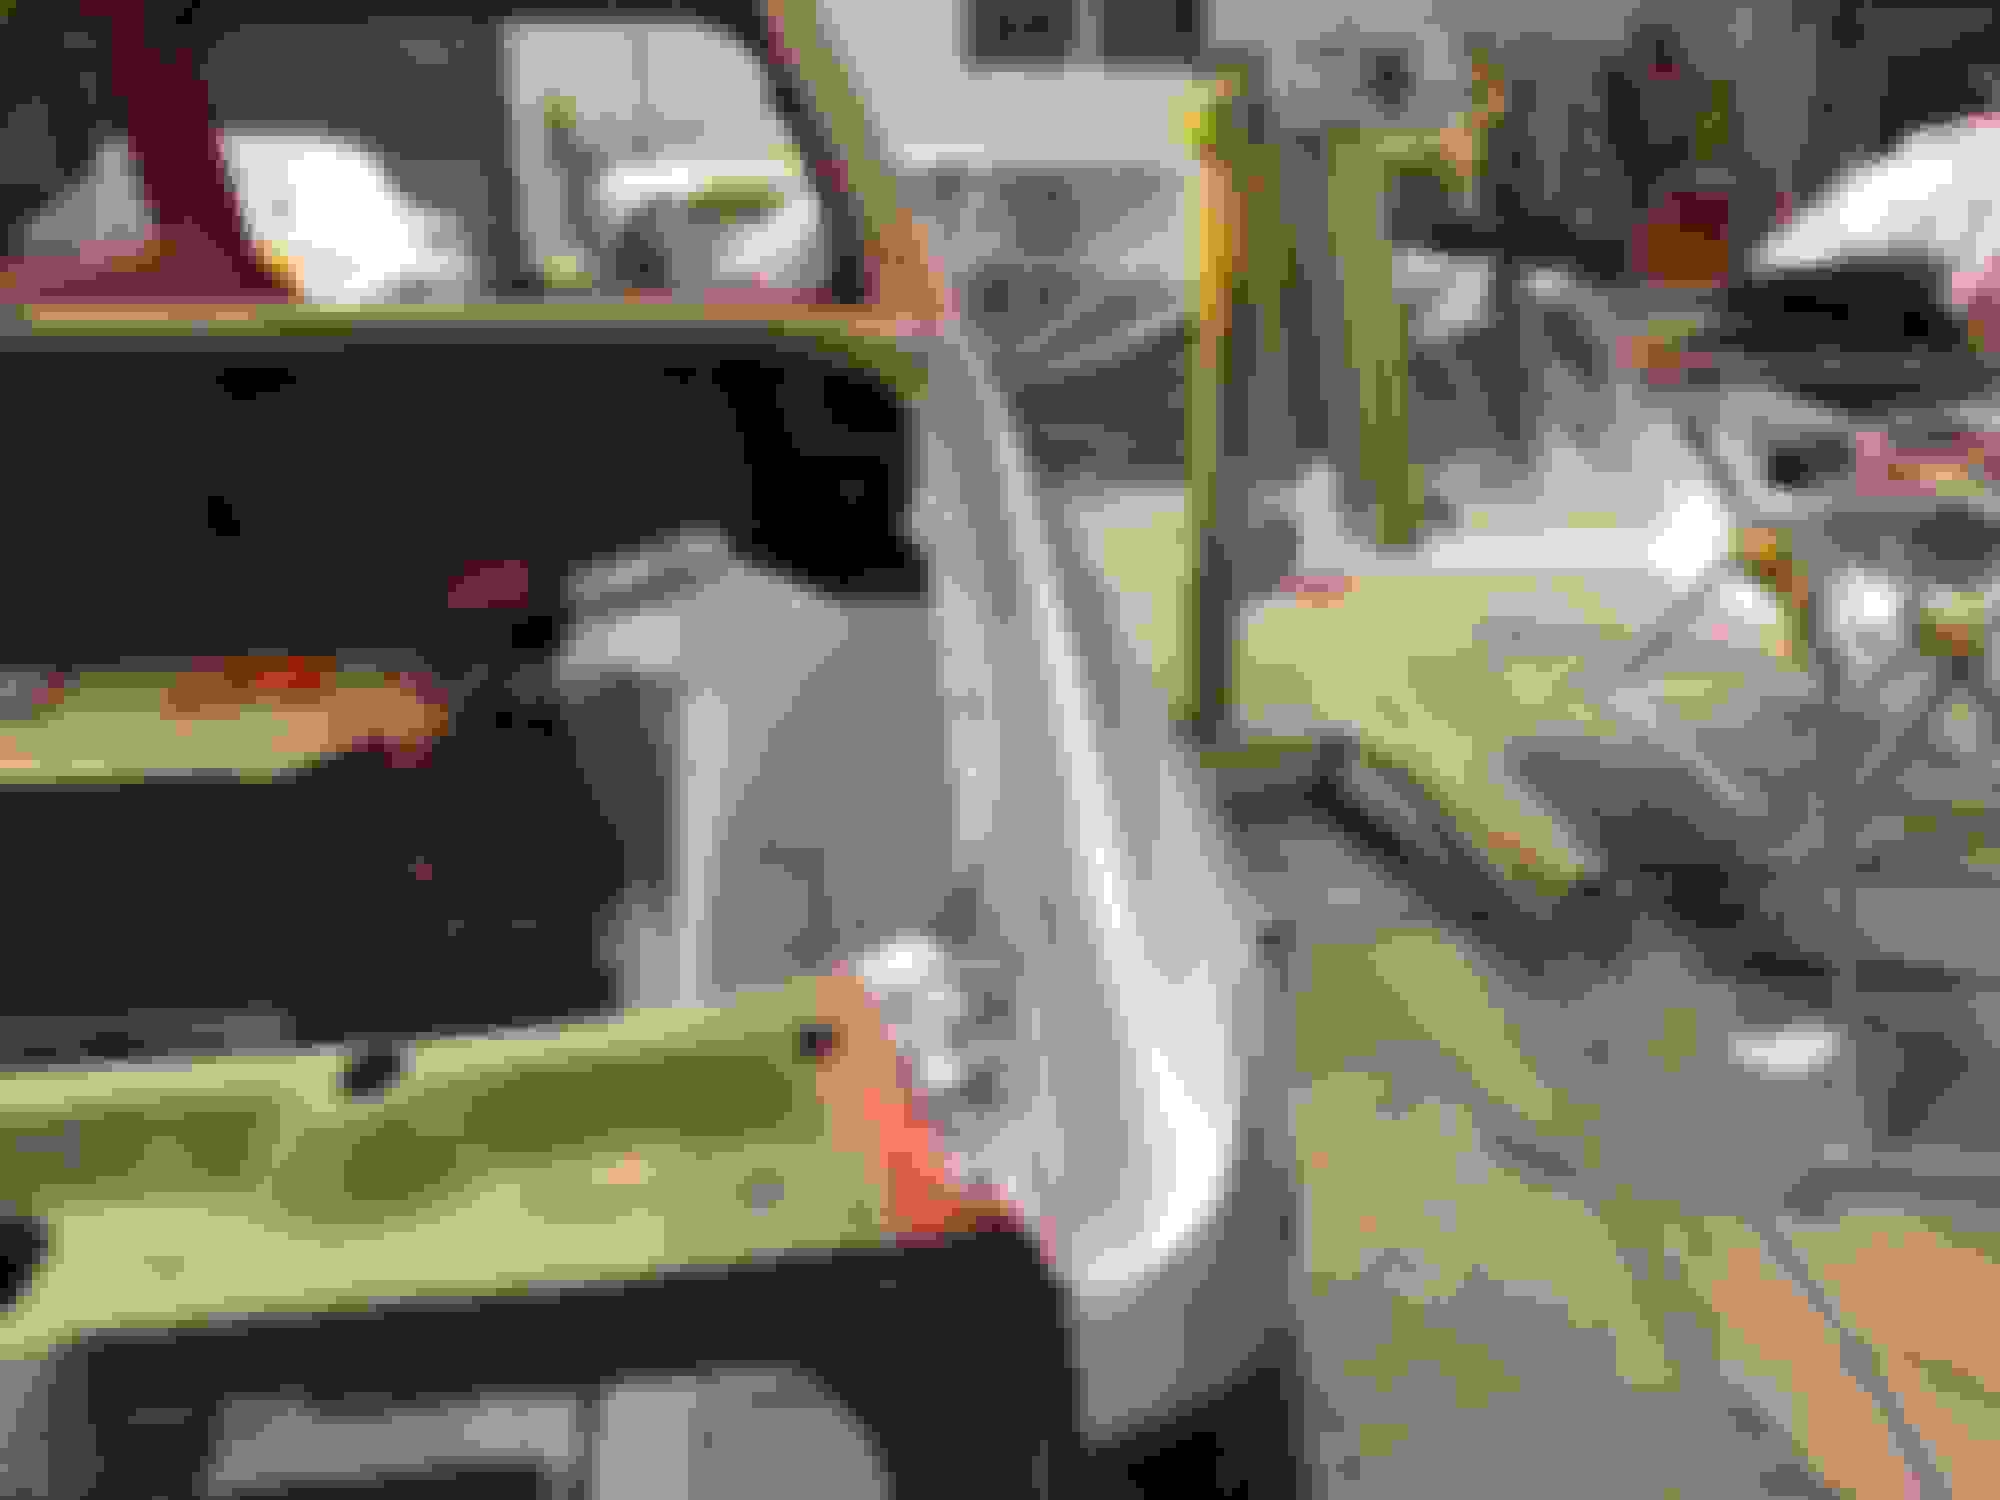
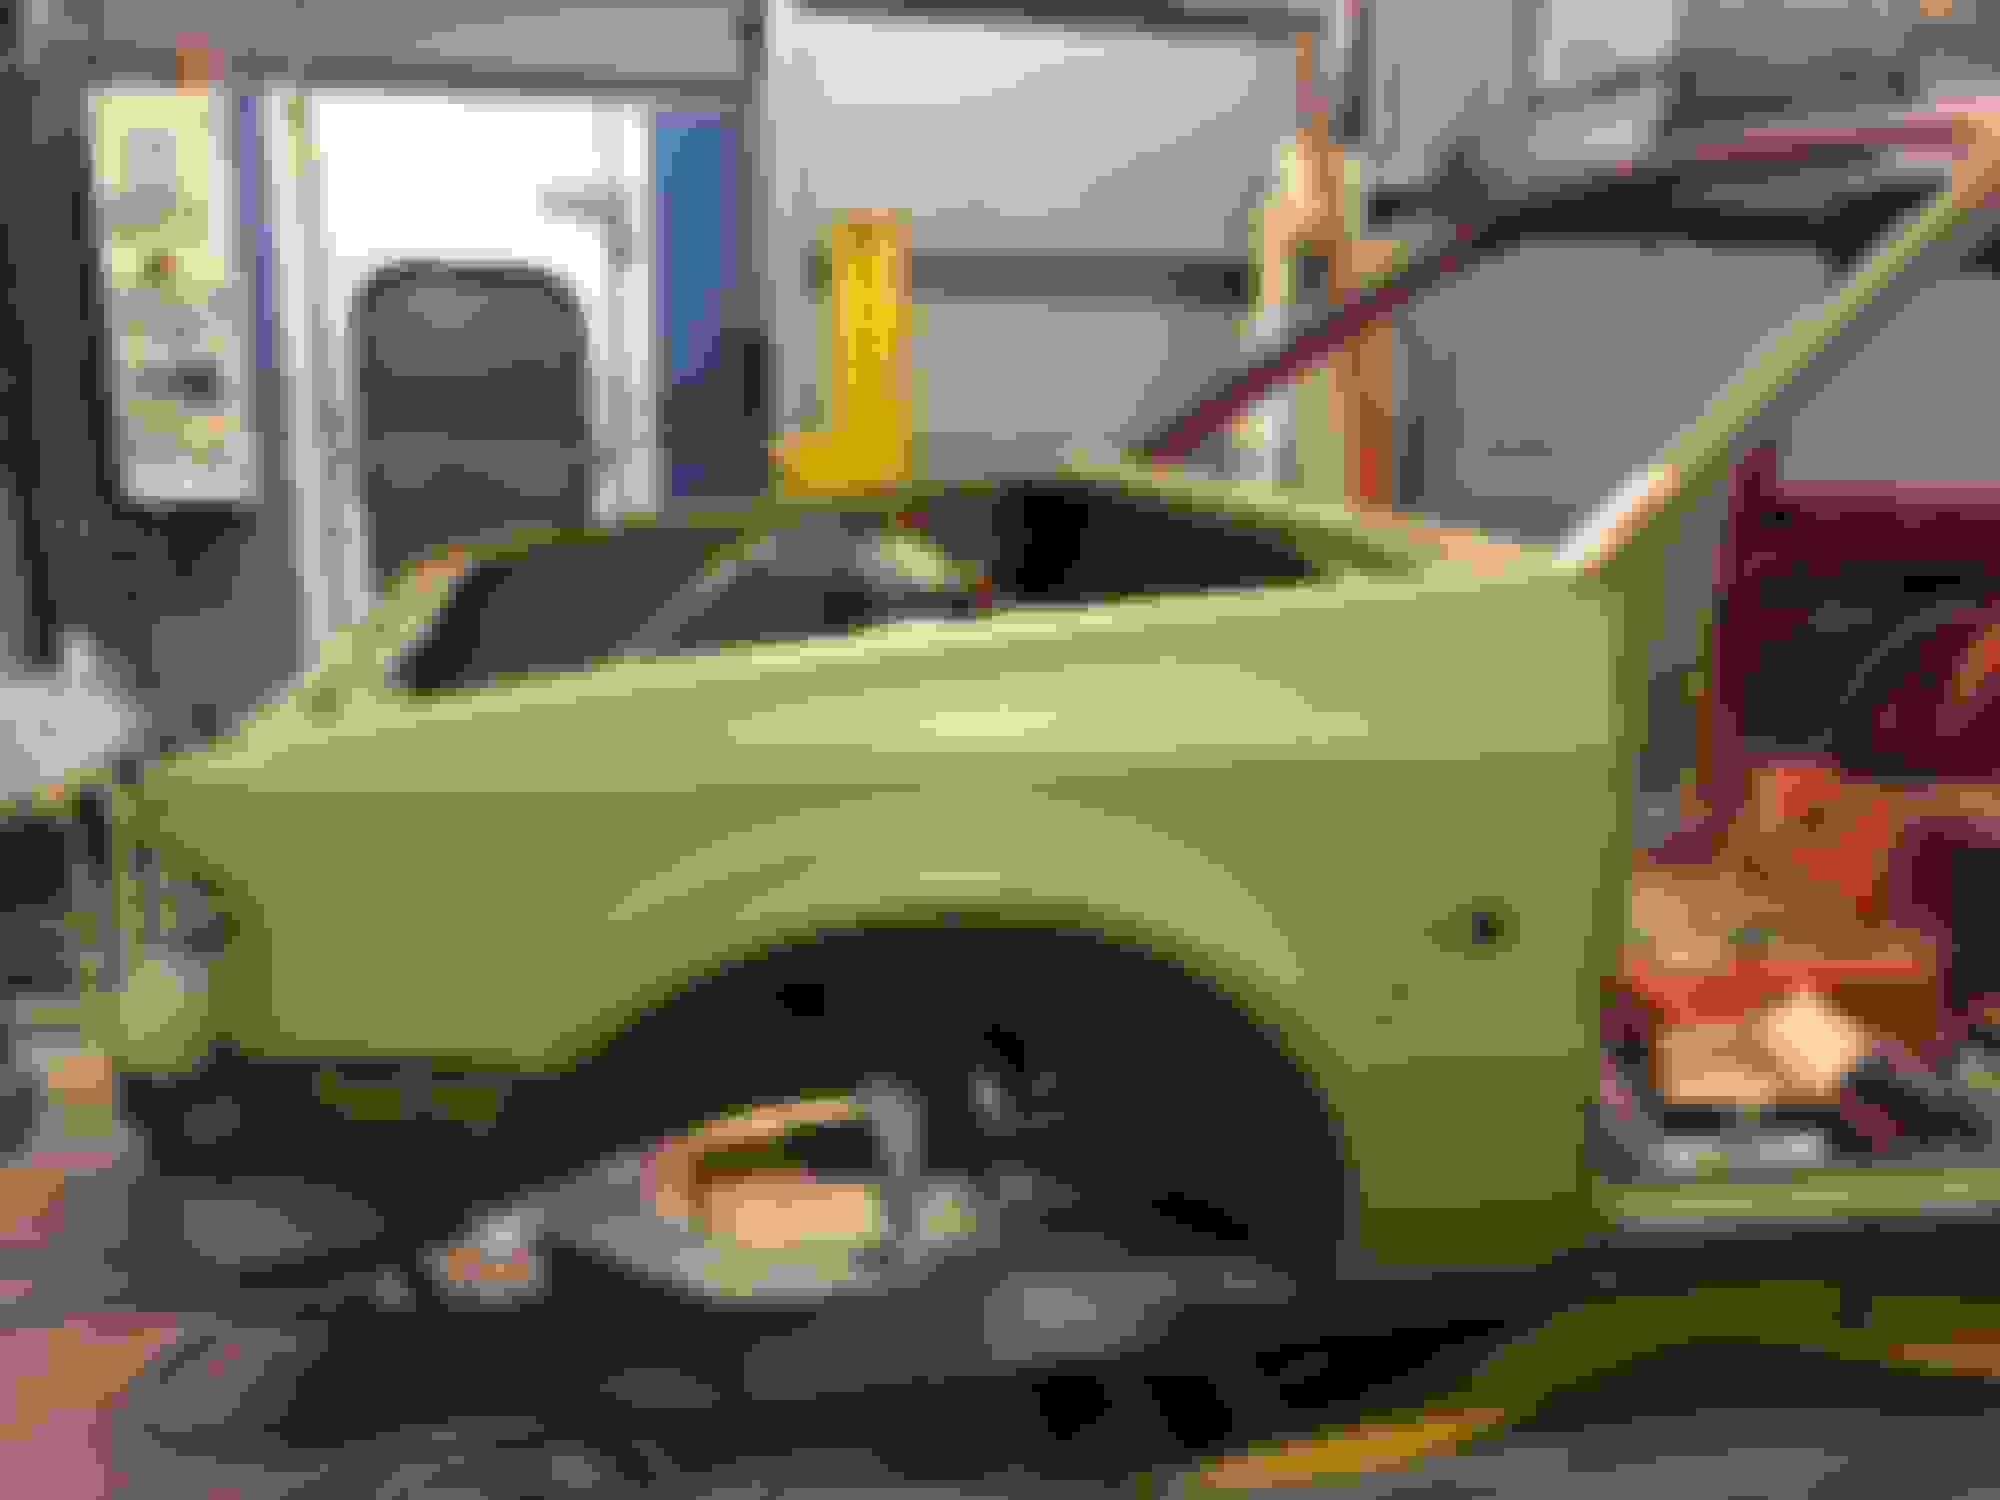
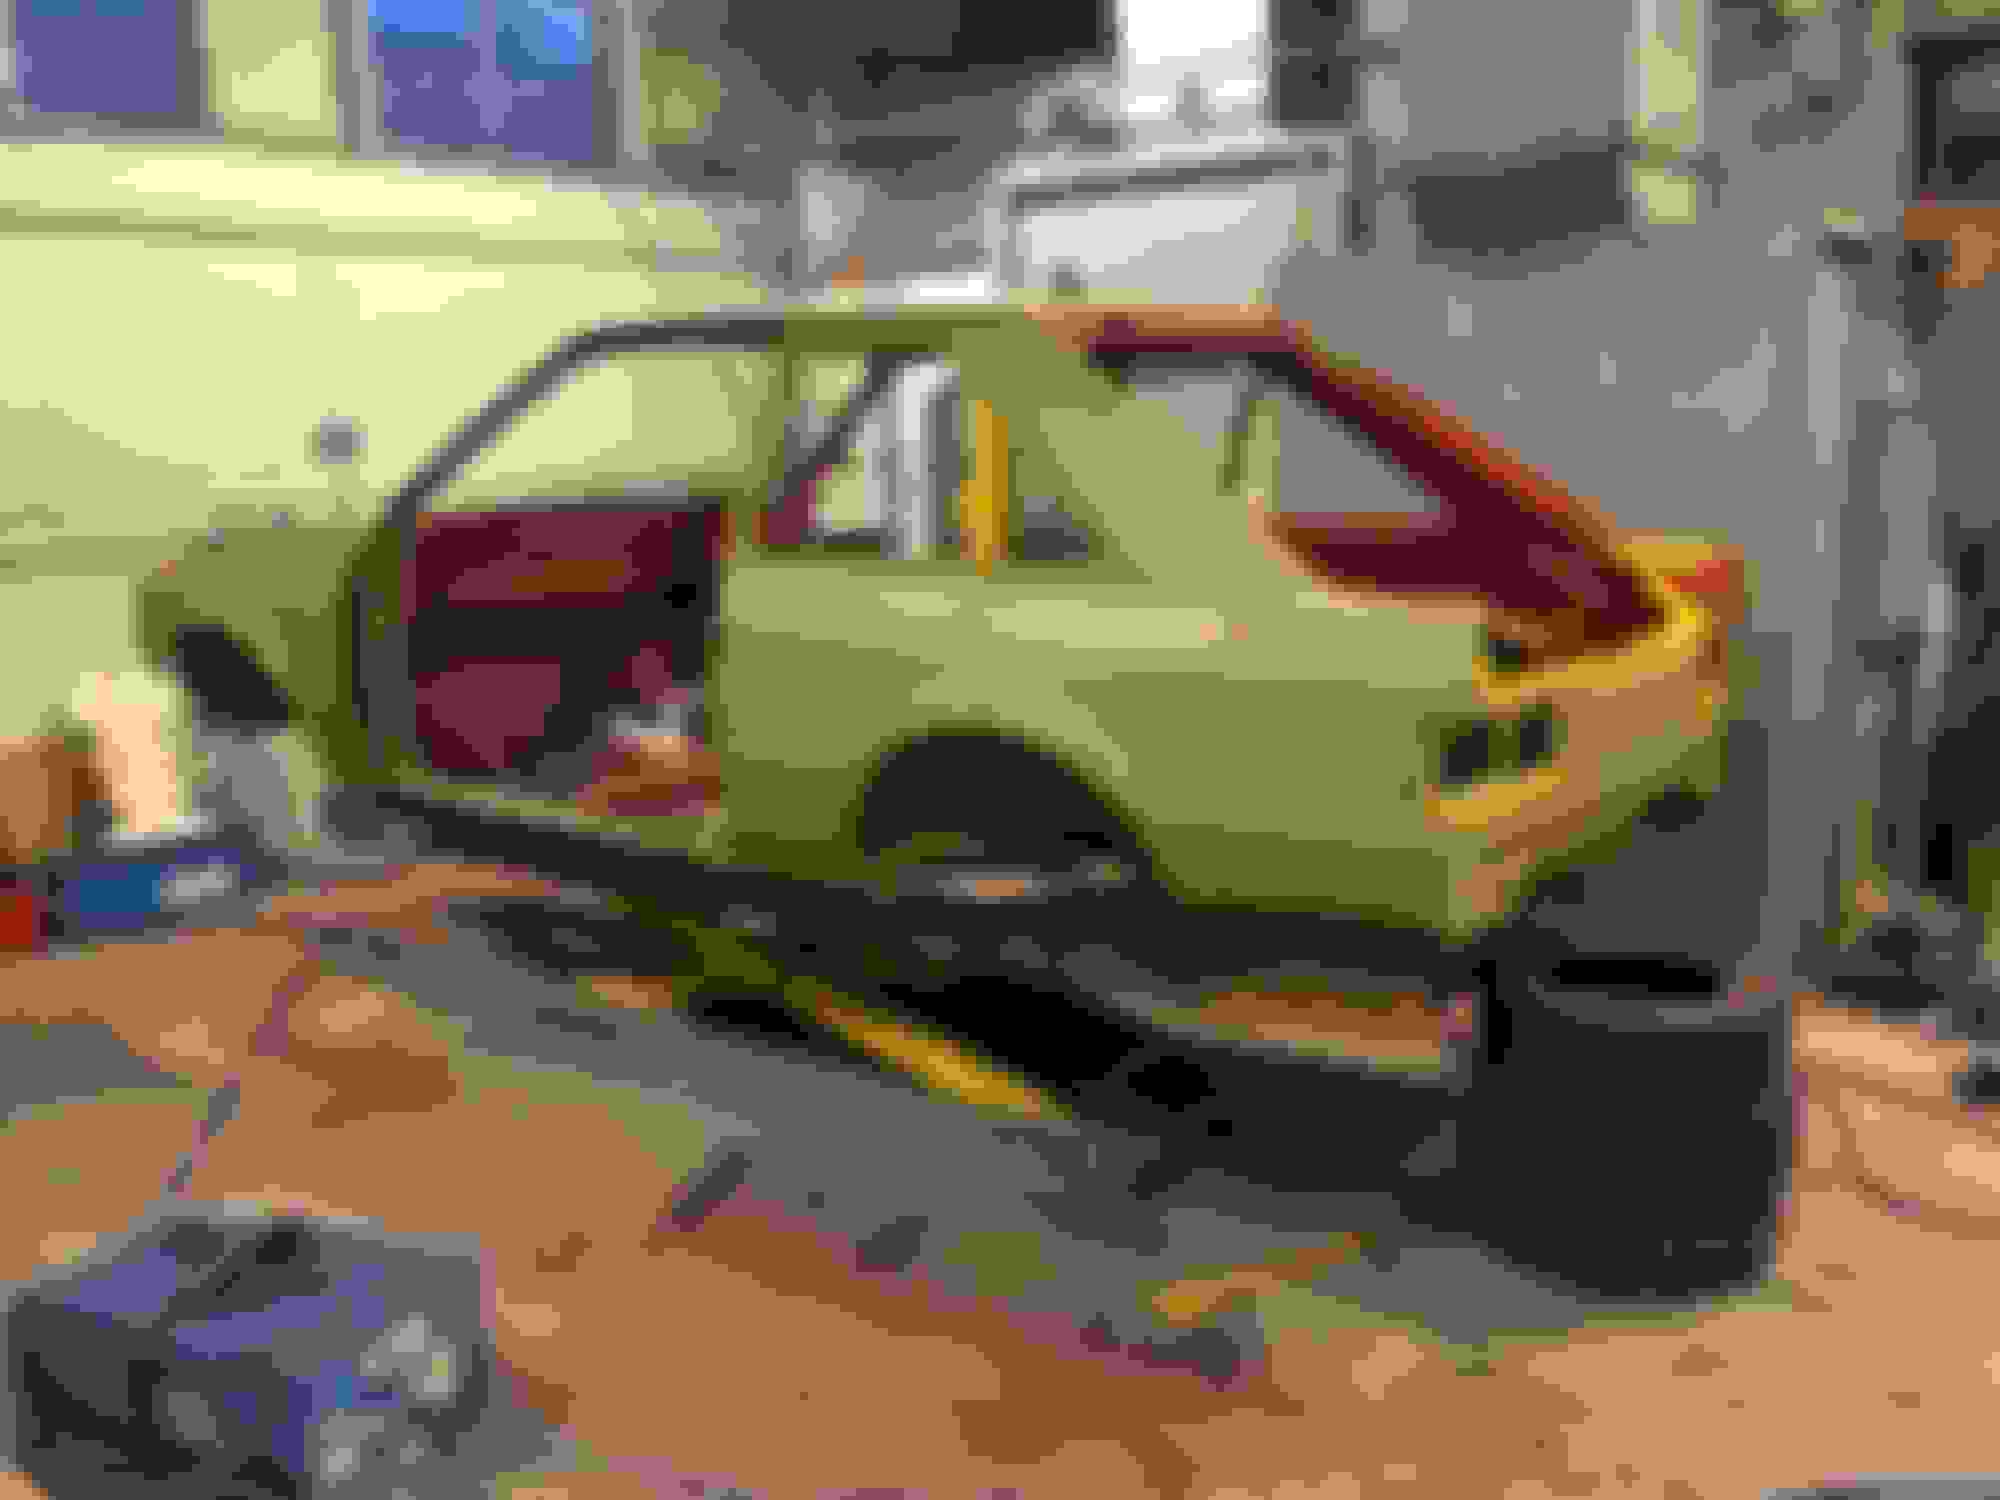
Coming along a bit at this stage ,
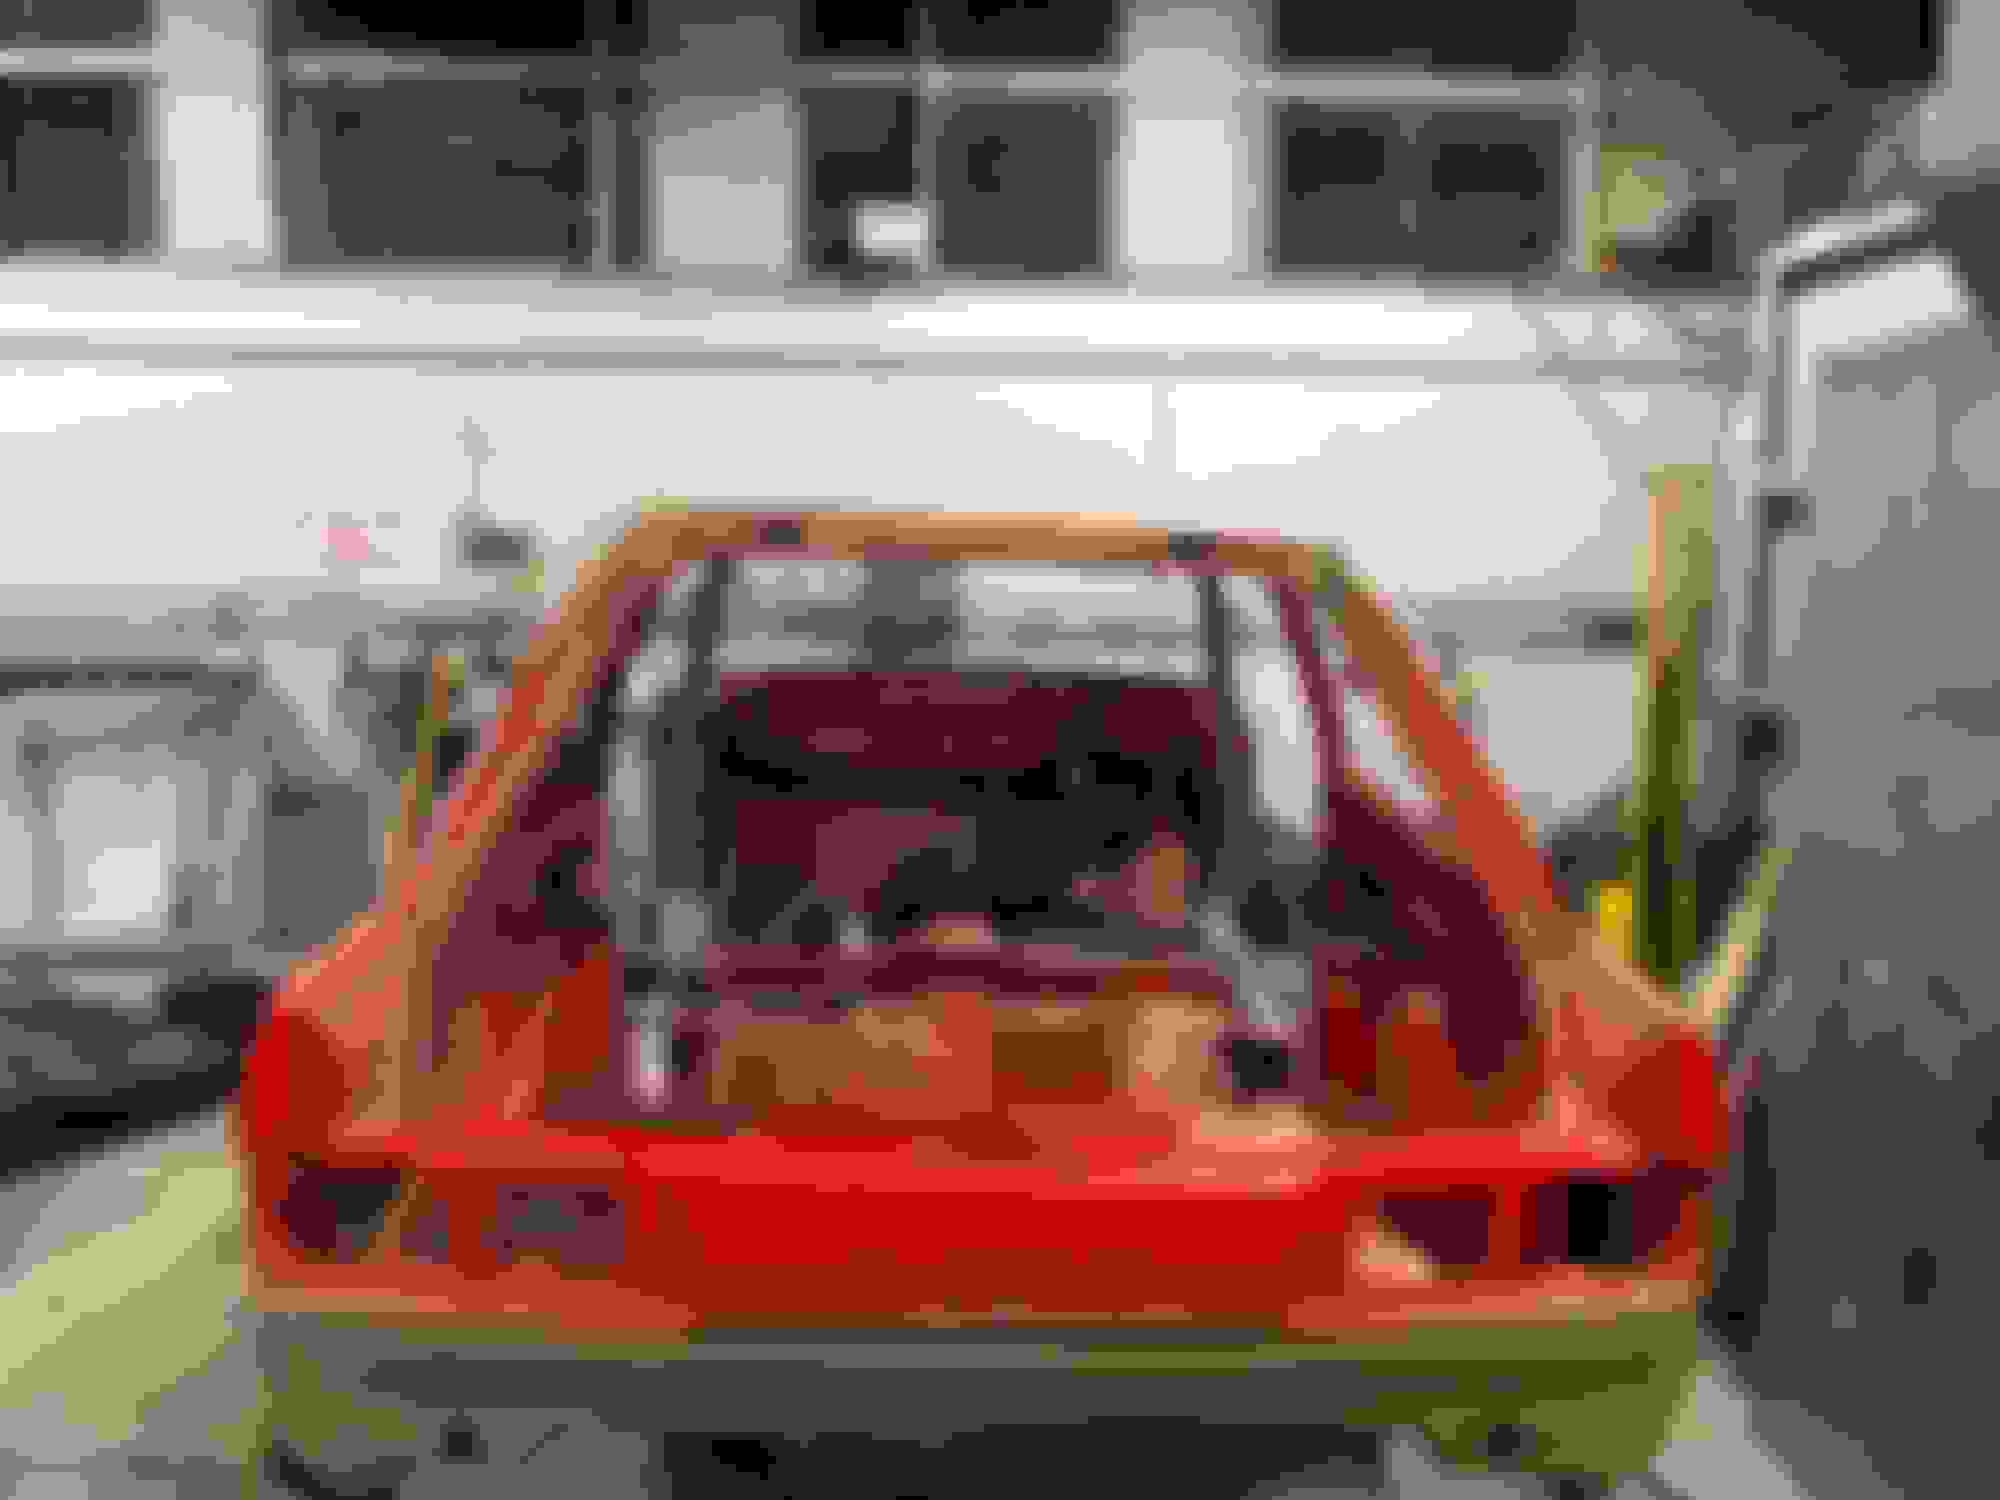
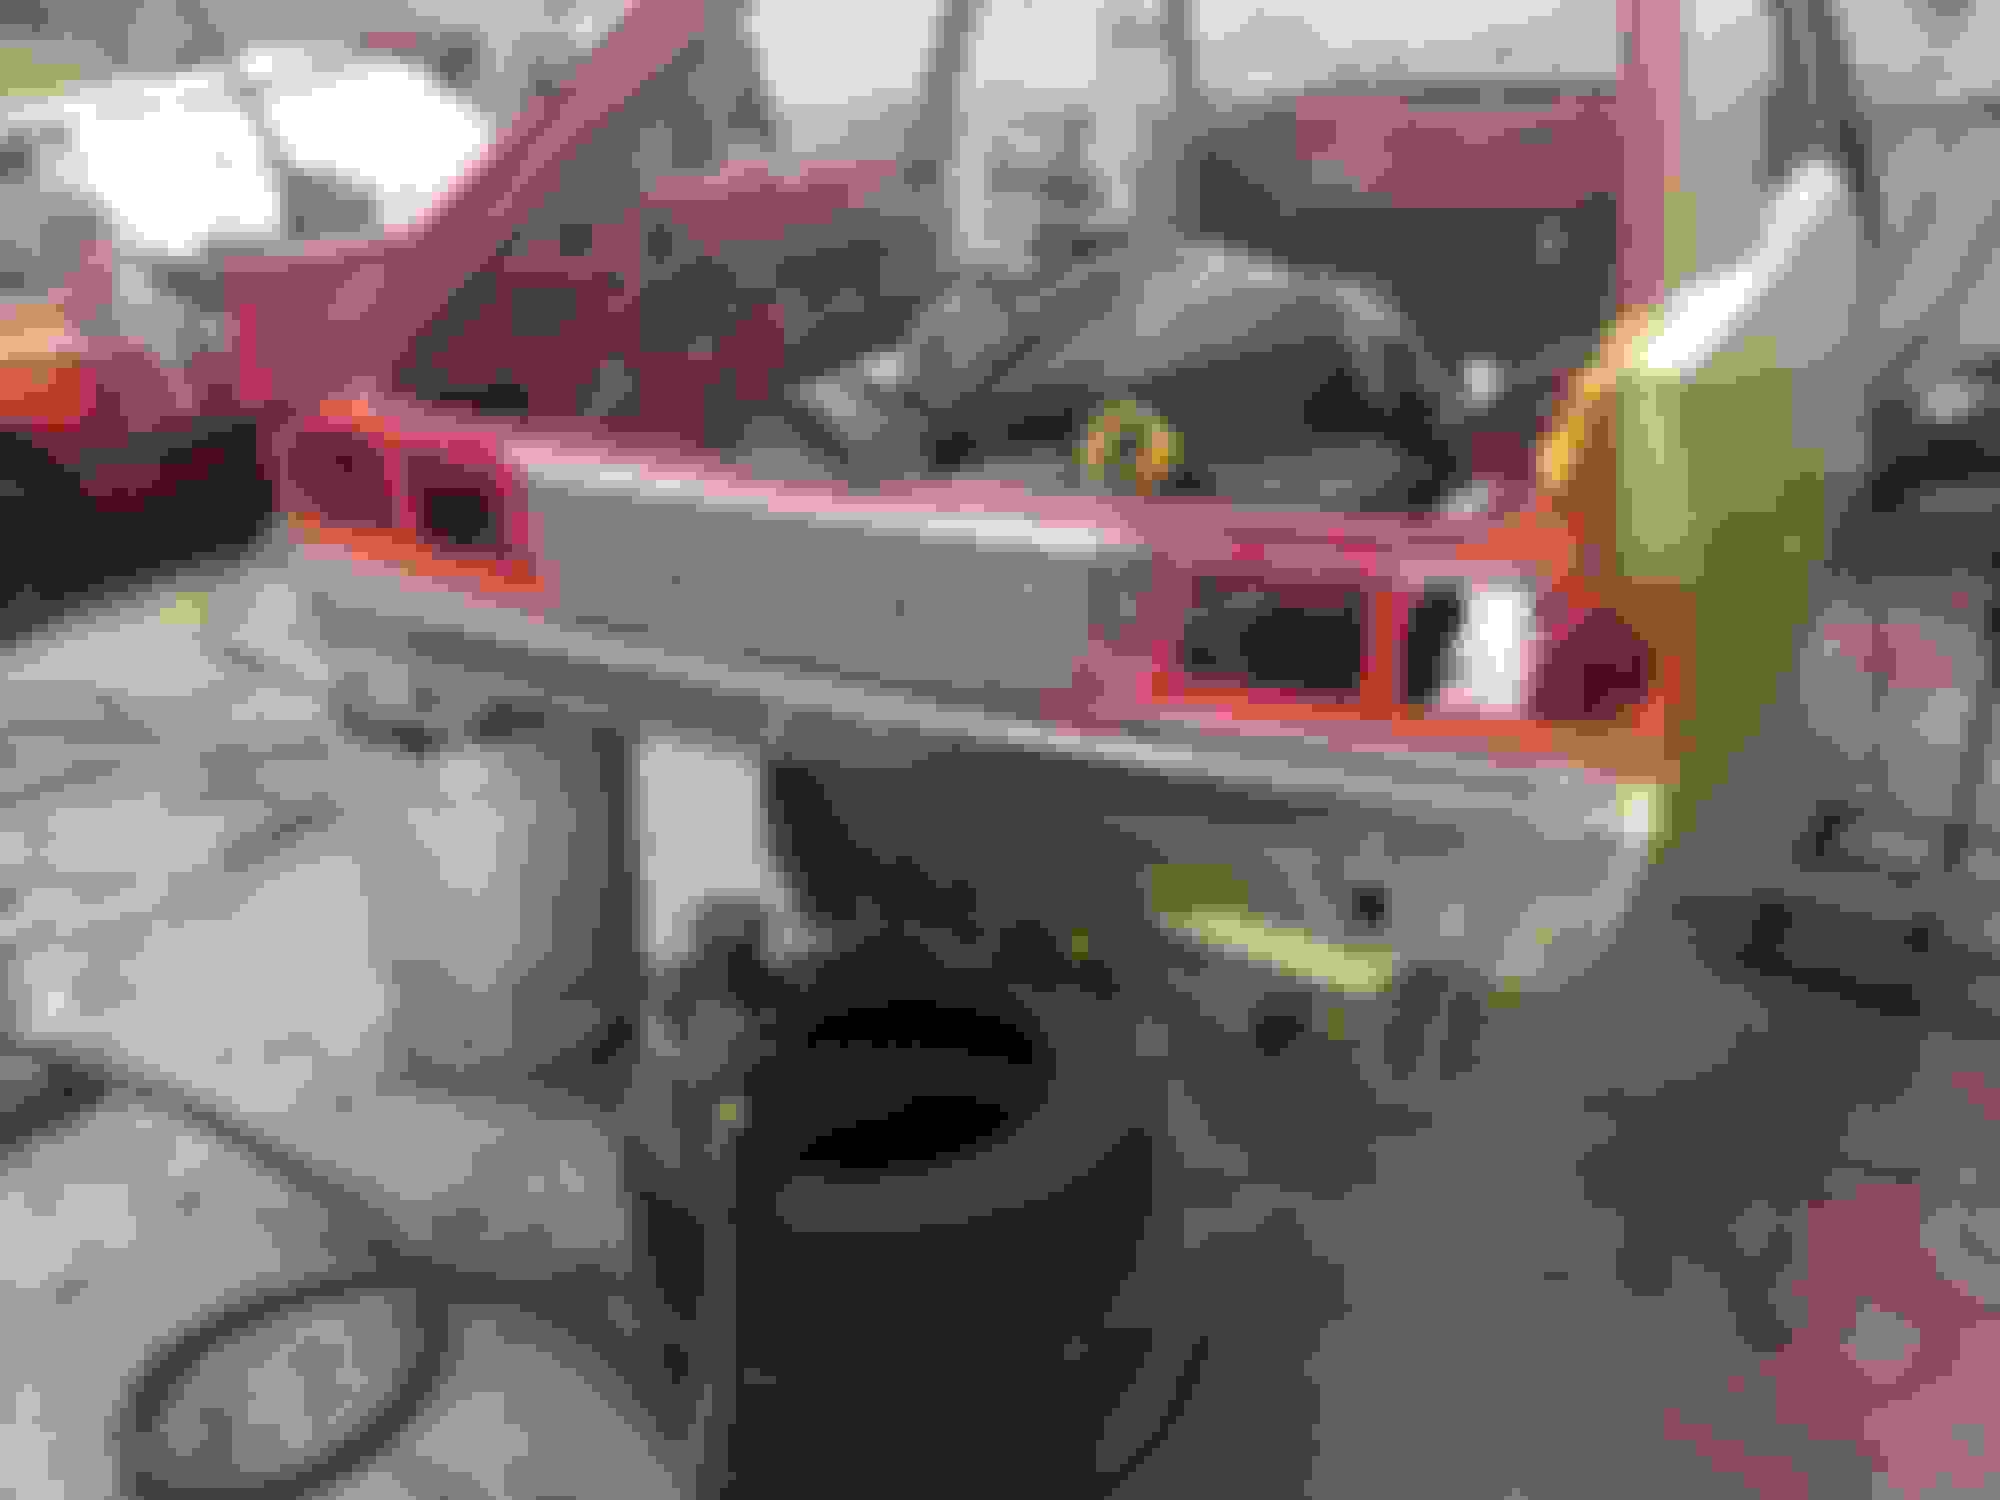
during the Christmas break I went in alone , headphones on and bare metaled the shell This is a picture of the car on day one of operation bare metal Started RHF wing If you look closely we have cut off the bottom of the wing, we decided to do this to allow us to fit entire sills which I�m sure you know are under the wings , we replaced the lower wing after the sill was welded on Each time a panel was finished I infra red lamped it the coated it heavily in etch primer During this process I realised some of the panels had never been painted and none had ever been repaired part from a horrendous patch on the left 1/4 which had actually been blown in , the whole panel hadn�t been painted...
I�m simply planning to two pack prime the floor and all underpanels then I�ll rub that and seal all the joints, I�ll spray seal under the rear arches and the floor panels , I�ll use 3m spray sealer and brushable joint sealer they do a decent range and it�s all the best materials, then I�ll paint the entire shell inside and out in one hit , but I am going to paint the car twice, I�ll mask her off and flat the exterior panels down and paint and lacquer them a second time . We always do the show cars twice
Before we weld the panels in we blast on a few wet coats of production primer, it�s a Kent product, it�s extremely corrosive resistant Leave a line for weld through Blasted the inner sills with red lead also Sills on arches in drivers side ready to filler repair I always keep a cover on even at this stage , it keeps the moisture in the air off the car
I�m simply planning to two pack prime the floor and all underpanels then I�ll rub that and seal all the joints, I�ll spray seal under the rear arches and the floor panels , I�ll use 3m spray sealer and brushable joint sealer they do a decent range and it�s all the best materials, then I�ll paint the entire shell inside and out in one hit , but I am going to paint the car twice, I�ll mask her off and flat the exterior panels down and paint and lacquer them a second time . We always do the show cars twice
damd where can I learn all this. I was going to bare metal the underside and then check it all over seam sealer where needed then prime and then black stone chip. What would you recommend to do as this will he my 1st time doing this sort of thing.
damd where can I learn all this. I was going to bare metal the underside and then check it all over seam sealer where needed then prime and then black stone chip. What would you recommend to do as this will he my 1st time doing this sort of thing.
make sure you etch prime first then high build it . Seal all the joints and then cover the terrots and along the backs of the sills etc, then paint that . If this car is going to be used a fair bit you could use a product called Raptor , you can buy the raptor in clear and add you paint to colour exact . Then blast it over every part of the floor it will dry body colour but be as hard as nails, check it out Raptor made by UPOL , a lot of guys over here are using it under their cars
what a great job your doing its going to look mint when its finished! what abrasives are you using to remove paint and under seal ?
started the paint with p60, until the red was disappearing and the under coat was coming then switched onto p120 until the primer was showing then onto p180 down to bare , try to keep the scratches to a minimum, you can tidy edges with a die grinder and Roloc set
underseal I use MBX wheels and belt sander and scrapers with heat , that�s a shit show of a job just have to dig in and do sections or you�ll go mad lol
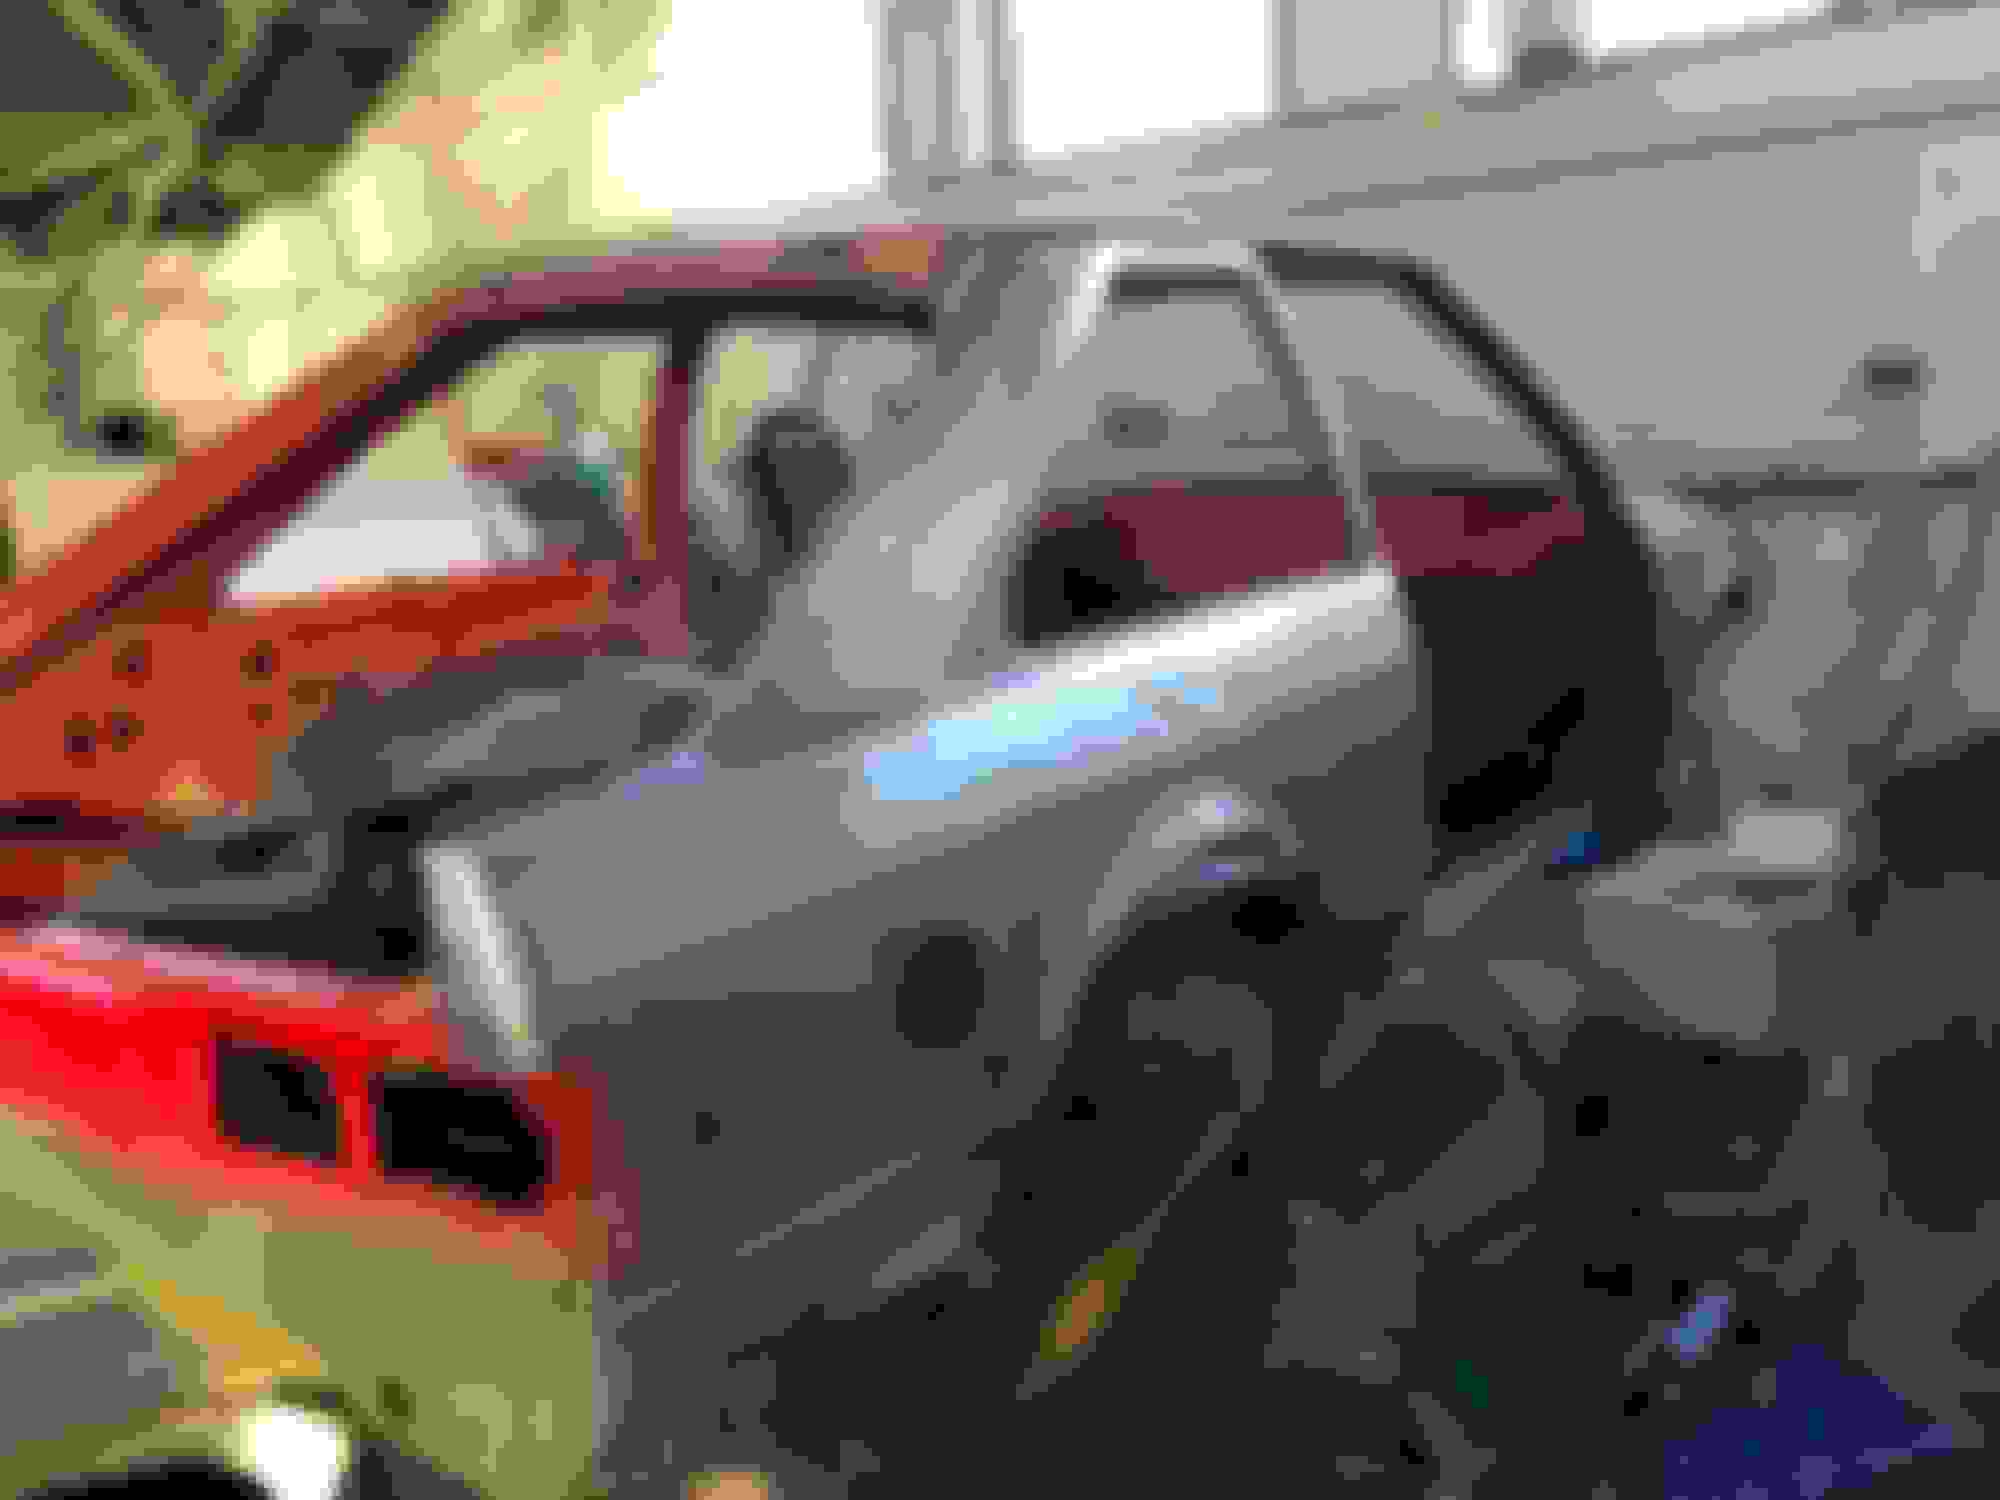
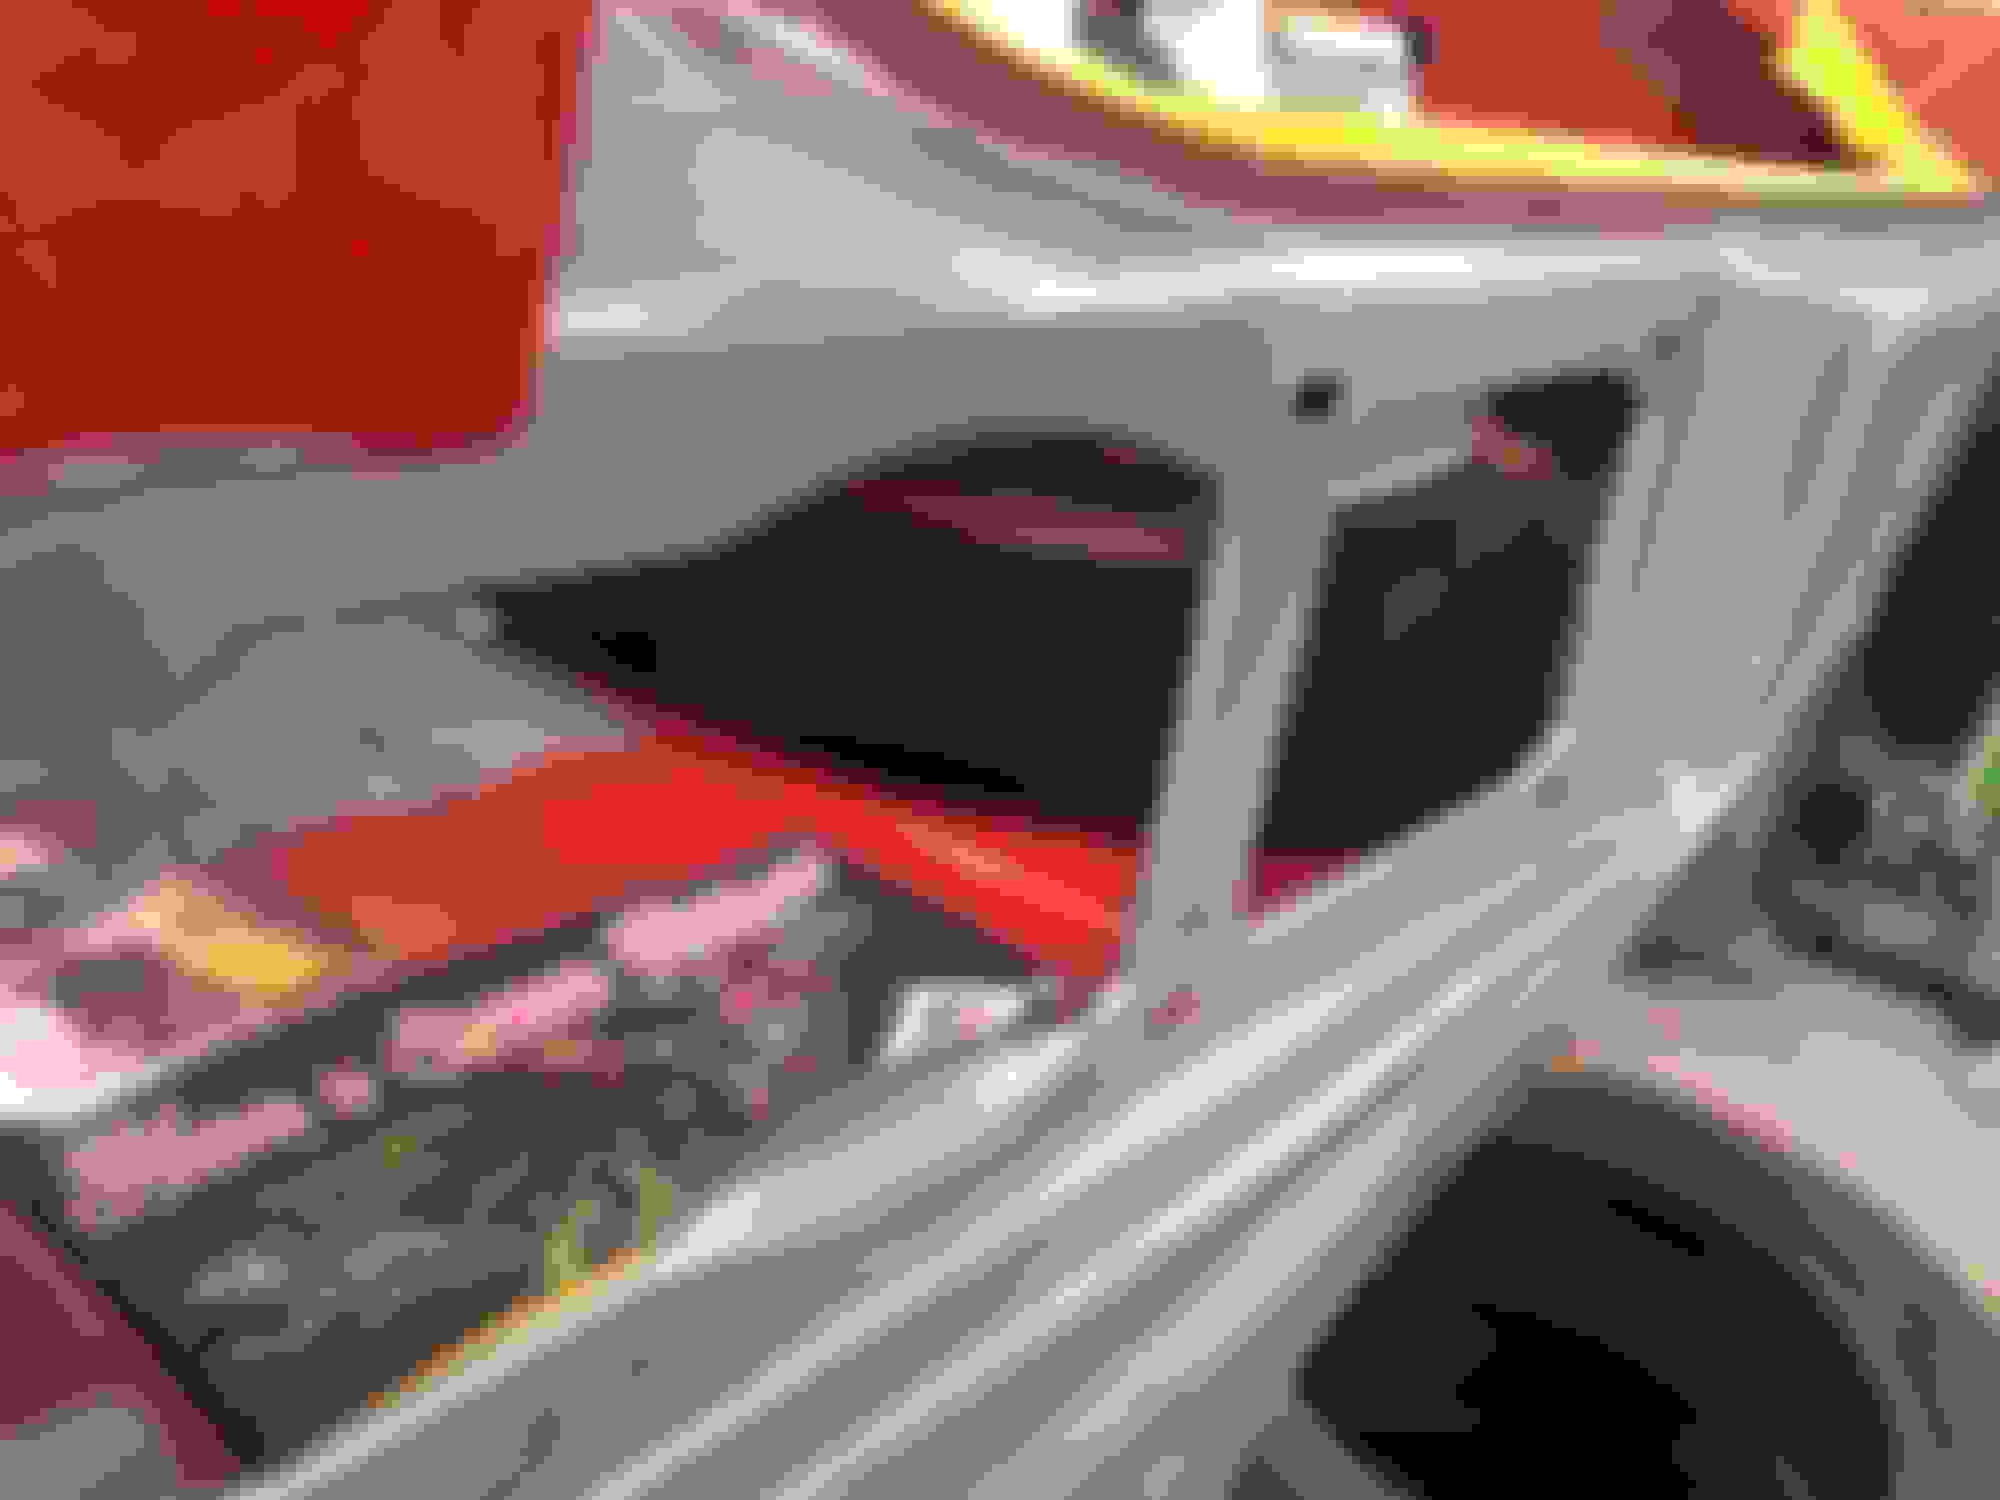
Have got stuck in to the passenger side Thanks sill after welds have been repaired in
On the last stretch of the metal process, passenger side lower 1/4 inner and outer, inner and outer L side rear arches and lh outer sill, there is some light at the end of the tunnel
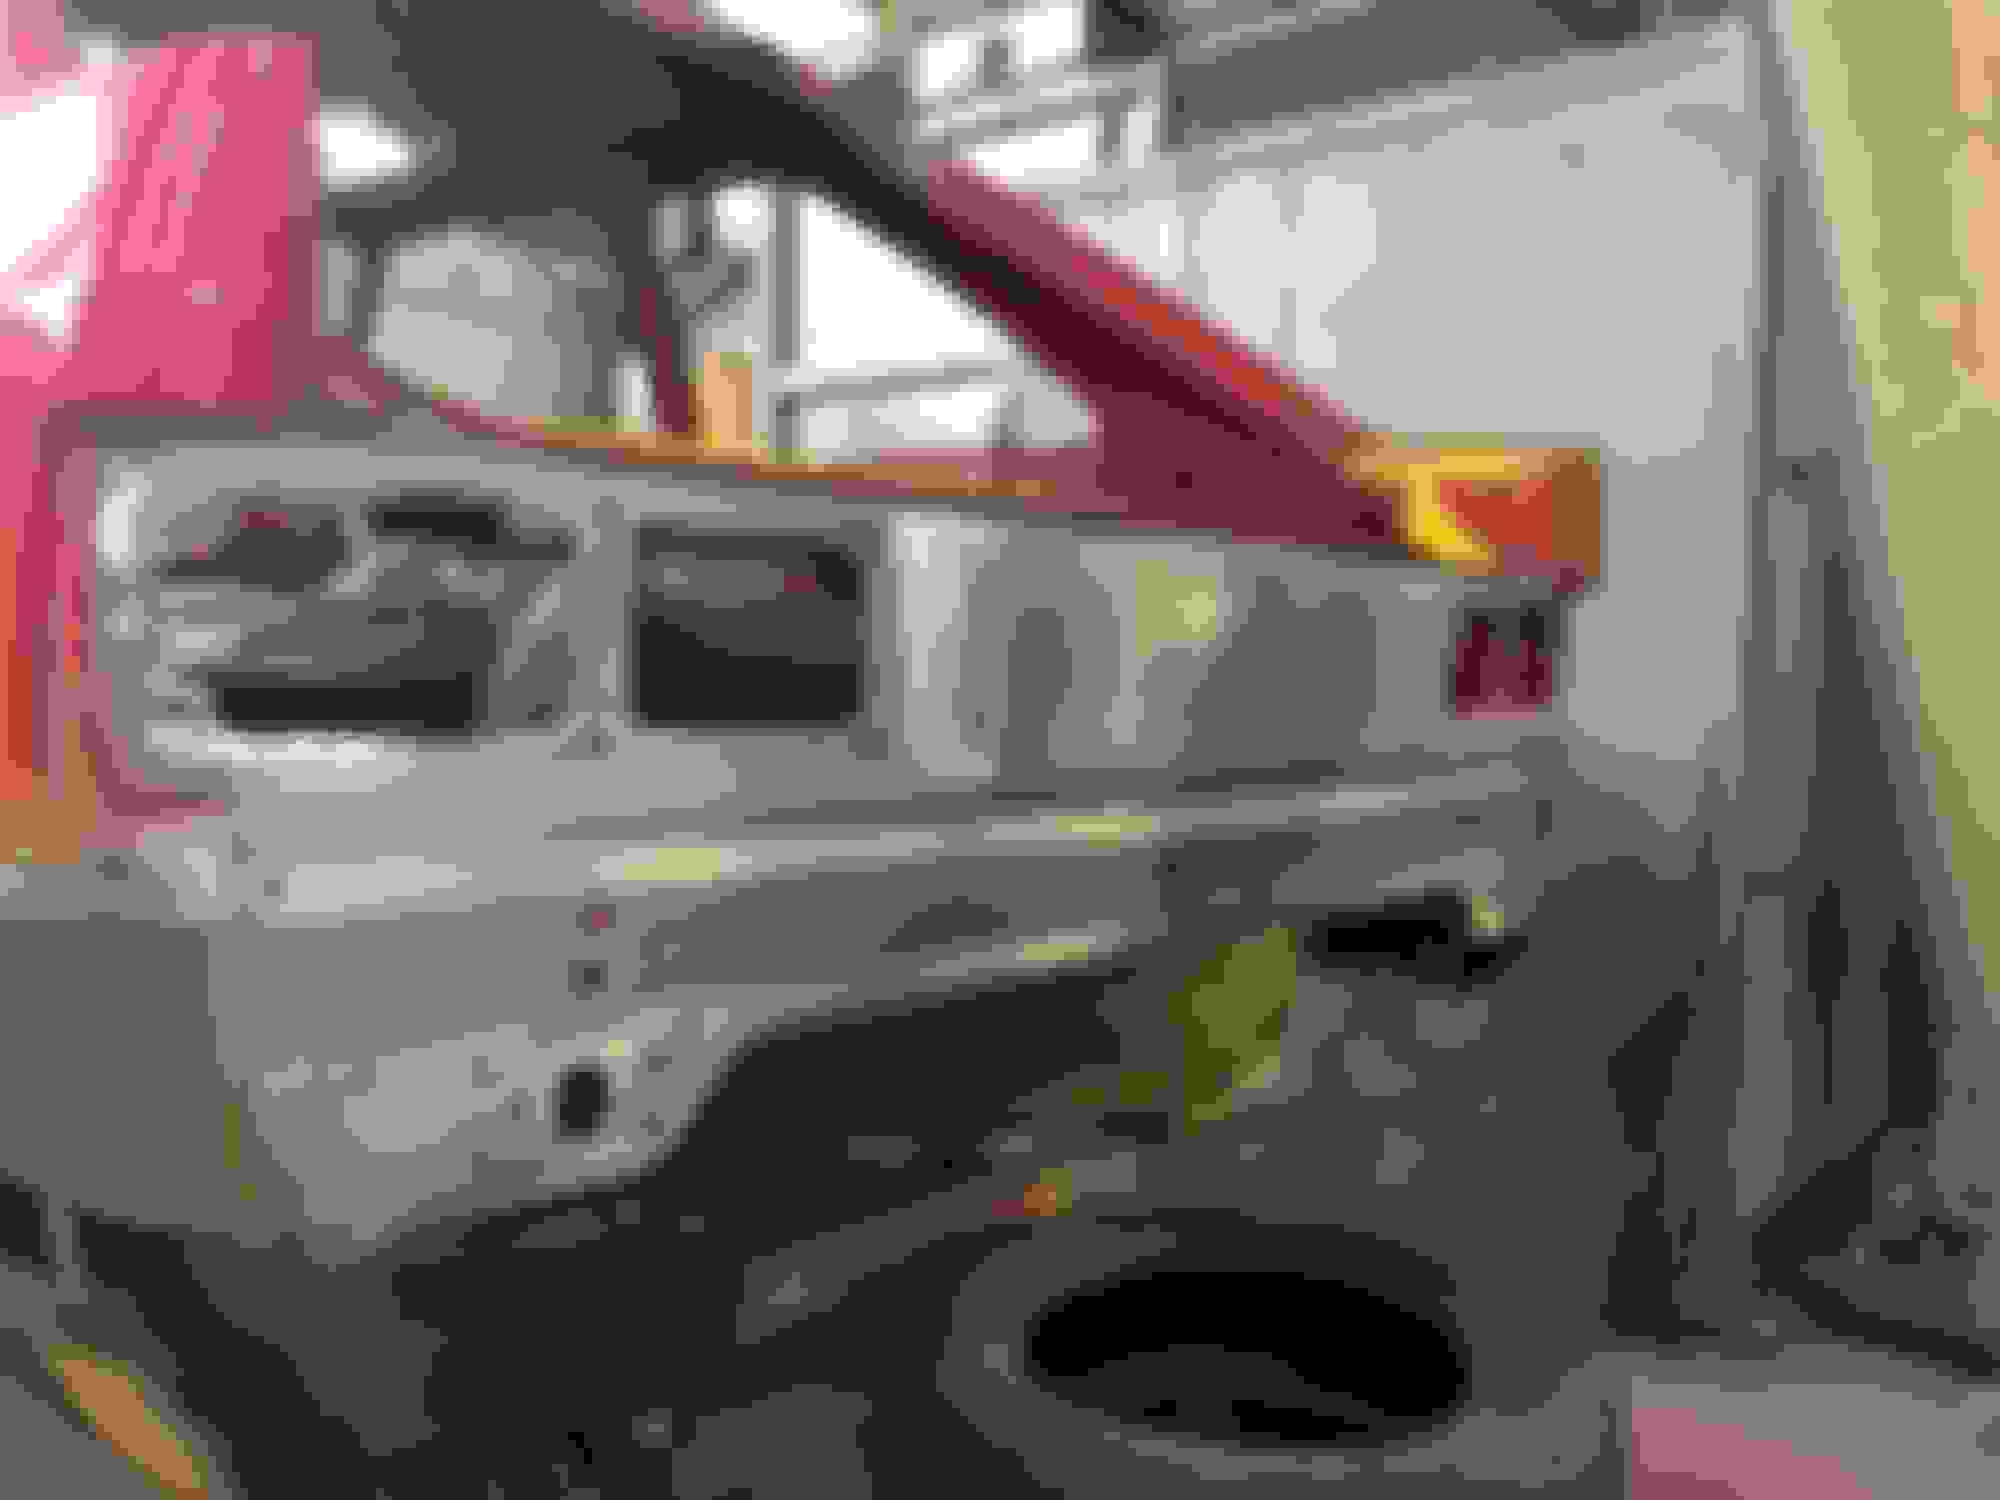
I�m doing the necessary evil of fillers on the drivers side , no matter what or how good your welding is you will need to smooth them with a body filler , But doing the arches and making the lines perfect to the body kit arches is a bolox of a job
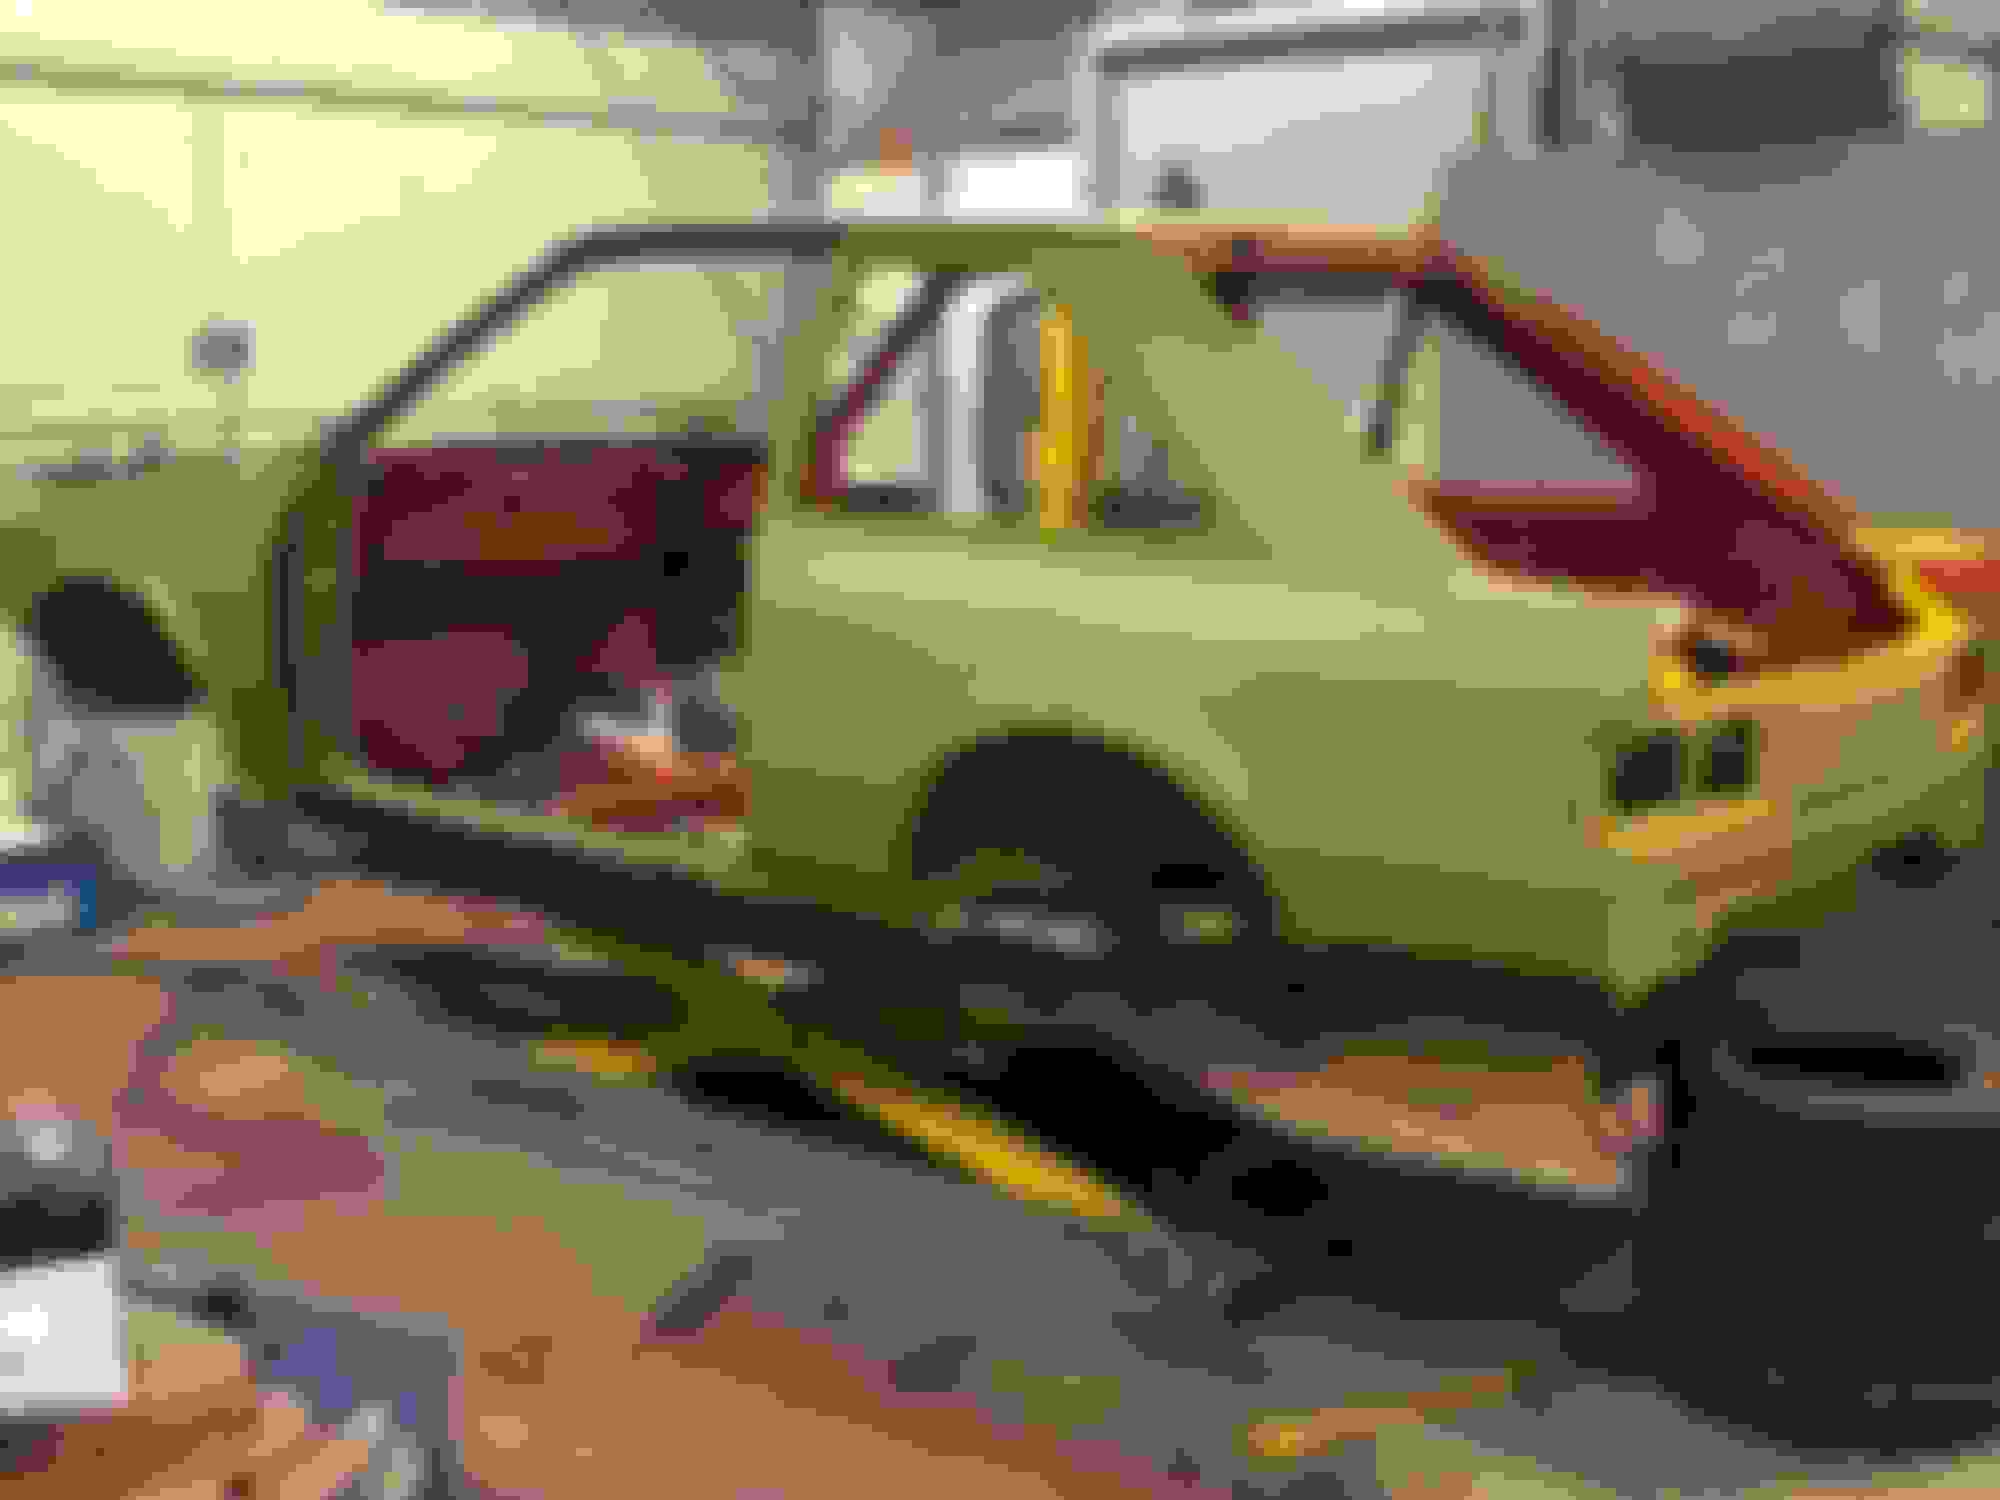
I will prime this panel fit the kit check it and perfect it and once that process has been done on each panel I�ll re primer the entire shell in one big hit
Amazing work. I wish I had bodywork skills like this.
im almost 30 years at the spray painting, and this is my last hooray. Something to keep that�s all my own work, now I�ve hung up the spray guy .cheers for checking out my thread, any advice I can offer just shout me
regards Steve
I love the work going into this Steve. Cant wait to get stuck into mine
cant wait to get mine finished and actually drive the car for a few miles lol , it�s so slow doing it at nights and weekends but slowly getting there ,, SLOWLY 😂
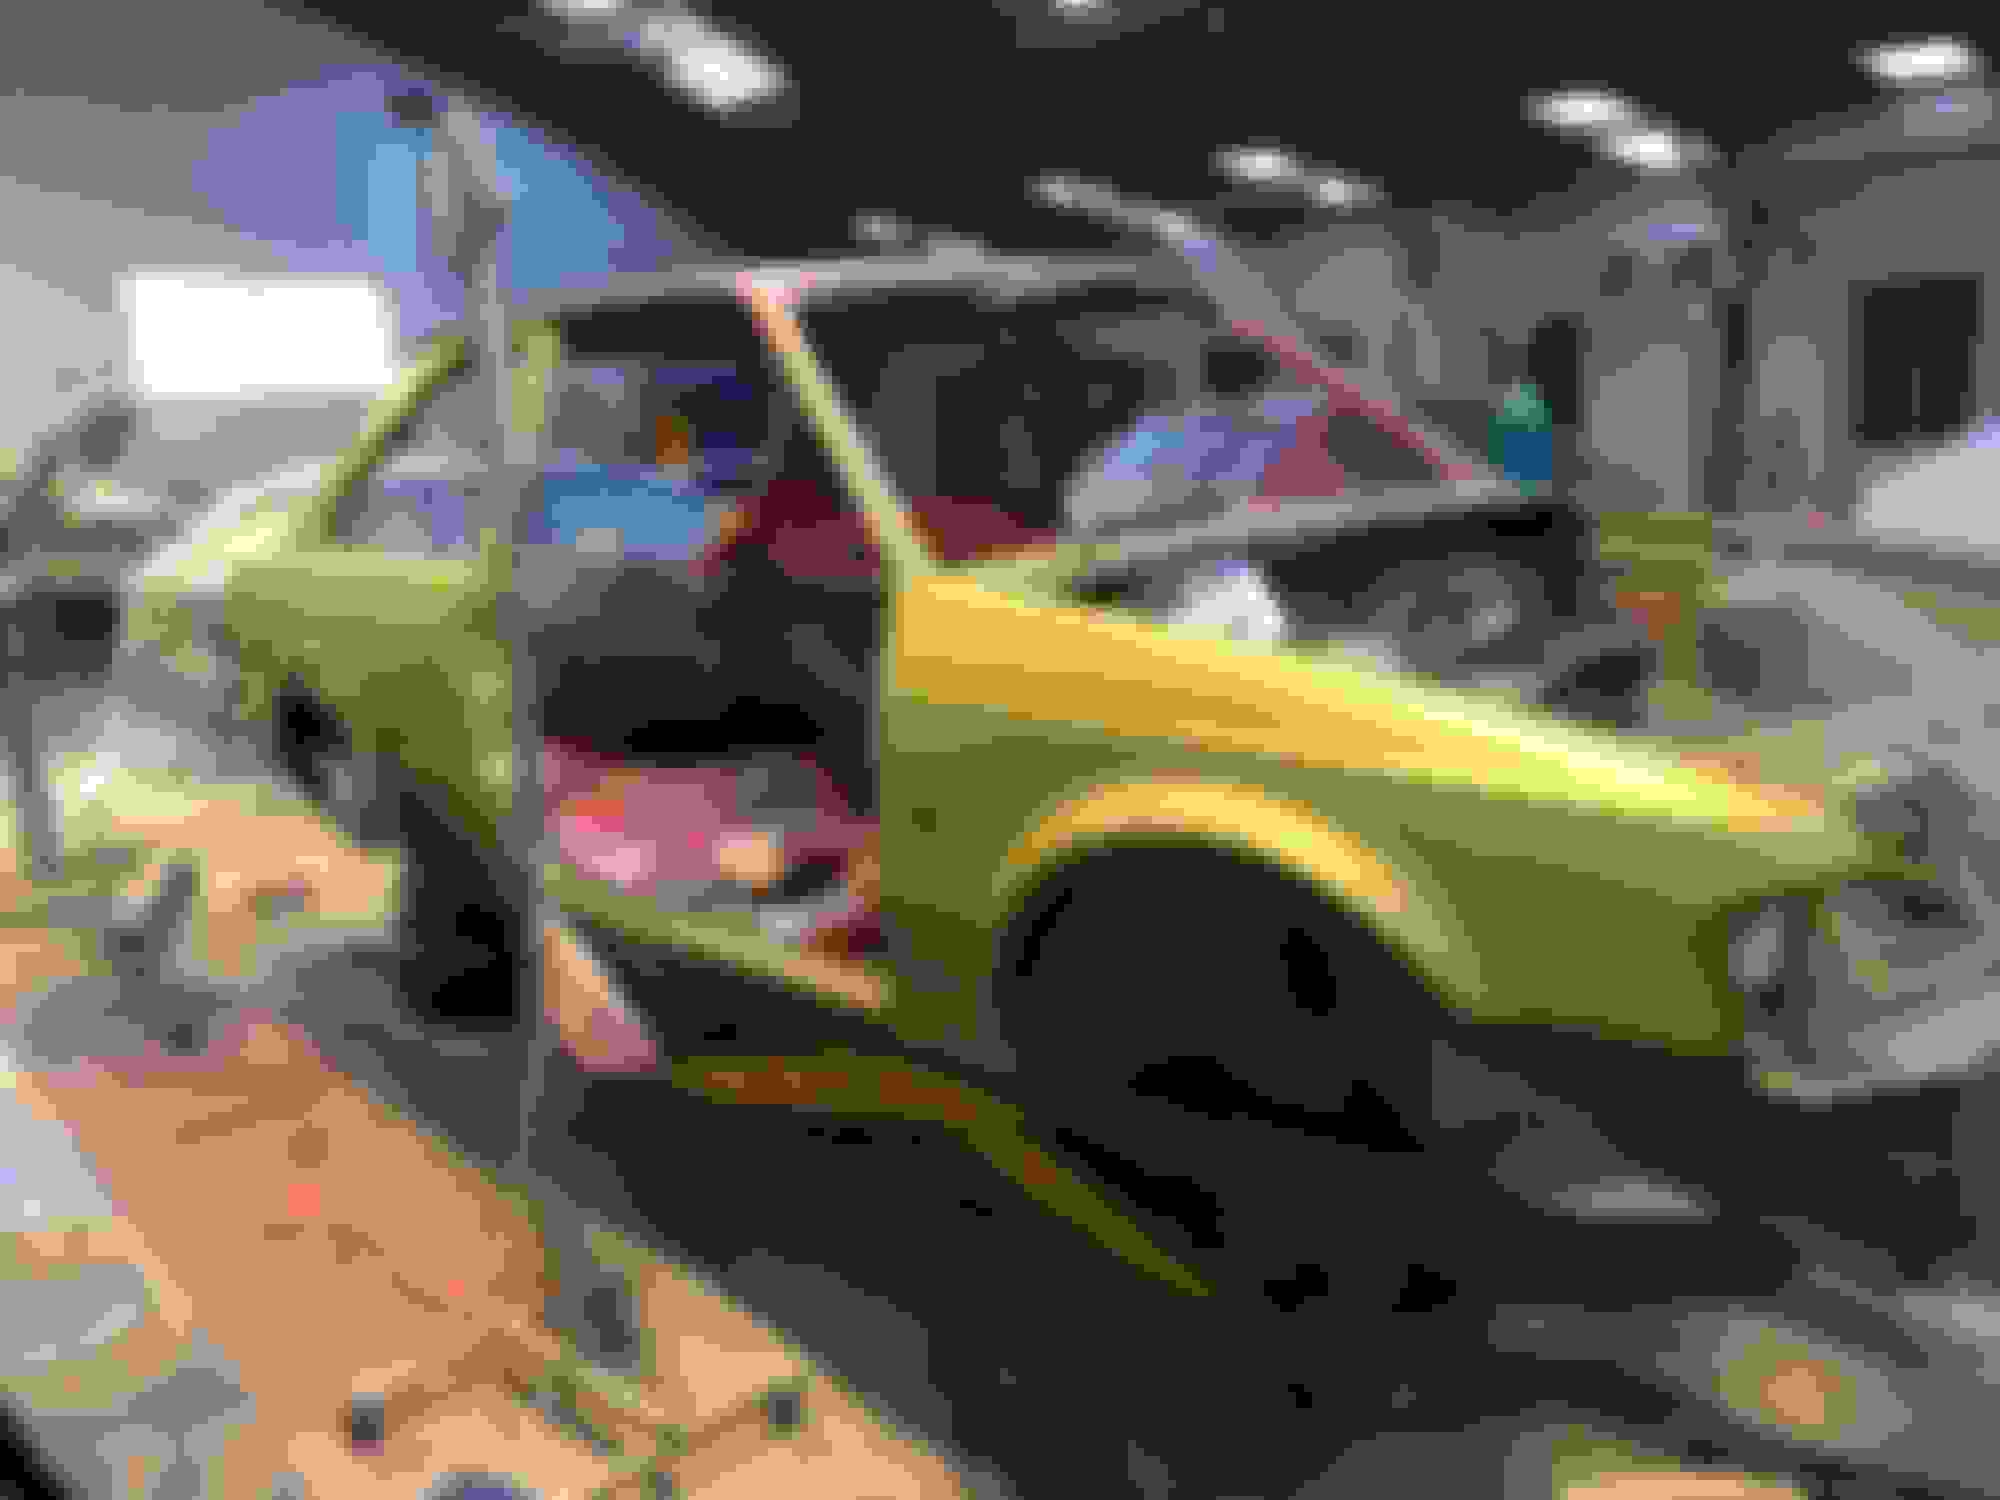
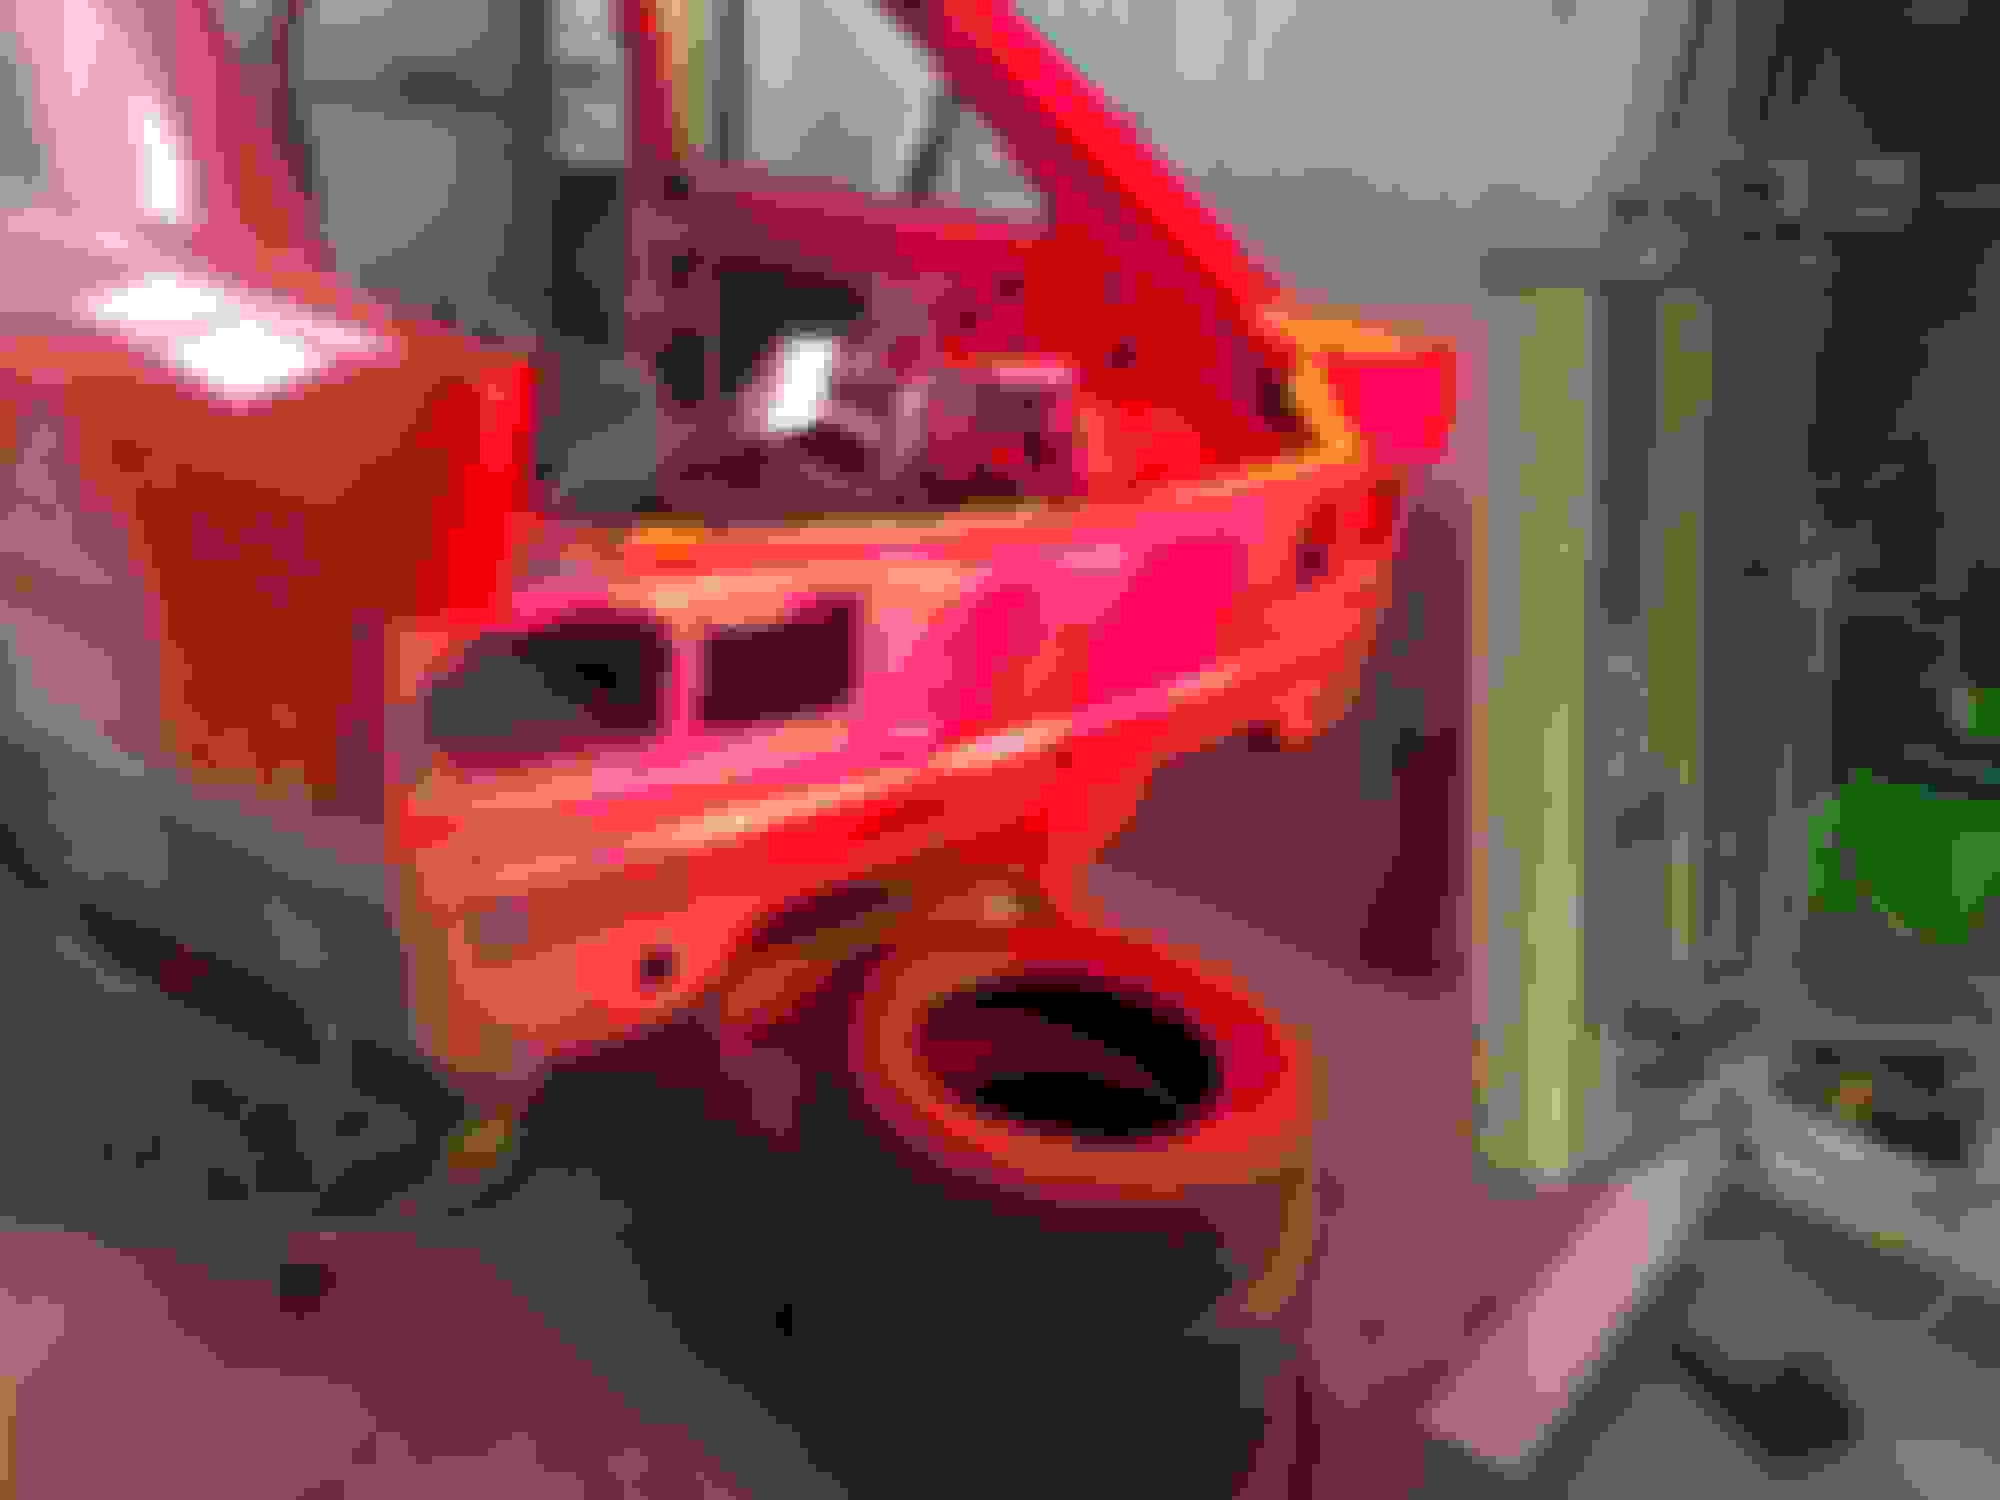
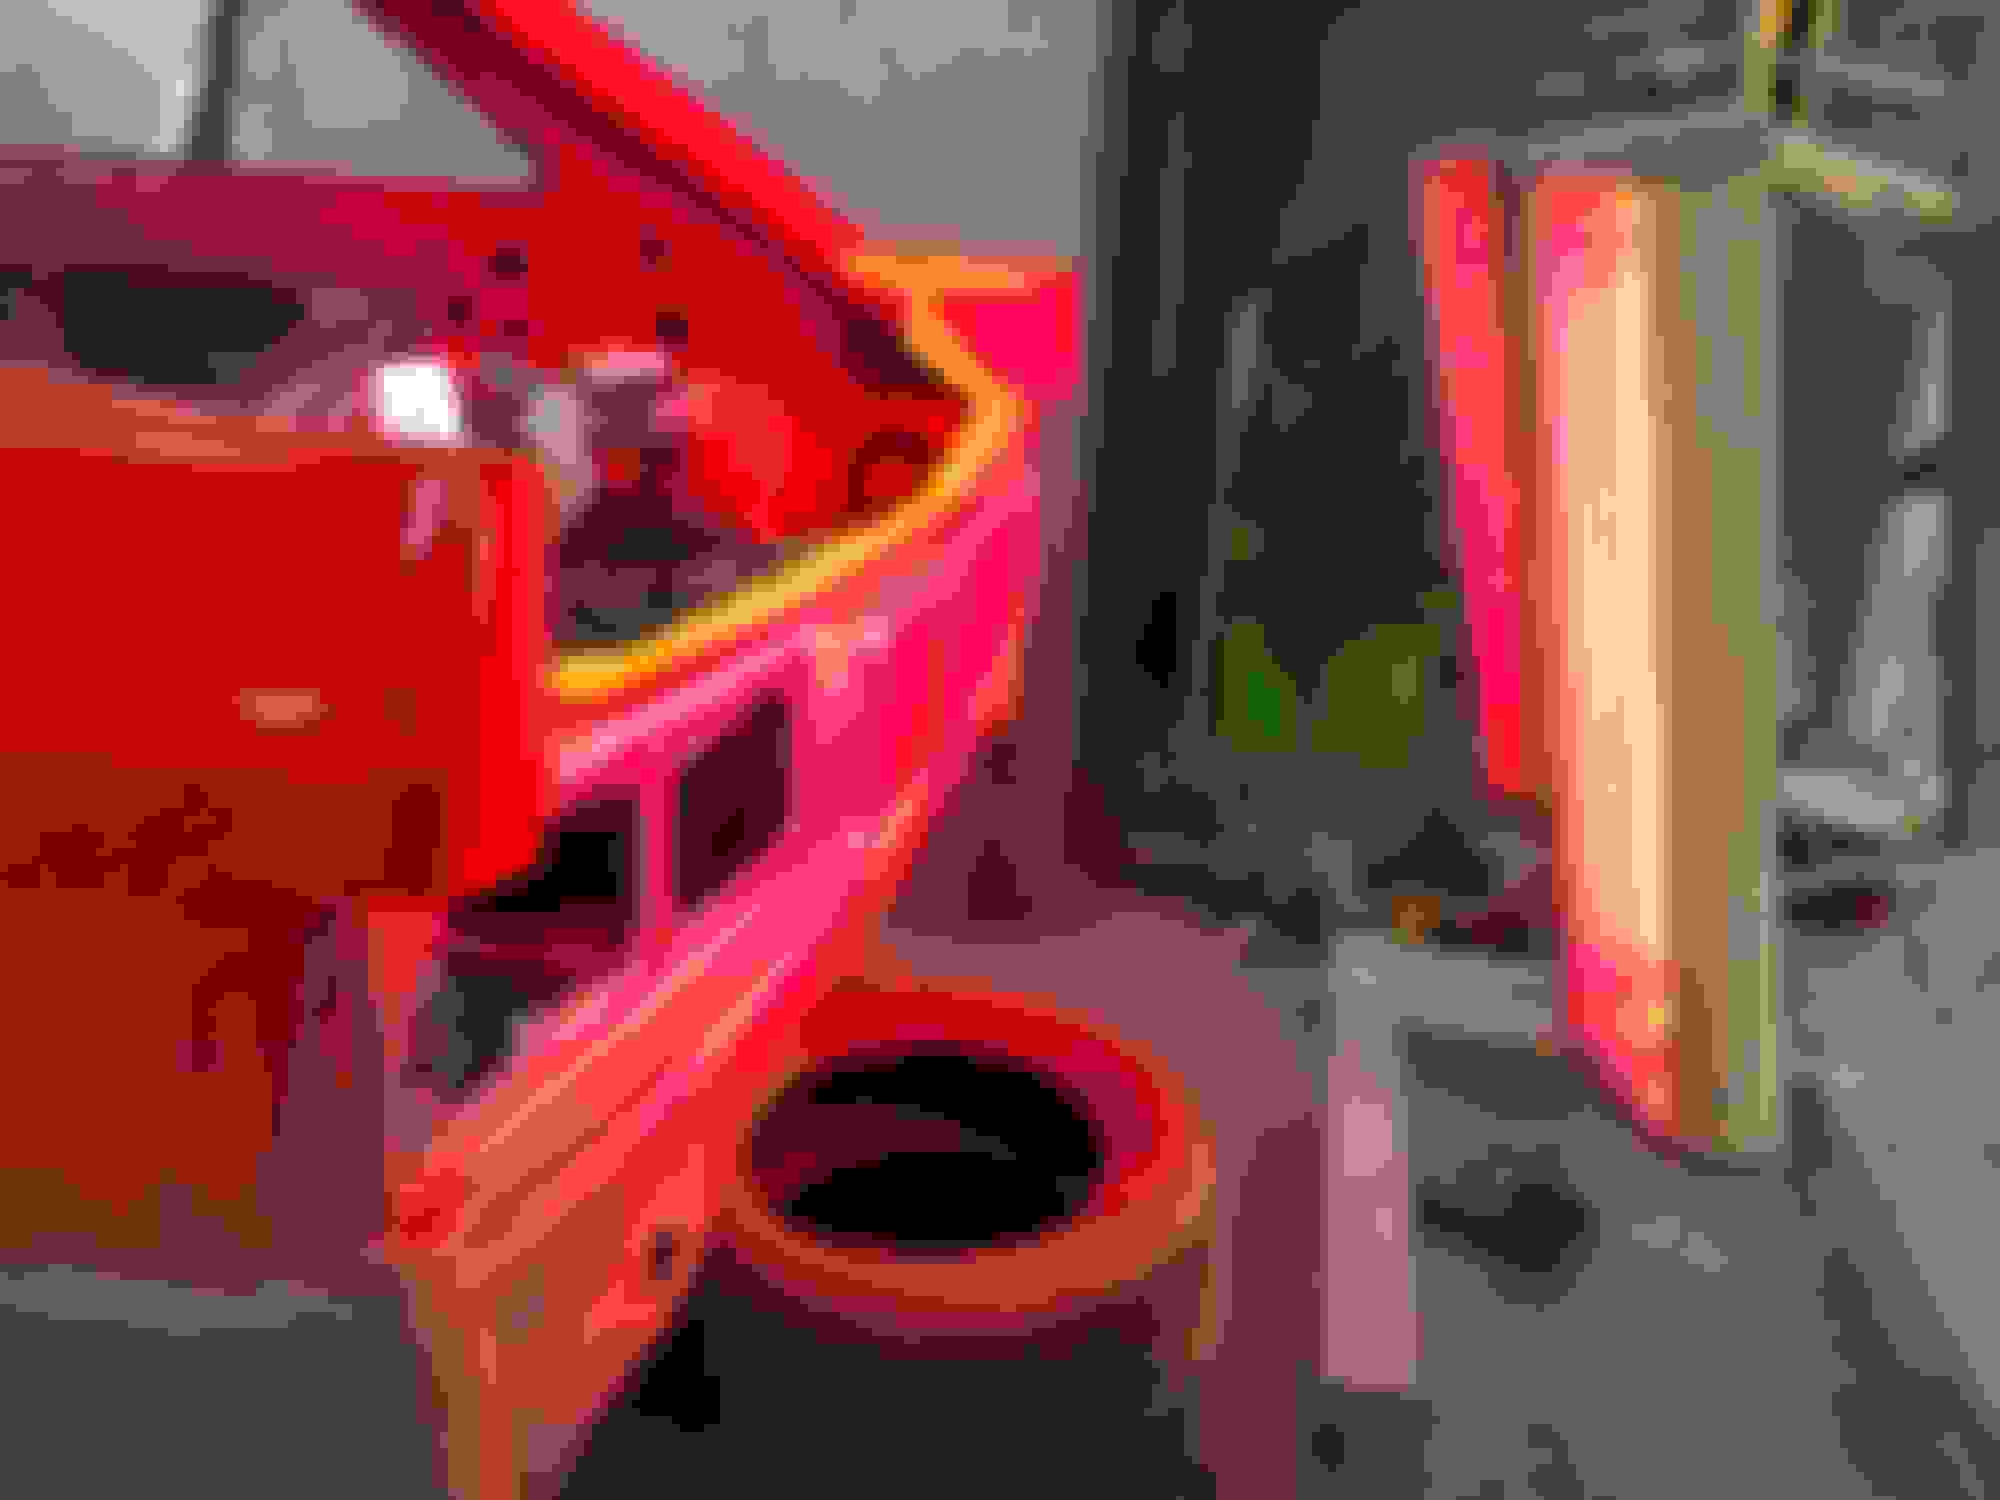
Right hand side all repaired in and etch primed , pretty happy with it . I�ll high build prime it on Friday night and see for certain, then I�ll block it all down p180 and p240 and it will be primed again when I�m priming the entire shell Arch sits nice All bagged up and I�m off home it�s almost 10 pm 😂 can�t leave it until I�m happy lol
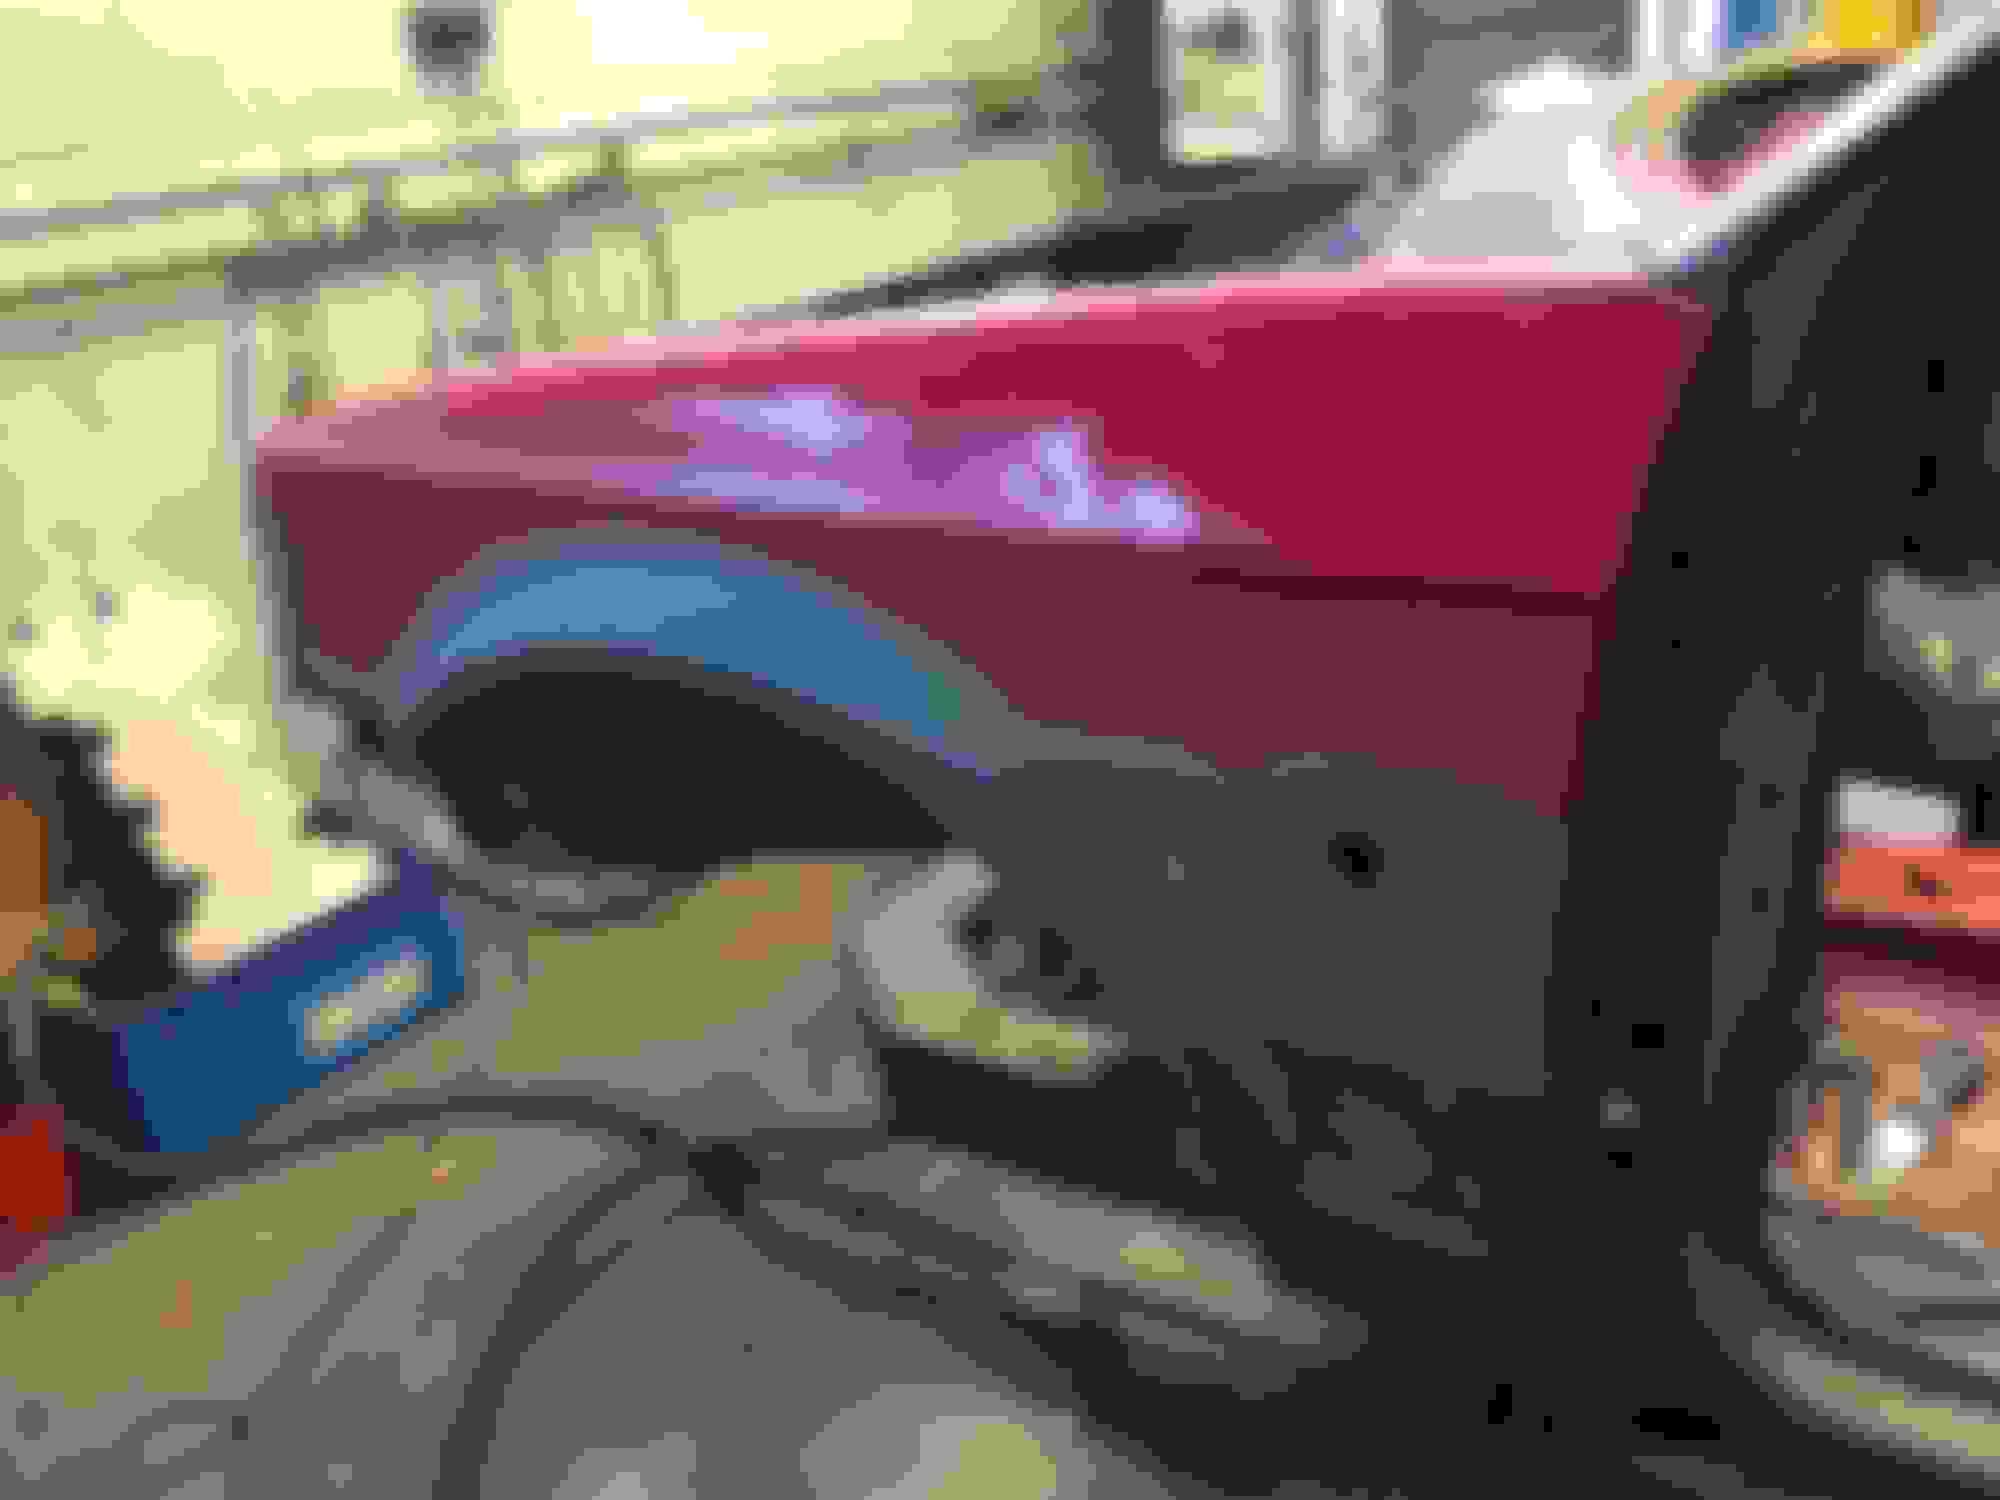
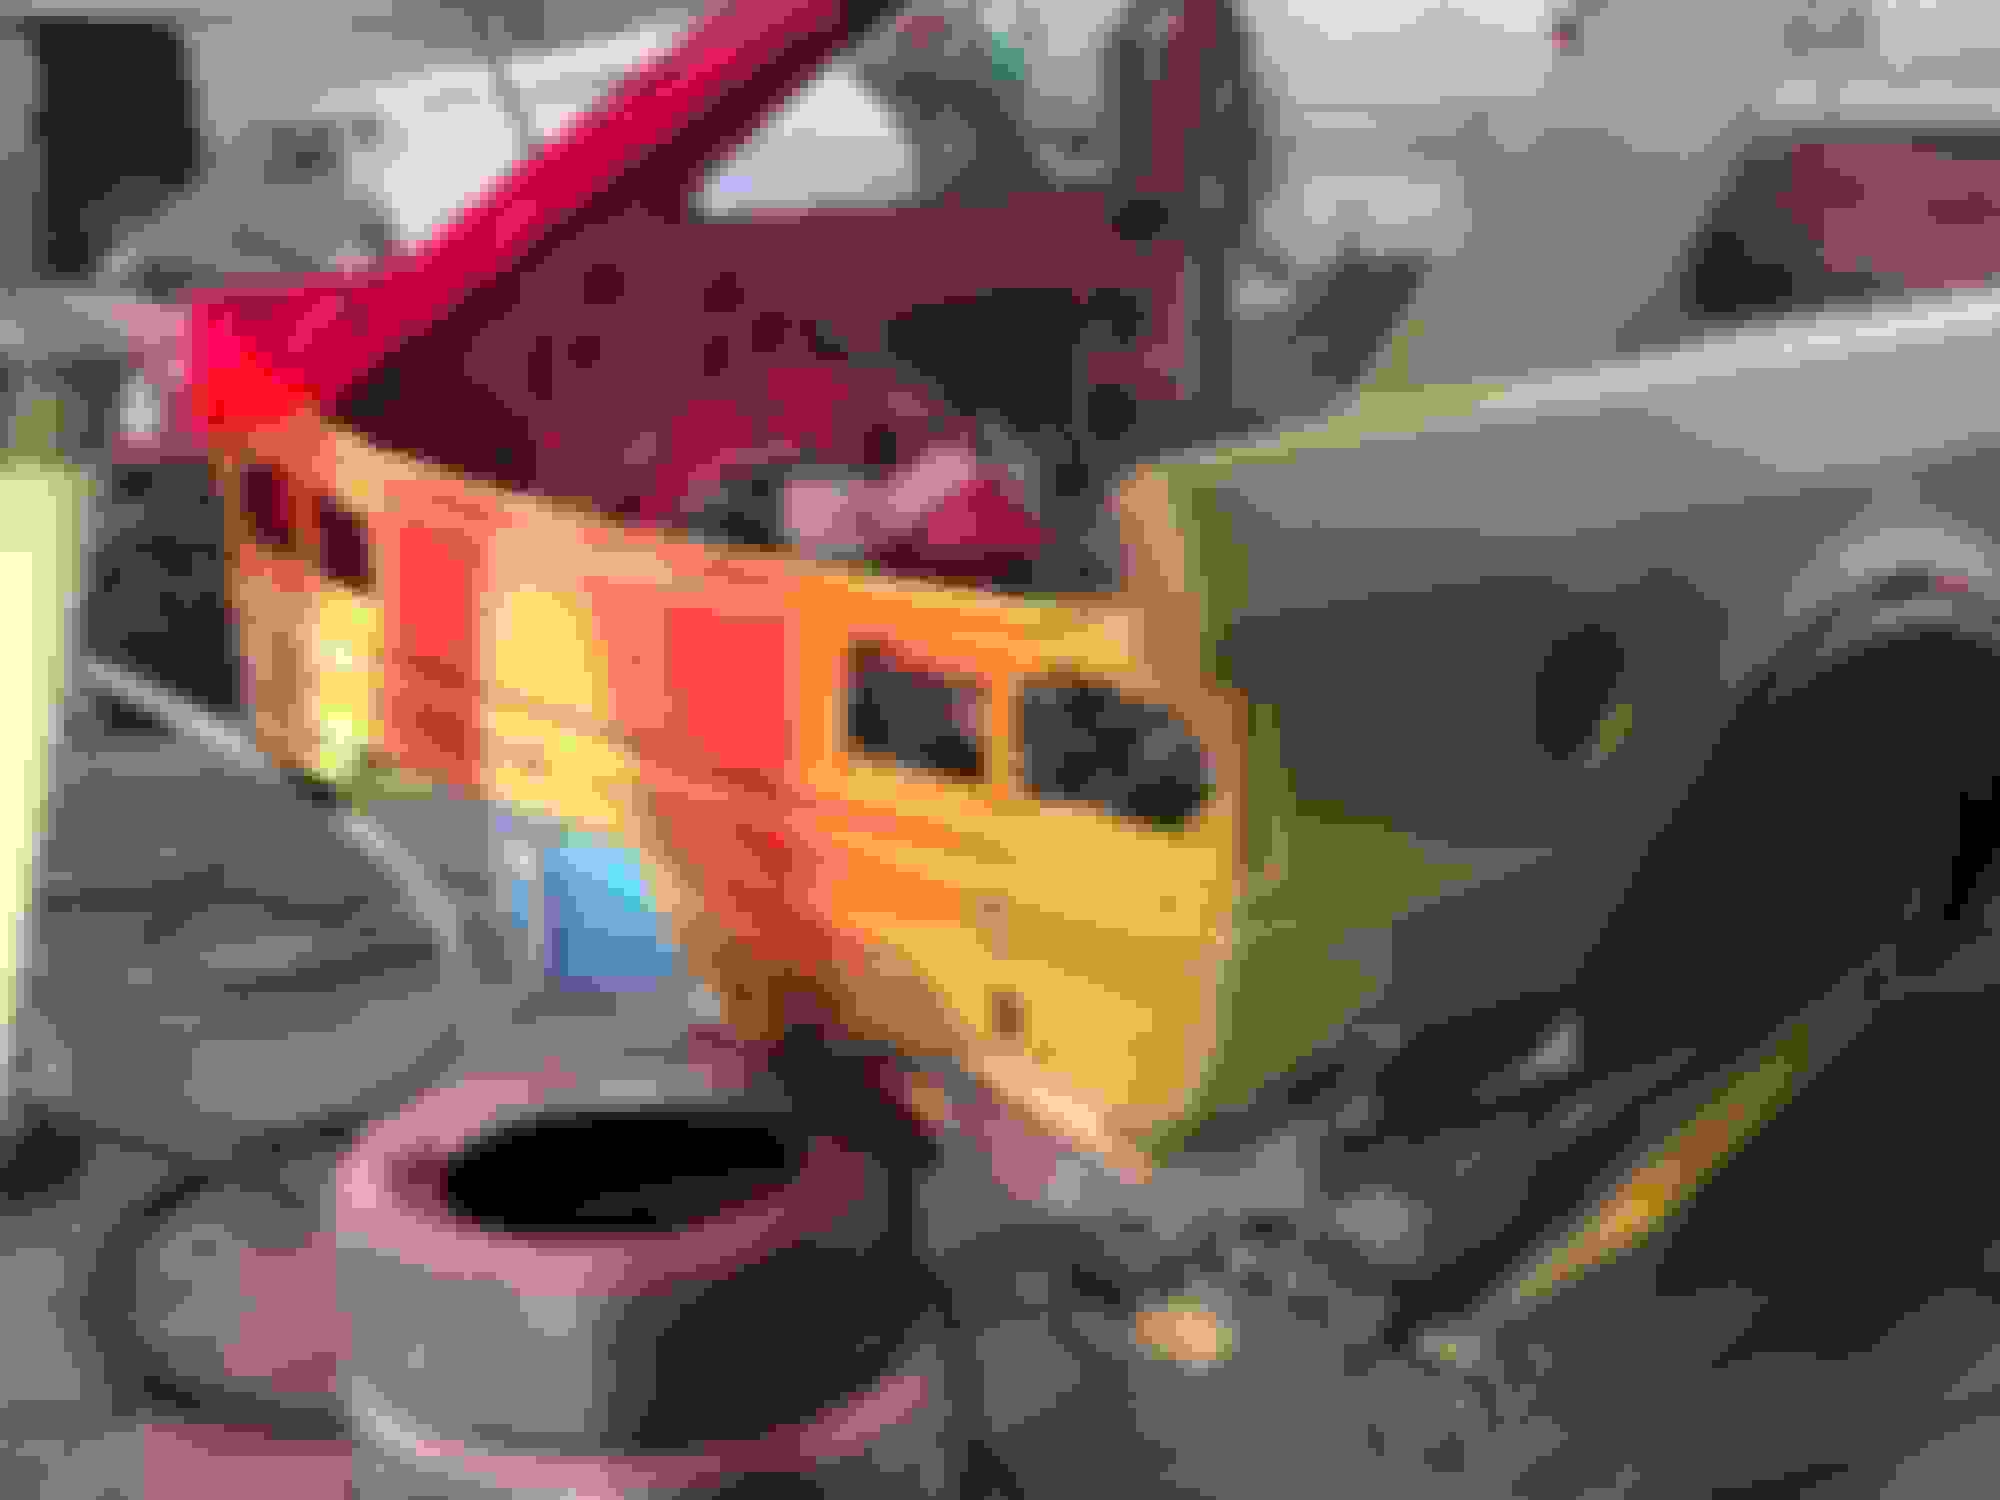
Had a go at refurbing the old tail lights. They are a bit sorry looking and although I tried to find new ones I only managed to get stung with a pair of replica ones ,Lucas I believe they were , Took the lamps and wet sanded them p800 until all marks and wear was gone , then over again p1200 then a good rub grey scotchbrite, coat of clear plastic primer and a coat of lacquer, Opinions please. They might be almost too glossy

 19-03-2019, 09:11 PM