When you click on links to various merchants on this site and make a purchase, this can result in this site earning a commission. Affiliate programs and affiliations include, but are not limited to, the eBay Partner Network.
Had this as a project for 3 years now so its been pretty slow going, won't be much happening for the next couple of months but it should start moving in the new year.
Basically bought the shell with the thought to build a road going cosworth from the ground up, bit of a mission but I like a challenge, anyway after stripping the shell its absolutely rot free apart from a little bit of scab in the roof gutters, so think sod it, I own a scrap yard, I'll rip a sunroof roof of another car and fit it, thats done, I've given it a full inside and underneath shotblast myself, which was fun......
so at this point I start to consider actually finishing the car, albiet a long way off, and realise that a road car isn't going to be practical, this sets me off down this route, so rear arches cut and pushed to WRC spec, front and rear wrc turrets in courtesy of dewitts and Gordon Vincents fabrication and its slowly on track.
Things got massively sidetracked by the cosworth F2 kitted puma (anyone want to buy it lol) but things are starting to move on again, roll cage will be added soon and thats about it, will add pics of the progress till now and see where it goes
Probably the worst job I've ever had to do on a car, which is only made worse by the fact that the new roof I put on, despite it being rust free and fitted to perfection, has to be cut back off to be replaced with the rocking horse shit 3dr non sunroof skin, luckily I bought a complete non sunroof 3dr for �50 happy days, still have to fit it though :-(
Not too many pics of this part, but basically wire wheel on a grinder for longer than I'd of liked, stripped the bottom bre, once this was finished I turned the booth into a makeshift shot blasting cabinet, seriously if your ever going to do it, get the proper kit, trying to DIY it was a nightmare, I did it, but wasn't fun
This was the end result, complete underside and interior bare metal stripped and treated with a 90% zinc coat of paint to protect it, was again amazed how good the shell was, have found no rot, no holes, its great, and that's about it for tonight, will put the rest on soon, probably pushing the rear arches next, that was a fun job lol
Last edited by reese646; Oct 22, 2015 at 10:37 PM.
Cheers Glenn, smiley. Roof was a nightmare and not looking forward too having to do it again, will probably rip it off and fit the roll cage before fitting the new non sunroof skin.
Posted these before but this was another job, bought 2 cosie wings and once I decided that I was going wrc with them they needed shaping too wrc spec, never done any panel beating before but came out alright after a day with a couple of hammers and a bag of sand
This is roughly how far it needed pushing, again not the best pictures but you get the general idea.
line set as a guide so I could match both sides, again thanks to David for the advice
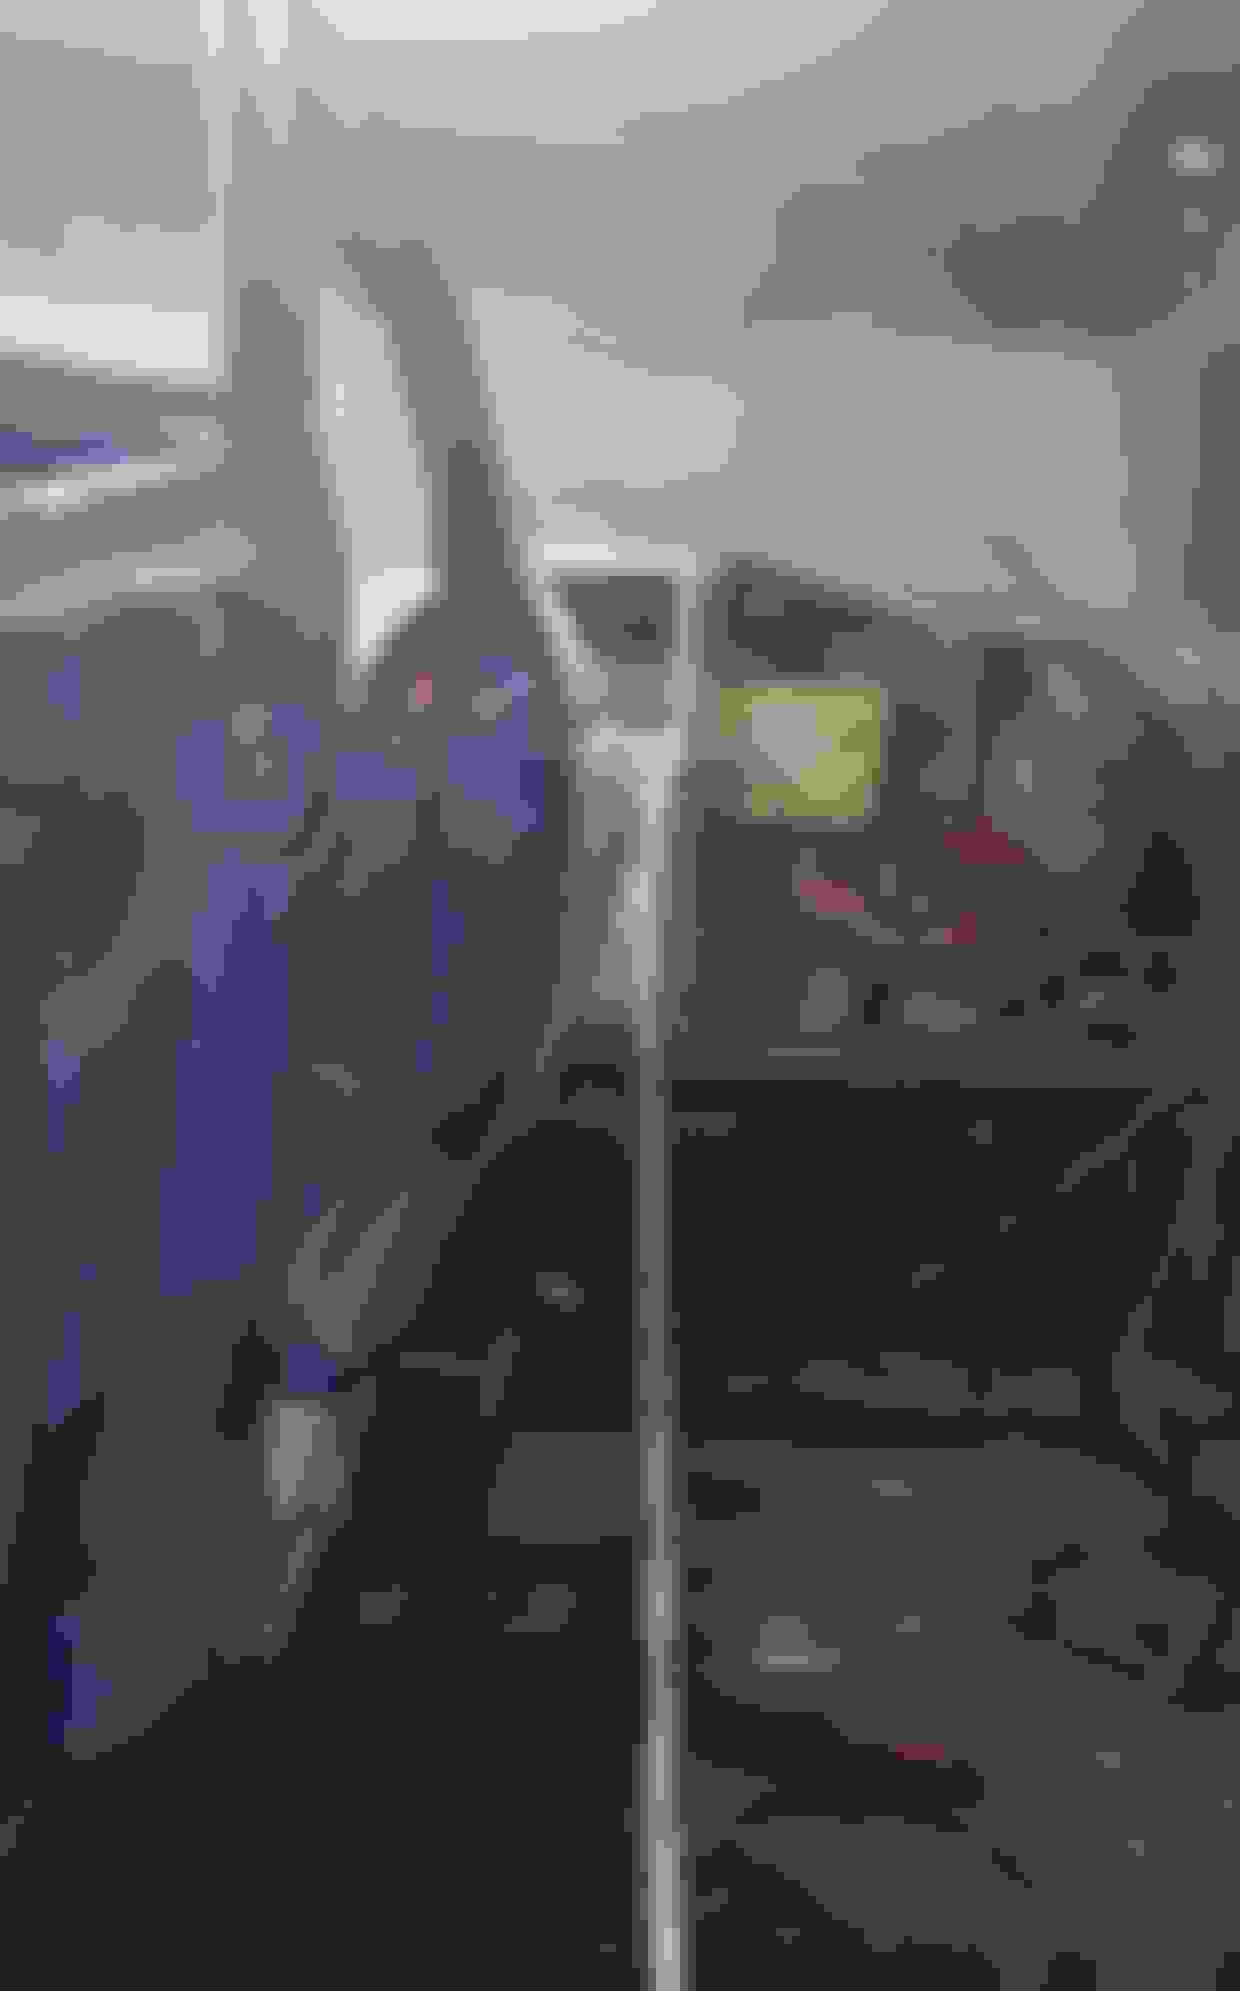
set up of the press, had to make up a wooden plate to give an even push.
And finally it pushed out, again not a great picture, then did the same on the other side and welded it up which was by far the hardest part to be honest.
Yep, rather sad looking mk1 in the background, but that my mates and he'll get round to it one day, will update again soon.
Last edited by reese646; Nov 12, 2015 at 09:00 AM.
How hard to find is the 3dr roof whit out sunroof? A lot of them here in Finland. Many cars did not have sunroof that ford delivered here back in the day.
Looking really good Alan .Glad you got the rear Arches Pushed out .it does leave the rear looking alot wider going to be keeping on eye on your build there is alot of time took up if your doing this on your own as i for one can tell you
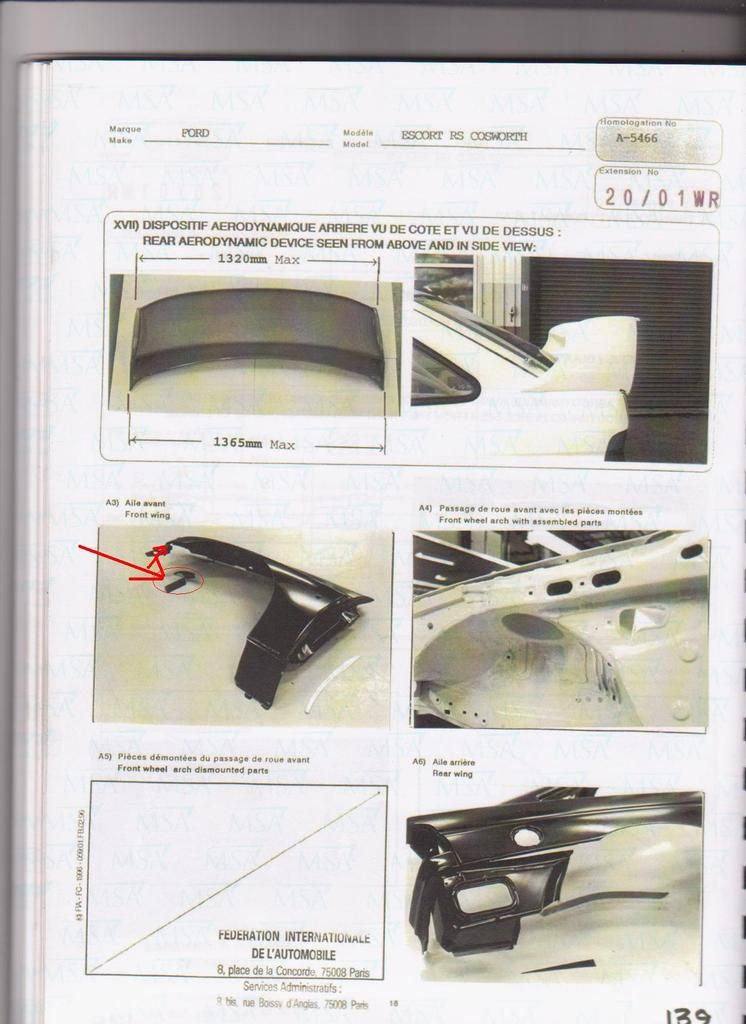
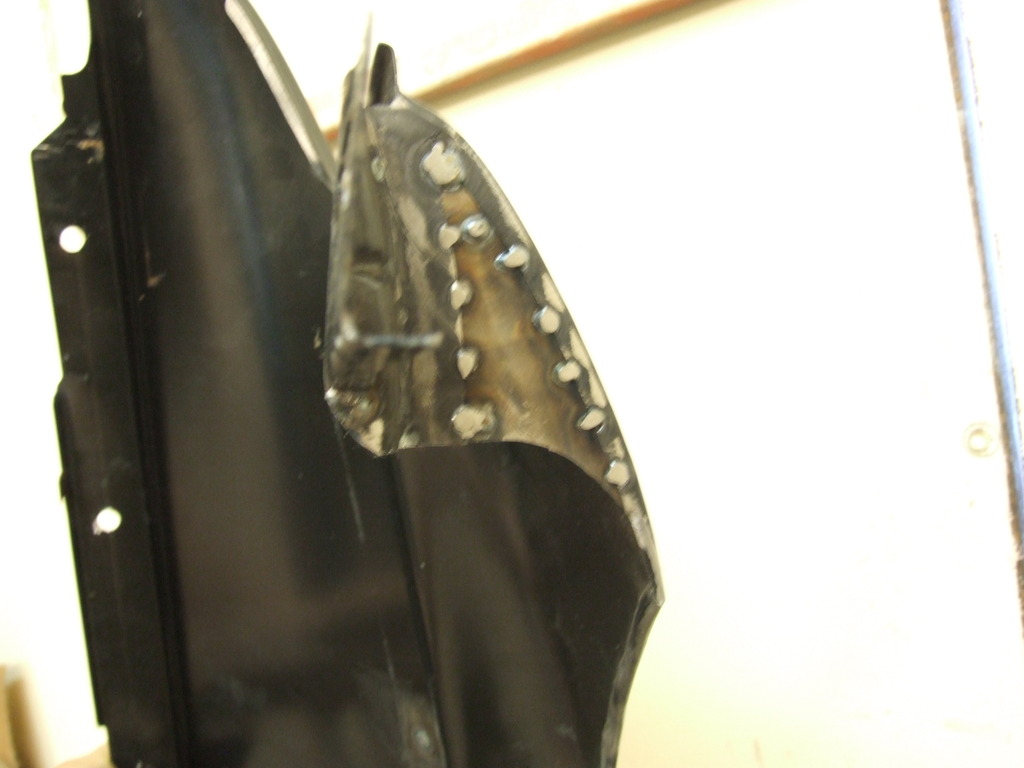
Hi Mate just looking at the thread again and on your front wings that you made a good job of putting the bubble in are you going fully widetrack this is because i see some guys have wrc wings on standard cars but they are not full wide track i have a set here off a white car that has the bubble rolled in it but are not any wider than a standard wing due to it not been cut where the sidelight sits this area is widen by 30mm giving the wing a wider track pics below one from the wrc book i have in a3 i have mark for you to see the item added in and then my wing with the added steel piece welded in
Thanks David only just spotted this but I had spotted that you'd had this done to yours so yes I will be going wide, its the only way isn't it? lol cars looking great by the way.
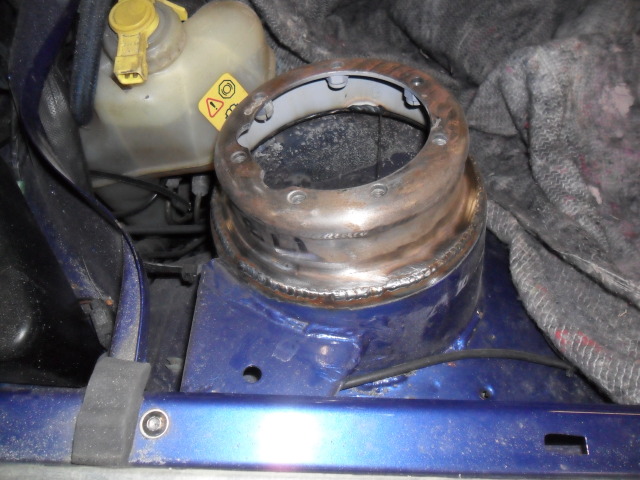
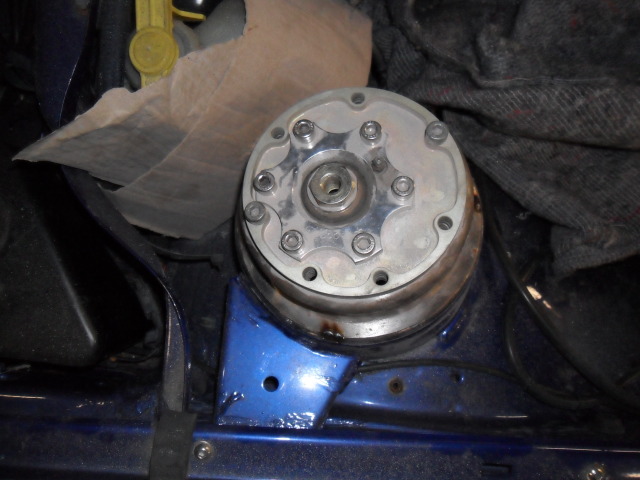
Maybe not a good time to mention this, I'm not picking holes but you fitted the front turret extentions the wrong way round they need twisting 180deg.....like this
In your first image you had them the right way round, but you welded them in the wrong way round.
Last edited by adamski frst; Mar 23, 2016 at 07:29 PM.
Yeah I noticed it after I did it, did set them up the other way as you spotted and I'm sure there's a reason but nothing is jumping out at me as the top mounts look fairly symmetrical plus with the depth of weld that's where they'll be staying I'm afraid.
The top mounts only fit one way so you will be totally out ie 180deg out.... You will have to have either custom top mounts made or rotate the turrets as I said. It's not as easy as being symmetrical. I'm not as said trying to pick holes but you WILL have problems down the road when fitting stuff it'll all be backwards. Your best rectifying now than messing about later on trying to get custom plates..
Because the 2 holes are closer it only fits that one way and there are 2 types of top plates so if you fit them you'll be anywhere from 1-2" out...
Last edited by adamski frst; Mar 25, 2016 at 12:29 PM.
Simpler just drilling new holes and welding the old ones up to be honest, the nuts are only tacked on, in fairness I might not of noticed so more than happy for people to say something along the way. hopefully more updates soon once I get the cage ordered.
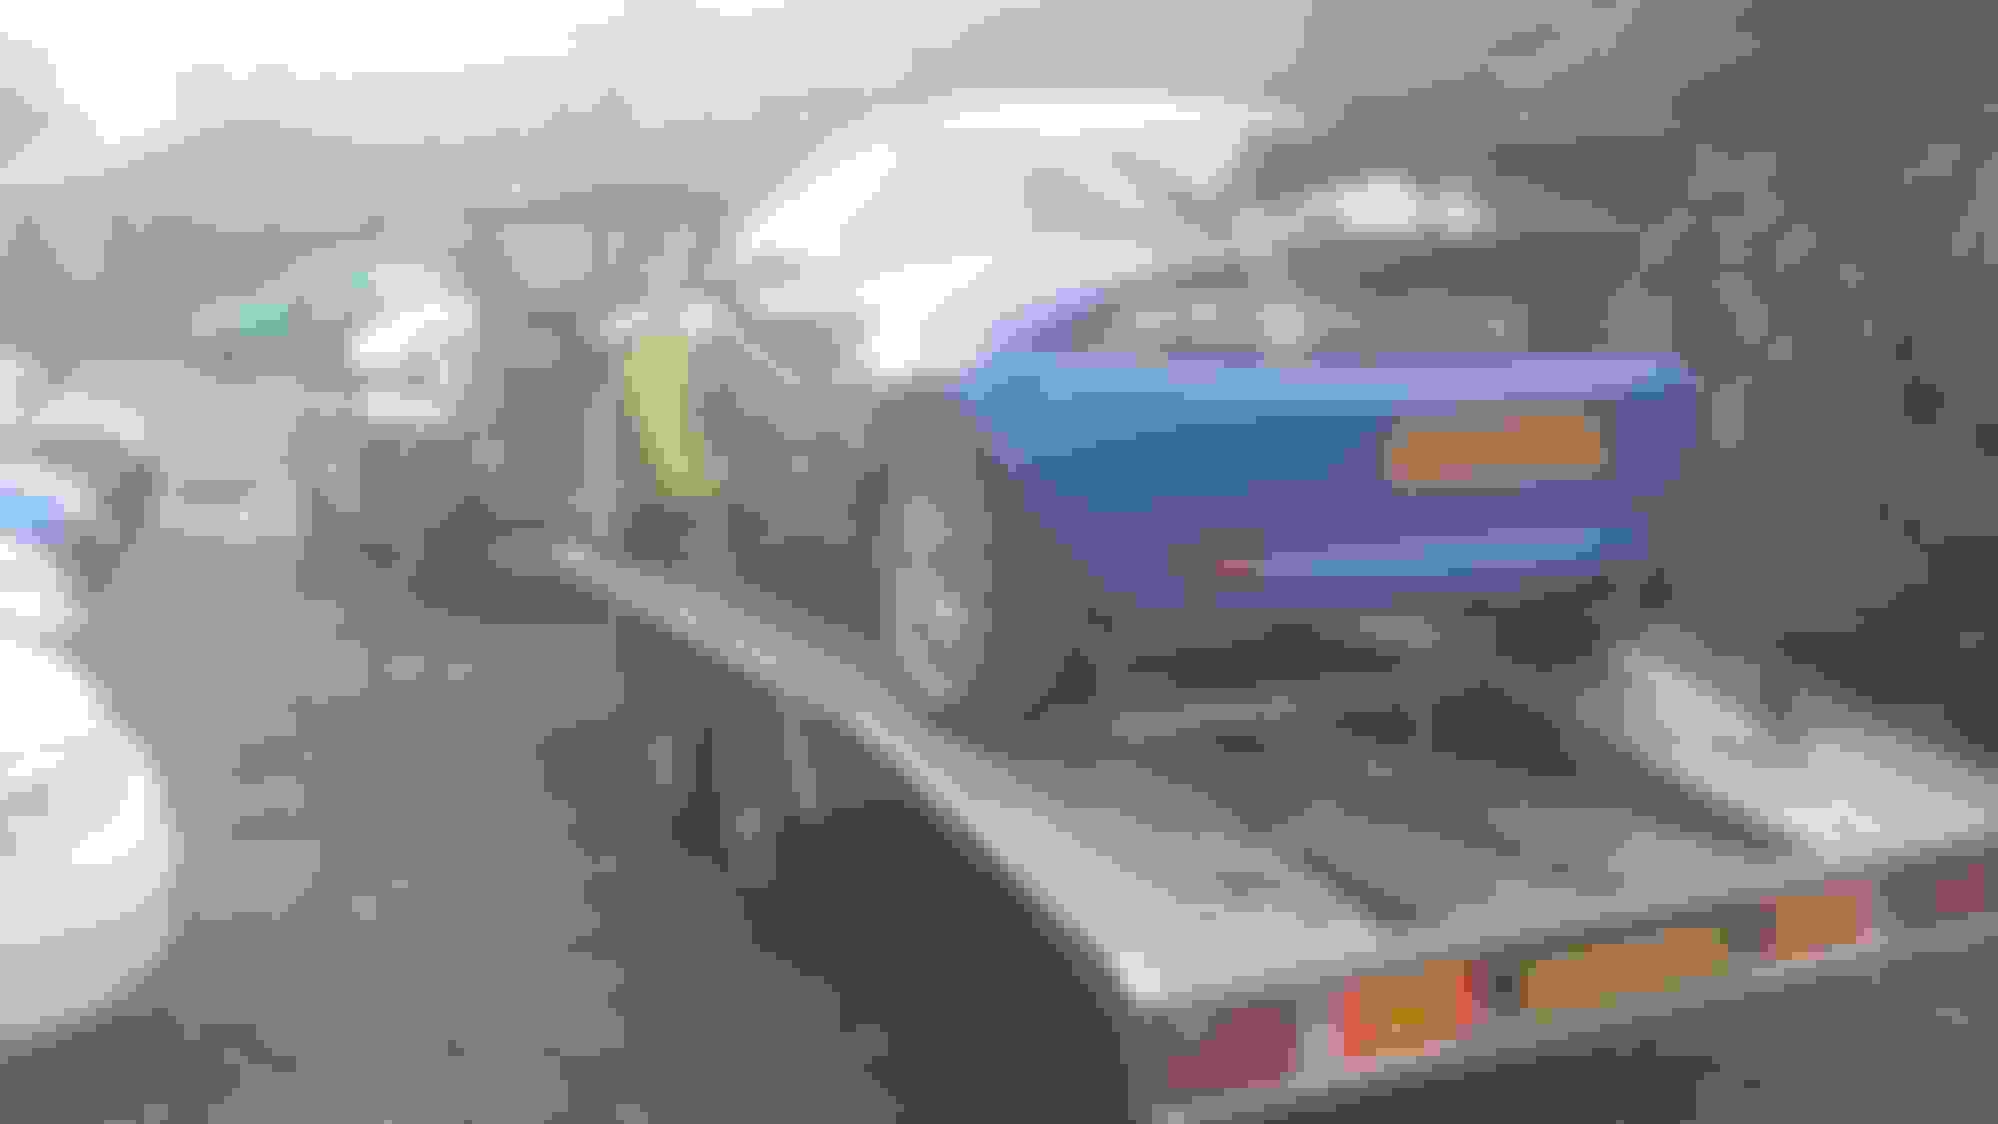
Soooo its been quite a time since I updated this thread as there's not been alot to show, but finally this happened so I could make some progress again on the Escort.
So got onto Custom cages to order the Group A cage as its the closest cage too WRC off the shelf the same as Cossiedevil used in his Hasfengen rep, chose to go for T45 though as why not as I wanted too TIG the cage so order in and finally got this
Anyway had a slight issue that needed sorting with Custom cages which ended up with the car being taken too them. Turned out they had a WRC works car in and as I wasn't in a rush they we're going to make me a exact one off copy which as you can imagine I was fairly happy with.
Fast forwards 3 months....said I wasn't in a rush, just had shoulder surgery the car has finally returned and other than a few niggly bits on the tube fit its perfect, the cage sits that well you can hardly get a fag paper round the hoop in places.
Pictures they supplied before shipping it back.
So now its been ripped to bits again so I can fettle it so the fit is proper tight for the TIG and away we go, lots more to follow.
Cheers lads, thanks Kev been a while with trying to finish the puma and sell it so I could get back too it, there's a long way too go yet but the fit up is going really well just need to figure out how too weld the forward facing tubes that intersect the bulkhead and I'll be there lol
More to follow but going back together nicely
Last edited by reese646; Dec 10, 2016 at 08:55 AM.
Looking very well Alan and lucky you for getting custom cages to fab the cage for you wish i had of got that i had lots of cutting and making and adding in new bars like i said to get it looking the same as Hafsengen wrc . The fun part for you is the welding and in some spots you will have fun trying to make sure you get the bars fully welded around there will be a few frustration moments but you have to get these no fun otherwise
UPDATE TIME: well after recovering from shoulder surgery I went and broke my arm over xmas, so finally I'm back healthy and still needed to teach myself how to tig weld as I'd never done it before, but with a lot of help from a very talented friend teaching me from 200 miles away I've gone from this....
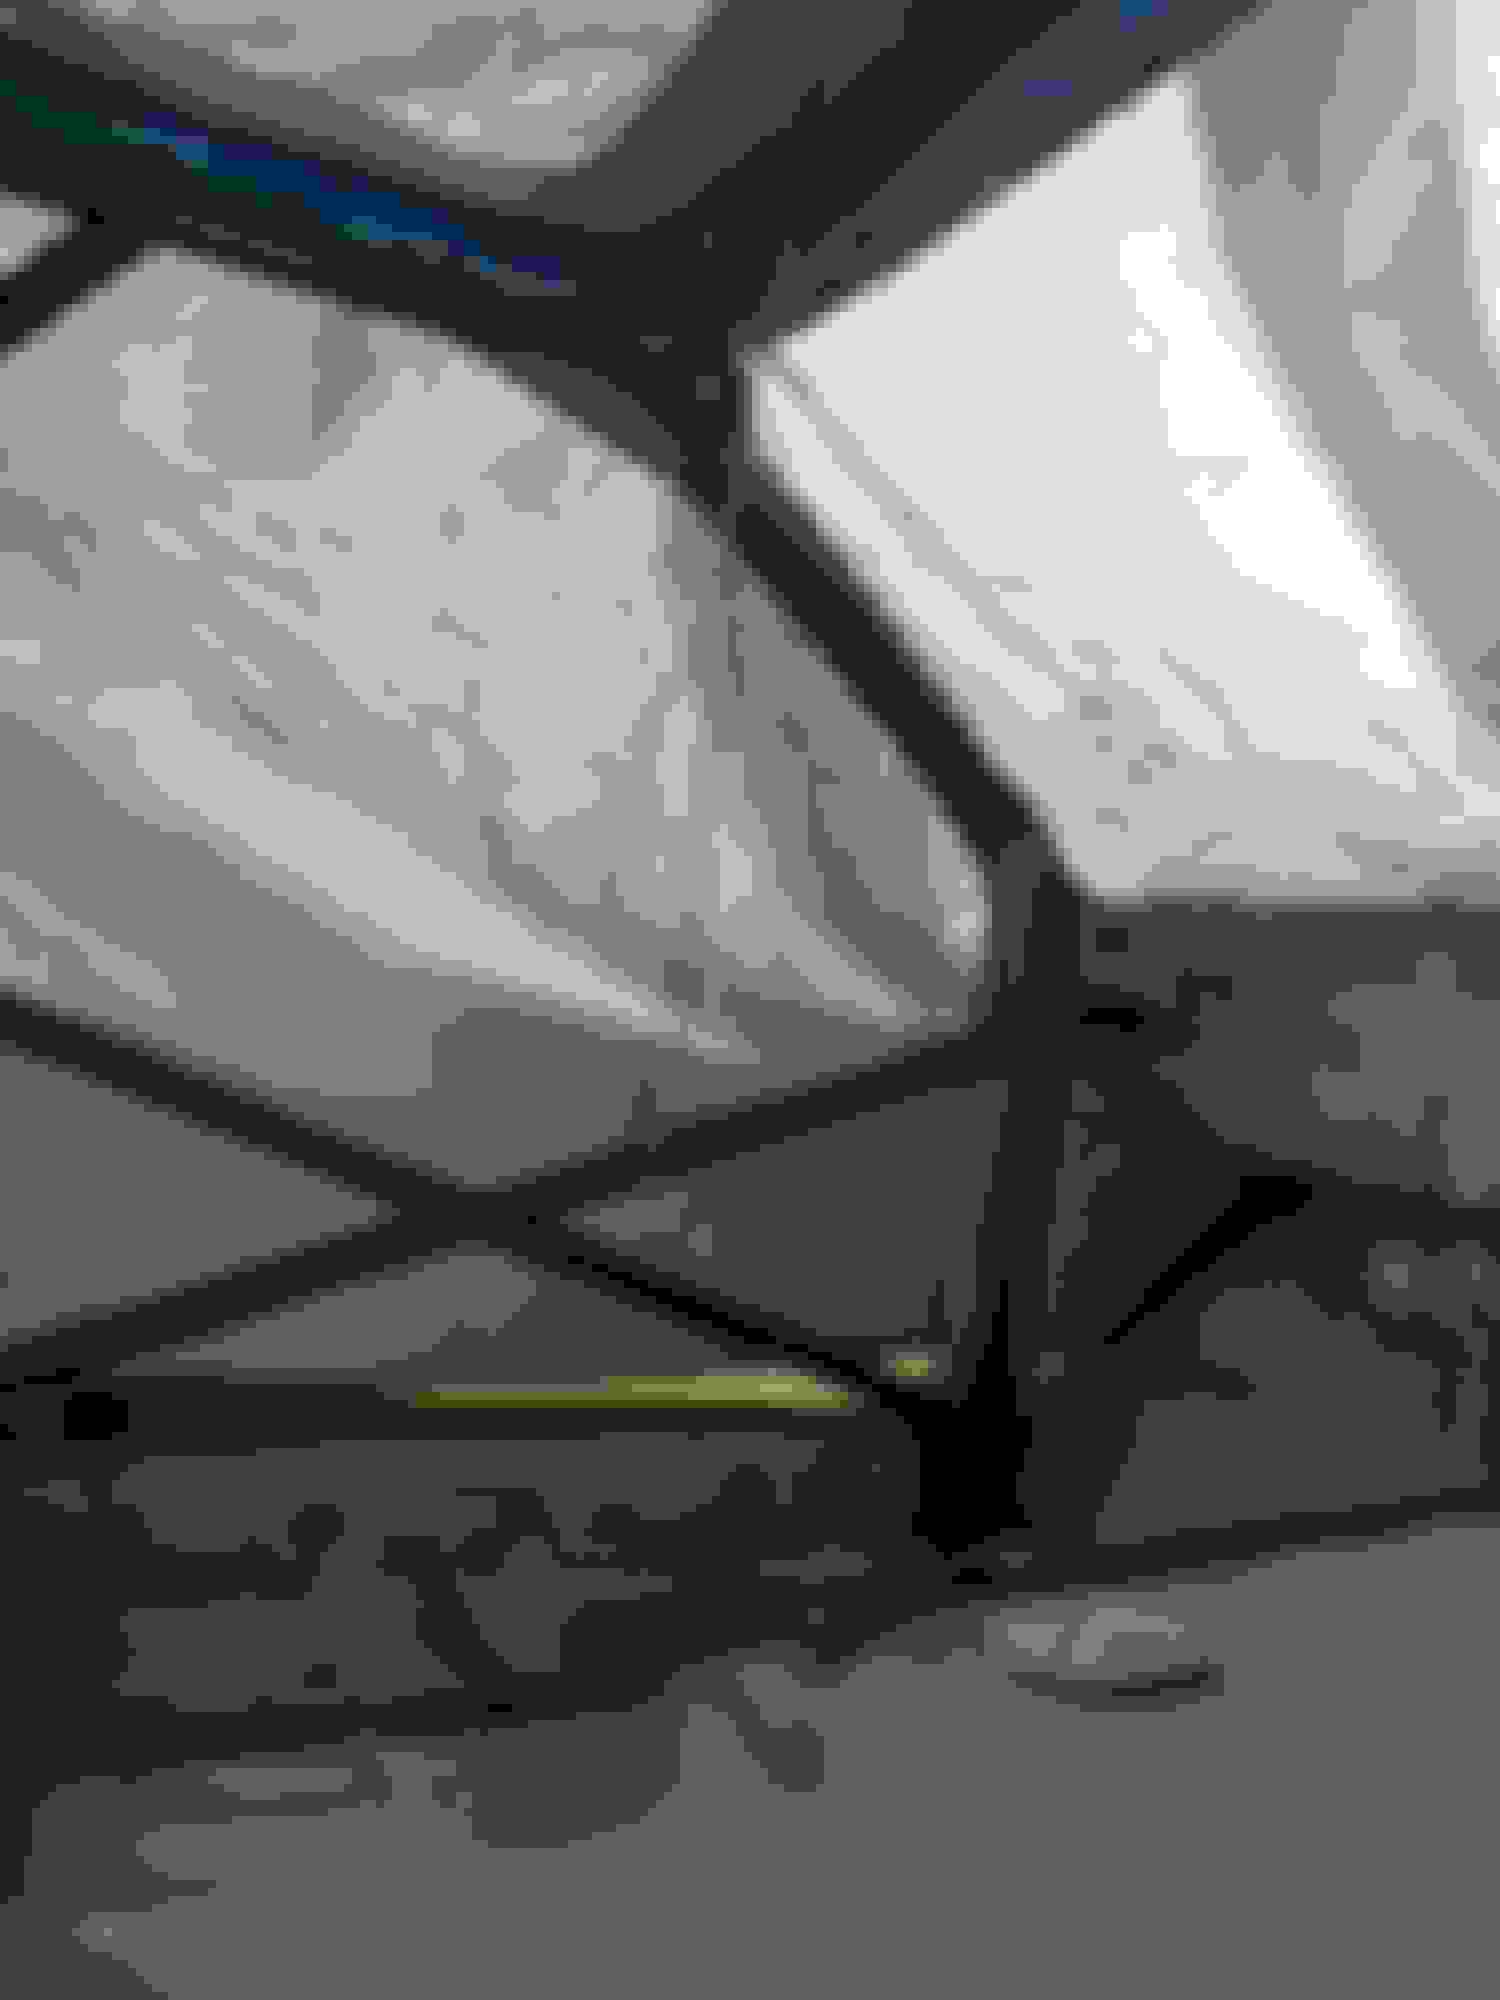
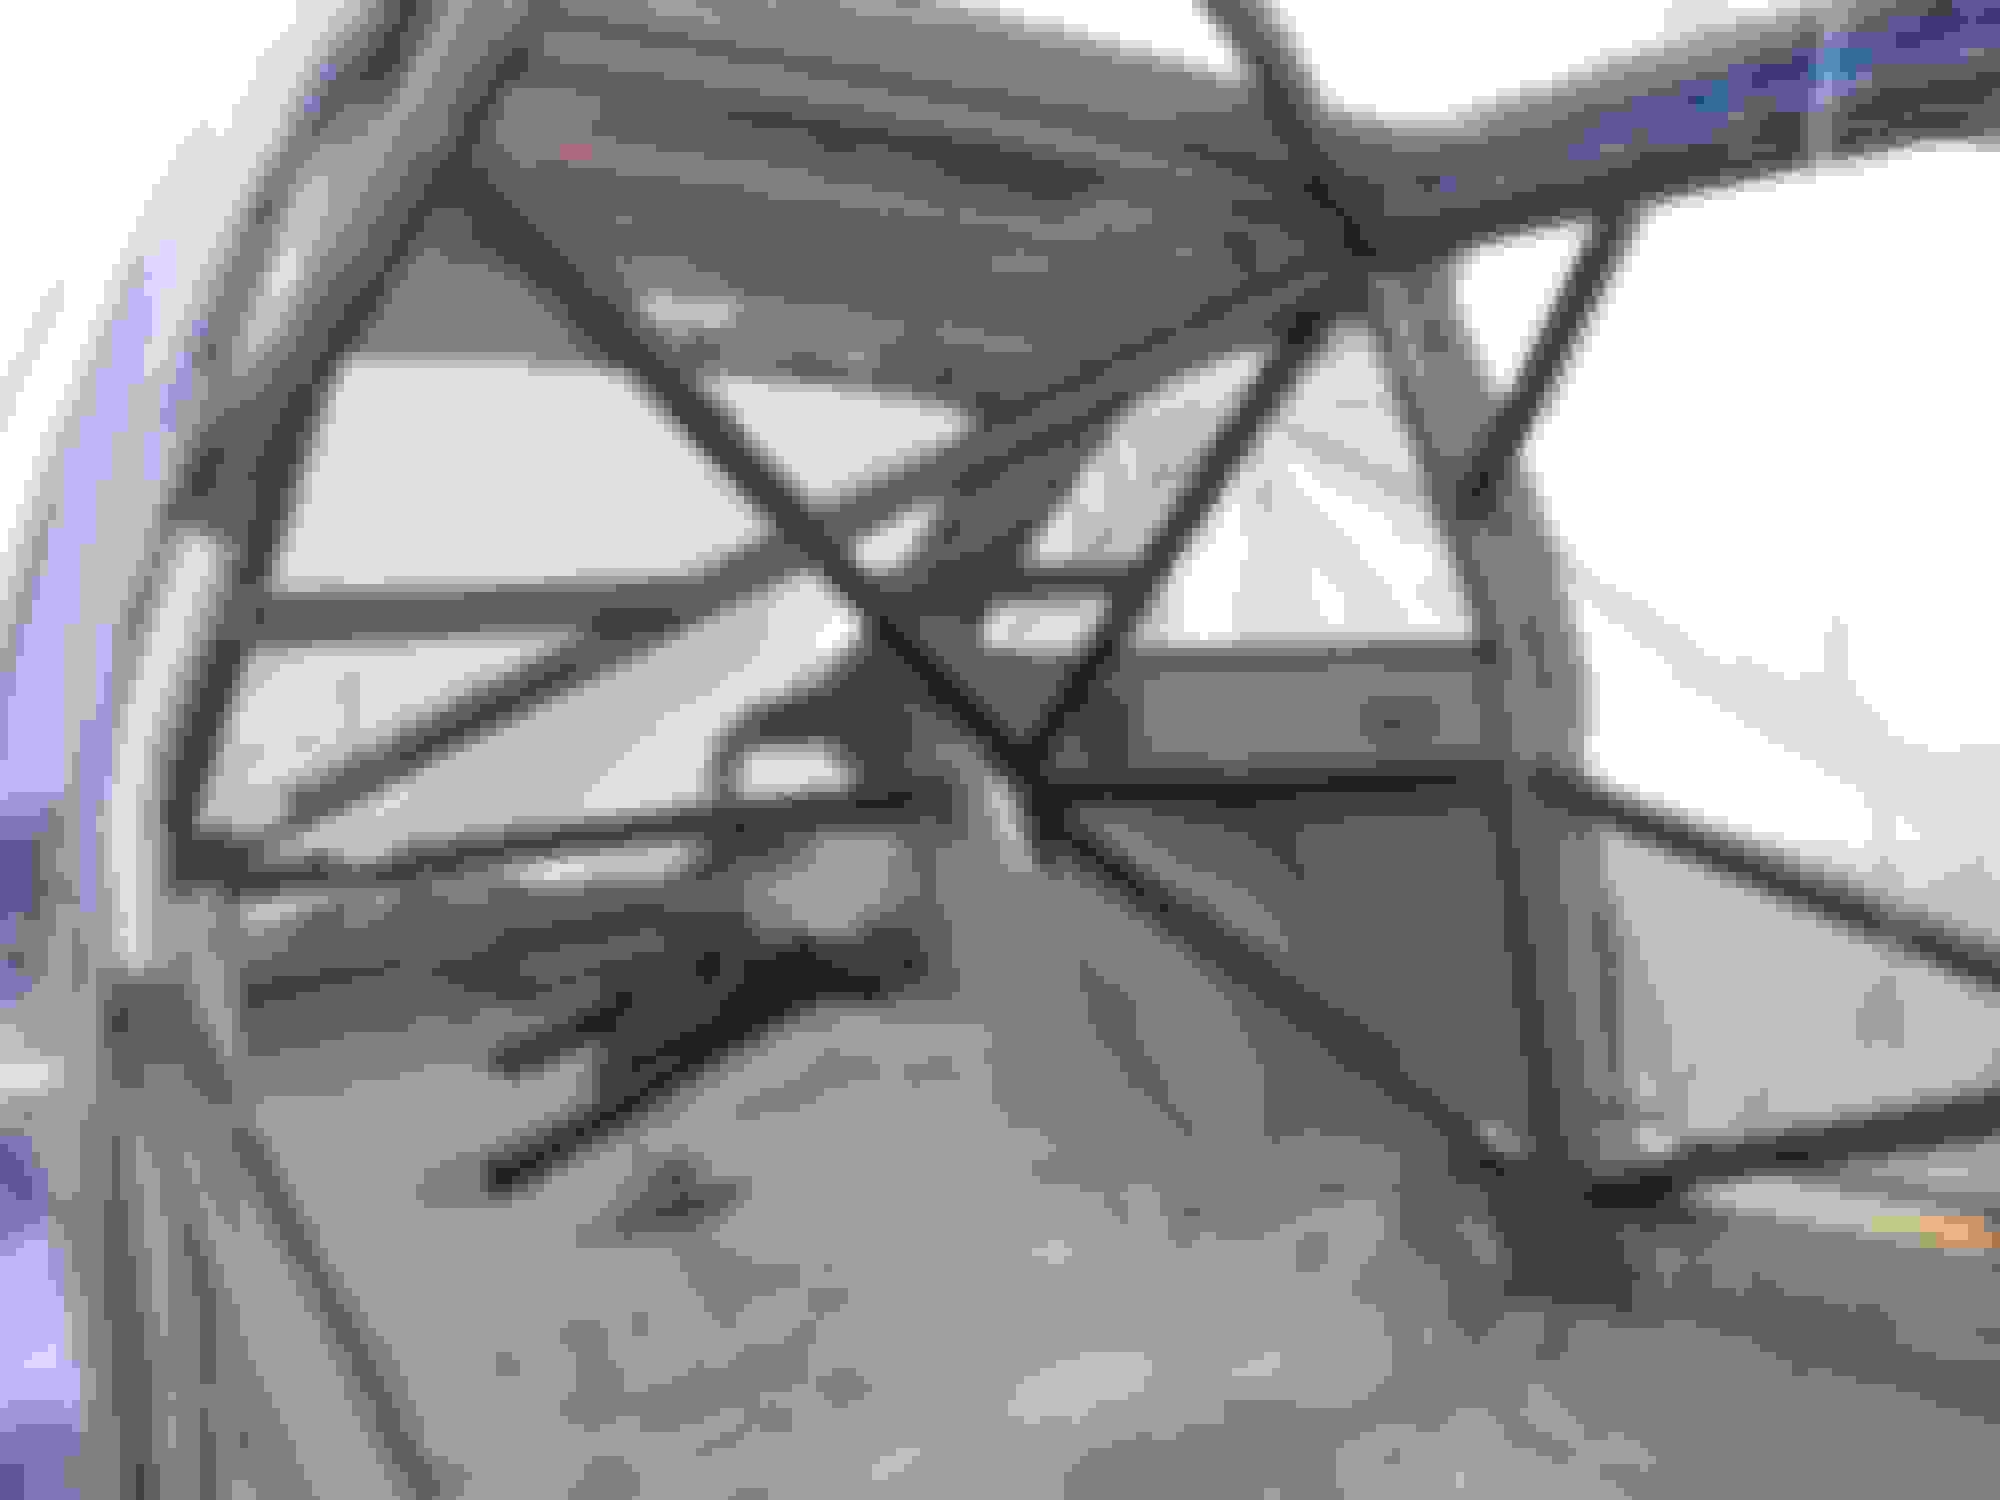
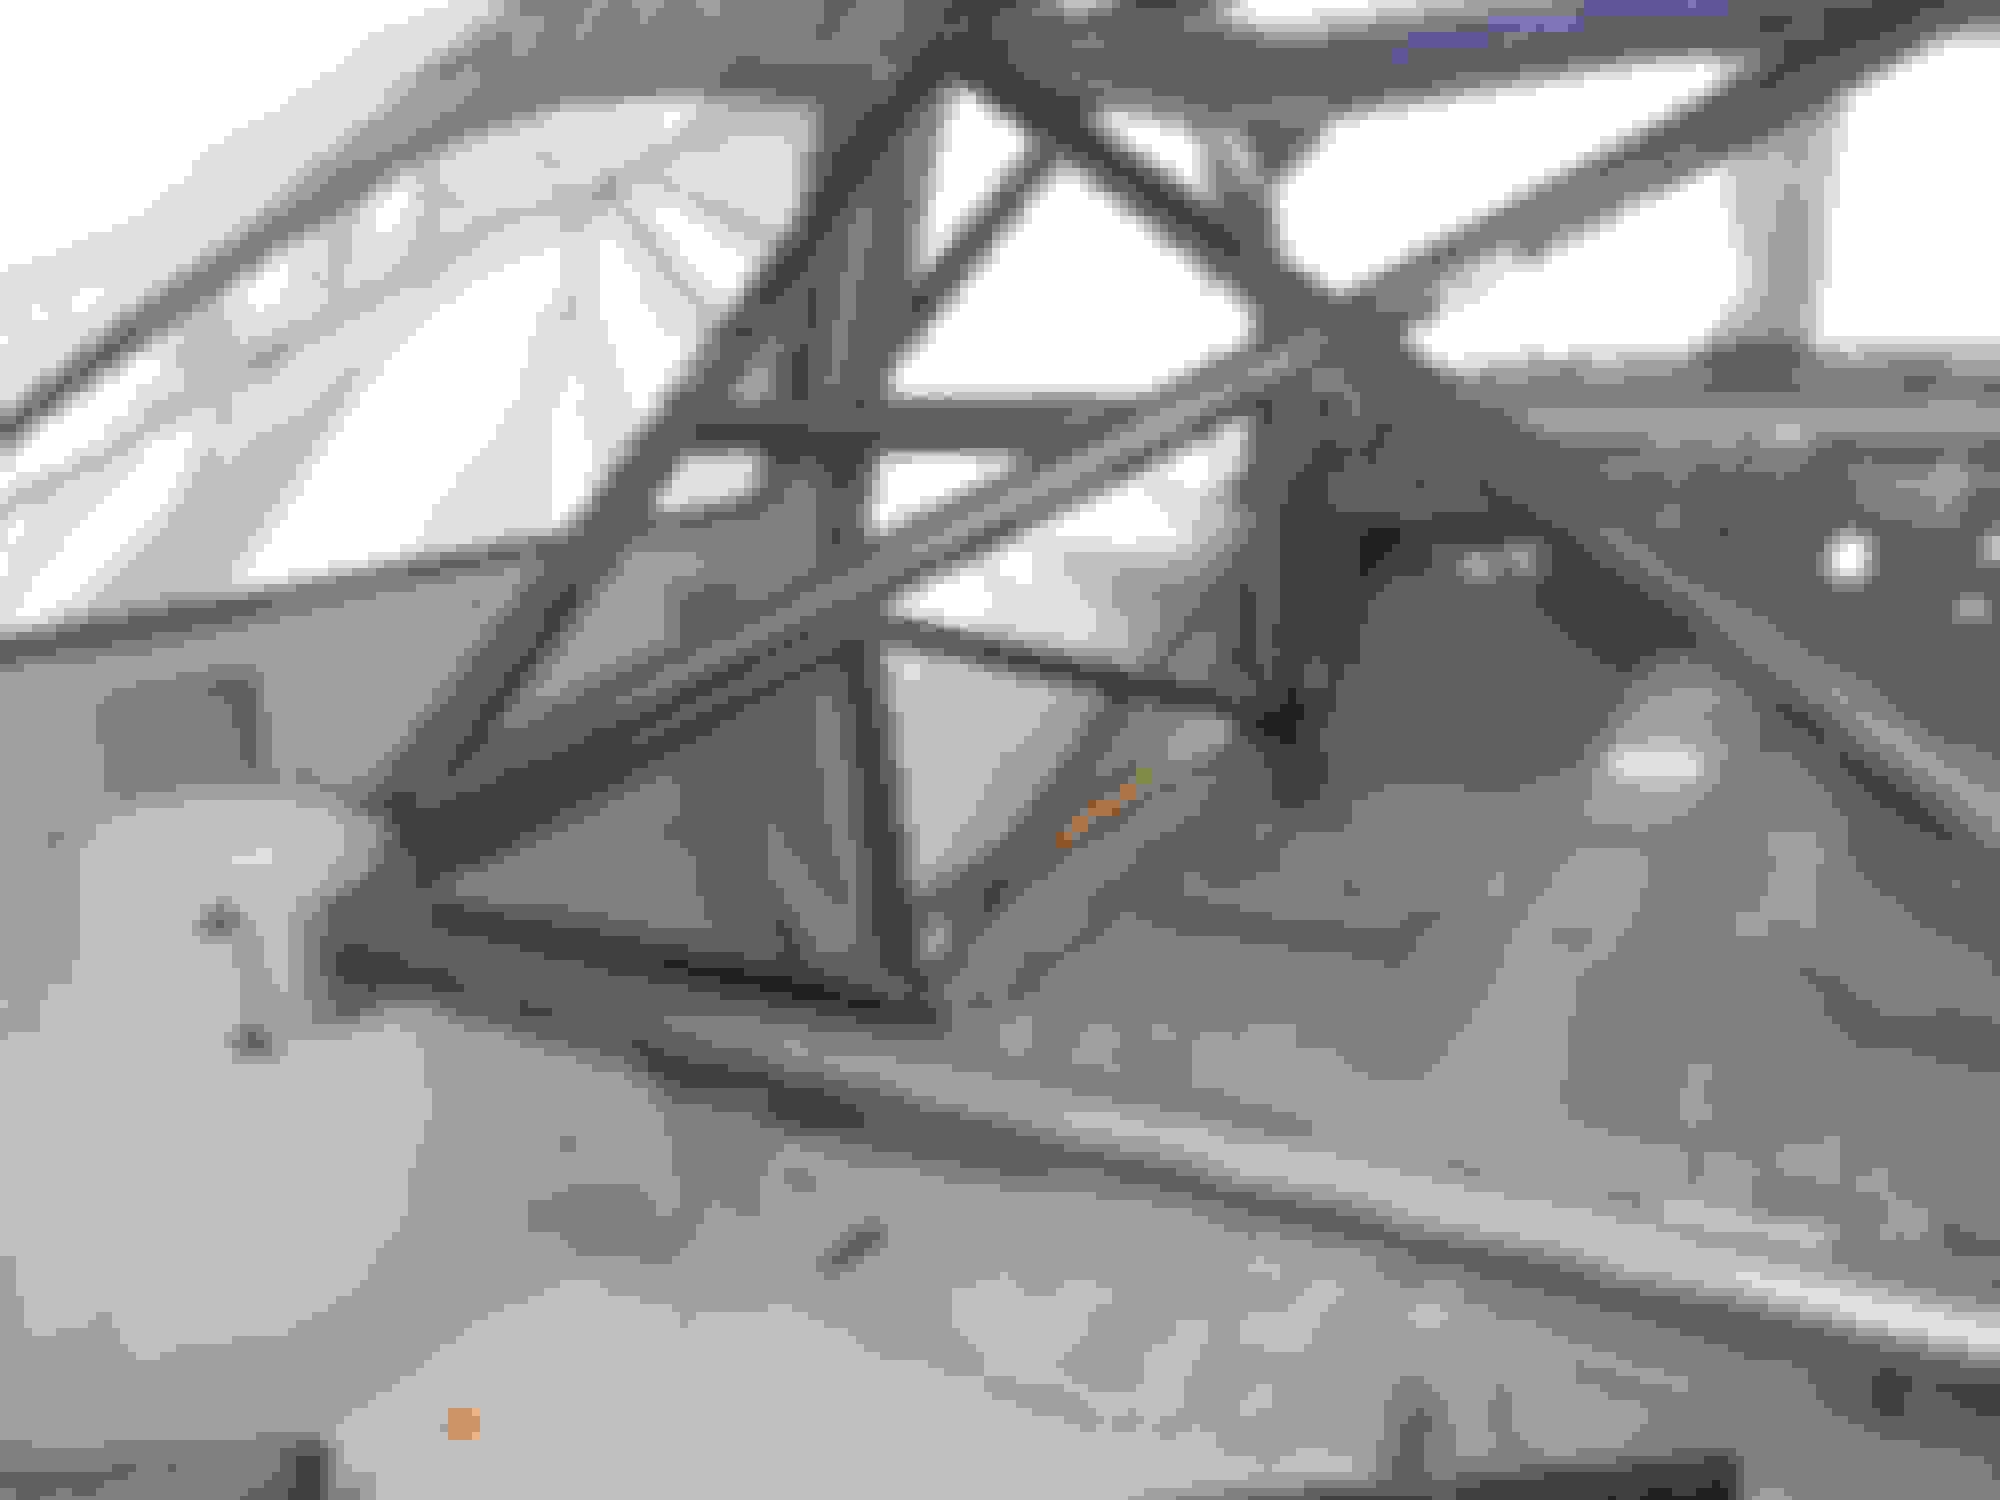
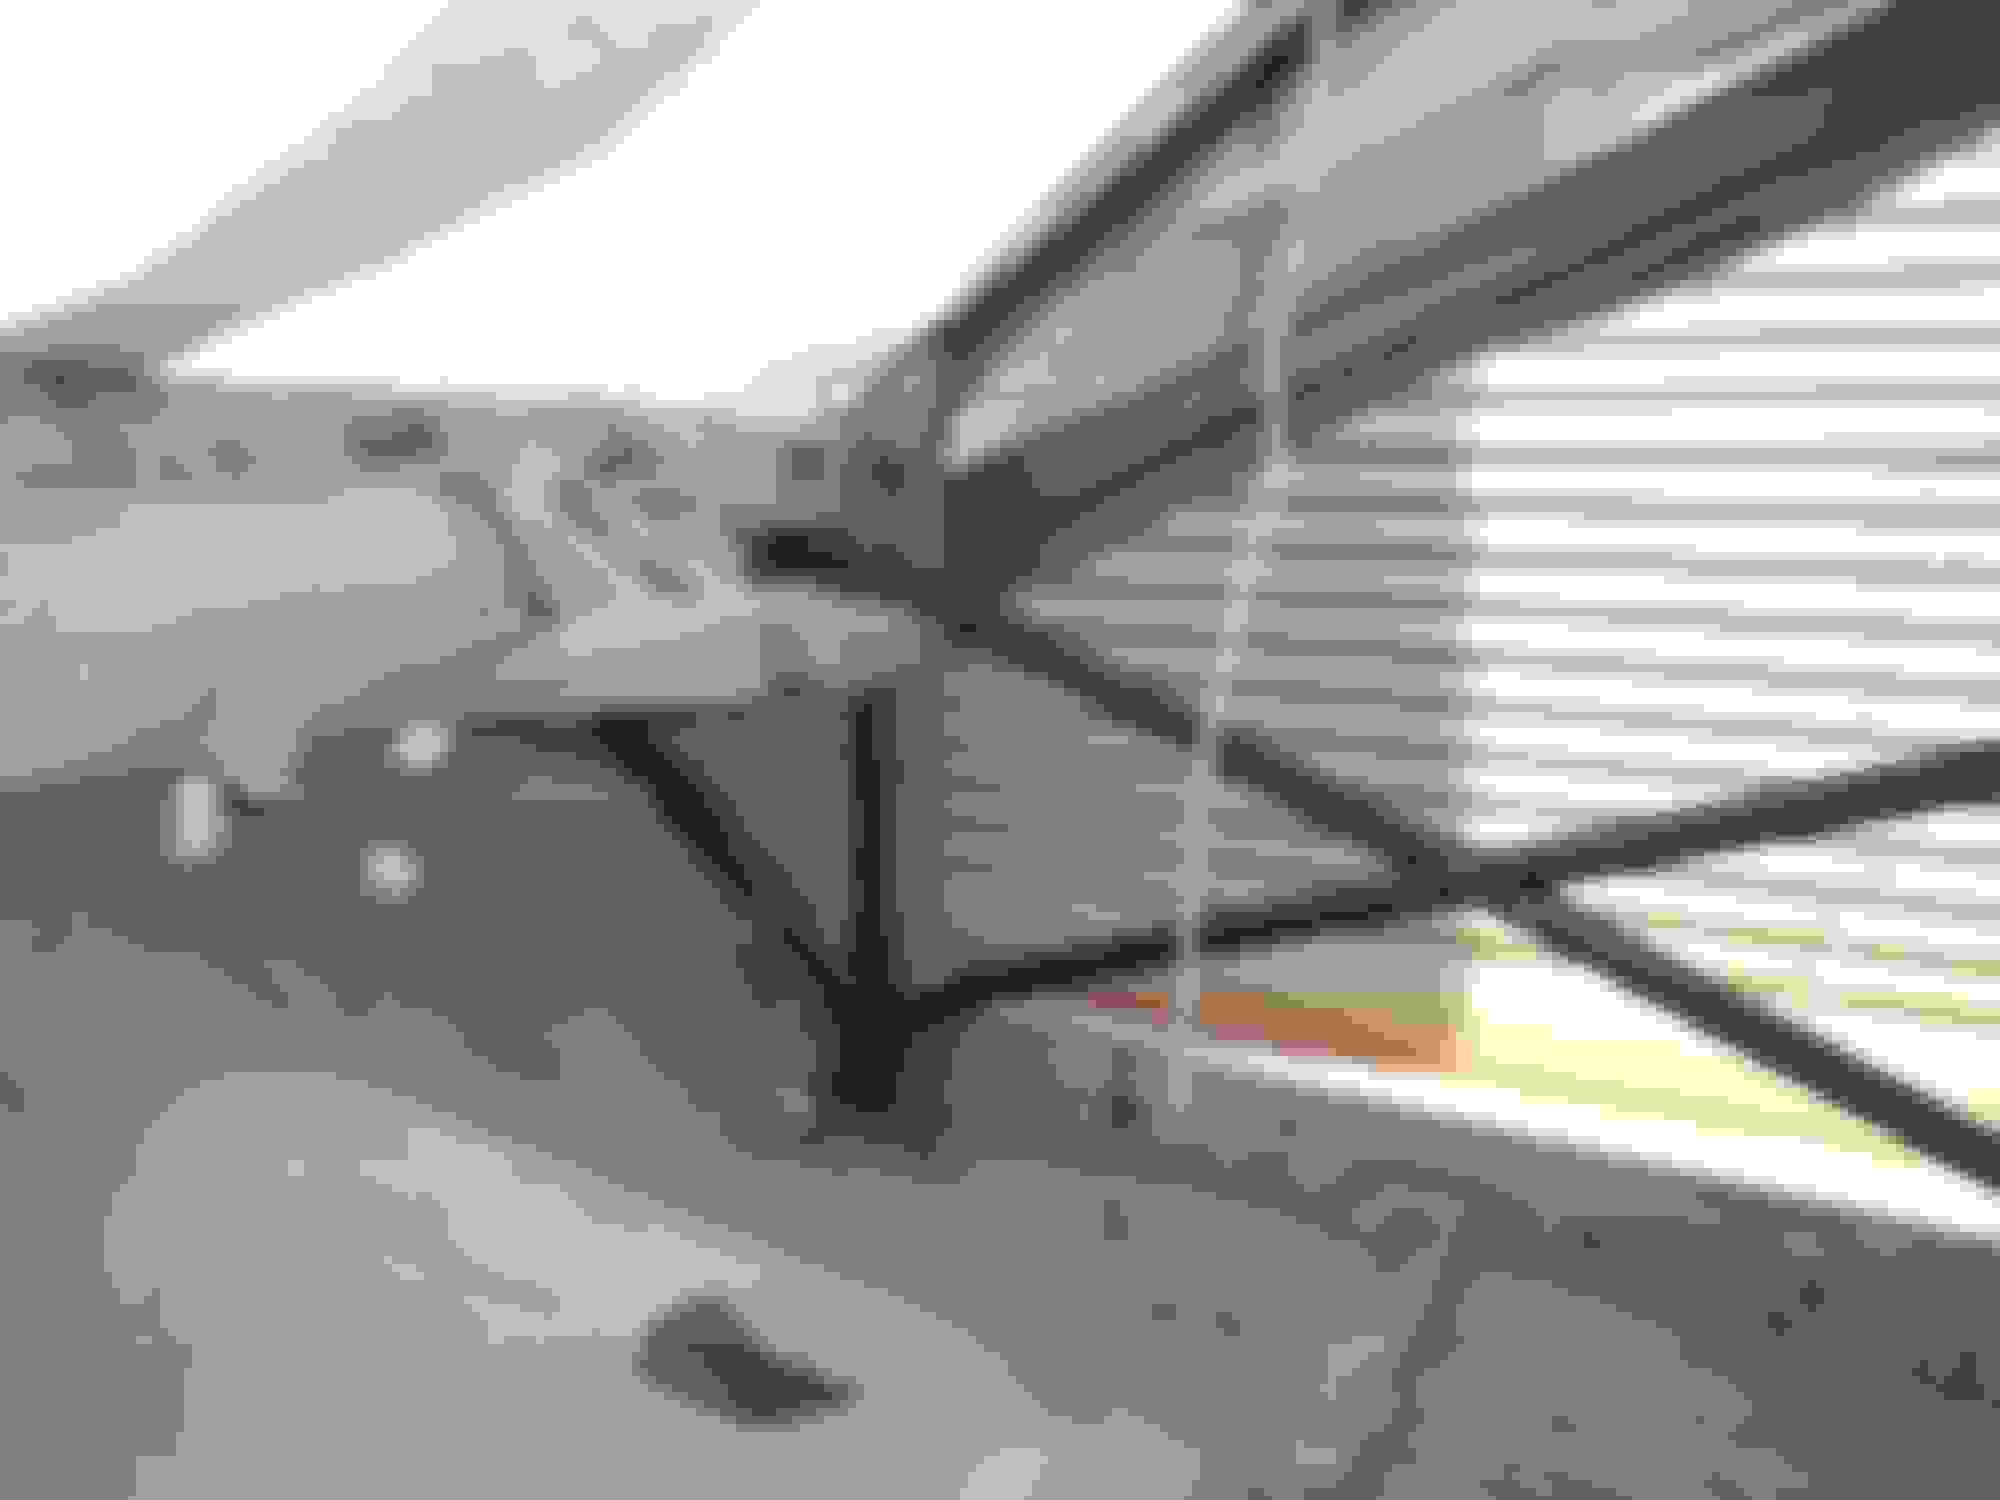
Cage has been pretty straight forwards so far, created the simple cage structure, everything that needed doing while the cage could still be moved about to get behind everything.
all this was then ratchet strapped so I could get at everything, making getting into the tight parts a lot easier, but still not exactly easy, glad at this stage to be tigging it as you'd never get a mig torch in some of the places.
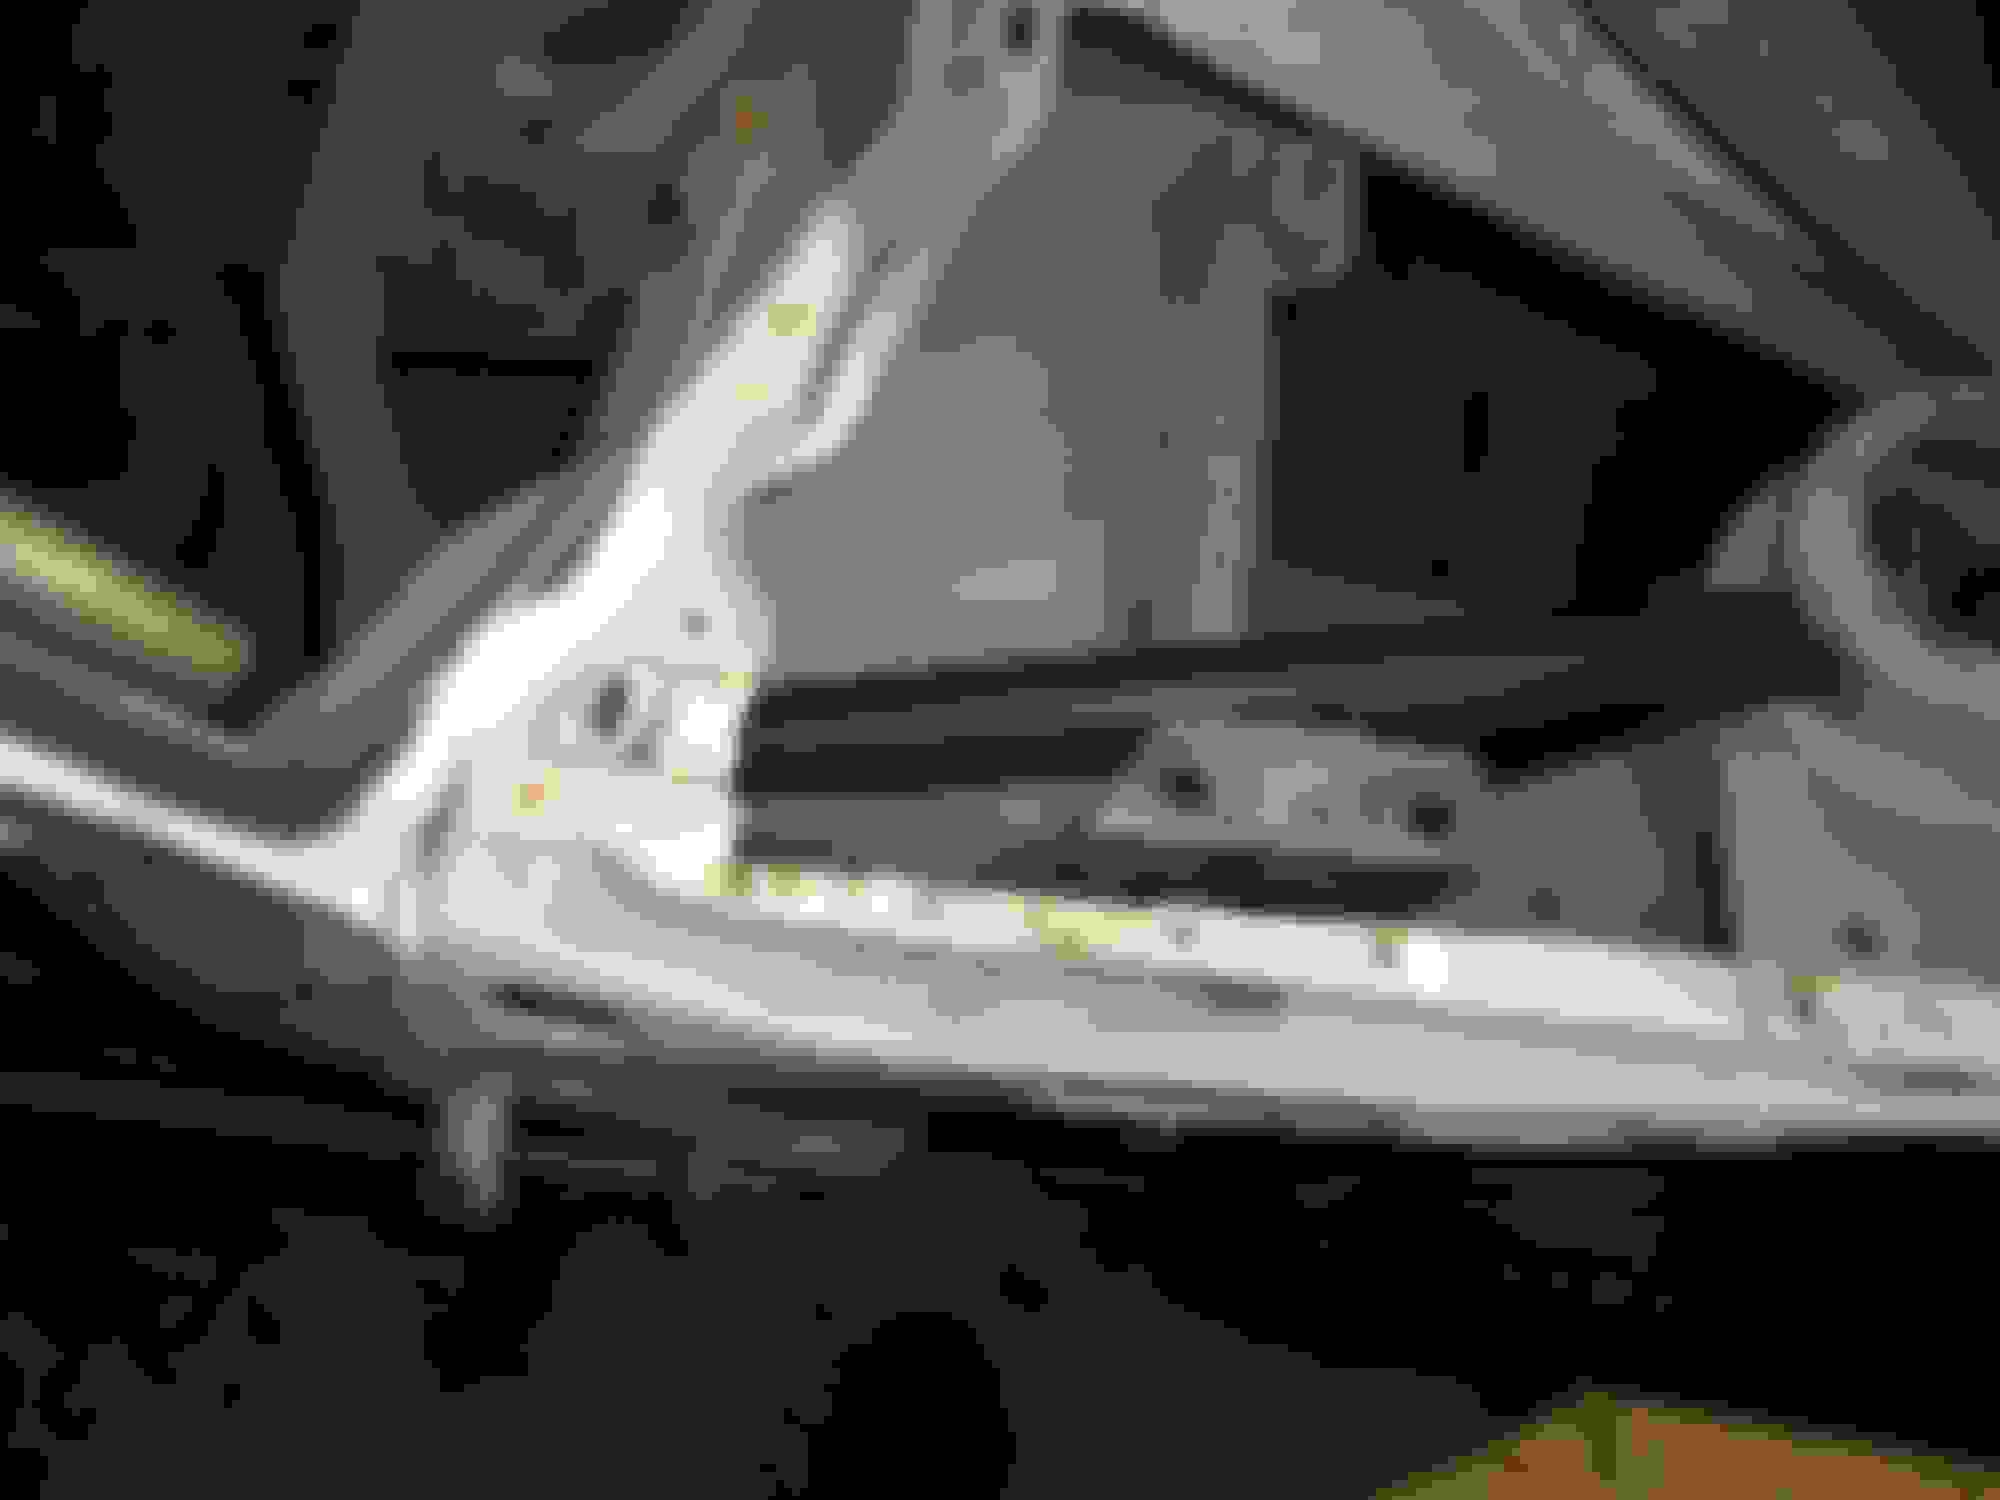
all this was tacked and I've just finished welding it all up, cut two holes in the floor for the main hoop to drop into, but the roof been off has been a huge help, and I wouldn't of even thought about it if it wasn't on a spit.
Appreciate a professional could do better but happy so far, have not missed any bits and have no holes so going well more to follow as I have the really awkward firewall tubes to do this week.


 happy days, still have to fit it though :-(


 .Glad you got the rear Arches Pushed out