When you click on links to various merchants on this site and make a purchase, this can result in this site earning a commission. Affiliate programs and affiliations include, but are not limited to, the eBay Partner Network.
@Caddyshack I'd really not fancy it upside-down, I've been taught that you always tig uphill, if I didn't have the spit it would be a nightmare so yeah I'm turning it as I need to get at the weld as best as possible, I'd say the biggest problem I have is that I'm improving with every weld and after a week I'm looking back on the week before's work and wishing I could do it again lol.
@Caddyshack, everything is steel, the cage is T45 thin wall tubes, the gussets I've matched the 18 gauge steel that Custom Cages gussets are made in, you don't want it too thin as it is easy to burn through when the metals are to different in thickness. Going to need 3 gussets for each door cross and 4 for the rear cross and 4 for the front cross, these are actually pretty easy to make, simply bend round a steel bar by hand, came out really well, just another 13 to do lol
@Caddyshack I'd really not fancy it upside-down, I've been taught that you always tig uphill, if I didn't have the spit it would be a nightmare so yeah I'm turning it as I need to get at the weld as best as possible, I'd say the biggest problem I have is that I'm improving with every weld and after a week I'm looking back on the week before's work and wishing I could do it again lol.
Can't you go over the previous welds to improve them? It's a great looking cage. I'd be buying a length of tube and honing my skills on that
@Jonfoc as a rule no, there's 2 options you can "dry wash" the weld which is generally considered bad practice and only done if really needed, basically running the torch over to make it prettier without filler, or you can run over it and put a cap on the weld with more filler which just makes the weld bigger and adds heat that shouldn't be needed, best to get it right first time.
to be honest I've only had 2 beads I wasn't happy with and I've sorted them accordingly, I more meant that I can make an even nicer weld as I've welded more, not so much the old welds where bad, just not as pretty to look at, and I went through about 4 metres of tube before I even touched the cage, wasn't about to destroy nearly 2k of tubes
Made lots of these test pieces, considering tube has to be about the hardest thing to learn on but really satisfying when it finally came together
Yeah I had a message from a very very good welder and he said anymore heat would make it brittle and ruin it. If it's just aesthetics I'm sure you can live with that.
Nothing wrong with that welding , by the time it's had a coat of primer and paint you won't even see the weld. It's very had welding tube especially a roll cage .
Keep up the great work looking forward to more updates
As Zetaboostboy says it's mainly to add even more structural support, they're pretty much standard fitment on any rally car. Usually cost an arm and a leg so I bought the dies instead, even made a sheet metal roller today to roll the metal into shape.
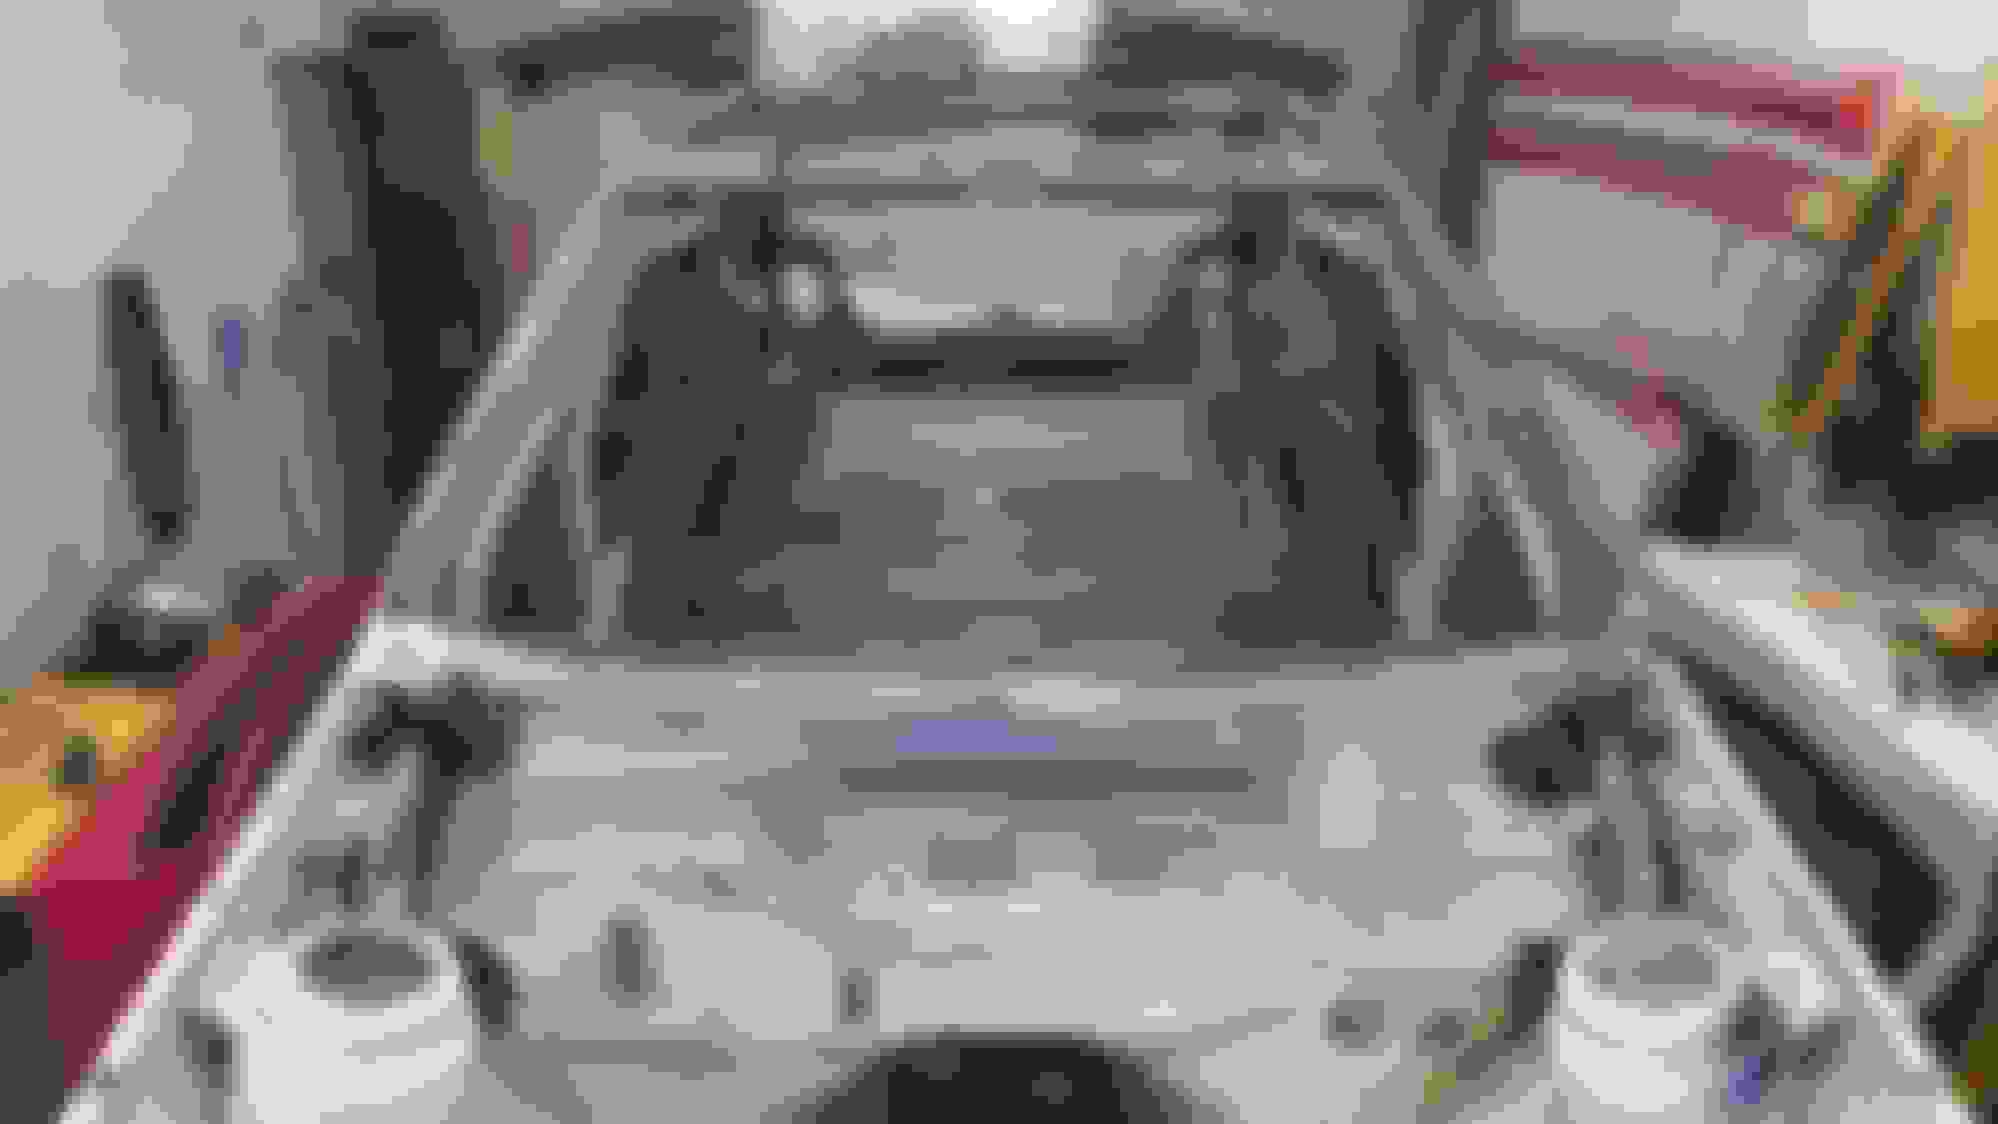
Anyway the next step I was really not looking forward too which is fitting the first 4 of the 6 firewall tubes, for anyone else thinking about it you basically need to cut 4 big holes in the firewall so that once the cage is tacked together you can ratchet strap it closer so you can do the reverse sides, it city ally went really well, alot better than I thought it would, had to remake both horizontal bars though as the ones Custom Cages sent had been trimmed wrong on the ends.
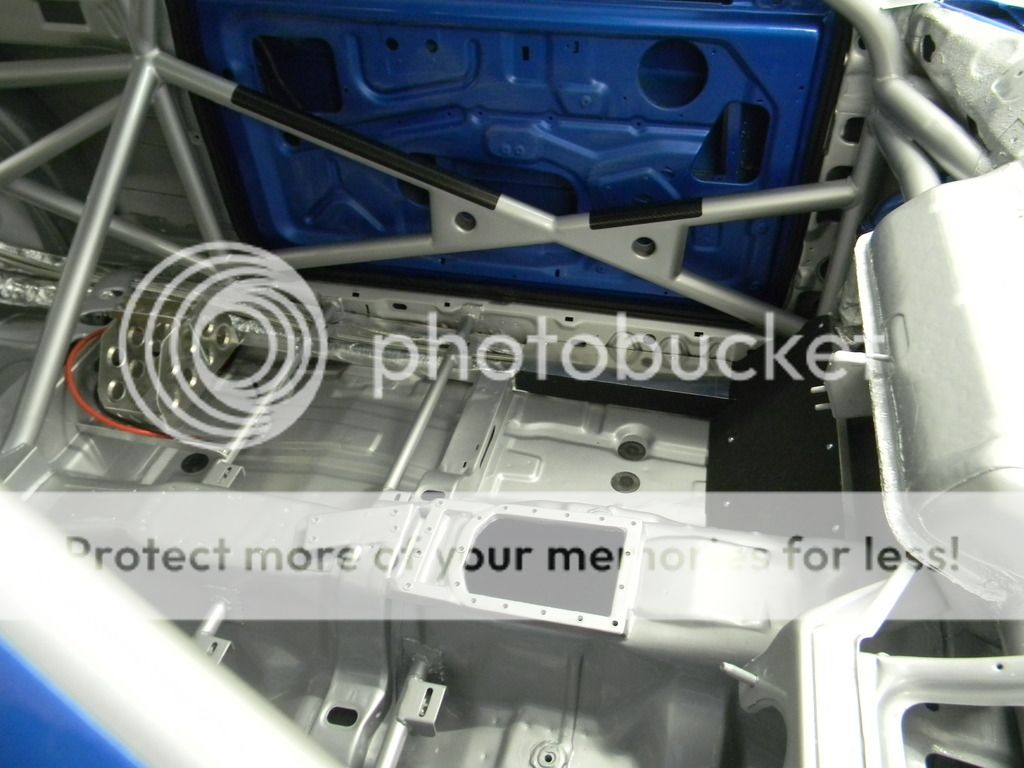
Well finished these braces, welding them on the door side only for now so the cage can be located in its final place.
shame noone will ever see that bit lol, that meant that after alot of double checking and using a mirror to check all the joints where complete and I haven't forgotten anything the cage can be located on 8 out of ten hard points and tacked into its final position, just really hope I haven't forgotten anything
Got the front and rear cross members to do tonight so update later
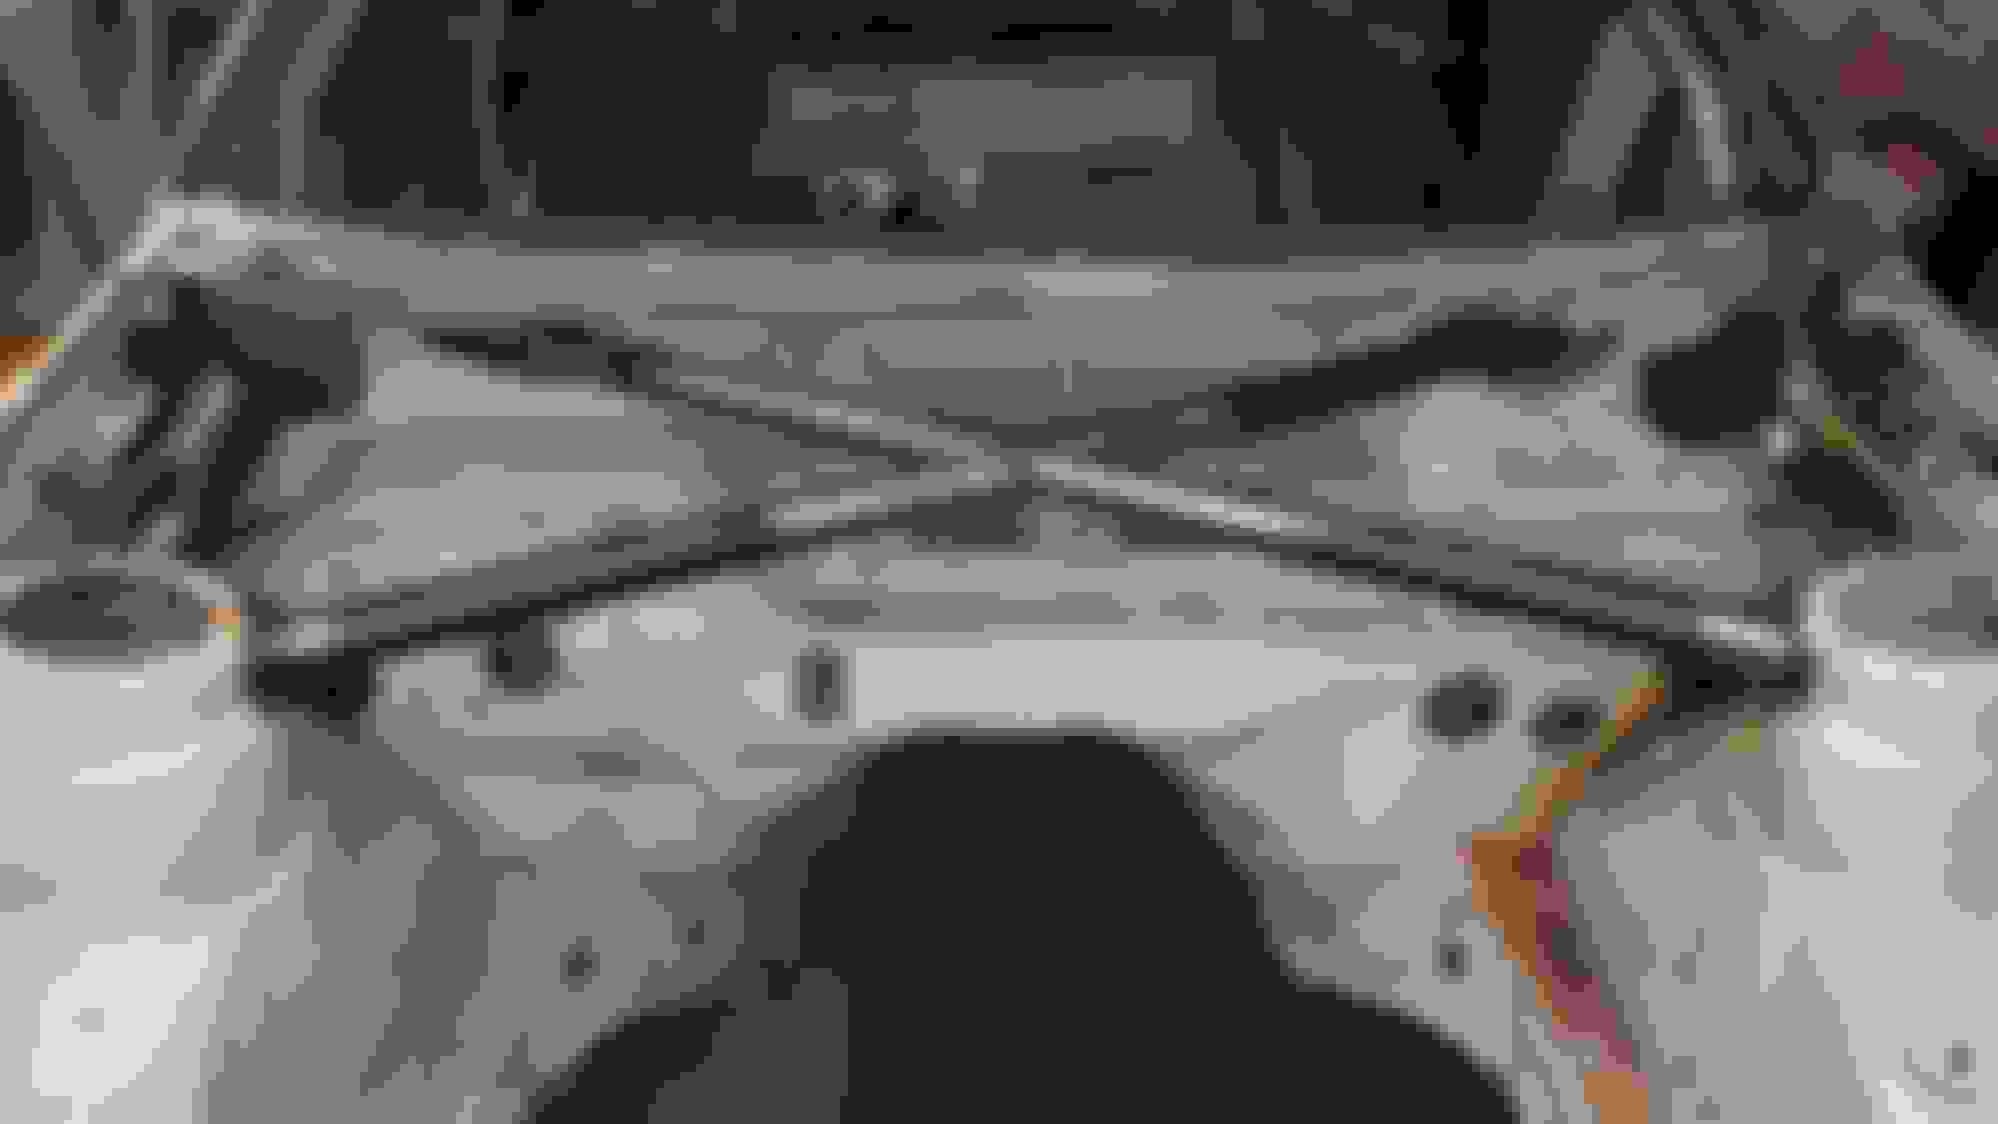
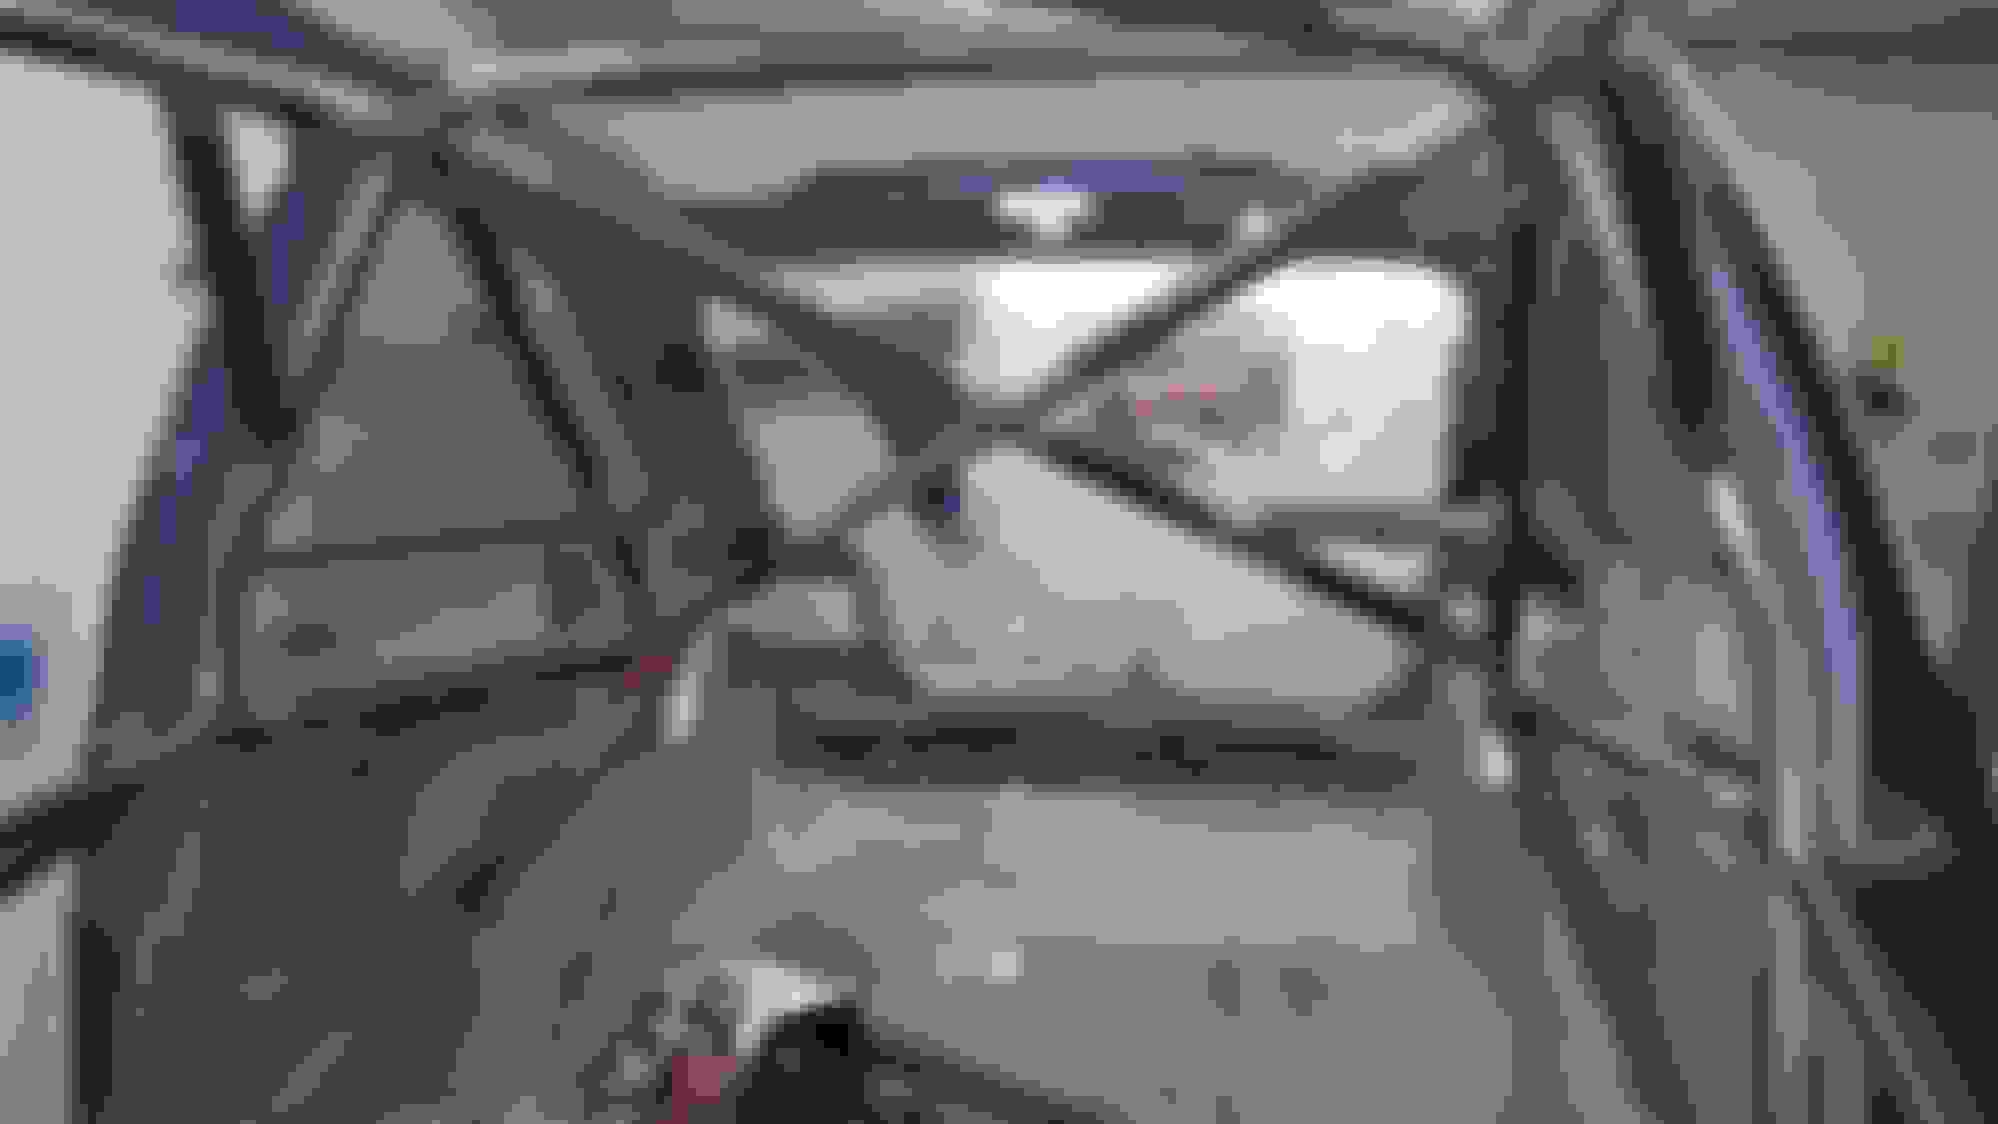
Finished tacking most of the cage together now, cut the firewall using a plasma cutter, made a cross cut either side then lots of test fitting till I was happy with it on the front cross member.
showing the cuts made, these flaps will be beaten back down onto the tube and welded shut.
Then tacked the rear cross and seat belt tubes, but wasn't happy with the drivers tube so I'm going to redo that one but it's coming together now.
looks like you are having fun with the tig,you are doing a great job,its coming along now,will be a very nice car,keep up the good work,its a credit to you and your hard work
Update again, the bulk of the cage is done, finished the door and rear cross gussets and mig welder the cage completely tithe shell, still missing the rear cradle support tubes but thanks to Ian Sibert providing some top info on the rear cradle that will be done asap, front gussets and a few others to do, then sill stand tube, seat runner bar...the list is endless lol
Lol yeah David few more metal work bits left yet, then try to figure out how I'm gonna shoe horn the engine in, then I think works gonna take priority for a few month unfortunetly
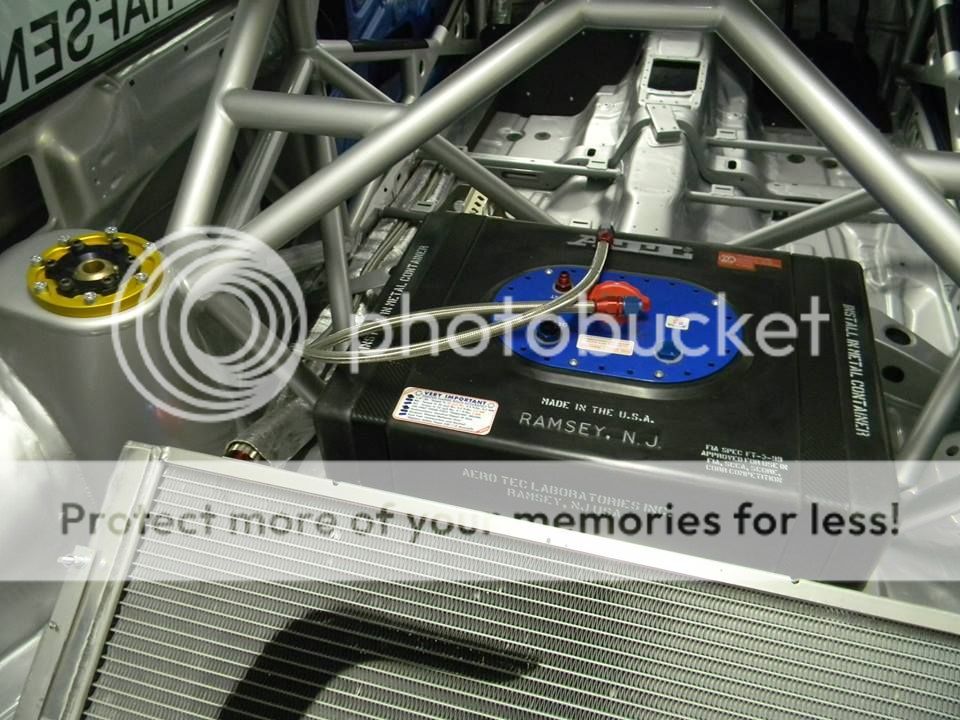
Been looking at the radiator situation as well, its going in the back the same as yours but I think I'm going to go for the later design with the window scoops exiting through the floor as I don't think my carbon skills are quite up to yours .
@Jonfoc as a rule no, there's 2 options you can "dry wash" the weld which is generally considered bad practice and only done if really needed, basically running the torch over to make it prettier without filler, or you can run over it and put a cap on the weld with more filler which just makes the weld bigger and adds heat that shouldn't be needed, best to get it right first time.
to be honest I've only had 2 beads I wasn't happy with and I've sorted them accordingly, I more meant that I can make an even nicer weld as I've welded more, not so much the old welds where bad, just not as pretty to look at, and I went through about 4 metres of tube before I even touched the cage, wasn't about to destroy nearly 2k of tubes
Made lots of these test pieces, considering tube has to be about the hardest thing to learn on but really satisfying when it finally came together
when I welded my cage into my focos the car was still on the roll over jig so I rolled the car upside down and did some of the welds standing on the cage I was very happy with the out come . Looking good mate
Lol yeah David few more metal work bits left yet, then try to figure out how I'm gonna shoe horn the engine in, then I think works gonna take priority for a few month unfortunetly
Been looking at the radiator situation as well, its going in the back the same as yours but I think I'm going to go for the later design with the window scoops exiting through the floor as I don't think my carbon skills are quite up to yours .
There a lot involved in getting these to wrc spec and more so if your a one man show as well .your moving along well for sure Alan.
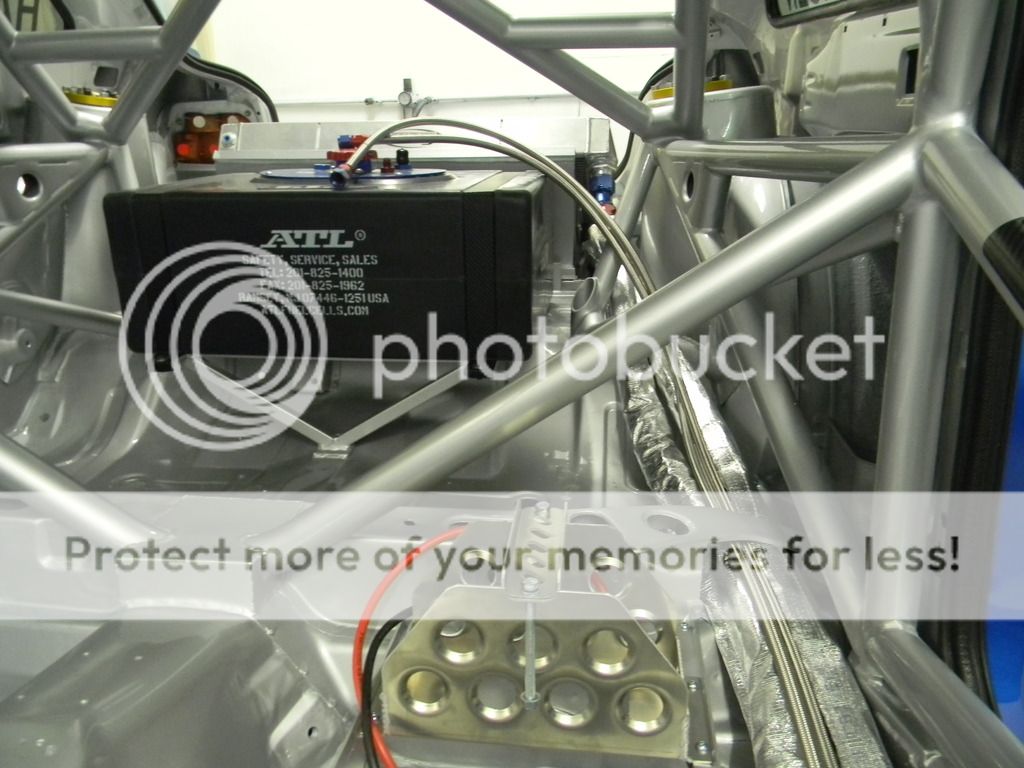
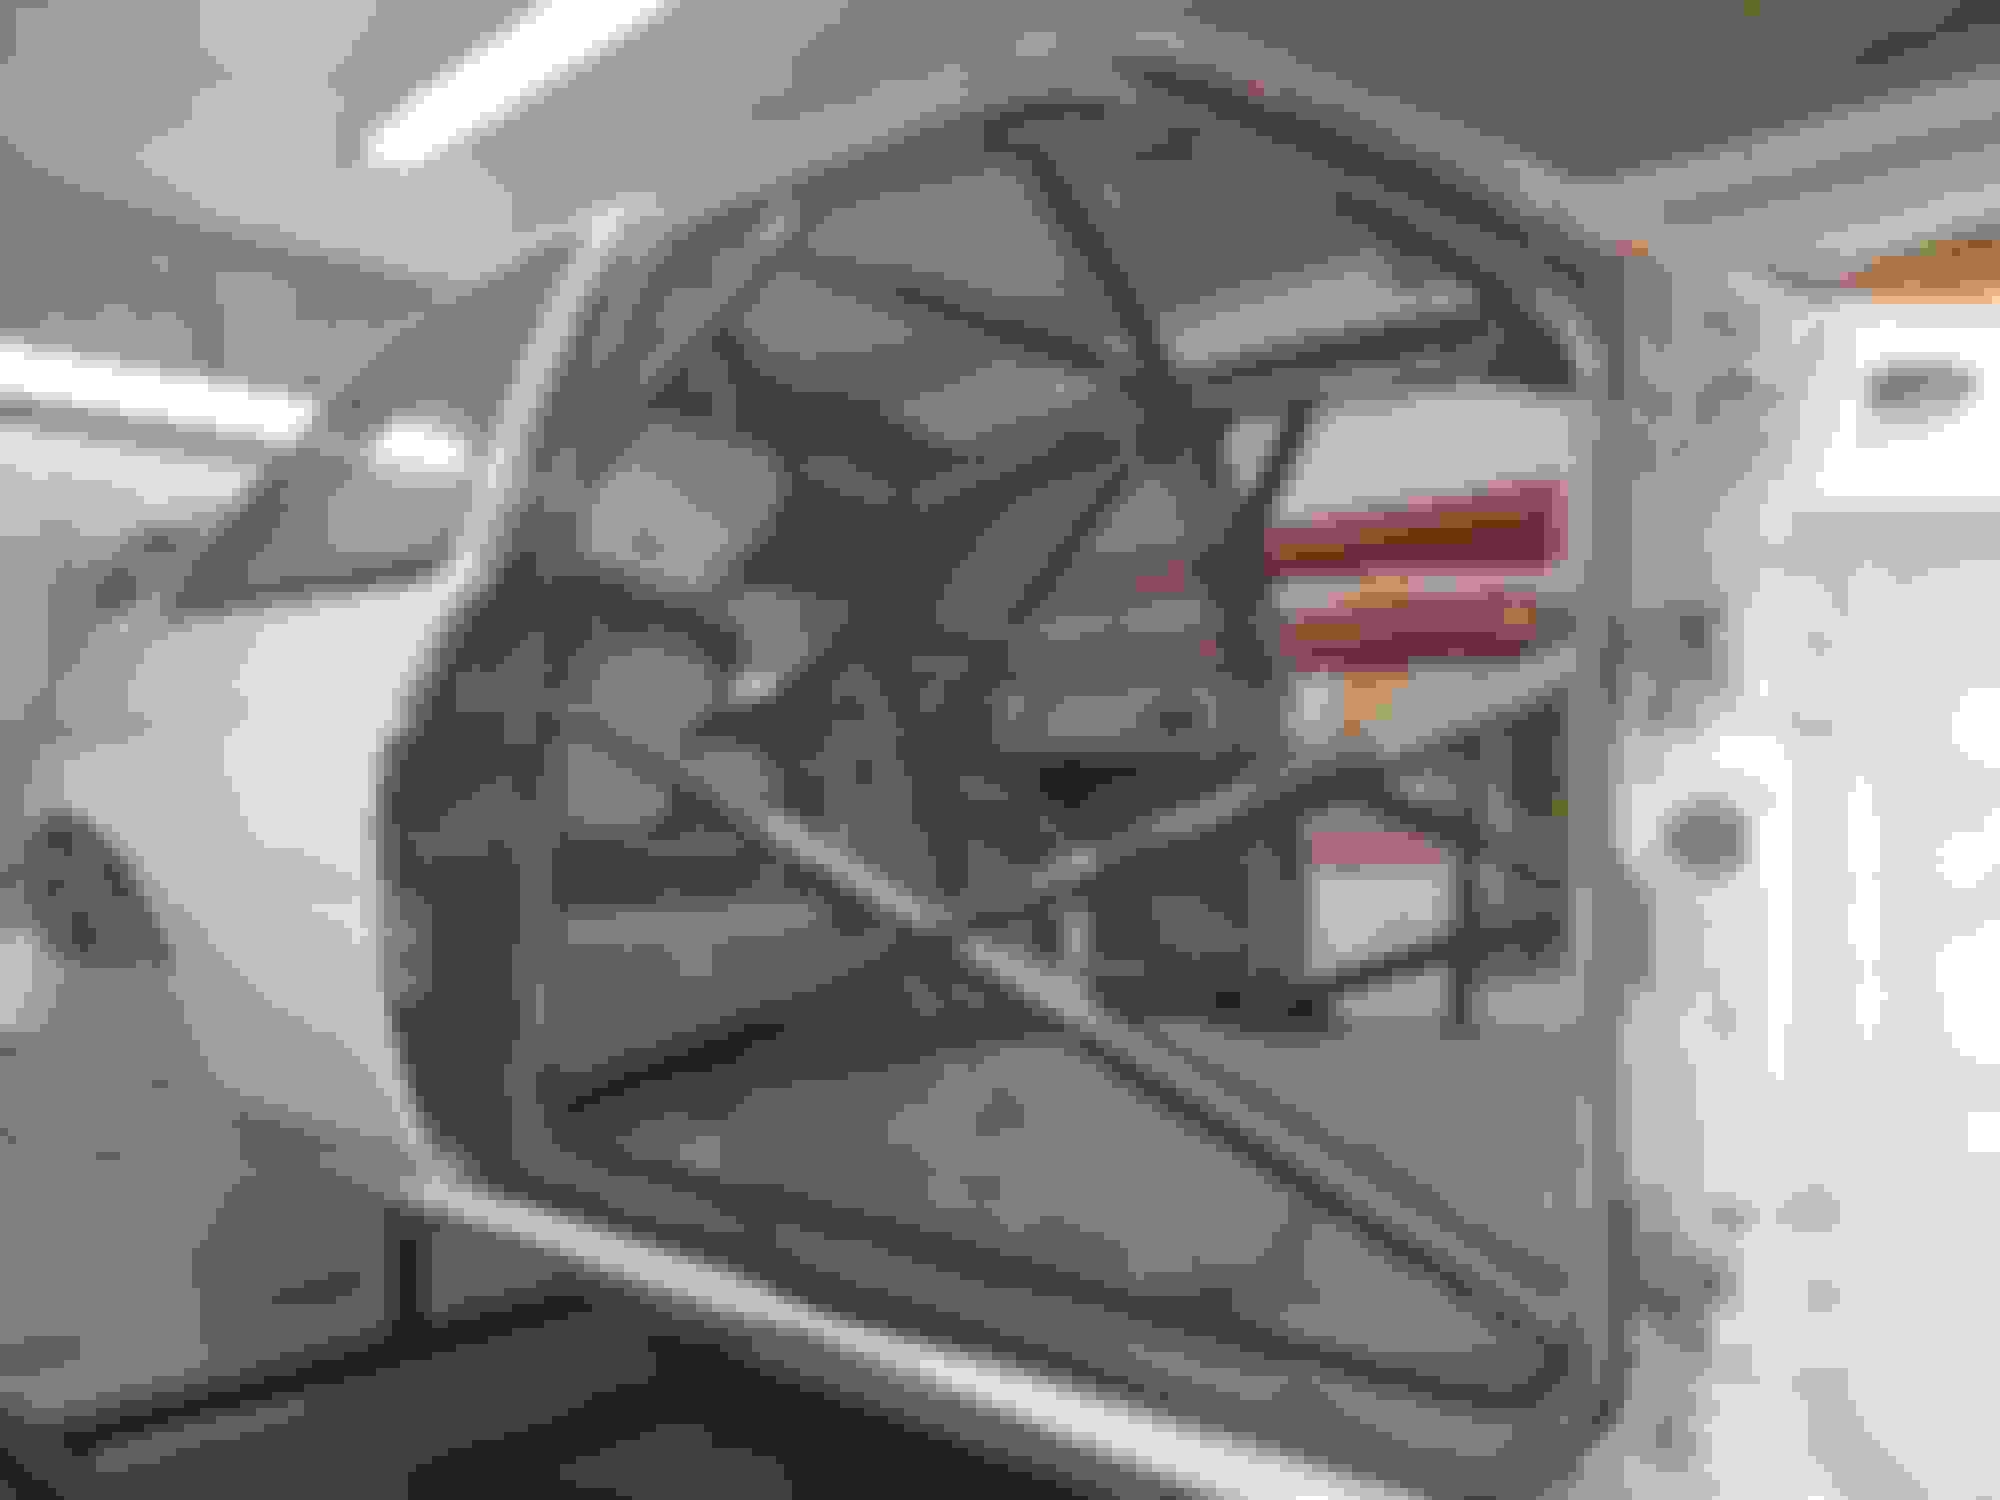
Yes the radiator in the rear is a good setup but make sure you work it out well Alan as it takes up a nice bit of room and the pipe work as well. I have my pipes all running up the passenger side pic below.
Last edited by cossiedevil; 29-04-2017 at 04:37 PM.
There a lot involved in getting these to wrc spec and more so if your a one man show as well .your moving along well for sure Alan.
Yes the radiator in the rear is a good setup but make sure you work it out well Alan as it takes up a nice bit of room and the pipe work as well. I have my pipes all running up the passenger side pic below.
damn that's looking smart mate, your project has been a massive source of inspiration especially when I've been really fed up with it lol and I know you've been there, I've been held up with the rear cradle measurements which have been a pain but after talking to Gordon Vincent I think I've got it sorted, just need to make a lathe now lol I kid you not as I need the inserts for the cradle....what was you saying about a one man band
hopefully get back on it next week needed a bit of time off. Cheers for the kind words lads
 23-03-2017, 03:17 PM


 .
.