
My XR2 (turbo) rebuild (2nd time!)
 10-01-2006, 04:03 PM
#1
Too many posts.. I need a life!!
Thread Starter

I thought that I'd share this project with you after some 5 on/off years of tackling the neverending rust.
This is my very first car, which I've never sold, due to loving her too much for the fun factor. I tackled this when I was 17 putting on new panels, etc but since nobody was there to tell me what rust was, underseal was just applied over the surface rust.
This then took it's toll over the 2 years and being a student, couldn't afford to fix her again, as well as paying for a rented flat.
I took some pics of what I've being doing, but really it's been cutting ALL rust out and putting in new metal. Every panel has had some work.
You will see from the chassis leg, it was THAT bad. Rumaging about the garage, I came across a Nova front bumper, which was perfect for re-shaping into a new one, as they are no longer available from Ford (surprise, surprise!!)
Door pillars, boot floor (made from a 16i door), arches, floor pan, etc, etc!!!! I've done it all on the cheap, so what ever I could make, I did. Only the door pillers and entire front end was purchased panels.
Entire shell has been seam welded and strengthened at parts (bulkhead), with a few secret mods done too.
Everyone thinks I'm made undertaking such a major job, for just an XR2, but hae it is valuable to me alone. Many things were undertakin in that machine..........!
Best thing is that at least I can say that I've done EVERYTHING myself. Once the rest of the cage is bought and fitted, I'll be building a booth in the garage (totally sealed, with air vents already installed!) and giving painting a shot.
The XR2 engine is now ditched and a RST engine going in. I've a 2.0L Zetec (20K miles) bottom end sitting around so could use that in time.
All of my rebuild has been using my 35mm camera, but only used my rubbish digi cam to show you these. Once IT here at work sort out the scanner, I'll get the other pics to you.
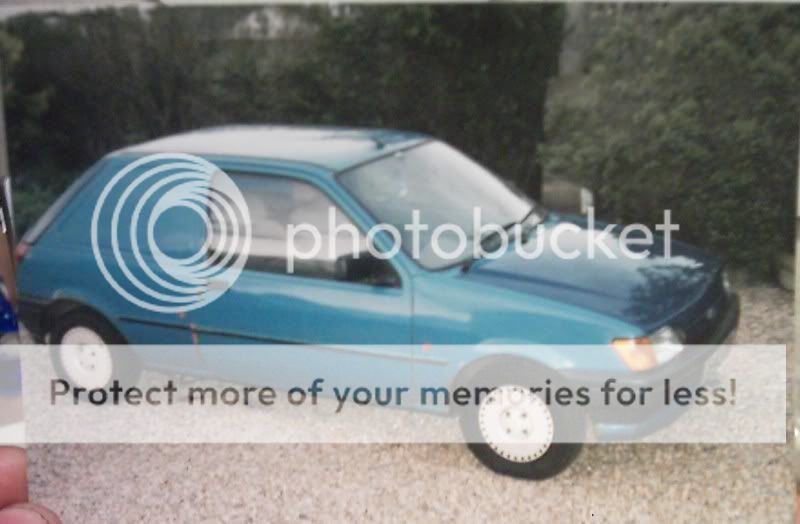
Here she is in her former glory!


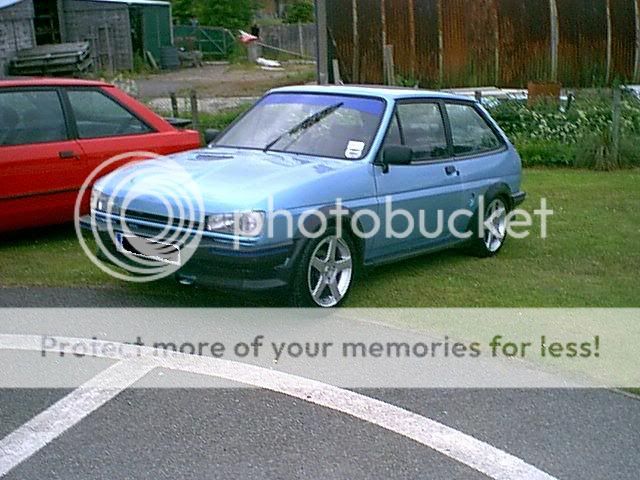


(It took over 100 digi photos to capture the last one!)
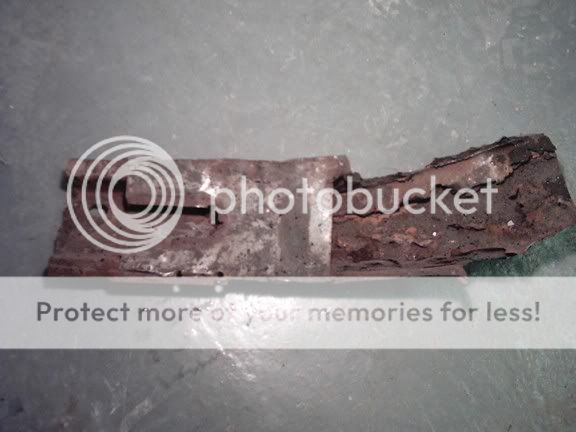
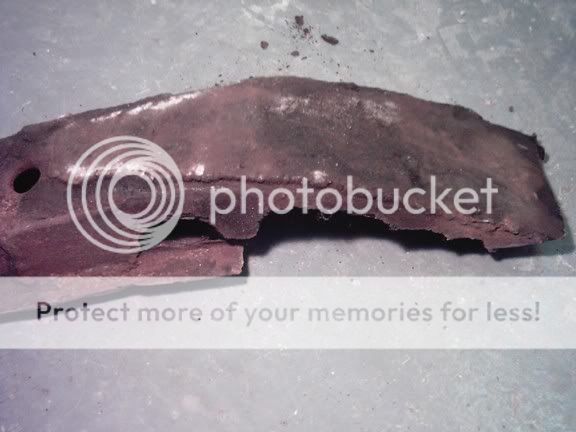
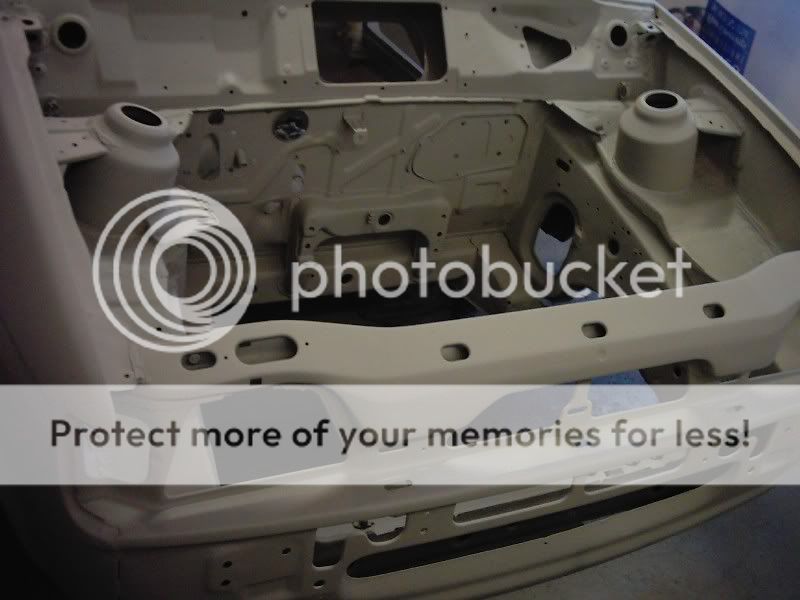
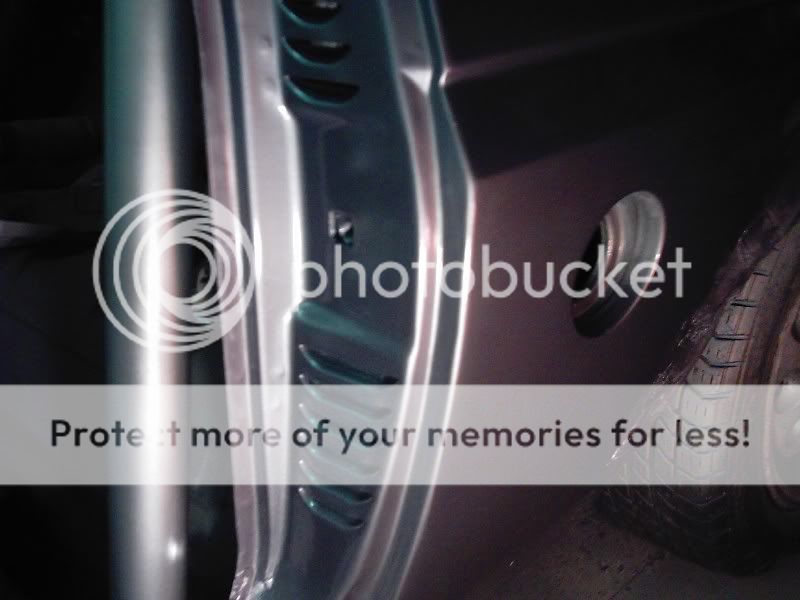
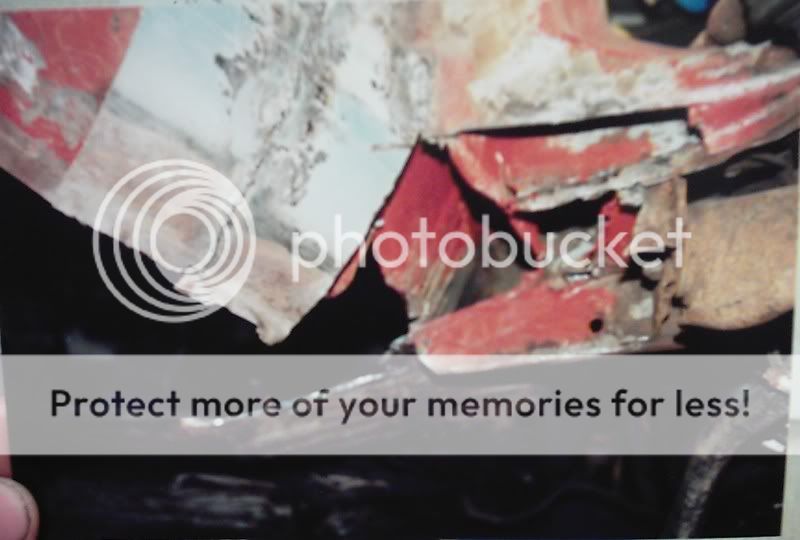
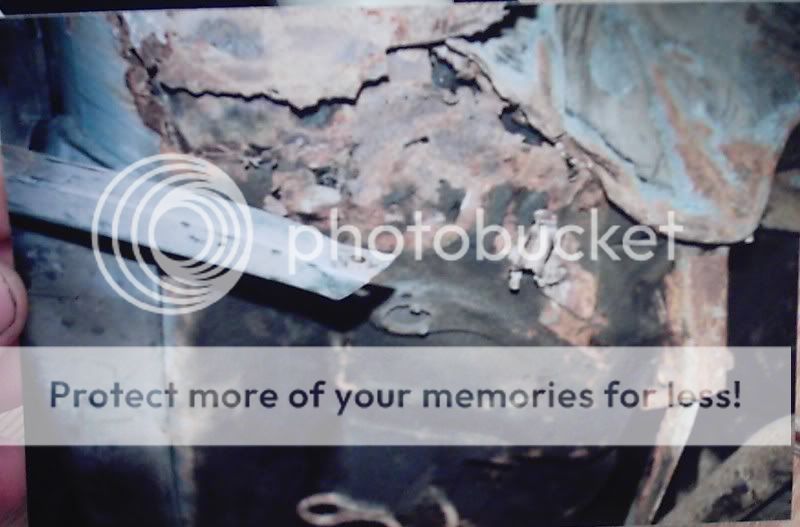
Dreaded rust............!!! Yes that IS the chassis leg!!


This is my very first car, which I've never sold, due to loving her too much for the fun factor. I tackled this when I was 17 putting on new panels, etc but since nobody was there to tell me what rust was, underseal was just applied over the surface rust.
This then took it's toll over the 2 years and being a student, couldn't afford to fix her again, as well as paying for a rented flat.
I took some pics of what I've being doing, but really it's been cutting ALL rust out and putting in new metal. Every panel has had some work.
You will see from the chassis leg, it was THAT bad. Rumaging about the garage, I came across a Nova front bumper, which was perfect for re-shaping into a new one, as they are no longer available from Ford (surprise, surprise!!)
Door pillars, boot floor (made from a 16i door), arches, floor pan, etc, etc!!!! I've done it all on the cheap, so what ever I could make, I did. Only the door pillers and entire front end was purchased panels.
Entire shell has been seam welded and strengthened at parts (bulkhead), with a few secret mods done too.
Everyone thinks I'm made undertaking such a major job, for just an XR2, but hae it is valuable to me alone. Many things were undertakin in that machine..........!
Best thing is that at least I can say that I've done EVERYTHING myself. Once the rest of the cage is bought and fitted, I'll be building a booth in the garage (totally sealed, with air vents already installed!) and giving painting a shot.
The XR2 engine is now ditched and a RST engine going in. I've a 2.0L Zetec (20K miles) bottom end sitting around so could use that in time.
All of my rebuild has been using my 35mm camera, but only used my rubbish digi cam to show you these. Once IT here at work sort out the scanner, I'll get the other pics to you.
Here she is in her former glory!
(It took over 100 digi photos to capture the last one!)
Dreaded rust............!!! Yes that IS the chassis leg!!
 10-01-2006, 04:06 PM
#2
Too many posts.. I need a life!!
Thread Starter
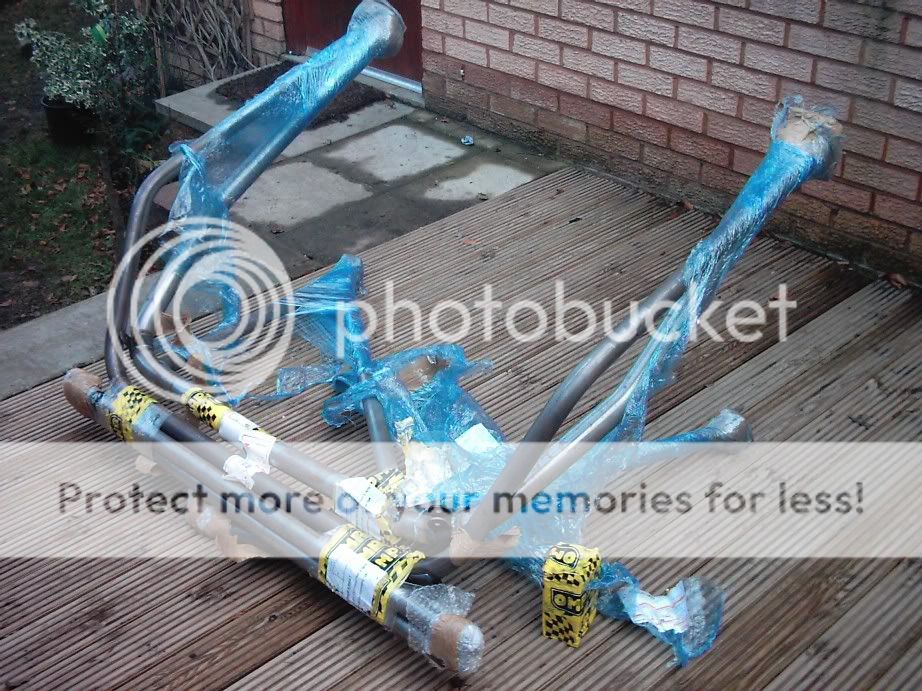
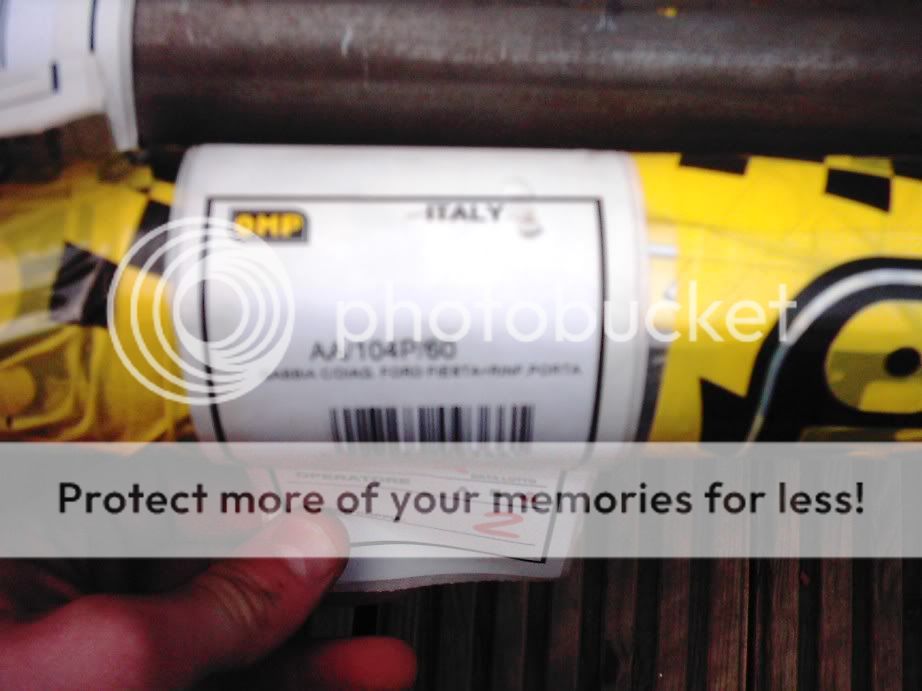
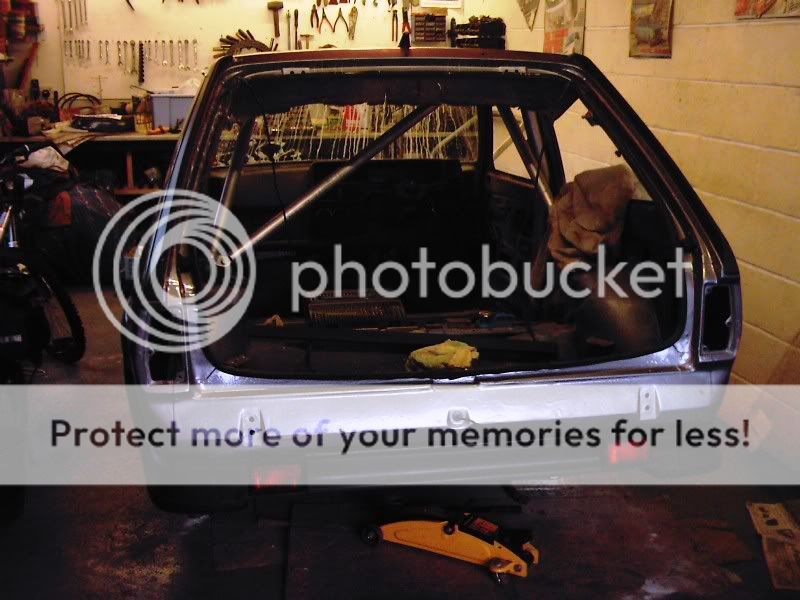
Full FIA approved cage!
I compared the OMP cage to the Safety Devices cage that I had previously and it's SSSSSOOOOOOOOO much better. Better quality steel as well as larger sections. Best bit is that it's much cheaper than Safety Devices as well as including the FIA approval and door bars. :thumbsup:
10-01-2006, 04:09 PM
#3
Too many posts.. I need a life!!
Thread Starter
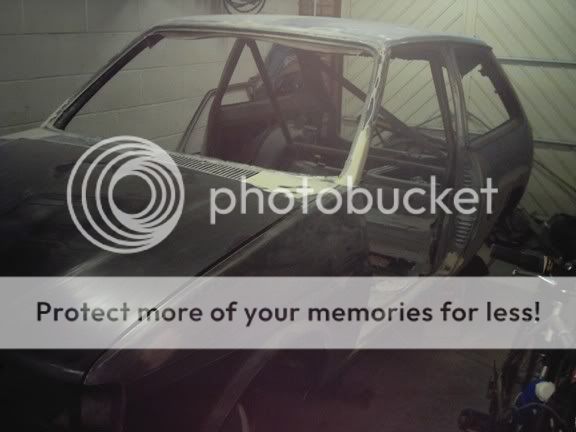
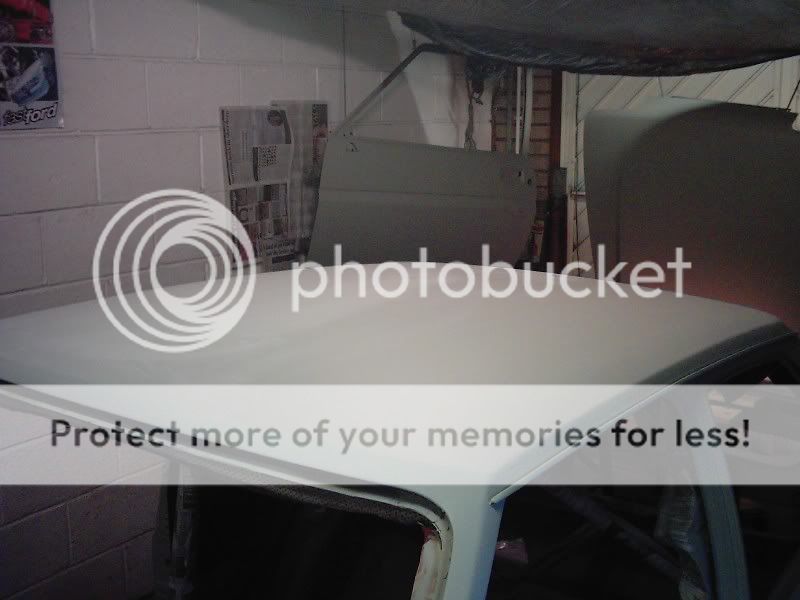
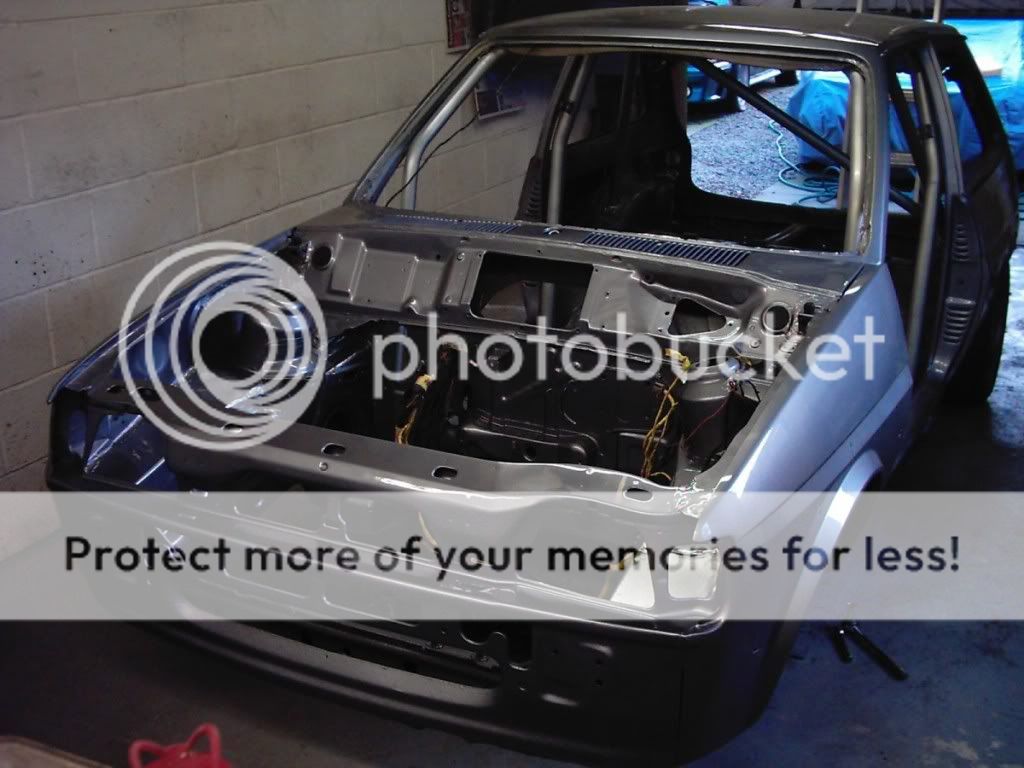
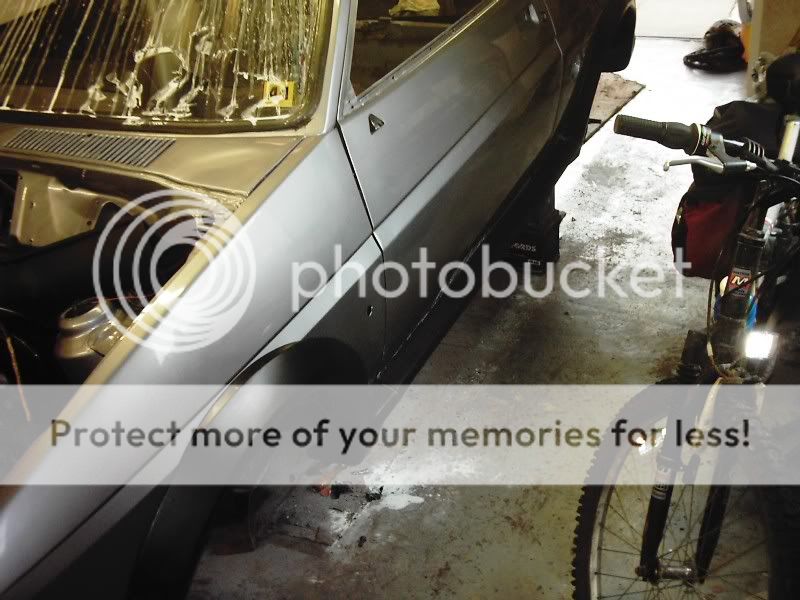
Took a few days off work last week to get her painted and this is her.
Here's the pics of the makeshift booth in my garage.


An old car cover came in handy for covering the dust layer'd rafters above the garage
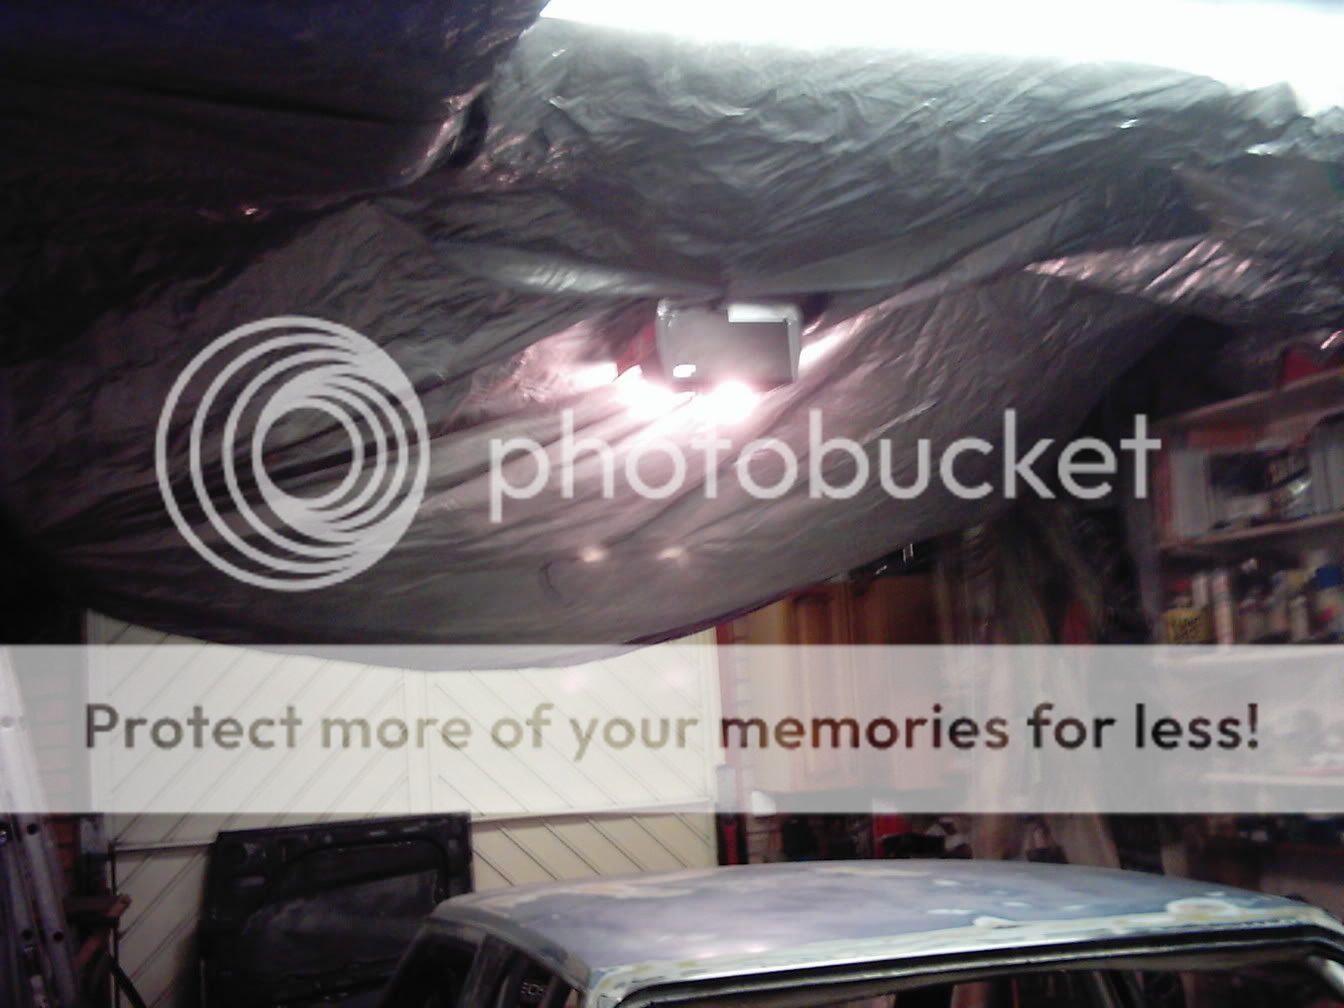
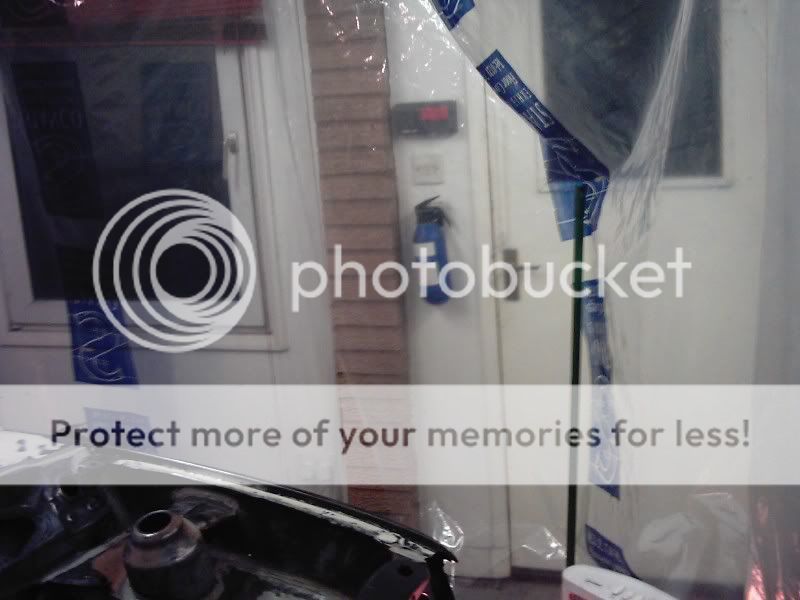
The garage door was sealed using pipe insulators.
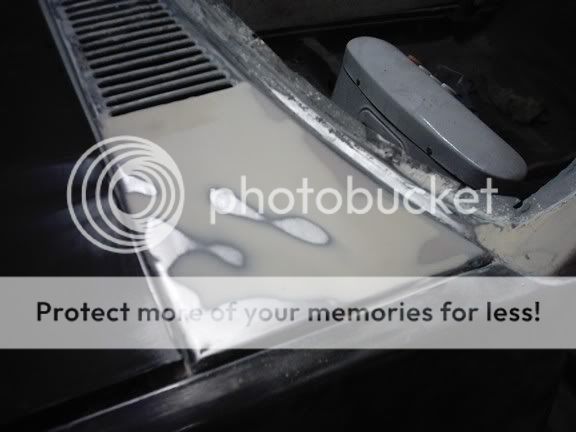
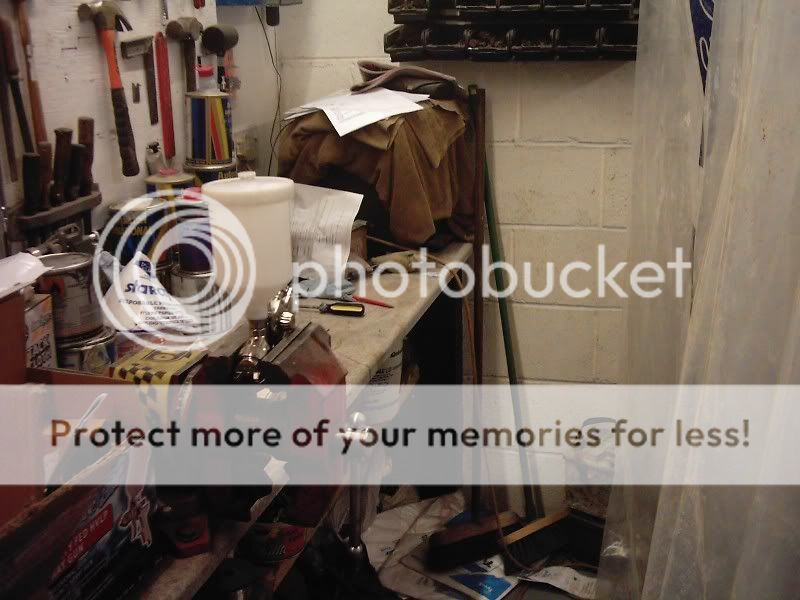
My wee mixing table, outside the booth
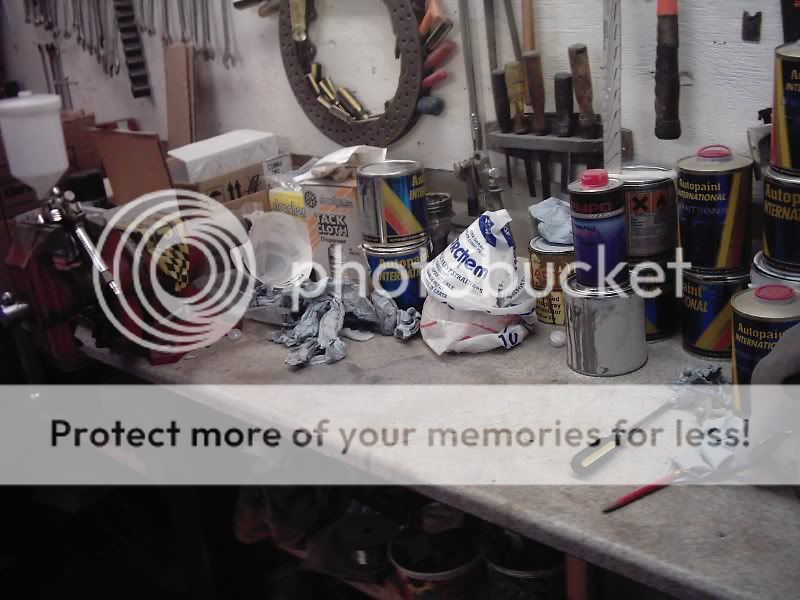
On Thursday afternoon, my new HVLP gun arrived, so on goes the primer (2 coats) applied above the paint sealer (3 coats)

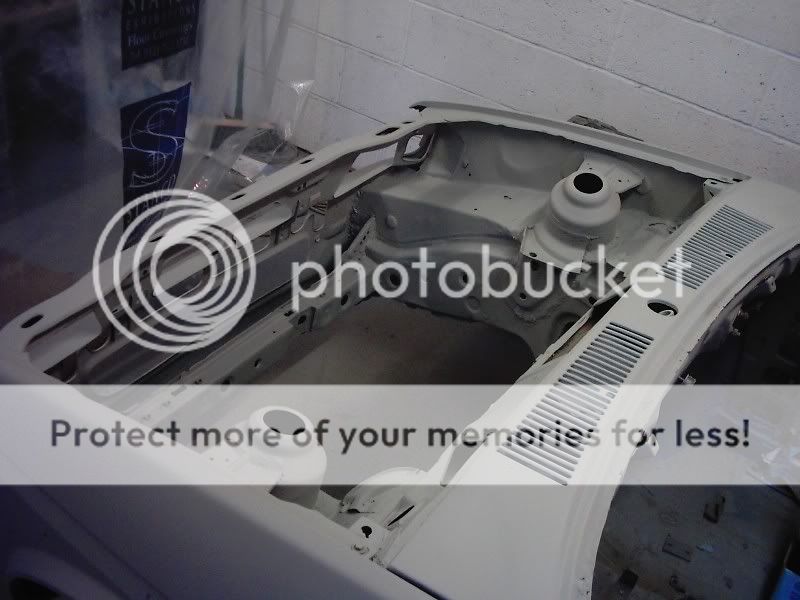
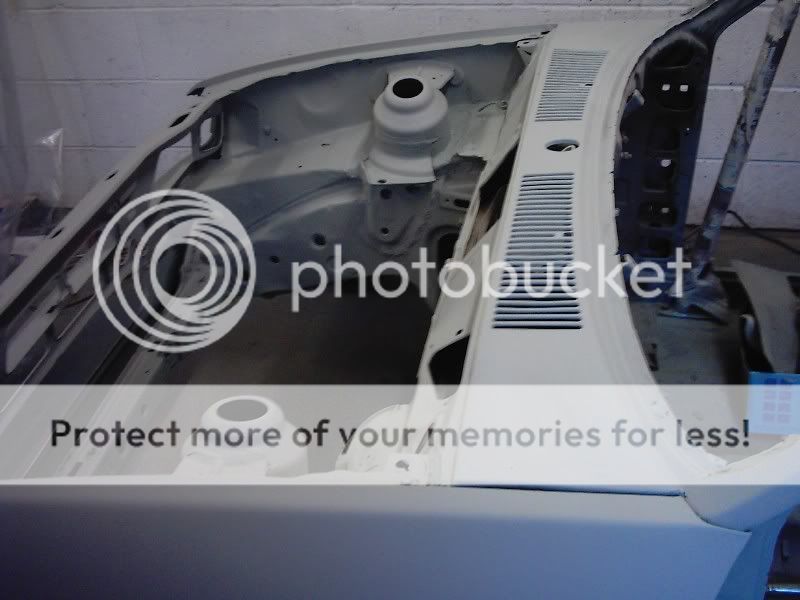
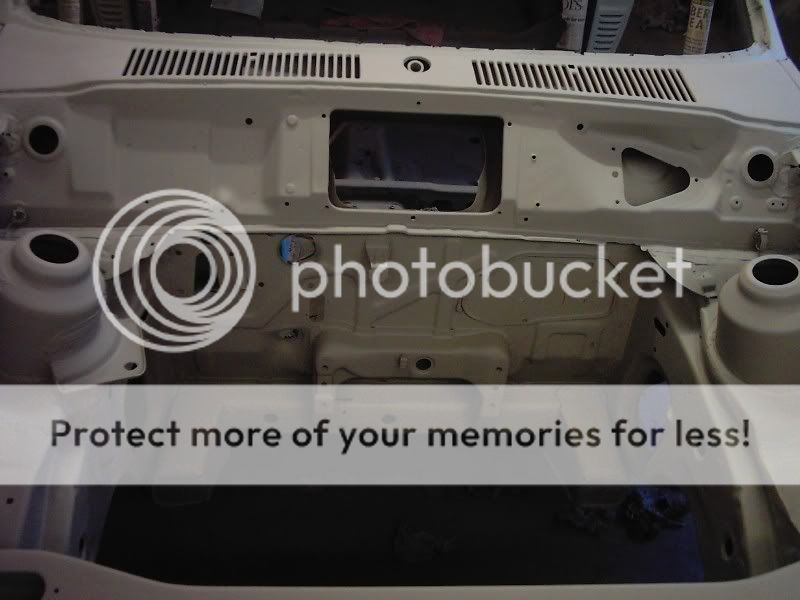


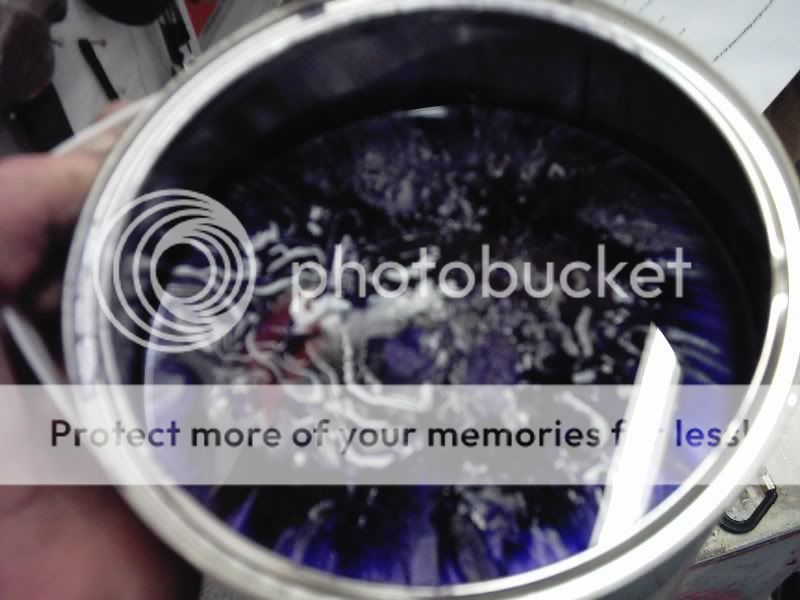
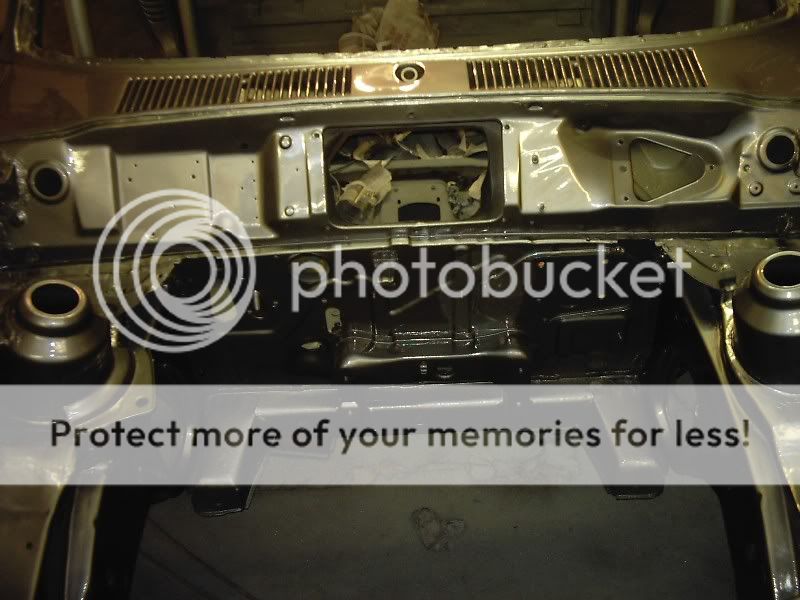
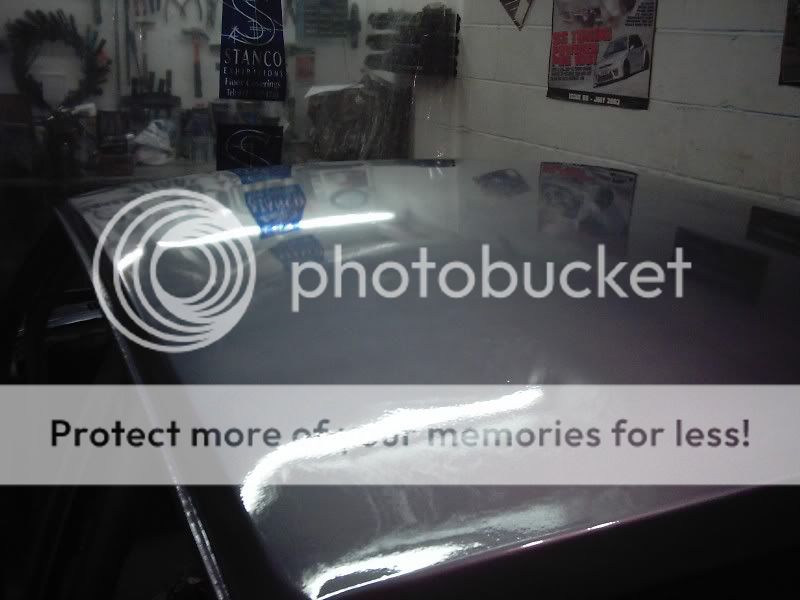
On Friday morning, after getting the heaters back on to get it nice and toasty, I proceeded with 3 coats of Moonstone Blue.
After leaving that to heat over night (scared of the heating bill now.....!!), I wipped on the laquer on Saturday morning and got only 2 RUNS! They could have so easily have been N/A, but I moved my legs in the wrong position as I crowched down and put the gun far too close to the metal. Not a good photo of one of the runs, but you get the idea.
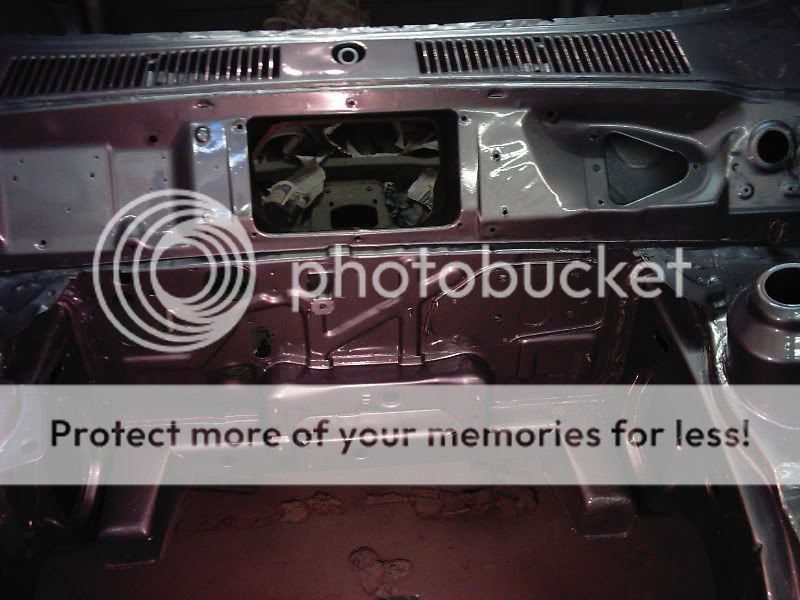

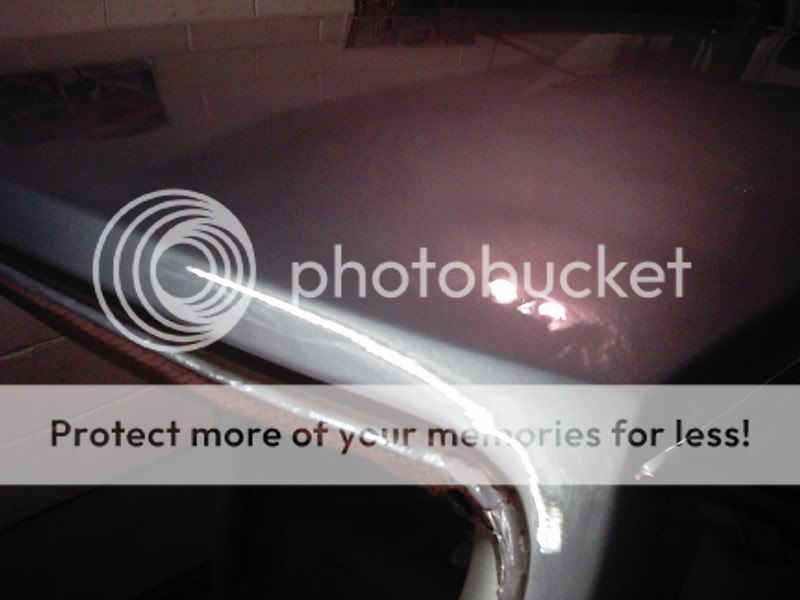

Here's the run:

The car is now ready to start bolting everything back together again, then it will be given a good buff to make her all shiny, as you notice the roof is a bit orange peely. the polish will hopefully remove the runs too.
There is a few bits of dust landed on the roof, but what do you expect from a makeshift booth in the garage.
Still VERY chuffed as it was my first attempt of spraying and learned as I went. I bought a book from Amazon, called 'How to paint your car'. Its an American book, but very detailed and got loads of tips on what to purchase.
Here's the pics of the makeshift booth in my garage.
An old car cover came in handy for covering the dust layer'd rafters above the garage
The garage door was sealed using pipe insulators.
My wee mixing table, outside the booth
On Thursday afternoon, my new HVLP gun arrived, so on goes the primer (2 coats) applied above the paint sealer (3 coats)
On Friday morning, after getting the heaters back on to get it nice and toasty, I proceeded with 3 coats of Moonstone Blue.
After leaving that to heat over night (scared of the heating bill now.....!!), I wipped on the laquer on Saturday morning and got only 2 RUNS! They could have so easily have been N/A, but I moved my legs in the wrong position as I crowched down and put the gun far too close to the metal. Not a good photo of one of the runs, but you get the idea.
Here's the run:
The car is now ready to start bolting everything back together again, then it will be given a good buff to make her all shiny, as you notice the roof is a bit orange peely. the polish will hopefully remove the runs too.
There is a few bits of dust landed on the roof, but what do you expect from a makeshift booth in the garage.
Still VERY chuffed as it was my first attempt of spraying and learned as I went. I bought a book from Amazon, called 'How to paint your car'. Its an American book, but very detailed and got loads of tips on what to purchase.


Trending Topics
 10-01-2006, 10:12 PM
#9
PassionFord Regular

Join Date: Aug 2004
Location: Aberdeen, abroad or offshore.
Posts: 373
Likes: 0
Received 0 Likes
on
0 Posts
Robin...
Nice one mate and well done for tackling it yourself
Im not sure the local council would have liked me using my lock-up for re-spraying my FRST
Will be good to see your Fiesta back on the road ......
Nice one mate and well done for tackling it yourself
Im not sure the local council would have liked me using my lock-up for re-spraying my FRST
Will be good to see your Fiesta back on the road ......
11-01-2006, 07:05 AM
#11
Too many posts.. I need a life!!
Thread Starter
Thanks all!
Greg, it feels weird not having to weld or grind, let alone drive the car!!!
Every morning when I go in to get by bike in the garage, I still can't believe that I can start to put things back in again.
I just hope that I can find everything, as it's been in pieces for 5 years and also moved house in 2004.
harvcore, thanks for the help there. I'm sure I have everything, but will never know until I start putting everything back in.
I just need to get some adjustables (looking at Avo's at the mo, but at �530 for the set, I'm still scratching my head). Also going to be getting some Wilwood brakes.
THEN, it's on with the rebuild of the engine. I have most parts for it, but will not find out until I've stripped it and fully inspected the whole lot.
I'm hoping for 200bhp from her, but time will be against me to get her going for the summer, so may have to do with standard for now.
The 2l Zetec I have in the garage is also being looked at as an option as it's only got 20K miles on it.
11-01-2006, 07:49 AM
#12
10K+ Poster!!
Love the colour and fair play to you for spraying it yourself. Have you tried this website mate it could be of interest to you www.xrtwo.com
11-01-2006, 06:10 PM
#14
PassionFord Post Whore!!
Join Date: May 2003
Location: Peterborough
Posts: 3,936
Likes: 0
Received 0 Likes
on
0 Posts
ah you used to be a member - I can remember yoru flaming exhaust! lol
your car has been off road about as long as mine!! im not even at the starting stage lol
your car has been off road about as long as mine!! im not even at the starting stage lol

 12-01-2006, 06:53 AM
#18
Too many posts.. I need a life!!
Thread Starter
Thanks!
No XR2 should have it's bodykit painted, IMO. Thats what makes the XR2 and XR2. That includes the black window surrounds, which I've still to do.
I'll try and get some of the original stripping and rebuilding photos from the loft and see if I can find a scanner here to post them up.
Cheers,
Robin.
No XR2 should have it's bodykit painted, IMO. Thats what makes the XR2 and XR2. That includes the black window surrounds, which I've still to do.
I'll try and get some of the original stripping and rebuilding photos from the loft and see if I can find a scanner here to post them up.
Cheers,
Robin.
12-01-2006, 07:11 AM
#19
Too many posts.. I need a life!!
Thread Starter
Since a few have been asking about the cage, here's my reasons.
As I said in the post, the Safety Devices one is so much smaller tubular sized. The OMP is FIA approved (safer), where are the SD one, you have to spend more money for doorbars, which makes it approved. The OMP one comes with the door bars and is far cheaper compared to the SD one.
Here's the breakdown in price:
Safety Devices
Bolt in Front cage = �141.57
Rear with removable diaganal (so back seats can be fitted) = �191.54.
Doorbars (each) = �38.40
Total (exc VAT) = �409.91.
Total (inc VAT) = �481.64!
I got quoted �80 for shipping from their Belgium plant!! That = �561.64!!
OMP
Bolt in cage Front, Rear (w/removable dia) & Doorbars �374.72 (inc VAT & shipping!!)
No questions really which one to get.
I got the cage from Roelands Race and Rally, who are OMP specialists.
Demon Tweeks quoted me some �380 exc VAT!! Just had to call them for a laugh really!
 16-01-2006, 12:35 PM
#21
Too many posts.. I need a life!!
Thread Starter
Update!
Well, never got THAT much done over the weekend due to I did however install a CVH into a m8's Mk2 Fiesta.....! It seems to be others than mine.
Anyway, Friday night spent bolting the cage in with all of the new nuts and bolts.
Then up to take off the car cover from the roof rafters so I can get access to the loom, etc hiding up above.
On Sat morning, I got a few hours in, getting the loom sorted as well as washing the bodykit (5 years of garage dust on top!).
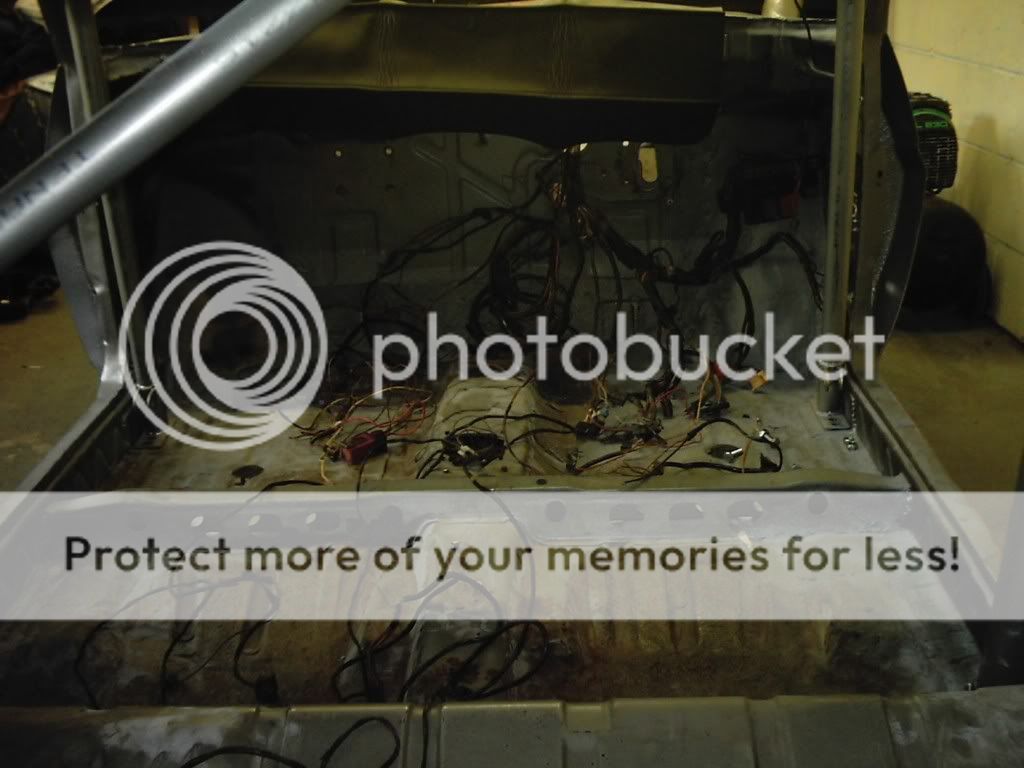
I intend getting the dash in tonight, so enable me to move the ECU's to the relevant places, as there's just a mash of wires are the mo.
Also bolt up the fuel tank as well as the fuel lines.
I'll see about getting the rear axle shot blasted and get that painted and bolted back on again. Same goes with the front hubs/tie rods. That will keep me busy up till the weekend.
I'm on the hunt for coilovers (front only - rears will have to be adjustables, due to the rear suspension set up on the Mk2's) and Wilwood 4 pots. Give me a PM / email if you know of any.
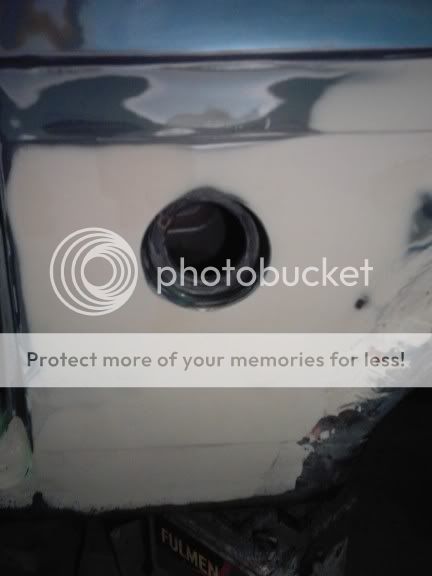
Kit after washing
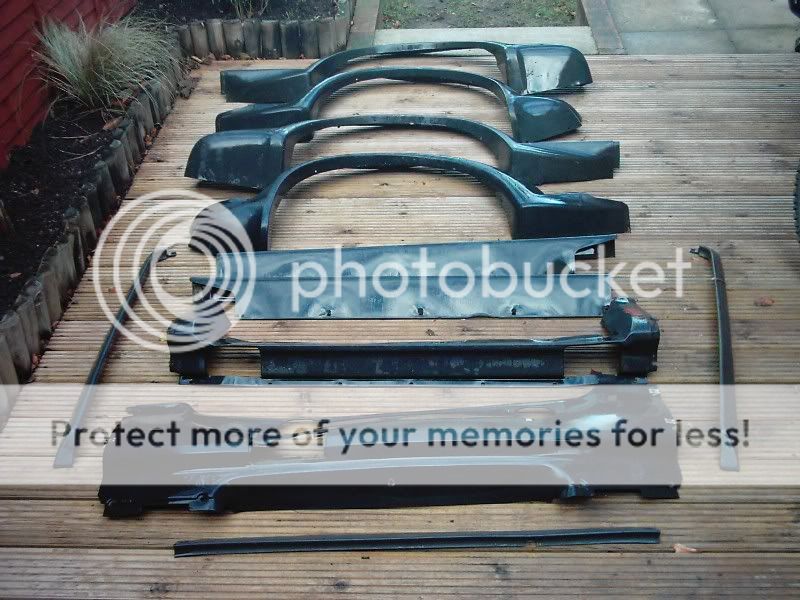
First part to be fitted back to the car.......beesting!

Well, never got THAT much done over the weekend due to
I did however install a CVH into a m8's Mk2 Fiesta.....! It seems to be others than mine.Anyway, Friday night spent bolting the cage in with all of the new nuts and bolts.
Then up to take off the car cover from the roof rafters so I can get access to the loom, etc hiding up above.
On Sat morning, I got a few hours in, getting the loom sorted as well as washing the bodykit (5 years of garage dust on top!).
I intend getting the dash in tonight, so enable me to move the ECU's to the relevant places, as there's just a mash of wires are the mo.
Also bolt up the fuel tank as well as the fuel lines.
I'll see about getting the rear axle shot blasted and get that painted and bolted back on again. Same goes with the front hubs/tie rods. That will keep me busy up till the weekend.
I'm on the hunt for coilovers (front only - rears will have to be adjustables, due to the rear suspension set up on the Mk2's) and Wilwood 4 pots. Give me a PM / email if you know of any.
Kit after washing
First part to be fitted back to the car.......beesting!
 17-01-2006, 12:11 PM
#24
Too many posts.. I need a life!!
Thread Starter
Todays pics are again only about 2 hours of work worth!
I took the window screen and side windows down from the rafters - check out the dust!!

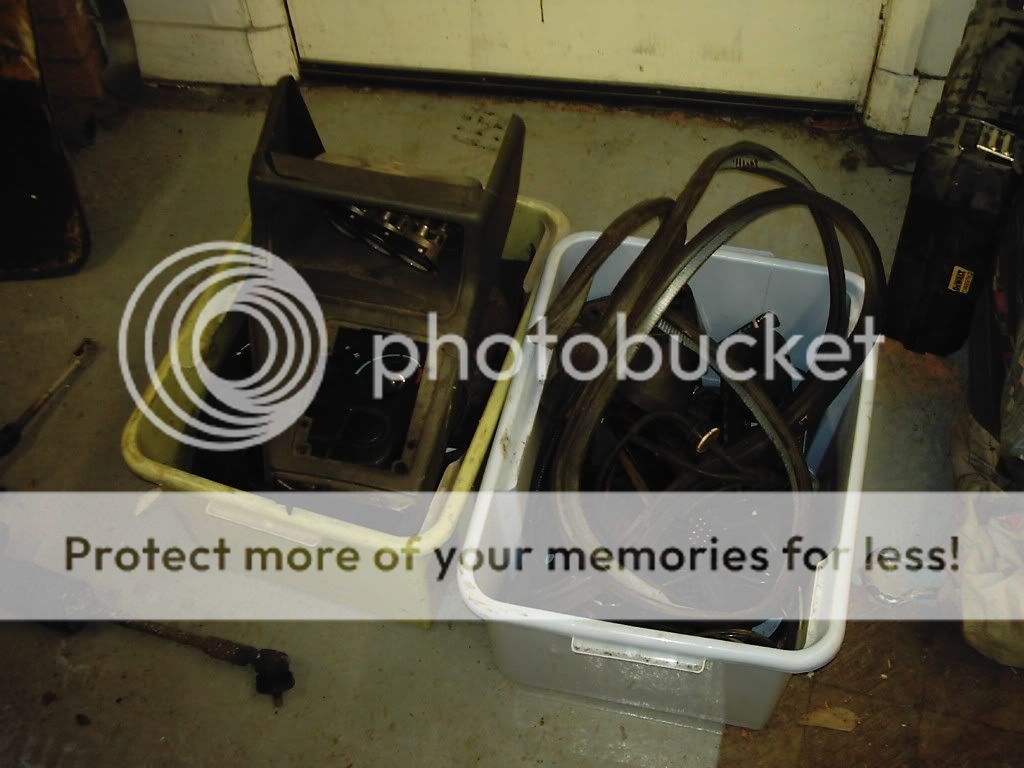
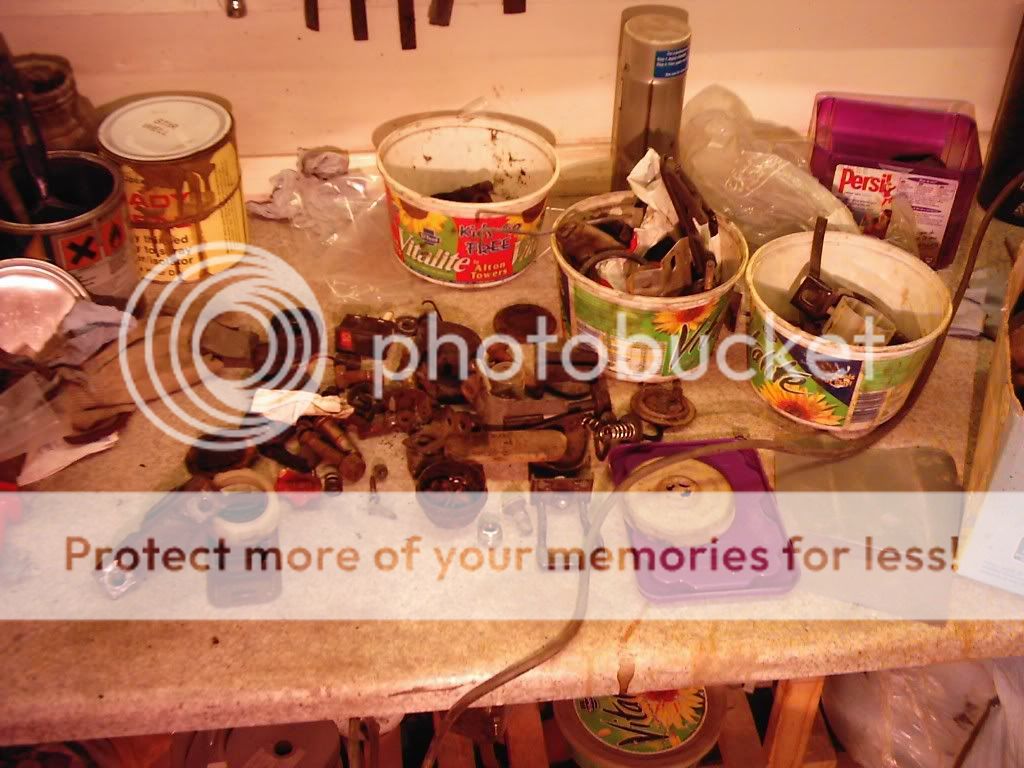
Boxes of random pieces!
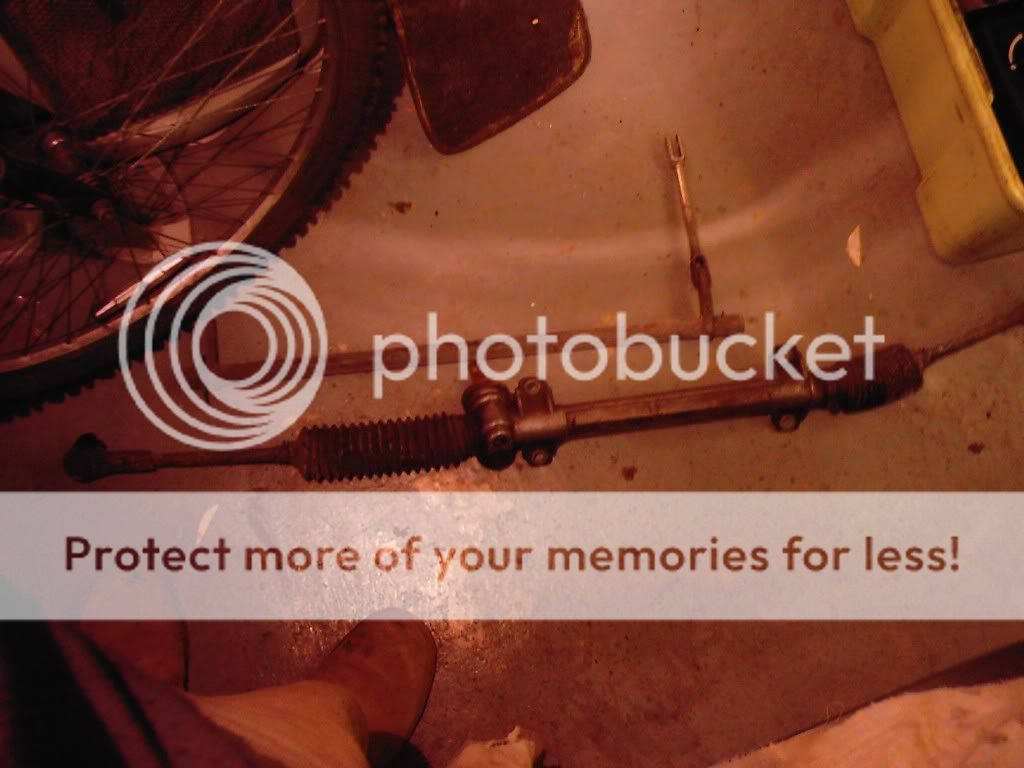
Steering rack and brake bar ready for a clean up (tonights job)
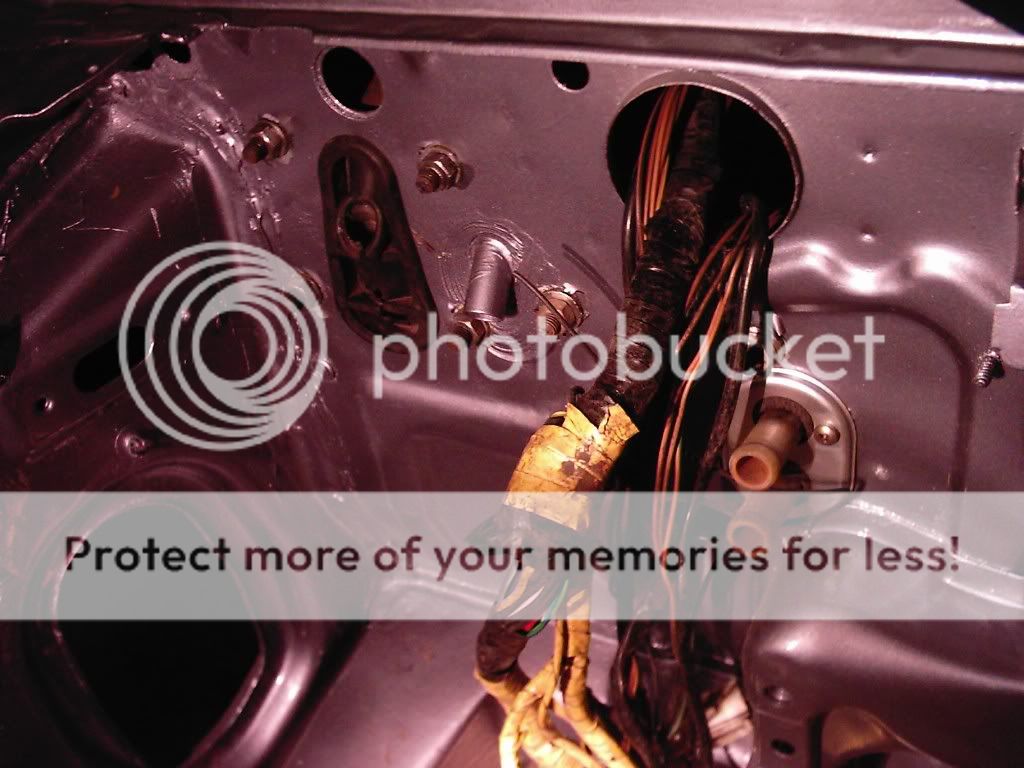
Pedals and steering wheel braces bolted up, as well as the heater matrix

I took the window screen and side windows down from the rafters - check out the dust!!
Boxes of random pieces!
Steering rack and brake bar ready for a clean up (tonights job)
Pedals and steering wheel braces bolted up, as well as the heater matrix
 18-01-2006, 05:30 PM
#27
Too many posts.. I need a life!!
Thread Starter
Cheers guys!
Chop, I'll be at hame this weekend (in the garage of course) so jist pop in past, if you've the time.
Next week will prob be in the garage during some nights ony way.
Well, I've dug out some of my photos from when I picked her up when I was 17, then will bring you through the years & stages.
As the work scanner ain't working, I've taken the pics using my digi camera onto the 35mm film, hence the blurryness.
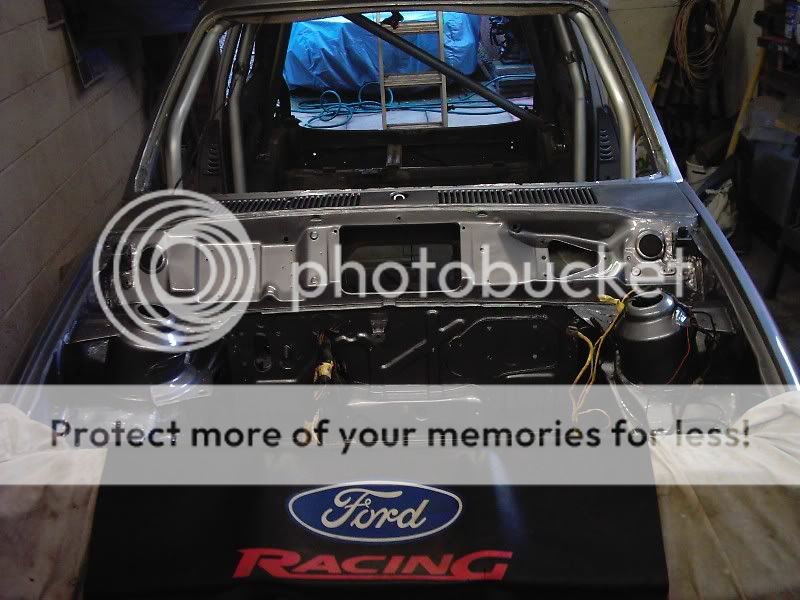
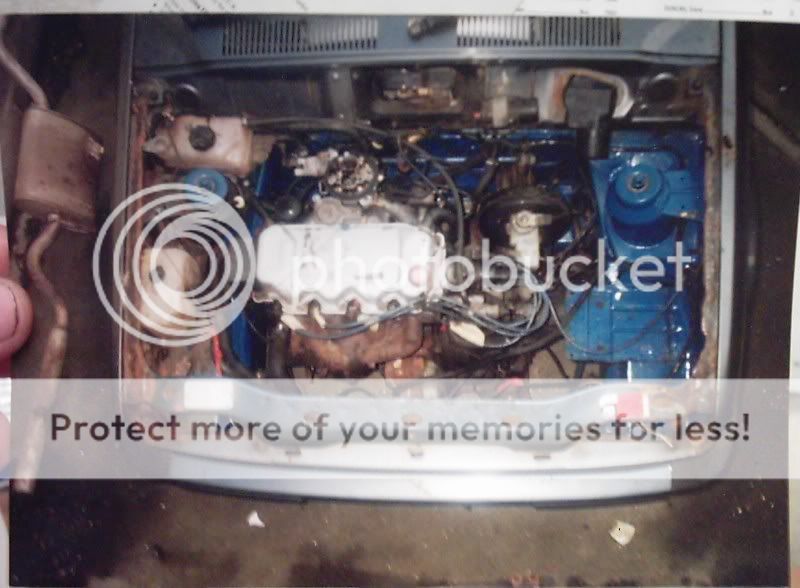
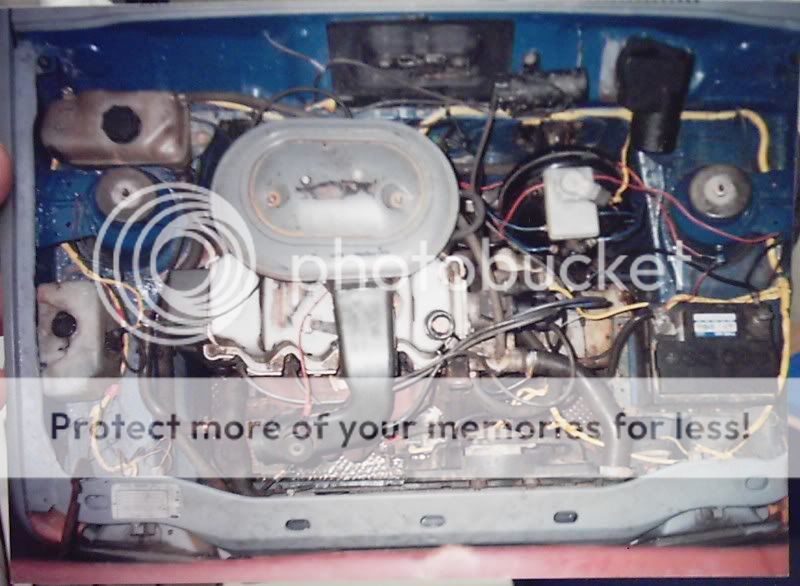
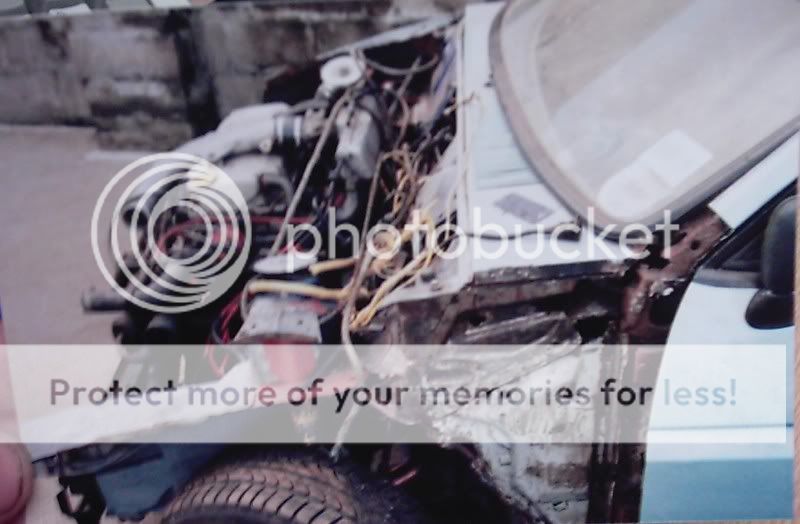
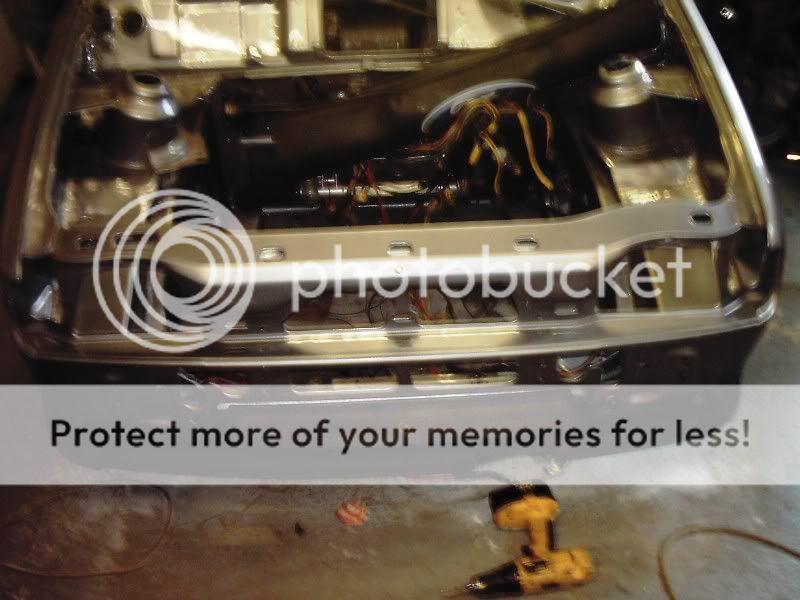
Here' under the bonnet & interior after she was back at my house.
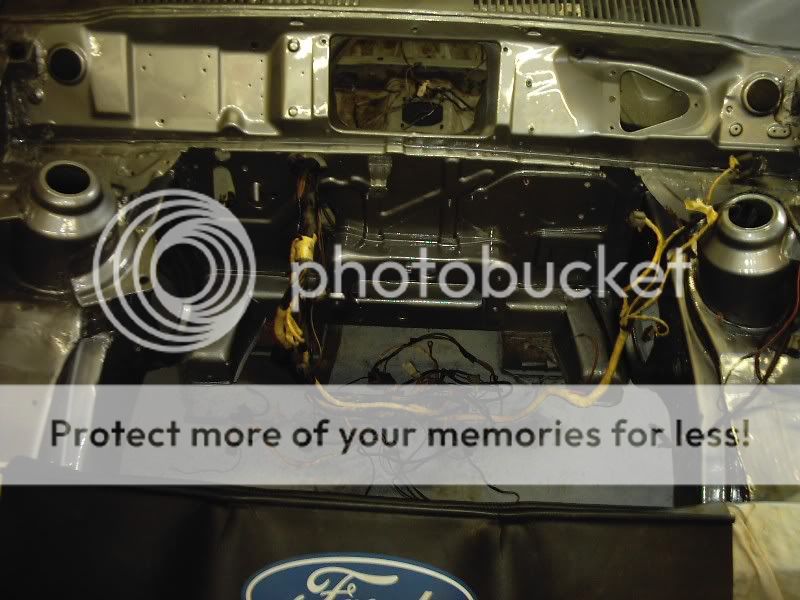
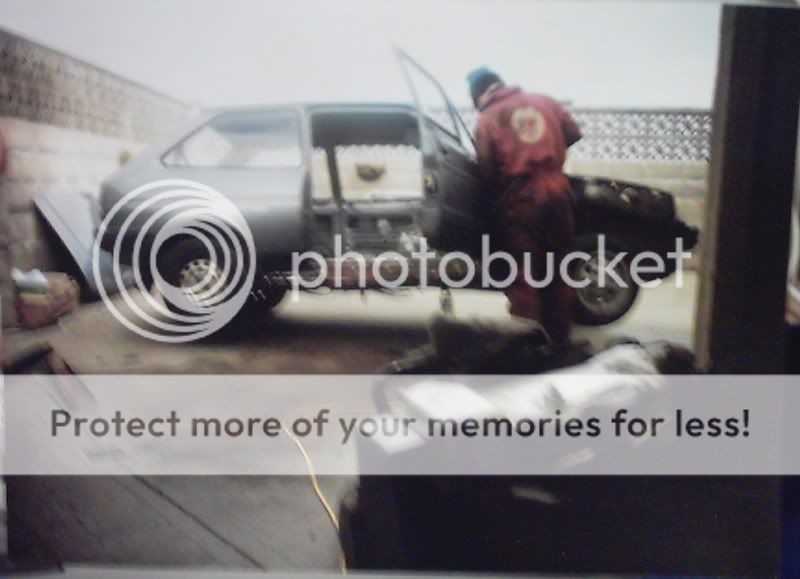
During rework
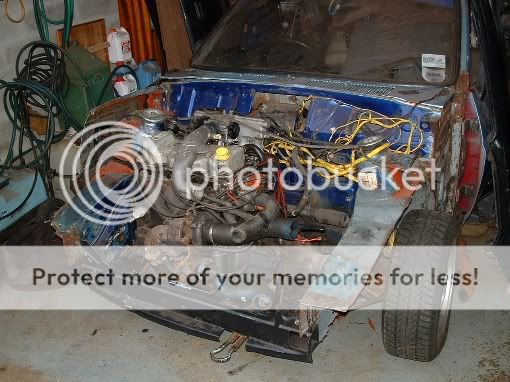
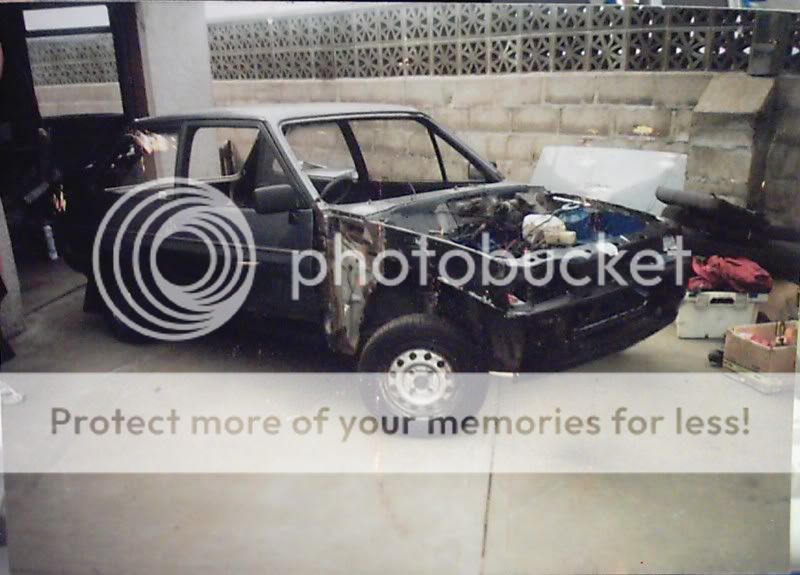
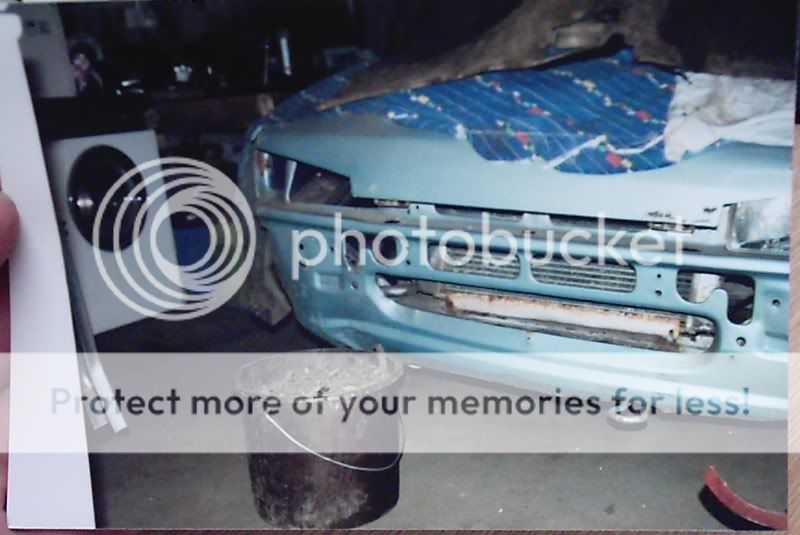
New front end
After the first rebuild
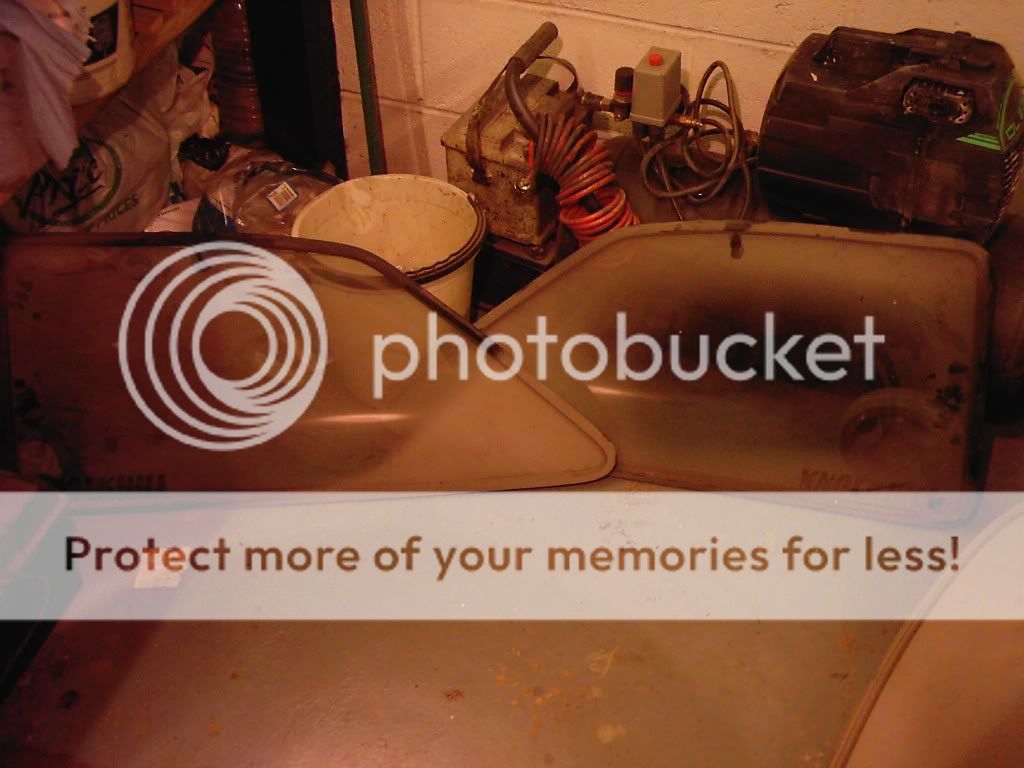
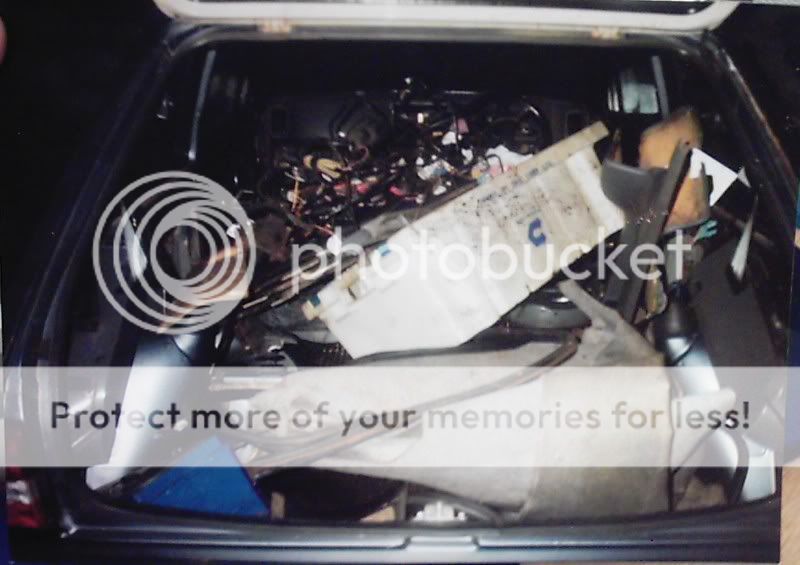
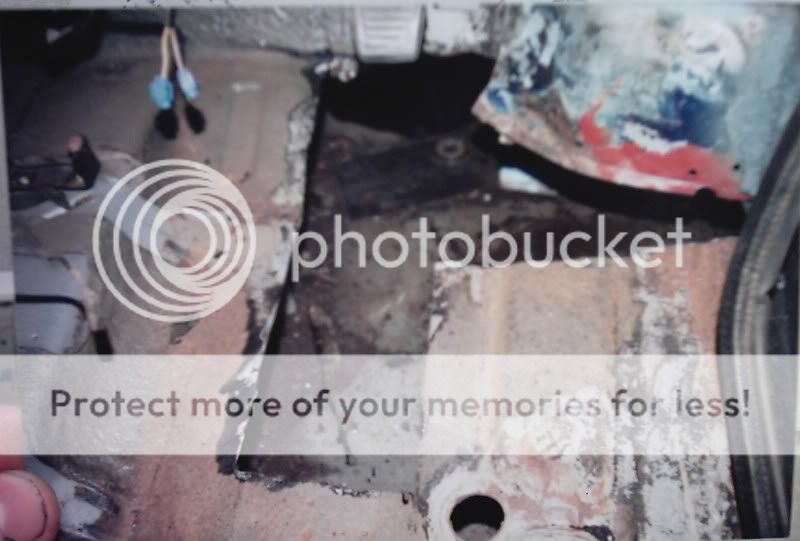
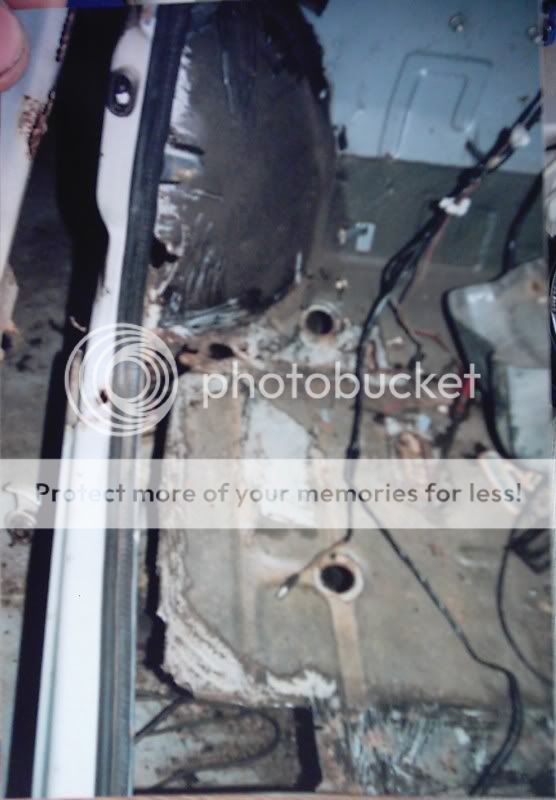
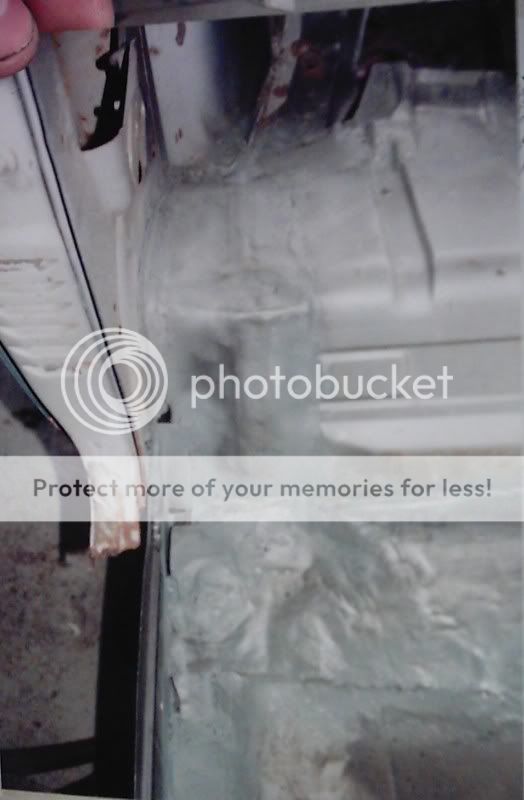
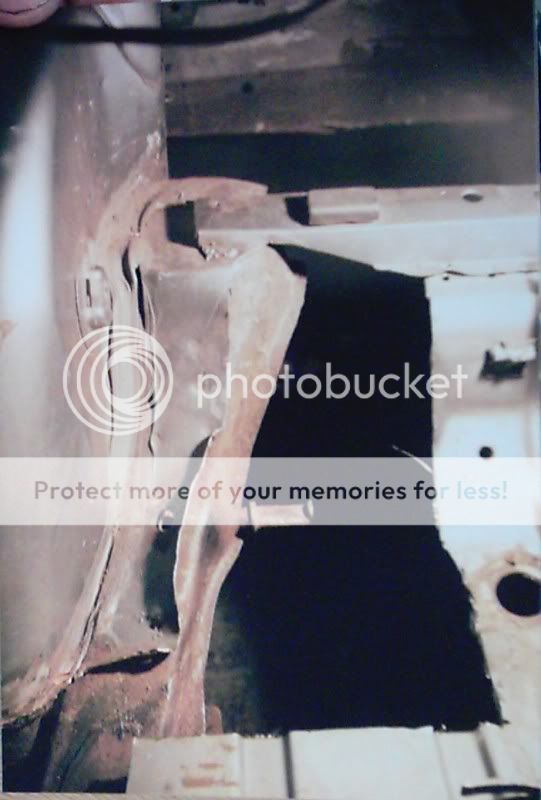
Start of the 2nd rebuild. That bucket was just by scrapping off the FIRST attempt of rust / old underseal from the floor pan
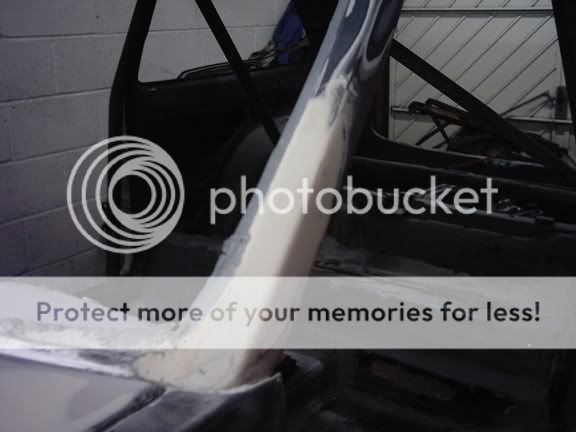
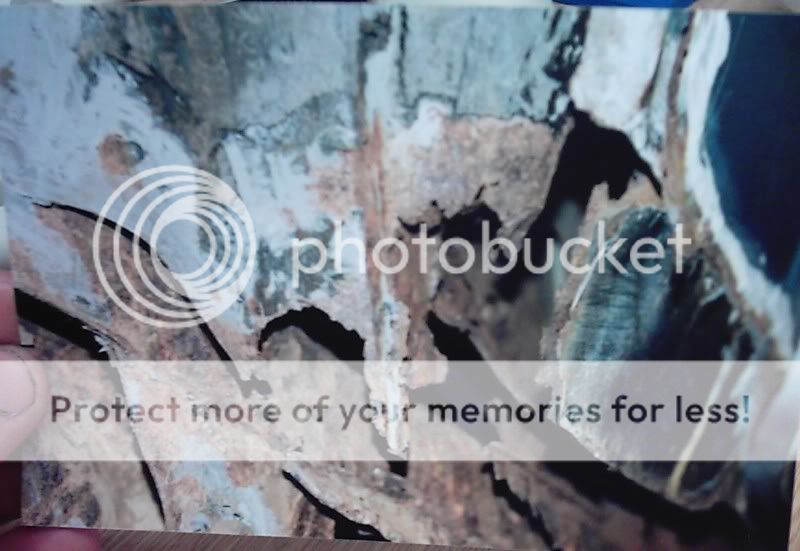
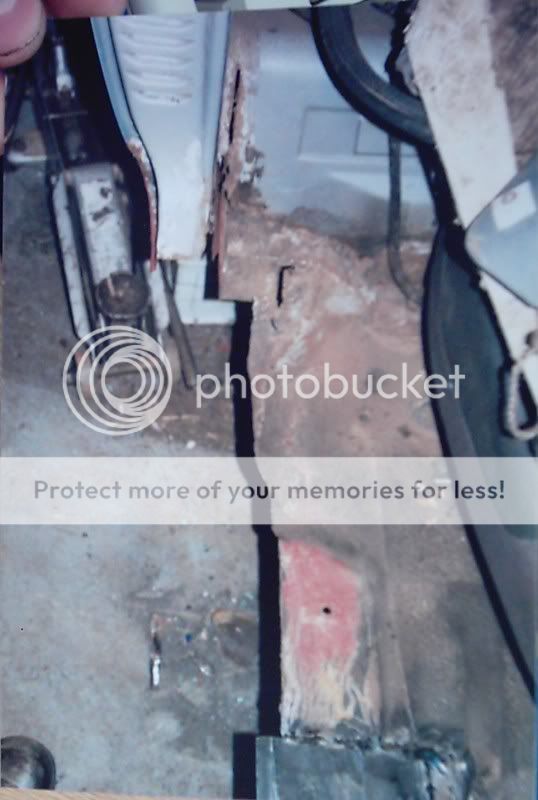
Front N/S A-pillar
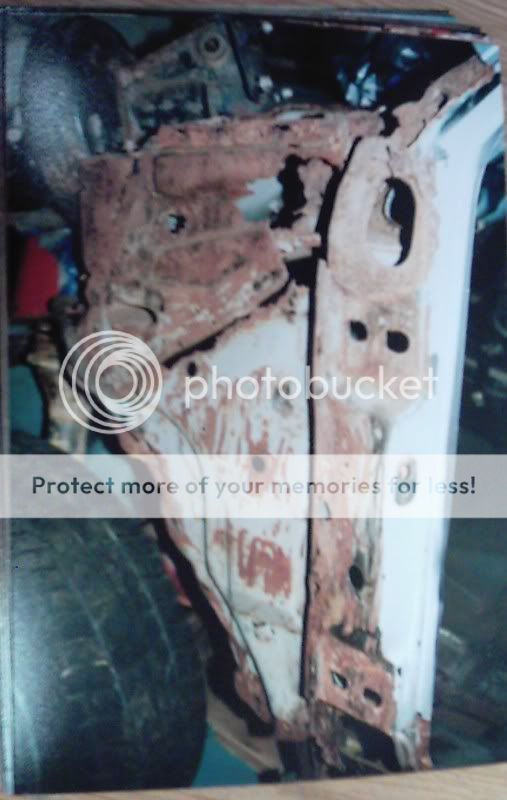
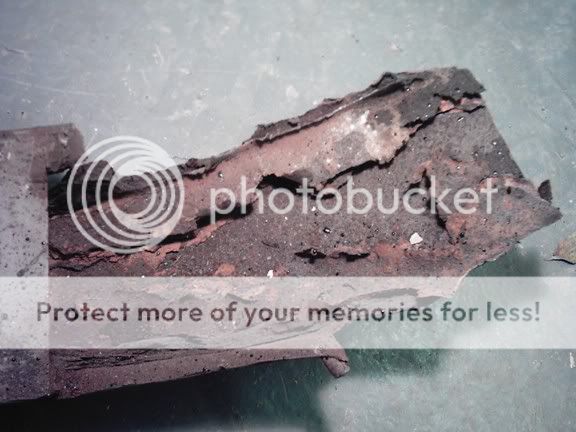
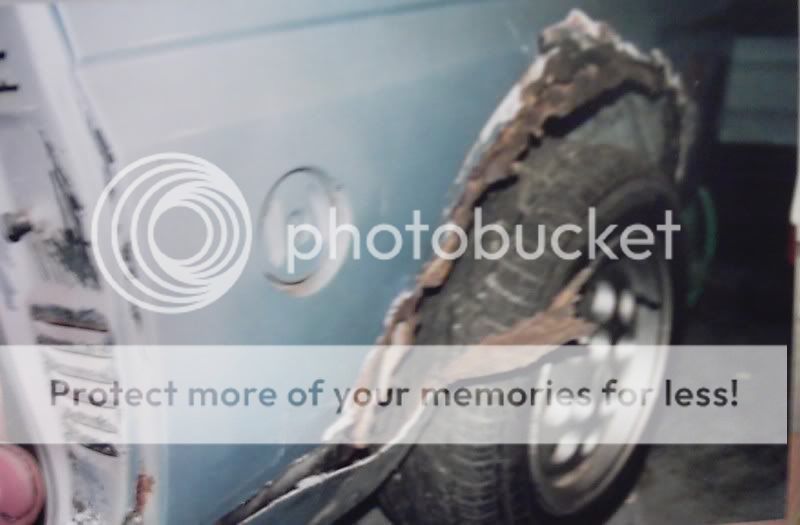
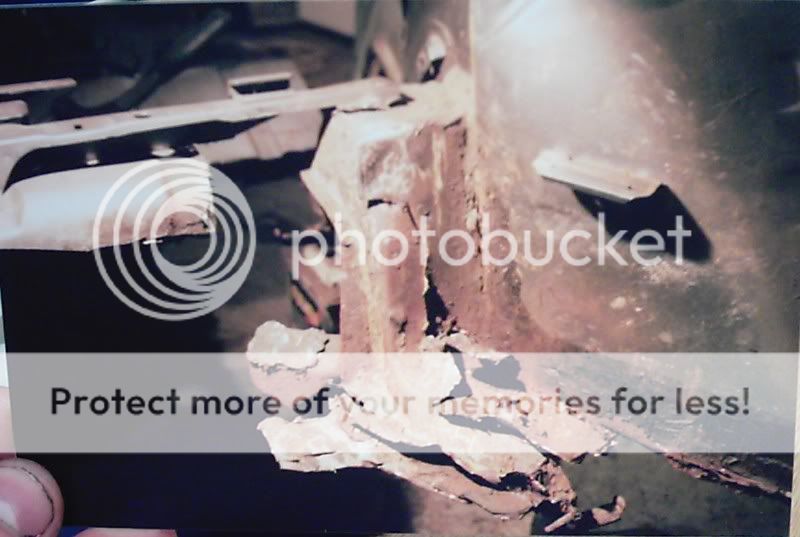
That arch is enough to scare anyone!
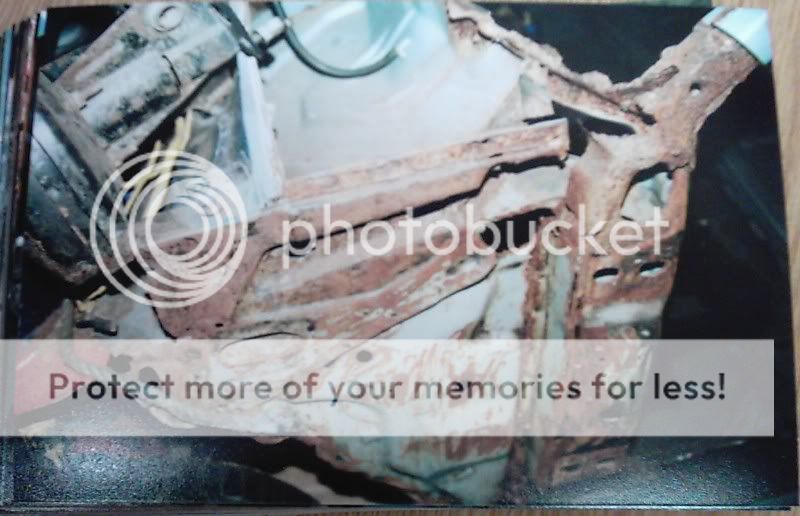
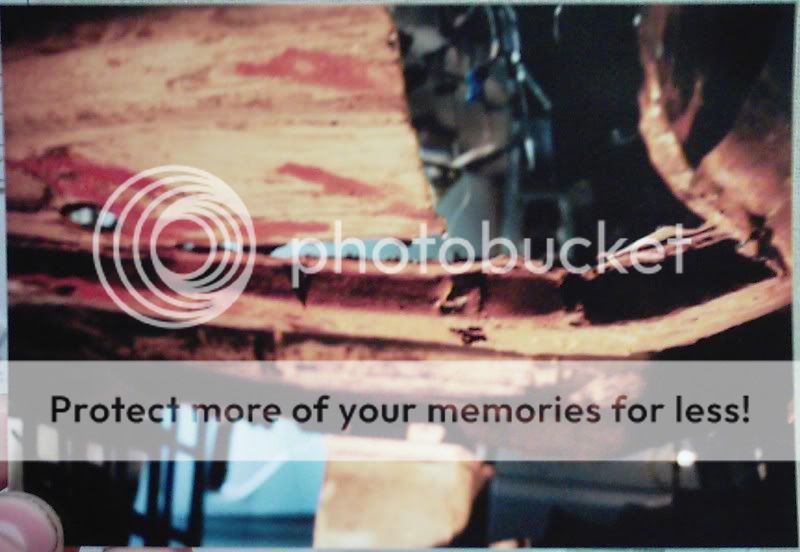
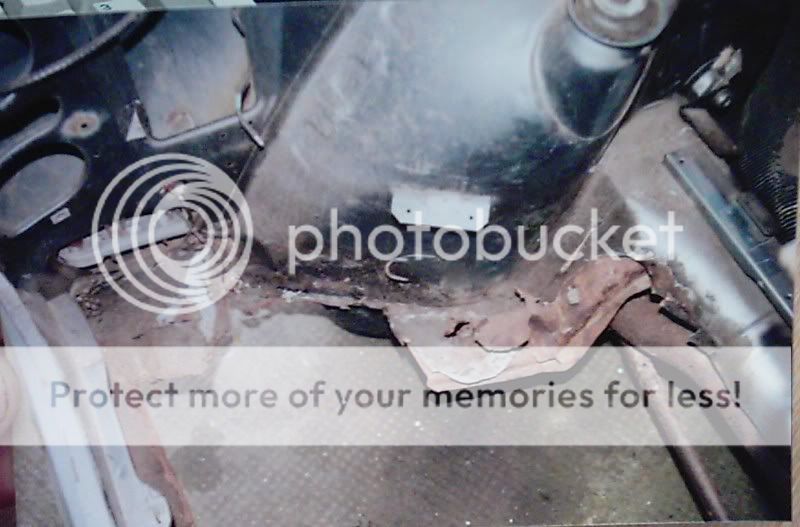
Chassis leg
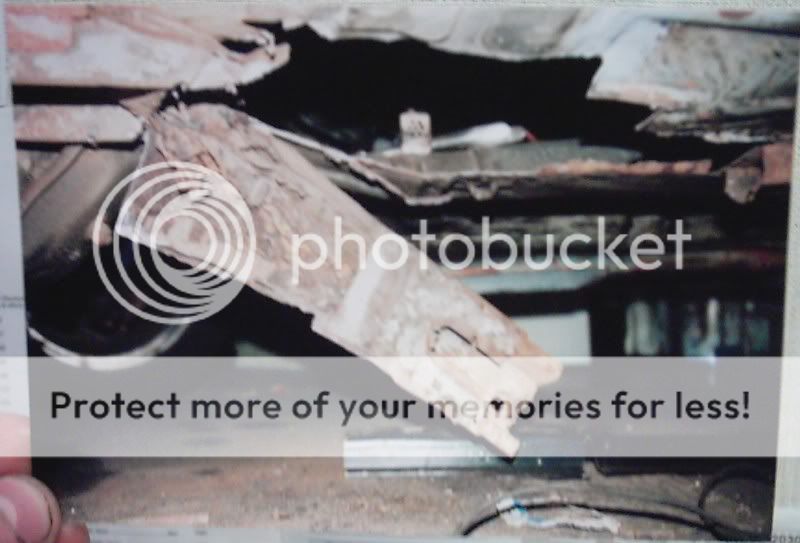
New chassis leg after being fabricated from a Nova front bumper, as Ford stopped making them!
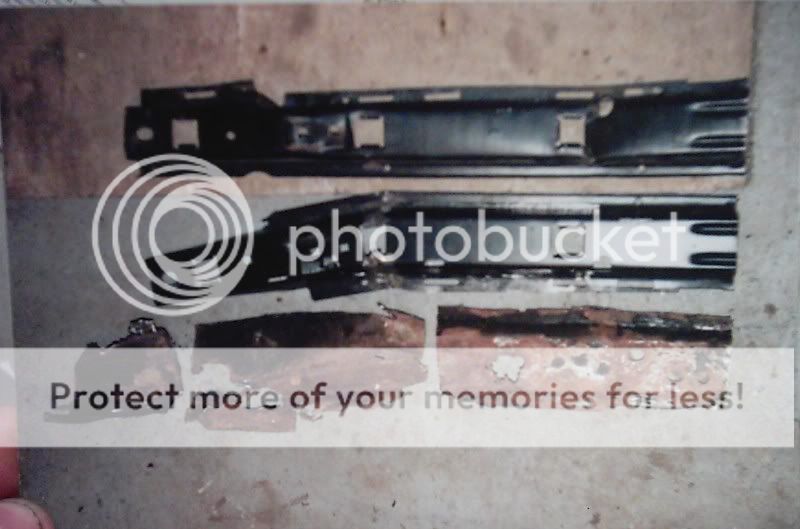
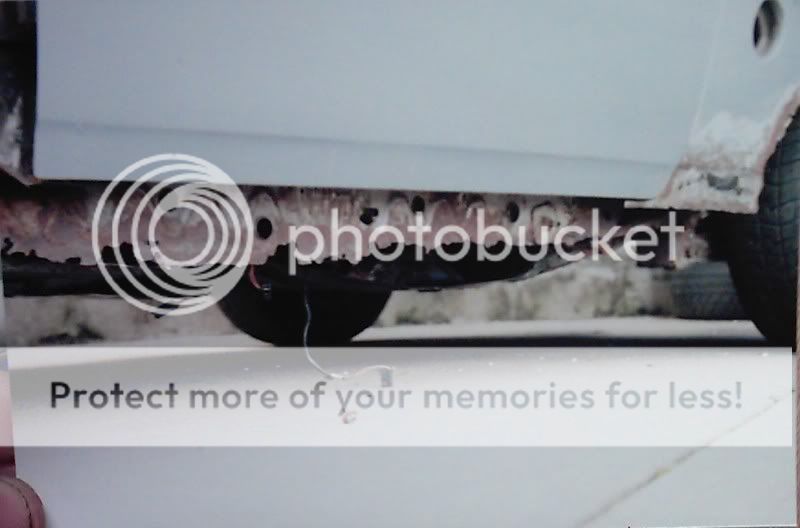
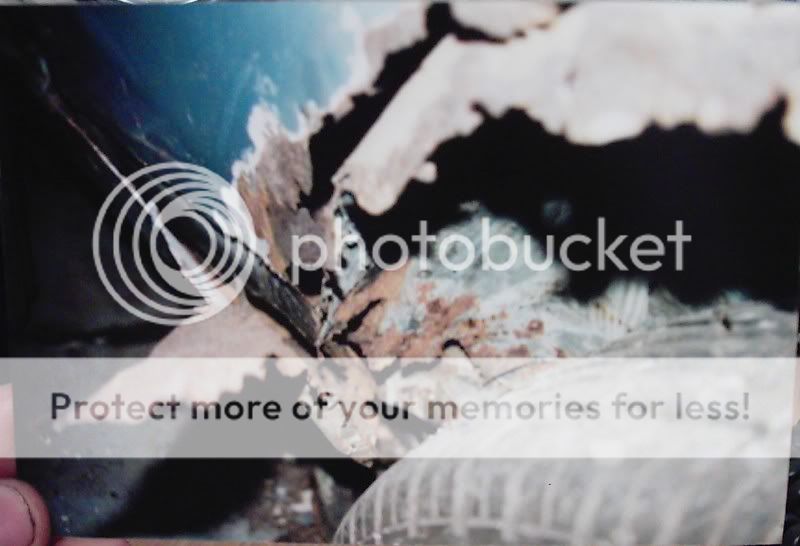
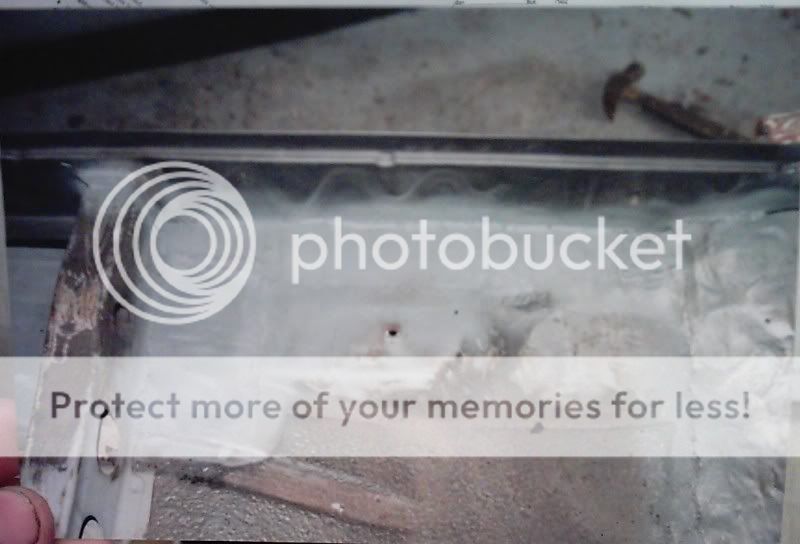
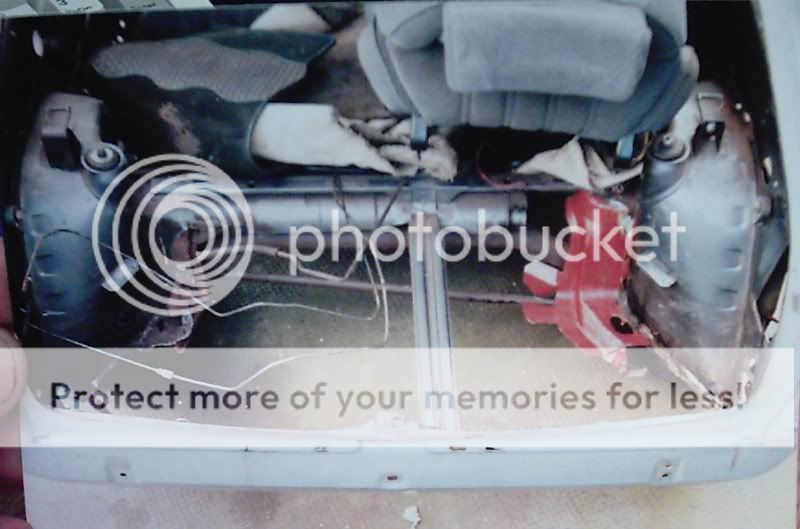
Rear sills (looking up from the bottom of the rear tyre)
Boot floor (picture taken from the garage floor)
Inner arch after a clean up
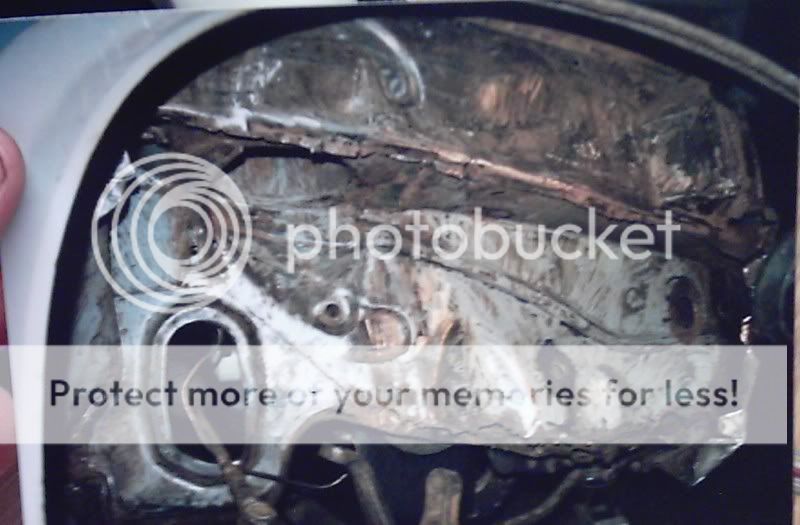
Spotted the inner arch chassis a bit rusty, so was taken off and a new part fabricated.
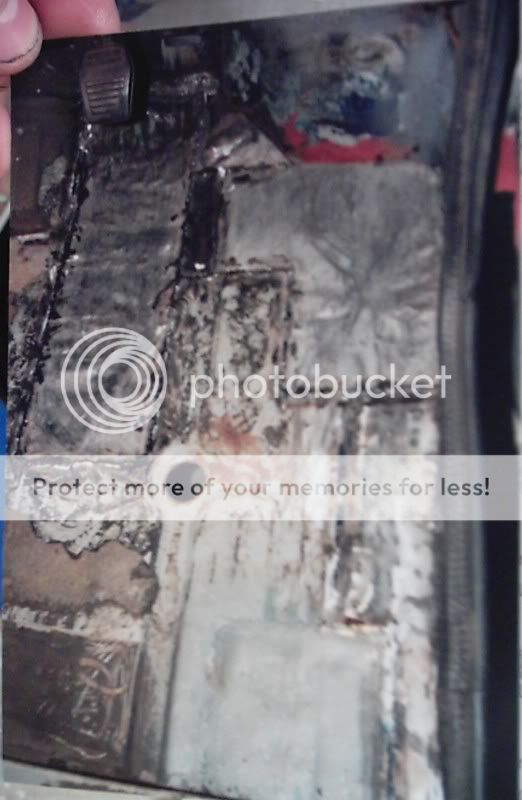
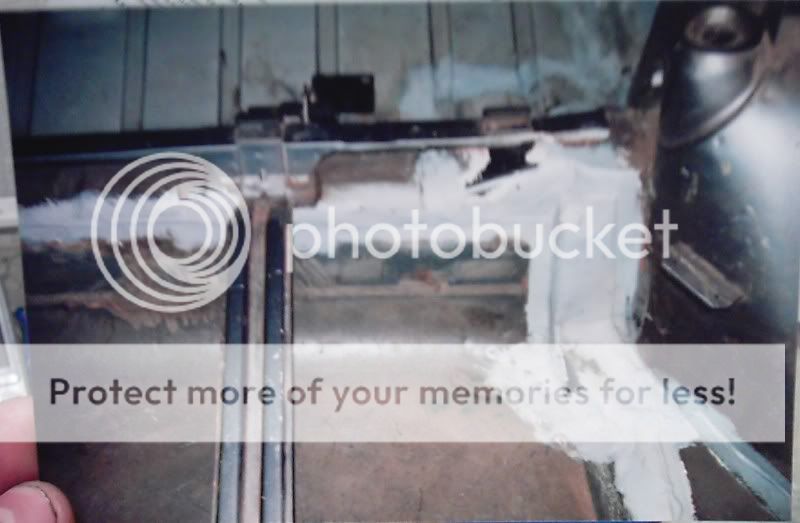
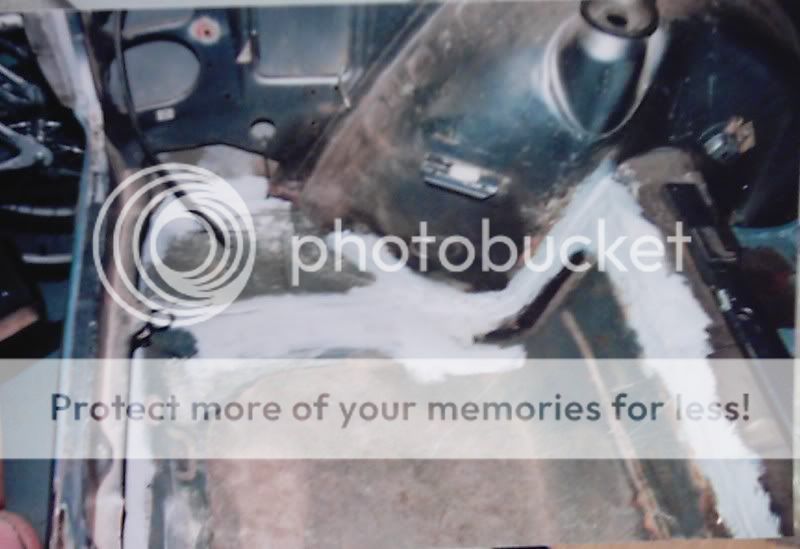
Various pics of the floor before and after....
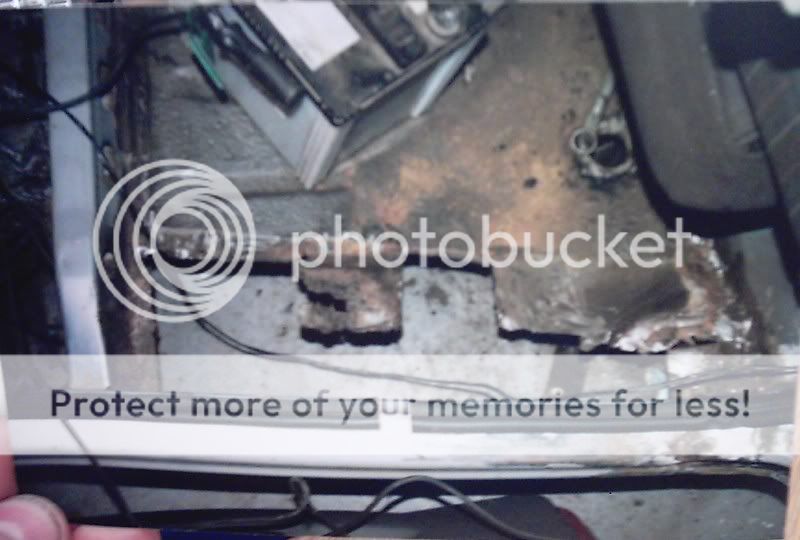

Boot floor cut out
A new floor in place (made from an old rotten RS1600i door!)
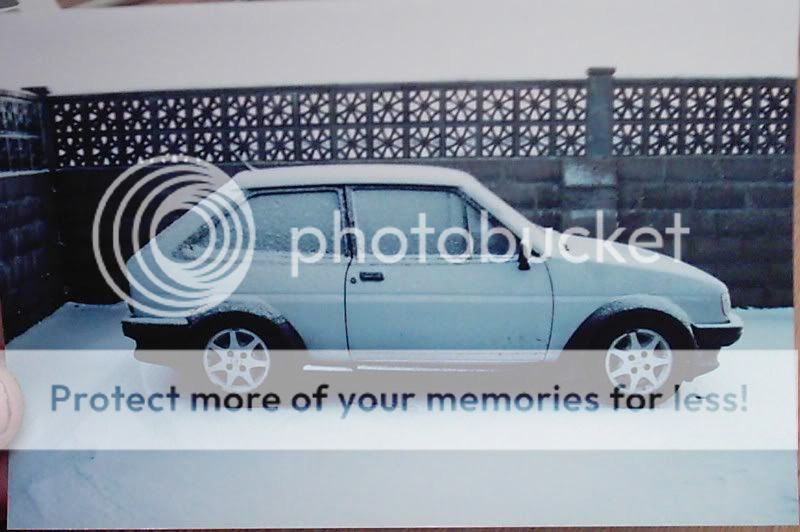
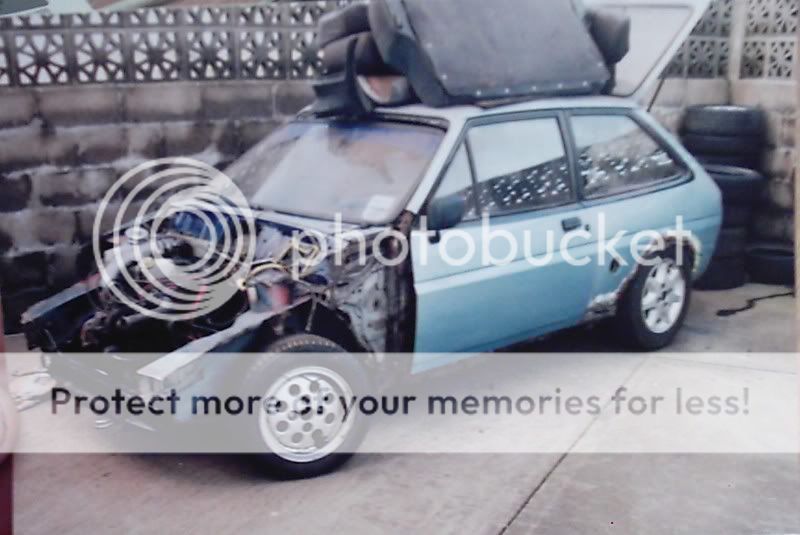
Oh, and here's my runabout..........and next project!!
Chop, I'll be at hame this weekend (in the garage of course) so jist pop in past, if you've the time.
Next week will prob be in the garage during some nights ony way.
Well, I've dug out some of my photos from when I picked her up when I was 17, then will bring you through the years & stages.
As the work scanner ain't working, I've taken the pics using my digi camera onto the 35mm film, hence the blurryness.
Here' under the bonnet & interior after she was back at my house.
During rework
New front end
After the first rebuild
Start of the 2nd rebuild. That bucket was just by scrapping off the FIRST attempt of rust / old underseal from the floor pan
Front N/S A-pillar
That arch is enough to scare anyone!
Chassis leg
New chassis leg after being fabricated from a Nova front bumper, as Ford stopped making them!
Rear sills (looking up from the bottom of the rear tyre)
Boot floor (picture taken from the garage floor)
Inner arch after a clean up
Spotted the inner arch chassis a bit rusty, so was taken off and a new part fabricated.
Various pics of the floor before and after....
Boot floor cut out
A new floor in place (made from an old rotten RS1600i door!)
Oh, and here's my runabout..........and next project!!


 23-02-2006, 11:58 AM
#31
Too many posts.. I need a life!!
Thread Starter
I thought that I'd bring you all back up to speed on this!
Well, not much as happened, as such, due to work, socially and fixing other folks cars..........cough, cough!
Anyways, no pics here at work, but I've got the fuel pump fitted neatly under the car, beside the tank. I just need to know where to fit the accumulator, that is if it can be removed completely. Anyone know if a one-way valve used within the fuel system will replace it???
My m8 came through 2 weeks ago and showed me how to polish the paint work with 2000 grade, soap and water. Over a few nights, inc last night (with the help of my fiance) the car is now a hell of a lot more better. It could still be done with more flattening on the roof but I can't be assed!!!
It was a nightmare last night trying to watch American Pie at the same time as screwing the side skirts back on after the polishing! lol!
The rest of the kit will be fitted tonight, so I can get the black surround painted, then windows go in!
Got my Wilwoods delivered the other day, so thats the brakes complete, but that is this weekends job, enabling me to get the shell rolling in the garage, so I can get on with the rebuilding of the engine.
 05-04-2006, 05:38 PM
#34
Too many posts.. I need a life!!
Thread Starter
Well haven't been on here for a while, so here goes!!!!!!
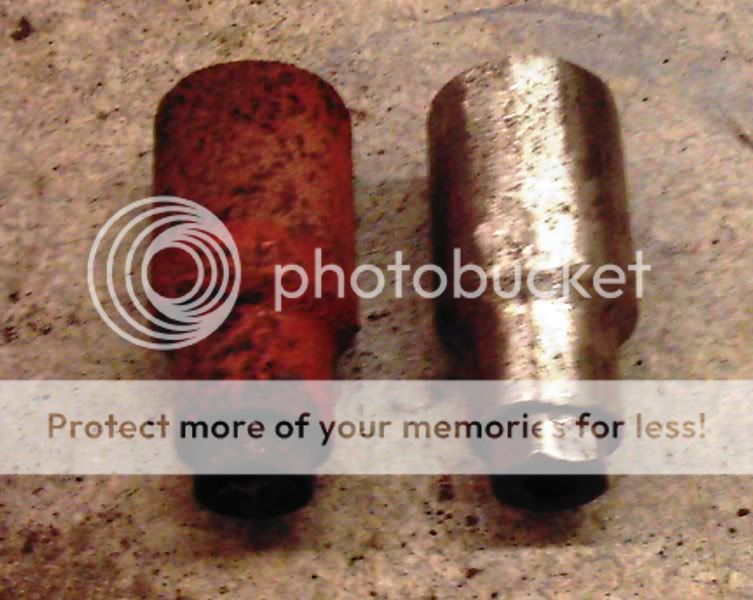
Firstly you will see a few parts been changed out, namely the track rod ends....nice!

Suspension parts painted using some Offshore special paint


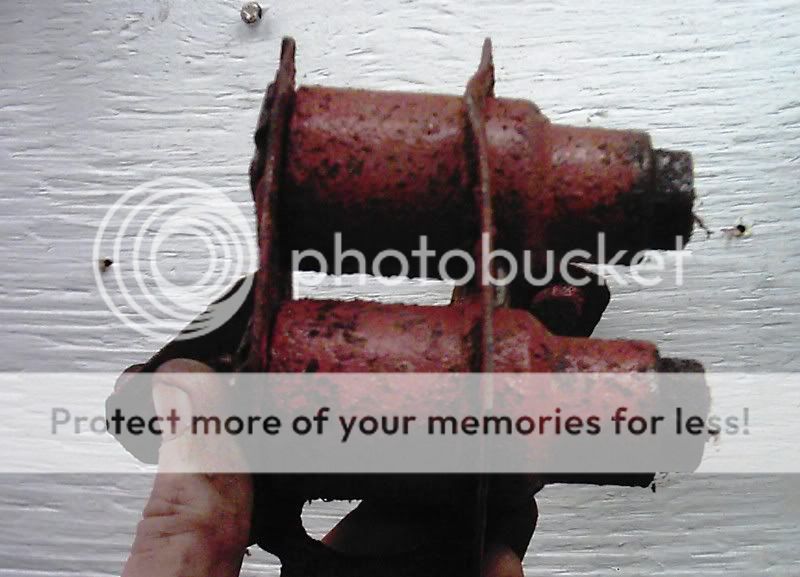
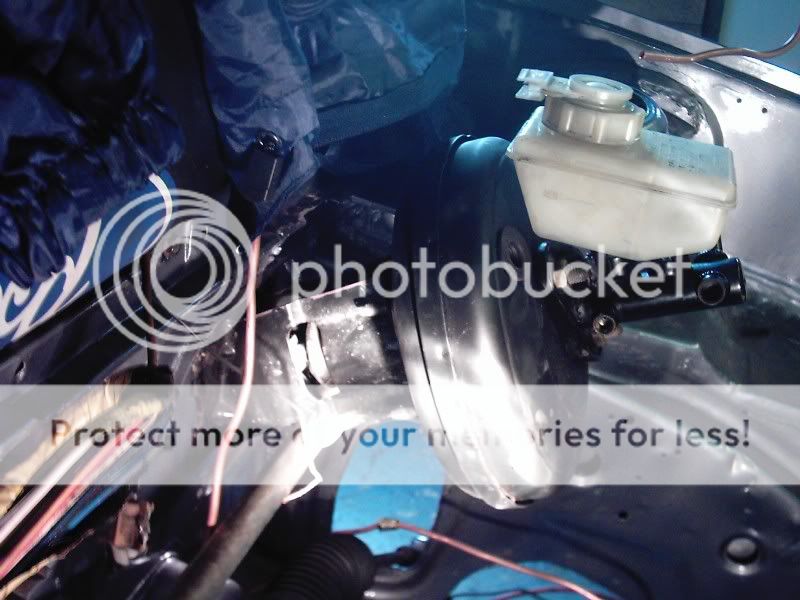
Brake bar & servo attached
Windscreen fitted (without any breakages!!!!)

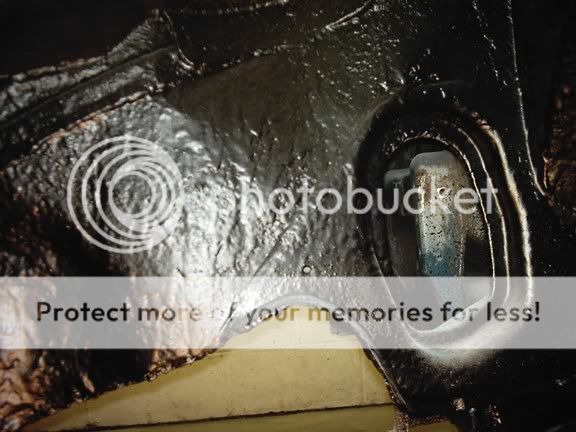
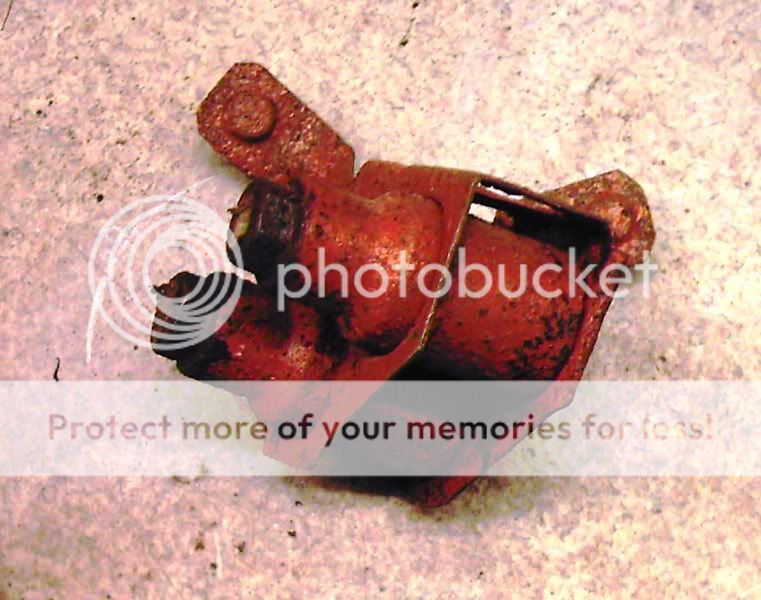
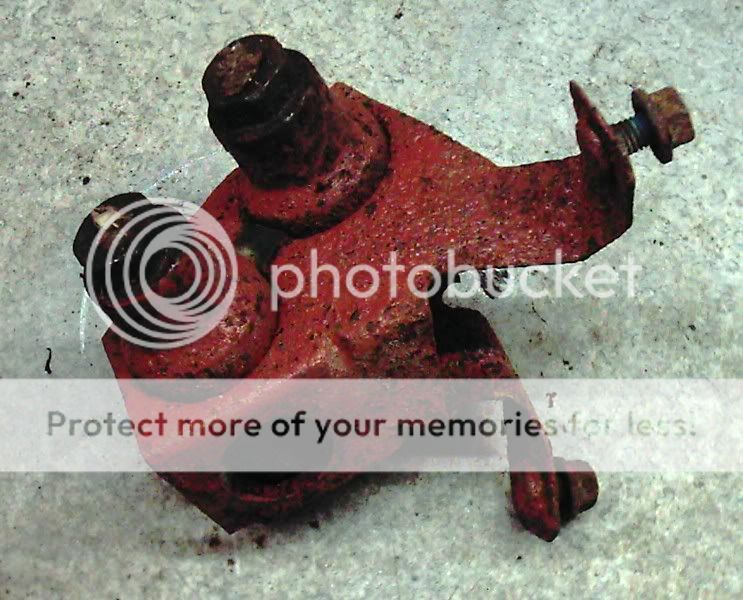
Brake bias valve in a bit of a state...!!! So much for the Rust eater that its coated in!!!
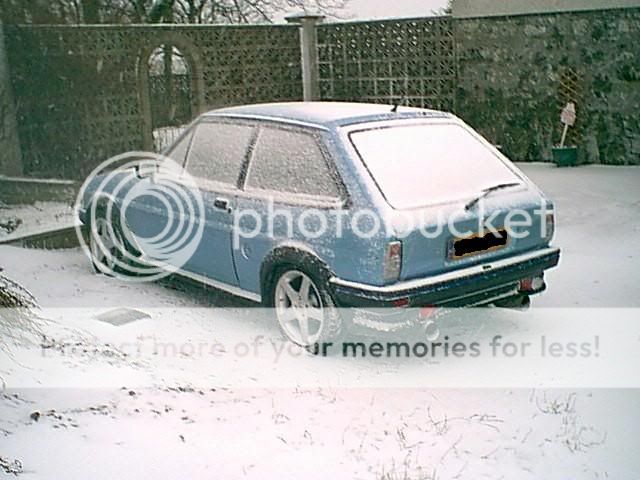
My saviour been outside on the cold nights (10" of snow outside)

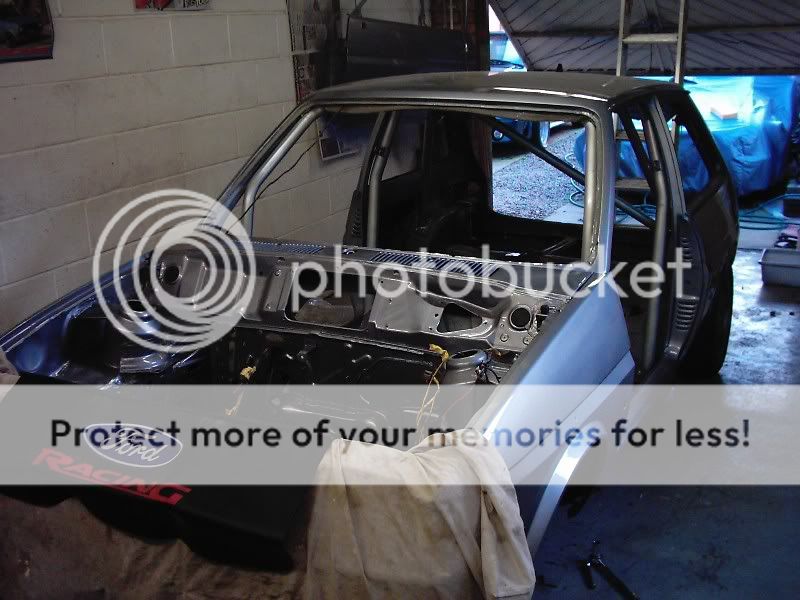
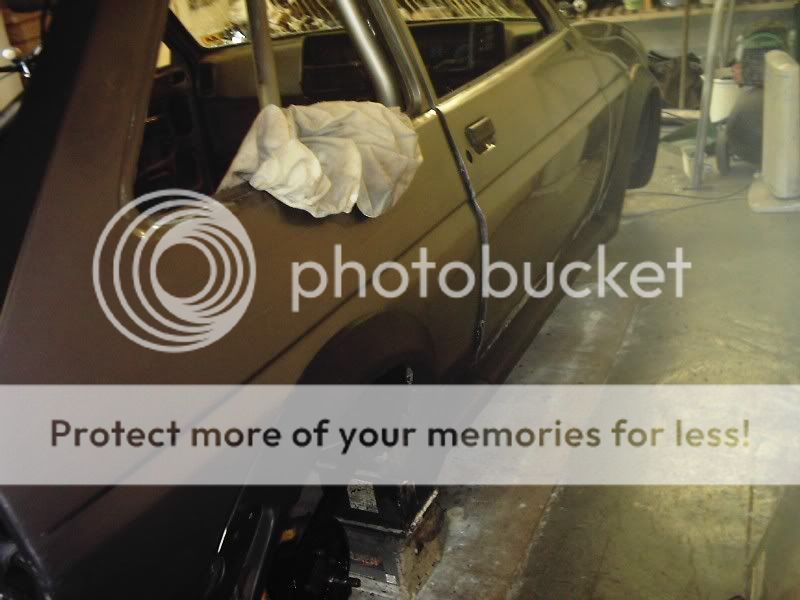
Kit now fitted, making it an XR2 finally!!

Dash and clocks in:

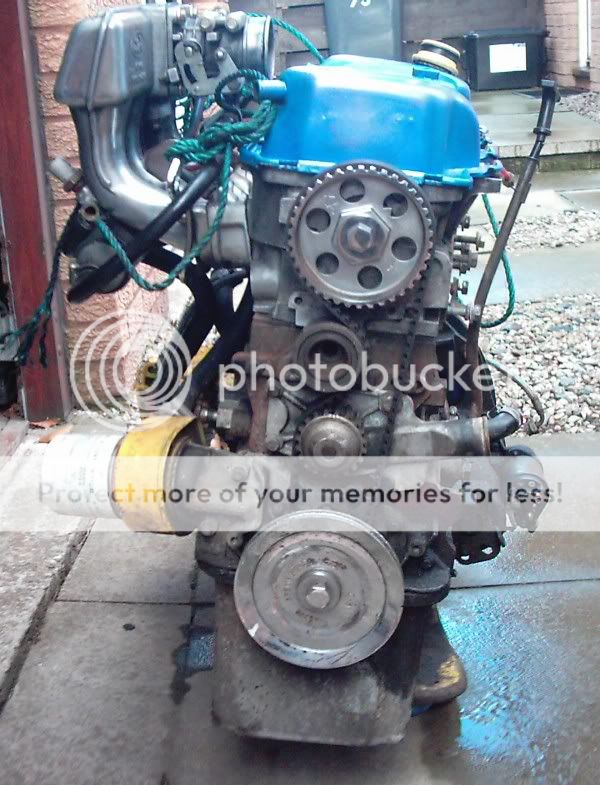
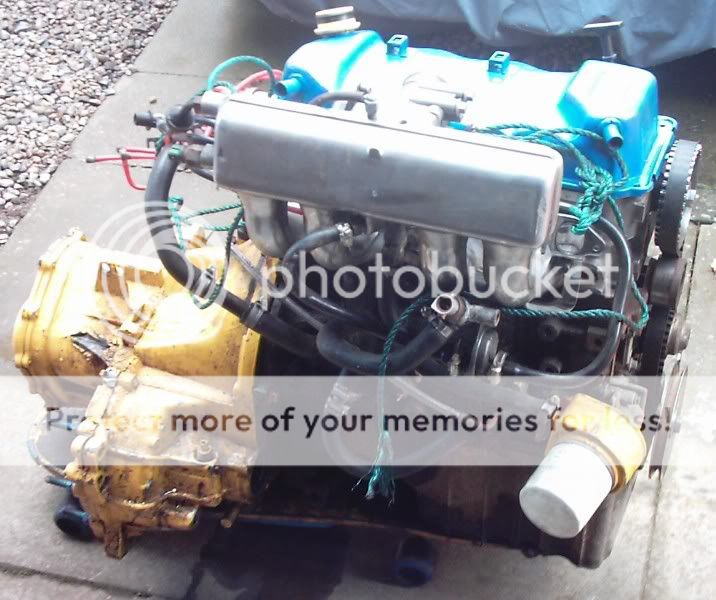
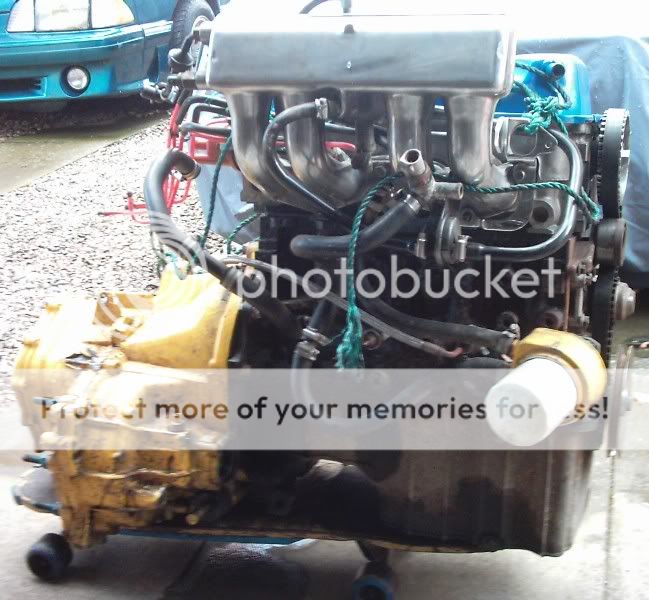
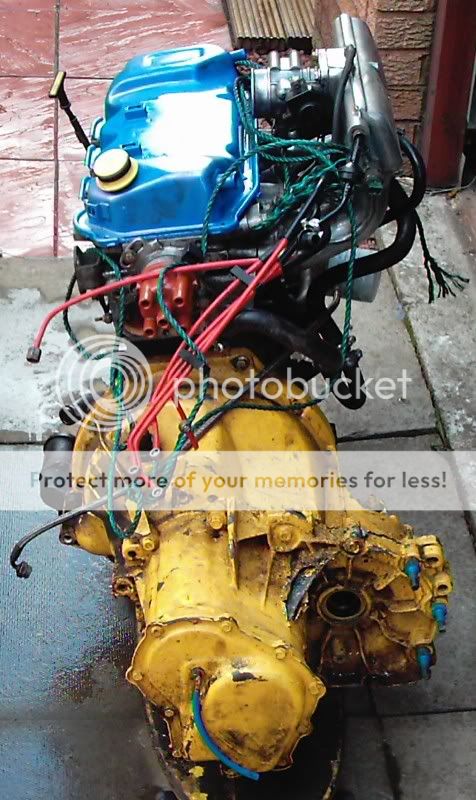
At the weekend, I picked up a few goodies - seats, harnesses, engine, etc, so will get onto that very soon!!
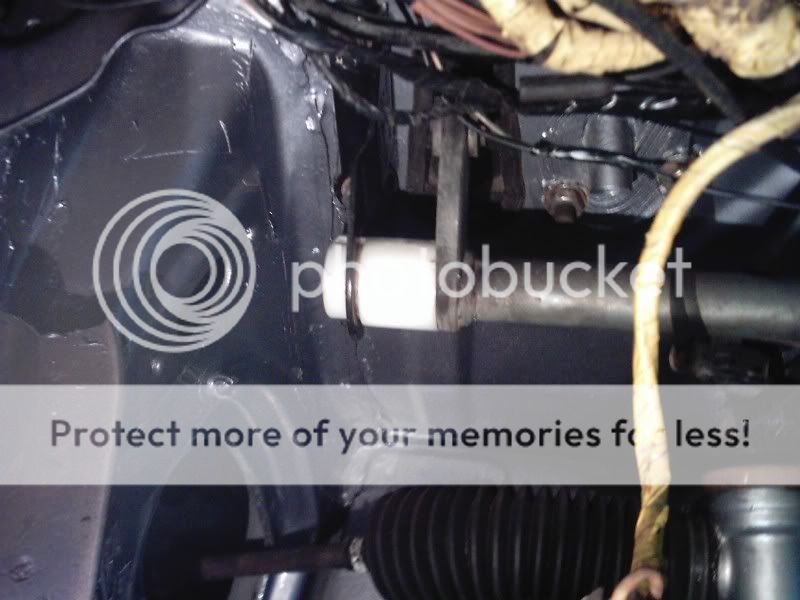
The issue I'm fighting with is that I got a late spec servo but forgot to take the bar and driverside bracket, which I'm trying to hunt down..... anyone have one?????
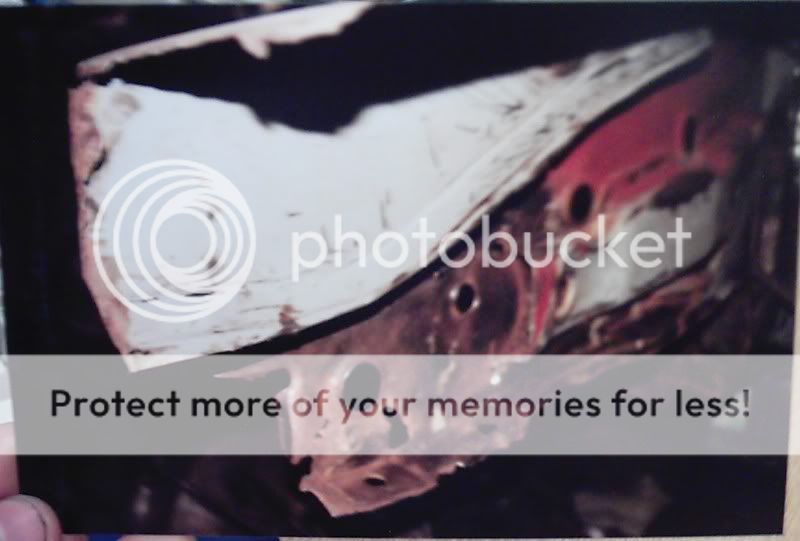
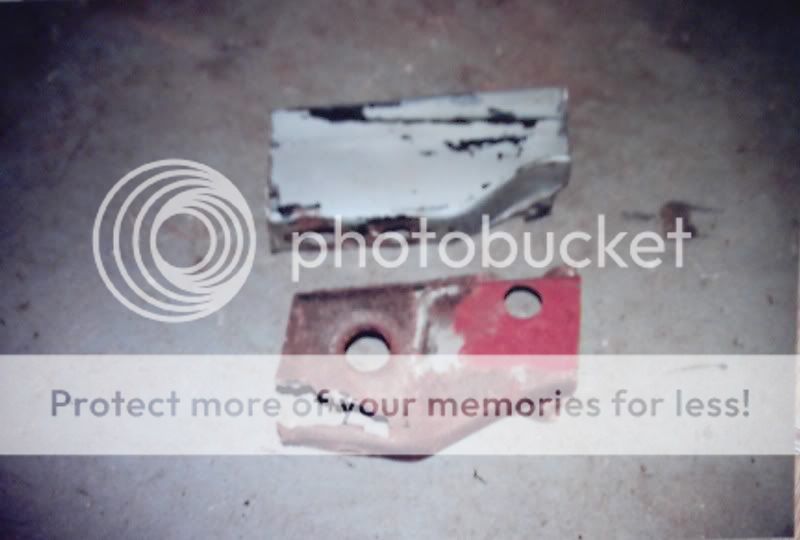
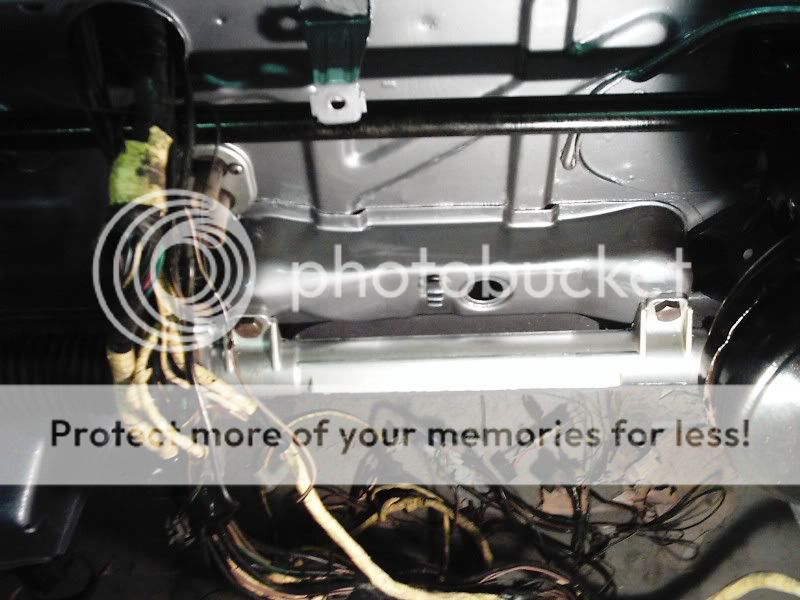
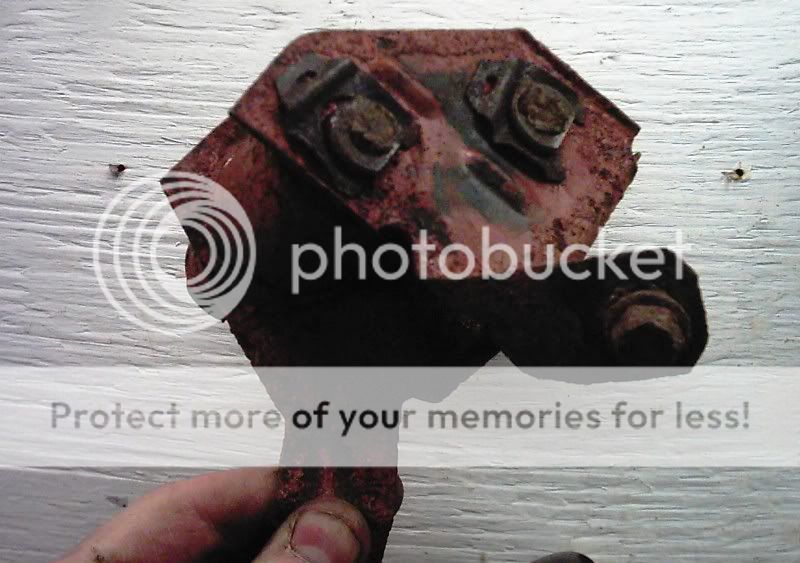
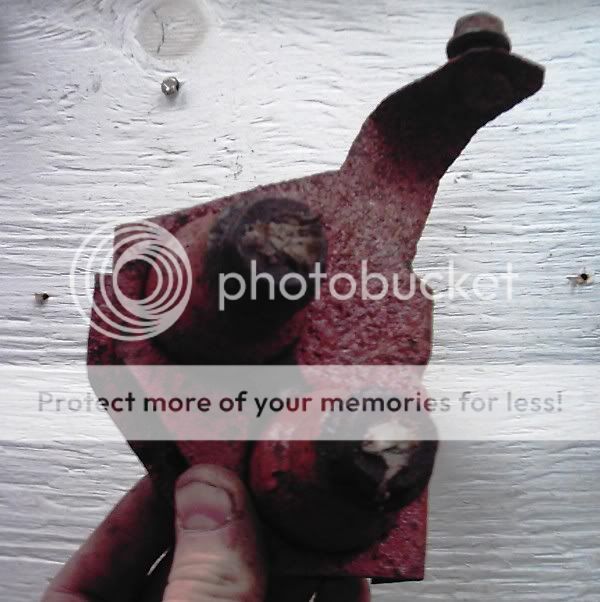
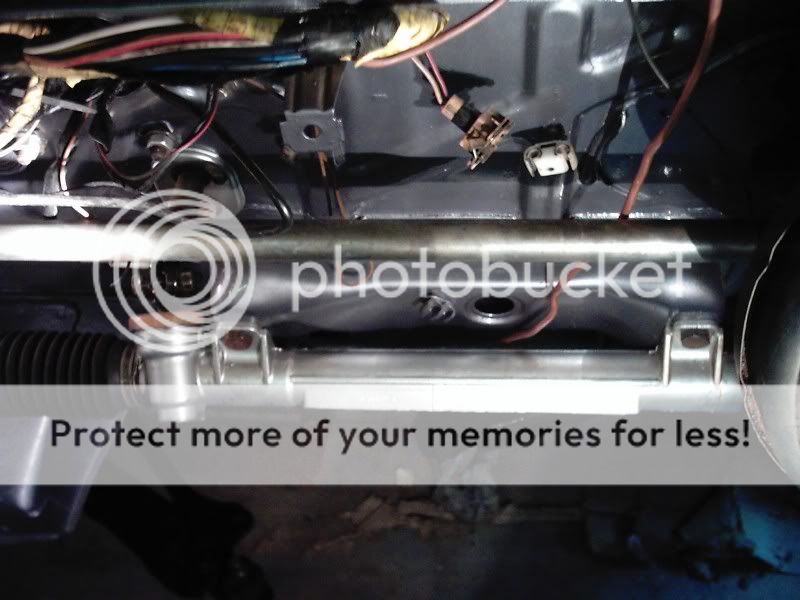
This is the issue I have at the mo:
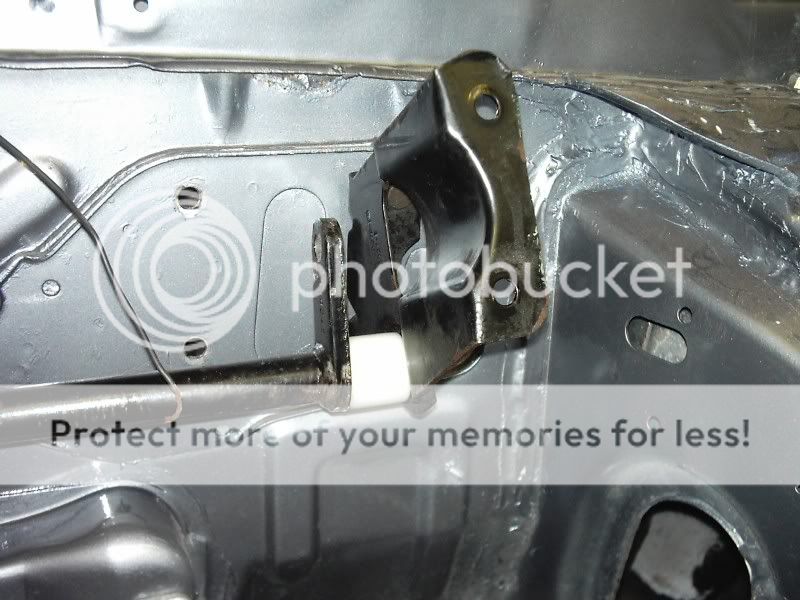

The bar is from an early spec but as you will see from the last pic, the bar doesn't fit the bracket.
Firstly you will see a few parts been changed out, namely the track rod ends....nice!
Suspension parts painted using some Offshore special paint
Brake bar & servo attached
Windscreen fitted (without any breakages!!!!)
Brake bias valve in a bit of a state...!!! So much for the Rust eater that its coated in!!!
My saviour been outside on the cold nights (10" of snow outside)
Kit now fitted, making it an XR2 finally!!
Dash and clocks in:
At the weekend, I picked up a few goodies - seats, harnesses, engine, etc, so will get onto that very soon!!
The issue I'm fighting with is that I got a late spec servo but forgot to take the bar and driverside bracket, which I'm trying to hunt down..... anyone have one?????
This is the issue I have at the mo:
The bar is from an early spec but as you will see from the last pic, the bar doesn't fit the bracket.
06-04-2006, 05:50 AM
#35
PassionFord Post Whore!!

Join Date: May 2003
Location: Not far from here
Posts: 3,992
Likes: 0
Received 0 Likes
on
0 Posts
WOW 
now thats dedication, its like Triggers Broom
you have just inspired me more to get mine sorted m8
oh and regards the brake bar bracket, try www.xr2.com and put an ad in the wanted section, or just move it to where it needs to be and drill 2 more holes (cant see it being a problem unless the pedal box mounts to the studs on the back of the bracket which i cant remember!)
keep us updated m8... theres so many xr2's being made good again this year
06-04-2006, 10:46 PM
#36
Too many posts.. I need a life!!
iTrader: (4)

Join Date: Sep 2004
Location: scotland, under my cossie!
Posts: 630
Likes: 0
Received 0 Likes
on
0 Posts
[quote="rocky_robin"]
Suspension parts painted using some Offshore special paint
[quote]
PMSL..........what you mean is its painted with knicked paint!!!
thats always the best stuff, you canny beat a freebie!!
keep up the good work!
Suspension parts painted using some Offshore special paint
[quote]PMSL..........what you mean is its painted with knicked paint!!!
thats always the best stuff, you canny beat a freebie!!
keep up the good work!
13-04-2006, 09:02 AM
#39
Wahay!! I've lost my Virginity!!
Join Date: Dec 2005
Posts: 91
Likes: 0
Received 0 Likes
on
0 Posts
just looked through your pics mate all the credit in the world to you great work mate i would have given up with all the rot in the shell but most of us have been there have a look at my mk1 its in the same section
17-04-2006, 12:21 PM
#40
Too many posts.. I need a life!!
Thread Starter
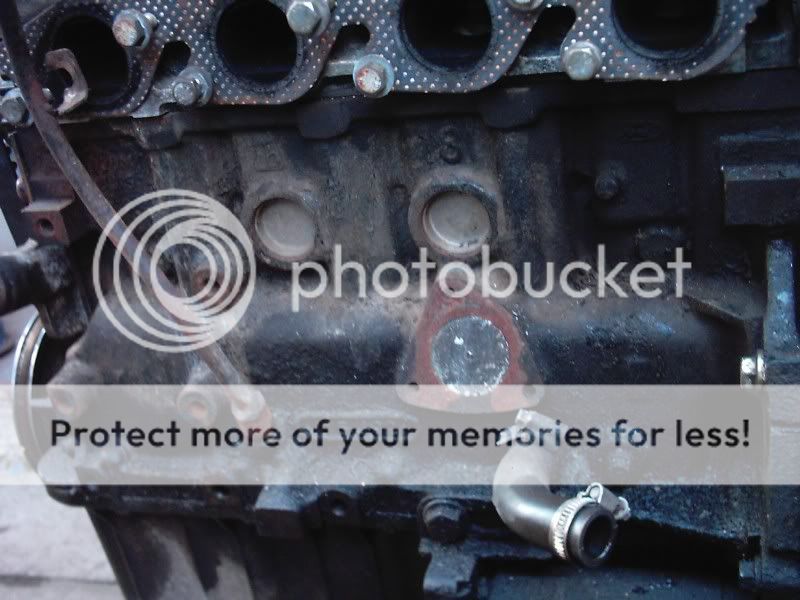
Another update!
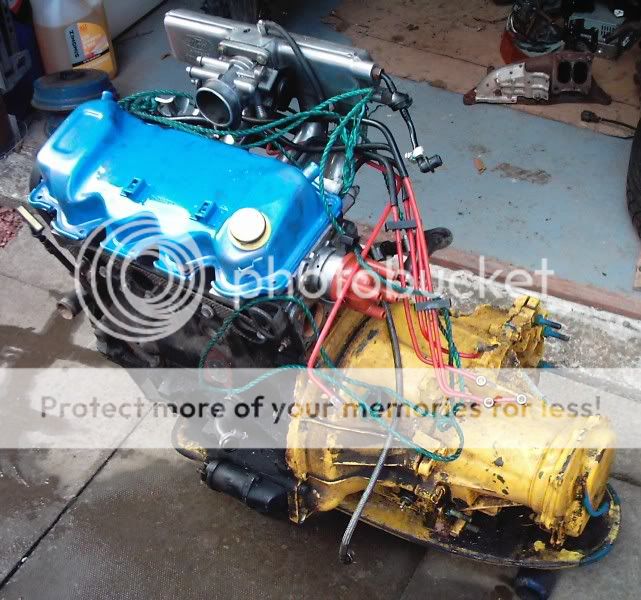
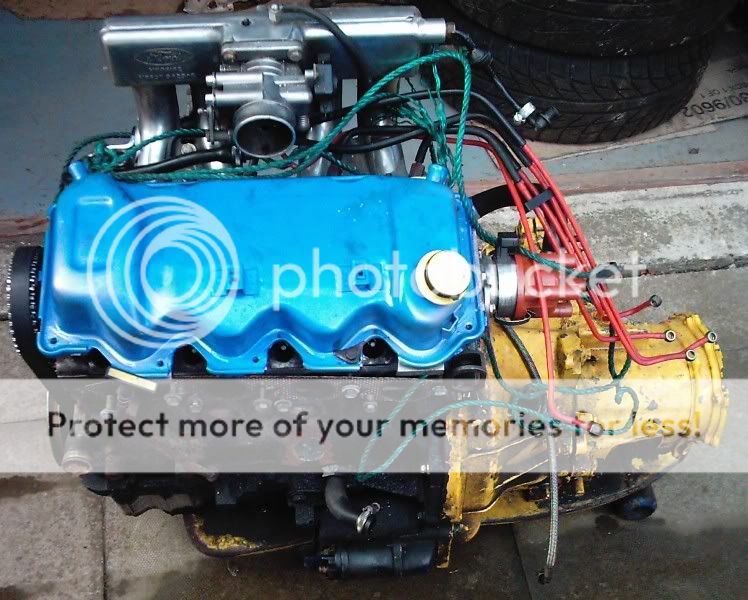
Engine cleaned and ready for painting.
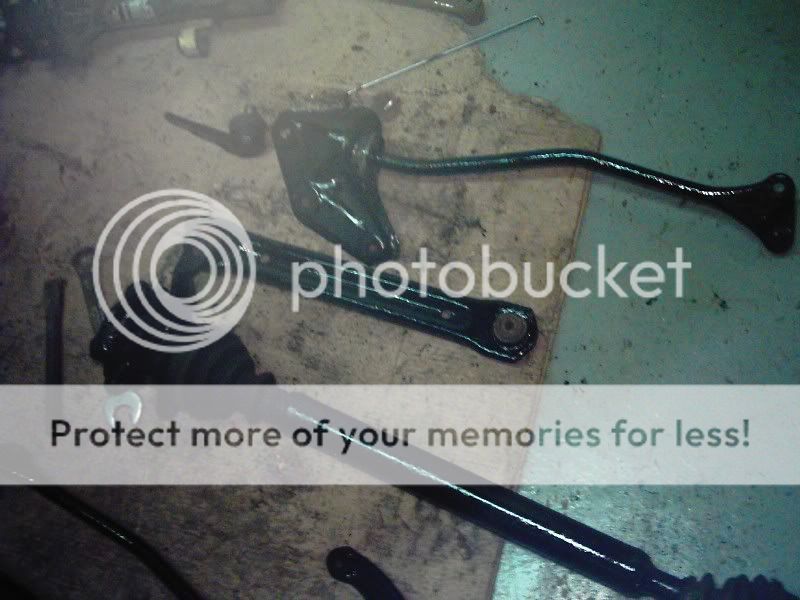
New brake bar and brackets installed
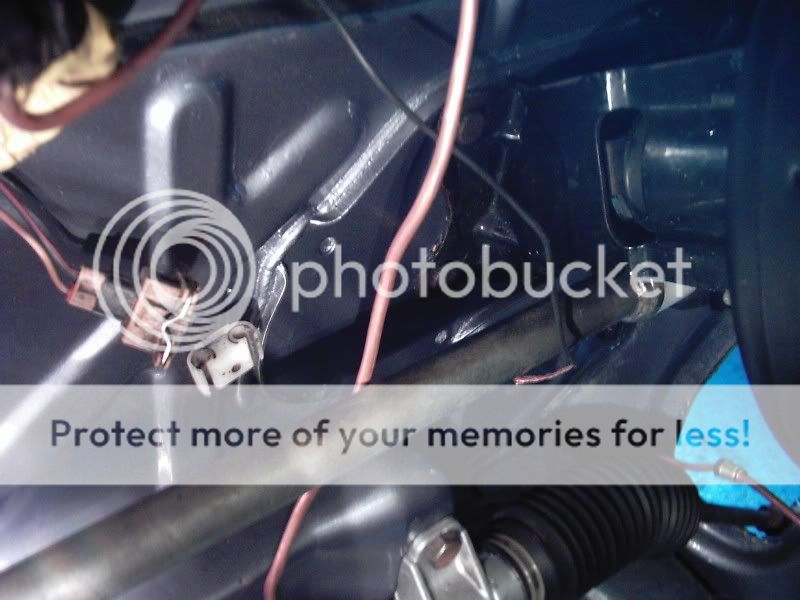
New brake lines are run inside the car, leaving the fuel ones outside.
Engine cleaned and ready for painting.
New brake bar and brackets installed
New brake lines are run inside the car, leaving the fuel ones outside.