
MK3.5 1.1 -> FRST Replica Project - Update 6/8/08 Breaking
 01-12-2006, 06:54 PM
#81
Redumbdancy
Thread Starter
jayRS - i know about the door and wing  Im leaving it for a year or so until im old enough to insure it with an RST engine - when that time comes everything will be stripped off it and painted.
Ideally two new doors, new rear quarter and NS wing.
G1EN - To be honest the headrests look alot better in normal light without the flash - i'll get better pics on Sunday. I used Sikaflex marine adhesive to stick mine on - used g-clamps and held them on over night. I didn't want to drill them on as once you drill thats when the rust sets in - hence why most FRST's have knackered arches and sills under the kit
fiestaturbo1984 - the 4x4 ones are past their best but i will be keeping them and getting them refurbed at some point. Just always fancied a set of speedlines or similar.
Cheers for all the kind comments
Im leaving it for a year or so until im old enough to insure it with an RST engine - when that time comes everything will be stripped off it and painted.Ideally two new doors, new rear quarter and NS wing.
G1EN - To be honest the headrests look alot better in normal light without the flash - i'll get better pics on Sunday. I used Sikaflex marine adhesive to stick mine on - used g-clamps and held them on over night. I didn't want to drill them on as once you drill thats when the rust sets in - hence why most FRST's have knackered arches and sills under the kit
fiestaturbo1984 - the 4x4 ones are past their best but i will be keeping them and getting them refurbed at some point. Just always fancied a set of speedlines or similar.
Cheers for all the kind comments

 20-12-2006, 07:00 PM
#85
Redumbdancy
Thread Starter
Thought this might be of some use to people so posted it up here.
Does anyone know if ERST base (leg) bolsters are the same shape as FRST ones? And also the (hip) upper bolsters and centre cushion section sorround - is it the same as the ERST?
-----------------------------------
Got a spare set of FRST recaros kicking about so thought i'd take them apart and see what i could do with them.
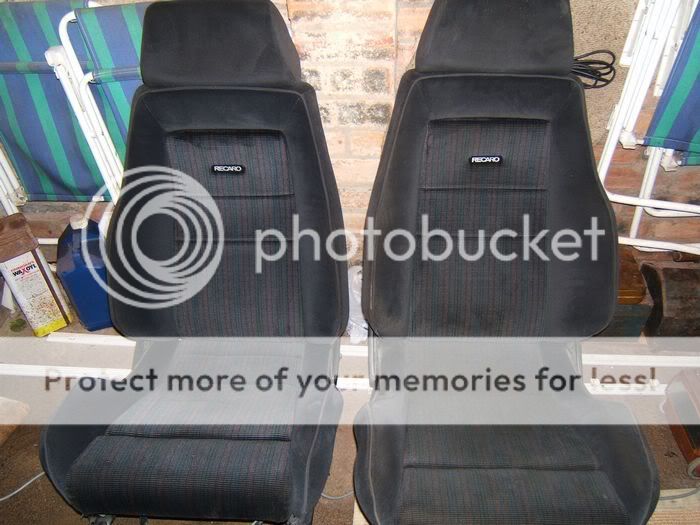
One of them here which had been shampoo'd - the cloth seems in better condition than my current seats but the bolsters seemed wrecked. Initail plan was to swap the bolsters over but ive decided to keep my current recaros in the car and build up another set for spares using brand new bolsters etc.
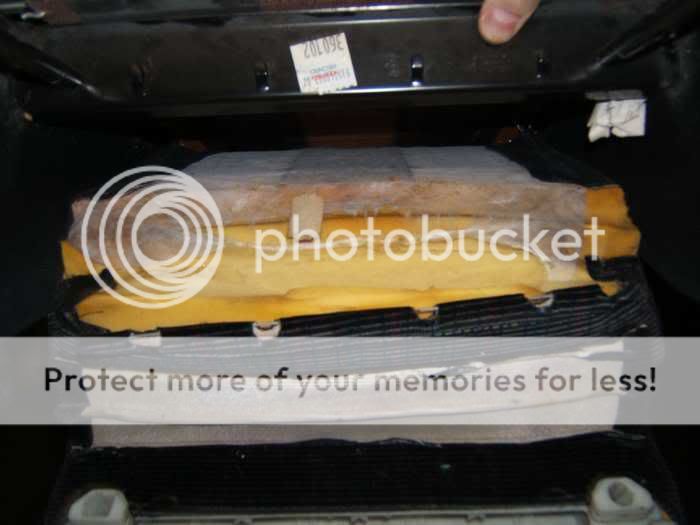
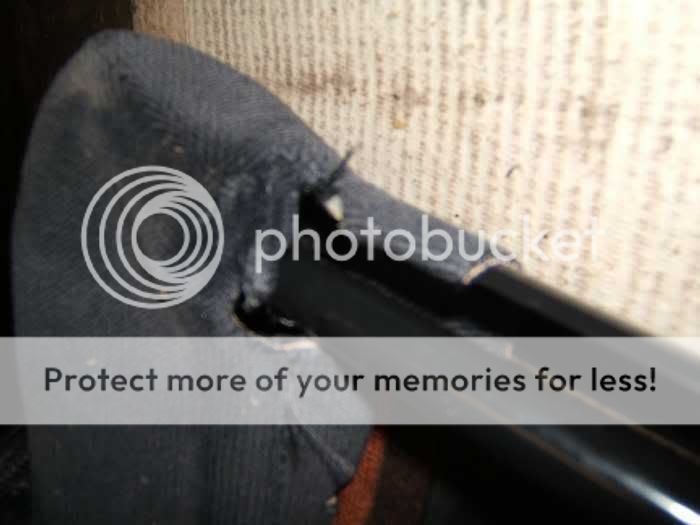
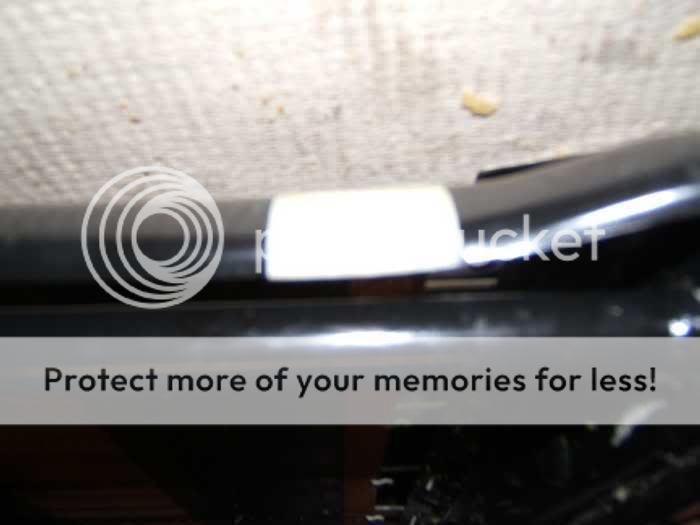
First thing was to remove the base cushion which seems fine, the diaphram has stretched over time so i'm going to order up another set.
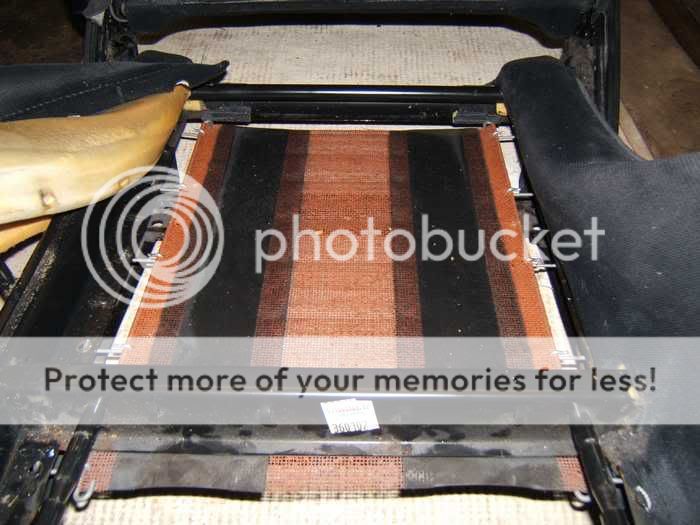
Subframes unbolted and then the cloth simply pulls off via the long black clips/covers.
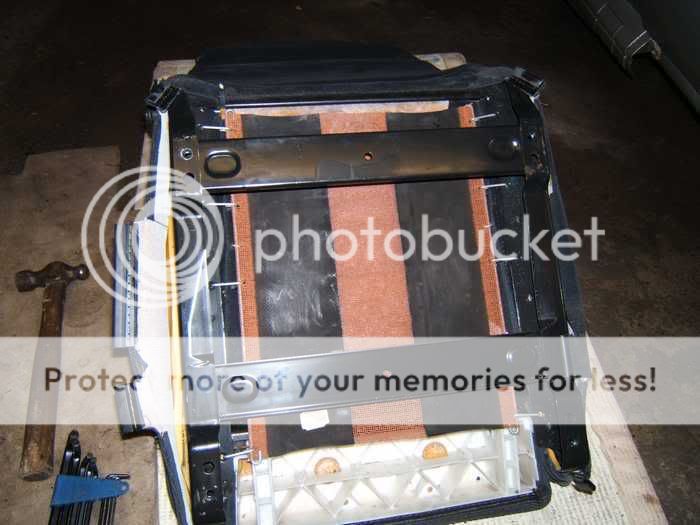
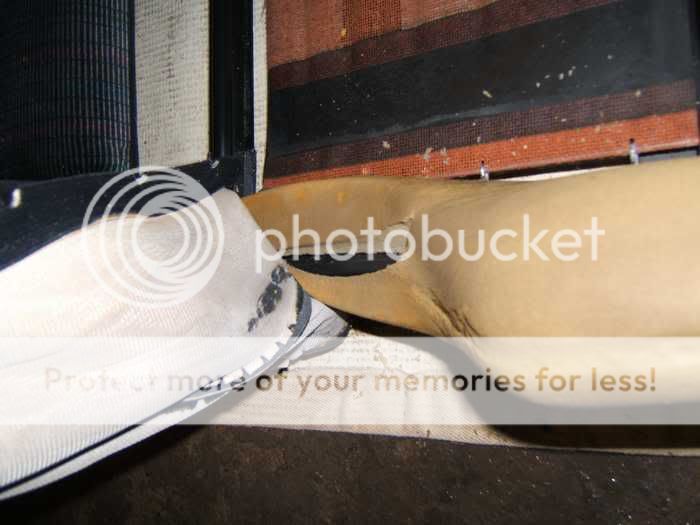
Then the extender part of the base - this comes off via two clips, simply pulled off.


This leaves the extended part hanging whilst you can unclip the front part of the base from the clips -

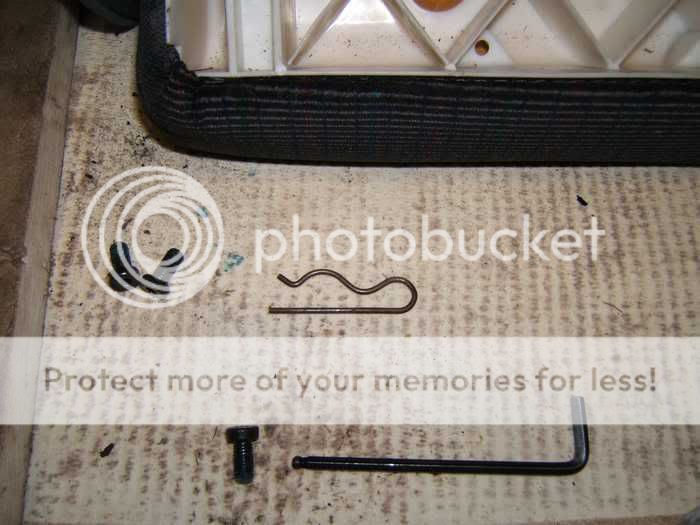
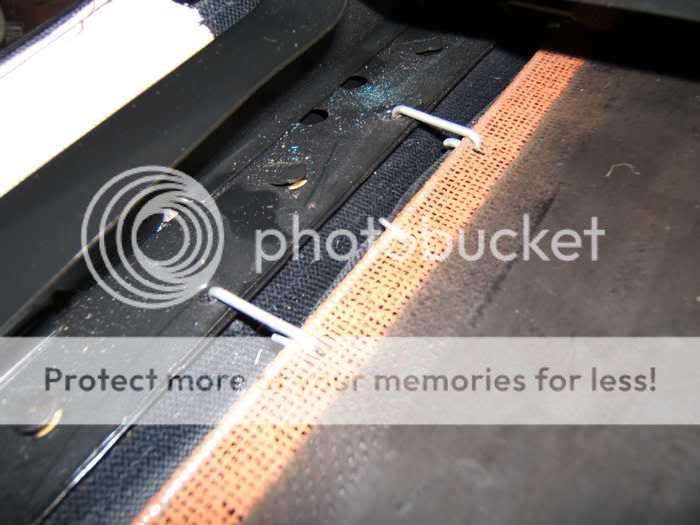
Next the centre of the base is connected to the diaphram via a ring on either side, simply open these up with a set of pliers and remove.

Now the base is free to be removed; along with the side bolsters (where the foam bolster is hooked round the back of the seat frame, easily pulled over the bar)-
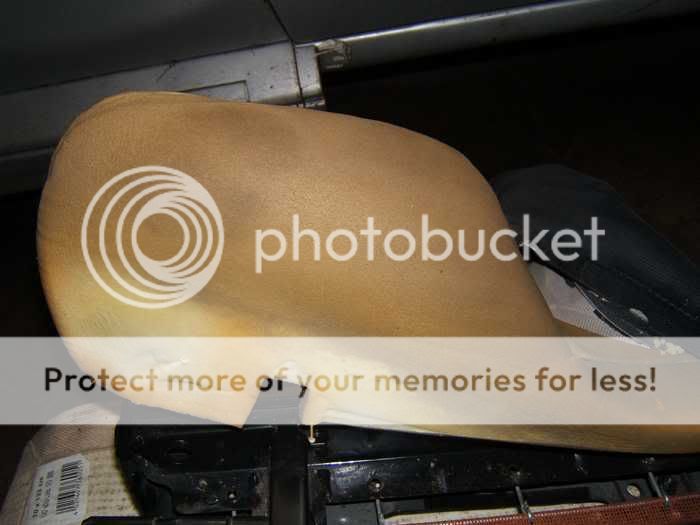
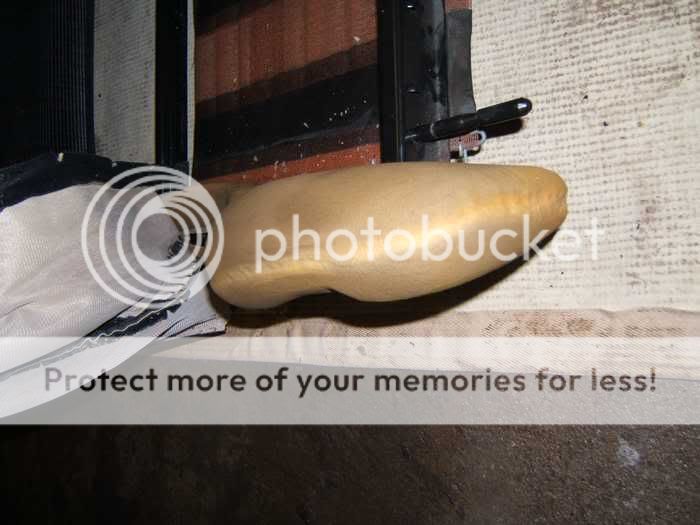
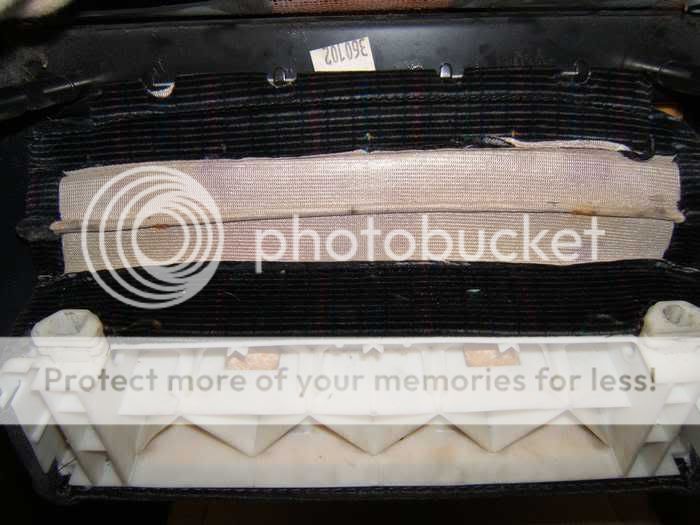
As you can see a very distorted set of bolters which have broken down in time and looks like they've been damp also!
If your wanting to remove the bolster material the final part is to remove where it is stuck to the rear of the seat base frame; stuck here with glue/sticky pad - Note: not neccessary to remove if replacing bolsters.
Next i gave the centre cushion a little shampoo -


----------------------
Next im going to order up new base bolsters and a new diaphrams.
Next thing was my heater doesn't work on position 1, so i bought another switch (second hand) and swapped them over:
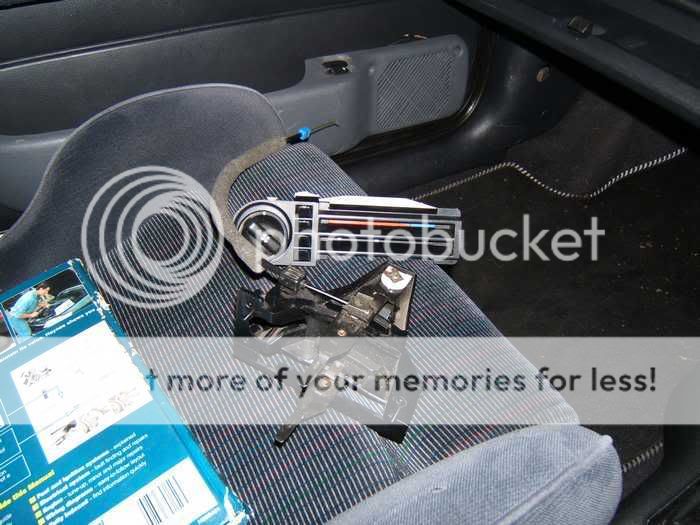
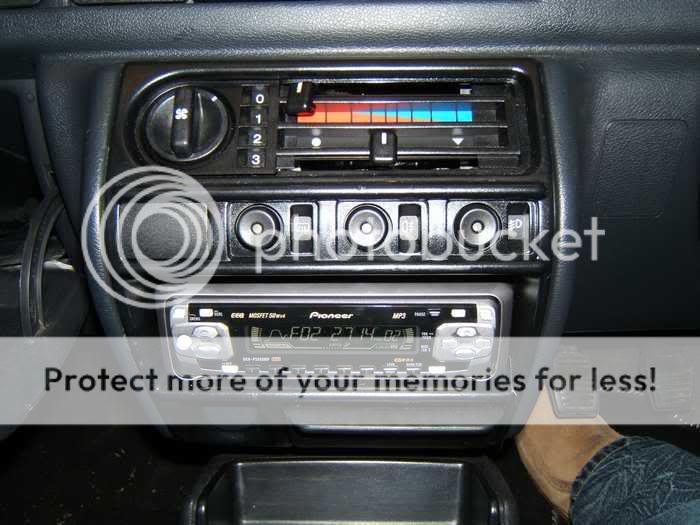
But now it STILL DOESN'T WORK Anyone got any ideas what else could be up? Wiring to the back of the swtich? It was quite ackward to check so i didn't try it.
Cheers
Does anyone know if ERST base (leg) bolsters are the same shape as FRST ones? And also the (hip) upper bolsters and centre cushion section sorround - is it the same as the ERST?
-----------------------------------
Got a spare set of FRST recaros kicking about so thought i'd take them apart and see what i could do with them.
One of them here which had been shampoo'd - the cloth seems in better condition than my current seats but the bolsters seemed wrecked. Initail plan was to swap the bolsters over but ive decided to keep my current recaros in the car and build up another set for spares using brand new bolsters etc.
First thing was to remove the base cushion which seems fine, the diaphram has stretched over time so i'm going to order up another set.
Subframes unbolted and then the cloth simply pulls off via the long black clips/covers.
Then the extender part of the base - this comes off via two clips, simply pulled off.
This leaves the extended part hanging whilst you can unclip the front part of the base from the clips -
Next the centre of the base is connected to the diaphram via a ring on either side, simply open these up with a set of pliers and remove.
Now the base is free to be removed; along with the side bolsters (where the foam bolster is hooked round the back of the seat frame, easily pulled over the bar)-
As you can see a very distorted set of bolters which have broken down in time and looks like they've been damp also!
If your wanting to remove the bolster material the final part is to remove where it is stuck to the rear of the seat base frame; stuck here with glue/sticky pad - Note: not neccessary to remove if replacing bolsters.
Next i gave the centre cushion a little shampoo -
----------------------
Next im going to order up new base bolsters and a new diaphrams.
Next thing was my heater doesn't work on position 1, so i bought another switch (second hand) and swapped them over:
But now it STILL DOESN'T WORK
Anyone got any ideas what else could be up? Wiring to the back of the swtich? It was quite ackward to check so i didn't try it.Cheers
20-12-2006, 07:15 PM
#86
PassionFord Post Whore!!
Join Date: Jul 2004
Location: isle of wight (K.O.P 2006 mother fucker!)
Posts: 4,276
Likes: 0
Received 0 Likes
on
0 Posts
as far as i know the bolsers are the same.
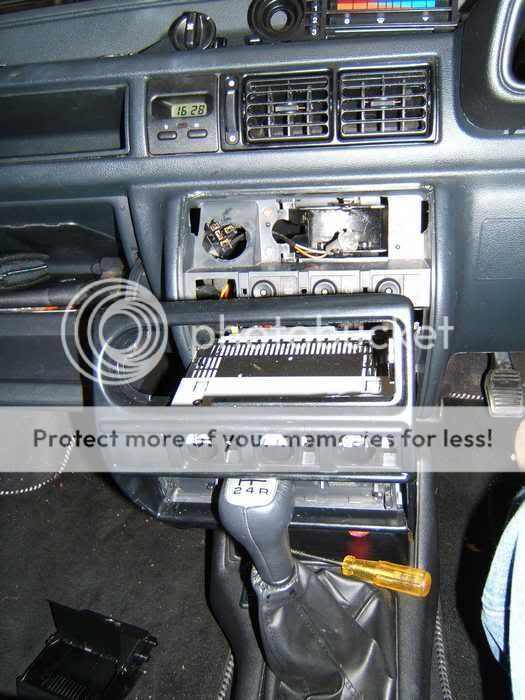
the problem with the fan not working on number 1 will more than likey be the resistor, i had this problem and changed mine, however ive changed mine in my rebuild but not tested it but ive heard the same thing happens on mondeos and the resistor is the cause of it.
however, the resistor is clipped on next to the bolower motor so the bulk head back panel has to come off as does the plastic cover over the blower motor.
it could even be a crappy connection on the pins/plugs but give them a clean and spry with wd40 before fitting and test before everything is put back on
if you have the same haynes manual as me you will see what i mean on page 3.9 top left pic (11.17)
21-12-2006, 01:07 AM
#88
Redumbdancy
Thread Starter
Originally Posted by jayRS
as far as i know the bolsers are the same.
the problem with the fan not working on number 1 will more than likey be the resistor, i had this problem and changed mine, however ive changed mine in my rebuild but not tested it but ive heard the same thing happens on mondeos and the resistor is the cause of it.
however, the resistor is clipped on next to the bolower motor so the bulk head back panel has to come off as does the plastic cover over the blower motor.
it could even be a crappy connection on the pins/plugs but give them a clean and spry with wd40 before fitting and test before everything is put back on
if you have the same haynes manual as me you will see what i mean on page 3.9 top left pic (11.17)
23-12-2006, 10:38 AM
#90
PassionFord Post Whore!!
Join Date: Jul 2004
Location: isle of wight (K.O.P 2006 mother fucker!)
Posts: 4,276
Likes: 0
Received 0 Likes
on
0 Posts
23-12-2006, 06:47 PM
#91
Redumbdancy
Thread Starter
Yeah ive seen that page Jay - but its for S1/s2 seats, im not entirely sure if the bolsters are the same or not for FRST's - ive emailed them to see.
23-12-2006, 08:50 PM
#93
Redumbdancy
Thread Starter
Originally Posted by jayRS
im sure they are but let me know though mate
23-12-2006, 09:24 PM
#95
Redumbdancy
Thread Starter
Originally Posted by jayRS
were they, fuck me ya learn something new every day
21-01-2007, 08:23 PM
#99
Redumbdancy
Thread Starter
Rab - cheers Rab, must meet up again soon. Hows the Beemer?
jayRS - Had 6 uni exams in the past 2 weeks so ive been a bit pre-occupied. Got a list of things im doing this week though and the heater is one of them.
Will be polishing her up and giving her a bit of a spring clean, then waxoyling the underside of her this week. Then need to sort a small hole in the exhaust before MOT at the end of the month.
Then i'll be building up a spare set of recaros which i'll store away for when the rest of its complete. After March the big saving up time begins until Summer '08 when i hope to do the conversion.
02-02-2007, 07:41 PM
#101
Redumbdancy
Thread Starter
Originally Posted by jayRS
fair play dude.
i still havent got round to paying in your cheque yet btw
i still havent got round to paying in your cheque yet btw
Update today - Speedlines have arrived, will post pics tommorrow
02-02-2007, 09:24 PM
#102
PassionFord Post Whore!!
Join Date: Jul 2004
Location: isle of wight (K.O.P 2006 mother fucker!)
Posts: 4,276
Likes: 0
Received 0 Likes
on
0 Posts
alright bud.
dont forget again to update
and no still not paid the cheque in
wont be able to by the time i get round to it
dont forget again to update
and no still not paid the cheque in
wont be able to by the time i get round to it
02-02-2007, 11:34 PM
#103
Redumbdancy
Thread Starter
Originally Posted by jayRS
alright bud.
dont forget again to update
and no still not paid the cheque in
wont be able to by the time i get round to it
dont forget again to update
and no still not paid the cheque in
wont be able to by the time i get round to it
Will be updating it very soon
04-02-2007, 12:24 PM
#106
Redumbdancy
Thread Starter
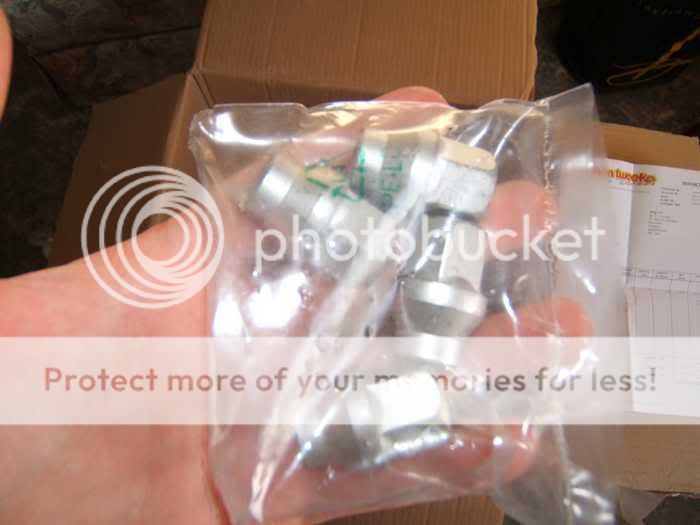
Finally the update ive been waiting for:
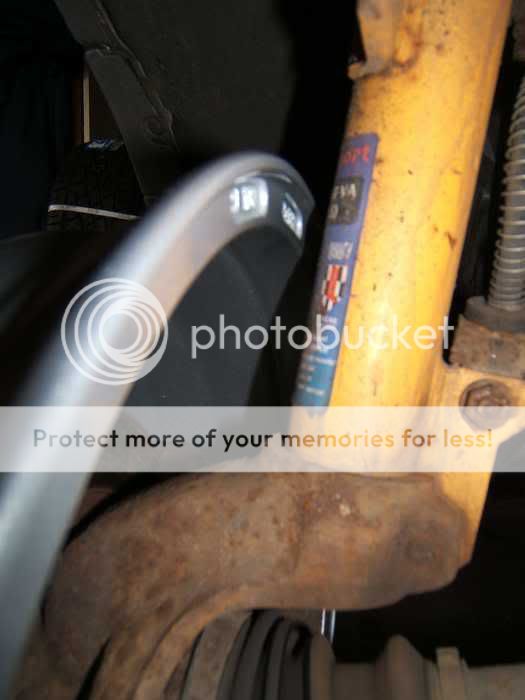
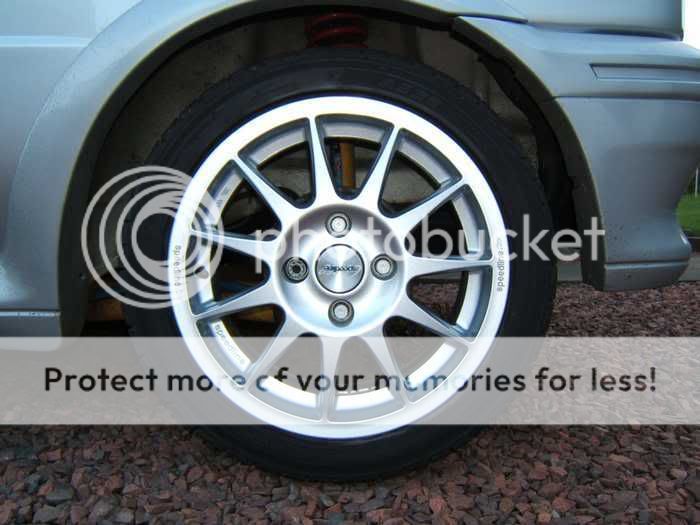
Been trying to get a new set of wheels since last July (my birthday) and only now after being mucked about by a few companies, i now have my brand new Speedline Turini's (2120's) courticy of Demon Tweeks - cheers to Richard for all his help there
They are ET35, 15" x 6.5" and super light.
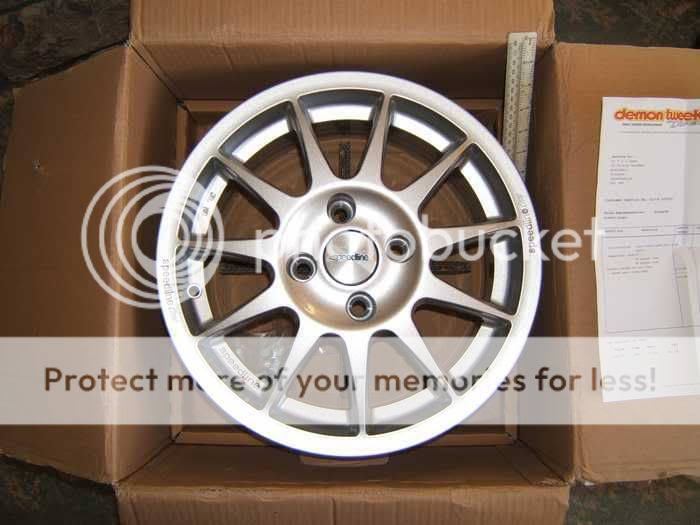
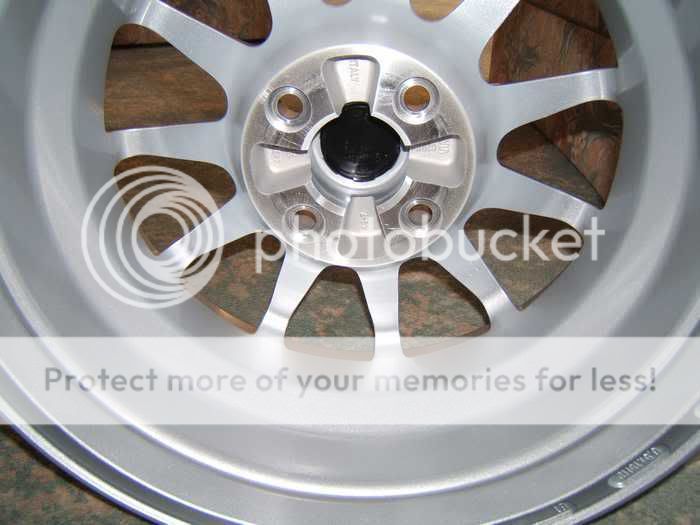
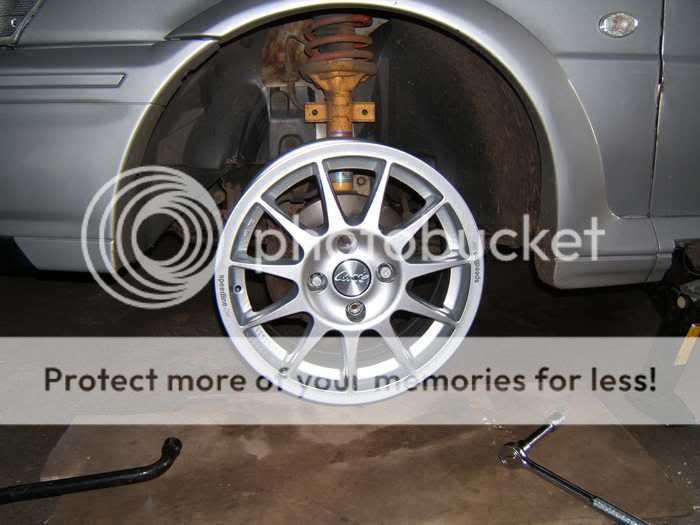
Plenty of clearance:
Can't wait to get my Yoko's on them, and then its being booked in for its MOT this week.
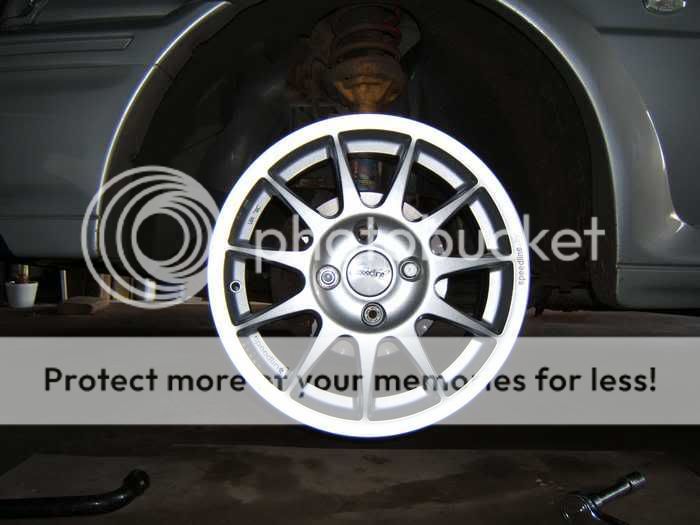
A few final pics of her on the Saph alloys - im thinking of getting these diamond cut for the summer.


Cheers
Been trying to get a new set of wheels since last July (my birthday) and only now after being mucked about by a few companies, i now have my brand new Speedline Turini's (2120's) courticy of Demon Tweeks - cheers to Richard for all his help there
They are ET35, 15" x 6.5" and super light.
Plenty of clearance:
Can't wait to get my Yoko's on them, and then its being booked in for its MOT this week.
A few final pics of her on the Saph alloys - im thinking of getting these diamond cut for the summer.
Cheers
 04-02-2007, 03:06 PM
#108
Redumbdancy
Thread Starter
Originally Posted by Flip2k3
Green strips. Thats all it needs now mate.
February's an expensive month for me - MOT, wheels and tyres fitted and last but not least Valentines Day


 08-02-2007, 03:51 PM
#115
PassionFord Post Whore!!
Join Date: Jul 2004
Location: isle of wight (K.O.P 2006 mother fucker!)
Posts: 4,276
Likes: 0
Received 0 Likes
on
0 Posts
needs dropping a bit mate, and deffo some stripes along the side, even if there blue 2i ones they need something.
oh and the wife paid the cheque in yesterday
oh and the wife paid the cheque in yesterday
08-02-2007, 04:08 PM
#116
Redumbdancy
Thread Starter
Originally Posted by jayRS
needs dropping a bit mate, and deffo some stripes along the side, even if there blue 2i ones they need something.
oh and the wife paid the cheque in yesterday
oh and the wife paid the cheque in yesterday
 19-02-2007, 06:21 PM
#119
Redumbdancy
Thread Starter
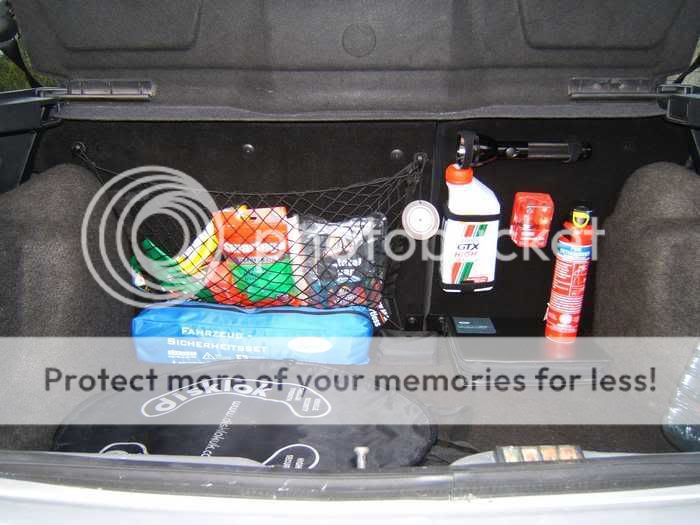
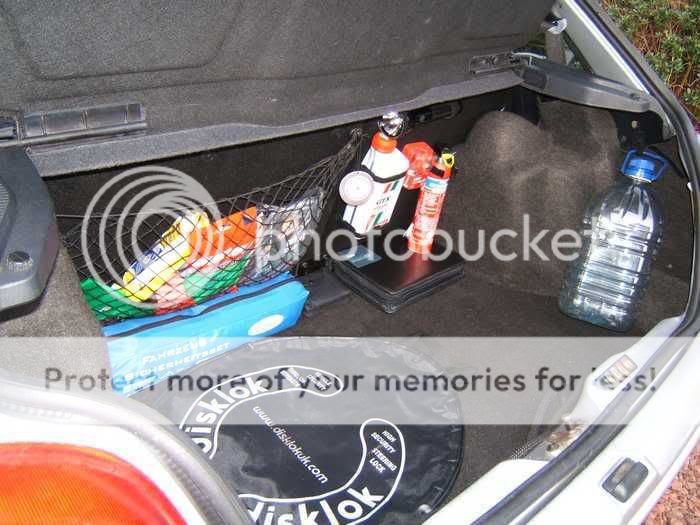
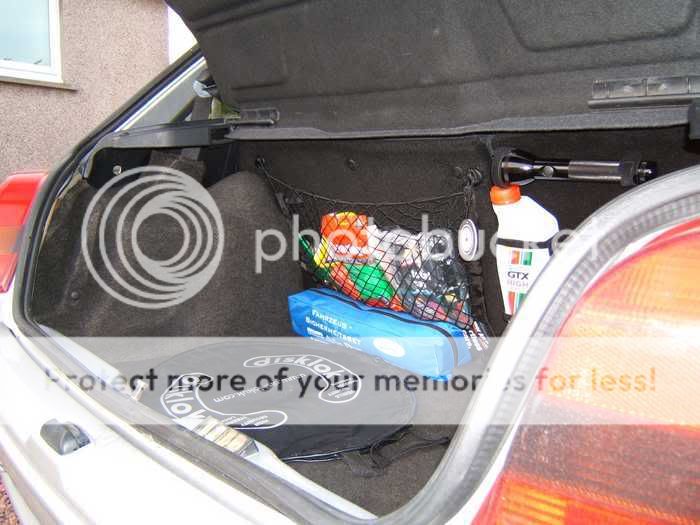
A few more updated pics of the wheels and a few changes to the boot i made a while ago. Also got her MOT'd on Friday, only needed a new centre section in the exhaust.
jayRS - rear of the car now sitting alot lower down since the last pics
Pics:


Cheers
jayRS - rear of the car now sitting alot lower down since the last pics
Pics:
Cheers