When you click on links to various merchants on this site and make a purchase, this can result in this site earning a commission. Affiliate programs and affiliations include, but are not limited to, the eBay Partner Network.
Sorry I am not going to be able to help as I have had to put my car into storage until next month, keeping an eye on your exploits though.
Have read somewhere that a 2 ohm resistor was used so think a variable one between 2 and 3.5 would be worth a go
I was going to throw my old seats out and had them cut up and in the back of the car, will try to get at the air bags first so don't go buying any as I can always drop them in to you.
Thanks Mate, good to know you and Paul are thinking about it too. Could be right about the resistors, I just don't know yet. I'll see what happens with the module too....
Thanks for the airbag offer, might well take you up on it I still have my old seats, but they're in really good nick so it seems a shame to cut them up and bin them
It's all interesting, and given that SO many ST170 run with different seats, surely someone most have done it ?
I think you're right Mate, mind you it may be that some people just pull the bulb, but I'm pretty sure it's an MOT fail now. Anyway we'll see...
Might end up taking the count up on his kind offer
Won't be for a while though, I'm busy getting the van ready for an Ireland trip at moment, off next weekend for a week down in Cork. Pretty busy with work stuff this week too
I've been away in Ireland for the last week, so hoping to get on and play with the module this week and see how it goes. Will have a look for the crash sensors then....
OK, an update on the airbag issue. Don't want to jinx it completely, but....
I think I've cracked it
Bought an air bag module from a vehicle without seat air bags. it needed slight modification to it's plug socket, just cutting away two bars on the side of the drivers side socket, and plugged it in.
Tested it and the airbag light came on, but no flashing, and different codes which suggested there was a bad earth. That was because I'd just plugged it in and not bolted it in. Battery off (again) and bolted it in and trad again, and, NO AIR BAG LIGHT
checked the codes and it was still showing the bad earth codes, so cleared them, and Robert's your mother's brother, no more codes, and the light is still off !
Will give it a road test and confirm in a day or so, but I think that is finally it
Next job will be looking at the suspension, it's been lowered, and I want it back to normal but stiffer and more heavy duty, a la 70s escort rally set up. It might seem crazy, but I live half a mile down a rough farm track, and am an on-call firefighter, so every now and then I have to drive down the track at a fair lick......
Changed the oil and filter last Wednesday, boy is the filter a bugger to get at!
So this weekend I went to Lincoln and back in it, and it went like a dream
Didn't want to thrash it too much as it was the first time it's been driven more than 30 miles since I got it, so kept it at a steady speed around the limit
Apart from odd time someone came up behind me and sat on my tail while i was waiting for someone else to get out of the way, when I couldn't resist flooring it and leaving them for dust
Did a proper brim to brim mileage test and it returned 37 mpg
Won this on ebay last week so will be replacing the ripped one with it this week
Yeah, I was a bit surprised, but I did it pretty carefully. We'll see when I do the next tankfull
Lincoln was all right to be fair, and I was inside most of the day time so it didn't really matter. went for an Italian on the Saturday evening in a restaurant on the quayside, and that was pretty nice, and loads of folk about Including loads of skintily clad girls
Put the new seat base cover on yesterday, and at the same time fixed some new fixing points into the base so I could move it forward in the seat frame to give me more support under the knees. Leaves a gap at the rear of the base but it is still really comfy and snug. Will see how that goes and report back
OK, an update on the airbag issue. Don't want to jinx it completely, but....
I think I've cracked it
Bought an air bag module from a vehicle without seat air bags. it needed slight modification to it's plug socket, just cutting away two bars on the side of the drivers side socket, and plugged it in.
Do you have a picture of what you had to cut? The airbag ECU came from any particular model of the Focus? RS or a normal one?
When you take the plugs out of your existing one and compare the new one, you'll see the new one has two tabs for slots which your plug doesn't have. I just cut them off carefully with a stanley knife, the guy I stole the idea from used a dremmel. don't have any pictures I'm afraid, and it's a pain to take the console off just to do some.
I found out what the part number was of an RS module, then just trawled through loads of ebay adds until I found one with that part number:-
Did another brim to brim test, 33 mpg this time, but I was being a bit more lairy
Still not sure about the seat alteration yet, but it definitely gives more support under the knees. Just have a gp at the back, but I'm thinking of using part of the old one to make an infil piece, we'll see.....
Managed to score a set of MO6s from a bloke on FB today, seem like a good price, and have some Toyo Proxies on them with reasonable amount of tread. Will probably use them until they wear out, then re-furb the wheels and swap my good tyres over. Some pictures when I get them later in the week
So, I picked up the MO6s yesterday morning, and fitted them just now. They are ET35 so not ideal compared to the OEM wheels, but they do fit. Current tyres are Toyo Proxe 4s, and they will probably last about 500 miles before they need changing. They are not ideal either being 205 40 17, but when they need swapping, I'll probably put the new 215 45 17 Hankooks I recently bought on to them.
I'd be interested in any thoughts you folks might have......
While I had the wheels off I had a look at the suspension, and it doesn't look too bad, but the front left definitely wants looking at as the camber is -2.28 compared to - 1.37 on the drivers side, and the toe is also out.
Think I may have to get some longer studs too, as the nuts now have about 5mm less thread into them
Tried Paul's polishing trick on the headlight, and it has improved, but it's still not good. Probably my skills that are lacking
Did have a minor success with a dent in the front bumper though. should have taken some before and after really. It did look like someone had taken an axe to it, and had a sharp pointed ding in it about 15 mm deep
so, out came the super hot hairdryer, and a round handled screwdriver. Generous application of heat and pressure from inside with the handle, and Robert's your mother's brother, out it came
Still has a slight crease about 100 mm long, but the ding has come right out. Might try a bit more work on it tomorrow and see if I can get it better
Also had a good look at the front end to see if I could work out what's causing the alignment issue but it all looks fine so I'm stumped
Rubbish pictures Paul, but you get the idea from them....
Basically, the front left is miles out of camber, which you can see if you look at it from the front....
Tyre place who checked it said nothing looked bent, and I've had a good look and it all looks fine, so I'm struggling. Might get some new wishbones and see if that helps, but they're really pricey
I've just ordered some standard height Bilstein front and rear springs, and a full set of matching B4 shocks. Will go mad and order a couple of new wishbones from my local dealer sometime soon and then take it apart sometime next week. May well order some new links etc as well. That will give me the ride height I want, and hopefully at the same time let me fix the alignment issue.
So today the wishbones arrived. I had a long chat with my mate at the dealers, and he reckoned I was silly shelling out for the Ford ones and that he has used aftermarket ones and they've been fine, so I took his advice and save myself some shekels.
Just need the springs shocks/struts and top mounts and we're away
Top mounts arrived last Friday and I was going to have a crack at the front end today but no struts, shocks or springs, so I played with my other project
There were 4 matching slightly smaller boxes for the rear, but these ones had new front struts and springs, standard height (yes I'm slightly mad but i have my reasons)
Springs are significantly longer, but thinner as they're standard. Apparently you can't get uprated Bilsteins in standard height
So got the bits and pieces together (top cup was drying after a bit of POR15 and black paint TLC)
Assembled
So I managed to get this one installed on Tuesday morning after spending ages trying to batter it into submission on Monday evening. Also fitted a new bottom wishbone and am hoping that will sort out my tracking issues, although the old one didn't look damaged in any way
Got the driver's side one assembled and am waiting for the rain to depart before I finish installing it. Haven't fitted the new wishbone on this side as it looks pretty new and the boot covering the ball joint was mint condition.
Once I get it on it's front wheels I'll start work on the other end. Will probably post some pics with the new fronts on as well.
Got it all back together today dodging the showers, and decided to fit the new bottom wishbone on the driver's side after all as I had it sitting there, and at least I now know both sides are the same.
So once it was all assembled, I tightened everything up while both sides were still on axle stands, so that the bottom links were both hanging unsupported. I figured that this was probably the best way to make sure that it was all correct, as there is some play in the bottom wishbone holes, and I wanted to get it all straight.
It appears to have done the job. Road tested it and now the steering wheel points straight ahead, instead of pointing to 1 o'clock as it did before. Plus now both wheels appear to be cambered exactly the same Well pleased I suspect that when the lad fitted the lowered springs, he may have replaced one or both of the bottom wishbones, and done one side at a time, which was enough to screw the geometry, might just be coincidence but it's a theory. I'll be getting it tracked again shortly to see how it actually is
I now have LOADS of ride height compared to before as well, and the ride is more comfy, but it still goes around corners like it was on rails. Bilsteins eh, cracking kit
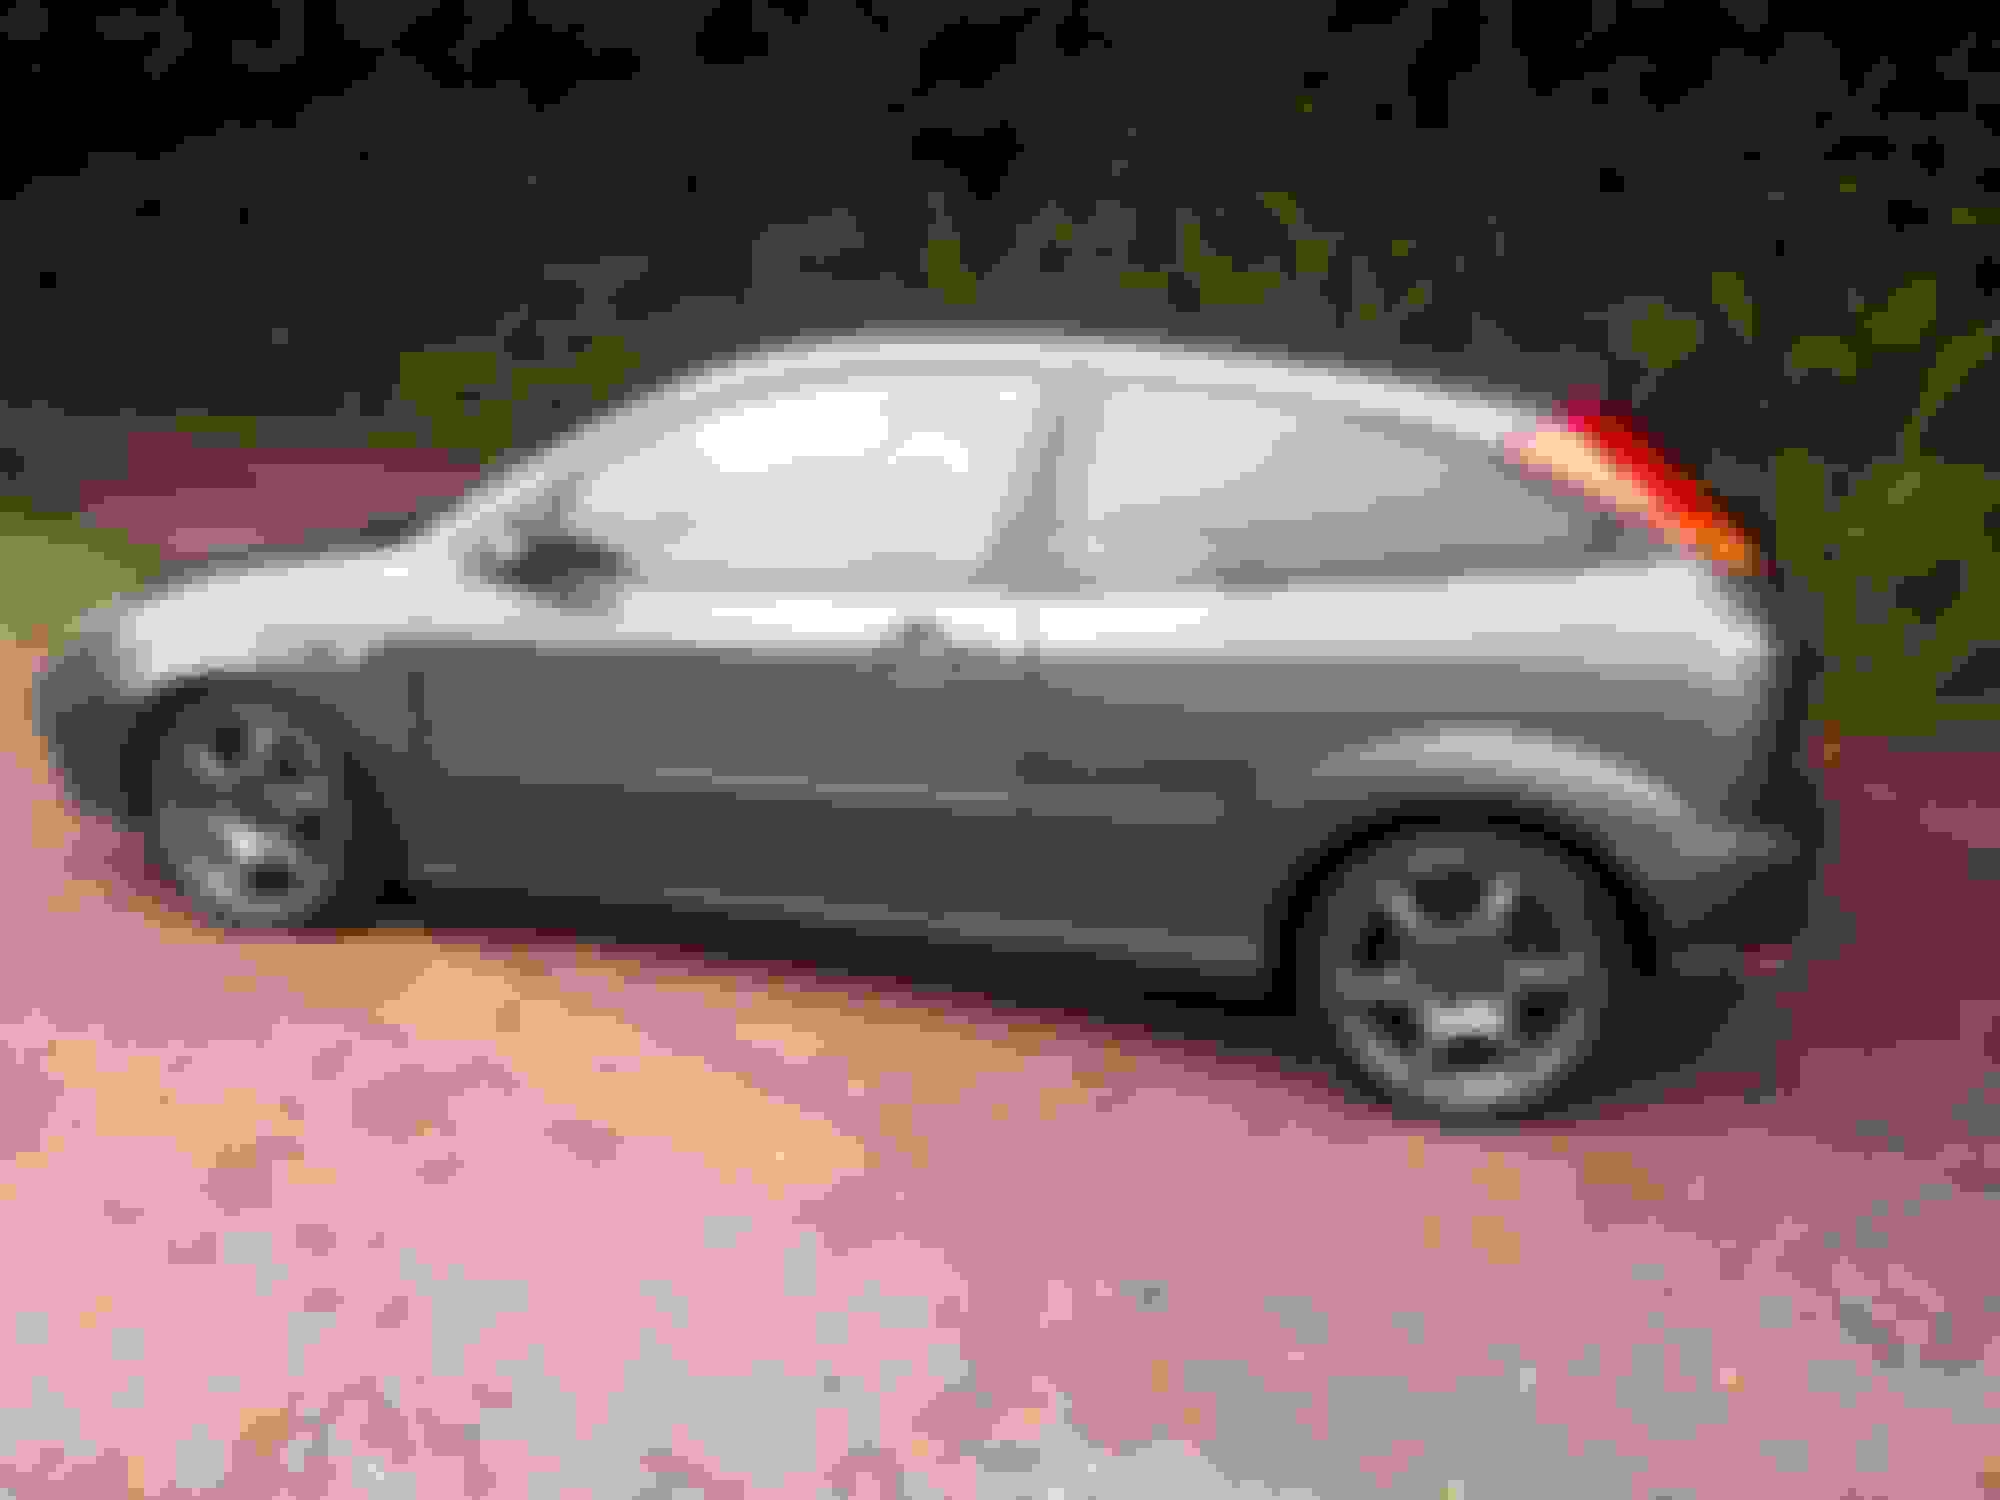
So here's what it looks like now (yes I know it's very high, but I like it like that and when I get the proper size tyres back on it won't look quite as extreme:
So I got the rear springs fitted a couple of weeks ago, but I've been really ill with a throat infection which slowed me up a lot
Anyway, new rear springs a lot bigger than the Apex ones:
....and this is what it looks like with front and back done, and with original wheels which have the correct size tyres on:
Strangely, now I've fitted the original wheels back on the steering isn't pointing straight again Going to sort another couple of minor issues, then get it in for an MOT, then get the tracking/camber checked again and see what it's like.....
Have got some nice adjusters from a friendly ST breaker (thanks Steve) which I might fit if I need to, but I was hoping to save them for my next project...
 14-05-2017, 09:08 PM


 Will go mad and order a couple of new wishbones from my local dealer sometime soon and then take it apart sometime next week. May well order some new links etc as well. That will give me the ride height I want, and hopefully at the same time let me fix the alignment issue.