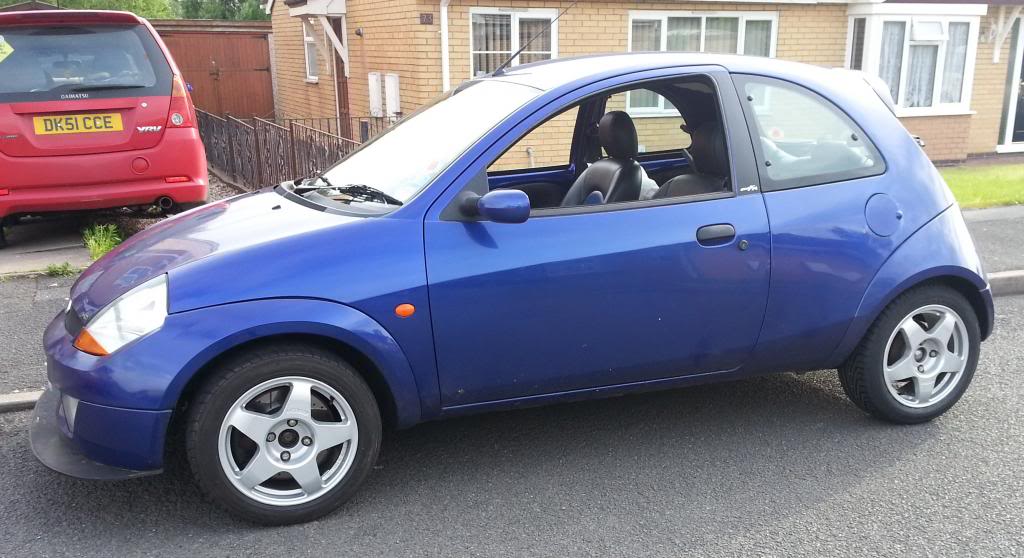
Puma engined KA.
 16-05-2014, 04:25 PM
#121
will grinder out the other 2 vents tonight 
rest of dash coming out tomorrow so i can dummy fit fiesta dash and work out how much to cut and shut to make it work.
According to ka haynes you need to remove steering column to remove dash. Not happening. The grinder will take care of that!!
rest of dash coming out tomorrow so i can dummy fit fiesta dash and work out how much to cut and shut to make it work.
According to ka haynes you need to remove steering column to remove dash. Not happening. The grinder will take care of that!!
 16-05-2014, 04:44 PM
#122
Advanced PassionFord User
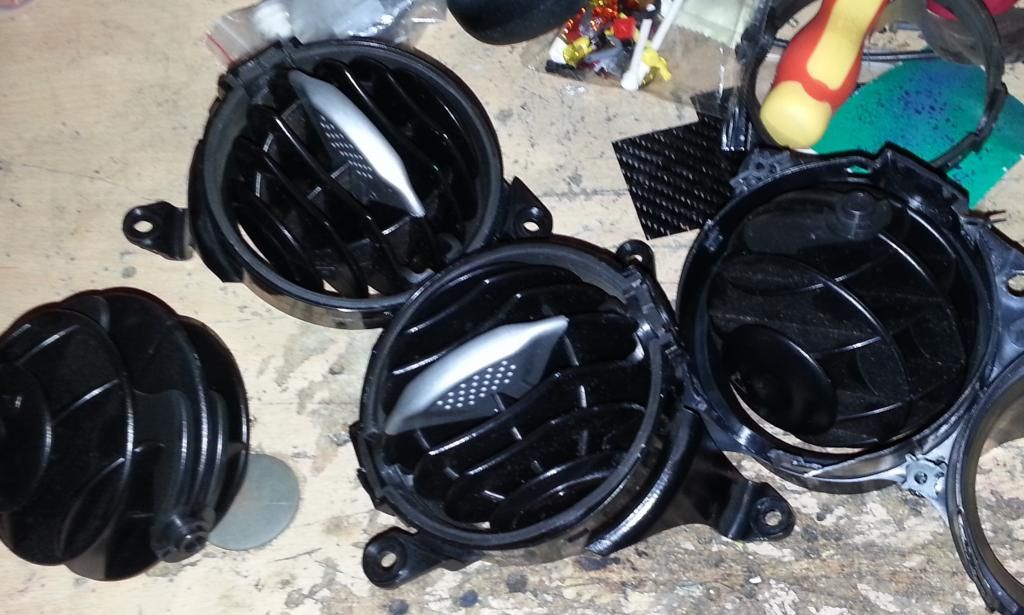
I was trying to get the dash vents out the ka to reuse in the fiesta as they have a nice silver handle detail the fiesta parts dont.
They are the same size, fitted in the same plastic support cage as the fiest ones so should have unscrewed from the car, like the fiesta ones.
However, for some unknown reason to man, mongs at ford decided to plastic weld them to the dash so they cant be removed!!! pretty stupid! It means if you broke one, in theory youd have to swap dashboards!!
But Im not so easily defeated.
A few minutes with a grinder and viola!
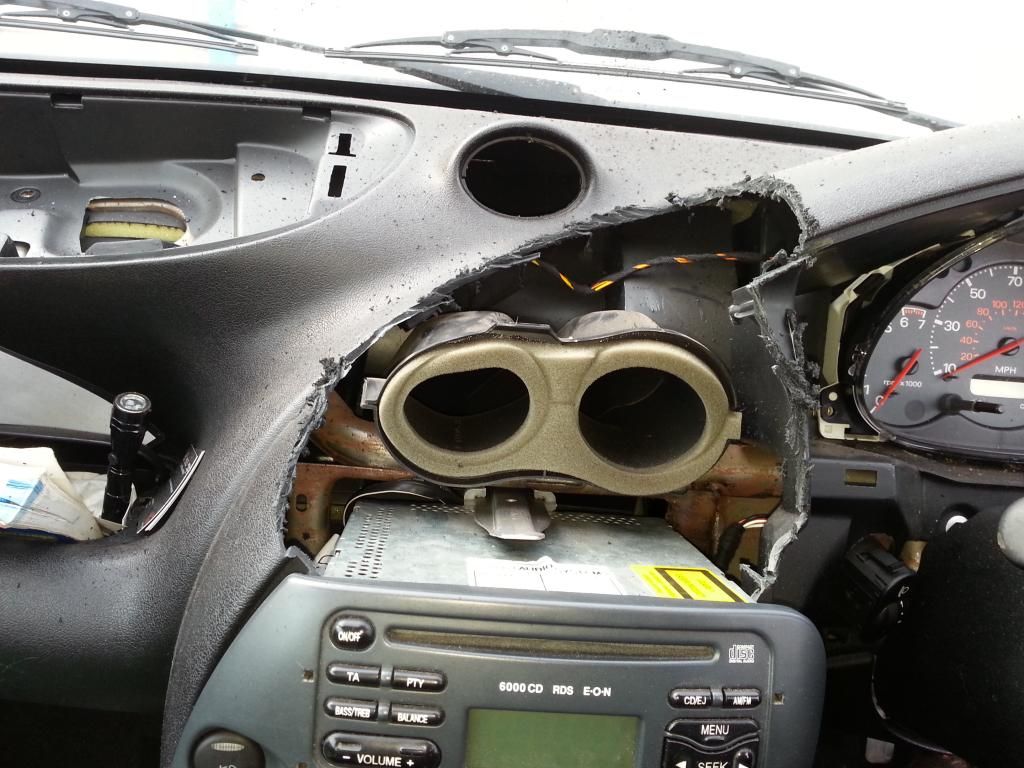
fuck you dash!! hahahahaha
And got out the vents and swapped them over.
And yes i am driving around with what looks like a chainsaw massacred dashboard!!
They are the same size, fitted in the same plastic support cage as the fiest ones so should have unscrewed from the car, like the fiesta ones.
However, for some unknown reason to man, mongs at ford decided to plastic weld them to the dash so they cant be removed!!! pretty stupid! It means if you broke one, in theory youd have to swap dashboards!!
But Im not so easily defeated.
A few minutes with a grinder and viola!
fuck you dash!! hahahahaha
And got out the vents and swapped them over.
And yes i am driving around with what looks like a chainsaw massacred dashboard!!
17-05-2014, 07:24 PM
#124
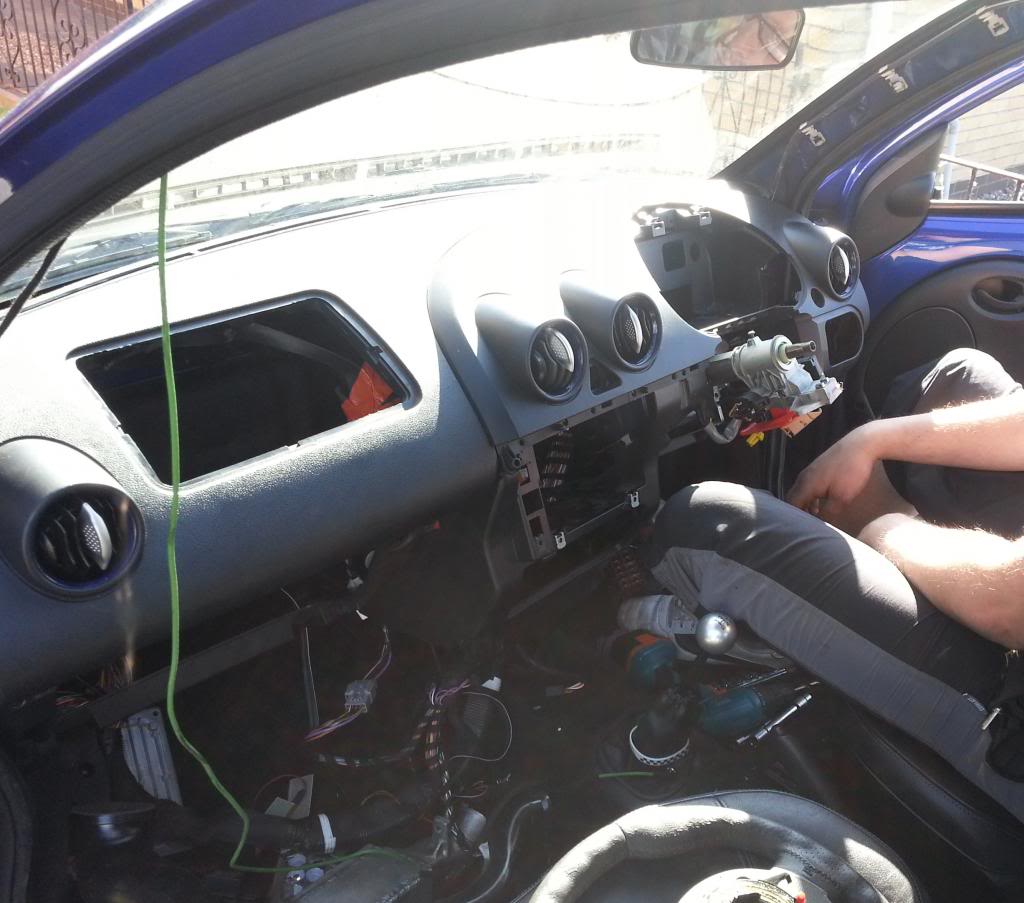
mutilated the dash today!!
The manual claims you need to remove steering column...

not when you get happy with mr grinder LOL.
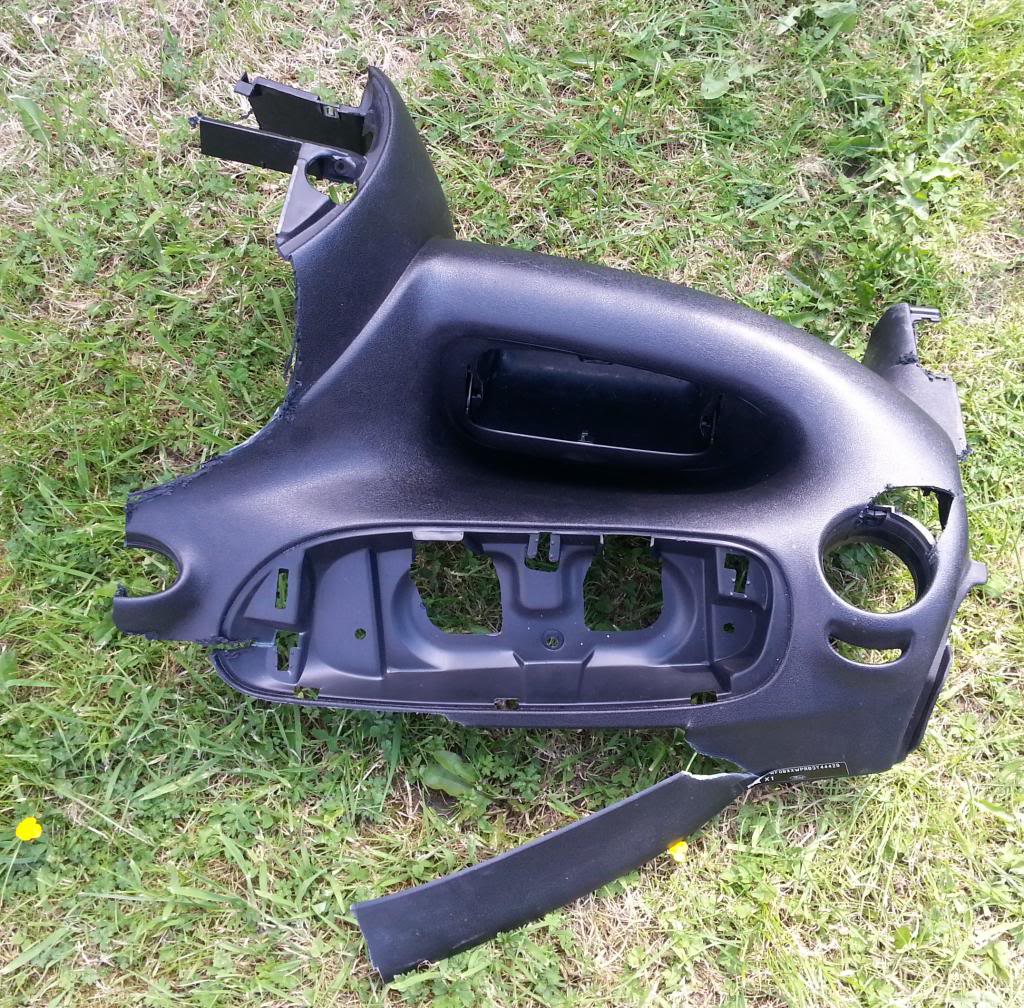
Dash all out:
Fiesta dash trial fitted:
one bolt lines up. To fabricate a small side panel to make the side look nice and also with some right angle to the side of the dash is bolted uptop as well as bottom.
Also waiting for some aluminium trunking to make the dash vents meet up ok.
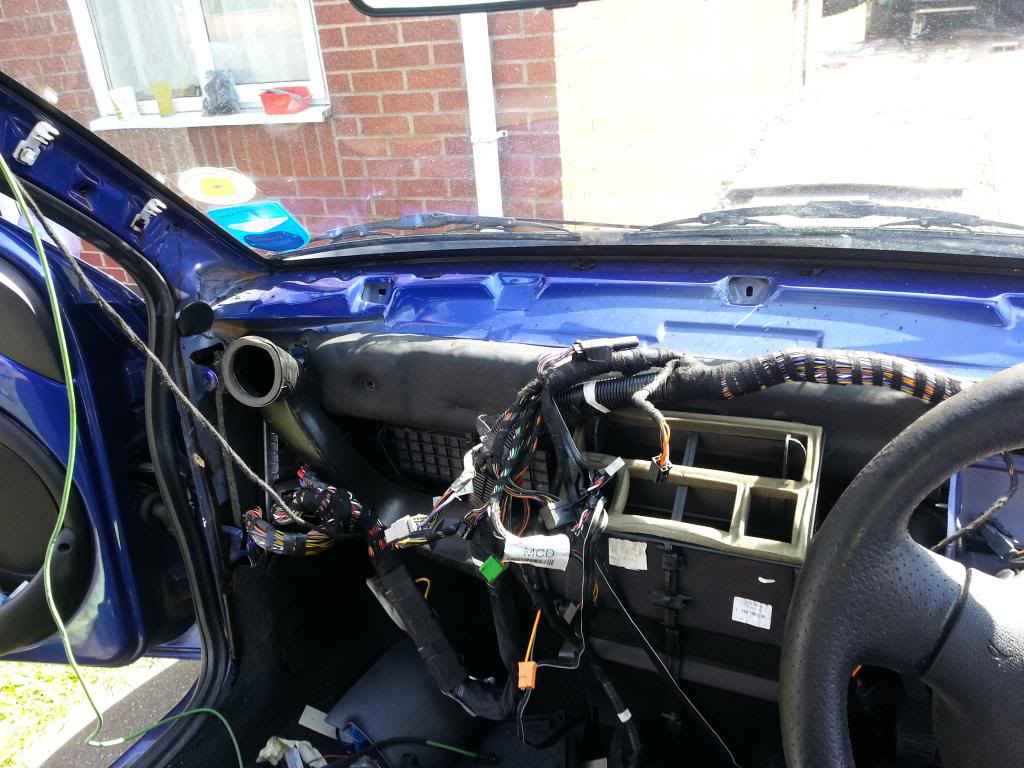
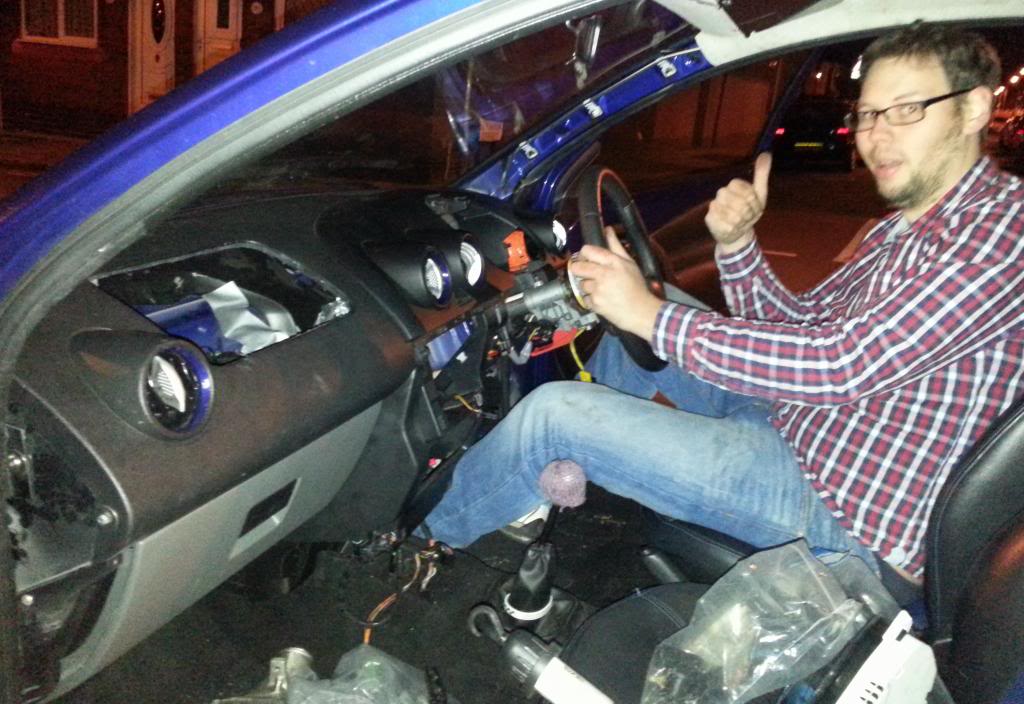
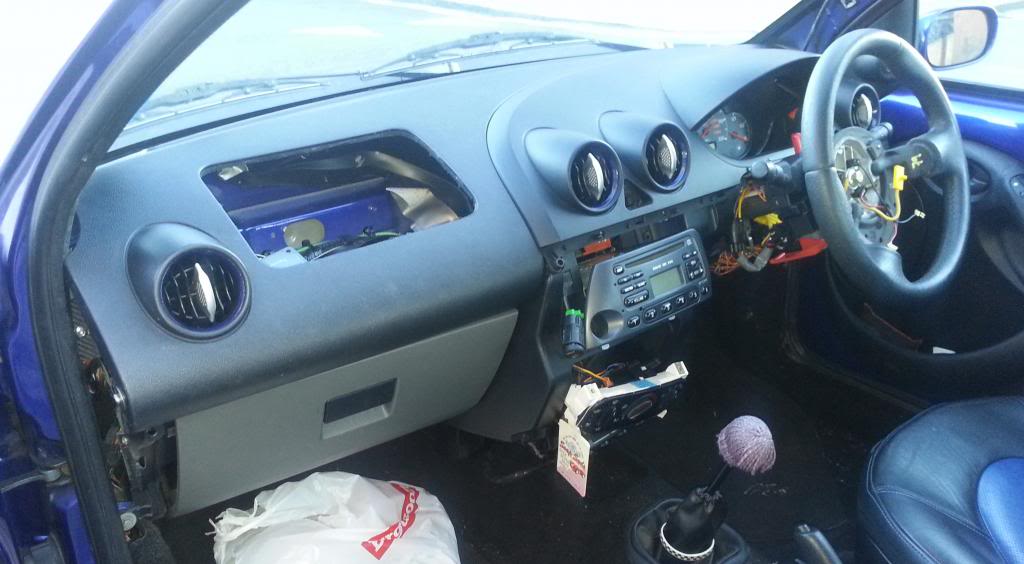
How the car is now:
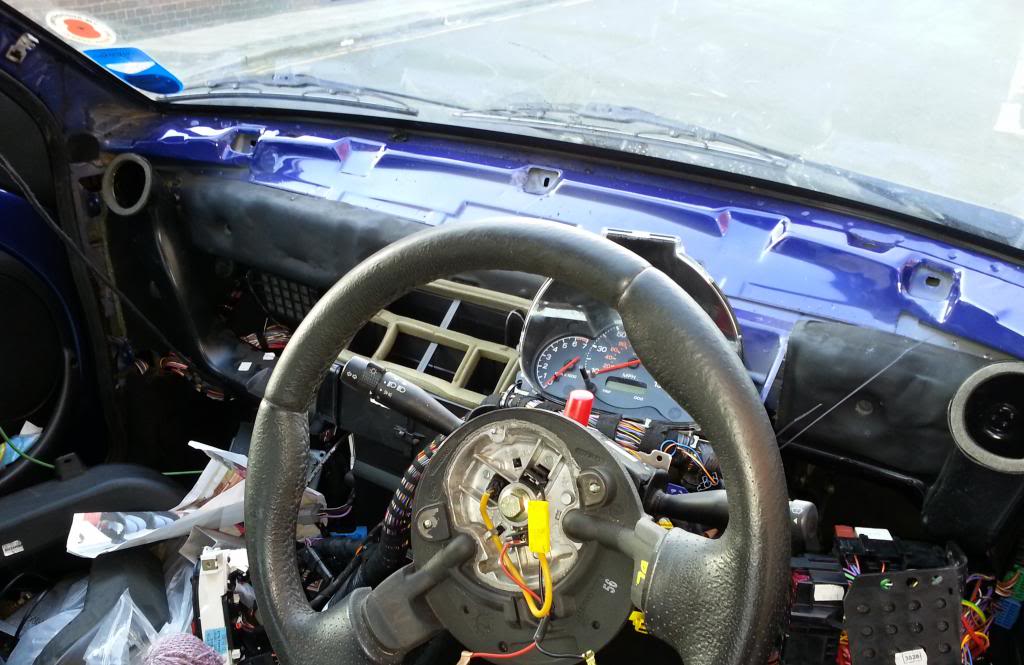
Wiring cable tied and dash cable tied on so i can drive it! Minimalist styling at its best!
The manual claims you need to remove steering column...
not when you get happy with mr grinder LOL.
Dash all out:
Fiesta dash trial fitted:
one bolt lines up. To fabricate a small side panel to make the side look nice and also with some right angle to the side of the dash is bolted uptop as well as bottom.
Also waiting for some aluminium trunking to make the dash vents meet up ok.
How the car is now:
Wiring cable tied and dash cable tied on so i can drive it! Minimalist styling at its best!
17-05-2014, 09:26 PM
#126
10K+ Poster!!

Looking good!
19-05-2014, 09:22 AM
#127
I've found that life I needed.. It's HERE!!
Join Date: Nov 2004
Location: stoke-on-trent
Posts: 1,058
Likes: 0
Received 0 Likes
on
0 Posts
im still pulling the molten bits of plastic out of my hair from cutting it up and my ears ring a little for spending 5hrs straight with an angle grinder, should be nice when its all bolted on though
19-05-2014, 11:28 PM
#129
im not going too hardcore on the interior.
Its keeping a full dash (once its finished), stereo, heater etc.
The jury is out on how long the rear seats will last. When the custom subframes are done for the recaros to get the low down far back seating position i want, then the rear seats might be a bit pointless.
The outside will get a few mods, splitter, wheels, vents and maybe a spoiler or hedgehog roof (depends on tuft testing lol). Just enough for someone at the lights to think "twat has put stupid shit on his ka". then i will disapear when it goes green
Its keeping a full dash (once its finished
), stereo, heater etc. The jury is out on how long the rear seats will last. When the custom subframes are done for the recaros to get the low down far back seating position i want, then the rear seats might be a bit pointless.
The outside will get a few mods, splitter, wheels, vents and maybe a spoiler or hedgehog roof
(depends on tuft testing lol). Just enough for someone at the lights to think "twat has put stupid shit on his ka". then i will disapear when it goes green
 27-05-2014, 12:41 AM
#131
Minor update.
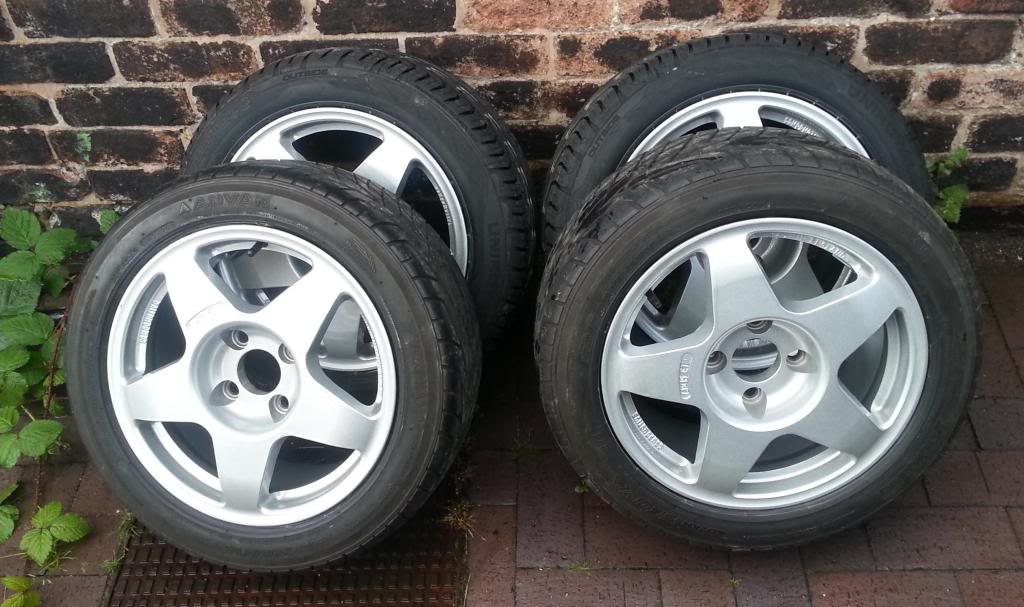
Spent saturday on a road trip with my mate to pick up my new wheels from deepest darkest Essex.
My road wheels:
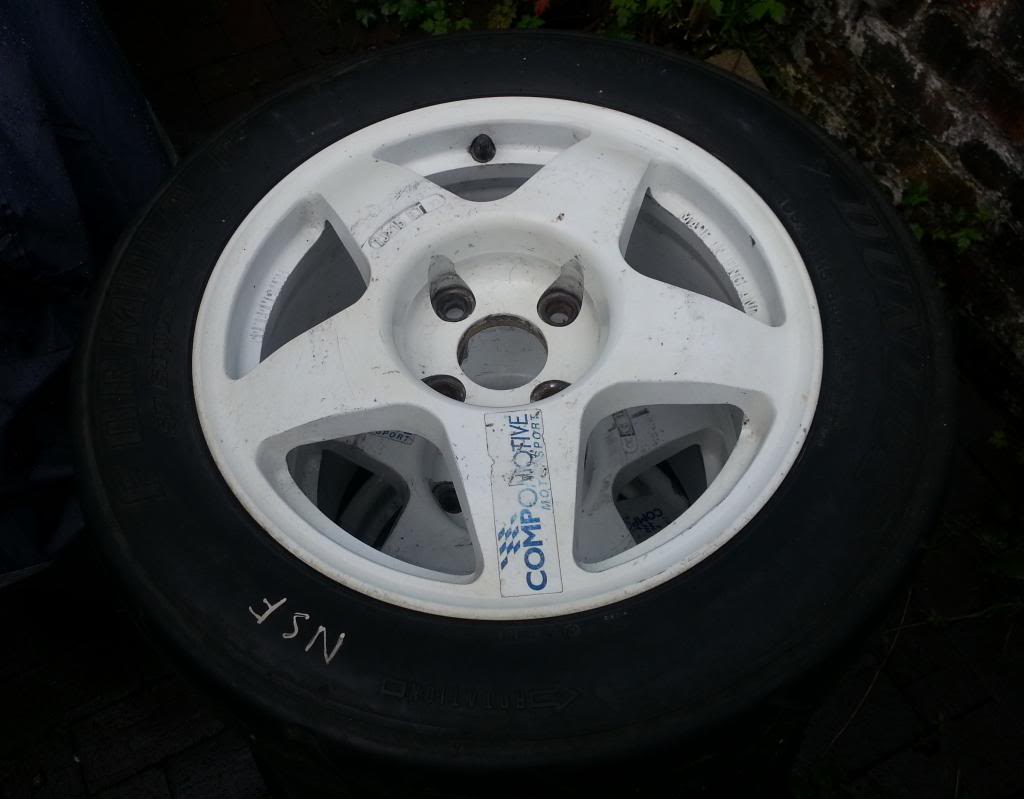
My track wheels with dunlop semi-slicks:
Wheels fitted:
You can tell the difference between normal alloys and motorsport style ones for space:

that is behind 15" alloys. The original sportka wheels had only a few mm space between spoke and caliper and same to the outside of rim.
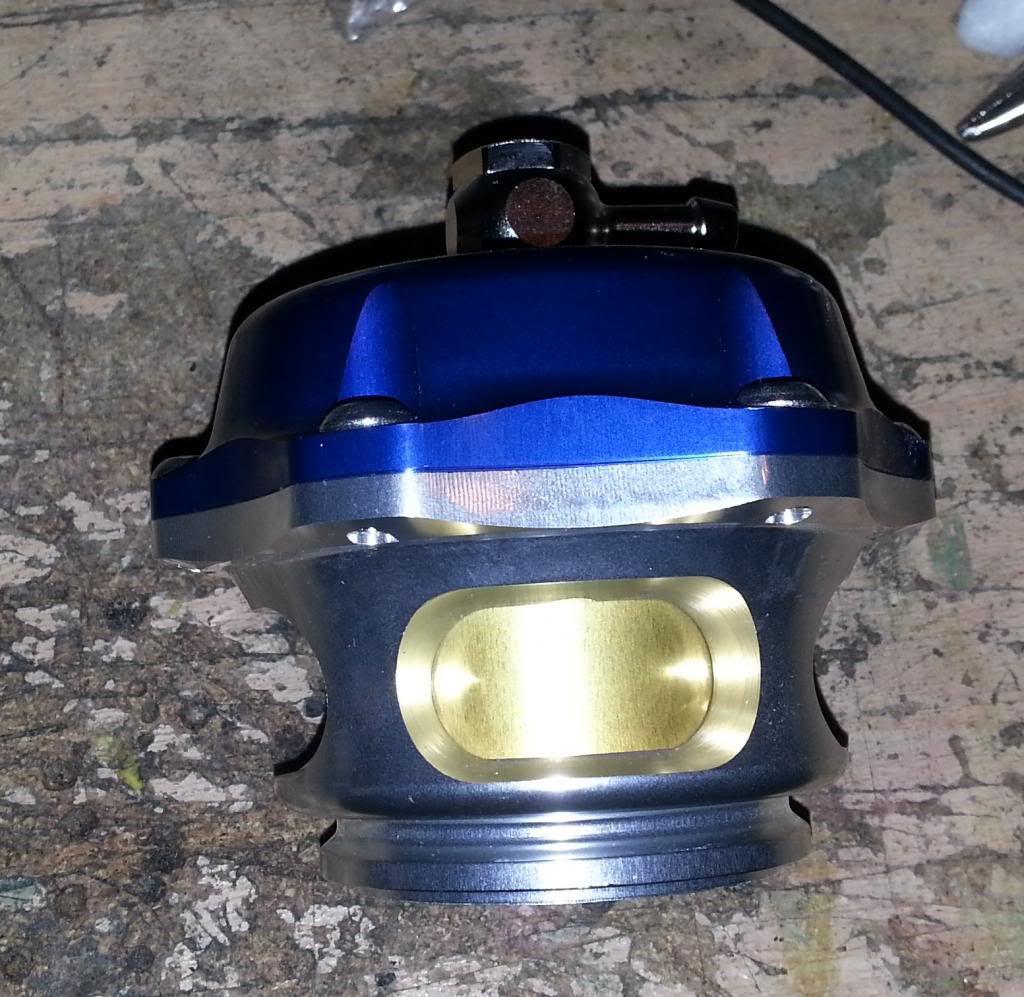
Also got my turbosmart raceport for the engine conversion:
Spent saturday on a road trip with my mate to pick up my new wheels from deepest darkest Essex.
My road wheels:
My track wheels with dunlop semi-slicks:
Wheels fitted:
You can tell the difference between normal alloys and motorsport style ones for space:
that is behind 15" alloys. The original sportka wheels had only a few mm space between spoke and caliper and same to the outside of rim.
Also got my turbosmart raceport for the engine conversion:
08-06-2014, 10:04 PM
#136
Finally got the dash in!!
First of all i decided to add a brace to take the flex out of the steering column:
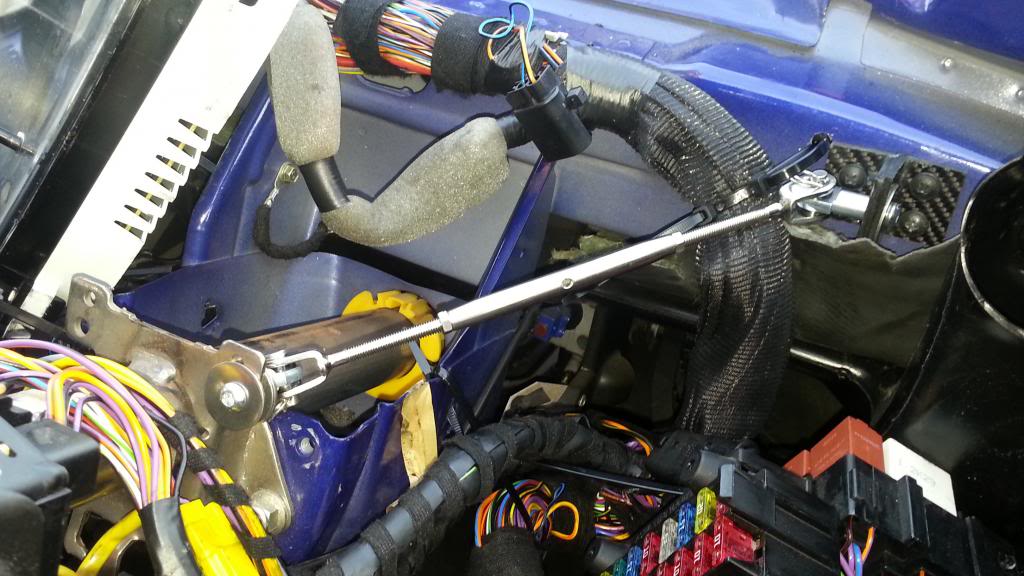
After a lot of swearing and some angle grinder action it is in:
In daylight:
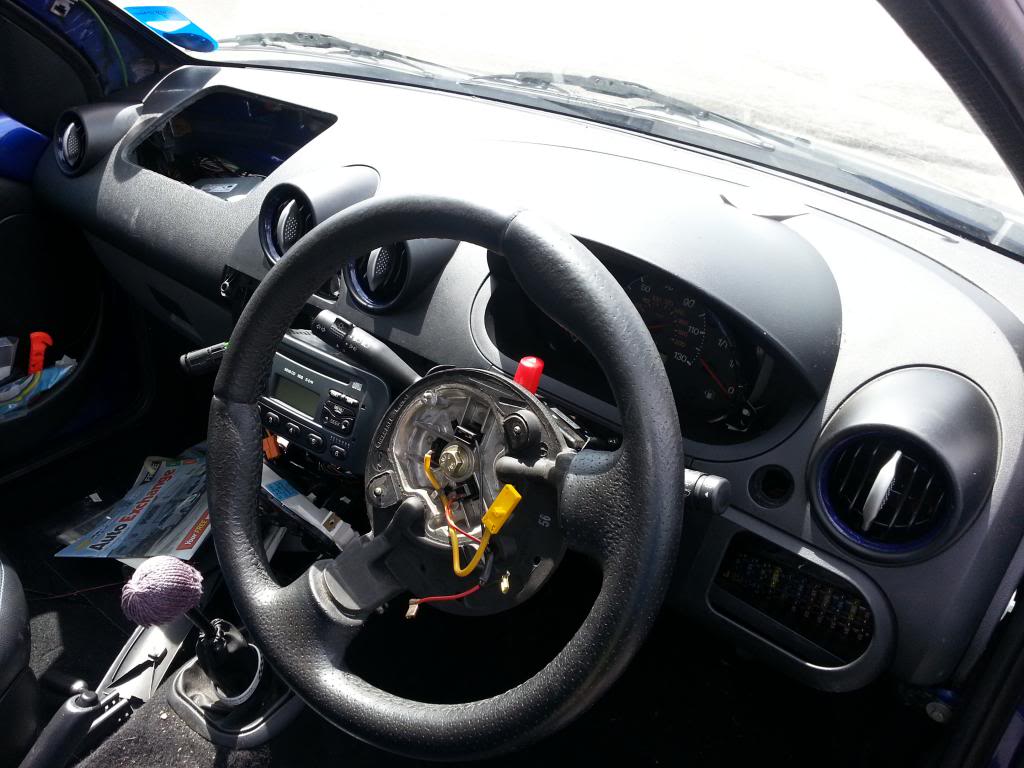
The ka clocks look a bit lost:
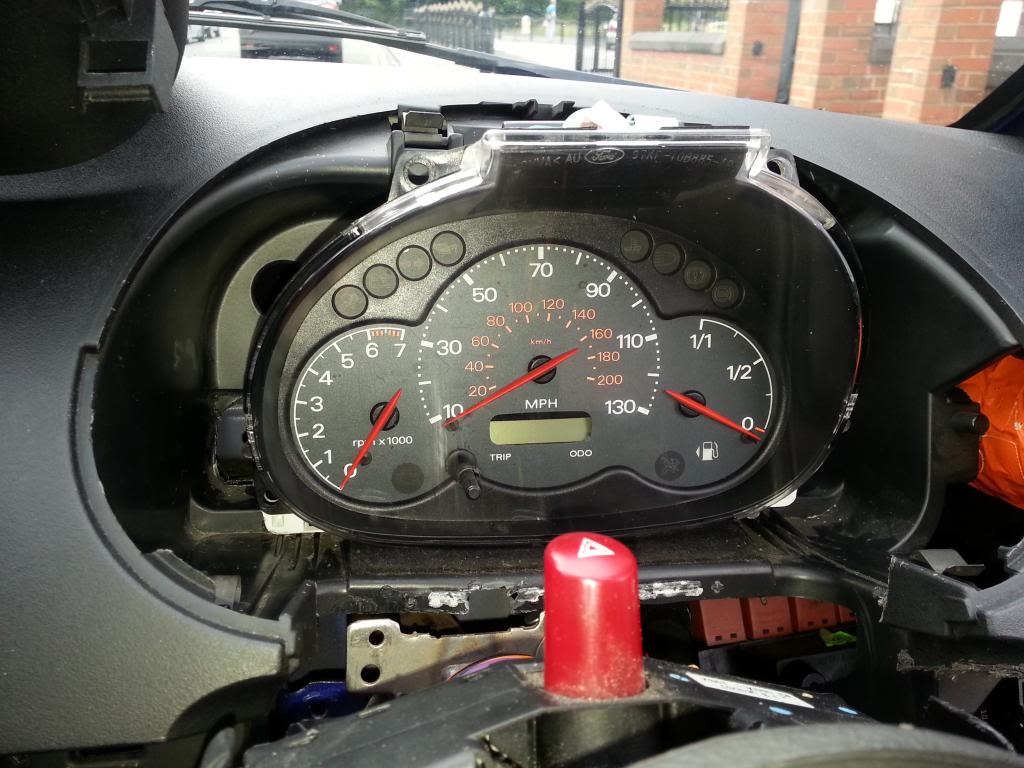
but not a problem as my plan is to upgrade to something decent anyway.
The passenger airbag hole is going to become the second glove box access:
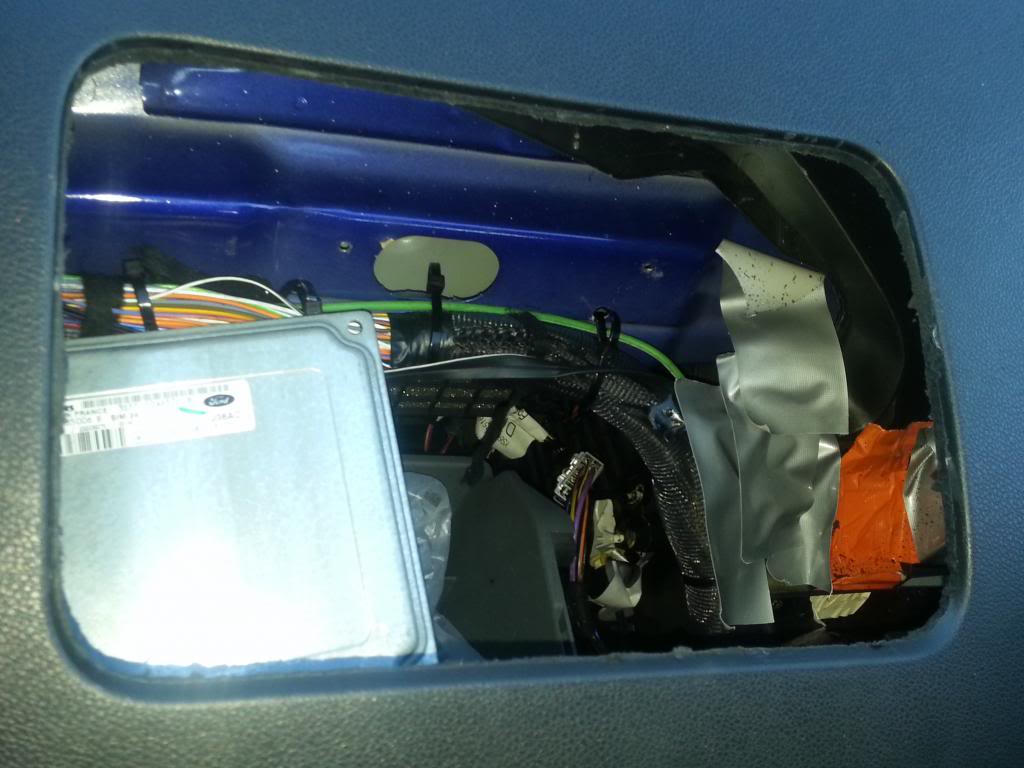
But with a carbon lid. Its not really to store daily access stuff but it will be a accessible area to put the emerald ecu when its fitted.
Made a shelf to slide in above the standard glove box:
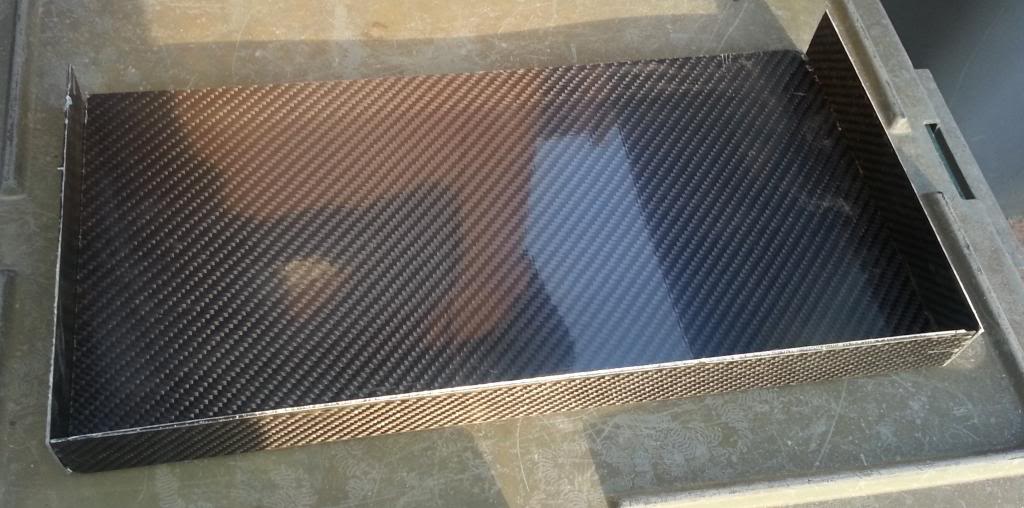
Will card template sides for it to be bonded in later so things dont fall over the edge.
First of all i decided to add a brace to take the flex out of the steering column:
After a lot of swearing and some angle grinder action it is in:
In daylight:
The ka clocks look a bit lost:
but not a problem as my plan is to upgrade to something decent anyway.
The passenger airbag hole is going to become the second glove box access:
But with a carbon lid. Its not really to store daily access stuff but it will be a accessible area to put the emerald ecu when its fitted.
Made a shelf to slide in above the standard glove box:
Will card template sides for it to be bonded in later so things dont fall over the edge.
09-06-2014, 04:07 PM
#138
10K+ Poster!!
Looks good on those wheels. Dash is looking nice too.
09-06-2014, 04:33 PM
#139
The wooley hat is awesome no freezing hand on winters mornings and no 3rd degree burns when you grab it after a hot summers day at work (not that we have summers anymore ).
Of course i could just man the fuck up but its a daily so convenience in certain areas is king.
no freezing hand on winters mornings and no 3rd degree burns when you grab it after a hot summers day at work (not that we have summers anymore ).Of course i could just man the fuck up but its a daily so convenience in certain areas is king.
29-07-2014, 10:35 AM
#140
Finished fitting a new set of seats. Got hold of some Sparco Torino seats with runners.
The ka being based on the mk3.5/4/5 fiesta/puma chassis means I needed to rob some "tophat" mounts from an early fiesta out the scrap yard. The reason for these is it brings the rear inner bolting point level with the floor cross brace meaning its dead easy to make the inner bracket.
Then used some 5mm aluminium strip and angle. used 5mm as that is whats needed thickness wise to conform to FIA rules so if its good enough for them then plenty safe enough for road and odd trackday use. The inner mount is as simple as the flat alloy strip with the end 40mm hammered down to meet the angle needed for the front bolt.
The outer runner mounts are 2cm (iirc) lower than the inners so i have used 2 pieces of angle to make and s shape bracket to increase the hieght. Nothing special just requires a bit of thought with a tape measure before you drill!!
Now i could just use off the shelf sparco subframes but IMO they put the seat too high so fabricating my own mounts keeps them nice and low.
This is the end result:
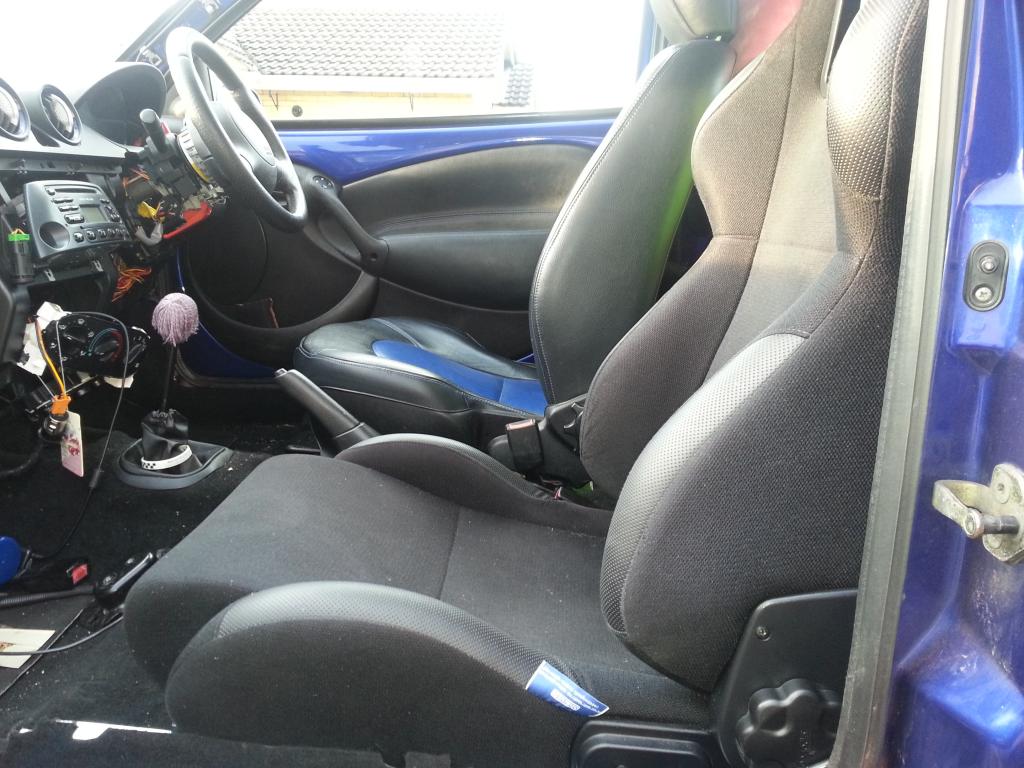
You can see at full rearward position how much further back The seat can go compared to the drivers normal seat (also fully back).
You can see how much lower they are in this shot:
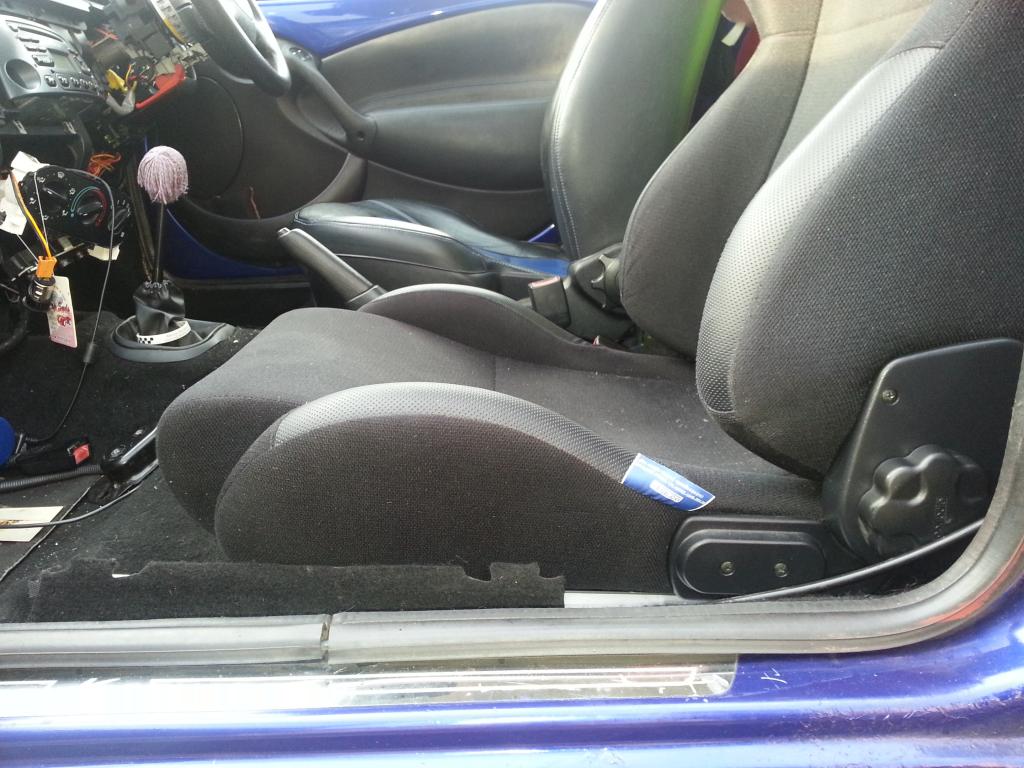
And the drivers side all done:
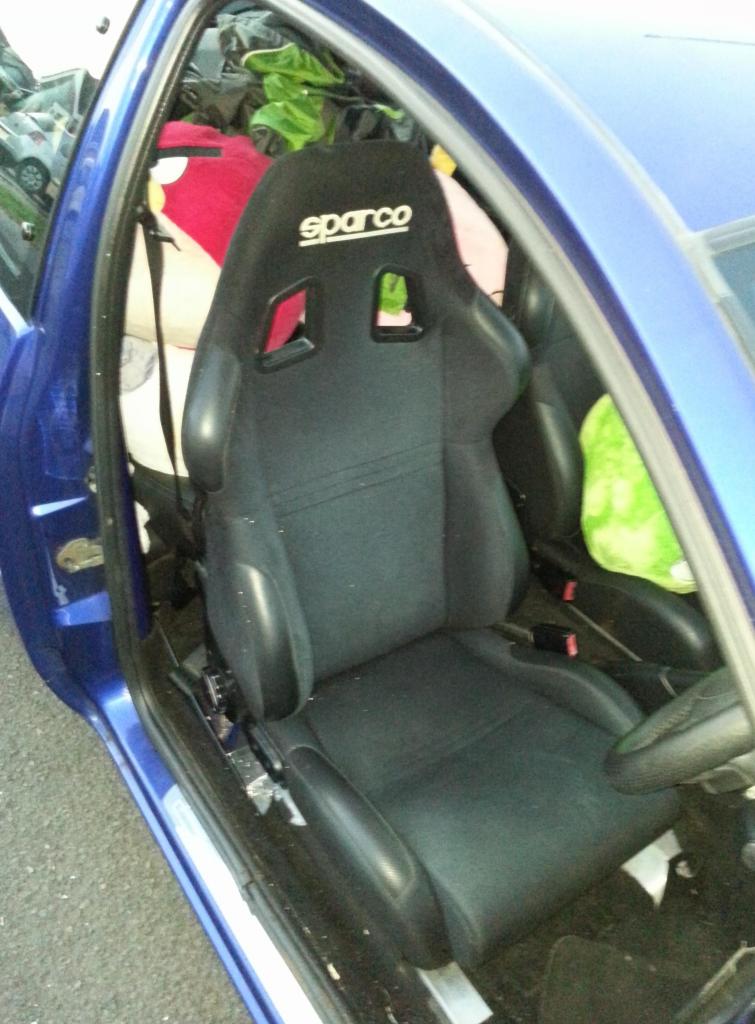
Sit a few inches lower which was the aim and it means i can push the seat back a bit further to give a better seating position.
The ka being based on the mk3.5/4/5 fiesta/puma chassis means I needed to rob some "tophat" mounts from an early fiesta out the scrap yard. The reason for these is it brings the rear inner bolting point level with the floor cross brace meaning its dead easy to make the inner bracket.
Then used some 5mm aluminium strip and angle. used 5mm as that is whats needed thickness wise to conform to FIA rules so if its good enough for them then plenty safe enough for road and odd trackday use. The inner mount is as simple as the flat alloy strip with the end 40mm hammered down to meet the angle needed for the front bolt.
The outer runner mounts are 2cm (iirc) lower than the inners so i have used 2 pieces of angle to make and s shape bracket to increase the hieght. Nothing special just requires a bit of thought with a tape measure before you drill!!
Now i could just use off the shelf sparco subframes but IMO they put the seat too high so fabricating my own mounts keeps them nice and low.
This is the end result:
You can see at full rearward position how much further back The seat can go compared to the drivers normal seat (also fully back).
You can see how much lower they are in this shot:
And the drivers side all done:
Sit a few inches lower which was the aim and it means i can push the seat back a bit further to give a better seating position.

 29-07-2014, 09:24 PM
#147
10K+ Poster!!
Gotta say I'm loving the carbon touches, like those sun visors (how I missed them 1st time I looked I'll never know).
Keep up the good work!
Keep up the good work!
31-07-2014, 10:34 AM
#149
Fitted my OMP wheel:
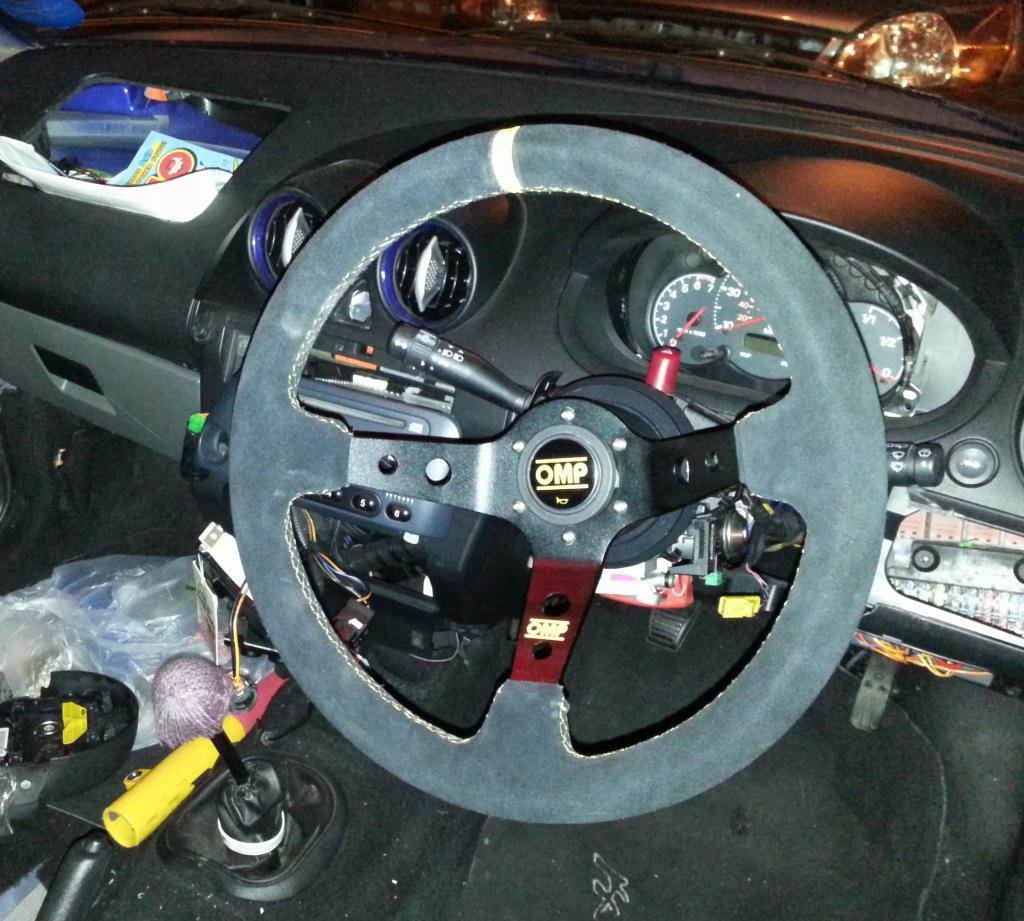
fits fine except the mountenay boss is wrong. the hexagonal hole isnt lined up right to get the wheel straight!! Its definitely the right part number too. So im going to cut up the old wheel and use the wheel center to have a correct boss made so the wheel sits straight.
fits fine except the mountenay boss is wrong. the hexagonal hole isnt lined up right to get the wheel straight!! Its definitely the right part number too. So im going to cut up the old wheel and use the wheel center to have a correct boss made so the wheel sits straight.
31-07-2014, 06:52 PM
#150
10K+ Poster!!
Liking the sparcos! Would like something like them in my own fiesta.
07-08-2014, 12:20 PM
#153
Never made it to ford fair as my thermostat housing split!
Started making my new boss as im not happy with the aftermarket one that doesnt line up straight!
So take one ford ka wheel, pick the rubber off then attack with a grinder:

I now have the basis for my new boss:
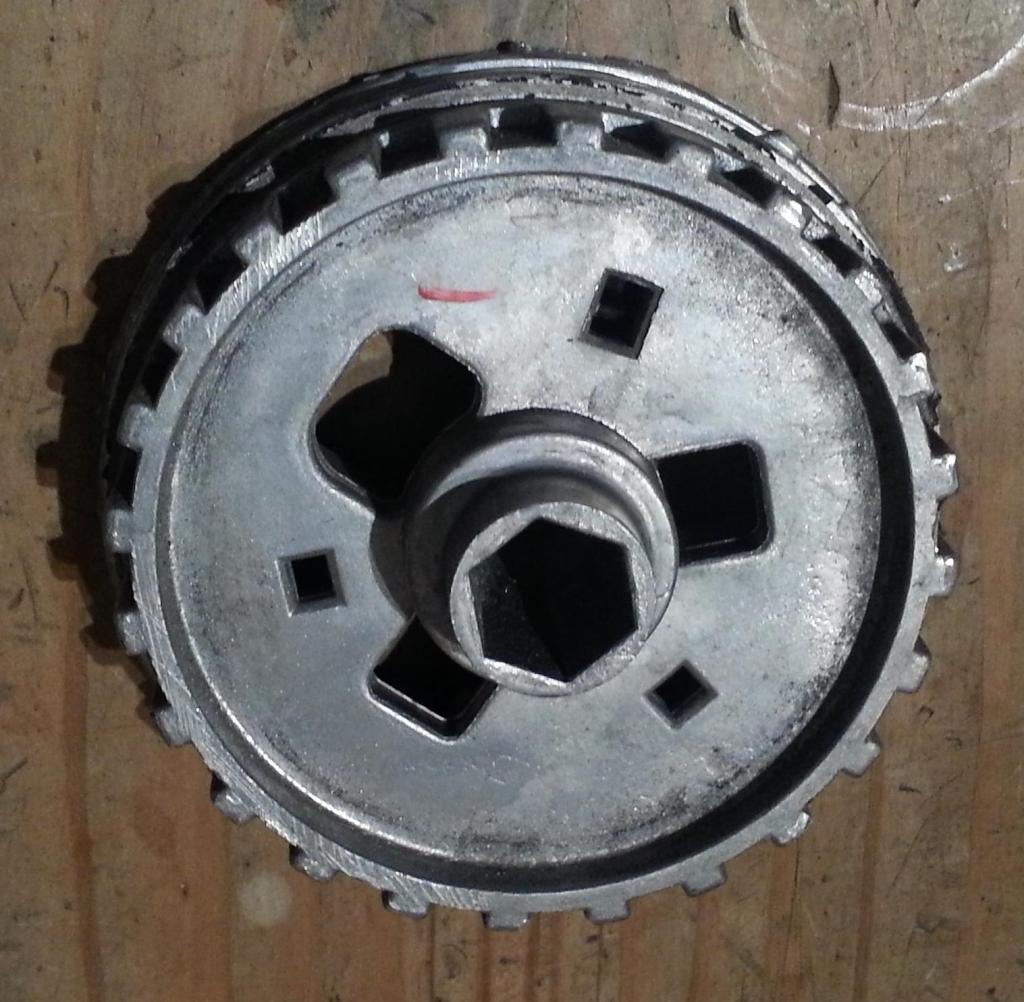
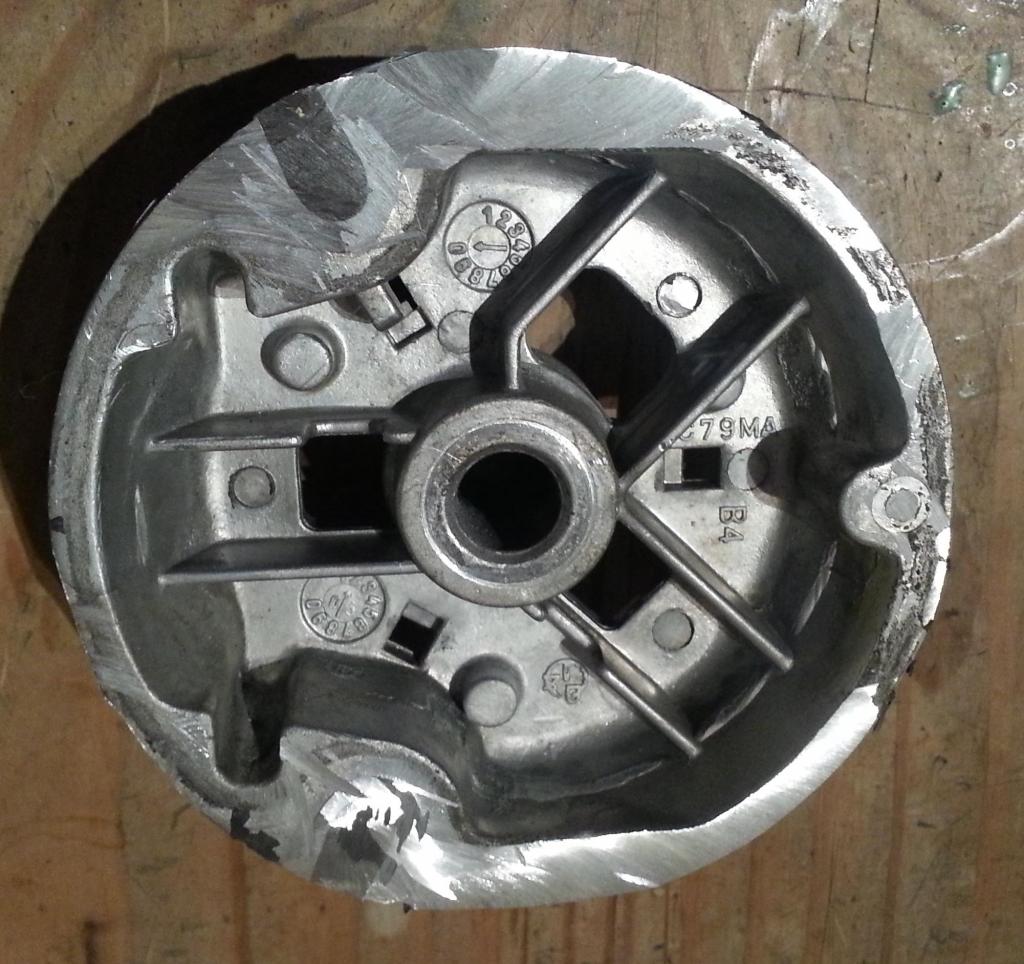
Just need a top plate mounted on top which will have the wheel screwed to it, a bit of a tidy up and some matt black paint and it should look good. More importantly it will be straight and IMO stronger than the aftermarket piece of crap which looks to be made out of soft monkey metal alloy where as the ford wheel centre seems much harder material.
Started making my new boss as im not happy with the aftermarket one that doesnt line up straight!
So take one ford ka wheel, pick the rubber off then attack with a grinder:
I now have the basis for my new boss:
Just need a top plate mounted on top which will have the wheel screwed to it, a bit of a tidy up and some matt black paint and it should look good. More importantly it will be straight and IMO stronger than the aftermarket piece of crap which looks to be made out of soft monkey metal alloy where as the ford wheel centre seems much harder material.
07-08-2014, 12:46 PM
#154
Lucifer II - 666
Not noticed this thread before Wozza, shame ya never made it Sunday on to the stand.


Thread
Thread Starter
Forum
Replies
Last Post
ATM SPORT
Ford Rs Parts For Sale (Not cosworth, or Cvh Turbo)
1
02-12-2005 04:04 PM