
Mk2 Escort RS2000 resto.
 20-06-2011, 07:18 AM
#81
Tin Basher
Thread Starter
[quote=oli49521;5510130]Its a 1964 split screen micro bud that i brought a few years ago and needs some tlc. Customers cars first though lol

 22-06-2011, 07:47 PM
#84
Tin Basher
Thread Starter
So far it has taken roughly 800hrs to get it to this stage and i estimate another 100hrs to complete the fab and prep work before paint. I have charged a reduced hourly rate compared to the pro's mainly because this is my first Escort so it was going to take me longer.
Hope that answers your question
 23-06-2011, 11:44 PM
#87
excellent work mate hats off to you i do a bit of this kind of work on my own and some mates cars myself but no were near the quality what you are producing, plus i can form the panels like you do but i bet something that takes you half hour to form takes me 3 hours lol
l look forward to more updates on this mate
l look forward to more updates on this mate

 24-06-2011, 06:23 PM
#91
Tin Basher
Thread Starter
excellent work mate hats off to you i do a bit of this kind of work on my own and some mates cars myself but no were near the quality what you are producing, plus i can form the panels like you do but i bet something that takes you half hour to form takes me 3 hours lol
l look forward to more updates on this mate
l look forward to more updates on this mate

Thanks
24-06-2011, 06:25 PM
#92
Tin Basher
Thread Starter
17-07-2011, 09:51 PM
#93
Wahay!! I've lost my Virginity!!

RS2000 is looking very good, top job mate.
Im doing an mk2 RS2000 my self just wondered where your getting some of your panels from, i see some of them are hadrian panels but some of the bulk head pieces, wheel artch pieces and door pillar pieces that have been welded in look to be of very good quality. Are you making these up or buying them?
If bought where from?
Keep up the good work
18-07-2011, 07:33 AM
#94
Tin Basher
Thread Starter
RS2000 is looking very good, top job mate.
Im doing an mk2 RS2000 my self just wondered where your getting some of your panels from, i see some of them are hadrian panels but some of the bulk head pieces, wheel artch pieces and door pillar pieces that have been welded in look to be of very good quality. Are you making these up or buying them?
If bought where from?
Keep up the good work
Im doing an mk2 RS2000 my self just wondered where your getting some of your panels from, i see some of them are hadrian panels but some of the bulk head pieces, wheel artch pieces and door pillar pieces that have been welded in look to be of very good quality. Are you making these up or buying them?
If bought where from?
Keep up the good work
let me know what you need.
Martin
18-07-2011, 07:50 PM
#95
Wahay!! I've lost my Virginity!!
 18-07-2011, 09:25 PM
#96
Tin Basher
Thread Starter
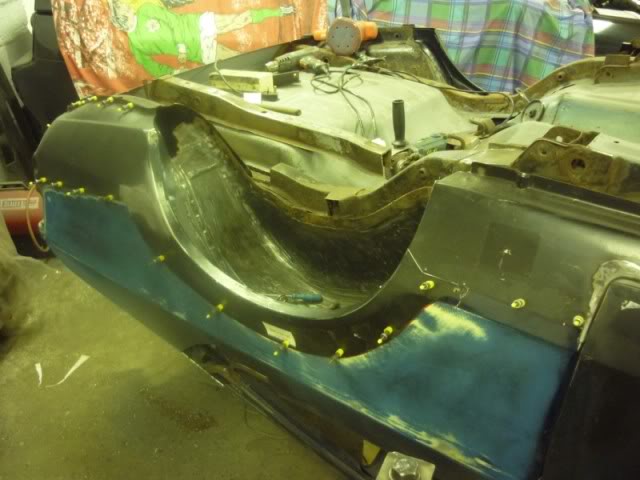
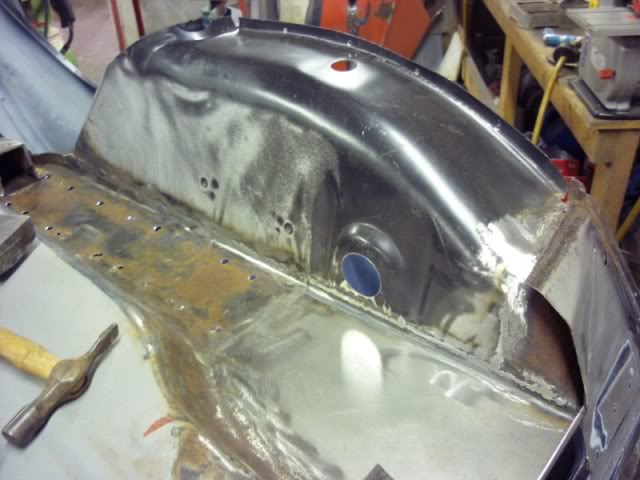
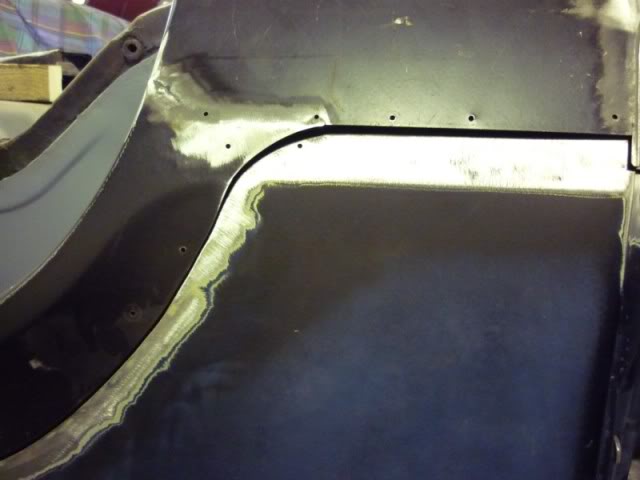
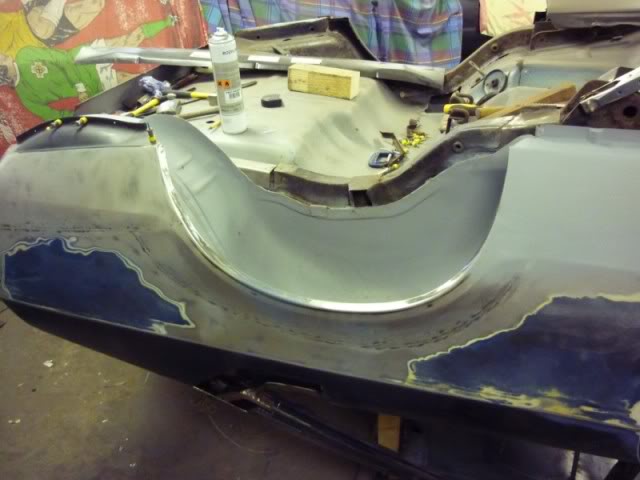
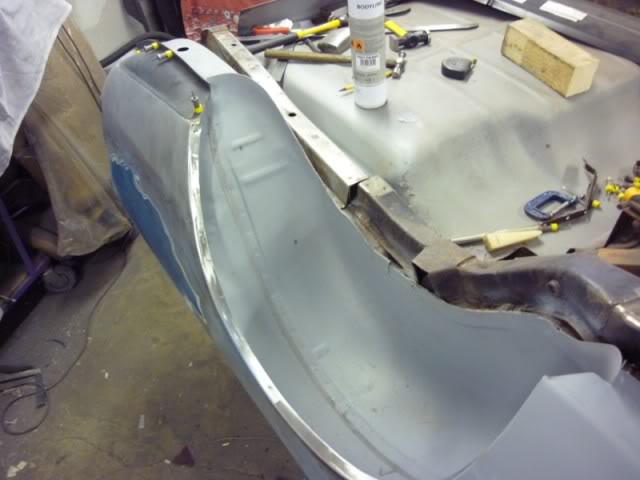
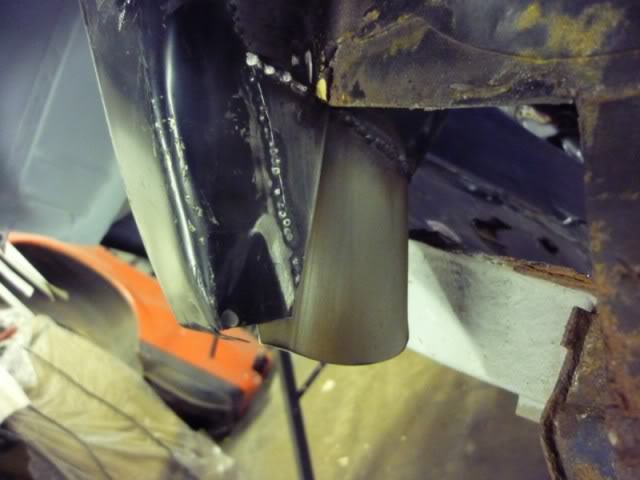
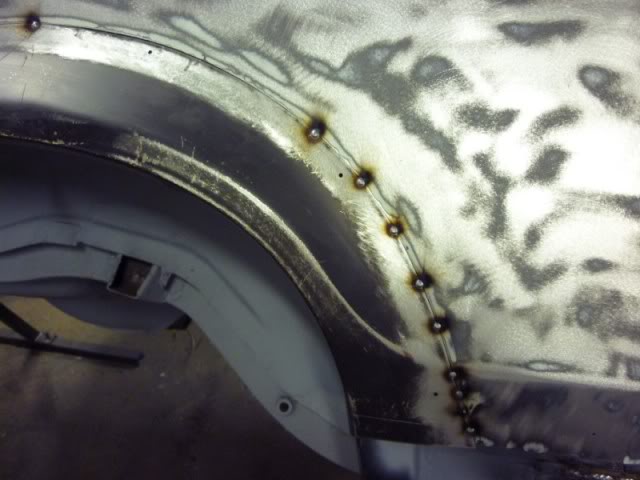
i cut this part from a donor rear quarter supplied by my customer. the rest of the rear quarter is unusable
06-10-2011, 08:03 AM
#97
Tin Basher
Thread Starter
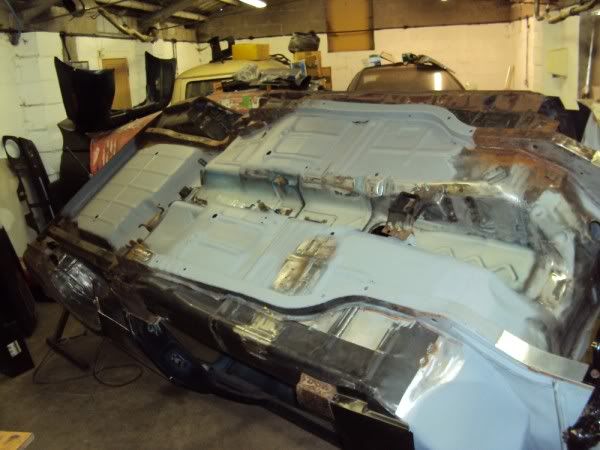
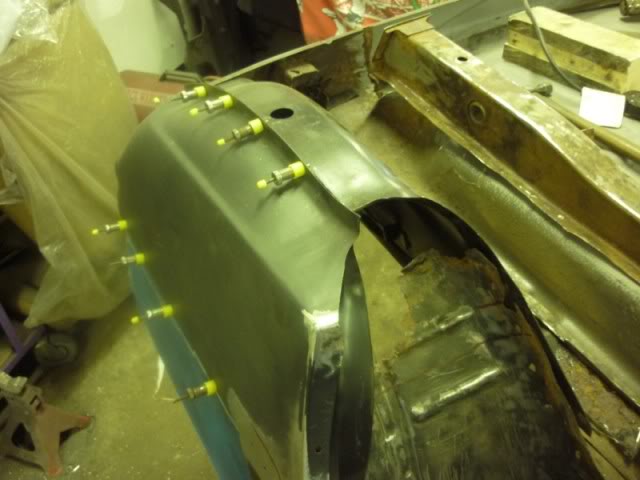
I guess you are all wondering what�s happened to the RS resto? Well, I�ve had a few other jobs to finish and now there complete I can continue the final push to get the RS ready for the body shop.
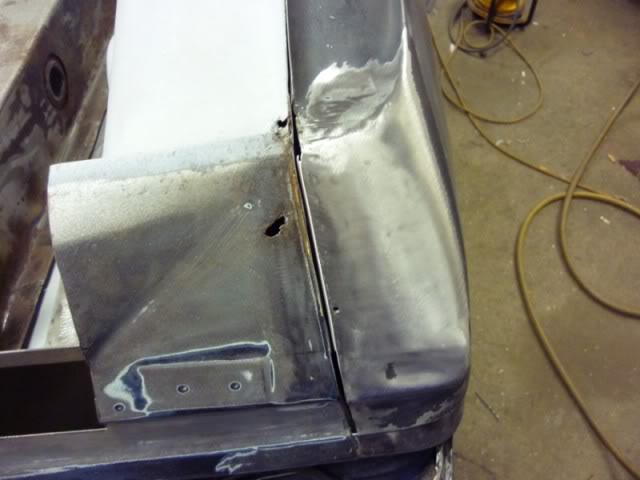
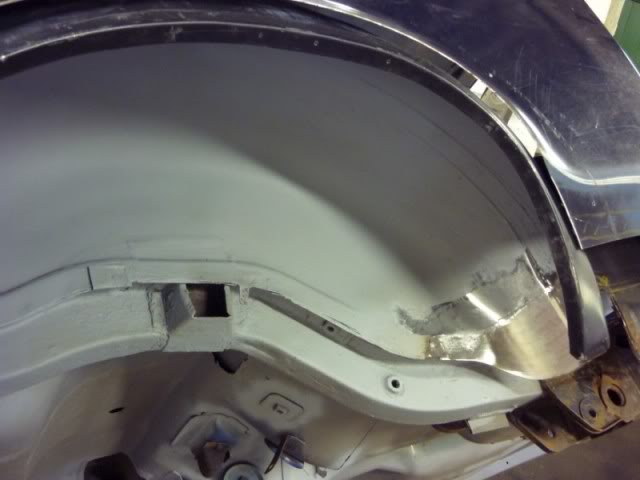
We still haven�t been able to get hold of a rear quarter panel so the only option is to repair it. Most of the rust on the rear quarter is at the edges and can be cut out and covered by the outer sill, rear inner and outer arch and spare wheel well panels. There is a few patches of rust by the C post and top part of the rear quarter by the boot but I have second hand parts to replace these.
There was also a lot of work the do on the boot floor and chassis rails so I will make what I can and use some good used chassis rail to replace the rot.
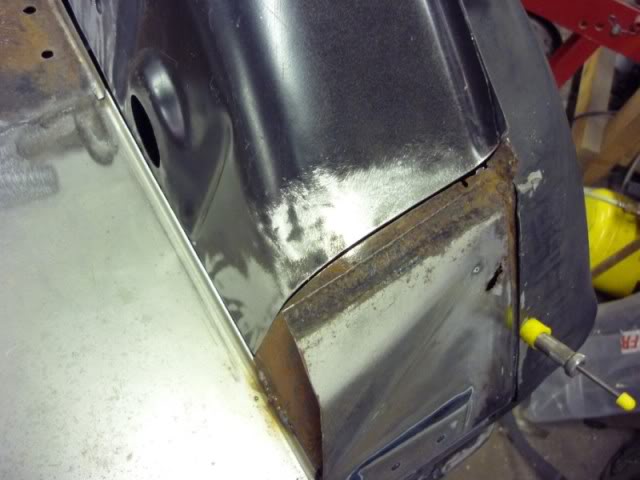
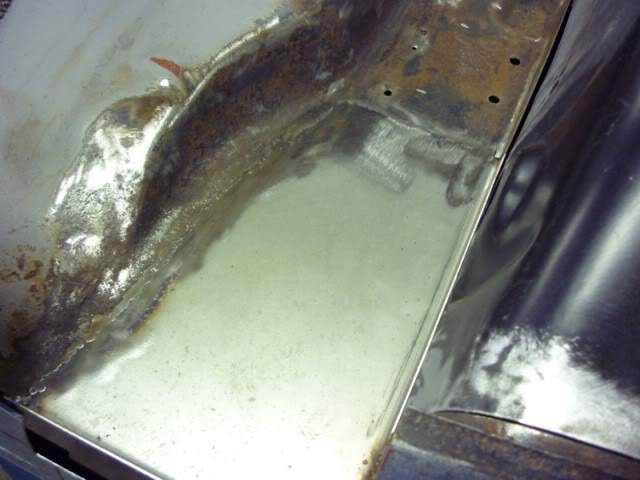
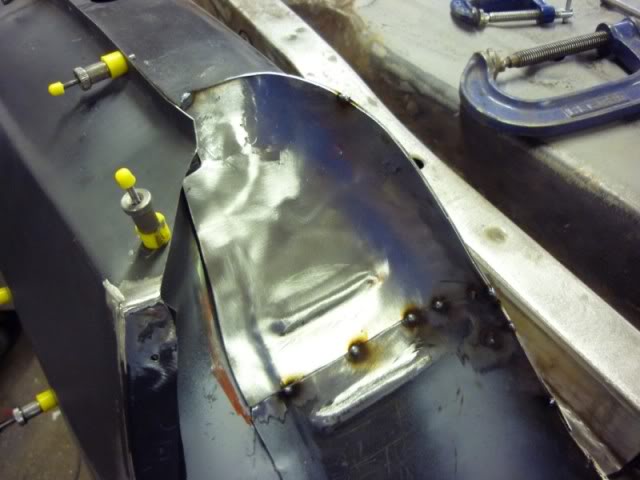
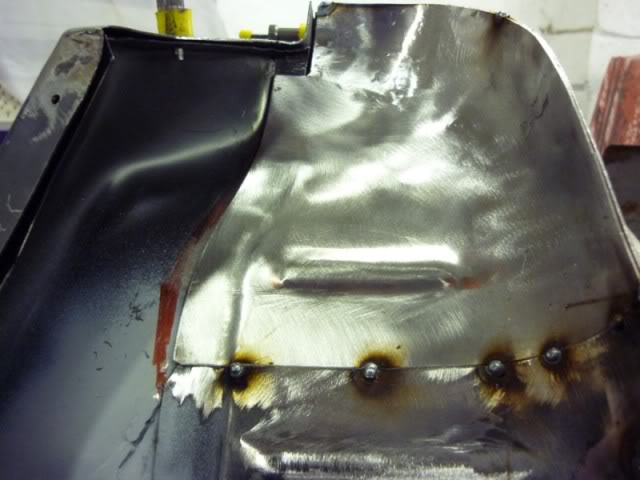
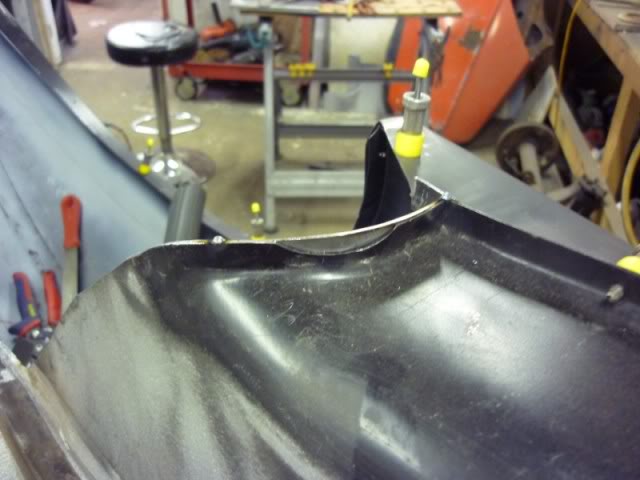
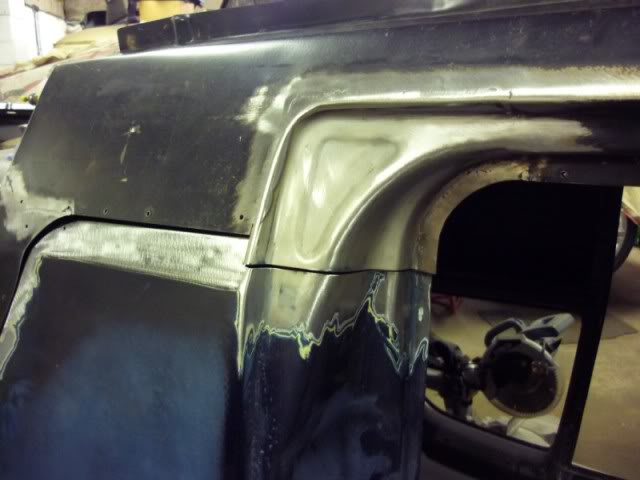

 14-10-2011, 07:17 AM
#100
Tin Basher
Thread Starter
16-10-2011, 12:40 PM
#102
Tin Basher
Thread Starter
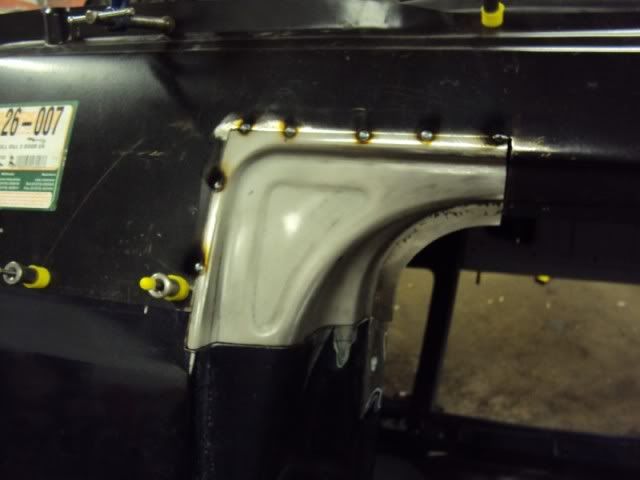
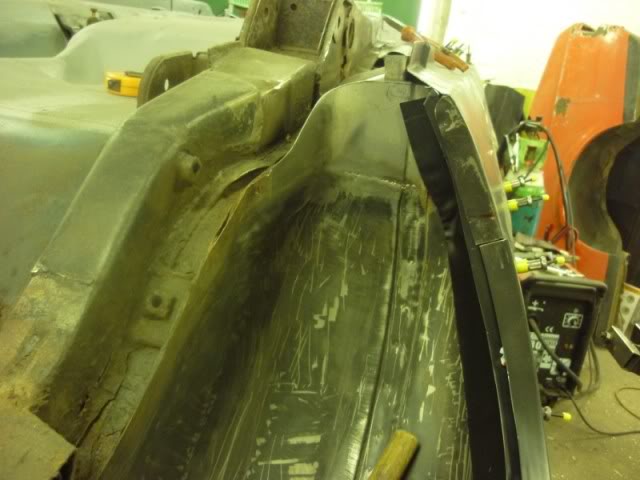
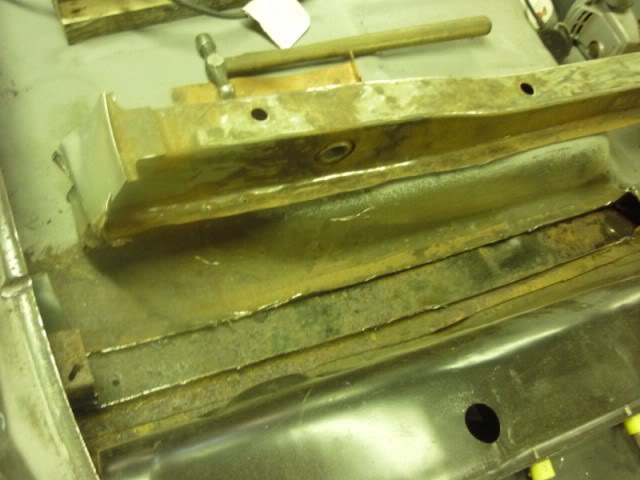
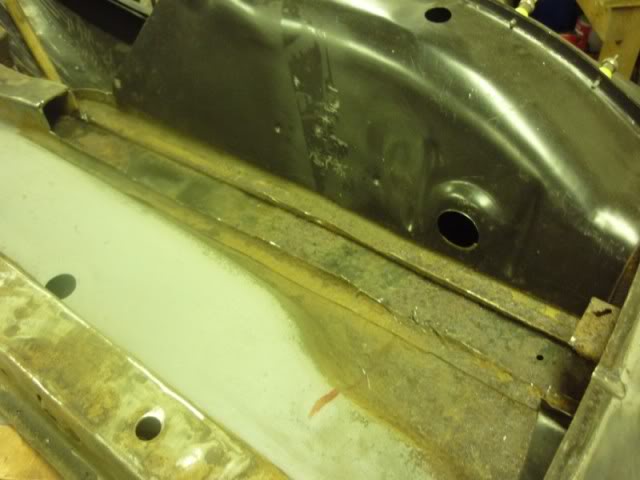
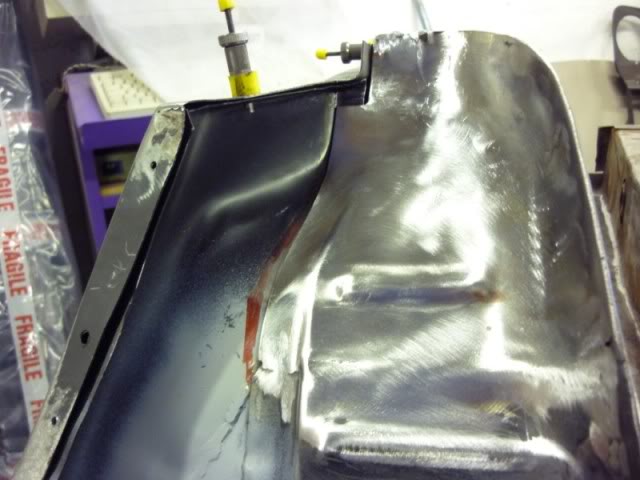
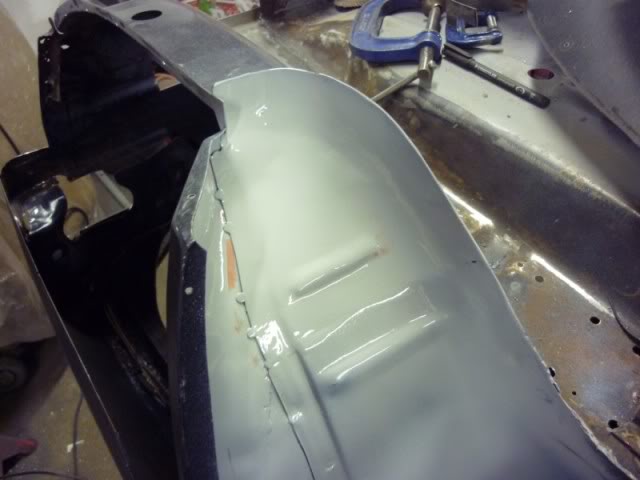
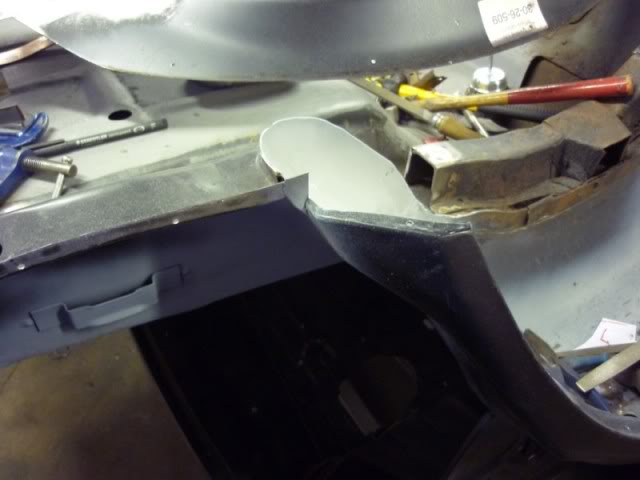
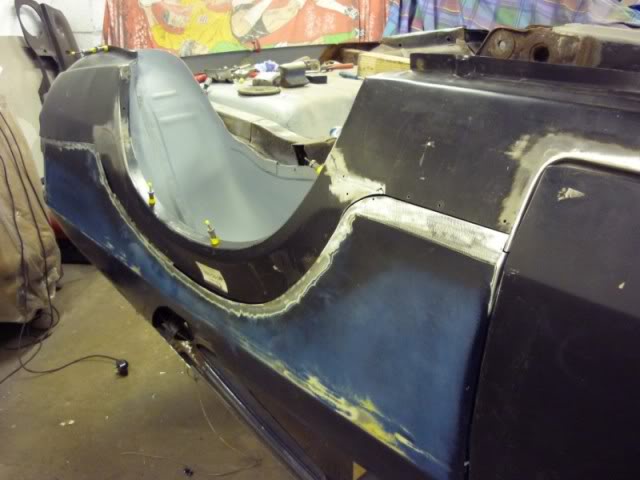
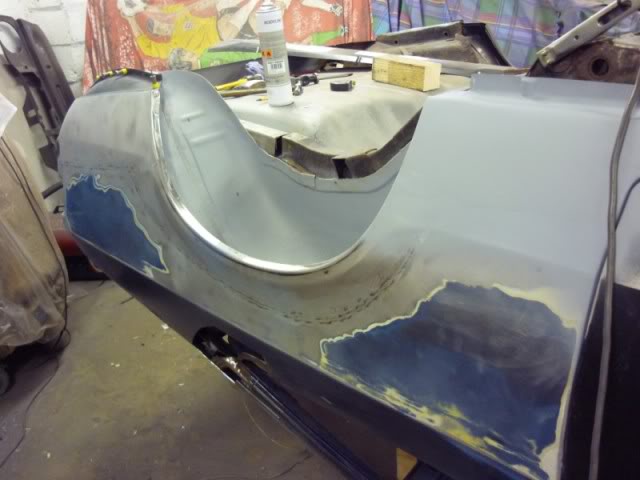
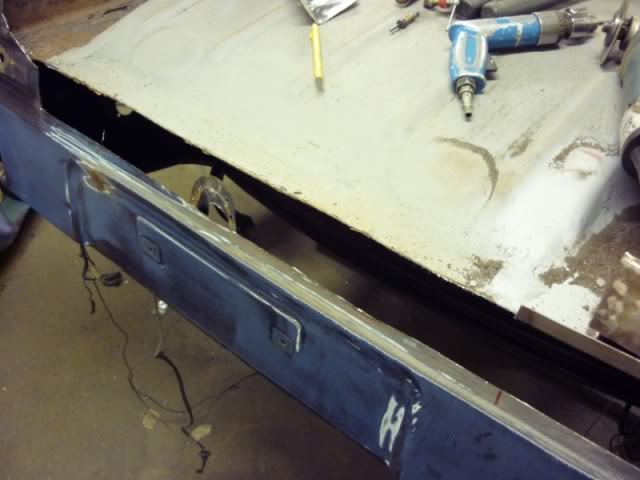
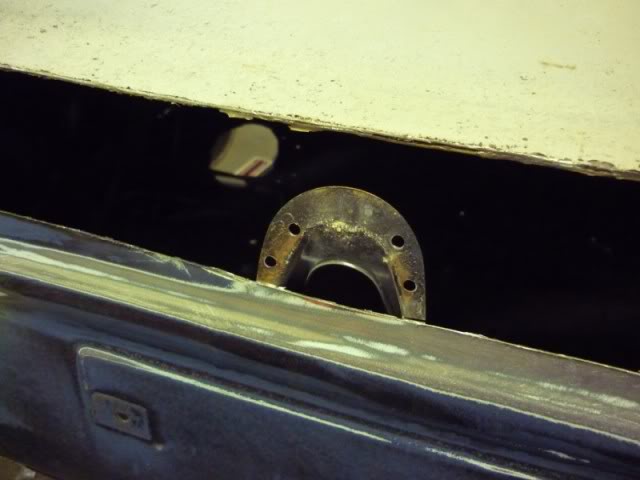
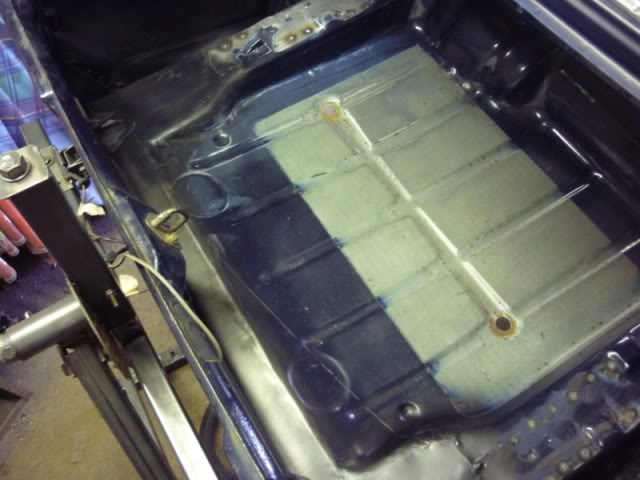
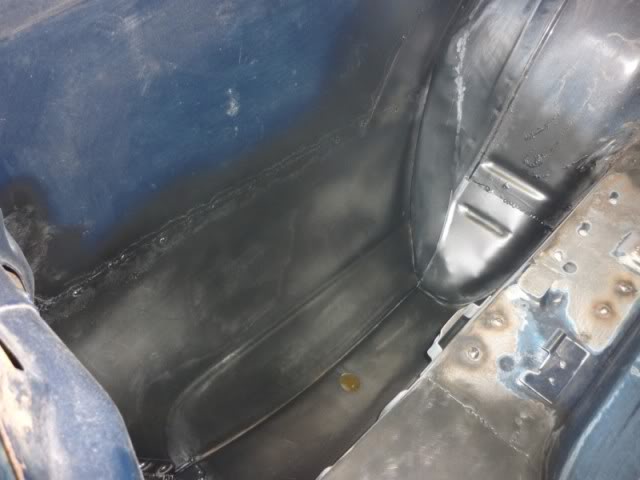
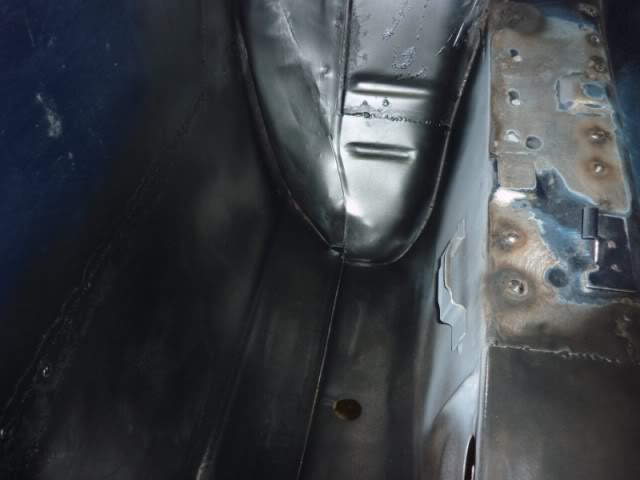
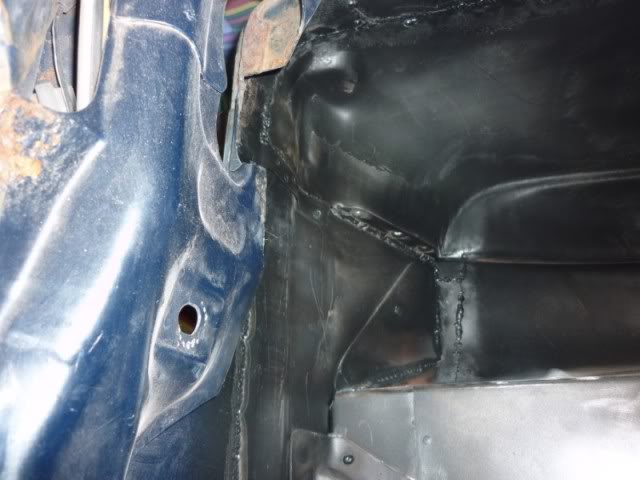
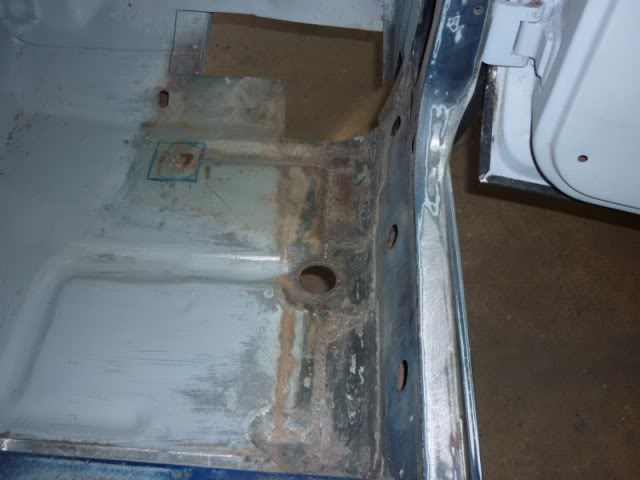
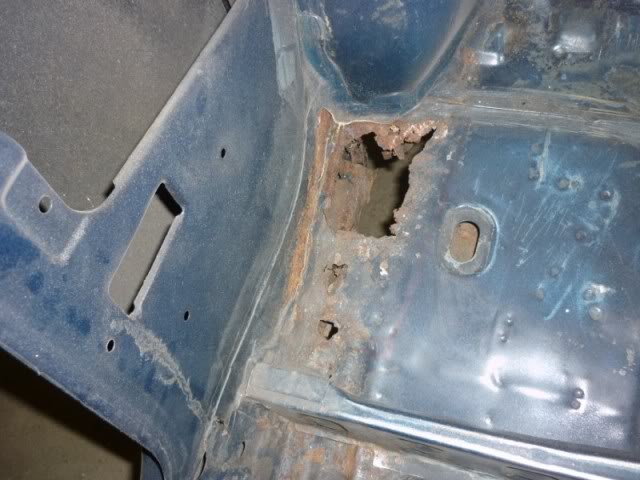
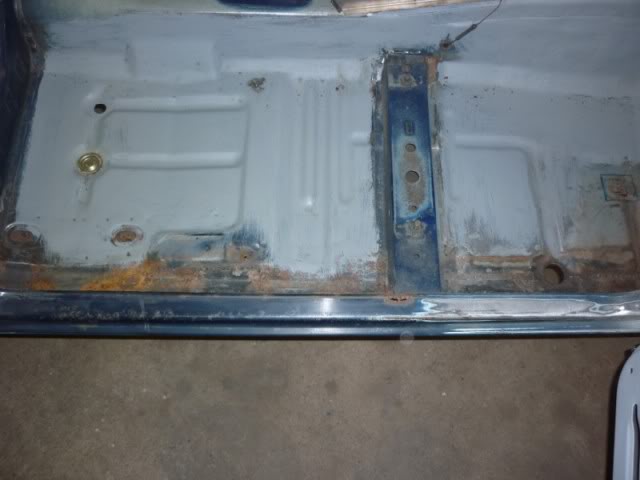
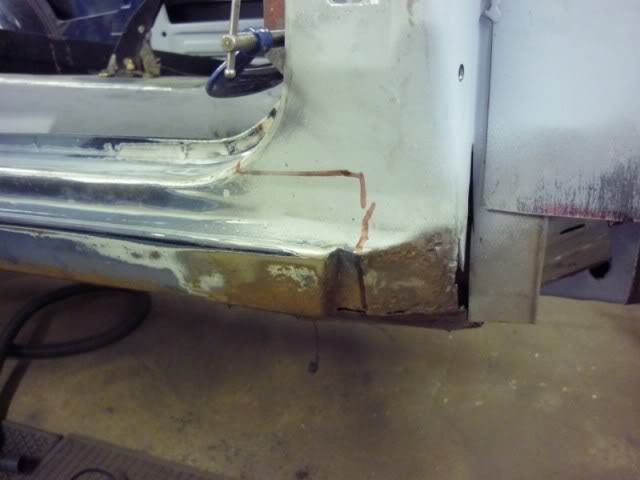
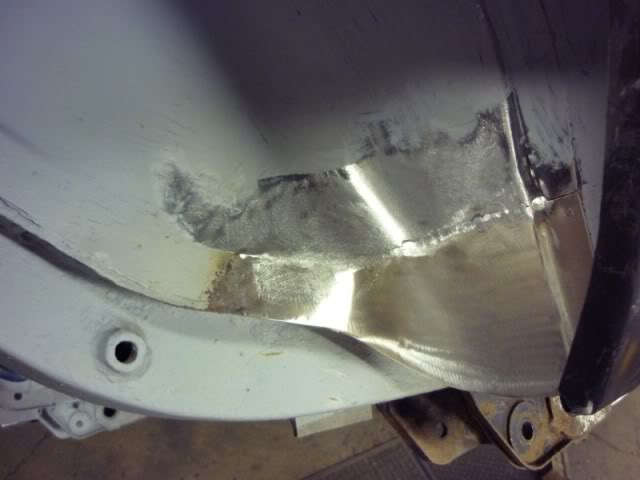
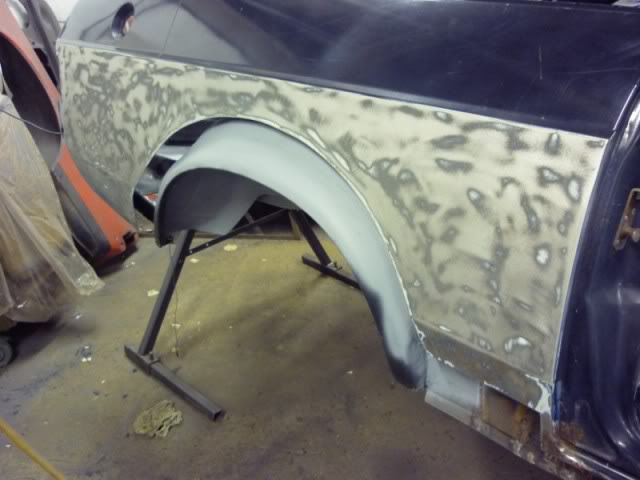
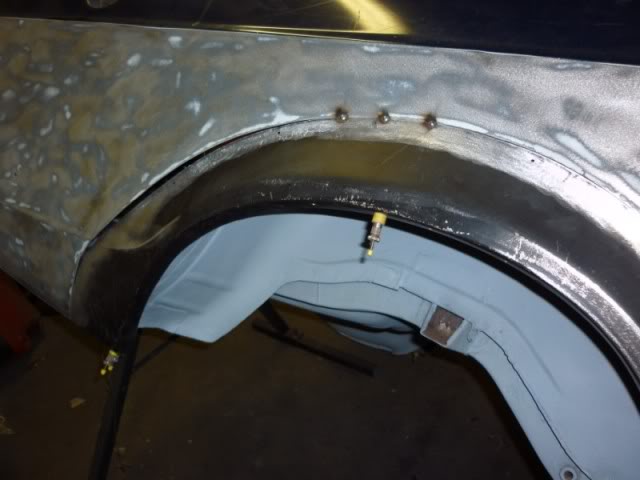
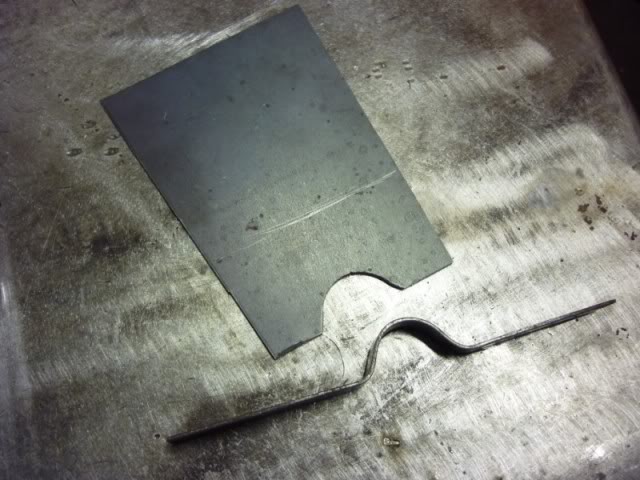
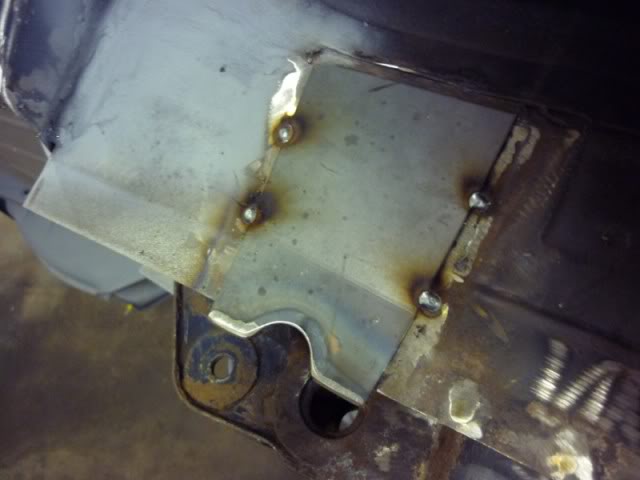
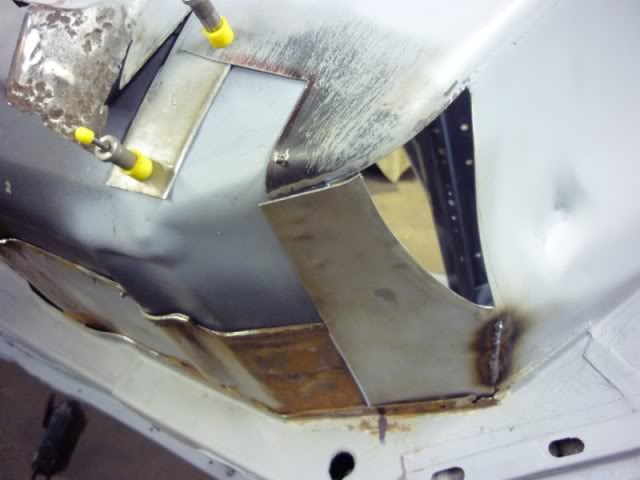
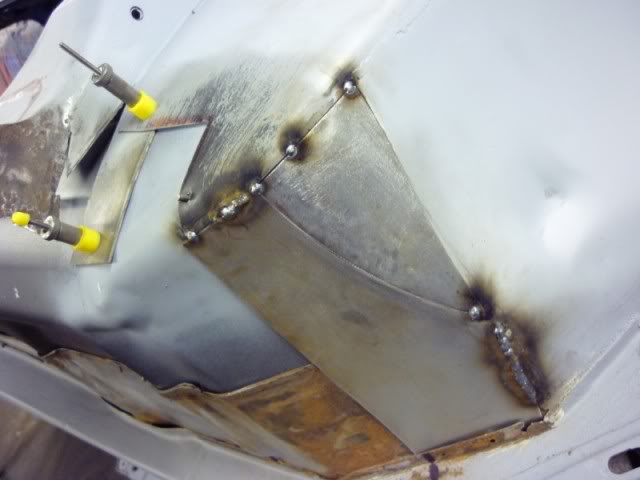
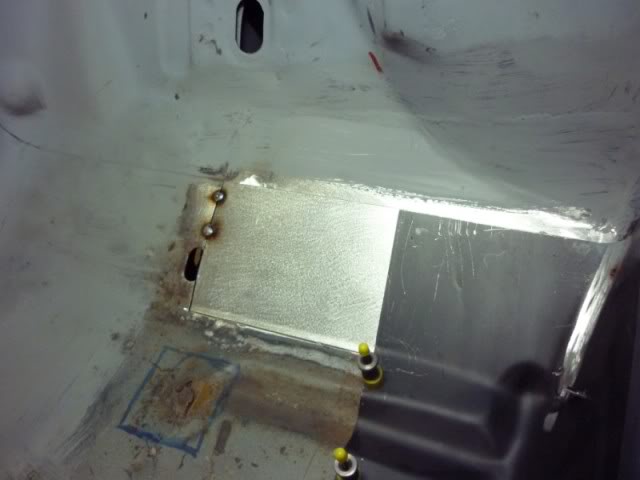
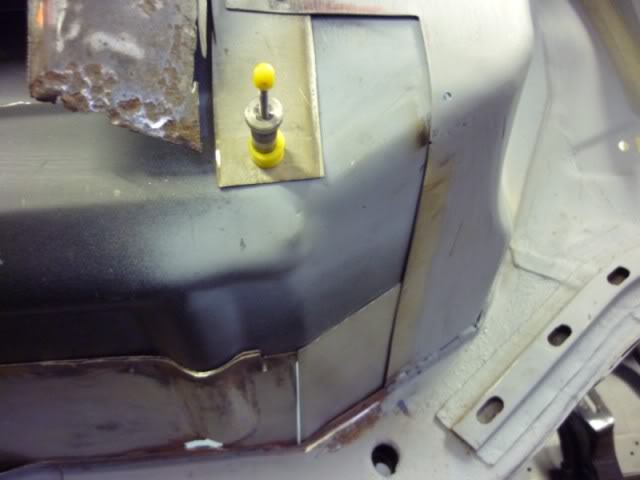
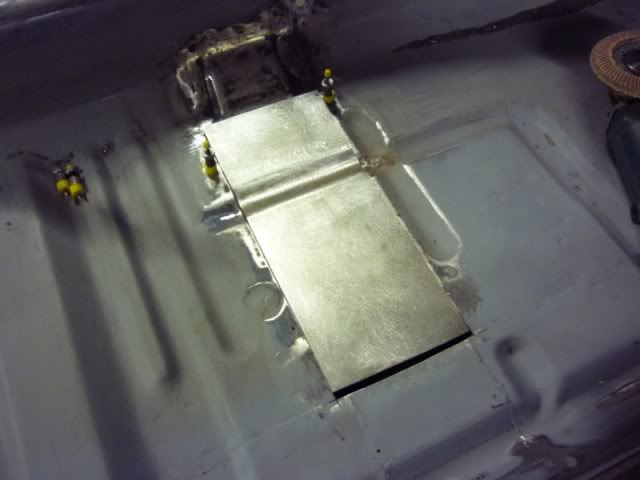
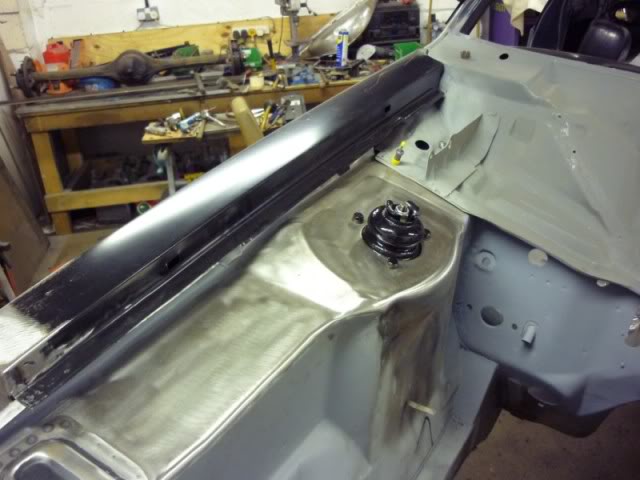
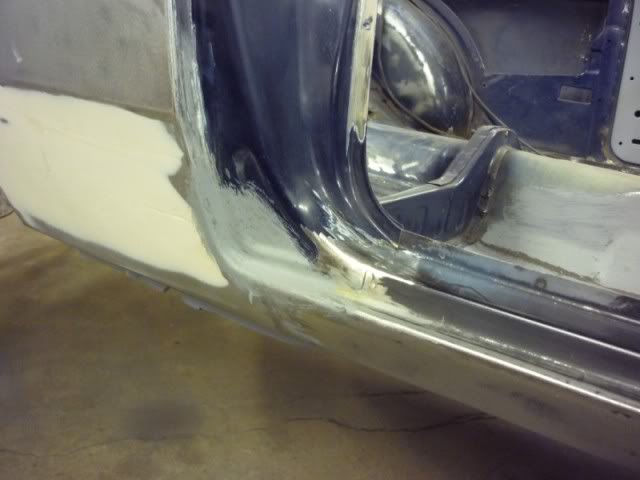
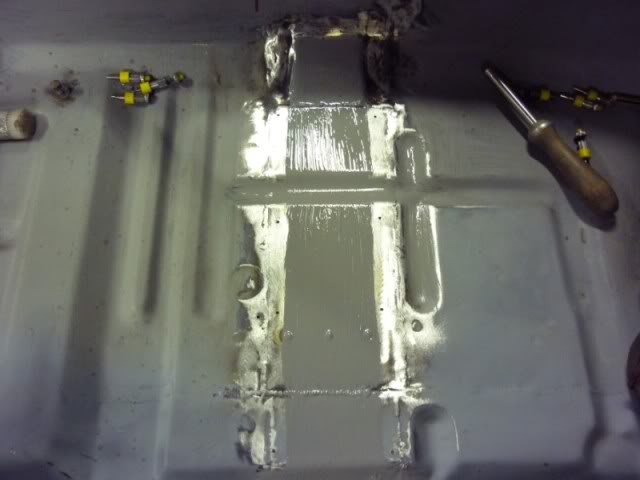
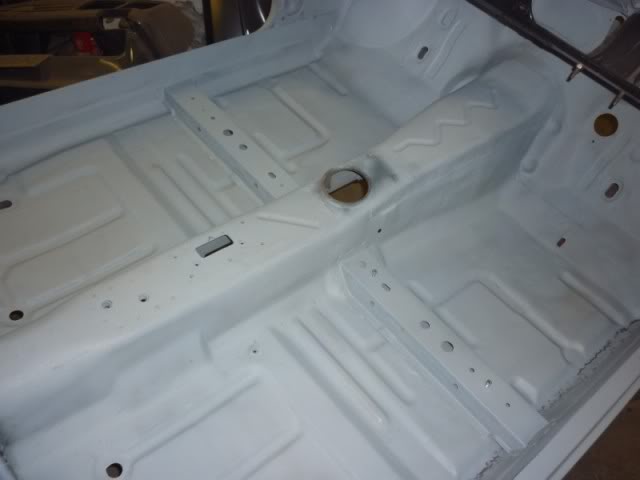
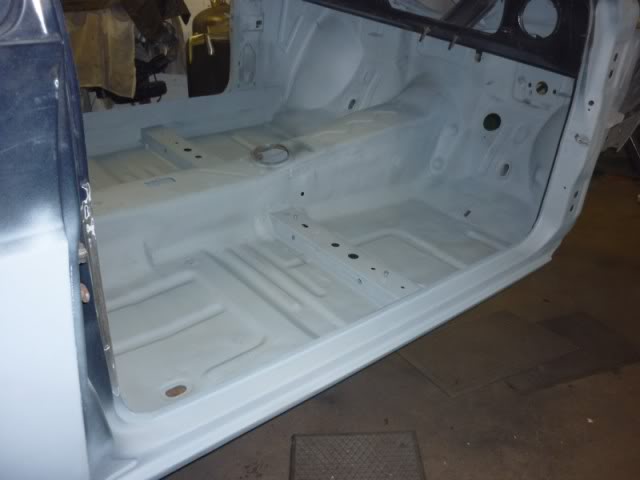
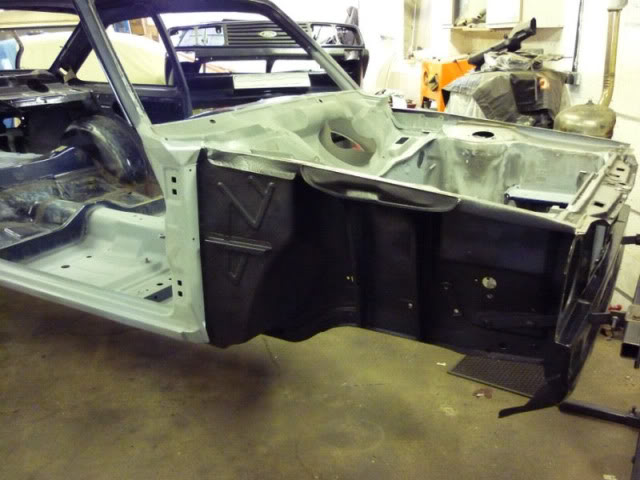
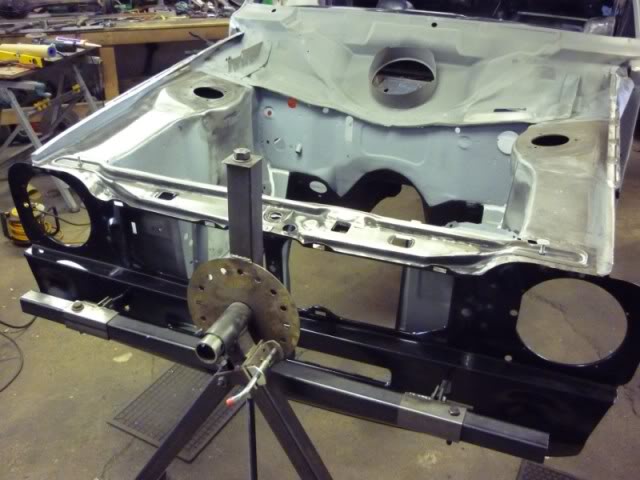
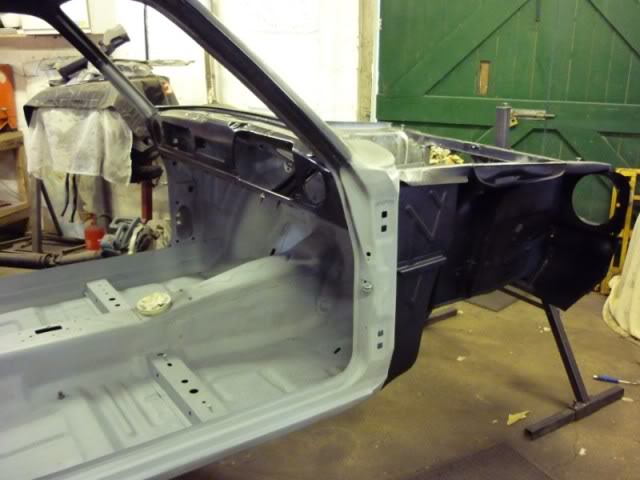
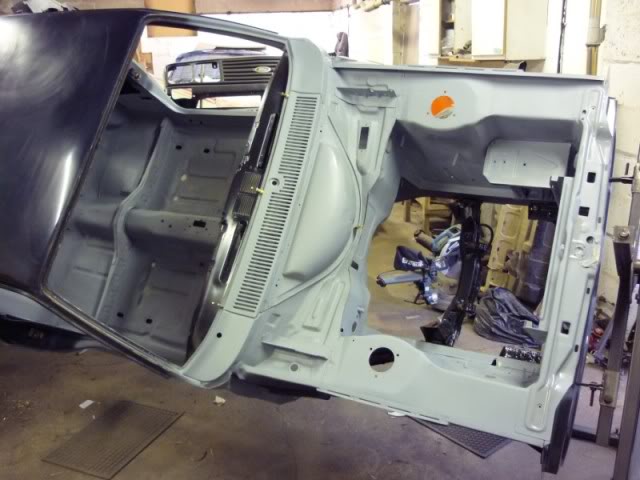
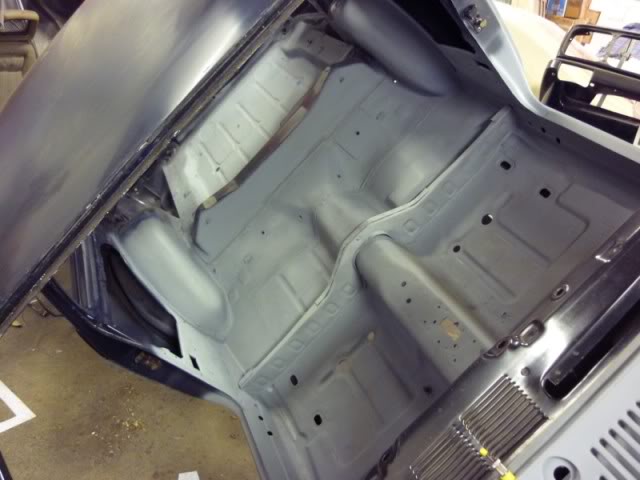
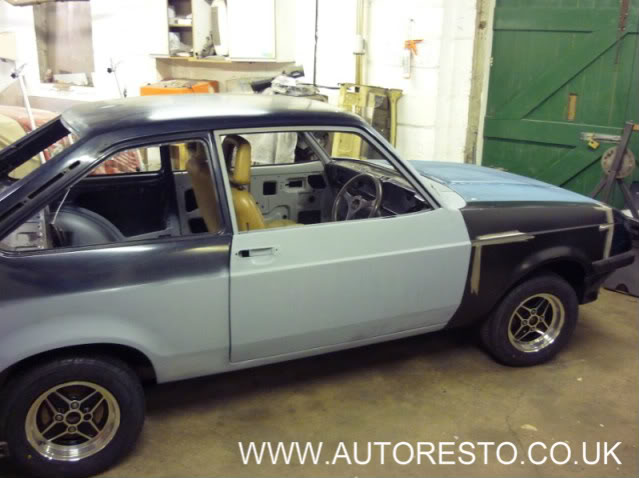
Time has come to start on the driver’s side. Not as much work to do as the passenger side and once done will only leave a hand fully of job left to complete the metal work on the old girl. On the driver’s side we are looking to replace the inner and outer sills, inner and outer rear arches, repairs to the rear jacking point and a few repairs to the drivers floor pan/bulkhead and bottom of the A post. I’ve been able to get most of the replacement parts but some parts will have to made. Enjoy the pictures.
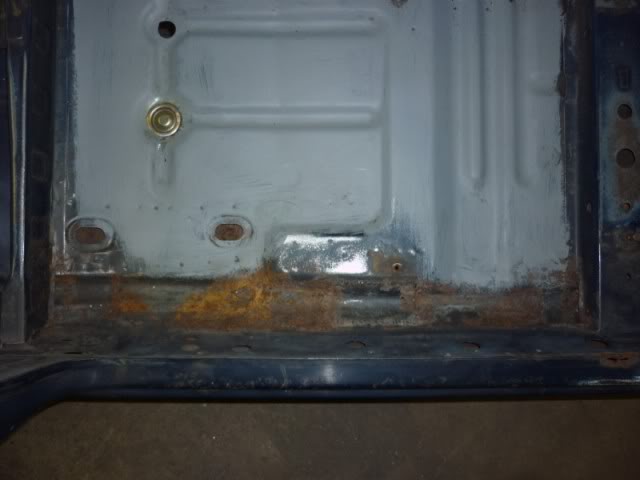
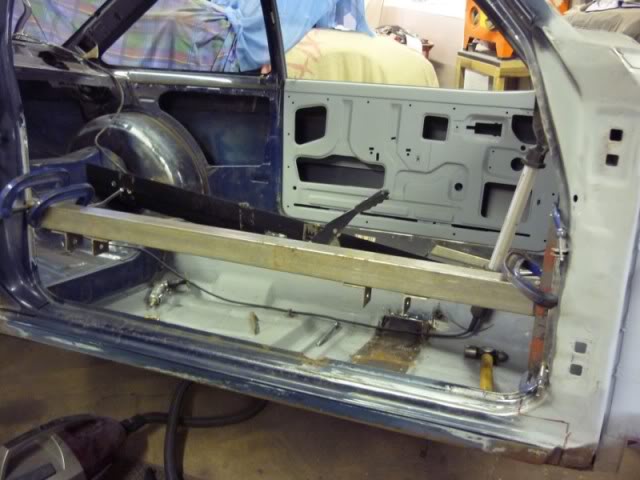
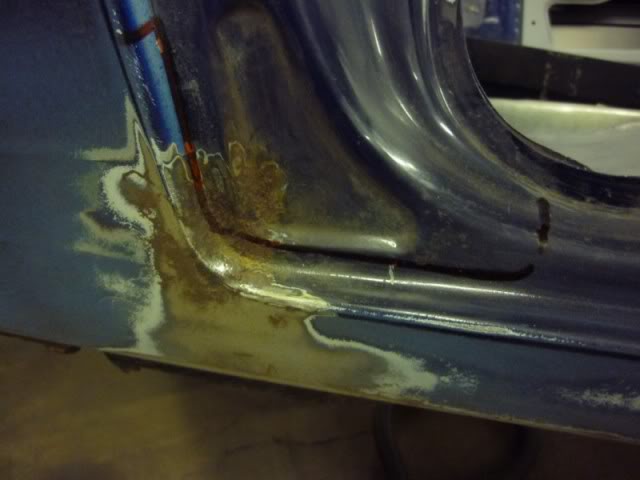
Rear arch

Jacking point
Bulkhead/floor

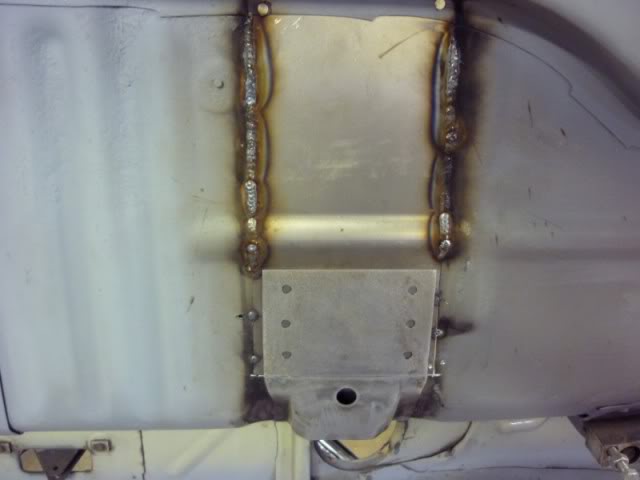
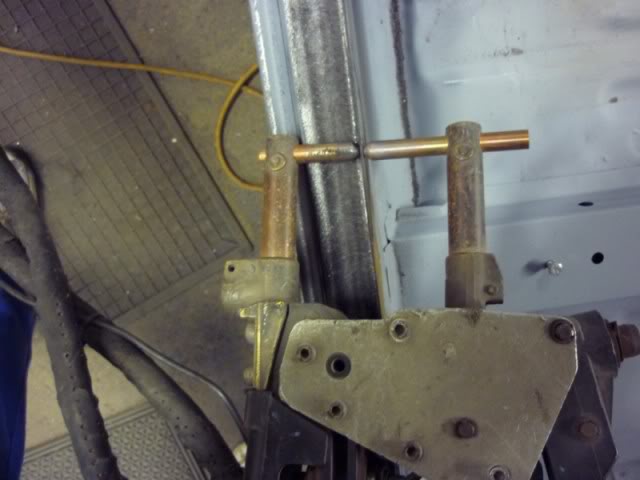
Decided to remove the drivers seat rail and it was a good job I did!
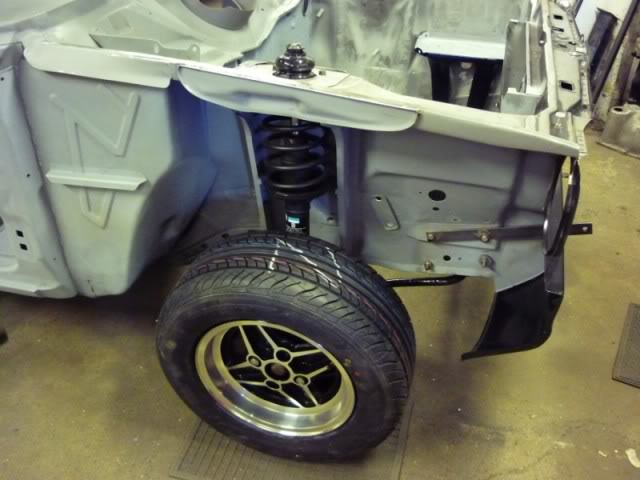
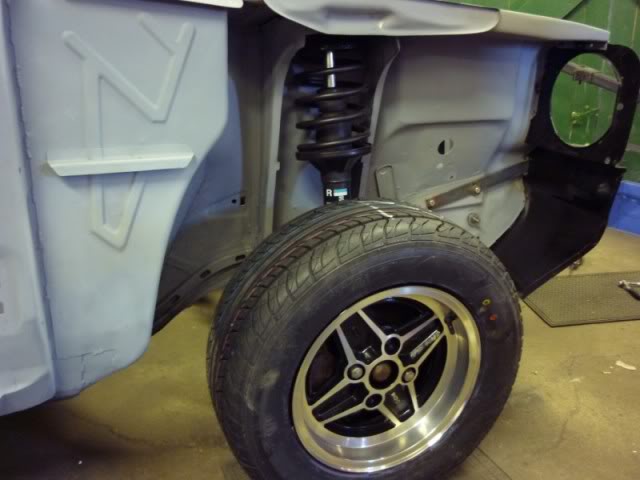
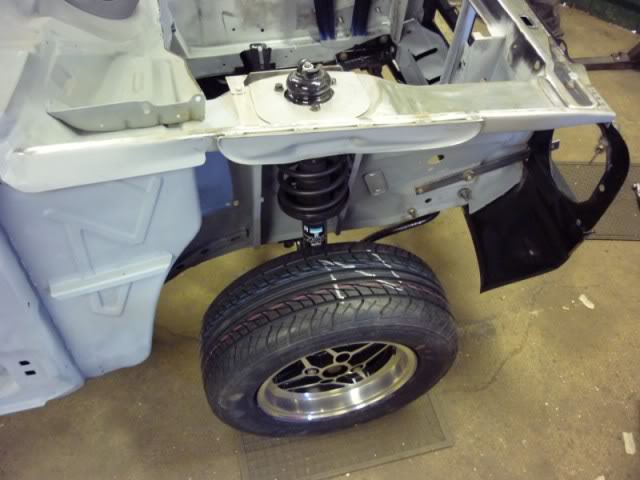
Forgot to take pictures of the sill finished so I’ll add them later. I reason I forgot was because these turned up!
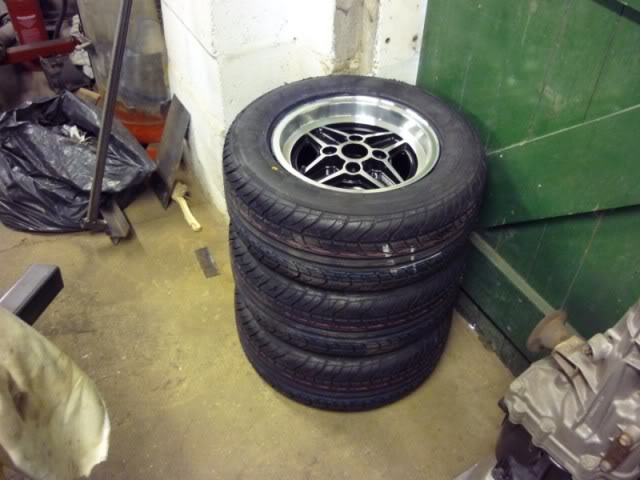
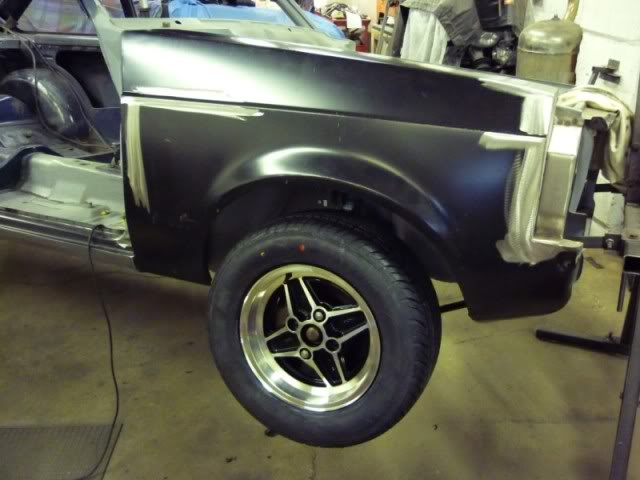
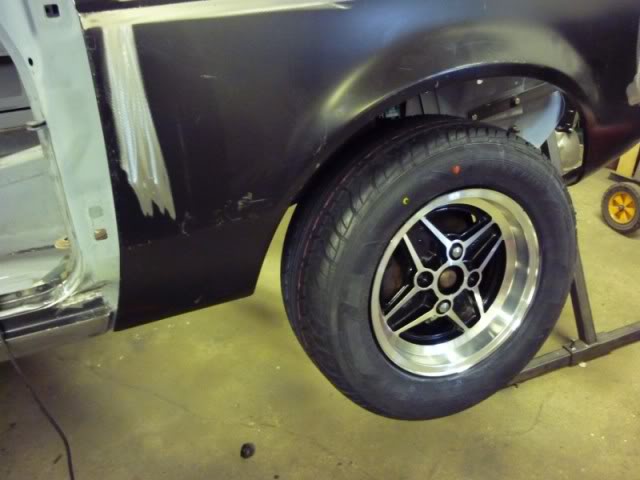
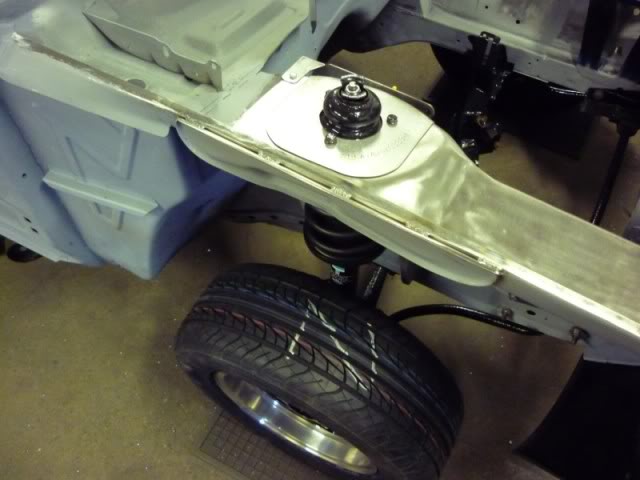
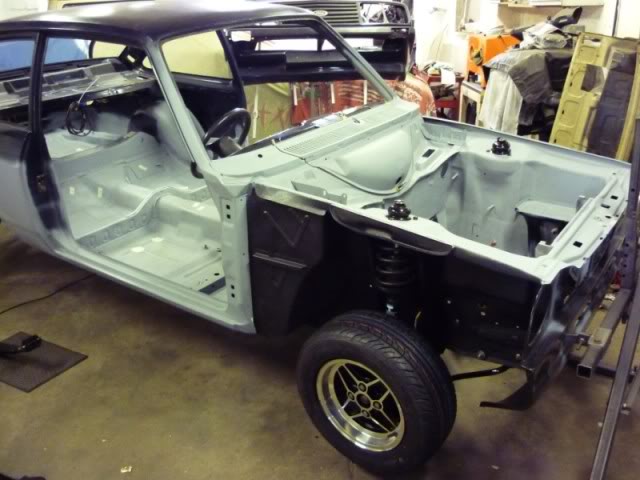
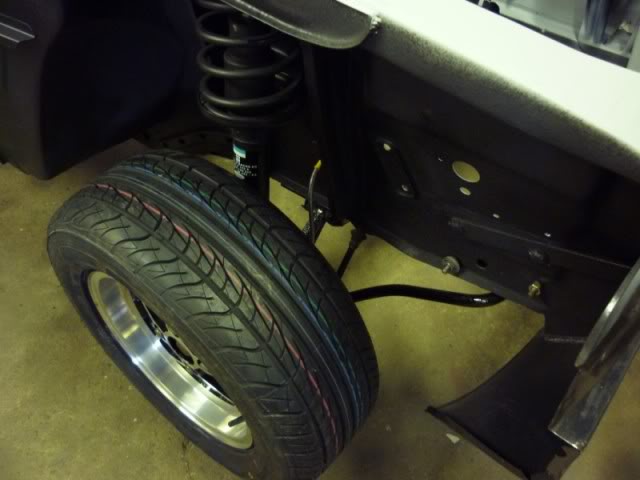
I tried to ignore the new wheels and front struts sitting there in the corner but I couldn’t resist a test fit lol
Rear arch
Jacking point
Bulkhead/floor
Decided to remove the drivers seat rail and it was a good job I did!
Forgot to take pictures of the sill finished so I’ll add them later. I reason I forgot was because these turned up!
I tried to ignore the new wheels and front struts sitting there in the corner but I couldn’t resist a test fit lol
 19-10-2011, 08:26 AM
#107
Tin Basher
Thread Starter
Thanks
With the right tools you can do anything.
i use to hate metal work at school then i done it for a living as a sheet metal worker!!
Big job this one and a good project to learn from.
i use to hate metal work at school then i done it for a living as a sheet metal worker!!
Big job this one and a good project to learn from.
23-10-2011, 12:15 PM
#110
Tin Basher
Thread Starter
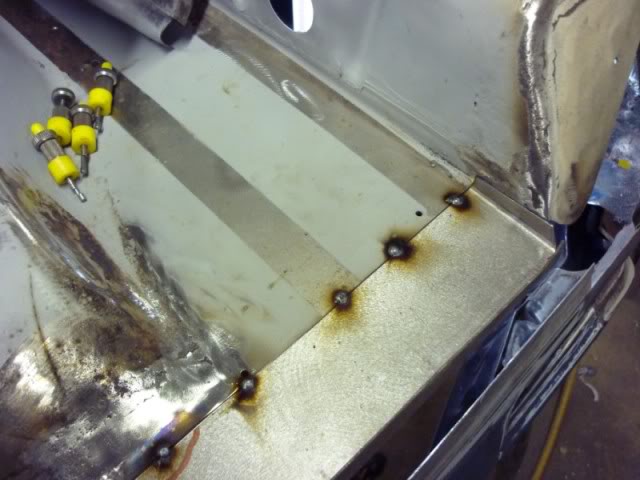
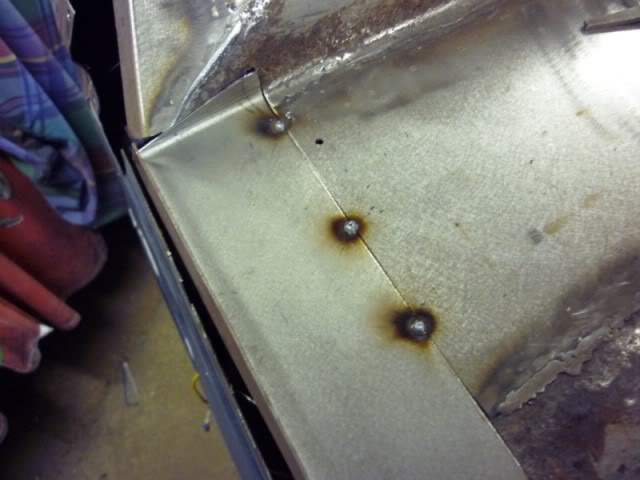
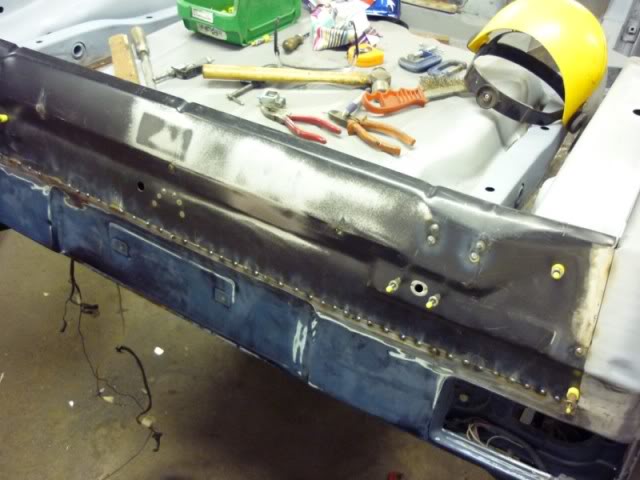
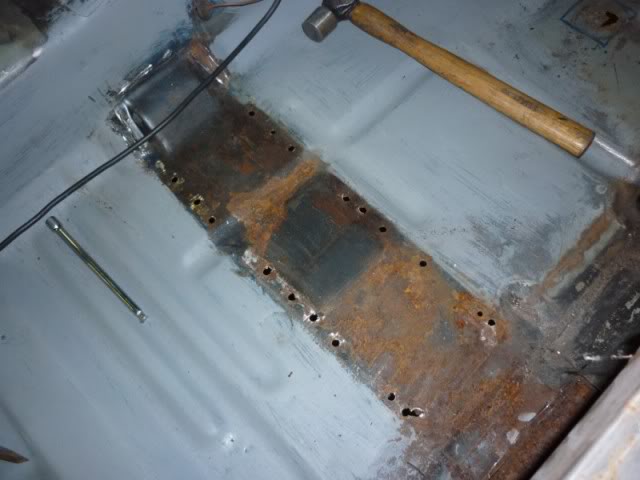
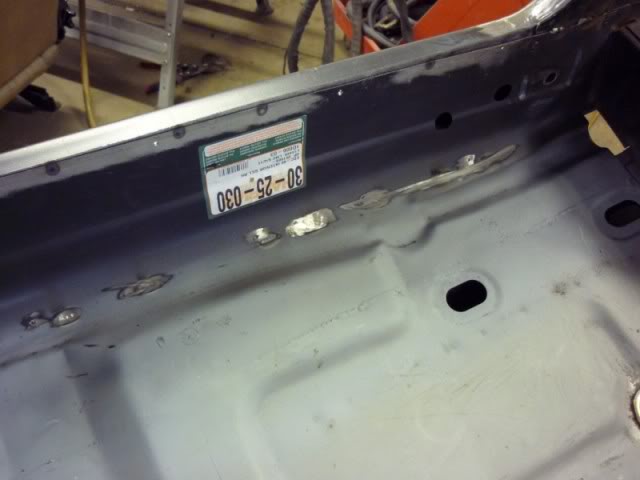
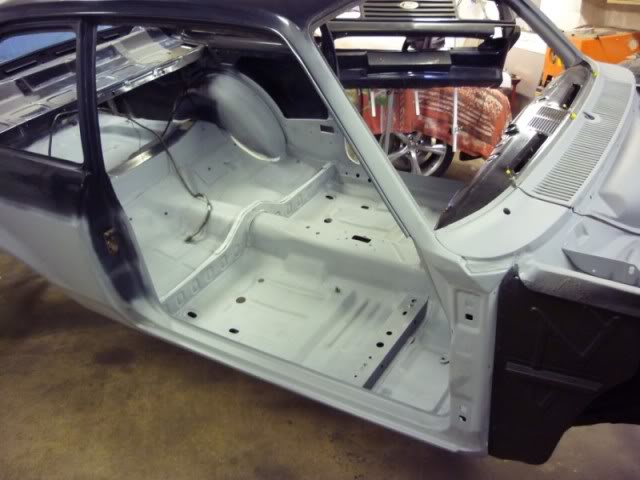
Finished up the drivers floor and spot welding around the door frames this week just two repairs left to do by the rear jacking points.
first coat of stone chip applied
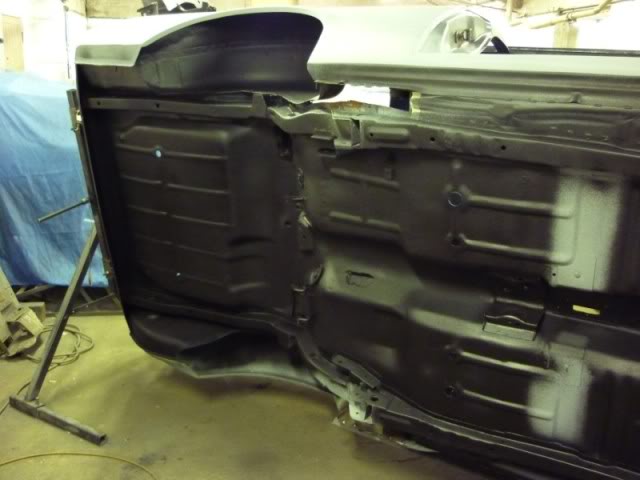
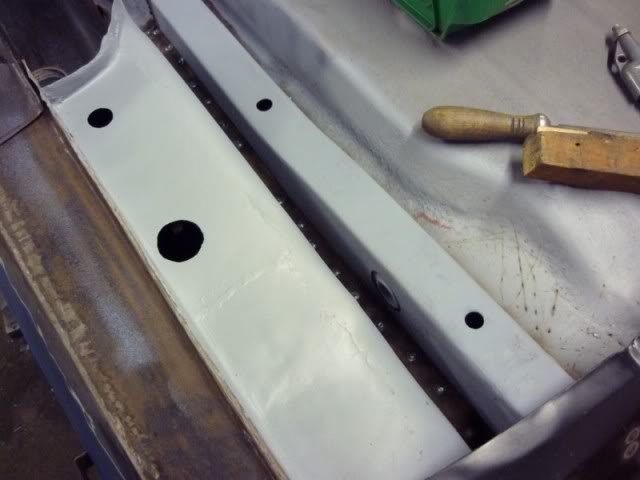
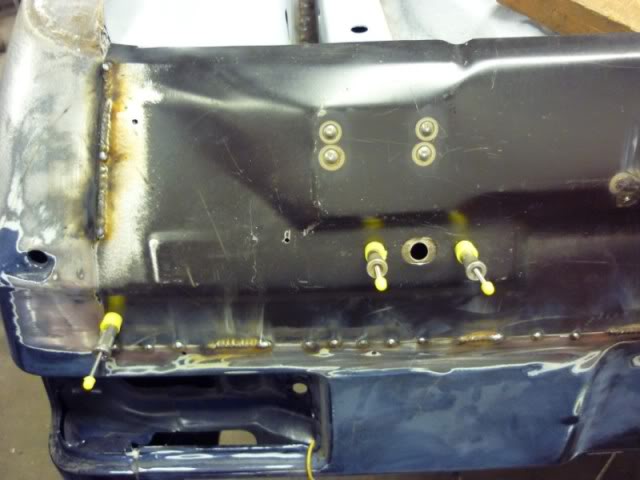
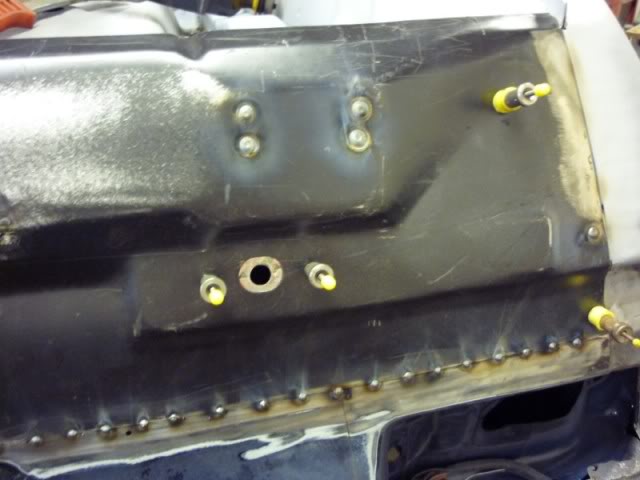
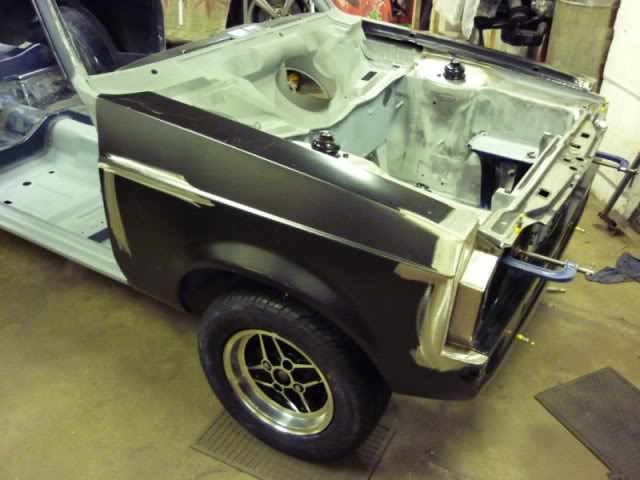
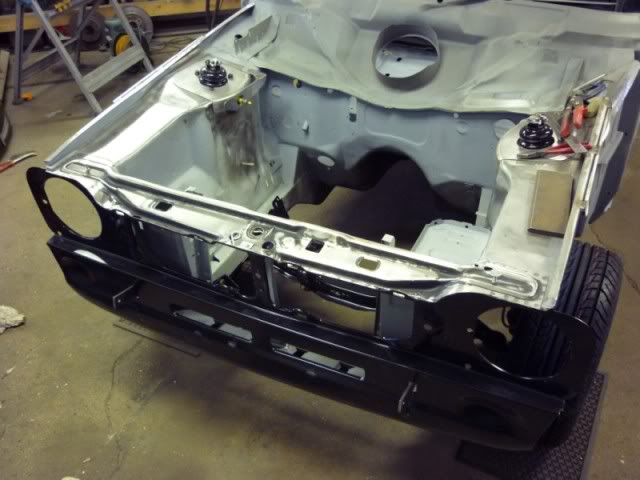
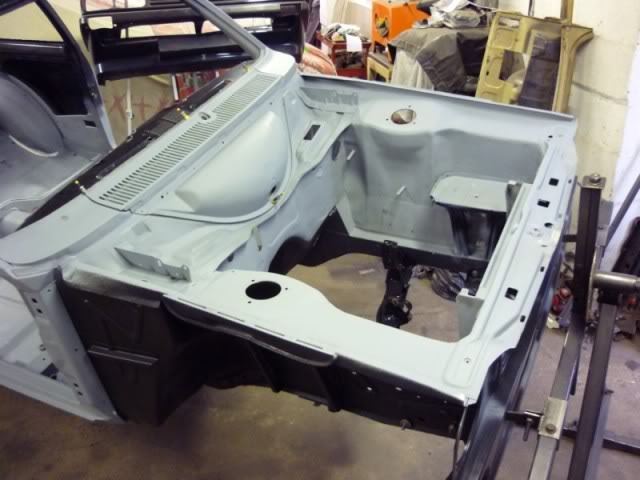
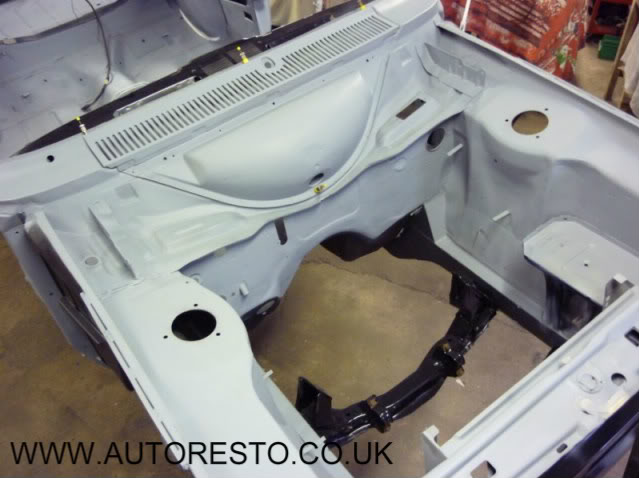
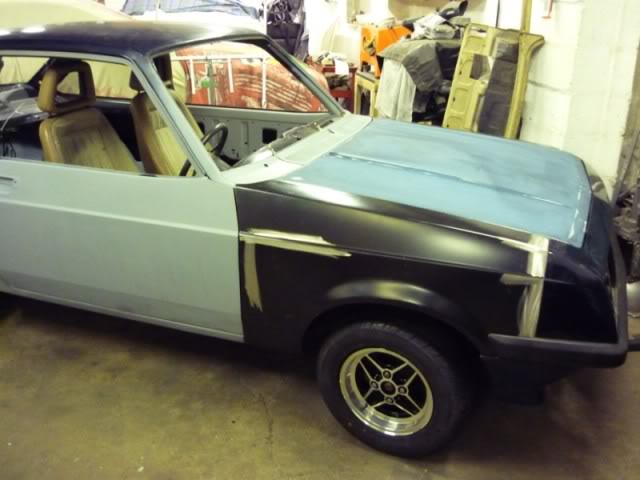
Put the car on its front wheels this week to fit the front panel and finish of the engine bay metal work and add a few weld nuts.
first coat of stone chip applied
Put the car on its front wheels this week to fit the front panel and finish of the engine bay metal work and add a few weld nuts.

 06-11-2011, 07:43 PM
#119
Tin Basher
Thread Starter
