
Project FakeCos. We now have doors.

 28-06-2011, 10:09 AM
#122
Wye Valley Hardcore
Thread Starter
28-06-2011, 03:07 PM
#124
Was just going to run my Compomotives on it, but because they are 17's they will make the brakes look tiny and using them everyday on our roads I run the risk of bashing them, so yesterday I had a quick scout on eBay to see if I could find any bargains and came across these;
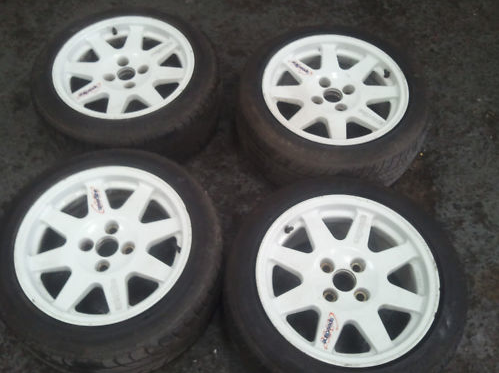
16x8 ET25 Escort Cosworth Speedline Course 8 spokes. They have 4 good branded tyres on them and were at �122 with 35 minutes to go. I thought I'd put in a cheeky bid of �155 and only won them! Pick them up tonight. 8)
16x8 ET25 Escort Cosworth Speedline Course 8 spokes. They have 4 good branded tyres on them and were at �122 with 35 minutes to go. I thought I'd put in a cheeky bid of �155 and only won them! Pick them up tonight. 8)
28-06-2011, 03:35 PM
#125
Wye Valley Hardcore
Thread Starter
LOL! I was in the same situation, I had the Comps off the RST to use or a set of OZ Superleggeras so didn't need them. They were just cheap and an hour up the road so tried my luck. Having to sell the OZ's now though. 

 29-06-2011, 09:58 PM
#127
Wye Valley Hardcore
Thread Starter
Went up for a few hours tonight to sort a few small jobs out before Marc picks the car up, was supposed to be today but I wasn't happy with a few little bits.
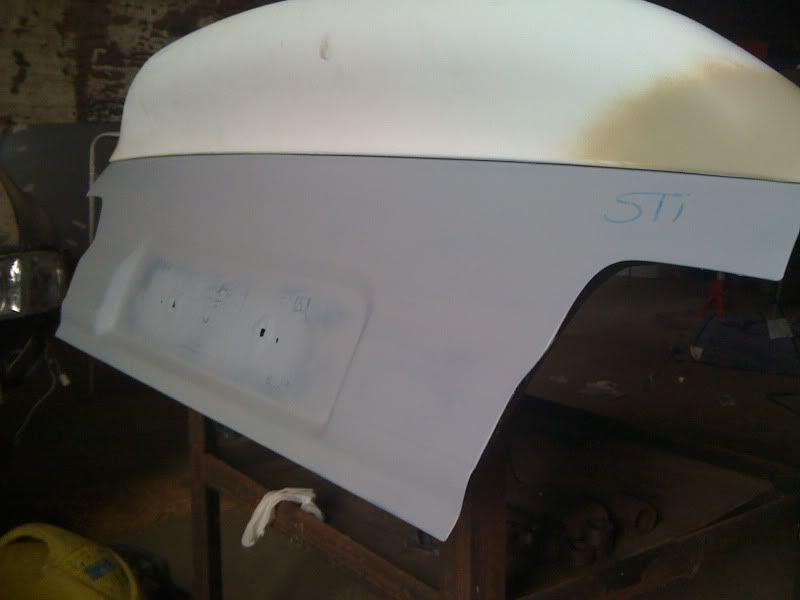
Finished the boot lid off.
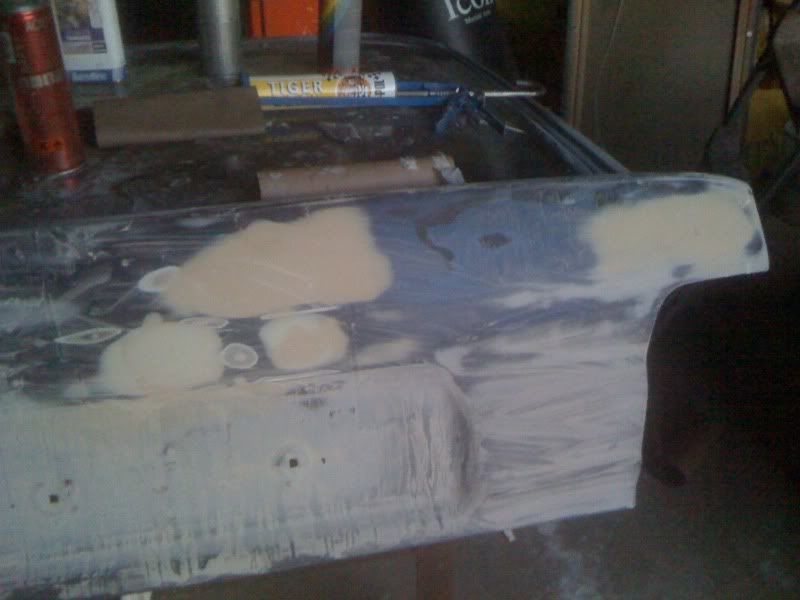
Rubbed the bonnet down ready for paint. Needed some putty in the stone chips, but all done.
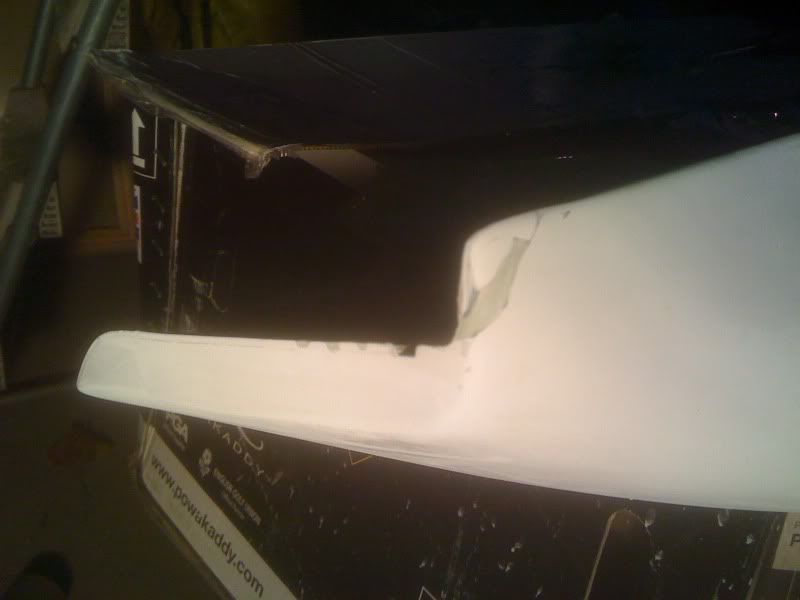
Also had a small repair to do to the lower spoiler as the couriers managed to break a corner off.
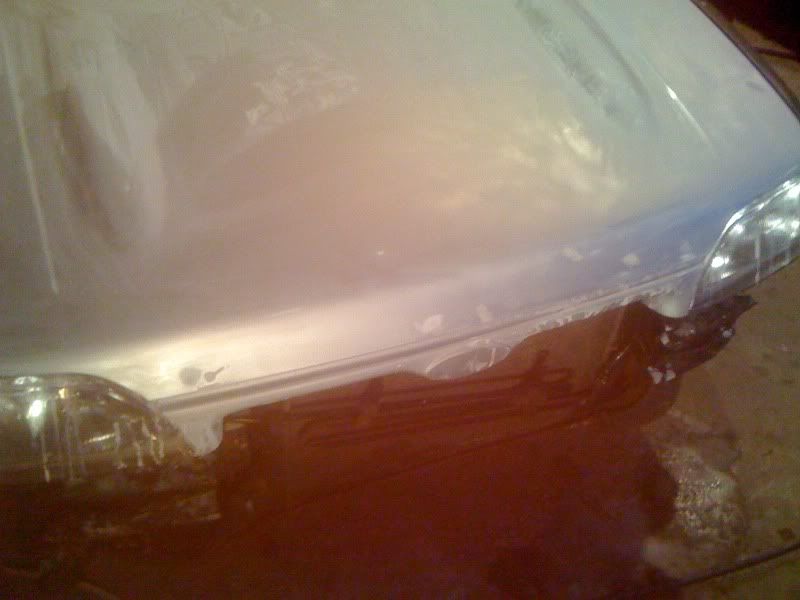
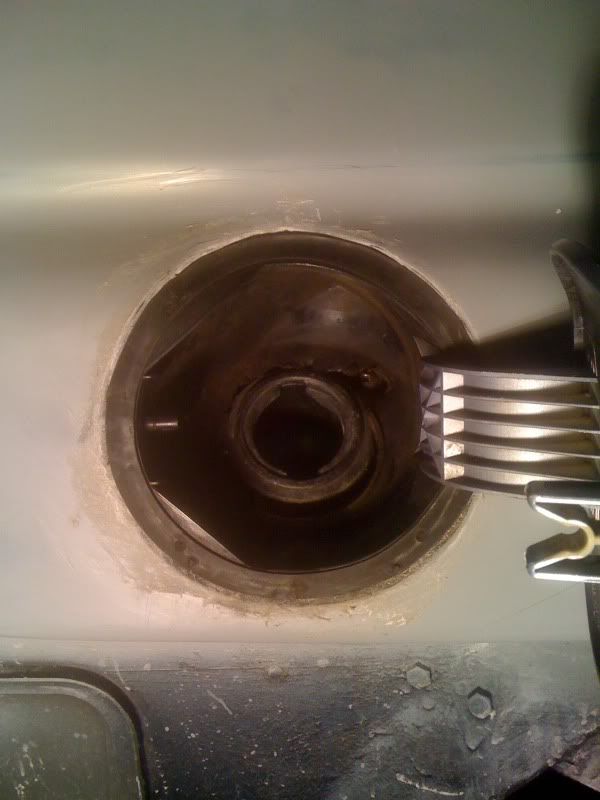
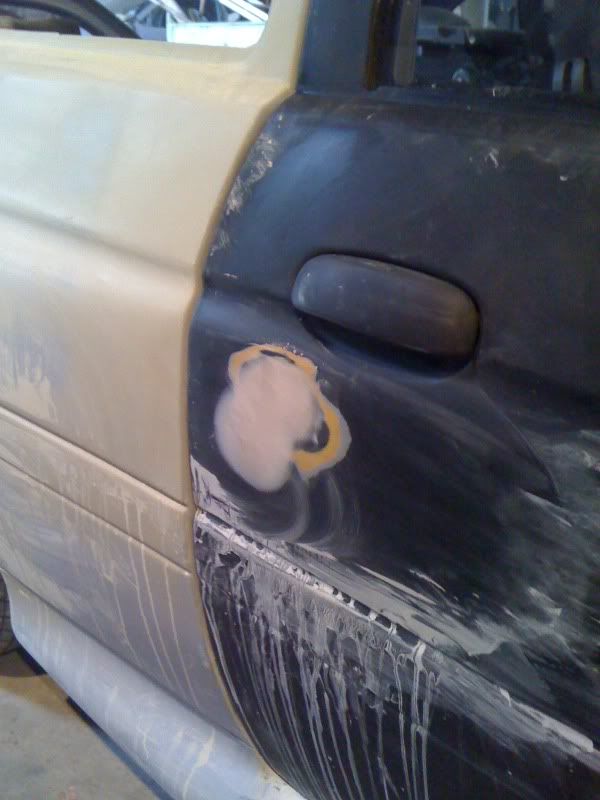
Then I had a look over the car to make sure there were no snags before it went to paint and decided that the fuel filler cap will really bug me when it's finished as it's a bit of a bodge, so ripped it out.
They hadn't used the whole unit as it doesn't quite fit properly so the inside had a big gap going into the car and instead of the factory rubber outer seal they had used black silicon right up to the panel. Of course, paint and primer won't stick to silicon so it would never have looked right. Plus it didnt have the little catch area for drips of petrol so they would have been going into the car.
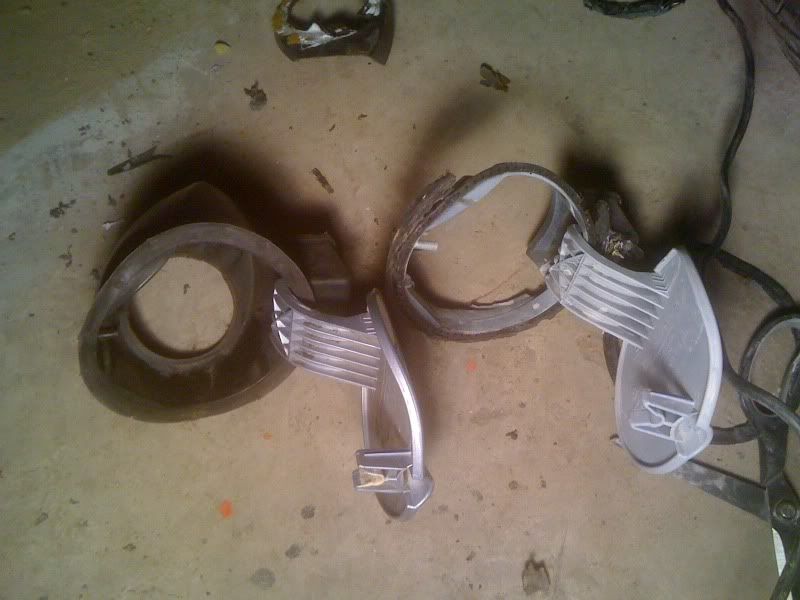
Old cap out and next to the standard one.
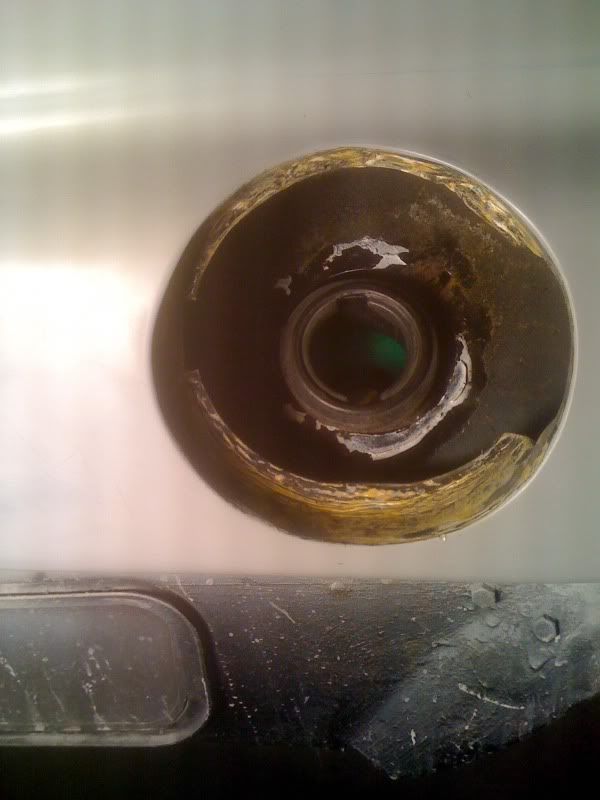
The old surround which was chopped out and bodged in.
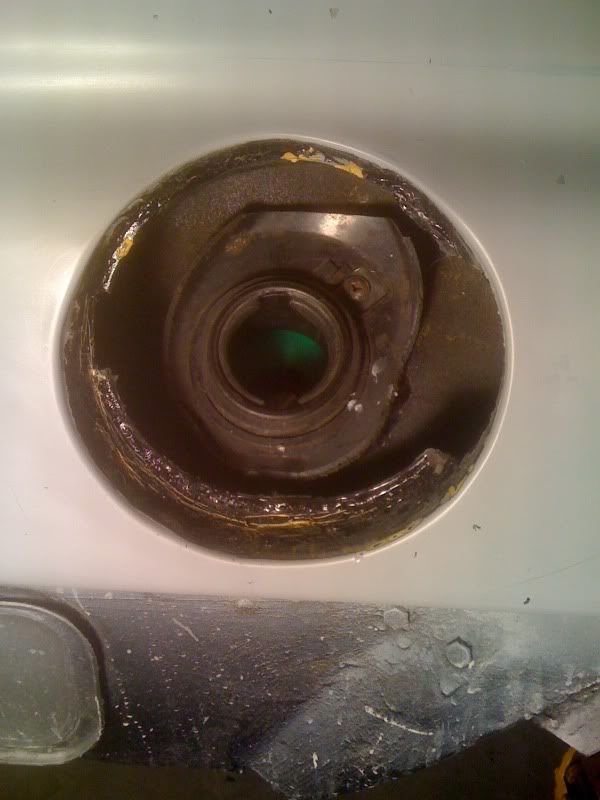
Hole into the car.

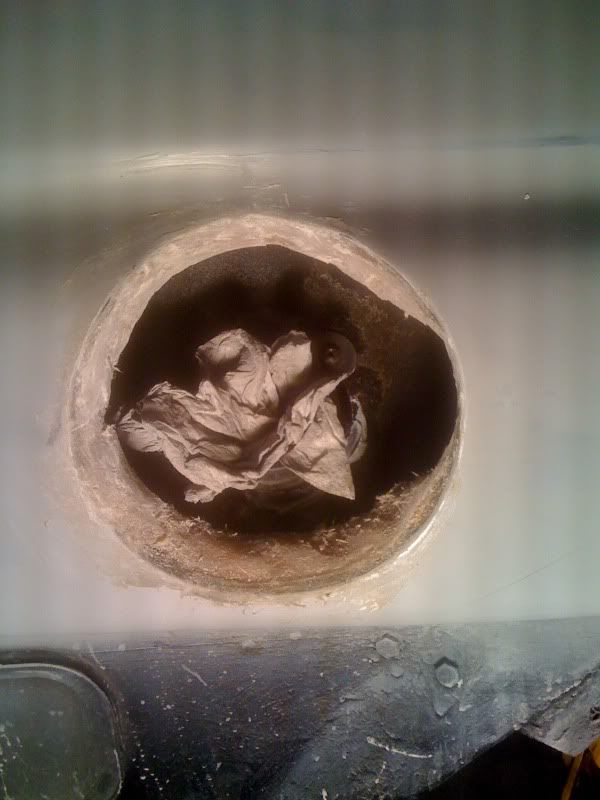
So I stripped all the silicon off and keyed it up
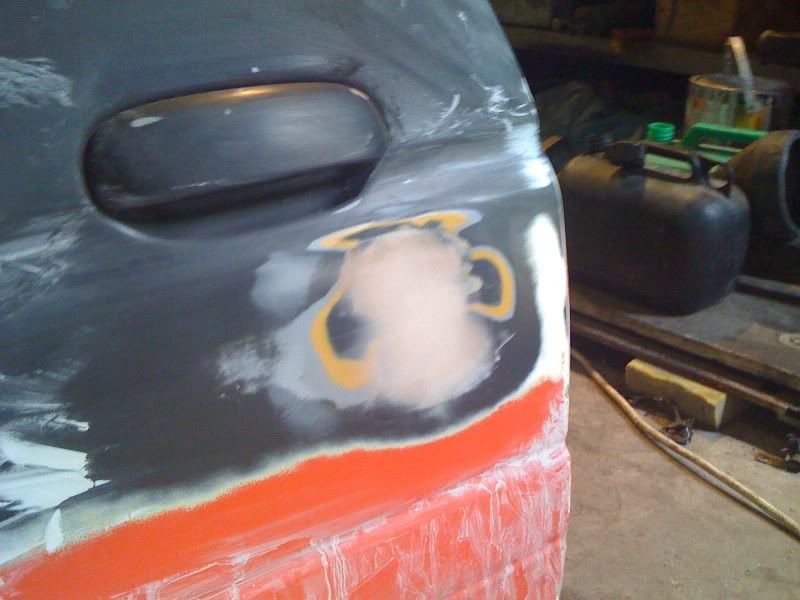
Then the standard cover sits too far into the panel as obviously the Cosworth panels are wider. So I built up the inside with fibreglass and waited for it to go tacky but not totally set then put the new flap assembly in place and pressed it into the gel fibreglass and took it back out so give a mold of the flap.
Let it dry hard and gave it a quick sand to take the high spots out.
flap assembly in place with the factory rubber seal fitting properly.
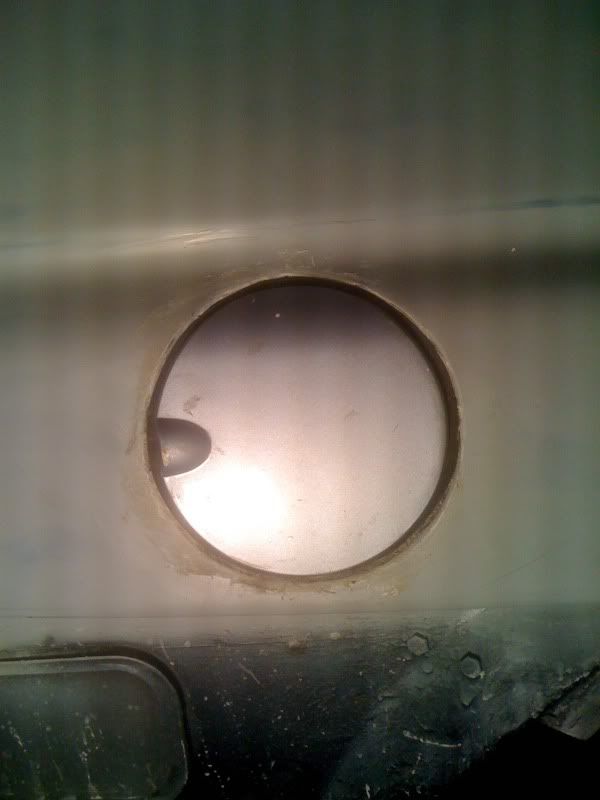
Still slightly too built up in the one bottom corner which needs sanding out and slightly built up in another place but at 10:30 on a Wednesday night I just wanted to go home.
Finished the boot lid off.
Rubbed the bonnet down ready for paint. Needed some putty in the stone chips, but all done.
Also had a small repair to do to the lower spoiler as the couriers managed to break a corner off.
Then I had a look over the car to make sure there were no snags before it went to paint and decided that the fuel filler cap will really bug me when it's finished as it's a bit of a bodge, so ripped it out.
They hadn't used the whole unit as it doesn't quite fit properly so the inside had a big gap going into the car and instead of the factory rubber outer seal they had used black silicon right up to the panel. Of course, paint and primer won't stick to silicon so it would never have looked right. Plus it didnt have the little catch area for drips of petrol so they would have been going into the car.
Old cap out and next to the standard one.
The old surround which was chopped out and bodged in.
Hole into the car.
So I stripped all the silicon off and keyed it up
Then the standard cover sits too far into the panel as obviously the Cosworth panels are wider. So I built up the inside with fibreglass and waited for it to go tacky but not totally set then put the new flap assembly in place and pressed it into the gel fibreglass and took it back out so give a mold of the flap.
Let it dry hard and gave it a quick sand to take the high spots out.
flap assembly in place with the factory rubber seal fitting properly.
Still slightly too built up in the one bottom corner which needs sanding out and slightly built up in another place but at 10:30 on a Wednesday night I just wanted to go home.
30-06-2011, 09:10 PM
#130
Advanced PassionFord User

Lets ave them speedlines Muz theyd look great on the scort
10-07-2011, 08:55 PM
#132
Lucifer II - 666
 28-07-2011, 10:00 PM
#134
PassionFord Regular
iTrader: (1)
Join Date: May 2009
Location: eastbourne
Posts: 477
Likes: 0
Received 0 Likes
on
0 Posts
top notch job mate its coming along nicely, sorry about the welded up wiper hole! i did that but terry pulled me off working on my car to it so i just did it quickly!!!
30-07-2011, 02:38 PM
#135
Wye Valley Hardcore
Thread Starter
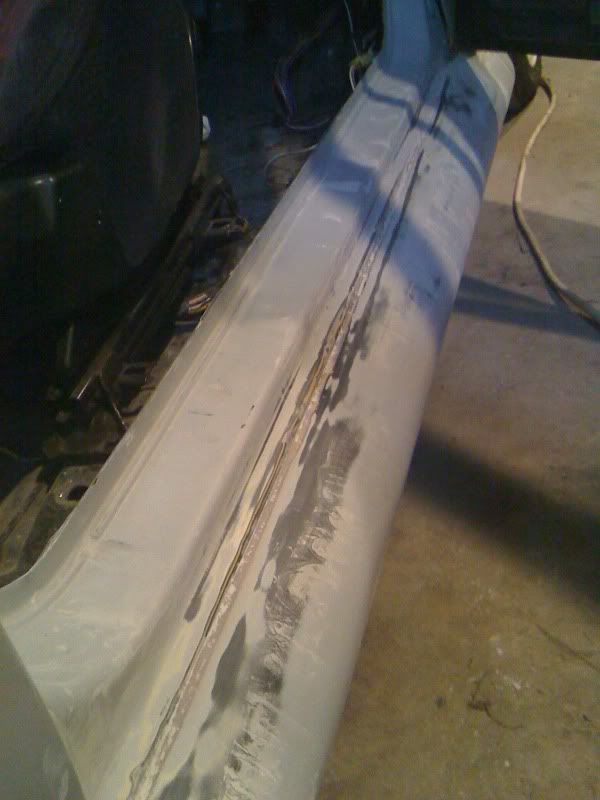
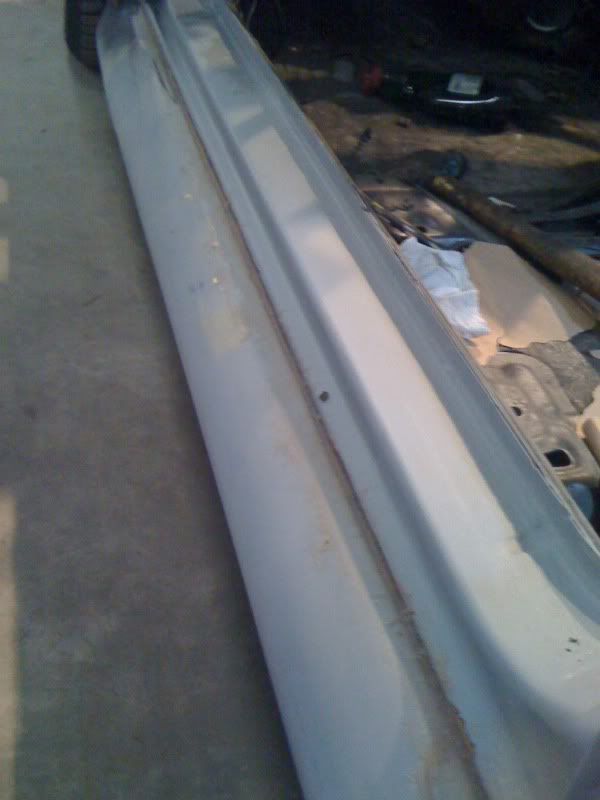
I have done a lot of work on it lately but haven't updated the thread. The lad who built it filled the join between the sill and sideskirts with bathroom silicon, so no paint or primer was sticking to it and kept cracking as there was movement. It's also below the door level so was easy to spot when stood by the car. I have had to dig it all out and fibreglass the join for strength and filler blend it into the sill. More work I wasn't expecting! lol
I have also made a de-cat pipe for it, got the boot lid in primer, de-locked the doors and got it running properly.
Hoping to have it painted by the end of August. I'll update it maybe tomorrow.
01-08-2011, 07:58 AM
#137
Wye Valley Hardcore
Thread Starter
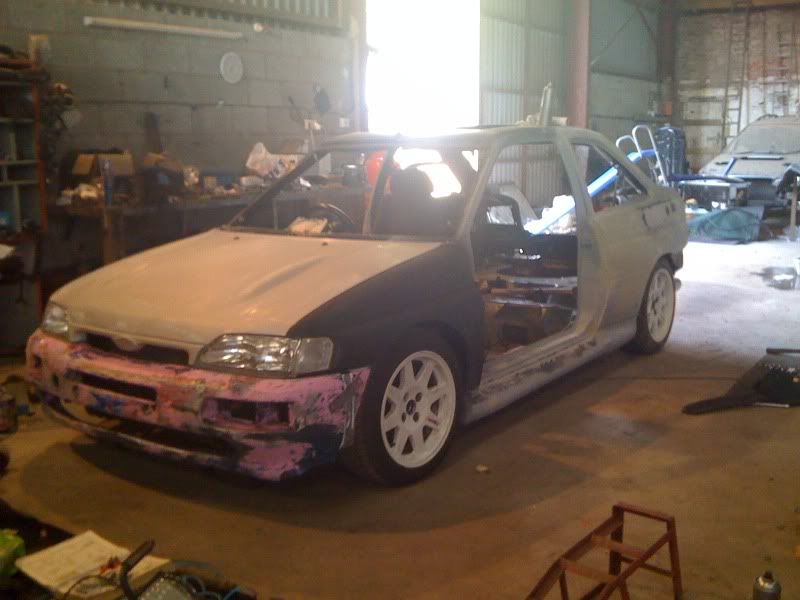
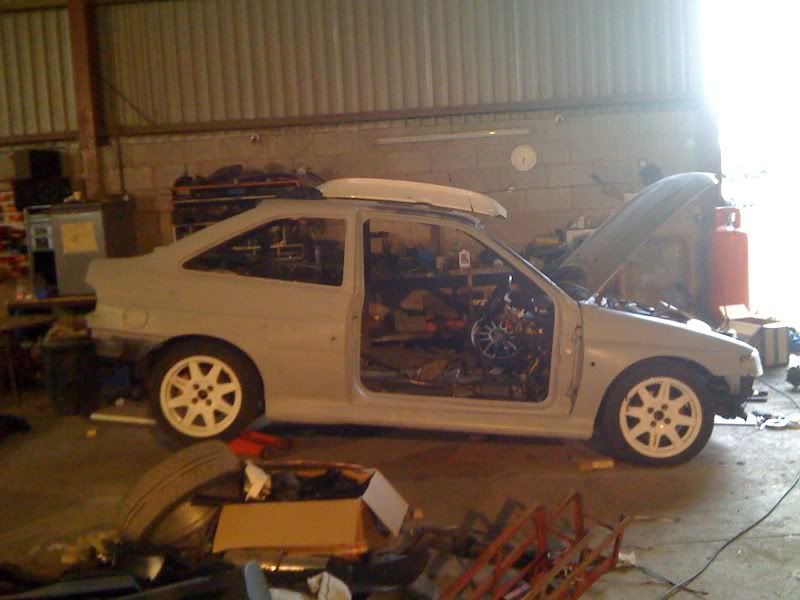
The Series Two is tucked up under cover in the workshop waiting for me to finish. Got a few things to do before it's ready for the road.
01-08-2011, 09:52 AM
#138
Wye Valley Hardcore
Thread Starter
Got a few updated pics.
Conor picked my genuine Whaletail up from Jano. Cheers mate. I forgot just how big they actually are!
Bootlids finished and in primer
Both doors delocked. Just need a coat of primer now.
I've still got a few little bits to finish. Side skirt joins;
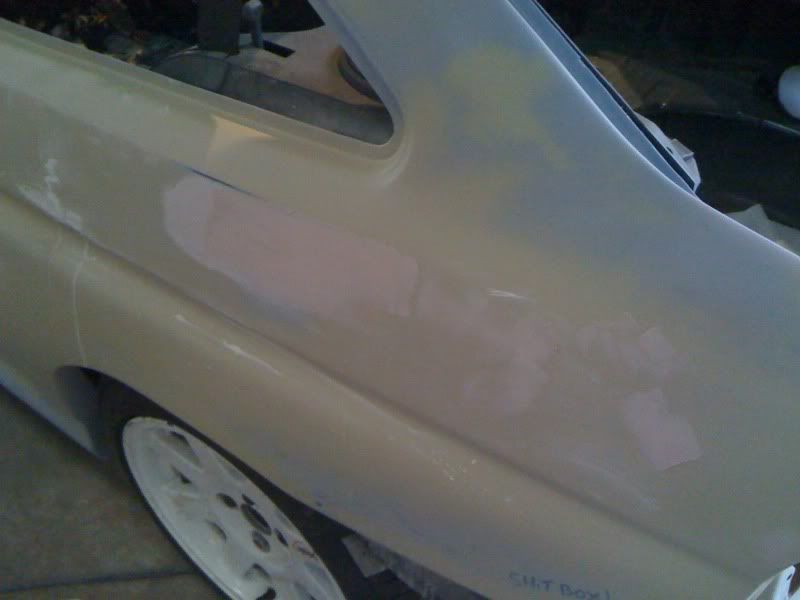
and theres a few low spots on this one 1/4 panel
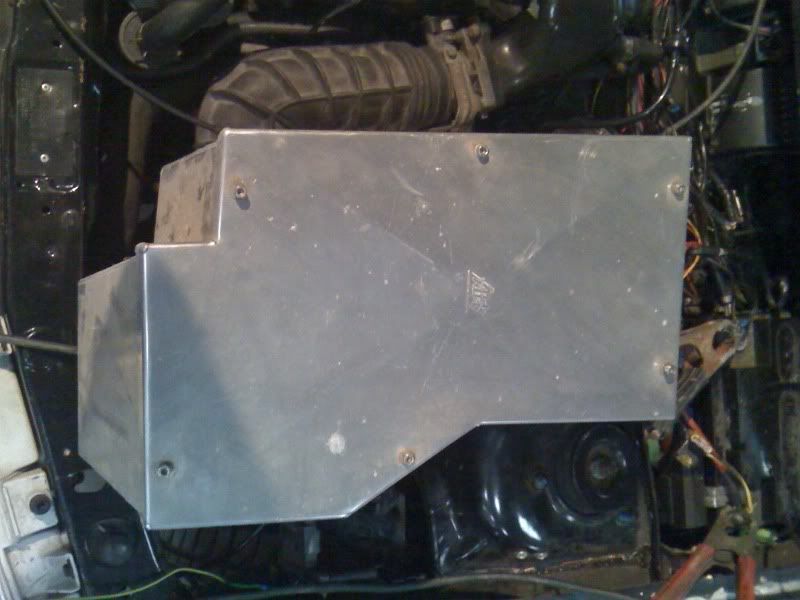
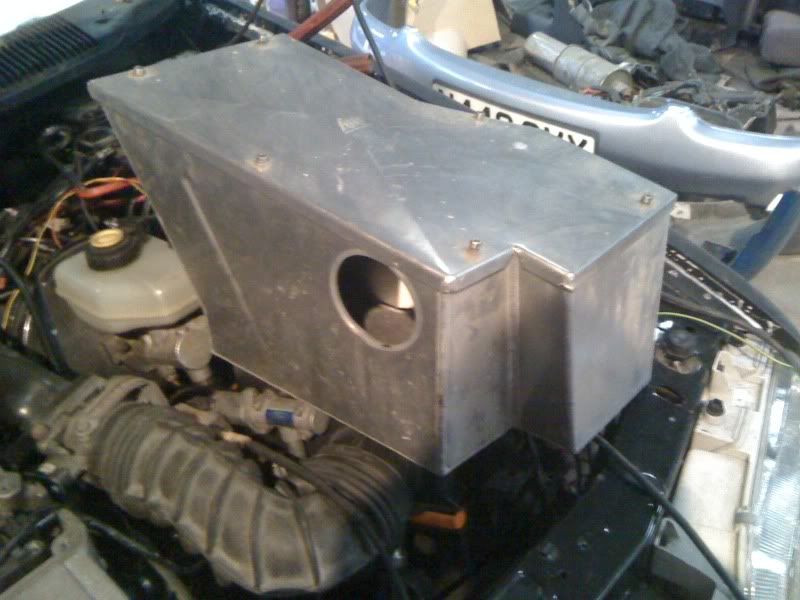
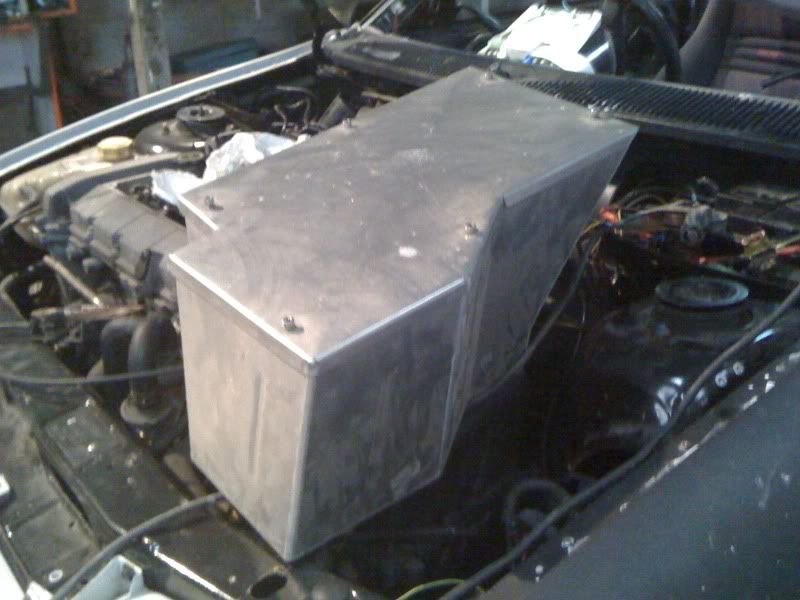
I also have an AH Fabrications cold air box made for a Starlet GT turbo kicking about in the workshop which almost fits perfectly! Just needs the back panel where is slopes up cutting and straightening to clear the Master Cylinder. The RS2000 engine sounds great with a cone filter, but suffers badly from heat soak as the engine runs hot. This should solve the problem and sound awesome.
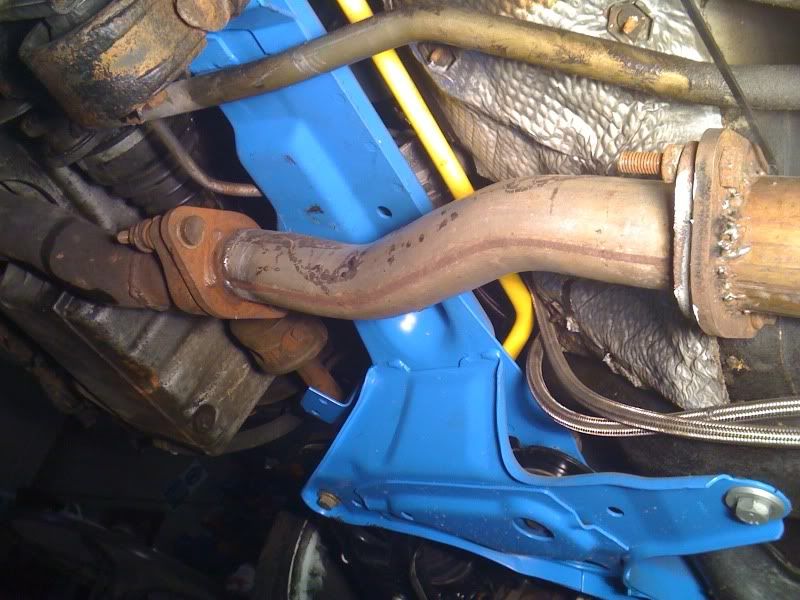
Made up a decat pipe. Luckily, I had an old exhaust here which had the perfect bend in it with a 2 bolt flange on the end.
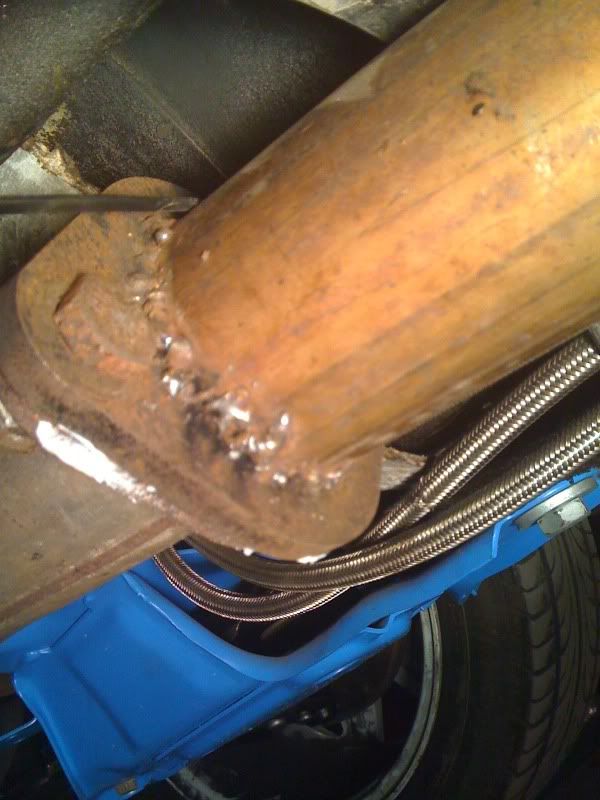
Also, a word of warning. Never get an exhaust made by Powerflow! The car came with a powerflow full stainless of it and the quality is, quite frankly, fucking appauling! How they can be a bespoke exhaust maker and employ people who can't even weld is beyond me. An example of their "welding" (I'll use that term very loosly);
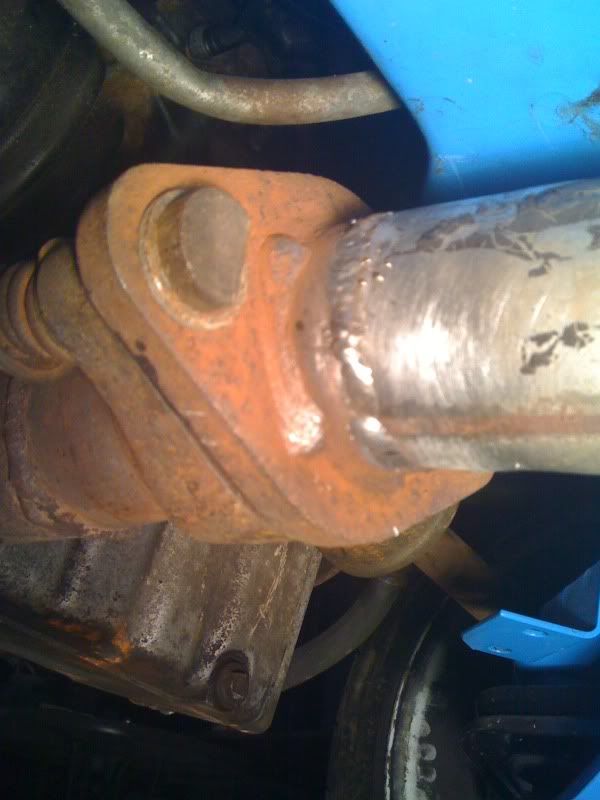
On contrast, I welded this flange on, lay on my back, with the car a foot in the air on axlestands.
and I did this one for the RS Turbo
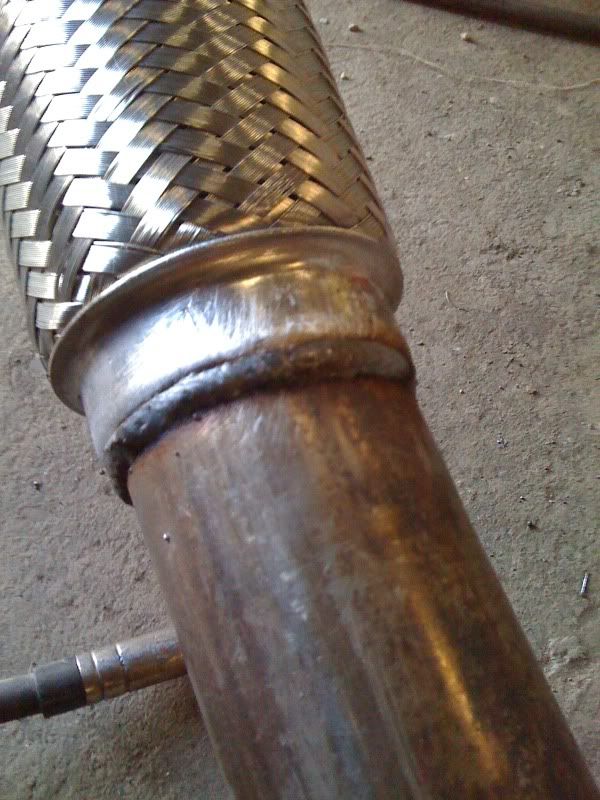
Now I'm not the worlds greatest welder, I taught myself one afternoon on some scrap, but that Powerflow work is aweful. It's not just that one flange though, even the hangers and tailpipe look like that!
Conor picked my genuine Whaletail up from Jano. Cheers mate. I forgot just how big they actually are!
Bootlids finished and in primer
Both doors delocked. Just need a coat of primer now.
I've still got a few little bits to finish. Side skirt joins;
and theres a few low spots on this one 1/4 panel
I also have an AH Fabrications cold air box made for a Starlet GT turbo kicking about in the workshop which almost fits perfectly! Just needs the back panel where is slopes up cutting and straightening to clear the Master Cylinder. The RS2000 engine sounds great with a cone filter, but suffers badly from heat soak as the engine runs hot. This should solve the problem and sound awesome.
Made up a decat pipe. Luckily, I had an old exhaust here which had the perfect bend in it with a 2 bolt flange on the end.
Also, a word of warning. Never get an exhaust made by Powerflow! The car came with a powerflow full stainless of it and the quality is, quite frankly, fucking appauling! How they can be a bespoke exhaust maker and employ people who can't even weld is beyond me. An example of their "welding" (I'll use that term very loosly);
On contrast, I welded this flange on, lay on my back, with the car a foot in the air on axlestands.
and I did this one for the RS Turbo
Now I'm not the worlds greatest welder, I taught myself one afternoon on some scrap, but that Powerflow work is aweful. It's not just that one flange though, even the hangers and tailpipe look like that!
Last edited by muz; 01-08-2011 at 09:53 AM.
02-08-2011, 11:07 PM
#139
PassionFord Regular
iTrader: (1)
Join Date: May 2009
Location: eastbourne
Posts: 477
Likes: 0
Received 0 Likes
on
0 Posts
i know what you mean with the zorst i thought it was so bad i just thought some tom dick and harry done it but everyone i know thats had a powerflow zorst has not been happy with it
17-08-2011, 09:45 PM
#140
Wye Valley Hardcore
Thread Starter
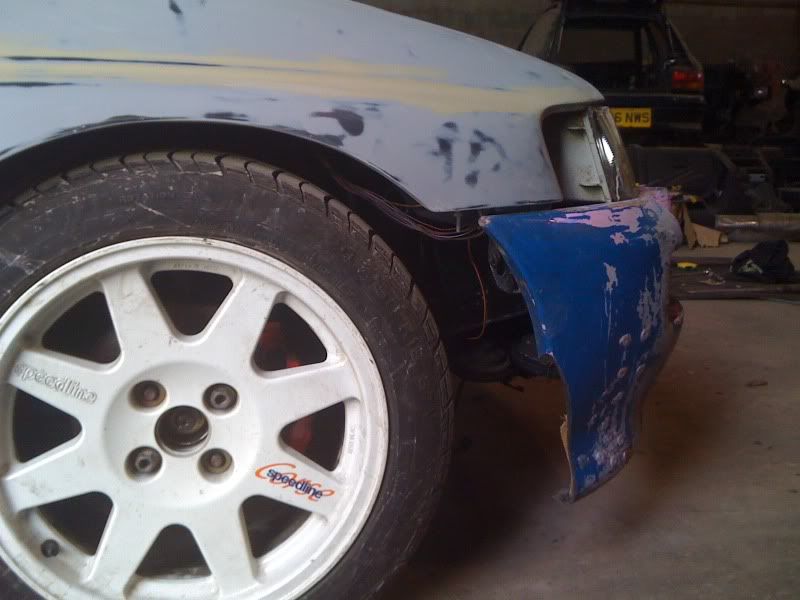
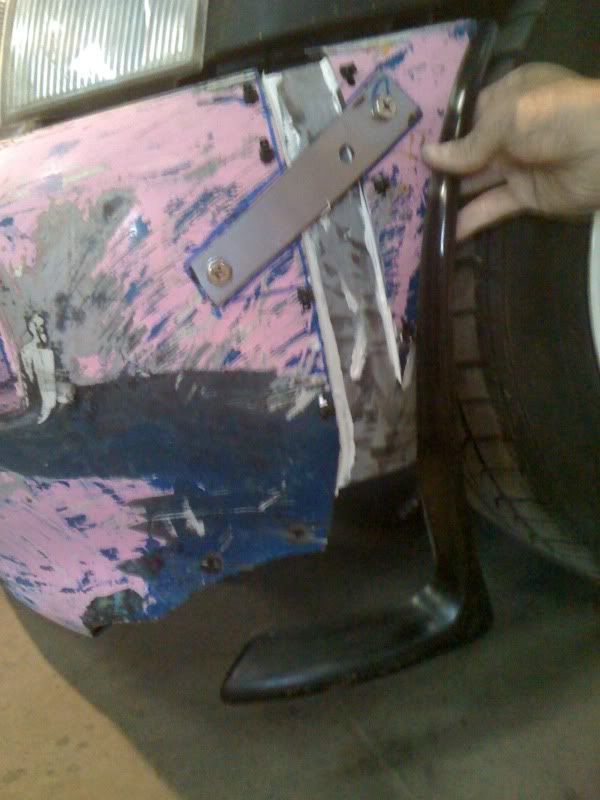
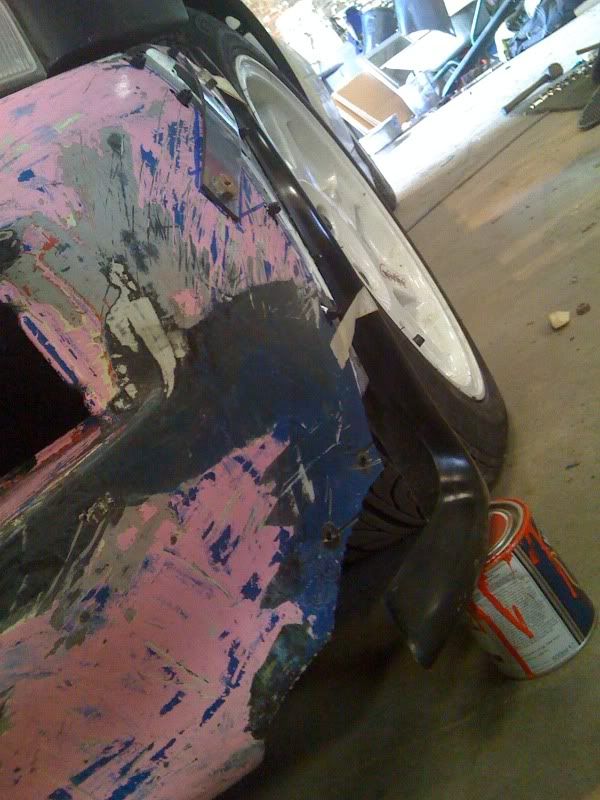
Spent today sorting out my front bumper. I used my standard bumper mounts, cut off and stuck onto the back of the Cossie bumper.
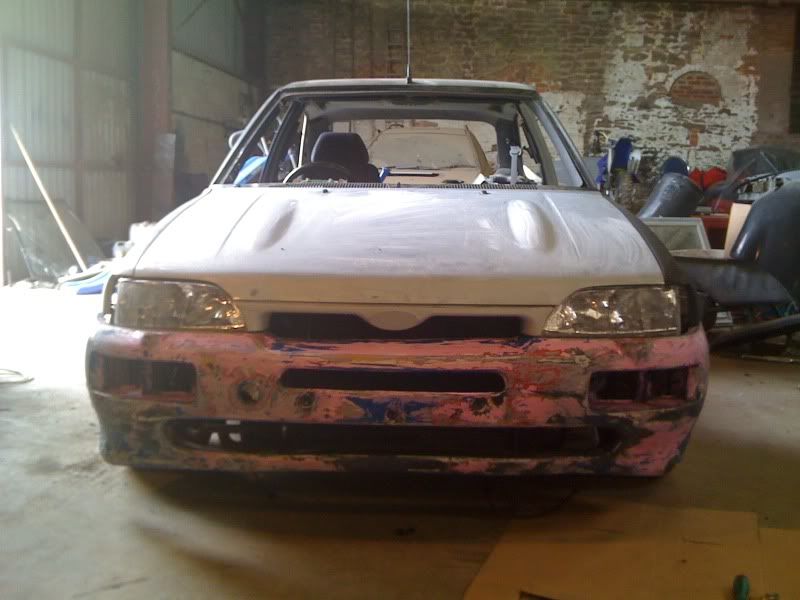
As I said before, you can't use a genuine front bumper with fibreglass wings because the bumpers too short.
Extended up. There was also quite alot of damage to deal with. I've ally meshed the rear and tigersealed the cracks together and pulled it all together with zip ties untill it sets. I've also reinforced it all at the back with fibreglass.
The extended pieces are also tigersealed to the bumper either side and zip tied tight till it sets. I'll then take them off then fill the void with fibreglass.
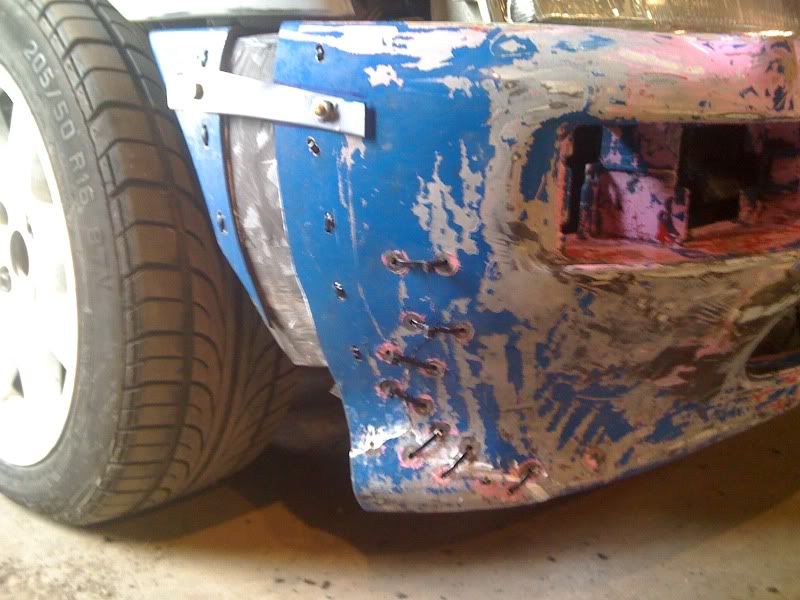
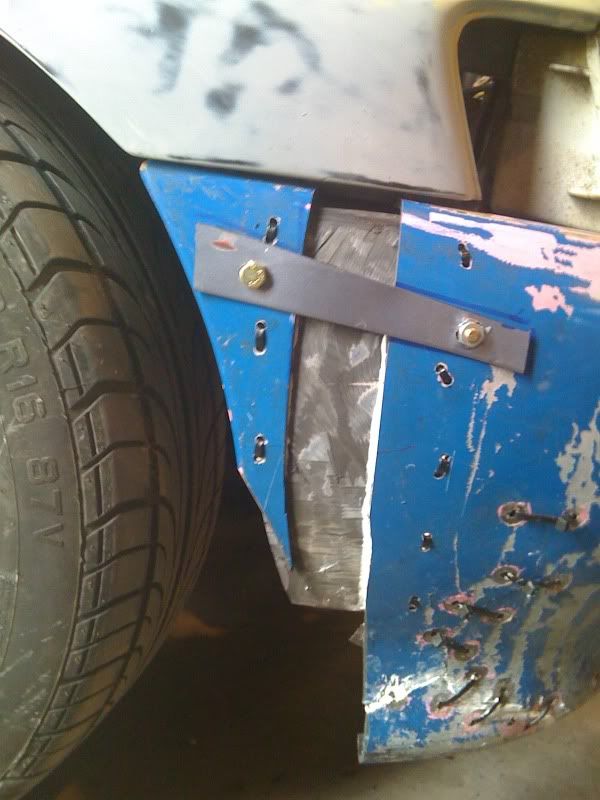
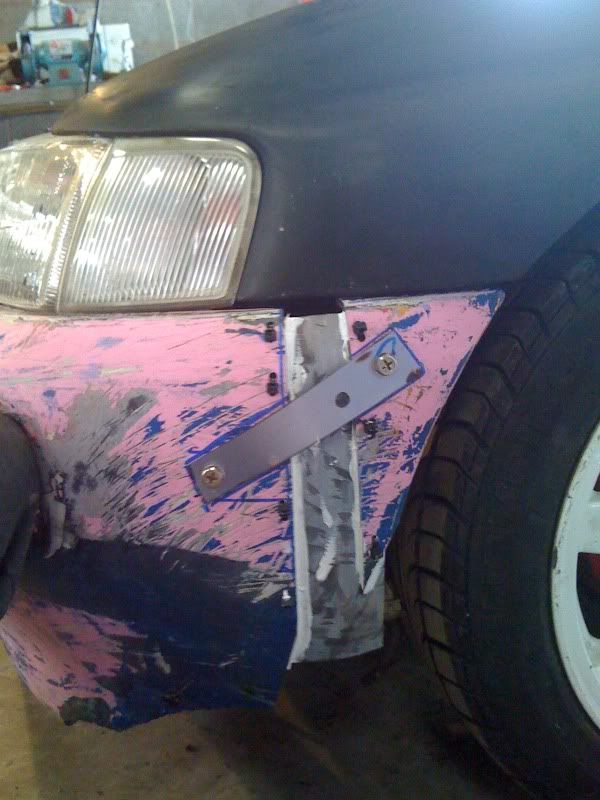
I bought some cheap and nasty hockey sticks to get the shape right on the bits of bumper I have to make myself.
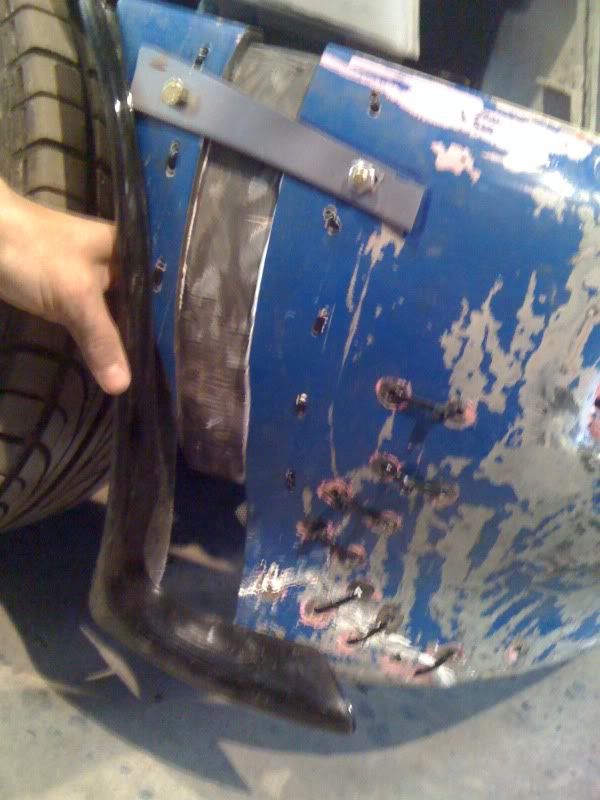
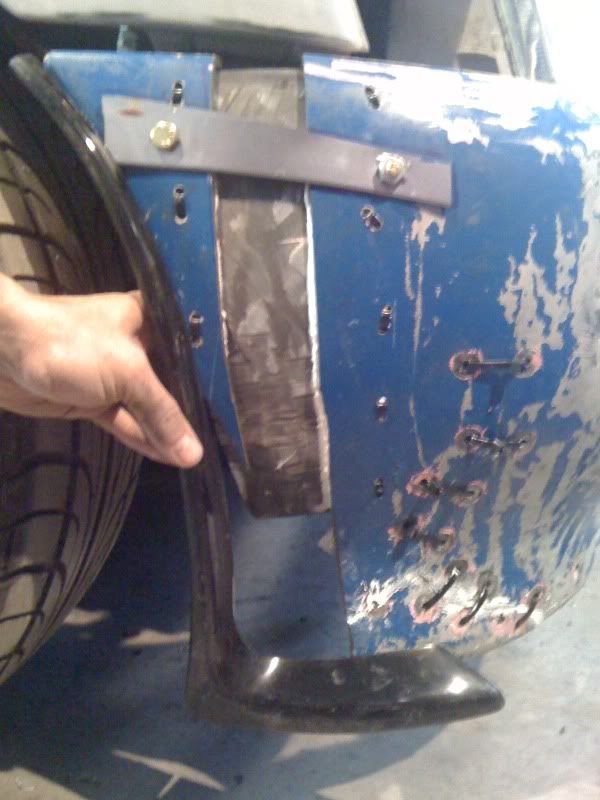
Still need looooots of work. But now it's all aligned etc I don't need the car so can send it off for paint while I finish the front bumper.
As I said before, you can't use a genuine front bumper with fibreglass wings because the bumpers too short.
Extended up. There was also quite alot of damage to deal with.
I've ally meshed the rear and tigersealed the cracks together and pulled it all together with zip ties untill it sets. I've also reinforced it all at the back with fibreglass.The extended pieces are also tigersealed to the bumper either side and zip tied tight till it sets. I'll then take them off then fill the void with fibreglass.
I bought some cheap and nasty hockey sticks to get the shape right on the bits of bumper I have to make myself.
Still need looooots of work. But now it's all aligned etc I don't need the car so can send it off for paint while I finish the front bumper.
18-08-2011, 10:36 AM
#142

So just to clarify if anyone's doing a google search.. This is an example of powerflow exhaust's fabrication skills? Amazing, they must have some real monkeys working at powerflow exhausts!
Last edited by jameswrx; 18-08-2011 at 10:38 AM.
18-08-2011, 12:01 PM
#143
Wye Valley Hardcore
Thread Starter
Yes, thats the case. Where you see the black discolouration on that flange, thats where it's leaking! So not only is the weld aesthetically poor in quality, it's also not fit for purpose. What good is a brand new leaking exhaust!? I need to cut this flange off and reweld it myself.
18-08-2011, 07:09 PM
#146
Wye Valley Hardcore
Thread Starter
I tried that mate. There the wrong shape all the way down, the wheel arch is curved but on the Cosworth it's quite straight and the top where it sits against the wing is curved rather than flat like on the Cossie. Would have looked wrong. I'll get handy with the fibreglass tomorrow night.
24-08-2011, 04:19 PM
#150
Advanced PassionFord User
im going to have to do the same thing to my rep when i start work on it again
24-08-2011, 09:18 PM
#151
Wye Valley Hardcore
Thread Starter
I've had two in the past and they are so obvious when you see them. The dimensions are all wrong etc when you put a replica and genuine bumper together. This bumper needs a full days work and it'll be ready to go. Wont be as hard as you think. I'll lay some fibreglass matting in the voids, cover it with resin, leave it 10 minutes and just as it starts to set and gel ill mold it, using the hockey sticks as a guide, leave it to set hard then skim it with filler. Easy as peas.
24-08-2011, 09:30 PM
#153
Regular Contributor
Join Date: May 2009
Location: cannock
Posts: 231
Likes: 0
Received 0 Likes
on
0 Posts
Nah, have you seen replica bumpers, they are shite! I've had two in the past and they are so obvious when you see them. The dimensions are all wrong etc when you put a replica and genuine bumper together. This bumper needs a full days work and it'll be ready to go. Wont be as hard as you think. I'll lay some fibreglass matting in the voids, cover it with resin, leave it 10 minutes and just as it starts to set and gel ill mold it, using the hockey sticks as a guide, leave it to set hard then skim it with filler. Easy as peas.
I've had two in the past and they are so obvious when you see them. The dimensions are all wrong etc when you put a replica and genuine bumper together. This bumper needs a full days work and it'll be ready to go. Wont be as hard as you think. I'll lay some fibreglass matting in the voids, cover it with resin, leave it 10 minutes and just as it starts to set and gel ill mold it, using the hockey sticks as a guide, leave it to set hard then skim it with filler. Easy as peas.Your doing a great job mate keep it up
24-08-2011, 09:37 PM
#156
Regular Contributor
Join Date: May 2009
Location: cannock
Posts: 231
Likes: 0
Received 0 Likes
on
0 Posts
04-09-2011, 09:35 PM
#157
I'm Finding My Feet Here Now

Join Date: May 2008
Posts: 103
Likes: 0
Received 0 Likes
on
0 Posts
This really is pretty inspiring! I have always been told about the bumper, wheel and skirt issues. Although i never really understood the problmes all too well but your explination made so much more sense!
Makes me want to go out and give this a go!
Sorry to see you are selling it though!
Makes me want to go out and give this a go!
Sorry to see you are selling it though!
05-09-2011, 08:20 AM
#158
Wye Valley Hardcore
Thread Starter
This really is pretty inspiring! I have always been told about the bumper, wheel and skirt issues. Although i never really understood the problmes all too well but your explination made so much more sense!
Makes me want to go out and give this a go!
Sorry to see you are selling it though!
Makes me want to go out and give this a go!
Sorry to see you are selling it though!
15-09-2011, 07:26 AM
#159
Wahay!! I've lost my Virginity!!

Join Date: Jun 2009
Location: essex
Posts: 77
Likes: 0
Received 0 Likes
on
0 Posts
just read the whole thing after selling it in the for sale section. was getting as i got nearer to the end lol then read you might keep it i hope so as this thread is the bollox
15-09-2011, 09:01 AM
#160
Wye Valley Hardcore
Thread Starter
I did a little work on it yesterday. Made a start on the front bumper. I followed the shape of the hockey stick and the remaining bumper with fibreglass matt then resin painted it so its gone hard in the rough shape of the bumper. The other side however had a lot more material missing so I used aluminium mesh to make the shape the bumper should be, zip tied to the bumper than coated it in fibreglass. No pics yet, but its starting to come together.
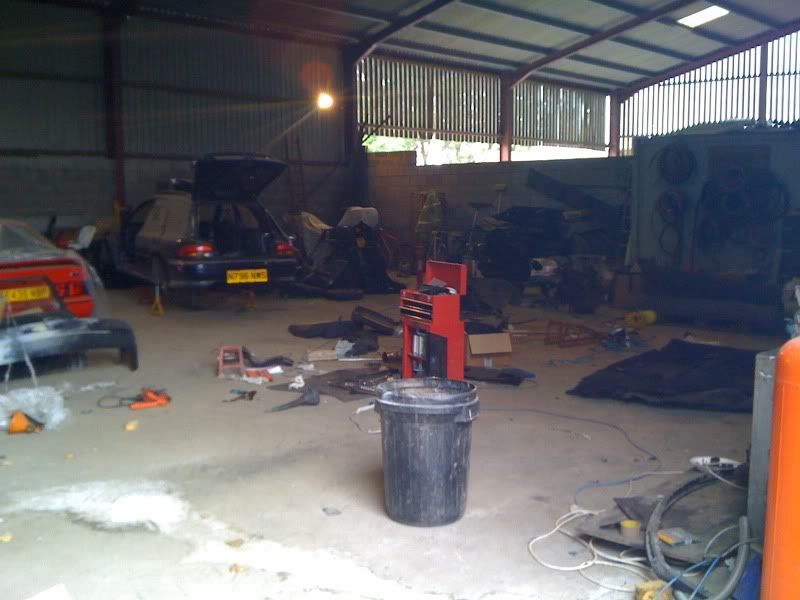
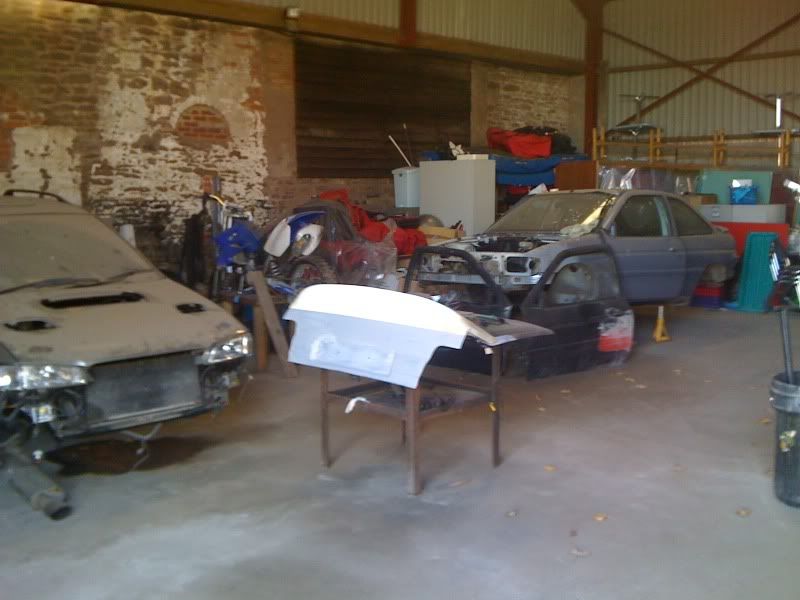
I then went round the car sortign out a few little niggly bits like the fuel filler area needed a little finishing, as did the side skirt joins etc and I decided to have a bloody good clearup of the workshop and it's a fooking mess and my borther needed room to work on his mates MX5 for the MX5 race series.
I forgot to take a picture before I satrted but this picture shows the state of the workbench and the ammount of crap just lying on the floor around the car.
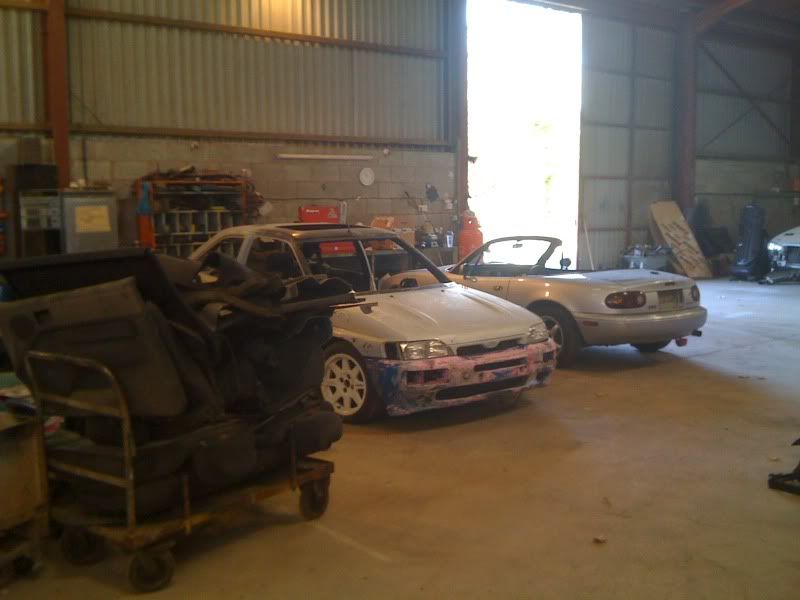
Half way through
All clean and cars in properly
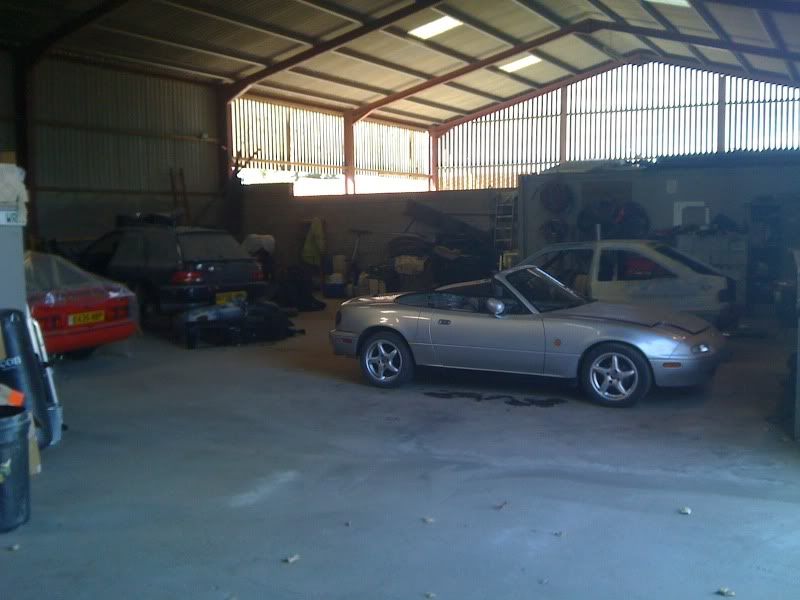
Much nicer place to work now, if only I could do something about the dust
I then went round the car sortign out a few little niggly bits like the fuel filler area needed a little finishing, as did the side skirt joins etc and I decided to have a bloody good clearup of the workshop and it's a fooking mess and my borther needed room to work on his mates MX5 for the MX5 race series.
I forgot to take a picture before I satrted but this picture shows the state of the workbench and the ammount of crap just lying on the floor around the car.
Half way through
All clean and cars in properly
Much nicer place to work now, if only I could do something about the dust