
Project FakeCos. We now have doors.


 15-05-2011, 11:36 AM
#43
Wye Valley Hardcore
Thread Starter
Polaris Grey, Auralis Blue and Aubergine are my favorite colours on these actually but it comes down to budget. A metallic will cost alot more to do considering I'm getting a mates rates respray. Red, White or black will be cheap cheap 
19-05-2011, 09:03 AM
#44
Wye Valley Hardcore
Thread Starter
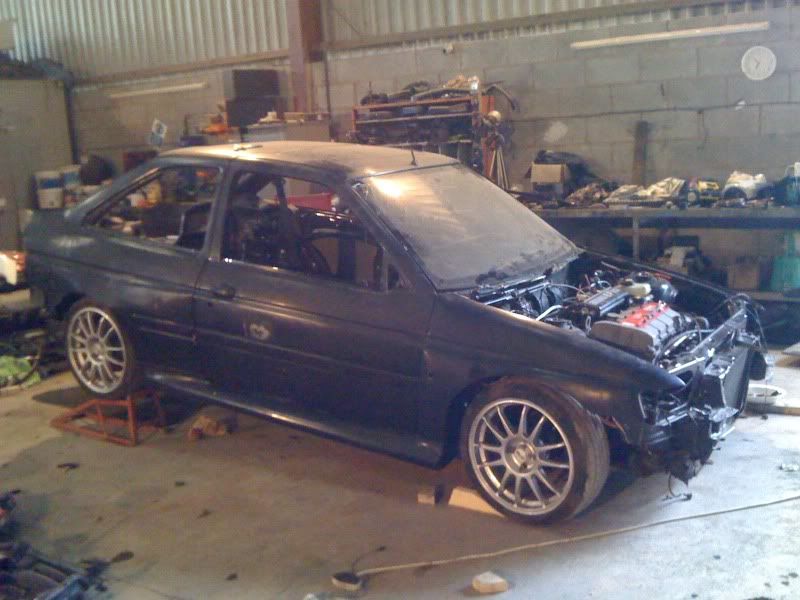
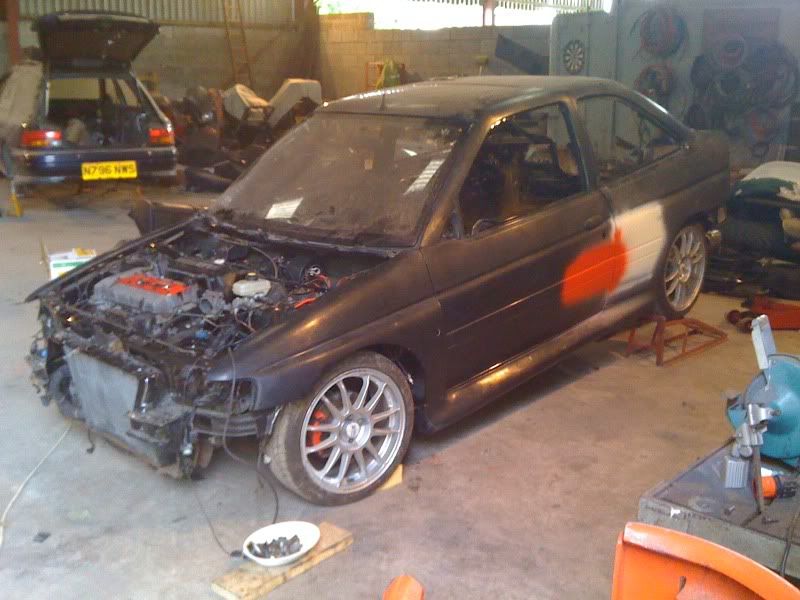
Got a little bit more done, another step closer to having a fully assembled car, ready for paint.
Loom and alarm is in and all the connections have been labeled up to convert to MK5 as the switches and plugs are totally different to the MK6 gear. Good old Haynes manual.
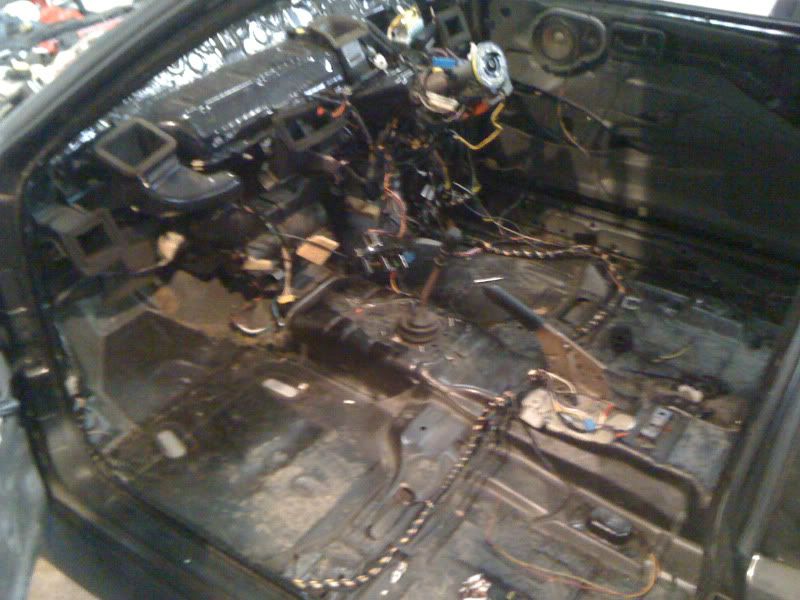
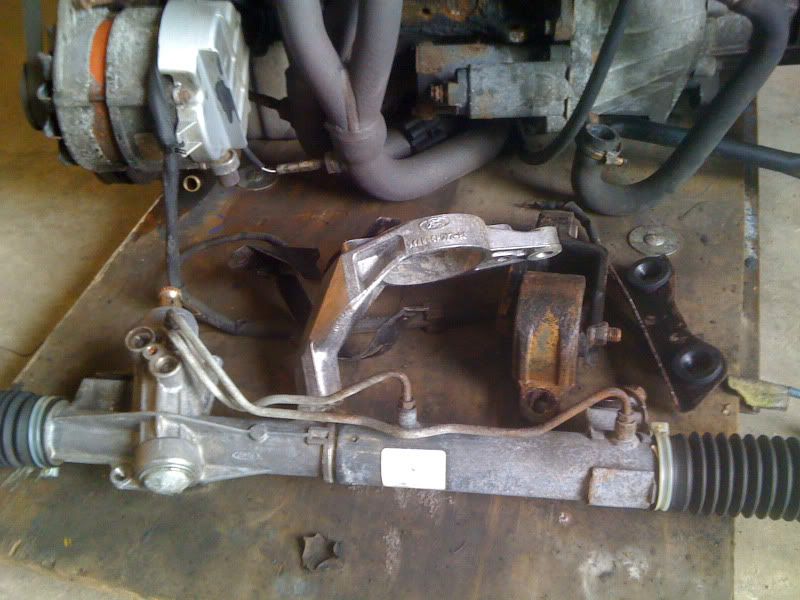
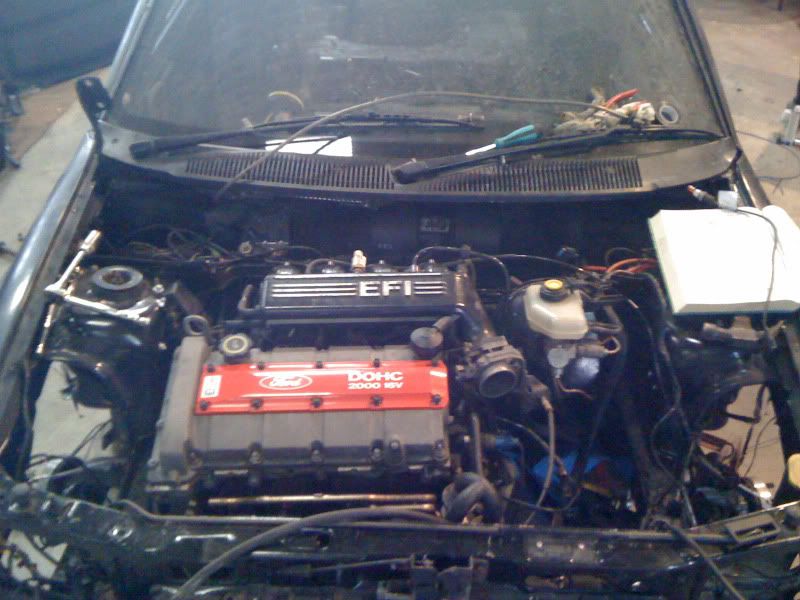
I also go the engine in place so I could connect all the loom up and work out how to route it. While I was there I fitted the radiator and under cradle in place and hooked up the PAS set up.
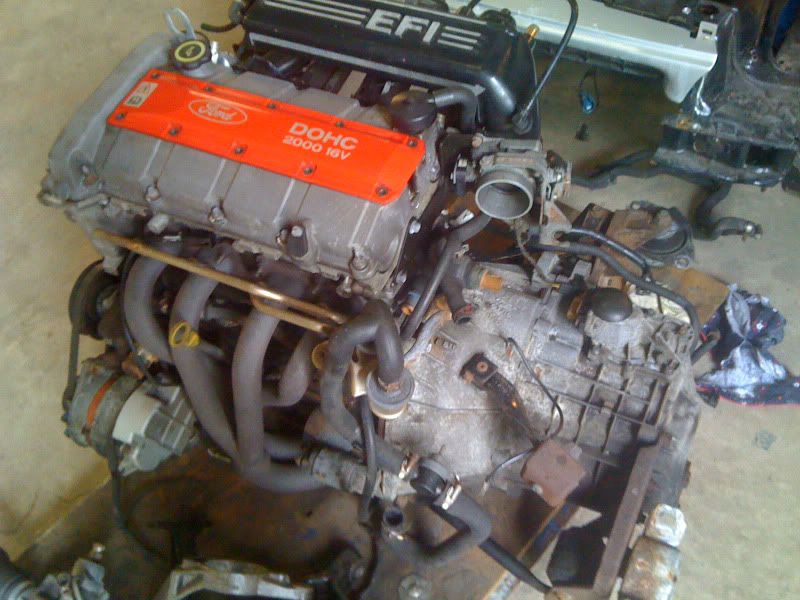
Clean(ish) engine and bits.

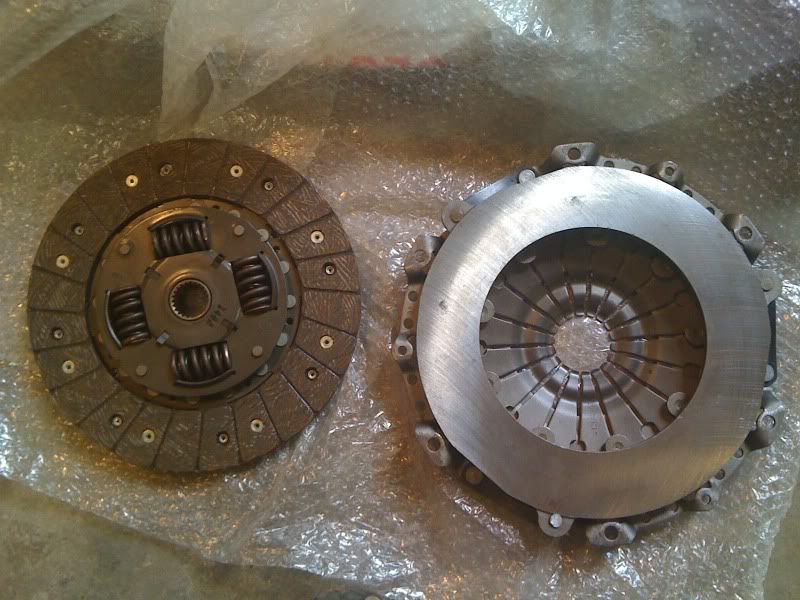
Clutch and ST170 front discs will be here any day so I can fit that and bolt the gearbox up on Sunday, paint and fit the fuel tank, buy some solder so I can hard wire all the connections properly and if someones up there to help, bleed the brakes up and we're practically done and far as getting the car running. Next step is paint. 8)
Loom and alarm is in and all the connections have been labeled up to convert to MK5 as the switches and plugs are totally different to the MK6 gear. Good old Haynes manual.
I also go the engine in place so I could connect all the loom up and work out how to route it. While I was there I fitted the radiator and under cradle in place and hooked up the PAS set up.
Clean(ish) engine and bits.
Clutch and ST170 front discs will be here any day so I can fit that and bolt the gearbox up on Sunday, paint and fit the fuel tank, buy some solder so I can hard wire all the connections properly and if someones up there to help, bleed the brakes up and we're practically done and far as getting the car running. Next step is paint. 8)

 20-05-2011, 01:21 PM
#47
Wye Valley Hardcore
Thread Starter
I'll be taking the doors and tailgate off and painting the shuts and backs of the doors etc myself to keep the costs down, and as the engine bays of cars this age were left in primer anyway a black bay won't look out of place. If it was blue or green etc it would annoy me, but black I can live with.

Last edited by muz; 20-05-2011 at 01:23 PM.
20-05-2011, 01:53 PM
#48
I've spoken to my painter and decided to go Radiant Red to match the ERST. The door shuts will need re doing anyway as when it was last painted it wasn't prepped particularly well and the door shuts have primer overspray etc in them. Also on the drivers side sill theres a small area of iffy filler in the corner I need to re profile and also where one of the quarter panels meet in the boot shut I'm not happy with the smoothing.
I'll be taking the doors and tailgate off and painting the shuts and backs of the doors etc myself to keep the costs down, and as the engine bays of cars this age were left in primer anyway a black bay won't look out of place. If it was blue or green etc it would annoy me, but black I can live with.
I'll be taking the doors and tailgate off and painting the shuts and backs of the doors etc myself to keep the costs down, and as the engine bays of cars this age were left in primer anyway a black bay won't look out of place. If it was blue or green etc it would annoy me, but black I can live with.
 20-05-2011, 01:57 PM
#49
Advanced PassionFord User

Like your style Muz. I'd like to see the S2 running soon too.
20-05-2011, 02:23 PM
#50
Wye Valley Hardcore
Thread Starter
20-05-2011, 02:42 PM
#52
Advanced PassionFord User
Flash git! I have a new toy too.
20-05-2011, 09:31 PM
#53
I've found that life I needed.. It's HERE!!
iTrader: (8)

Join Date: Dec 2006
Location: eastbourne
Posts: 1,350
Likes: 0
Received 0 Likes
on
0 Posts
good to see this is coming along nicly, not a fan of your colour choice personaly though, red esc cos's dont appeal to me, but top job so far anyway
21-05-2011, 01:56 PM
#56
Wye Valley Hardcore
Thread Starter
My brothers a timber frame house builder so I've commissioned him to build me a fake transmission tunnel out of Ply at work....for free  It needs a tunnel to enable me to use the proper centre console. They don't look right without them.
21-05-2011, 03:51 PM
#57
Wye Valley Hardcore
Thread Starter
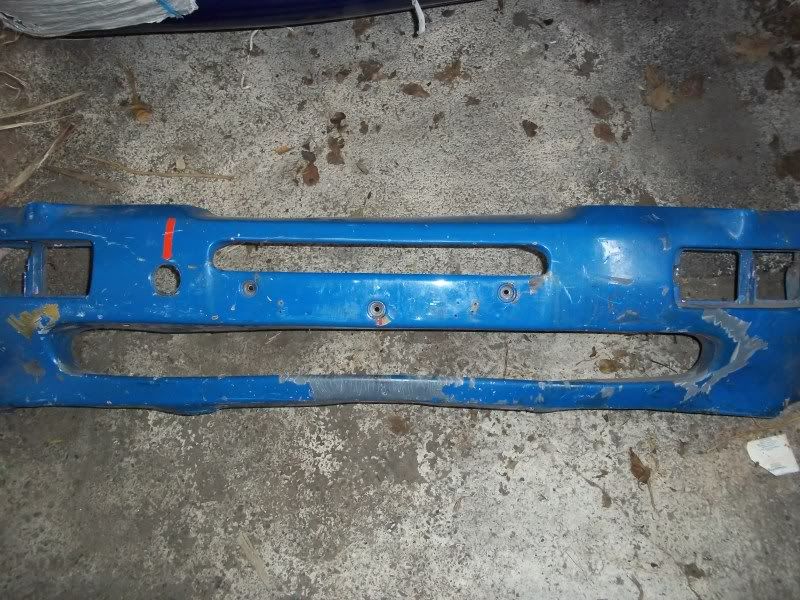
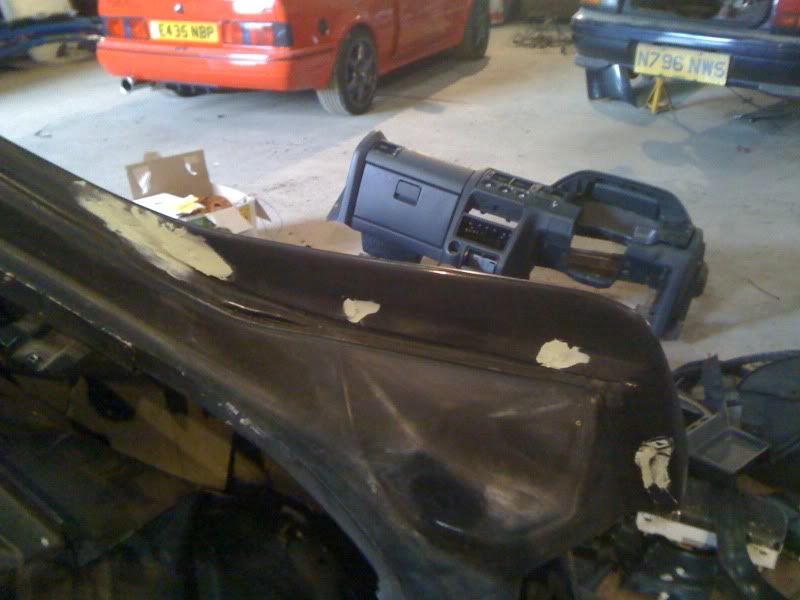
Sourced a genuine front bumper for it. It requires some 'minor prep' before I can use it....

I'll be busy with the filler tomorrow!
I'll be busy with the filler tomorrow!
 23-05-2011, 11:56 AM
#59
Wye Valley Hardcore
Thread Starter
After test fitting the front bumper I've discovered a few things. The replica bumpers are totally different to genuine bumpers (obviously as the chassis is Sierra not Escort) but I didn't realise just how different!
Firstly, the dimensions are very different. The genuine bumper is far shallower (about an inch) from the wheel arch to the front. This is to take up the distance to the wheel arch as the front section of replica wings is longer behind the sidelight so the wheel sits in the centre of the arch and is also why replicas using genuine wings and front bumpers have the wheel too far back in the arch. Found some good examples below in the same colours with the same wheels;
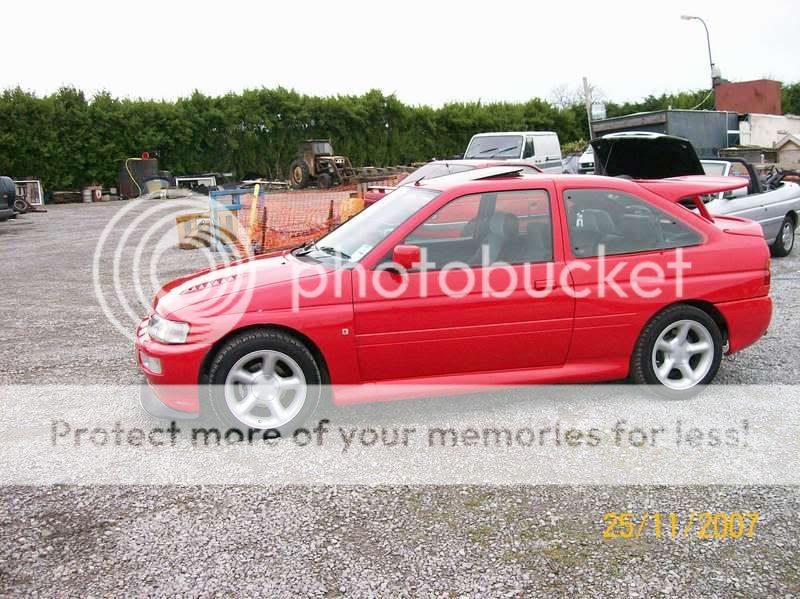
Real Escort Cosworth;
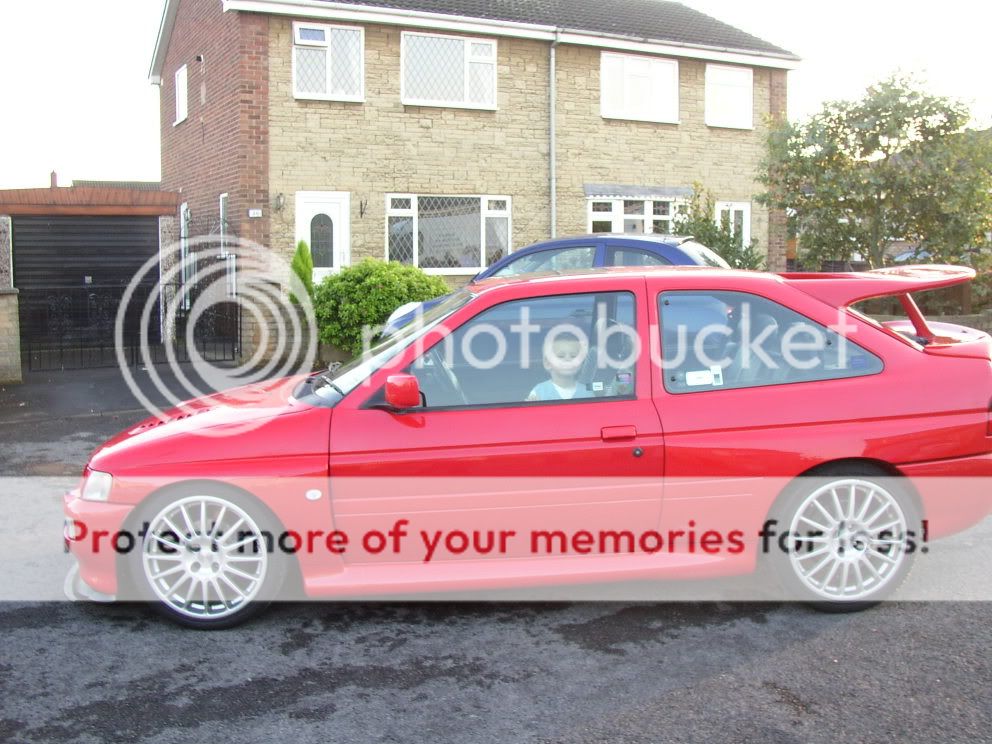
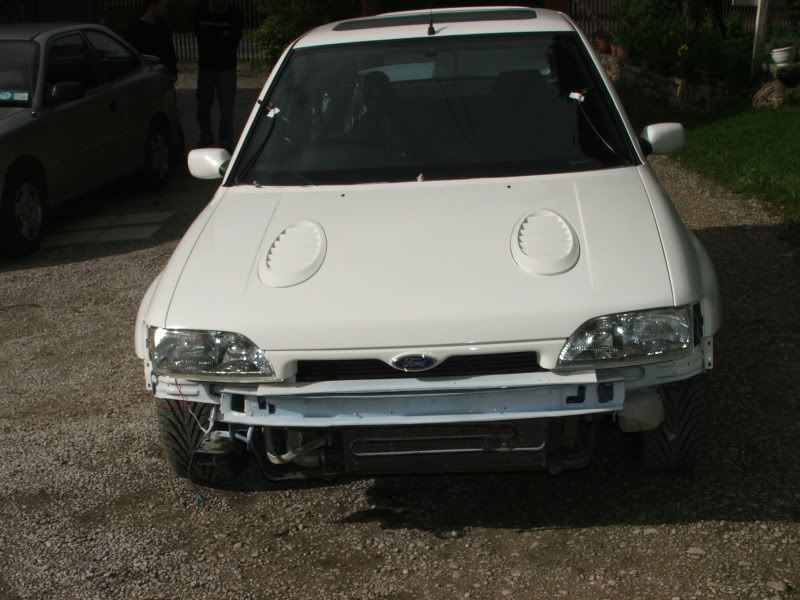
Replica with genuine wings and bumper;

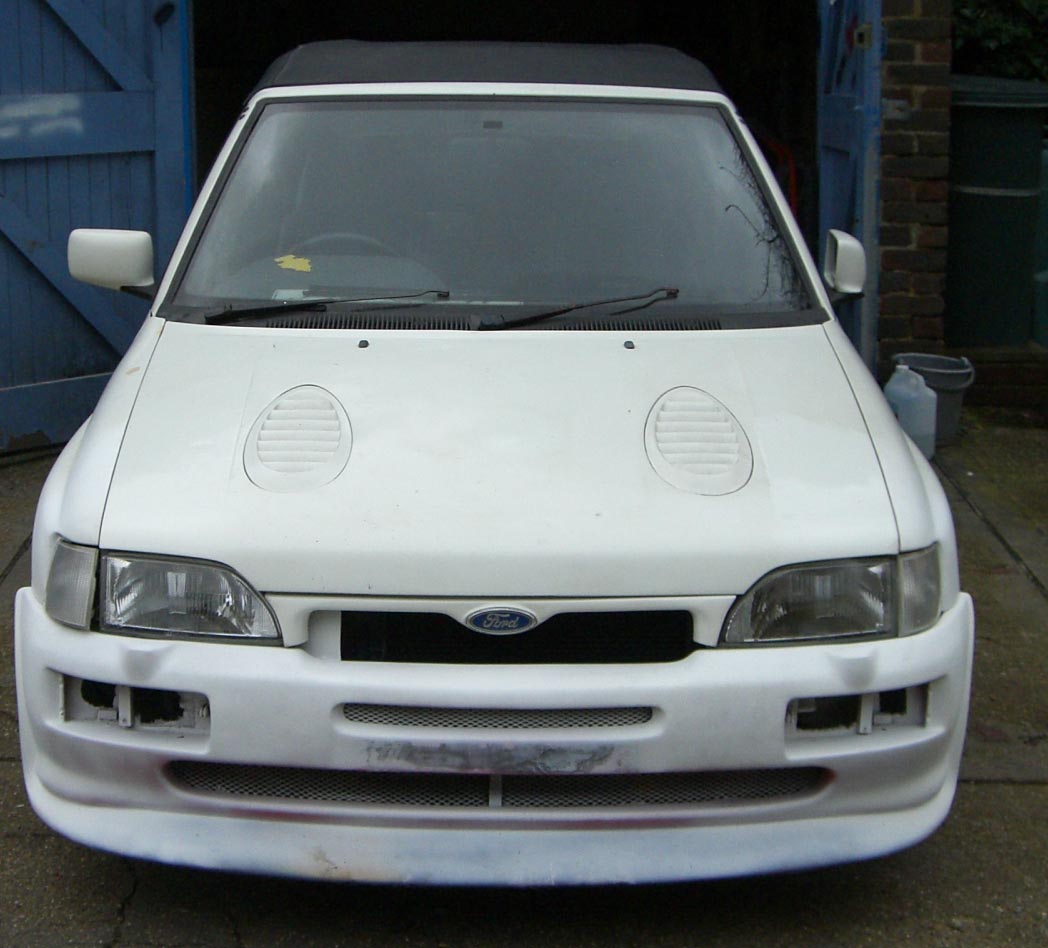
Replica with replica wings and replica bumper;
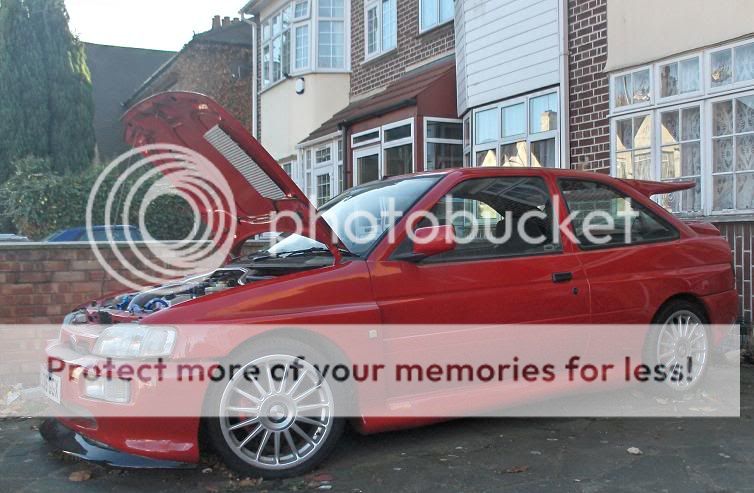
You can see that when you compare them they are all very slightly different and this is one of the reasons replicas never look quite right. The proportions aren't quite as they should be at the front because of the different wing lengths which requires a deeper bumper. But theres more...
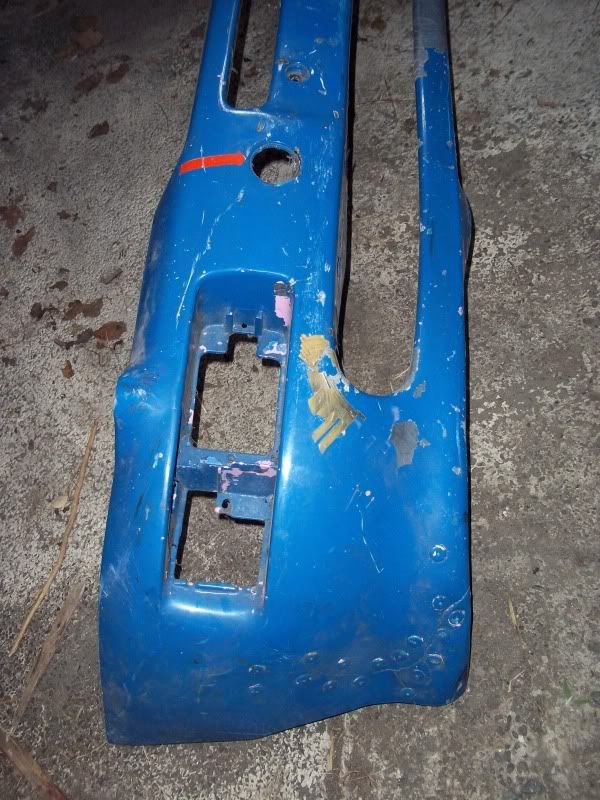
Secondly, the heights of the bumpers are also different. On real cars the front bumper should be level with the sideskirts. On replicas they aren't. This is because of the foglights. The fogs in the bumper are in different places on a genuine bumper and a replica designed for a FWD car due to them fouling on the FWD front crossmember as I found out yesterday, so on a replica bumper they set the fog lights about 15mm lower in the bumper which makes the space above them too big as they also have to move the smaller grille down to keep that in line. This then leaves the manufacturer with two options, either make the cut out at the bottom smaller (as shown in the bottom photos) which completely changes the shape of the bumper, or make the bumper longer so the proportions from the front look fine, but then look weird from the side (as can be shown on the red car above, then bumper is too long)
Genuine front bumper;
.jpg)
Replica front bumper with shallower bottom grille.
What I plan to do (as my genuine bumper is pretty smashed up) is to cut it about 2 inches in from the wheel arch and extend it back so it fits properly. I will then cut the crossmember so the fog lights fit in and re brace it properly like the lads have done who have used genuine bumpers and mine should then be a cross between the two. Hopefully as the proportions will look right on the front with regards to fog light position, grill size and correct height with regards to the sideskirts the difference in wing length shouldn't be too noticeable.
I thought this is quite a good write up for anyone who has or was thinking about building a replica as to why the front ends never look correct unless a lot of money is spent using genuine wings, bumpers and custom lower arms to set the wheel in the arch correct like the one below;
Probably THE best replica ever built;
Happy reading guys.
Firstly, the dimensions are very different. The genuine bumper is far shallower (about an inch) from the wheel arch to the front. This is to take up the distance to the wheel arch as the front section of replica wings is longer behind the sidelight so the wheel sits in the centre of the arch and is also why replicas using genuine wings and front bumpers have the wheel too far back in the arch. Found some good examples below in the same colours with the same wheels;
Real Escort Cosworth;
Replica with genuine wings and bumper;
Replica with replica wings and replica bumper;
You can see that when you compare them they are all very slightly different and this is one of the reasons replicas never look quite right. The proportions aren't quite as they should be at the front because of the different wing lengths which requires a deeper bumper. But theres more...
Secondly, the heights of the bumpers are also different. On real cars the front bumper should be level with the sideskirts. On replicas they aren't. This is because of the foglights. The fogs in the bumper are in different places on a genuine bumper and a replica designed for a FWD car due to them fouling on the FWD front crossmember as I found out yesterday, so on a replica bumper they set the fog lights about 15mm lower in the bumper which makes the space above them too big as they also have to move the smaller grille down to keep that in line. This then leaves the manufacturer with two options, either make the cut out at the bottom smaller (as shown in the bottom photos) which completely changes the shape of the bumper, or make the bumper longer so the proportions from the front look fine, but then look weird from the side (as can be shown on the red car above, then bumper is too long)
Genuine front bumper;
Replica front bumper with shallower bottom grille.
What I plan to do (as my genuine bumper is pretty smashed up) is to cut it about 2 inches in from the wheel arch and extend it back so it fits properly. I will then cut the crossmember so the fog lights fit in and re brace it properly like the lads have done who have used genuine bumpers and mine should then be a cross between the two. Hopefully as the proportions will look right on the front with regards to fog light position, grill size and correct height with regards to the sideskirts the difference in wing length shouldn't be too noticeable.
I thought this is quite a good write up for anyone who has or was thinking about building a replica as to why the front ends never look correct unless a lot of money is spent using genuine wings, bumpers and custom lower arms to set the wheel in the arch correct like the one below;
Probably THE best replica ever built;
Happy reading guys.
Last edited by muz; 23-05-2011 at 03:50 PM.
23-05-2011, 12:54 PM
#60
Too many posts.. I need a life!!
Top work there mate going to look well.Your right about the front end on these my last rep had all genuine parts fitted and i had to cut 55mm out of the 2 new cossie wings to make the wheel sit right in the arch.keep up the good work.
23-05-2011, 01:23 PM
#61
Wye Valley Hardcore
Thread Starter
Did you also have to chop the front cossmember/ corner of the chassis rail about? It seems like this has to be done to stop the foglight fouling.
23-05-2011, 03:24 PM
#62
Too many posts.. I need a life!!
 .
23-05-2011, 03:37 PM
.
23-05-2011, 03:37 PM
#63
Wye Valley Hardcore
Thread Starter
I'll have to take another look at mine then. The bumper didn't look like it would go back far enough because the rear of the fog light surround was tight again the chassis. However, as I don't have any headlights at the moment I couldn't fit the front grille to see that it all lined up and obviously the bumper is too narrow to rest on the wing stops. You might be able to get away with this. I'm also going to cut the mounts out of my MK6 bumper and bond them to the back of the bumper to use the original 4 bolt front securing.
23-05-2011, 04:03 PM
#65
Wye Valley Hardcore
Thread Starter
Also, I'm de locking the doors but don't know whether to do the tailgate as well? Will the tailgate look odd without the lock? I'm going with the small turbo badge locations.
This

or
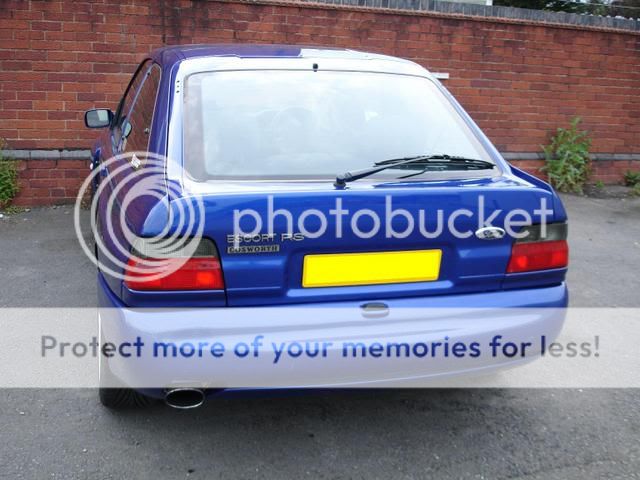
but with spoilers
This
or
but with spoilers
23-05-2011, 04:05 PM
#66
Too many posts.. I need a life!!
Thanks mate, I did the same made it mount to the oe bumper holes.
got the pic of my front without bumper.
Also a pic of my escos bootlid delock with spoilers.

got the pic of my front without bumper.
Also a pic of my escos bootlid delock with spoilers.
Last edited by cossiedevil; 23-05-2011 at 04:10 PM.
25-05-2011, 12:55 AM
#67
Advanced PassionFord User
going to keep a close eye on this thread as i still need to finish my replica project  i know the fustration your having with the bumper though!
check my sig for a link to mine
i know the fustration your having with the bumper though!check my sig for a link to mine
25-05-2011, 08:14 PM
#68
Wye Valley Hardcore
Thread Starter
Got a bit more done today. Fitted the new clutch.
I tried and tried and tried to get the gearbox on but it just wouldn't mate up. I thought the clutch plate might be slightly off as I always put them in by eye not letting the splines engage but it all looked fine. In the end I got so fucked off with it I removed the engine completely again put the gearbox up to it and it slotted in first time
Cue engine back in and I could crack on elsewhere.
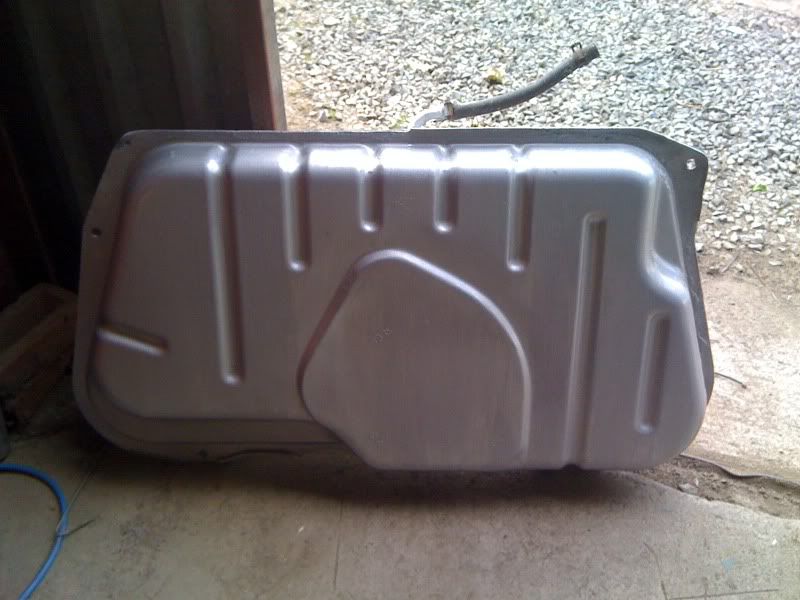
Painted and fitted the fuel tank as it was a bit tatty. Luckily the braided fuel lines that were on the car when I bought them fit the RS2000 set up, so I was happy about that.
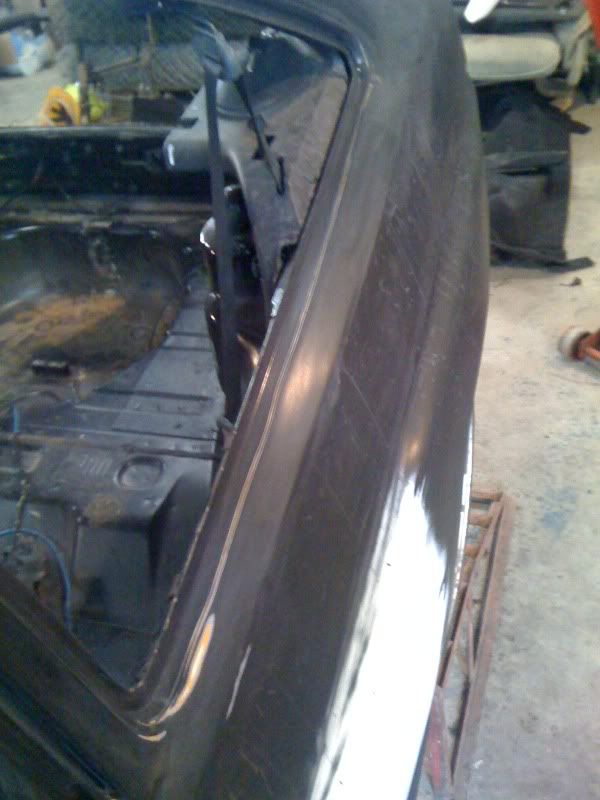
And stripped out all the glass, rubbers and fittings ready to be painted. When the kit was fitted and it was painted none of the glass or trim was removed so some areas are a little iffy. Now I've removed the rear quarters there is a step that was behind the window rubber where the fibreglass panel sits over the metal. This will be seen if I use pop-outs at some stage so needs to be properly smoothed in. Also the rears of the front arches are still bare fibreglass as they weren't painted so need to get the doors off to paint this area. I'm doing a proper job of it this time with a doors off, glass out, trims off etc. I still need to get the windscreen out but my guitar string wire snapped half way round.
I tried and tried and tried to get the gearbox on but it just wouldn't mate up. I thought the clutch plate might be slightly off as I always put them in by eye not letting the splines engage but it all looked fine. In the end I got so fucked off with it I removed the engine completely again put the gearbox up to it and it slotted in first time
Cue engine back in and I could crack on elsewhere.
Painted and fitted the fuel tank as it was a bit tatty. Luckily the braided fuel lines that were on the car when I bought them fit the RS2000 set up, so I was happy about that.
And stripped out all the glass, rubbers and fittings ready to be painted. When the kit was fitted and it was painted none of the glass or trim was removed so some areas are a little iffy. Now I've removed the rear quarters there is a step that was behind the window rubber where the fibreglass panel sits over the metal. This will be seen if I use pop-outs at some stage so needs to be properly smoothed in. Also the rears of the front arches are still bare fibreglass as they weren't painted so need to get the doors off to paint this area. I'm doing a proper job of it this time with a doors off, glass out, trims off etc. I still need to get the windscreen out but my guitar string wire snapped half way round.
25-05-2011, 08:30 PM
#69
Looking good mate, should be a excellent rep once done! Nice write up of the front end differences too! With regards to the delocking, I would leave one lock on the car somewhere, if your remote dies or something you are fooked. My wife's car door handles don't have visible locks, but on the passenger side you can stick your key under the cover bit and lever it off and there is a lock underneath it should the battery die in the remote etc. Could maybe worth doing something similar with the boot?
25-05-2011, 08:48 PM
#70
Wye Valley Hardcore
Thread Starter
Looking good mate, should be a excellent rep once done! Nice write up of the front end differences too! With regards to the delocking, I would leave one lock on the car somewhere, if your remote dies or something you are fooked. My wife's car door handles don't have visible locks, but on the passenger side you can stick your key under the cover bit and lever it off and there is a lock underneath it should the battery die in the remote etc. Could maybe worth doing something similar with the boot?
26-05-2011, 02:02 PM
#72
Wye Valley Hardcore
Thread Starter
There's currently two wagons in the workshop at the moment, both being broken. The blue one is kindly donating it's floor pan to a Subaru Justy
26-05-2011, 03:01 PM
#73
Advanced PassionFord User
Bloody hell Muzster youre not hanging about are you. Get off to Catterick and do your training will ya!
Looks great mate. How long til you turbo it,lol.
Looks great mate. How long til you turbo it,lol.
26-05-2011, 03:53 PM
#74
Wye Valley Hardcore
Thread Starter
26-05-2011, 04:29 PM
#75
Advanced PassionFord User
Yeah right oh. watch this space!
When is it getting painted?
When is it getting painted?
27-05-2011, 03:29 PM
#76
Wye Valley Hardcore
Thread Starter
As soon as my end of year dividend comes through from work I'll give that to Marc and get the ball rolling. I am going up tonight to 600 wet the car and do any little bits of filler work that need doing. Then hopefully lay the primer on it Sunday if the weathers good. I'm hoping to have it painted by the end of June.
I'm hoping to have it painted by the end of June.
28-05-2011, 08:54 AM
#78
Wye Valley Hardcore
Thread Starter
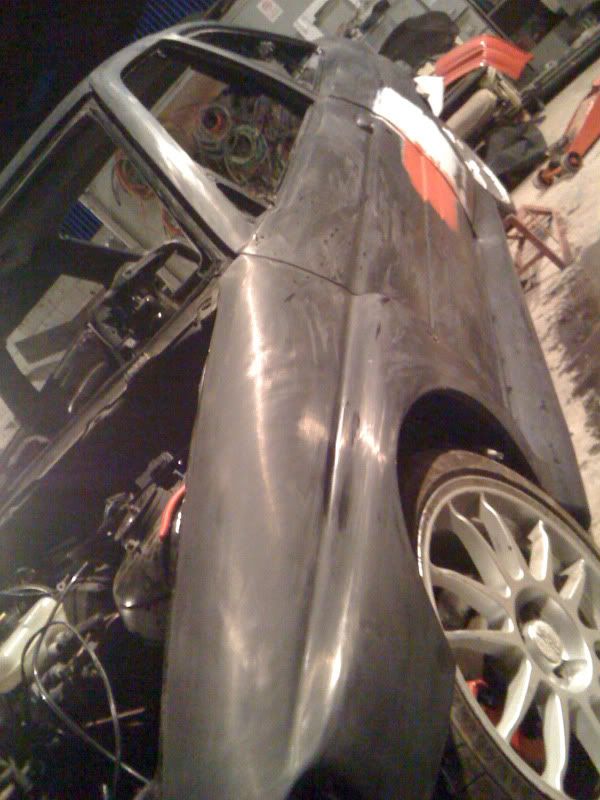
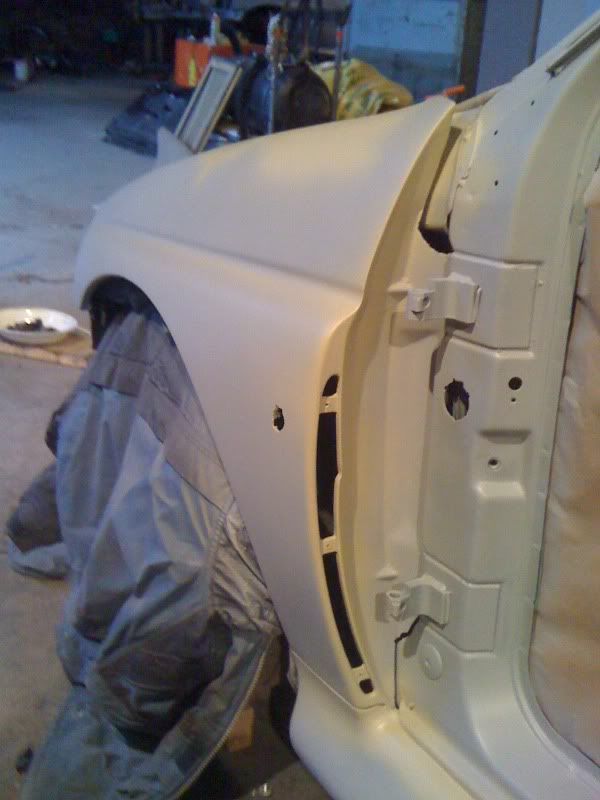
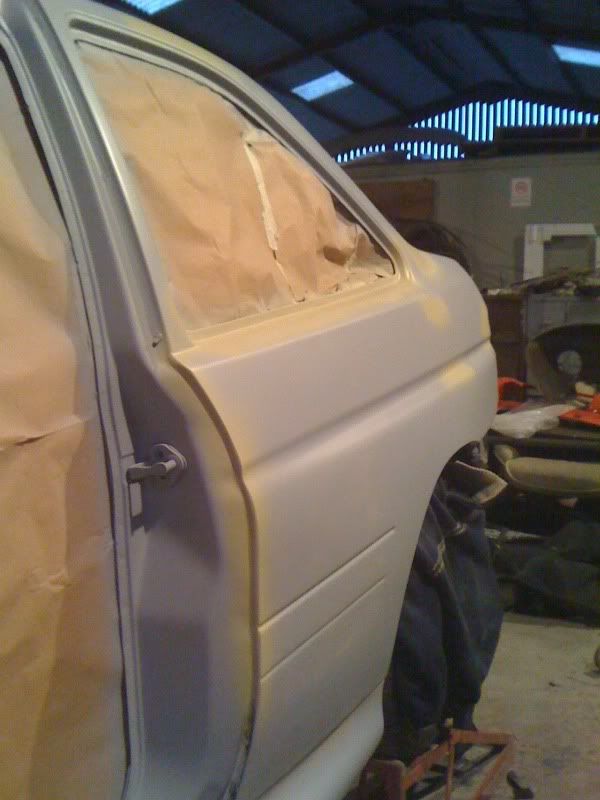
Managed to get a few hours in last night. First job was to get the front screen out. With that done I could crack on with flatting the car off.
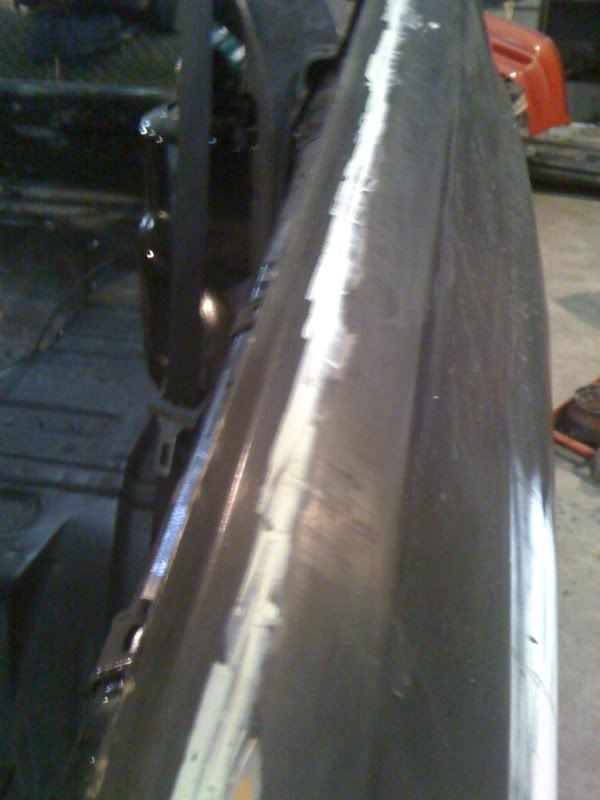
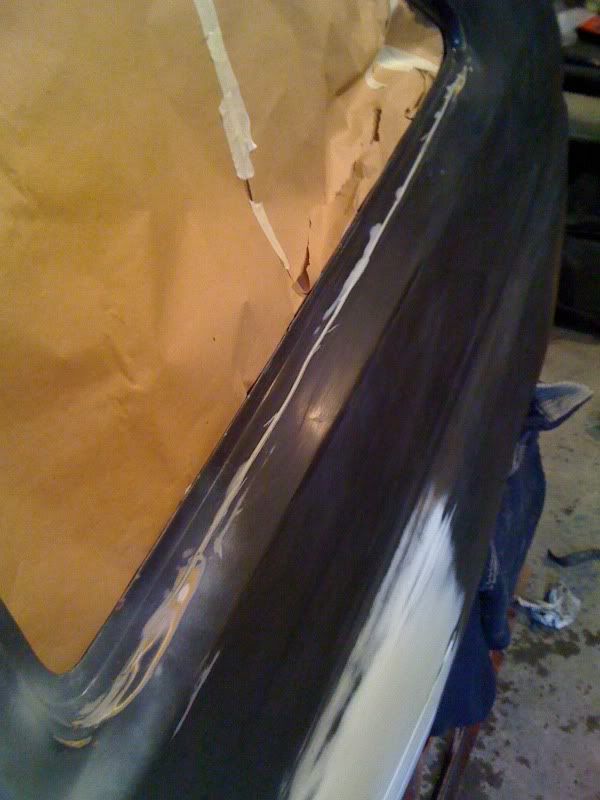
I did the one rear quarter panel in 600 wet, but wasn't happy with the finish. The paint on the car was quite bad in the past and put on pretty thick and not quite even, so I decided to get a bit more aggressive and did the whole car in 400 wet and it's come out lovely.
A few bits like where the side skirts meet the other panels needed doing in 240 wet and where the quarters meet the door shuts in 320 wet and the filler was a little lumpy here or there was crap in the paint making high spots. It still needs a bit more work and some filler here and there (also need to weld up the lock holes and flush them off on both doors and the boot) but I'm still aiming to have it in primer by Sunday night.
Please excuse the photos, some areas are still wet and it hasn't been panel wiped yet, just gone over with a damp sponge.
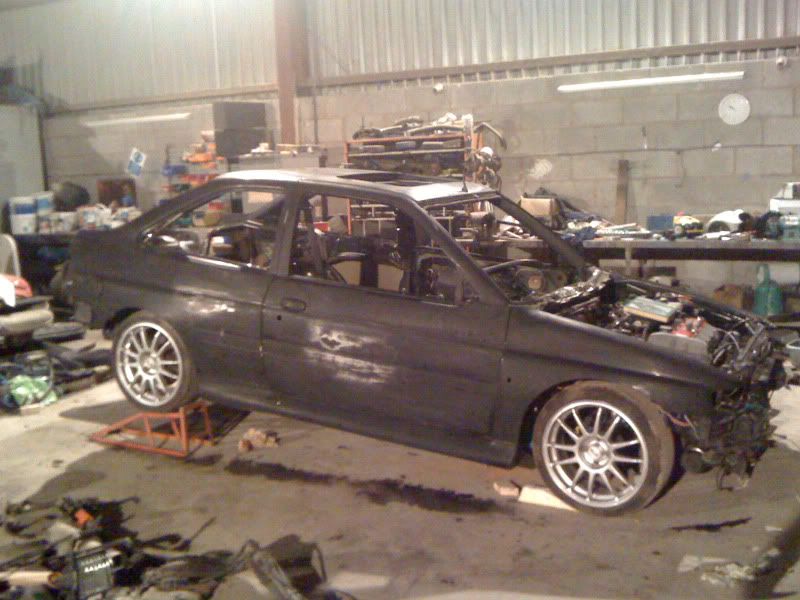
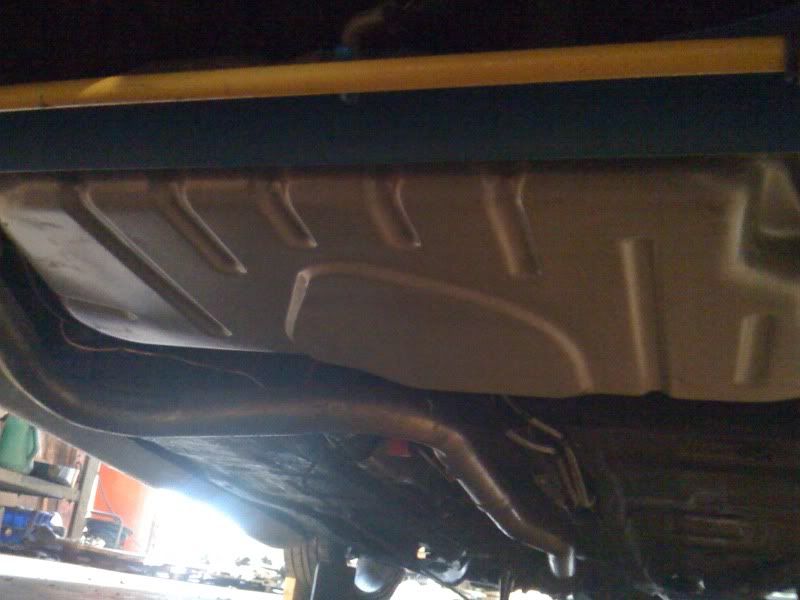
One thing I am happy about is upon removing all the rubbers, glass etc I am yet to find one single spot of rust! Not even any surface rust on any of the trim fixings etc and the underside is spotless as well, never touched by a welder.
I did the one rear quarter panel in 600 wet, but wasn't happy with the finish. The paint on the car was quite bad in the past and put on pretty thick and not quite even, so I decided to get a bit more aggressive and did the whole car in 400 wet and it's come out lovely.
A few bits like where the side skirts meet the other panels needed doing in 240 wet and where the quarters meet the door shuts in 320 wet and the filler was a little lumpy here or there was crap in the paint making high spots. It still needs a bit more work and some filler here and there (also need to weld up the lock holes and flush them off on both doors and the boot) but I'm still aiming to have it in primer by Sunday night.
Please excuse the photos, some areas are still wet and it hasn't been panel wiped yet, just gone over with a damp sponge.
One thing I am happy about is upon removing all the rubbers, glass etc I am yet to find one single spot of rust! Not even any surface rust on any of the trim fixings etc and the underside is spotless as well, never touched by a welder.
29-05-2011, 09:18 PM
#79
Wye Valley Hardcore
Thread Starter
Well somehow I managed to get some work done on the car. Not bad considering last night I drank my weight in Guinness, had 4 1/2 hours sleep and woke up in my garden shed....don't ask.
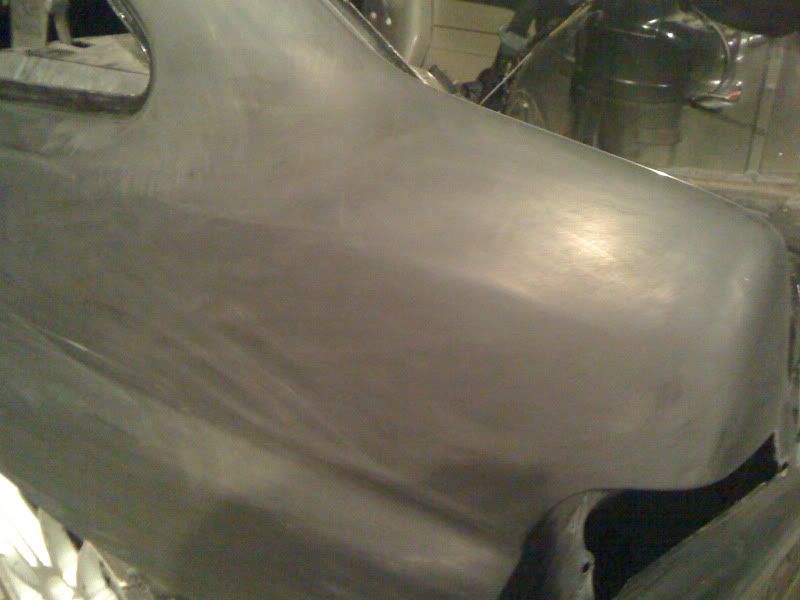
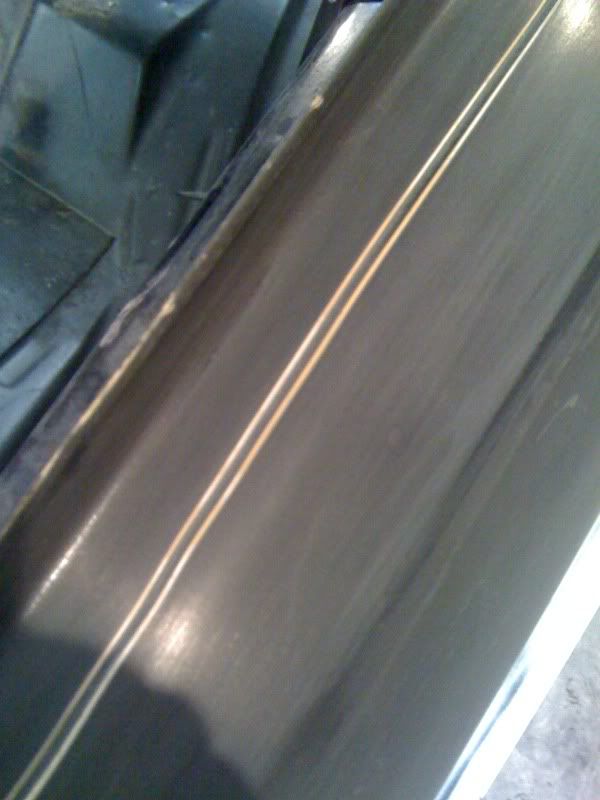
Anyway, I started by getting rid of those panel join lines.
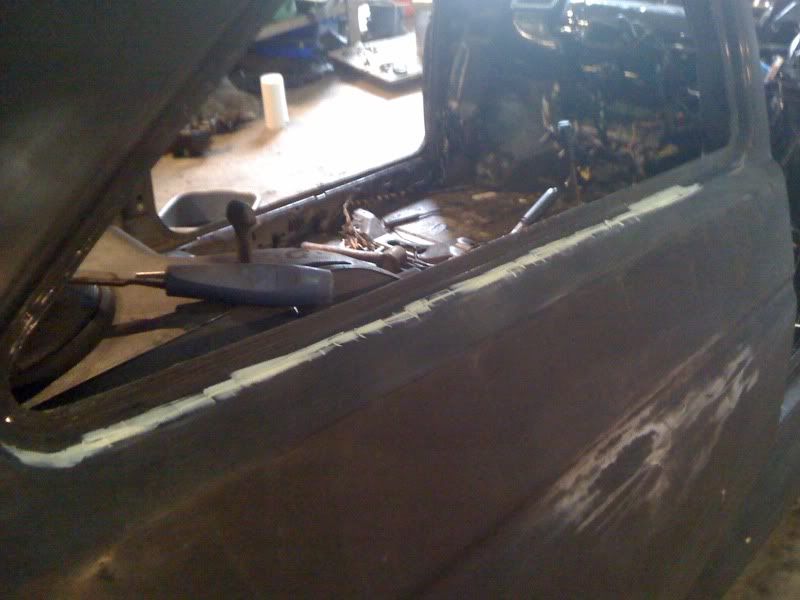
Tidied up the rear quarters and re seamsealed the joins.
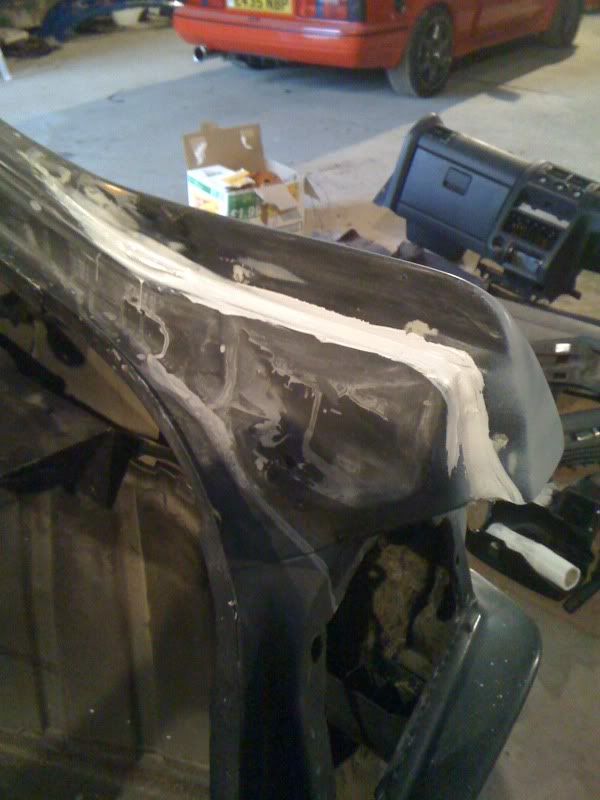
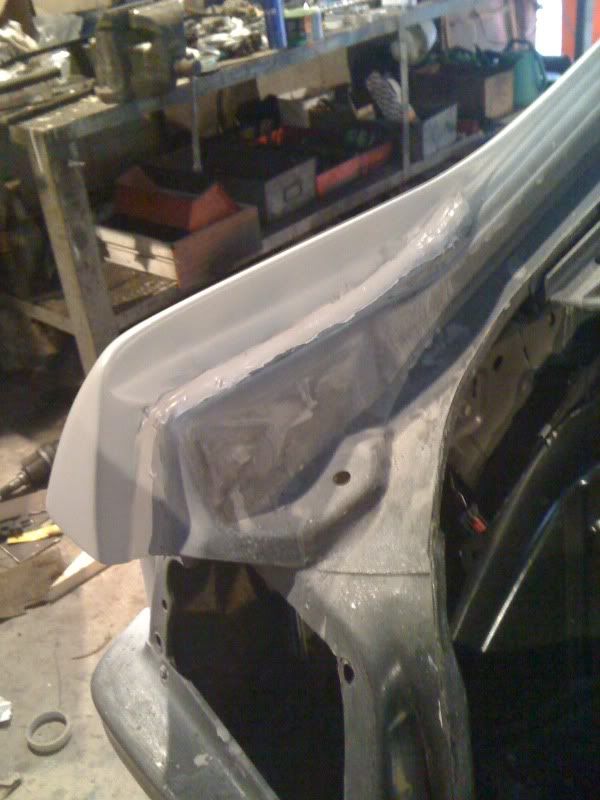
A few other bits also needed some filler then some high build.
Then laid some primer on the shell. I could then tell it needed a few bits of putty here and there to get the shell straight then a bit of high build here and there and it's all looking nice and straight.
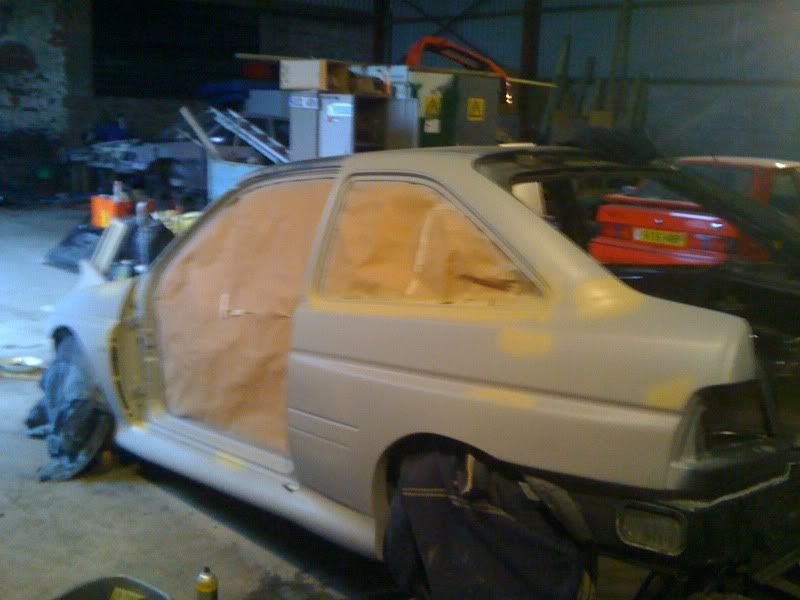

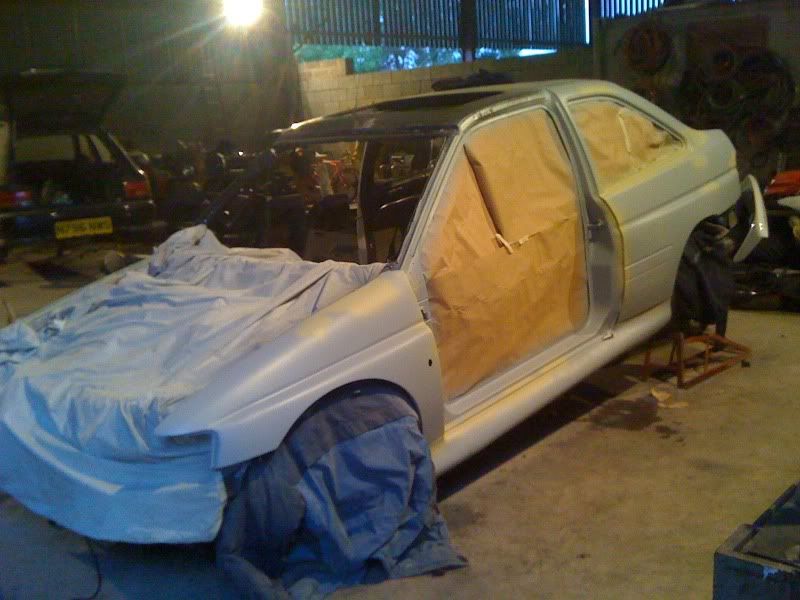
Wednesday I should be able to get the roof, boot and doors in primer as well.
Anyway, I started by getting rid of those panel join lines.
Tidied up the rear quarters and re seamsealed the joins.
A few other bits also needed some filler then some high build.
Then laid some primer on the shell. I could then tell it needed a few bits of putty here and there to get the shell straight then a bit of high build here and there and it's all looking nice and straight.
Wednesday I should be able to get the roof, boot and doors in primer as well.