1951 chevy pick up hot rod (update26-01-2008)chassis painted


 11-12-2006, 05:00 PM
#162
Advanced PassionFord User
Thread Starter
Join Date: Jun 2003
Location: Berkshire
Posts: 2,435
Likes: 0
Received 0 Likes
on
0 Posts
You're right, the blaster will miss this when the corner is on.
I have a small blaster, bit like a spray gun, so i'll do this bit before I put it back together.
I have a small blaster, bit like a spray gun, so i'll do this bit before I put it back together.
 12-12-2006, 05:52 PM
#165
Advanced PassionFord User
Join Date: Mar 2006
Location: Slough, Berksire
Posts: 2,468
Likes: 0
Received 0 Likes
on
0 Posts
Originally Posted by Moose 130
Originally Posted by ESCORT RS PICKUP
WICKED cant wait to get a mustang in a few years 
Got a supercharger for mine, but I need to sort the chassis first.
sweeeeeeeeet
 12-12-2006, 06:32 PM
#166
Advanced PassionFord User
Join Date: Mar 2006
Location: Slough, Berksire
Posts: 2,468
Likes: 0
Received 0 Likes
on
0 Posts
ive always had a gt390 fastback in mind since i saw the movie BULLITT with steve macqueen
either big carbs but mostley supercharged

this was on the USA ebay going for 20,000 odd dollers and was running just over 500 horses
neat
either big carbs but mostley supercharged
this was on the USA ebay going for 20,000 odd dollers and was running just over 500 horses
neat


 24-12-2006, 06:23 PM
#178
Advanced PassionFord User
Thread Starter
Join Date: Jun 2003
Location: Berkshire
Posts: 2,435
Likes: 0
Received 0 Likes
on
0 Posts
Ok, have been having a bit of a play, more done recently than in the last half year I think 
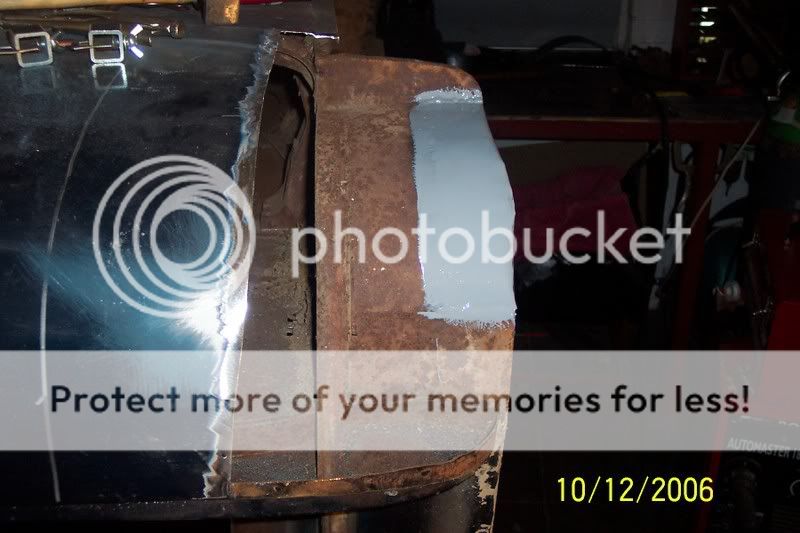
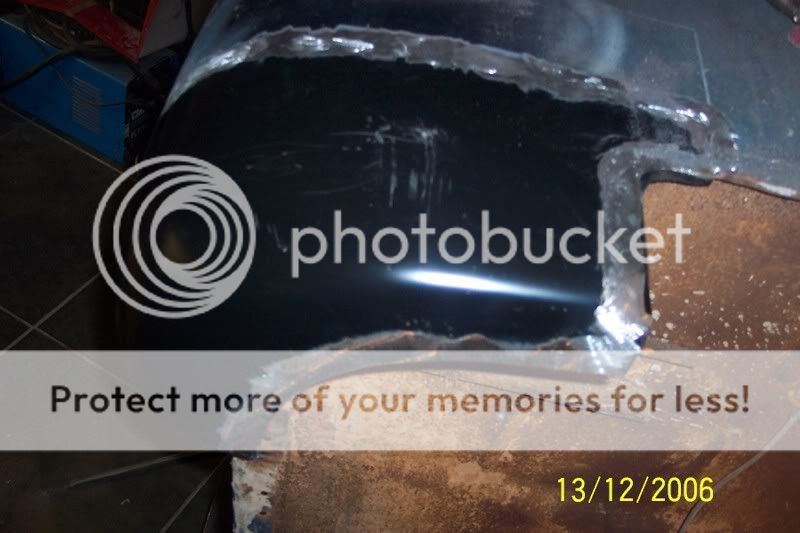
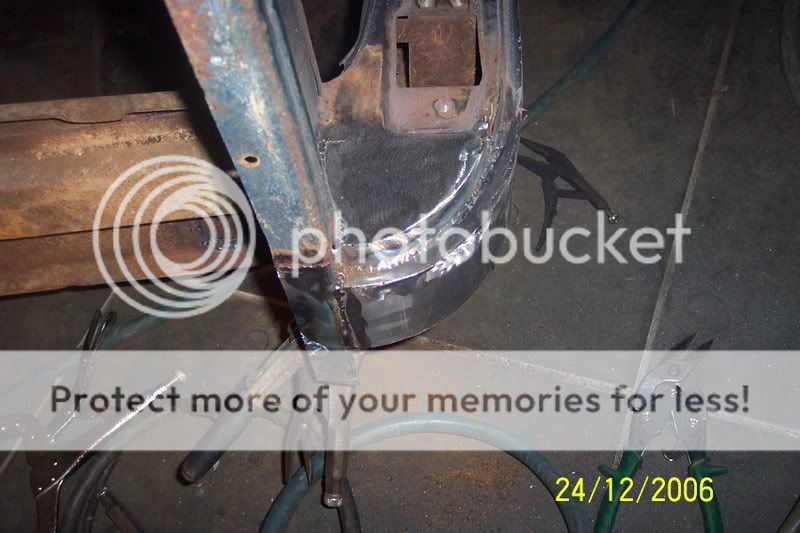
Got the drivers side lower corner on with all the welds ground off. came out pretty well for a repair panel
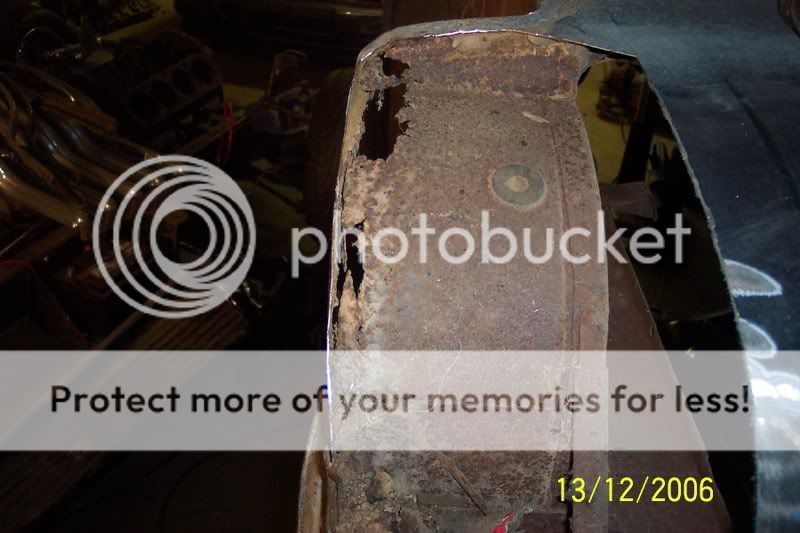
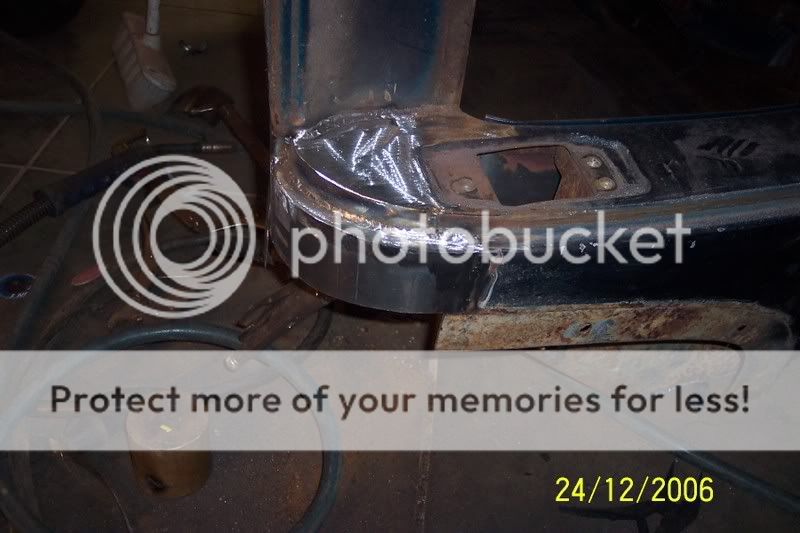
So I then started on the passenger side, pretty rank but as I spent years doing Beetles up, this is nothing
Bloody amatures used news paper and filler....

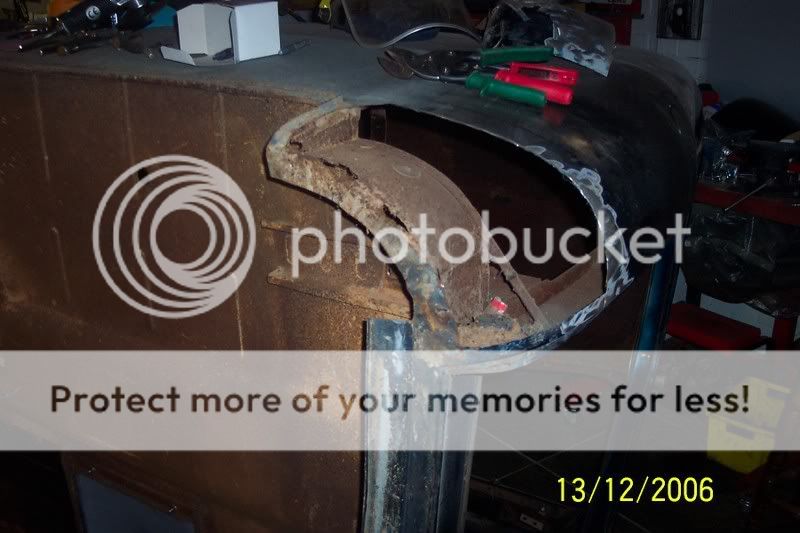
Chopped out all of the crap, made the inner section using rollers.
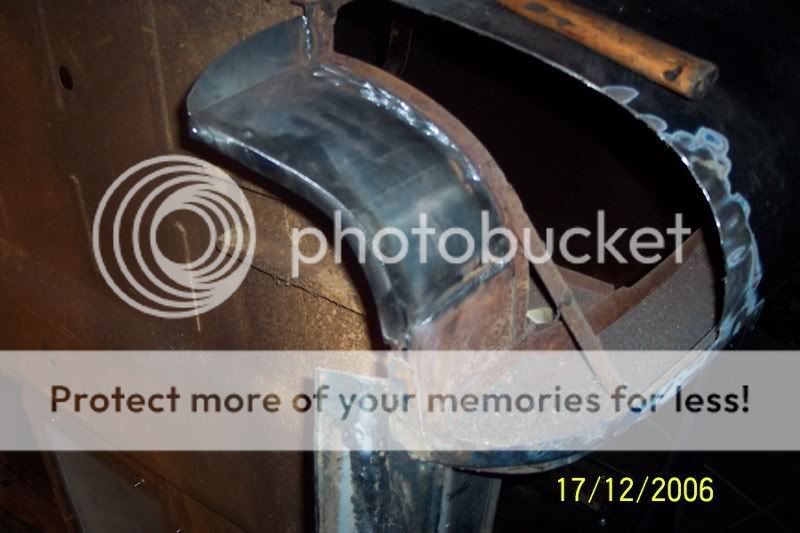
Must say the metal on this cab is in very good condition, cleans up very well and welds superb with no blowing out.
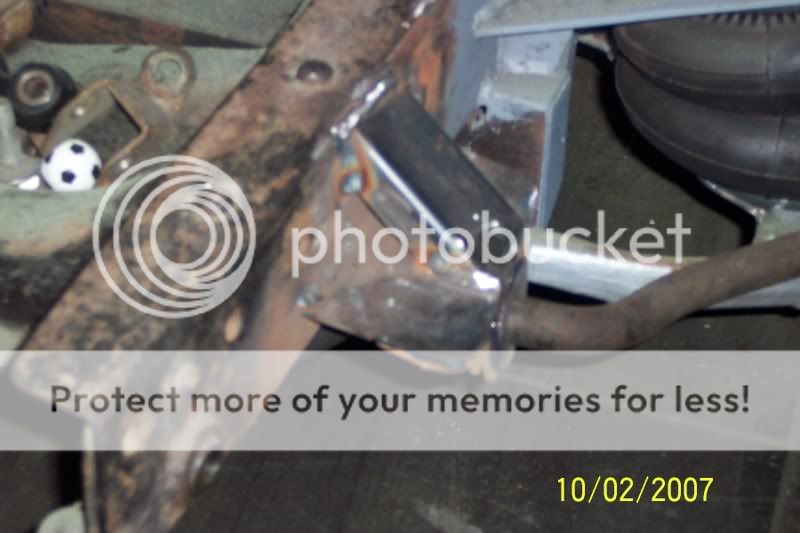
Using Frost welding clamps (very handy!) corner is positioned, This corner was a problem, the panel flattened out noticably when it was cut. Used a couple of the clamps to pull it back into shape.
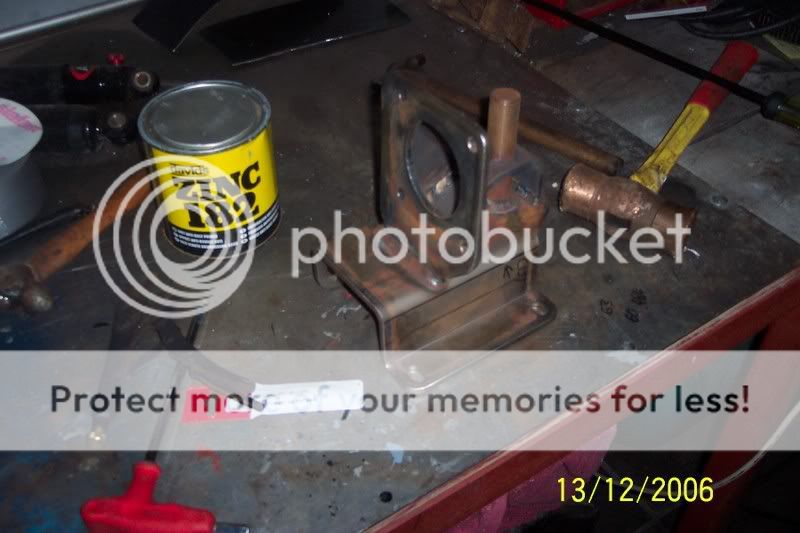
Next I moved onto positioning the master cylinder mount. Originally this was a single circuit system - no good with the uprated brakes i'm using. So I purchased a MC and servo kit from the states.
Very well made, but should mount inside the chassis rail.
Before-
After a visit from the 9 inch grinder -
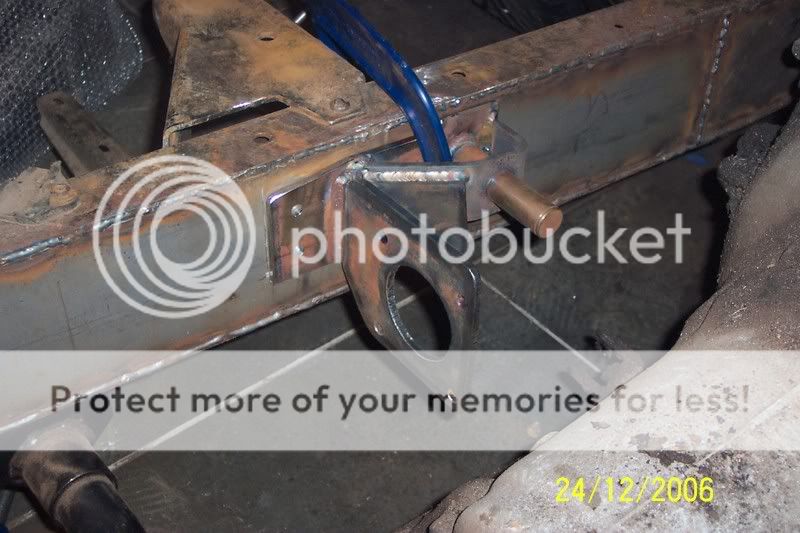
Also clamped to the chassis rail where I beleive it would be, weld that on sometime....
Made the air tank mount on all 4 corners.

Well round off the corner and finish with the grinding.
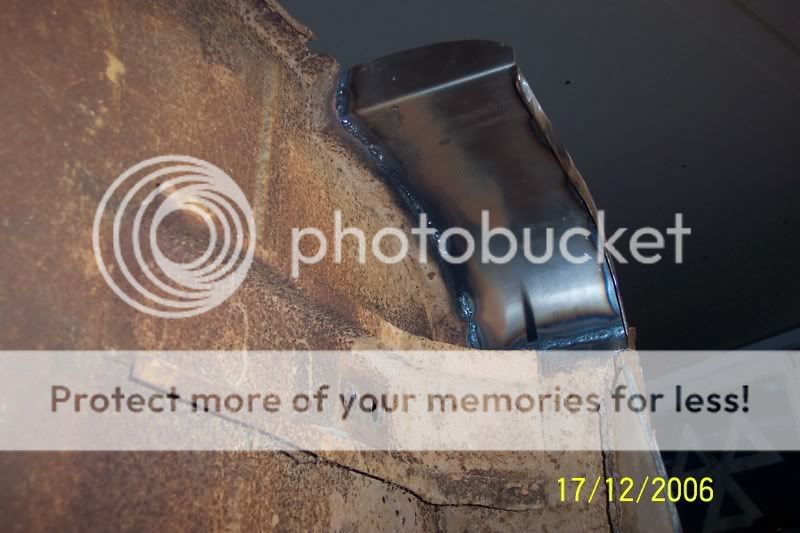
Next problem area was the front lower corner of the passenger A piller - it was missing!!
Out with teh cutters, grinders, cardboard for templates and two hours later - 90% of the corner is there!!
Just need to finish it off with the lower section of the wing mount and I think the shell can go for blasting
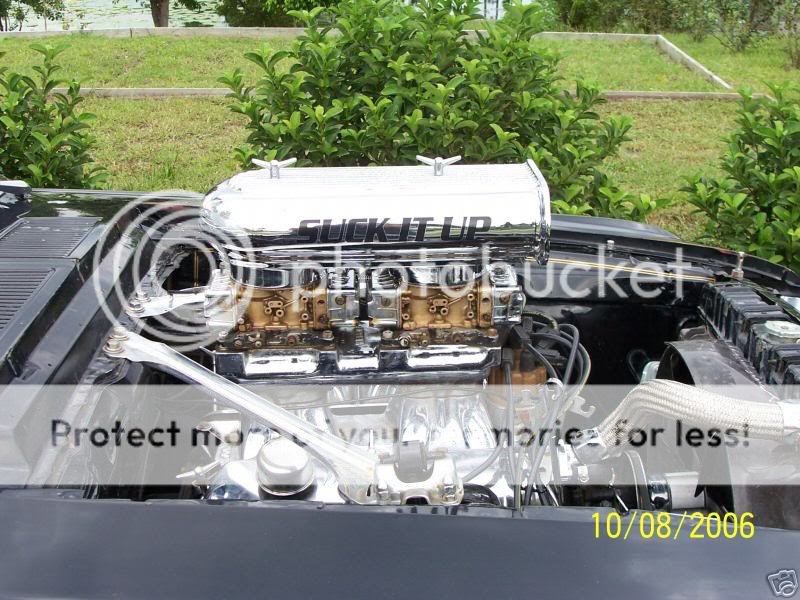
Oh, engine is finished.
Need to order two bed sides, front of the bed and some stainless strips to be shipped from So.Cal
Got a box full of fittings from Rally Design for the brake hoses, residual valves, fuel pipe
Any how, between Xmas and new year I doubt i'll get a whole load more done, I intend putting uprated suspension and 330 wilwood 6 pots on the Mustang (might do a mini thread), might spend the odd hour doing teh brake pipes....
Merry xmas guys, thanks for the encouragement
Got the drivers side lower corner on with all the welds ground off. came out pretty well for a repair panel
So I then started on the passenger side, pretty rank but as I spent years doing Beetles up, this is nothing
Bloody amatures used news paper and filler....
Chopped out all of the crap, made the inner section using rollers.
Must say the metal on this cab is in very good condition, cleans up very well and welds superb with no blowing out.
Using Frost welding clamps (very handy!) corner is positioned, This corner was a problem, the panel flattened out noticably when it was cut. Used a couple of the clamps to pull it back into shape.
Next I moved onto positioning the master cylinder mount. Originally this was a single circuit system - no good with the uprated brakes i'm using. So I purchased a MC and servo kit from the states.
Very well made, but should mount inside the chassis rail.
Before-
After a visit from the 9 inch grinder -
Also clamped to the chassis rail where I beleive it would be, weld that on sometime....
Made the air tank mount on all 4 corners.
Well round off the corner and finish with the grinding.
Next problem area was the front lower corner of the passenger A piller - it was missing!!
Out with teh cutters, grinders, cardboard for templates and two hours later - 90% of the corner is there!!
Just need to finish it off with the lower section of the wing mount and I think the shell can go for blasting
Oh, engine is finished.
Need to order two bed sides, front of the bed and some stainless strips to be shipped from So.Cal
Got a box full of fittings from Rally Design for the brake hoses, residual valves, fuel pipe
Any how, between Xmas and new year I doubt i'll get a whole load more done, I intend putting uprated suspension and 330 wilwood 6 pots on the Mustang (might do a mini thread), might spend the odd hour doing teh brake pipes....
Merry xmas guys, thanks for the encouragement

 28-12-2006, 08:13 AM
#181
Advanced PassionFord User
Thread Starter
Join Date: Jun 2003
Location: Berkshire
Posts: 2,435
Likes: 0
Received 0 Likes
on
0 Posts
Just dismantled the old pick up bed, this 'released' a load of space in the garage corner.
Then went and ordered two new bed sides, bed front, rear X member and some stainless bed strips from California
That should gove me a totally new bed for the truck
Found one hole in the drivers side of the cab that needs attention, then it can go back up the right way and can arrange blasting.
Then went and ordered two new bed sides, bed front, rear X member and some stainless bed strips from California
That should gove me a totally new bed for the truck
Found one hole in the drivers side of the cab that needs attention, then it can go back up the right way and can arrange blasting.
11-02-2007, 08:48 AM
#184
Advanced PassionFord User
Thread Starter
Join Date: Jun 2003
Location: Berkshire
Posts: 2,435
Likes: 0
Received 0 Likes
on
0 Posts
done a little bit more, I bought a complete IFS off a Jag and raided it for the anti roll bar, with the use of soem Capri brackets cut down and poly bushes, there is now a decent sized ARB on the front!
Then I went onto finish the front shock mounts.
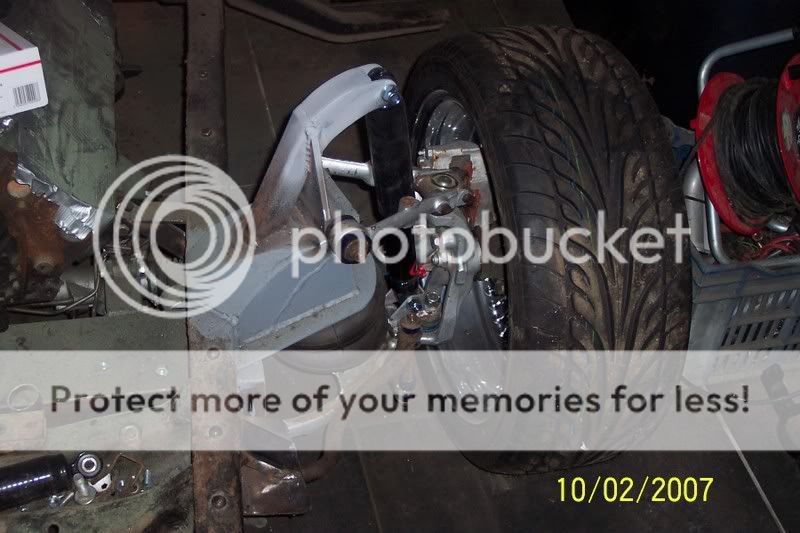
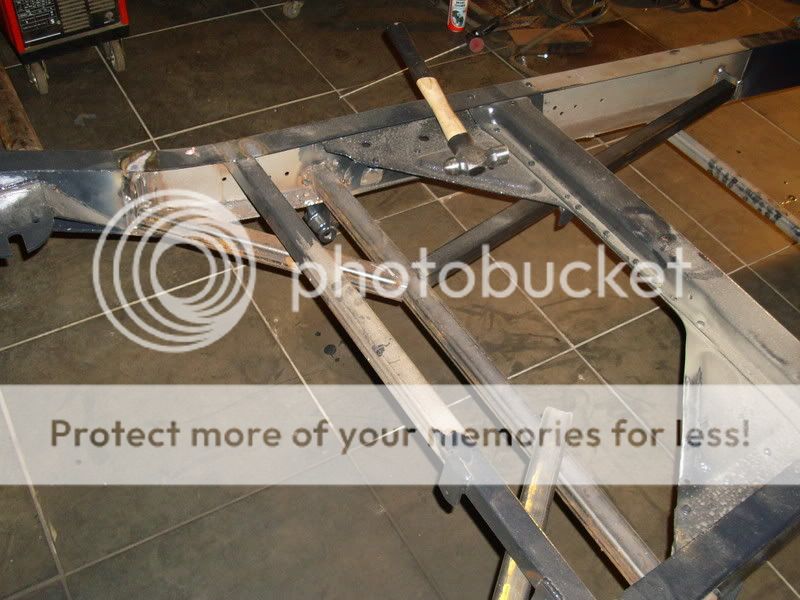
next on the list was another rear cross member incorperating anti tramp bars and a propshaft loop.
But MAJOR problem.
Chassis is bent
the chassis is a [ type section, but it's rubbed up against something and the vertical face is now about 10' off vertical.
some might leave this as it's not bent along it's length, but i'm not into that.
Once the cab is off being blasted (this thursday) then a mate is coming over to have a look. He's built more rods than I ever will and he recons this won't be a problem. We'll break out the port-a-power and push her straight.
Biggest arse ache today is the hillbilly who repaierd it welded the running board onto the mounts, so now I have to lay on the floor and grind the welds off that.
Will post pics of the cab and chassis repair as it develops.
Then I went onto finish the front shock mounts.
next on the list was another rear cross member incorperating anti tramp bars and a propshaft loop.
But MAJOR problem.
Chassis is bent
the chassis is a [ type section, but it's rubbed up against something and the vertical face is now about 10' off vertical.
some might leave this as it's not bent along it's length, but i'm not into that.
Once the cab is off being blasted (this thursday) then a mate is coming over to have a look. He's built more rods than I ever will and he recons this won't be a problem. We'll break out the port-a-power and push her straight.
Biggest arse ache today is the hillbilly who repaierd it welded the running board onto the mounts, so now I have to lay on the floor and grind the welds off that.
Will post pics of the cab and chassis repair as it develops.
 16-02-2007, 07:11 PM
#191
Advanced PassionFord User
Thread Starter
Join Date: Jun 2003
Location: Berkshire
Posts: 2,435
Likes: 0
Received 0 Likes
on
0 Posts
Had the phone call today from the blasters to say the cab is done.
can't be that bad, he didn't tell me to bring some bin bags...
here is the chassis
good side, nice and square

other side, not so square.

porta-power here we come...
pics of the cab tuesday, unless it's really FUBAR and i'm too busy crying.
can't be that bad, he didn't tell me to bring some bin bags...
here is the chassis
good side, nice and square
other side, not so square.
porta-power here we come...
pics of the cab tuesday, unless it's really FUBAR and i'm too busy crying.
24-07-2007, 06:35 AM
#193
Advanced PassionFord User
Thread Starter
Join Date: Jun 2003
Location: Berkshire
Posts: 2,435
Likes: 0
Received 0 Likes
on
0 Posts
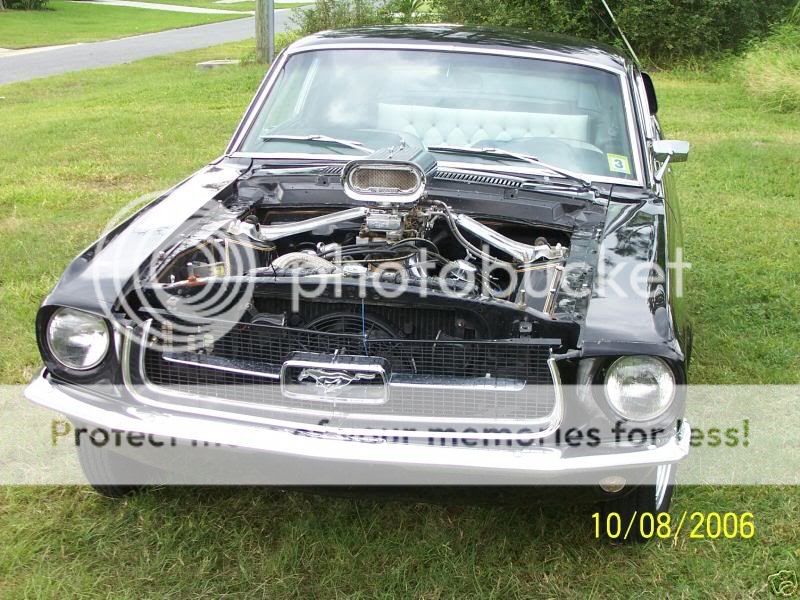
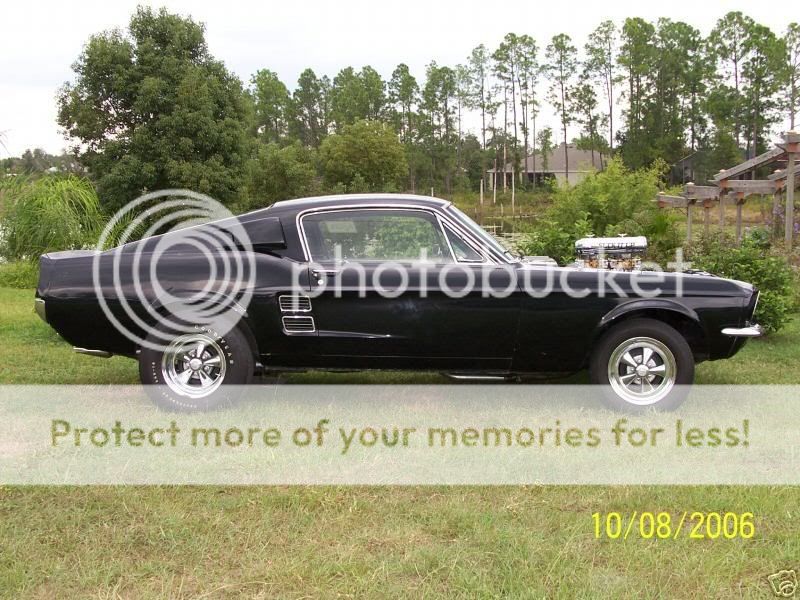
at the moment I'm installing alloy heads and a blower to my Mustang so the truck is stored away.
should be able to get back on it soon, going to strip and blast the chassis, get a rear x member welded in along with a prop shaft hoop, then re-assemble the chassis.
well, that's the plan anyway.
Just waiting on some stang parts to arrive from the states so I can finish her off.
should be able to get back on it soon, going to strip and blast the chassis, get a rear x member welded in along with a prop shaft hoop, then re-assemble the chassis.
well, that's the plan anyway.
Just waiting on some stang parts to arrive from the states so I can finish her off.
30-12-2007, 07:42 PM
#196
Advanced PassionFord User
Thread Starter
Join Date: Jun 2003
Location: Berkshire
Posts: 2,435
Likes: 0
Received 0 Likes
on
0 Posts
sorry it's been ages, since May i've been removing and refitting my engine in my Mustang and it's taken way too much time....
cab came back looking surprisingly good with just some minor perforation on some double skin sections.
have had the chassis stripped and blasted, that came out good too
gave the bent side some grief with the porta-power and got that in a much better shape.
I'm currantly in the process of installing a K member to strengthen the whole lot up, as well as a propshaft hoop.
will have to reposition the air tank and pump as I got carried away.
The problem i'm haveing is over the xmas break, anyone I need to see to get supplies etc is shut!
Bolt on chassis components are off being poweder coated, nuts/bolts etc will be taken for zinc plating.
Gearbox is being rebuilt with new seals/bushes and a shift improving kit.
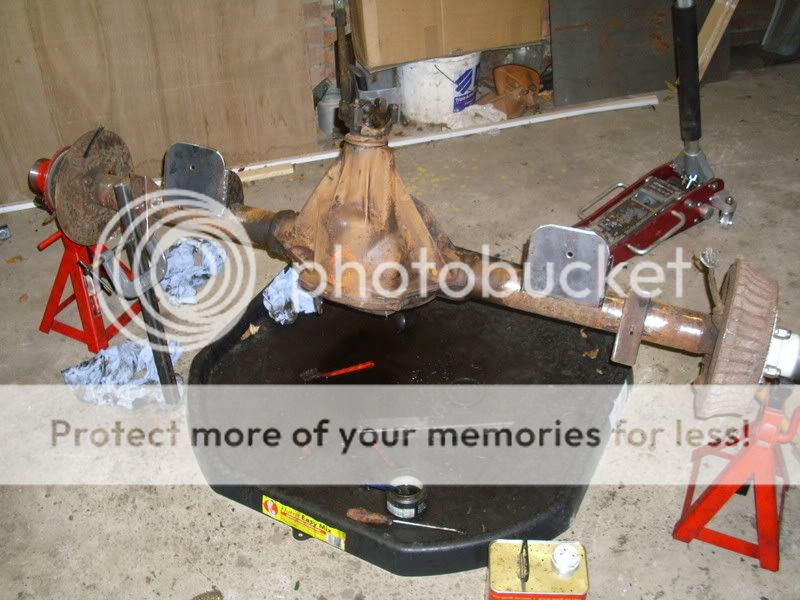
Axel is being scrubbed clean ready for some paint
also need to weld the air bag mounts and spring perches on
the front x mamber was looking very bulky and agricultural. Gave that some with a grinder and now there is extra clearance for the front pulley etc.
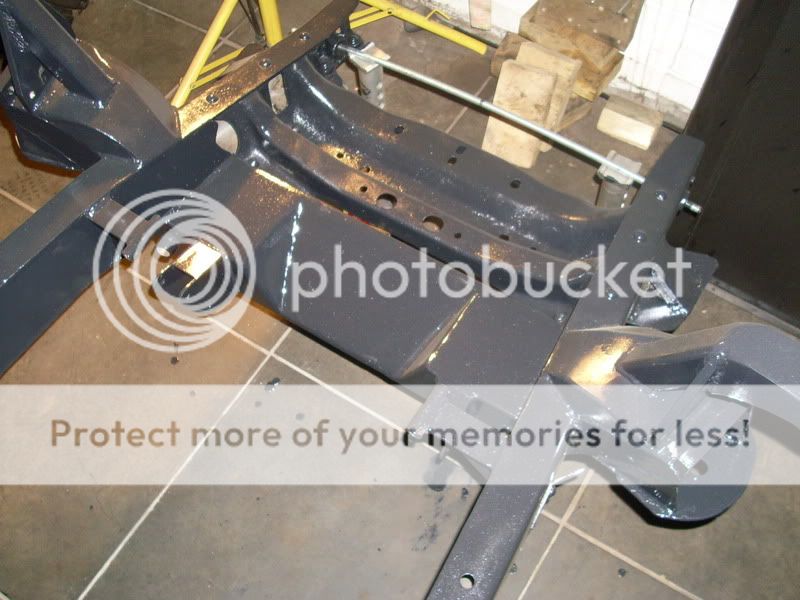
hopefully next pictures will be of a fully painted chassis with stuff going onto it.
cab came back looking surprisingly good with just some minor perforation on some double skin sections.
have had the chassis stripped and blasted, that came out good too
gave the bent side some grief with the porta-power and got that in a much better shape.
I'm currantly in the process of installing a K member to strengthen the whole lot up, as well as a propshaft hoop.
will have to reposition the air tank and pump as I got carried away.
The problem i'm haveing is over the xmas break, anyone I need to see to get supplies etc is shut!
Bolt on chassis components are off being poweder coated, nuts/bolts etc will be taken for zinc plating.
Gearbox is being rebuilt with new seals/bushes and a shift improving kit.
Axel is being scrubbed clean ready for some paint
also need to weld the air bag mounts and spring perches on
the front x mamber was looking very bulky and agricultural. Gave that some with a grinder and now there is extra clearance for the front pulley etc.
hopefully next pictures will be of a fully painted chassis with stuff going onto it.
