Escort RST S2 RWD Cosworth, update 8/12/16

 01-04-2013, 12:57 PM
#203
.
Well sort off, I want it to look original but it defo needed a cage, plus I need to change the sunroof tray as it has gone in the rear lower corners so a carbon roof is so tempting, or a replacement non sunroof skin. The carbon option is a lot easier and quicker.
Ginger
.
Well sort off, I want it to look original but it defo needed a cage, plus I need to change the sunroof tray as it has gone in the rear lower corners so a carbon roof is so tempting, or a replacement non sunroof skin. The carbon option is a lot easier and quicker.
Ginger
.
01-04-2013, 02:41 PM
#204
WRC S1cos coming soon!!!
Join Date: Jan 2009
Location: At work
Posts: 819
Likes: 0
Received 0 Likes
on
0 Posts
[QUOTE=GINGExR2 T;6208595].
Well sort off, I want it to look original but it defo needed a cage, plus I need to change the sunroof tray as it has gone in the rear lower corners so a carbon roof is so tempting, or a replacement non sunroof skin. The carbon option is a lot easier and quicker.
I think carbon roofs the way to go m8 just trim roof skin an bond carbon one on!
My roof was rotten so it's carbon roof and bonnet 4 me
Jay
01-04-2013, 06:49 PM
#205
Ginger
.
Last edited by GINGExR2 T; 01-04-2013 at 06:52 PM.
01-04-2013, 07:13 PM
#206
WRC S1cos coming soon!!!
Join Date: Jan 2009
Location: At work
Posts: 819
Likes: 0
Received 0 Likes
on
0 Posts
I don't think phil is goin2 do a carbon bonnet but the roof an rs1700 tailgates a must lol phil sent me sum pics a couple ov months ago an they are carbon porn!
Jay
Jay
25-06-2013, 10:18 PM
#207
.
Been to long since i updated this, but i have been cracking on slowly so i'll do a few updates to get it upto where i am now as the newest version of photo bucket is shit :-(
Anyway, 1st up is the MK top mounts which where easy to fit
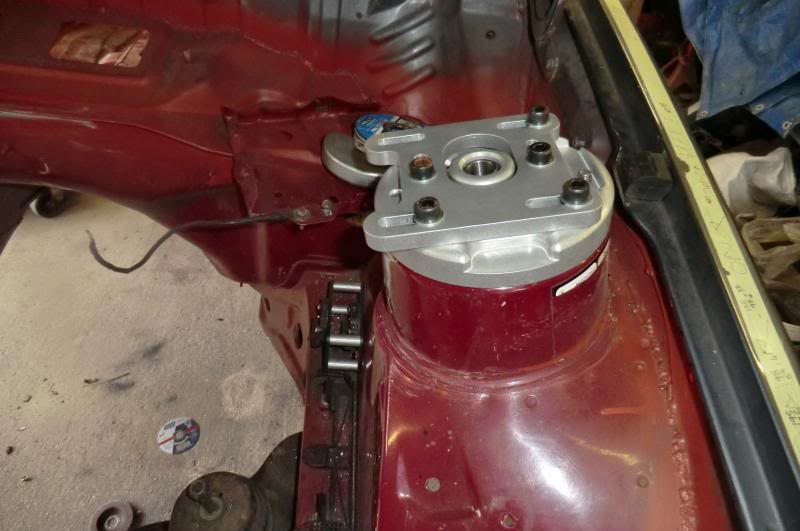
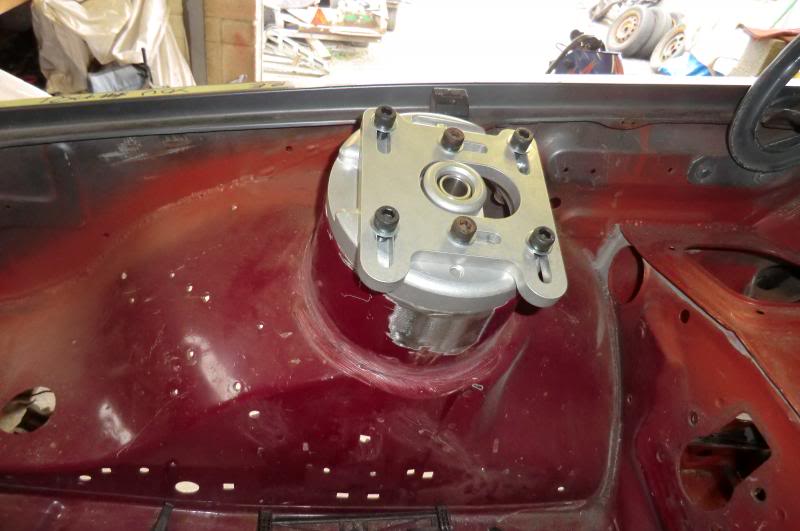
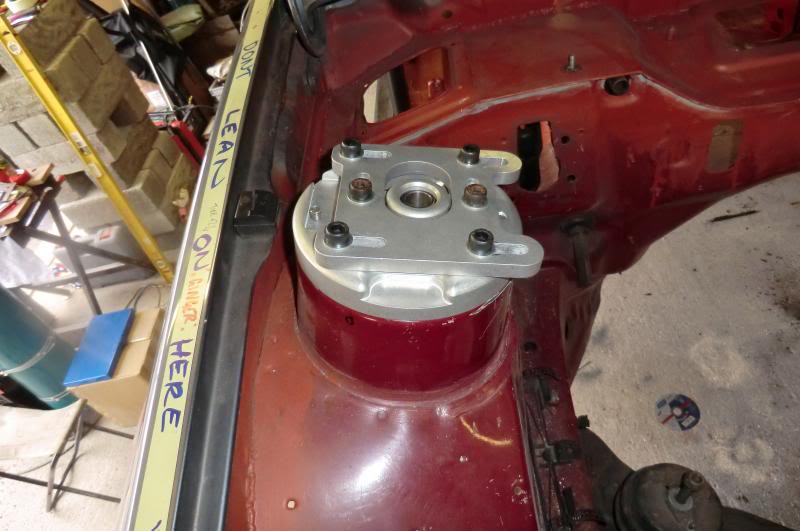
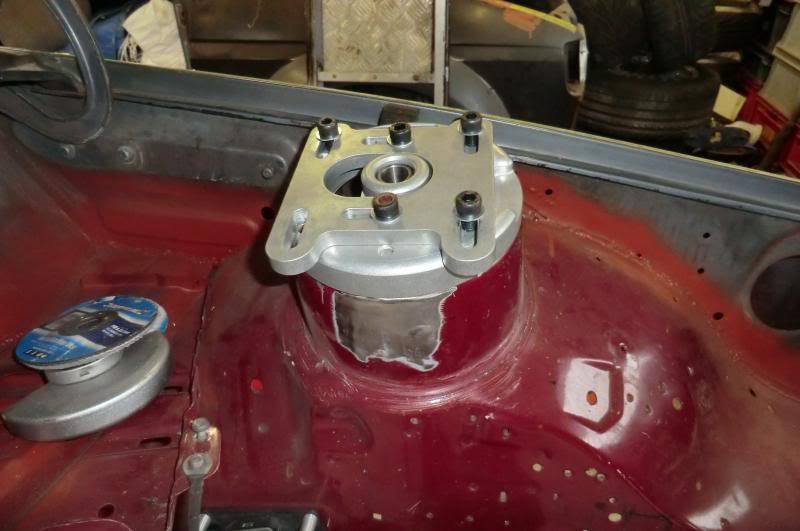
But when fitted i had a big issue
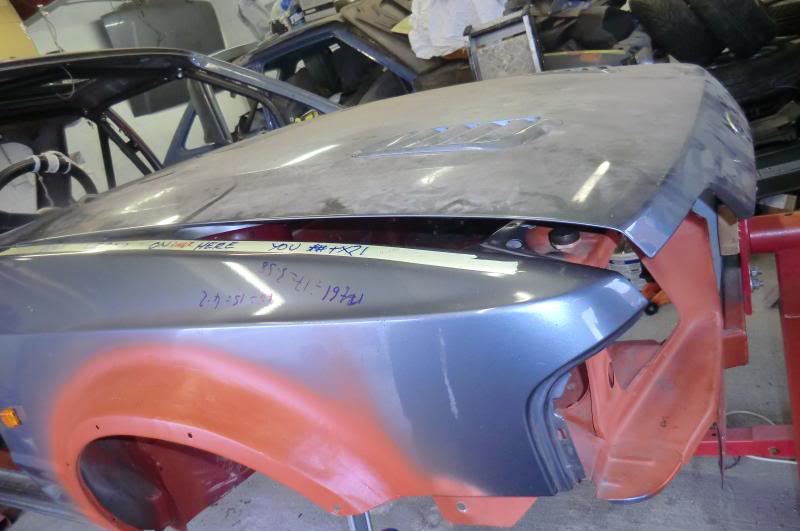
bollox, it's 40mm from closing.....
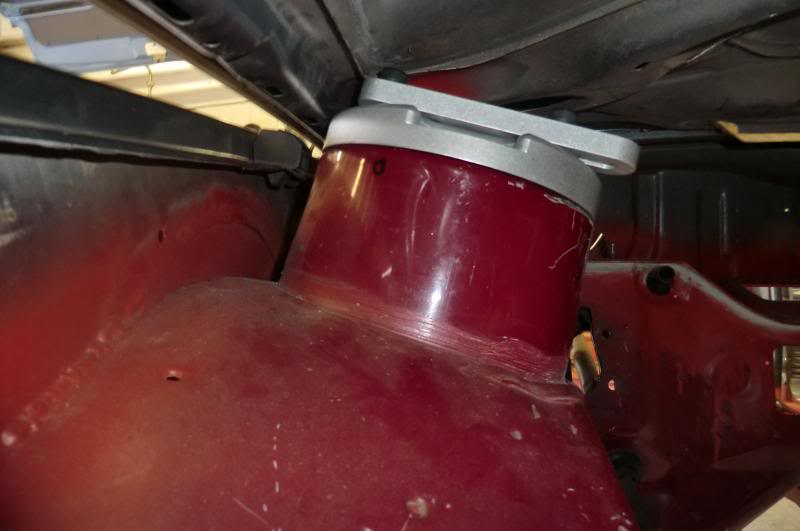
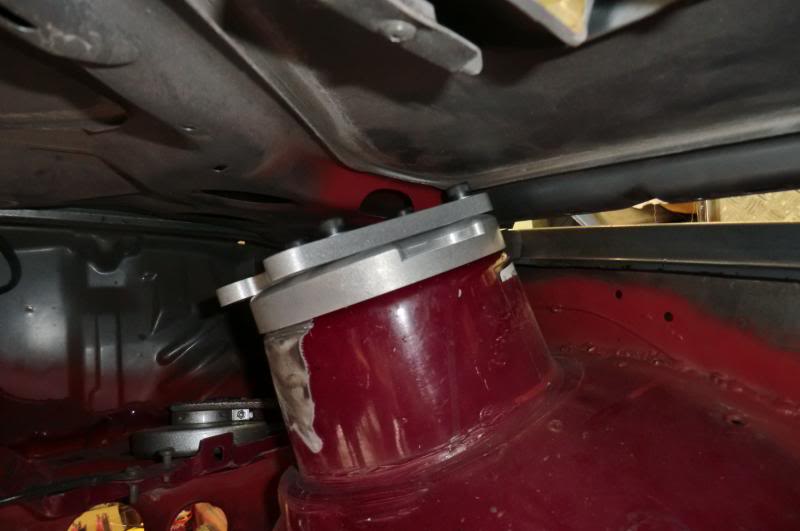
2 options, 1:- different mounts or 2:- cut holes in the bonnet :-( hopefully got a scrap bonnet lined up to cut up before i decide on the fate of the turbo bonnet.
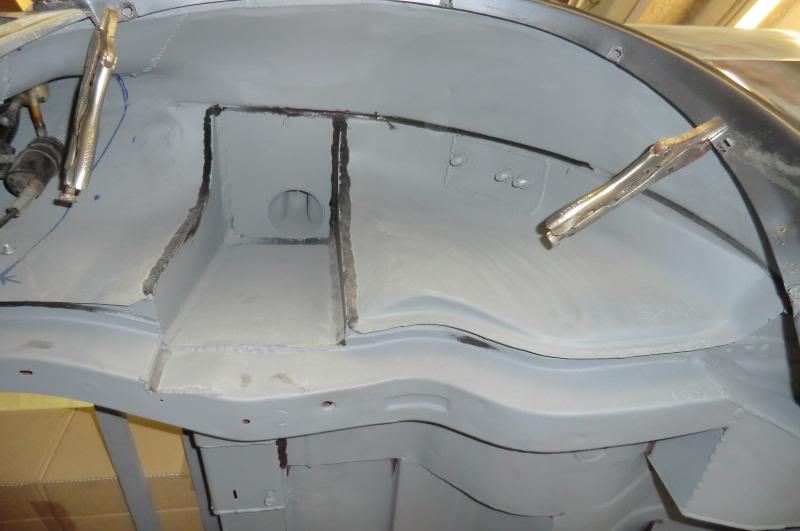
Next up was the passenger wing, this had been replaced when the car was about 4 years old, but the door hinge pillar area had been left as bare metal so was a bit scabby so needed to unpick the wing welds on the pillar to clean up and treat it.
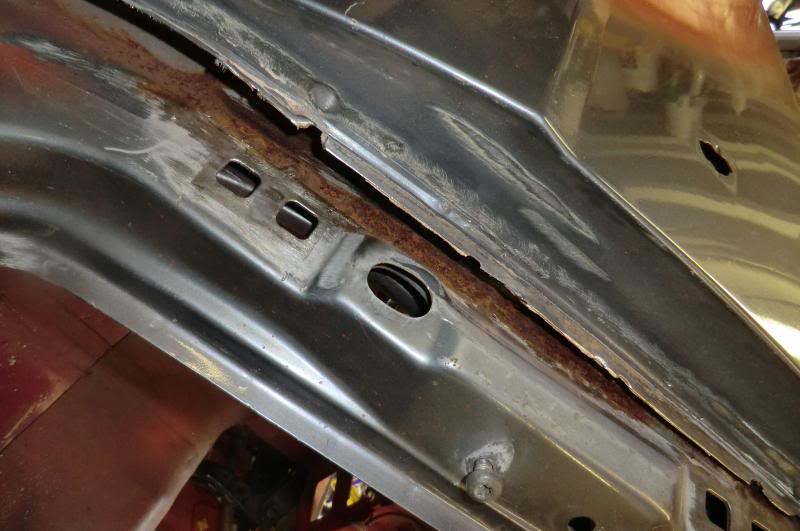
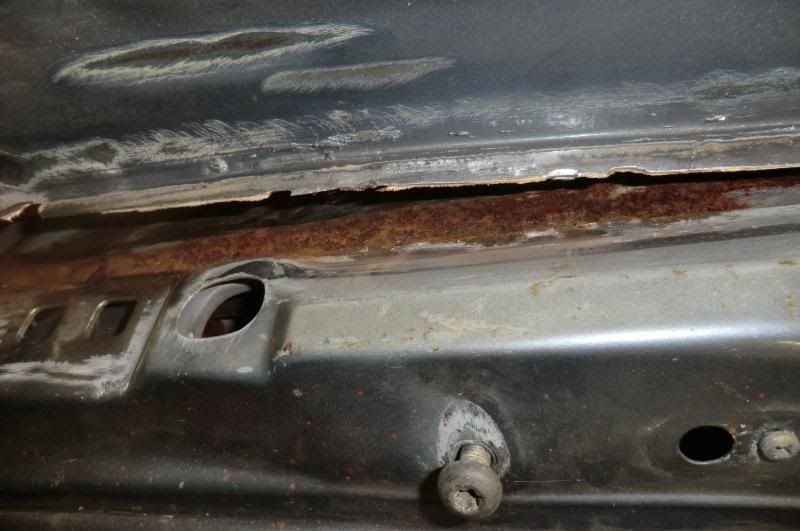

After a VERY long clean up it had a good coat of Kurust and left for 24 plus hours
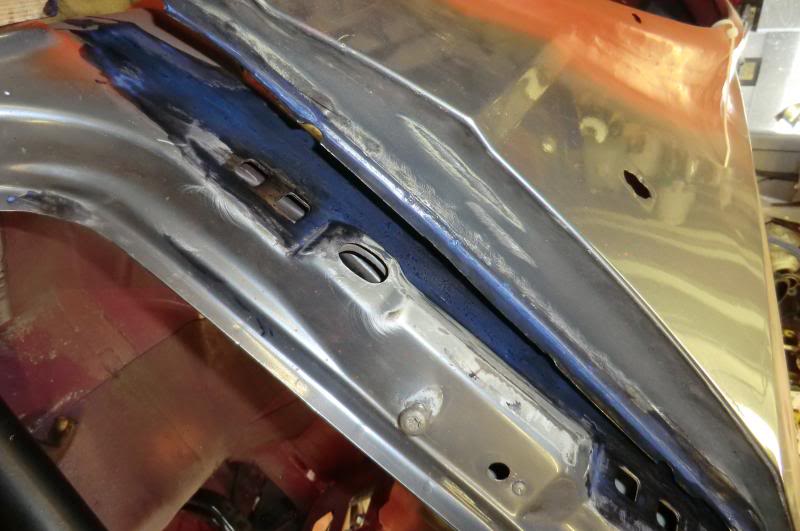
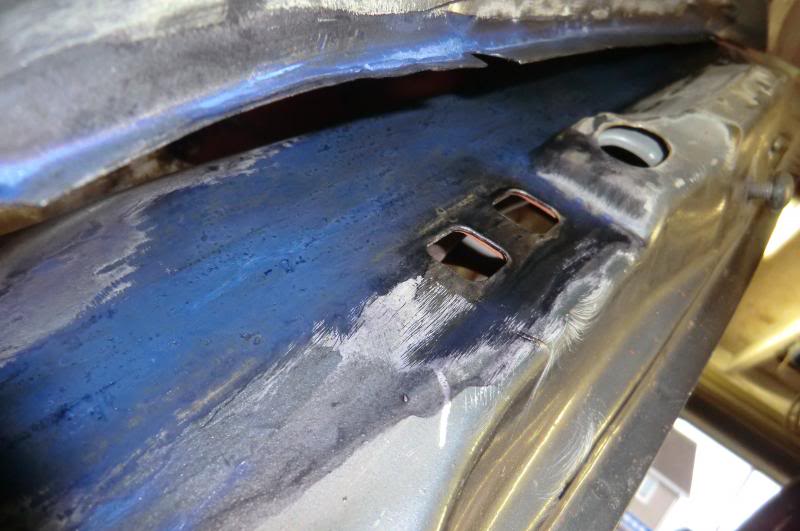
then the Kurust was sanded back and etch primed
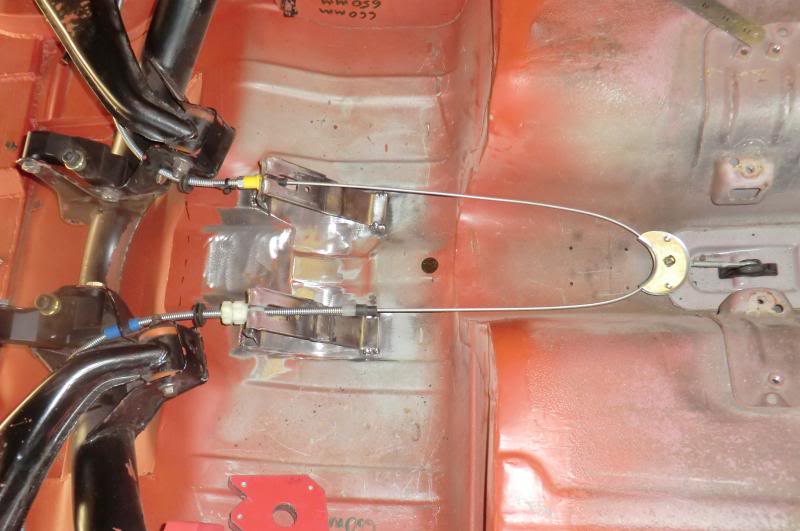
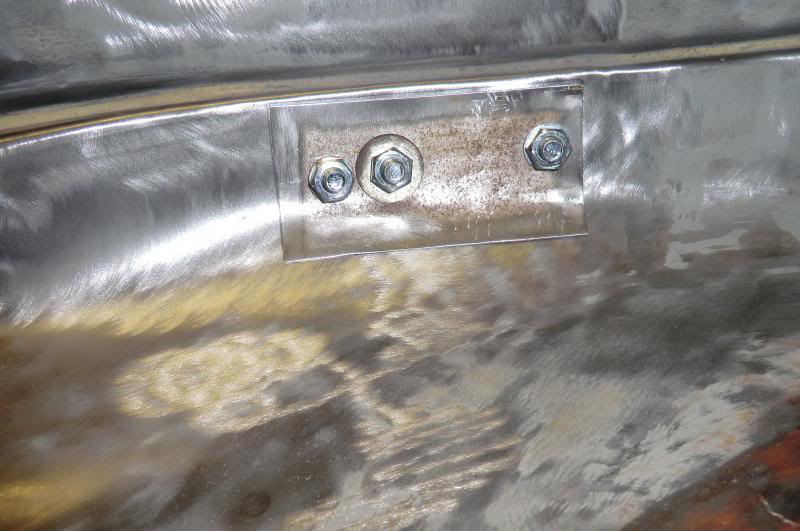
Hand brake mounting points fitted
more to come soon
Ginger
.
Been to long since i updated this, but i have been cracking on slowly so i'll do a few updates to get it upto where i am now as the newest version of photo bucket is shit :-(
Anyway, 1st up is the MK top mounts which where easy to fit


But when fitted i had a big issue

bollox, it's 40mm from closing.....


2 options, 1:- different mounts or 2:- cut holes in the bonnet :-( hopefully got a scrap bonnet lined up to cut up before i decide on the fate of the turbo bonnet.
Next up was the passenger wing, this had been replaced when the car was about 4 years old, but the door hinge pillar area had been left as bare metal so was a bit scabby so needed to unpick the wing welds on the pillar to clean up and treat it.


After a VERY long clean up it had a good coat of Kurust and left for 24 plus hours


then the Kurust was sanded back and etch primed


Hand brake mounting points fitted


more to come soon
Ginger
.
27-06-2013, 08:29 PM
#208
.
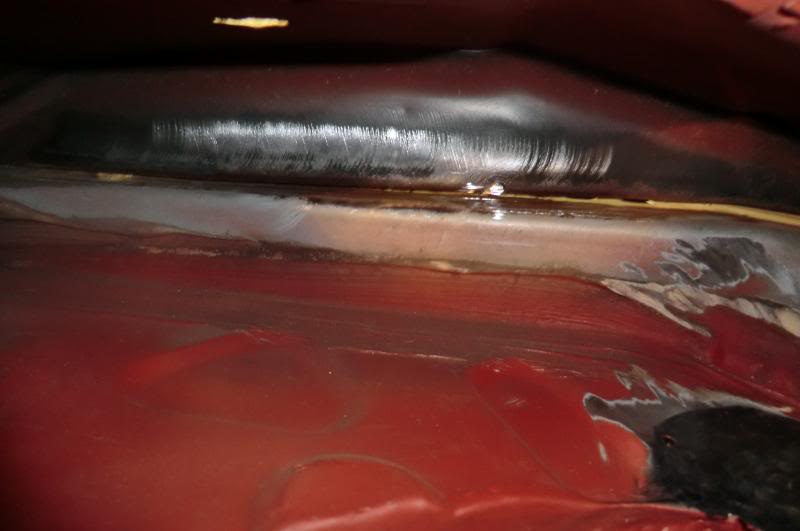
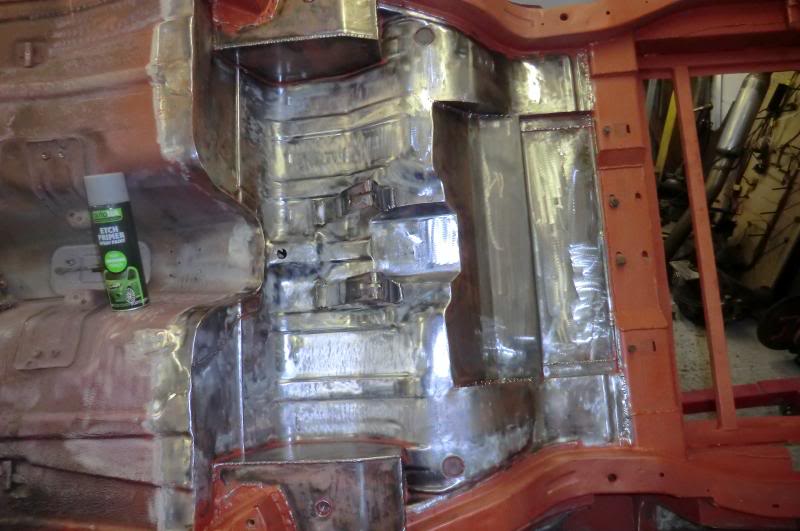
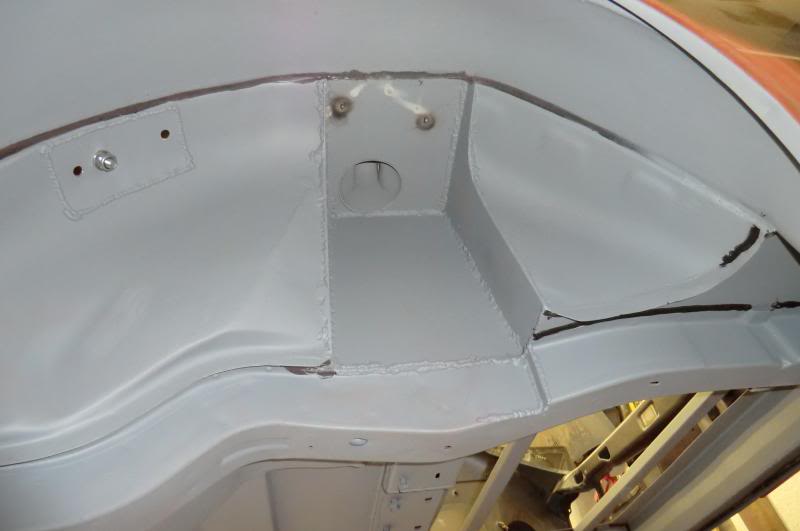
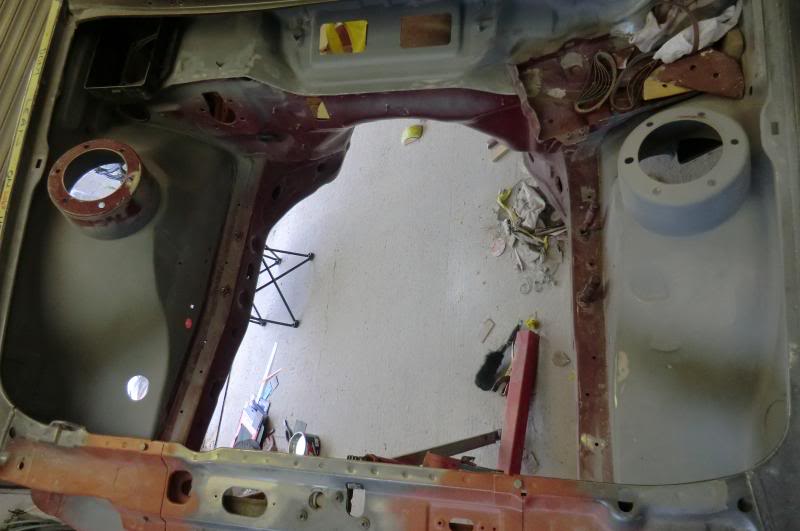
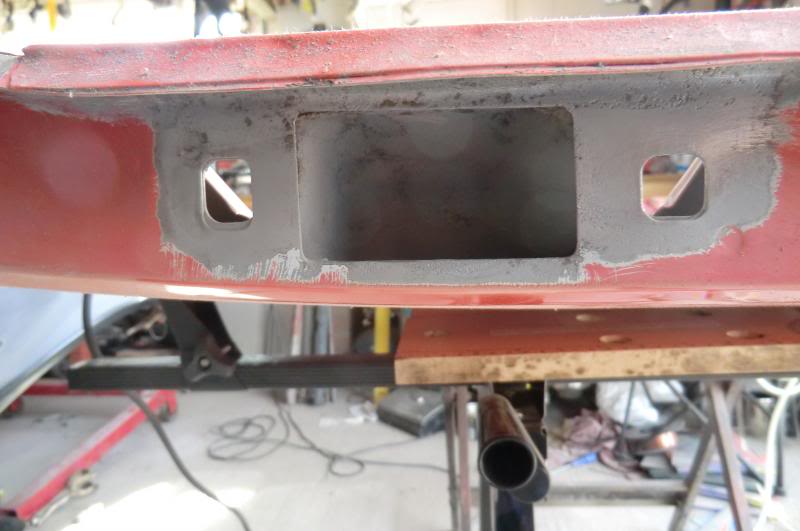
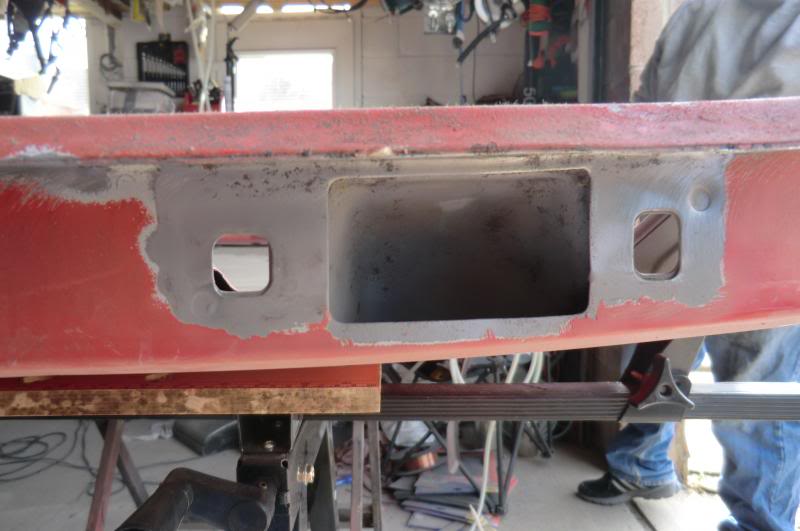
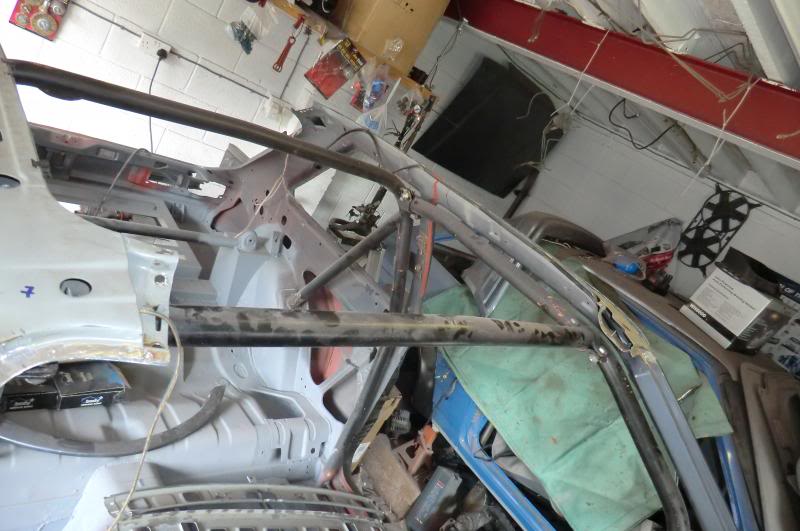
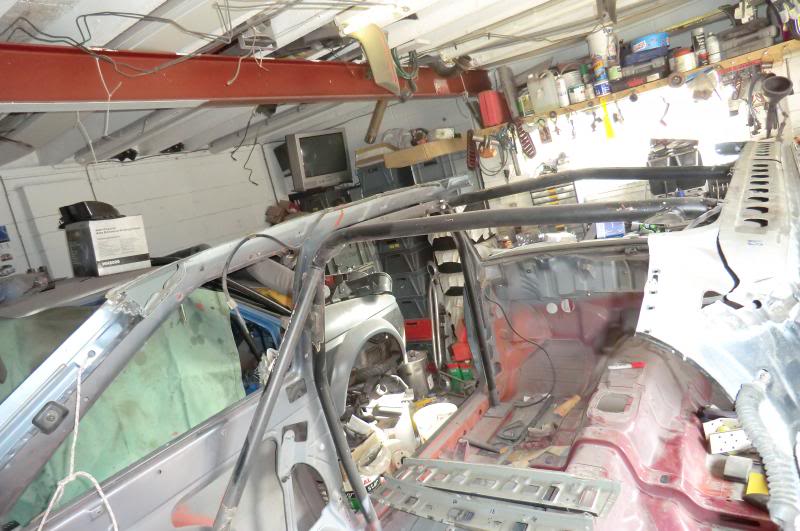
With the cage dummy fitted i needed to put some strenghtening plates in the rear tub's/ arch's, so the inner rear arches were bare metaled and every square mm of red oxide from under the rear of the car was striped back to bare metal
ready for welding
red oxide removal
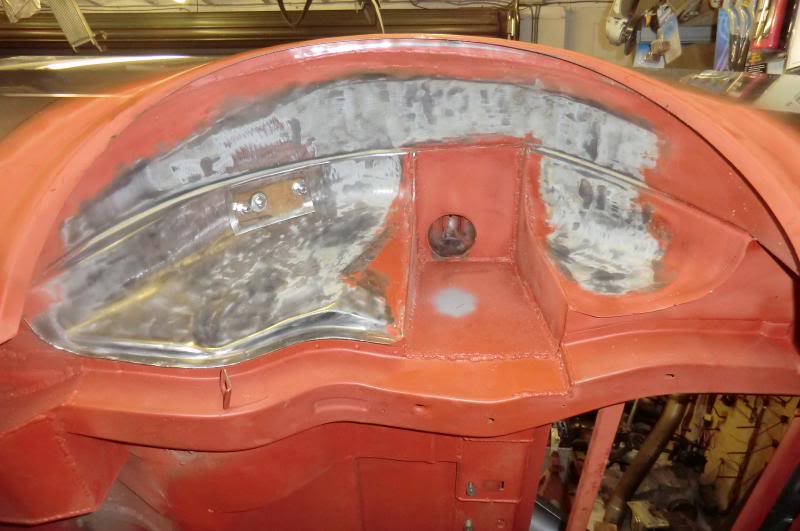
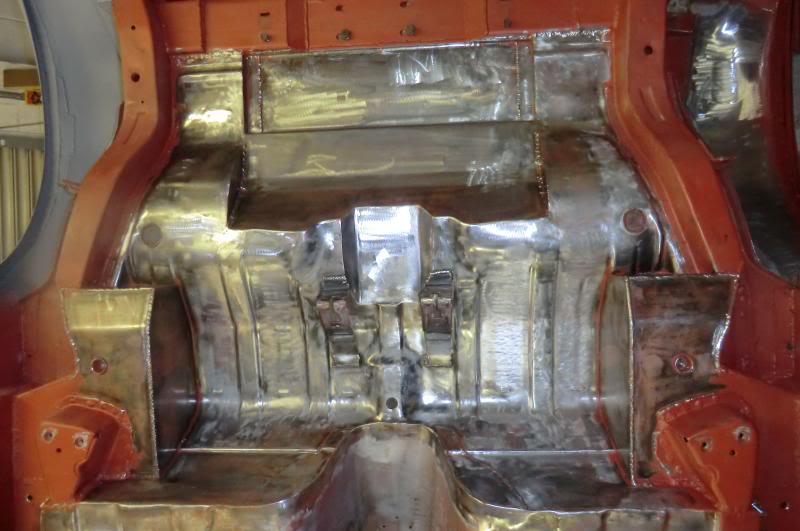
Now because of the rear floor shape i removed the back rest mounts and moved them up 15mm so they clear the diff tunnel

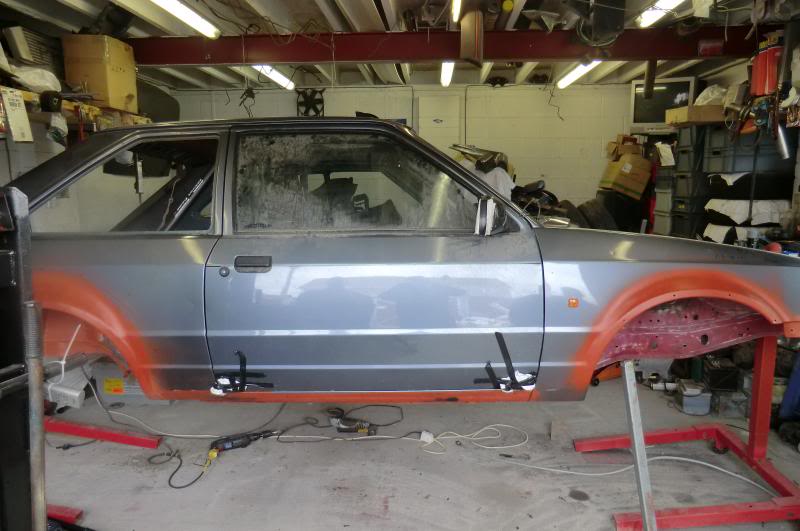
Trial fitted the driver door just to check everything was ok, and all good
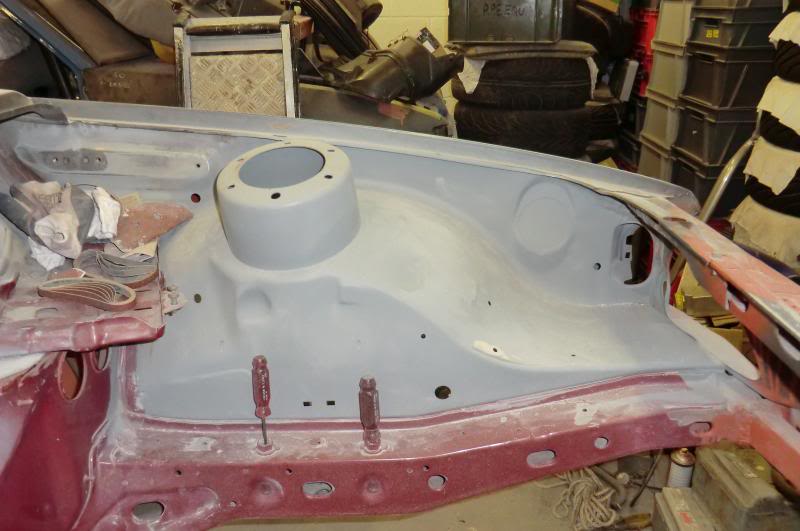
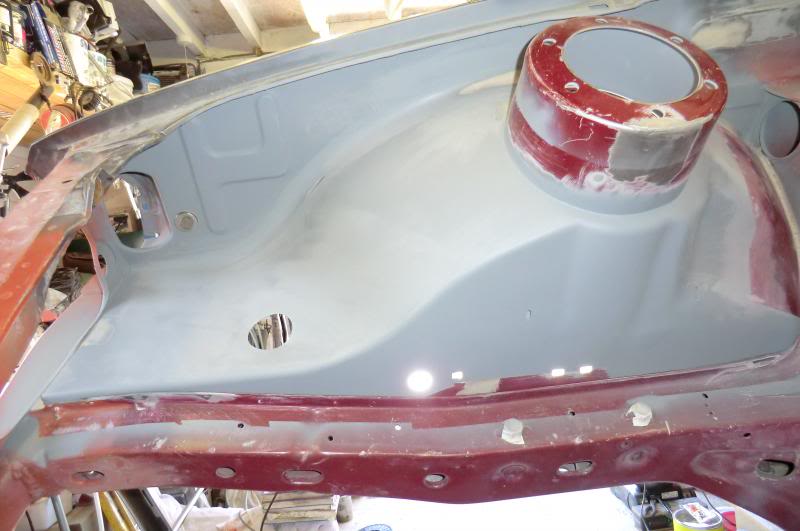
And in etch primer

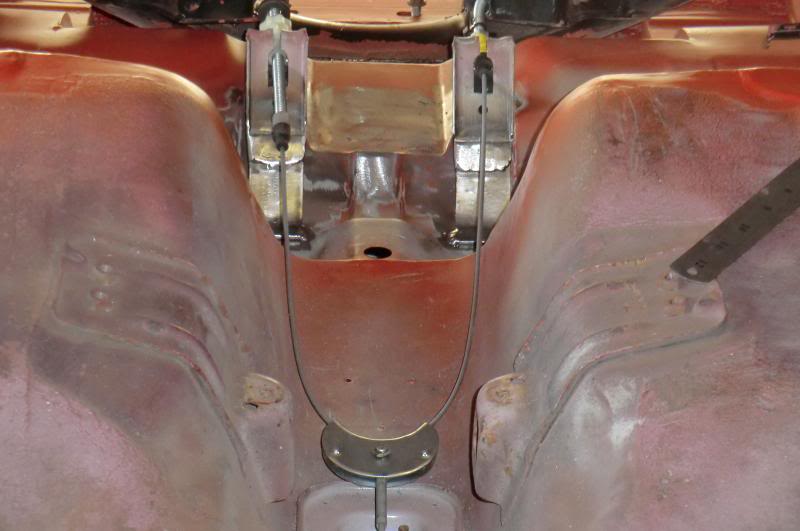
And the inside with the 4 seat fixings in place
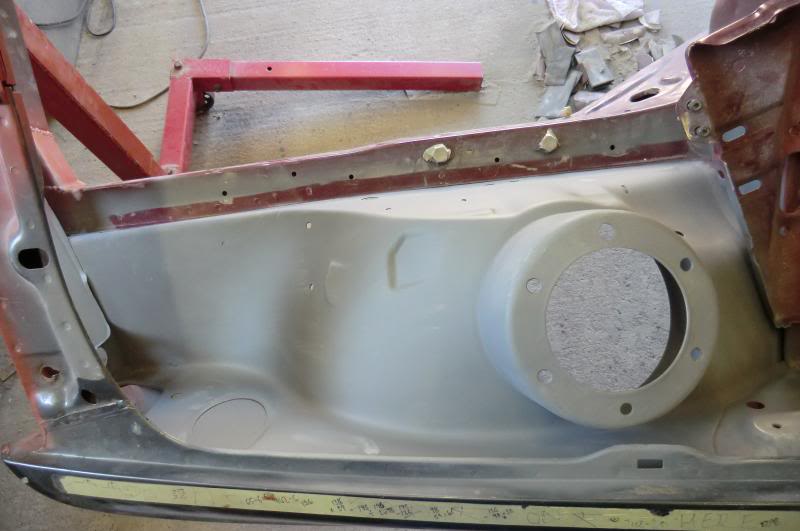
And the fuel pipe cover
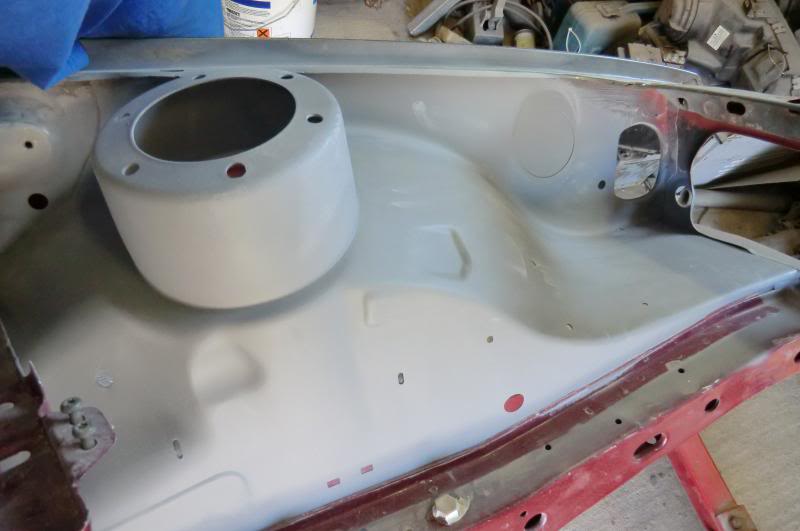
Also got all the holes in the front inner tubs welded striped back and finished off.
thats it for now
Ginger
.
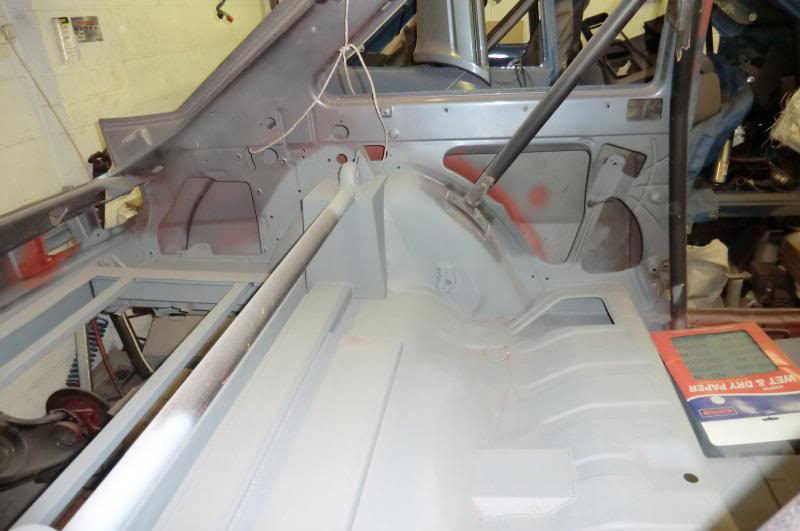
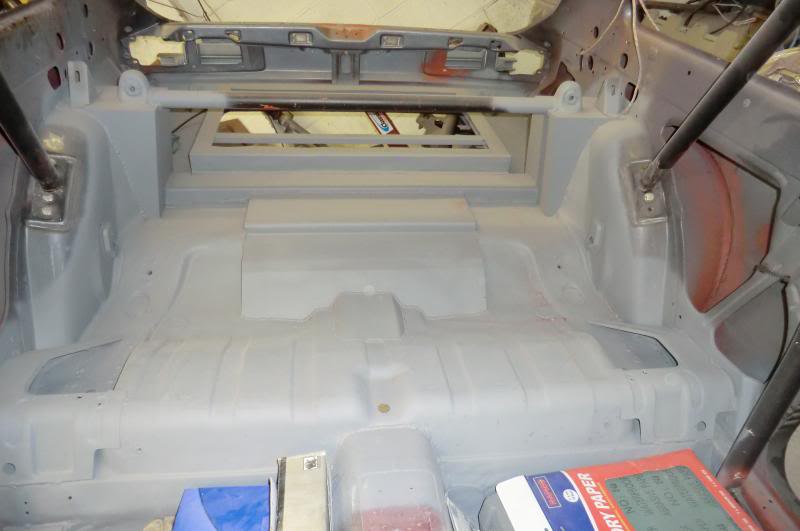
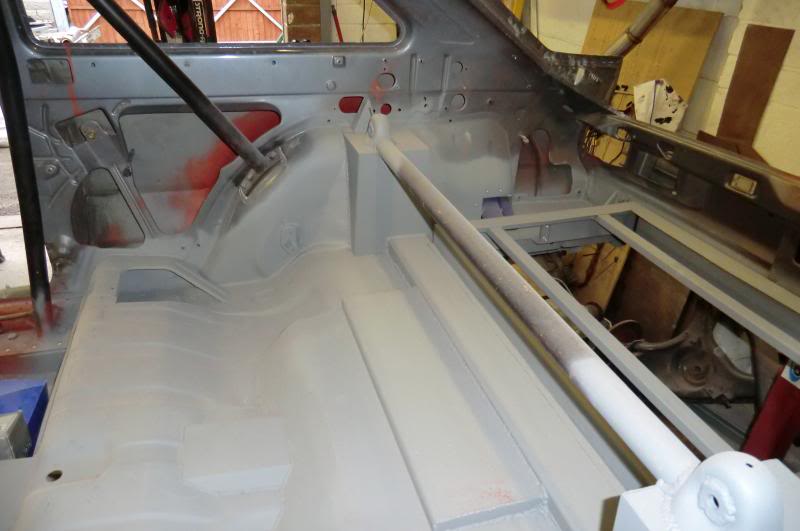
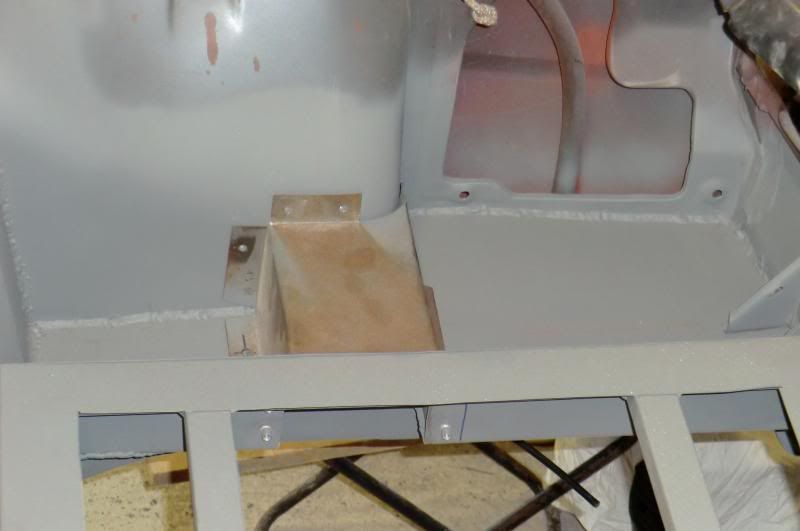
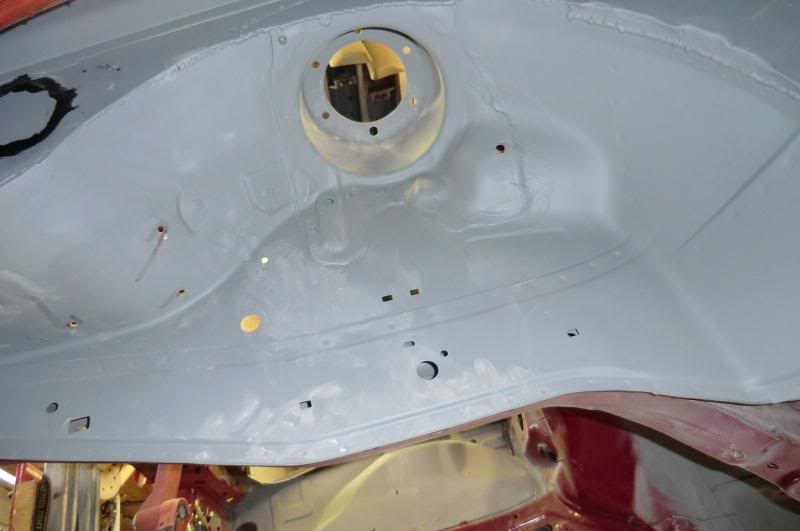
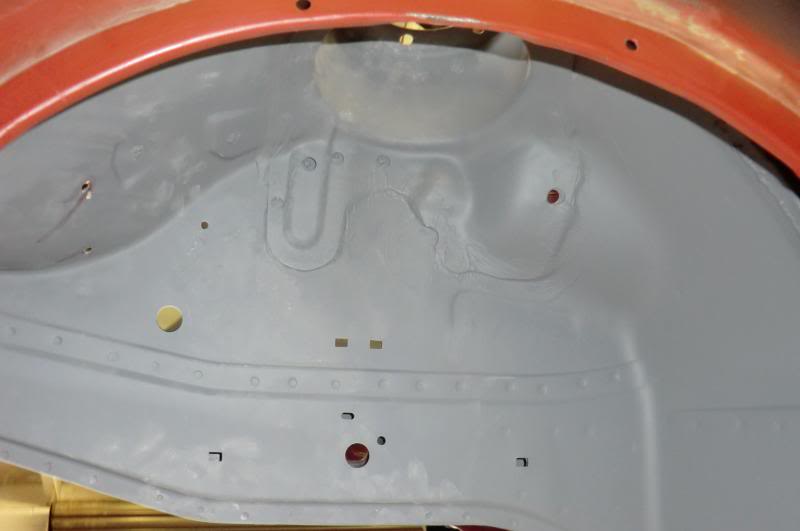
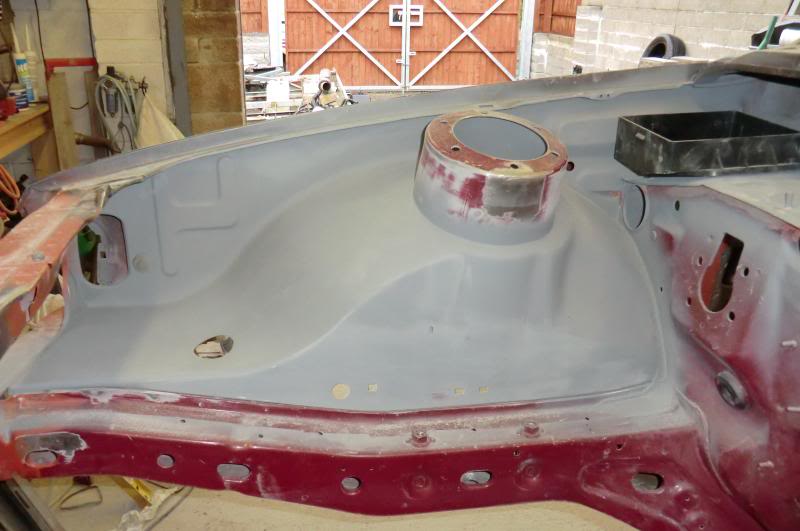
With the cage dummy fitted i needed to put some strenghtening plates in the rear tub's/ arch's, so the inner rear arches were bare metaled and every square mm of red oxide from under the rear of the car was striped back to bare metal
ready for welding

red oxide removal


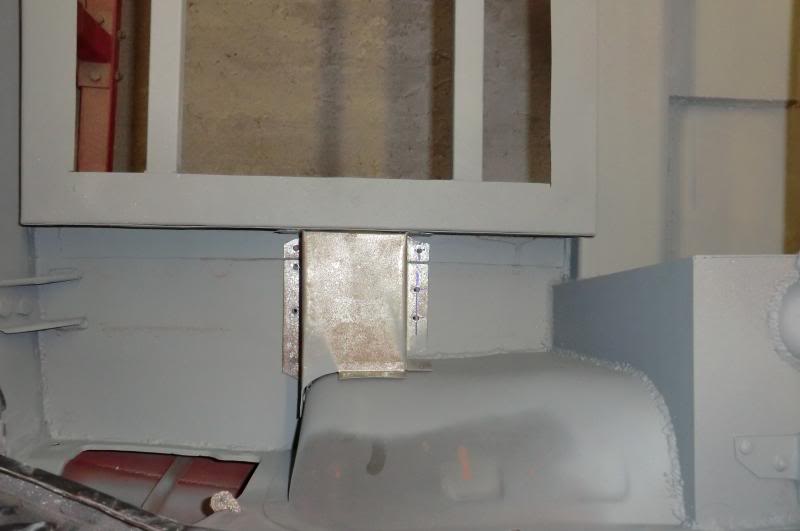
Now because of the rear floor shape i removed the back rest mounts and moved them up 15mm so they clear the diff tunnel

Trial fitted the driver door just to check everything was ok, and all good


And in etch primer


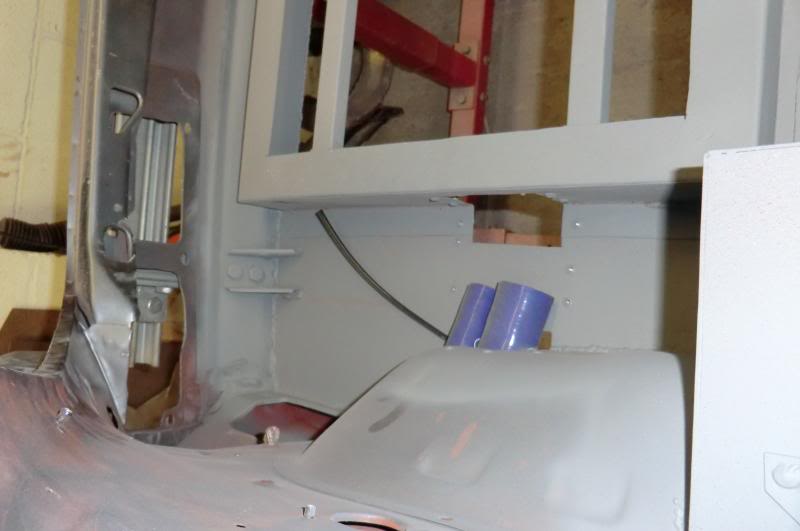
And the inside with the 4 seat fixings in place


And the fuel pipe cover


Also got all the holes in the front inner tubs welded striped back and finished off.


thats it for now
Ginger
.

 30-06-2013, 08:15 PM
#214
.
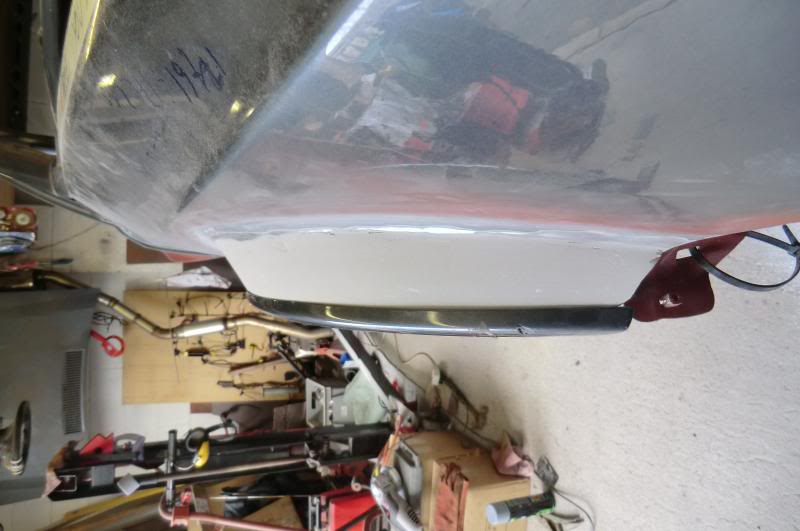
Bit of an up date regarding progress with the arches,
What a ball ache of a job, it's taken me far to long to do just the one drivers front even to a point where i seriously thought about a wide arch Gartrac kit at one point, But i kept at it and this is the result
Quick pic of what it looked like before i started
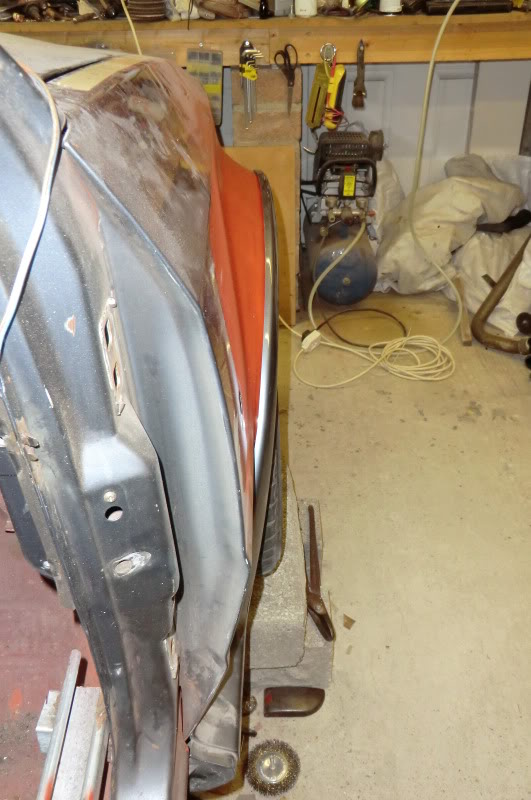
Striped all the red oxide off first
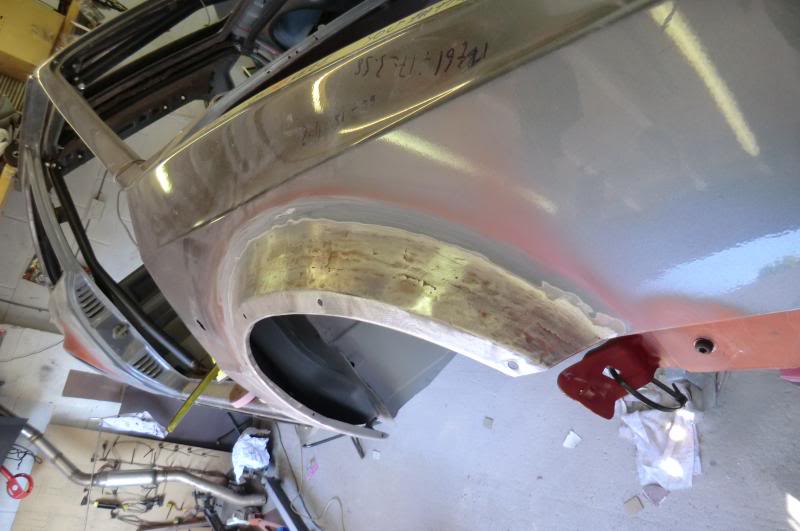
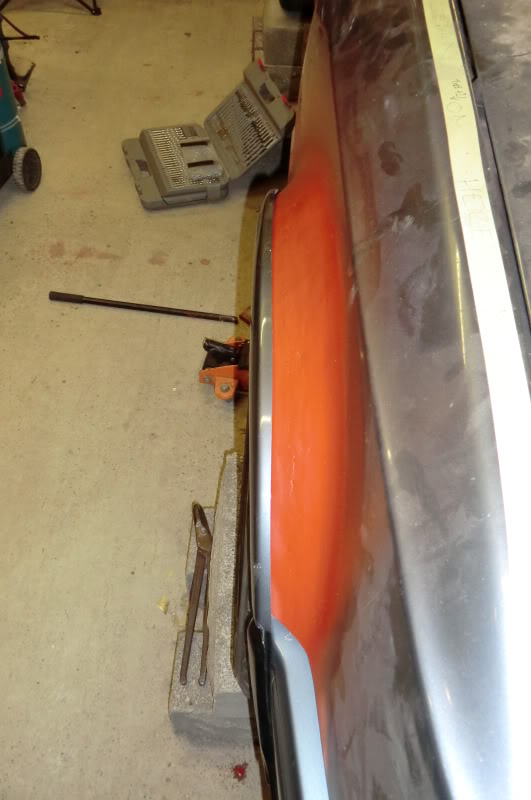
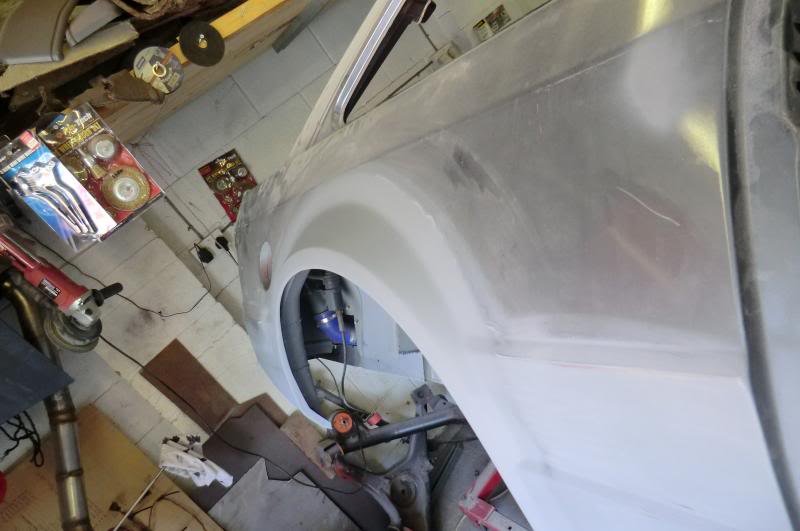
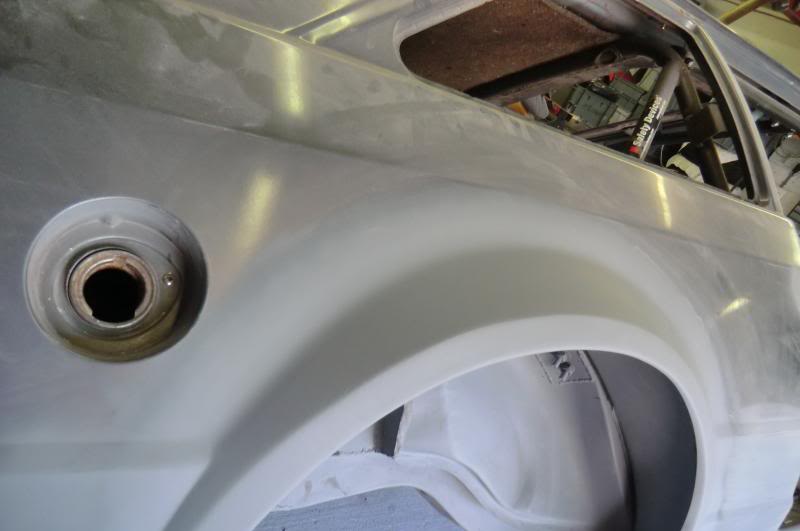
Then filler was applied with the kit attached with yellow insulation tape along it's matting face so as to get the shape right (pics are after some snading and shaping)
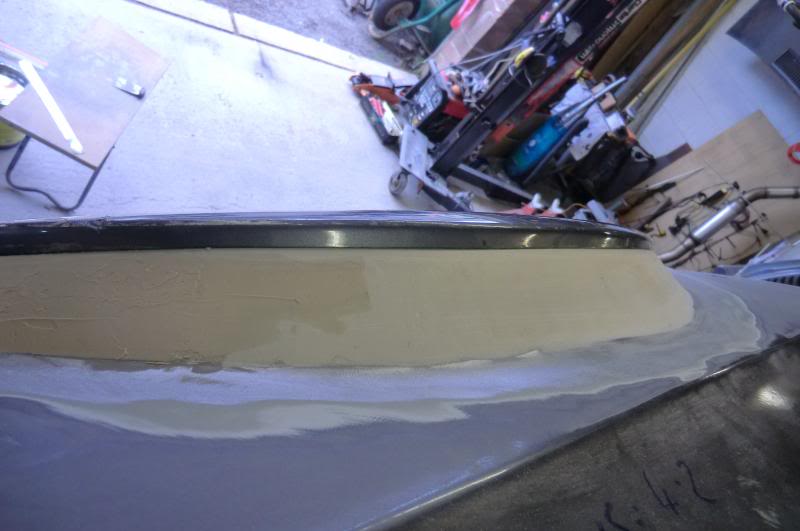
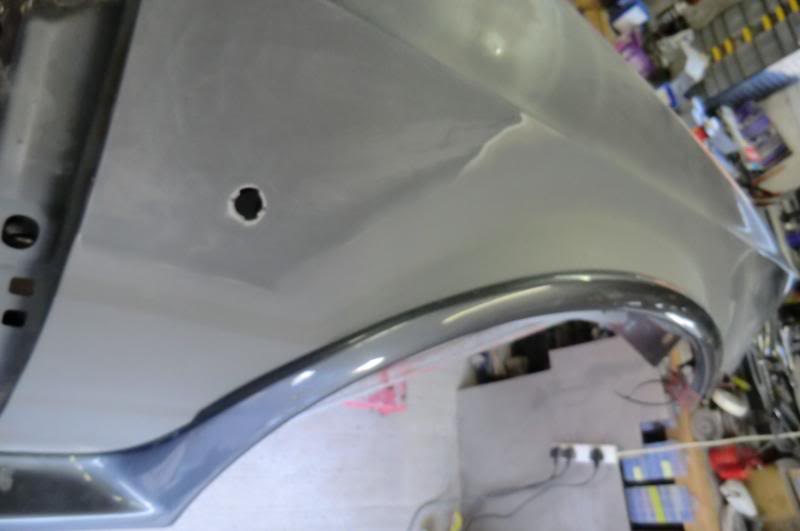
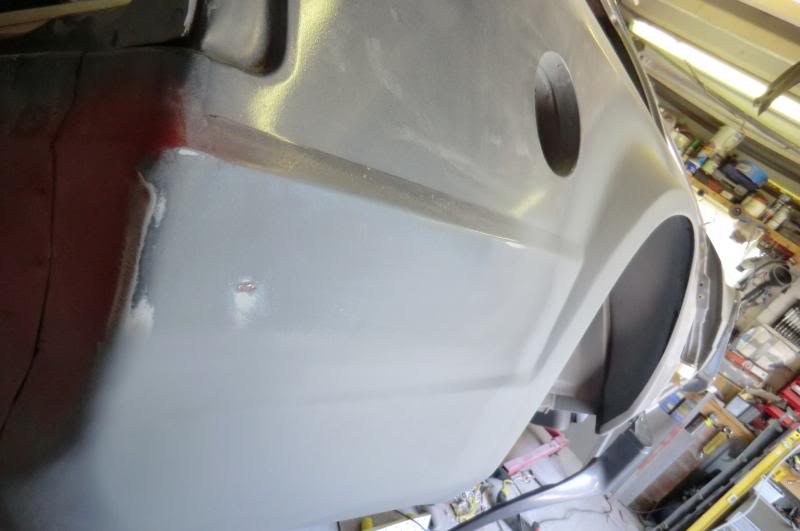
With the arch fitting nicely i had a small gap where the kit sits against the wing between the 2 swage lines below the side repeater so a small skim of filler was needed to reshape the wing
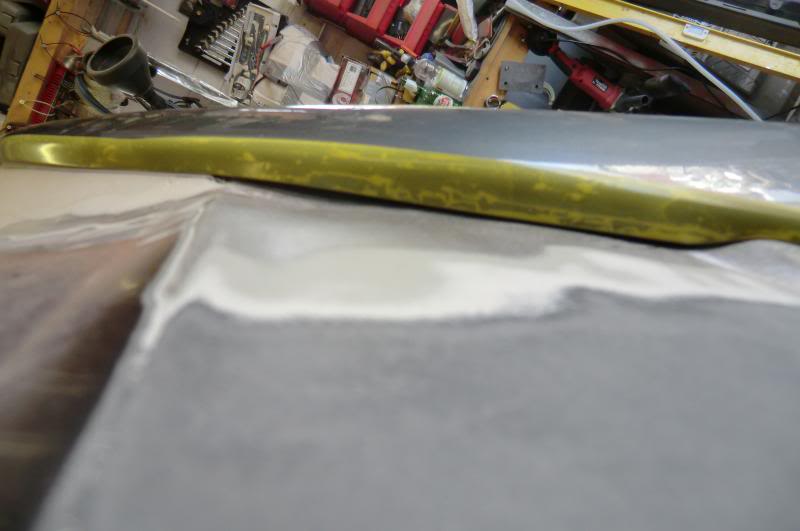

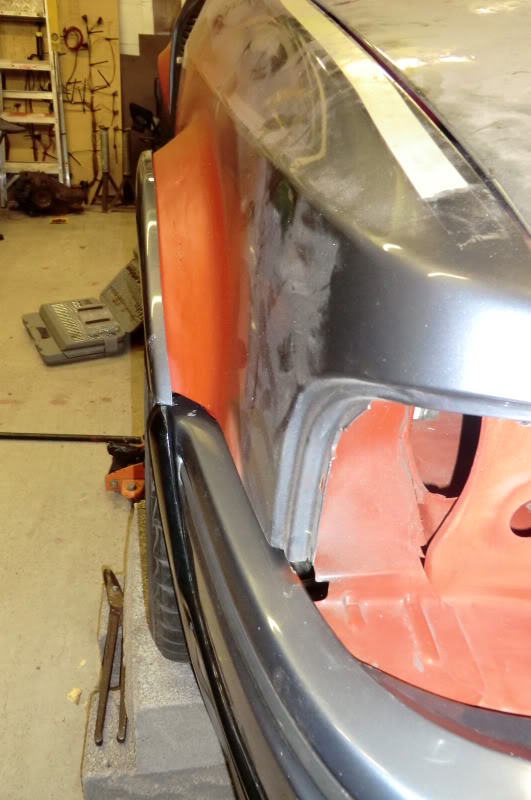
and the end result
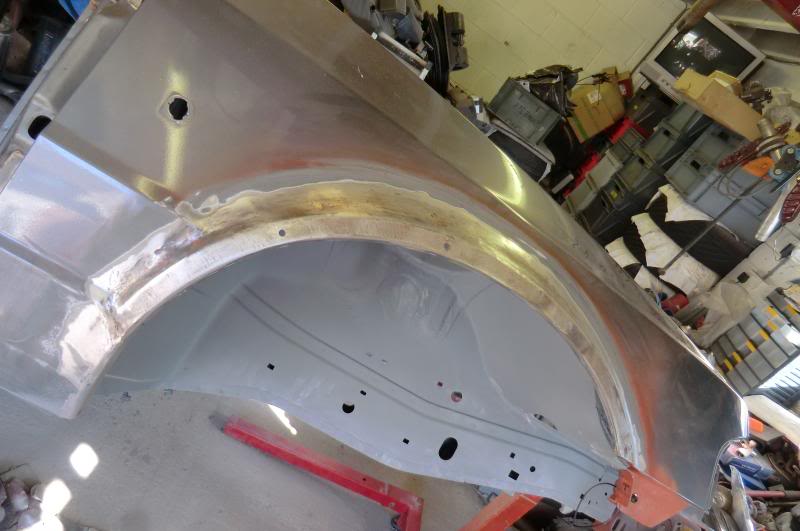
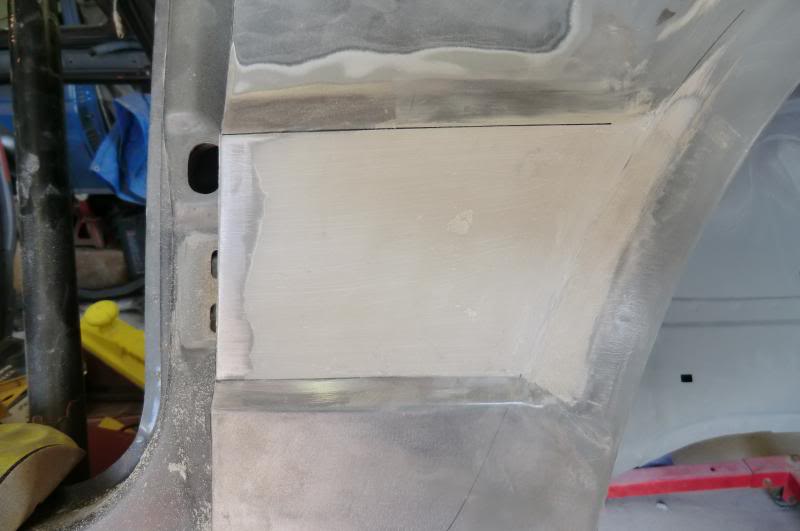
Then got some etch primer on there as there was some bare metal to cover aswell,
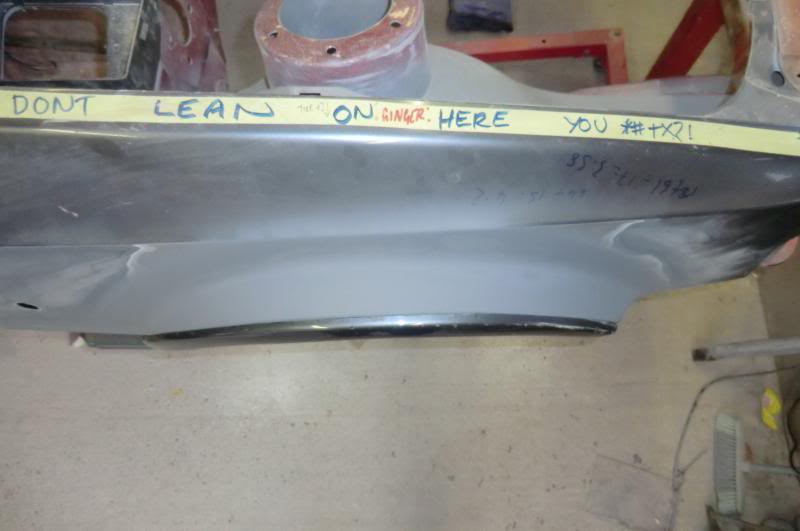
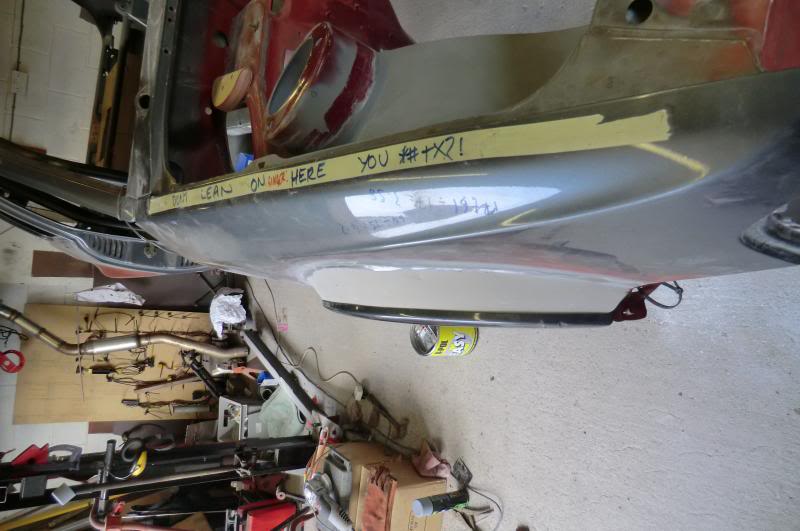
Made a right angle with 2 steel rulers to give an idea of the overall width
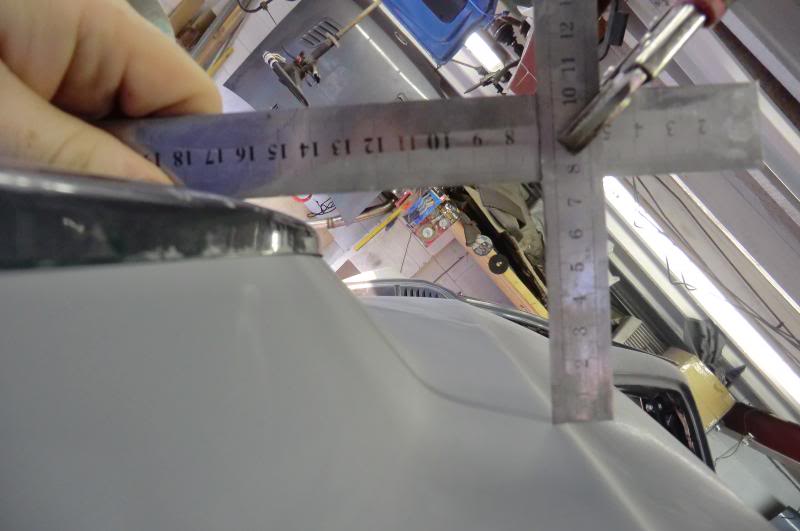
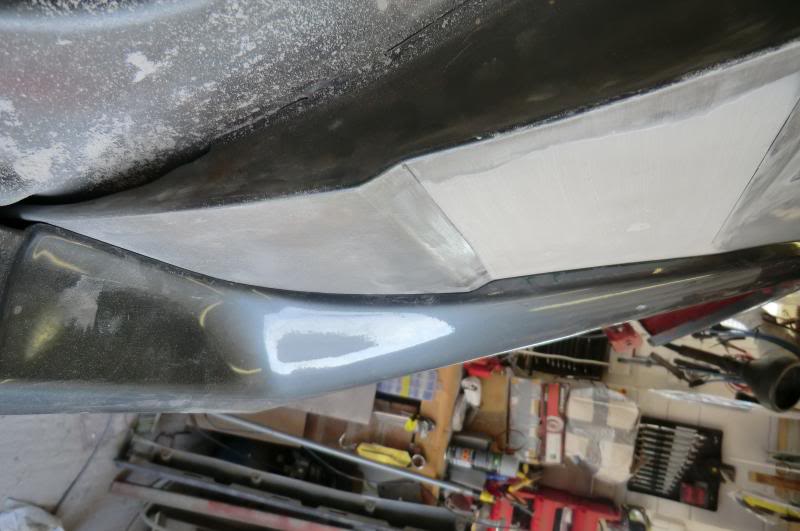
Looks pretty good if i do say so myself
I'm in the process of doing the rear arch so will get some pics up in a few days
Cheers for looking
Ginger
.
.
Bit of an up date regarding progress with the arches,
What a ball ache of a job, it's taken me far to long to do just the one drivers front even to a point where i seriously thought about a wide arch Gartrac kit at one point, But i kept at it and this is the result
Quick pic of what it looked like before i started


Striped all the red oxide off first


Then filler was applied with the kit attached with yellow insulation tape along it's matting face so as to get the shape right (pics are after some snading and shaping)


With the arch fitting nicely i had a small gap where the kit sits against the wing between the 2 swage lines below the side repeater so a small skim of filler was needed to reshape the wing


and the end result


Then got some etch primer on there as there was some bare metal to cover aswell,


Made a right angle with 2 steel rulers to give an idea of the overall width

Looks pretty good if i do say so myself
I'm in the process of doing the rear arch so will get some pics up in a few days
Cheers for looking
Ginger
.
.
 16-07-2013, 09:11 PM
#221
.
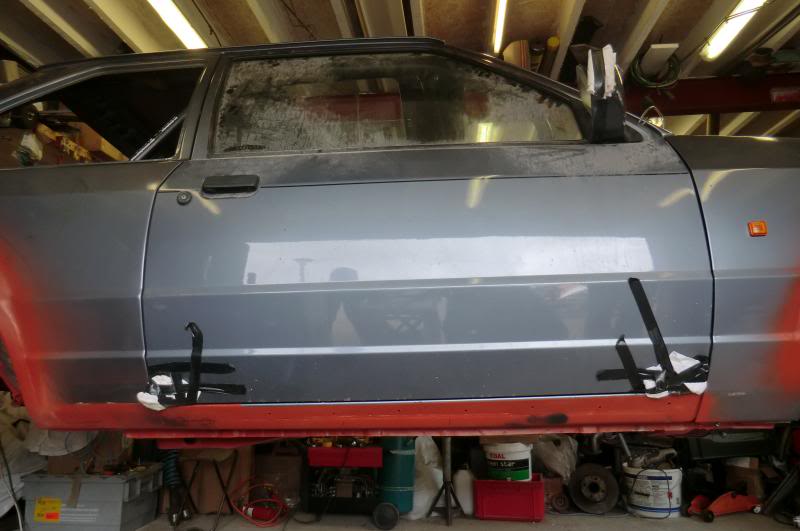
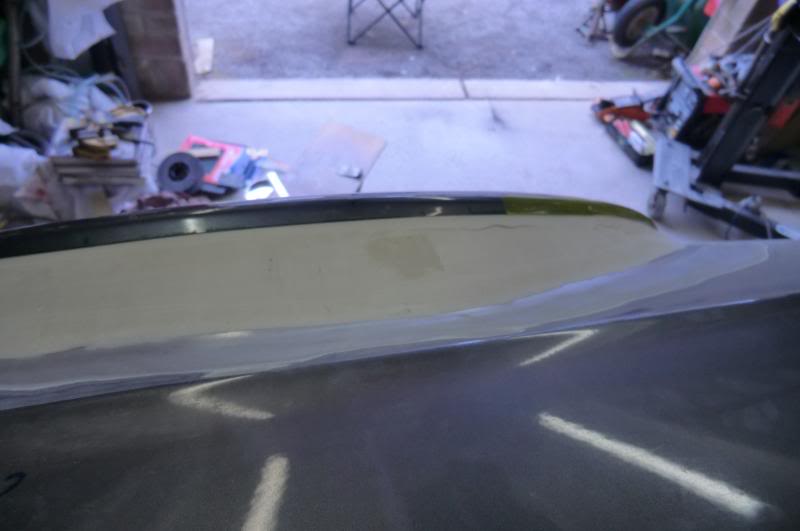
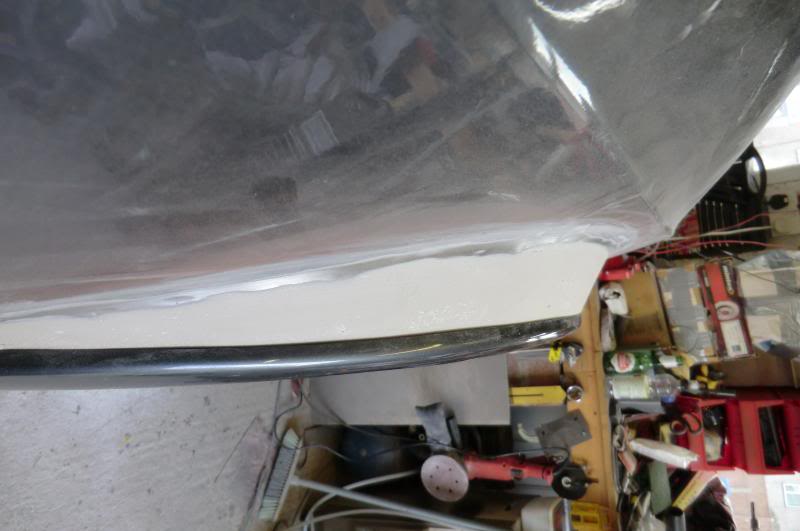
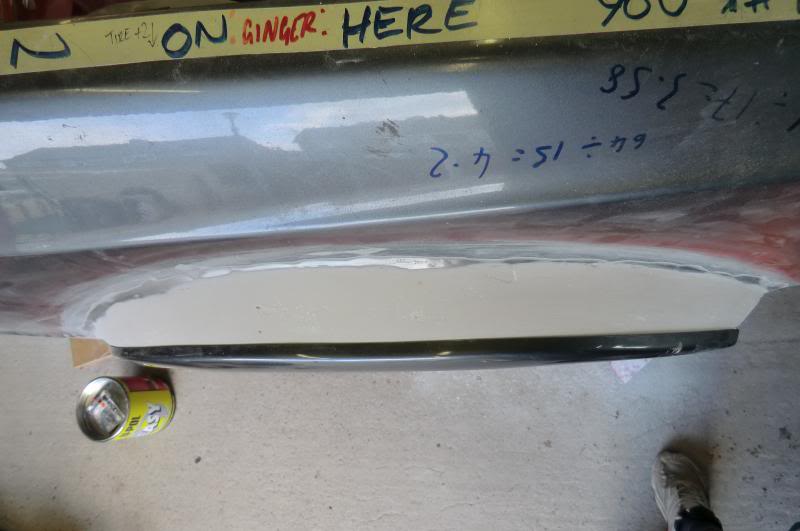
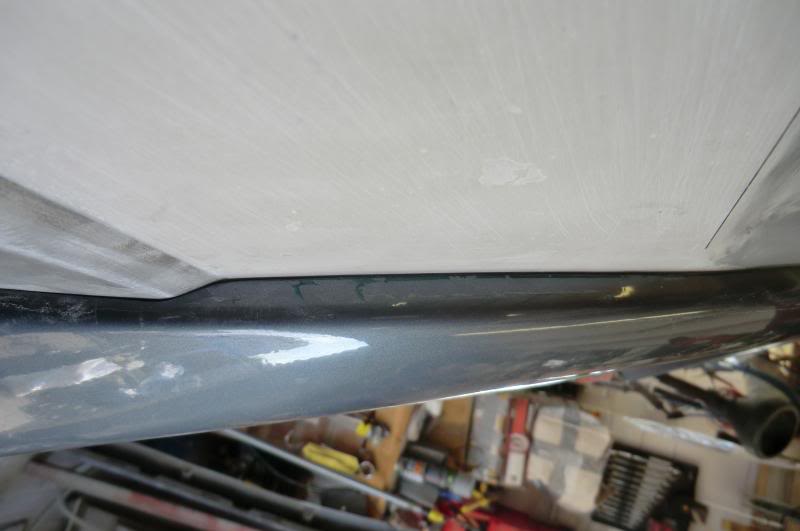
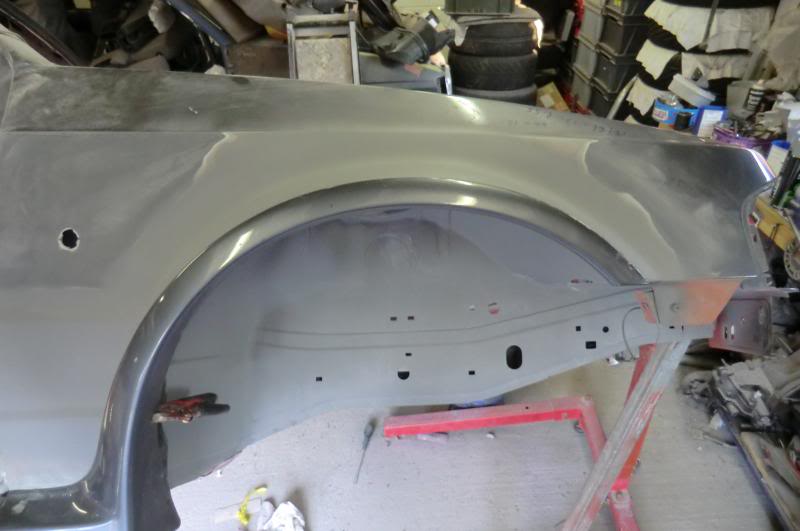
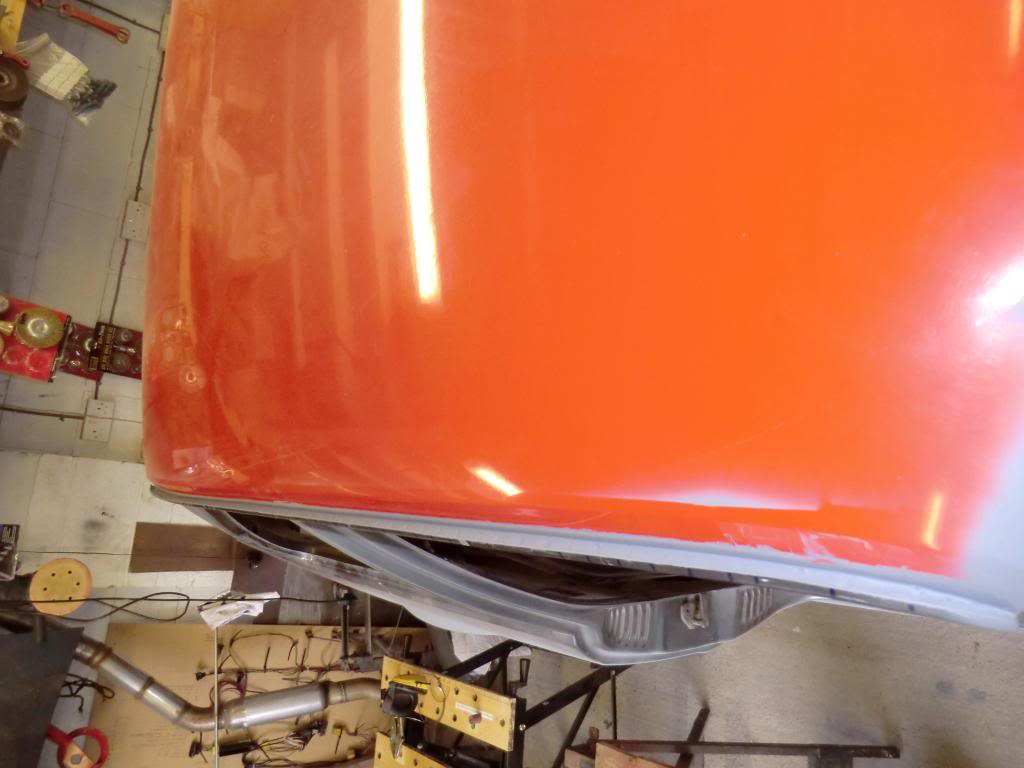
Bit of an update. made a start on the rear arch/quarter, looks wicked
It looks wicked with the kit on, subtle and will fool a lot of people if it's not parked next to a standard one
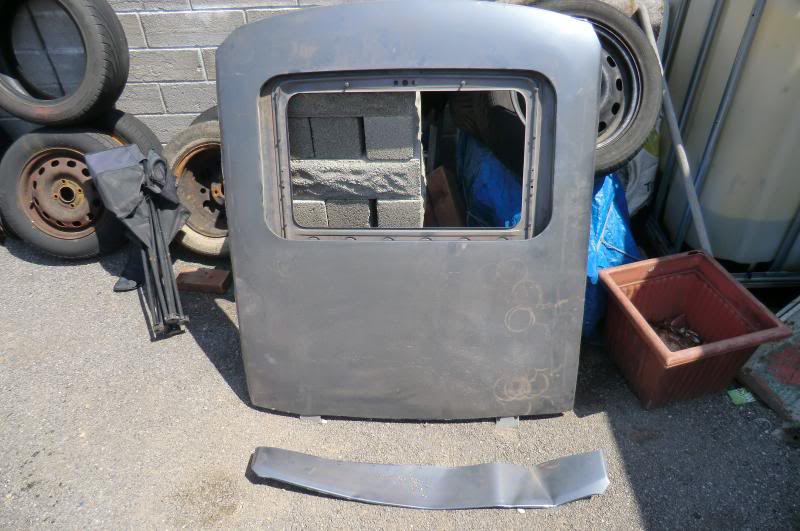
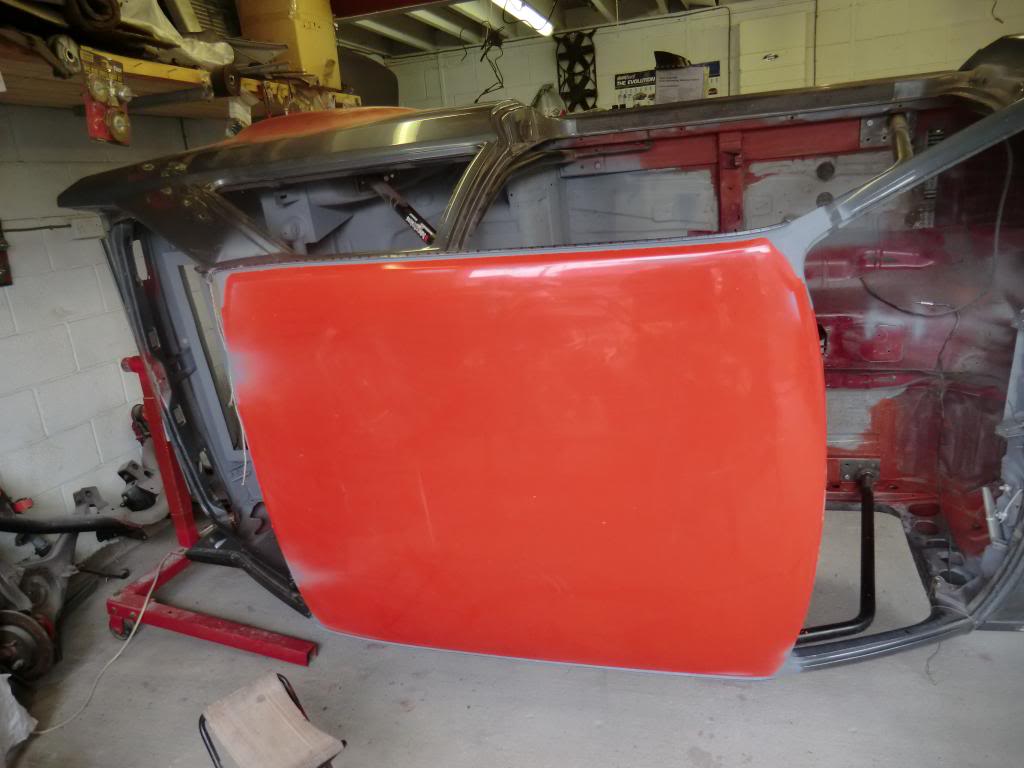
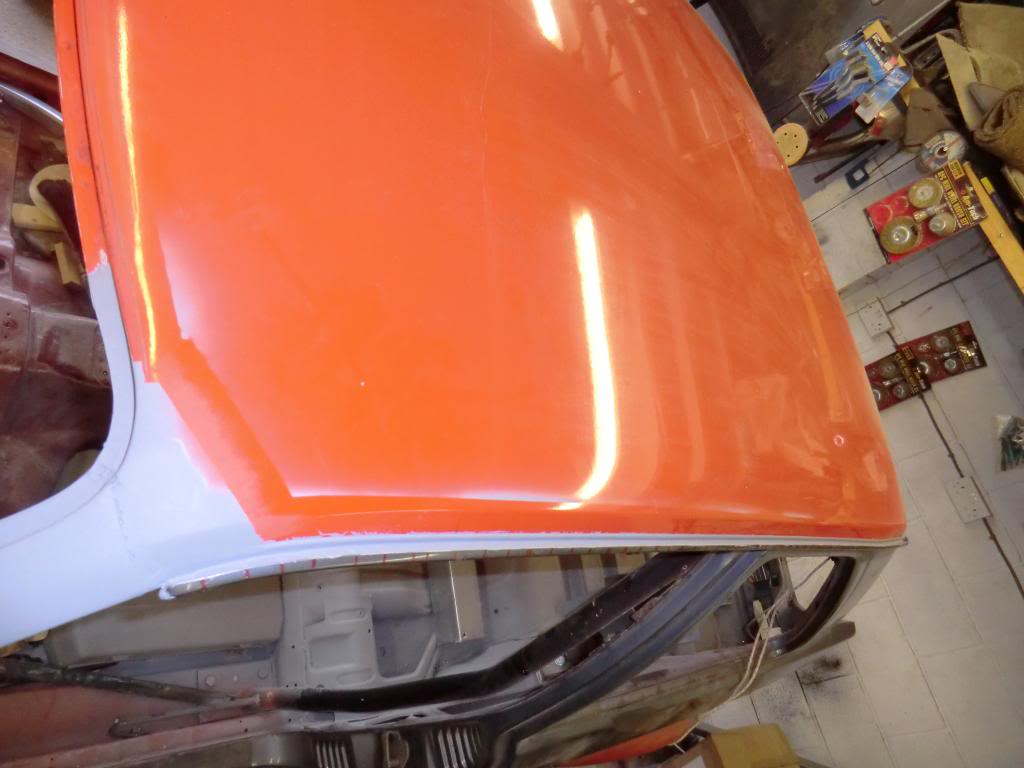
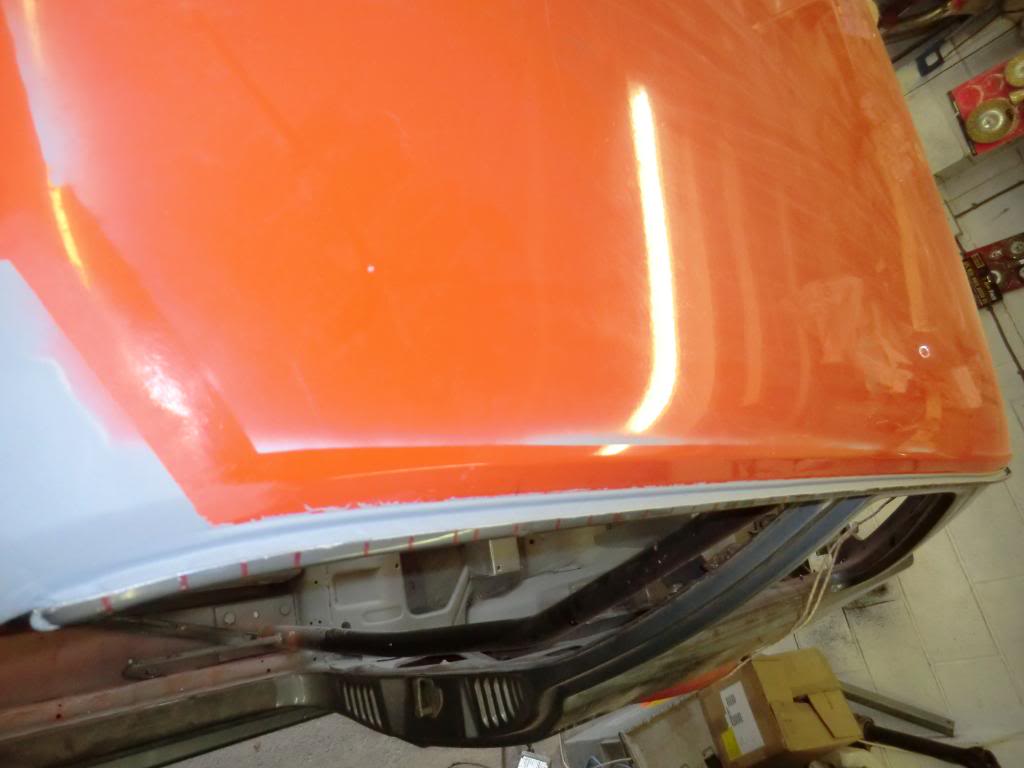
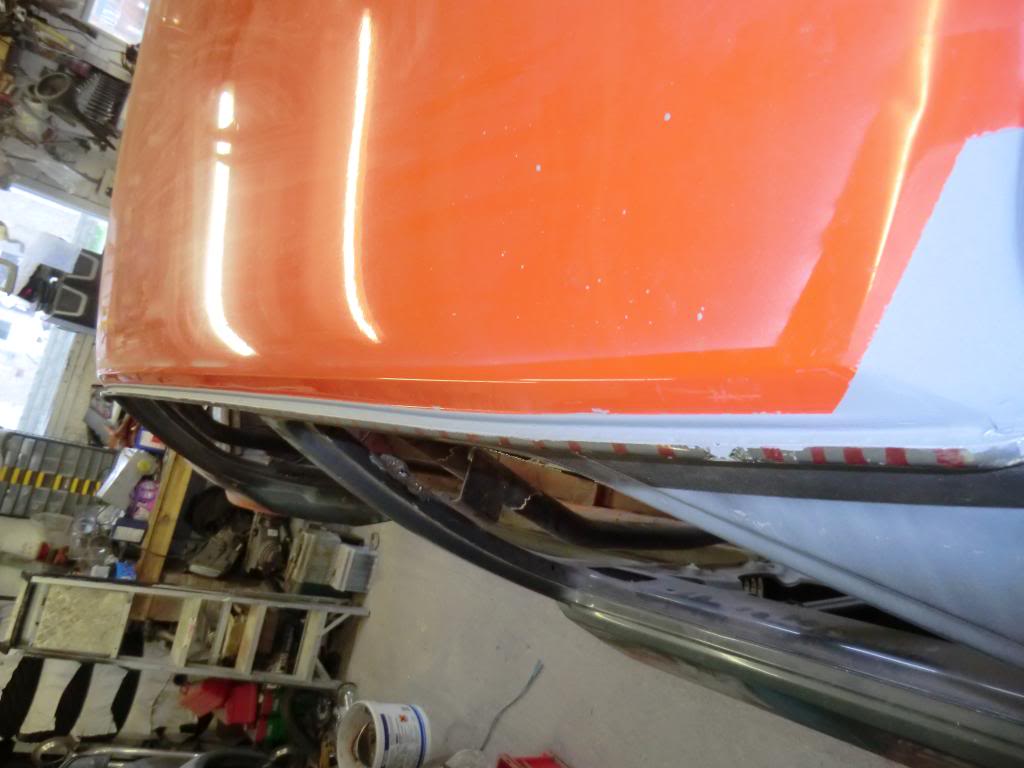
Also managed to get a nonsunroof roof and a PROPER 100% rust free immaculate boot
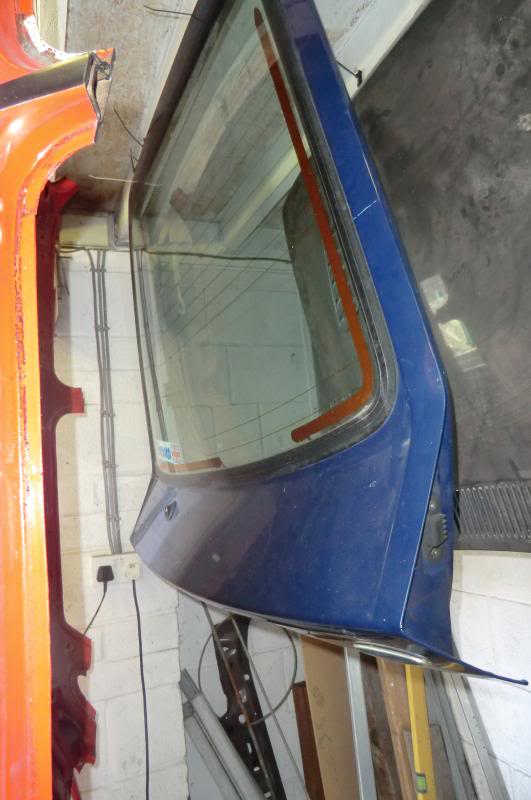


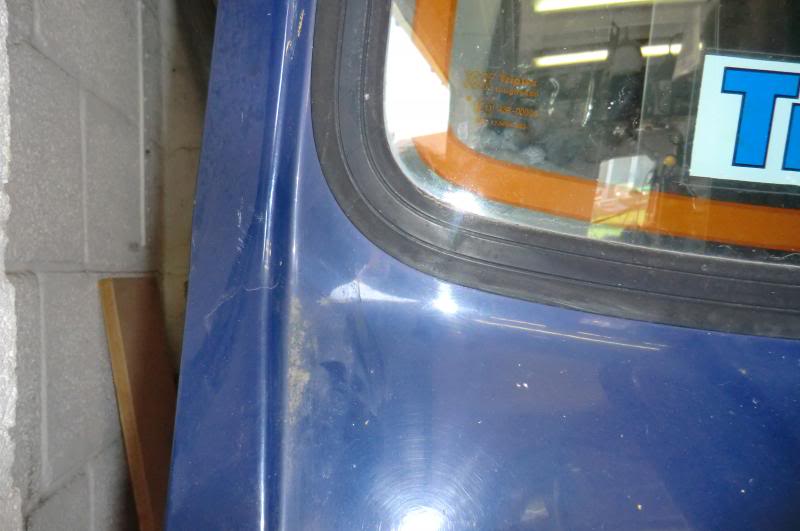
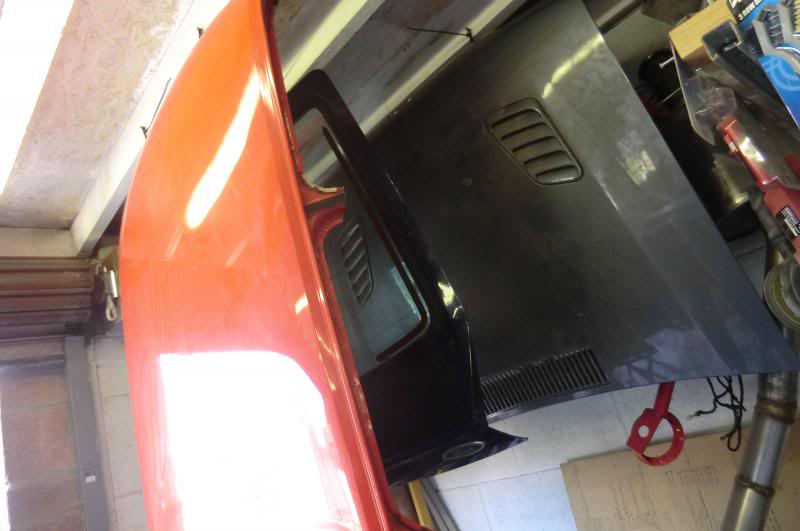
for �200 well happy
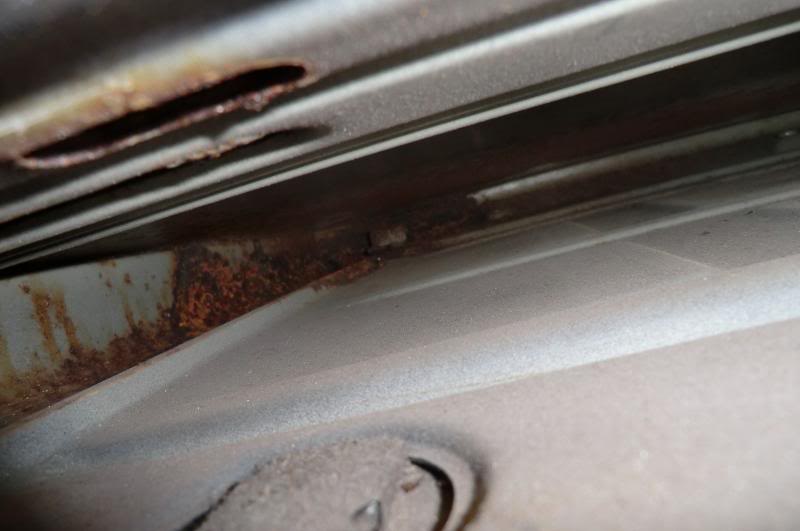
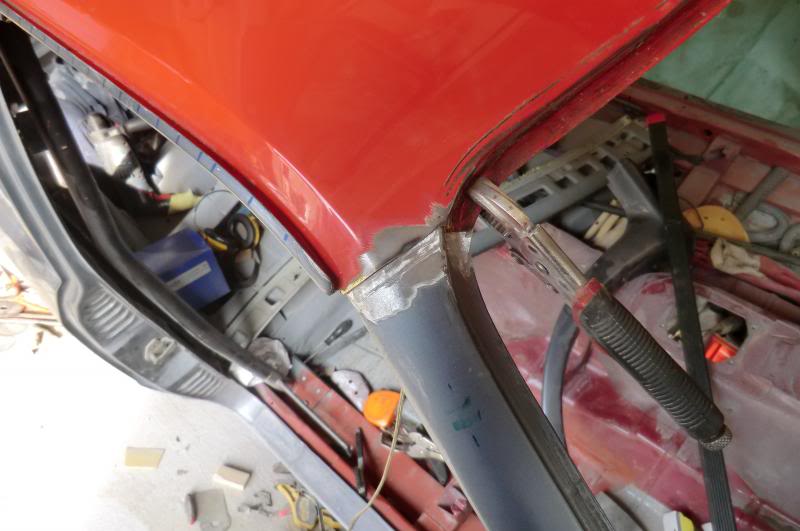
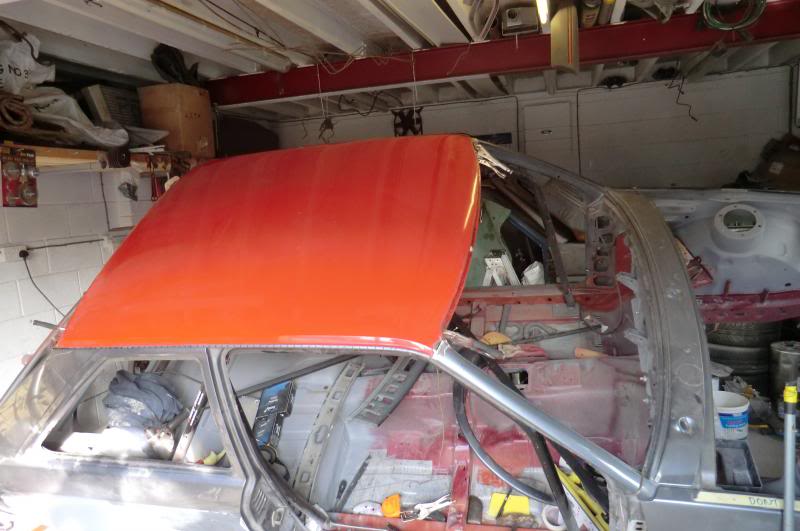
There were two reasons for a change of roof skin, minor rust and lose of headroom due to the seats sitting higher in the car because of the Sierra floor. rust pic
and beofre removal
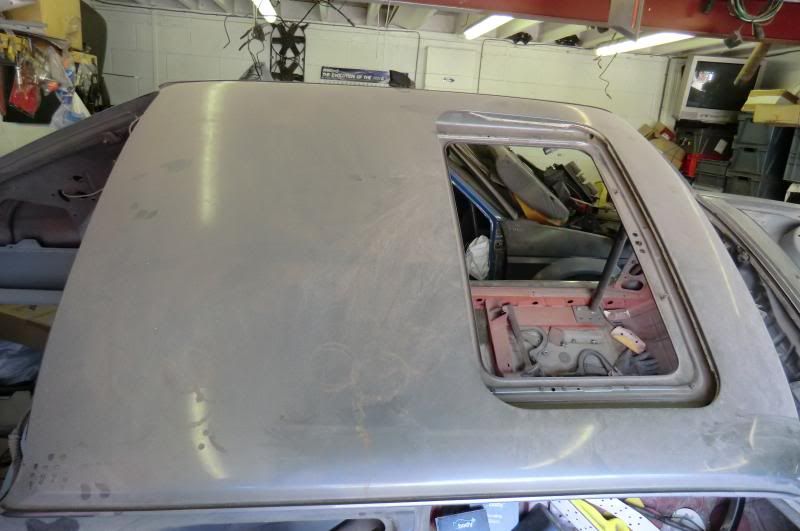
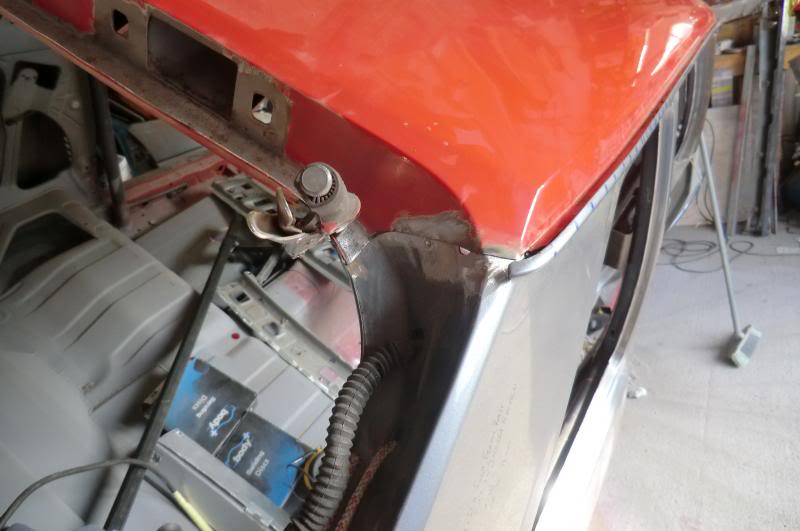
20 mins later
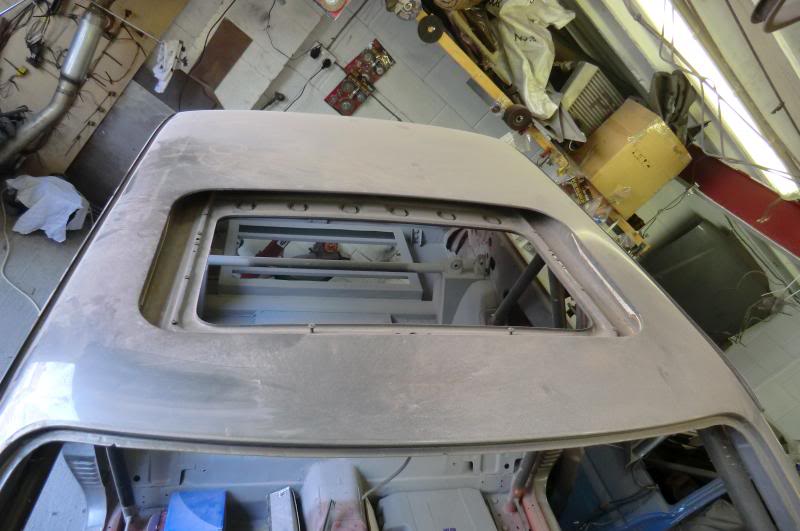
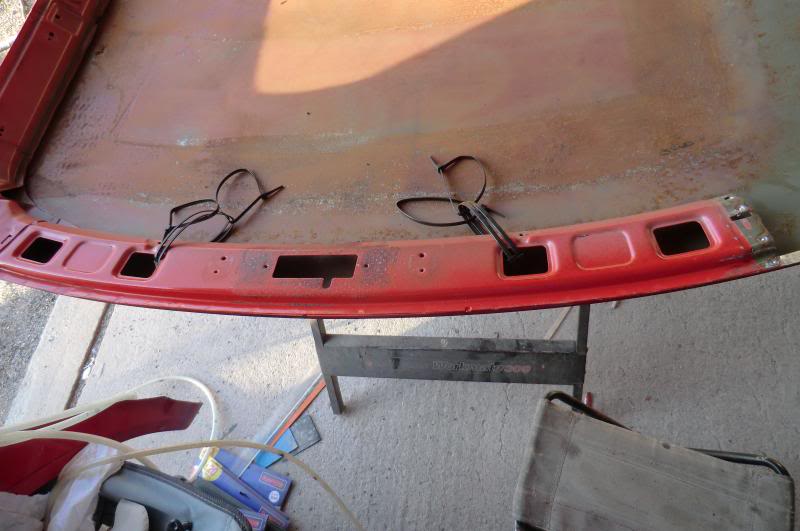
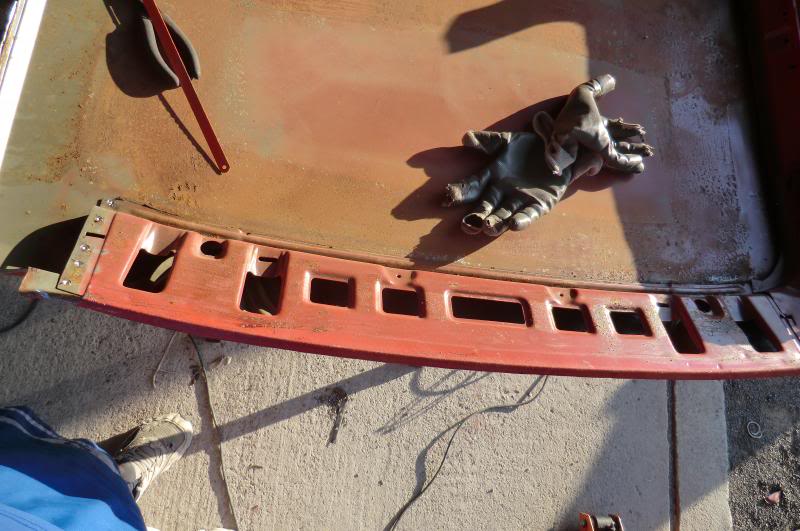
Removing the gutter rail section
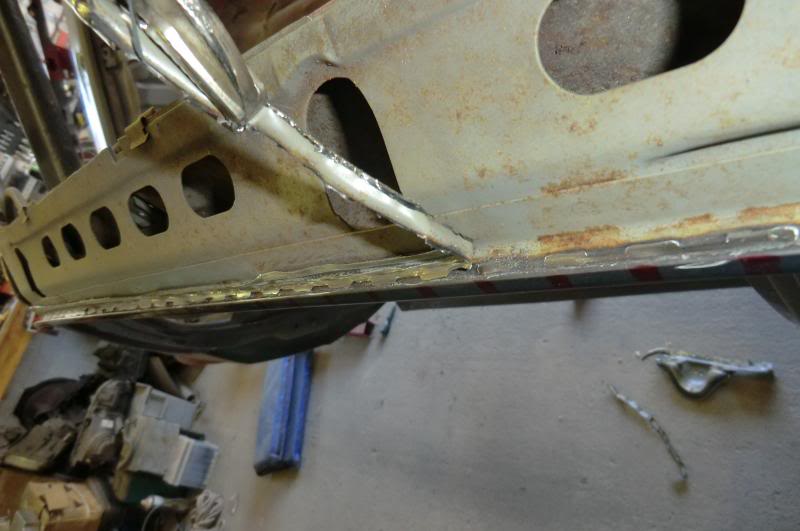
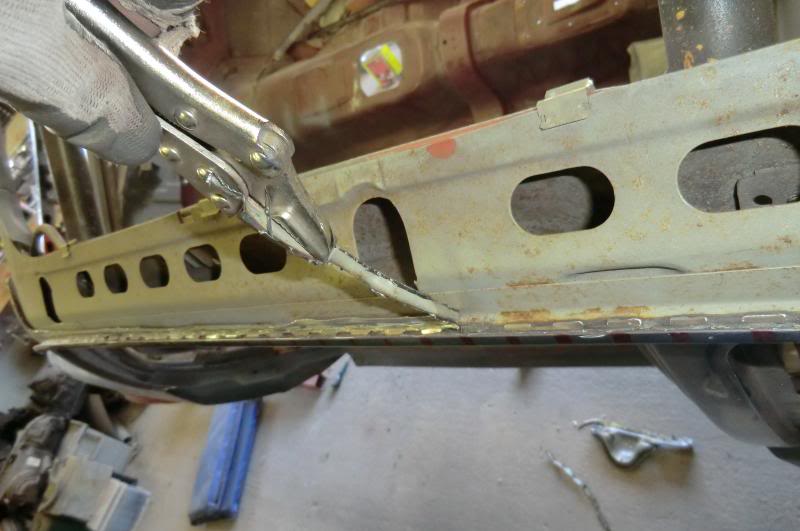
The end result
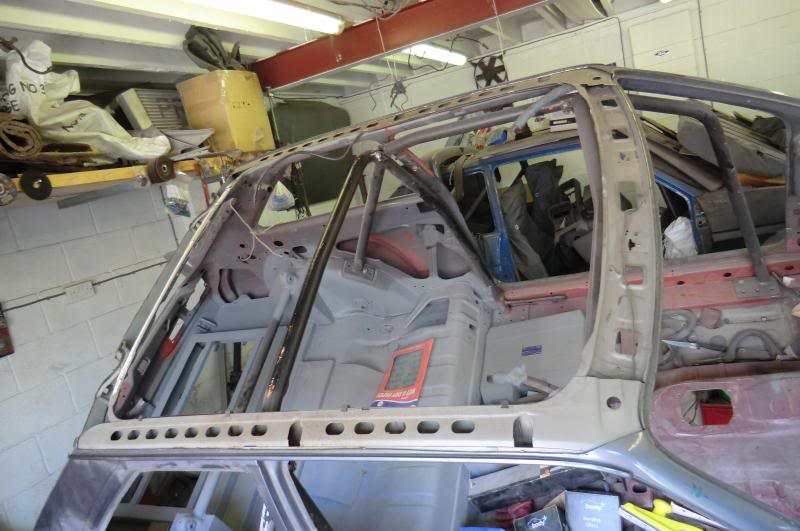
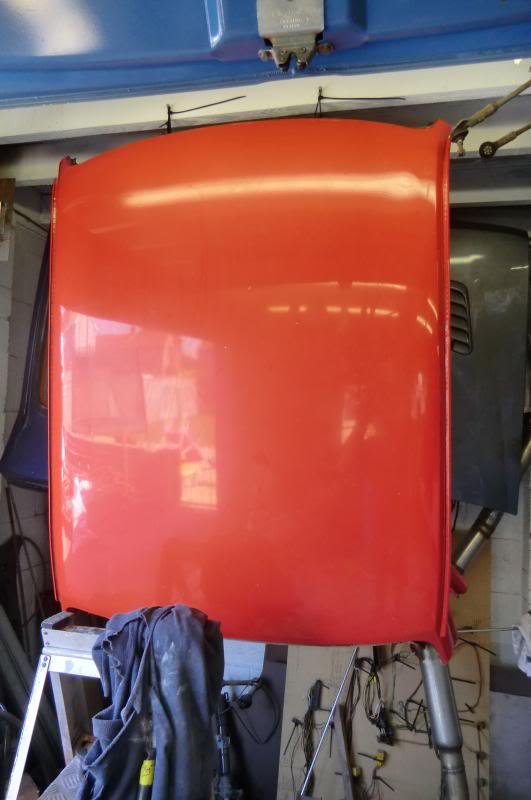
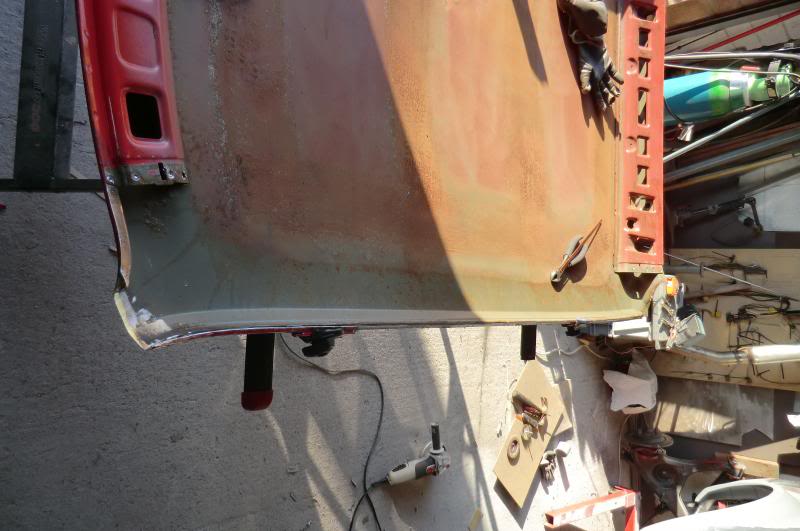
Used a pair of roof racks to support the new roof

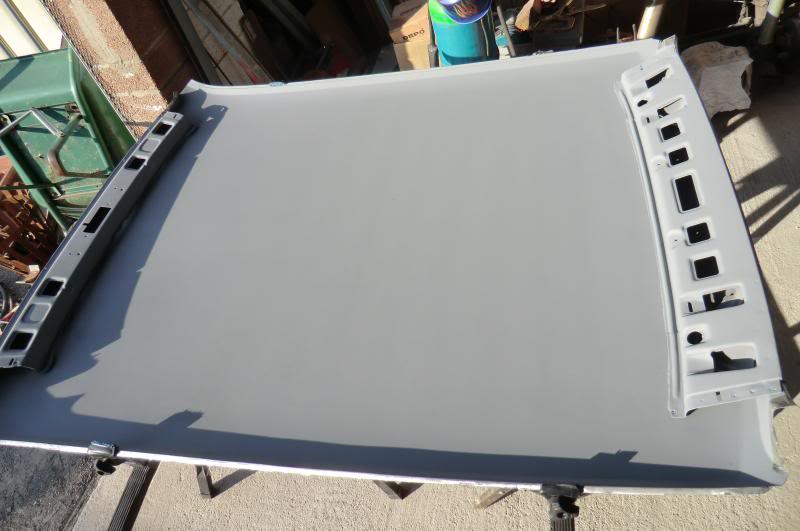
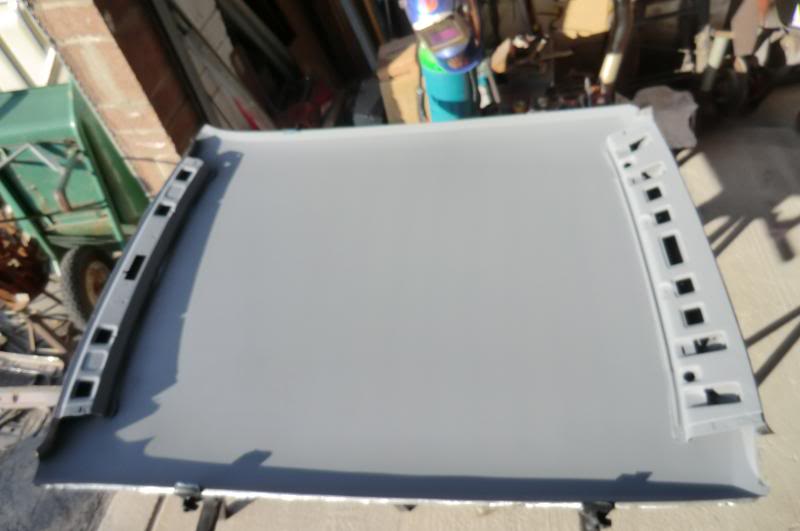
And the new roof getting ready
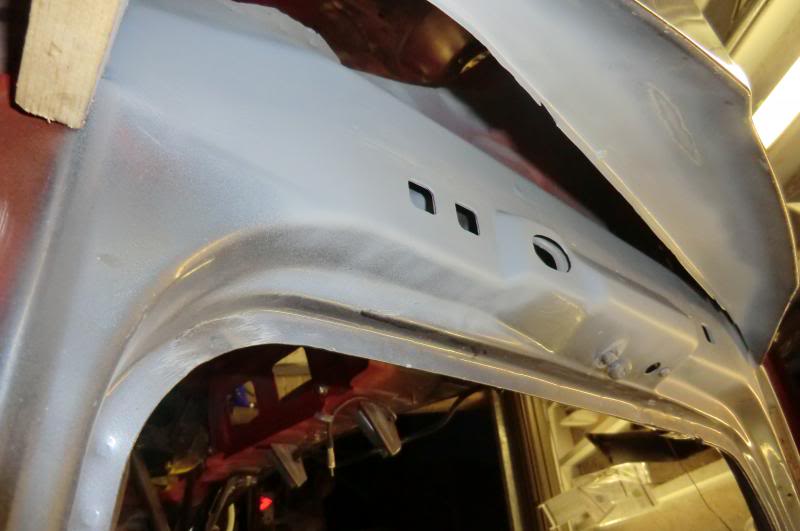
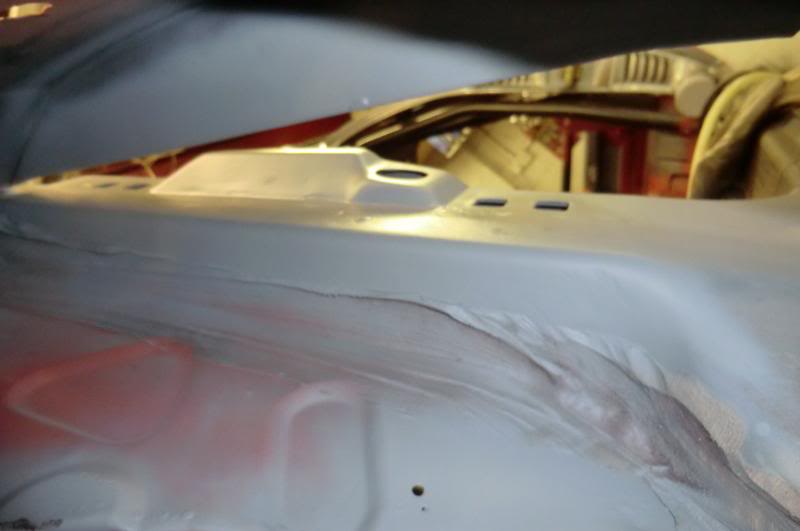
Cleaned up the hidge resses
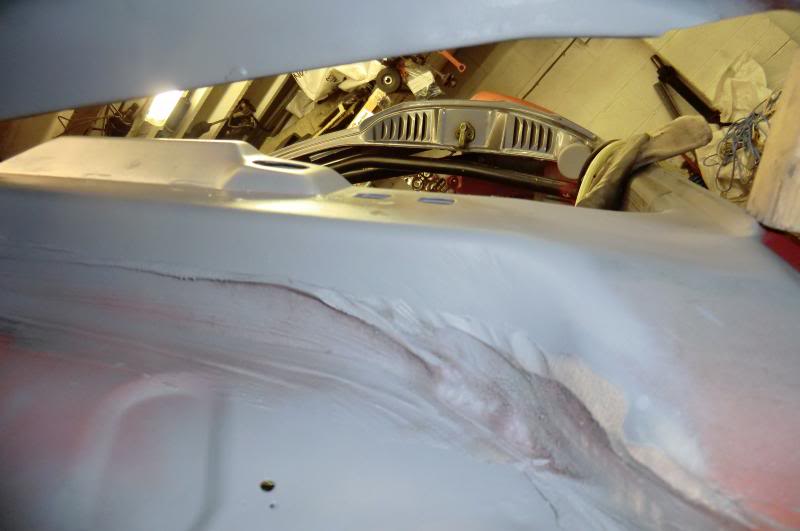
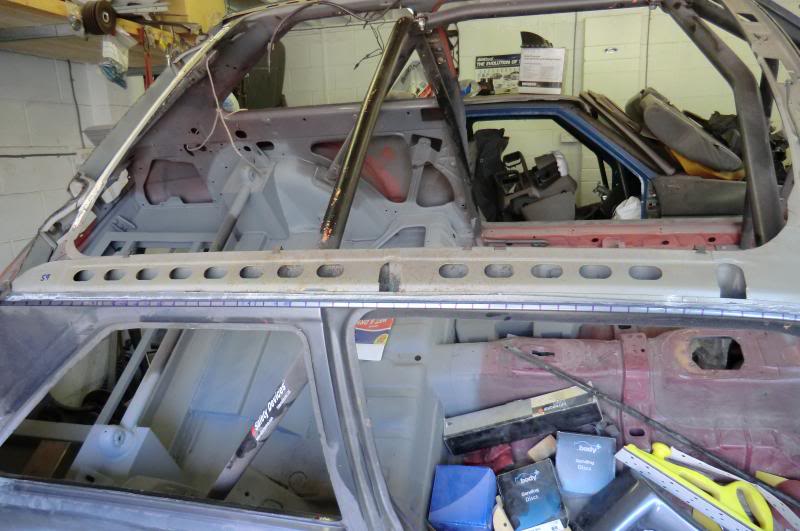
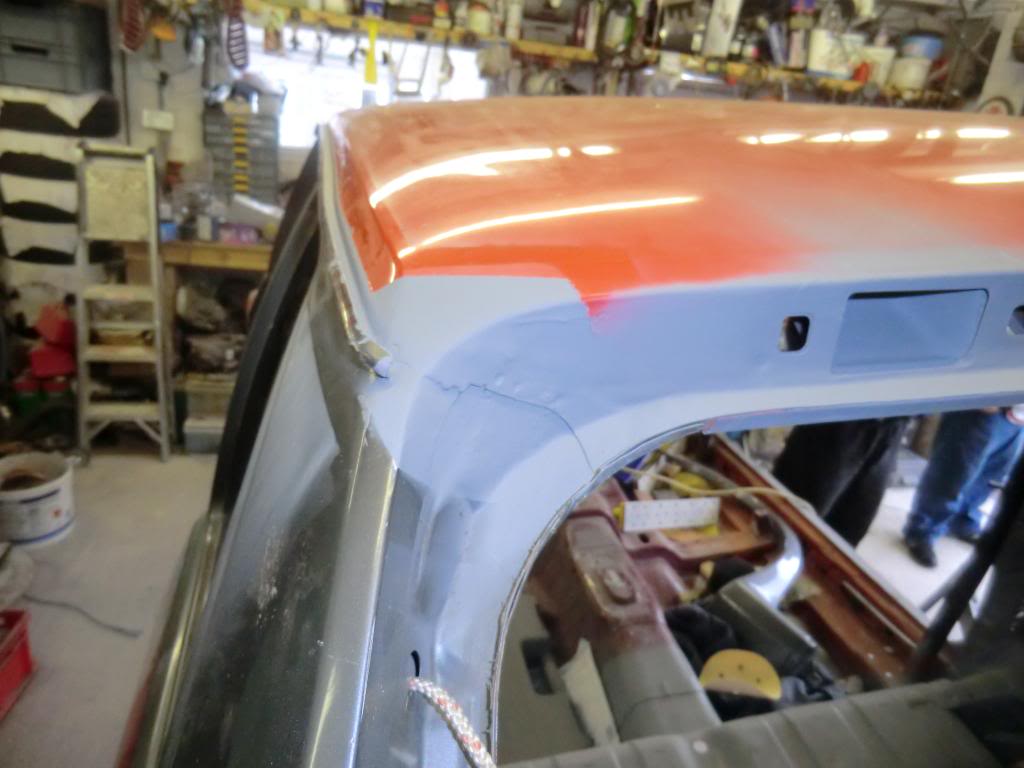
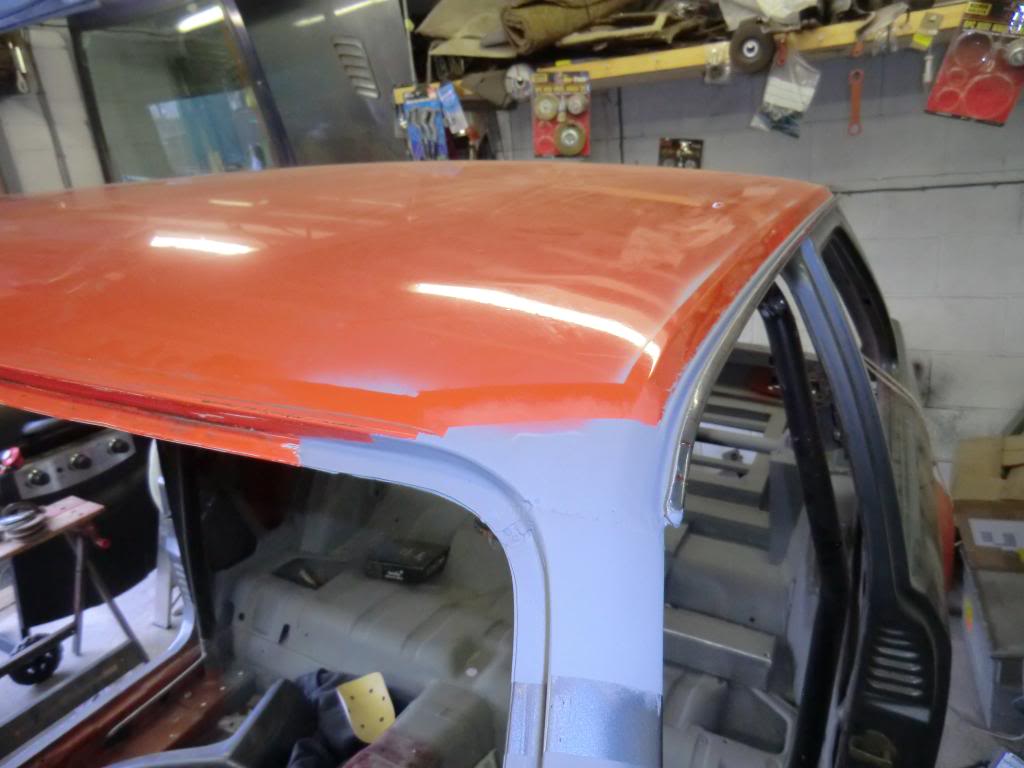
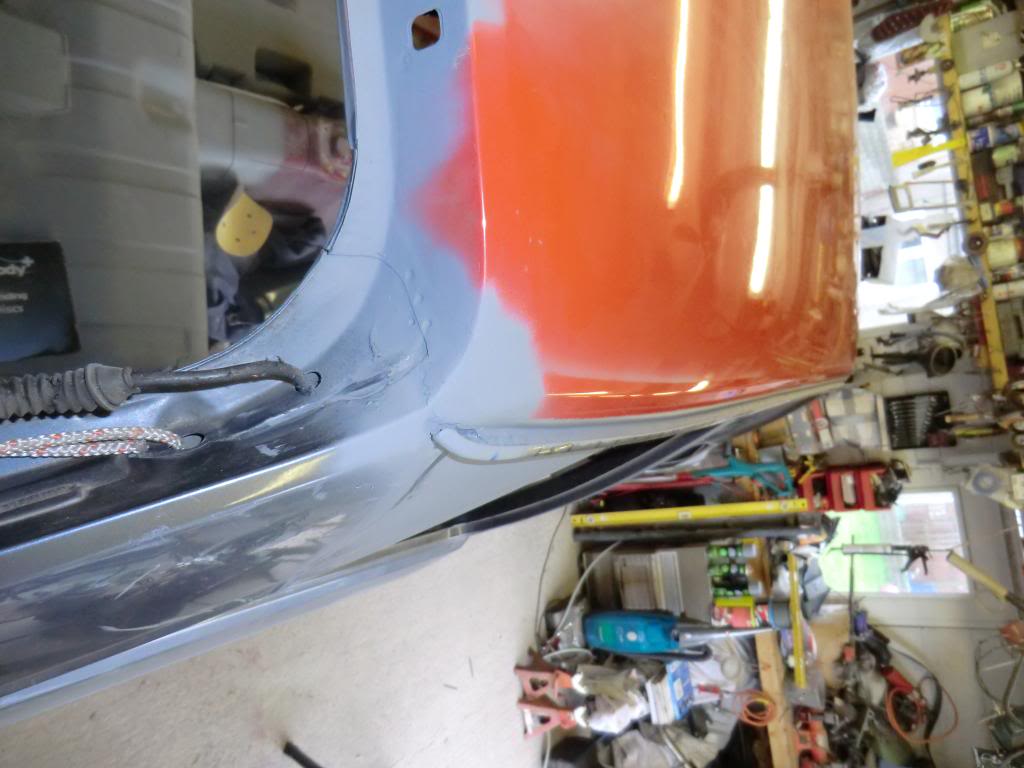
After a bit of a think i decided to leave the front and rear frame sections on the new roof and remove the ones of the car as it was a lot less spot welds to remove, plus it limiting the chance of damage to the skin
So test fitted to check everything was ok
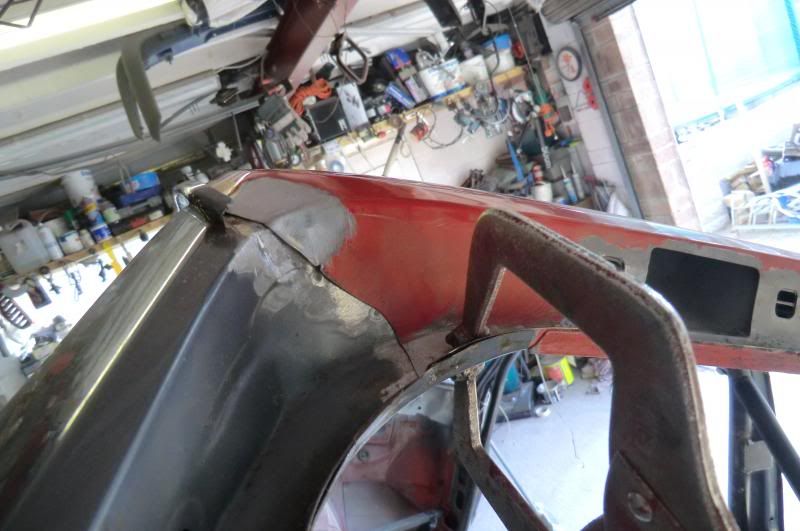
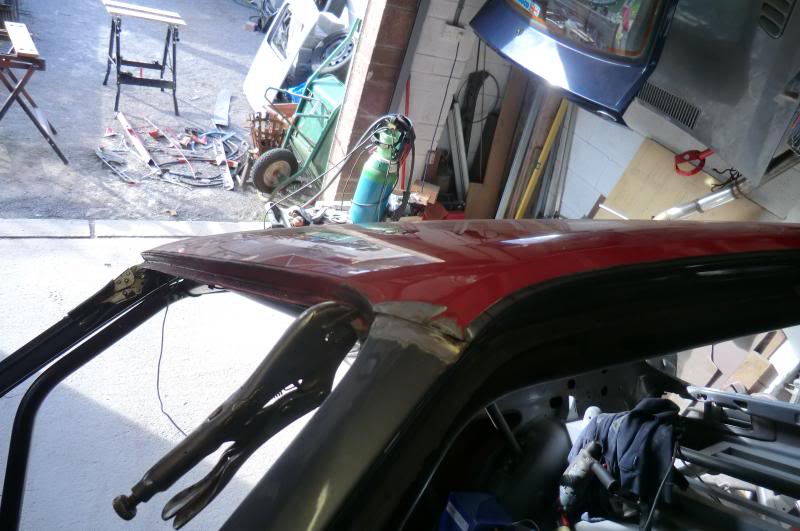
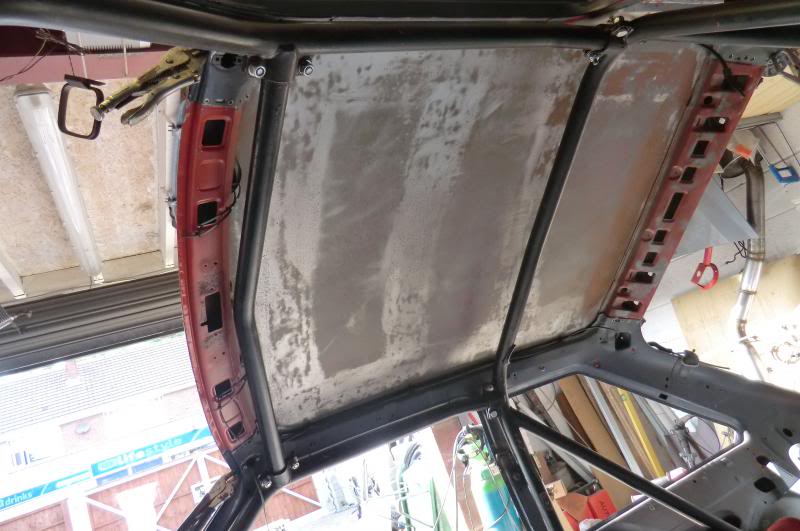
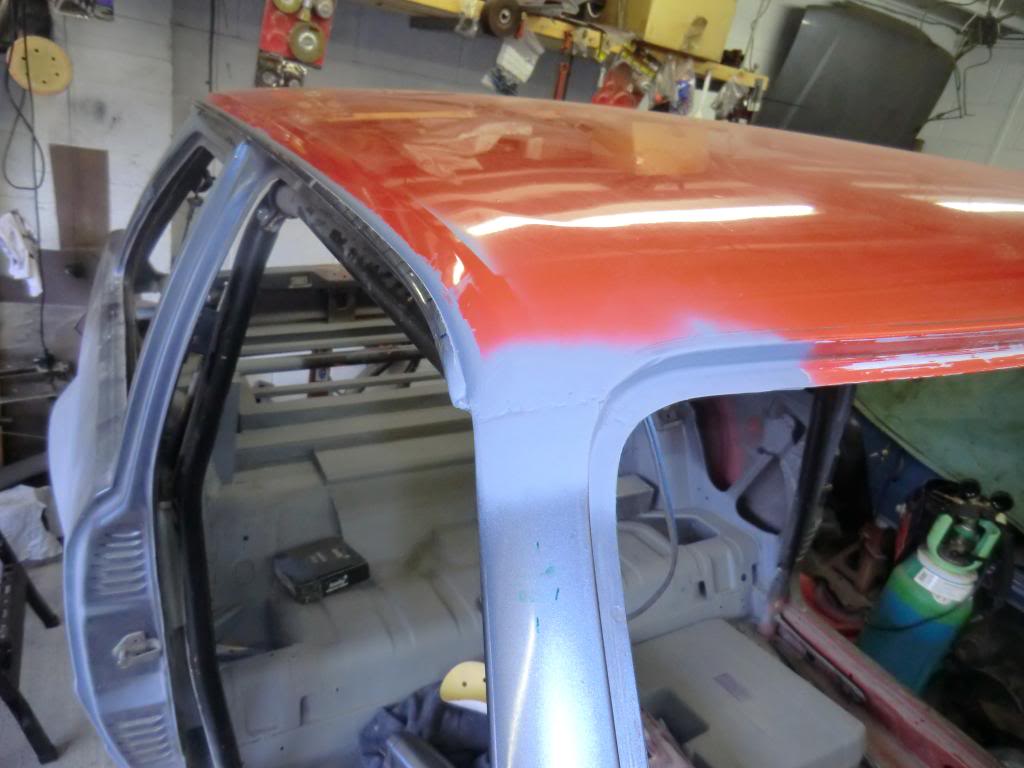
Good news is that it fit perfect, So after i removed the skin i bare metaled the inside, Kurusted it then after a few hours sanded all that back off and got 3 coats of etch on it ready for the final fit, it was hot a fuck so left the roof in the sun for an hour and baked on nicely
All in all it took about 5 hours to completely remove the old skin and propably twice that to get the new one ready and primered :-/
Hoping to get it welded on over the next few days fingers crossed
Ginger
.
Bit of an update. made a start on the rear arch/quarter, looks wicked


It looks wicked with the kit on, subtle and will fool a lot of people if it's not parked next to a standard one
Also managed to get a nonsunroof roof and a PROPER 100% rust free immaculate boot


for �200
There were two reasons for a change of roof skin, minor rust and lose of headroom due to the seats sitting higher in the car because of the Sierra floor. rust pic

and beofre removal


20 mins later

Removing the gutter rail section


The end result


Used a pair of roof racks to support the new roof

And the new roof getting ready


Cleaned up the hidge resses


After a bit of a think i decided to leave the front and rear frame sections on the new roof and remove the ones of the car as it was a lot less spot welds to remove, plus it limiting the chance of damage to the skin


So test fitted to check everything was ok


Good news is that it fit perfect, So after i removed the skin i bare metaled the inside, Kurusted it then after a few hours sanded all that back off and got 3 coats of etch on it ready for the final fit, it was hot a fuck so left the roof in the sun for an hour and baked on nicely


All in all it took about 5 hours to completely remove the old skin and propably twice that to get the new one ready and primered :-/
Hoping to get it welded on over the next few days fingers crossed
Ginger
.
Last edited by GINGExR2 T; 16-07-2013 at 09:15 PM.
 10-08-2013, 09:08 PM
#225
.
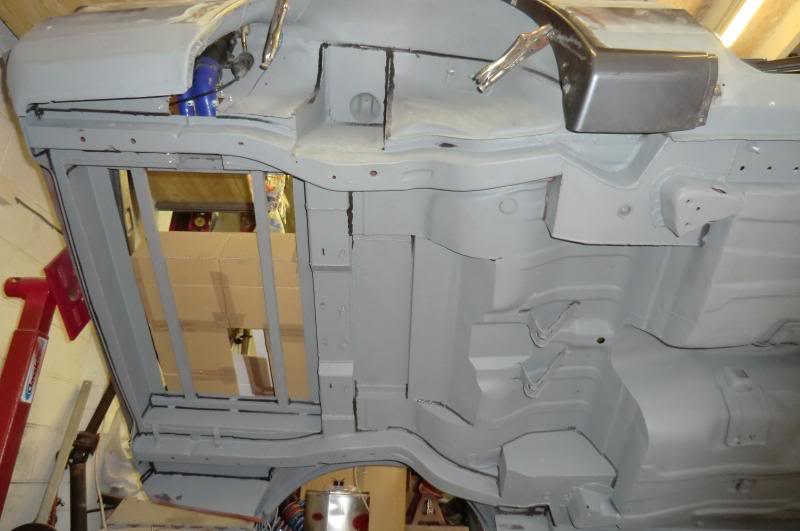
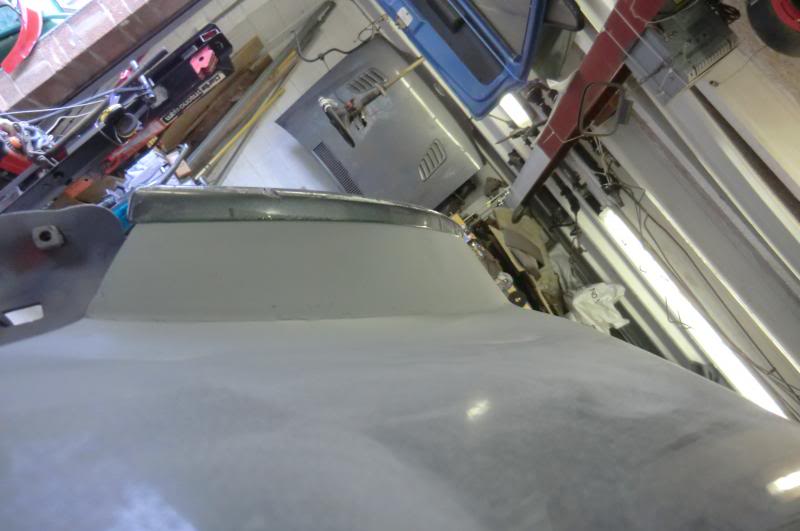
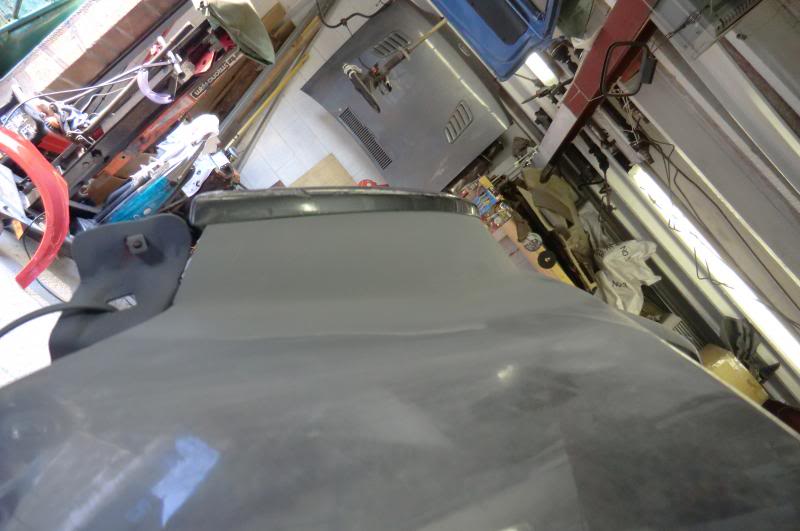
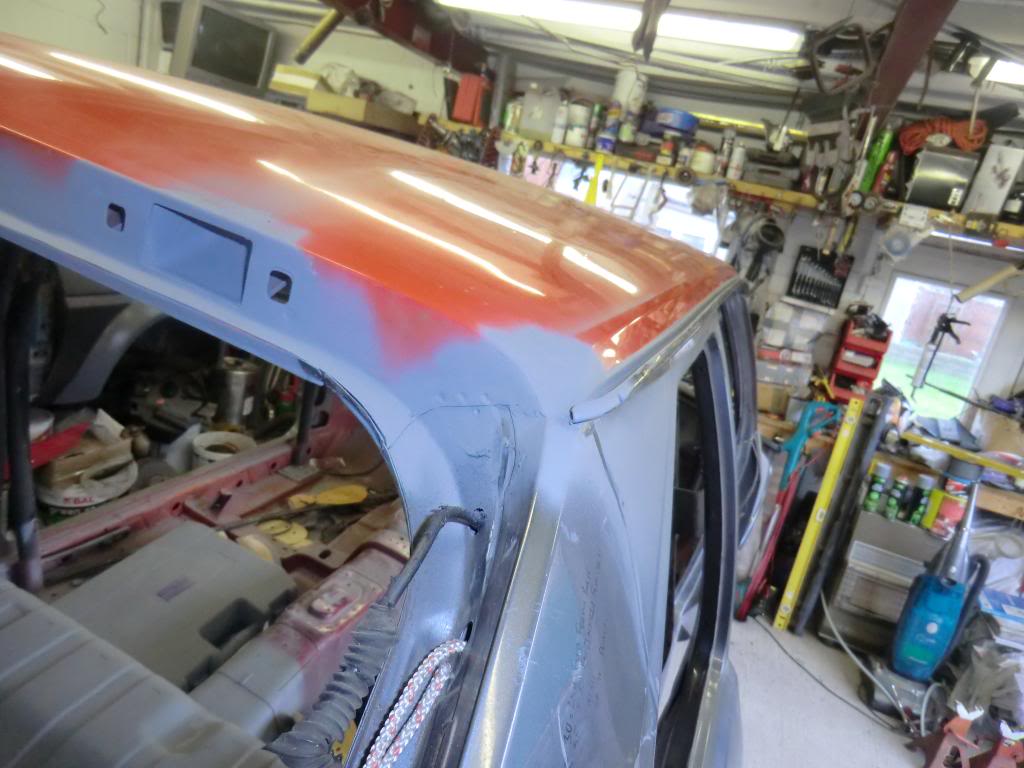
Small up date, Got the roof welded on before i went on holiday so apart from sorting the front top mounts out as and when i decide what to do with them it's all about the body work
Took ages spotwelding the rail back on, 60 spots on each side, same as the original one :-(
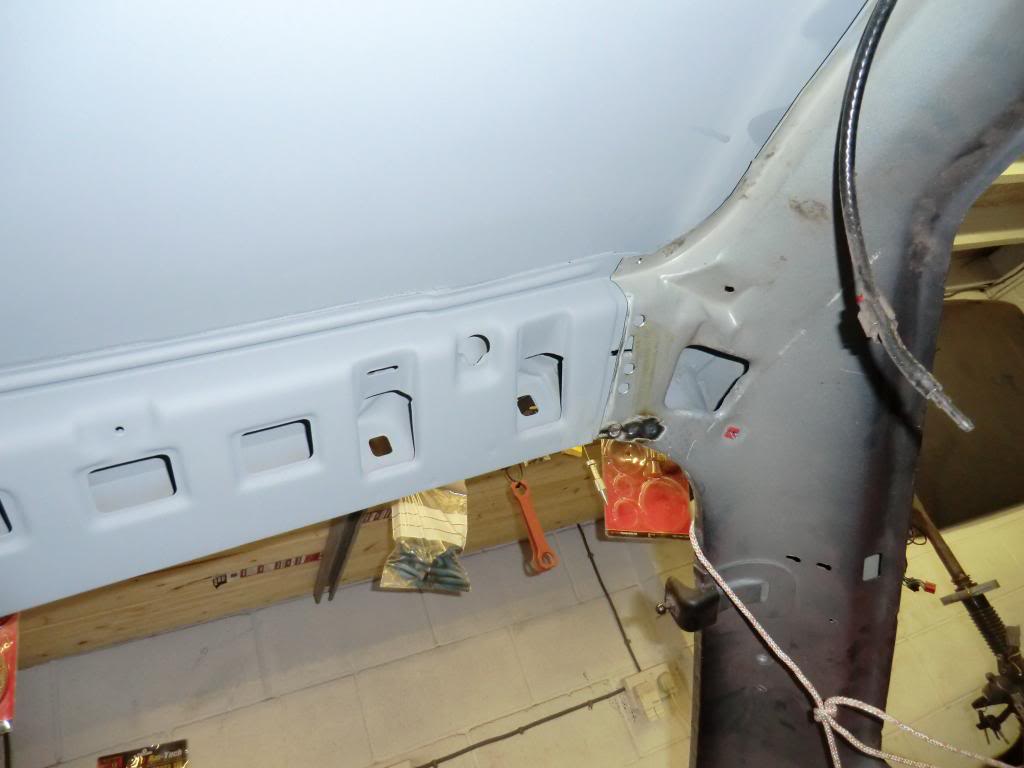
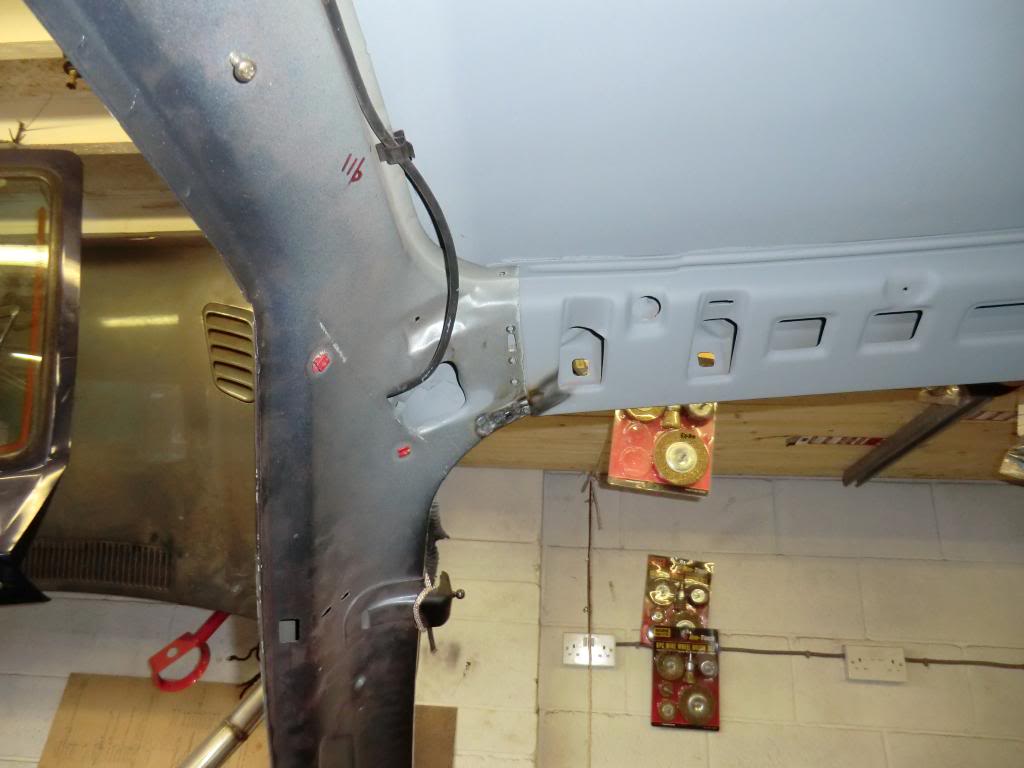
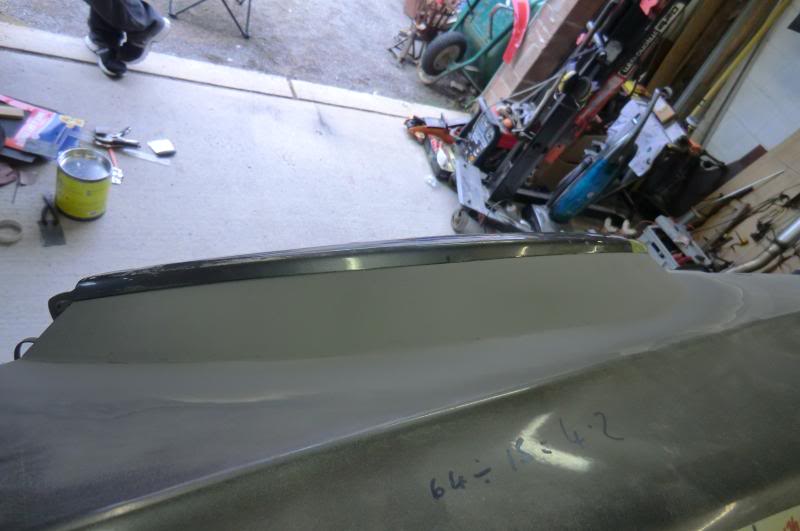
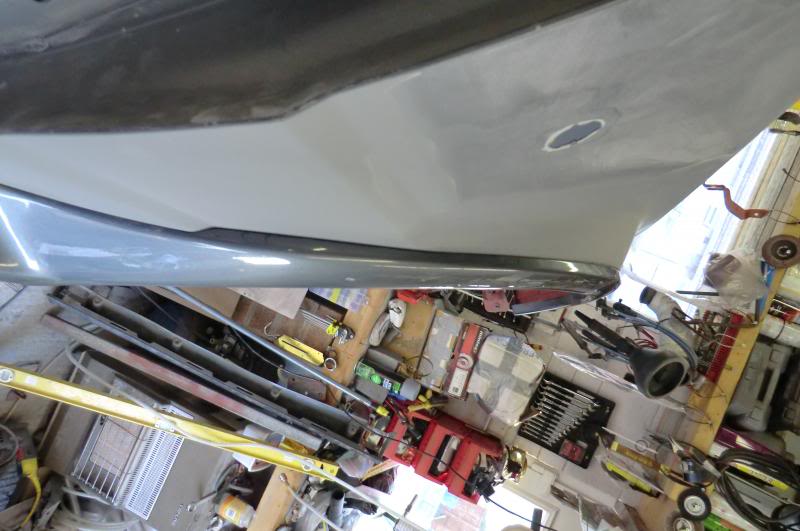
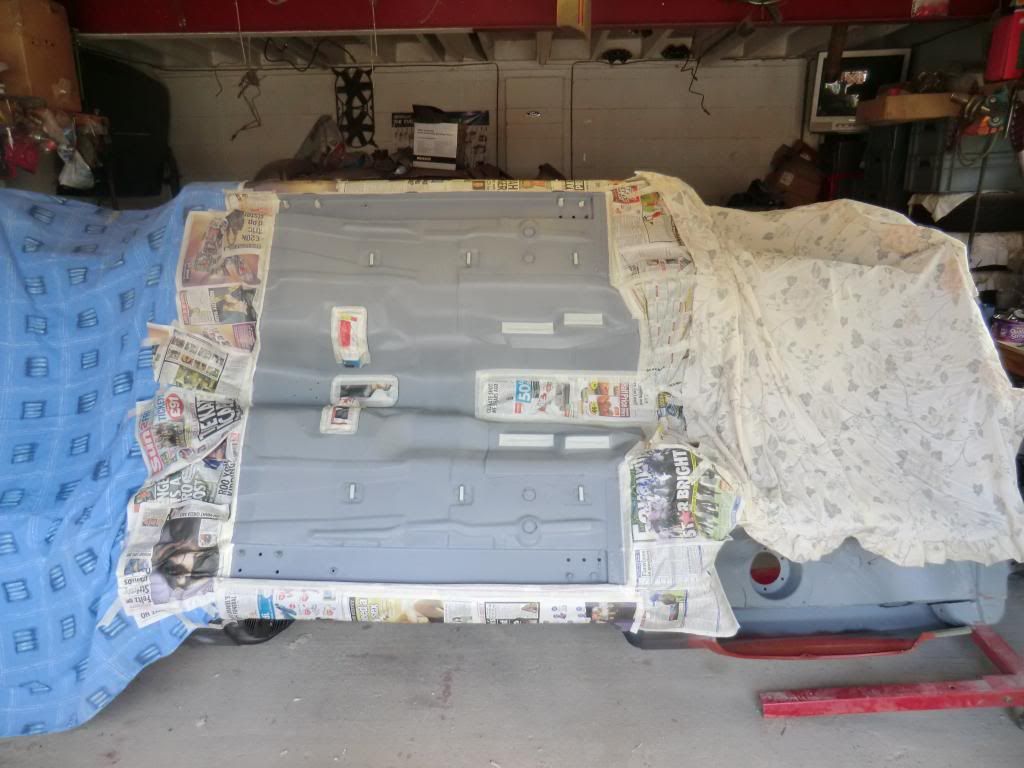
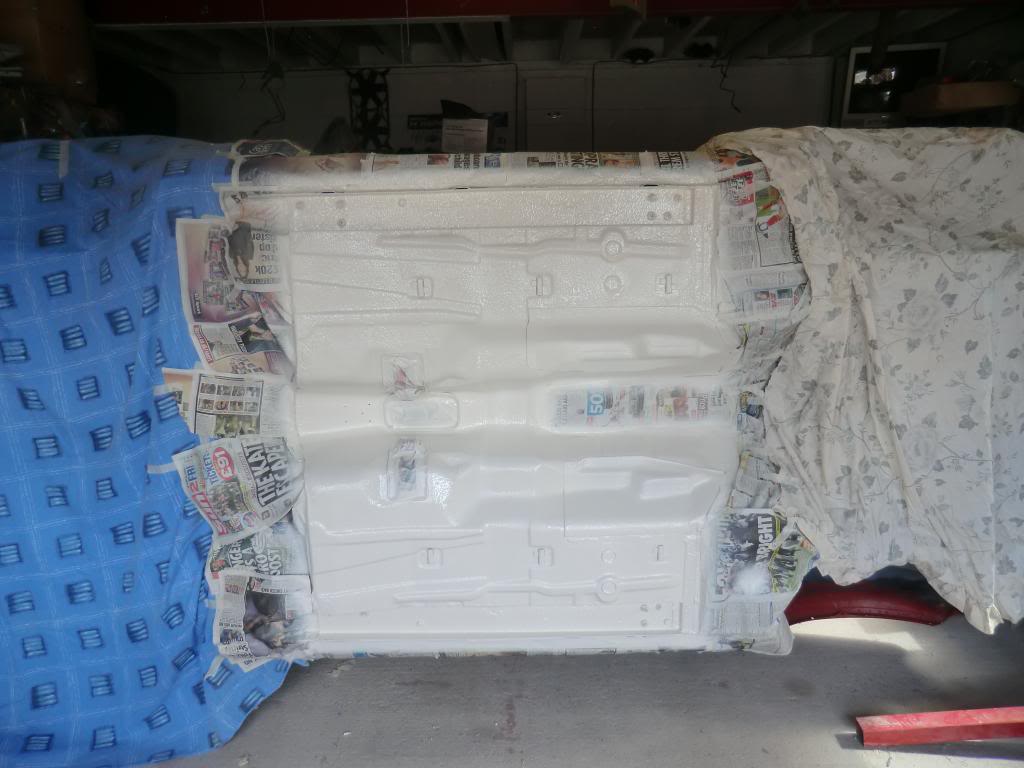
Started getting the underside ready for stone chip, Need to get the primered areas covered before the winter gets here :-(
Ginger
.
Small up date, Got the roof welded on before i went on holiday so apart from sorting the front top mounts out as and when i decide what to do with them it's all about the body work
Took ages spotwelding the rail back on, 60 spots on each side, same as the original one :-(


Started getting the underside ready for stone chip, Need to get the primered areas covered before the winter gets here :-(
Ginger
.
 13-08-2013, 08:40 PM
#229
.
Cheers for the comments all,
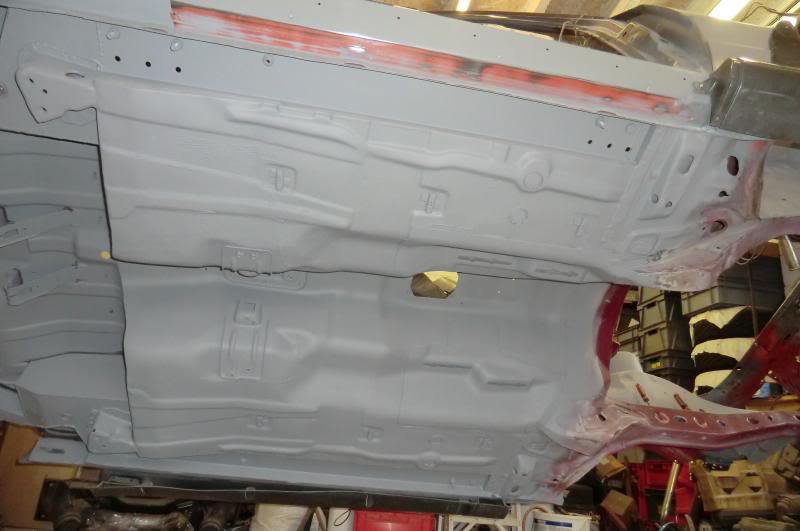
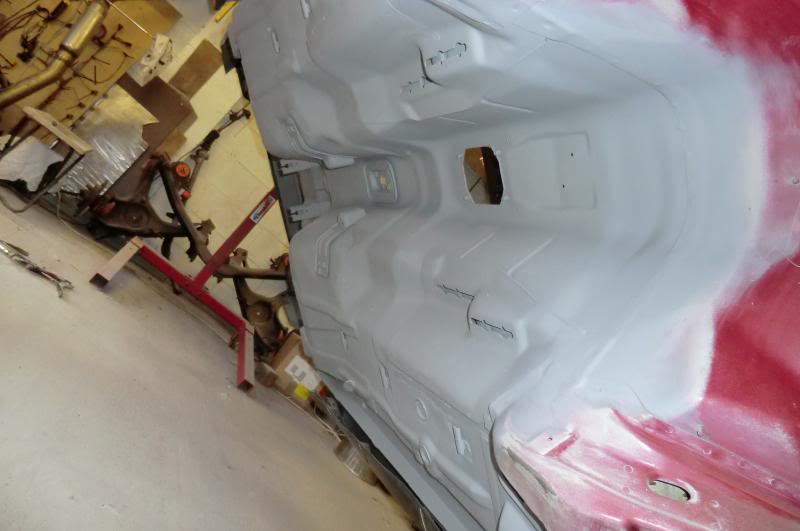
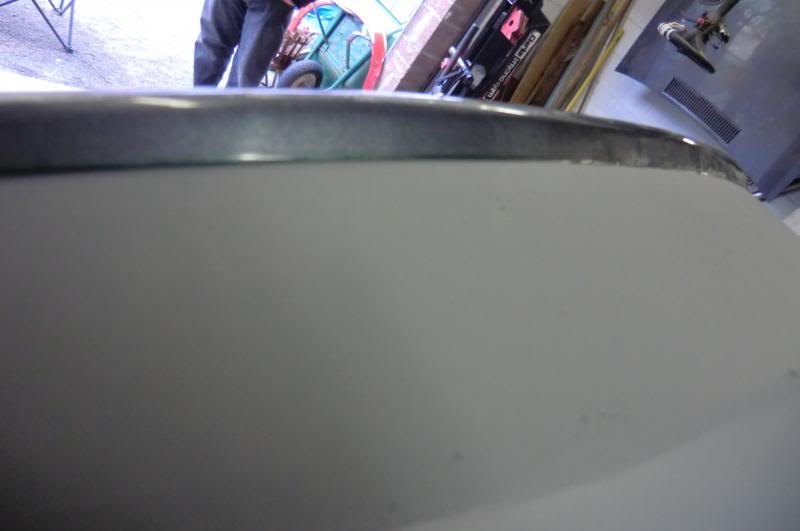
Small update, nothing to exciting but i have managed to get the underside in stone chip, Did it in 2 half as it was easier for me that way, gonna try and get the front inner arches done over the next week so more pics to come. Really need to decide on a plan of action for the front top mounts now :-/
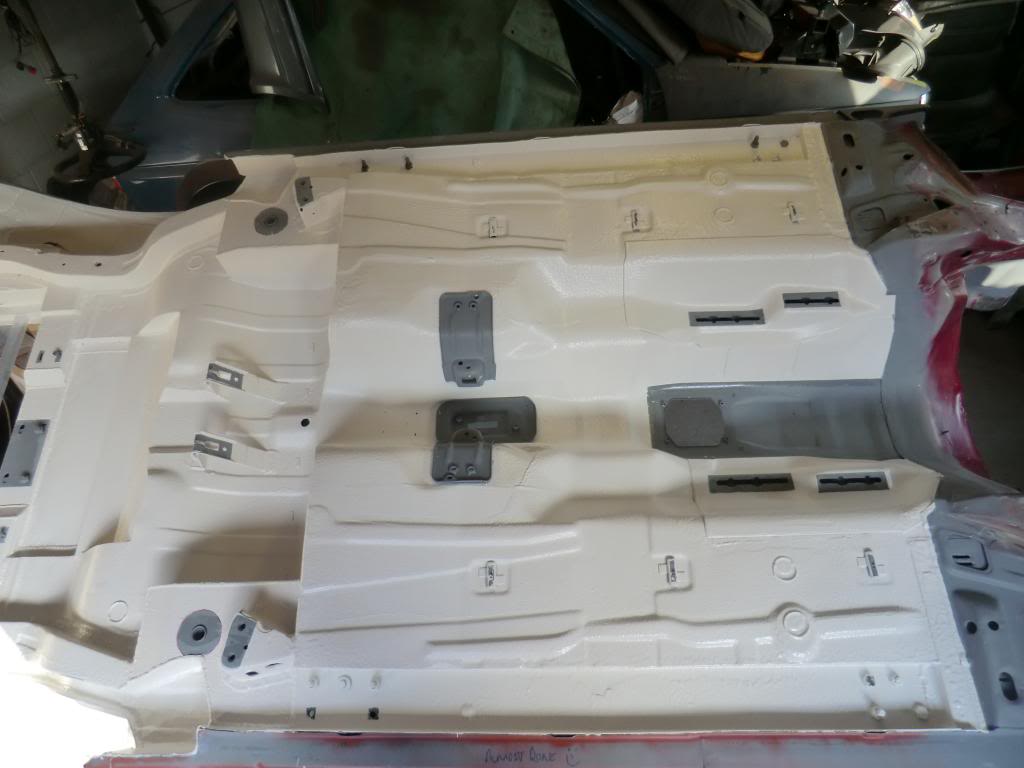

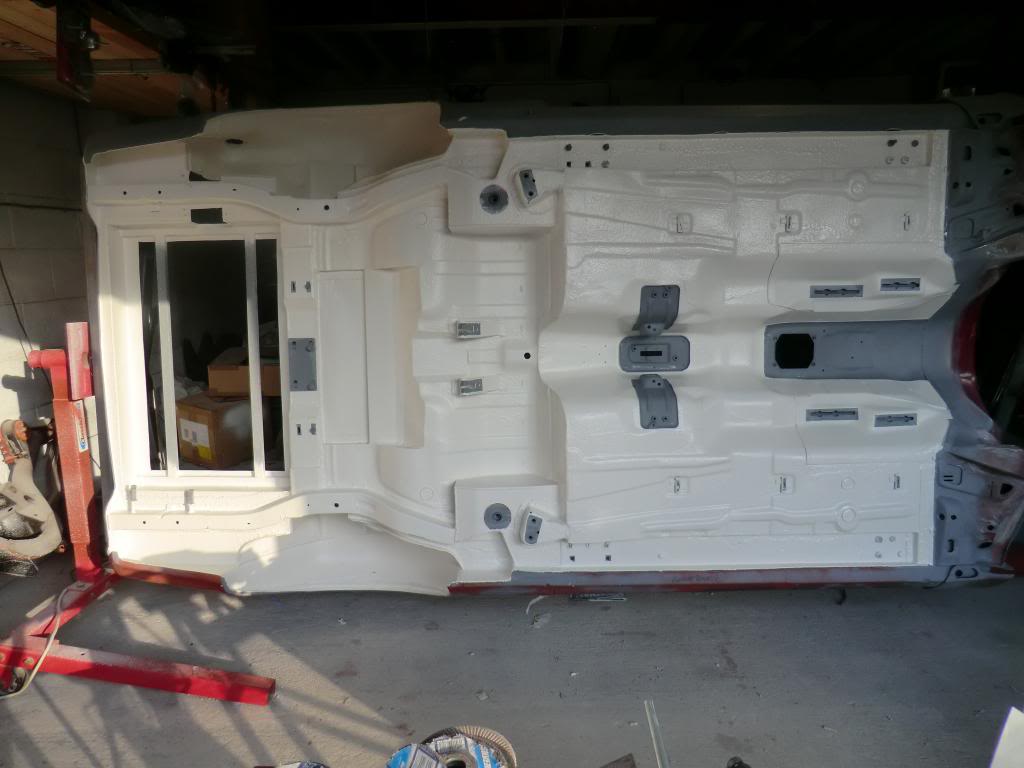
I'm hopeing thing will start to progress a bit quicker now
Ginger
.
Cheers for the comments all,
Small update, nothing to exciting but i have managed to get the underside in stone chip, Did it in 2 half as it was easier for me that way, gonna try and get the front inner arches done over the next week so more pics to come. Really need to decide on a plan of action for the front top mounts now :-/


I'm hopeing thing will start to progress a bit quicker now
Ginger
.


 17-08-2013, 01:10 PM
#239
.
As some will know i've had a bit of a hickup with the front top mounts not fitting with the bonnet on, so been looking about and found an alternative type listed for Mk1 & 2 Escorts.
Now the main reason for fitting the MK top mounts i bought in the first place was that i need to be able narrow the front axle a few mm, I have adjustable bottom arms to go on aswell, So Eccentric mounts with a fixed off centre mounting point would limit the adjustment i need.
These are the mount i have found and just wanted to get peoples opinion on them before i spent more money
http://www.ebay.co.uk/itm/Alloy-Adju...3#ht_686wt_932
cheers
Ginger.