MK3 fiesta project - 2.1 zetec turbo - 358bhp-365ftlb for now


 29-05-2010, 07:57 PM
#122
Too many posts.. I need a life!!
 30-05-2010, 12:22 PM
#123
Regular Contributor

Join Date: Nov 2004
Location: Essex
Posts: 317
Likes: 0
Received 0 Likes
on
0 Posts
wow what a nice looking car, i love mk3s, well i love fiestas fulse stop having had 4 (stil got 2) but this one is very nice, wish i could afford all the new shiny bits, top effort mate, keeping it clean and going for the power as well, very nice
16-06-2010, 06:41 AM
#125
PassionFord Regular
Thread Starter

Join Date: Aug 2003
Posts: 457
Likes: 0
Received 0 Likes
on
0 Posts
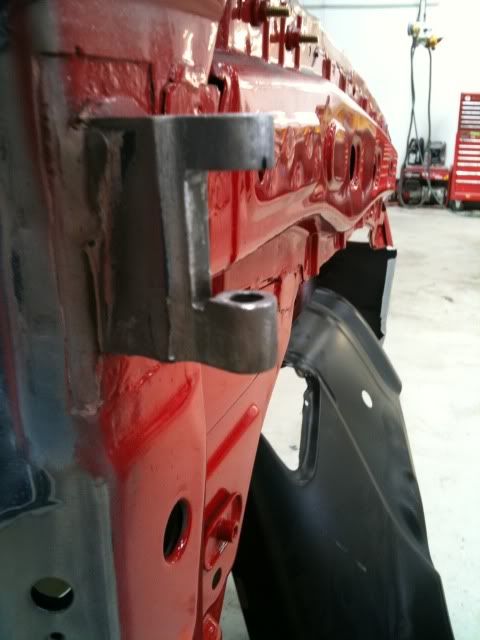
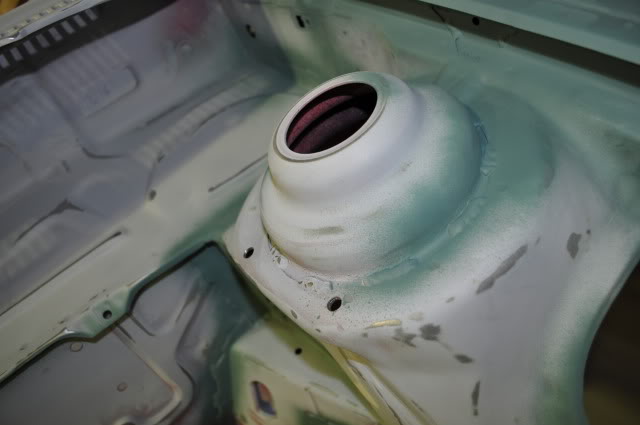
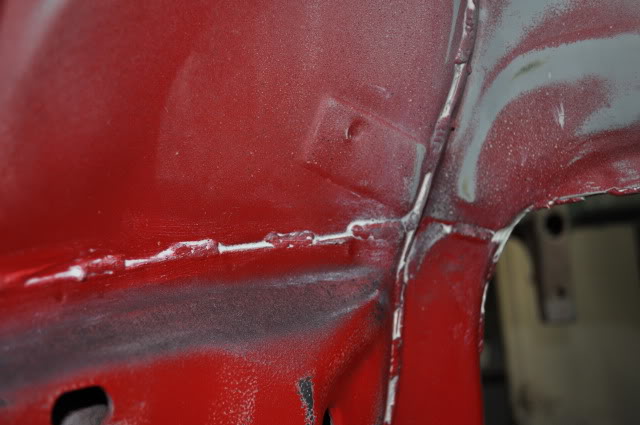
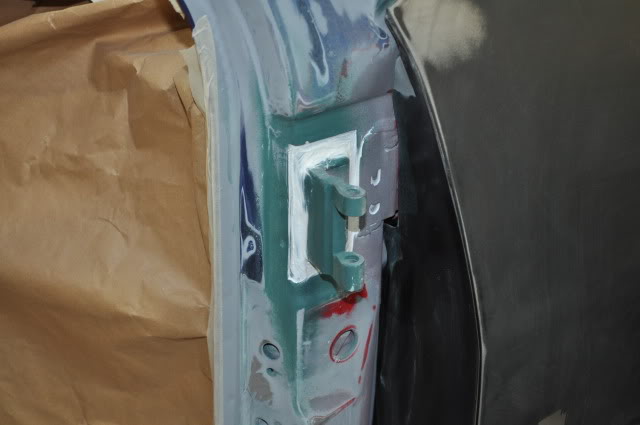
in the engine bay i've decided to move the ecu and its wiring
so the factory hole is useless
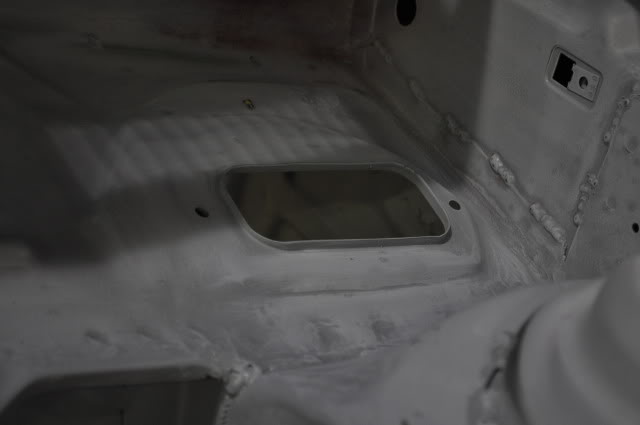
so it was welded up, grinded back, then a some filler over the top
also had the last few holes welded up which hold the factory fuel filter and abs on other models of this car aswell
after being sanded back
and in primer
inside of the arch was smoothed aswell
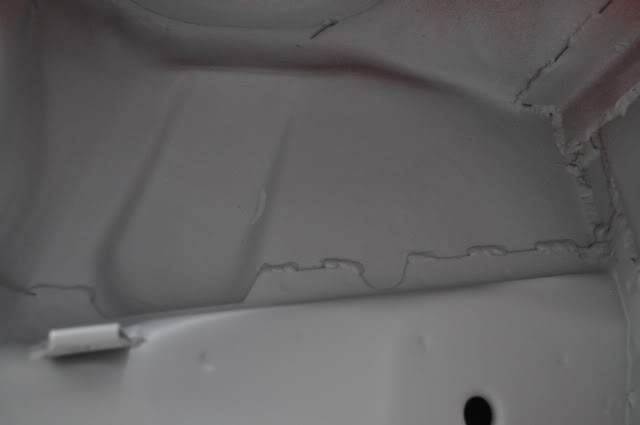
to reseal the car back up i've been using a fords sealant,
from inside the shell, under the bulkhead you can see the plate welded over the location for the factory ecu
aswell as the sealant i've been putting in the panel gaps
i've sealed up the same places as done originally, except i've not putting it on so thickly
just making sure it's pushed into the gap and looks neat
so the factory hole is useless
so it was welded up, grinded back, then a some filler over the top
also had the last few holes welded up which hold the factory fuel filter and abs on other models of this car aswell
after being sanded back
and in primer
inside of the arch was smoothed aswell
to reseal the car back up i've been using a fords sealant,
from inside the shell, under the bulkhead you can see the plate welded over the location for the factory ecu
aswell as the sealant i've been putting in the panel gaps
i've sealed up the same places as done originally, except i've not putting it on so thickly
just making sure it's pushed into the gap and looks neat
 16-06-2010, 06:21 PM
#127
PassionFord Regular
Thread Starter
Join Date: Aug 2003
Posts: 457
Likes: 0
Received 0 Likes
on
0 Posts
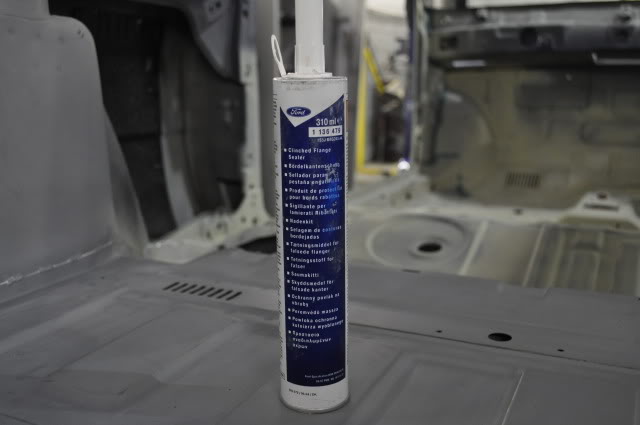
well next up was more sealant,
just applied a different way,
the mk3 fiesta was known for water leaks mainly on the front bulkhead,
so with this in mind i'm making sure cover all the seams well as i dont want a leak when its all built up
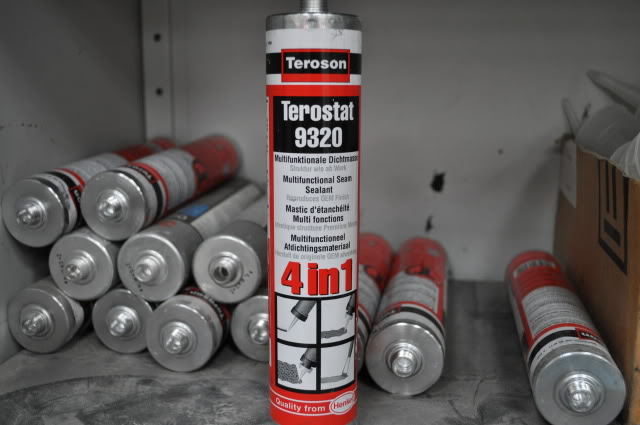
the choice of sealant,
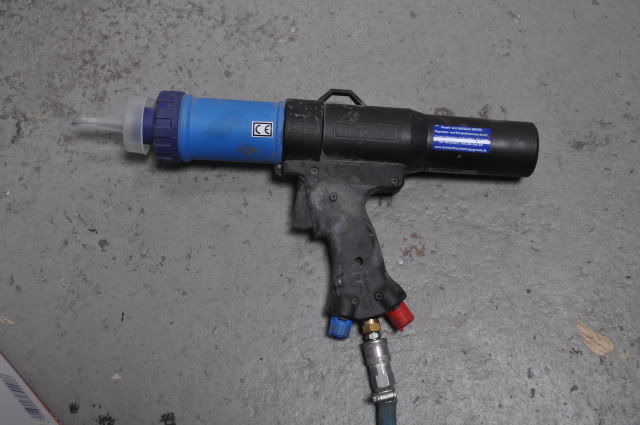
how i'm going to apply it with an airline
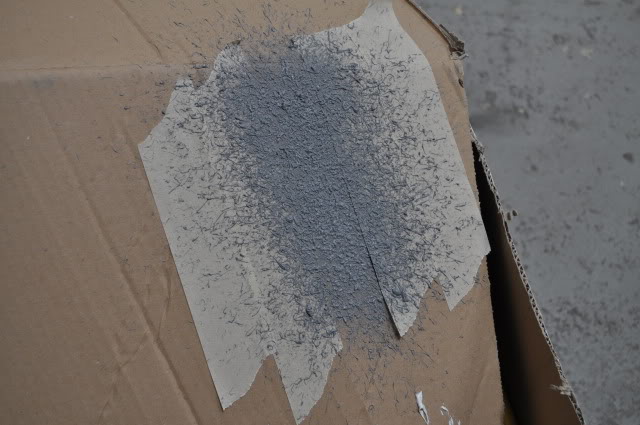
a test section on some cardboard using masking tape for edges
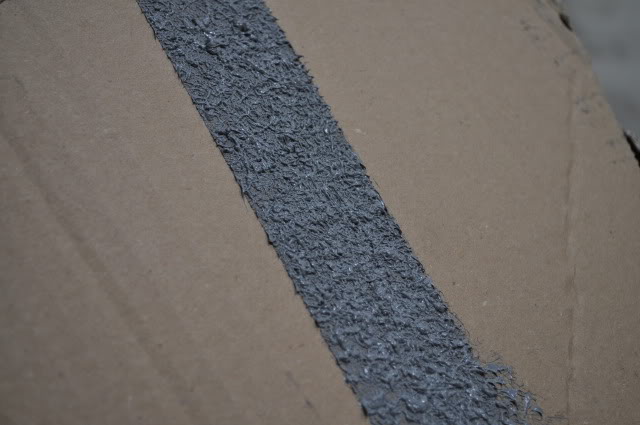
test section with the masking tape removed, happy days!!
the important bits were masked around the bulkhead and sprayed with sealant
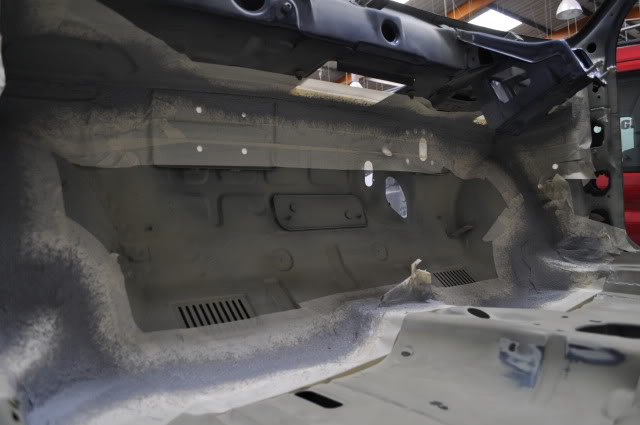
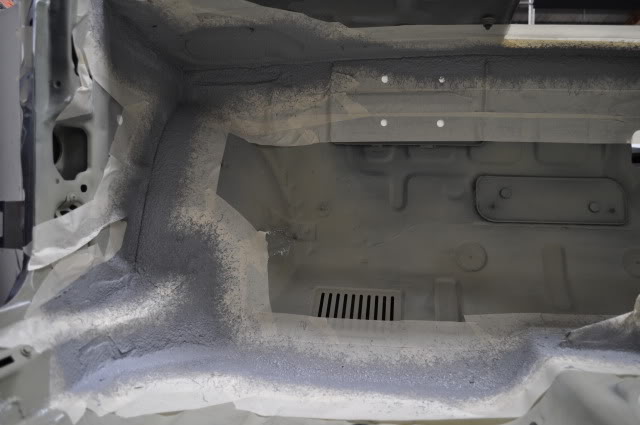
a close up after the masking tape was taken off
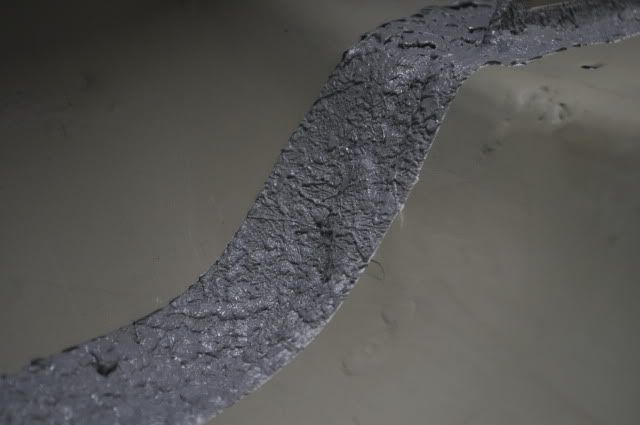
how it looks now, much better coverage of sealant without looking messy
just applied a different way,
the mk3 fiesta was known for water leaks mainly on the front bulkhead,
so with this in mind i'm making sure cover all the seams well as i dont want a leak when its all built up
the choice of sealant,
how i'm going to apply it with an airline
a test section on some cardboard using masking tape for edges
test section with the masking tape removed, happy days!!
the important bits were masked around the bulkhead and sprayed with sealant
a close up after the masking tape was taken off
how it looks now, much better coverage of sealant without looking messy
Last edited by RS_Rob; 06-09-2010 at 05:15 PM.
 16-06-2010, 07:00 PM
#129
PassionFord Regular
Thread Starter
Join Date: Aug 2003
Posts: 457
Likes: 0
Received 0 Likes
on
0 Posts
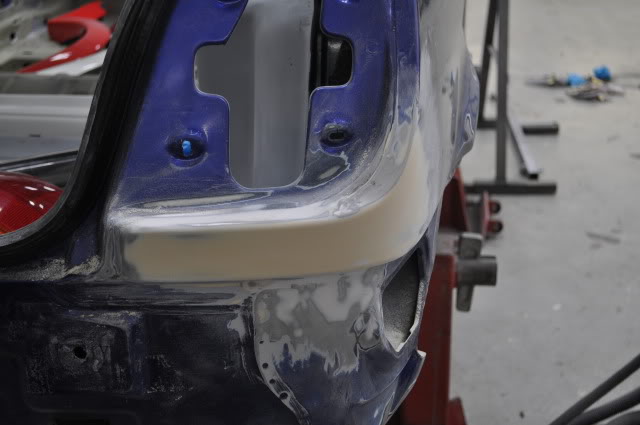
well the sideskirts that were fitted previously catched the bottom of the doors and rubbed the paint off
so that being done 3/4 years ago i have a little surface rust starting
so that needed to be sorted
stripped both doors down completely
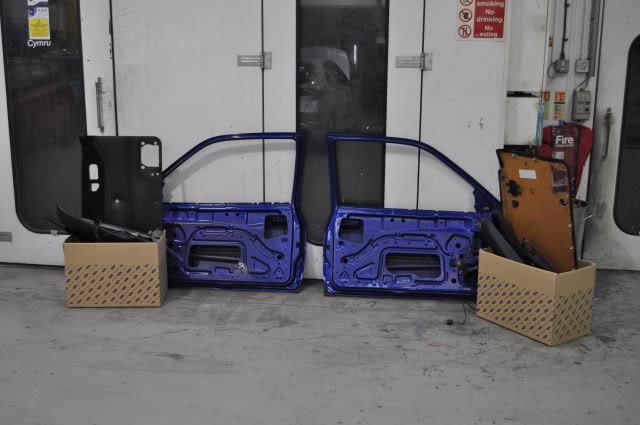
while i was there, i had to see the how bad the rust was,
thankfully with a small d/a it showed clean metal behind, so that was a big relief ! !
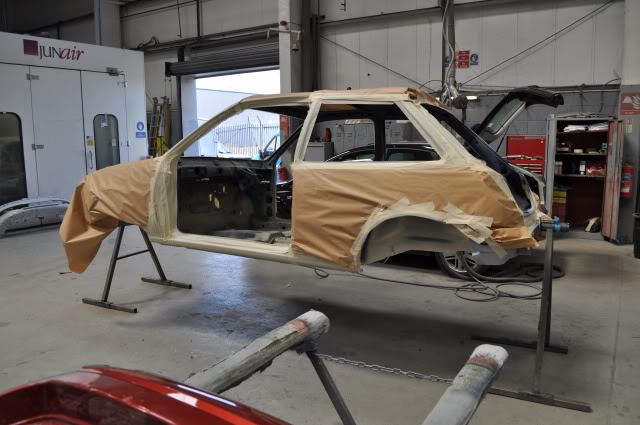
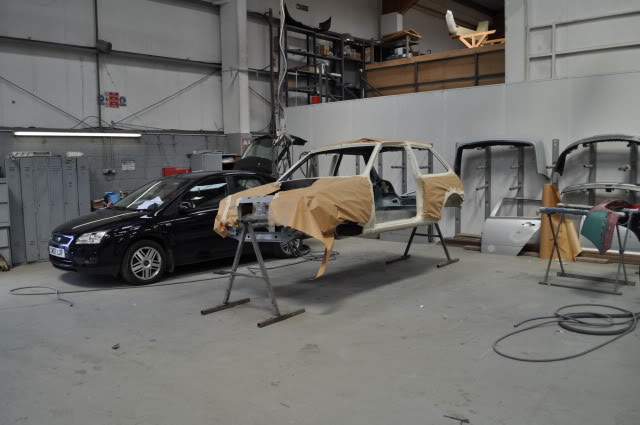
next was a test fit of the panels, any adjustments made before the car is ready for paint
so doors were fitted first to line up from the quarters,
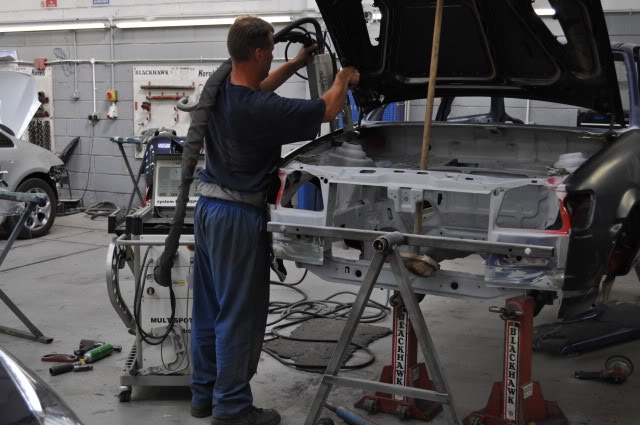
while i'm catching up i'll show a picture from weeks ago, i did'nt post up because it would show my newest idea,
but while the front chassis was bare, it was the perfect time to get some paint on before the wings go on
as you dont get much access when the wings are on
it seems the last it was at the other bodyshop washers were used and parts of the hinge grinded away to allow the door to sit higher
so rather than replacing the hinges which seemed fine apart from the washers,
we used new washers and welded them on, so would look a better job
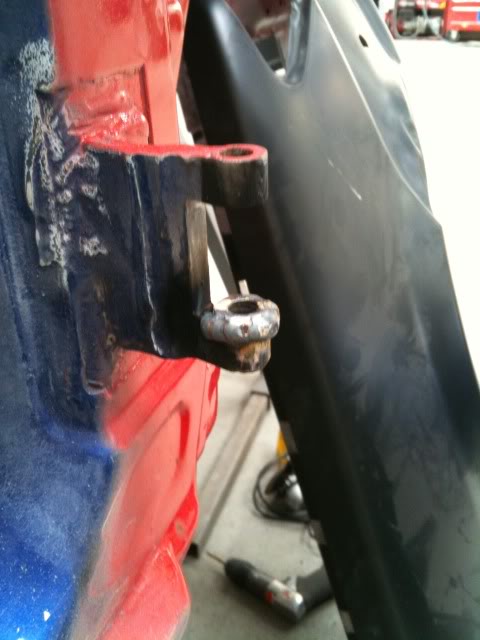
then with the belt sander the welding was tidied up
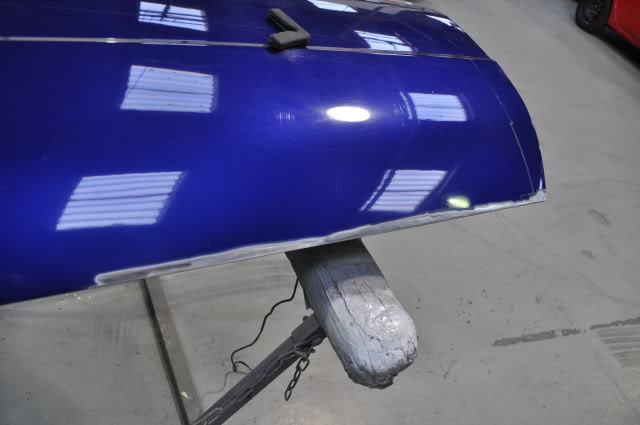
so with the doors on properly, the wings and bonnet were test fitted
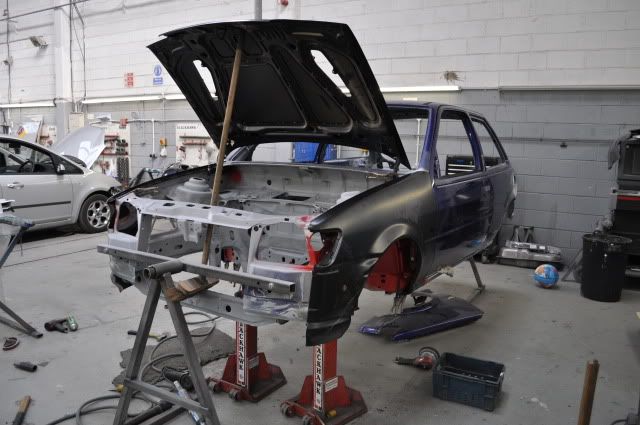
so with the wings in the perfect place, the metal was prepped for spot welding
so that being done 3/4 years ago i have a little surface rust starting
so that needed to be sorted
stripped both doors down completely
while i was there, i had to see the how bad the rust was,
thankfully with a small d/a it showed clean metal behind, so that was a big relief ! !
next was a test fit of the panels, any adjustments made before the car is ready for paint
so doors were fitted first to line up from the quarters,
while i'm catching up i'll show a picture from weeks ago, i did'nt post up because it would show my newest idea,
but while the front chassis was bare, it was the perfect time to get some paint on before the wings go on
as you dont get much access when the wings are on
it seems the last it was at the other bodyshop washers were used and parts of the hinge grinded away to allow the door to sit higher
so rather than replacing the hinges which seemed fine apart from the washers,
we used new washers and welded them on, so would look a better job
then with the belt sander the welding was tidied up
so with the doors on properly, the wings and bonnet were test fitted
so with the wings in the perfect place, the metal was prepped for spot welding
Last edited by RS_Rob; 06-09-2010 at 05:16 PM.
16-06-2010, 07:04 PM
#130
PassionFord Regular
Thread Starter
Join Date: Aug 2003
Posts: 457
Likes: 0
Received 0 Likes
on
0 Posts
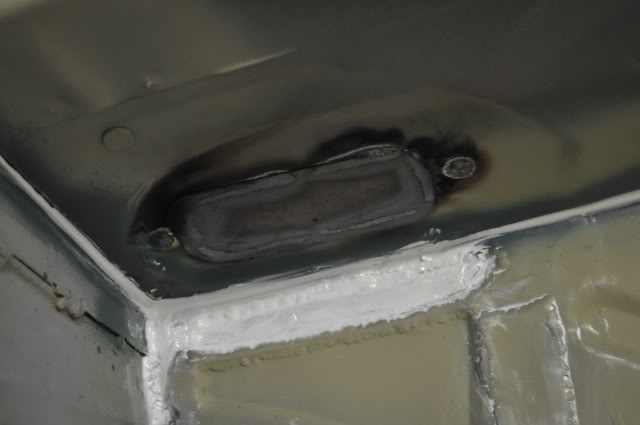
then spot welded on by a pro, its a lump of a machine
heres the wing after spot welding
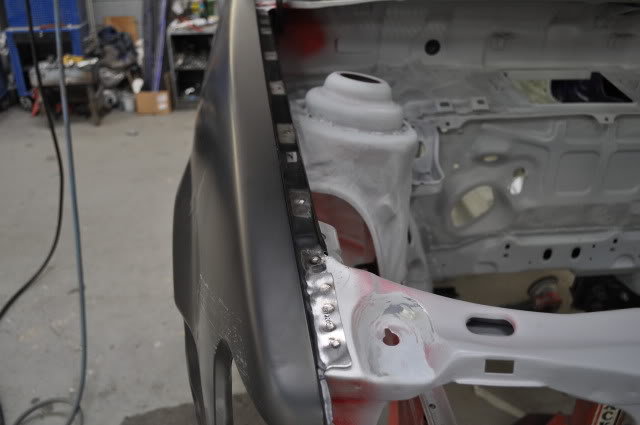
then where the front valance meets the wing was welded
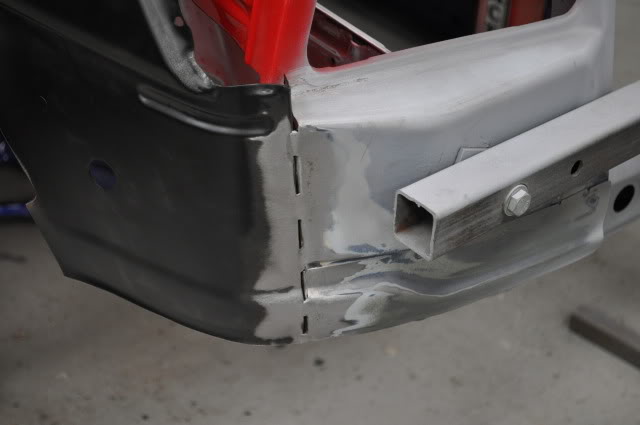
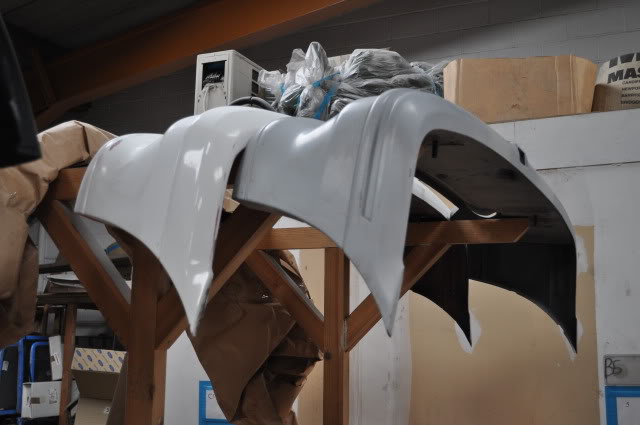
while we were test fitting, the skirts and arches were trimmed to fit nicely
aswell as being trimmed for my big wheels
also the wings were trimmed back to make more room for the 8"wide cossie wheels aswell
heres the wing after spot welding
then where the front valance meets the wing was welded
while we were test fitting, the skirts and arches were trimmed to fit nicely
aswell as being trimmed for my big wheels
also the wings were trimmed back to make more room for the 8"wide cossie wheels aswell
Last edited by RS_Rob; 06-09-2010 at 05:17 PM.
16-06-2010, 07:17 PM
#132
PassionFord Regular
Thread Starter
Join Date: Aug 2003
Posts: 457
Likes: 0
Received 0 Likes
on
0 Posts
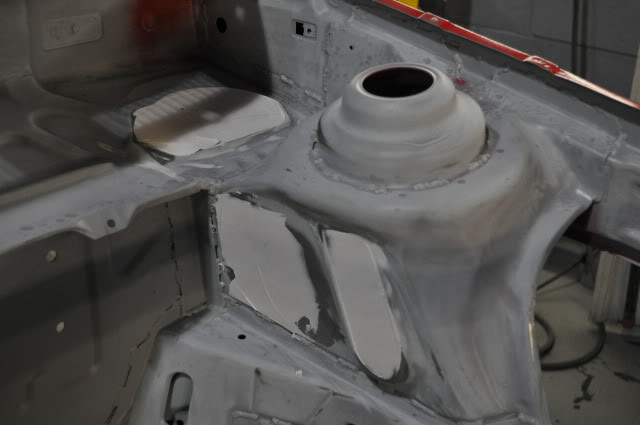
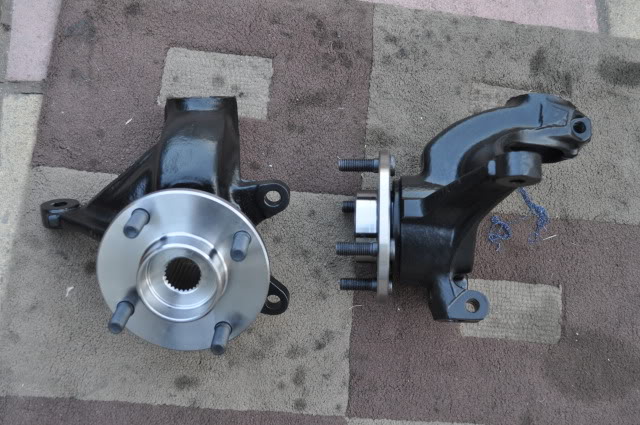
had some more parts back from the powder coaters
front hubs, another front engine mount and the back plates for the rs2000 rear disc/drum setup
recently tried cleaning up the brake bar which runs along the rear of the engine bay,
after lots of scrubbing it was'nt getting any better, so it was a choice of having it recoated, or a new one
so bought a new one along with new bushes and springs
some bump stops for the bonnet, screws for the bonnet hinges and bonnet
also nuts for the front and rear bumpers
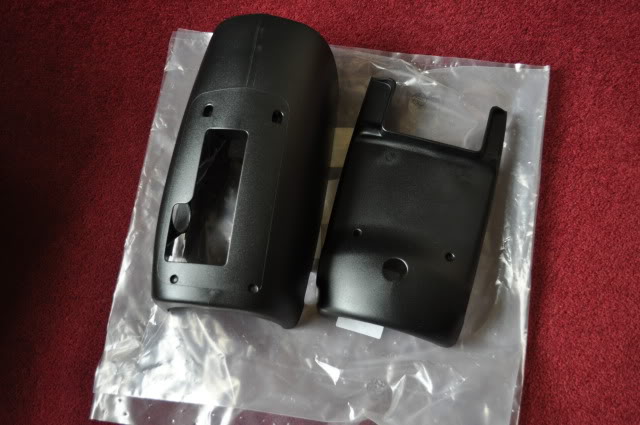
new upper and lower steering cowl's
new plugs for the floor
new seal which holds the rear glass in the tailgate
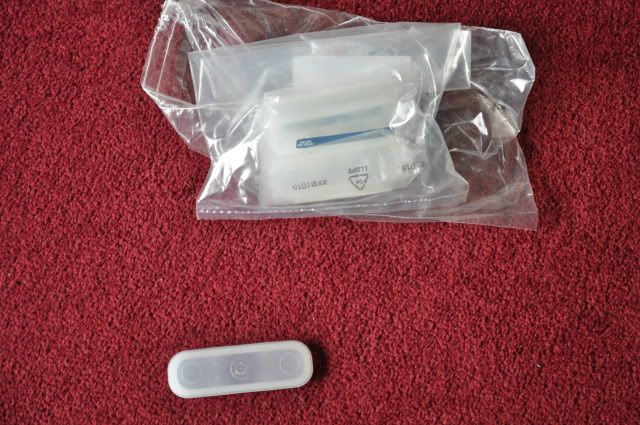
new washer bottle

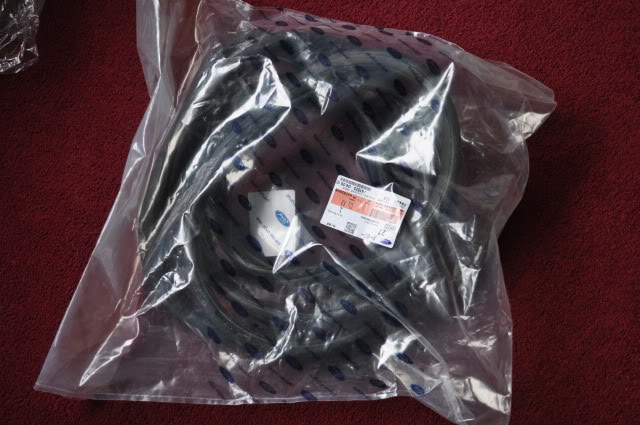
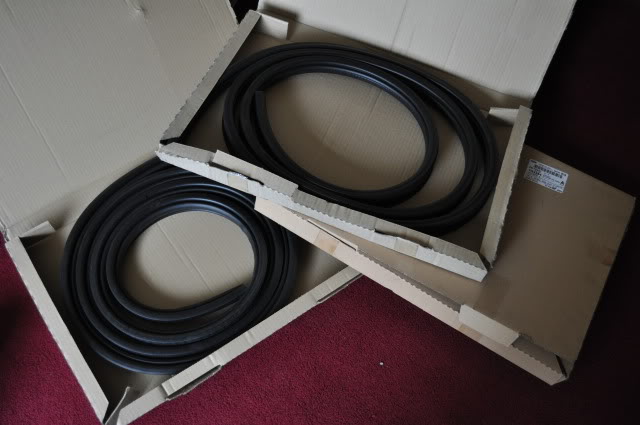
two new door seals and tailgate seal
front hubs, another front engine mount and the back plates for the rs2000 rear disc/drum setup
recently tried cleaning up the brake bar which runs along the rear of the engine bay,
after lots of scrubbing it was'nt getting any better, so it was a choice of having it recoated, or a new one
so bought a new one along with new bushes and springs
some bump stops for the bonnet, screws for the bonnet hinges and bonnet
also nuts for the front and rear bumpers
new upper and lower steering cowl's
new plugs for the floor
new seal which holds the rear glass in the tailgate
new washer bottle
two new door seals and tailgate seal
Last edited by RS_Rob; 06-09-2010 at 05:18 PM.
16-06-2010, 07:24 PM
#133
Advanced PassionFord User
nice matey , are you planning on using this as a track car , if you are then i would fit top mounts and plates to the turret towers before you decide to paint it. i think it maybe a worth while mod.
looking really good
looking really good
16-06-2010, 07:25 PM
#134
PassionFord Regular
Thread Starter
Join Date: Aug 2003
Posts: 457
Likes: 0
Received 0 Likes
on
0 Posts
new door hinge bolts and clips
one of the new door strikers aswell
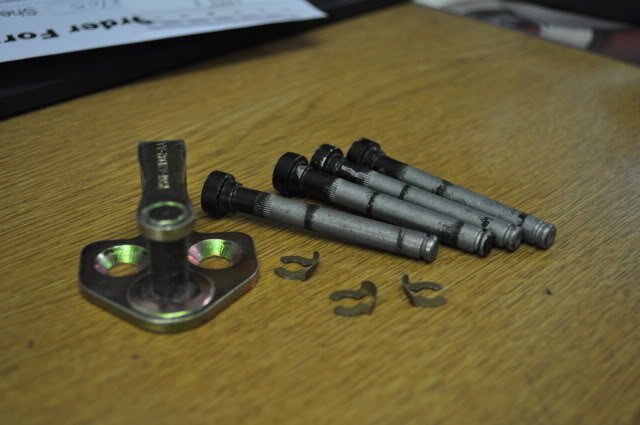
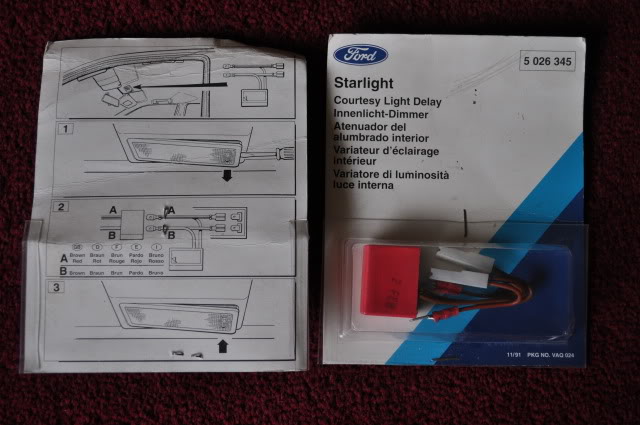
got hold of an RS accessory part i've not seen before,
its a light dimmer relay basically rather than the on/off switch
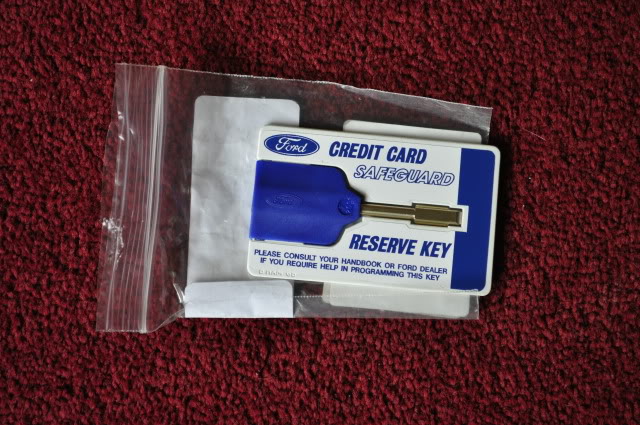
also another accessory, the credit card style spare key
the panels under the rear lights which were lead filled,
have been finished off with a skim of filler
before
after sanding
one of the new door strikers aswell
got hold of an RS accessory part i've not seen before,
its a light dimmer relay basically rather than the on/off switch
also another accessory, the credit card style spare key
the panels under the rear lights which were lead filled,
have been finished off with a skim of filler
before
after sanding
Last edited by RS_Rob; 06-09-2010 at 05:19 PM.
16-06-2010, 07:27 PM
#135
PassionFord Regular
Thread Starter
Join Date: Aug 2003
Posts: 457
Likes: 0
Received 0 Likes
on
0 Posts
wont be taking this on track, might do the occasional 1/4 mile tho
16-06-2010, 10:47 PM
#136
Regular Contributor
Join Date: Mar 2007
Location: Motherwell , Scotland
Posts: 216
Likes: 0
Received 0 Likes
on
0 Posts
wat colour you painting it mate great work so far please dont say red or if it is is there a good reason for it white or imperial blue all the way 
 18-06-2010, 06:25 AM
#138
PassionFord Regular
Thread Starter
Join Date: Aug 2003
Posts: 457
Likes: 0
Received 0 Likes
on
0 Posts
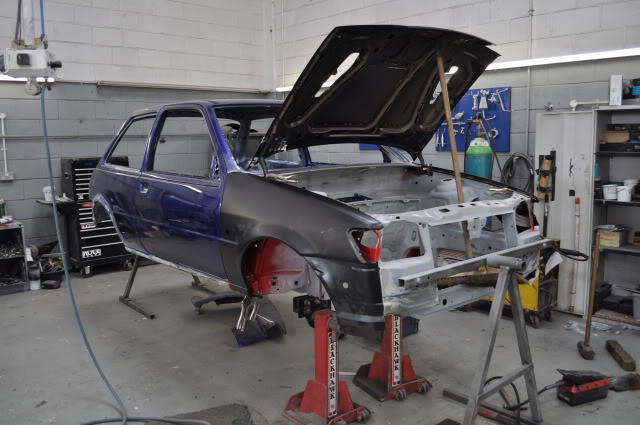
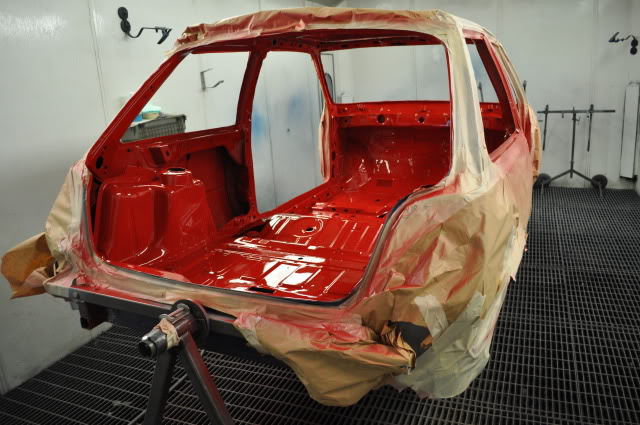
the progress is happening thick and fast
really taking shape now
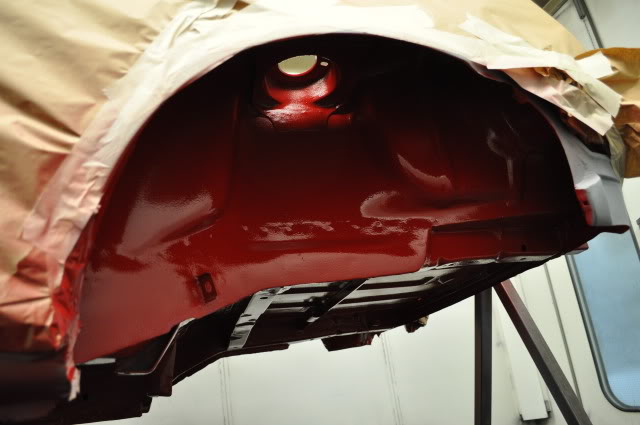
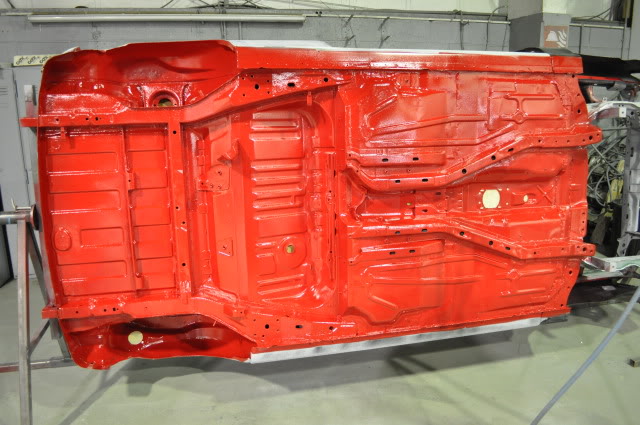
the car was masked up and taken into the spray booth
where the underneath had a nice layer of 3M stonechip
then the car had the complete outside masked off
the inside had its final prep including wipe down with tack rag's
really taking shape now
the car was masked up and taken into the spray booth
where the underneath had a nice layer of 3M stonechip
then the car had the complete outside masked off
the inside had its final prep including wipe down with tack rag's
Last edited by RS_Rob; 06-09-2010 at 05:22 PM.
18-06-2010, 06:31 AM
#139
PassionFord Regular
Thread Starter
Join Date: Aug 2003
Posts: 457
Likes: 0
Received 0 Likes
on
0 Posts
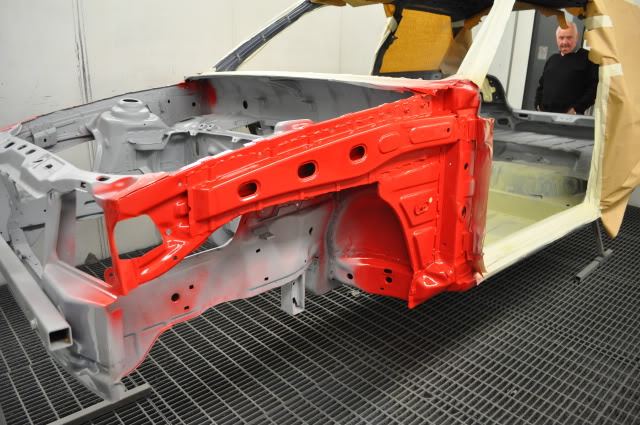
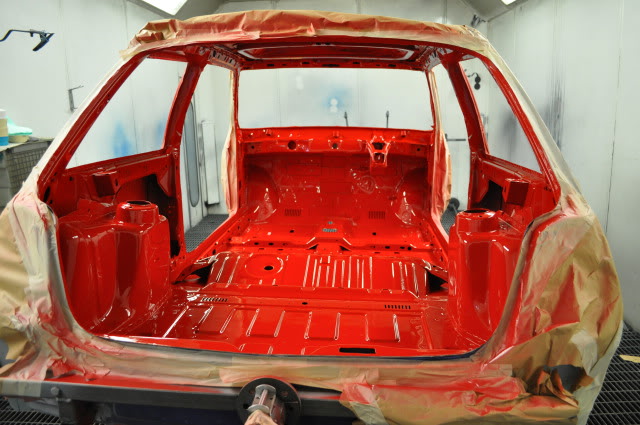
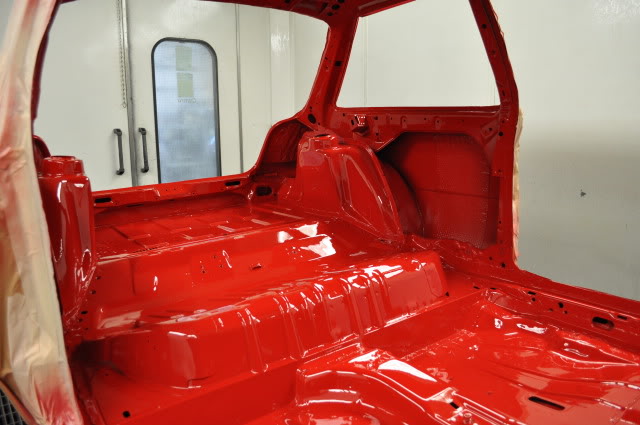
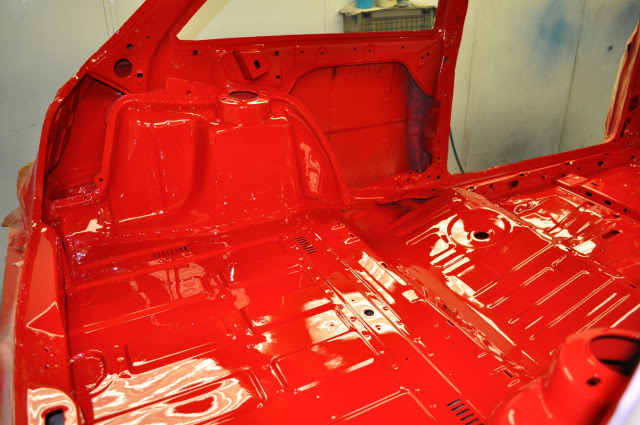
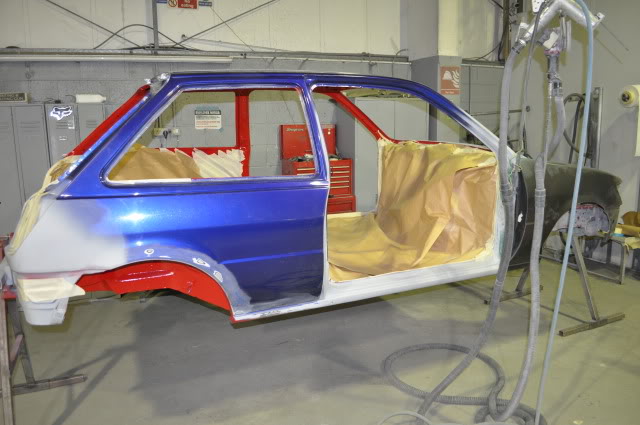
here she is after some paint in her new colour
ferrari rosso corsa red
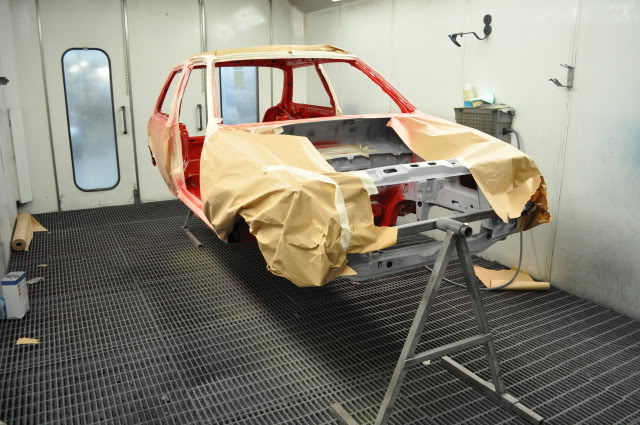
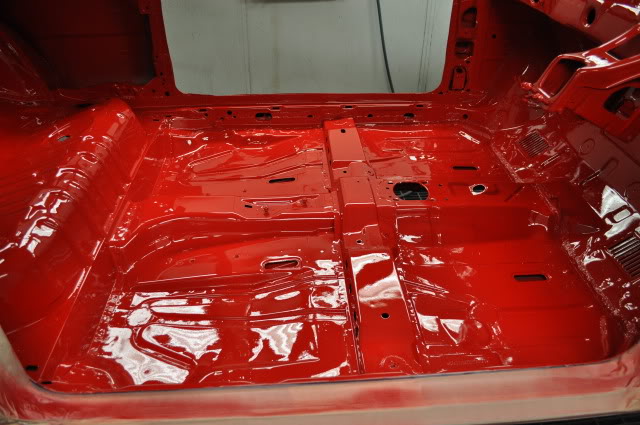
as the car is still on the spit, the car was also painted underneath on top of the stone chip

one or two more of the inside, its awesome to finally see it some colour
really makes all the prep work worth it
ferrari rosso corsa red
as the car is still on the spit, the car was also painted underneath on top of the stone chip
one or two more of the inside, its awesome to finally see it some colour
really makes all the prep work worth it
Last edited by RS_Rob; 06-09-2010 at 05:22 PM.
18-06-2010, 06:33 AM
#140
PassionFord Regular
Thread Starter
Join Date: Aug 2003
Posts: 457
Likes: 0
Received 0 Likes
on
0 Posts
mr wolz pressed my new bearings and hubs into the freshly powder coated knuckles
big thanks again
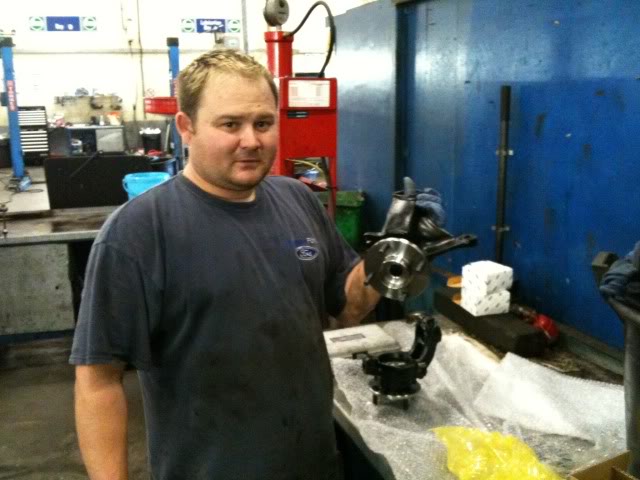
i'm proper chuffed with the outcome
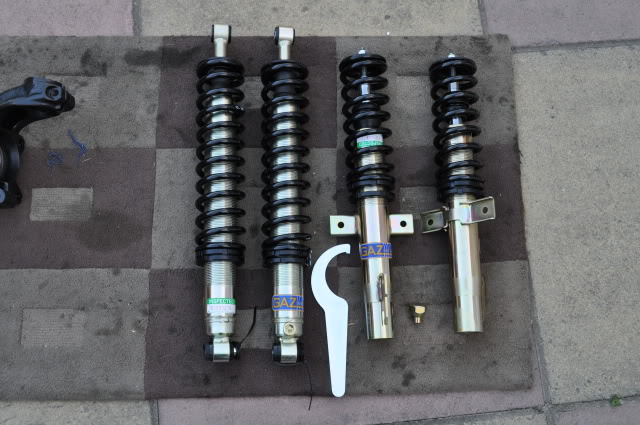
also my new coilovers arrived from GAZ
the difference of these compared to the avo's i had before is massive,
the welds are really neat, two adjusters plates to lock the springs in place rather than one with a plastic screw
big thanks again
i'm proper chuffed with the outcome
also my new coilovers arrived from GAZ
the difference of these compared to the avo's i had before is massive,
the welds are really neat, two adjusters plates to lock the springs in place rather than one with a plastic screw
Last edited by RS_Rob; 06-09-2010 at 05:25 PM.


 24-06-2010, 07:53 PM
#152
PassionFord Regular
Thread Starter
Join Date: Aug 2003
Posts: 457
Likes: 0
Received 0 Likes
on
0 Posts
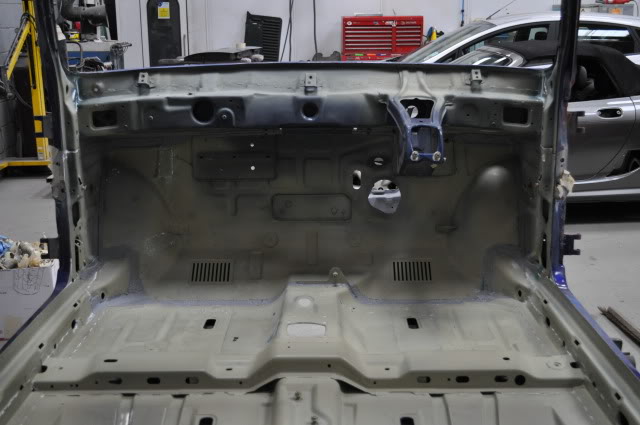
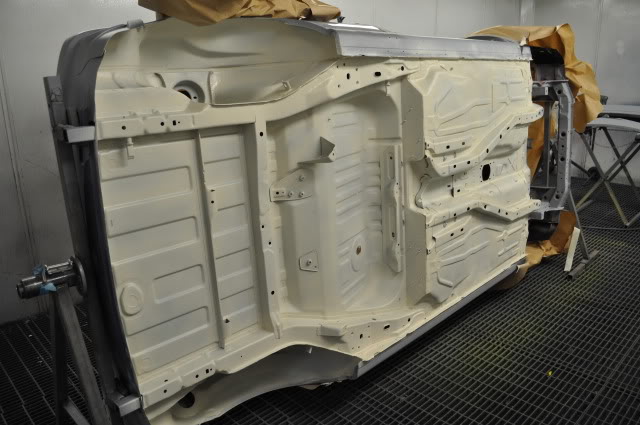
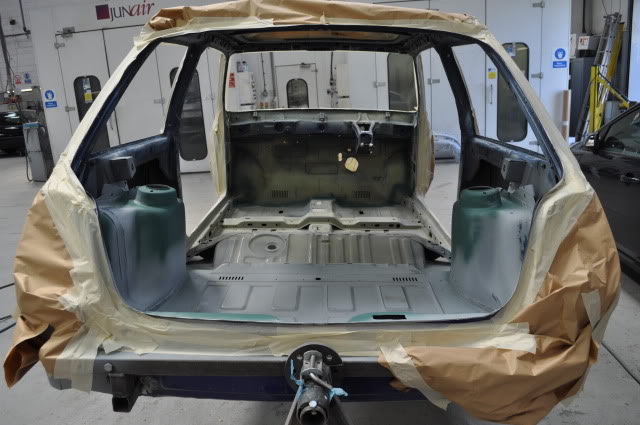
well after the shell was painted inside,
the next morning i covered it over with paper, to stop general bodyshop dust getting on top of it

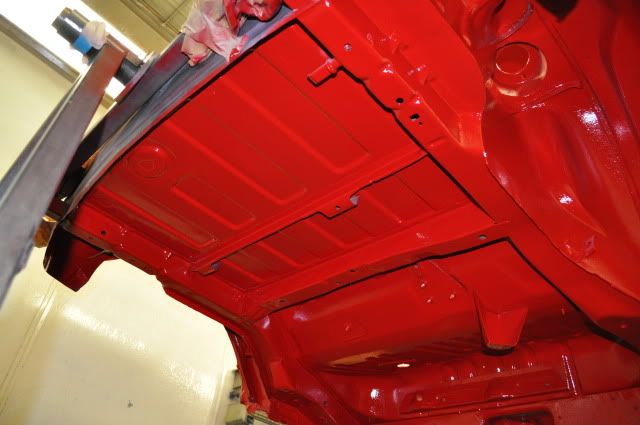
a picture of the underneath all finished
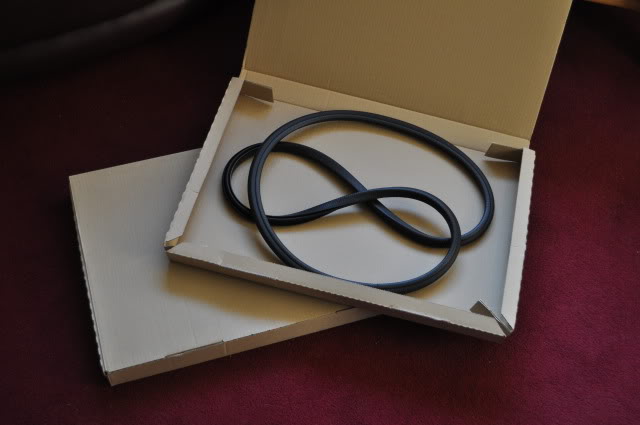
new rear 1/4 glass seals,
so now have all new seals for the car
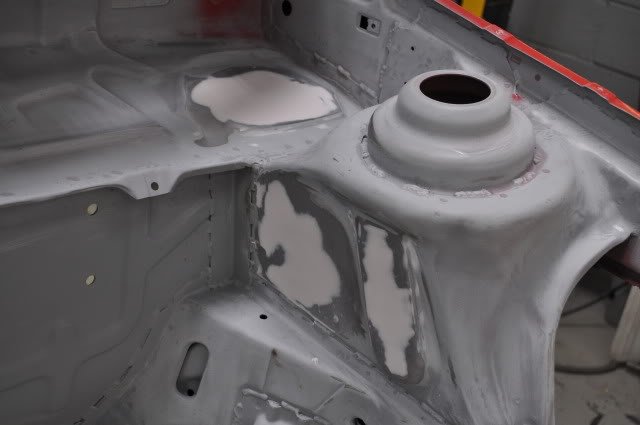
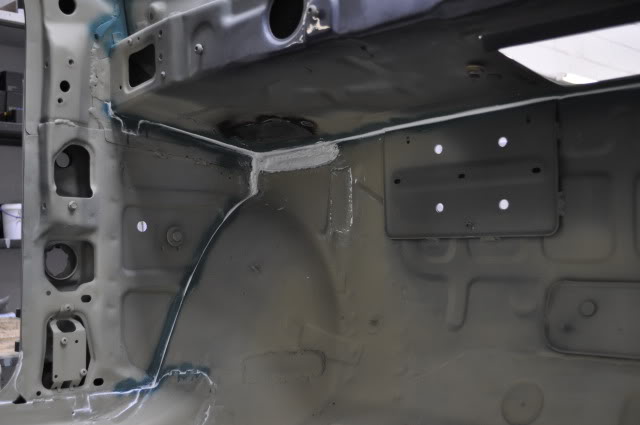
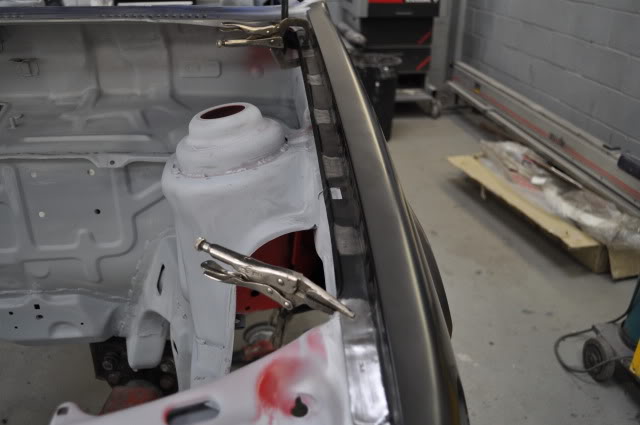
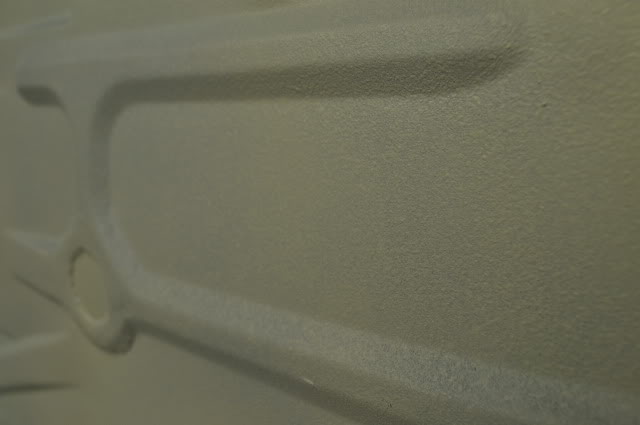
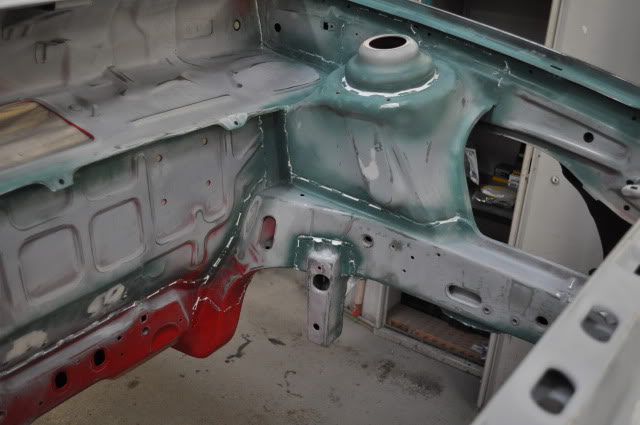
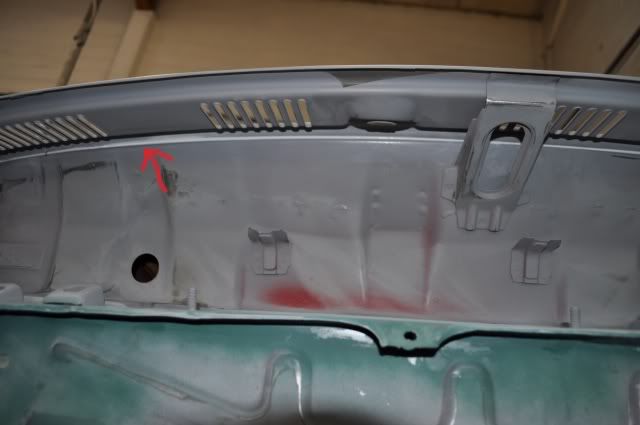
the engine bay has had a quick prep and all seams which need sealing up have had a guide coat of green spot primer
before the final prep can happen
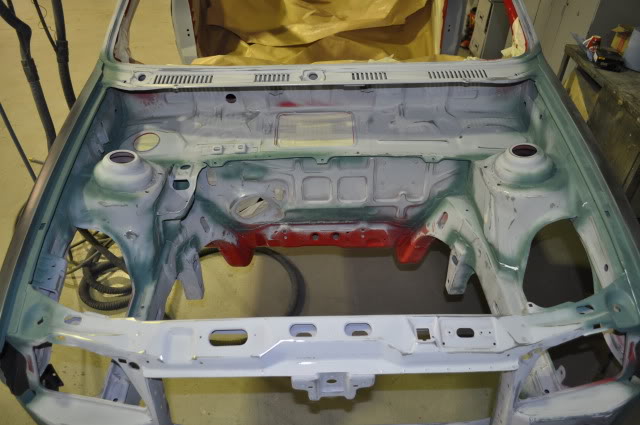
holes drilled for the front strut brace
to make sure theres plenty of room for the intercooler and rad setup
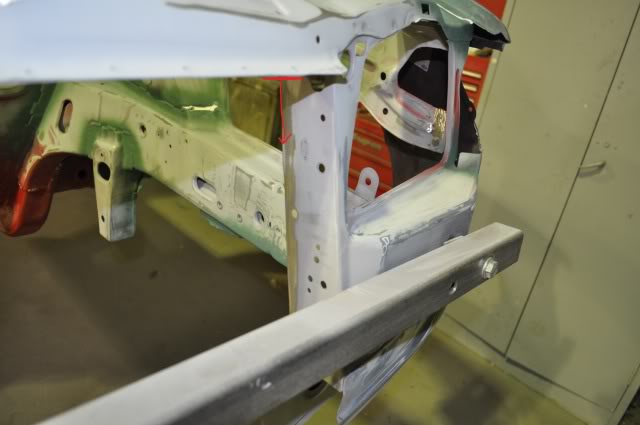
there was a small lip on the front panel support (highlighted with the red arrow)
so grinded this off and made it smooth to touch
the next morning i covered it over with paper, to stop general bodyshop dust getting on top of it
a picture of the underneath all finished
new rear 1/4 glass seals,
so now have all new seals for the car
the engine bay has had a quick prep and all seams which need sealing up have had a guide coat of green spot primer
before the final prep can happen
holes drilled for the front strut brace
to make sure theres plenty of room for the intercooler and rad setup
there was a small lip on the front panel support (highlighted with the red arrow)
so grinded this off and made it smooth to touch
Last edited by RS_Rob; 06-09-2010 at 05:28 PM.
24-06-2010, 09:25 PM
#155
PassionFord Regular
Thread Starter
Join Date: Aug 2003
Posts: 457
Likes: 0
Received 0 Likes
on
0 Posts
i know theres alot of photo's lol
but further back in the project
i've got a brand new FRST bonnet to go on
05-07-2010, 12:03 AM
#158
PassionFord Regular
Thread Starter
Join Date: Aug 2003
Posts: 457
Likes: 0
Received 0 Likes
on
0 Posts
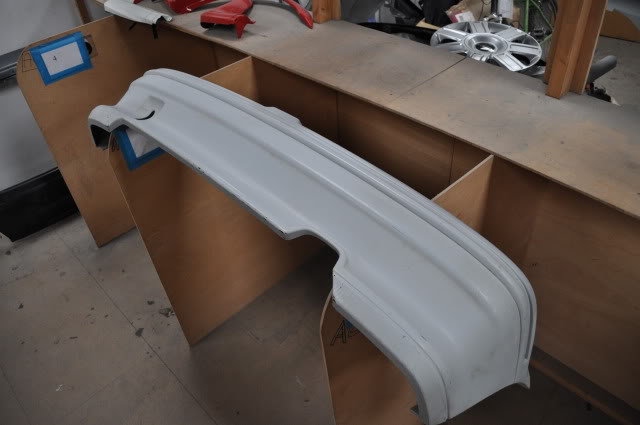
ok been buying more parts
after sourcing a rear bumper only when i got it home
i realised it had been trimmed far too much
so i got hold of a new one
old one on the left, new on the right
i better look of the new one
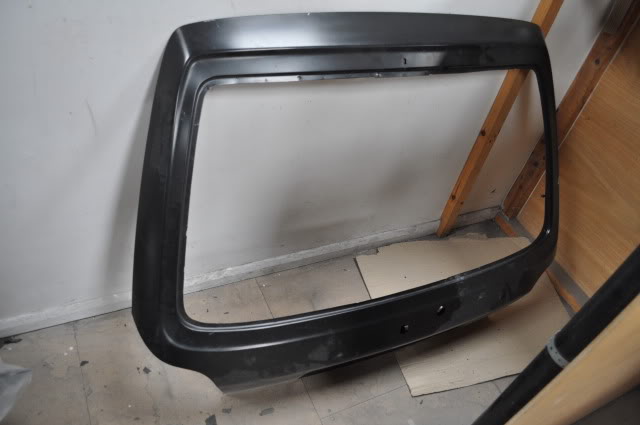
brand new tailgate
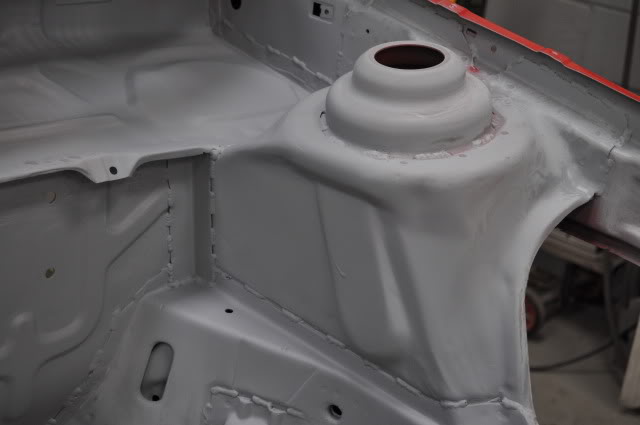
the engine bay sealing is more or less done,
its alot more important to do a good job in the engine bay,
as i'd rather avoid any future waterleaks
even sealed non important bits, with paint over the top
it will all look much better and easier to keep clean
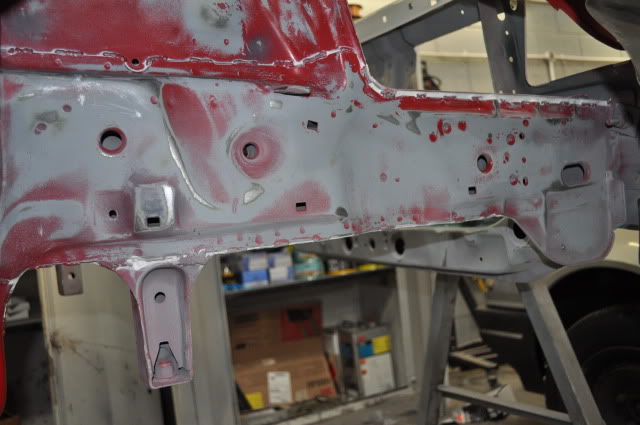
around the hinges all sealed up
under the scuttle panel has been done aswell
after sourcing a rear bumper only when i got it home
i realised it had been trimmed far too much
so i got hold of a new one
old one on the left, new on the right
i better look of the new one
brand new tailgate
the engine bay sealing is more or less done,
its alot more important to do a good job in the engine bay,
as i'd rather avoid any future waterleaks
even sealed non important bits, with paint over the top
it will all look much better and easier to keep clean
around the hinges all sealed up
under the scuttle panel has been done aswell
Last edited by RS_Rob; 06-09-2010 at 09:05 PM.
