
S2 rs turbo resto, **LET THE DETAILING BEGIN!!!!**
 03-07-2010, 07:37 AM
#121
Advanced PassionFord User

you must have the patience of a saint rob couldn't bring myself to do all that as i'd miss driving mine to much but your doing a cracking job on it, should be a credit to you when it's all done
 03-07-2010, 08:10 AM
#123
Regular Contributor
Join Date: Oct 2008
Location: birmingham
Posts: 265
Likes: 0
Received 0 Likes
on
0 Posts
Not rapid enough mate lol, don't think i will be making it to ford fair this year  bet definitely next! Still got the engine to rebuild, the interior, front suspension, brakes then run it in and map it..... long! good luck at ford fair mate, shame as i would have liked to meet you and say thanks in person for the water pump!
Rob,
Rob,

 04-07-2010, 09:42 PM
#127
Thanks everyone for all the lovely comments! and a big thank you to every one who has helped! Infact was sifting through Puss's resto thread for reassembly photos!
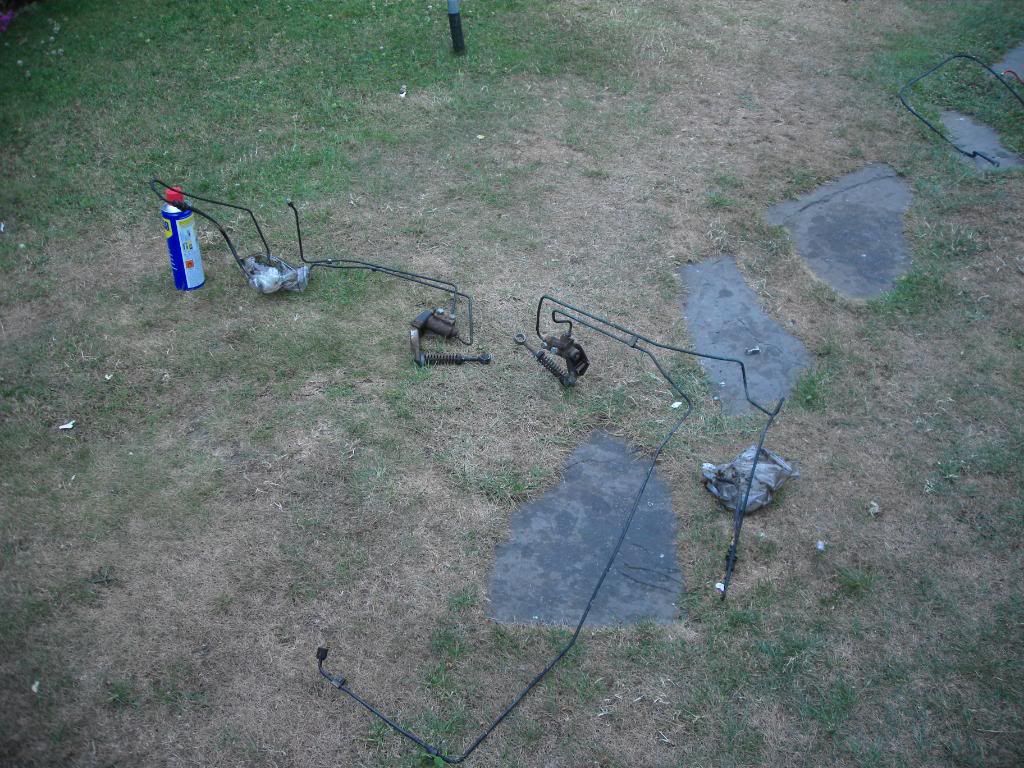
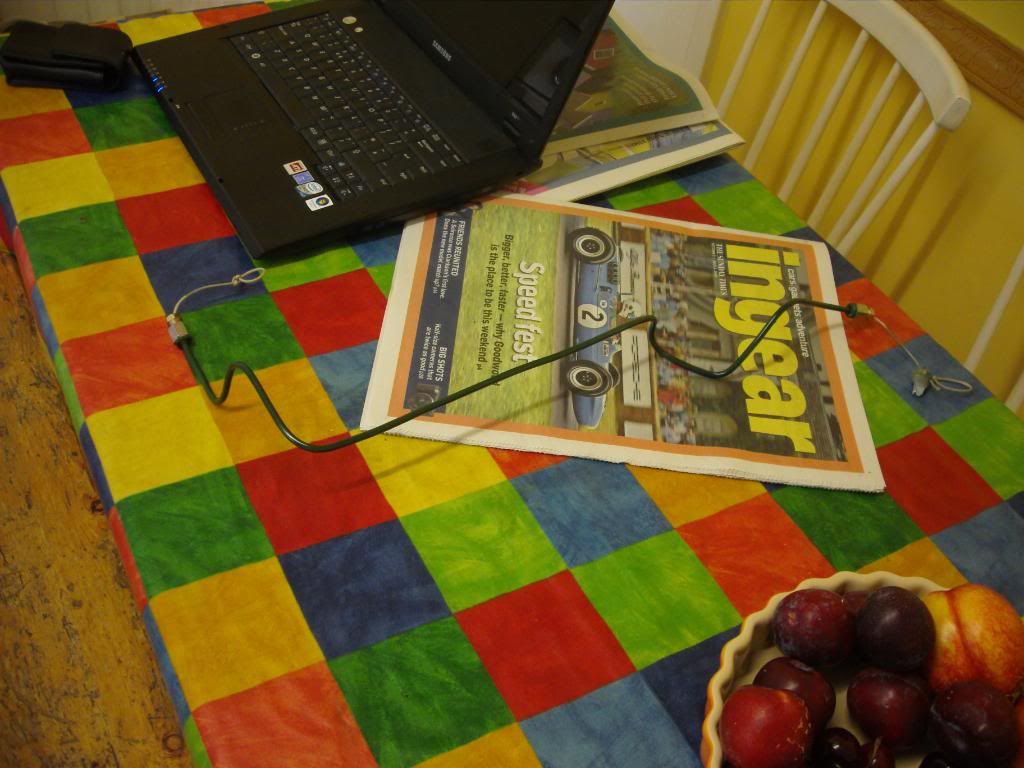
Today was spent mostly cursing, bending and making copper brake lines. I used the majority of the original pipes and remade the rear section to get rid of the abs and the rear proportioning valves in favour of some in line jobbies off a mk5 scort (like puss and twins cars). Just using the original drums.
Here is the junk not going back on
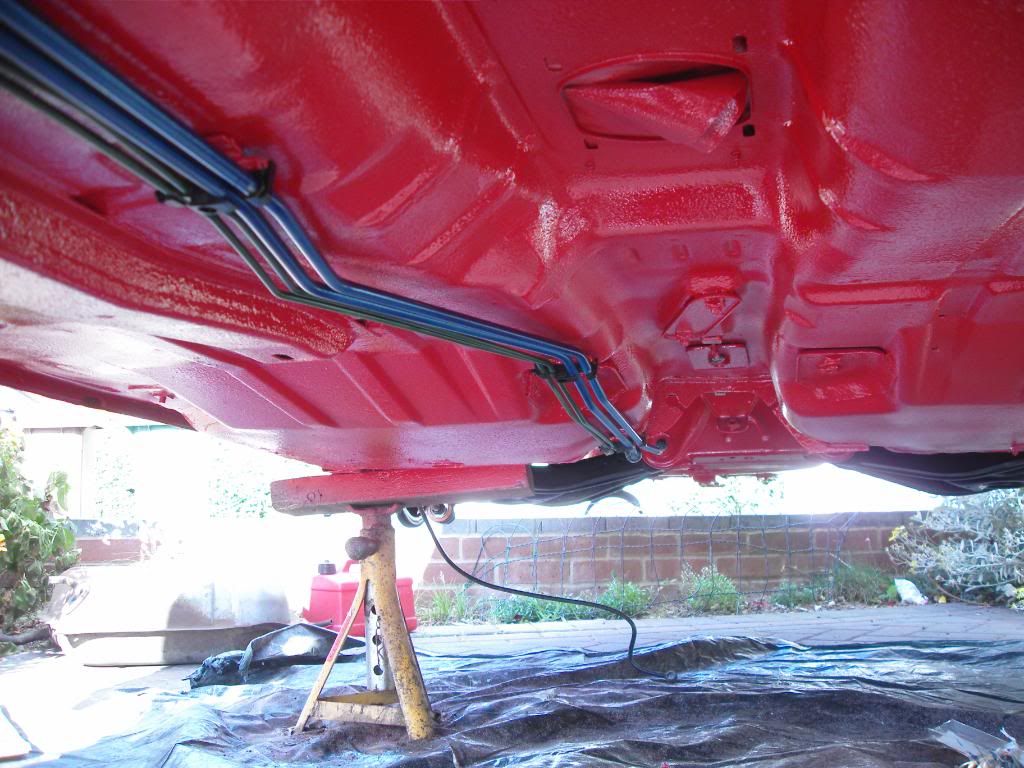
All in, fuel and brake lines, still to be arranged under the bay,
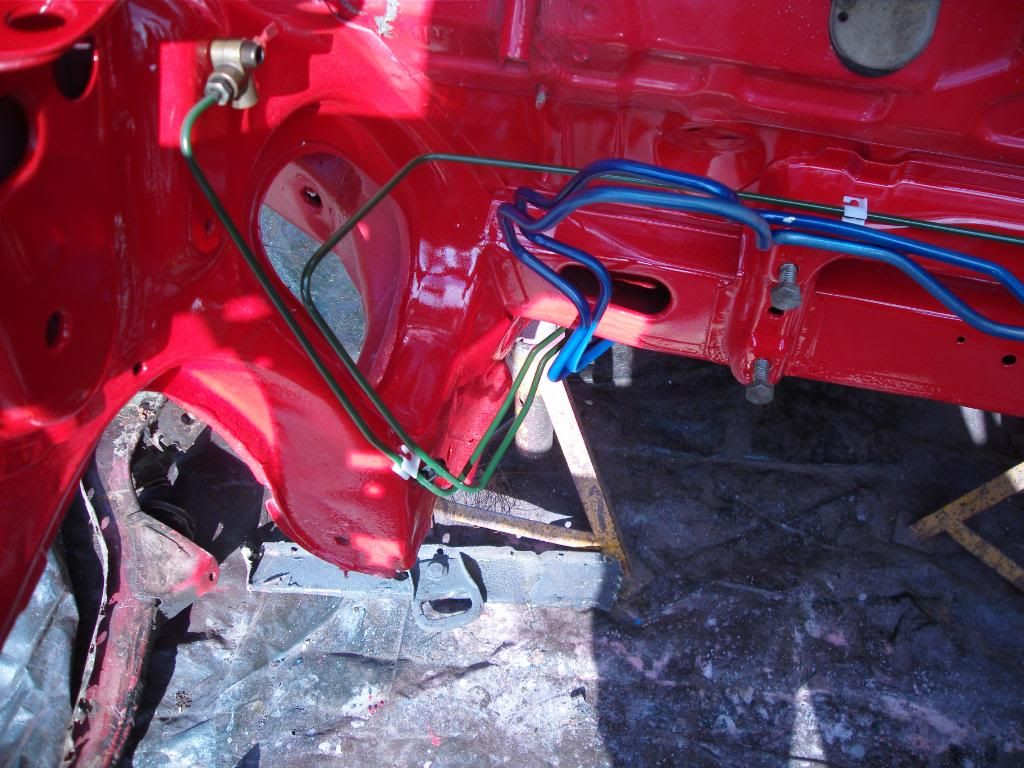

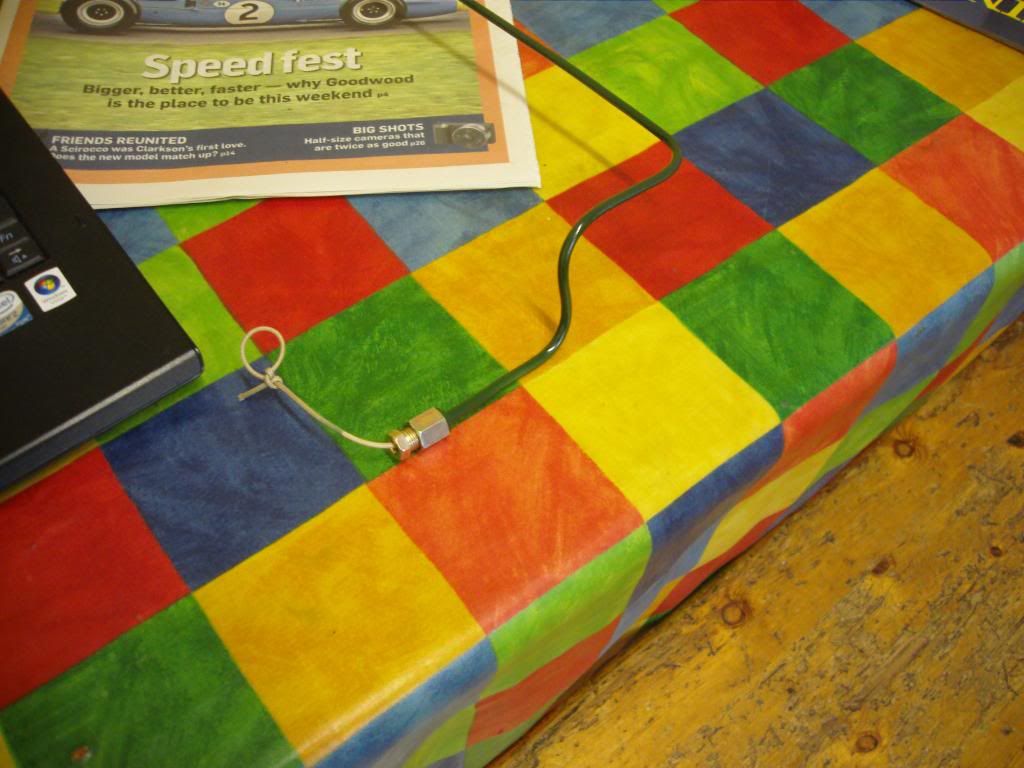
One of the pipes i made up
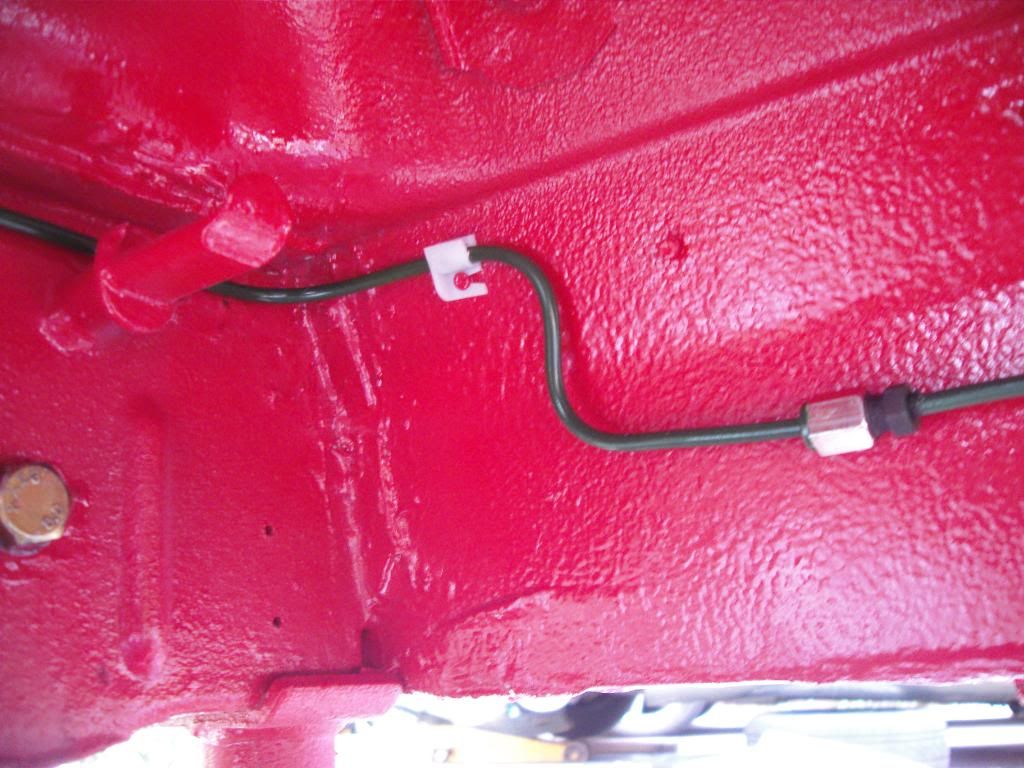
Installed
Cheers again lads
Rob,
Today was spent mostly cursing, bending and making copper brake lines. I used the majority of the original pipes and remade the rear section to get rid of the abs and the rear proportioning valves in favour of some in line jobbies off a mk5 scort (like puss and twins cars). Just using the original drums.
Here is the junk not going back on
All in, fuel and brake lines, still to be arranged under the bay,
One of the pipes i made up
Installed
Cheers again lads
Rob,
08-07-2010, 02:55 PM
#128
Will it ever end !!!!!!!

Great job - doing the same to mine at the moment - where did you get the brake and fuel lines from if you dont mind me asking ? Are they just standard items refurbished and painted or did you buy them like that ?
08-07-2010, 03:10 PM
#129
Too many posts.. I need a life!!
iTrader: (1)
Join Date: Jan 2008
Location: Crawley, West Sussex
Posts: 974
Likes: 0
Received 0 Likes
on
0 Posts
They were originals cleaned up and painted as they were still in good condition, I had the pleasure of watching rob paint them lol

 09-07-2010, 12:32 PM
#134
cheers lads, as mike said the fuel lines and brake lines were originals, cleaned, preped and painted. the rear section of the brake lines i made.
Matt,
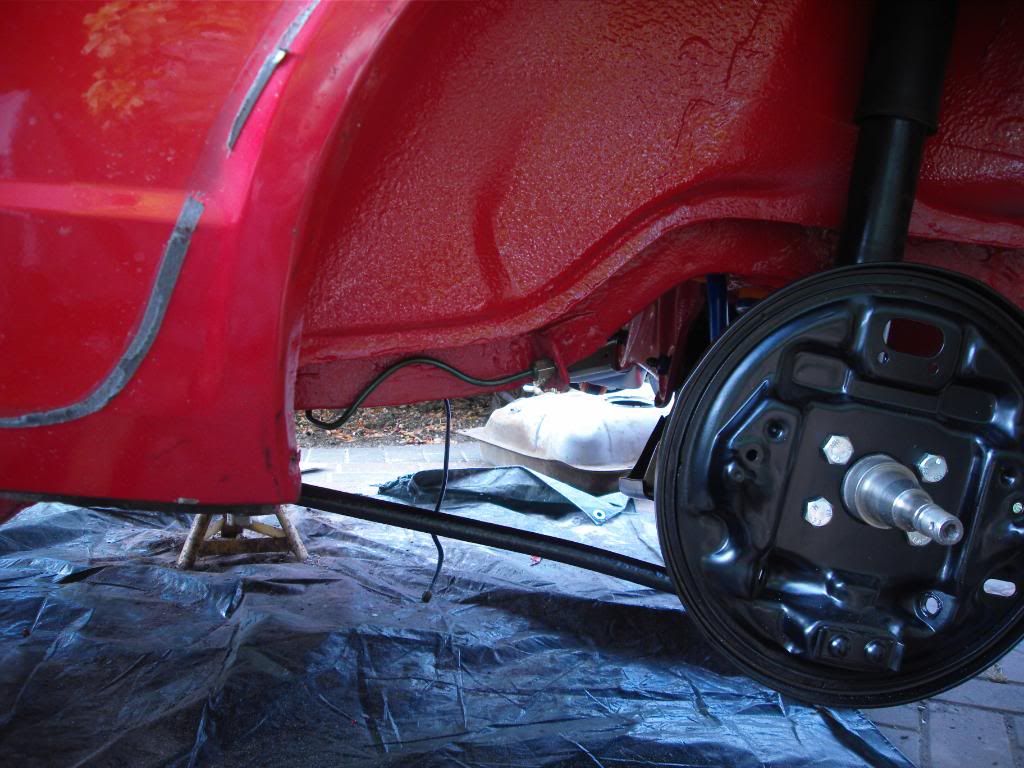
The car was taken back to original ford undercoat and bare metal in some places, bare metal was primered with acid etch. The who underside was then stone chipped using upol gravitex (something like that) which was pretty good using a shutz gun (how ever you spell it!).
After that the underside was painted with 2k rosso red. I have a fairly thick coat of stone chip and a fairly thin coat of paint (not too stingy tho) school of thought being the thicker the paint the less flexible it will be, the stone chip stays flexible too so a stiff layer of paint would probably just crack and chip easily.
After this the underside will be given a thinned down coat of clear dinitrol wax, shouldn't hurt the finish too bad, but will keep it nice in the long run, sills and and cavity's in and out of the car will be cavity waxed with dinitrol as i believe it to be better than waxoil.
Cheers
Rob,
Matt,
The car was taken back to original ford undercoat and bare metal in some places, bare metal was primered with acid etch. The who underside was then stone chipped using upol gravitex (something like that) which was pretty good using a shutz gun (how ever you spell it!).
After that the underside was painted with 2k rosso red. I have a fairly thick coat of stone chip and a fairly thin coat of paint (not too stingy tho) school of thought being the thicker the paint the less flexible it will be, the stone chip stays flexible too so a stiff layer of paint would probably just crack and chip easily.
After this the underside will be given a thinned down coat of clear dinitrol wax, shouldn't hurt the finish too bad, but will keep it nice in the long run, sills and and cavity's in and out of the car will be cavity waxed with dinitrol as i believe it to be better than waxoil.
Cheers
Rob,
09-07-2010, 04:44 PM
#137
I got the 2k from ebay and the stone chip from ebay.
Then i got the 2k thinners and hardener from an online body shop (they were the cheapest i found) used fast thinners. Worth while getting a gallon of gun wash (cheap cellulose) to clean all your equipment up after. And also got a couple of litres of panel wipe too which is essential in my opinion. A few pages back there are some photos of the under bonnet which we sprayed at the same time, this is un polished etcetc dry as it came out the gun. 2k is defo the stuff to use.... plus a good gun and compressor.
Good luck!
Rob,
 10-07-2010, 11:57 PM
#141
Ummmmm, i can't remember at the min... but i will check for you... I took some clean original brake line with me when i bought it though, and it was the closest to the original. Think both the fuel and brake lines are a rover colour 
Slightly lighter (but not too dissimilar to Jaguar british racing green).
The fuel lines are the same colour as the girlfriends mg i had some spare paint left from a job on that hence the fuel lines and bolts being a funny but IMO coolish blue....
Rob,
Slightly lighter (but not too dissimilar to Jaguar british racing green).
The fuel lines are the same colour as the girlfriends mg i had some spare paint left from a job on that hence the fuel lines and bolts being a funny but IMO coolish blue....
Rob,
22-08-2010, 07:43 PM
#144
Too many posts.. I need a life!!
iTrader: (1)
Join Date: Jan 2008
Location: Crawley, West Sussex
Posts: 974
Likes: 0
Received 0 Likes
on
0 Posts
Little update from me as Rob forgot his camera!
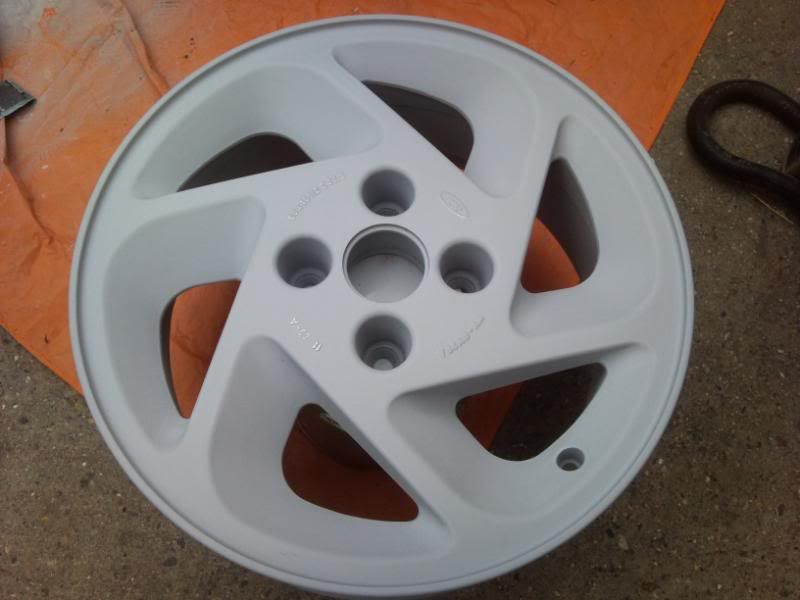
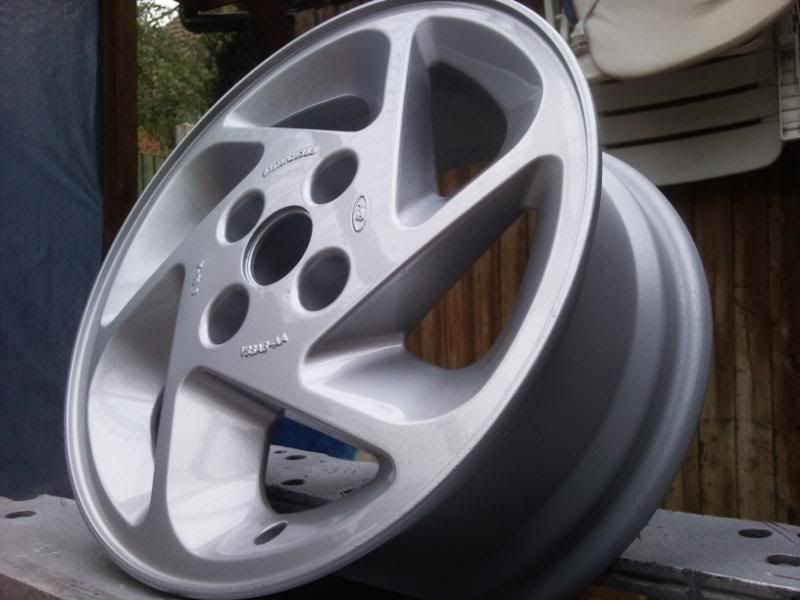
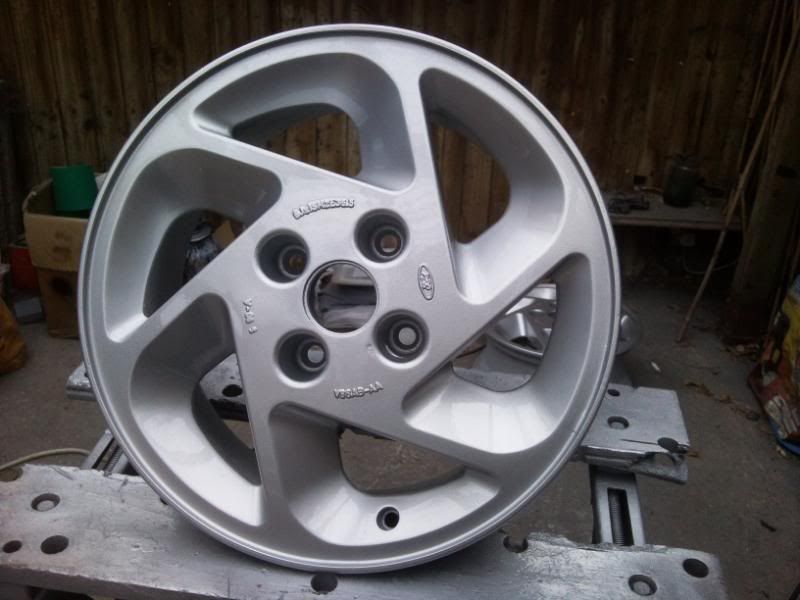
Rob and I had a wheely fun time restoring his wheels and fuel tank, the wheels had been sandblasted and we 2K primered and painted them silver and then some lacquer to finish them off, really chuffed with the results...
wheel in primer
wheel in basecoat
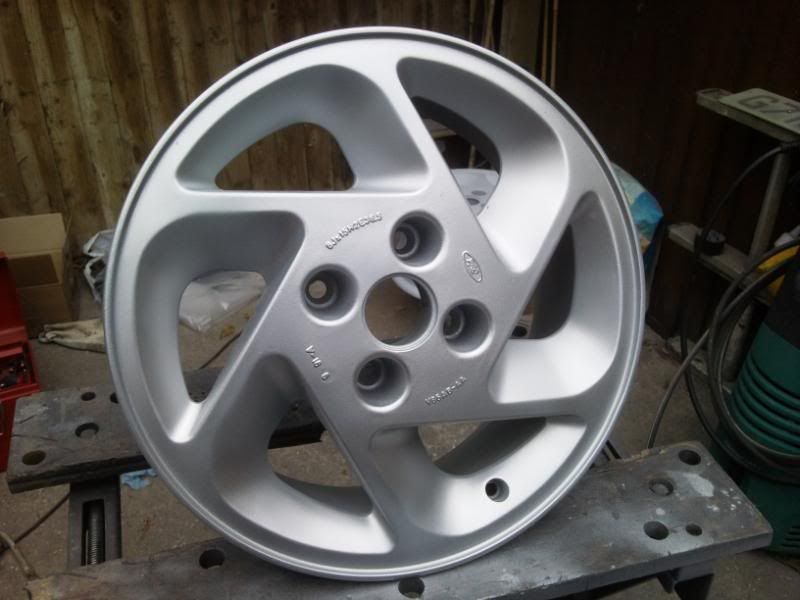
then lacquered
Fuel Tank in primer
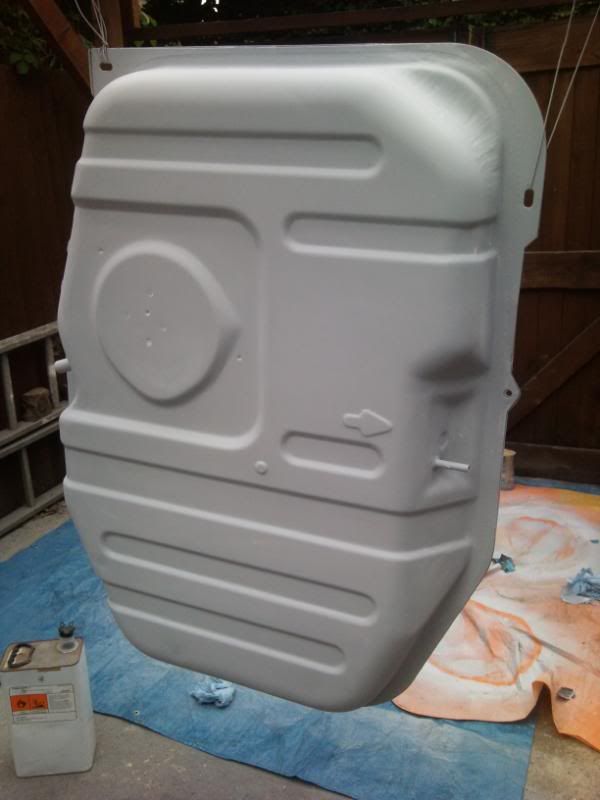
Painted
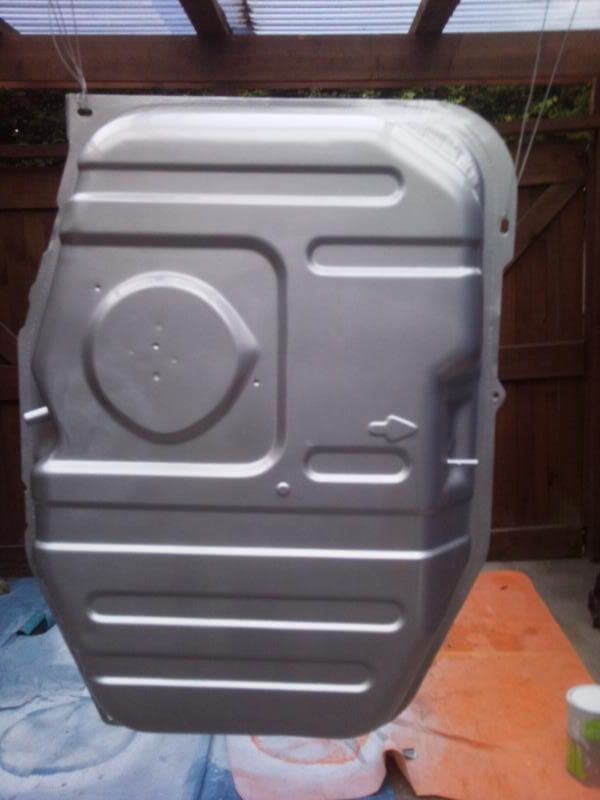
The pics dont really do them justice, look much better in the flesh!
Rob and I had a wheely fun time restoring his wheels and fuel tank, the wheels had been sandblasted and we 2K primered and painted them silver and then some lacquer to finish them off, really chuffed with the results...
wheel in primer
wheel in basecoat
then lacquered
Fuel Tank in primer
Painted
The pics dont really do them justice, look much better in the flesh!
22-08-2010, 09:32 PM
#145
Cheers mate, your phone takes al-right pics doesn't it. The make shift spray booth worked a treat too, went much faster with two people! sorry we didn't hang your door lol
I should probably bang some more pics of the car up, re made the wiring loom removed all MFI wires (there were shit lots!) then fully braided the lot which was just a mission, the interior is essentially in bar the back seats, the rear is finished apart from the tank and fuel pump, the rear hubs have been converted to studs, the wiper motor and heater box are all back in, new steering rack is fitted... So just waiting on engine, gearbox and front suspension which i will fit as one..... Then i will make the sub wiring loom for the megasquirt.
Looks like plans for an essentially standard engine are out lol buying a set of h section rods and decent standard cr pistons, probably wossner.
Rob,
Last edited by Rob_DOHC; 22-08-2010 at 09:35 PM.
28-08-2010, 12:16 PM
#146
Mate I dont know how you have the patience for all that?! I'm cursing cos I've got to do my battery tray!!  lol
lol
Top quality work though, and the car will last forever with all the rust prevention you've done!!
Will be hugely satisfying once the engine is built and mapped too, car will be better than new!
Top quality work though, and the car will last forever with all the rust prevention you've done!!
Will be hugely satisfying once the engine is built and mapped too, car will be better than new!
 03-09-2010, 09:56 PM
#150
Mate I dont know how you have the patience for all that?! I'm cursing cos I've got to do my battery tray!! lol
Top quality work though, and the car will last forever with all the rust prevention you've done!!
Will be hugely satisfying once the engine is built and mapped too, car will be better than new!
Top quality work though, and the car will last forever with all the rust prevention you've done!!
Will be hugely satisfying once the engine is built and mapped too, car will be better than new!
Cheers mate, luckily my battery tray is good as i doesn't look like a nice job to do
Rob,
03-09-2010, 10:00 PM
#151
Cheers fella, was having a look through your thread the other day and you've done loads more than me in about half the time! And i actually think your under car finish is better than mine what did you use?
Unfortunately not mate, we all decided to leave it for a year, mate with a cosworth wasn't fully run in and mapped and the other ford lot couldn't be arsed lol zetec turbo sound like a plan buddy! should be there next year so hopefully bump into you
Cheers mate, how is your car coming along?
Will have some more pictures up tomorrow, fitting the tank etc. and FINALLY putting its arse on the floor
Cheers for all the comments
Rob,
looks good rob .were you at ford fair my cabs was there but ive taken back off road now ,sold engine ,building a 2ltr zetec turbo now with a kick
Awesome Robert!!!
Will have some more pictures up tomorrow, fitting the tank etc. and FINALLY putting its arse on the floor
Cheers for all the comments
Rob,
09-11-2010, 10:19 AM
#152
Hi everyone long time no update!
I will get pics up in a bit, but essentially the brakes are done, and the bay is ready for the engine.
Mike Kerbey kindly picked up all my engine bits from the machinists today
Had:
Rebore 0.5mm
Honed to match pistons (mahle 7.8:1 Cr)
Block faced
Head faced
3 angle valve seats on the inlet
Cut back valves on the inlet
New exhaust guides
polished big ends and 10thou undersized mains.
New ford exhaust valves
Got all the bits to build it on order from burtons, so i guess it might just be done soon! Gone for lead copper acl HD bearings (mains and big ends) AE piston rings etcetc, ford head gasket and head bolts etc. Forged conrods and machined mahle pistons should make for a fairly potent cvh build (i hope!).
Pics to follow
Cheers
Rob,
Last edited by Rob_DOHC; 29-11-2010 at 04:46 PM.
09-11-2010, 11:56 AM
#154
Sounds good, im paint stripping and painting the block first and porting the head on sat so sunday fits in pretty well, just going to take ages measuring it all up, i've still got plenty of plastigauge, you got any assembly lube left from bumming you yb?
09-11-2010, 03:37 PM
#157
Just read the lot. Excellent job and commitment doing this in the elements.
I will look out of it next year at the shows.
ps. Did you ever get a cps holder? I am after one too!
I will look out of it next year at the shows.
ps. Did you ever get a cps holder? I am after one too!
Last edited by Danster76; 09-11-2010 at 03:38 PM. Reason: ps
 22-11-2010, 05:32 PM
#159
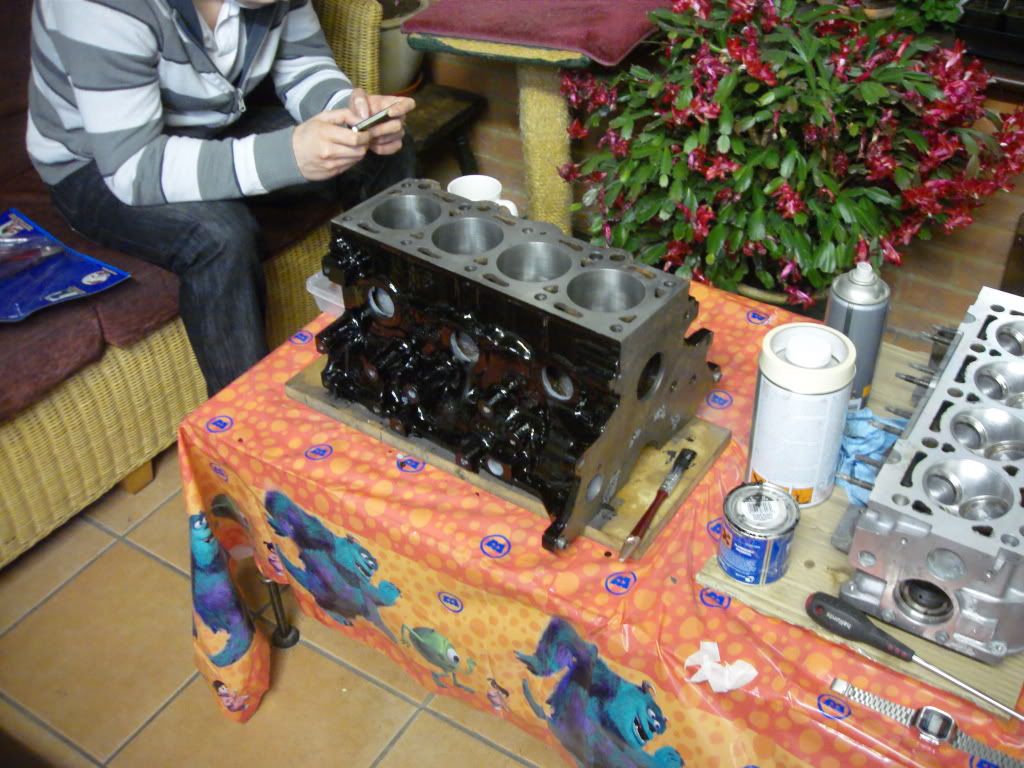
Cheers for the comments lads, rebuilding the engine at the moment, measuring up and assembling the bottom end tomorrow.
Here's the block (from Karlos) stripped, machined and painted.
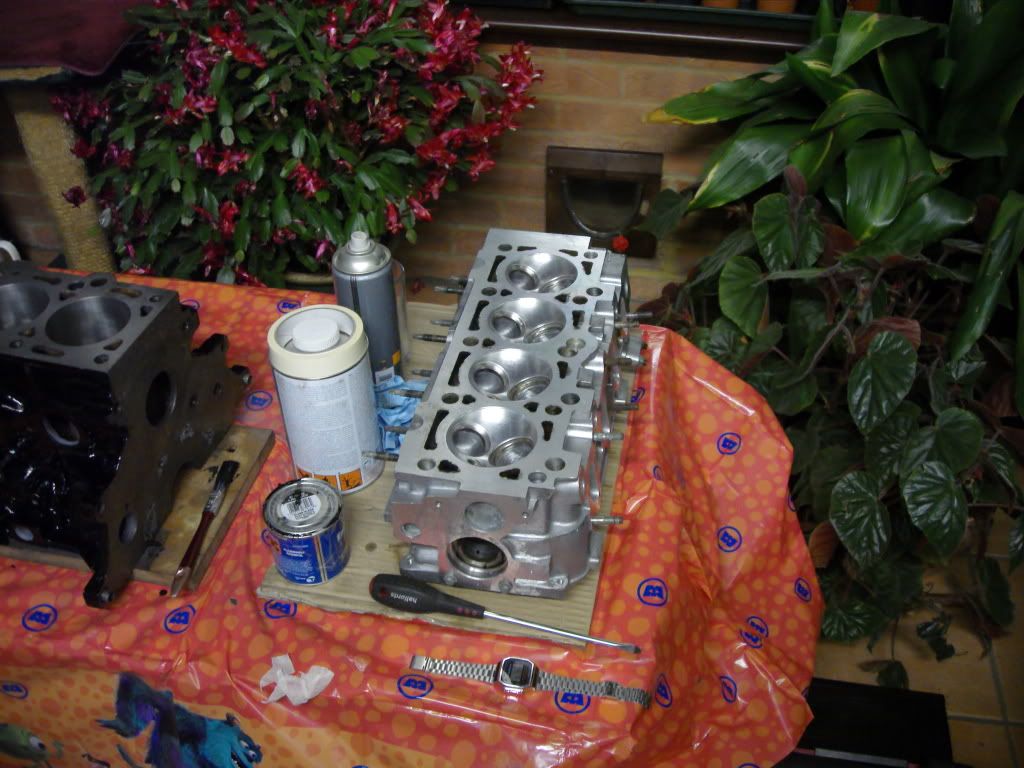
And the head after a bit of light porting, degreased and jet washed, waiting for the valves to be lapped in.
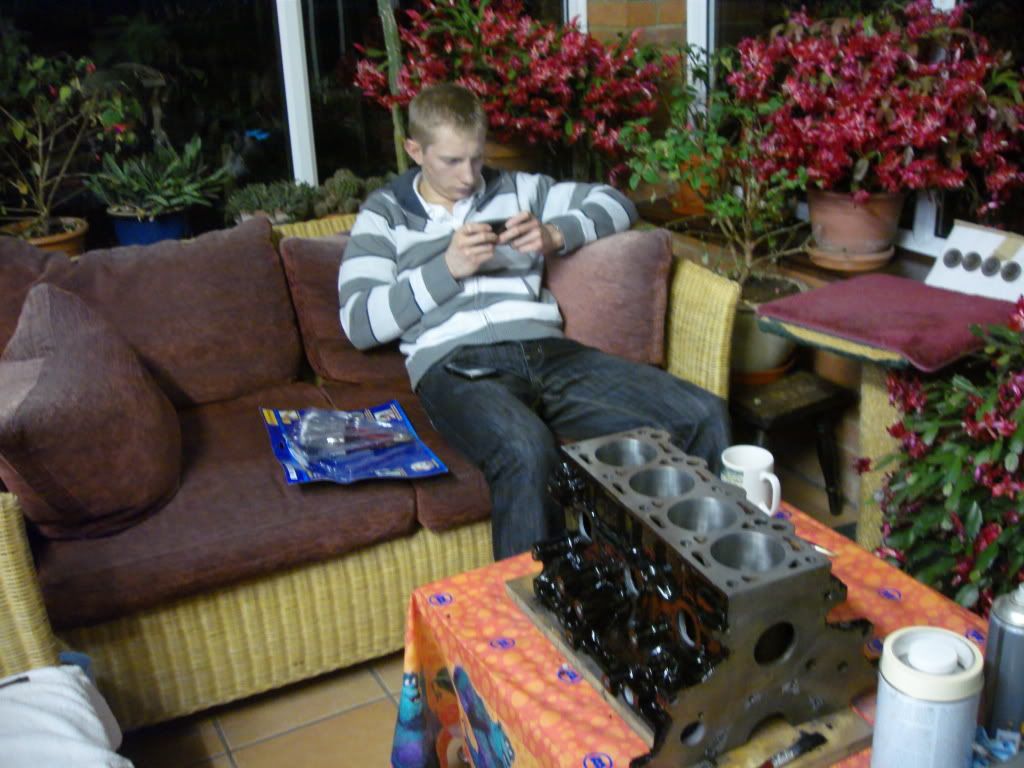
And here is the helper....... after only making one brew he shagged my iphone battery playing angry birds, bastard lol although he has offered to lap my valves in for me whilst i get on with the bottom end so i cant complain too much.
Cheers for now
Rob,
Here's the block (from Karlos
) stripped, machined and painted. And the head after a bit of light porting, degreased and jet washed, waiting for the valves to be lapped in.
And here is the helper....... after only making one brew he shagged my iphone battery playing angry birds, bastard lol although he has offered to lap my valves in for me whilst i get on with the bottom end so i cant complain too much.
Cheers for now
Rob,