BEEFY'S s1 cos- tues 1-5-2012 Project now for sale , breaking -
 12-09-2010, 12:42 PM
#1401
thanks fof the info rob , valuble information mate ,
as to answer your question re the front beam mounts , the wrc arm monts actually sit 30 mm further in and 35mm further back , than where the standard hole would be ,
got some measurements of mark the other day , the arms sit at exactly the same hight to the factory beam just further in and back ,
so.......
if i can work out the height of that plate there younge's beam would mount also take the same measurement off wennys and a stock escos , ill have three measuremnts that should be damm close to each other , i can then weld a angle in where the old tie arems sit to correct height , then use the diff wheel ect to get the correct height for the rear ,
is going to take a bit of thinking and alot of meausring ,
but i do feel its not half the chew on of fitting a cossie boot floor like mr wenn keeps badgering me with pmsl
 12-09-2010, 05:52 PM
#1402
I've found that life I needed.. It's HERE!!

Is this not finshed yet 
would'nt you have to do just as much meausring to put a cossie floor in. can you not make a jig off wennys car then put it on your car then you should know where the back end needs to be. just out of box section or somthink
would'nt you have to do just as much meausring to put a cossie floor in. can you not make a jig off wennys car then put it on your car then you should know where the back end needs to be. just out of box section or somthink
12-09-2010, 07:03 PM
#1404
I've found that life I needed.. It's HERE!!
whats wrong with a cossie rear beam, what dif you puting in
12-09-2010, 07:06 PM
#1405
nothing wrong with a beam if its modded , stock beams are bulky ,heavy and shite tbh mate , and seeing as i have the option to go diffrent then im gonna ,
diff is going to be a new quaife atb mate , tis sat in the house
pester all you want , i aint rushing the build lol
diff is going to be a new quaife atb mate , tis sat in the house
pester all you want , i aint rushing the build lol

 13-09-2010, 06:08 PM
#1411
beef, a seroius question here
put the cradle on the ground so it is the correct way up and then put some 2x4 bits of wood across the top to figure out where the holes need to be when it's level
then you simply use them holes to mark out the coresponding places to mark up on the shell
saves you having to put the metalwork all over the place and it's not going to weigh as much either
and
if you make sure the cradle is level when you take the measurements and make it up, you can use one of them inclanometer thigns to make sure it's level when you mark it up for fitments to the car, putting in plating as and when you ened to make it level etc
unless you've already done that and i've missed the update where you've put the new floor in that is, in which case i'll shut up
13-09-2010, 07:37 PM
#1412
no dojj , new floors not in yet ,
ive an idea to set it , tbh its pretty straight forward , its more a case of not constantly second guessing yourself and just double checking everything ,
started a new job today , hopefully im going to get some 1x1 box wednesday and go up to wenns and start on the jig , a simple thing that spans the sills at to points with a box section stiched to it running parralell to the sills inline with the facory cos mounting plates for the beam , this will then be offerd up to the car , and a small vertical setion welded to the parralell bar touching the plate ,
in essence this should then be able to be offerd up to wennys mk 3 and checked for any diffrence in hight from the mk 3 sills ( rember wennys car has a sierra rear end in )
if the height from the sills to the beam mount plate are the same , then the jig can be transferred to my mk 3 , and a plate welded at the same height
the rear mounts sit 165 mm lower then the front mounts , there fully symmetrical on both sides , so once the heights corrected, its meerly a case of squaring the centerline of the diff to the wheel arches , and the centerline thru the diff to the engine thru the trans tunnel
may seem complicated in text without diagrams ,
but ill get pics of the setting out ,
13-09-2010, 08:03 PM
#1414
coming from the lad that wont even be able to change his own fucking engine oil !!
no mate , fabs going to be done at karls , just trying to get a start on setting out ect while i have an escos shell and a converted mk three at my disposal to refrence ,
soon as some poxy fucking red rst is out the way ,
just rember who let you cut the line and take 2 month rather then two weeks !!
Last edited by -beefy-; 13-09-2010 at 08:05 PM.
13-09-2010, 08:16 PM
#1415
I've found that life I needed.. It's HERE!!

no dojj , new floors not in yet ,
ive an idea to set it , tbh its pretty straight forward , its more a case of not constantly second guessing yourself and just double checking everything ,
started a new job today , hopefully im going to get some 1x1 box wednesday and go up to wenns and start on the jig , a simple thing that spans the sills at to points with a box section stiched to it running parralell to the sills inline with the facory cos mounting plates for the beam , this will then be offerd up to the car , and a small vertical setion welded to the parralell bar touching the plate ,
in essence this should then be able to be offerd up to wennys mk 3 and checked for any diffrence in hight from the mk 3 sills ( rember wennys car has a sierra rear end in )
if the height from the sills to the beam mount plate are the same , then the jig can be transferred to my mk 3 , and a plate welded at the same height
the rear mounts sit 165 mm lower then the front mounts , there fully symmetrical on both sides , so once the heights corrected, its meerly a case of squaring the centerline of the diff to the wheel arches , and the centerline thru the diff to the engine thru the trans tunnel
may seem complicated in text without diagrams ,
but ill get pics of the setting out ,
ive an idea to set it , tbh its pretty straight forward , its more a case of not constantly second guessing yourself and just double checking everything ,
started a new job today , hopefully im going to get some 1x1 box wednesday and go up to wenns and start on the jig , a simple thing that spans the sills at to points with a box section stiched to it running parralell to the sills inline with the facory cos mounting plates for the beam , this will then be offerd up to the car , and a small vertical setion welded to the parralell bar touching the plate ,
in essence this should then be able to be offerd up to wennys mk 3 and checked for any diffrence in hight from the mk 3 sills ( rember wennys car has a sierra rear end in )
if the height from the sills to the beam mount plate are the same , then the jig can be transferred to my mk 3 , and a plate welded at the same height
the rear mounts sit 165 mm lower then the front mounts , there fully symmetrical on both sides , so once the heights corrected, its meerly a case of squaring the centerline of the diff to the wheel arches , and the centerline thru the diff to the engine thru the trans tunnel
may seem complicated in text without diagrams ,
but ill get pics of the setting out ,
or you could just put a sierra rear floor in lol
14-09-2010, 07:34 PM
#1422
I've found that life I needed.. It's HERE!!
14-09-2010, 09:53 PM
#1423
Regular Contributor

Join Date: Jan 2009
Location: in the unit - middlesbrough
Posts: 234
Likes: 0
Received 0 Likes
on
0 Posts
 15-09-2010, 08:50 PM
#1424
great to hear " k " dam sight quicker with a welder then tinkering with putting together lol ,
been up wennys today , took ann marie with me , what can i say shes fucking ace with a wire wheel lol ,
anyway nearly all the sealers gone now , probably a cpl hours friday afternoon ,
update at the weekend peeps ,
beef
been up wennys today , took ann marie with me , what can i say shes fucking ace with a wire wheel lol ,
anyway nearly all the sealers gone now , probably a cpl hours friday afternoon ,
update at the weekend peeps ,
beef
30-09-2010, 08:52 PM
#1425
update update 30th sept ,
evening all ,
right so with the shell almost as far as i can take it before it goes to karls shortly
attention was turned to the engine ,
now the block was painted bule at blueoval , but it isnt inkeeping with the theme of the grey , so quarter of a liter of polaris was bought and away we go ,
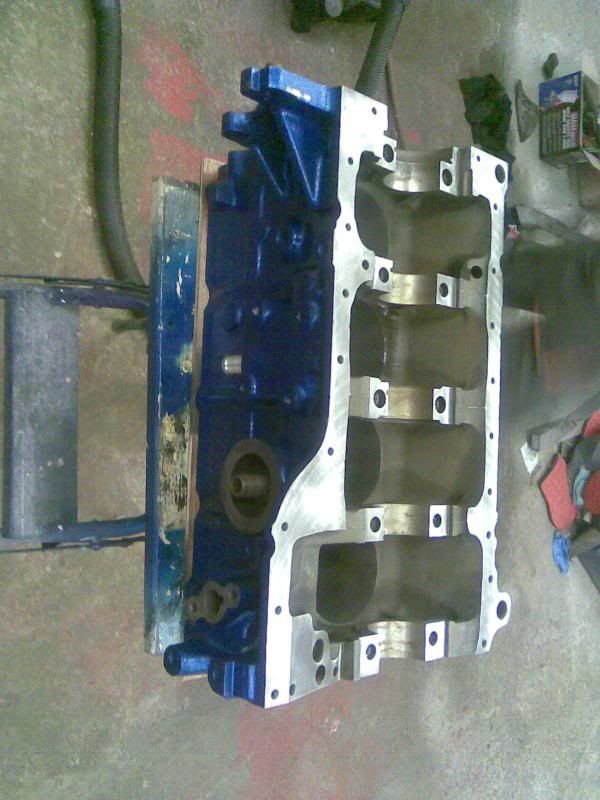
cleaned re scotched and masked for paint
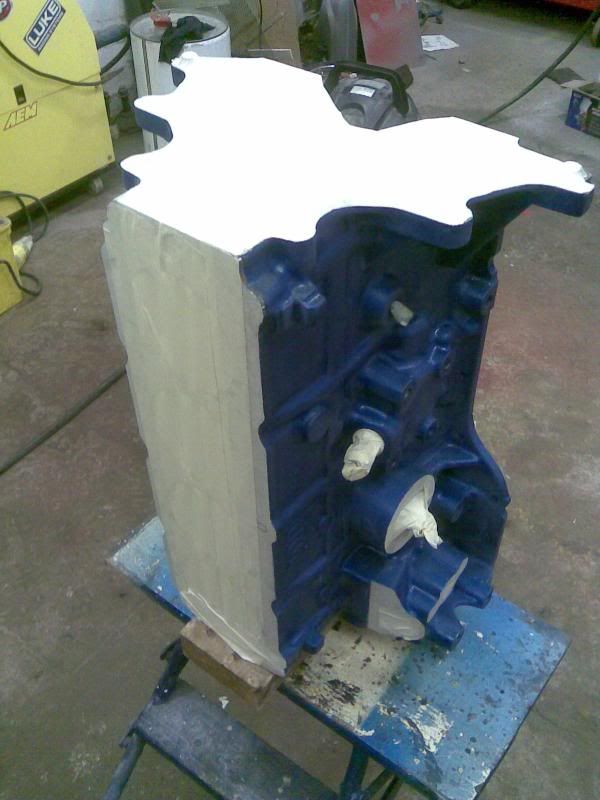
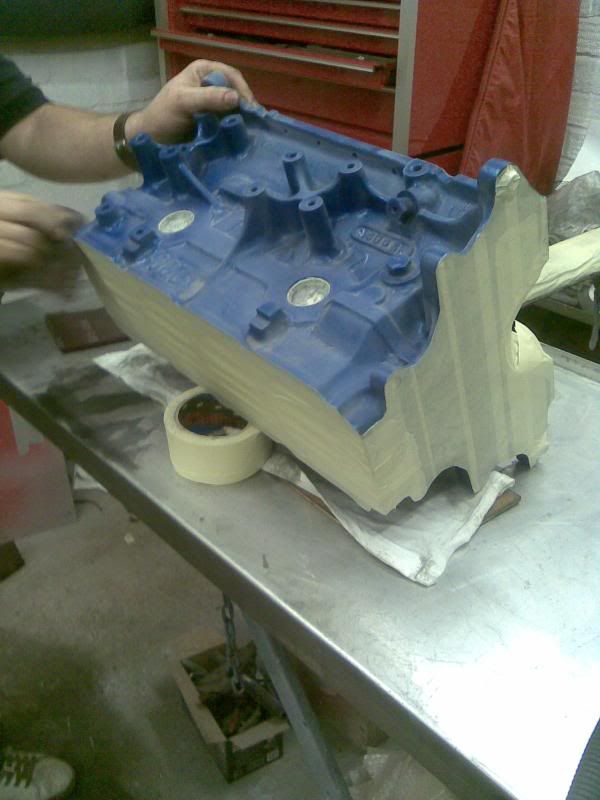
and four basecoats and 3 coats of lacquer later
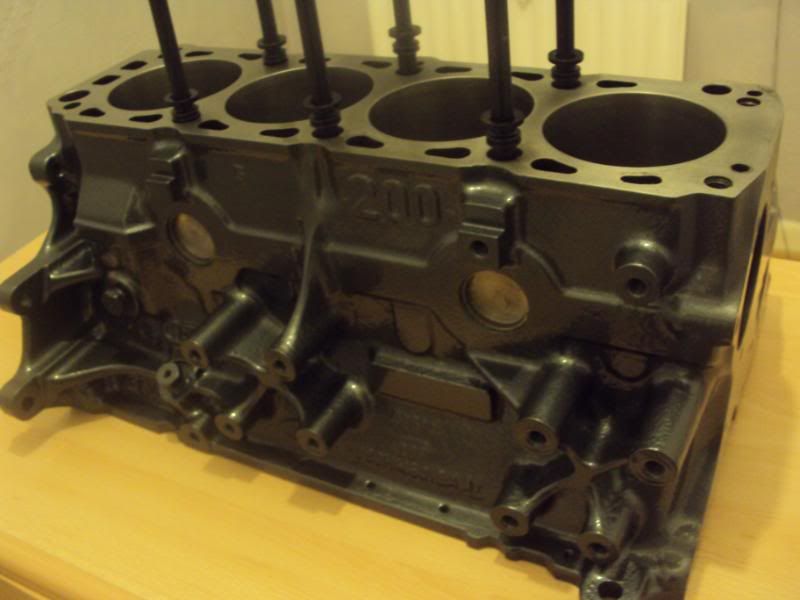

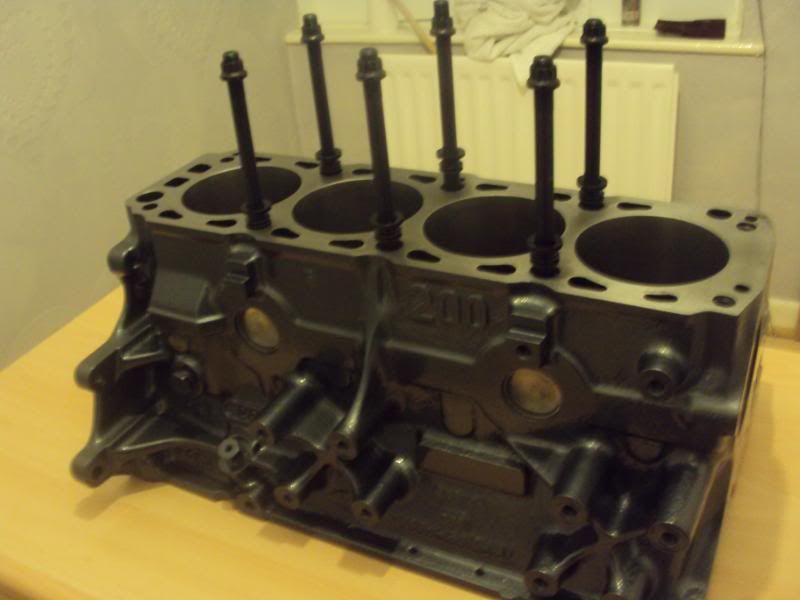
have to say a big thankyou to MK MOTORSPORT for long studding the block , and studs there not wound down yet , but great job done and cheaper then anywhere else i was quoted
so with the block taken care of it was time to turn out attention to the head
so after me taking off the rough casting cpl weeks ago , it was karl to work it to special k stage 1 & 1/2 spec pmsl
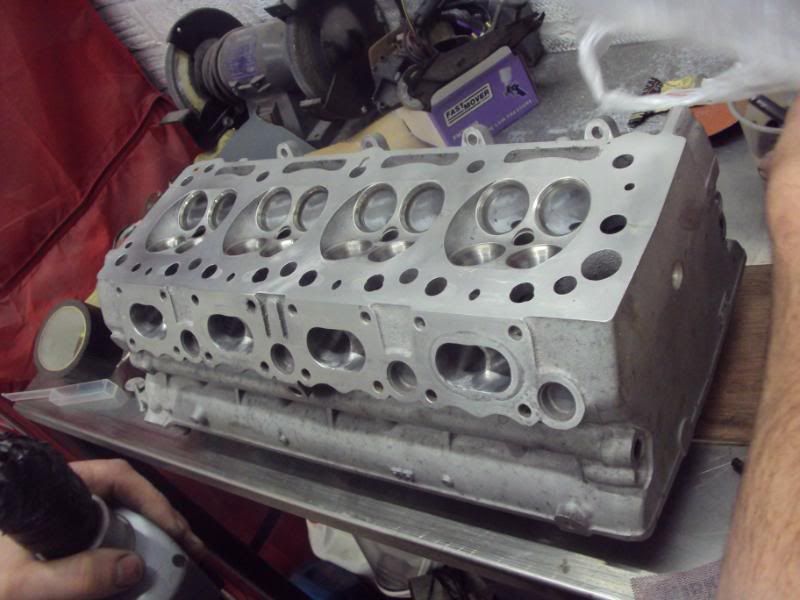
so cracked on with the porting
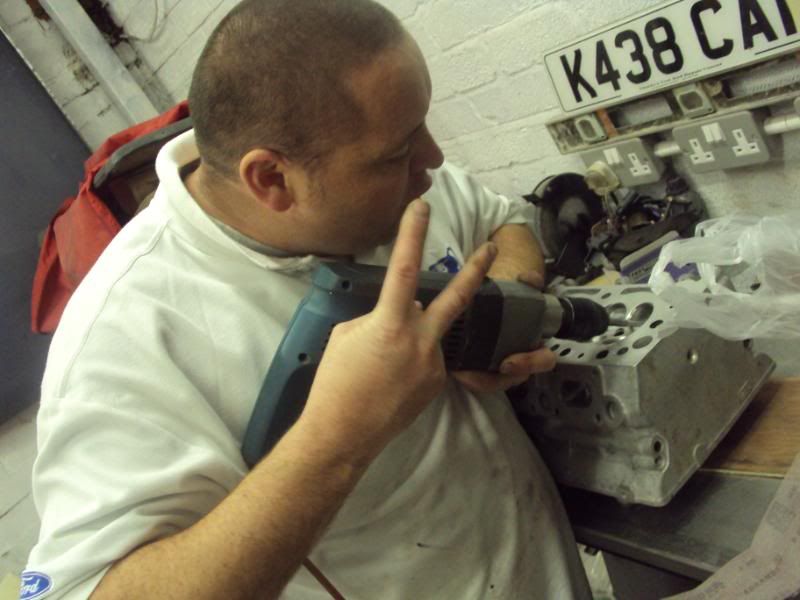
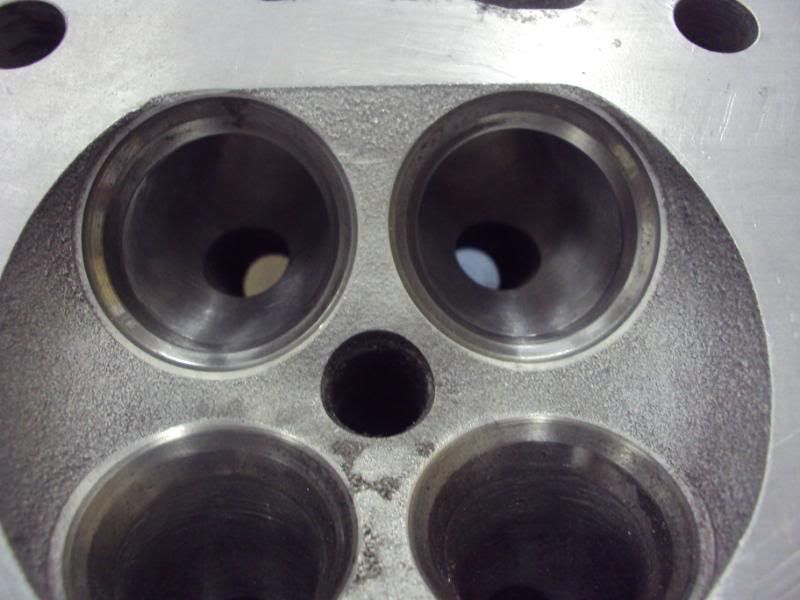
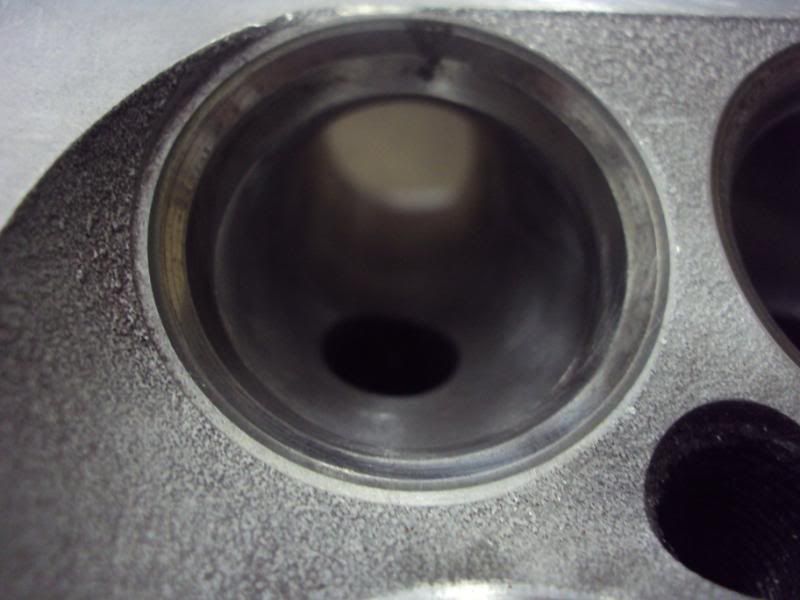
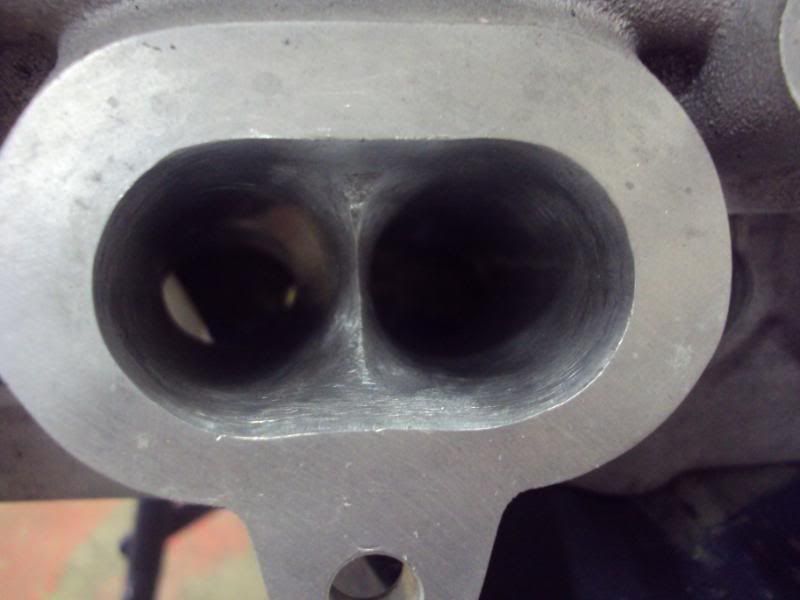
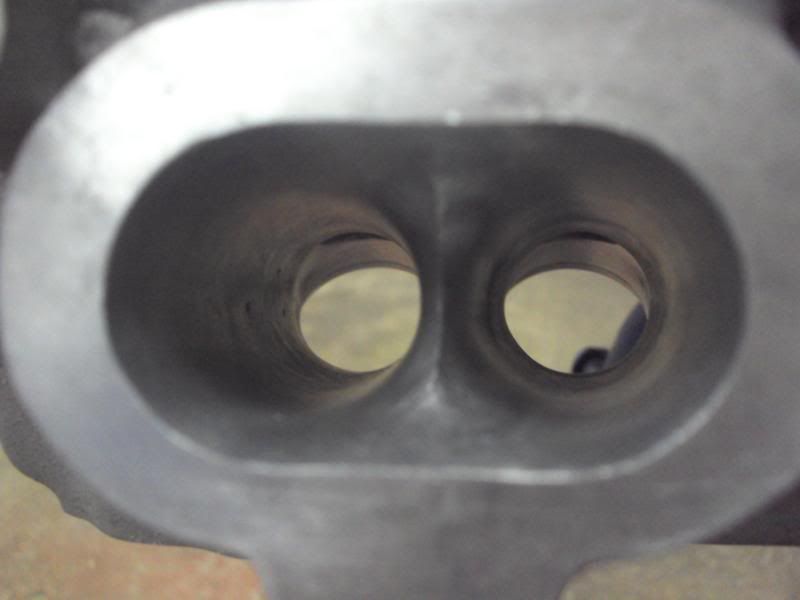
not opened massivley , around 2mm in the throat and a little more towards the inlet ,with the intention on better flow
going to do the ex side tomorrow i think ,
ohh and got these a while bk to go in when its all done ,
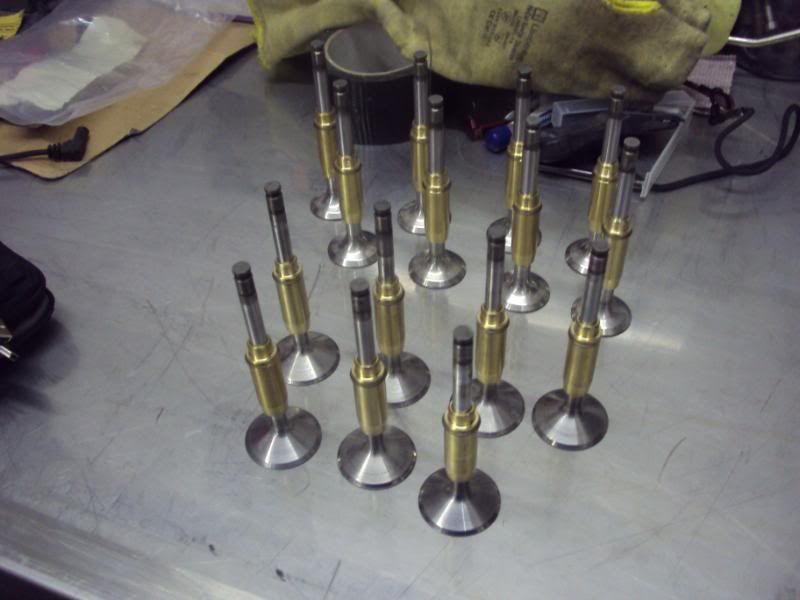
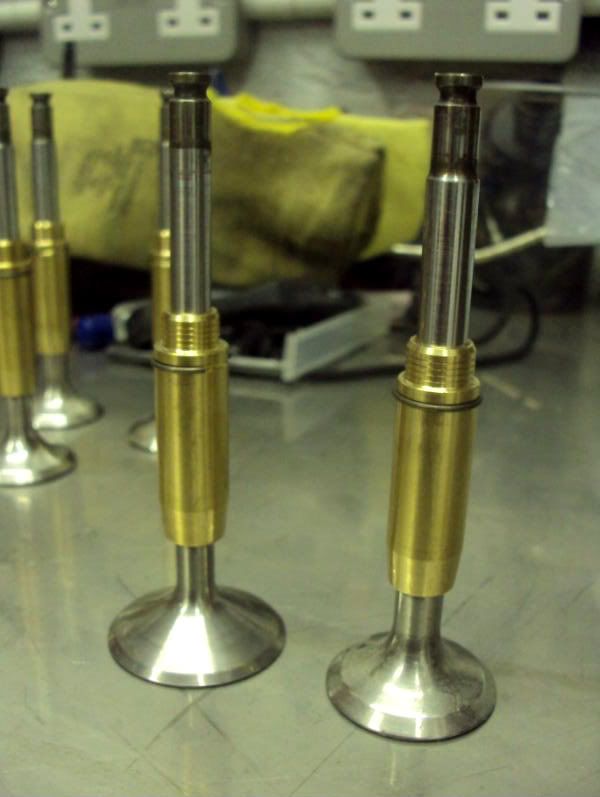
fully polished up valves , and new bronze rifle guides
got all the head parts together for cleaning just need some double valve springs when i get some spare funds,
ohh and got a pic thru from mark at mk
my custom billet hubs taking shape

ordered up the rosejoints so mark can finish up the link arms ect ,
more to follow by the weekend hopefully ,
beef
evening all ,
right so with the shell almost as far as i can take it before it goes to karls shortly
attention was turned to the engine ,
now the block was painted bule at blueoval , but it isnt inkeeping with the theme of the grey , so quarter of a liter of polaris was bought and away we go ,
cleaned re scotched and masked for paint
and four basecoats and 3 coats of lacquer later
have to say a big thankyou to MK MOTORSPORT for long studding the block , and studs there not wound down yet , but great job done and cheaper then anywhere else i was quoted
so with the block taken care of it was time to turn out attention to the head
so after me taking off the rough casting cpl weeks ago , it was karl to work it to special k stage 1 & 1/2 spec pmsl
so cracked on with the porting
not opened massivley , around 2mm in the throat and a little more towards the inlet ,with the intention on better flow
going to do the ex side tomorrow i think ,
ohh and got these a while bk to go in when its all done ,
fully polished up valves , and new bronze rifle guides
got all the head parts together for cleaning just need some double valve springs when i get some spare funds,
ohh and got a pic thru from mark at mk
my custom billet hubs taking shape
ordered up the rosejoints so mark can finish up the link arms ect ,
more to follow by the weekend hopefully ,
beef
30-09-2010, 10:25 PM
#1433
Regular Contributor
Join Date: Jan 2009
Location: in the unit - middlesbrough
Posts: 234
Likes: 0
Received 0 Likes
on
0 Posts
 hope the knee is ok now pal
  01-10-2010, 07:08 PM
#1439
porsche seal grey mate

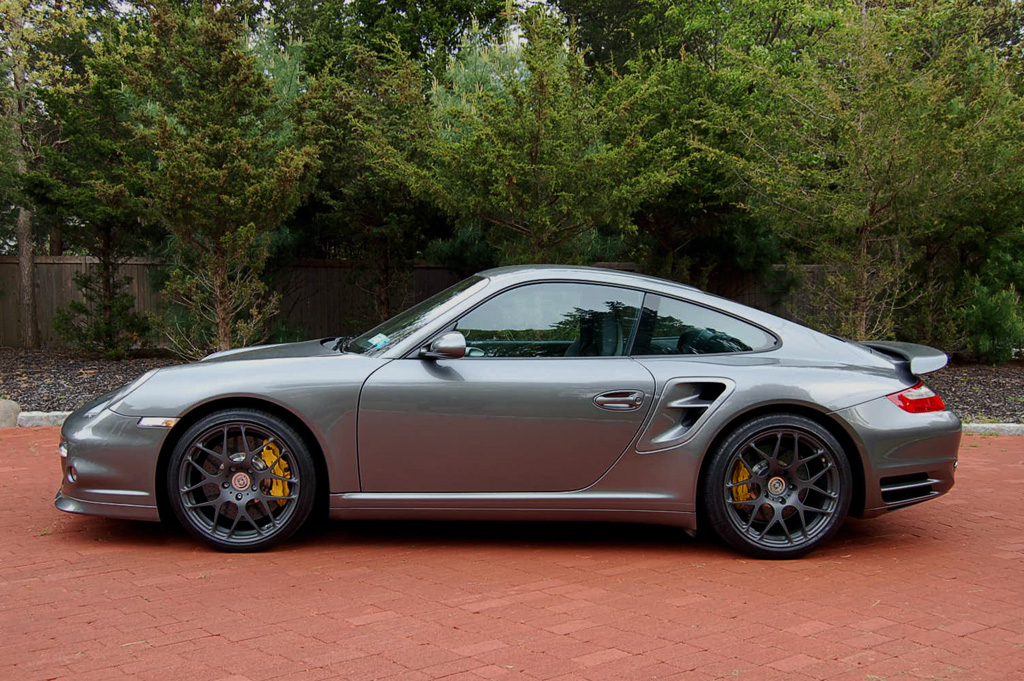
job done !!!
have to say a thanks to neil a as hes the one who added it to the thread in the gd ,
just need to find the colour code now , will look awesome with a carbon roofskin , and carbon accents ,
beef
job done !!!
have to say a thanks to neil a as hes the one who added it to the thread in the gd ,
just need to find the colour code now , will look awesome with a carbon roofskin , and carbon accents ,
beef
Last edited by -beefy-; 01-10-2010 at 07:10 PM.
