
Recaro Restoration
 20-08-2006 | 08:44 PM
#1
Thread Starter
Advanced PassionFord User
iTrader: (6)
Joined: Apr 2004
Posts: 2,358
Likes: 0
From: plymouth
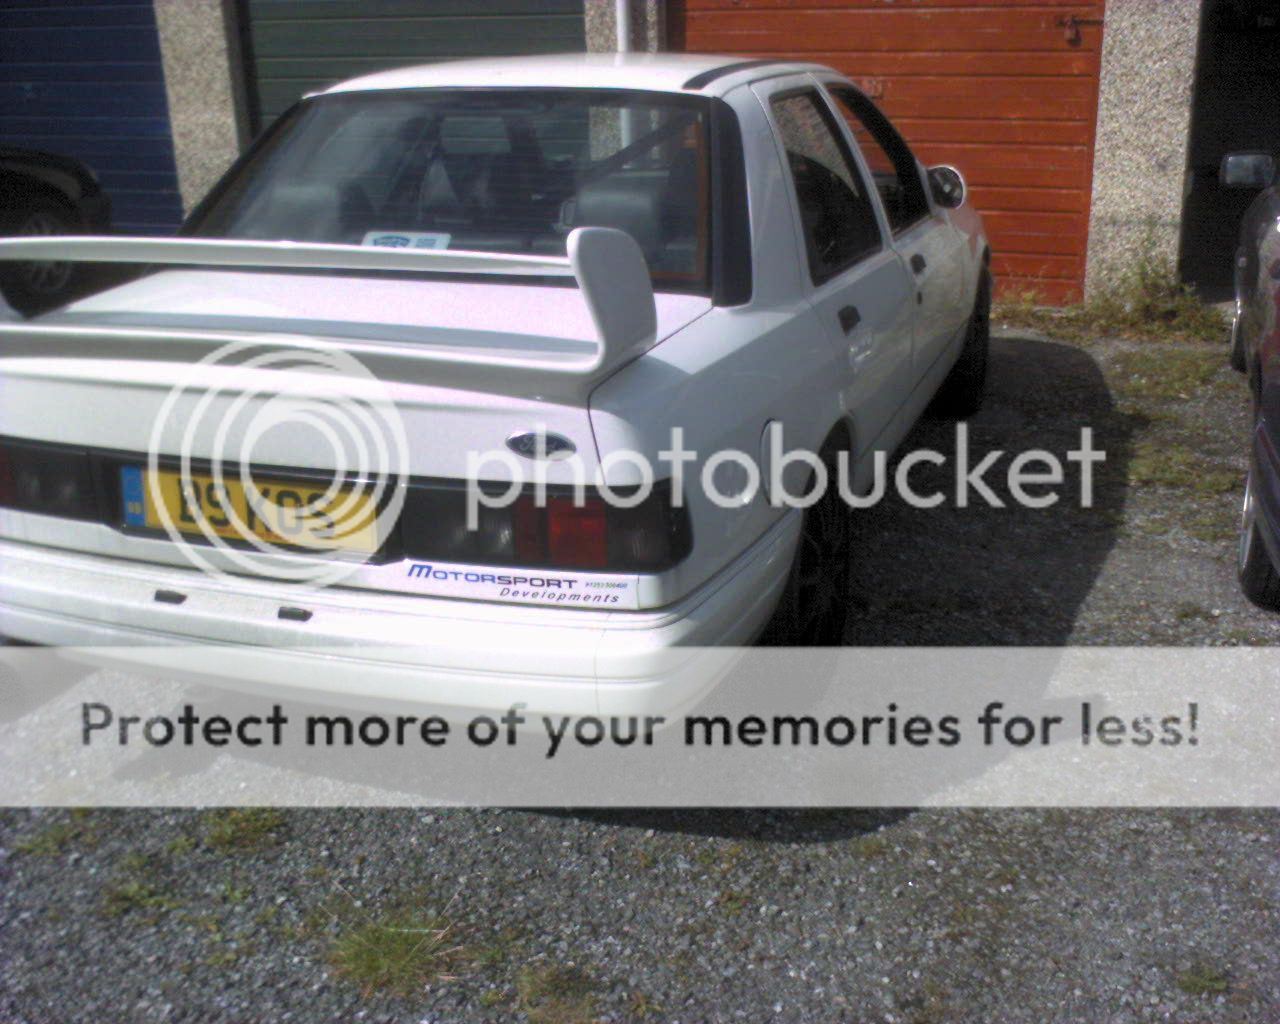
After a long day yesterday travelling to MSD to pick up B9KOS (the car) and then the hard decision not to go to national day due to the fact we where both broke and tired, I decided to try to make some progress with some bits and bobs on my car. First of all I had to wait for B9KOS (the man) to come over after the moto GP :gayflag: first things first we put our newly aquired MSD stickers on


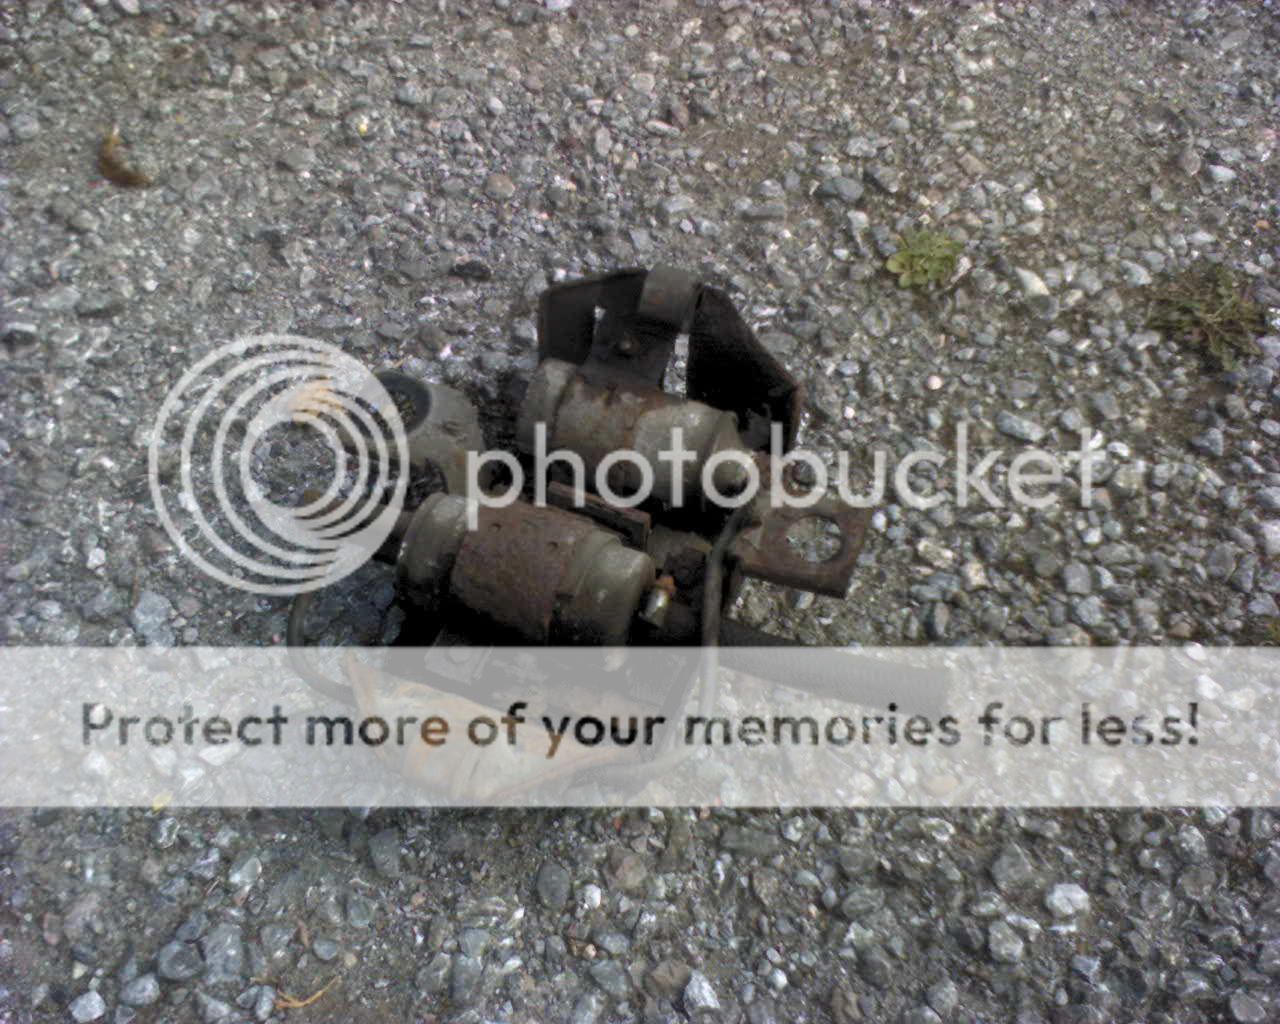
We then removed my fuel pump cradel to get it blasted and powder coated in readyness for a nice 044 fuel pump thats been laying around for the last 8 months waiting for me to fit it,
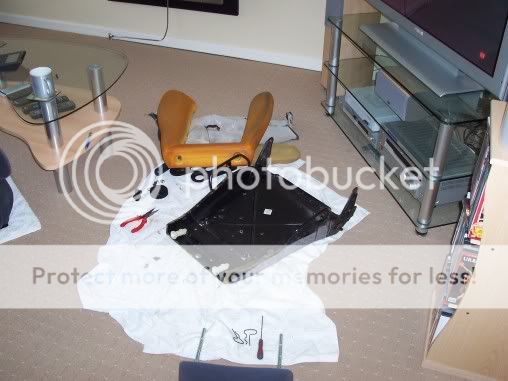
we then took the seats out of my car ready to be made good.
The drivers seat had a badly worn drivers side uper and lower bolster, cant see much of the lower but its shot beleive me
time for a nice coffee at this stage

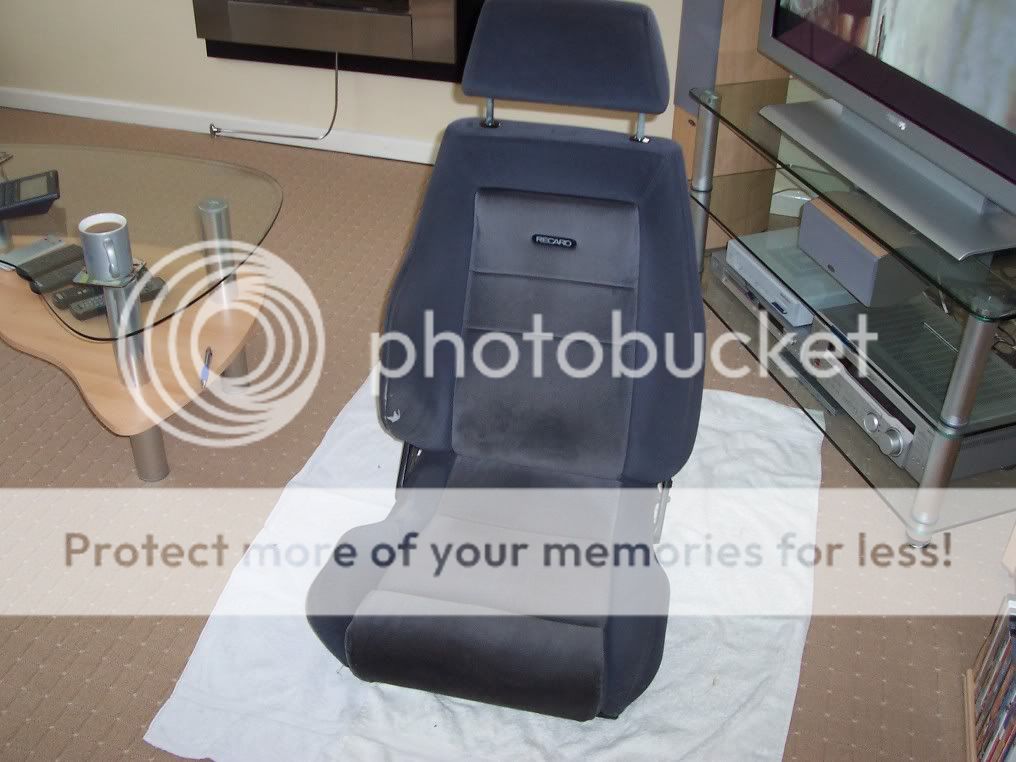
I had already been lucky enough to scource a spare seat on egay and had stripped this in readyness
it was then time to start stripping my drivers seat
first thing was to seperate the top and bottom halfs of the seat.
first remove the seat winder handle
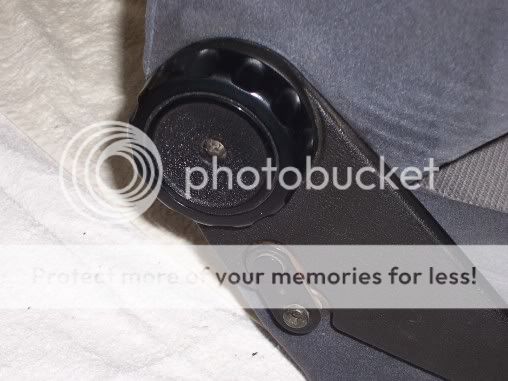
easy as just undo the screw and pull.
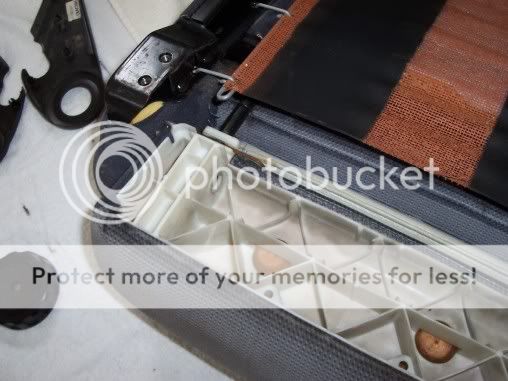
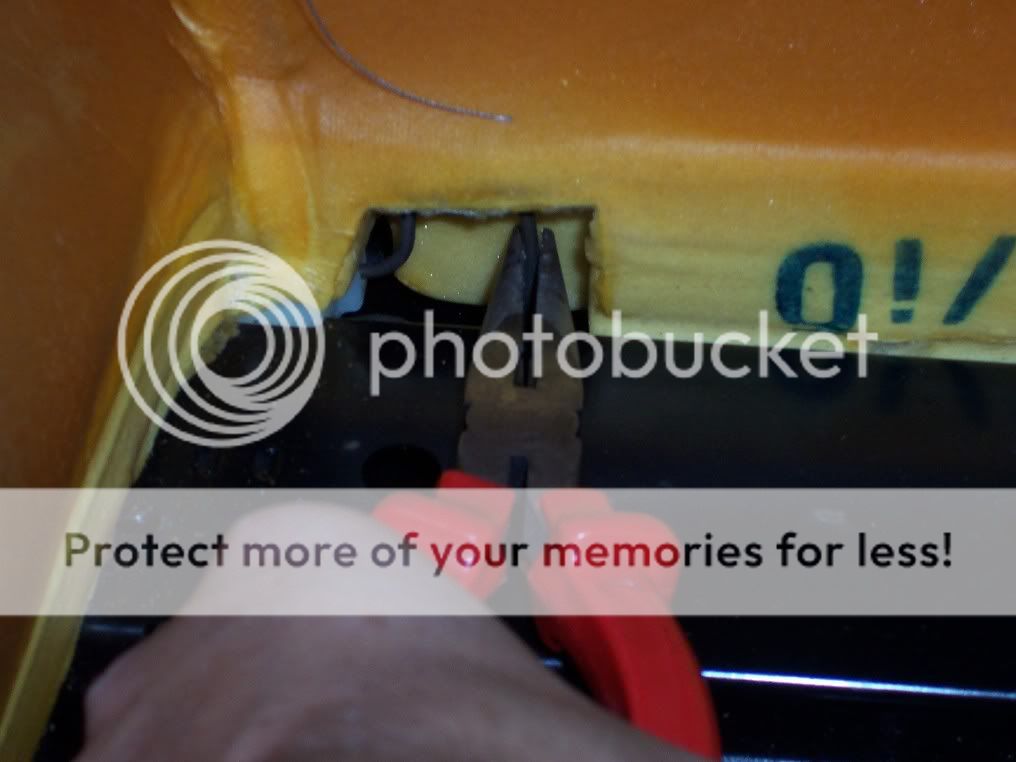
Then the plastic side pieces need to be removed there are 3 small plastic clips with centers to keep them open, the 3 centers must be pushed through to make the pannel removable
removing the centers
pannel removed
next was to undo the philips screw and remove the spring clip on both sides and seperate the top and bottom half of the seat you may need to gently lever the top half off the pin on the bottom half
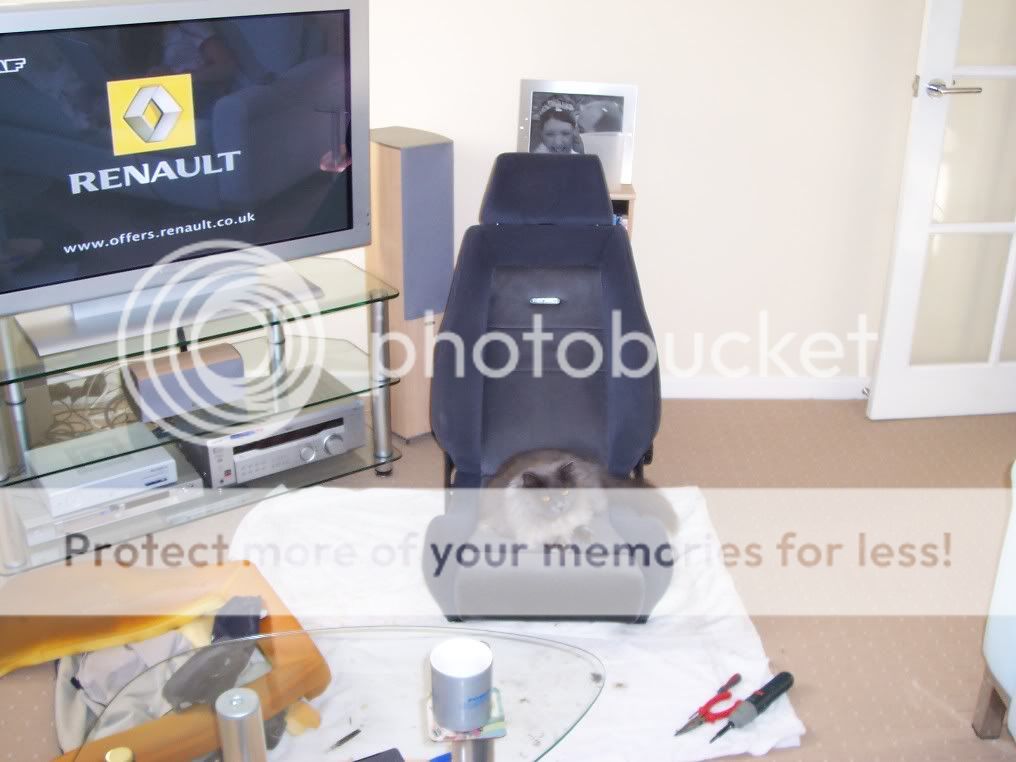
I decided to work on the bottom half of the seat first, you may also need to remove your fluffy cat from the other seat at this stage

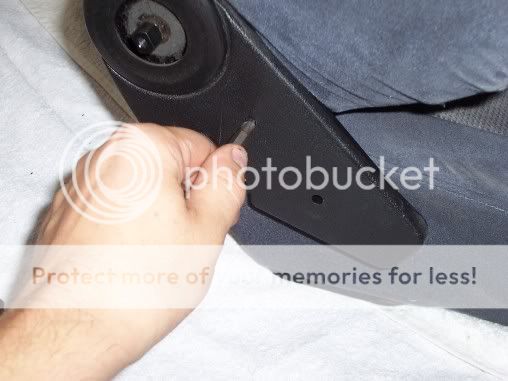
first thing on thebottom half was to remove the pins that hold the front of the seat (the moving bit) turn the bottom of the seat over and you will see to sprung pins pull them out
pull the pins out
the front of the seat should now slide off the steel sliders
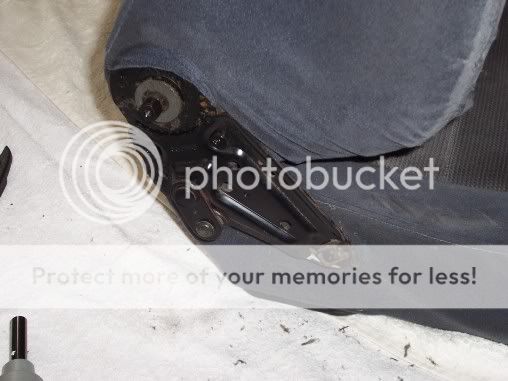
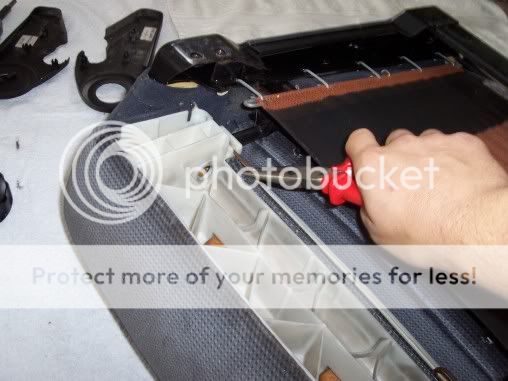
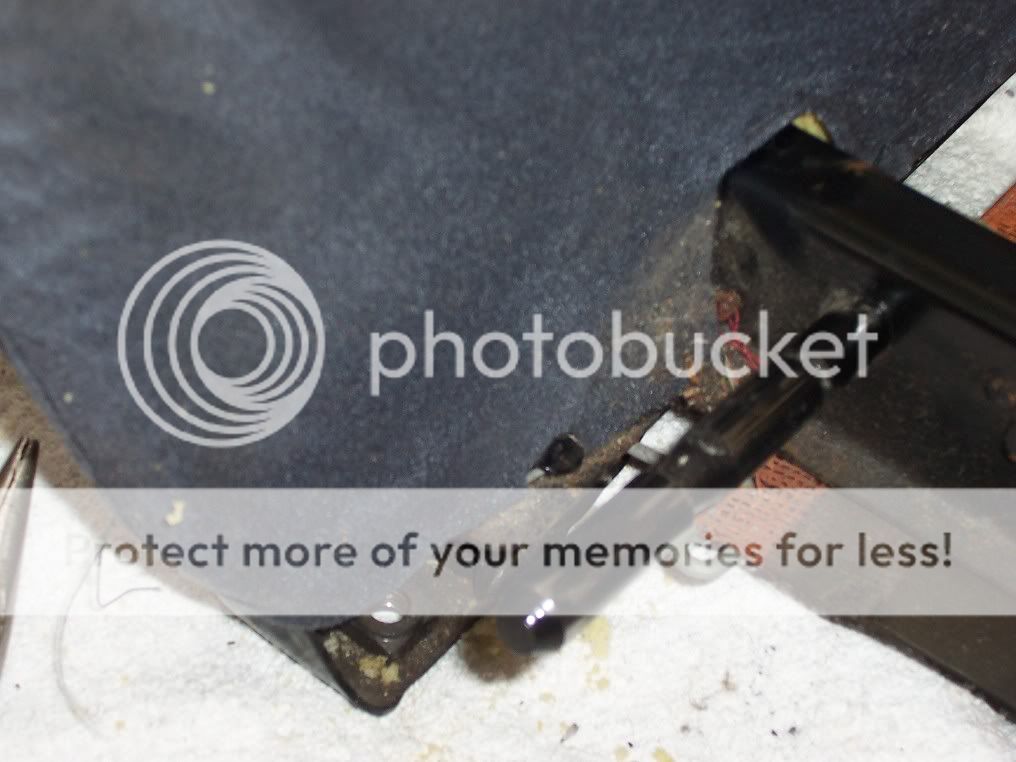
you will then need to unhook the next center part of the seat from behind the front moving part you will need to lever the steel bits up and pull the fabric out the fabric has a bar running through it that is clipped into these clips. all of this can be seen in the picture above
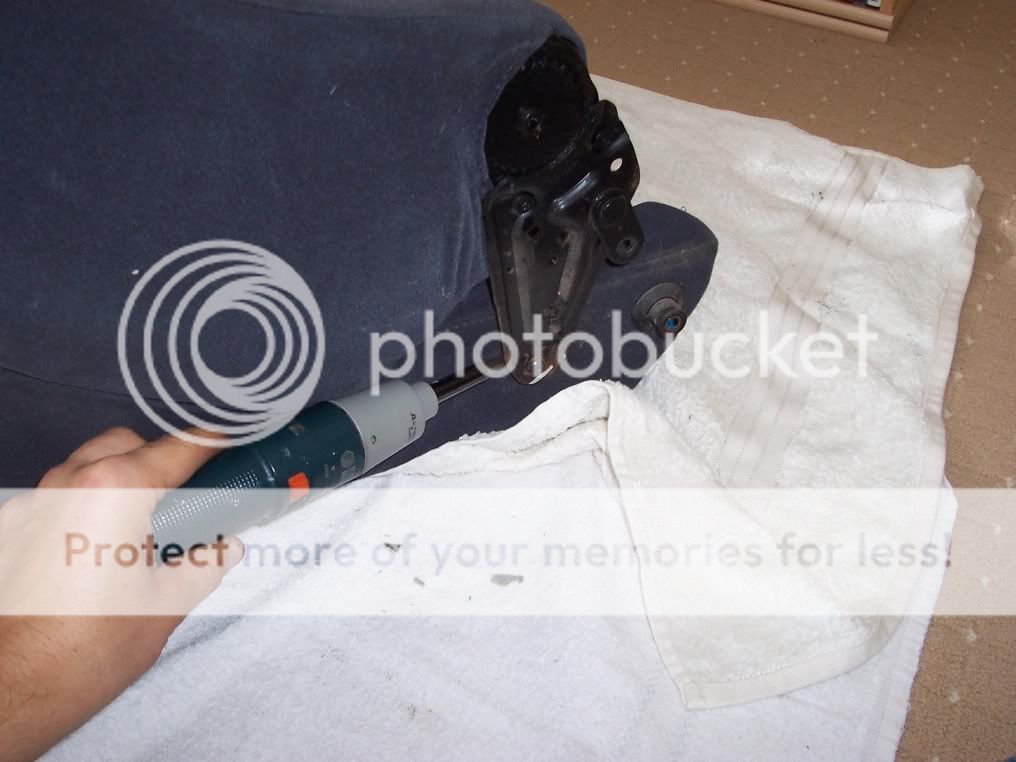
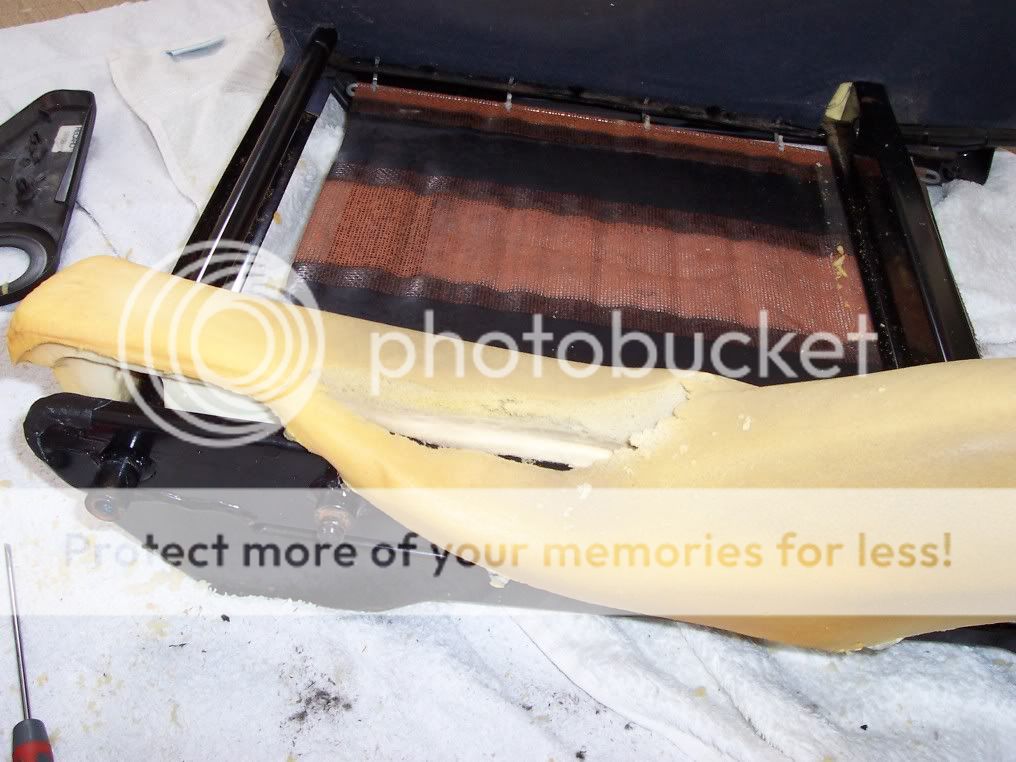
next you need to remove some steel lupes that hold the bottom cussion onto the seat base i sued pliers to open the loops up and unthread them from the seat base
after this you then need to pull the plastic strip from the back off the bottom seat cushion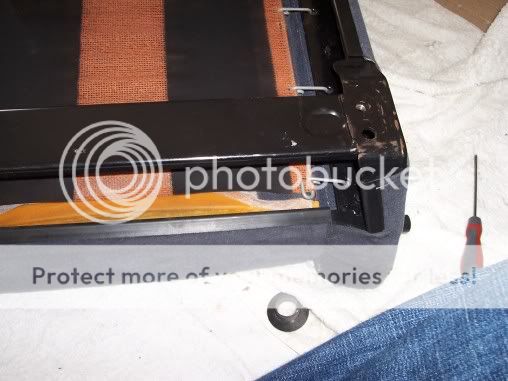
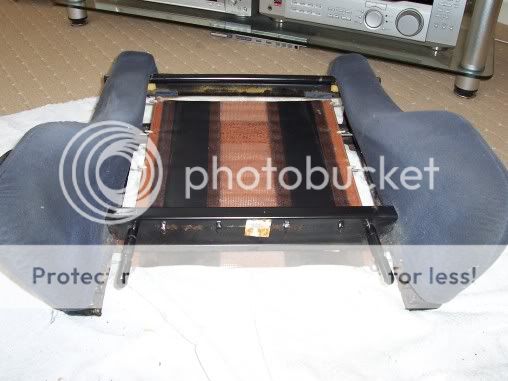
this should leave you with
We then removed my fuel pump cradel to get it blasted and powder coated in readyness for a nice 044 fuel pump thats been laying around for the last 8 months waiting for me to fit it,
we then took the seats out of my car ready to be made good.
The drivers seat had a badly worn drivers side uper and lower bolster, cant see much of the lower but its shot beleive me
time for a nice coffee at this stage
I had already been lucky enough to scource a spare seat on egay and had stripped this in readyness
it was then time to start stripping my drivers seat
first thing was to seperate the top and bottom halfs of the seat.
first remove the seat winder handle
easy as just undo the screw and pull.
Then the plastic side pieces need to be removed there are 3 small plastic clips with centers to keep them open, the 3 centers must be pushed through to make the pannel removable
removing the centers
pannel removed
next was to undo the philips screw and remove the spring clip on both sides and seperate the top and bottom half of the seat you may need to gently lever the top half off the pin on the bottom half
I decided to work on the bottom half of the seat first, you may also need to remove your fluffy cat from the other seat at this stage
first thing on thebottom half was to remove the pins that hold the front of the seat (the moving bit) turn the bottom of the seat over and you will see to sprung pins pull them out
pull the pins out
the front of the seat should now slide off the steel sliders
you will then need to unhook the next center part of the seat from behind the front moving part you will need to lever the steel bits up and pull the fabric out the fabric has a bar running through it that is clipped into these clips. all of this can be seen in the picture above
next you need to remove some steel lupes that hold the bottom cussion onto the seat base i sued pliers to open the loops up and unthread them from the seat base
after this you then need to pull the plastic strip from the back off the bottom seat cushion
this should leave you with
20-08-2006 | 08:55 PM
#3
Thread Starter
Advanced PassionFord User
iTrader: (6)
Joined: Apr 2004
Posts: 2,358
Likes: 0
From: plymouth
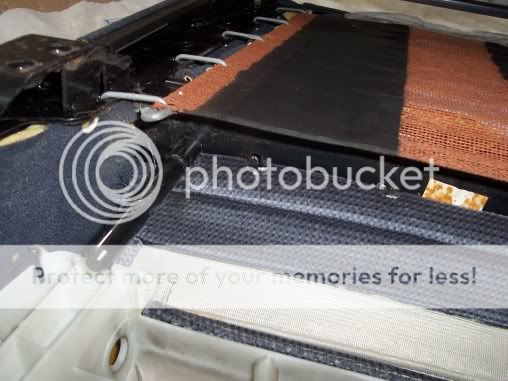
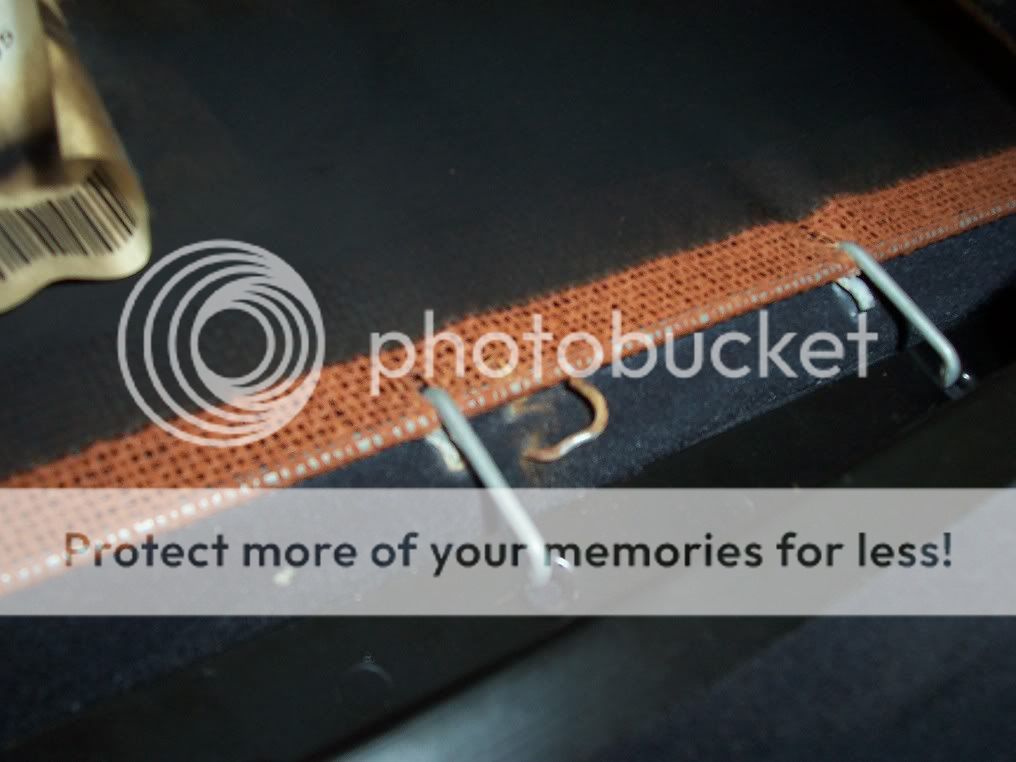
Next you need to remove the sides fabric and foam from the seat base the fabric is heald in with more of the metal clips from the top of the seat and a plastic rail on the bottom of the seat,
there is also some double sided tape on the back, if your fabric is ok be gentle when romoving it to keep it in good condition, once removed you should see if your seat is knackered something like this
I had a replacement part that looked a bit better
I fitted this in the reverse order to removal, making sure that i pushed down all the clips that I had to lever up and put the loops back in that I took out, this left me with a finished bottom half that looked and felt considerably better than 15minutes ago

next was the top half of the seat
there is also some double sided tape on the back, if your fabric is ok be gentle when romoving it to keep it in good condition, once removed you should see if your seat is knackered something like this
I had a replacement part that looked a bit better
I fitted this in the reverse order to removal, making sure that i pushed down all the clips that I had to lever up and put the loops back in that I took out, this left me with a finished bottom half that looked and felt considerably better than 15minutes ago
next was the top half of the seat
 20-08-2006 | 09:06 PM
#5
Thread Starter
Advanced PassionFord User
iTrader: (6)
Joined: Apr 2004
Posts: 2,358
Likes: 0
From: plymouth
the first thing to do on the top half of the seat is to remove some staples that are holding two plastic strips together


after the staples are removed the two plastic bits need to be seperated, they hold the front and back seat fabric together at the bottom of the top half of the seat and are a complete git to get apart there are three seperate clips on the front fabric clipping into a single clip on the rear fabric, I used a small screwdriver to make a start on each one then followed it along the length till it was totally unclipped this was the worst part of the whole job.
after the staples are removed the two plastic bits need to be seperated, they hold the front and back seat fabric together at the bottom of the top half of the seat and are a complete git to get apart there are three seperate clips on the front fabric clipping into a single clip on the rear fabric, I used a small screwdriver to make a start on each one then followed it along the length till it was totally unclipped this was the worst part of the whole job.
20-08-2006 | 09:08 PM
#6
Thread Starter
Advanced PassionFord User
iTrader: (6)
Joined: Apr 2004
Posts: 2,358
Likes: 0
From: plymouth
Originally Posted by Ryan
trev you got any spare foam bolsters lying about?
and maybe a seat base foam?
Glad your doing it though, will be worth it in the end.
i've done it to every set of recaro's i've owned
and maybe a seat base foam?
Glad your doing it though, will be worth it in the end.
i've done it to every set of recaro's i've owned
Trending Topics
20-08-2006 | 09:11 PM
#8
Thread Starter
Advanced PassionFord User
iTrader: (6)
Joined: Apr 2004
Posts: 2,358
Likes: 0
From: plymouth
next was to remove the center section of the upper seat (bit with the recaro badge) this had already been undone at the bottom on the last part of the job, it was now held in place by 3 rings about half way up, they needed to be opened up with a trusty pare of pliers so they could be unhooked from the main seat base

this will release the center all the way up to the top of the seat, you then need to place the center part back in position, and squeese your hands between the center and top of the seat, both these parts are unhooked by pushing the fabric in toward the back of the seat to unhook it, this should leave you with

this will release the center all the way up to the top of the seat, you then need to place the center part back in position, and squeese your hands between the center and top of the seat, both these parts are unhooked by pushing the fabric in toward the back of the seat to unhook it, this should leave you with
20-08-2006 | 09:25 PM
#9
Thread Starter
Advanced PassionFord User
iTrader: (6)
Joined: Apr 2004
Posts: 2,358
Likes: 0
From: plymouth
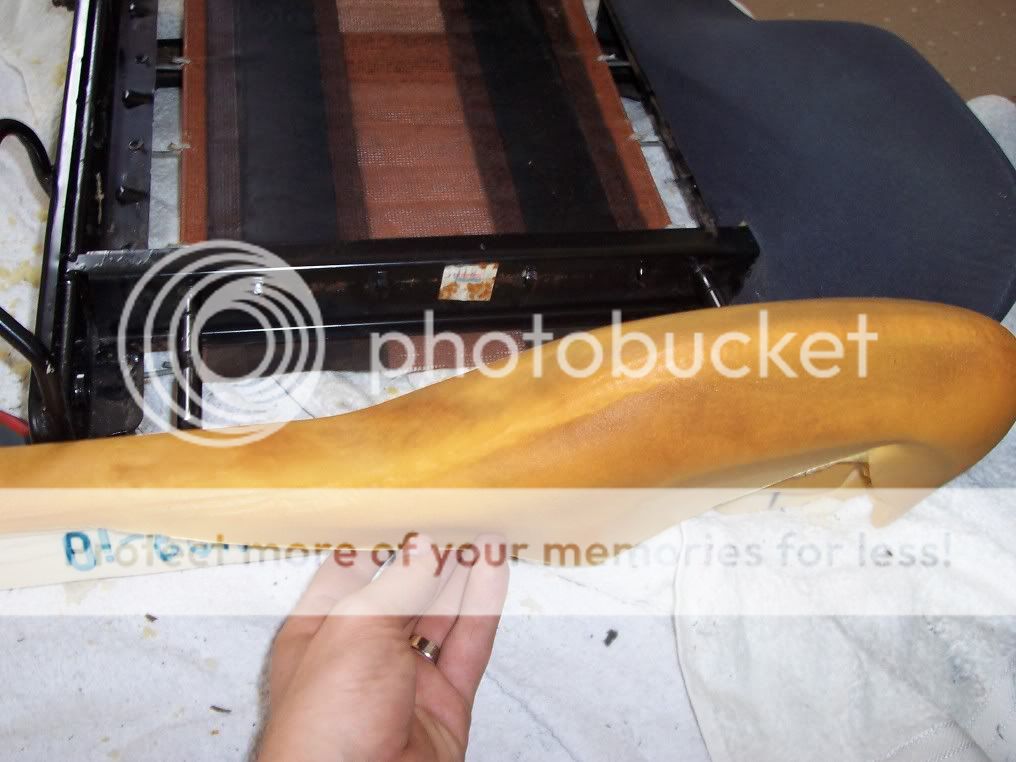
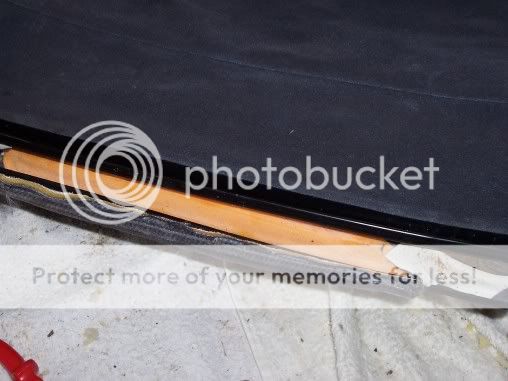
the side bolsters are then unclipped from the font by levering up the metal tabs and unhooking the fabric,

you then need to turn the fabric inside out from the bottom of the seat upwards till you are just over half way up, you then need to pull the foam bolsters away from the seat, they have a small amount of glue holding them in place and may make some nasty ripping noises, nothing to worry about if your doing it properly, you then need to undo some more fabric clips holding the back fabric to the seat frame, lever them off with a screwdriver
you then need to turn the fabric inside out from the bottom of the seat upwards till you are just over half way up, you then need to pull the foam bolsters away from the seat, they have a small amount of glue holding them in place and may make some nasty ripping noises, nothing to worry about if your doing it properly, you then need to undo some more fabric clips holding the back fabric to the seat frame, lever them off with a screwdriver
20-08-2006 | 09:35 PM
#11
Thread Starter
Advanced PassionFord User
iTrader: (6)
Joined: Apr 2004
Posts: 2,358
Likes: 0
From: plymouth
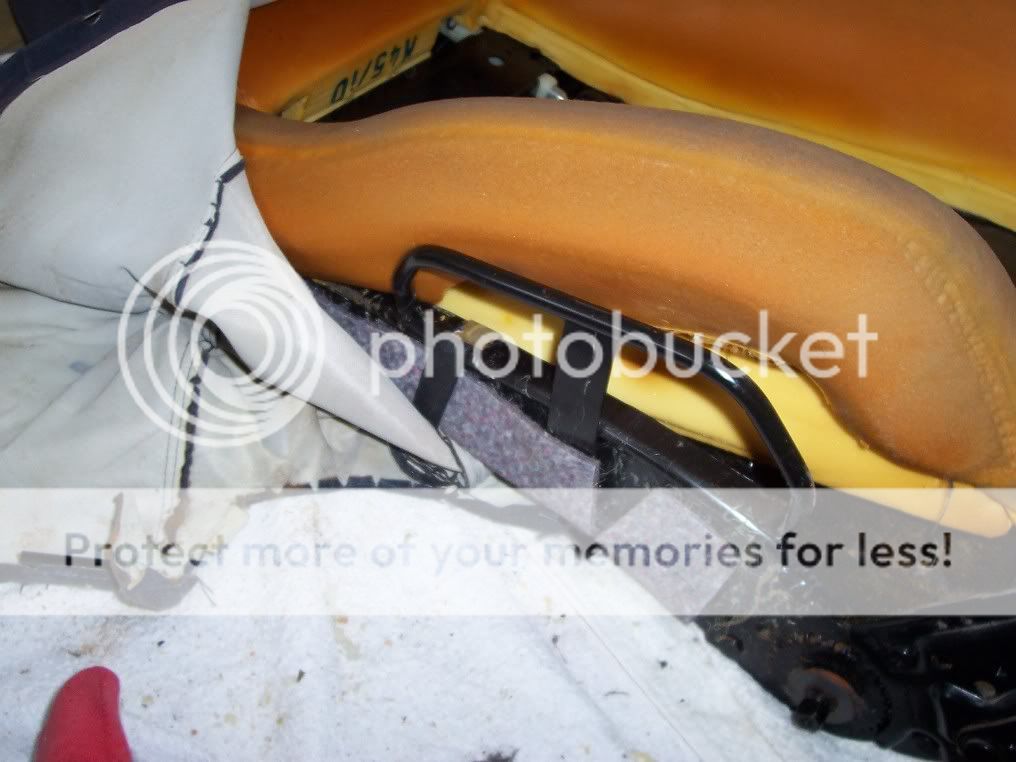
once the bolsters are unclipped all you have to do is remove the headrest and take the foam off to give you a bare upper half seat ready to accept whatever new parts are needed,
remove the headrest by uncliping the spring clips at the top of the seat,
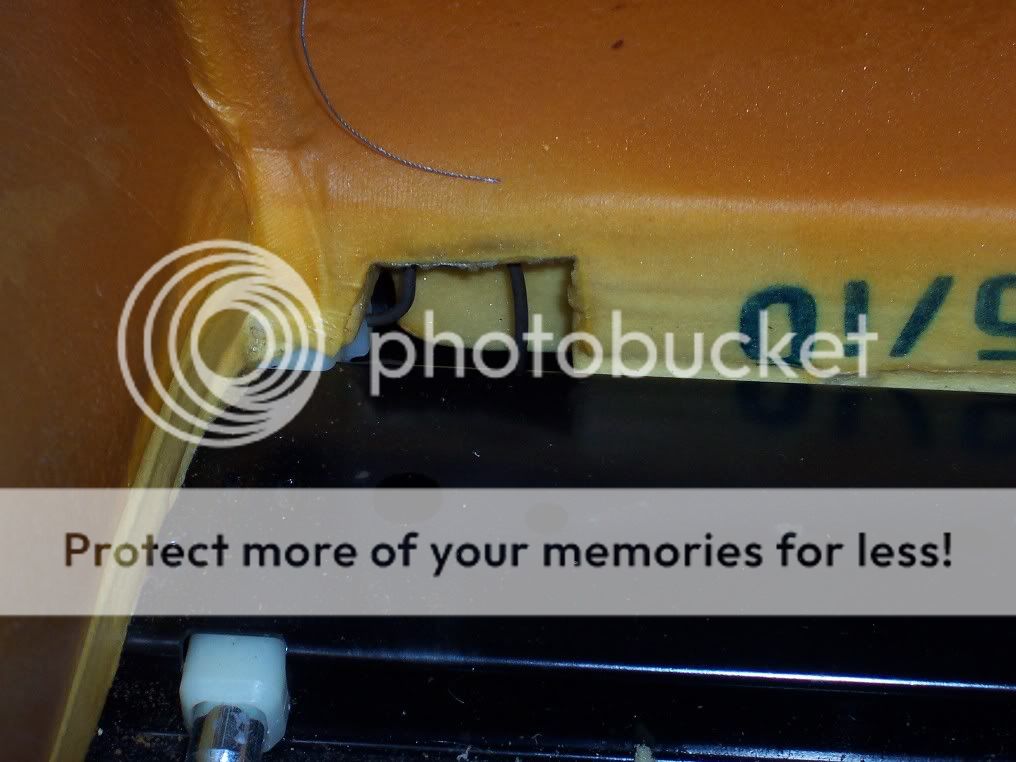
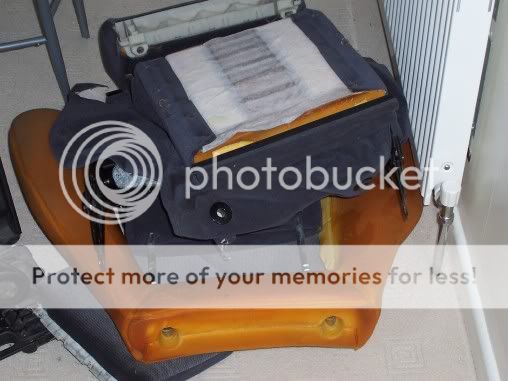
take the headrest out and remove the fabric, them remove the rest of the foam, again some parts are lightly glued so will make some nice noises when coming off, this will leave you with a nice bare seat
as with the bottom half replace knackered parts and re assemble in reverse, this should leave you with a much better seat, mine feels totaly revitalised, and looks much better even with the cat in it, one down and one to go.
Id just like to thank B9KOS for all his help ( he sat drinking my tea asking me if I was finished yet)
remove the headrest by uncliping the spring clips at the top of the seat,
take the headrest out and remove the fabric, them remove the rest of the foam, again some parts are lightly glued so will make some nice noises when coming off, this will leave you with a nice bare seat
as with the bottom half replace knackered parts and re assemble in reverse, this should leave you with a much better seat, mine feels totaly revitalised, and looks much better even with the cat in it, one down and one to go.
Id just like to thank B9KOS for all his help ( he sat drinking my tea asking me if I was finished yet)
20-08-2006 | 09:59 PM
#13
Thread Starter
Advanced PassionFord User
iTrader: (6)
Joined: Apr 2004
Posts: 2,358
Likes: 0
From: plymouth
Originally Posted by vroooom ptssssh
 @ B9KOS
Good job mate, now do it again but replacing fabric with leather, got some lying here I wouldnt mind putting on mine!


Thread
Thread Starter
Forum
Replies
Last Post
nicodinho
Ford Non RS / XR / ST parts for sale.
6
07-10-2015 12:56 PM
SMILER258
Restorations, Rebuilds & Projects.
36
28-09-2015 09:04 AM
Adam Graham
Restorations, Rebuilds & Projects.
7
06-09-2015 06:04 AM