YB engine rebuild diary w/Pics
#121
Turbocharging Technician
Joined: Jul 2010
Posts: 3,557
Likes: 0
From: Top secret. Mission:Imposible.
no idea mate, i bet one of these guys will know though.
I was a little worried about getting the head skimmed as its not ideal for a turbo car and the valves have already touched the piston crowns.
Im gonna take some previous advice given (by tabetha i think) and get the valve cutouts ontop of each piston
I was a little worried about getting the head skimmed as its not ideal for a turbo car and the valves have already touched the piston crowns.
Im gonna take some previous advice given (by tabetha i think) and get the valve cutouts ontop of each piston
#122
been down to harvey gibbs today and even saw the escort ive seen in all the video's 
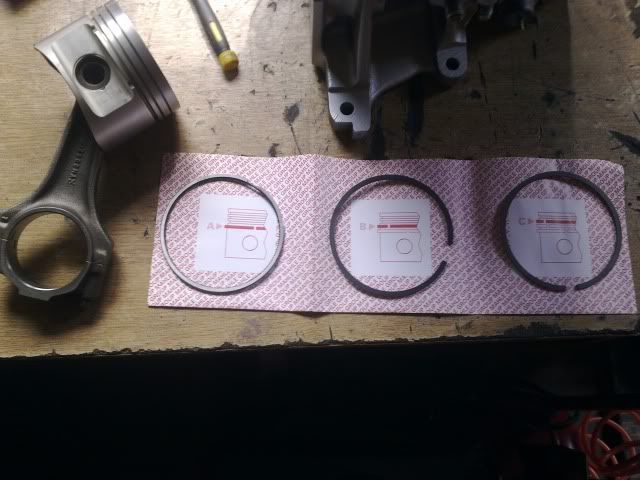
He has told me that i do indeed have 0.5mm oversize pistons for a 4x4 (slightly lower compression) so the rings i ordered were correct... fantastic!
on the downside though he saw the det marks on my cylinder head and advised that i get it welded and skimmed or ill be going through head gaskets like theres no tomorrow, taking all this onboard im gonna take it back to him soon as money permits to have the required work done, 100 notes for a professional to recondition my head sounded spot on to me
So i got home all excited and began to hone out the block and once more clean it all out thoroughly for rebuilding
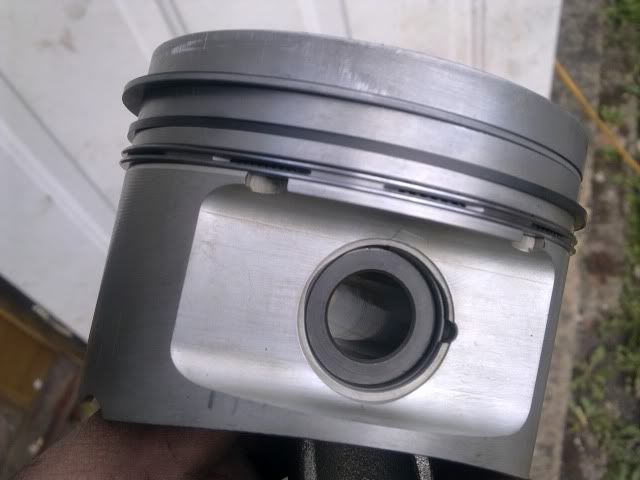
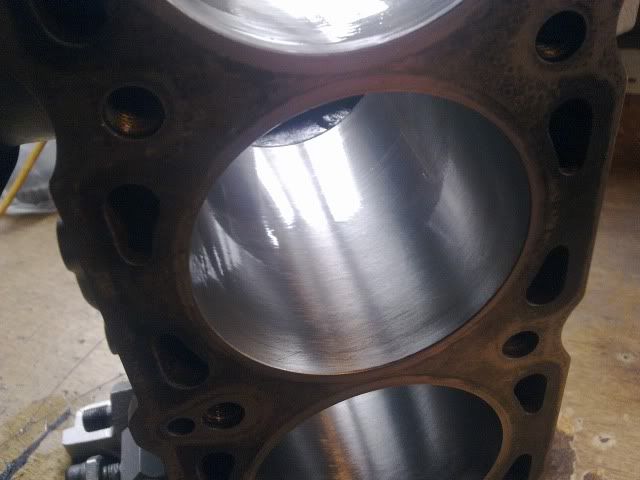
Popped my pistons back in which still seemed very stiff at this point
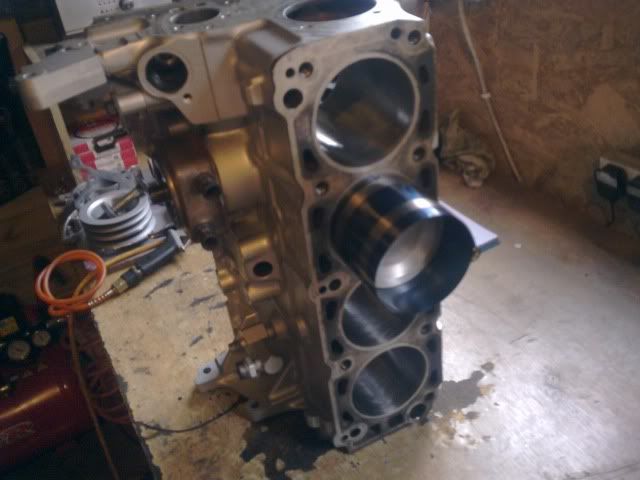
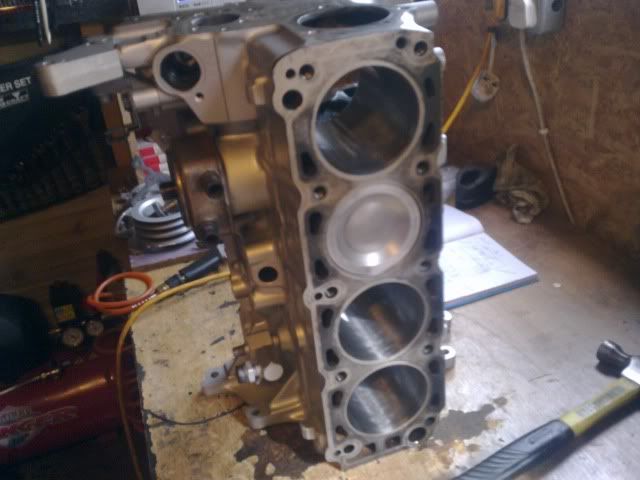
Once the crank was installed the pistons moved up and down quite freely so im very pleased
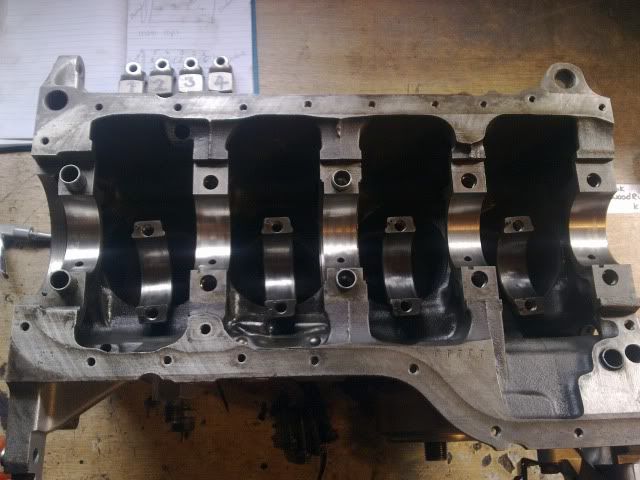
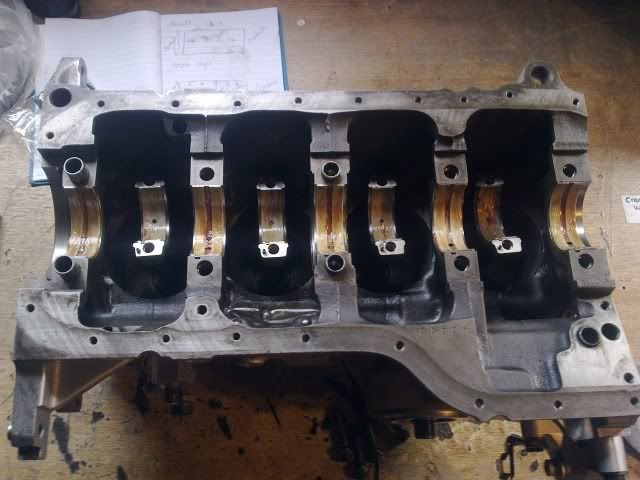
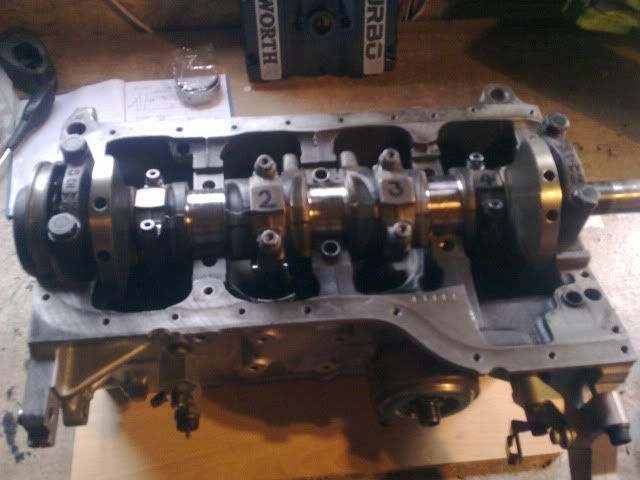
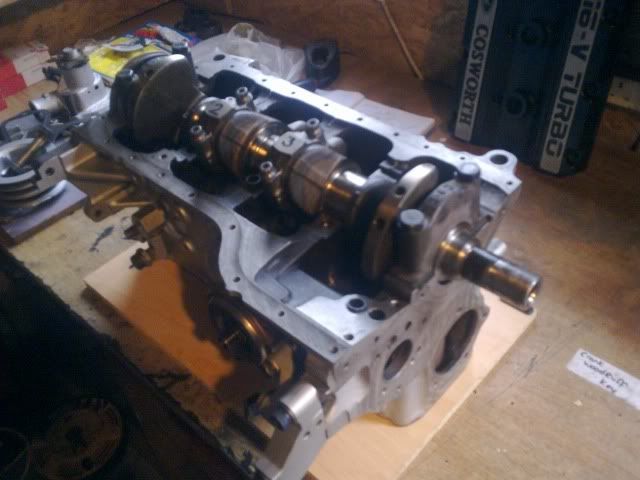

So im now at a stage where pistons and crank are back in, nothing is torqued up just yet and i only have the 2 end main caps on as i ran out of assembly grease
.... so for tomorrow, go get some assembly grease, torque it all up, start to put together the cambelt side
(oh if anyones got a spare crank pulley on the cheap i need one as mine was damaged while removing it from the crank)
He has told me that i do indeed have 0.5mm oversize pistons for a 4x4 (slightly lower compression) so the rings i ordered were correct... fantastic!
on the downside though he saw the det marks on my cylinder head and advised that i get it welded and skimmed or ill be going through head gaskets like theres no tomorrow, taking all this onboard im gonna take it back to him soon as money permits to have the required work done, 100 notes for a professional to recondition my head sounded spot on to me
So i got home all excited and began to hone out the block and once more clean it all out thoroughly for rebuilding


Popped my pistons back in which still seemed very stiff at this point


Once the crank was installed the pistons moved up and down quite freely so im very pleased


So im now at a stage where pistons and crank are back in, nothing is torqued up just yet and i only have the 2 end main caps on as i ran out of assembly grease
.... so for tomorrow, go get some assembly grease, torque it all up, start to put together the cambelt side
(oh if anyones got a spare crank pulley on the cheap i need one as mine was damaged while removing it from the crank)
#127
#128
#129
are you not going to get the block decked now? you should be getting it decked completely dismantled, its basically a skim to make sure its flat and takes a bare minimum off, this vid below will give you an idea
http://www.youtube.com/watch?v=iPOJXDyw0F4
if you dont get the block decked and you do get the head skimmed then you are wasting your time with the head as one piece will be completely flat and one peice wont and in the end still risking head gasket failure, so you should have both the head and block completely dismantled, head skimmed and block decked if you want 100% peace of mind on the head gasket not failing in the future
have a read of this des hammil pdf aswel or print it off which will make it easier,its based on the pinto mostly but he sure does know his stuff and will give you a good insight into what your doing and problems you can come across
http://www.turbosport.co.uk/manuals/...0SOHC&DOHC.pdf
#130
Like Beefy said, do the little ends as well. Also take the ball bearing out of the back of the block after it gets machined, that way you can go all out and clean the whole block.
What kinda work are you doing on the head? May as well do that all out as well
Costs a bit more, but not as much in the long run in comparison to doing it on the cheap. I'll never regret it
What kinda work are you doing on the head? May as well do that all out as well
Costs a bit more, but not as much in the long run in comparison to doing it on the cheap. I'll never regret it
#131
Harvey said that it looks like the block has already been decked as you can see the marks, he diddnt advise decking it anymore as the pistons will protrude out of the top of the block,
how do you get the bearing out on the back of the block?
oh yeah ... the crank seal i got in my set is wrong for my crank its one of these
http://www.ebay.co.uk/itm/RS-Coswort...item2564731e84
the one i took out is like the one on the pinto i built for my brother, can i use a pinto seal like this?
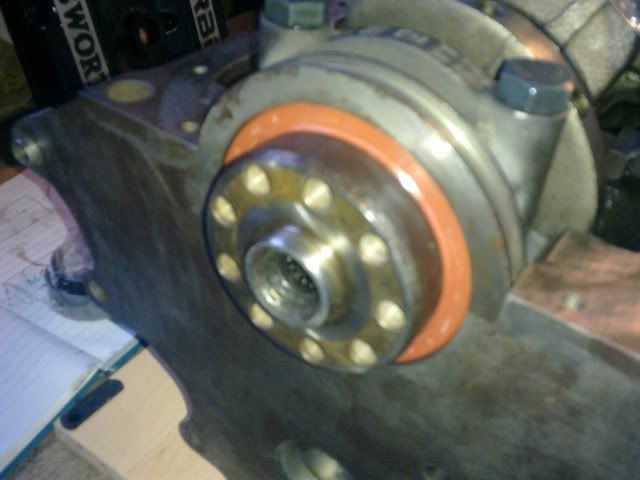
how do you get the bearing out on the back of the block?
oh yeah ... the crank seal i got in my set is wrong for my crank its one of these
http://www.ebay.co.uk/itm/RS-Coswort...item2564731e84
the one i took out is like the one on the pinto i built for my brother, can i use a pinto seal like this?

#135
As Jimbo said, stick to reputable well known names and tuners. Its where you'll get the right gear.
Mines only spot on because of listening to sensible people like John Coles, Jimbo and Harvey. That's why its now a proper engine Easy enough for you to make it the same, conform to what everyone is telling you here
As for your pistons, you could deck it but the pistons will need to be skimmed more to fit. Not advisable as Harvey stated really.
Mines only spot on because of listening to sensible people like John Coles, Jimbo and Harvey. That's why its now a proper engine

As for your pistons, you could deck it but the pistons will need to be skimmed more to fit. Not advisable as Harvey stated really.
#136
to be honest with regards to facing the block im using a standard victor reinz gaket, not one of the multi-layer steel jobbies.
as i understand it these compress a little better, what i mean is that with a multi-layer steel one both surfaces HAVE to be 100% but where a metal one wouldnt seal properly a standard one probably would
as i understand it these compress a little better, what i mean is that with a multi-layer steel one both surfaces HAVE to be 100% but where a metal one wouldnt seal properly a standard one probably would
#139
matt lewis said that victor reinz is same as original and more than capable of the 330bhp im after
They say that once youve had a taste of big power you want more and more so once the engines back in i shall probably start saving for another complete engine and build another one over X amount of years capable of more power, this ones my first YB so been a massive learning curve
They say that once youve had a taste of big power you want more and more so once the engines back in i shall probably start saving for another complete engine and build another one over X amount of years capable of more power, this ones my first YB so been a massive learning curve
#141
PassionFord Post Whore!!
iTrader: (4)
Joined: May 2004
Posts: 7,886
Likes: 35
From: Bangor, Northern Ireland
no idea mate, i bet one of these guys will know though.
I was a little worried about getting the head skimmed as its not ideal for a turbo car and the valves have already touched the piston crowns.
Im gonna take some previous advice given (by tabetha i think) and get the valve cutouts ontop of each piston
I was a little worried about getting the head skimmed as its not ideal for a turbo car and the valves have already touched the piston crowns.
Im gonna take some previous advice given (by tabetha i think) and get the valve cutouts ontop of each piston
#142
ah bugger would have got it done if id remembered, apparently its not too much to worry about as the valves JUST touch the crown when over revved
if i dont over rev it then it should be fine
if i dont over rev it then it should be fine
#143
been back down to see harvey today who now has my cylinder head 
got home and got the rest of the block back together and torqued up
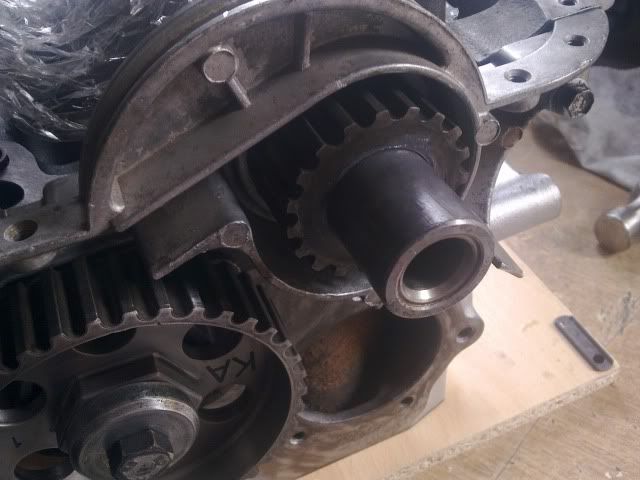
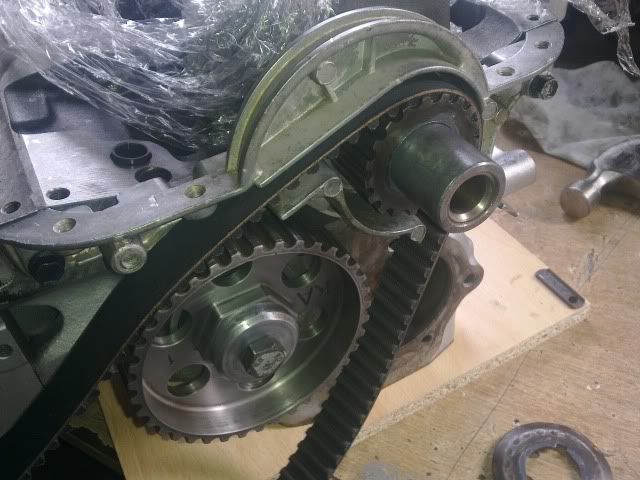
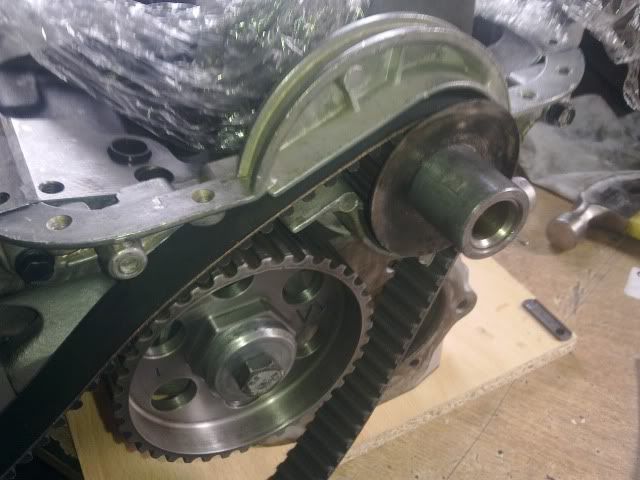
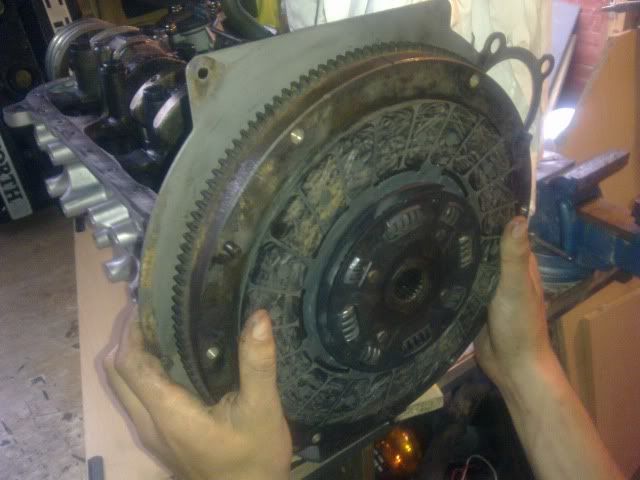
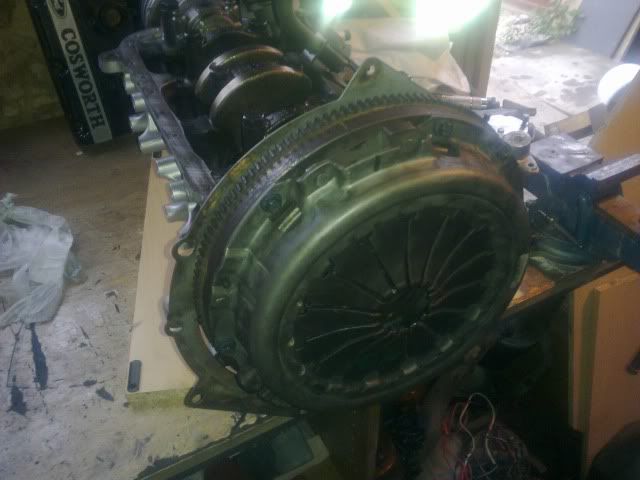
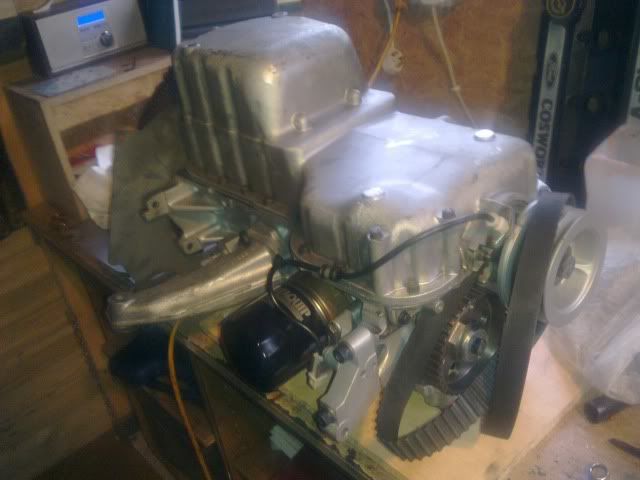
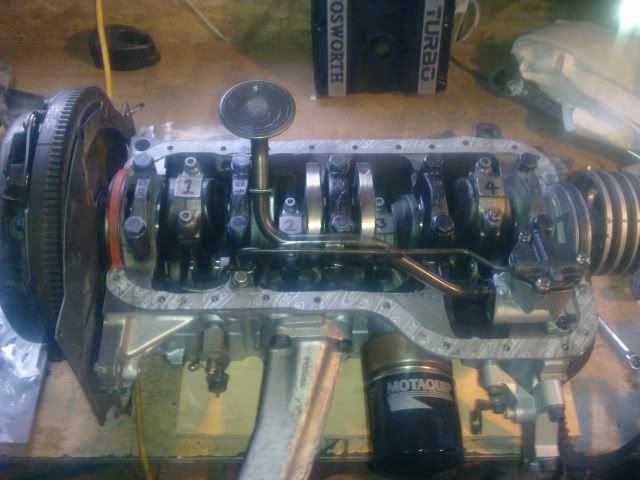
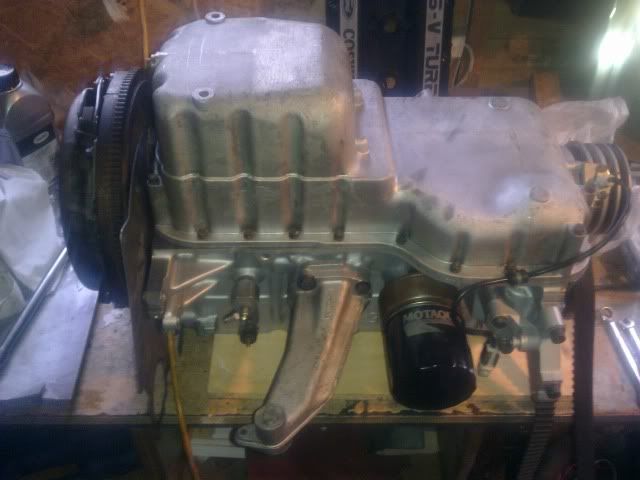
it seems a few pics are missing on my phone but new high pressure oil pump form burton was installed too
(am i right in saying the pump mates up to the block without a gasket)
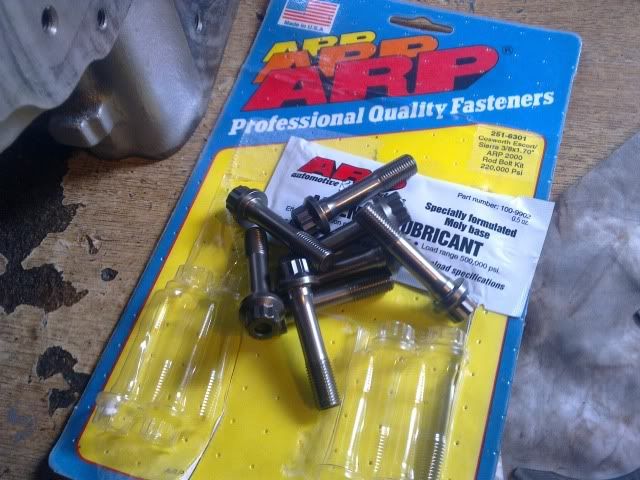
also my arp bolts on the big ends were 60 or 66 nm with the assembly grease ... felt about right)
what worried me is that they rated the flywheel bolts with their grease at 70nm, this diddnt feel tight enough to me for a flywheel)
got home and got the rest of the block back together and torqued up


it seems a few pics are missing on my phone but new high pressure oil pump form burton was installed too
(am i right in saying the pump mates up to the block without a gasket)
also my arp bolts on the big ends were 60 or 66 nm with the assembly grease ... felt about right)
what worried me is that they rated the flywheel bolts with their grease at 70nm, this diddnt feel tight enough to me for a flywheel)
#144
bugger just noticed from the pics i ordered the wrong oil filter earlier, has the choice of 2 (one shorter than the other)
Its the shorter one that was removed and i now have the longer one, will this cause any problems?
Its the shorter one that was removed and i now have the longer one, will this cause any problems?
#147
The best advice on this thread is this, measure them clearences if you want it to last, they are never spot on. Its the most essential part in a rebuild to get right, trust me, been there! Ask a engine builder to check and adjust them for you.
#149
#150
well quite an eventful day, my mate the mechanic come round and measured my bearing clearances using a plastigauge ... now to me it diddnt really seem like a very precise way of measuring but he assures me it works, this plastic strip is crushed and you measure how spread out it is ... well anyway he says i have no worries and even helped me get the engine block back in the car
I must gloat that it went in first time (i aligned the clutch by sight rather than using a proper tool) this is a first for me as i usually take hours of screaming before it slides onto the box dead center
I discovered that the bigger oil filter is too big and sits against the curve on my engine mount, it would have worked but would need cutting off at a later date so i saved myself alot of grief and bought the correct one (funnily enough one half the size is more expensive)
...and my mate taught me that instead of ruining an oil filter using my previous technique with hammer and screwdriver you can remove one using a leather belt (as you pull harder it tightens more)
I also stuck in a new clutch cable while i was at it
not many pics as i was concentrating more on getting the block back in
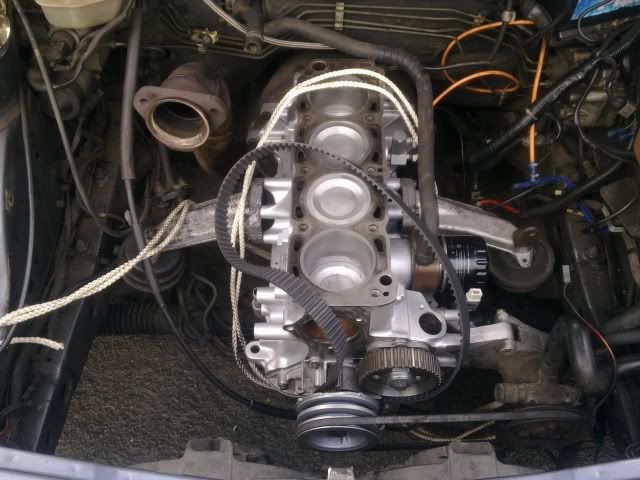
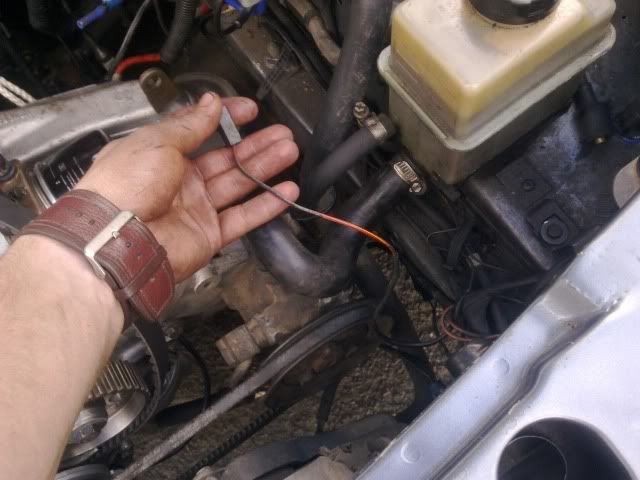
i got my rad back in and plugged in the wires but was left with this one, i have no idea where its from?
in an ideal world ill have the head back on by the weekend, if not itll be all back together by the weekend after.
Just need to save up now for my MSD chip
I must gloat that it went in first time (i aligned the clutch by sight rather than using a proper tool) this is a first for me as i usually take hours of screaming before it slides onto the box dead center
I discovered that the bigger oil filter is too big and sits against the curve on my engine mount, it would have worked but would need cutting off at a later date so i saved myself alot of grief and bought the correct one (funnily enough one half the size is more expensive)
...and my mate taught me that instead of ruining an oil filter using my previous technique with hammer and screwdriver you can remove one using a leather belt (as you pull harder it tightens more)
I also stuck in a new clutch cable while i was at it
not many pics as i was concentrating more on getting the block back in

i got my rad back in and plugged in the wires but was left with this one, i have no idea where its from?

in an ideal world ill have the head back on by the weekend, if not itll be all back together by the weekend after.
Just need to save up now for my MSD chip
#153
um.... i have 2x wires already on the starter mate, a positive and negative, should there be a third?
tbh i should have got more pics as i was taking the loom off ... doh!
tbh i should have got more pics as i was taking the loom off ... doh!
#158
i guess it makes sense that its already earthed to the g/box and block
#159
ahhh i see...
On my head i have an inlet stud that has snapped off inside, i was gonna get my older bro to take a look as he works on plant machinery and has the tools (i dont)
do you guys deal with this sort of thing, how much extra would i be looking at?
cheers buddy
On my head i have an inlet stud that has snapped off inside, i was gonna get my older bro to take a look as he works on plant machinery and has the tools (i dont)
do you guys deal with this sort of thing, how much extra would i be looking at?
cheers buddy


