
My connect project


Thread Starter
15000
Joined: Nov 2011
Posts: 24
Likes: 0
From: telford
I've been around the car forums for ages and have done a few cars, you might or might not remember some of them (non ford though.... )...
)...
My Evo...

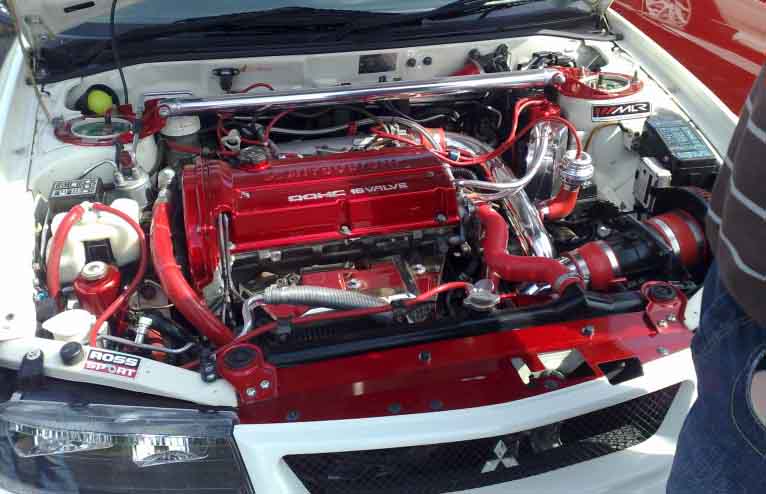
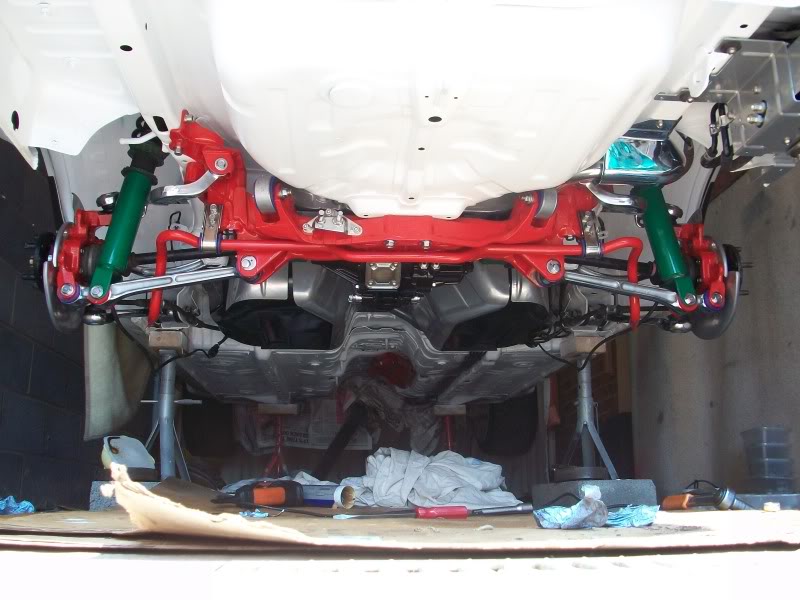
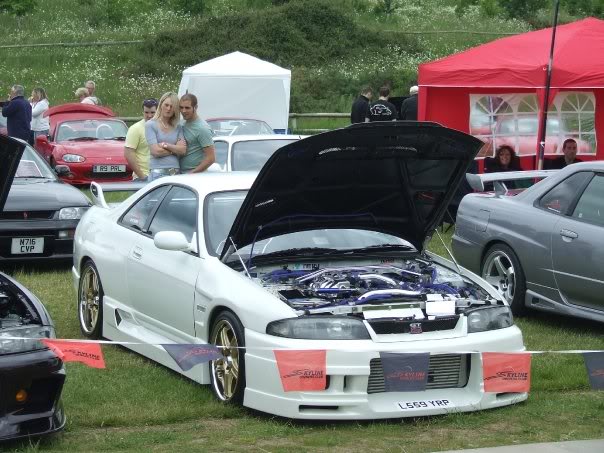
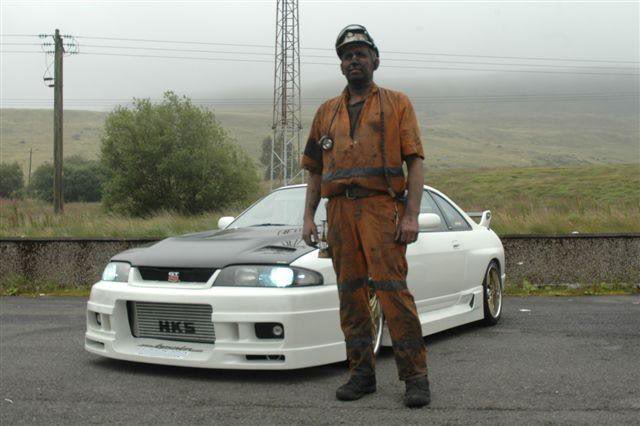
My Skyline....

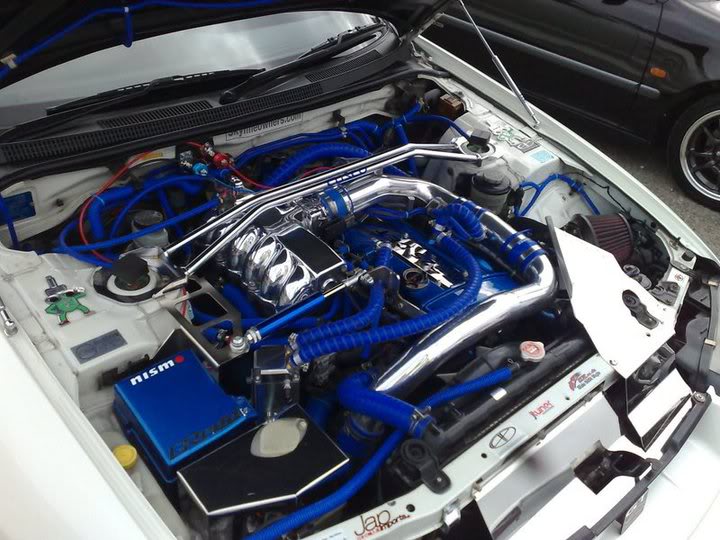
I HAD A THREAD ON HERE REGARDING MY EVO BUT SOME TWAT HACKED MY PHOTOBUCKET ACCOUNT AND DELETED ALL THE PICTURES SO ALL THE LINKS ON THE THREAD WERE BROKEN....
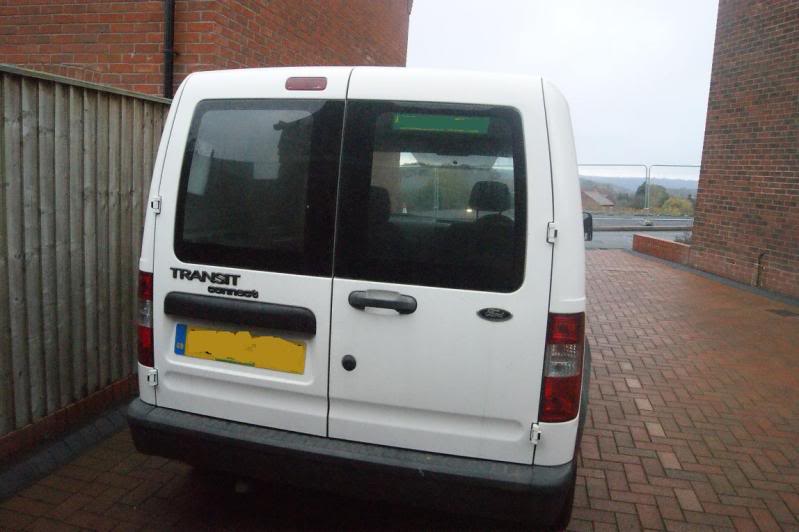
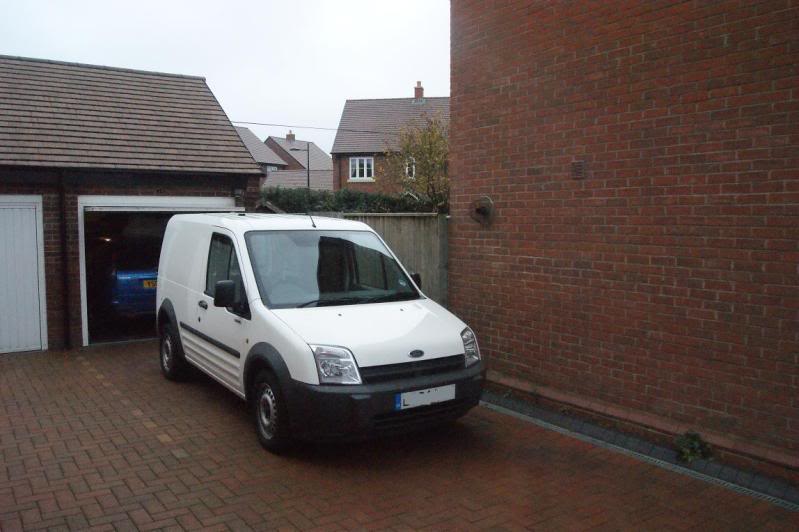
Now i have a van because i need to carry my dogs around, so i bought a Transit Connect.....
My Van...
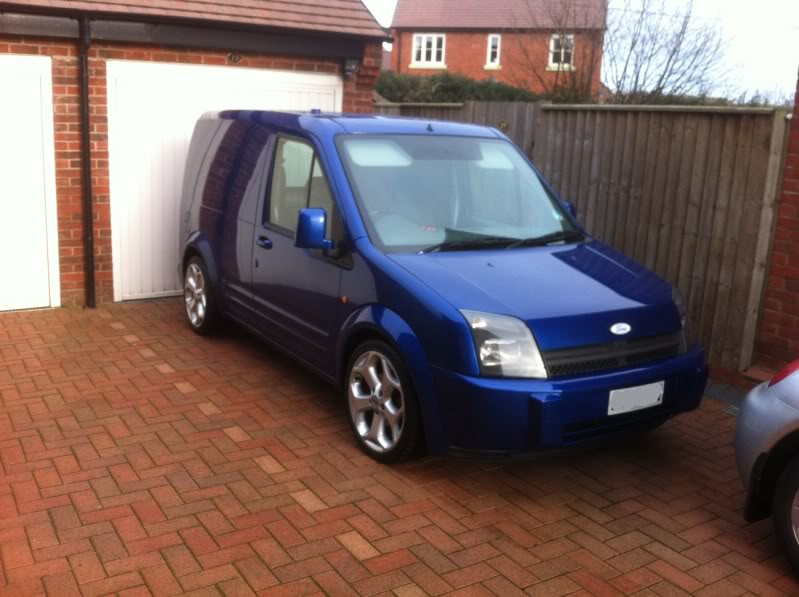
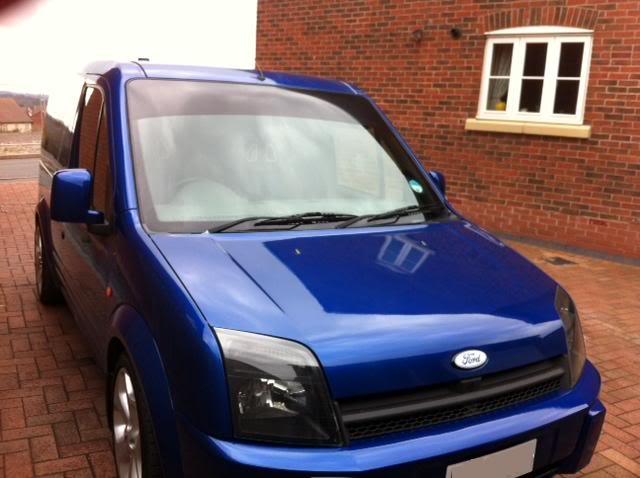
How it was when i got it...
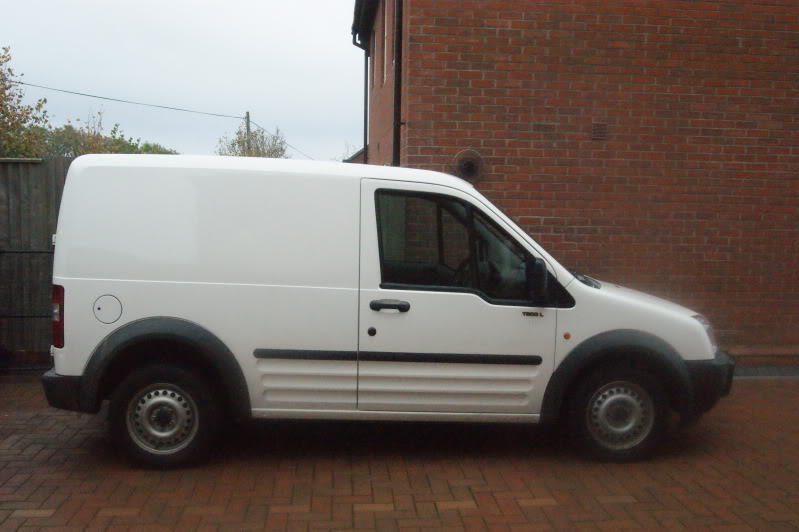
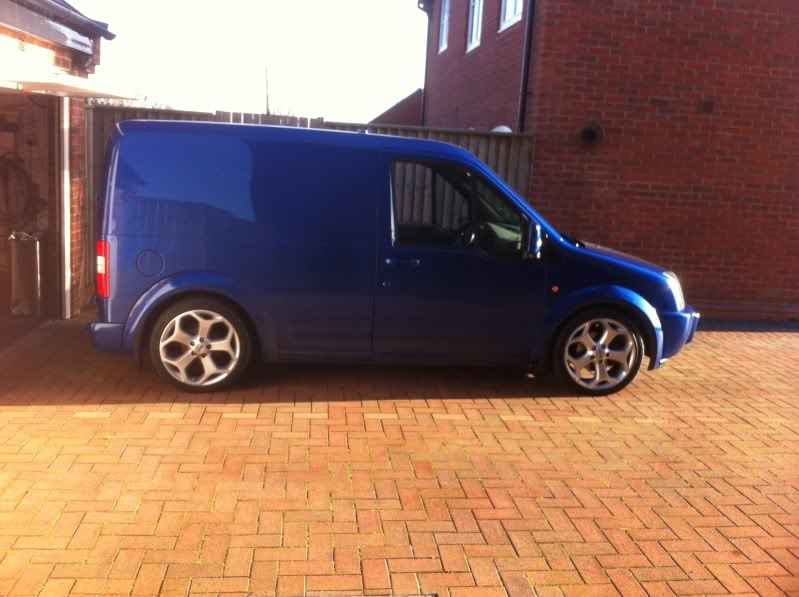
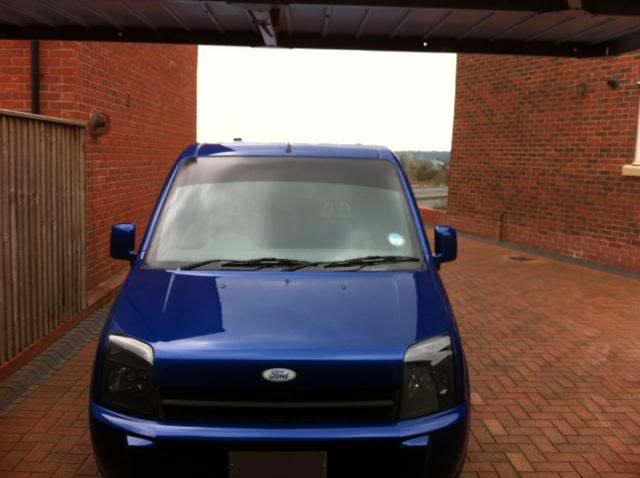
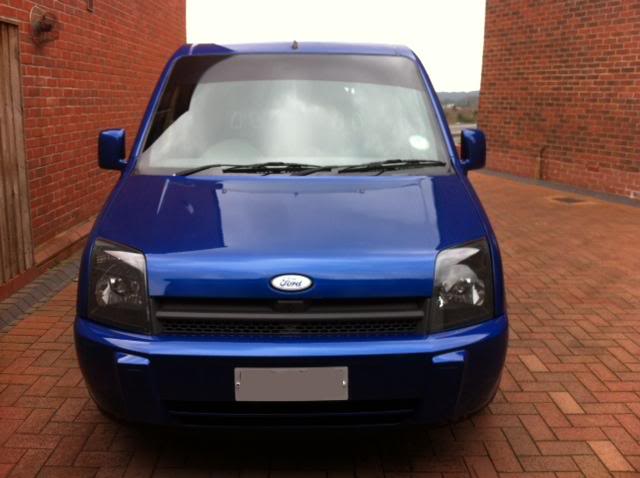
I had the van sprayed in Ford Performance Blue and all the plastics colour coded...
I sprayed the insides of the headlights black and lowered the front using Focus MK1 RS springs and top mounts, the rear was lowered using the ale flip method.
I also fitted Focus ST 18" alloys.
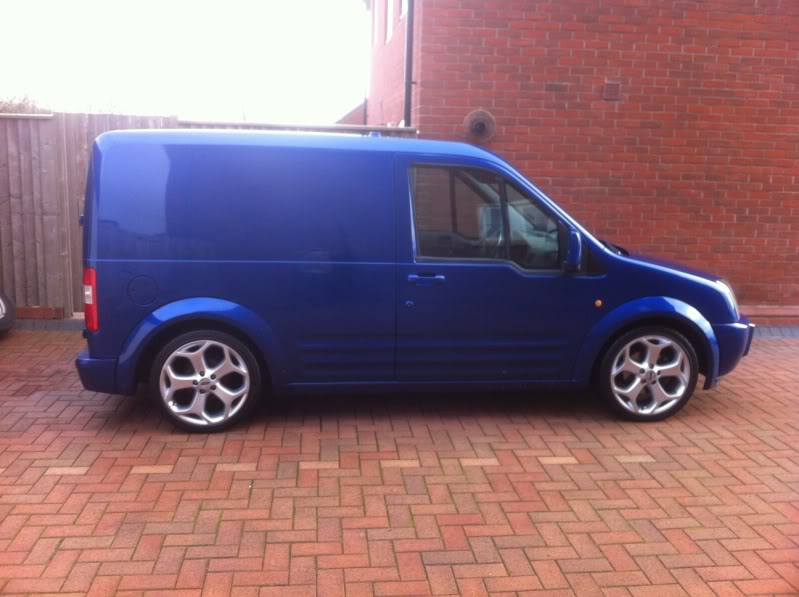
THE REAR AXLE NEEDS TO BE MOVED BACK 15mm SO THAT THE WHEEL SITS IN THE MIDDLE OF THE ARCH, I'M DOING THAT NEXT WEEK).
I have bought some front seats from a MK1 RS and they will be fitted soon....
My plans are :
Remap / airbox / EGR blank.
Focus 4 stud hubs and ST170 brakes all round.
Comp MO's in White once hubs are changed.
Dash flocked (while removed i will get a DVD screen built in because i want a camera in the back so i can keep an eye on the dogs).
Twin tailpipe exhaust (Powerflow).
Rear windows tinted
and more as i go along....
cheers
Andy.
My Evo...
My Skyline....
I HAD A THREAD ON HERE REGARDING MY EVO BUT SOME TWAT HACKED MY PHOTOBUCKET ACCOUNT AND DELETED ALL THE PICTURES SO ALL THE LINKS ON THE THREAD WERE BROKEN....
Now i have a van because i need to carry my dogs around, so i bought a Transit Connect.....
My Van...
How it was when i got it...
I had the van sprayed in Ford Performance Blue and all the plastics colour coded...
I sprayed the insides of the headlights black and lowered the front using Focus MK1 RS springs and top mounts, the rear was lowered using the ale flip method.
I also fitted Focus ST 18" alloys.
THE REAR AXLE NEEDS TO BE MOVED BACK 15mm SO THAT THE WHEEL SITS IN THE MIDDLE OF THE ARCH, I'M DOING THAT NEXT WEEK).
I have bought some front seats from a MK1 RS and they will be fitted soon....
My plans are :
Remap / airbox / EGR blank.
Focus 4 stud hubs and ST170 brakes all round.
Comp MO's in White once hubs are changed.
Dash flocked (while removed i will get a DVD screen built in because i want a camera in the back so i can keep an eye on the dogs).
Twin tailpipe exhaust (Powerflow).
Rear windows tinted
and more as i go along....
cheers
Andy.
Thread Starter
15000
Joined: Nov 2011
Posts: 24
Likes: 0
From: telford
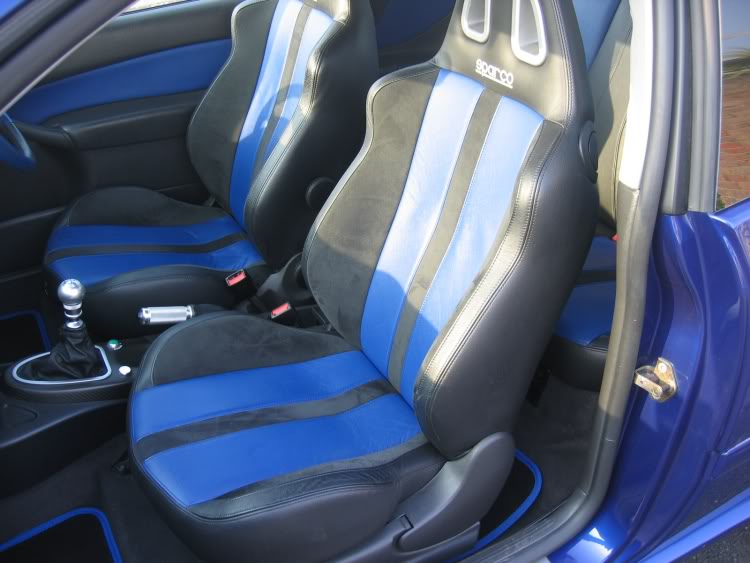
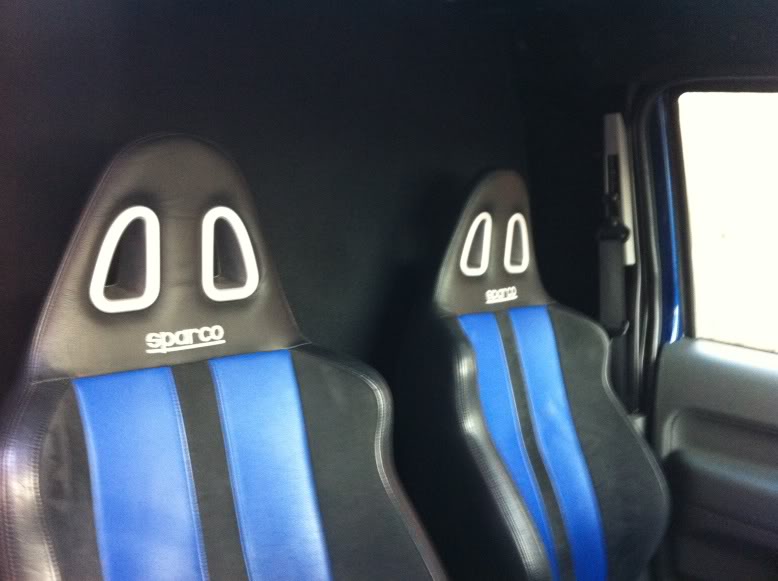
I fitted my MK1 RS front seats today, not too bad a job, used the RS runners with minimal modification, they look really good.
Much better than the old connect seats.


New bulhead to go in next, with soundproofing and black acoustic carpet.
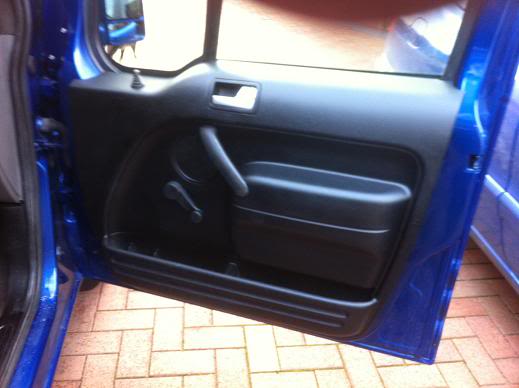
Then i am getting the door cards sorted, going to get them covered with blue inserts to match the seats.
Cheers
Andy
Much better than the old connect seats.
New bulhead to go in next, with soundproofing and black acoustic carpet.
Then i am getting the door cards sorted, going to get them covered with blue inserts to match the seats.
Cheers
Andy


Thread Starter
15000
Joined: Nov 2011
Posts: 24
Likes: 0
From: telford
Respray cost me just over �1k, the paint had orange peel in it but a pal wet sanded it and then machine polished the paint and its all good now
Cheers
Andy
Thread Starter
15000
Joined: Nov 2011
Posts: 24
Likes: 0
From: telford
I fitted a bulkhead (plywood) today, i made it myself and firstly covered it in 12mm thick underlay matting for sound deadening and then covered it in black acoustic carpet.
I set the bulkhead back to allow the seats to recline and also to give me a little storage space behind the seats.... I covered the exposed floor with the same underlay and acoustic carpet....

(just got to trim the acoustic carpet once the glue has dried).
I also took out the headlining and painted it black to match the acoustic carpet....
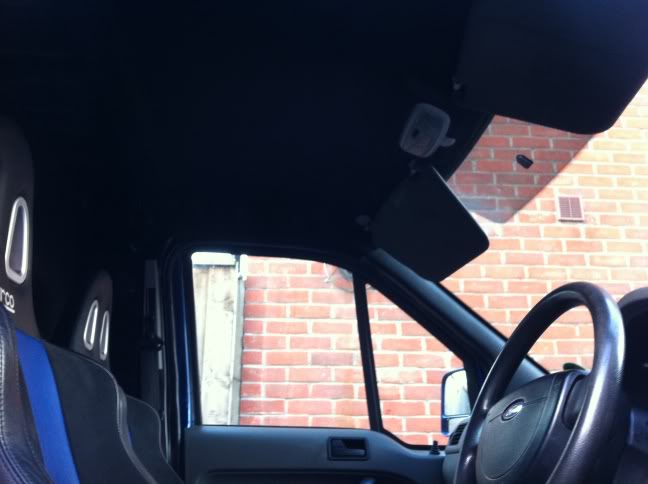
The A pillar covers were painted black aswell...
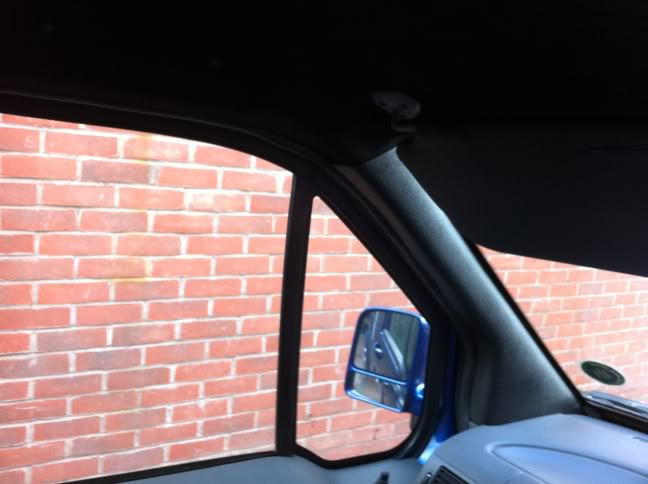
Door cards are next on my list to do, get them covered.
cheers
Andy
I set the bulkhead back to allow the seats to recline and also to give me a little storage space behind the seats.... I covered the exposed floor with the same underlay and acoustic carpet....
(just got to trim the acoustic carpet once the glue has dried).
I also took out the headlining and painted it black to match the acoustic carpet....
The A pillar covers were painted black aswell...
Door cards are next on my list to do, get them covered.
cheers
Andy
Trending Topics


BANNED
Joined: Dec 2009
Posts: 1,892
Likes: 0
From: North Wales
Hello Andy mate, long time no speak etc, will give you a cal tomorrow mate, van is awsome, when is the 400bhp duratec being fitted?
As for this just being used for karting the dogs around, I give you 6 month till your over worked attention to detail eye takes over and this becomes yet another one of your show vehicles
Can't wait mate, will keep my eye on this
As for this just being used for karting the dogs around, I give you 6 month till your over worked attention to detail eye takes over and this becomes yet another one of your show vehicles
Can't wait mate, will keep my eye on this
Thread Starter
15000
Joined: Nov 2011
Posts: 24
Likes: 0
From: telford
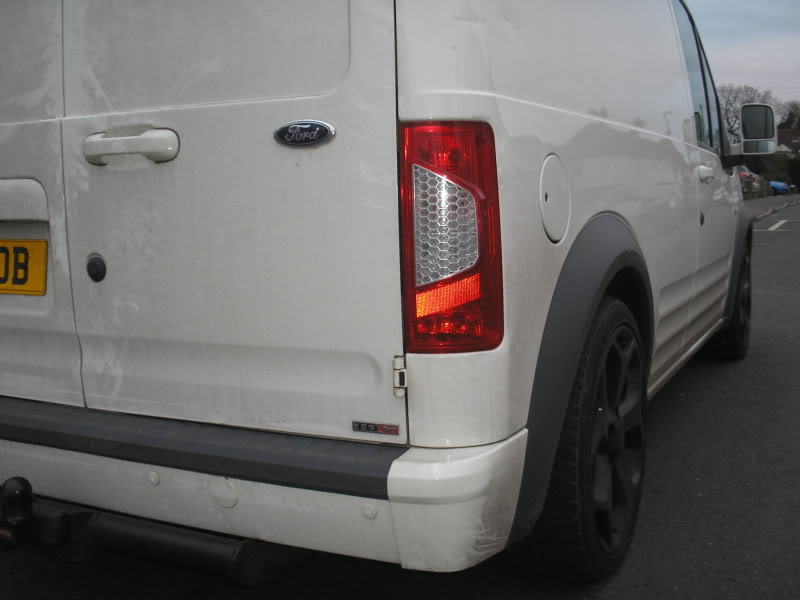
When the van was lowered the rear wheel did not sit centre in the arch..... (see pic below), the wheel sat too far forward.

So I took the axle off today and had another plate welded on but this plate had the locating hole for the pin that goes through the leaf spring positioned 15mm further forward, this allowed the axle to be moved back 15mm.
Much better....
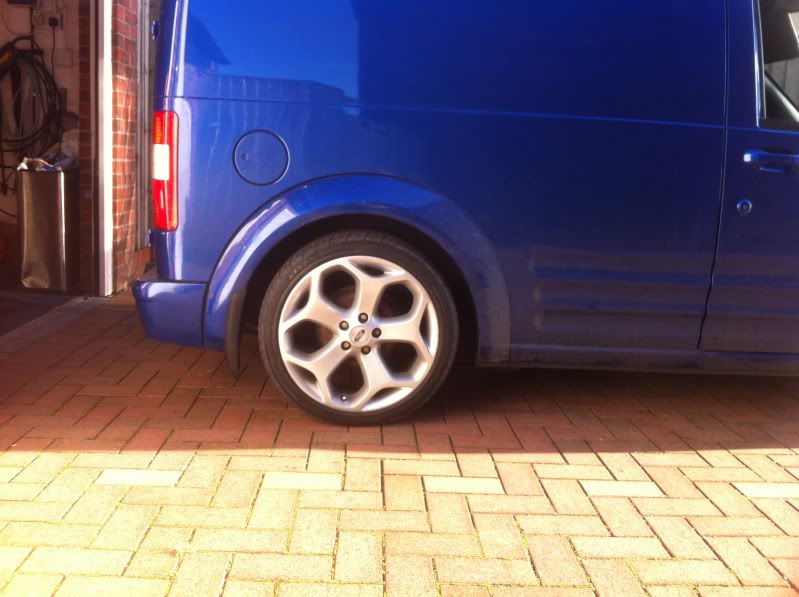
I also fitted some original mudflaps....
Next job is to paint the front calipers and also the rear drums....
cheers
Andy
So I took the axle off today and had another plate welded on but this plate had the locating hole for the pin that goes through the leaf spring positioned 15mm further forward, this allowed the axle to be moved back 15mm.
Much better....
I also fitted some original mudflaps....
Next job is to paint the front calipers and also the rear drums....
cheers
Andy


Thread Starter
15000
Joined: Nov 2011
Posts: 24
Likes: 0
From: telford
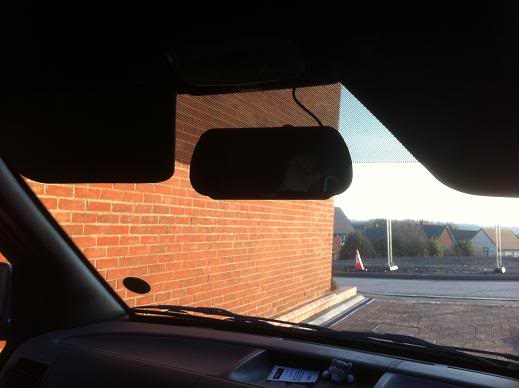
I fitted my reverse camera and a 2nd camera so i can see in the back of the van when transporting my dogs around.
I got one of those monitors that go on the original windscreen mounted mirror.
(not such a good photo)
The rear view camera has markers which display on the monitor to give me some guidance, each line actually works out as 2 foot gap. The monitor switches over when the van gets put into reverse, the default camera is the one that displays the load area.
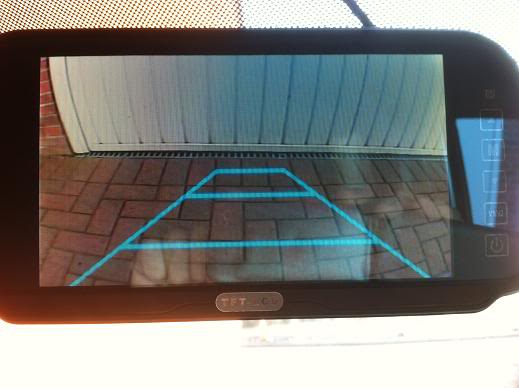
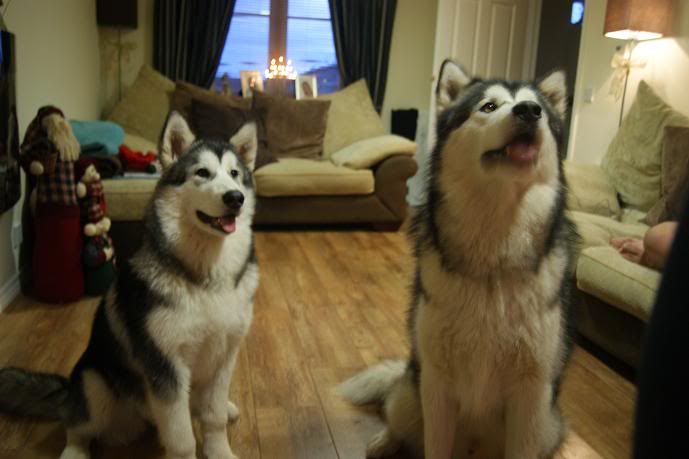
Here's a view of the load area where the dogs go,
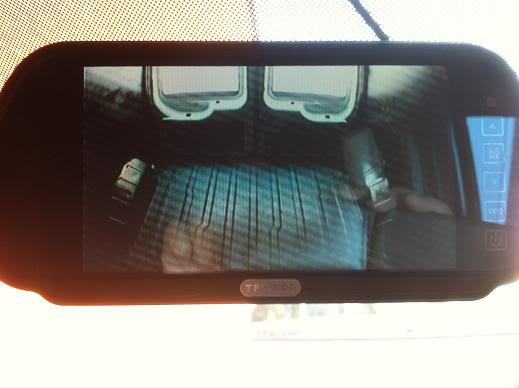
I have 2 x 12v flourescent tubes to fit yet to light up the load area.
(got to look after the dogs, they are my babies)
I positioned the camera just above the number plate, i didn't want the flush fit camera that requires the rear door drilling with a hole saw so i went for a different camera which i mounted between the number plate lights and used the grommet already there to route the cables.
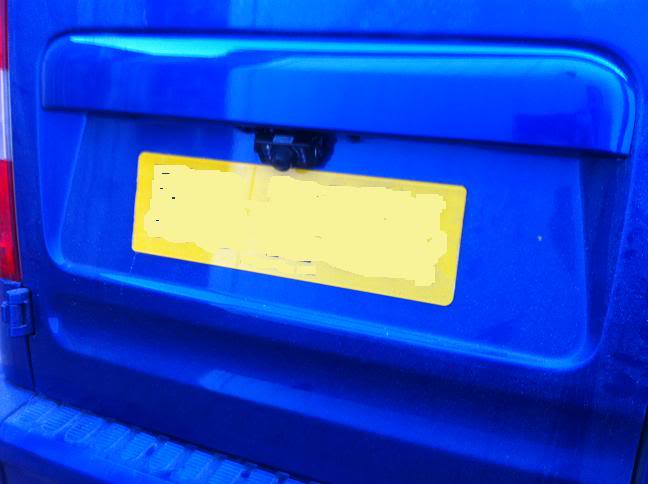
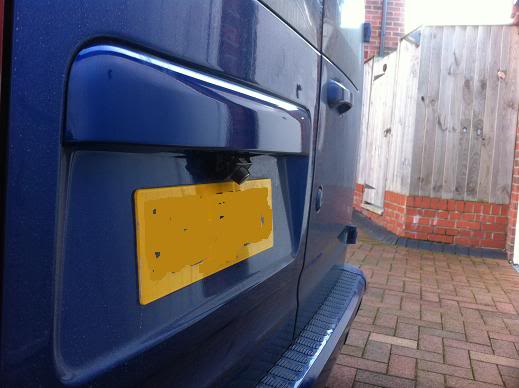
(just been out to check van rear bumper as the pic above looks like there is a scuff on the bumper edge, phew !! its just the way the light shines on the paint)
cheers
Andy.
I got one of those monitors that go on the original windscreen mounted mirror.
(not such a good photo)
The rear view camera has markers which display on the monitor to give me some guidance, each line actually works out as 2 foot gap. The monitor switches over when the van gets put into reverse, the default camera is the one that displays the load area.
Here's a view of the load area where the dogs go,
I have 2 x 12v flourescent tubes to fit yet to light up the load area.
(got to look after the dogs, they are my babies)
I positioned the camera just above the number plate, i didn't want the flush fit camera that requires the rear door drilling with a hole saw so i went for a different camera which i mounted between the number plate lights and used the grommet already there to route the cables.
(just been out to check van rear bumper as the pic above looks like there is a scuff on the bumper edge, phew !! its just the way the light shines on the paint)
cheers
Andy.
Thread Starter
15000
Joined: Nov 2011
Posts: 24
Likes: 0
From: telford
Well i decided to spray the door cards black and the centre handbrake / gear stick console ( and the lower plastics by your feet etc), i am getting them flocked black and wanted to see what theyt looked like black, i think they look good so flocking is my next step in a few weeks.
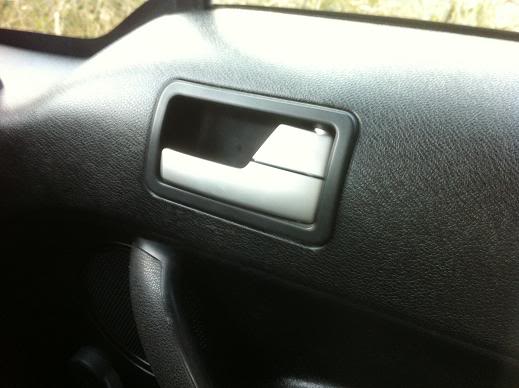
I also fitted the brushed mondeo door handles....
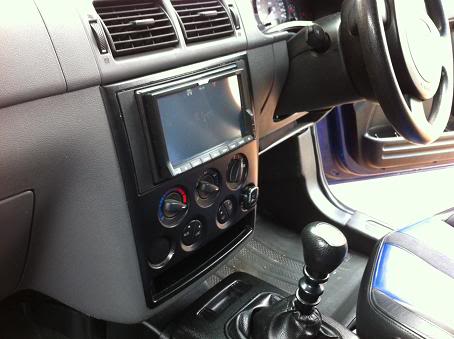
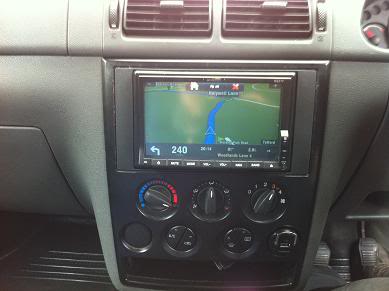
then fitted the centre console (radio) from a 2007 connect, got a fitting kit and fitted my double DIN stereo.
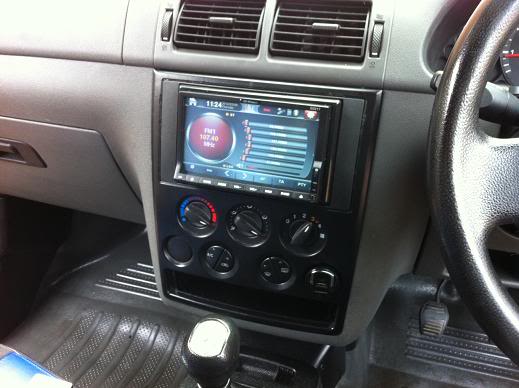
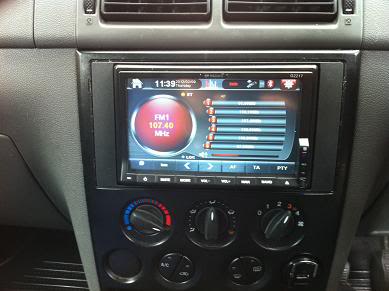
Its one of those chinese units (from a local seller with 12 month warrenty) but it does almost everything.
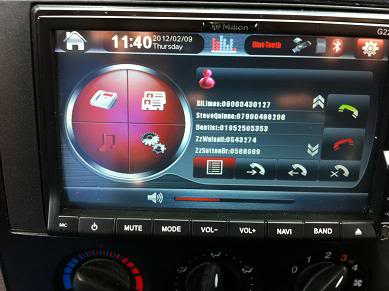
It has sat nav which works very well ( i tried it out today), it links to my iphone via bluetooth so i can play music from my phone and also make and receive calls via the stereo.
It has a TV function and i have a FREEVIEW decoder and ariel to fit to it when i get the time.
So all in all it does everything i need, the front face is detachable aswell.
SAT NAV
RADIO
BLUETOOTH PHONE
The radio surround is getting flocked aswell as it is a bit tatty.
I will put up pics of the flocked items when they are done, as soon as i get them to Raj at Autoflock.
cheers
Andy
I also fitted the brushed mondeo door handles....
then fitted the centre console (radio) from a 2007 connect, got a fitting kit and fitted my double DIN stereo.
Its one of those chinese units (from a local seller with 12 month warrenty) but it does almost everything.
It has sat nav which works very well ( i tried it out today), it links to my iphone via bluetooth so i can play music from my phone and also make and receive calls via the stereo.
It has a TV function and i have a FREEVIEW decoder and ariel to fit to it when i get the time.
So all in all it does everything i need, the front face is detachable aswell.
SAT NAV
RADIO
BLUETOOTH PHONE
The radio surround is getting flocked aswell as it is a bit tatty.
I will put up pics of the flocked items when they are done, as soon as i get them to Raj at Autoflock.
cheers
Andy

WAAARRRRPP TTSSSSCCCHHHHH
Joined: Apr 2009
Posts: 9
Likes: 0
From: Dudley
This van is MEAN! Grey minters white one is nice aswell. Ive just had to weigh my escort van in rotten as a sweed. Got me a Connect 53plate T220 Cat D wiv a few miles under its belt FSH tho �400 =D i neally pissed meself whem the lad told me the price.The term ripped his arm off comes to mind. Just stocking up on bits so i can ave a good weekend down the unit onit now (y)


Thread Starter
15000
Joined: Nov 2011
Posts: 24
Likes: 0
From: telford
Well i just bought another dash, door cards and centre console.
Dropped them off with Raj at Autoflock Motorsport and i will fit them to my van as soon as i get them back, i will keep you posted.
Cheers
Andy
Dropped them off with Raj at Autoflock Motorsport and i will fit them to my van as soon as i get them back, i will keep you posted.
Cheers
Andy

Thread Starter
15000
Joined: Nov 2011
Posts: 24
Likes: 0
From: telford
I went to B&Q today and asked for Fablon, they have a rack of it by the wallpaper section.
I got a roll of Black for �7.58.
So i measured and cut out a section, it has a very helpful grid printed on the back of the backing paper to help you cut in straight lines.
I fitted it to my van, used an 11" deep piece to cover the centre dimpled dot section in the middle of the windscreen.
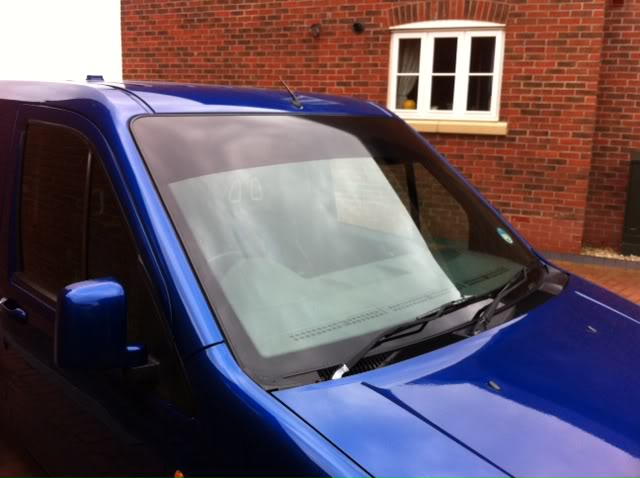
This is how i did it....
I cut a piece from the roll measuring 142cms long and 30cms deep and then offered this up to the windscreen.
Then i used masking tape to hold the strip in place and measures to make sure it was level.
I then cut the strip to shape around the top of windscreen using a stanley blade.
Then i sprayed the windscreen with soapy water, peeled off the backing paper and applied the strip to the windscreen.
You can then move the strip around because the soapy water prevents it from sticking to the windscreen.
Once i was happy with the correct positioh i used a plastic credit card type thingy to push out all of the bubbles and the excess water from under the strip.
Simples.
I also bough an LED display for the back on the van, when i have the dogs on board i drive a bit differently, i drive slower, take corners gentler etc etc, but because of this i always get some bell end up my chuff giving me the road rage, so i got a sign to explain....
http://www.youtube.com/watch?v=hBSFdu_B1-w
I got a roll of Black for �7.58.
So i measured and cut out a section, it has a very helpful grid printed on the back of the backing paper to help you cut in straight lines.
I fitted it to my van, used an 11" deep piece to cover the centre dimpled dot section in the middle of the windscreen.
This is how i did it....
I cut a piece from the roll measuring 142cms long and 30cms deep and then offered this up to the windscreen.
Then i used masking tape to hold the strip in place and measures to make sure it was level.
I then cut the strip to shape around the top of windscreen using a stanley blade.
Then i sprayed the windscreen with soapy water, peeled off the backing paper and applied the strip to the windscreen.
You can then move the strip around because the soapy water prevents it from sticking to the windscreen.
Once i was happy with the correct positioh i used a plastic credit card type thingy to push out all of the bubbles and the excess water from under the strip.
Simples.
I also bough an LED display for the back on the van, when i have the dogs on board i drive a bit differently, i drive slower, take corners gentler etc etc, but because of this i always get some bell end up my chuff giving me the road rage, so i got a sign to explain....
http://www.youtube.com/watch?v=hBSFdu_B1-w
Last edited by connect_4; Apr 6, 2012 at 12:01 PM.

Thread Starter
15000
Joined: Nov 2011
Posts: 24
Likes: 0
From: telford

Virgin
Joined: Jun 2012
Posts: 2
Likes: 0
From: northern ireland

Virgin
Joined: Feb 2013
Posts: 14
Likes: 0
From: Milton Keynes

Thread
Thread Starter
Forum
Replies
Last Post
Mark RS
Ford RS Cosworth Parts for Sale
7
Oct 12, 2015 06:01 AM
nicodinho
Ford Non RS / XR / ST parts for sale.
6
Oct 7, 2015 12:56 PM
SMILER258
Restorations, Rebuilds & Projects.
36
Sep 28, 2015 09:04 AM